Bathroom refurb - order of events?

Associate
Joined
18 Oct 2002
Posts
2,413
Wanting to do most of the prep myself, then get someone in to install the actual suite. Can you correct me on the order below please?

All items staying in the same place.

Prep

[1] Remove wallpaper
[2] Remove wall cabinets, rails, towel holder, shower rail, lights
[3] Knock tiles off wall around bath
[4] Remove sink/vanity unit, remove bath, remove toilet (cap with compression fittings where required)
[5] Remove fake wood flooring
[6] Remove radiator (will this cause any issues if its on the filling loop for hot water?)
[7] Get entire room skimmed/plastered (Q2. Should I ask plastered to use boarding where tiles will go?)

Install

[1] Lay underfloor heating matt and wire as required
[2] Lay floor tiles
[3] Tile 1.5 walls
[4] Install new vanity unit/toilet/bath (on top of tiles?)
[5] Paint remaining walls and ceiling
[6] install wall lights / mirror
[7] Install new towel rad

Any tips/gotchas appreciates. I will be using a tradesman for the install but hopefully at a lower price as I will essentially give him an empty room ready for fitting.

Cheers
 
We had our bath/units against tile, installed first and tiled after. I think (not 100%) they even ran some water into the bath before tiling around it.
 
on the subject of tiling the floor, I'd personally fit bath, shower tray and any square units before tiling the floor, it'll save on tiles and they should be easy to cut around. The toilet on the other hand I would tile the floor first then fit the toilet, if you've ever tried to cut 10mm floor tiles around a toilet you'll understand. If it's wall mounted then all's fine :)
 
It's a matter of opinion, as you can see, but tiling just under the larger units and bath edges makes for a far more pleasing finish IMO. Saves having to remedy any edges with silicone afterwards where tile edges are too visible.

You'd hopefully find that the wallpaper will go behind things on the walls, so I think 1 <> 2 need swapping if you don't want to have to do the stripping twice!
 
Thanks for the feedback - the vanity unit will be floating. The toilet will get tiled under.

I'll ask them to tile around the bath to save a few tiles.

Had three quotes. £3500, £2500 and £1600, the latter with me painting. The latter was also a referral from a friend, so I'd think too cheap if I had not already seen his decent quality work.
 
I would

Tile first.
Saving £20 on tiles is counter productive if you EVER have to swap the toilet or the basin pedestal.

Tile under the bath.
At least if you have a leak it should stay on top of the tiles. Or at least leak out from under the bath rather than into whatever is downstairs.
 
Last edited:
I tiled under the toilet and vanity unit but not fully under the (raised) shower tray.
 
Why would you tile under it? How are you going to support the bath frame to the floor correctly through tiles ?

Don't tile onto plaster on the walls either
 
Why would you tile under it? How are you going to support the bath frame to the floor correctly through tiles ?

Don't tile onto plaster on the walls either

Exactly the same way as you would the toilet. I'd use a drill to create a small hole and then screw it down:D

The reasons as stated above. But if there are bare floorboards under the bath and the trap leaks then that water is going straight through and into the room below. If its tiled then it's more likely to run out from under the bath so you'll notice it before it does any damage. Or even worse if its a very slow leak then it could damage the floorboards over time which could fail when you fill the bath full of water.
 
Last edited:
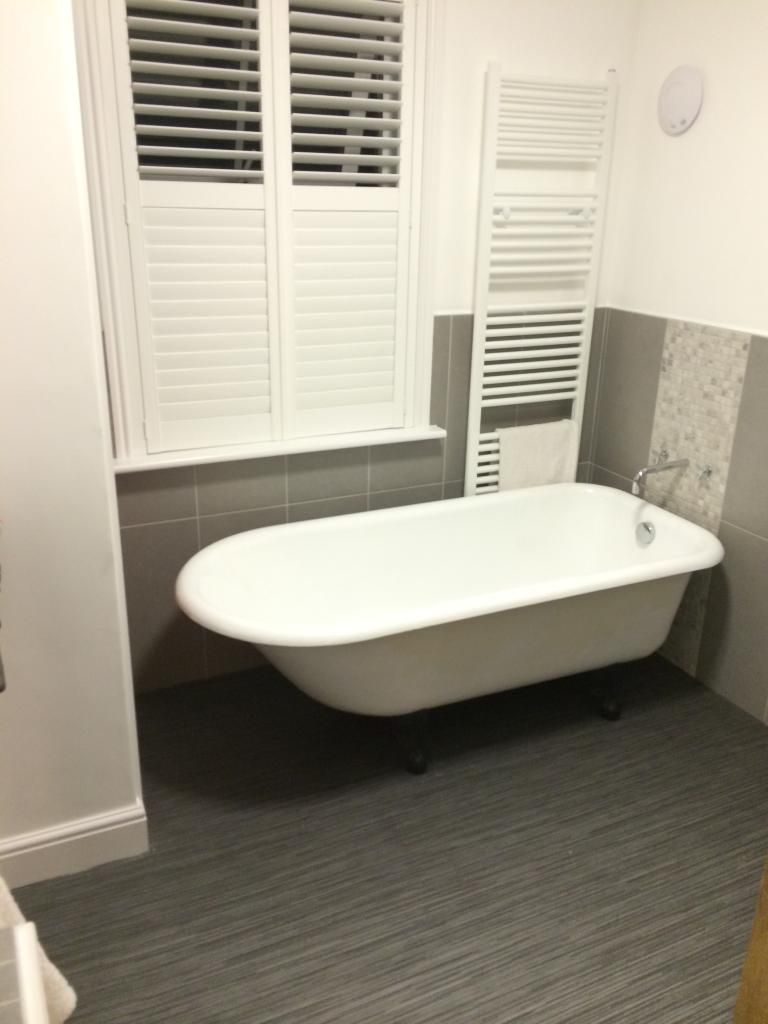
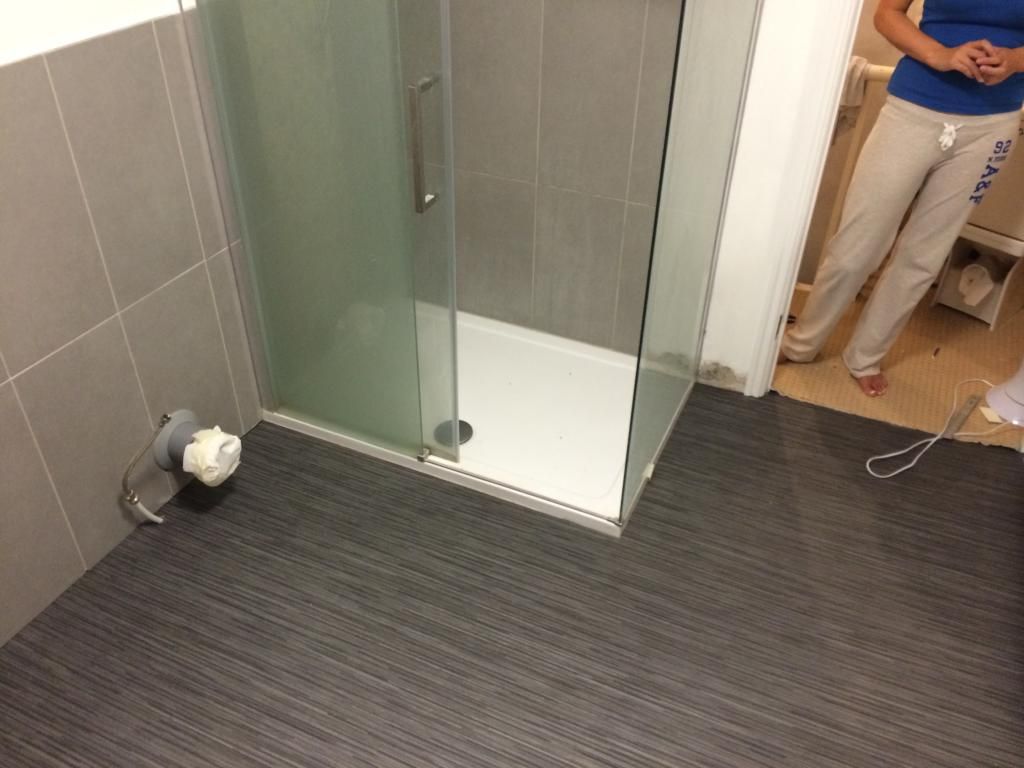
I saw it in a generic carpet shop - think it was carpetright but ended up buying it from a local off cut discount place. Only charged me £55 for 3x3m. The 3mm boards nearly cost as much
 
They look the tiles I've used in a bathroom of mine.
6669555931_b01d66a658_o.jpg


But Cheaper to buy and fit
 
Last edited:
I would have liked tiles but the floor was a bit flexible even with reinforcement. However very pleased with the vinyl and its nice under foot.

Once learning is to use adhesive spray rather than double side tape, especially on areas you walk on. Also make sure the room and vinyl is warm before you fit it.

Nice tiles above!
 
Back
Top Bottom