

Associate
Hello all, this is ReU_VOoDOo posting his latest mod log
I have already finished this mod "VOoDOo Media" which is my second project to date, but I only posted the progress on my clan's (www.sfuclan.net) website. I realized that I left a few friends out of the loop and wanted to correct this by posting here so lets get started shall we?
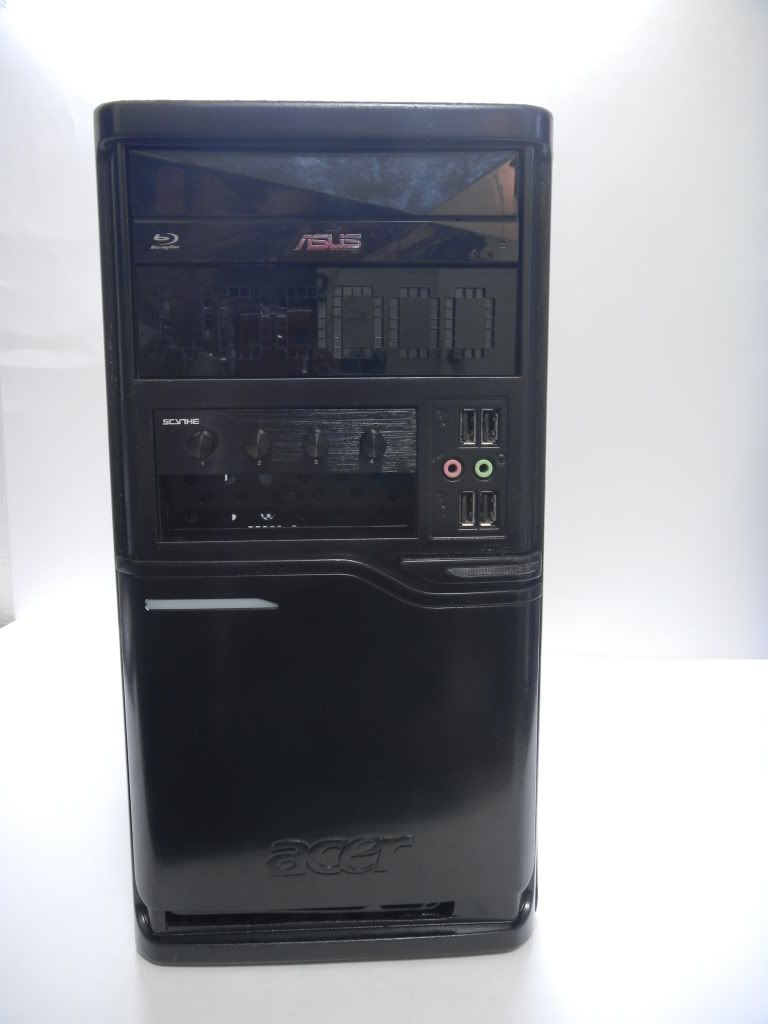
First off is to show you what my case looked like before it got "VOoDOoized" as my clan mates say.
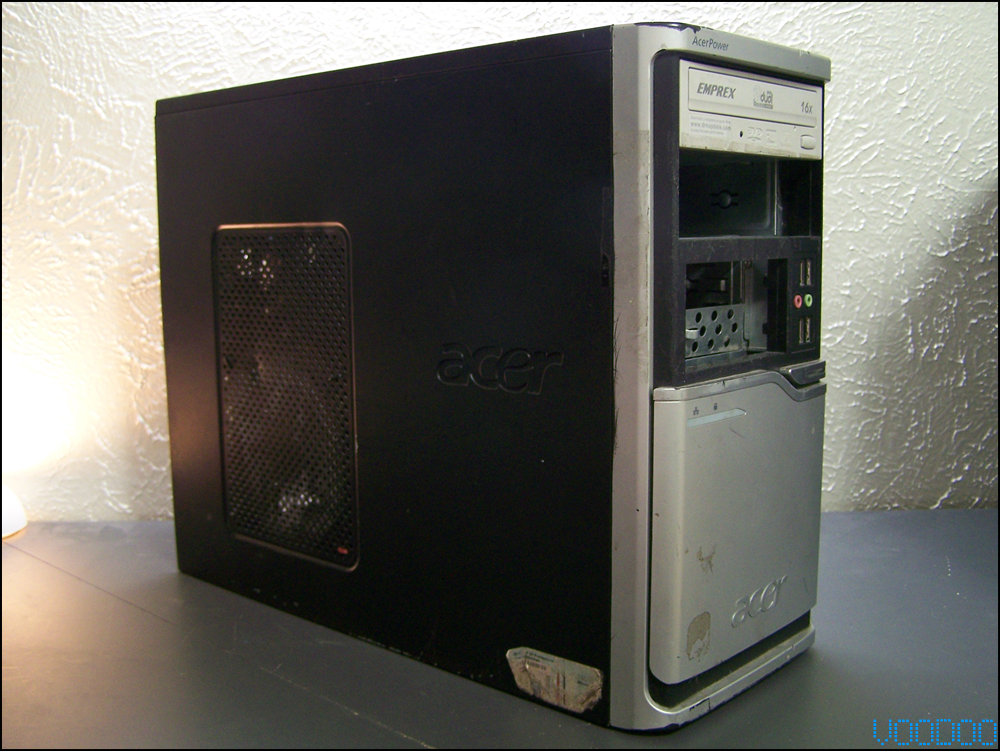
This is a mid tower made by acer which is just a generic dell if you ask me!
Now its time to show you the new parts
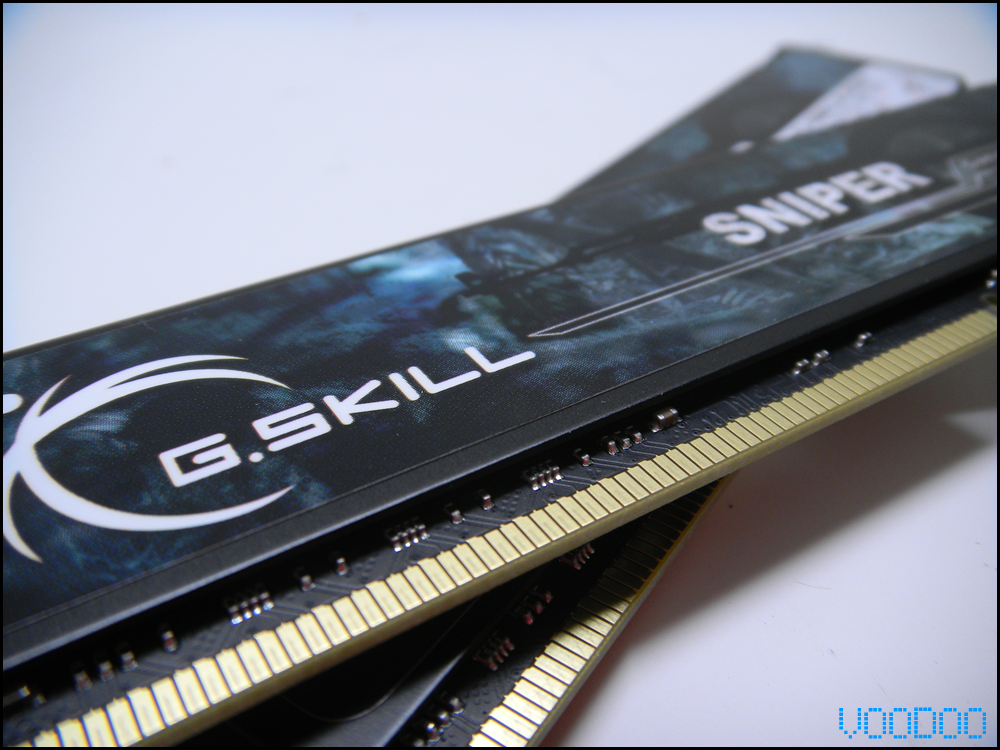
G.Skill 8GB DDR3 1333

ASUS P5G41T-M/CSM LGA 775 Intel G41 HDMI Micro ATX Intel Motherboard
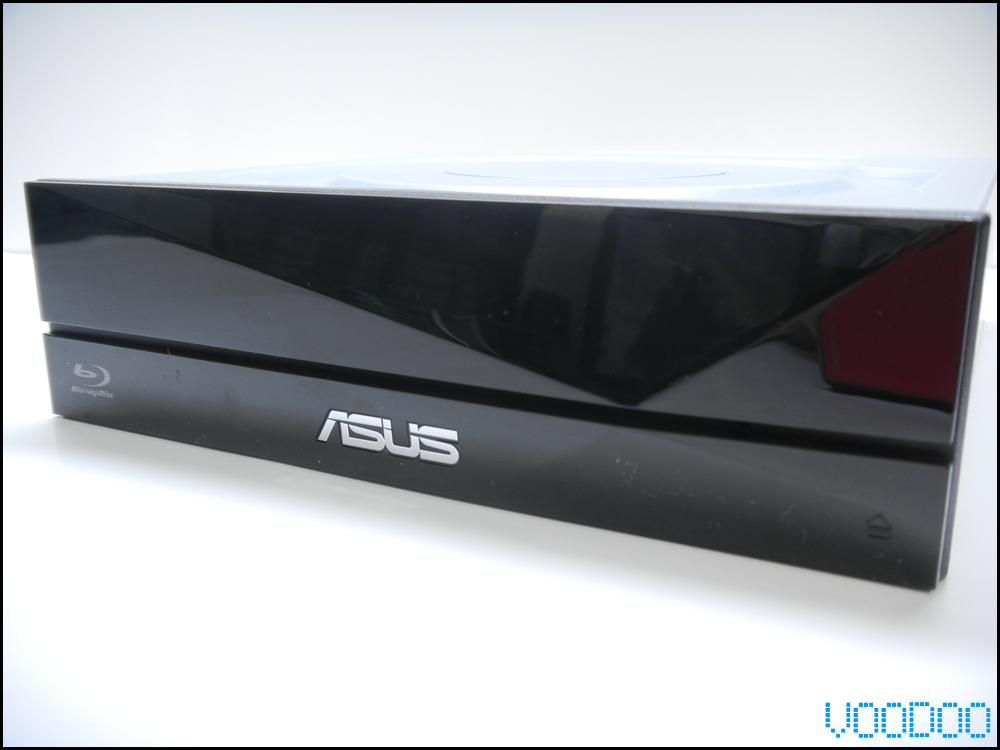
ASUS Internal Blu-ray Burner Blu-ray Burner BW-12B1LT LightScribe Support - OEM
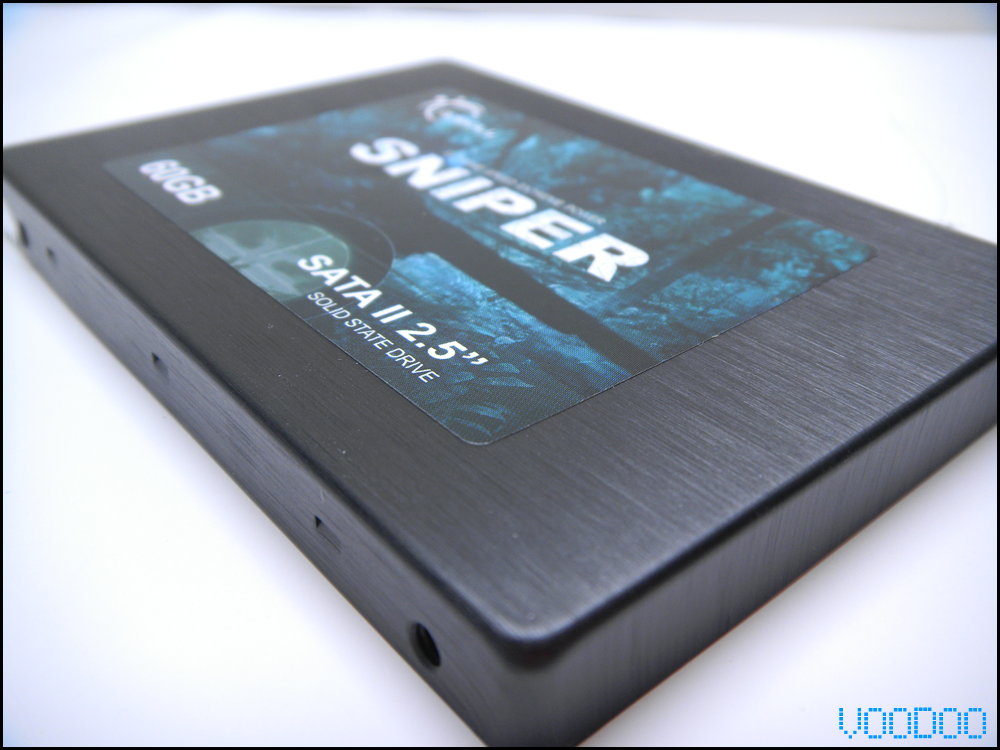
G.skill 60GB Sniper series SSD 285MBps senquential write
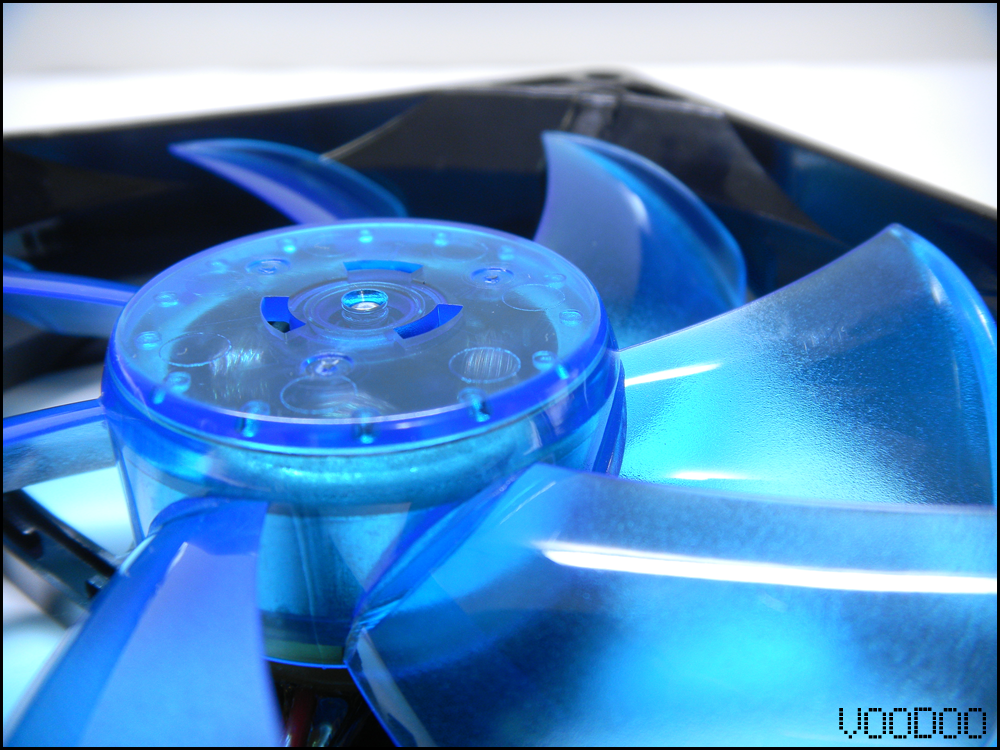
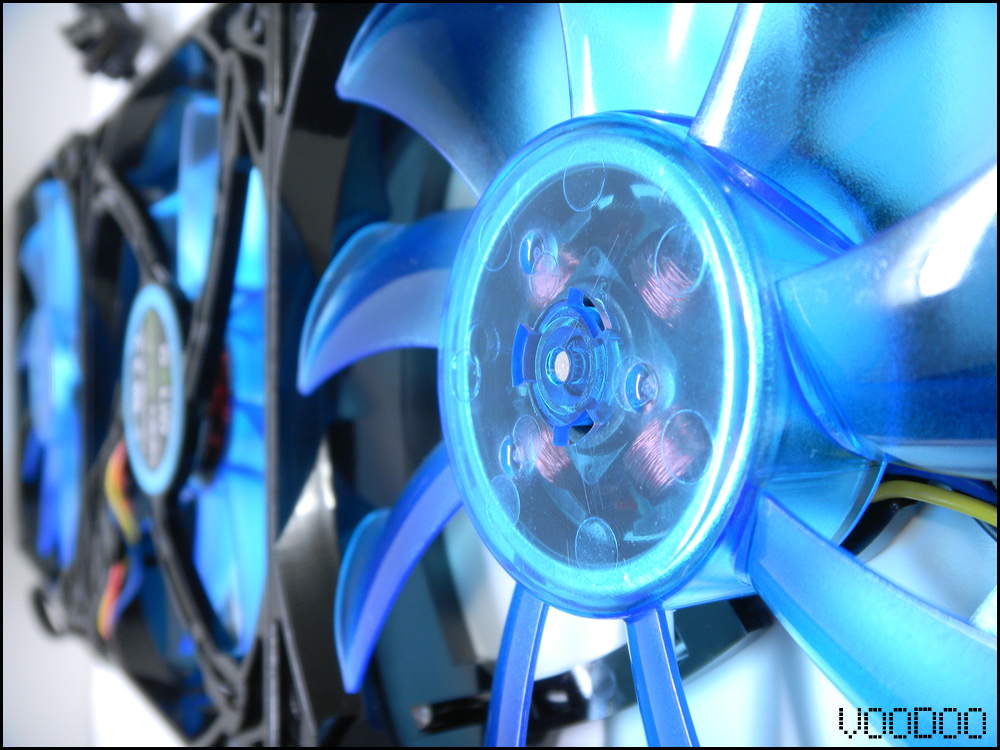
3 Gelid 120mm fans, low noise 85cfm nano-flux bearing fans
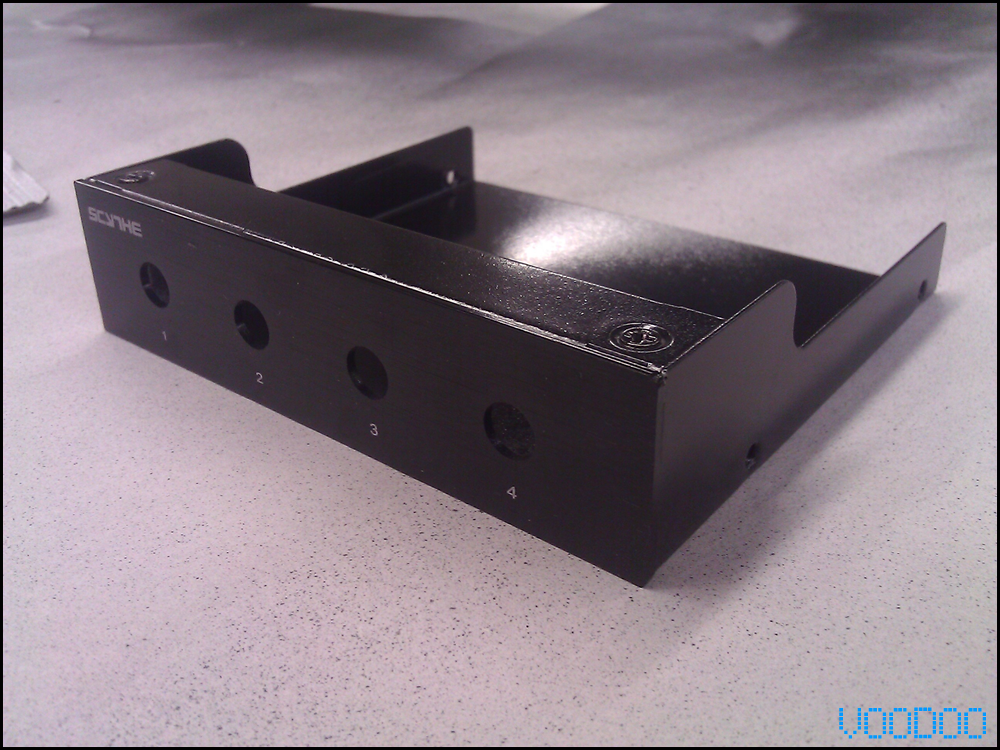
also my Scythe Kaze fan controller, that I forgot to take a pic of before I painted it!

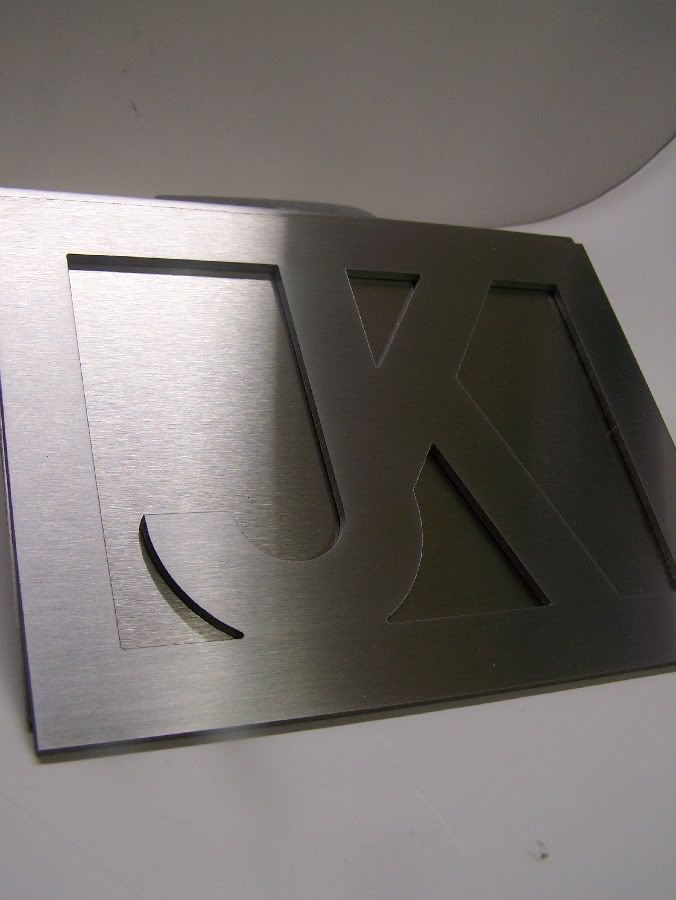
Made up a drawing in AutoCAD of my Gamertag font and sent it to Mountian Mods to have them Laser cut it and stick uv active acrylic behing the cutout
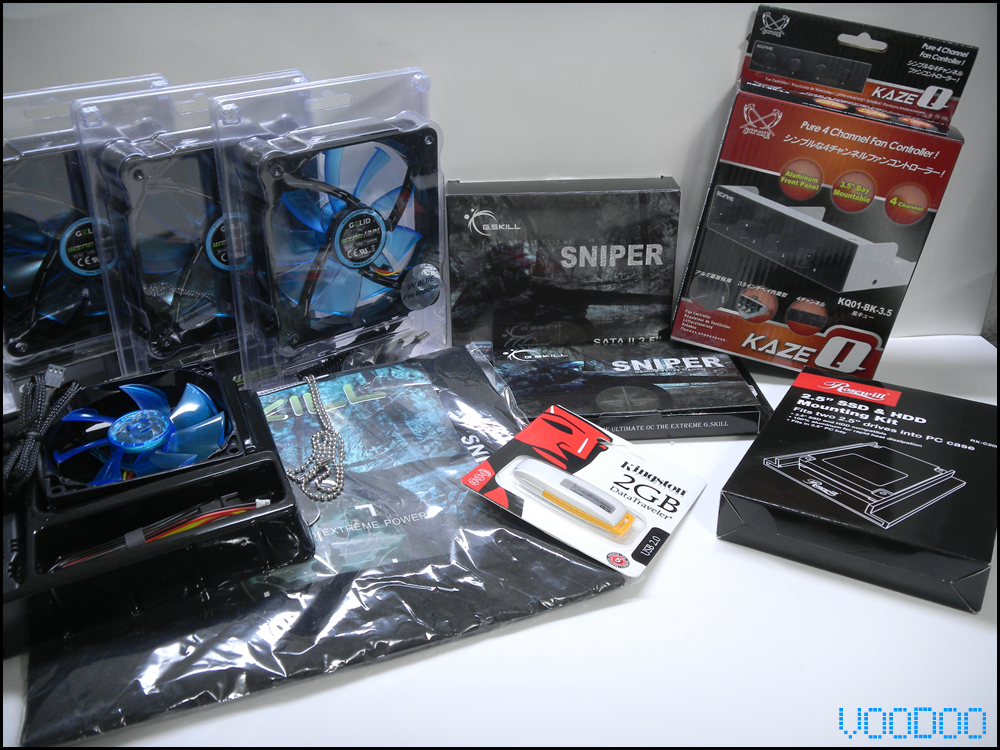
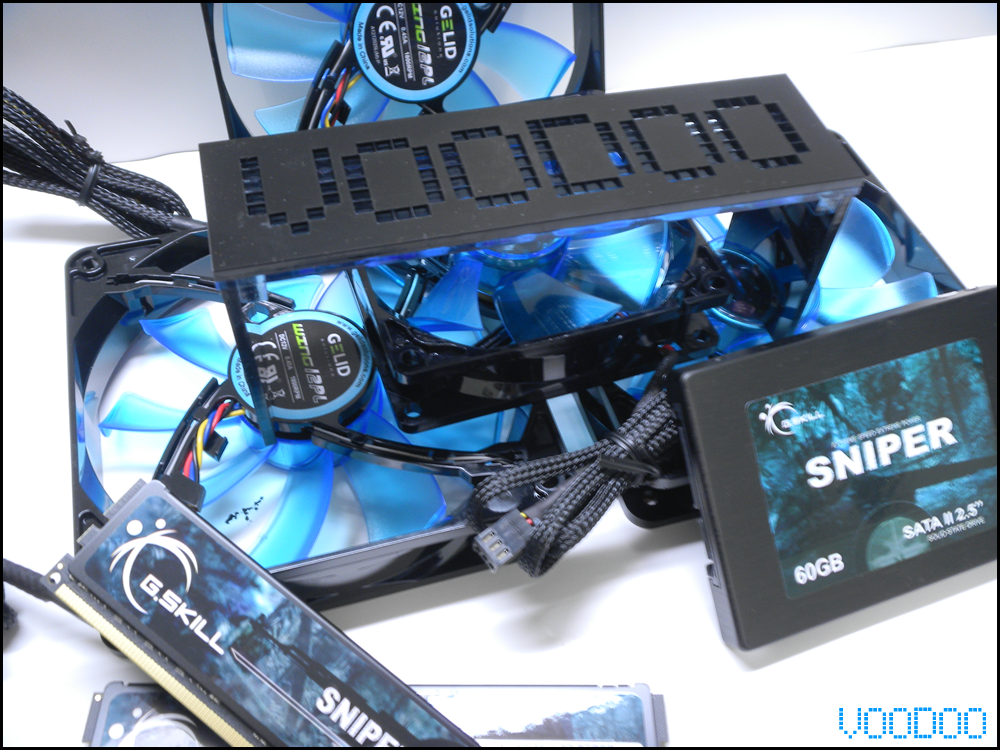
And here are all the parts together
Those were the only new parts, the rest was reused stuff I had around.
Intel Core2Duo E4400 2.0GHz @ 2.4GHz
2x 2TB Western Digital Caviar Black HDD's 7,200rpm
Antec Earthwatts 550w PSU
XFX Nvidia 9800GT (being replaced by a HD 5870)
So, lets get to modding!!!
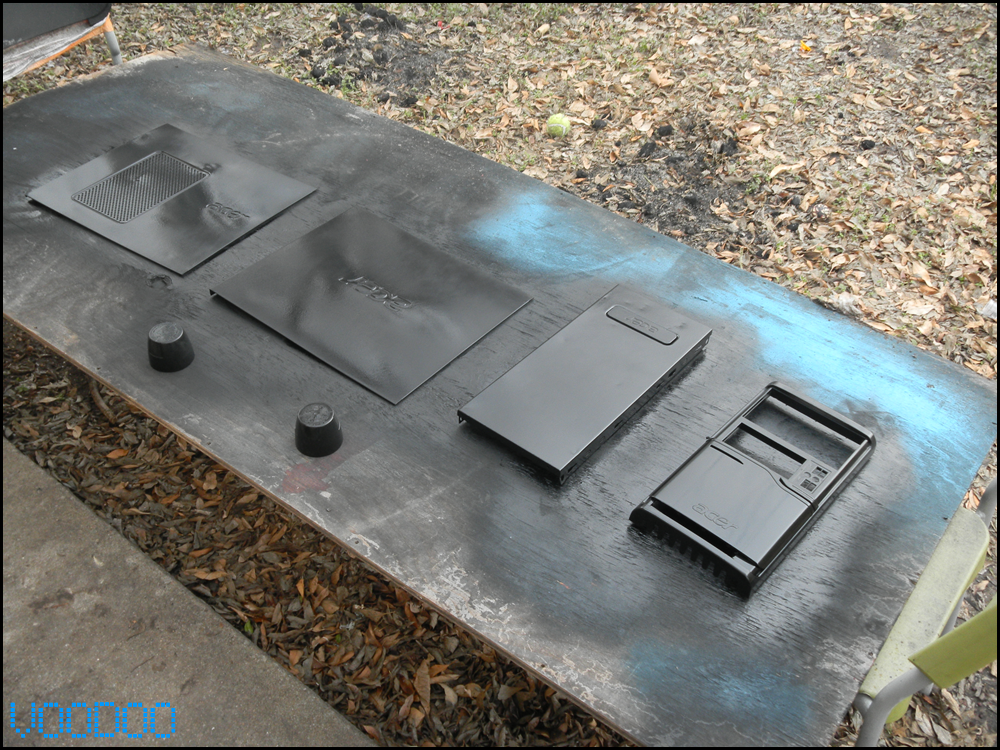
First of all I couldnt have any of that computer gray metal showing its face in my pc, so I began to paint the small stuff with a paint called Krylon fusion which is made for plastics and needs no primer, so all that was needed was a quick sand.
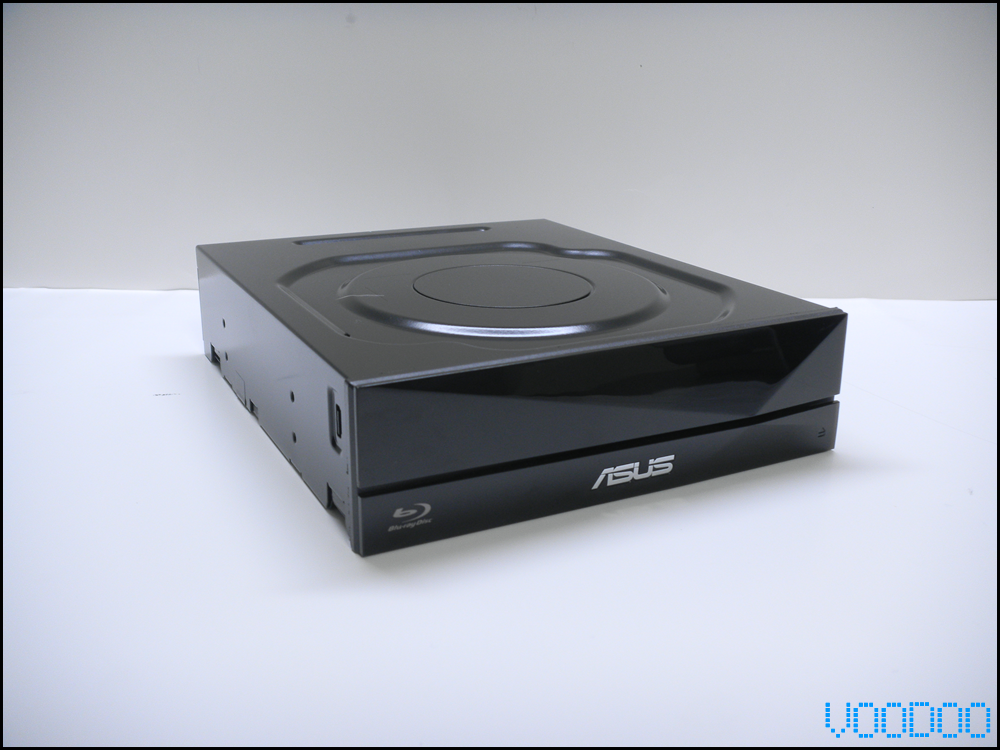
Like the Blu-Ray burner, and as you have already seen the fan controller
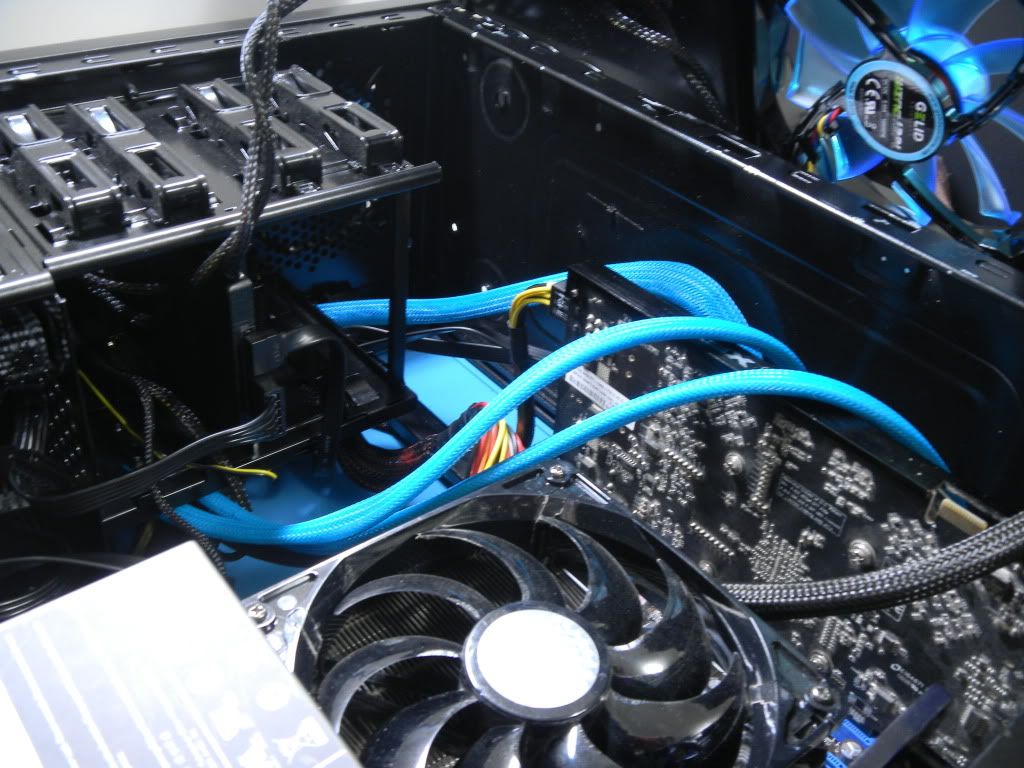
Had a little extra sleeve left over from my last build, so I used it on the big ugly wires

Next up was painting the case it self
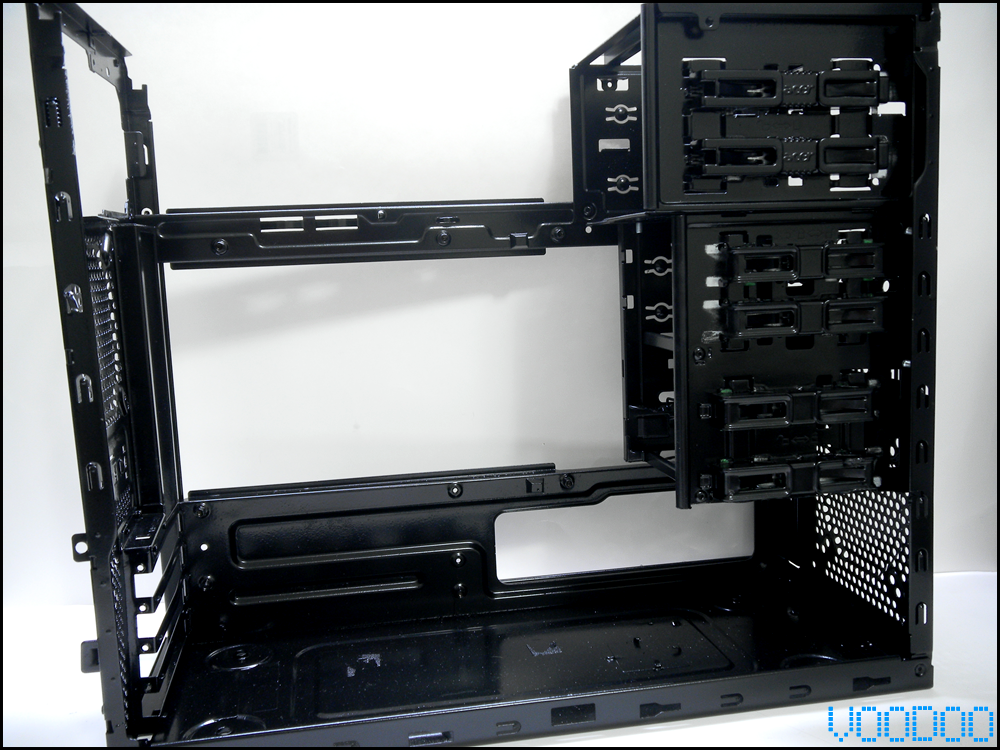
There was a little work that I had to do prior to painting the chasis
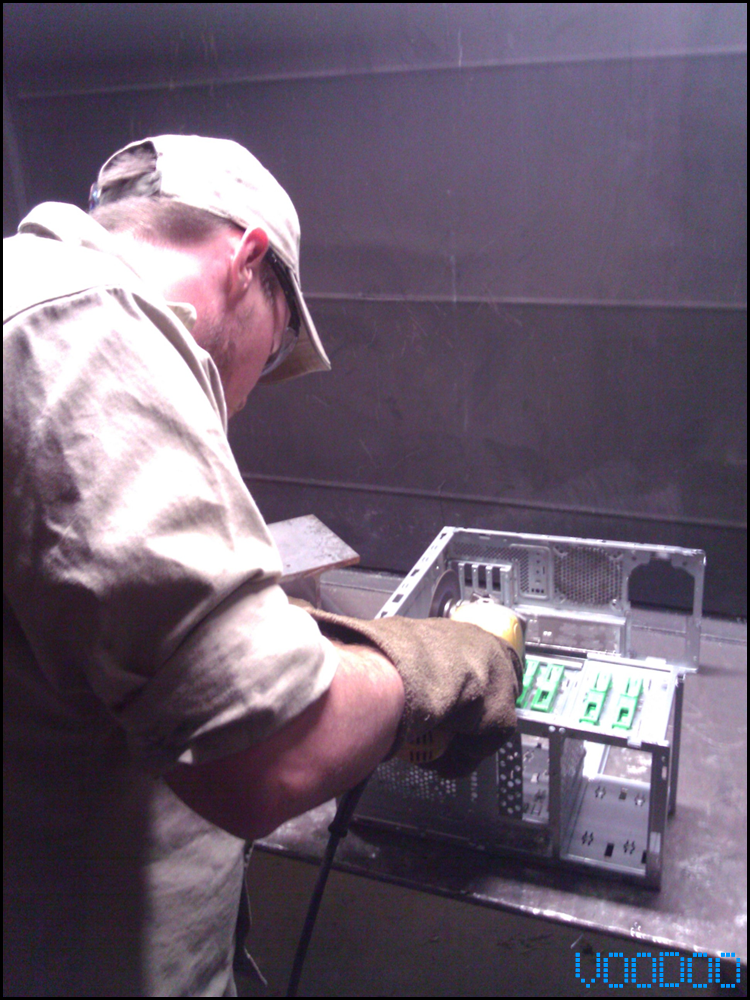
I had to cut the HDD rack so that i could accept larger video cards in the future (Hopefully near future!)
Next up was the cooling situationI knew I had to have an efficient cooling system because this computer will be in closed in a cabinet.
So I got one of these from work
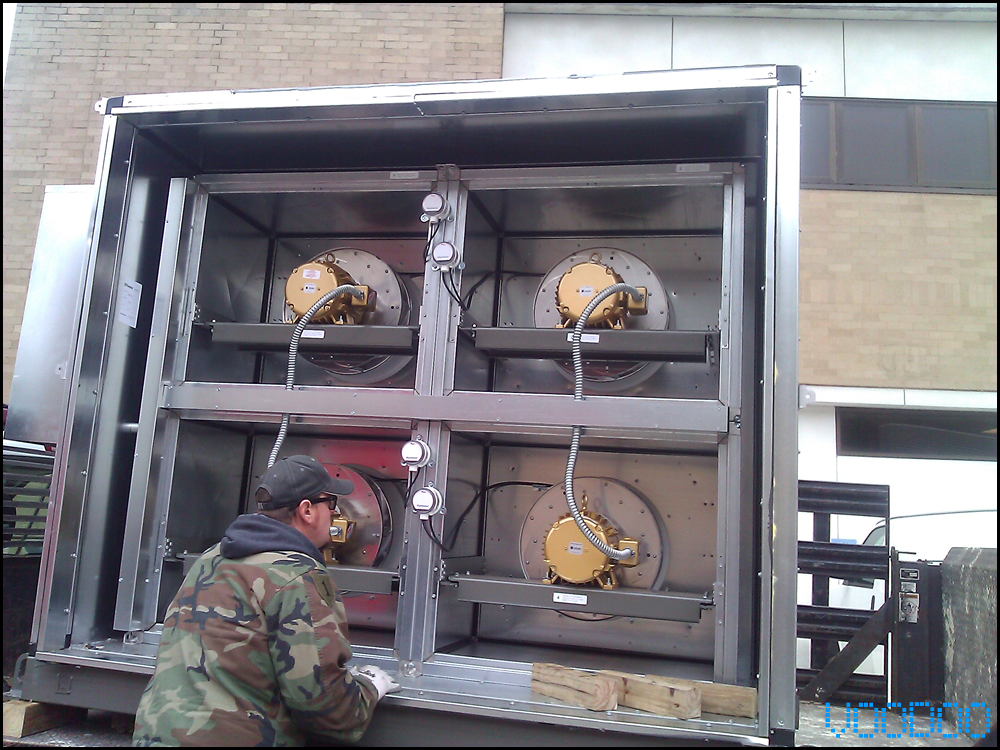
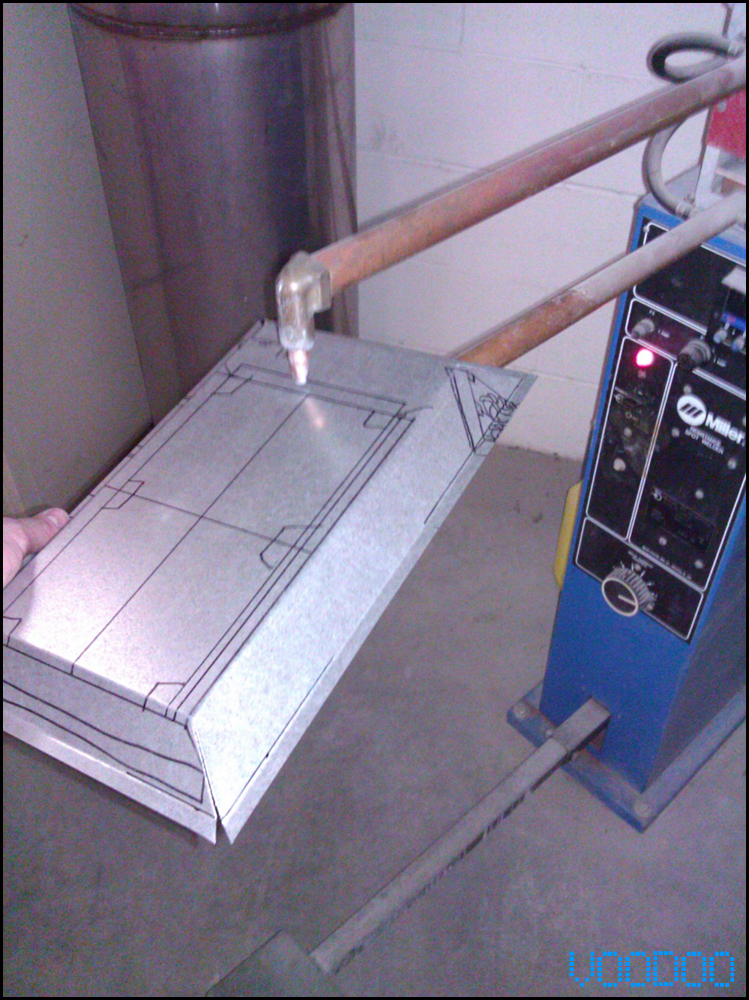
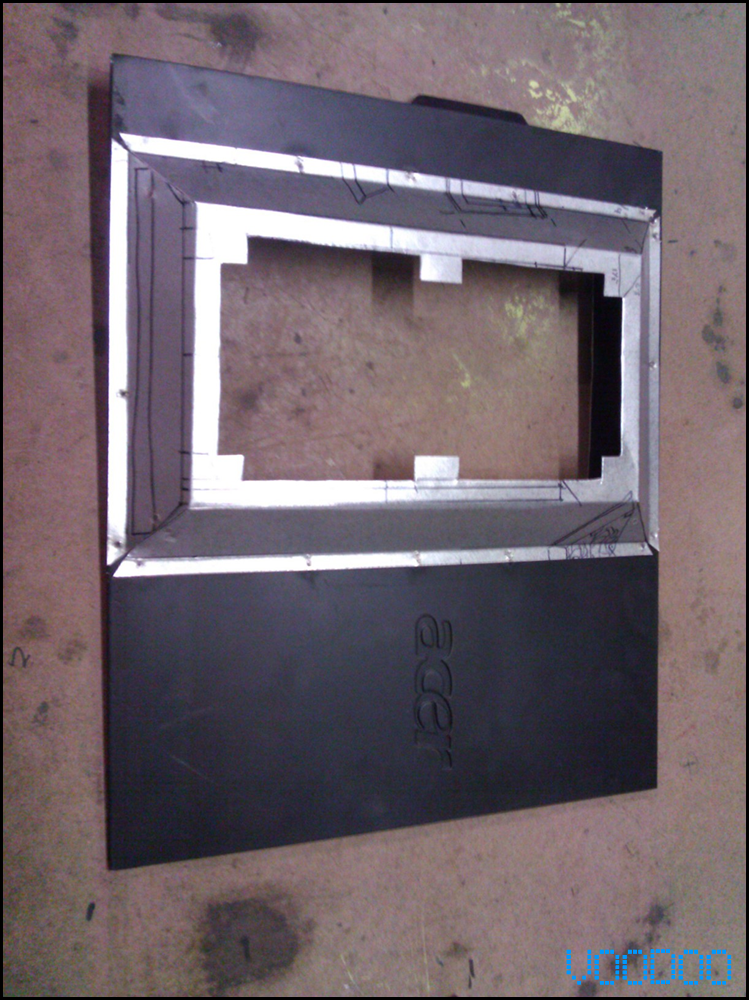
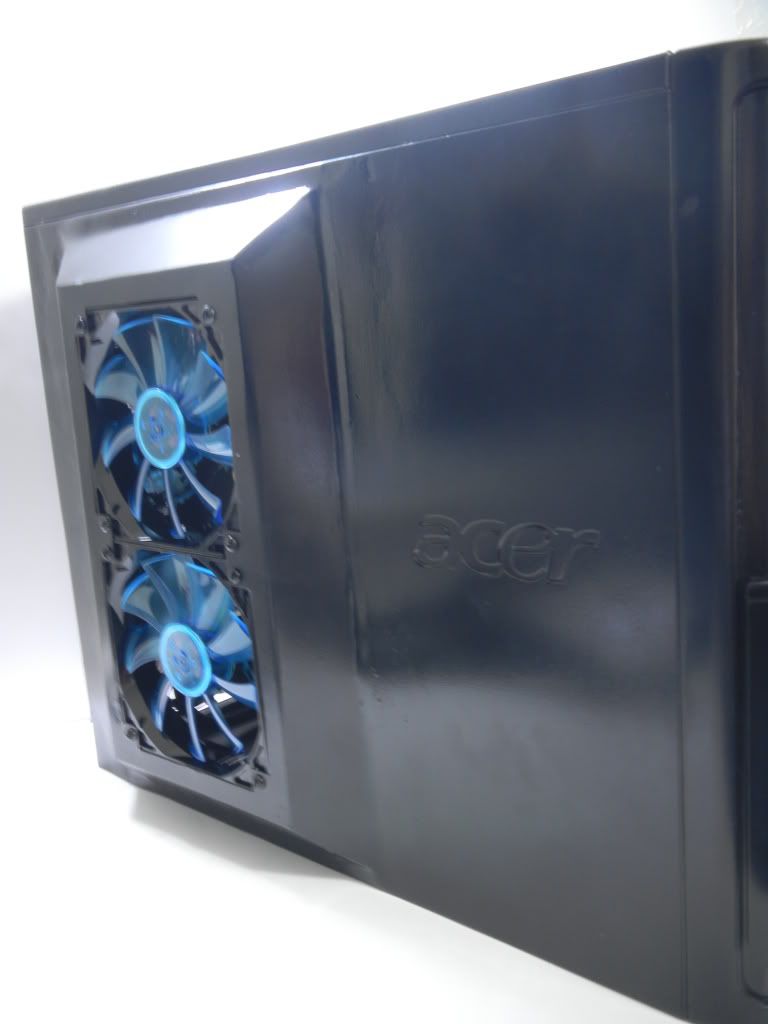
lol just kidding!!! The side of my case WAS flat and I couldnt tuck fans on the inside of the panel because it would interfere with my gfx card. So I decided, bieng a sheet metal worker and all, to build a fan pan that protruded from the panel to accept 2 of my 120mm Gelid fans.
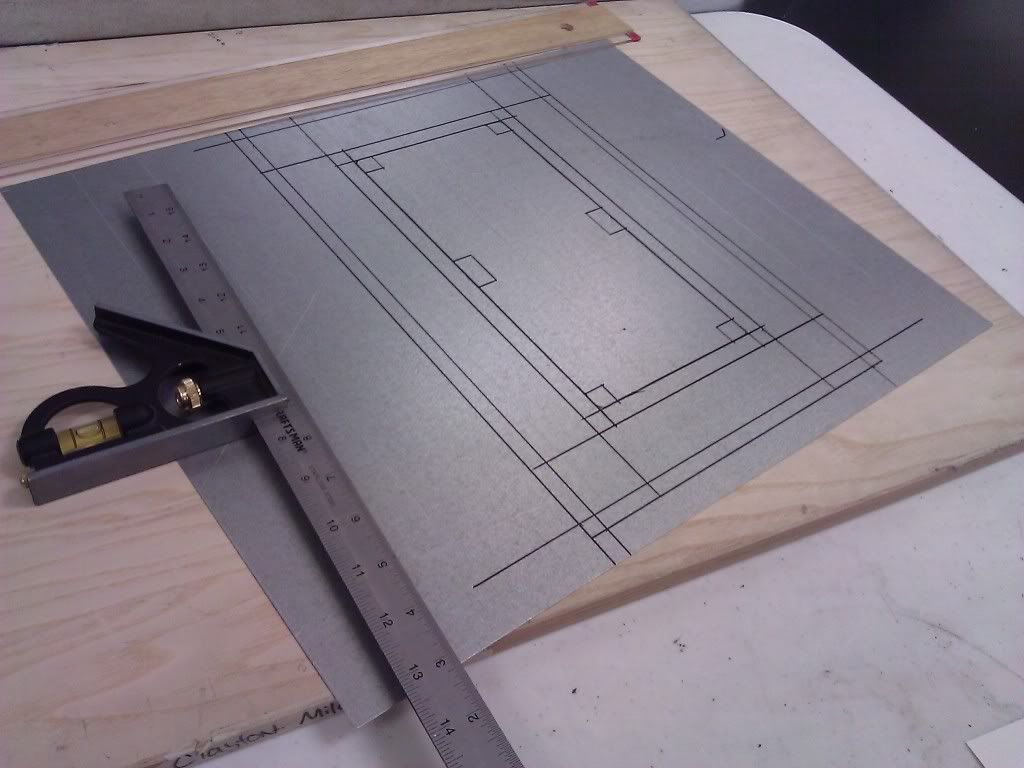
So heres where I started from with my layout/blockout
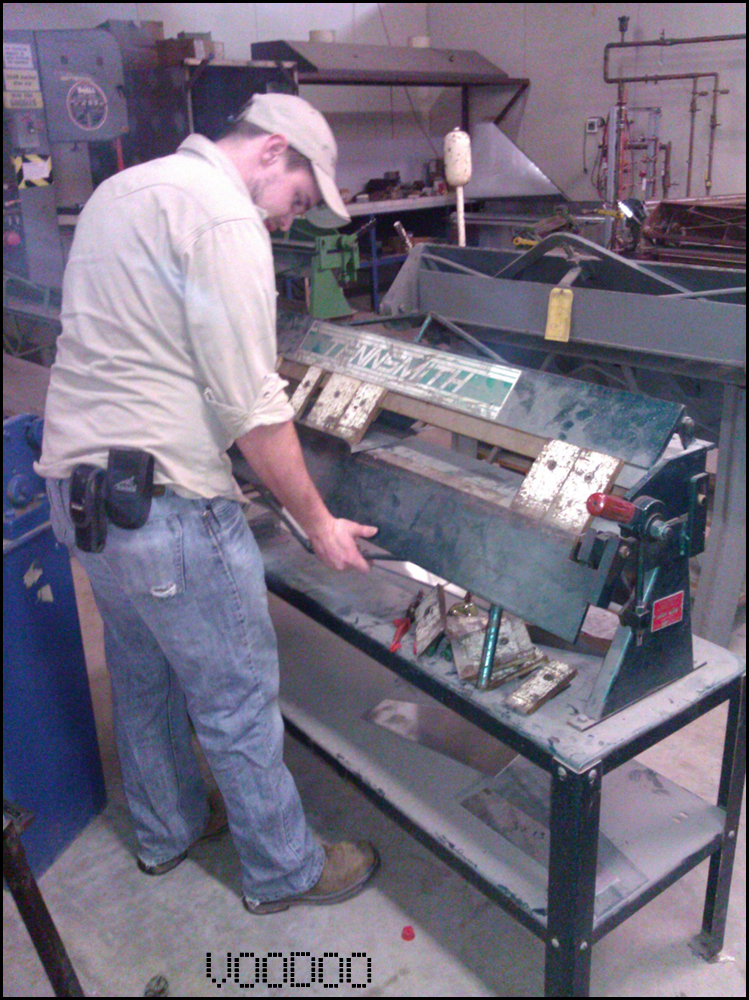
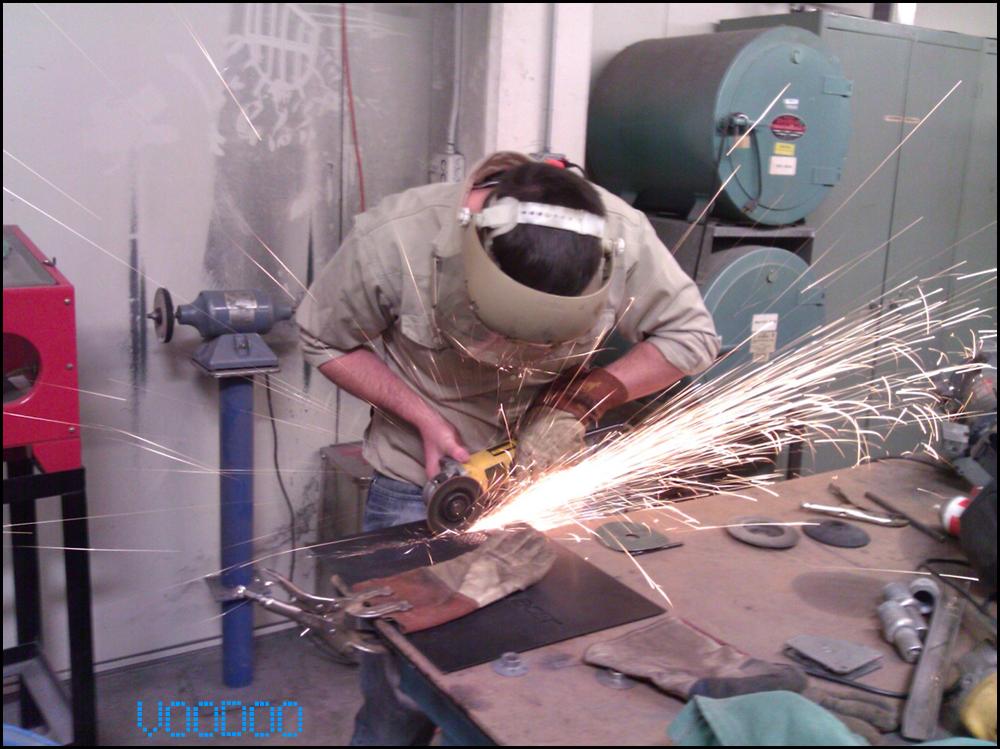
bending 45's
spot welding
Once Cut the excess at the shear, bent my 45's, and spot welded it together, it was time to cut out the middle section that would house the fans. I did it the old fasioned way with hand snips (sheet metal scissors) You have to cut out as much excess to be able to get straight cuts.
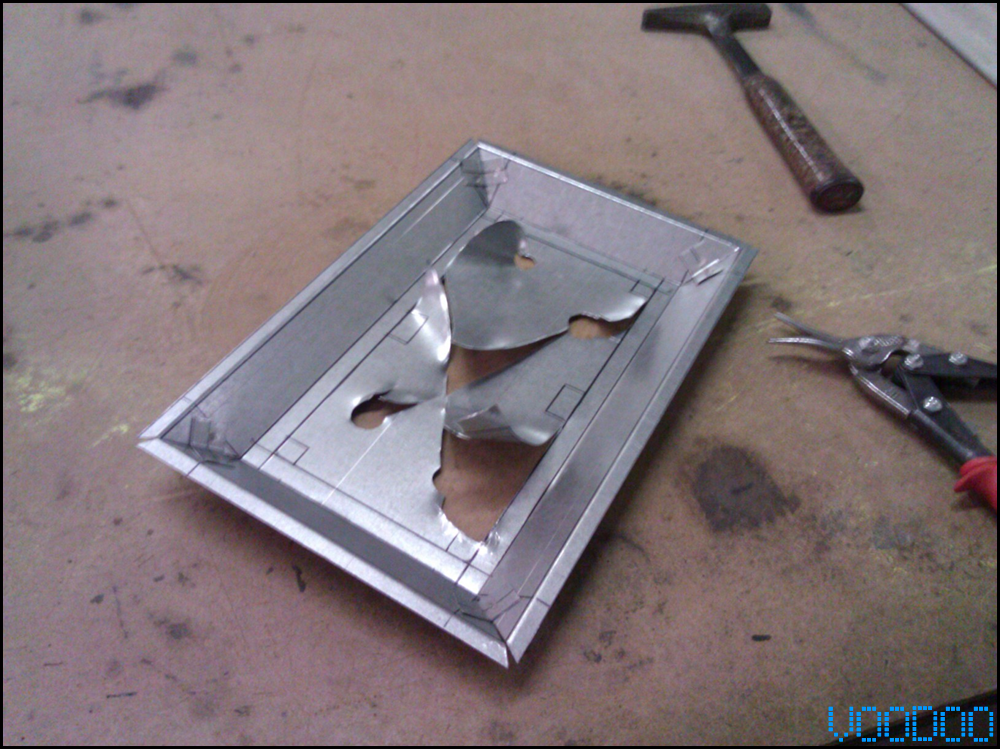
looks crazy right
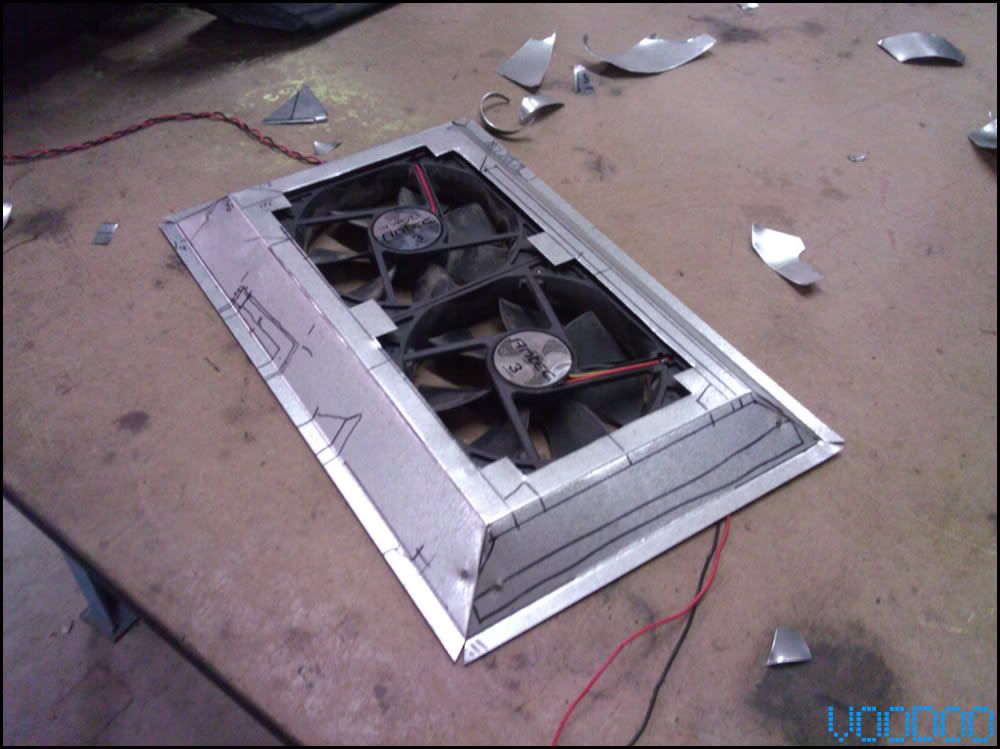
and thats what you get!!
Now it was time to fasten my new fan pan to my side panel. I cut a hole in the panel as big as the fans to direct airflow. Then I spot welded that to the panel.
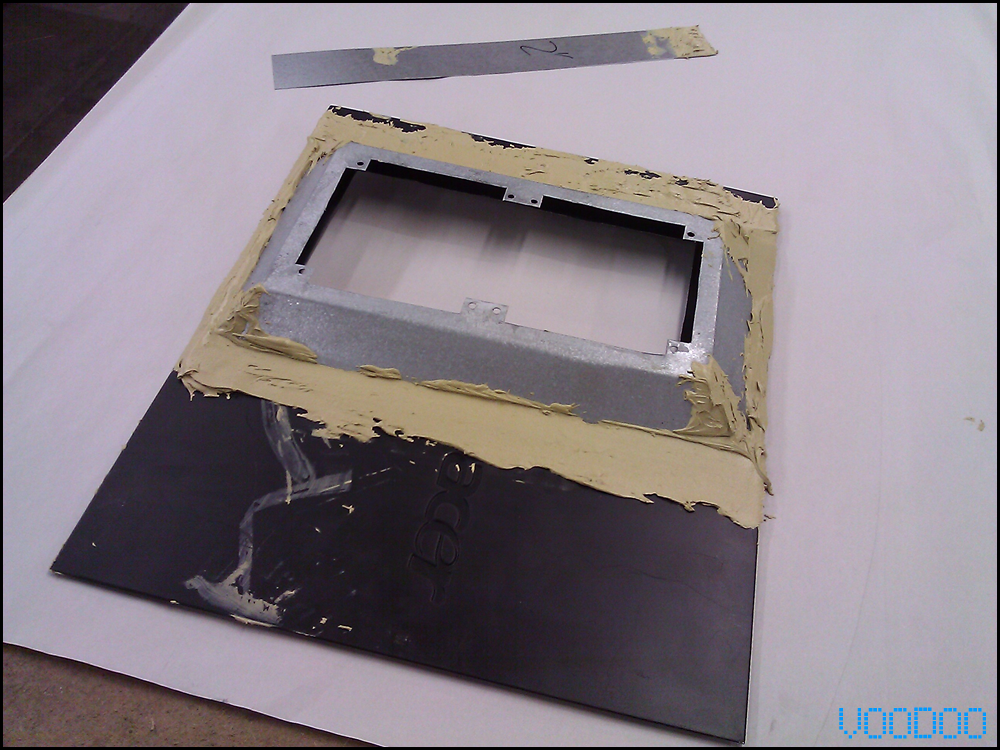
Once that was complete I realized I wanted to hide the edges of the fan pan, so I went and got some bondo (metal filler) and applied it to the edges. After it was dry I sanded that down to make it look like it was all one piece.
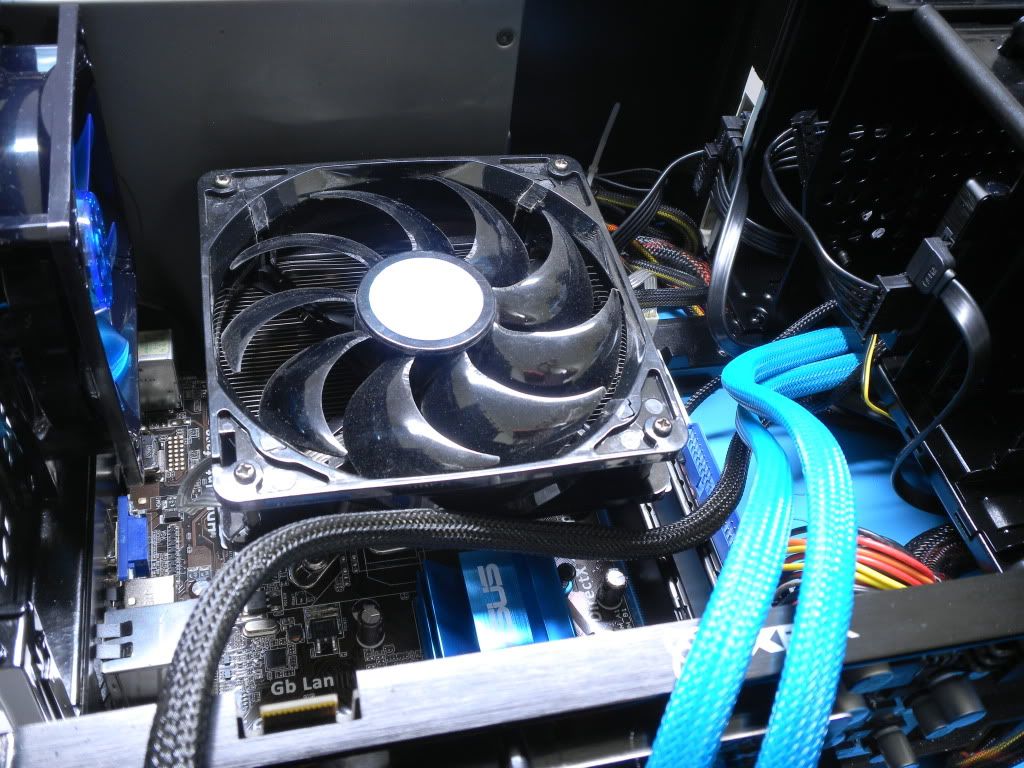
I didnt take any pictures of the panel after painting because I was getting all giddy and ready to see this thing assembled. So I started assembly, sorry!
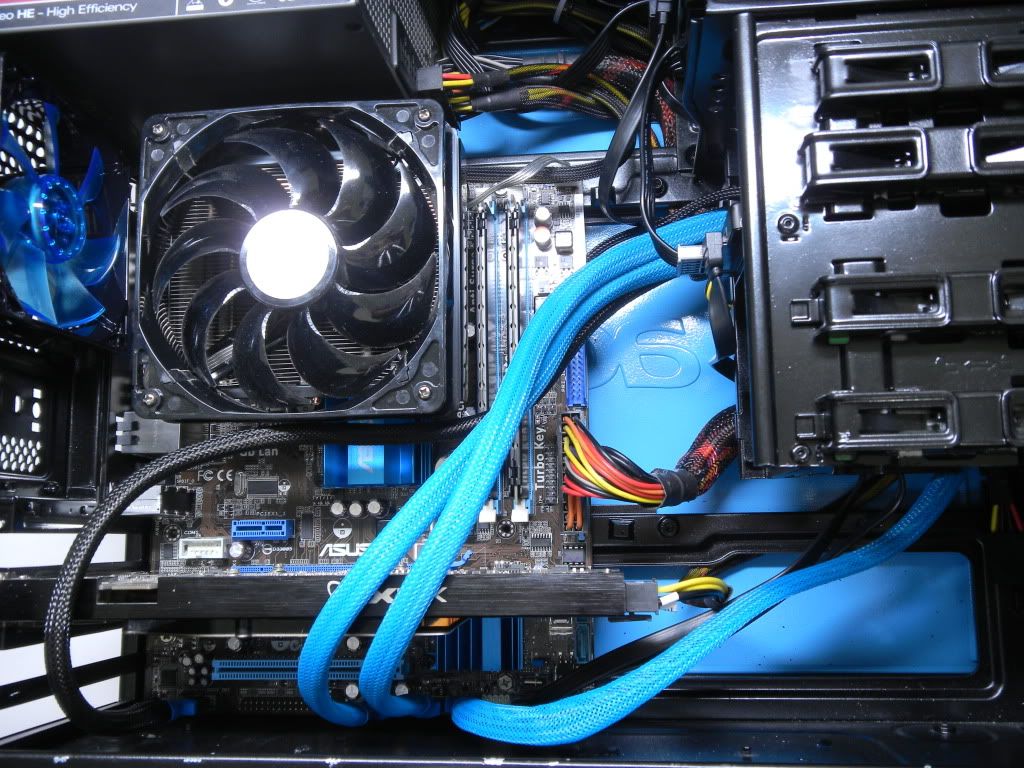
I really like how the blue background made it look like my mobo and parts were floating on water!!
here it is lit up somewhat
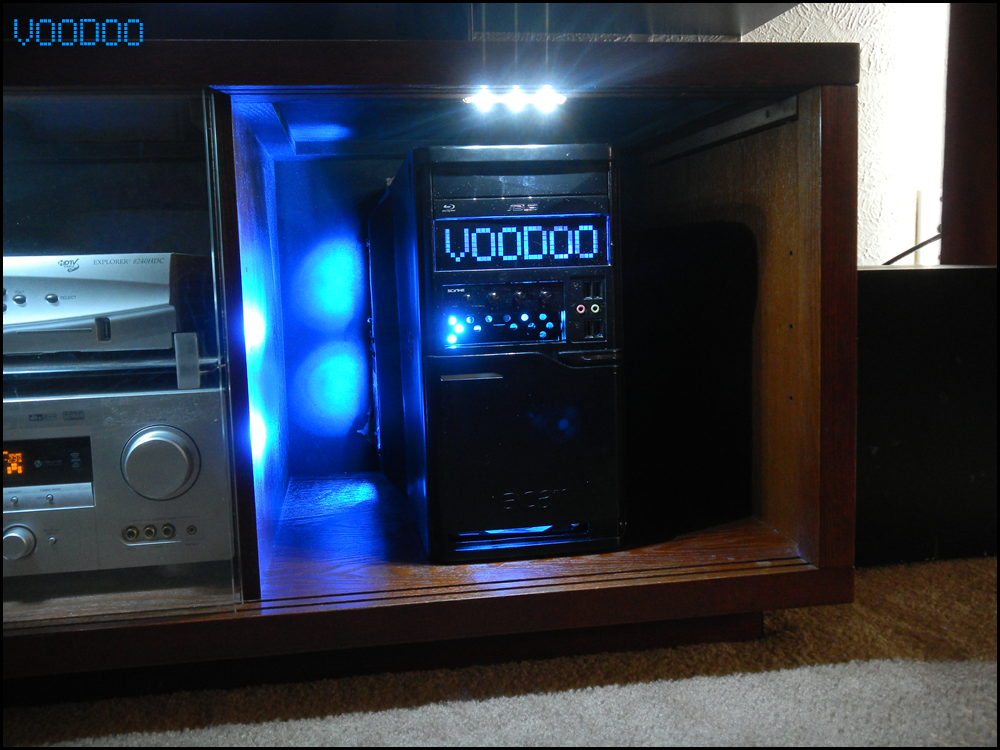
With out futher ado, here is "VOoDOo Media" lights off
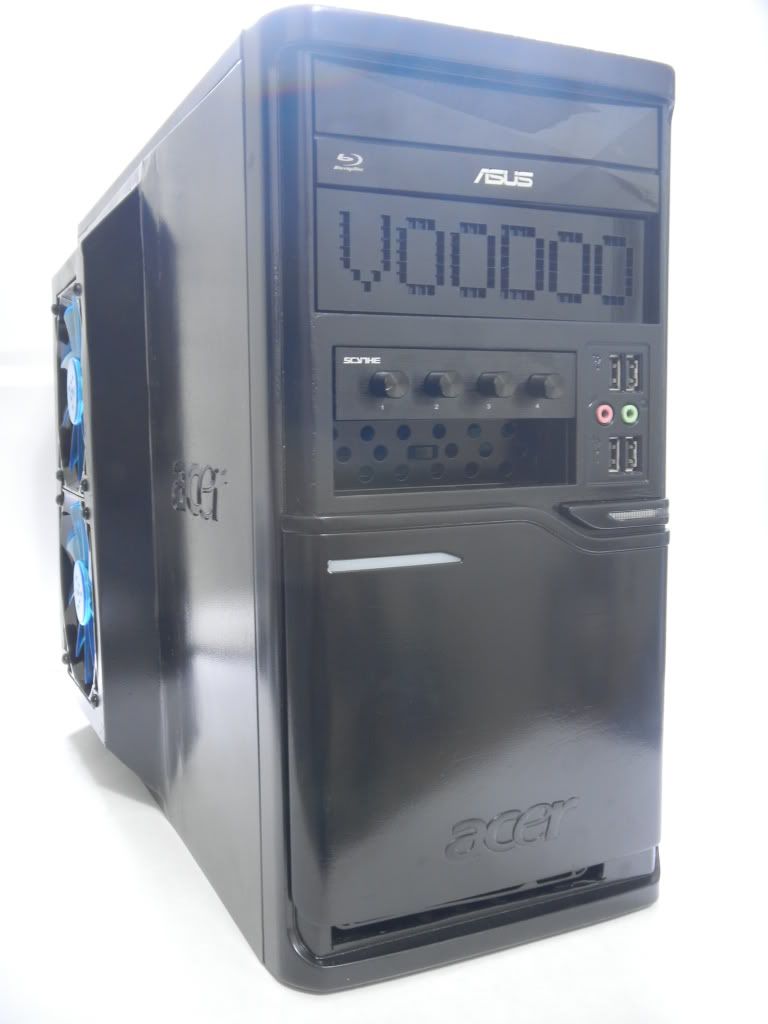
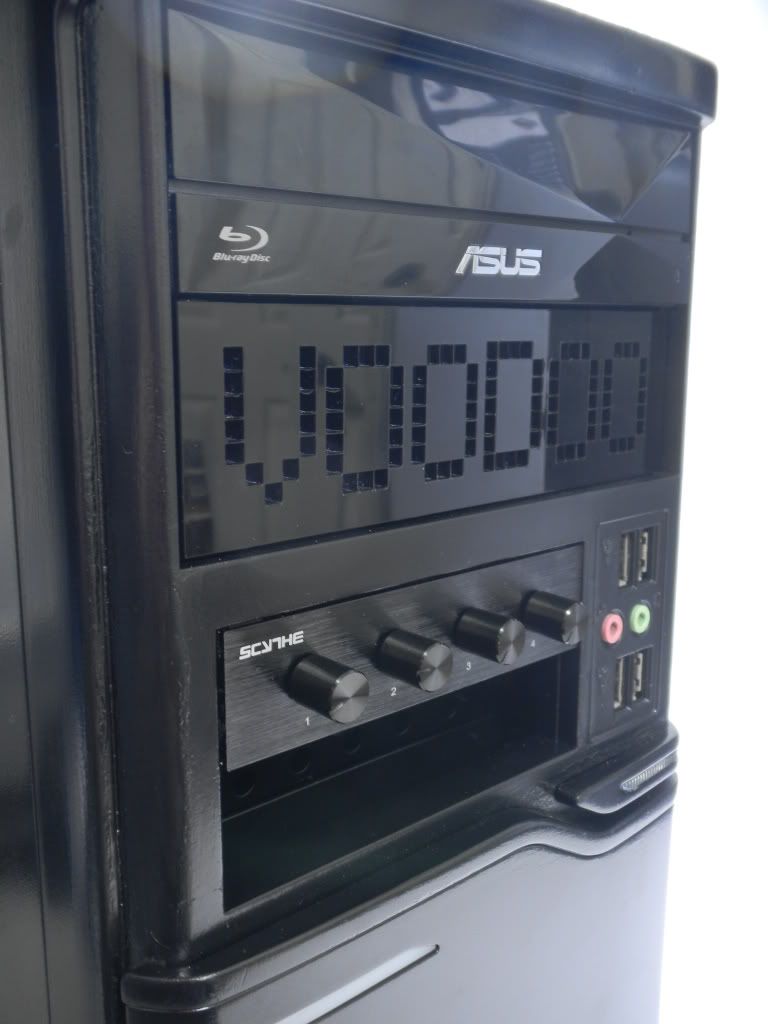
Here she is with the lights on

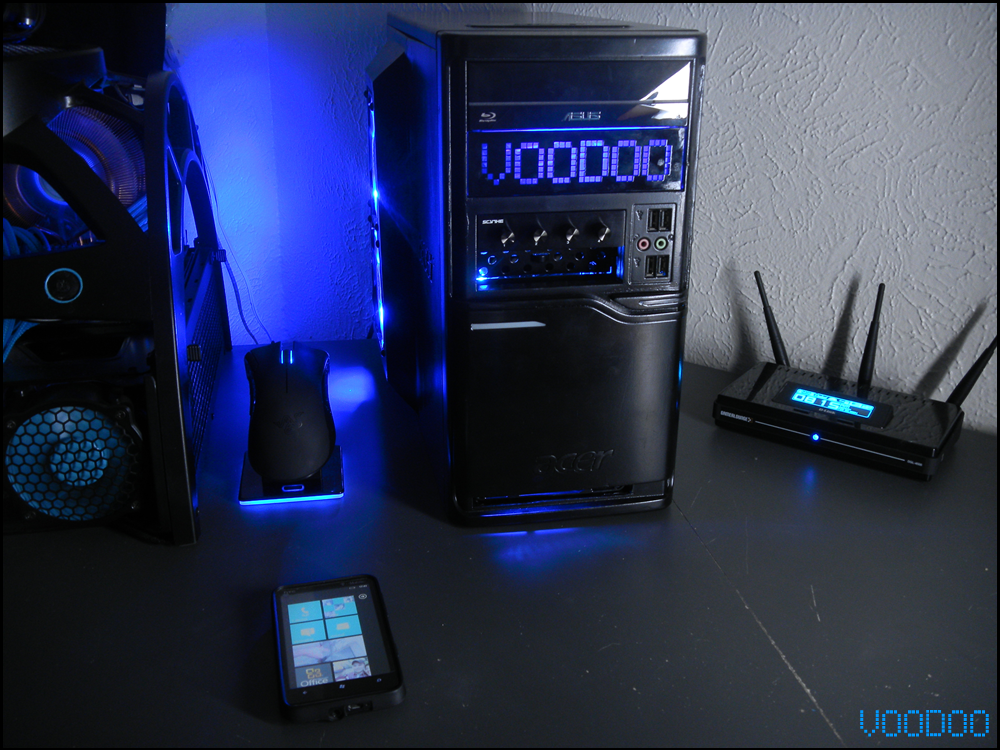
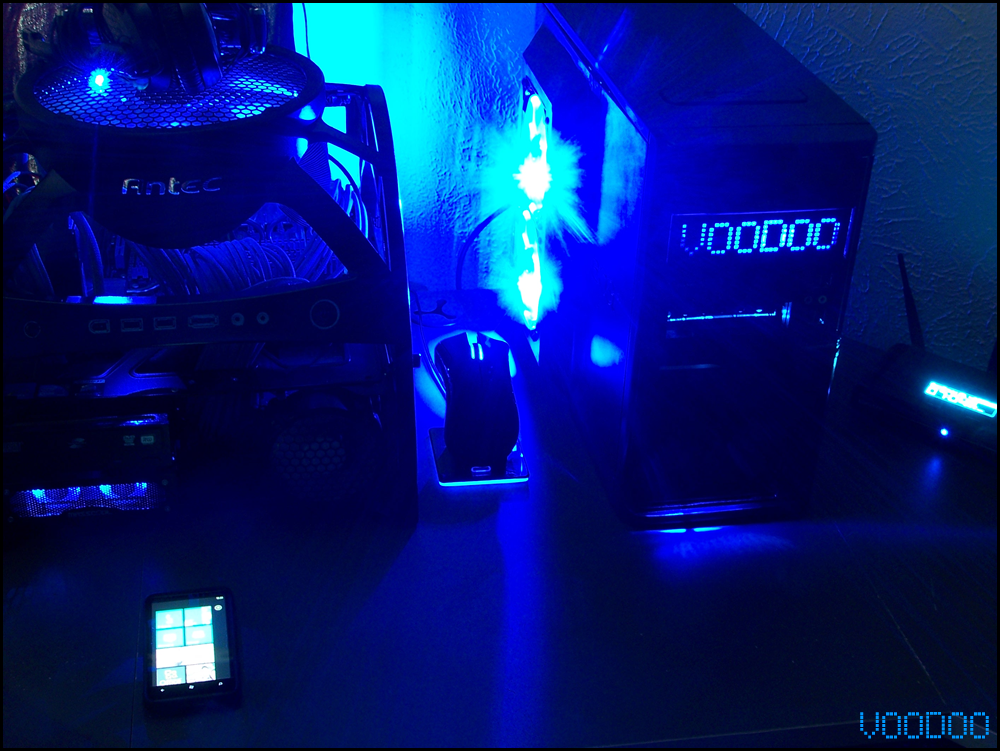
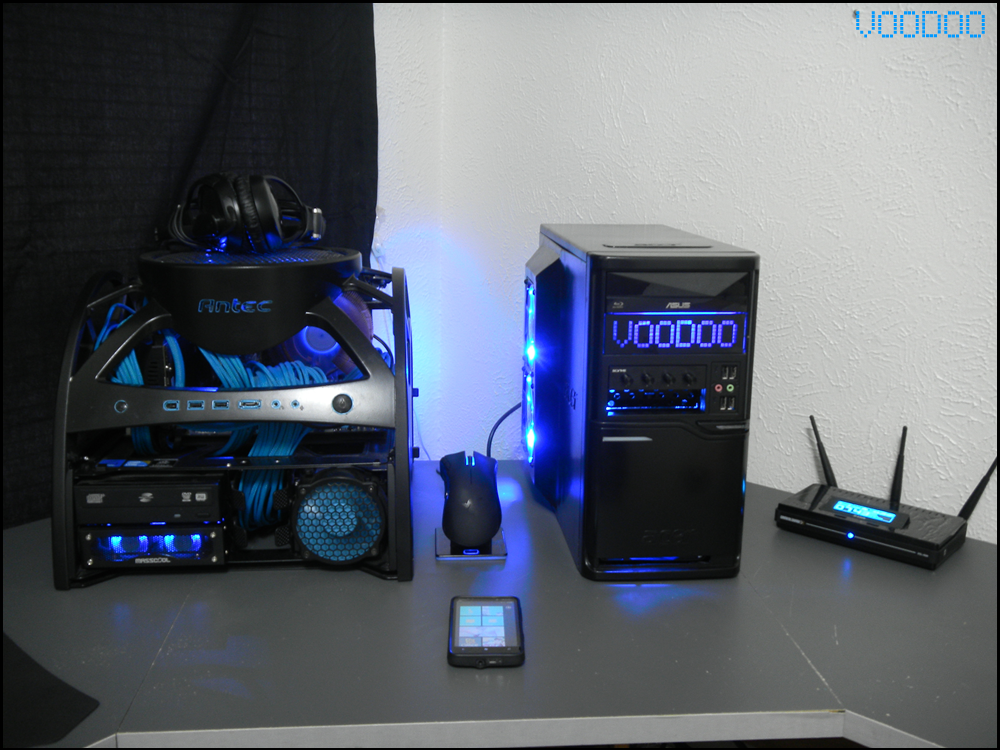
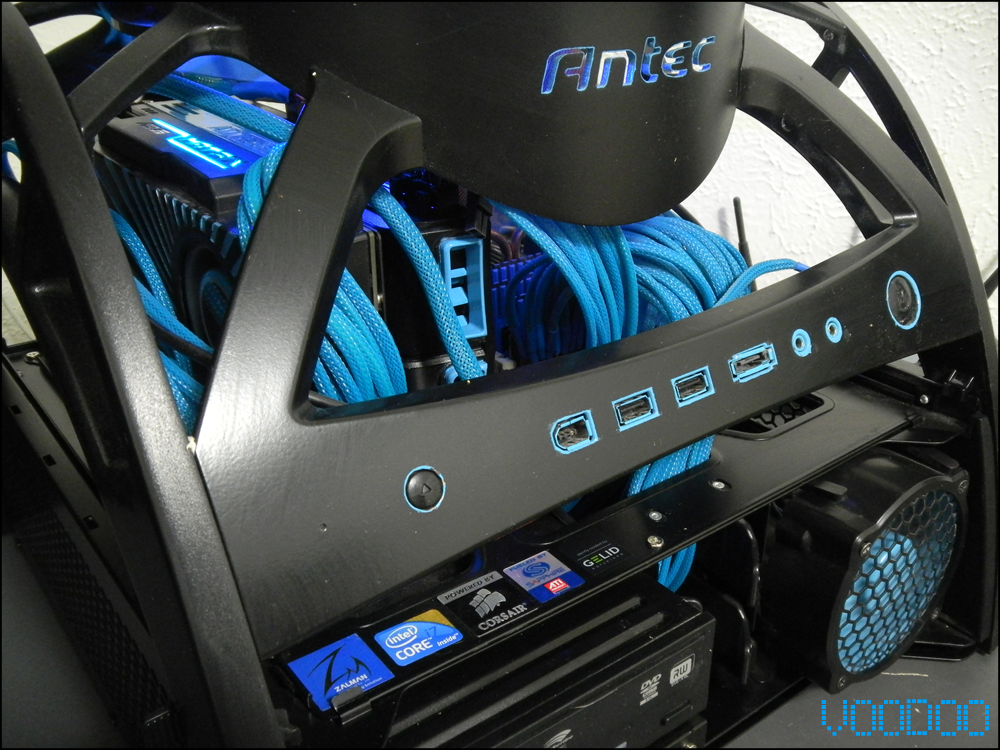
That other crazy pc there is my first attempt at modding the antec skeleton, I will post some pics and specs if anyone is interested.
I couldnt help it!! here is one pic of the skelly
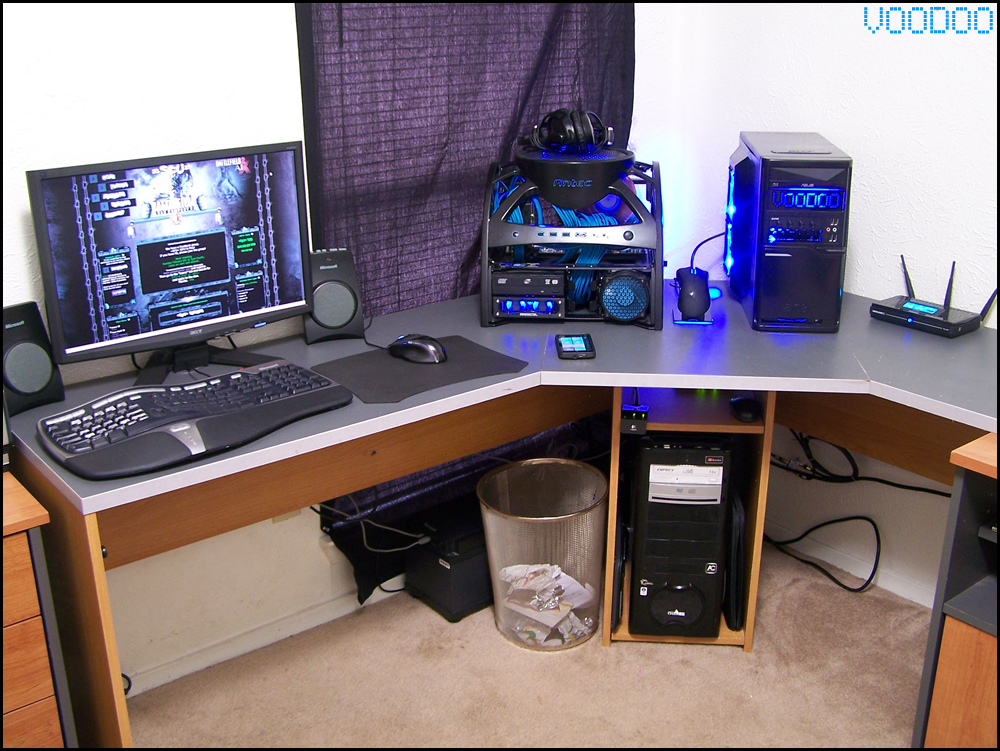
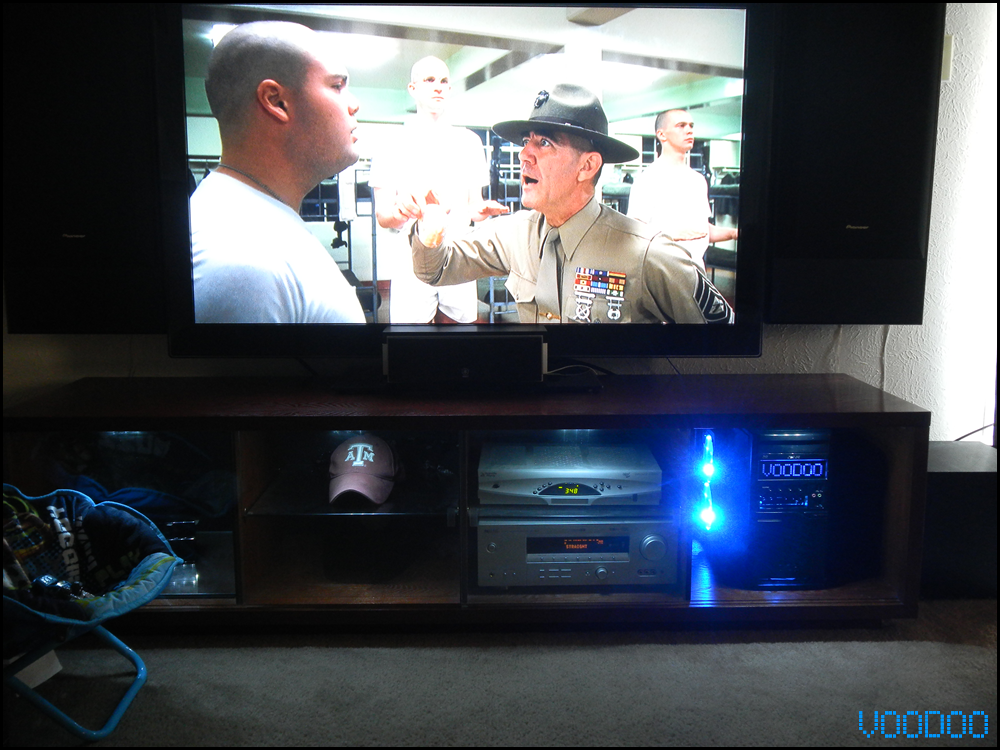
This is where VOoDOo Media will be calling home, and doing her main job MOVIE TIME!!!
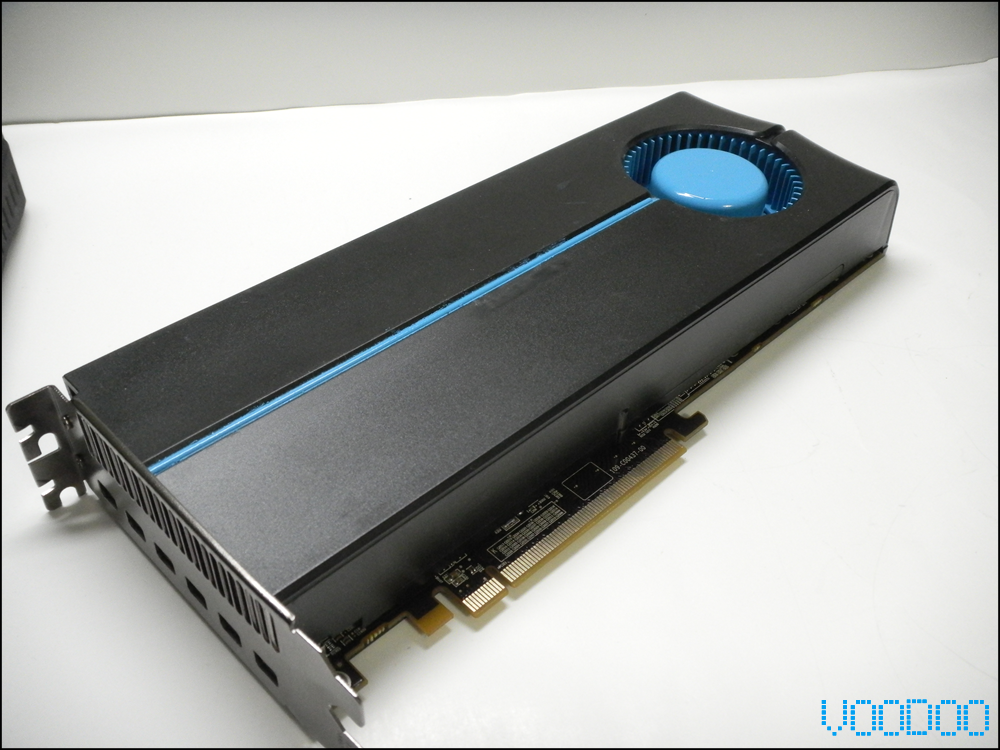
I also wanted VOoDOo Media to be able to play games in my theater so it needed a GFX upgrade
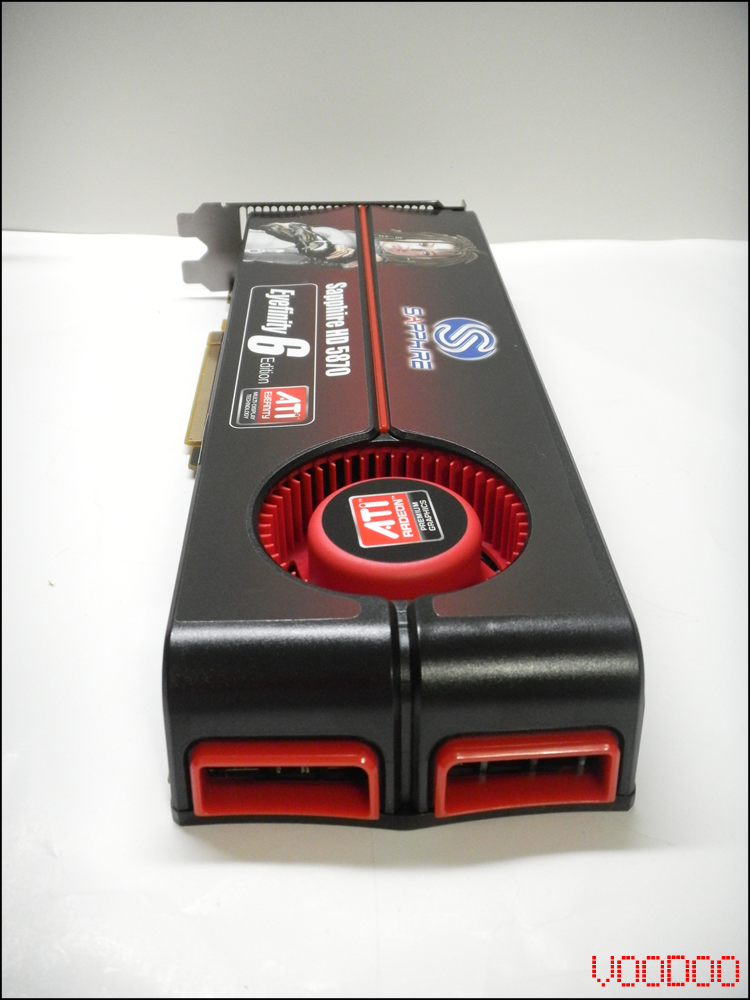
Here is the Sapphire HD 5870 2GB eyeinfinity edition before VOoDOoization
And after VOoDOoization


I havent had a chance to put the new card in yet, having too much fun with crossfire in the VOoDOo Antec Skeleton
I have already finished this mod "VOoDOo Media" which is my second project to date, but I only posted the progress on my clan's (www.sfuclan.net) website. I realized that I left a few friends out of the loop and wanted to correct this by posting here so lets get started shall we?
First off is to show you what my case looked like before it got "VOoDOoized" as my clan mates say.
This is a mid tower made by acer which is just a generic dell if you ask me!
Now its time to show you the new parts
G.Skill 8GB DDR3 1333
ASUS P5G41T-M/CSM LGA 775 Intel G41 HDMI Micro ATX Intel Motherboard
ASUS Internal Blu-ray Burner Blu-ray Burner BW-12B1LT LightScribe Support - OEM
G.skill 60GB Sniper series SSD 285MBps senquential write
3 Gelid 120mm fans, low noise 85cfm nano-flux bearing fans
also my Scythe Kaze fan controller, that I forgot to take a pic of before I painted it!
Made up a drawing in AutoCAD of my Gamertag font and sent it to Mountian Mods to have them Laser cut it and stick uv active acrylic behing the cutout
And here are all the parts together
Those were the only new parts, the rest was reused stuff I had around.
Intel Core2Duo E4400 2.0GHz @ 2.4GHz
2x 2TB Western Digital Caviar Black HDD's 7,200rpm
Antec Earthwatts 550w PSU
XFX Nvidia 9800GT (being replaced by a HD 5870)
So, lets get to modding!!!
First of all I couldnt have any of that computer gray metal showing its face in my pc, so I began to paint the small stuff with a paint called Krylon fusion which is made for plastics and needs no primer, so all that was needed was a quick sand.
Like the Blu-Ray burner, and as you have already seen the fan controller
Had a little extra sleeve left over from my last build, so I used it on the big ugly wires
Next up was painting the case it self
There was a little work that I had to do prior to painting the chasis
I had to cut the HDD rack so that i could accept larger video cards in the future (Hopefully near future!)
Next up was the cooling situationI knew I had to have an efficient cooling system because this computer will be in closed in a cabinet.
So I got one of these from work
lol just kidding!!! The side of my case WAS flat and I couldnt tuck fans on the inside of the panel because it would interfere with my gfx card. So I decided, bieng a sheet metal worker and all, to build a fan pan that protruded from the panel to accept 2 of my 120mm Gelid fans.
So heres where I started from with my layout/blockout
bending 45's
spot welding
Once Cut the excess at the shear, bent my 45's, and spot welded it together, it was time to cut out the middle section that would house the fans. I did it the old fasioned way with hand snips (sheet metal scissors) You have to cut out as much excess to be able to get straight cuts.
looks crazy right
and thats what you get!!
Now it was time to fasten my new fan pan to my side panel. I cut a hole in the panel as big as the fans to direct airflow. Then I spot welded that to the panel.
Once that was complete I realized I wanted to hide the edges of the fan pan, so I went and got some bondo (metal filler) and applied it to the edges. After it was dry I sanded that down to make it look like it was all one piece.
I didnt take any pictures of the panel after painting because I was getting all giddy and ready to see this thing assembled. So I started assembly, sorry!
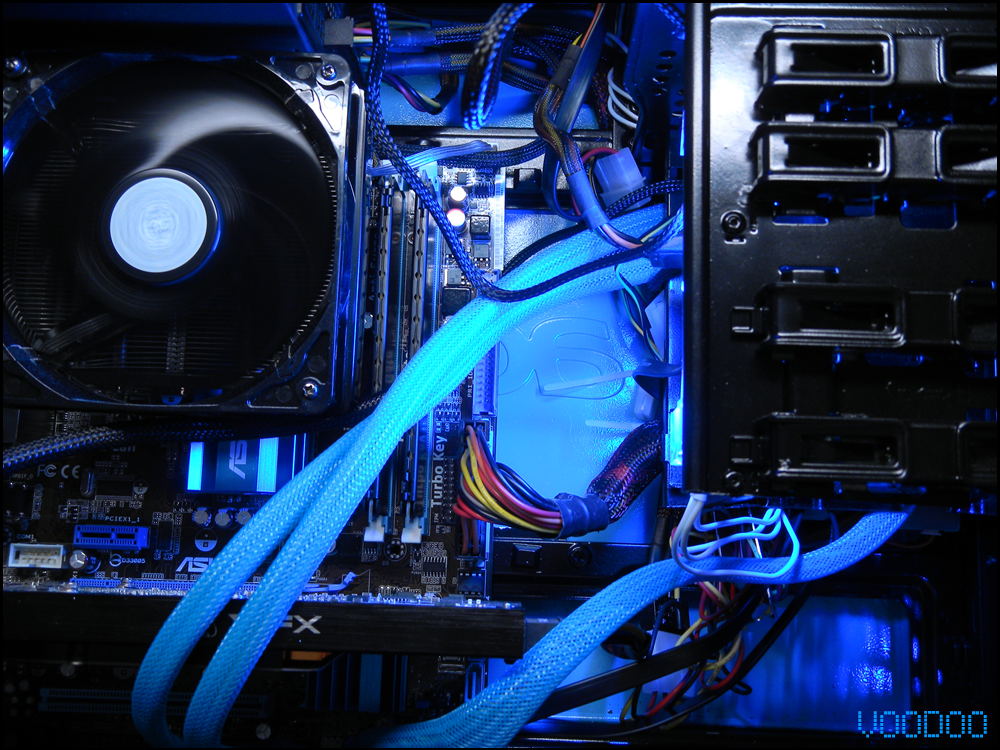
I really like how the blue background made it look like my mobo and parts were floating on water!!
here it is lit up somewhat
With out futher ado, here is "VOoDOo Media" lights off
Here she is with the lights on
That other crazy pc there is my first attempt at modding the antec skeleton, I will post some pics and specs if anyone is interested.
I couldnt help it!! here is one pic of the skelly
This is where VOoDOo Media will be calling home, and doing her main job MOVIE TIME!!!
I also wanted VOoDOo Media to be able to play games in my theater so it needed a GFX upgrade
Here is the Sapphire HD 5870 2GB eyeinfinity edition before VOoDOoization
And after VOoDOoization
I havent had a chance to put the new card in yet, having too much fun with crossfire in the VOoDOo Antec Skeleton
") considering what you started with! Best those Asus cases have ever looked if you ask me!! lol
considering what you started with! Best those Asus cases have ever looked if you ask me!! lol

 .
.
")