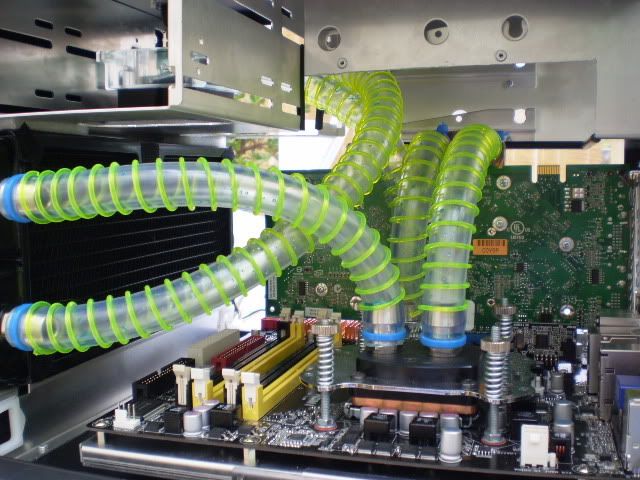
So my First project is still on-going, and i just know i will NOT finish it because i can't bare to be without my PC (yes, i really do need a girlfriend...)
OK, so ages ago i started a sff build in a lian li v350 so that i had a rig up and running whilst i finished the v2k build. This started AGES ago, and now i really REALLY need to get it to a state where i can use it, because i'm meant to be taking it to i34 in 2 days!
So, the plan:
originally started off as a sff rig i could use to do all my browsing/music/film stuff, but, i34, and some other possible events came up, so i thought a semi-good sff gaming rig would be ideal. a lot easier to carry than the V2K at least!
With that in mind i opted for a gigabyte g33/2gig ballistix/e2180/gts320...
...which half never happened, by the time i got the case, i got an 88gt instead. Afer trying some clocks out on this board, i wasn't too impressed. Then got a p5k-vm, much better!... and then i managed to pick up a cheap e7200, and was very impressed with the initial air clocking tests. Not long after i managed to pick up an 88gts 512 with about 3 tonnes of thermalright heatsink cheaply, sold my 88gt for more than i payed for the 88gts, sold the heatsinks, and with the left over m oney bought myself an EK supreme... now, you can see where this is going =)
After another month of swapping hardware and picking up some more blocks and planning this all out, this was my final spec:
And the water-cooling to be added:
So, onto the building of this.
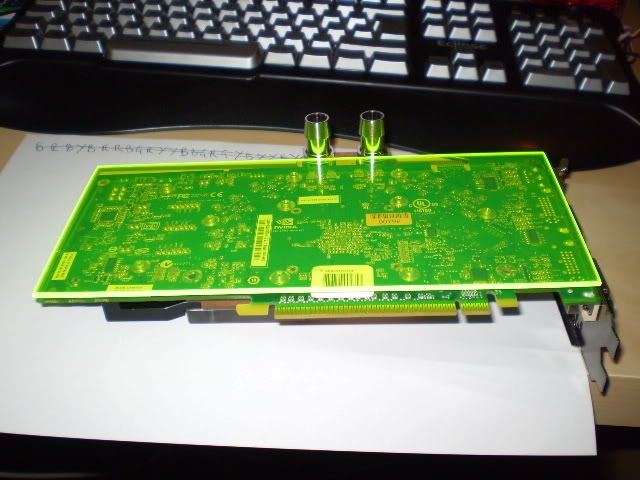
Motherbaord fitted with the NB and CPU blocks, installed into the motherboard tray which in turn was added to the case. Block then Fitted to the GFX card, and this is where my first problem occured, it won't fit under the HDD rack, so i did the following (had to de-rivet the hdd cage to cut it, just dremelled the part of the optical bay away - Blowhole trim added to save filing and sanding)


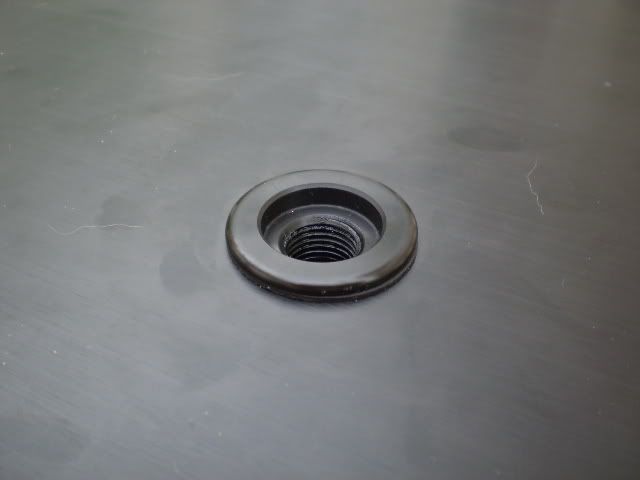
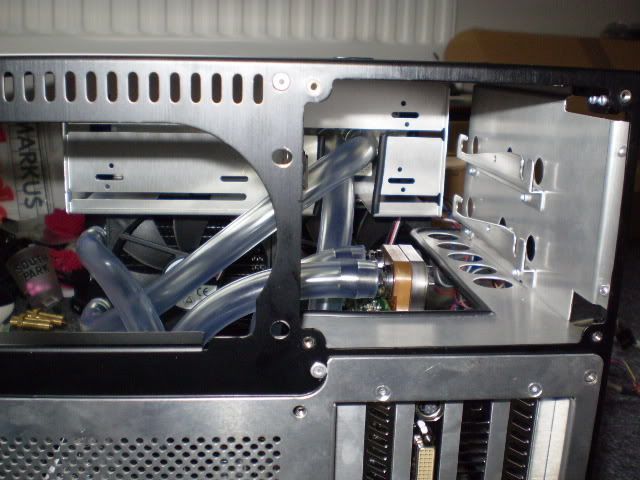
As you can see, i have also positionned my pump, and cut a hole out so the tubing can escape. Which then leads to the ingenious method of filling this loop - The pump has 3 inlets/outlets, 2 are obviously going to be used for the loop, so i thought i'd use the top port and connect it to a fillport with a variable SLi connector, and hey, it worked a treat! See for yourselves:
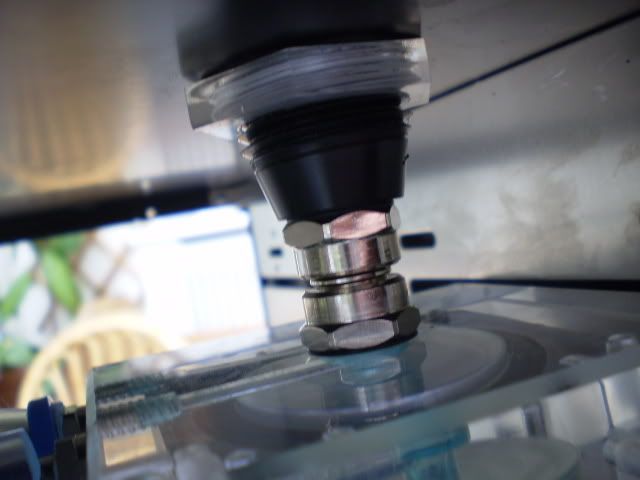
Looking pretty good me thinks!
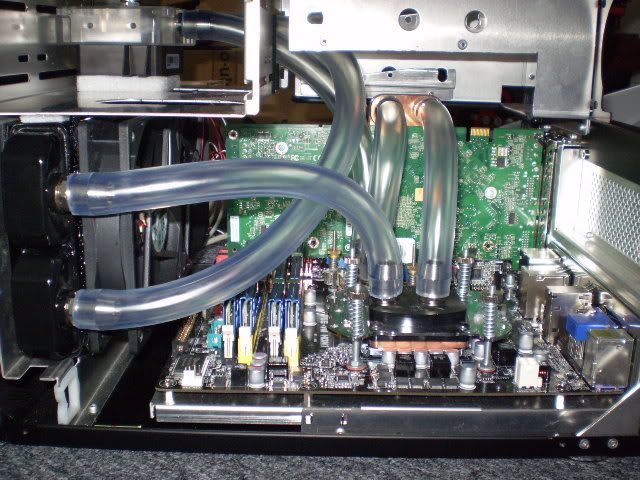
So, onto installing the rest of the hardware. Removed the 2 120mm fans, and the rad fitted here perfectly. Block of foam on the top to help wedge it in, and used velcro to secure the rad. Also used velcro to secure the fans to the rad, all helps with anti-vibration. GFX card in, bit tricky getting this in, not much space to work with, and it can't be installed into the board then slid in with the rest of the tray, the full cover block protrudes upwards.
Anyway, some tubing later:
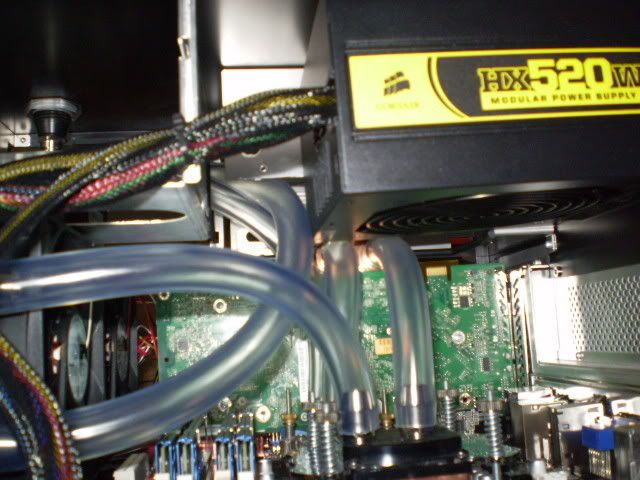
And one to prove to all those non-believers that the PSU would fit =)
So, onto filling!
Attached a barb to the TOP of the fillport and a length of tubing, filled that up, moved the case around a bit to get it to drain into the loop, repeat about 5 or 6 times untill movement no longer gets the liquid moving. Then attached the Pump to the PSU (this was outside of the case to stop it getting wet in the unfortunate event of a leak) Short the Green and Black wires with a paperclip and turn on. Pumped the liquid around a bit (10 seconds ish) turned off, re-filled. Repeated this 3 or 4 times. And the last time it appeared to be full (after getting all the air from the rad.. this took quite some time whilst i rotated the case on every axit to get the air out. Then filled the tube up some more and left all the foamy bubbles to leave the loop (with tissue between blocks)
Here's my filling solution and support:
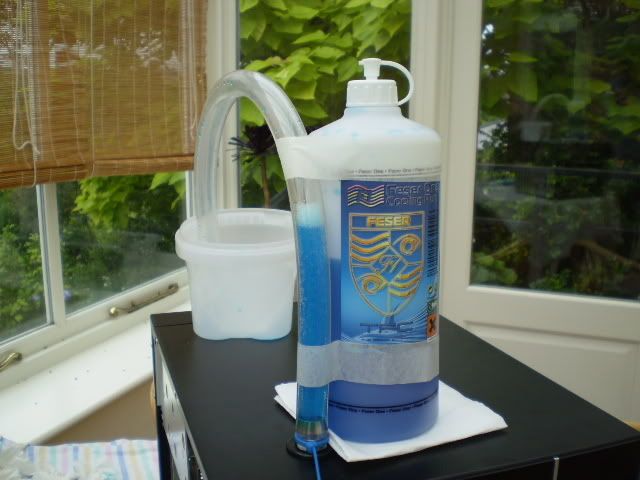
5 mins later, feser is staining the NB block tissue blue.. NOOOO! - Pump of, turn upside down to drain, removed all hardware (another hour gone...) removed the blocks from the board, dried up as much as i could with tissues, hairdryer for 30 mins, then left in the airing cupboard over night, and conservatory in the day. Dryness me hopes....
OK, so ages ago i started a sff build in a lian li v350 so that i had a rig up and running whilst i finished the v2k build. This started AGES ago, and now i really REALLY need to get it to a state where i can use it, because i'm meant to be taking it to i34 in 2 days!
So, the plan:
originally started off as a sff rig i could use to do all my browsing/music/film stuff, but, i34, and some other possible events came up, so i thought a semi-good sff gaming rig would be ideal. a lot easier to carry than the V2K at least!
With that in mind i opted for a gigabyte g33/2gig ballistix/e2180/gts320...
...which half never happened, by the time i got the case, i got an 88gt instead. Afer trying some clocks out on this board, i wasn't too impressed. Then got a p5k-vm, much better!... and then i managed to pick up a cheap e7200, and was very impressed with the initial air clocking tests. Not long after i managed to pick up an 88gts 512 with about 3 tonnes of thermalright heatsink cheaply, sold my 88gt for more than i payed for the 88gts, sold the heatsinks, and with the left over m oney bought myself an EK supreme... now, you can see where this is going =)
After another month of swapping hardware and picking up some more blocks and planning this all out, this was my final spec:
- Lian Li v350B
- e7200
- Asus P5E-VM HDMI
- 8GB G-Skill pc8000
- BFG 8800 GTS 512 (G92)
- 500GB Seagate 7200.11 32MB cache
- Samsung sata dvd-rw
- Corsair HX520w
And the water-cooling to be added:
- DDC Ultra 18w with alphacool acrylic top
- EK Supreme
- Danger Den Maze 4 Chipset block
- EK G92 Full cover block
- Magicool 120.2 rad with 2 Nanoxia 1250rpm fans
- Scythe Kaze Master 3.5inch Fan Controller
- Danger Den Black Fillport
- 4 feet of XSPC 1/2" ID UV Blue tubing with UV Green anti kink coils.
- Feser1 UV Blue
So, onto the building of this.
Motherbaord fitted with the NB and CPU blocks, installed into the motherboard tray which in turn was added to the case. Block then Fitted to the GFX card, and this is where my first problem occured, it won't fit under the HDD rack, so i did the following (had to de-rivet the hdd cage to cut it, just dremelled the part of the optical bay away - Blowhole trim added to save filing and sanding)


As you can see, i have also positionned my pump, and cut a hole out so the tubing can escape. Which then leads to the ingenious method of filling this loop - The pump has 3 inlets/outlets, 2 are obviously going to be used for the loop, so i thought i'd use the top port and connect it to a fillport with a variable SLi connector, and hey, it worked a treat! See for yourselves:


Looking pretty good me thinks!
So, onto installing the rest of the hardware. Removed the 2 120mm fans, and the rad fitted here perfectly. Block of foam on the top to help wedge it in, and used velcro to secure the rad. Also used velcro to secure the fans to the rad, all helps with anti-vibration. GFX card in, bit tricky getting this in, not much space to work with, and it can't be installed into the board then slid in with the rest of the tray, the full cover block protrudes upwards.
Anyway, some tubing later:


And one to prove to all those non-believers that the PSU would fit =)

So, onto filling!
Attached a barb to the TOP of the fillport and a length of tubing, filled that up, moved the case around a bit to get it to drain into the loop, repeat about 5 or 6 times untill movement no longer gets the liquid moving. Then attached the Pump to the PSU (this was outside of the case to stop it getting wet in the unfortunate event of a leak) Short the Green and Black wires with a paperclip and turn on. Pumped the liquid around a bit (10 seconds ish) turned off, re-filled. Repeated this 3 or 4 times. And the last time it appeared to be full (after getting all the air from the rad.. this took quite some time whilst i rotated the case on every axit to get the air out. Then filled the tube up some more and left all the foamy bubbles to leave the loop (with tissue between blocks)
Here's my filling solution and support:

5 mins later, feser is staining the NB block tissue blue.. NOOOO! - Pump of, turn upside down to drain, removed all hardware (another hour gone...) removed the blocks from the board, dried up as much as i could with tissues, hairdryer for 30 mins, then left in the airing cupboard over night, and conservatory in the day. Dryness me hopes....
Last edited:


