The STY (MountainMods Pinnacle 24)

Associate
Joined
6 Sep 2010
Posts
1,465
Location
Sunny Mumbles
I have built a few water cooled PC's over the last few years but I am unable to link my logs due to the rules set out by Overclockers
I will copy over this build so that everyone can have a look before I start my new build log. (Hope this makes sense!!!!)


So sit back and enjoy... I hope

I received this in the post yesterday
DSCF1241.jpg


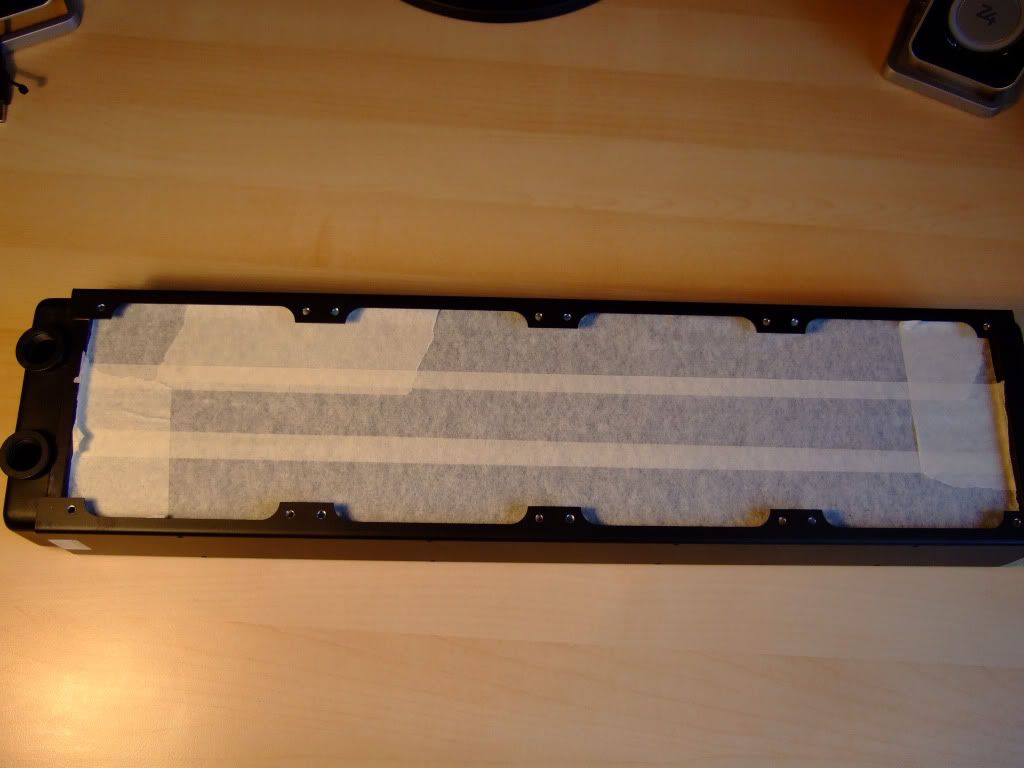
A brand new ThermoChill PA 120.4 with 15mm spacing from a cooling company that can not be named

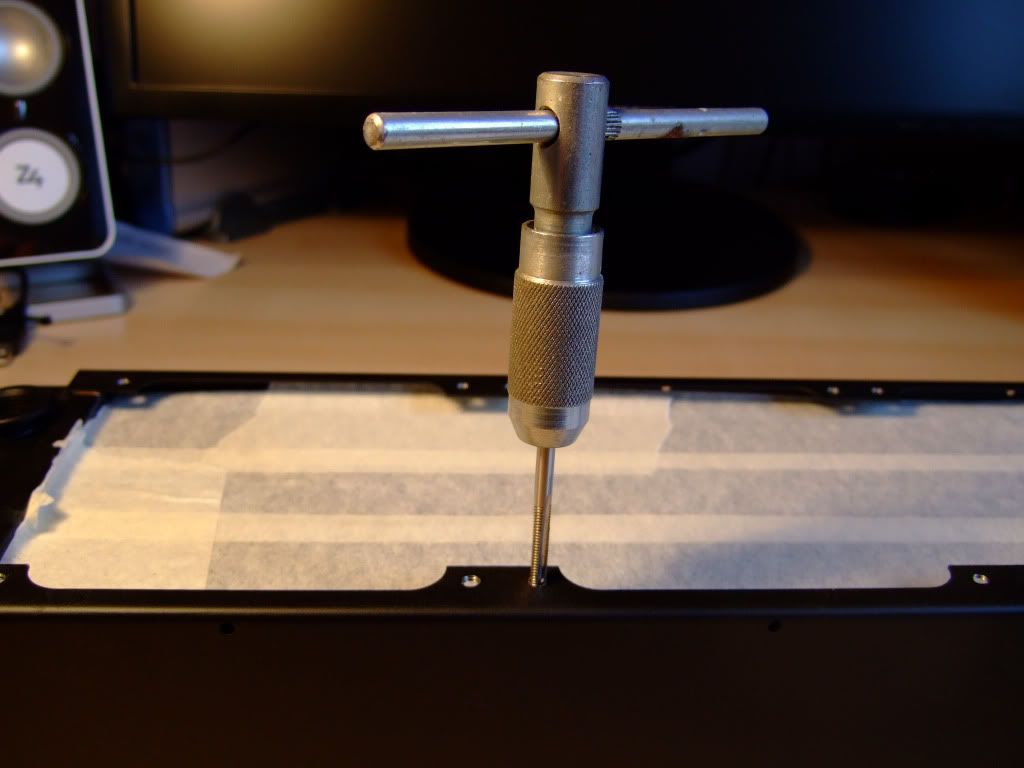
First job was to tap out the holes to fit machine screws.
DSCF1242.jpg


I know it looks out of square but that is just the picture.

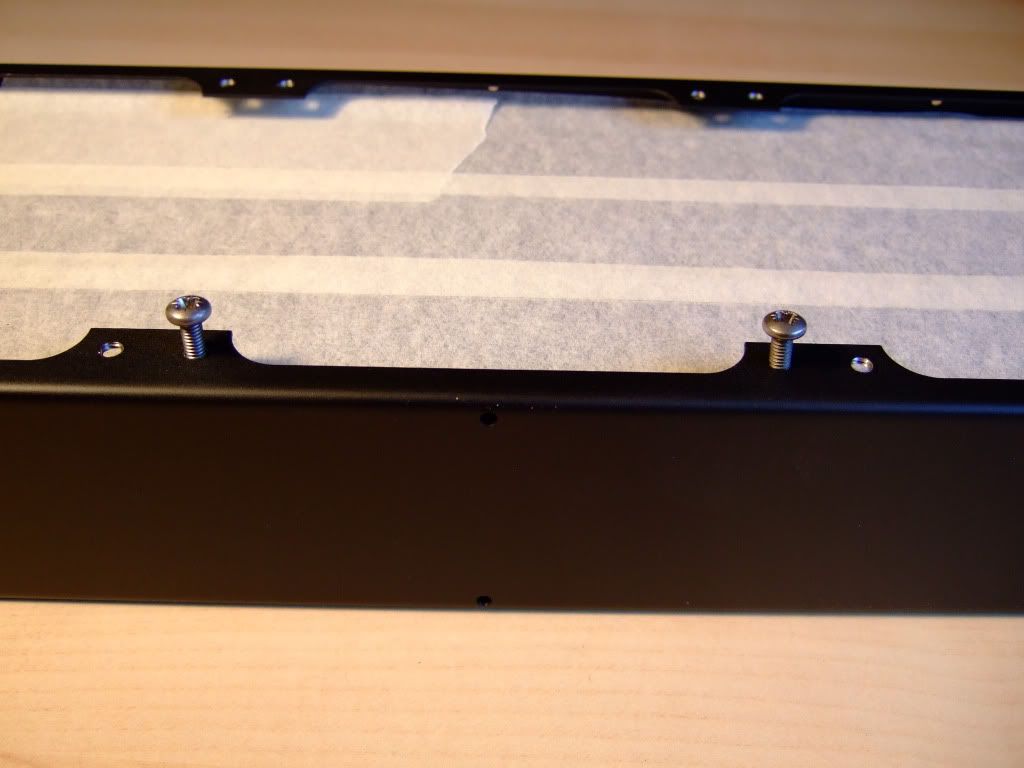
Then test fit a few screws.
DSCF1243.jpg


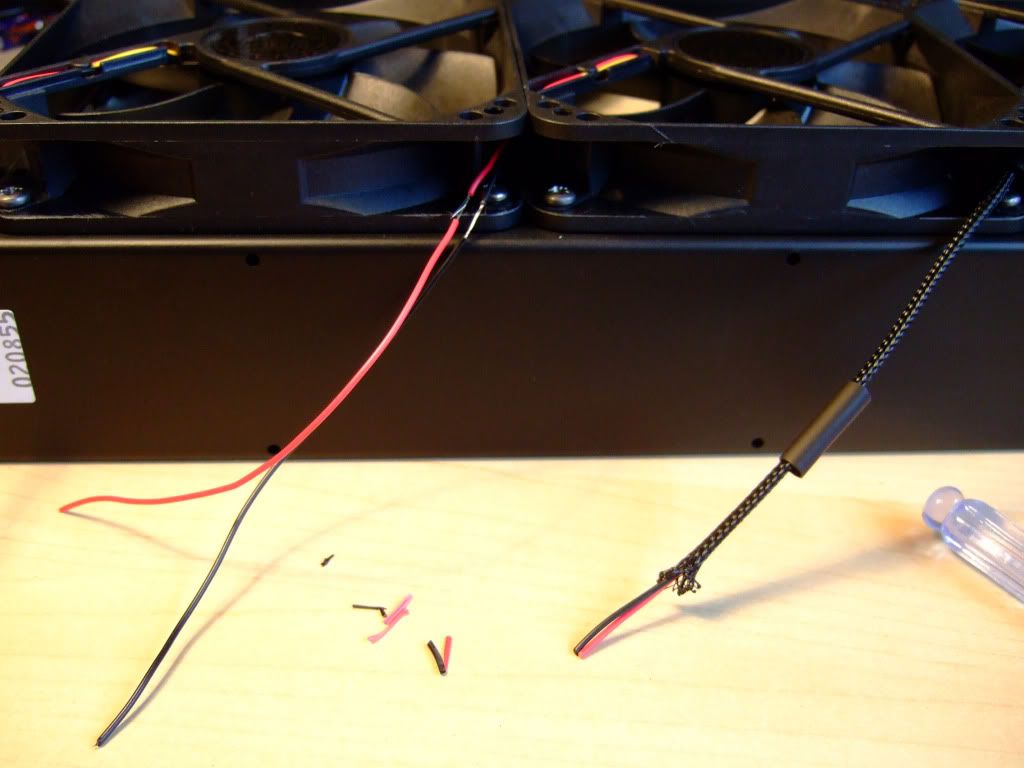
Then onto the next task, braiding the fans.

DSCF1245.jpg


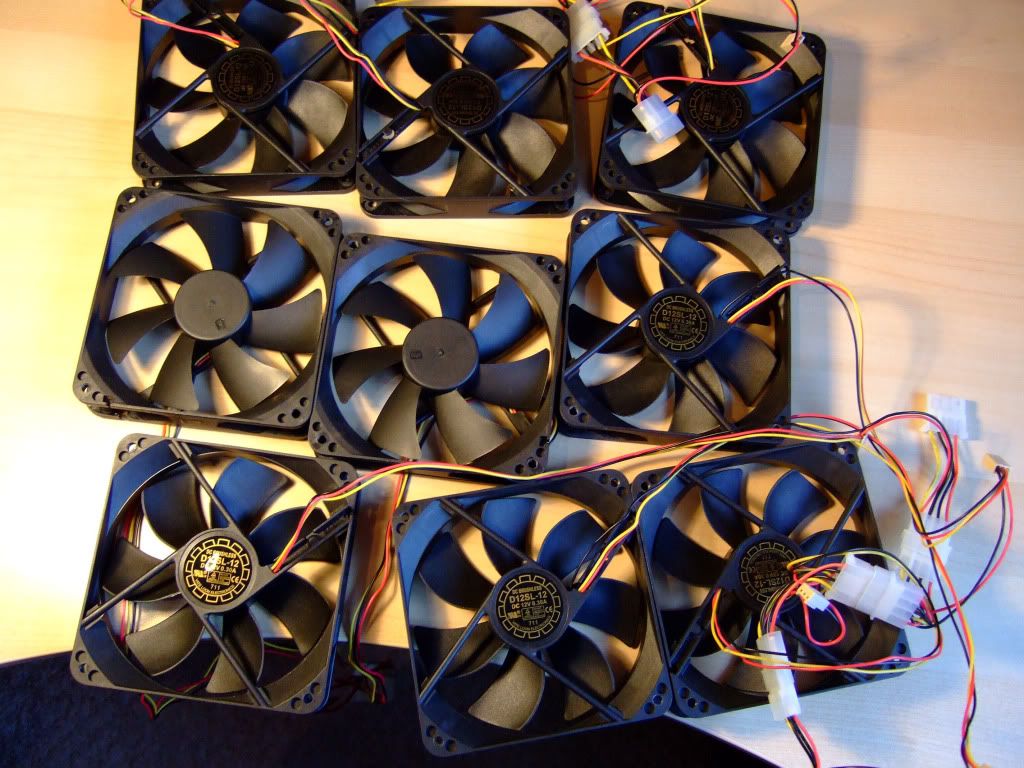
and also a lot of Yateloons from Tom.
DSCF1247.jpg


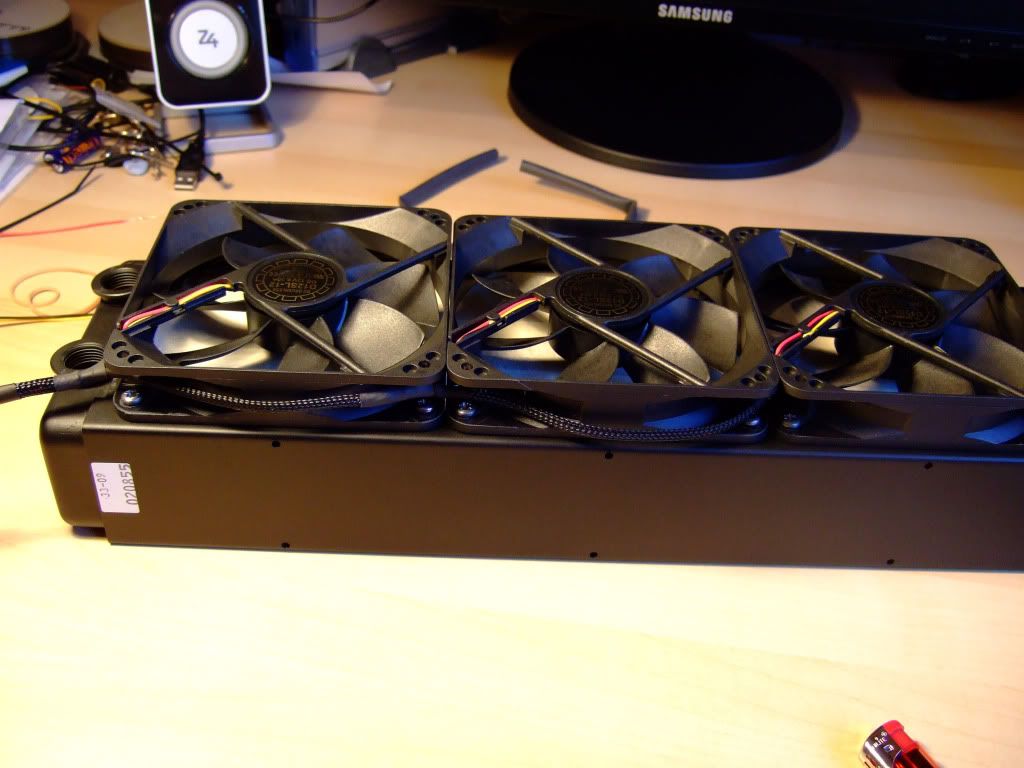
I then set the fans out on top of the rad to check the fit
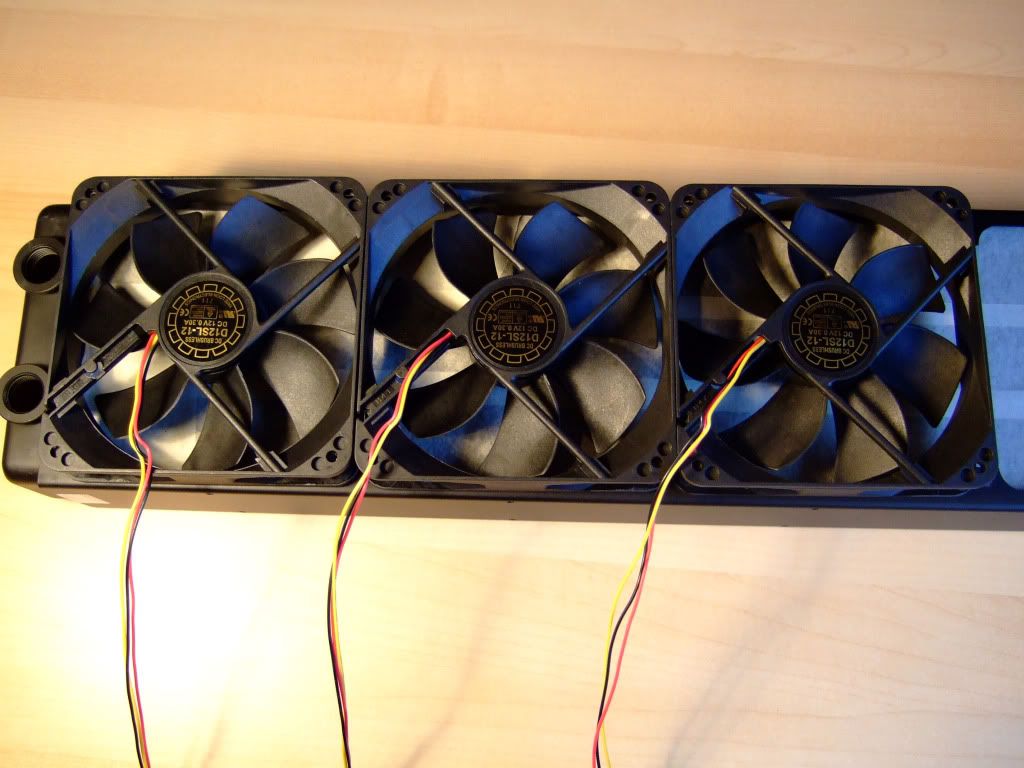
DSCF1248.jpg


Then on to the job in hand

DSCF1249.jpg


One side finished

DSCF1251.jpg


and then the other

DSCF1253.jpg


and now finished
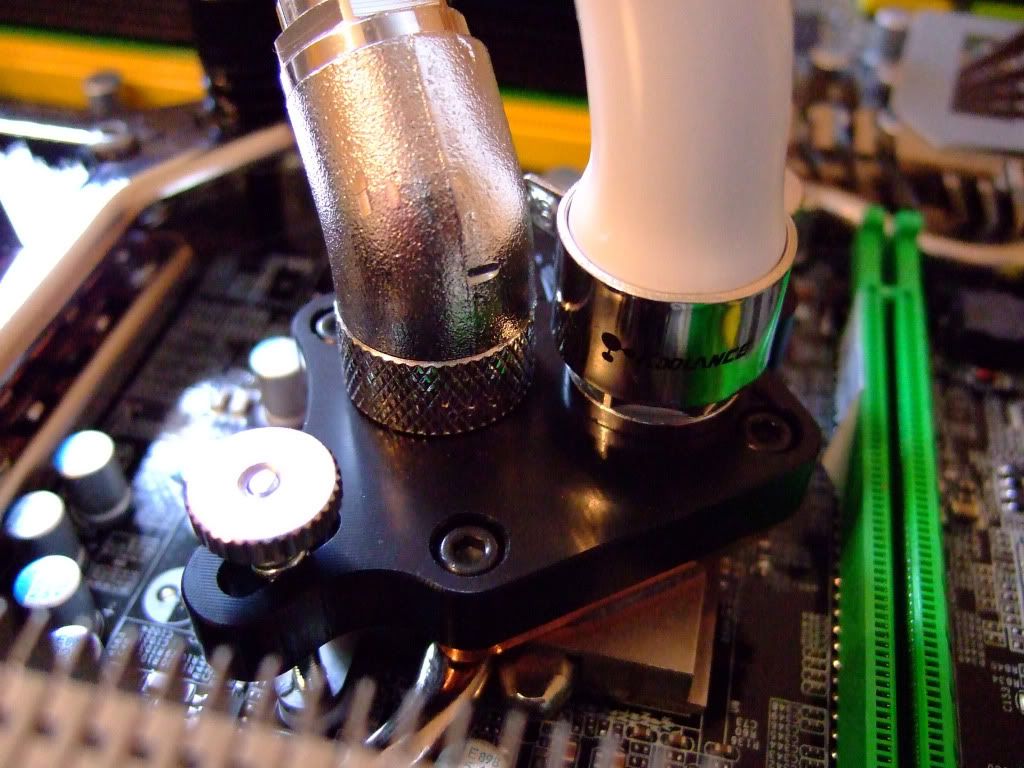
DSCF1254.jpg
 
Yes, lots more to come, just having to remove competitors names. Not a good idea to get banned the first day. :eek:


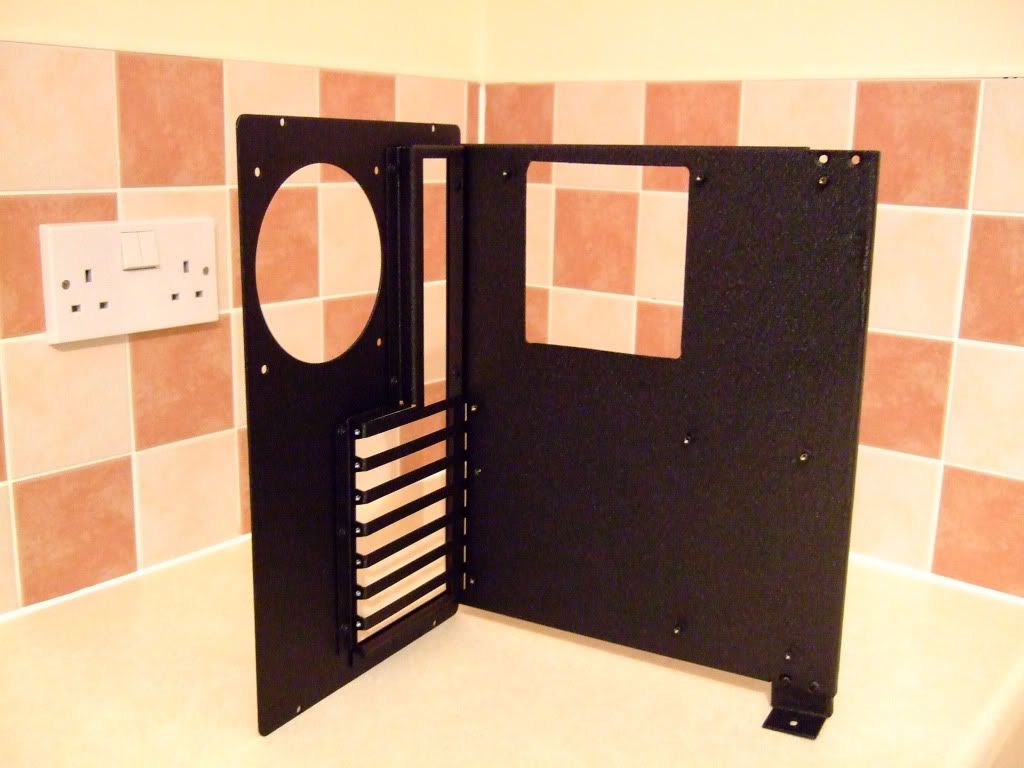
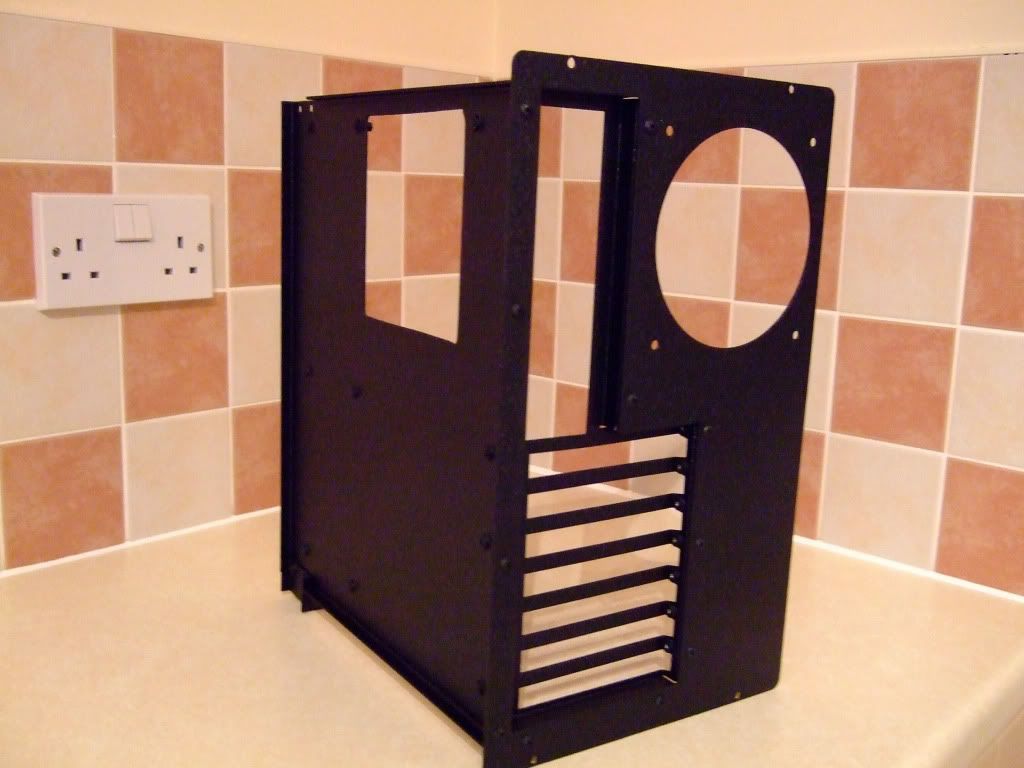
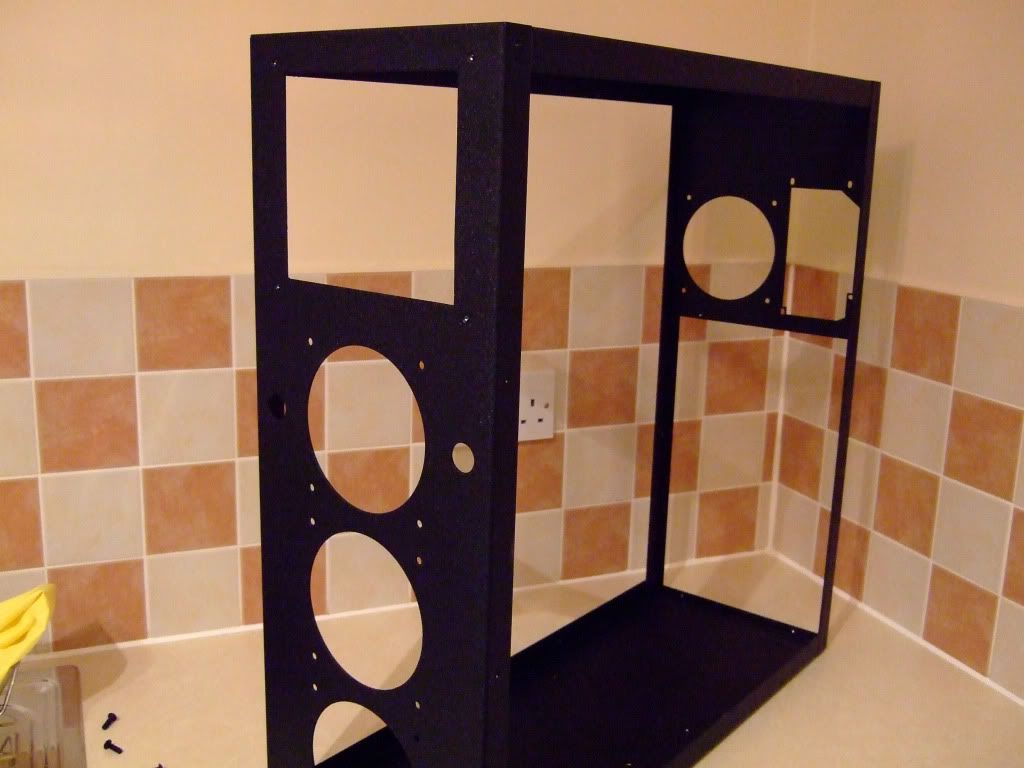
The case has been powder coated in a textured black.

The MB tray

DSCF1255.jpg


have cut out ready for the chip

DSCF1257.jpg


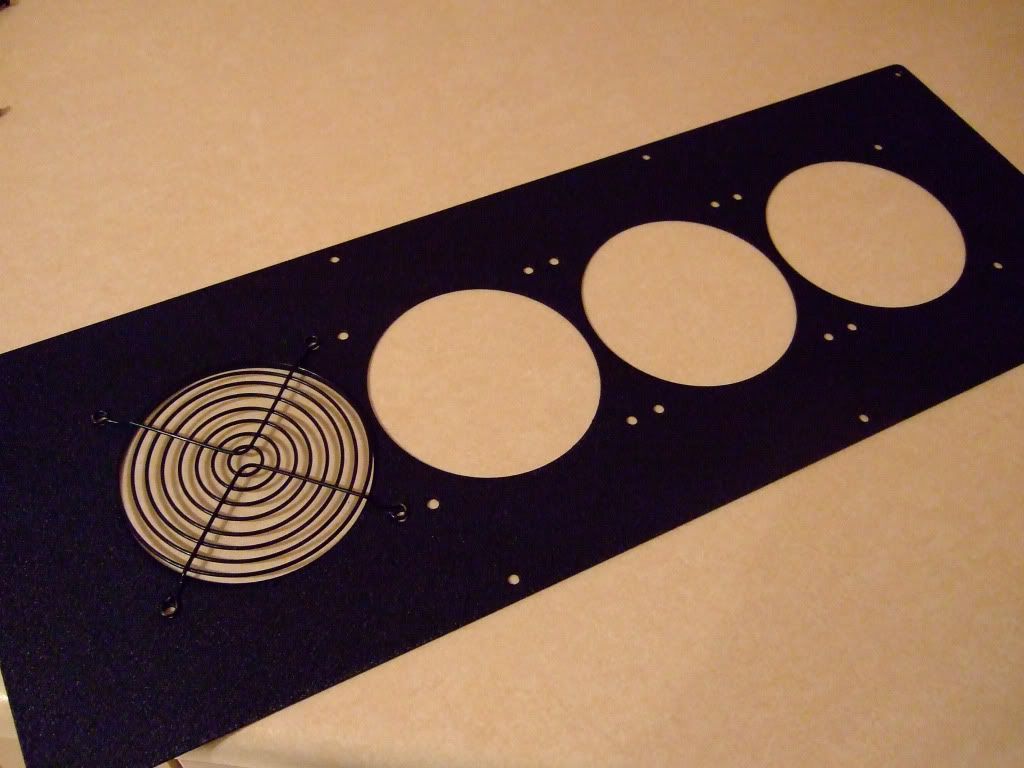
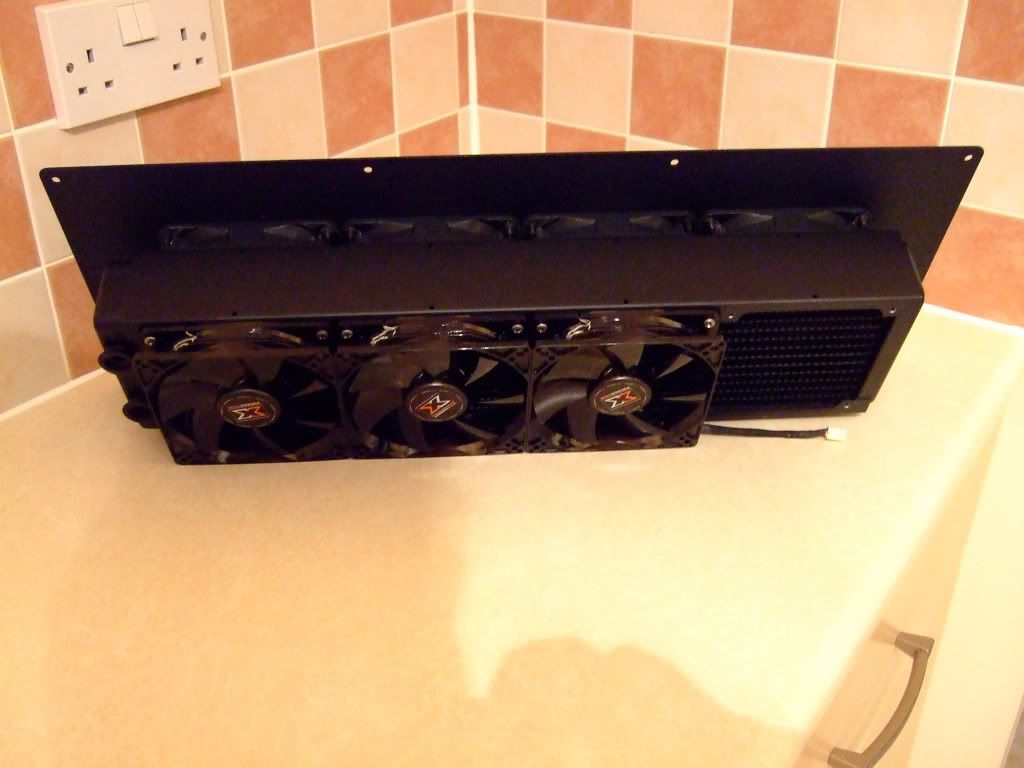
The cover for the Thermochill

DSCF1262.jpg


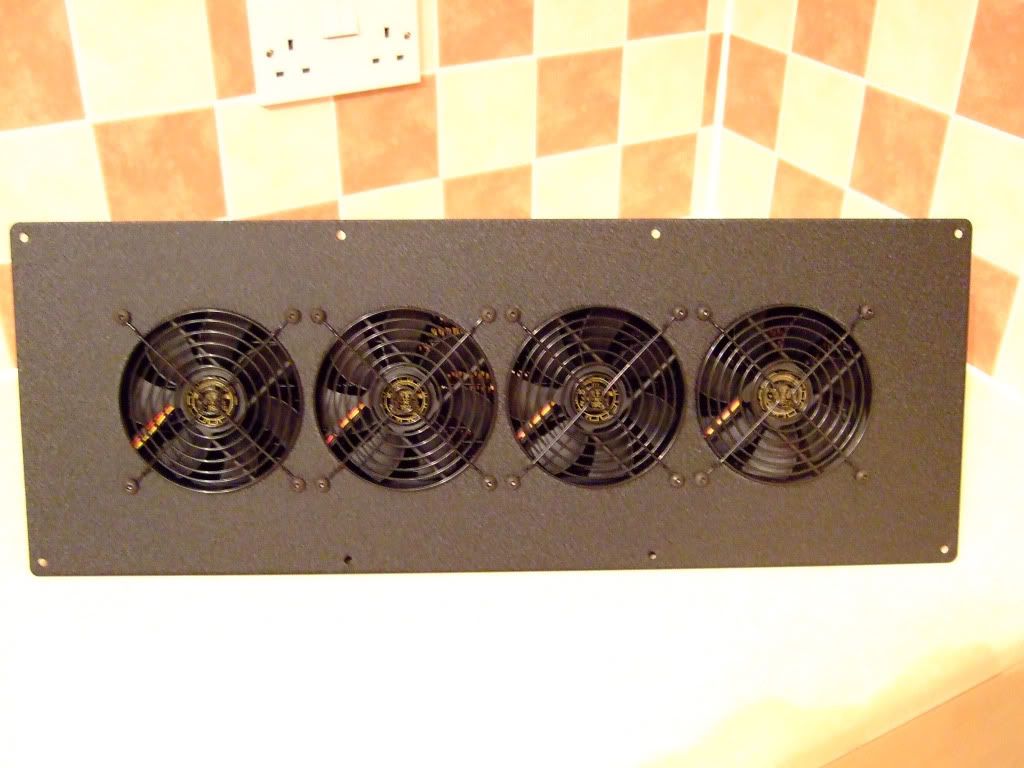
with rad fitted

DSCF1267.jpg


DSCF1268.jpg
 
The case is a MountainMods Pinnacle 24


DSCF1265.jpg


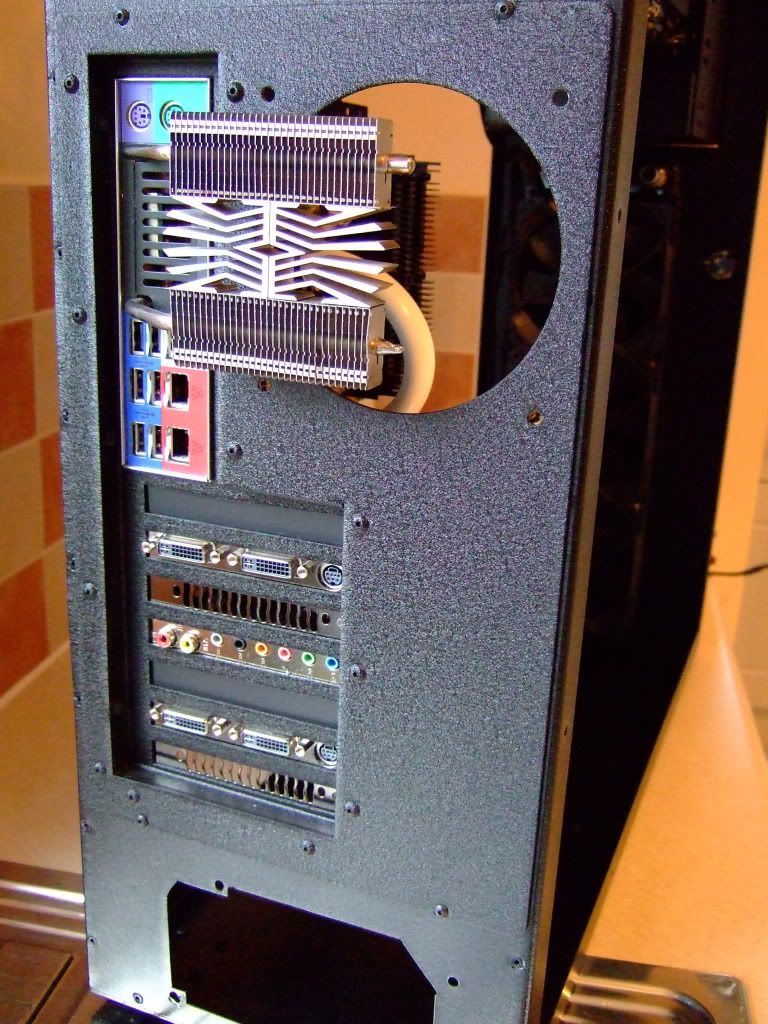
Even though this case is very big, I don't think MountainMods have ever built a system inside this case. Therefore I had to redesign the back panel.

DSCF1332.jpg


The more observant of you will see the power supply has now been turned through 90 degree and placed in the bottom.


The back panel was completely replaced (no photos, sorry).
Its an integral part of the case, so the center was cut out and a new section manufactured from 1.2mm steel. The whole thing was then joined together with pop rivets.
The whole thing was then powder coated in black texture.
 
Last edited:
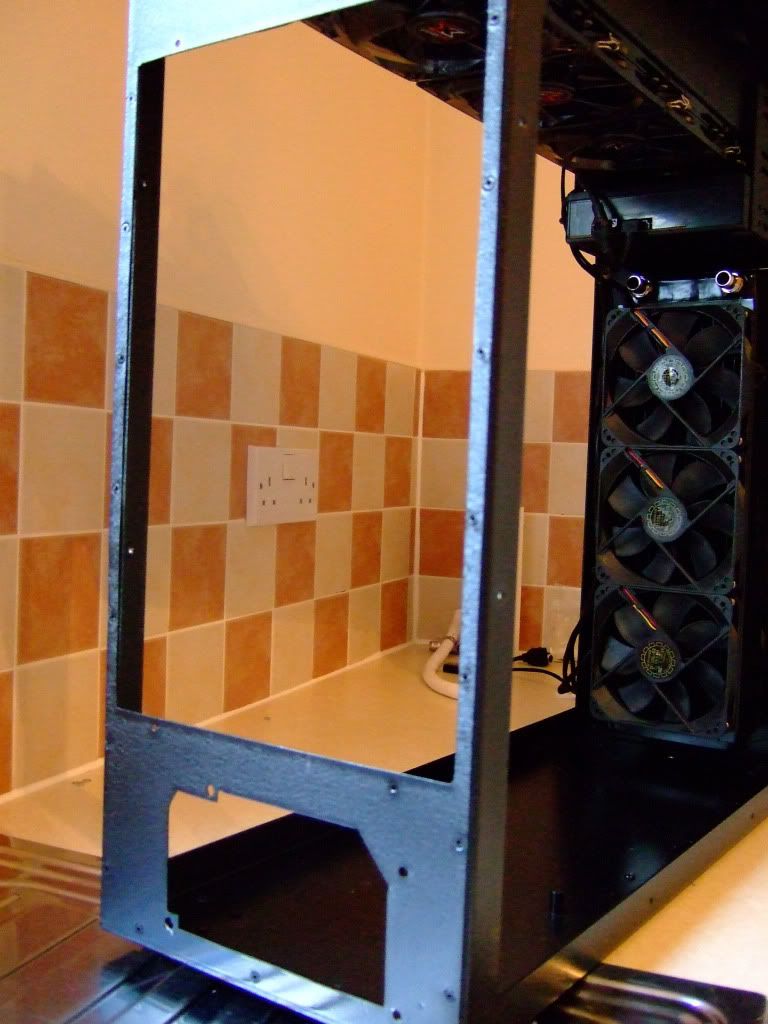
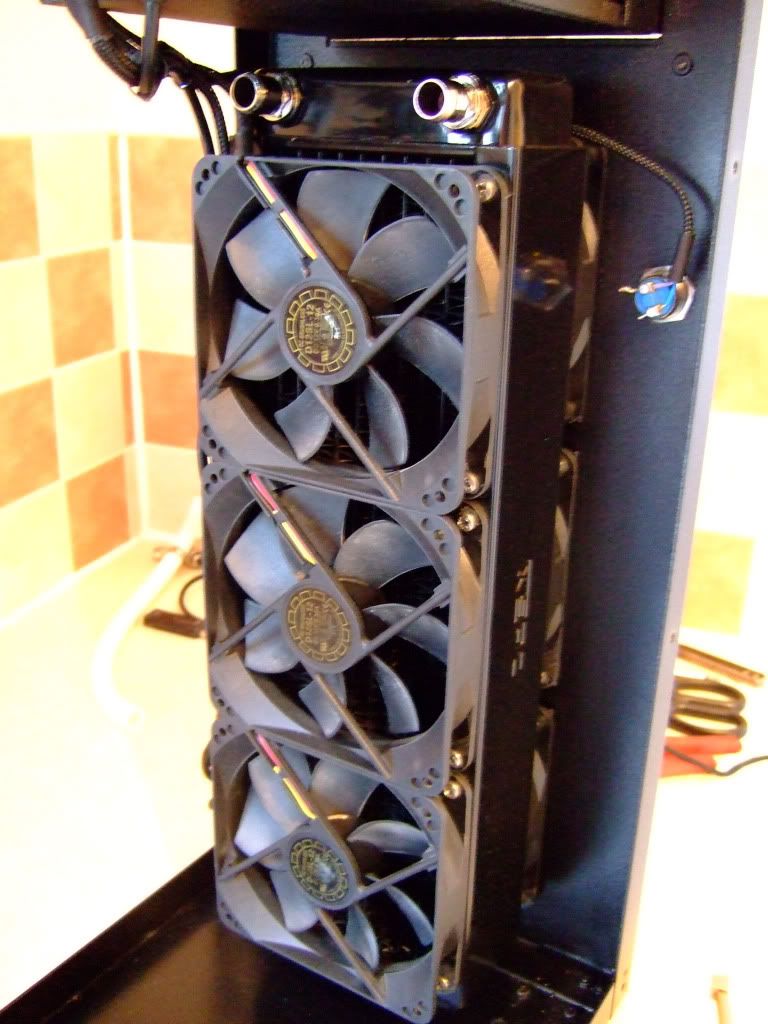
From the previous photo you can see the rads have been fitted.

DSCF1327.jpg


A XSPC RX360 with duel YateLoon fans fitted for the graphics cards

and

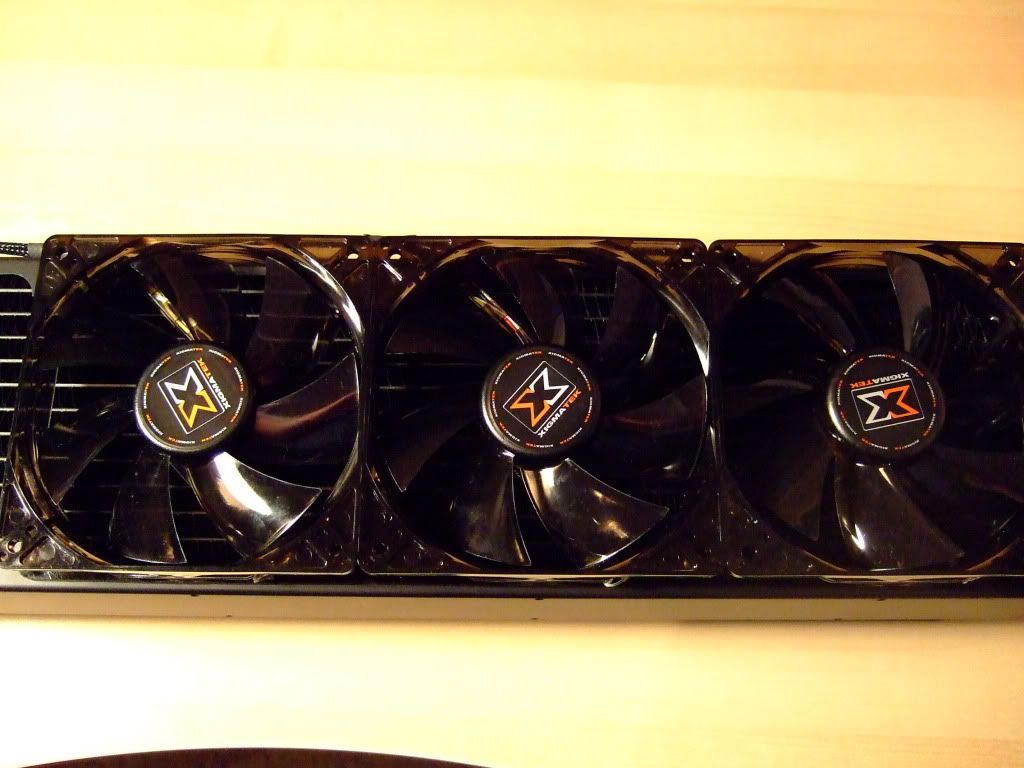
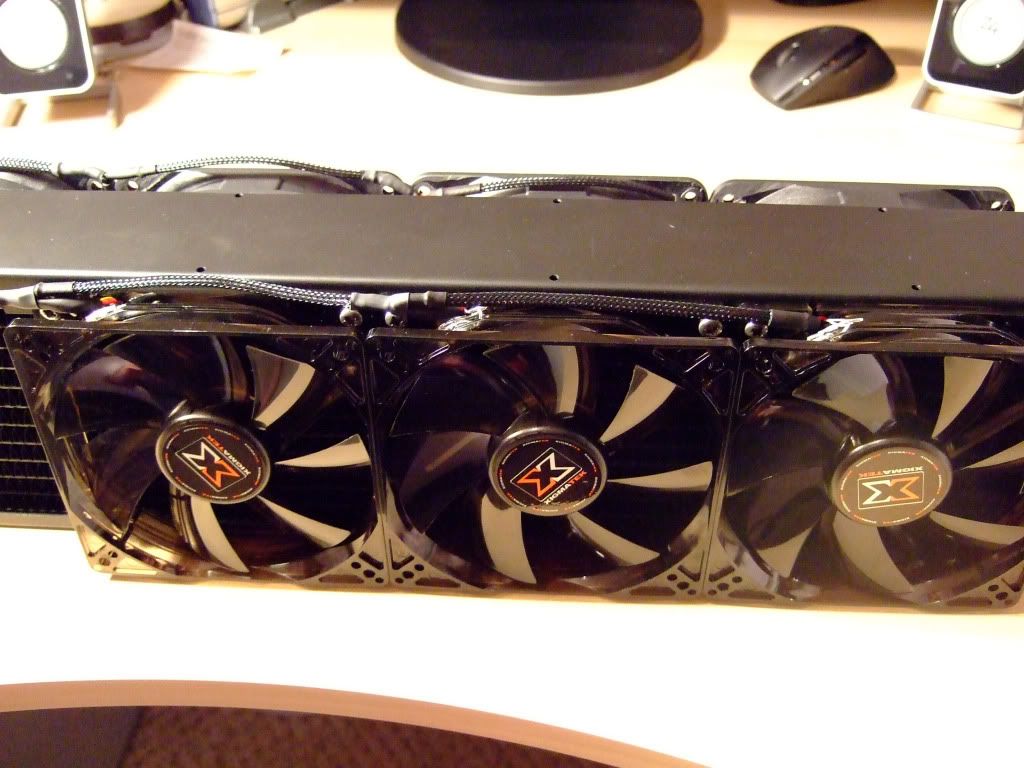
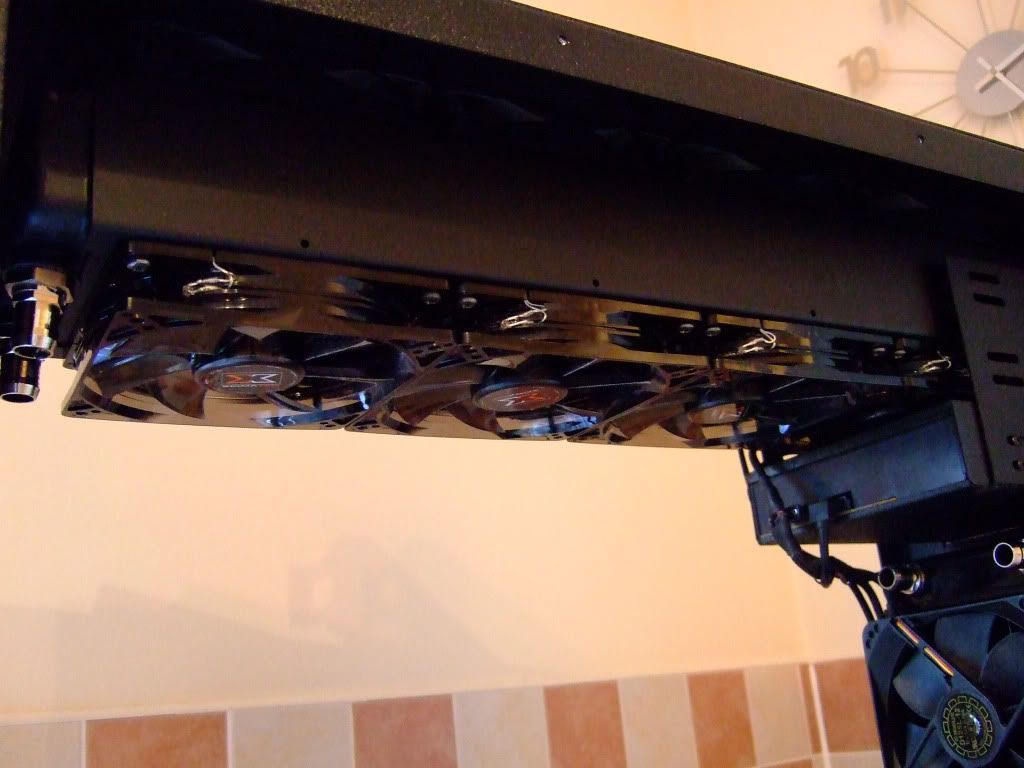
A ThermoChill PA120.4 with a set of YateLoon's pulling air through and Xigmatek's on the inside.

DSCF1330.jpg


This will be used to cool the CPU.

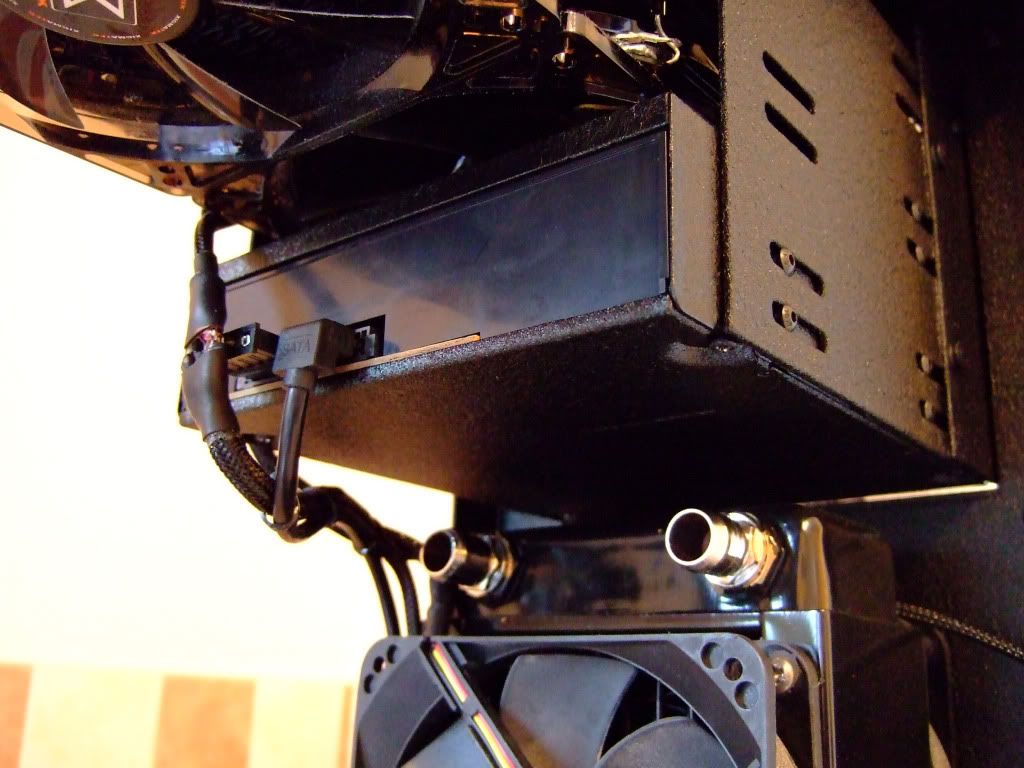
As you can also see I have also fitted the fan controller and DVD drive.

DSCF1328.jpg


These have also been stripped down and powder coated in a textured black.
 
The original setup was going to be like this
DSCF1252.jpg


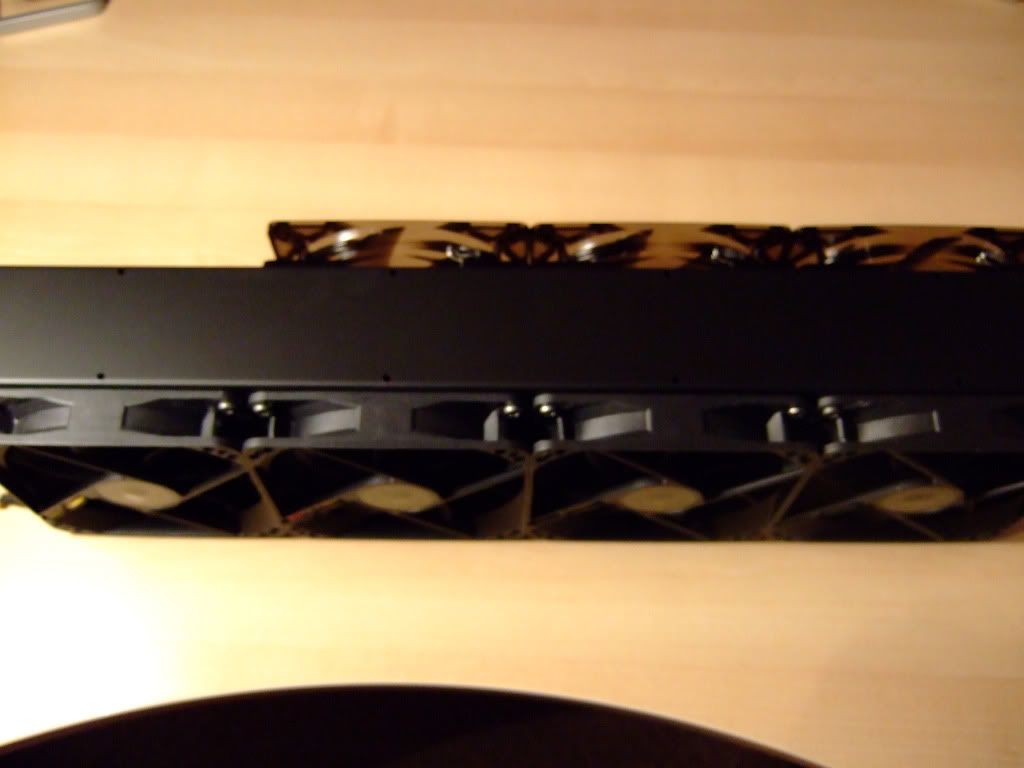
With four Yates on the top & three Xig on the underside in a push/pull configuration.
I was hopping this would give me room to have two drives and a fan control unit.
When I dropped the rad in there was no room for the second drive, even with only the rad and one set of fans.
I then changed the build and added an extra fan and dropped the second drive.
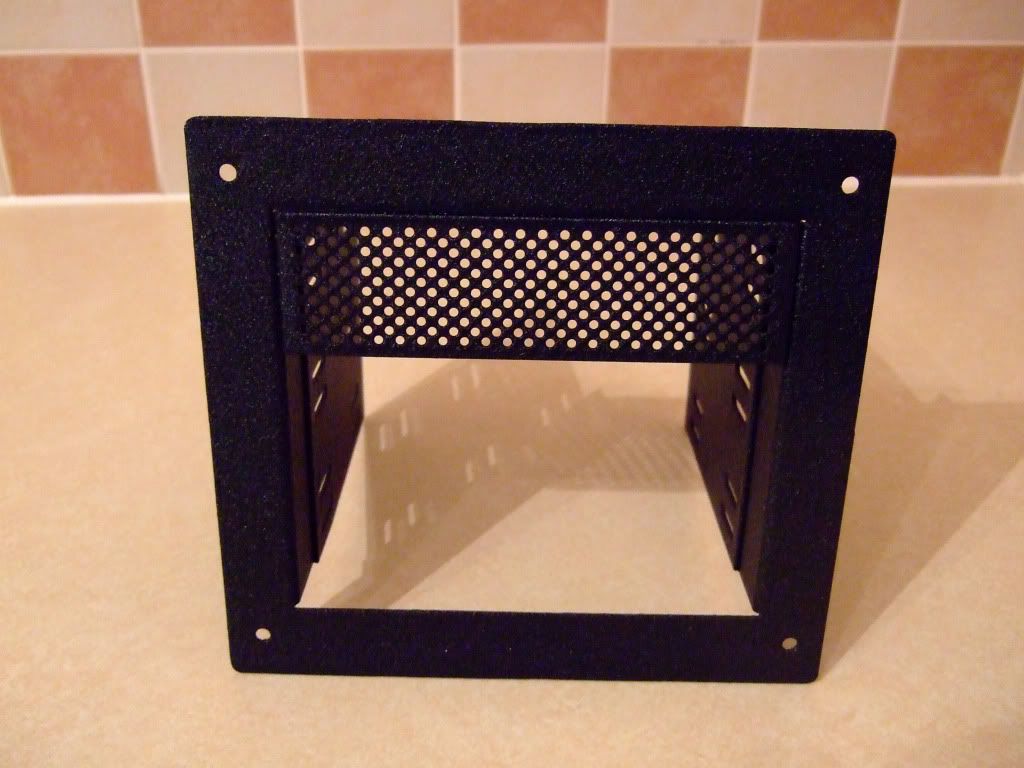
Bought a blank front section from *** and had this

DSCF1261.jpg


Now I have some room between the drive and the fan (not a lot) about 10mm.
 
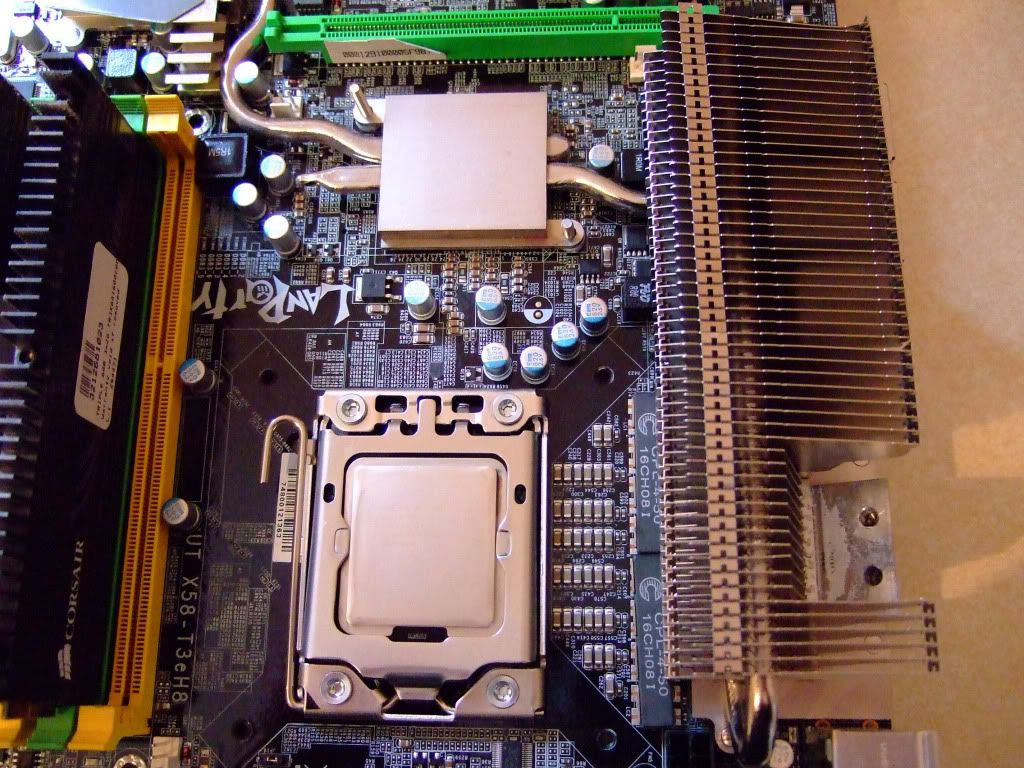
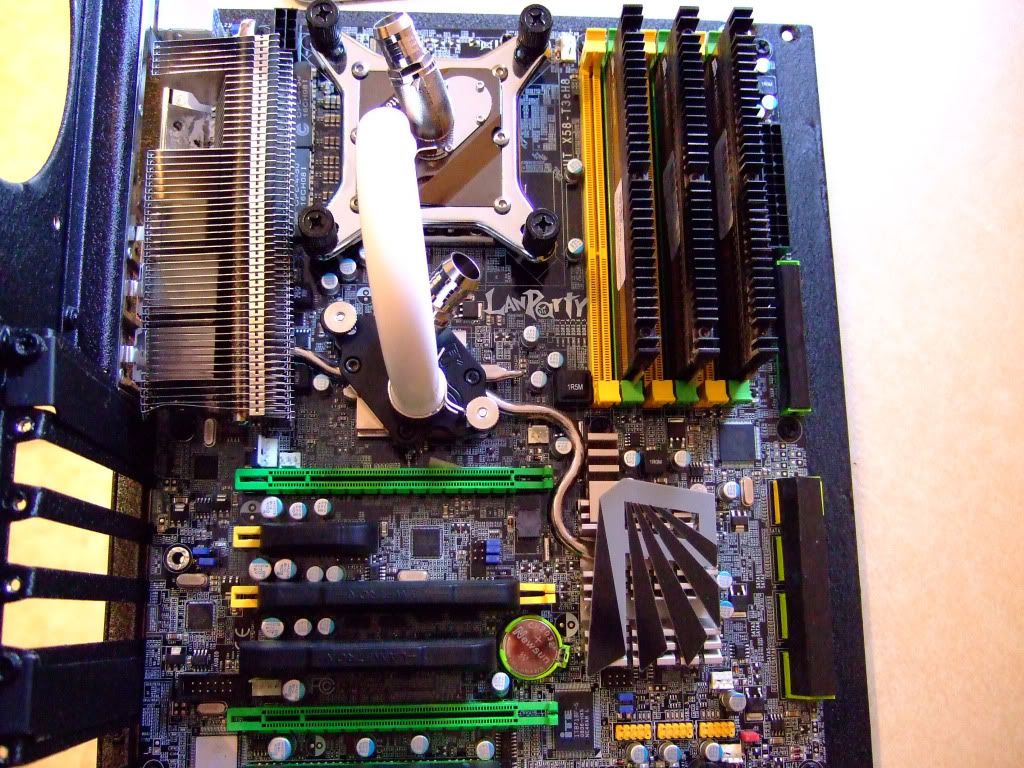
Water blocks stripped off my board for new block to be fitted.

DSCF1315.jpg


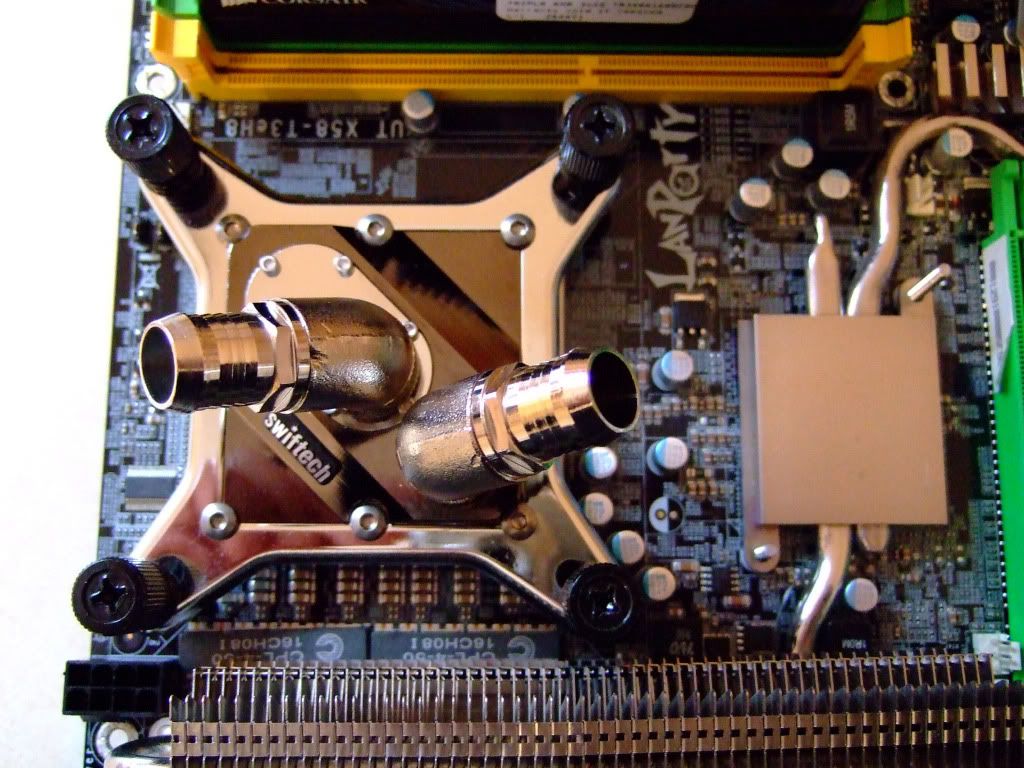
New swiftech XT block fitted to a D0

DSCF1316.jpg


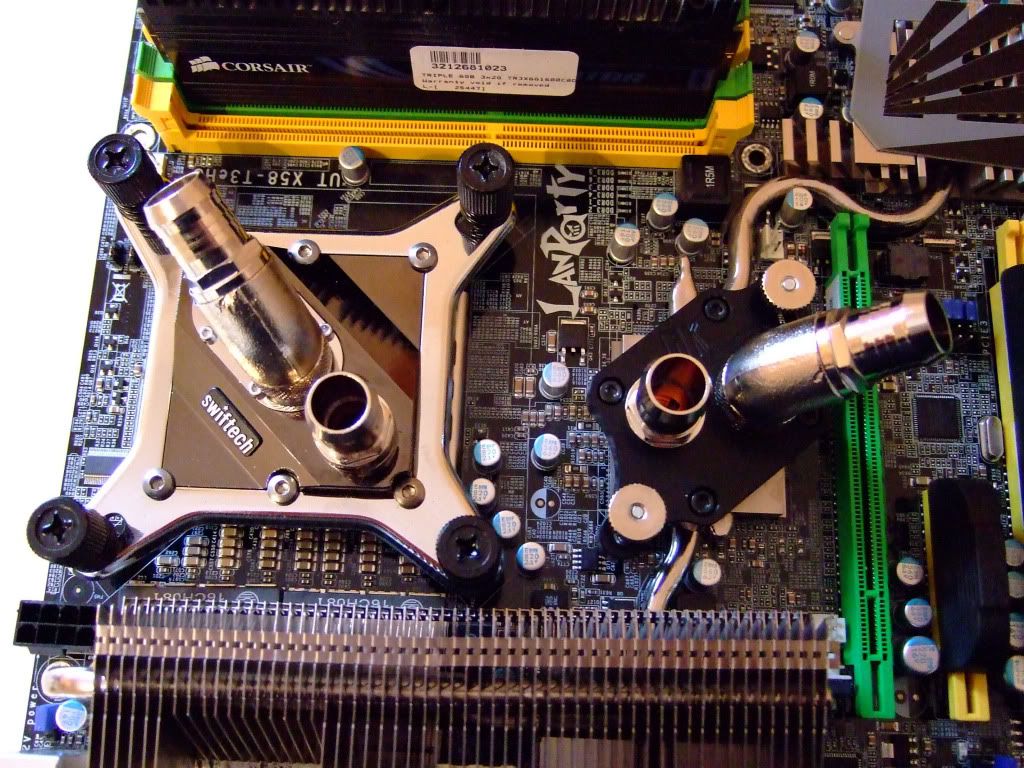
New EK block fitted on top of original MB heatsink

DSCF1318.jpg


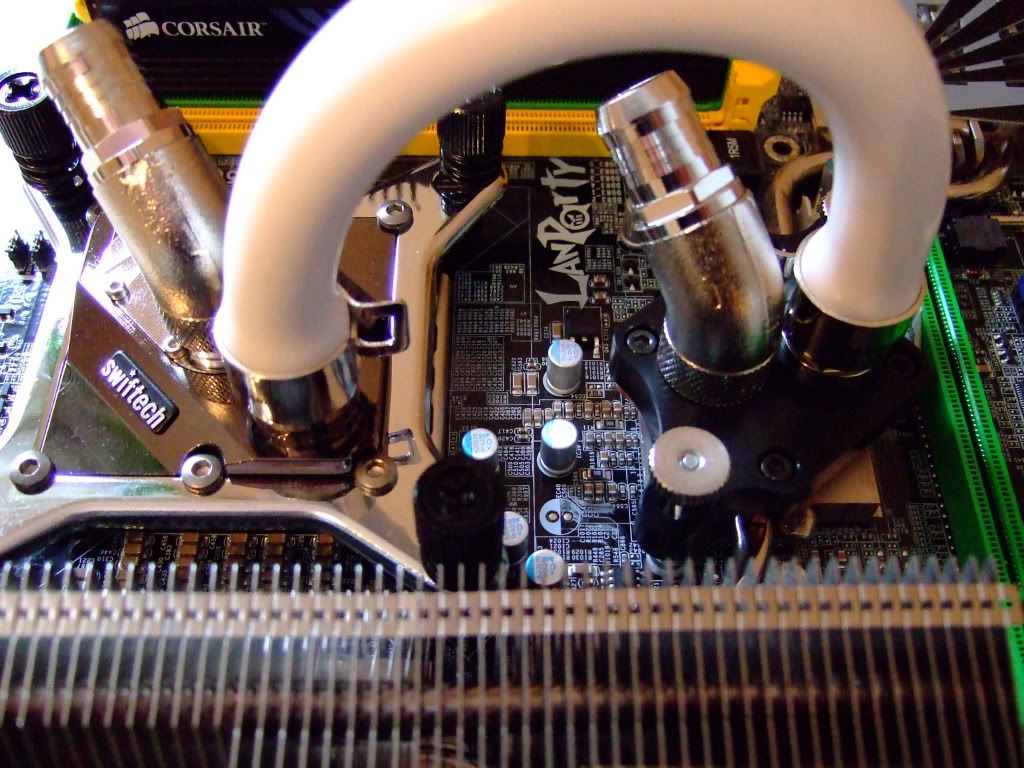
Going with white this time!!!!

DSCF1321.jpg


Better look at the block with the Koolance Hose Clamp fitted

DSCF1322.jpg


All completed and now fitted to the motherboard tray.

DSCF1323.jpg
 
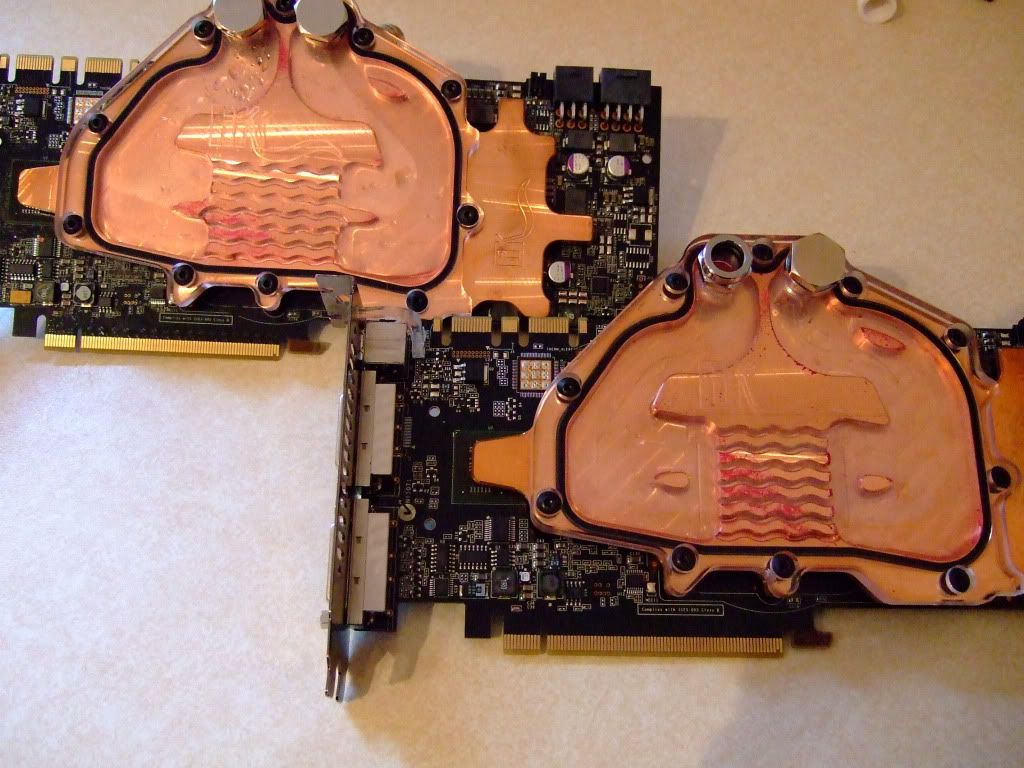
I removed my GTX280 cards from my old Coolermaster S build.


DSCF1313.jpg


The red is from my old coolant (feser one, red)
This red was through my whole loop and had turned into a sticky polymer, that had covered everything.
So had to remove the front of the blocks and give it all a good clean.
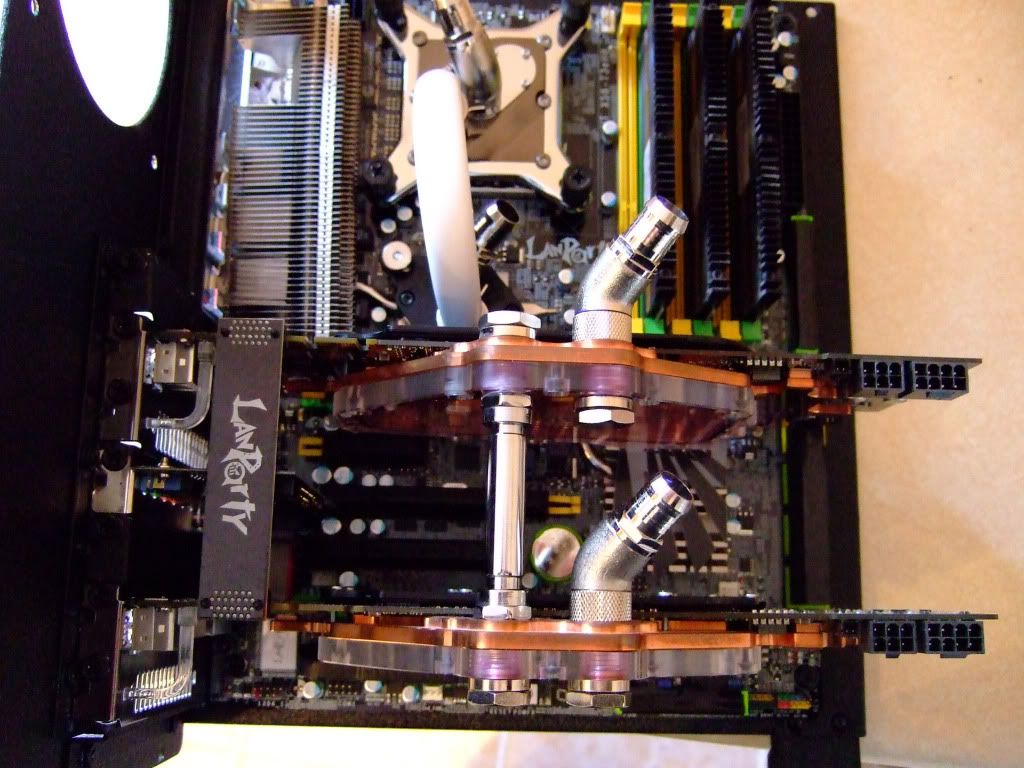
Rebuilt the blocks and fitted onto motherboard.

DSCF1324.jpg


New Sli nozzle kit fitted but still some staining on the edge of the acrylic.
 
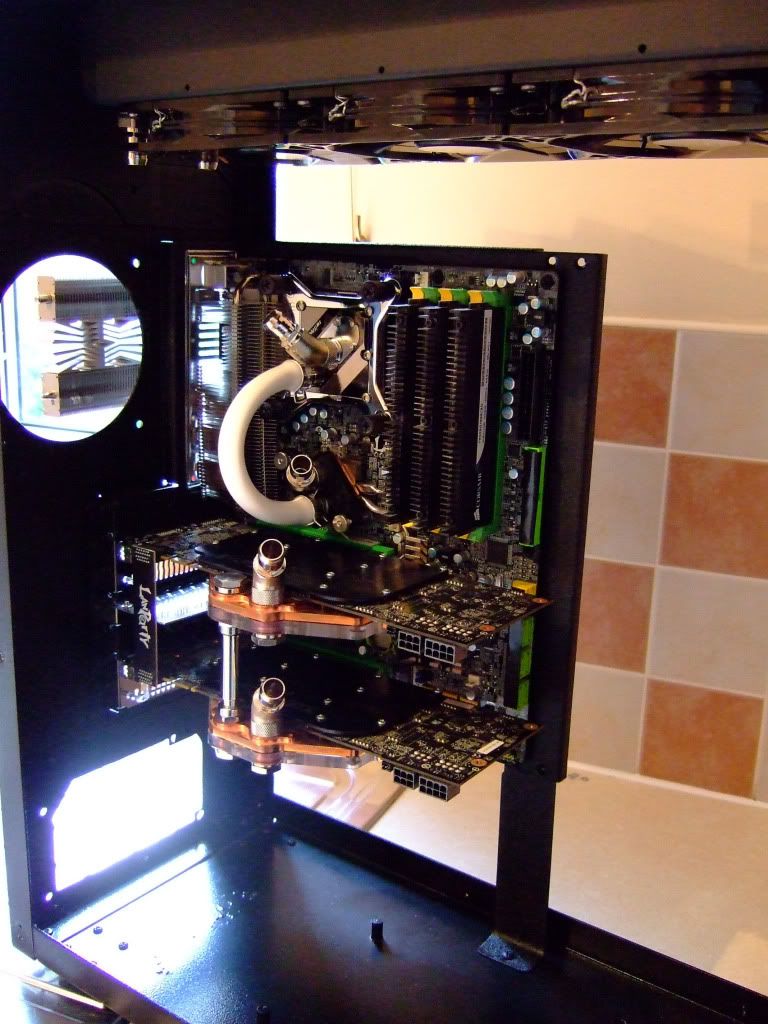
Motherboard tray fitted inside the case.

DSCF1335.jpg


I had to manufacture a new bottom bracket as the case now sits a lot higher after the PSU modification.

A quick look at the back.

DSCF1334.jpg


Rear 120mm fan to be fitted later.
 
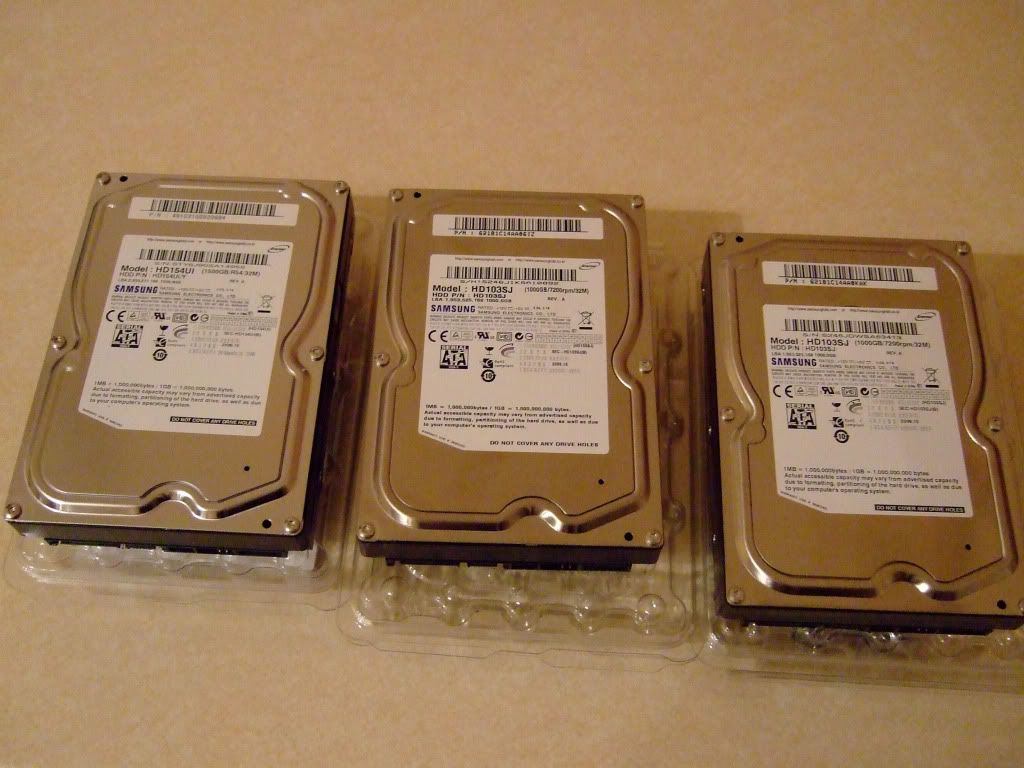
I thought I would treat myself to some new drives.

DSCF1273.jpg


Two Samsung F3's to be run in raid 0 and a F2 for a little extra storage.

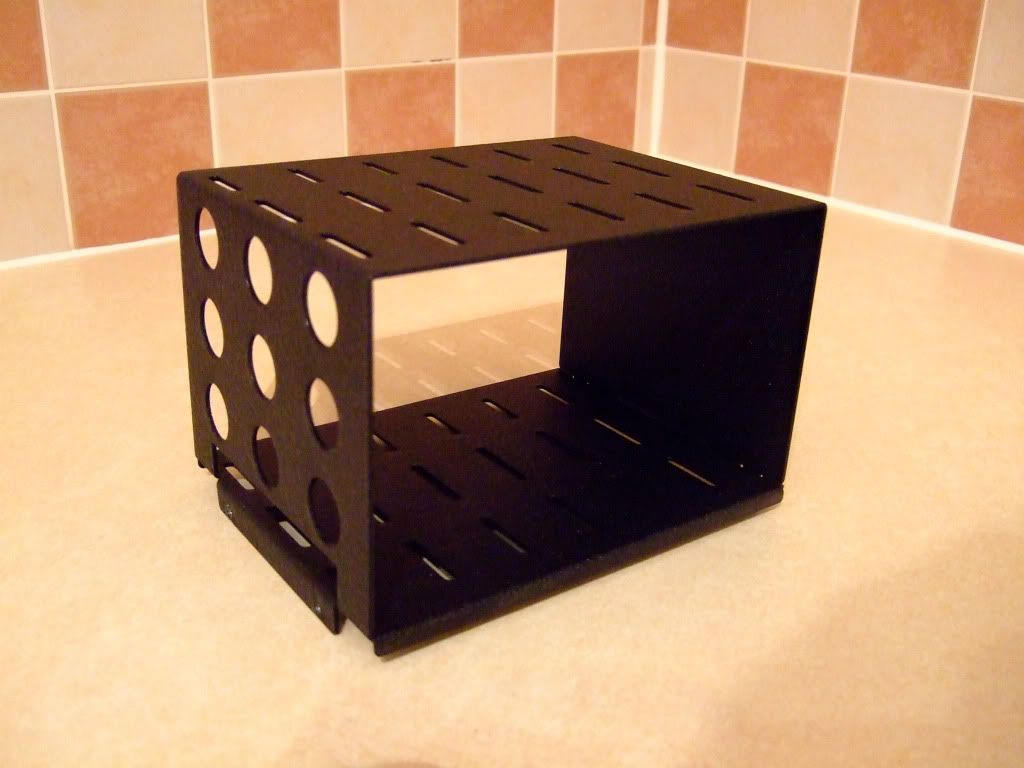
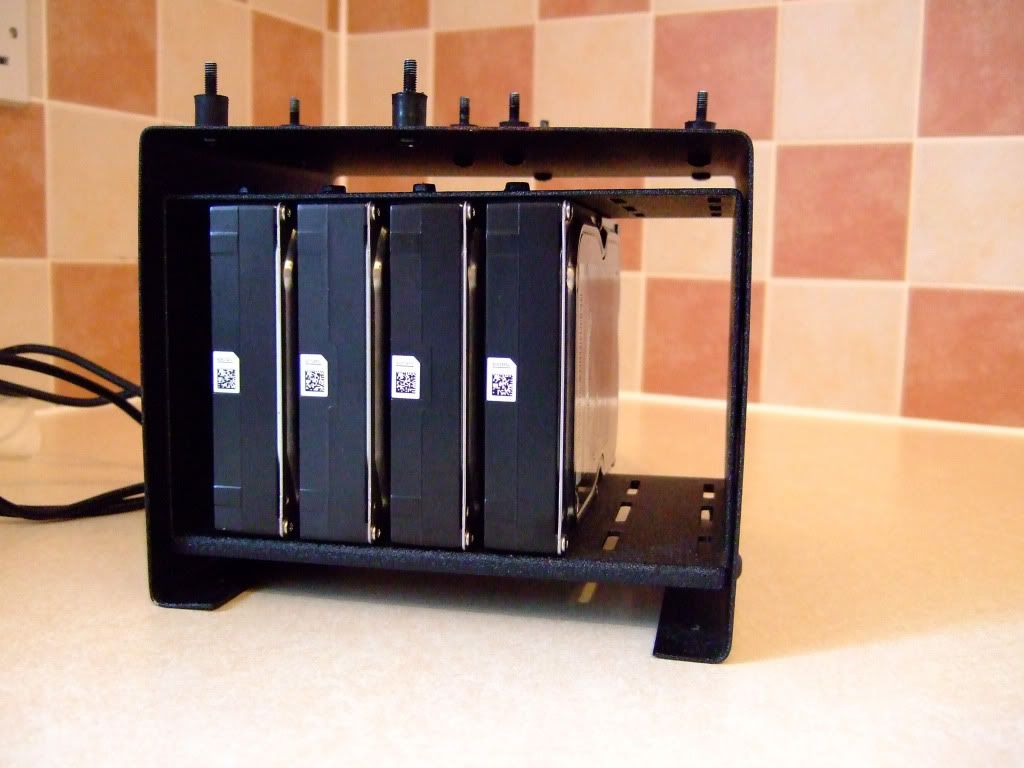
As previously stated this case is very big but does not have any place to put the drives.
With a little help from a tall welshman called Tom , I had this

DSCF1259.jpg


As you can see, this has also been powder coated in black texture.

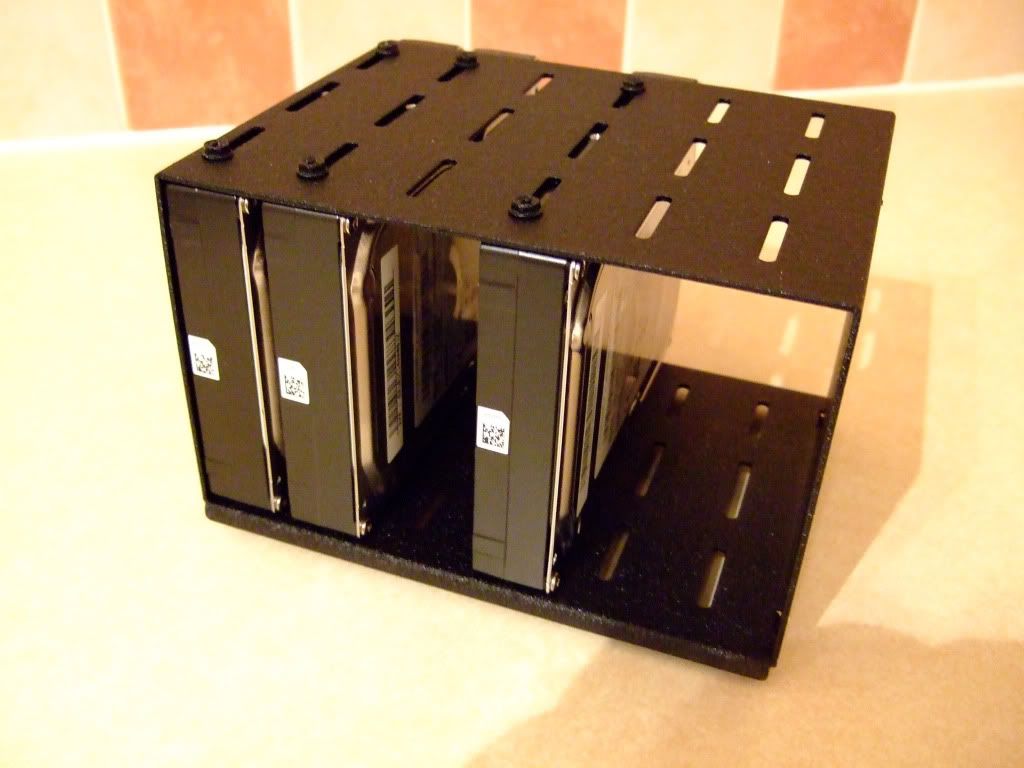
DSCF1274.jpg


With drives fitted.

More to come later!!!!
 
After mounting the drives I connected the power supply and decided I did not like the look of the cables.
Therefore I had to go onto the bay to find what I wanted.
I then had a look around the bay and found a very helpful trader called (name removed due to the wrath of OcUK) but this bloke has feet that smells like cheese

After a few e-mails I purchased a sata power extension cable.

I then set about doing a little braiding

DSCF1276.jpg


After an hour, I had this.

DSCF1278.jpg


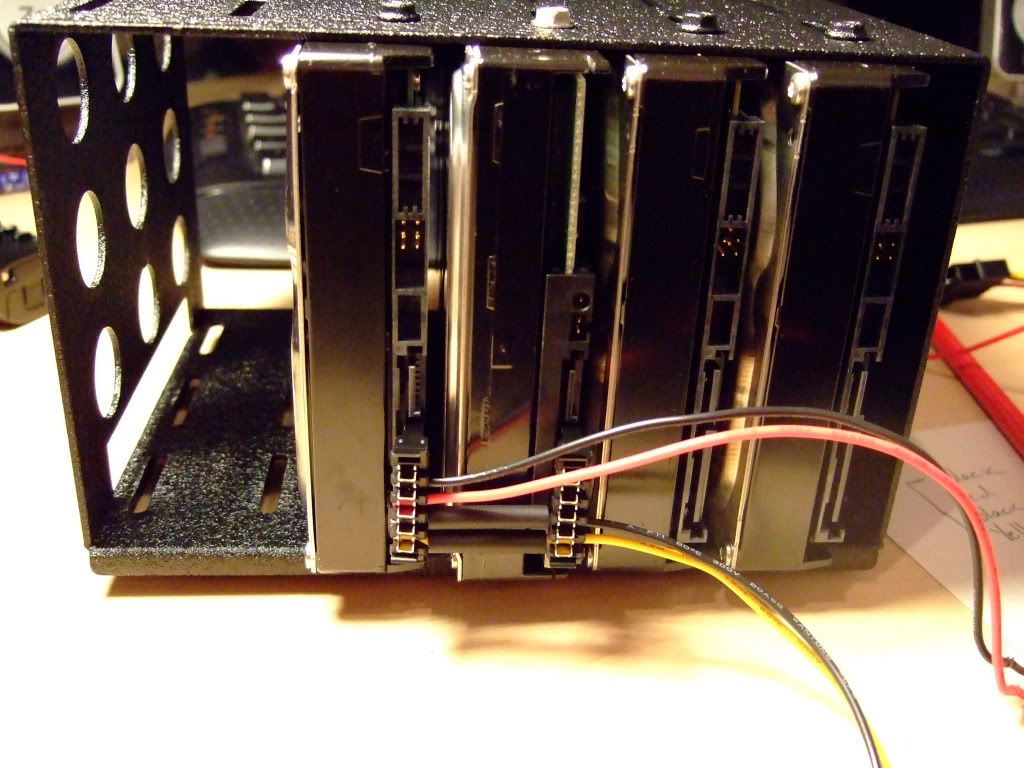
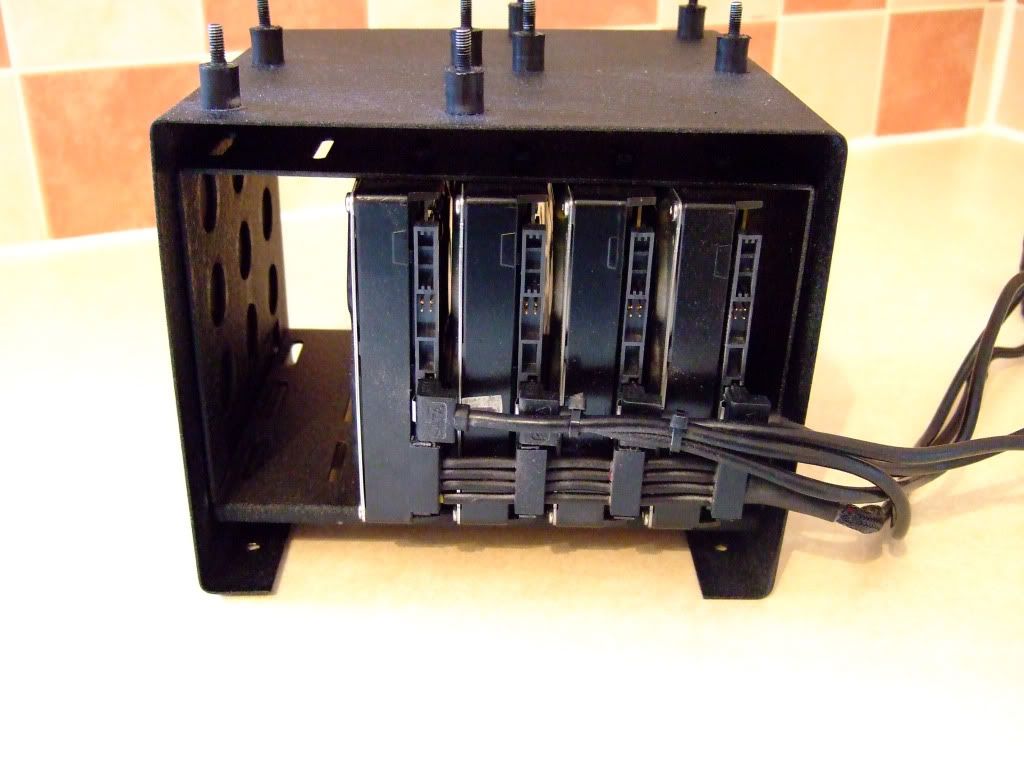
I then manufactured a case to mount the hard drives in.

DSCF1308.jpg


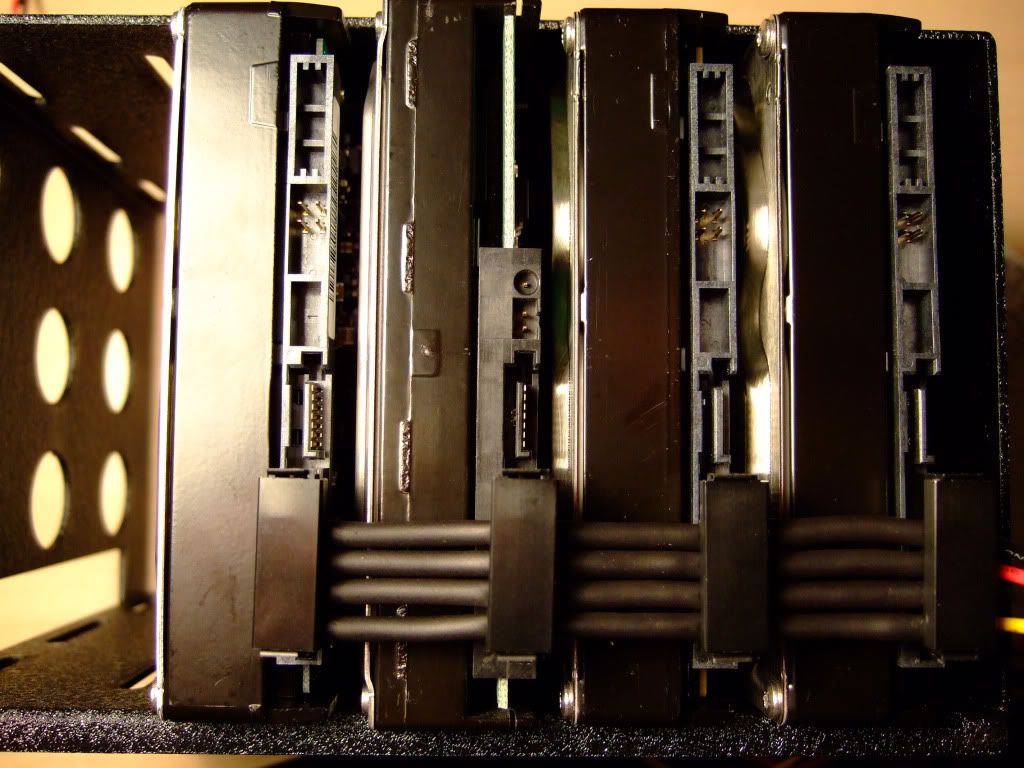
When I purchased the sata power cable, I also purchased some round sata cables.

I then connected the cables and had this

DSCF1310.jpg


Very neat I think??
 
Back
Top Bottom