

Associate
Man on the street Mod: Painting case fans
In the days before fans were available in a wide range of colours, if you wanted to have the colour of your fans match the theme colours of your case pretty much the only option was to paint them up.
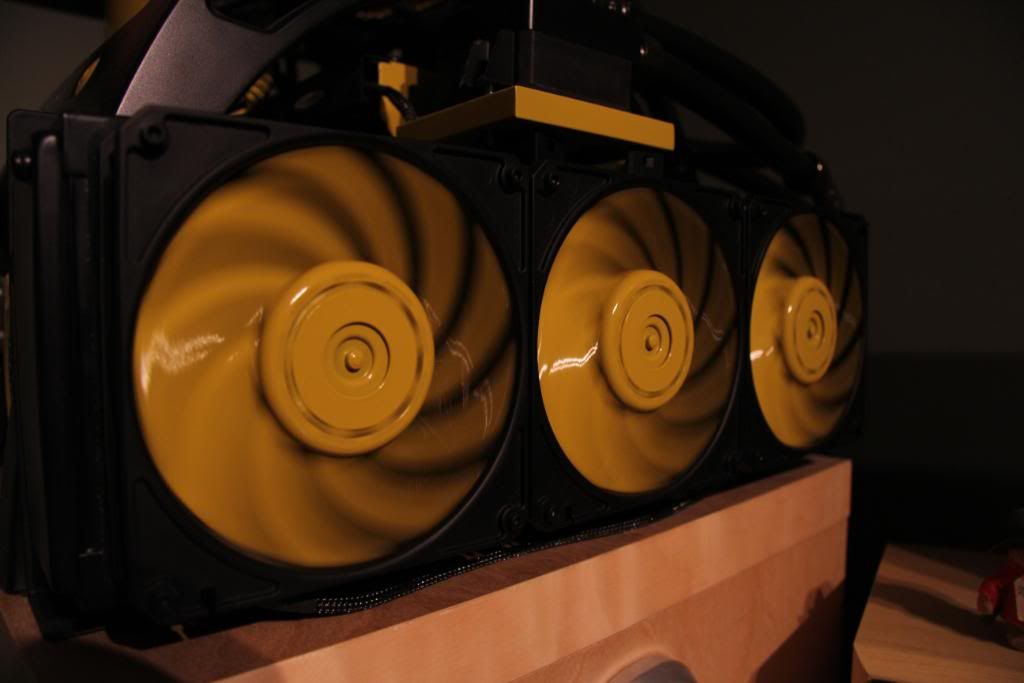
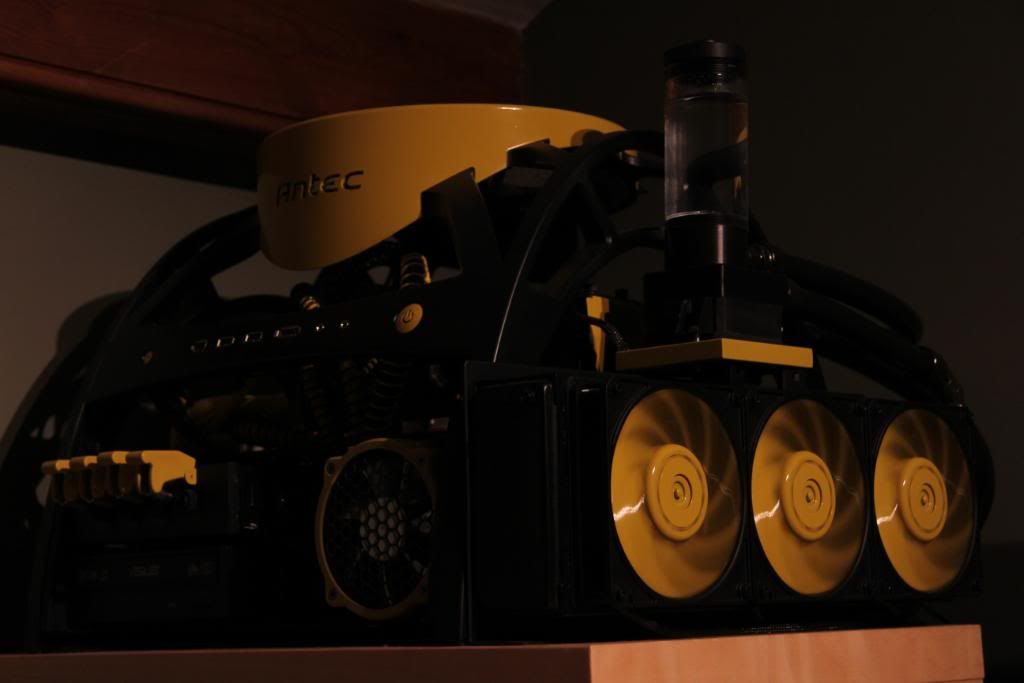
I think fan painting still has a grass roots place in case modding as there's nothing looks quite a slick as a case colour theme that's reflected with exactly the same colours in the fans.
Quite a few pictures her, and I'm going to try to keep the text to a minimum.
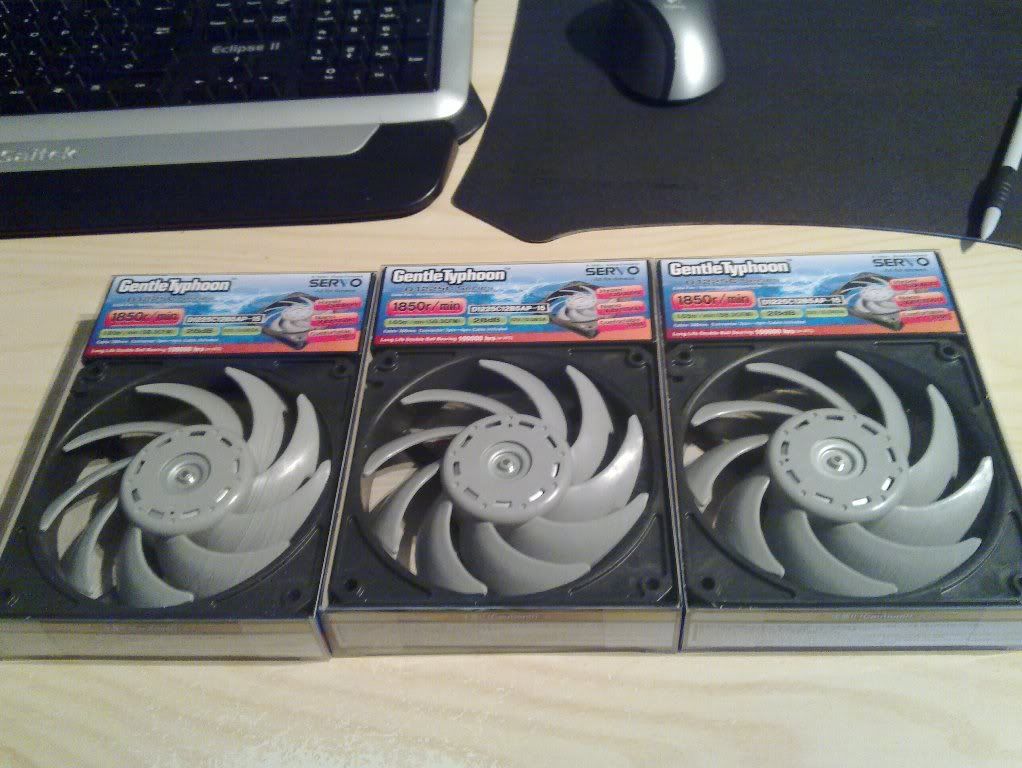
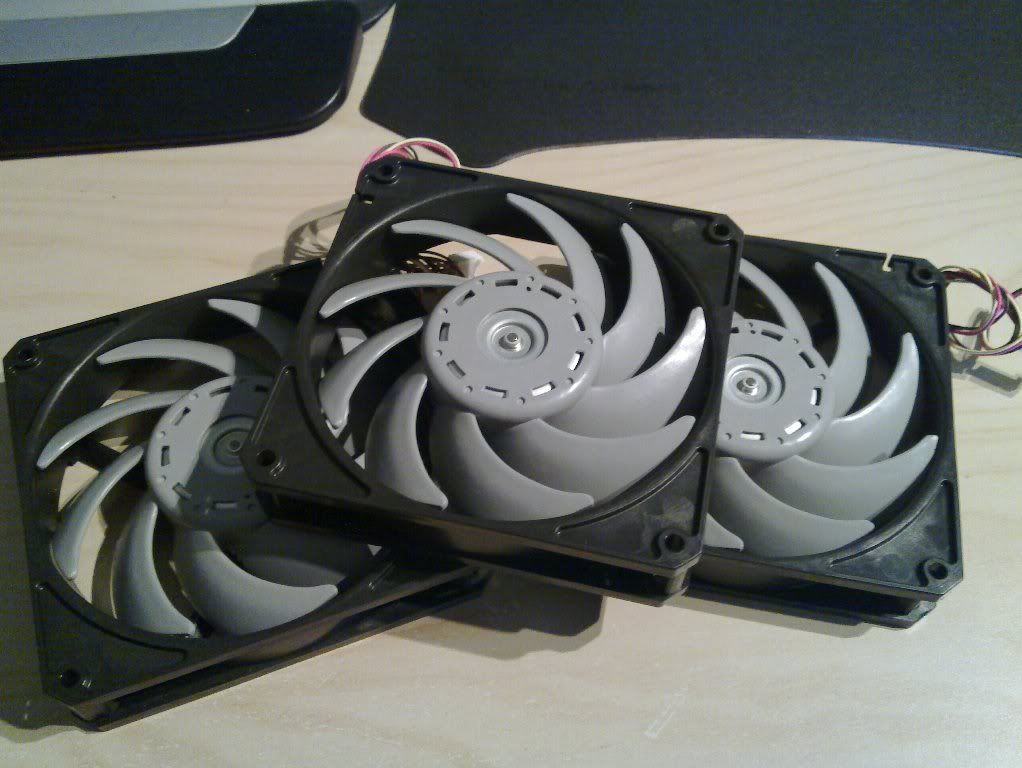
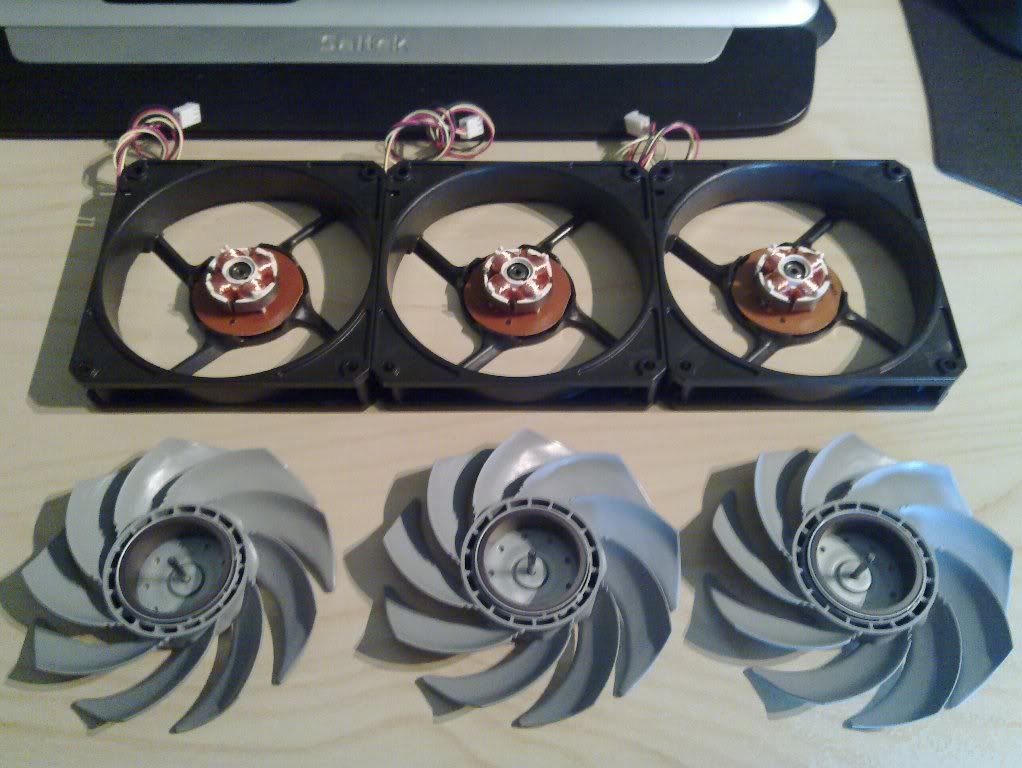
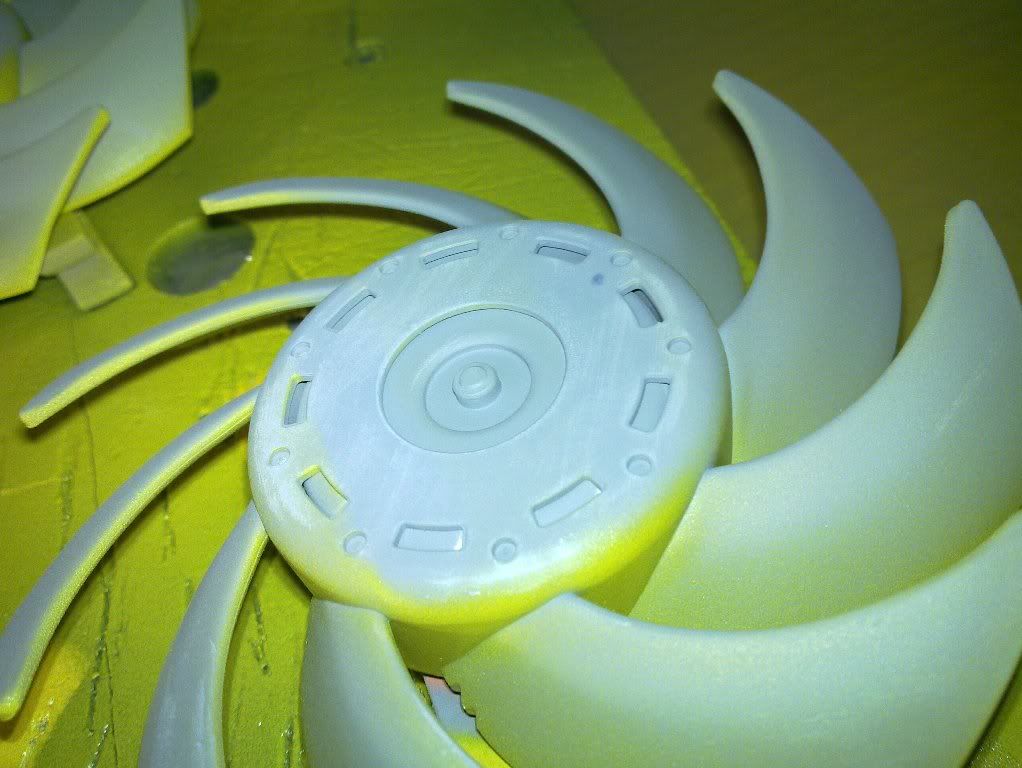
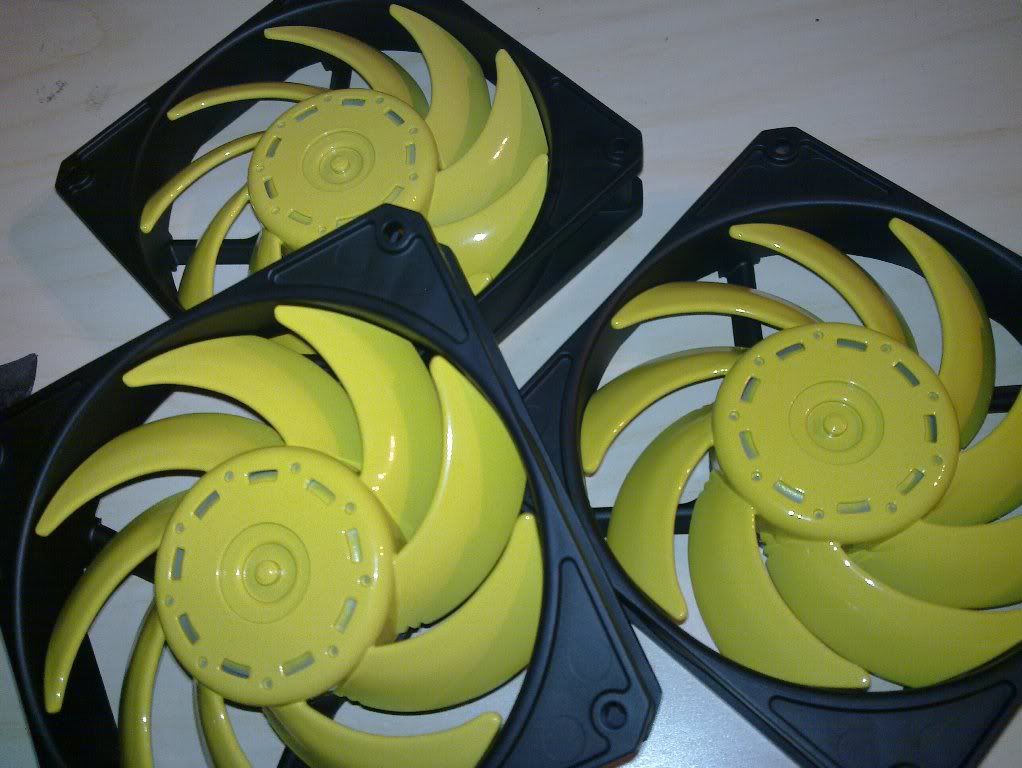
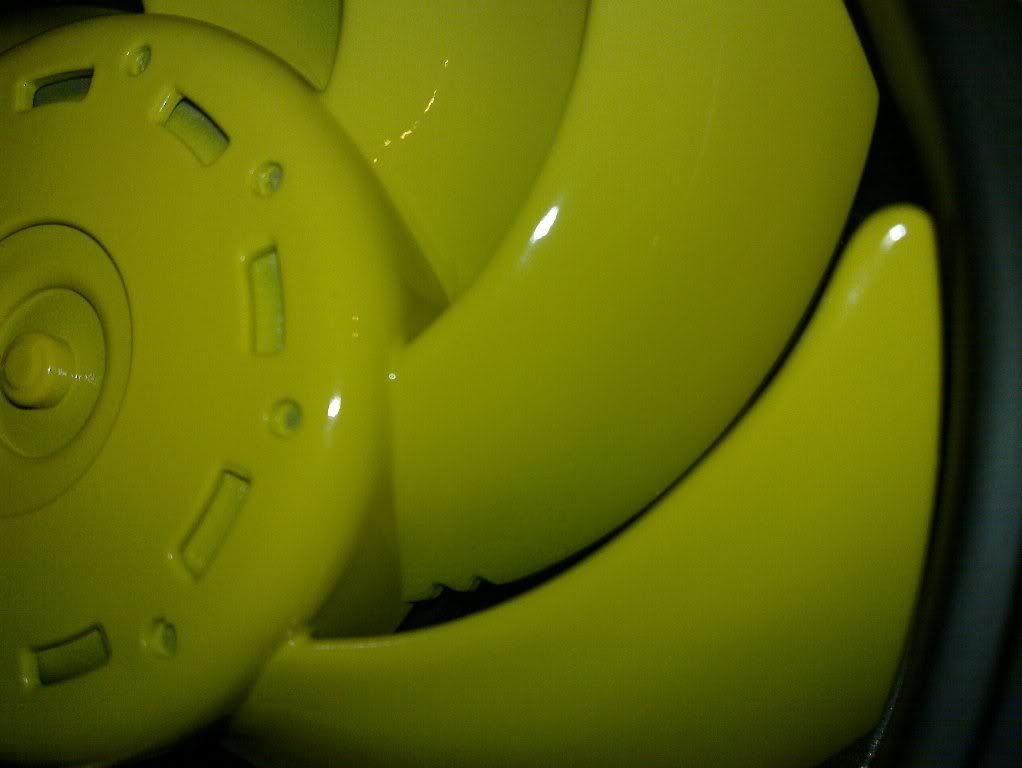
For this tutorial I'm going to be using some 120mm GT fans.
A cracking fan spoilt only by the fact it looks like it been made from re cycled wheelie bin plastic. The method used is applicable to pretty much any fan out there apart from the sealed units.
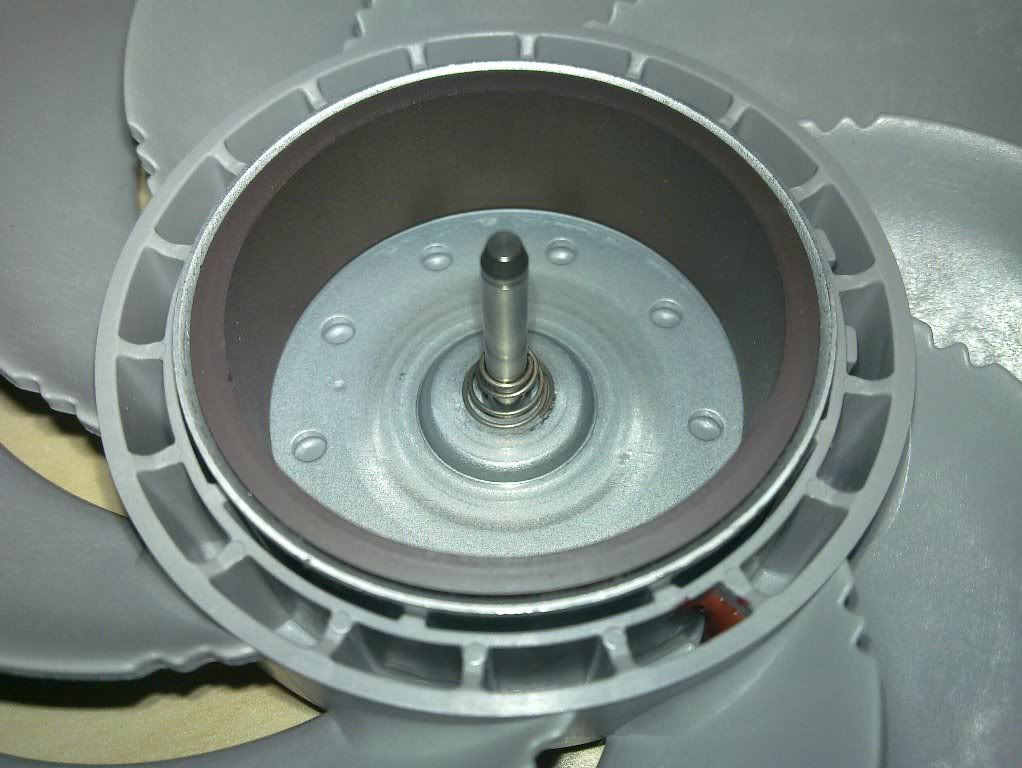
Peel away the sticker at the back (keep it if you want to use it later)
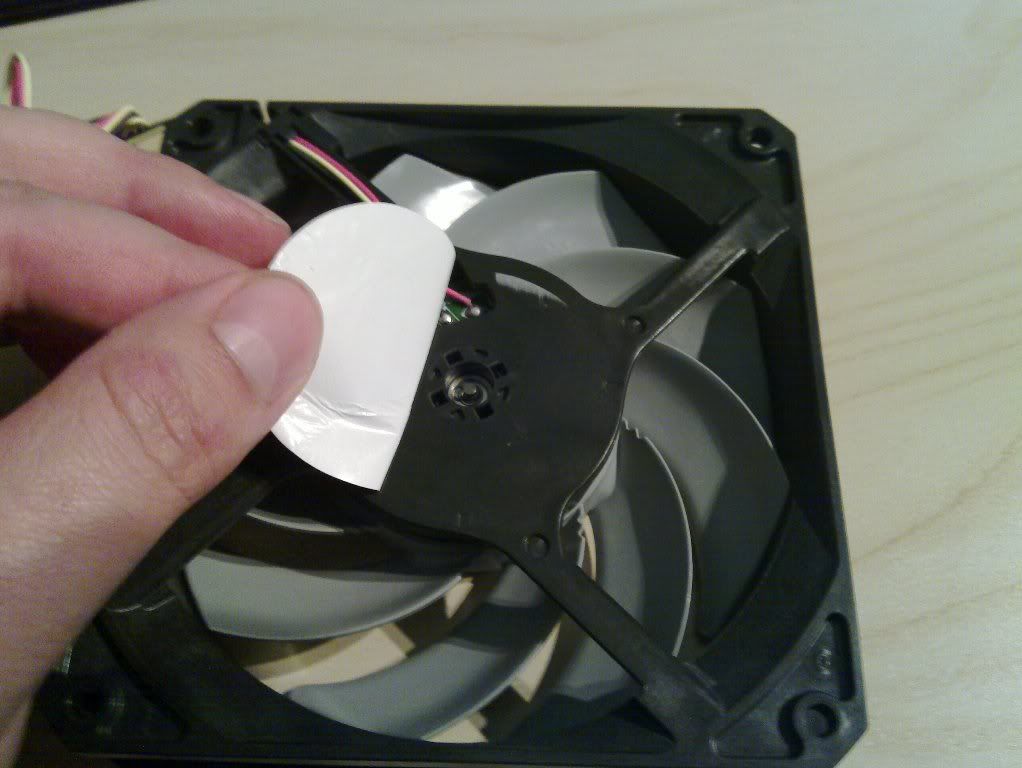
Inside you will either find a cir-clip as seen here, or a whitish plastic disc positioned around the shaft. These serve to lock the shaft in position and stop it flying out the front when switched on so they have to be removed in order to be able to remove the blade section from the cowling section.
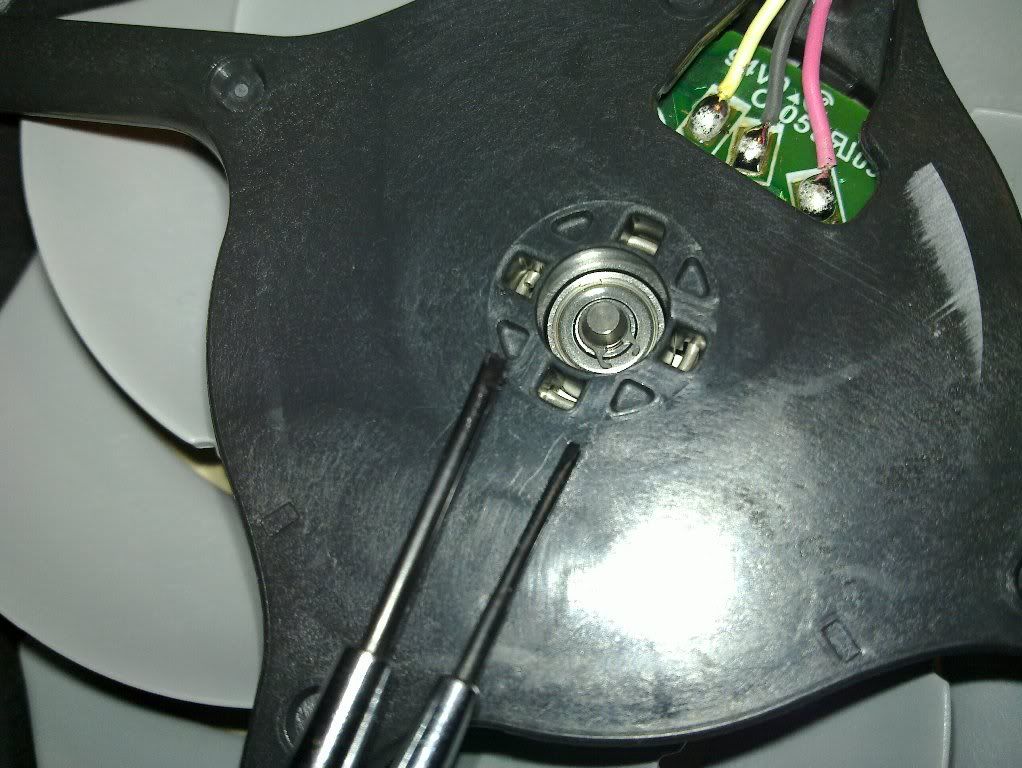
I use a pair of very fine watchmakers screw drivers, but any 2 items with fine points will do.
Be very careful when removing the cir-clip as the little beggar has a habit of pinging off into obscurity (or at the very least to a place on the carpet where you'll never find it
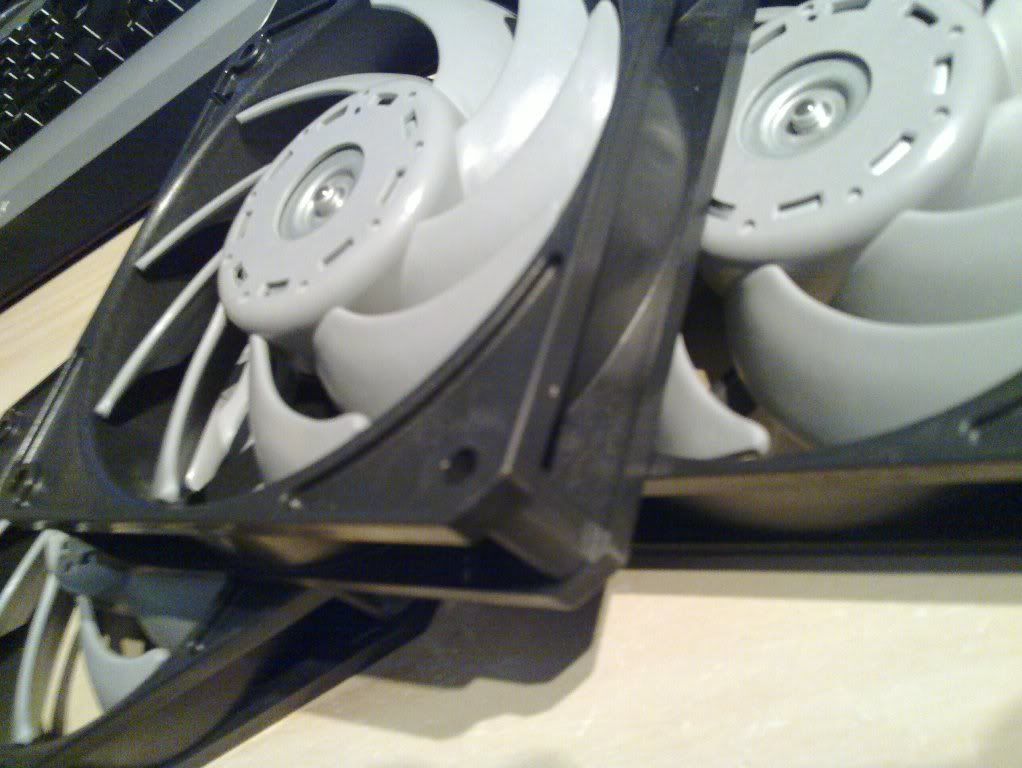
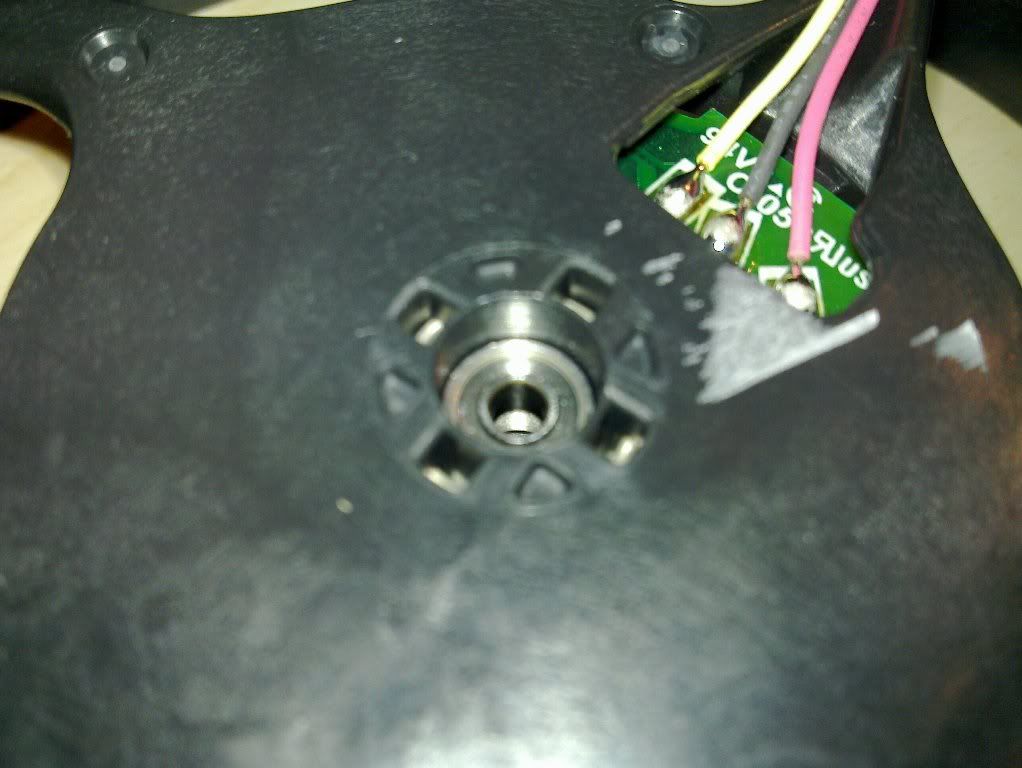
Once the clip is removed the 2 sections can be separated.
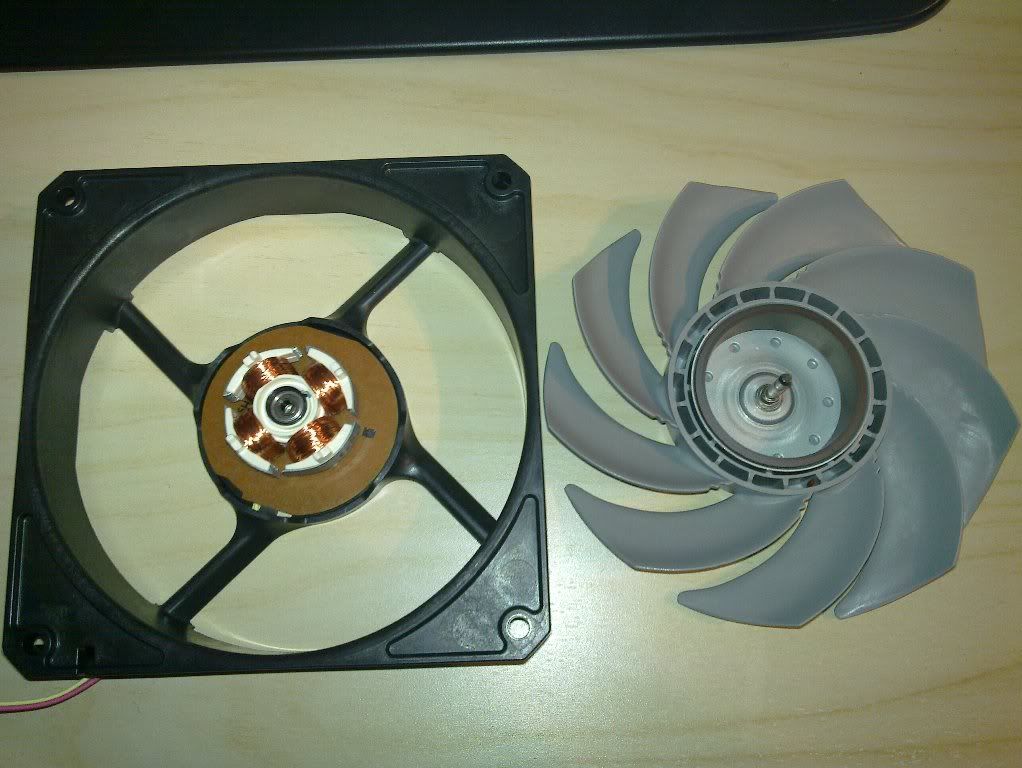
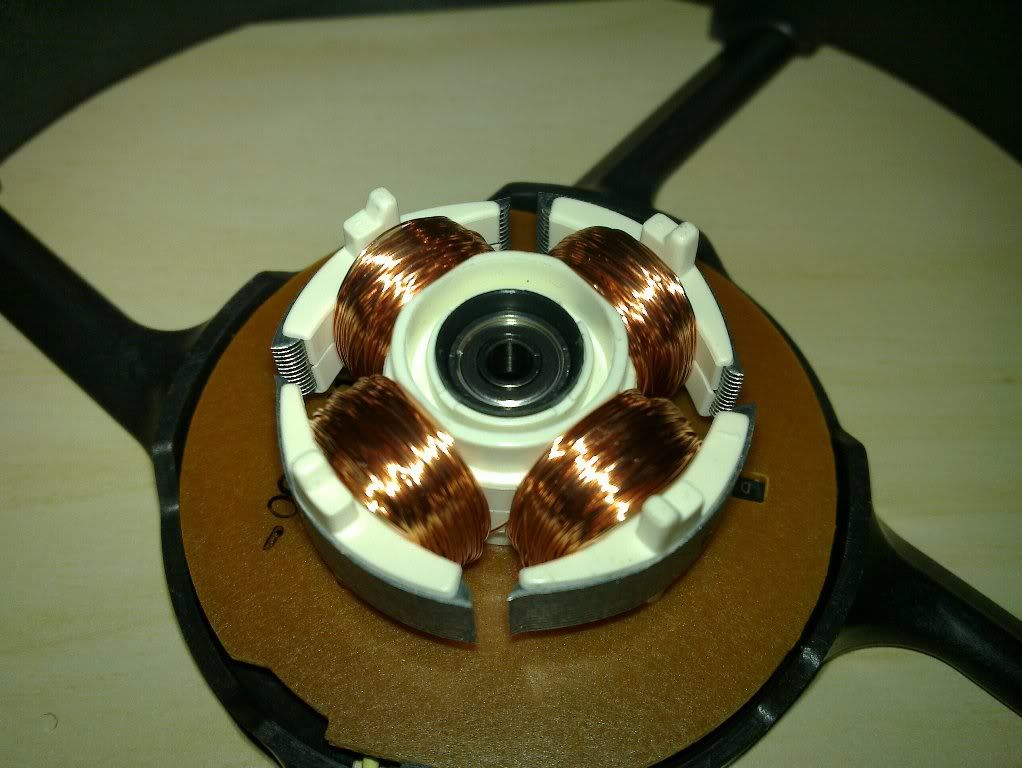
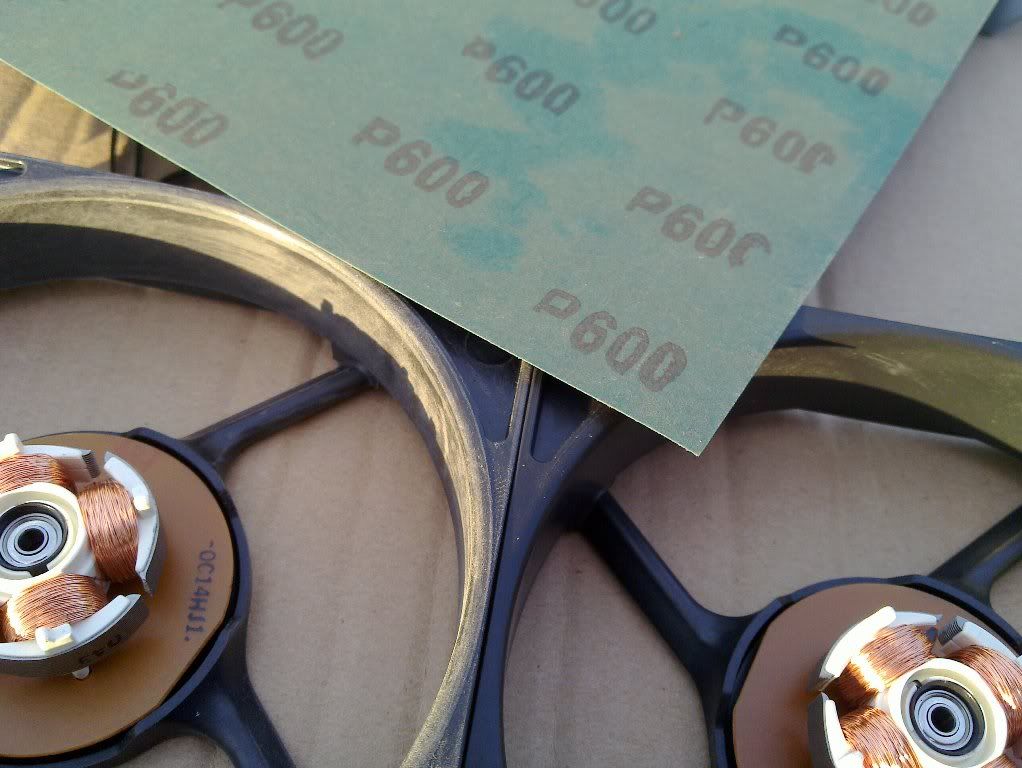
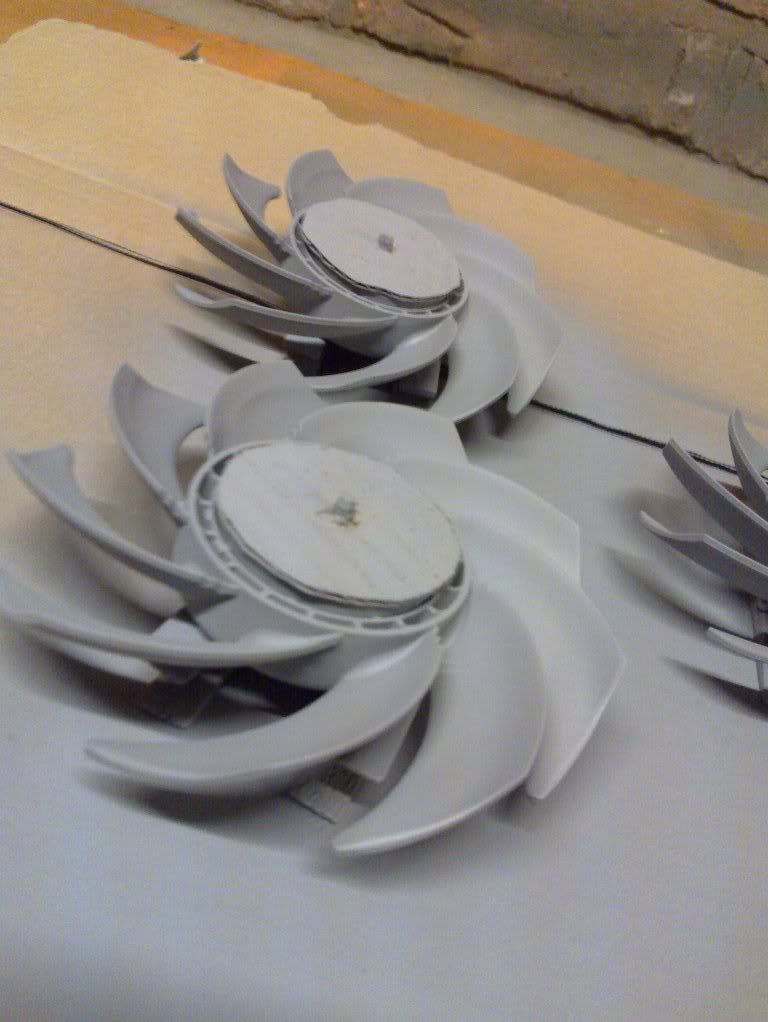
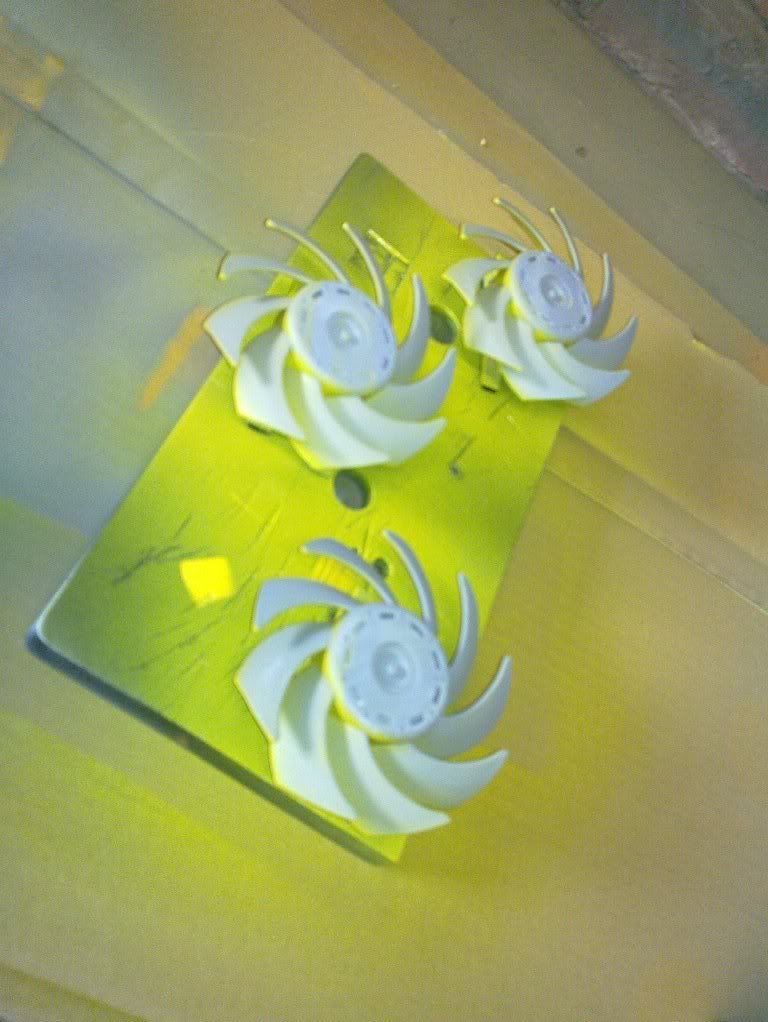
Prepare for painting by giving both surfaces a light key to help them take the paint. be careful not to protect the bearing section from dust or damage.
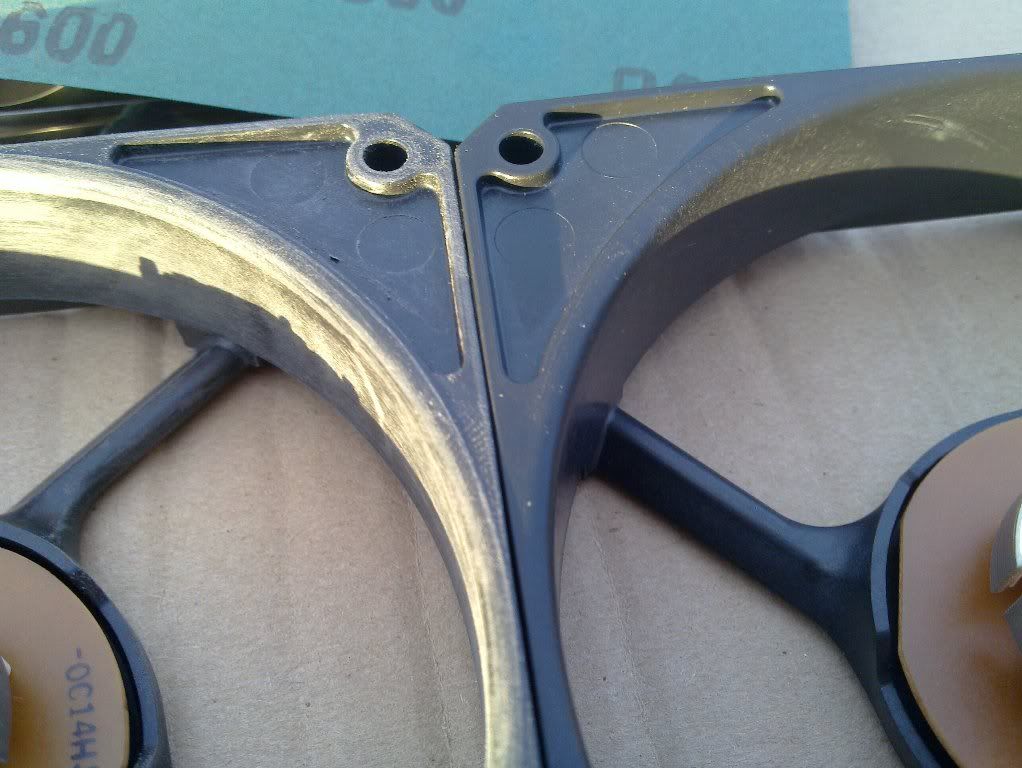
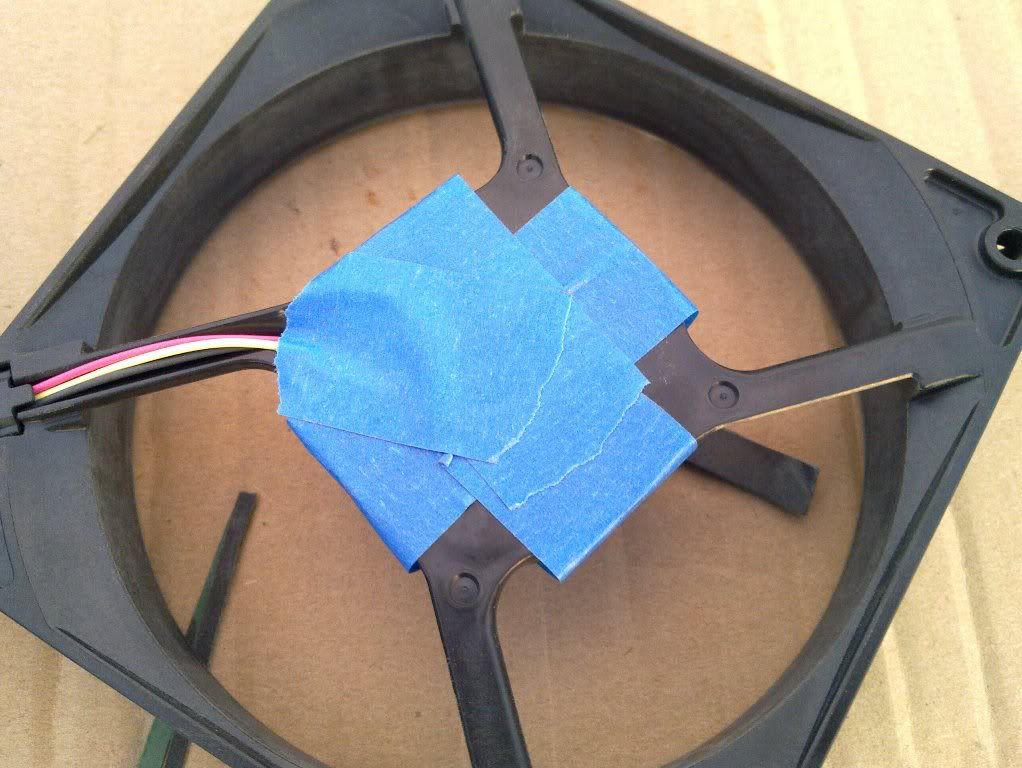
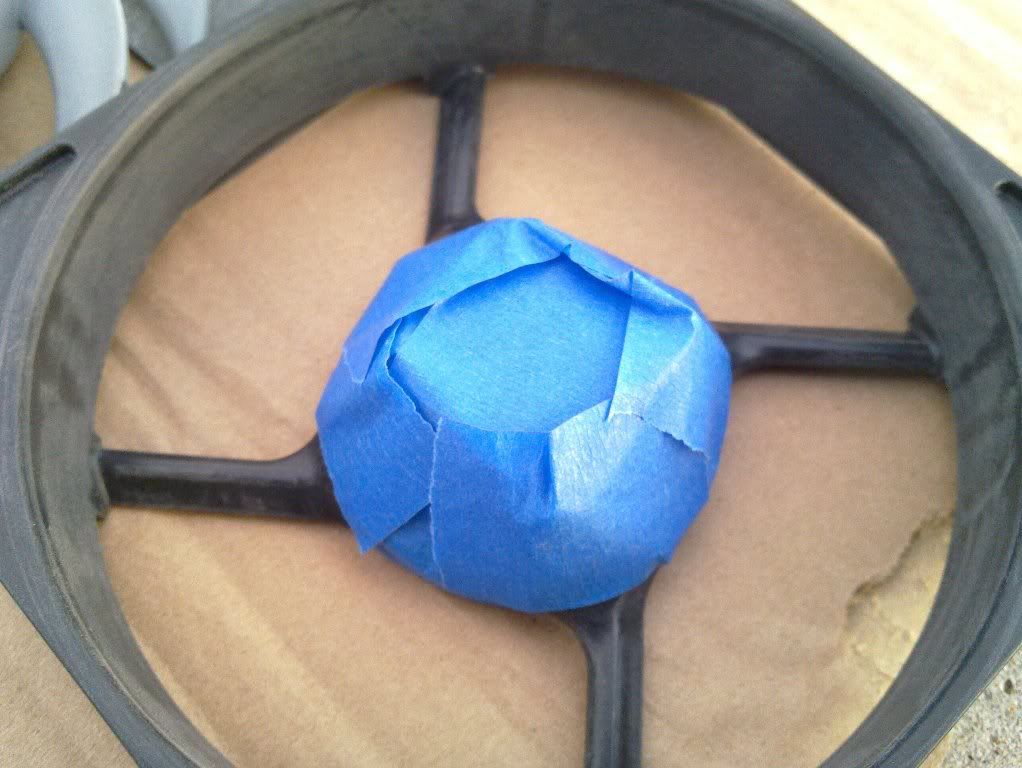
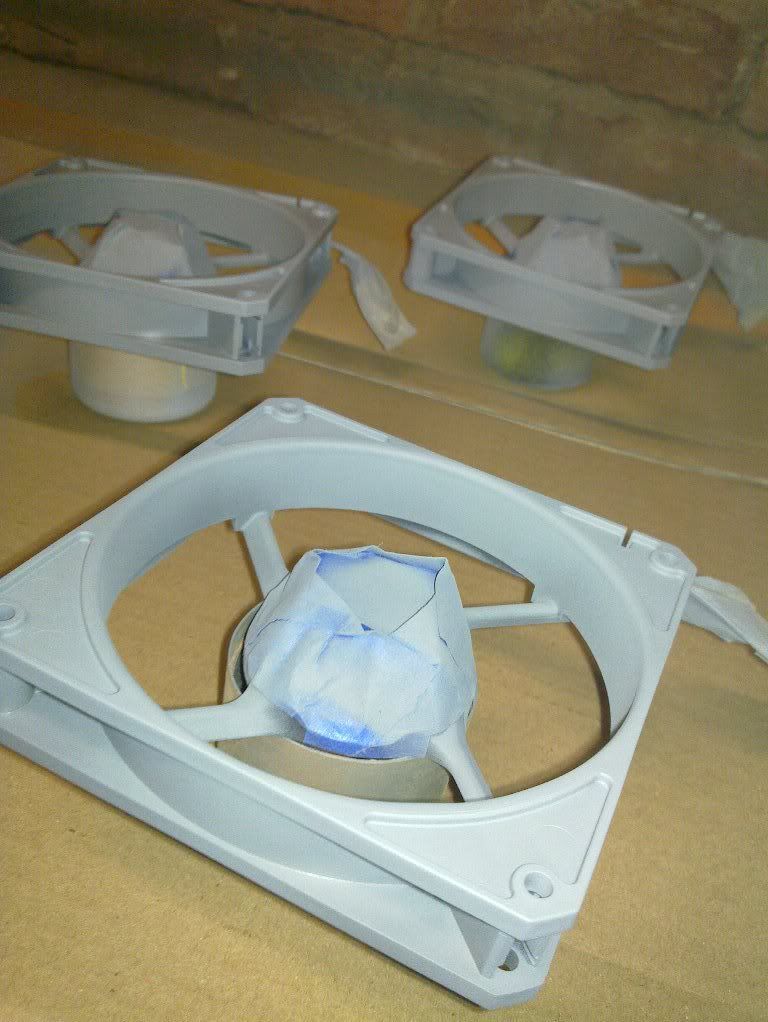
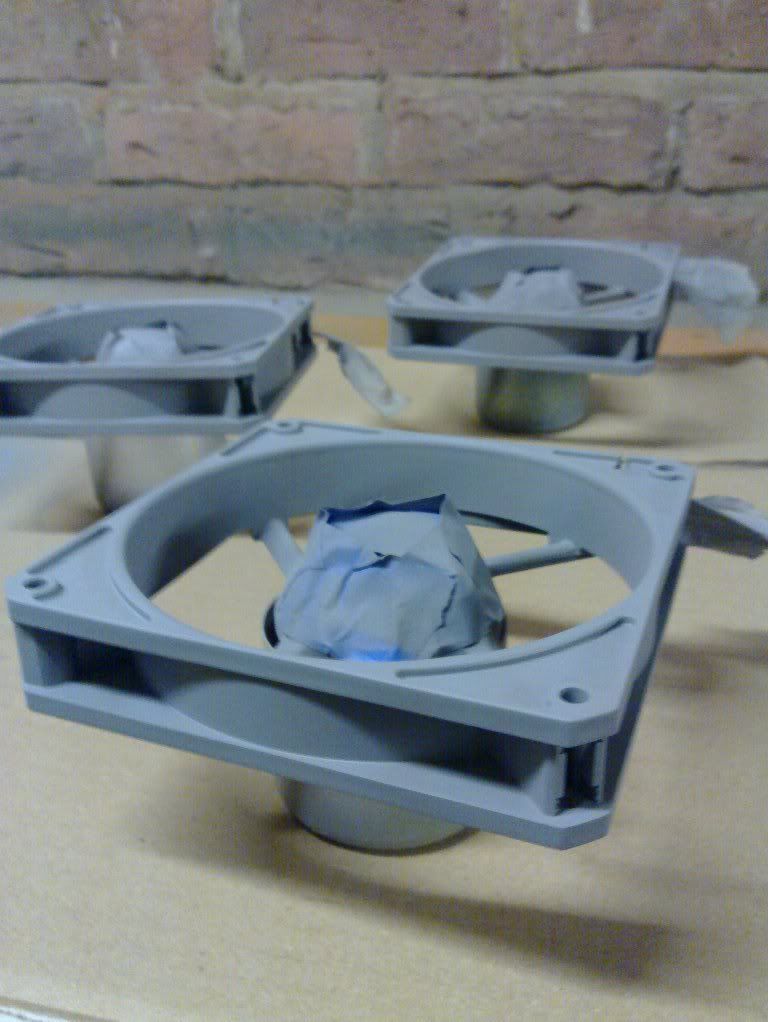
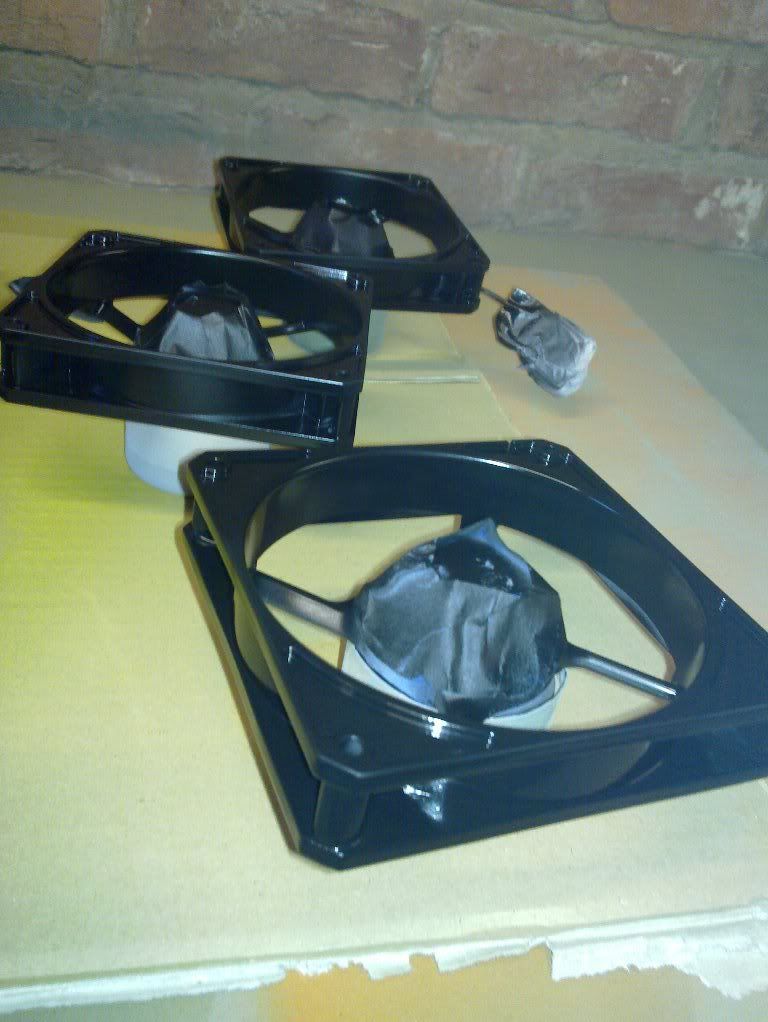
Mask the bearing area with painters tape as we don't want any paint getting in there.
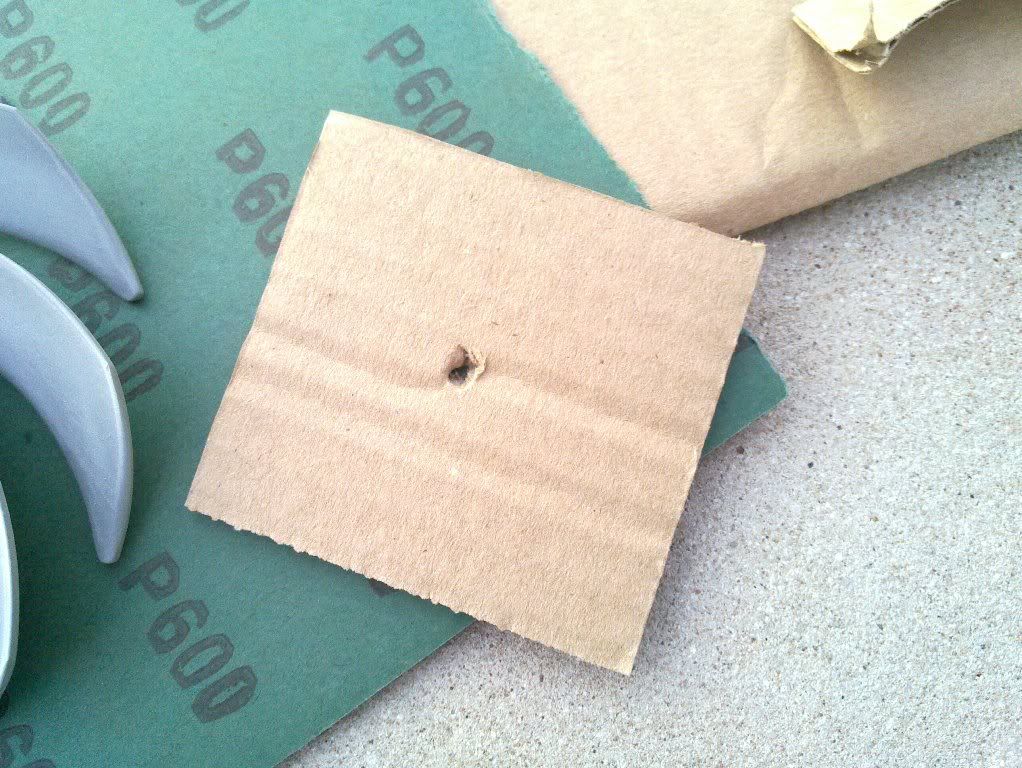
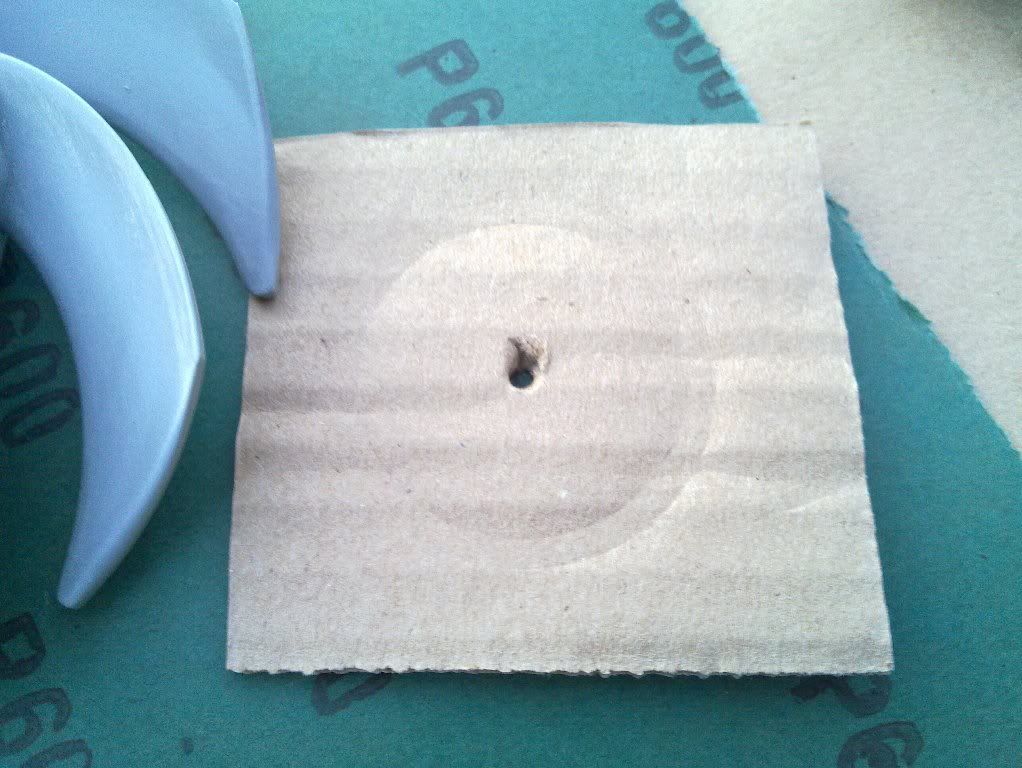
And using a small piece of cardboard make a mask for the spindle of the fan section
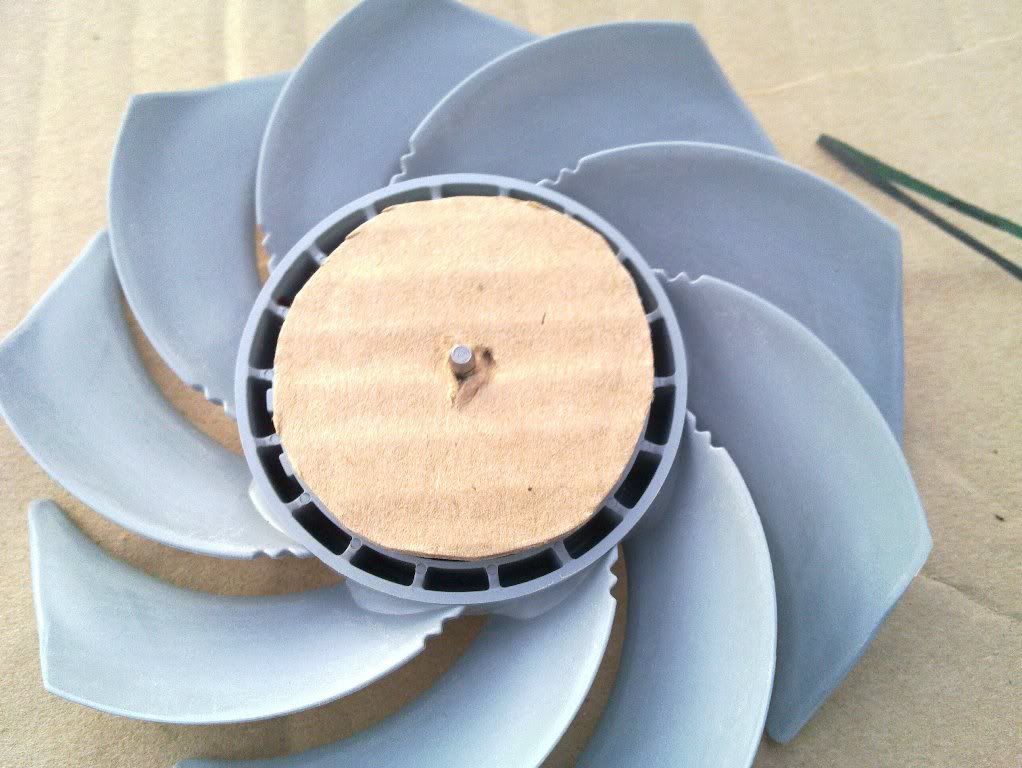
Protect the leads and molex etc with tape also

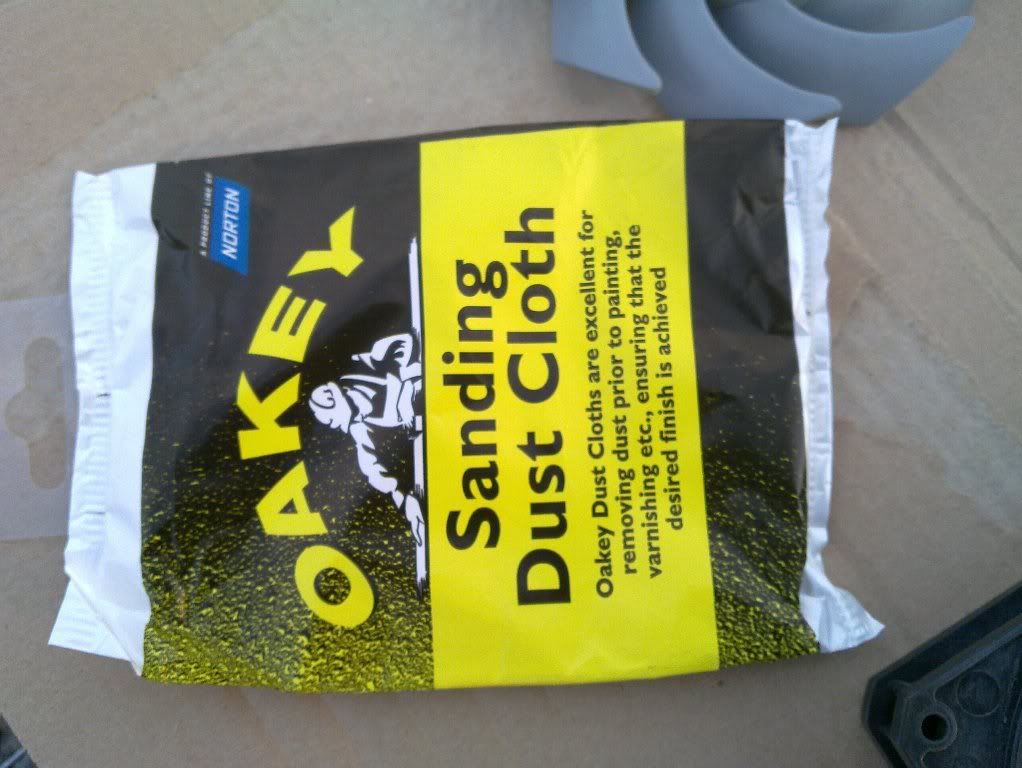
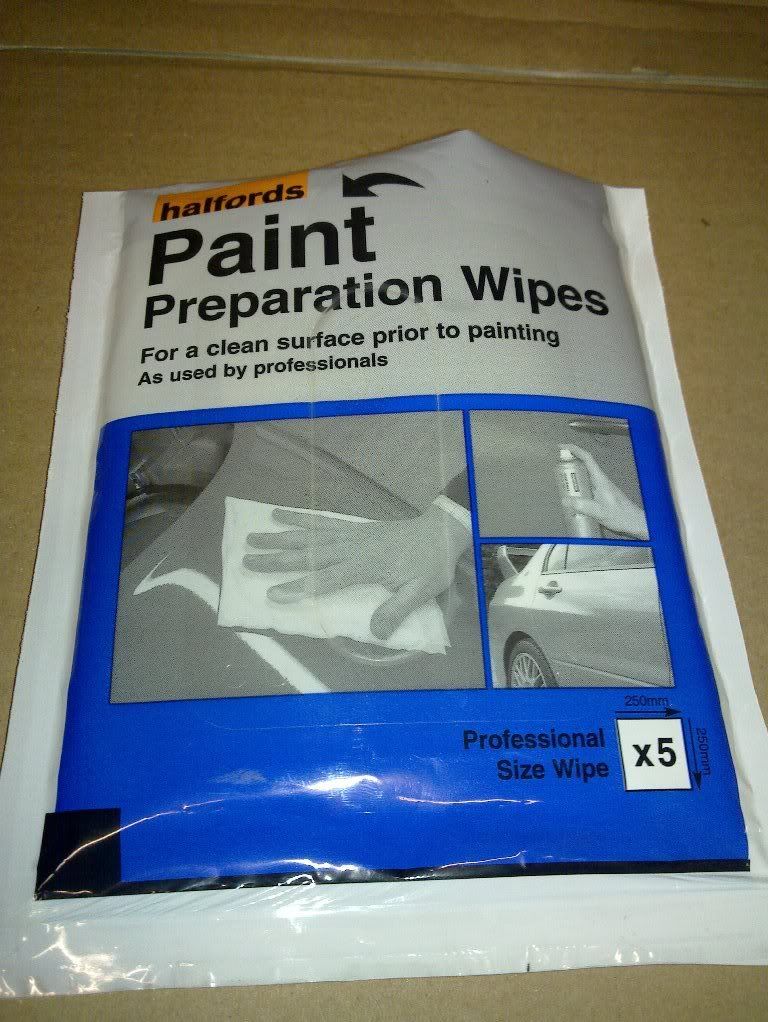
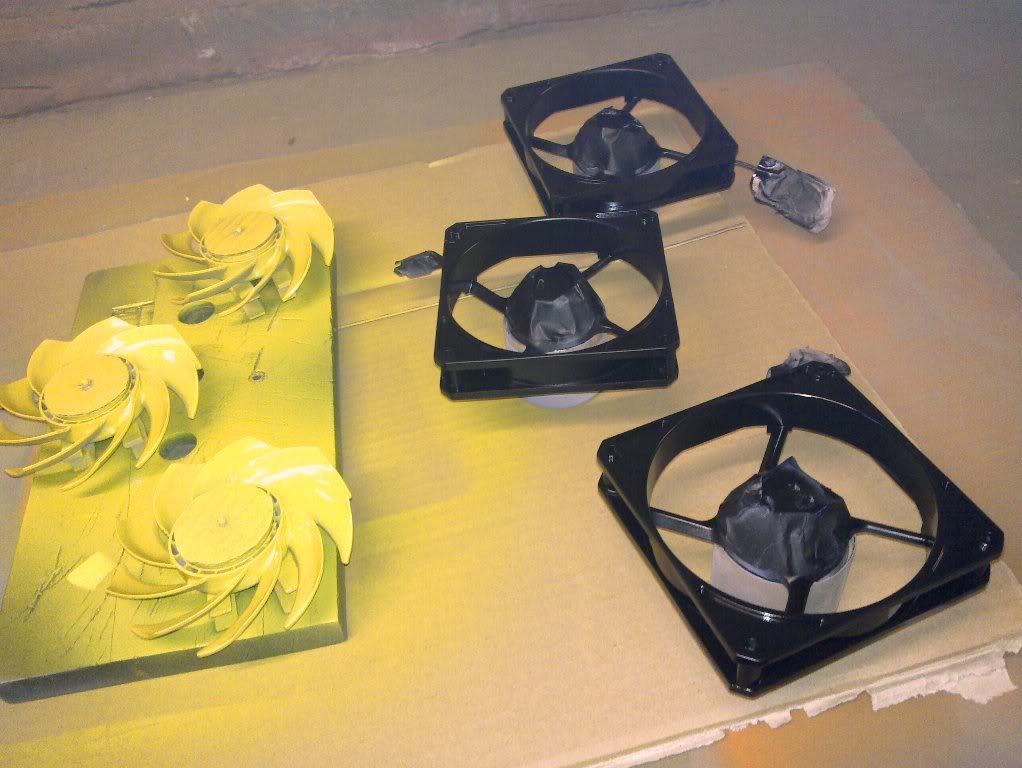
Give everything a wipe down with a tacky cloth and then a paint prep wipe. Dust and grease are your worst enemies when painting so its worth being thorough. Both of these can be obtained from Halfords.
I tend to use Halfords auto paints as I find they flow well from the can and give coverage. You really don't need to use a plastic primer as the standard one is fine.
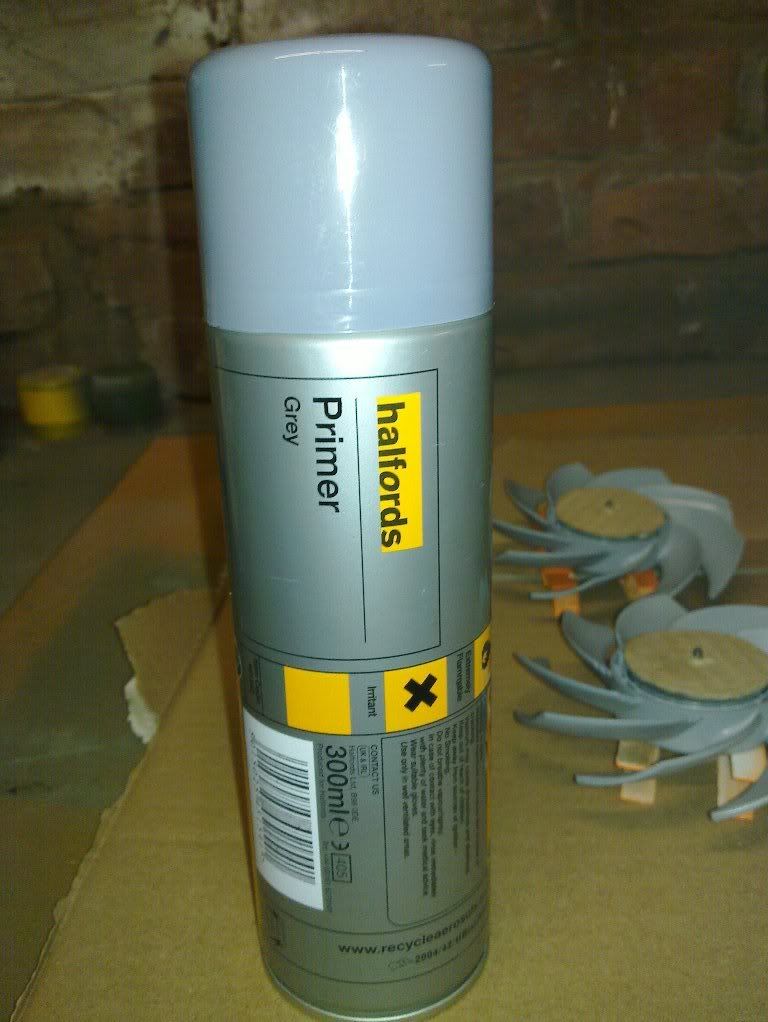
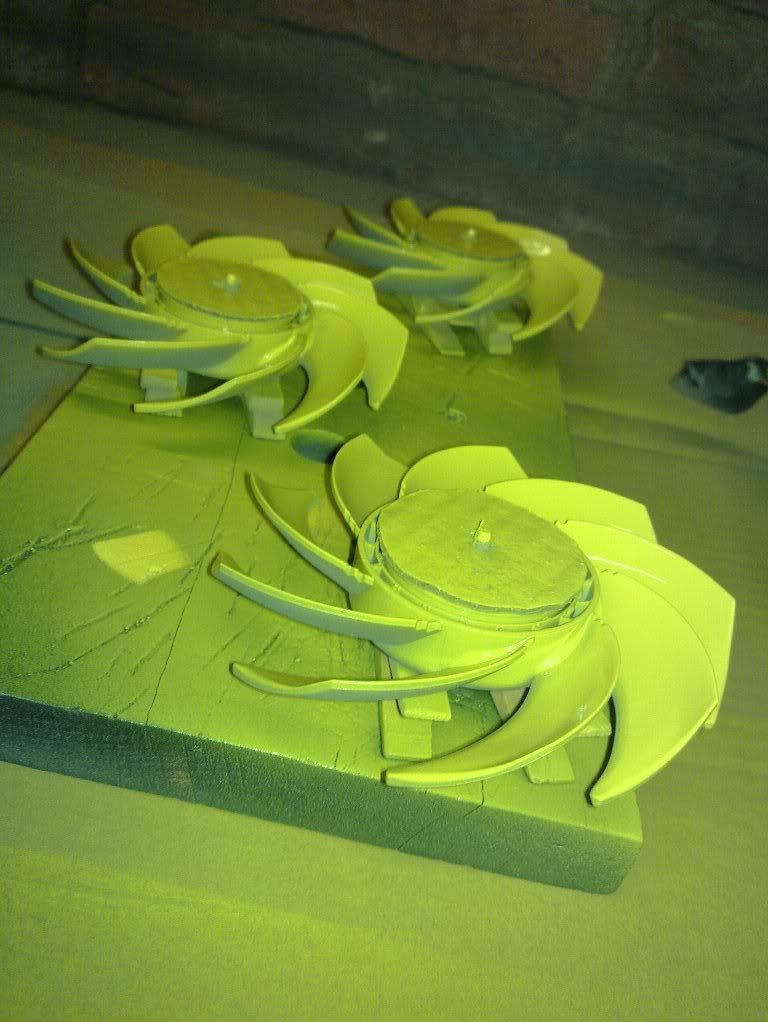
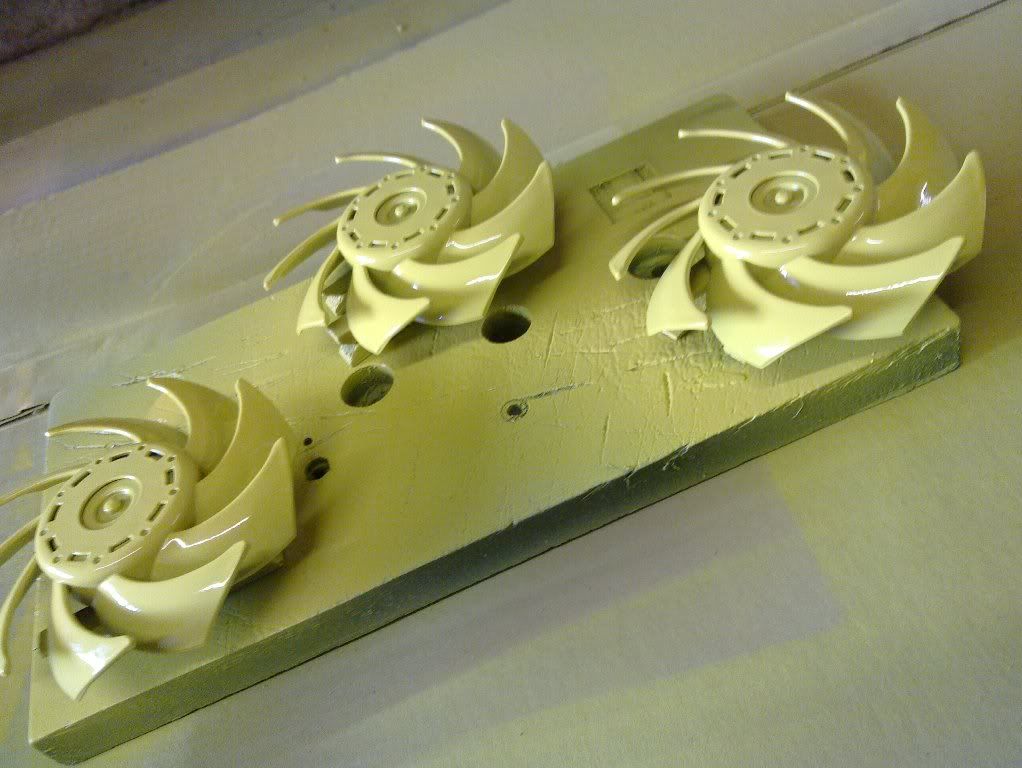
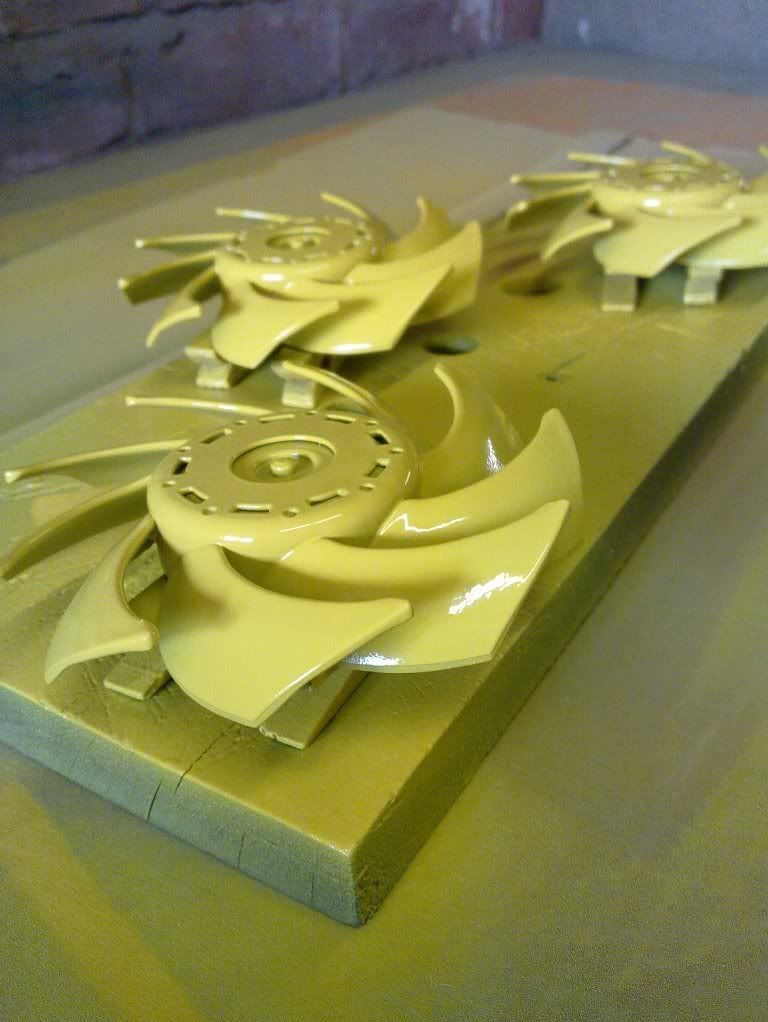
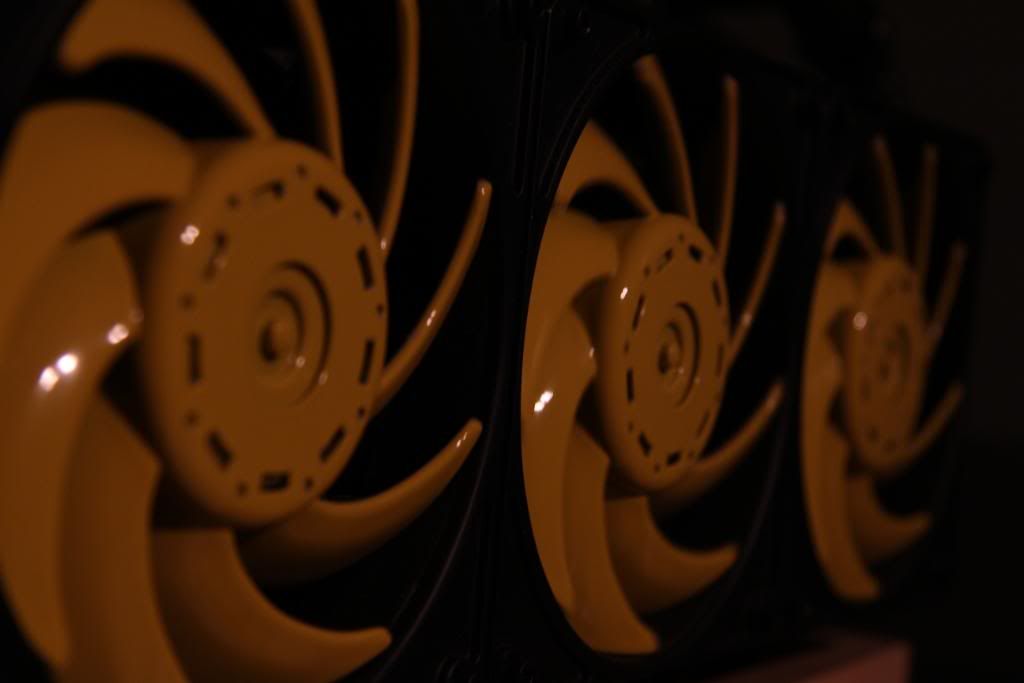
You've probably heard this before but i'm going to say it again. The key to good painting is thin coats and build it up gently.
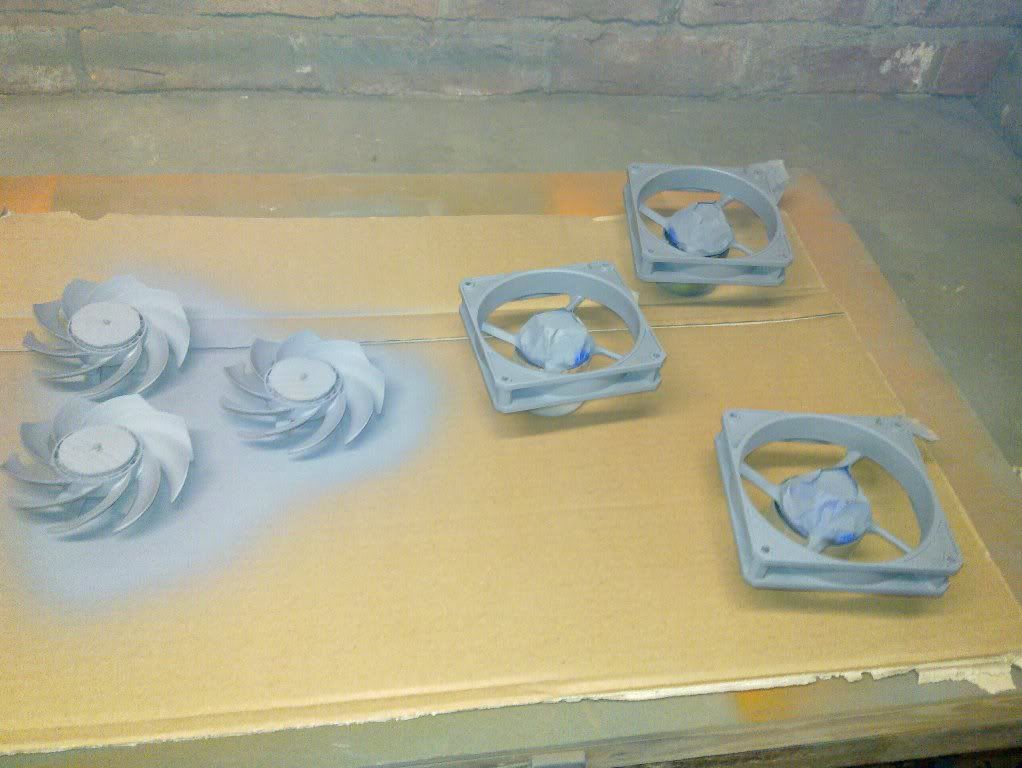
Leave plenty of time for the paint to dry between coats and a good long 24 hours between base coats and top coat and again plenty of time between top coats (follow instructions on the tin for drying times)
In the days before fans were available in a wide range of colours, if you wanted to have the colour of your fans match the theme colours of your case pretty much the only option was to paint them up.
I think fan painting still has a grass roots place in case modding as there's nothing looks quite a slick as a case colour theme that's reflected with exactly the same colours in the fans.
Quite a few pictures her, and I'm going to try to keep the text to a minimum.
For this tutorial I'm going to be using some 120mm GT fans.
A cracking fan spoilt only by the fact it looks like it been made from re cycled wheelie bin plastic. The method used is applicable to pretty much any fan out there apart from the sealed units.
Peel away the sticker at the back (keep it if you want to use it later)
Inside you will either find a cir-clip as seen here, or a whitish plastic disc positioned around the shaft. These serve to lock the shaft in position and stop it flying out the front when switched on so they have to be removed in order to be able to remove the blade section from the cowling section.
I use a pair of very fine watchmakers screw drivers, but any 2 items with fine points will do.
Be very careful when removing the cir-clip as the little beggar has a habit of pinging off into obscurity (or at the very least to a place on the carpet where you'll never find it
Once the clip is removed the 2 sections can be separated.
Prepare for painting by giving both surfaces a light key to help them take the paint. be careful not to protect the bearing section from dust or damage.
Mask the bearing area with painters tape as we don't want any paint getting in there.
And using a small piece of cardboard make a mask for the spindle of the fan section
Protect the leads and molex etc with tape also
Give everything a wipe down with a tacky cloth and then a paint prep wipe. Dust and grease are your worst enemies when painting so its worth being thorough. Both of these can be obtained from Halfords.
I tend to use Halfords auto paints as I find they flow well from the can and give coverage. You really don't need to use a plastic primer as the standard one is fine.
You've probably heard this before but i'm going to say it again. The key to good painting is thin coats and build it up gently.
Leave plenty of time for the paint to dry between coats and a good long 24 hours between base coats and top coat and again plenty of time between top coats (follow instructions on the tin for drying times)
Last edited:
")

")