


Hello, posting my First build log here. The build is near completion, i just started being active on here and was requested to share the log so here we are. Im copy pasting stuff from my own forum so there will be some sentences that would seem odd....like "yesterday the board arrived"...whereas in real it arrived 3-4 months back Apologies for this
Last build i did wasnt up to mark and had a lot of problems in it. So decided on scrapping it and getting on with a whole new build with much better and drool worthy specs.
Heres a little shot of my last build.
Now onto new stuff. Lets list down the specs first
Motherboard: EVGA SR-2
CPU: Intel Xeon E6545 x2
Ram: 24GB G.Skill Ripjaws 1600Mhz CL9
HDD: 3x OCZ Vertex 2 240GB SSD's + 1TB WD Caviar Black for backup
GPU: Sparkle GTX 480 Tri SLi (already have these and dont wanna jump to 5 series. Will upgrade to 6 series when it launches)
PSU: Thermaltake ToughPower 1500W
Casing: Little Devil V8 Inverted HPTX
-----------------------------------------------------------------------------------
Watercooling Specs: Most of the stuff i already own from my previous builds, so just gonna list down stuff that i need to order.
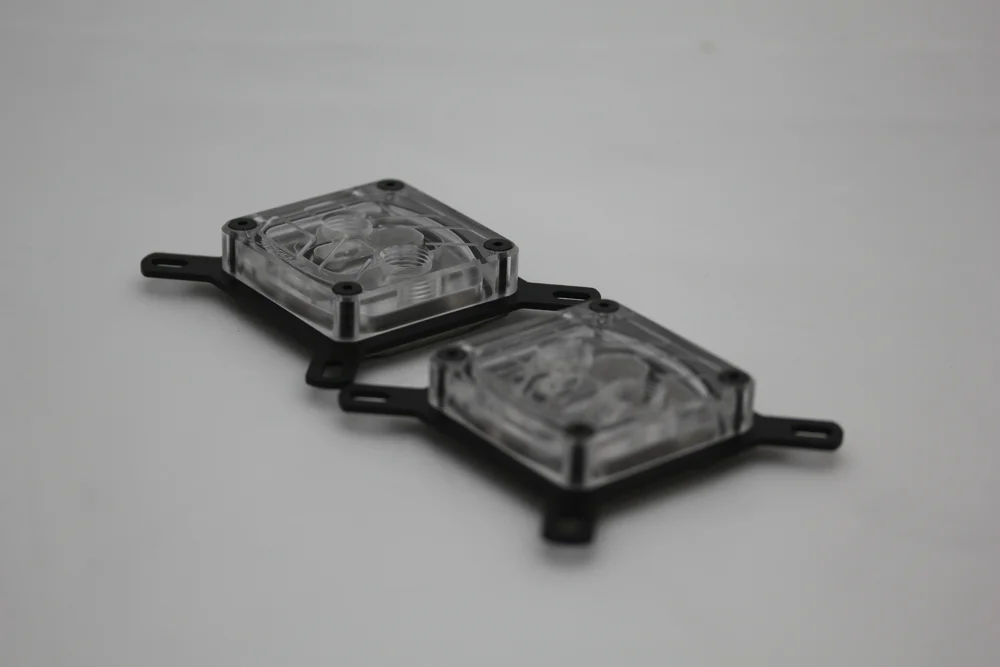
2 x EK HF CPU Blocks
1 x XSPC RX 480 Radiator
3 x XSPC RX 360 Radiator
DD tubing
Feser One Orange Coolant
Bitspower Compression Fittings (sponsored by Bitspower)
Lets start with a couple of pics that i took of the hardware that has arrived.
A couple of days ago, my motherboard and processors arrived.


The pair

Hooked this up quickly on air cooling to see if the board was DOA or not and if everything was running fine out of the box. Was glad to see that it did

All ok!


ime for another unboxing. Got the thermaltake Toughpower 1500W psu to handle 3 x gtx 480's. Also finally took pics of accessories that came with the board.


been a long time since i updated this thread. Some progress happened. First i got sponsored by bitspower (my first ever sponsor). They were kind enough to send me some stuff that i wanted. Big thanks to vincent. Lets start with pics shall we.


ok small update...today the tubing arrived....finally found one in size which was orange coloured. Here are the amazing pics


ok back here after a week with some good updates. First of all had a chat with bitspower and requested some more items which are now being sent over. Ill try to keep them as a surprise. But something else came in today and i must say FINALLY...so lets do the unboxing of the unboxed shall we?


Only problem that i encountered with the case as yet....or maybe it isnt a problem...the front HDD fan panel is a bit bent towards the inside...like some1 punched it. Can be fixed though so no biggie


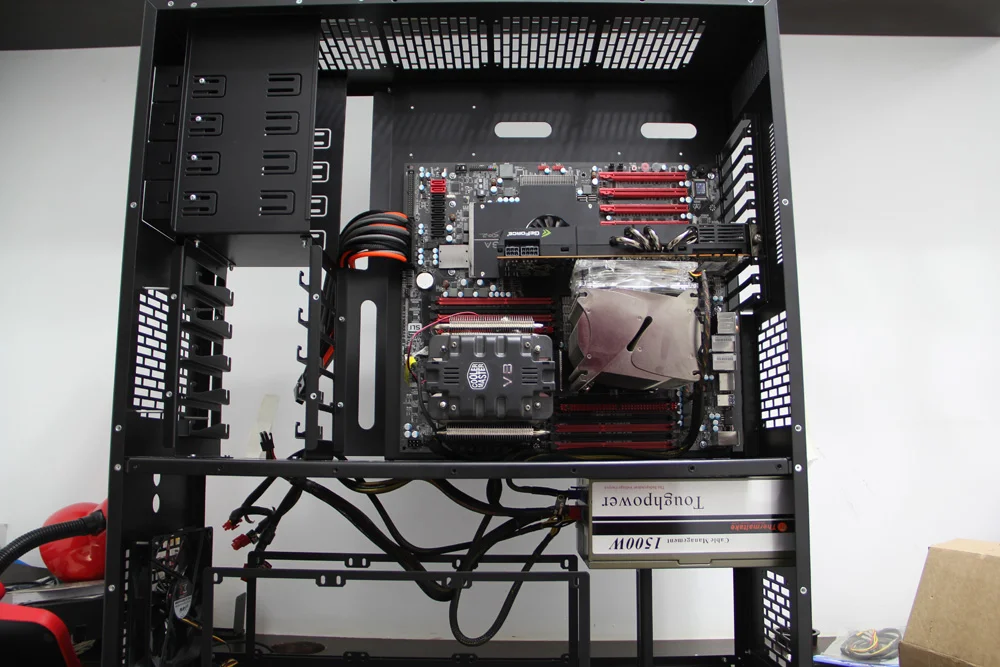
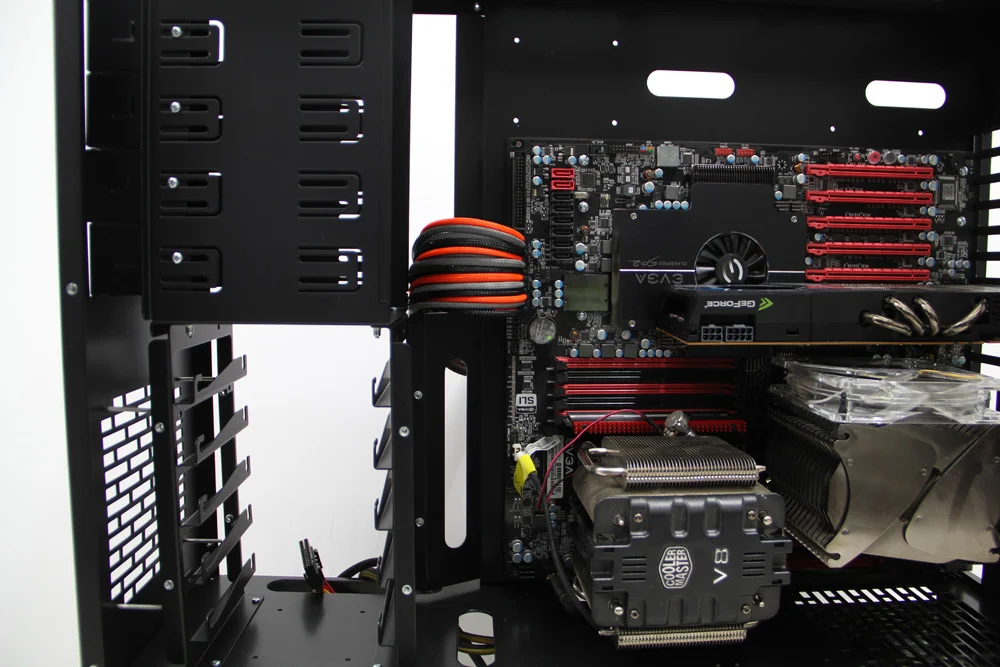
installed the board for a quick overview on how to route the tubing and cables. I must say even after installing the board there is plenty of space present.
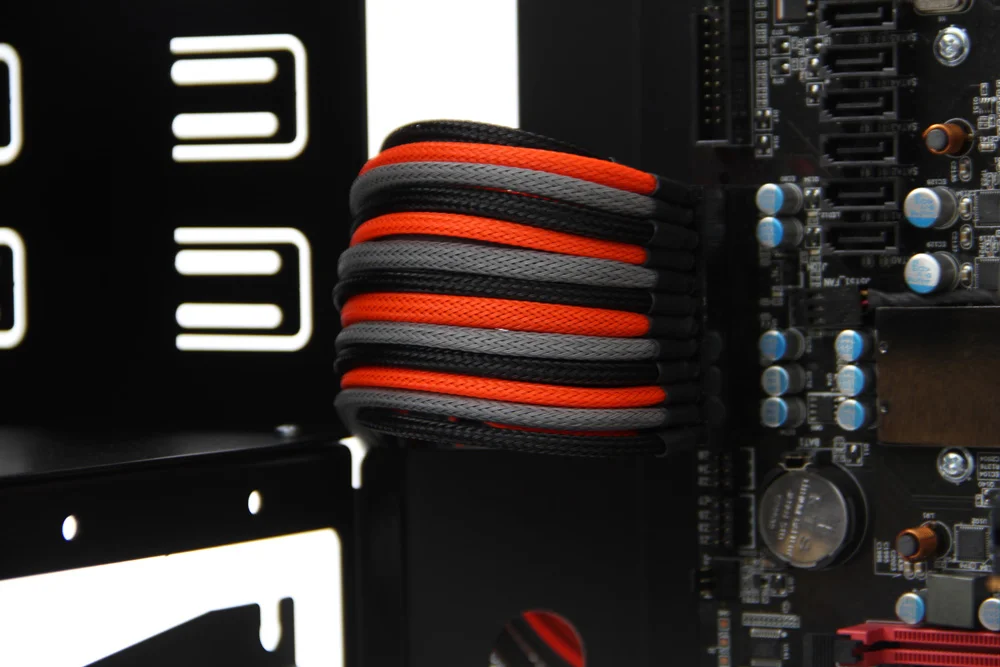
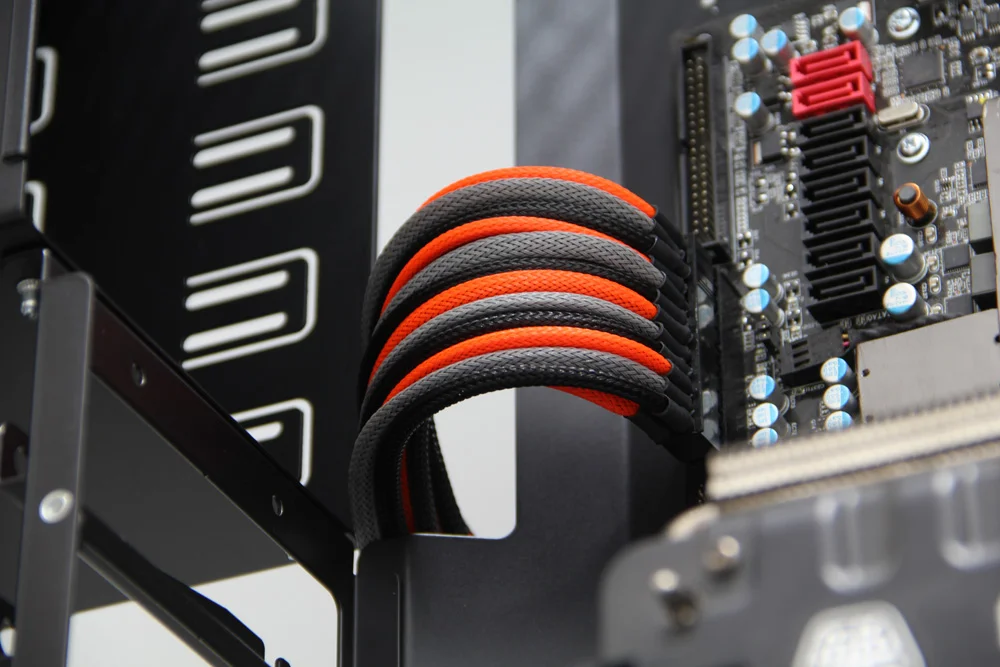
got done sleeving the 24 pin connector. This is how it looks.
update time.....ok didnt have enough time to take pics in detail so those will come later. here is a quick overwiew
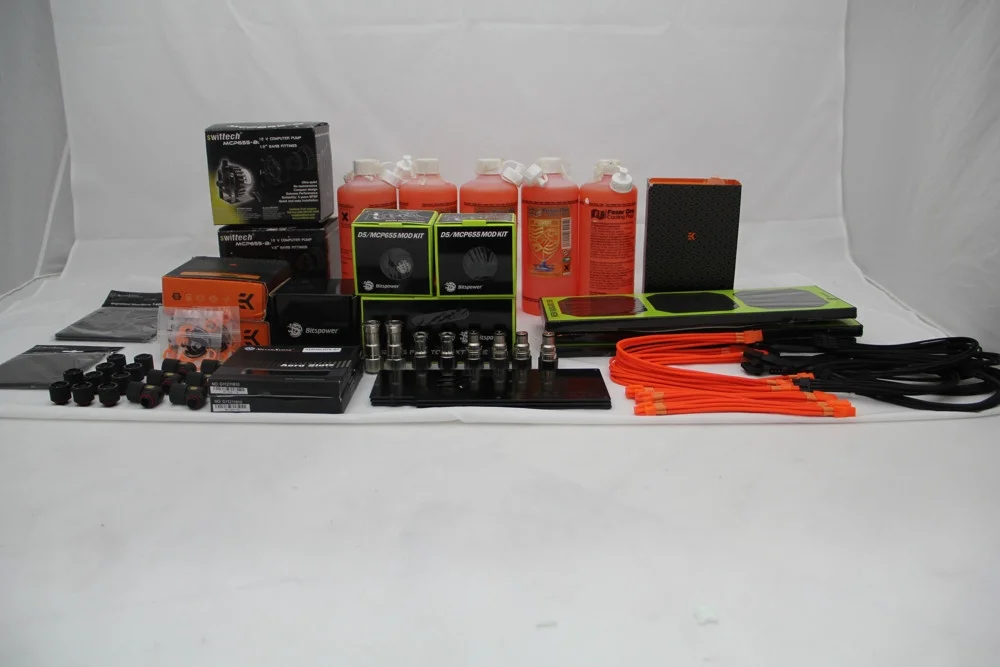
The whole lot
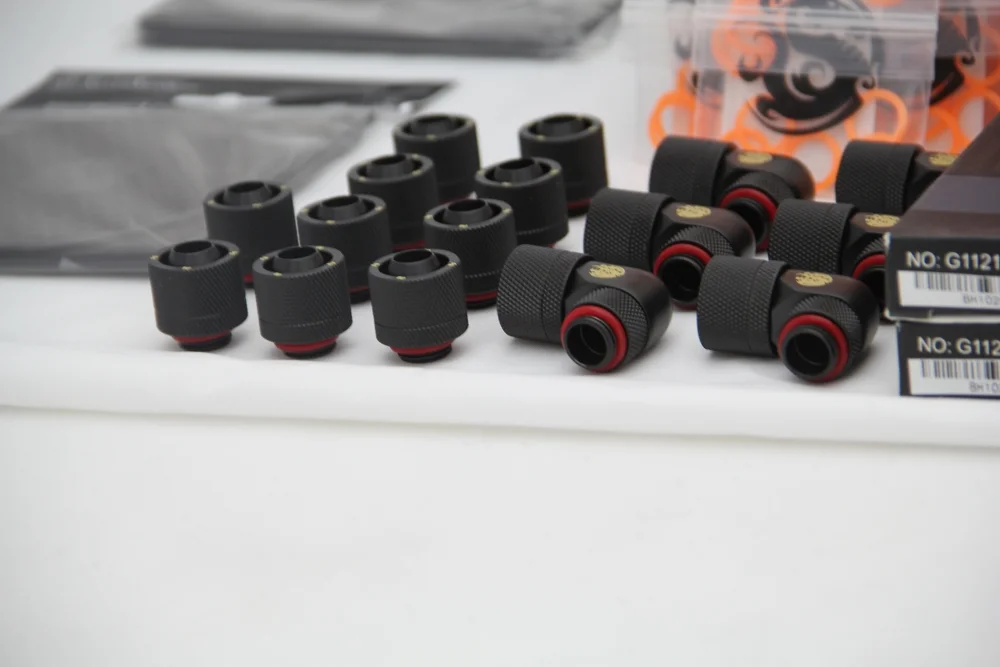
MOAR Fittings!!!! Thanks to bitspower
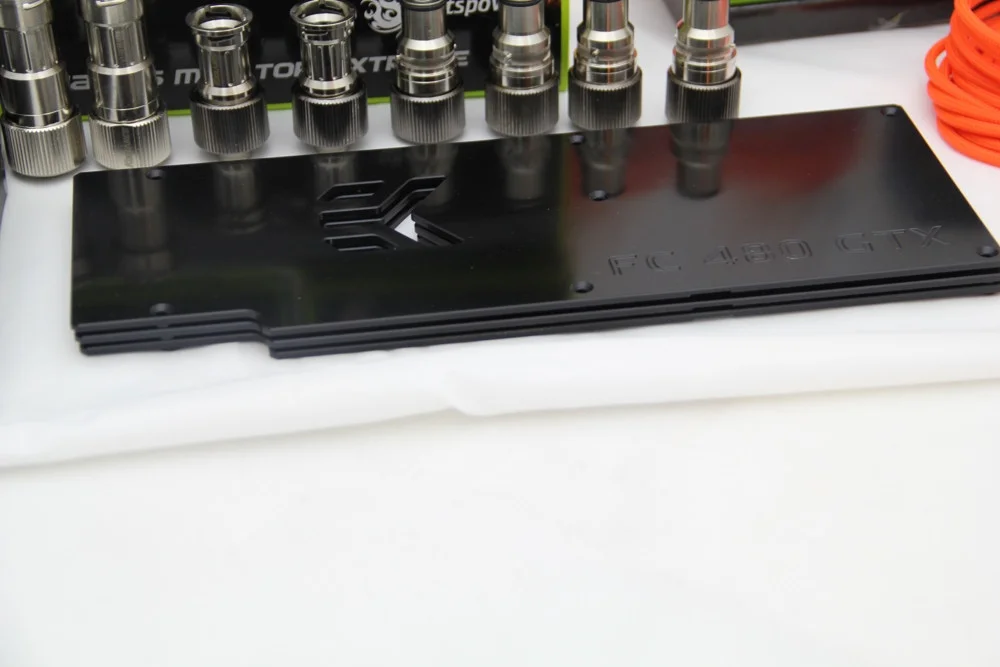
EK backplates for triple GTX 480
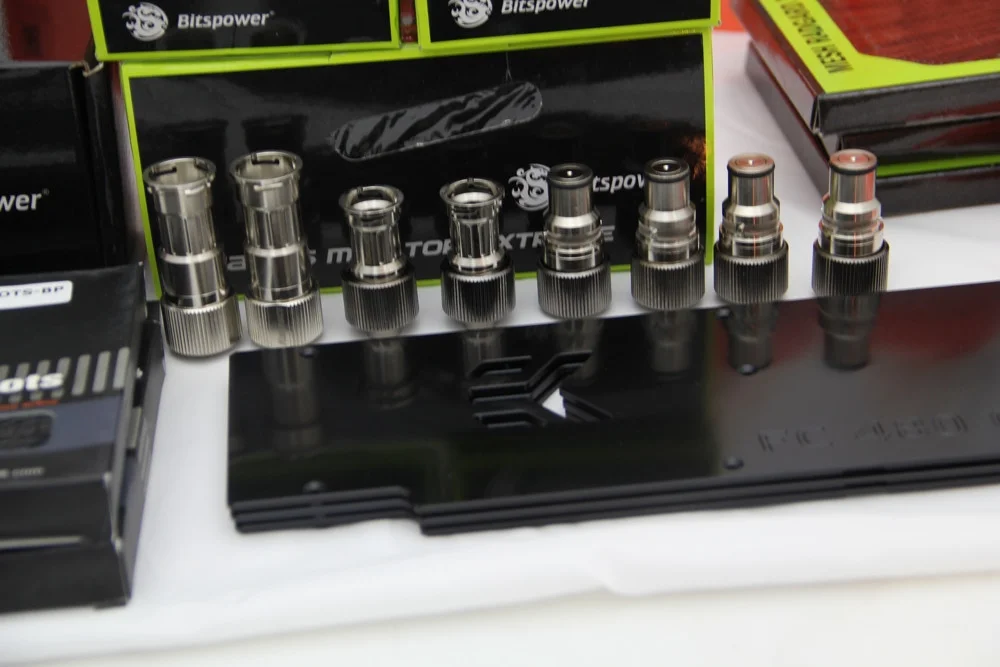
Quick Disconnect fittings by Koolance
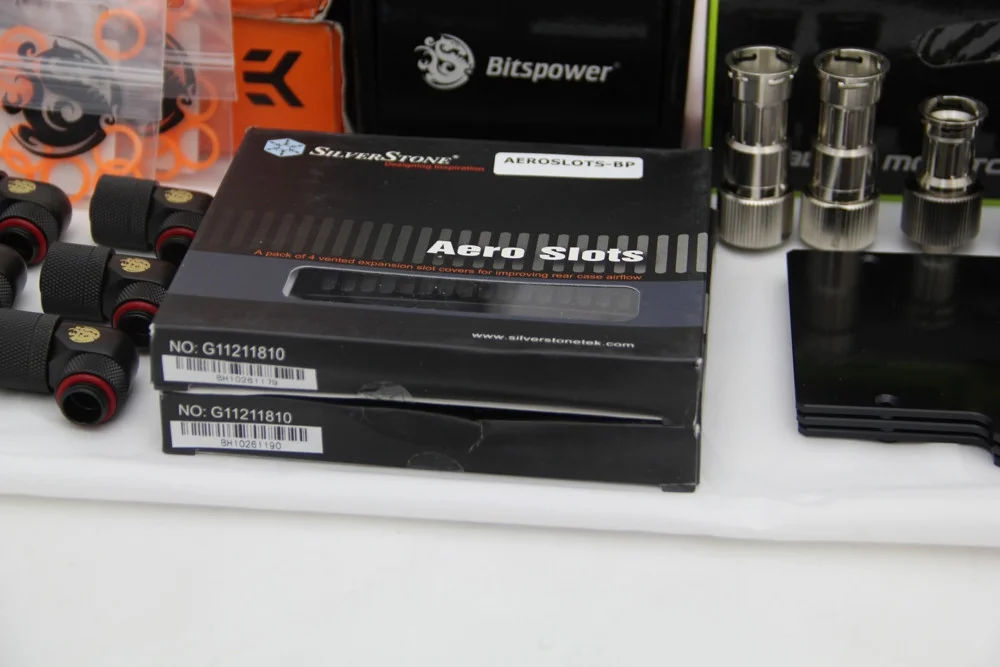
Silverstone Aero Slots (PCI-E slots since it wasnt provided with the casings)
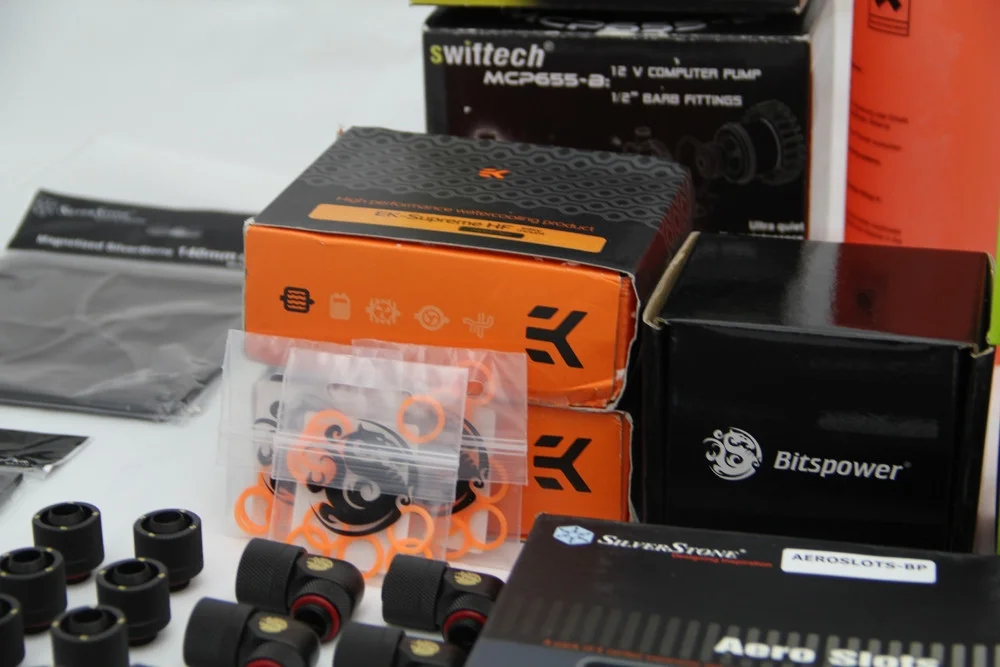
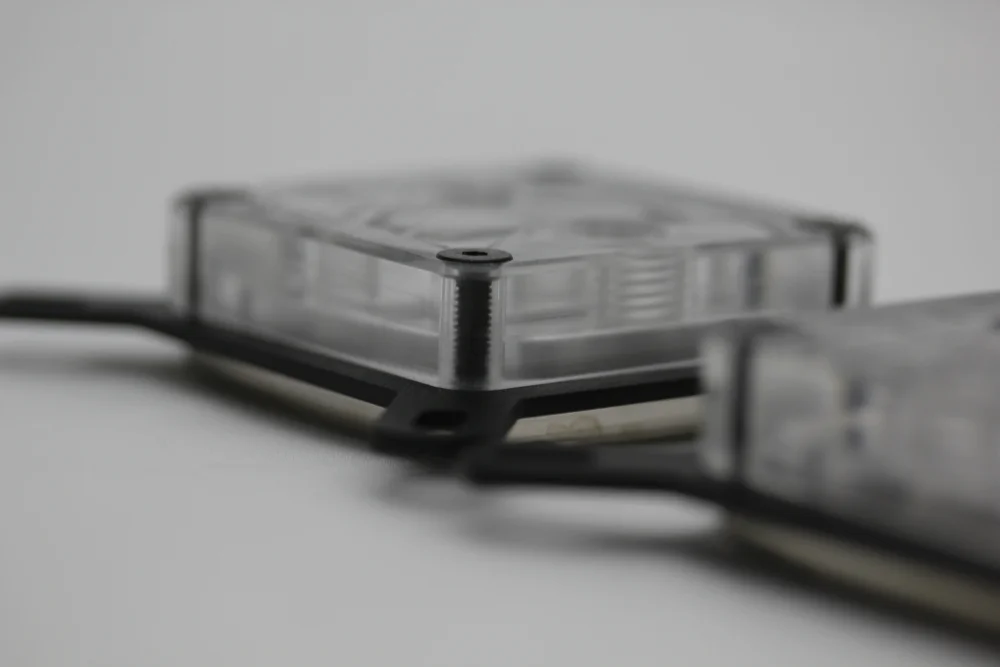
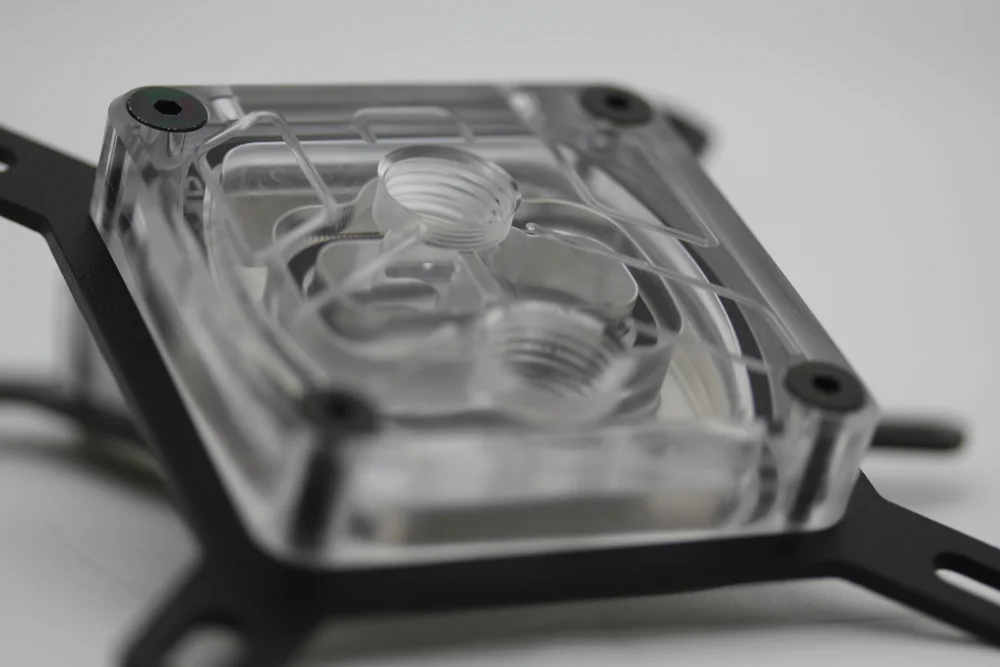
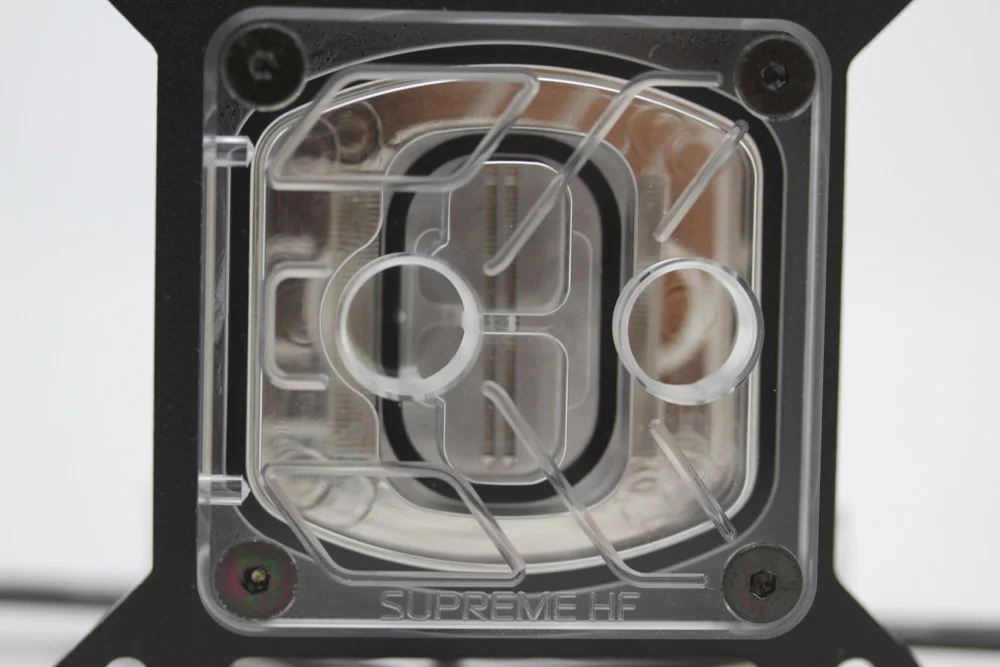
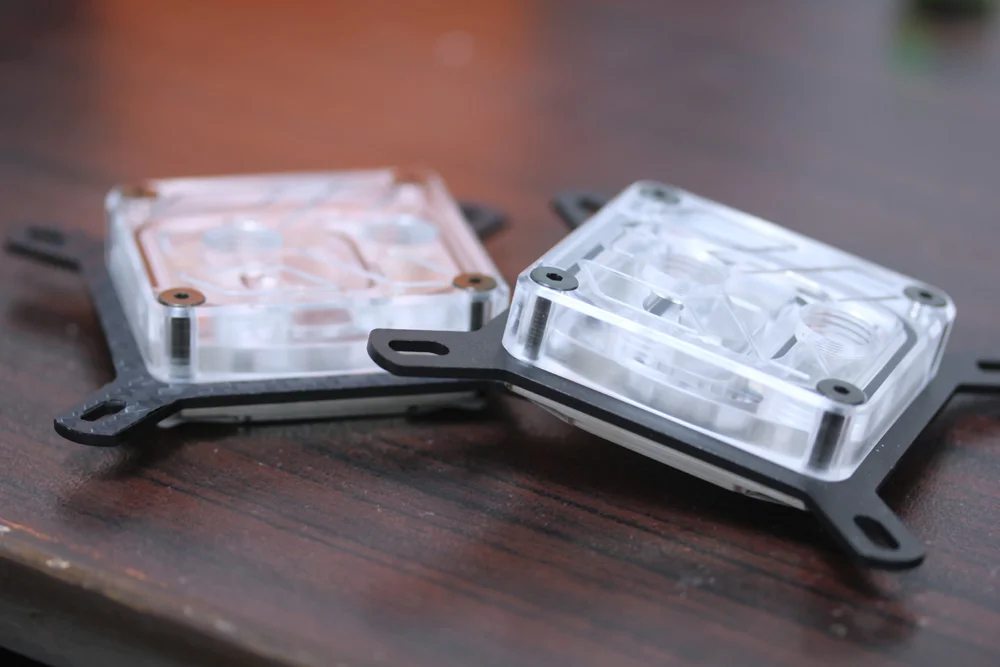
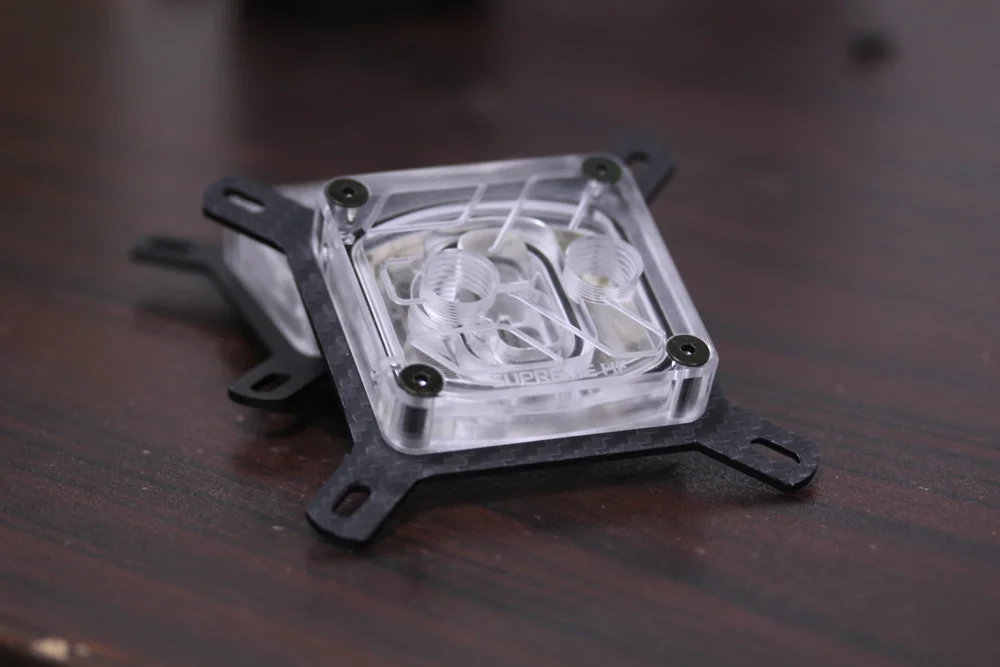
EK Supreme HF Plexi-Nickel for the Xeons
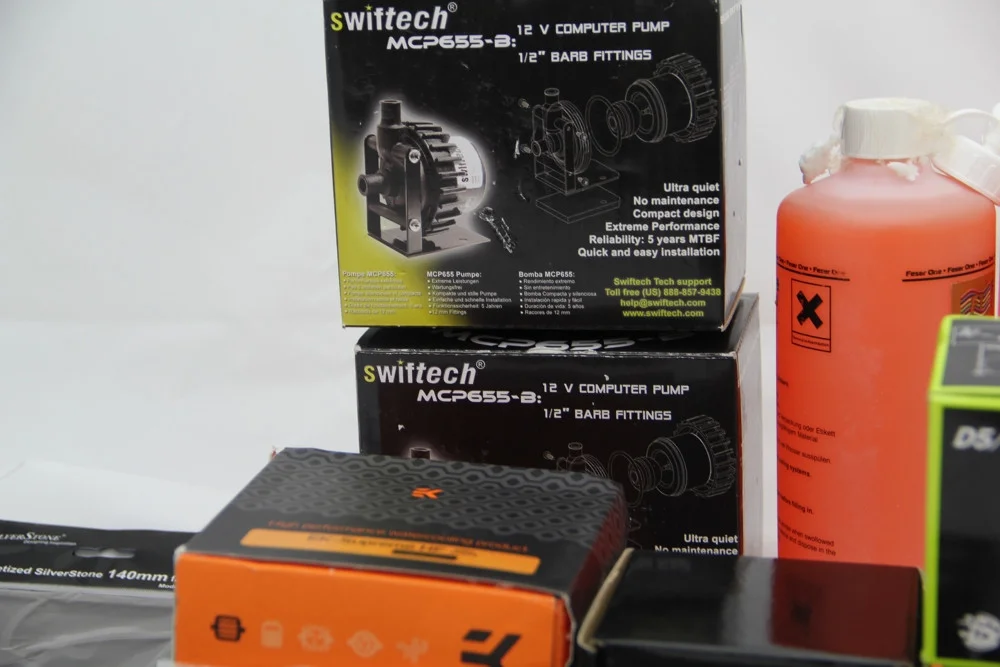
The giant Swiftech pumps
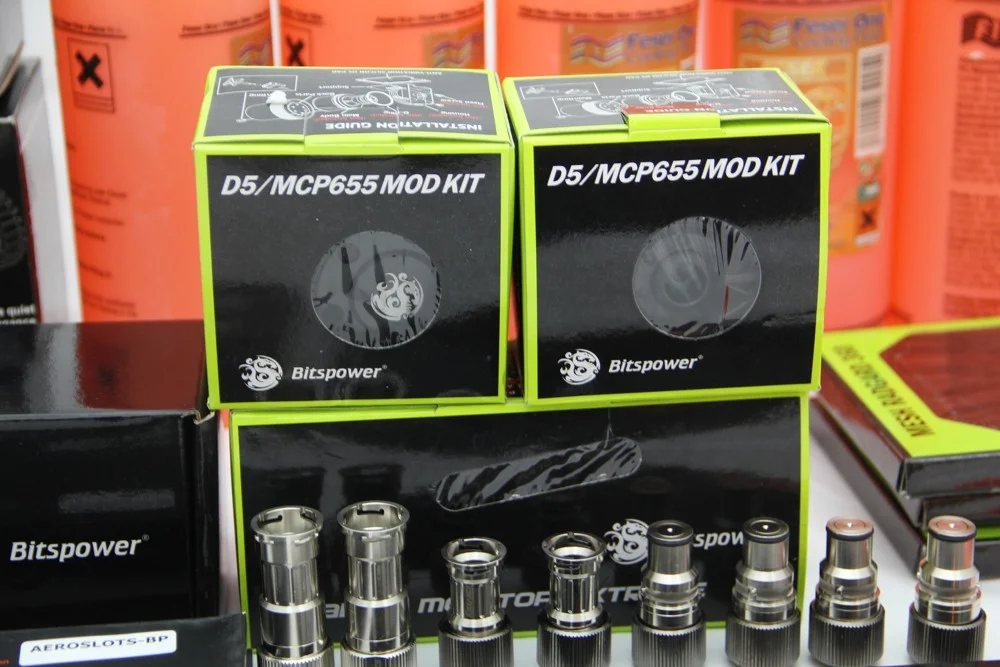
Swiftech Pump mod Kit - these will transform the ugly looking pumps completely.
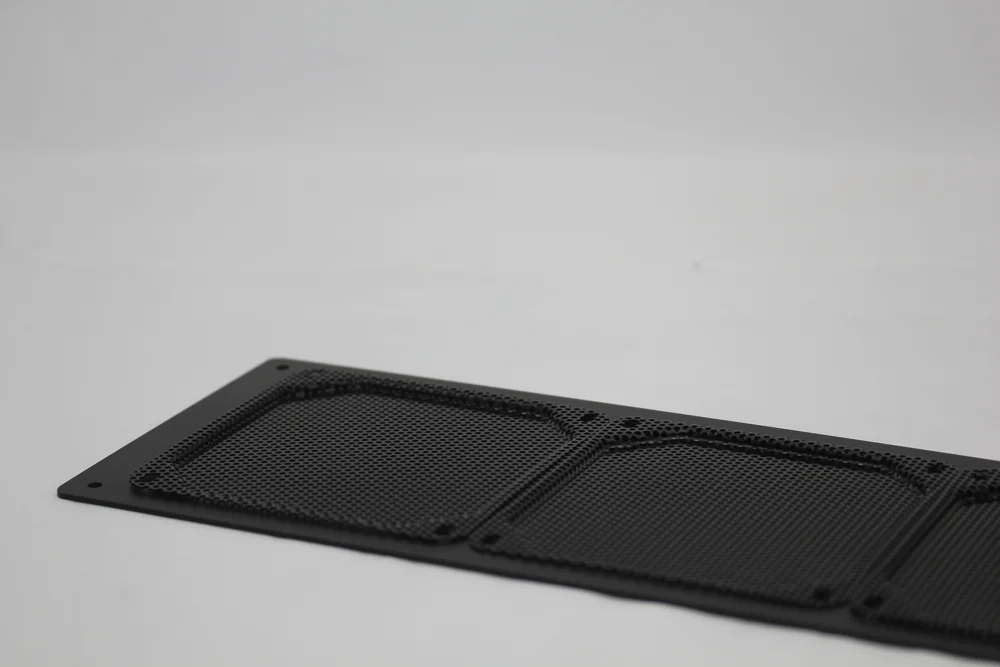
Bitspower RAD Grills - these will be used for the external radiator housing that overboost will be working on soon. (wait im coming to those cables too)
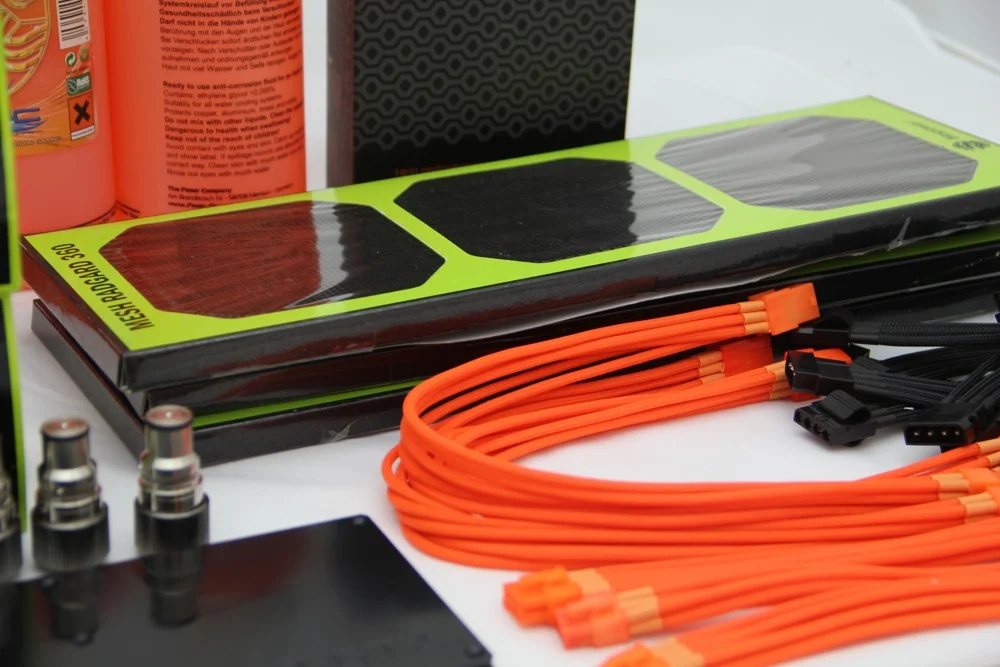
Third GTX 480's block - same as others
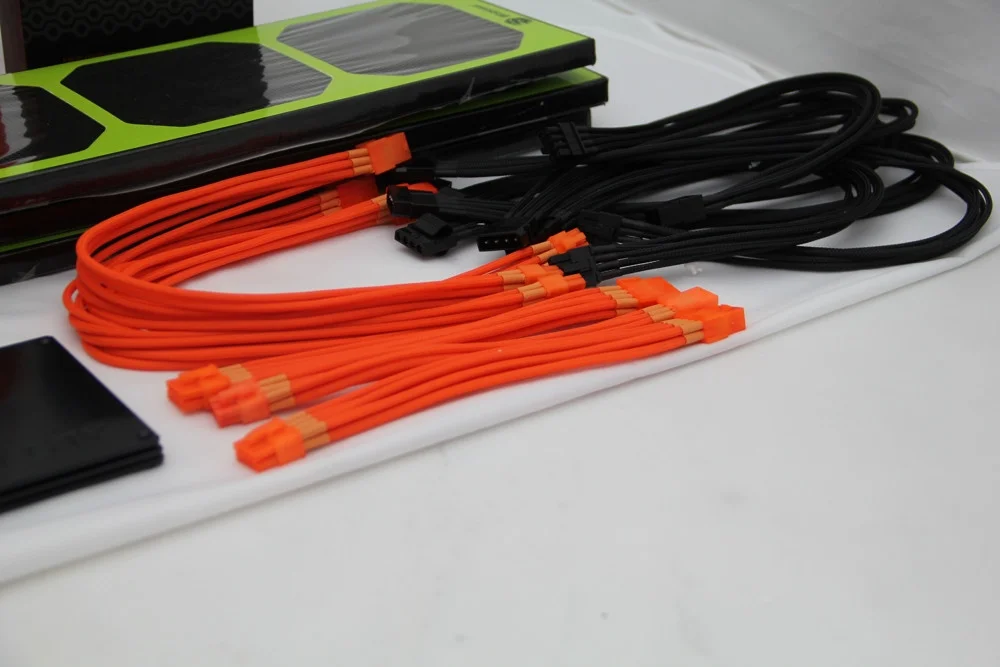
Mod-smart sleeved uv orange and black cables - Ok so these are basically extenders that i bought which will be connected, even though the sleeve quality is nice, its still not as top notch as MDPC (nothing beats it), and yes these will re sleeved with mdpc sleeving, the reason i got these specifically was because of orange connectors.
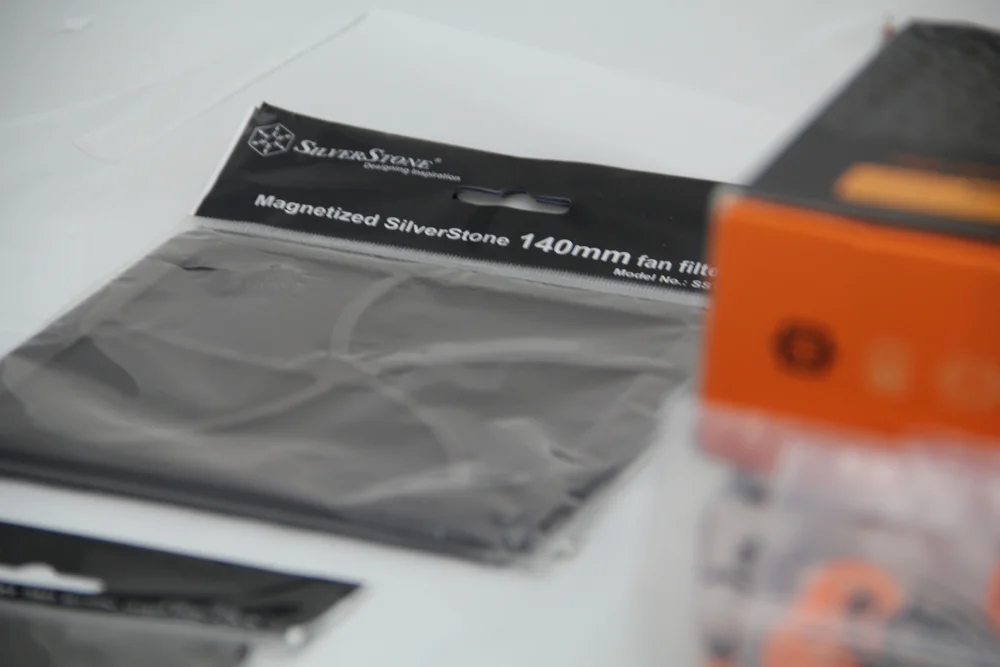
Silverstone 140mm fan filter (more coming soon)
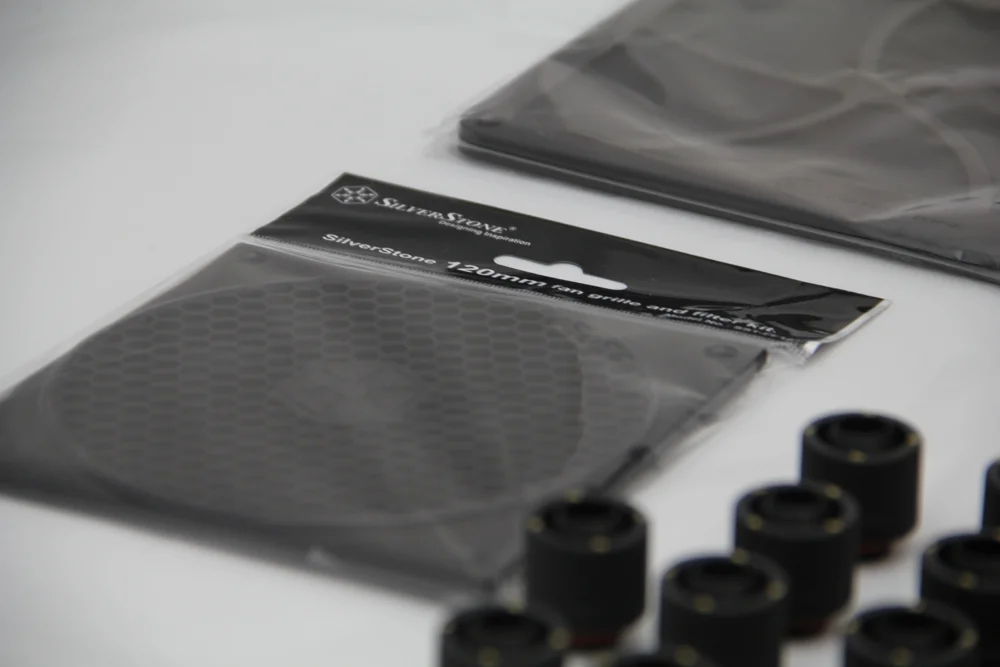
Silverstone 120mm fan filter
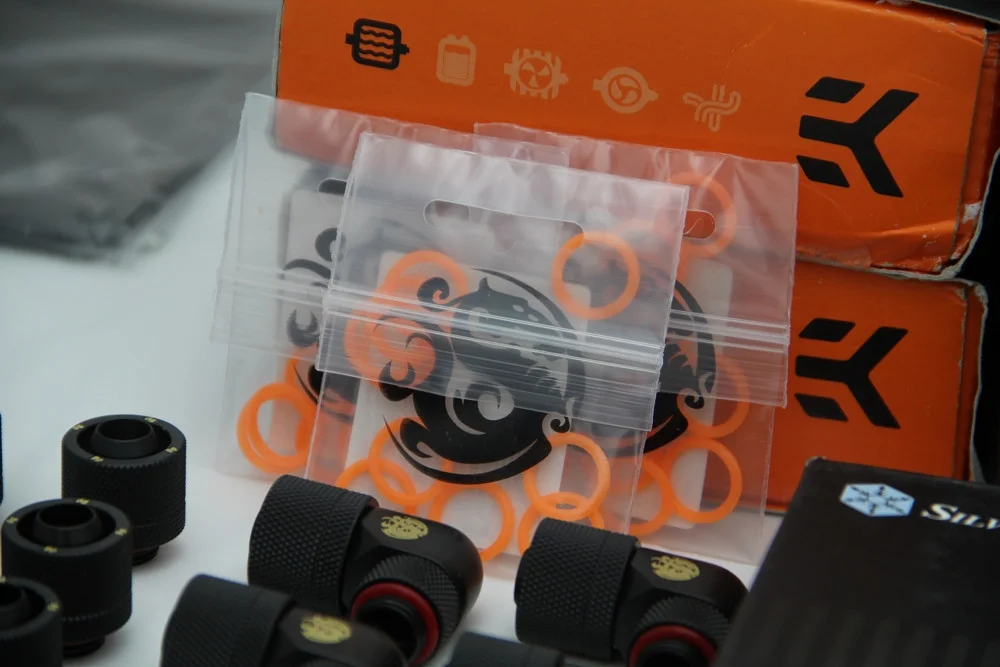
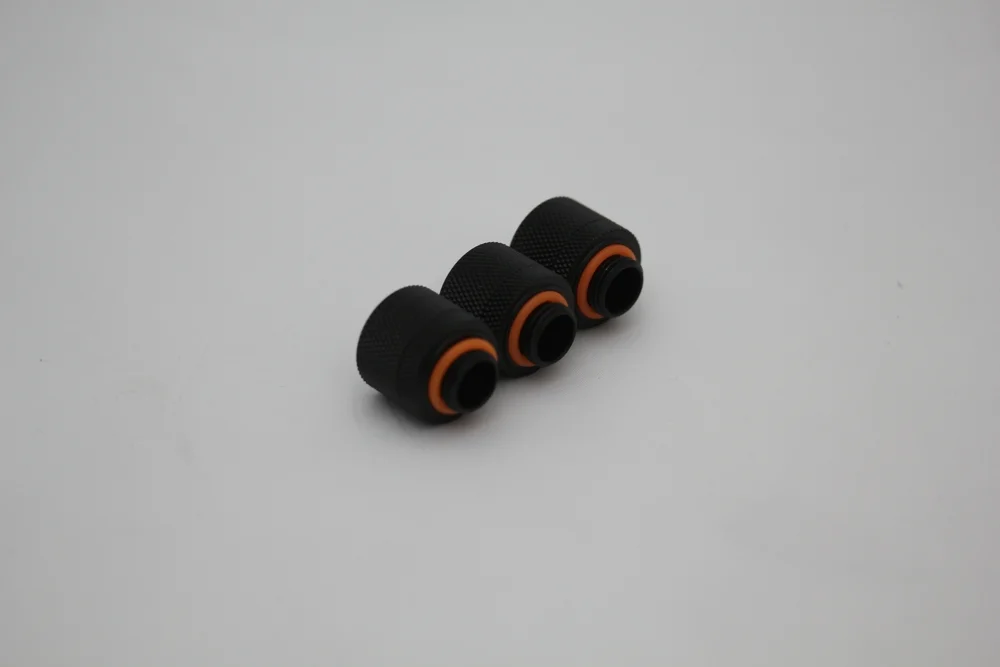
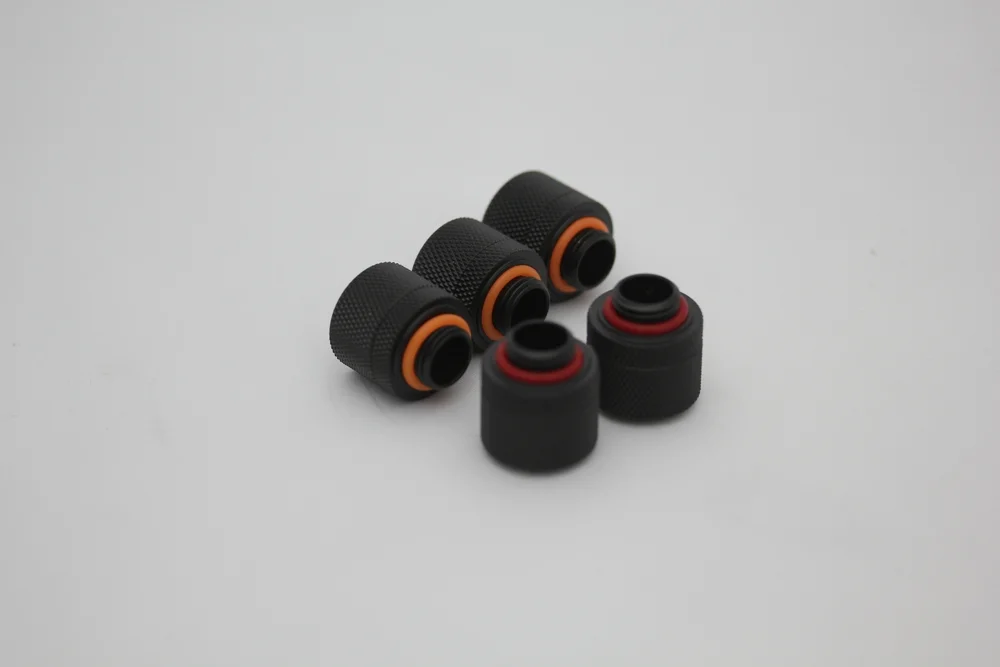
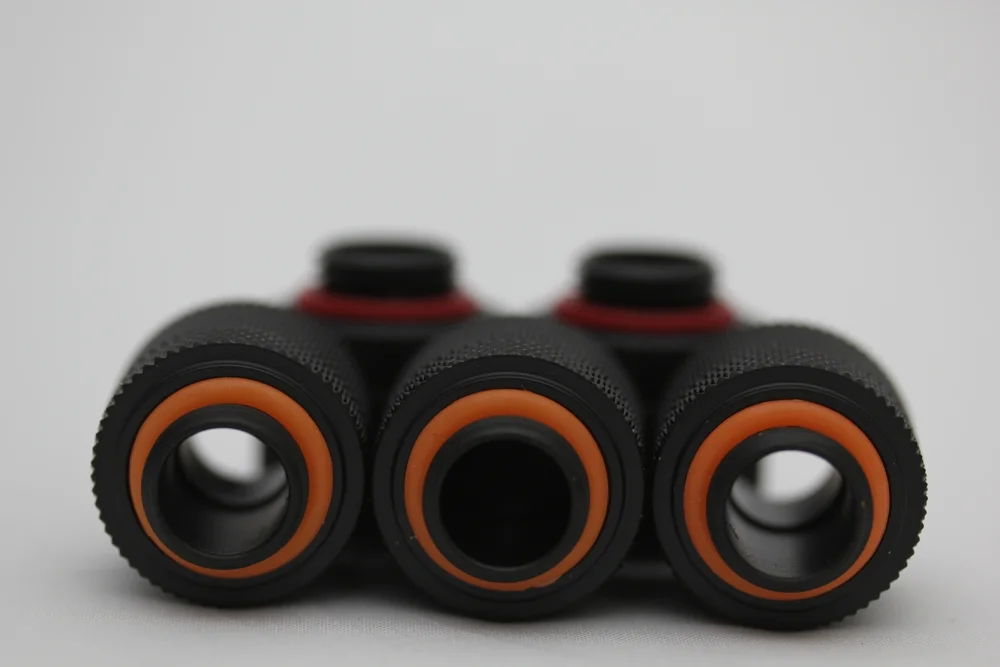
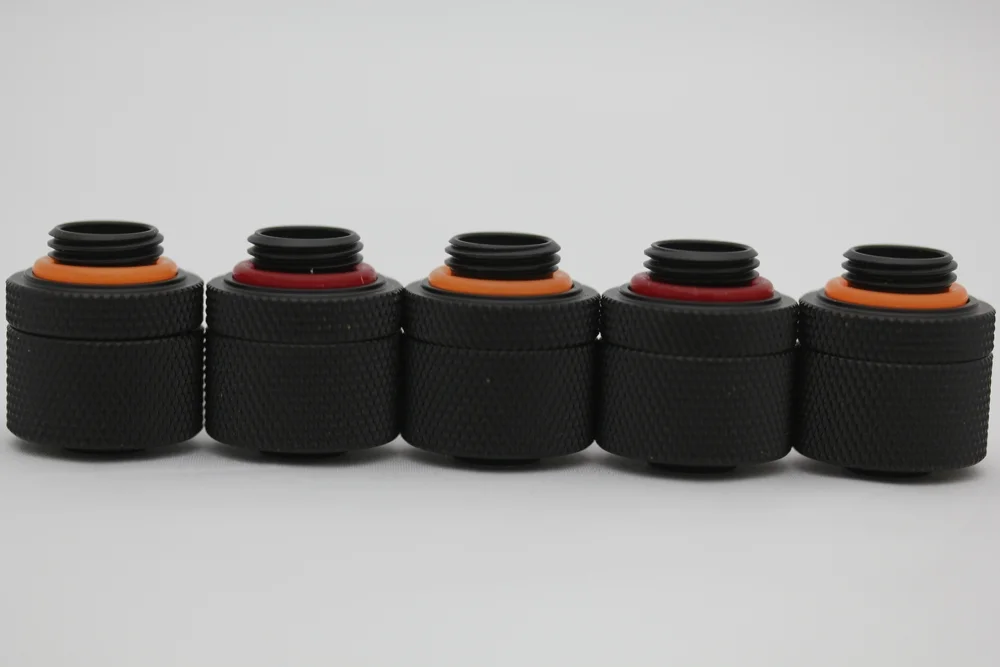
BItspower UV-Orange o rings, these will replace those red o rings that you see on the fittings.
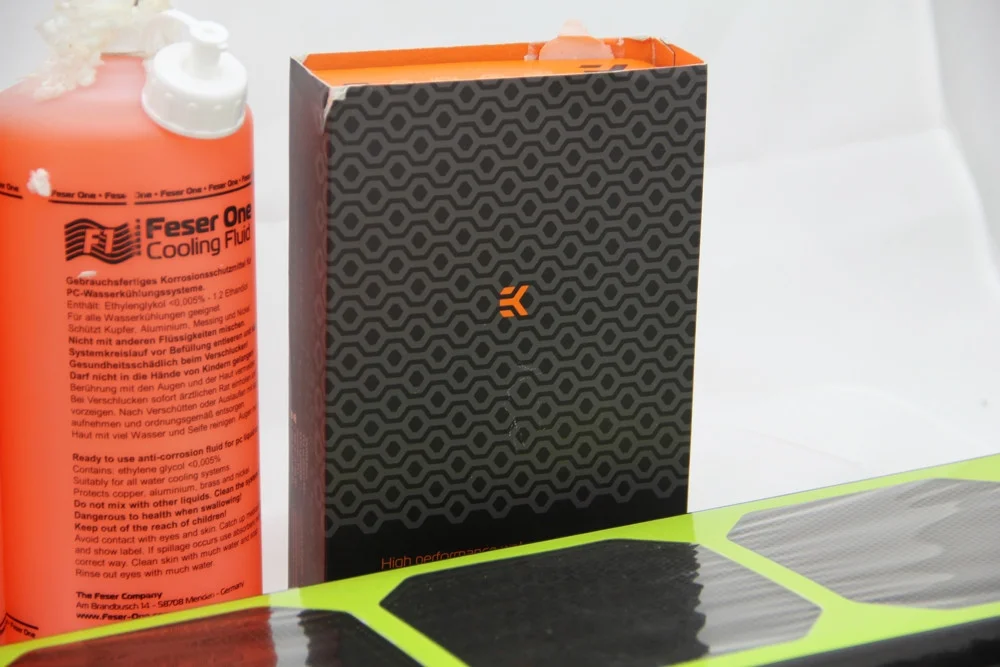
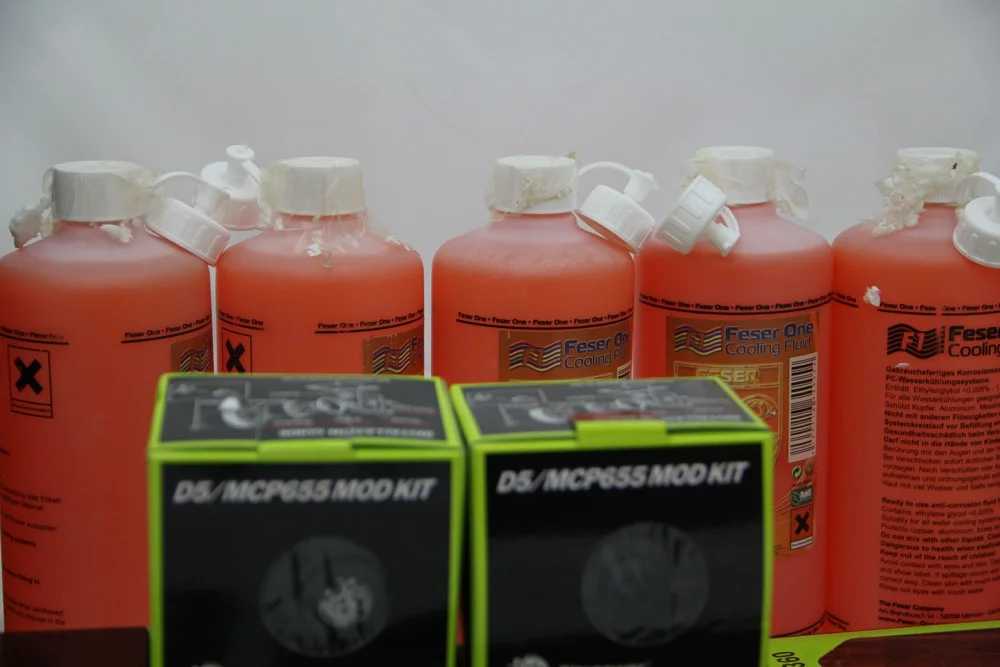
and finally, 5 litres of Feser1 Uv orange coolant
ok detailed pics as promised. Lets begin
the tall and fat swiftech pump out of the box
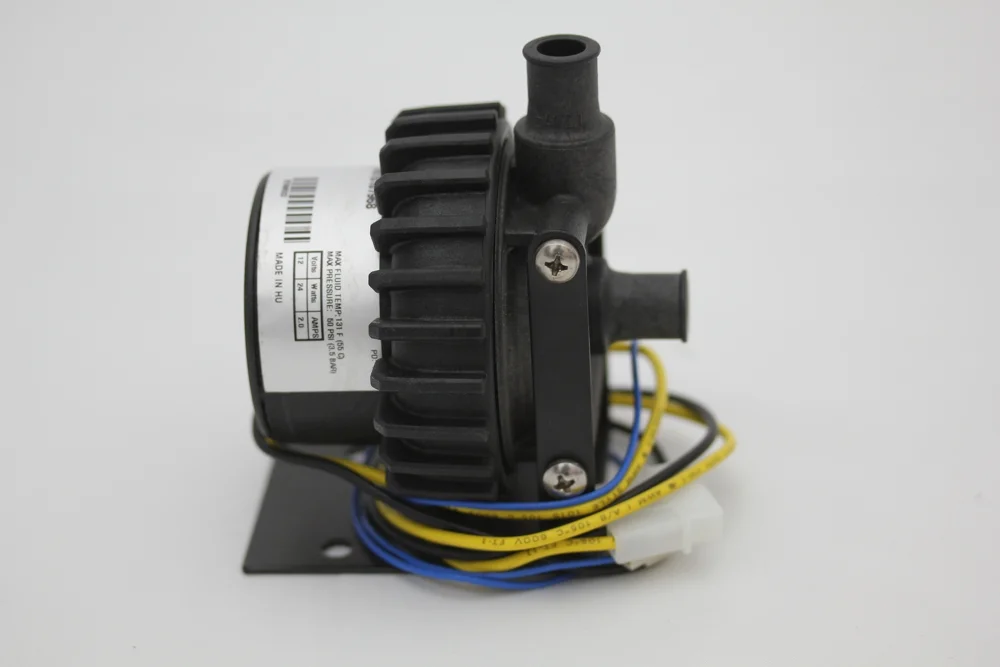
after 2 mins it looked like this
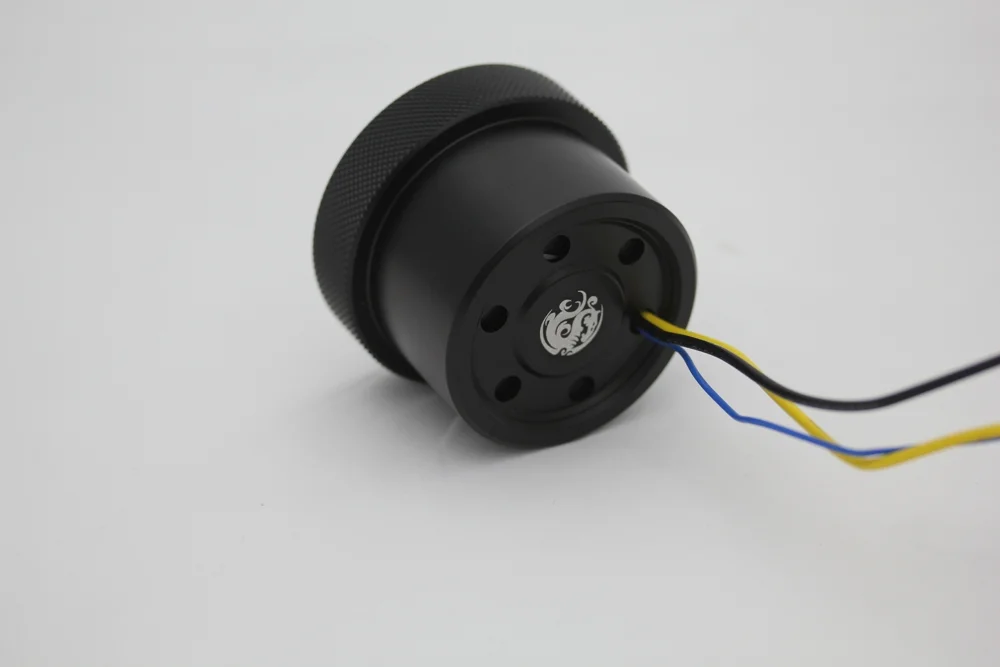
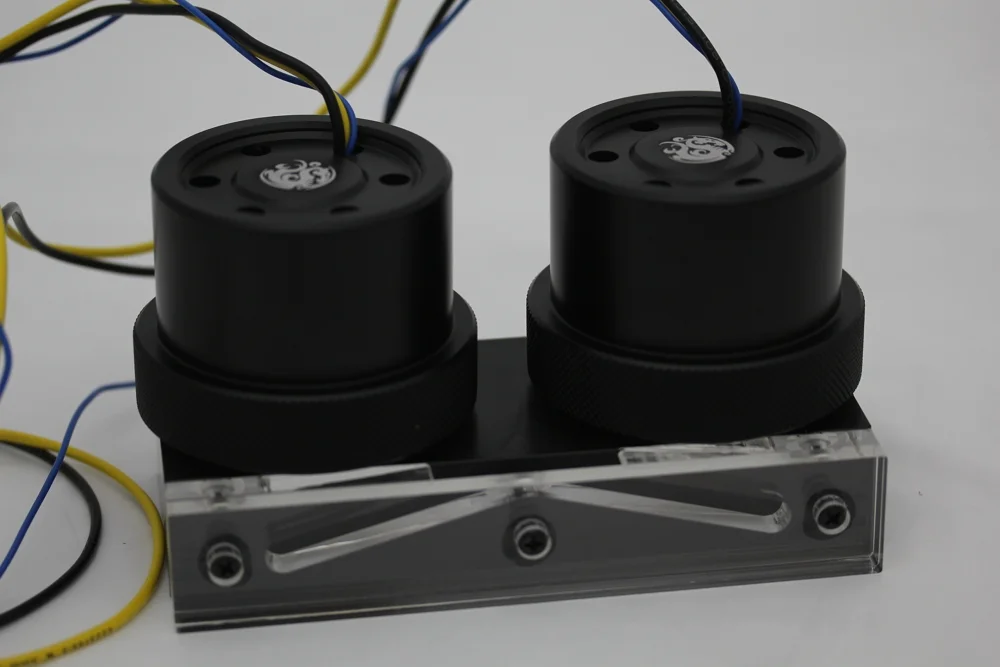
pump top (will be running these in serial)
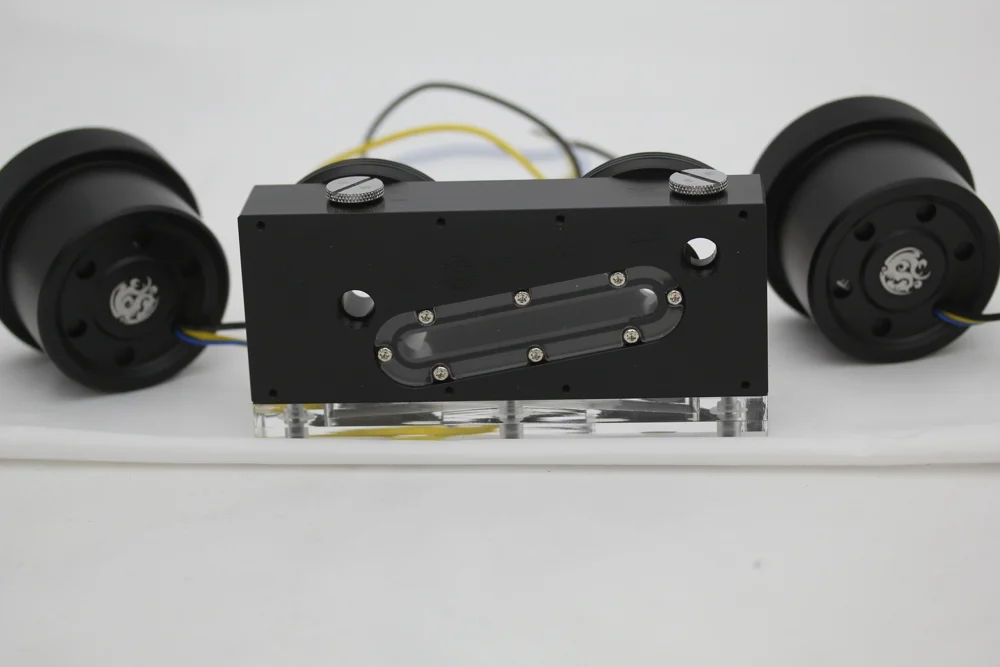
pumps assembled
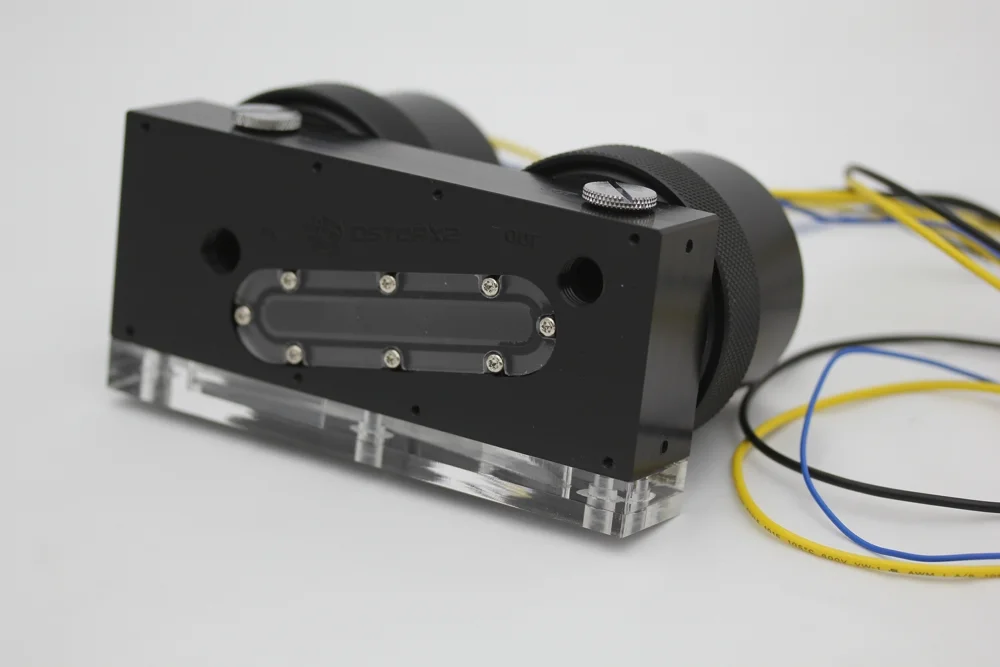
of course these wires will be sleeved
Xeon Coolers
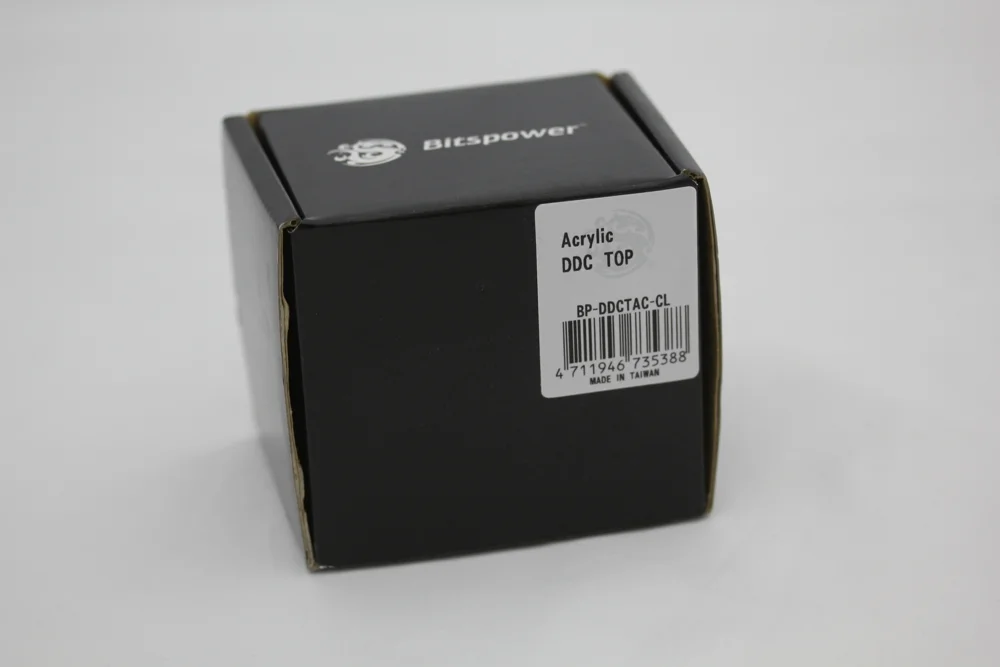
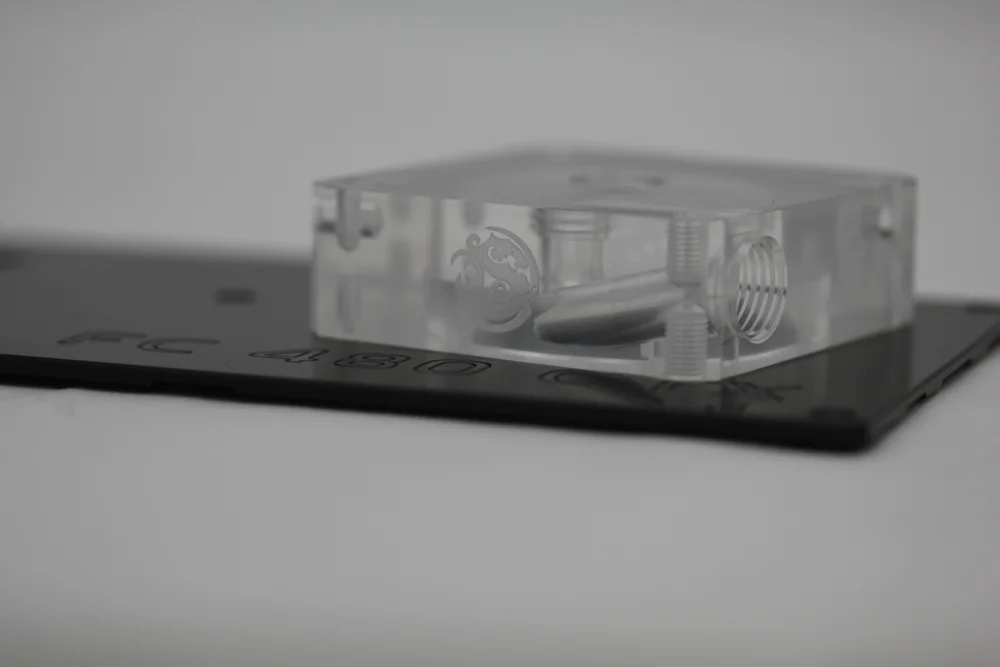
The small pump top
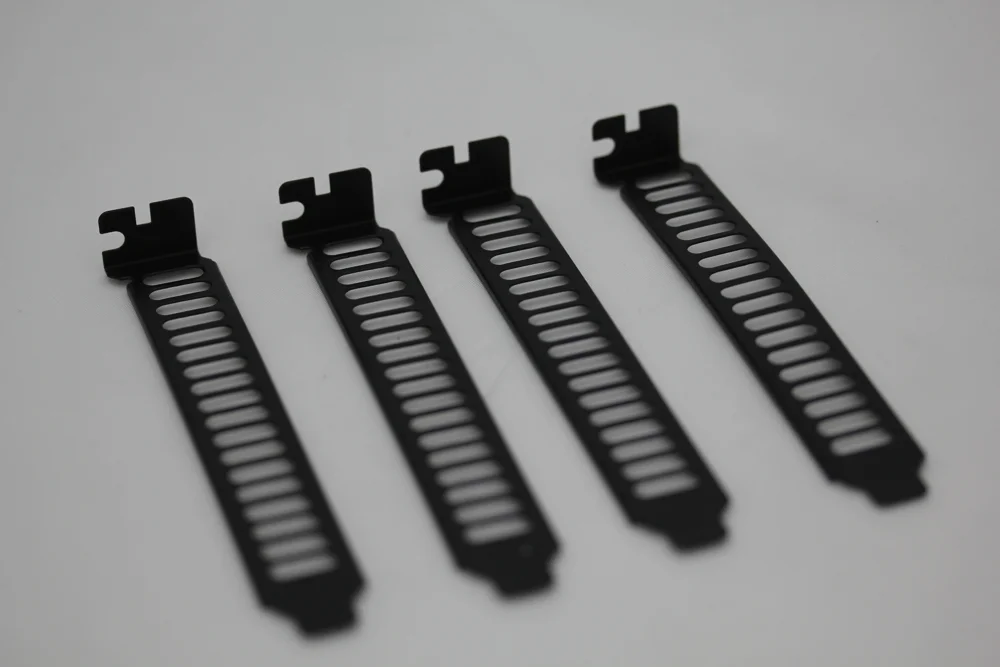
The pci slot covers
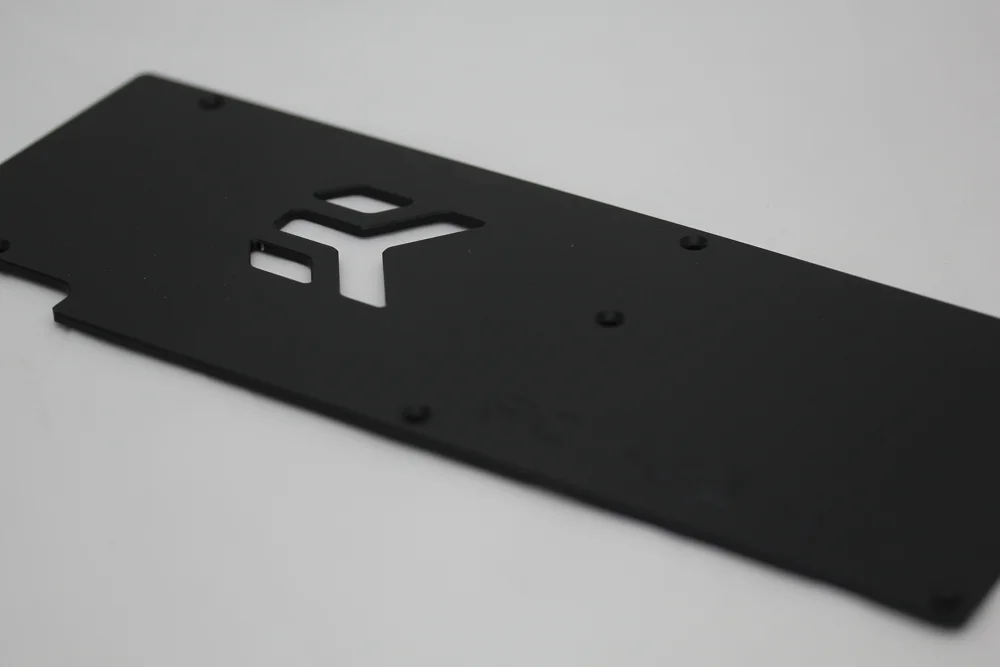
The beautiful backplate for 480's
And now..bitspower fittings with new o-rings. How do they look compared to the red ones?
Bitspower Rad Grill
Radiators will be coming in today so stay tuned
Heres something i tried yesterday.
Apologies for thisLast build i did wasnt up to mark and had a lot of problems in it. So decided on scrapping it and getting on with a whole new build with much better and drool worthy specs.
Heres a little shot of my last build.
Now onto new stuff. Lets list down the specs first
Motherboard: EVGA SR-2
CPU: Intel Xeon E6545 x2
Ram: 24GB G.Skill Ripjaws 1600Mhz CL9
HDD: 3x OCZ Vertex 2 240GB SSD's + 1TB WD Caviar Black for backup
GPU: Sparkle GTX 480 Tri SLi (already have these and dont wanna jump to 5 series. Will upgrade to 6 series when it launches)
PSU: Thermaltake ToughPower 1500W
Casing: Little Devil V8 Inverted HPTX
-----------------------------------------------------------------------------------
Watercooling Specs: Most of the stuff i already own from my previous builds, so just gonna list down stuff that i need to order.
2 x EK HF CPU Blocks
1 x XSPC RX 480 Radiator
3 x XSPC RX 360 Radiator
DD tubing
Feser One Orange Coolant
Bitspower Compression Fittings (sponsored by Bitspower)
Lets start with a couple of pics that i took of the hardware that has arrived.
A couple of days ago, my motherboard and processors arrived.
The pair
Hooked this up quickly on air cooling to see if the board was DOA or not and if everything was running fine out of the box. Was glad to see that it did
All ok!
ime for another unboxing. Got the thermaltake Toughpower 1500W psu to handle 3 x gtx 480's. Also finally took pics of accessories that came with the board.
been a long time since i updated this thread. Some progress happened. First i got sponsored by bitspower (my first ever sponsor). They were kind enough to send me some stuff that i wanted. Big thanks to vincent. Lets start with pics shall we.
ok small update...today the tubing arrived....finally found one in size which was orange coloured. Here are the amazing pics
ok back here after a week with some good updates. First of all had a chat with bitspower and requested some more items which are now being sent over. Ill try to keep them as a surprise. But something else came in today and i must say FINALLY...so lets do the unboxing of the unboxed shall we?
Only problem that i encountered with the case as yet....or maybe it isnt a problem...the front HDD fan panel is a bit bent towards the inside...like some1 punched it. Can be fixed though so no biggie
installed the board for a quick overview on how to route the tubing and cables. I must say even after installing the board there is plenty of space present.
got done sleeving the 24 pin connector. This is how it looks.
update time.....ok didnt have enough time to take pics in detail so those will come later. here is a quick overwiew
The whole lot
MOAR Fittings!!!! Thanks to bitspower
EK backplates for triple GTX 480
Quick Disconnect fittings by Koolance
Silverstone Aero Slots (PCI-E slots since it wasnt provided with the casings)
EK Supreme HF Plexi-Nickel for the Xeons
The giant Swiftech pumps
Swiftech Pump mod Kit - these will transform the ugly looking pumps completely.
Bitspower RAD Grills - these will be used for the external radiator housing that overboost will be working on soon. (wait im coming to those cables too
)Third GTX 480's block - same as others
Mod-smart sleeved uv orange and black cables - Ok so these are basically extenders that i bought which will be connected, even though the sleeve quality is nice, its still not as top notch as MDPC (nothing beats it), and yes these will re sleeved with mdpc sleeving, the reason i got these specifically was because of orange connectors.
Silverstone 140mm fan filter (more coming soon)
Silverstone 120mm fan filter
BItspower UV-Orange o rings, these will replace those red o rings that you see on the fittings.
and finally, 5 litres of Feser1 Uv orange coolant
ok detailed pics as promised. Lets begin
the tall and fat swiftech pump out of the box
after 2 mins it looked like this
pump top (will be running these in serial)
pumps assembled
of course these wires will be sleeved
Xeon Coolers
The small pump top
The pci slot covers
The beautiful backplate for 480's
And now..bitspower fittings with new o-rings. How do they look compared to the red ones?
Bitspower Rad Grill
Radiators will be coming in today so stay tuned
Heres something i tried yesterday.
Last edited: