Hey guys,
this will be my first worklog here at overclockers UK.")
But maybe some of you already know my latest finished projects, Aprire, Full Steam Space Mashine and Pandora - HTPC. Now its time for a next project.
I already started this project in the end of 2014, now I'm making progress and want to show this project. 2014 I've been lookung for a big case with enough room for watercooling and hardware.
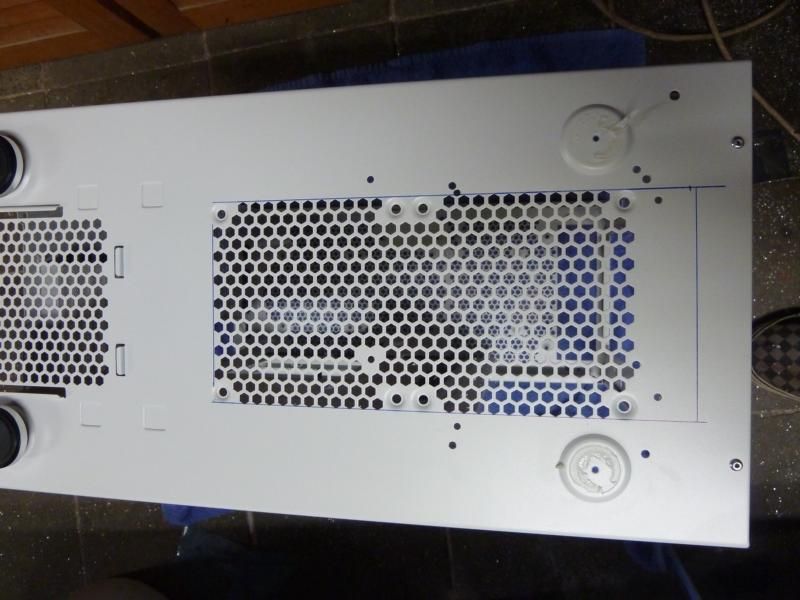
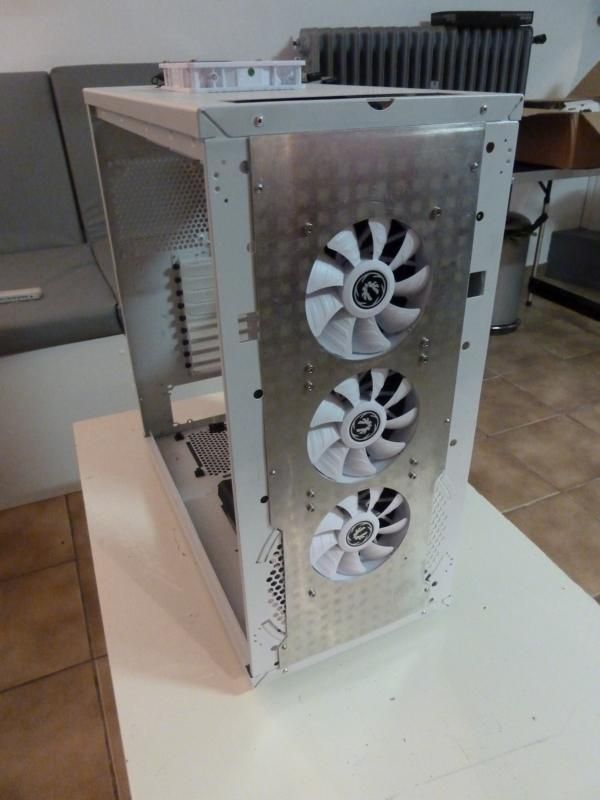
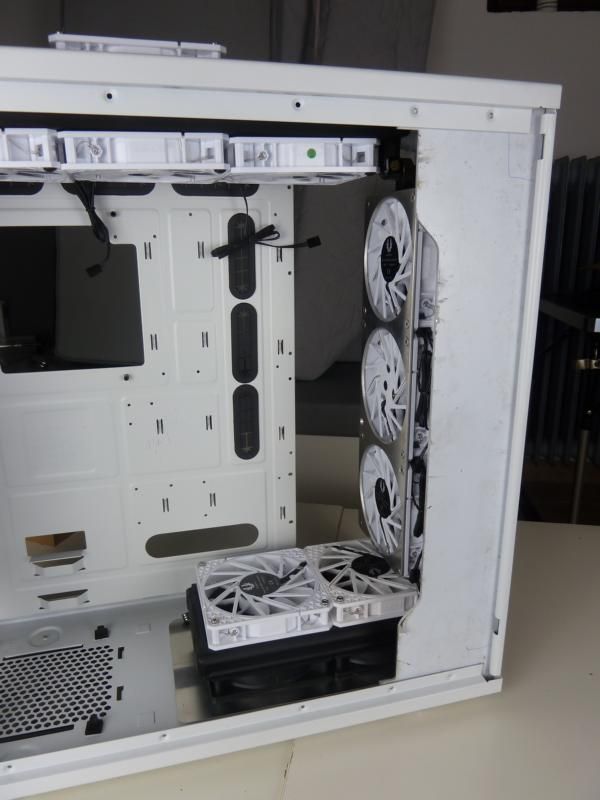
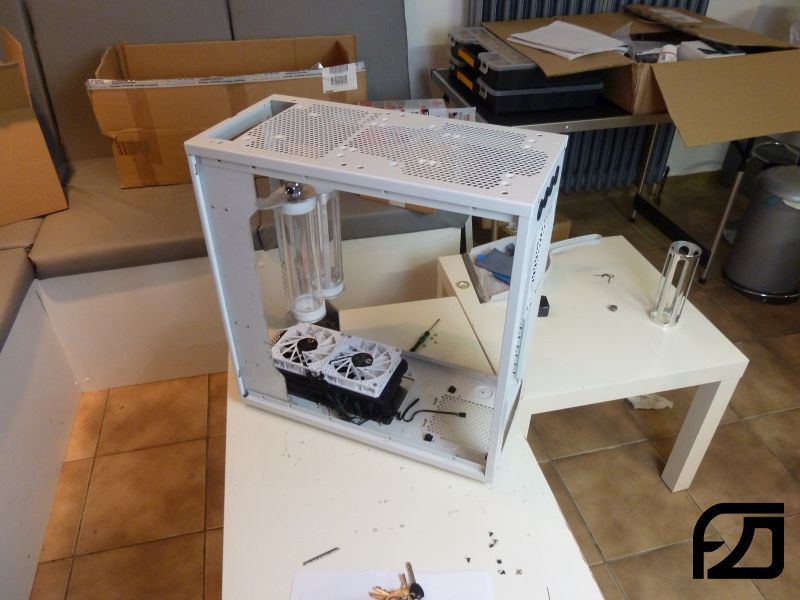
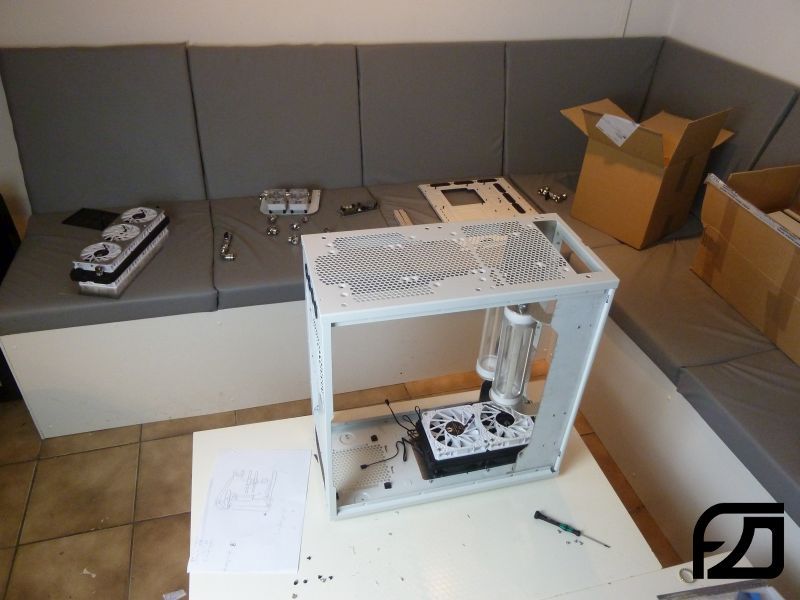
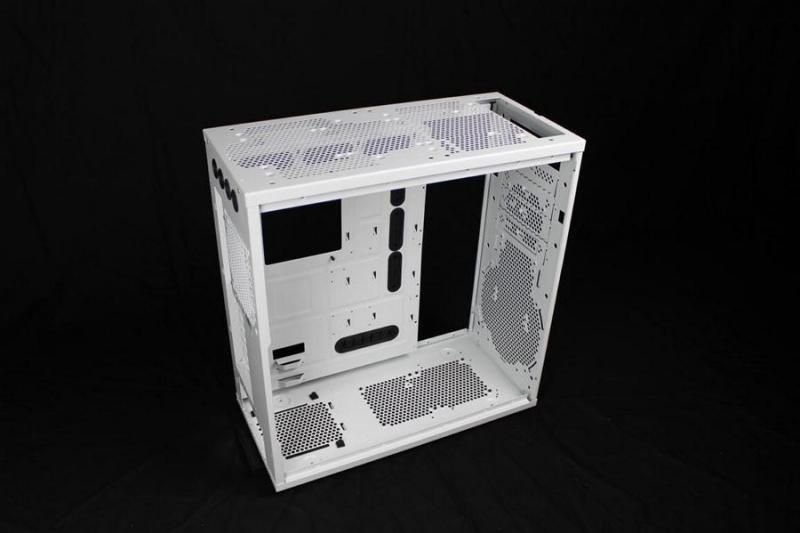
This is why I want to mod a Bitfenix Shinobi XL, which was provided by BitFenix.
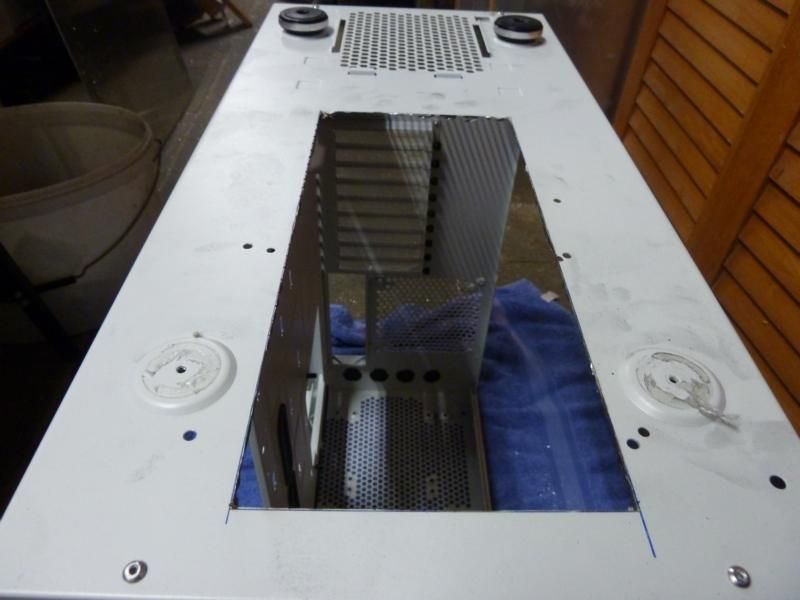
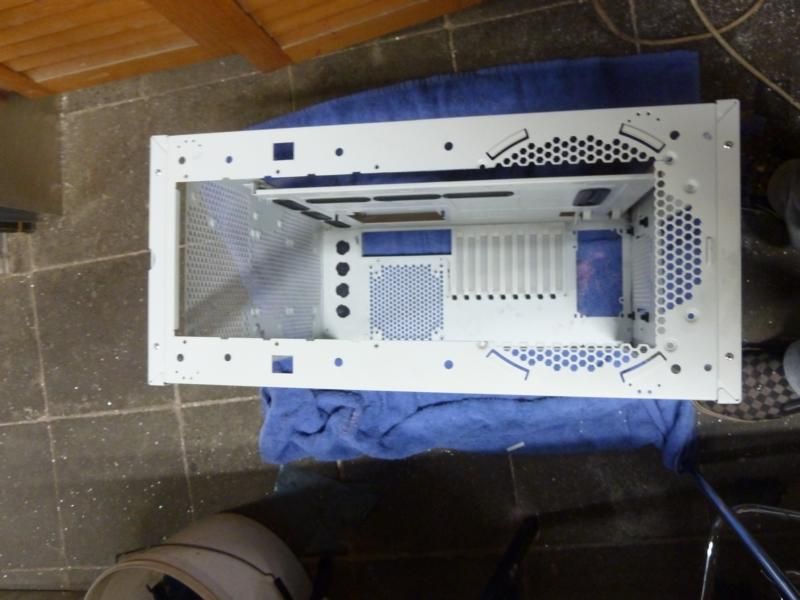
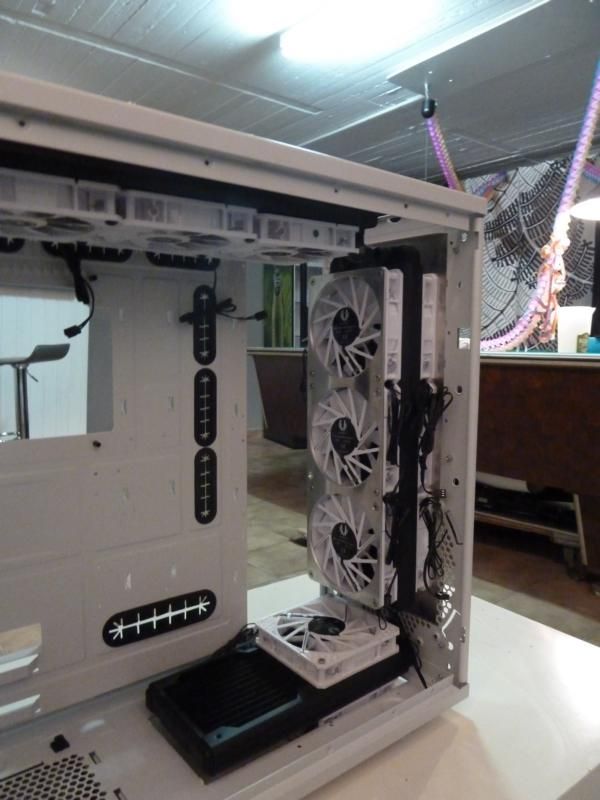
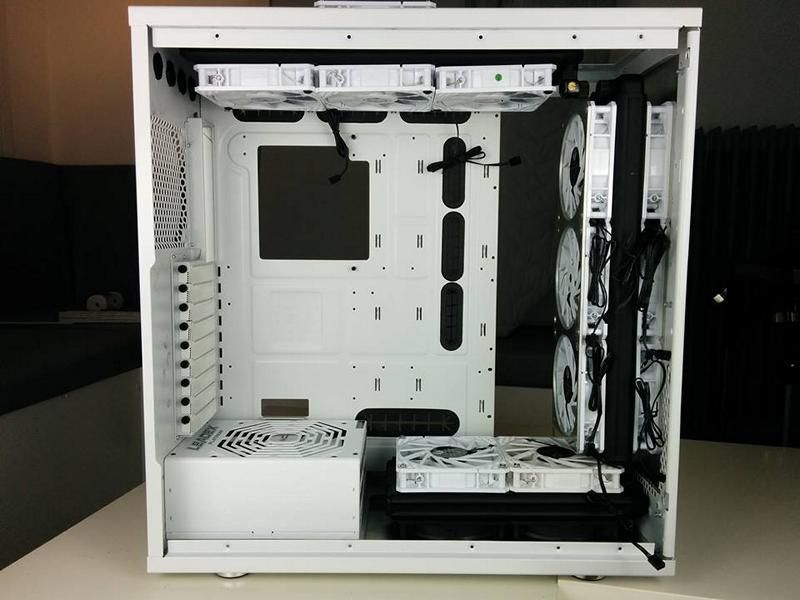
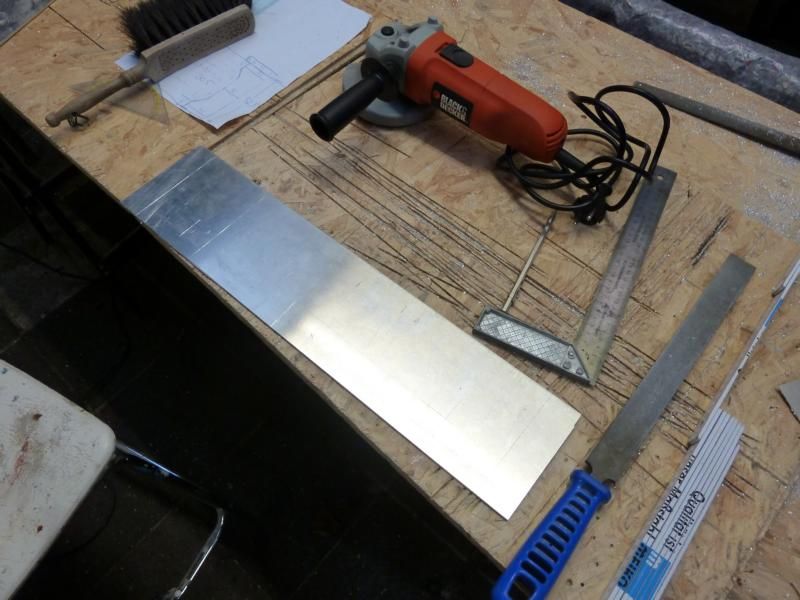
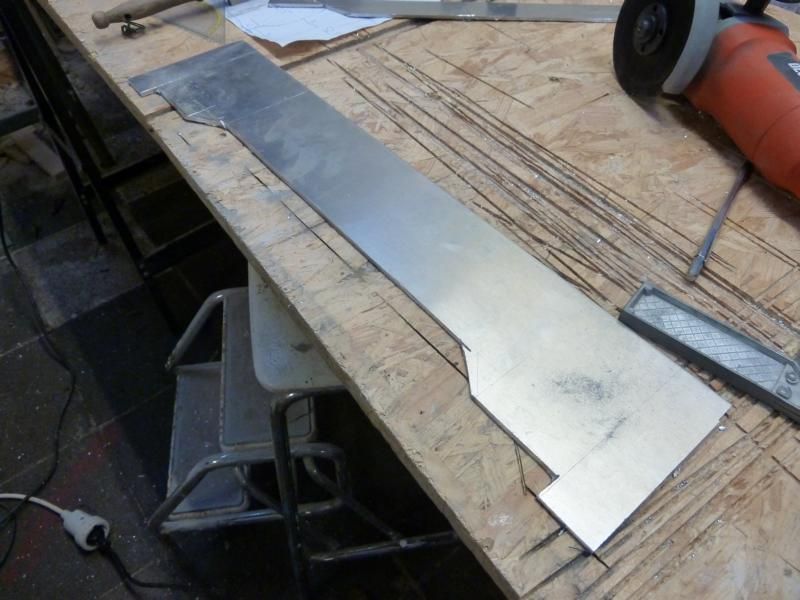
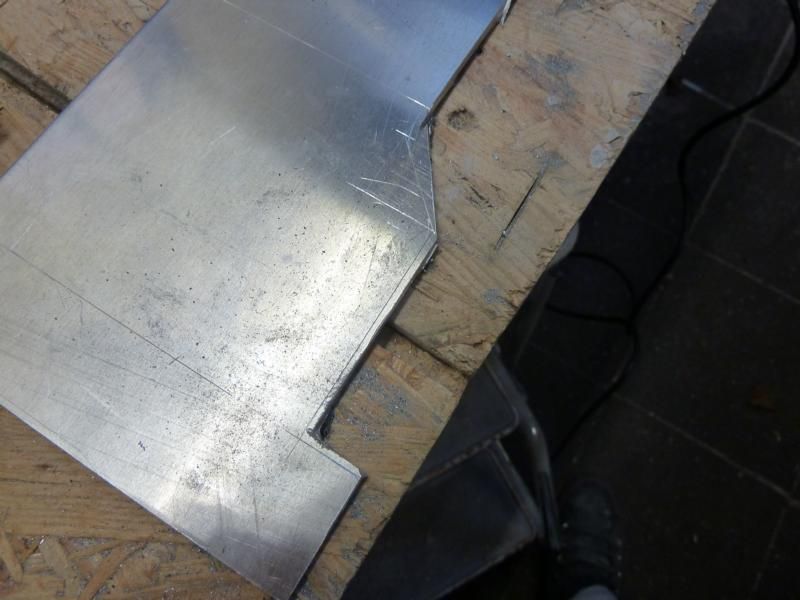
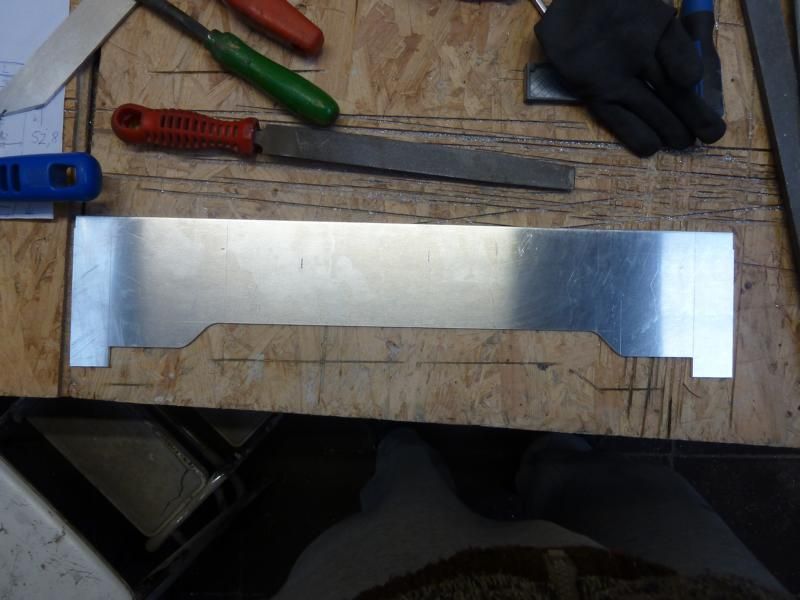
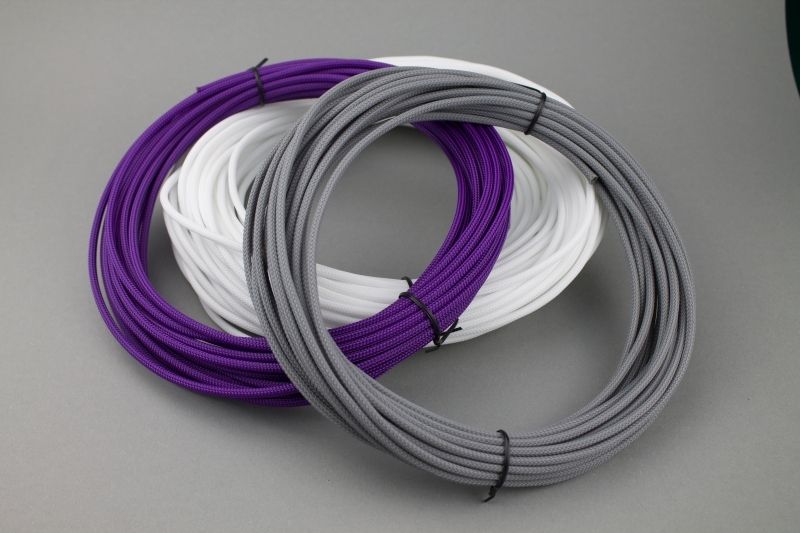
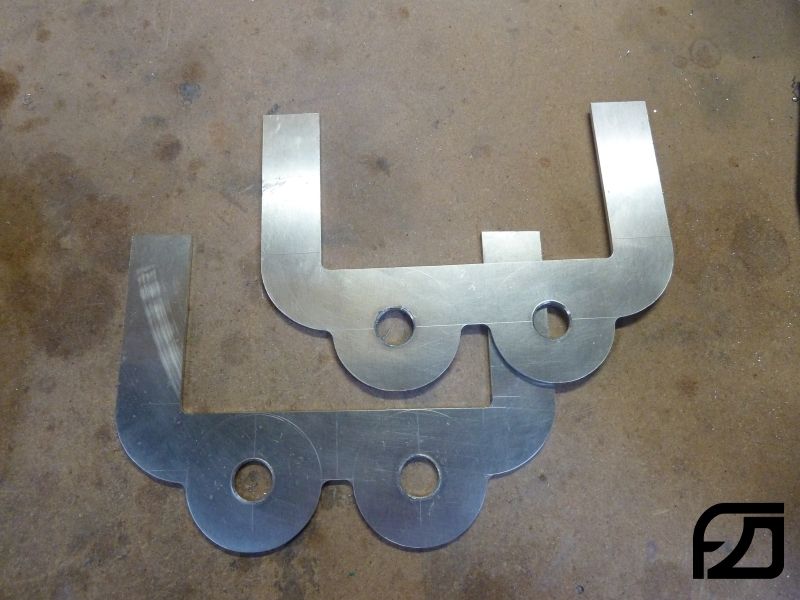
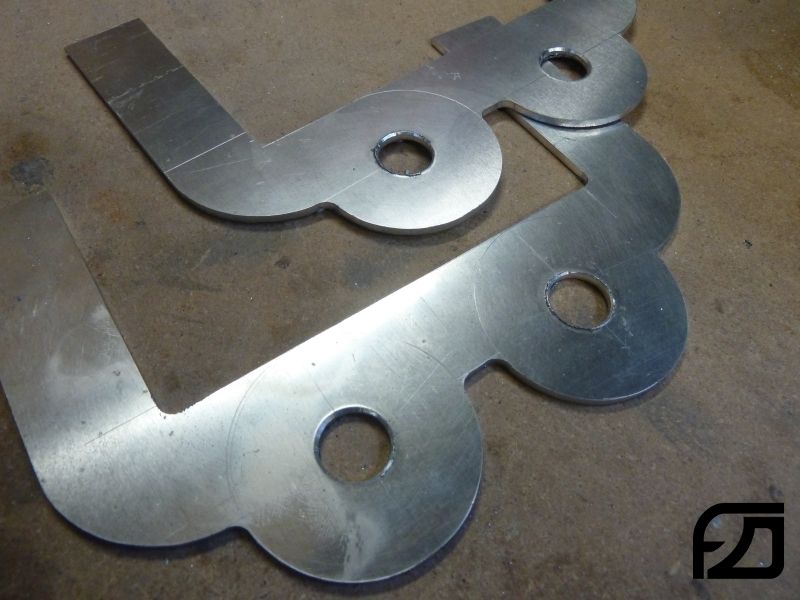
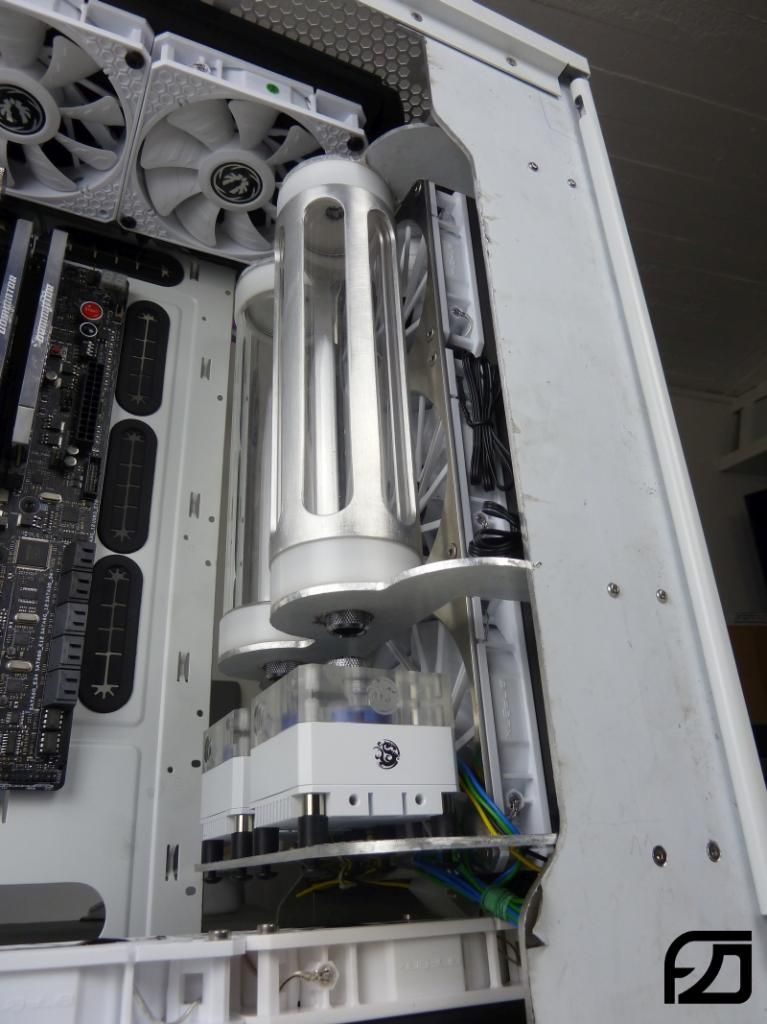
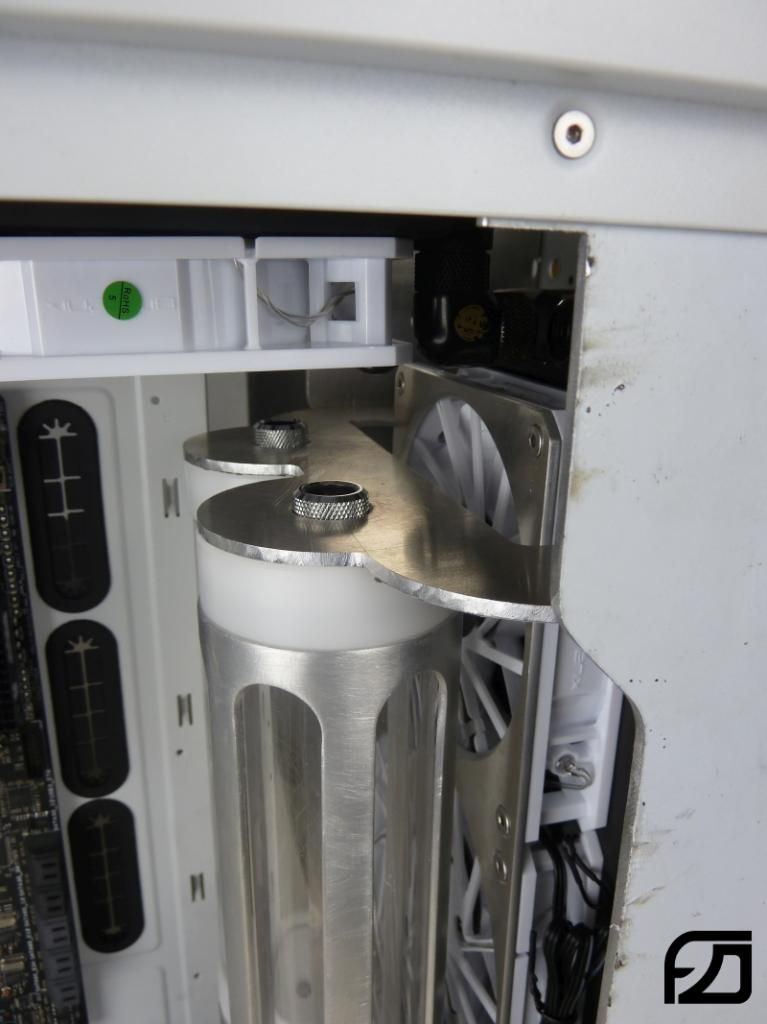
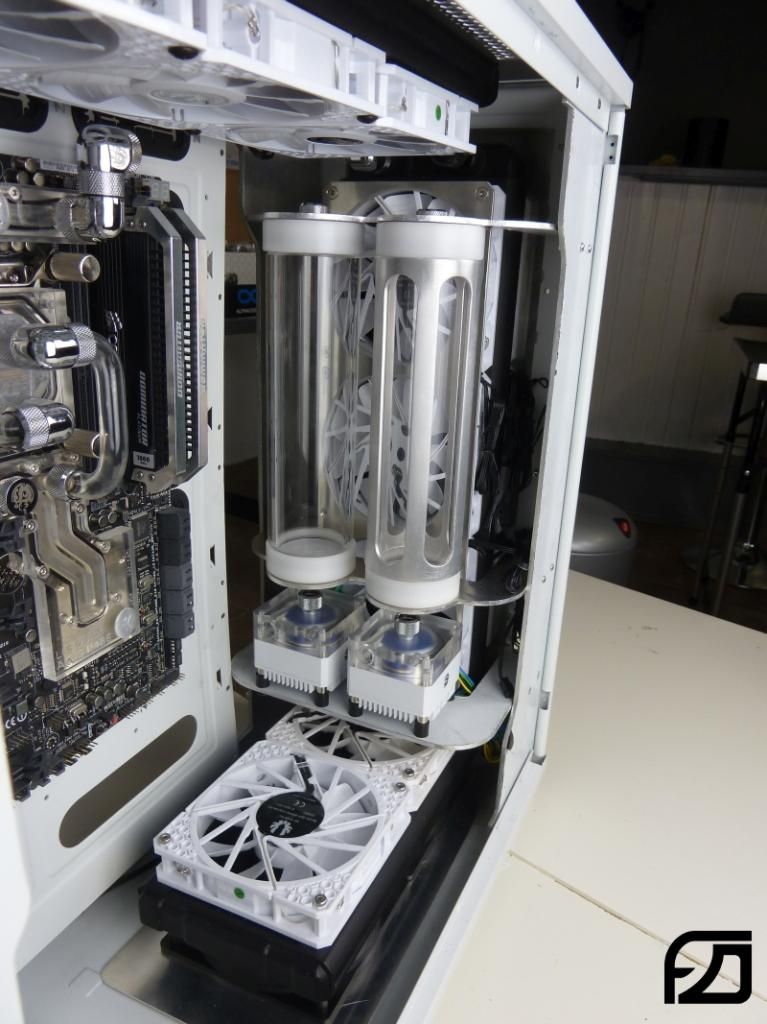
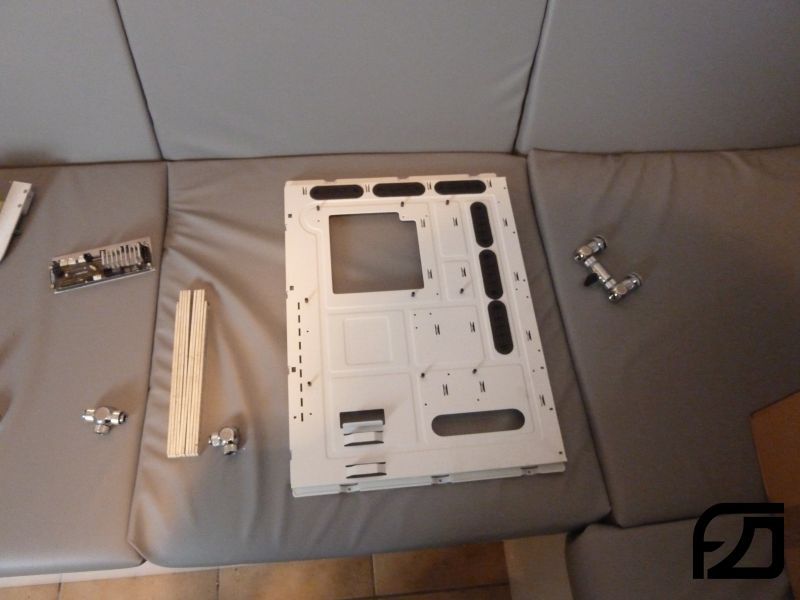
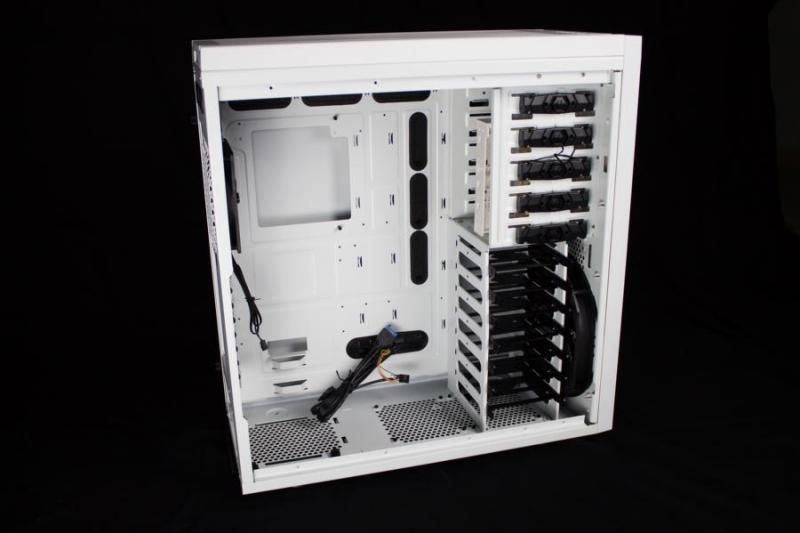
This Case should get a very clean look, just a few colors: white, silver, a little black. I will redo a lot of thing in the case. For example a new mainboard tray oder relocate the positions of the radiators.
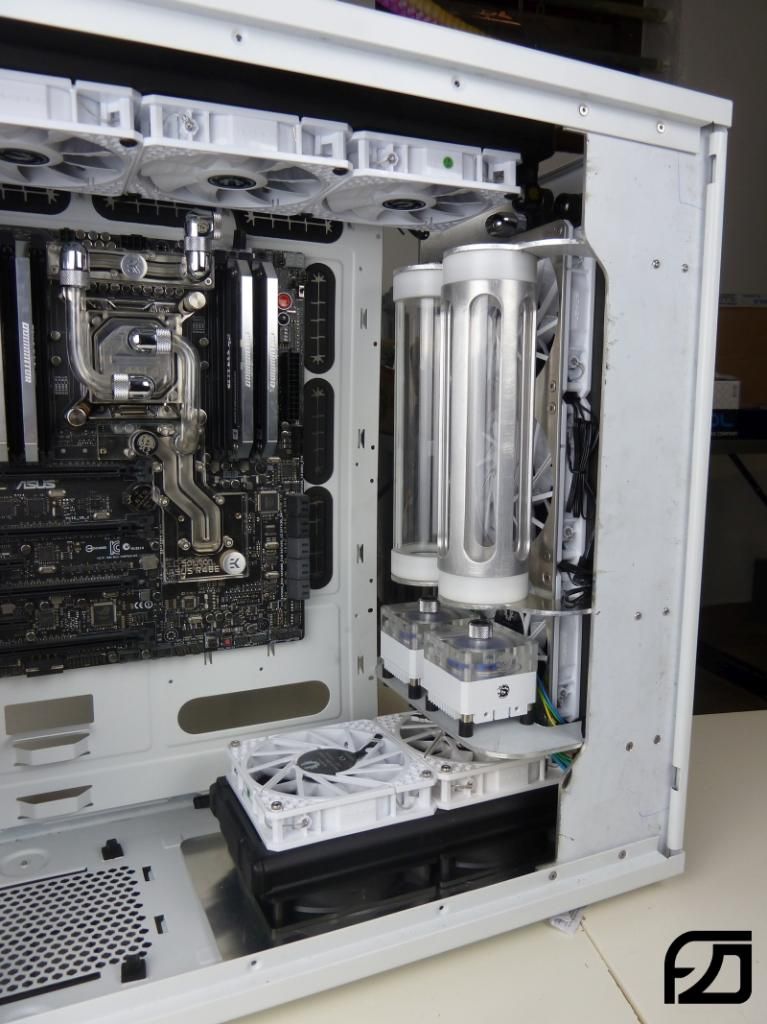
I think I'm done round about 40%.
I will hand in more updates later this week, so we will reach the current status very soon.")
The parts I will use:
Hardware:
Case:
- BitFenix Shinobi XL white
- Asus Sabertooth Mark S
- Intel Core i7 4790K
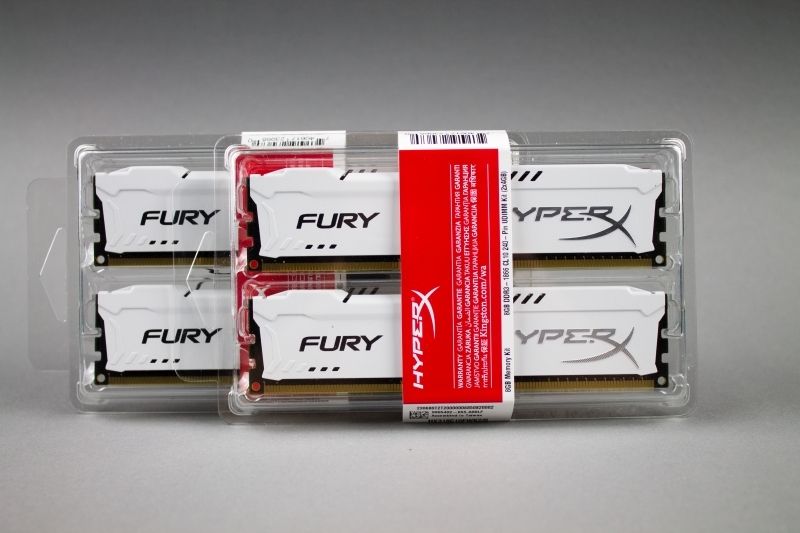
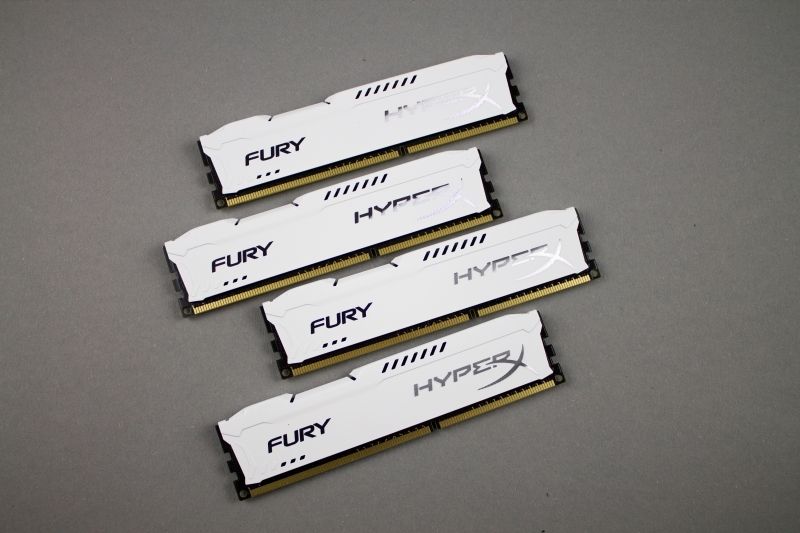
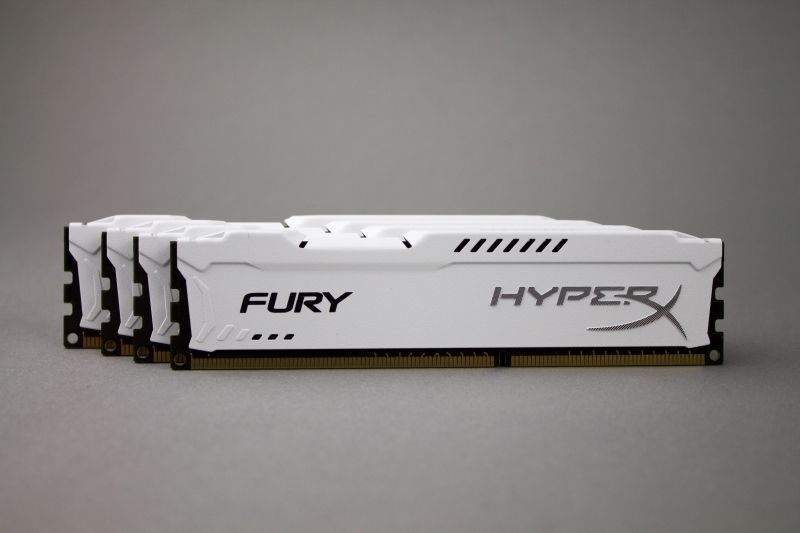
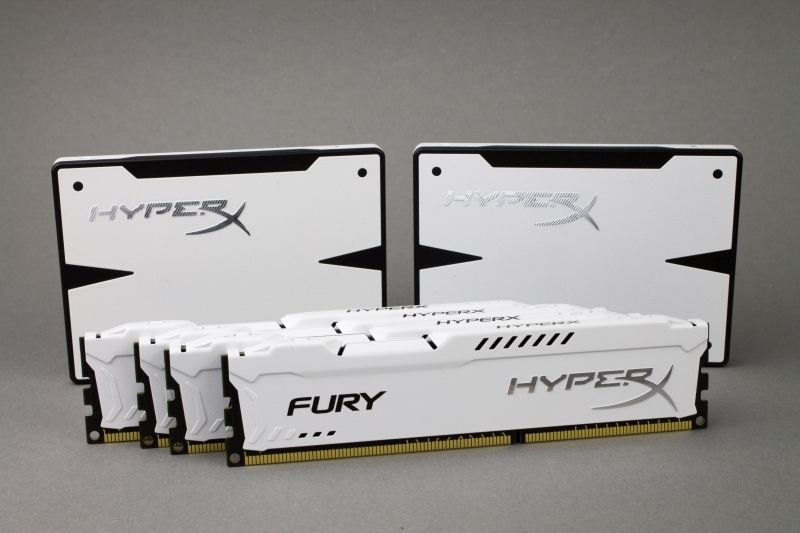
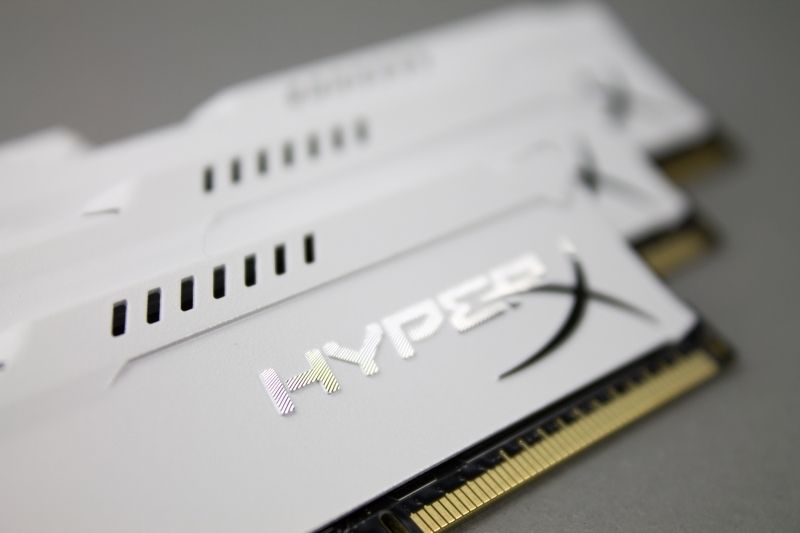
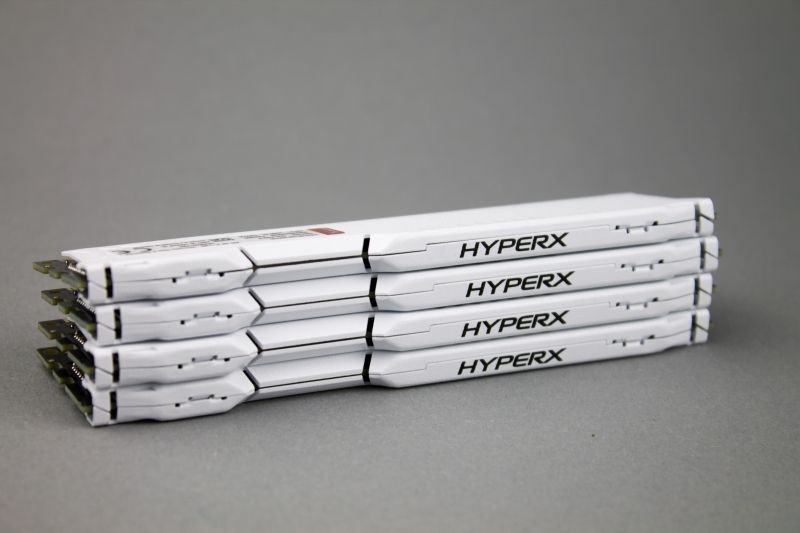
- 2x 8GB Kingston HyperX Fury white DDR3-1866
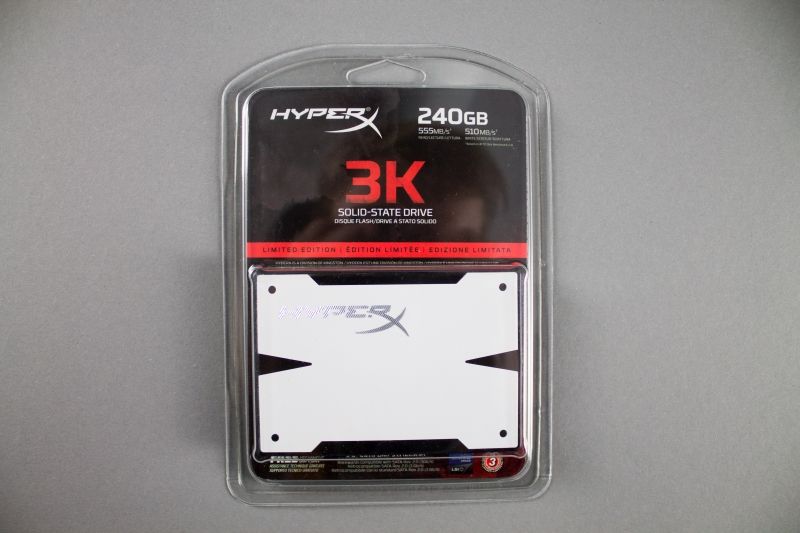
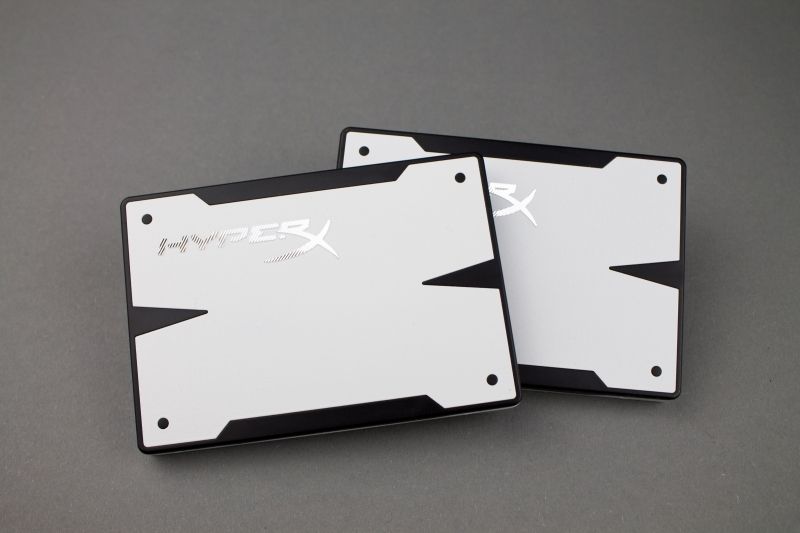
- 2x 240GB HyperX 3K SSD white
- 2x KFA2 GeForce GTX 970 HOF 4GB
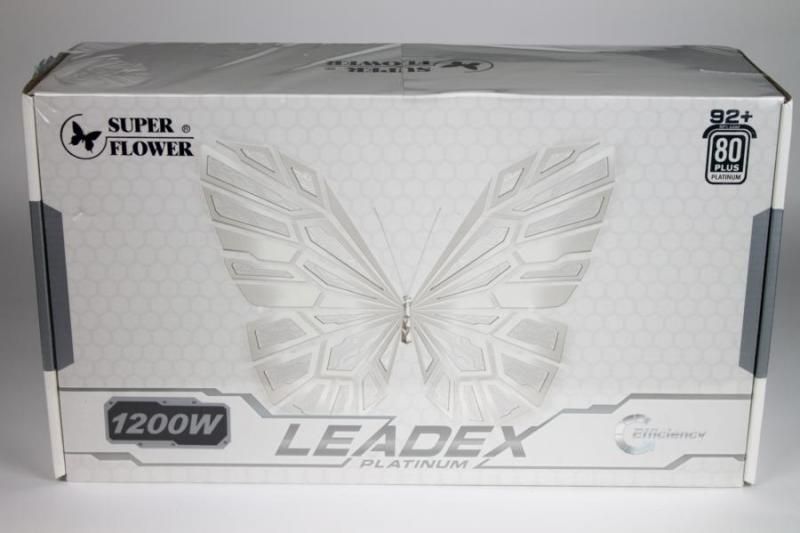
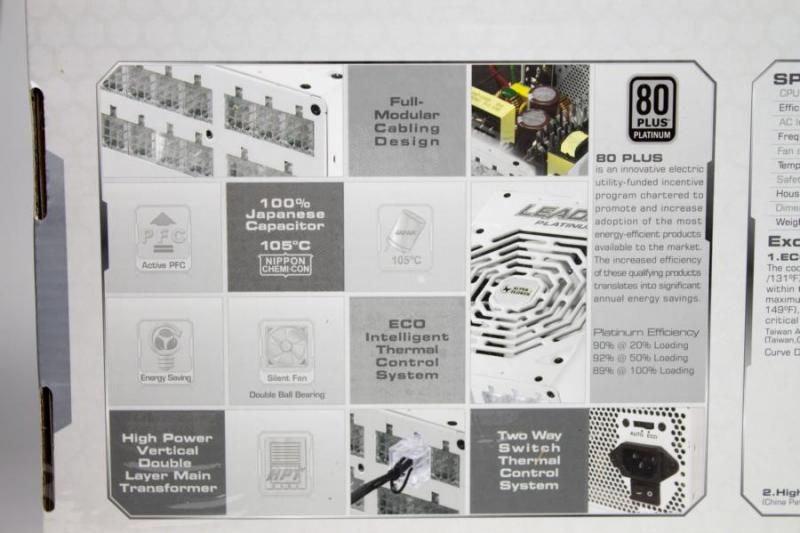
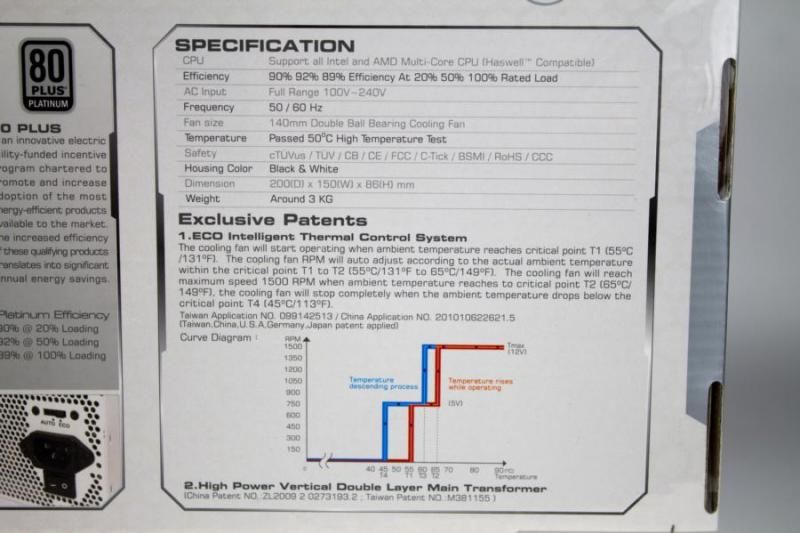
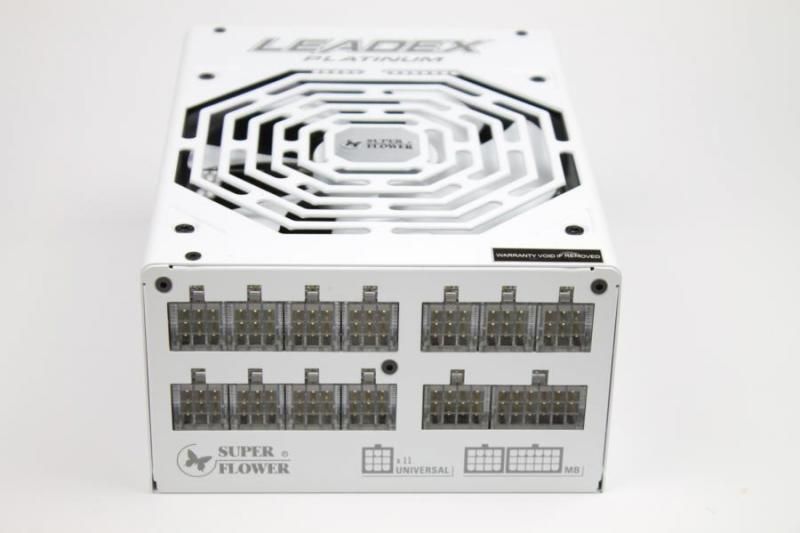
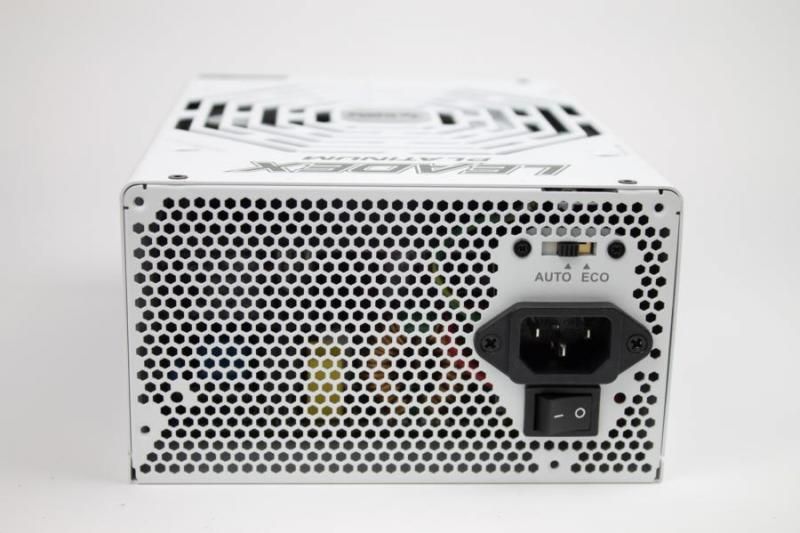
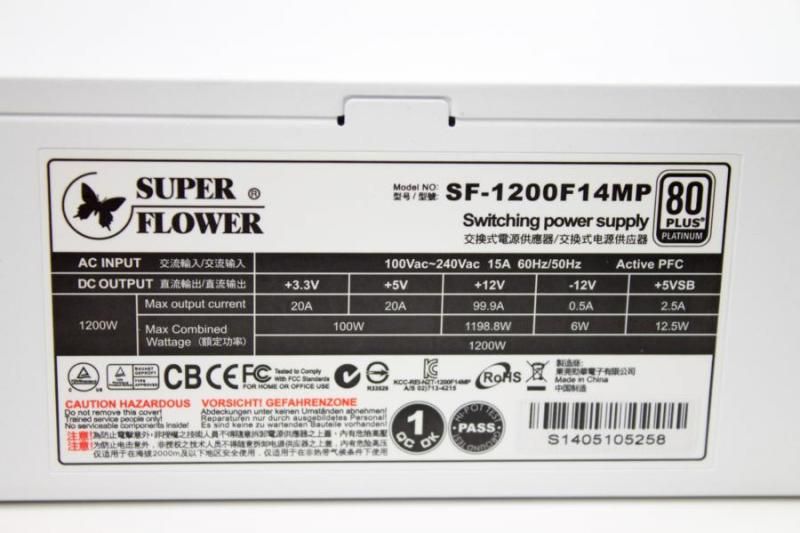
- Super Flower Leadex 80Plus Platinum Netzteil - 1200W
- [...]
Cooling Parts
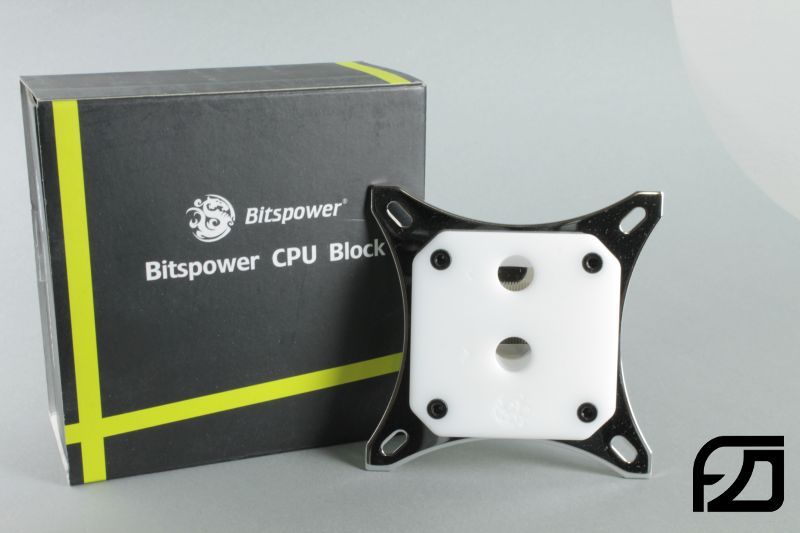
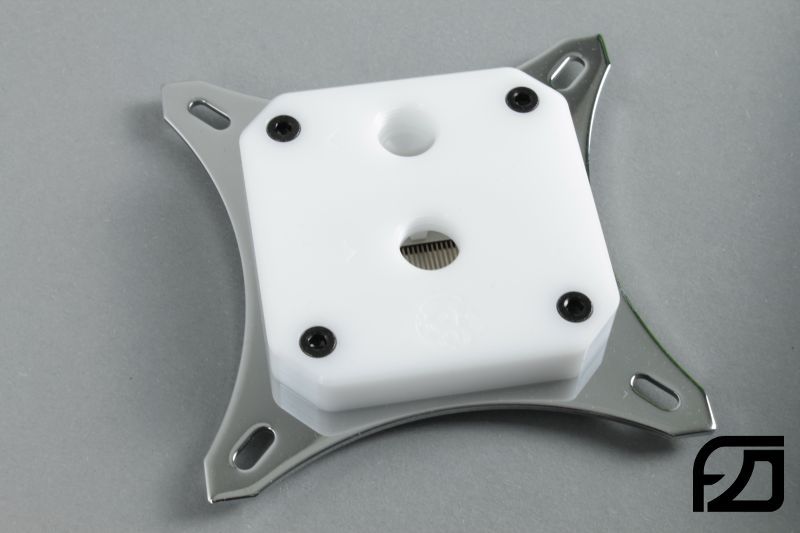
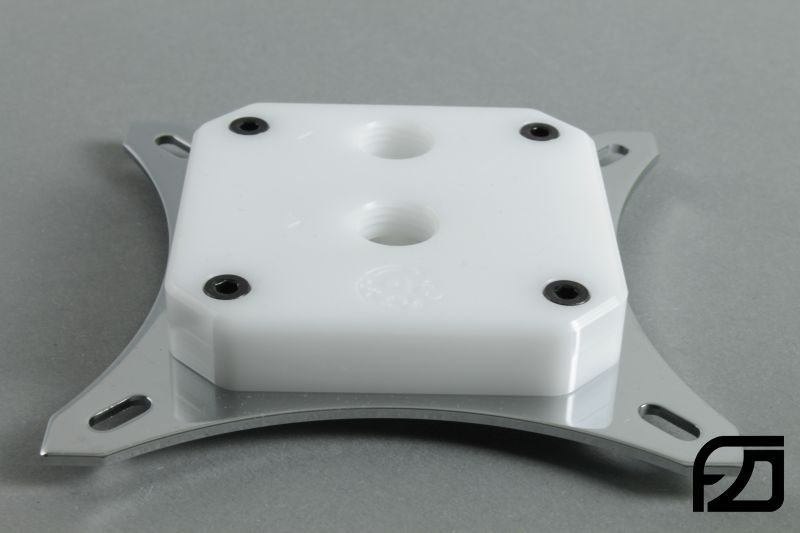
CPU block:
- Bitspower CPU Block Summit EF - BP-WBCPUIAC-CUMBKWH
- Bitspower CPU Block Plate For Intel CPU(Silver)
GPU block:
- Bitspower VG-NGTX980GXHOF
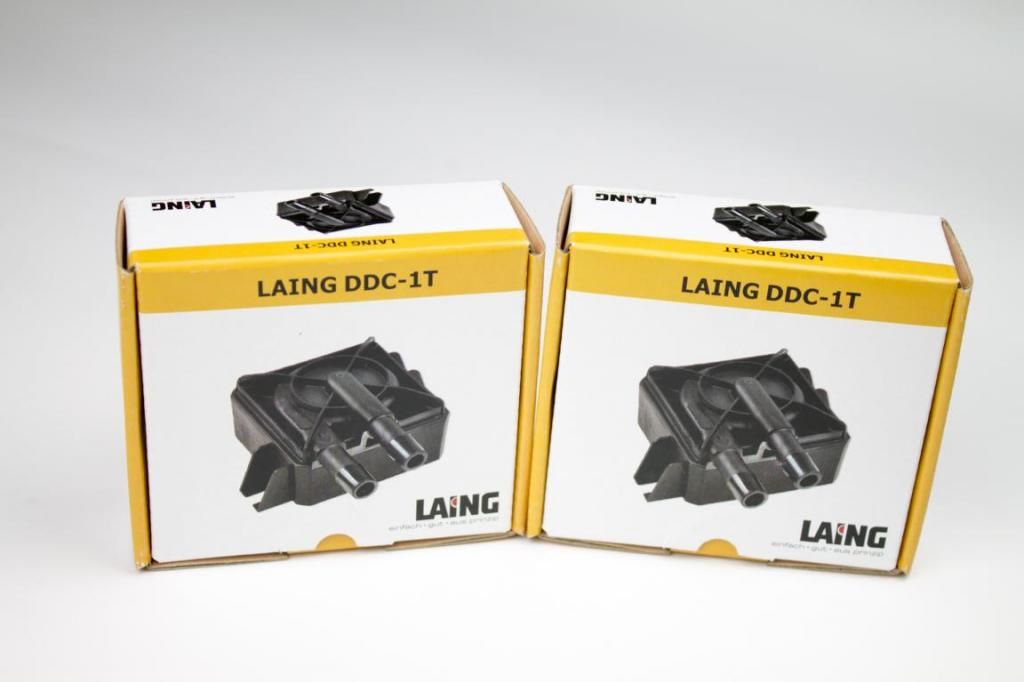
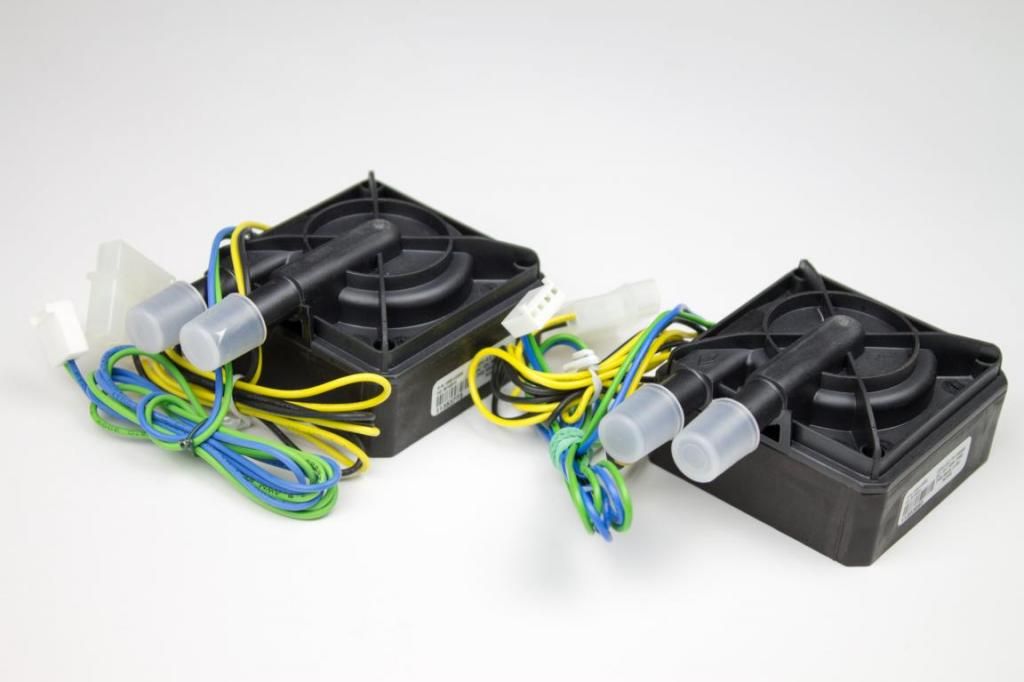
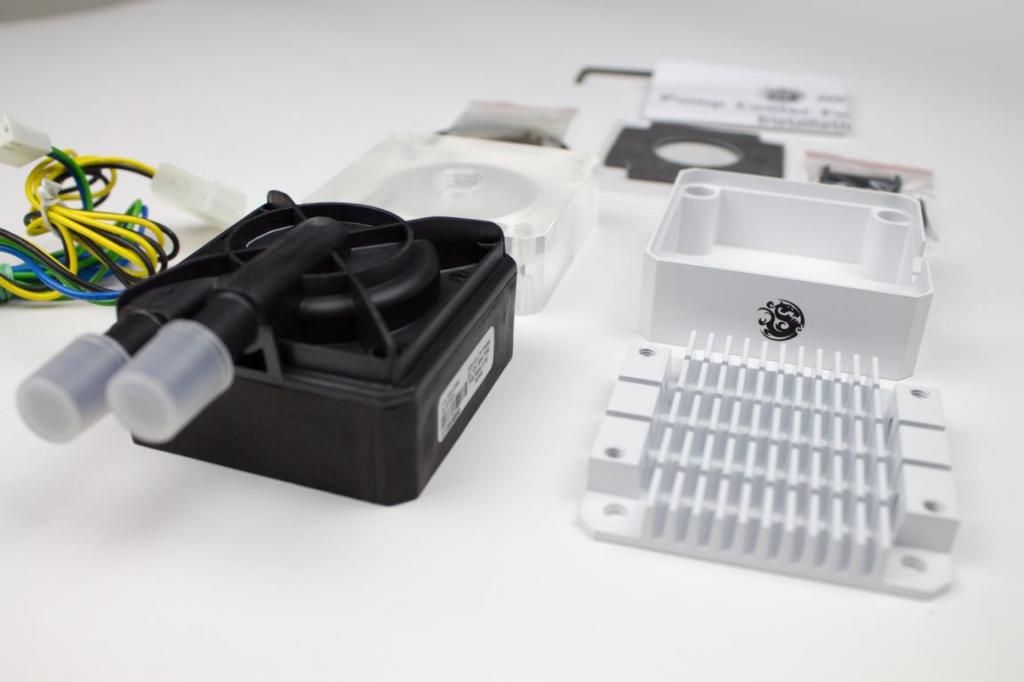
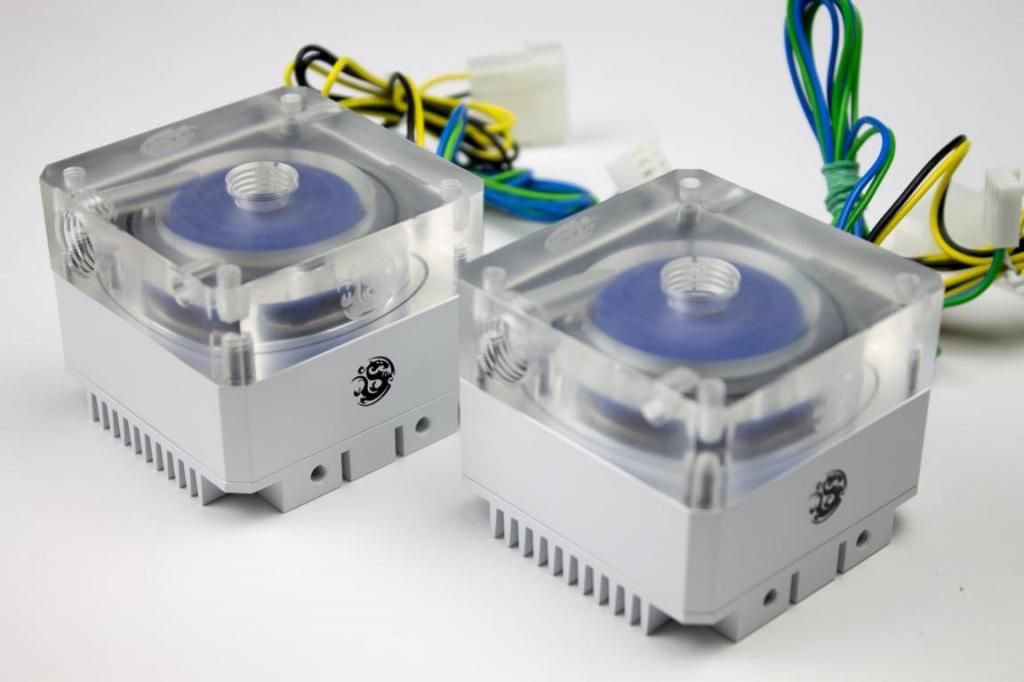
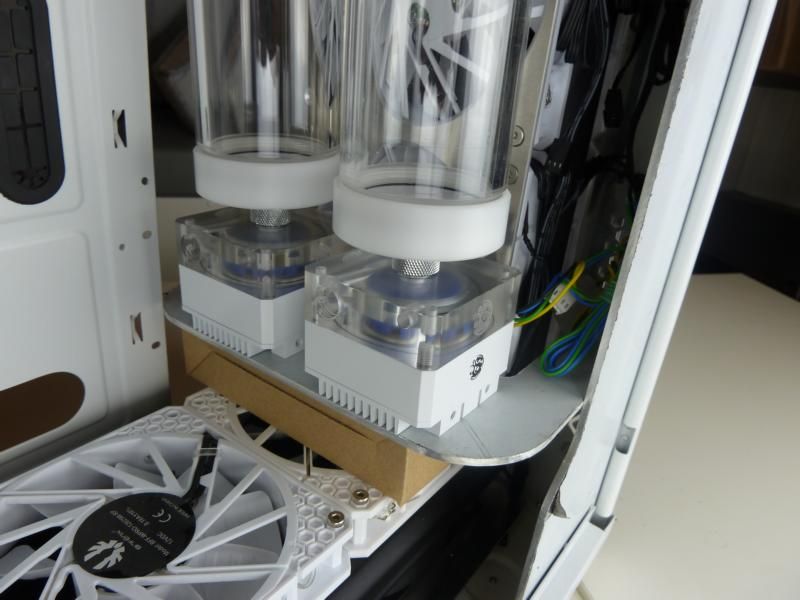
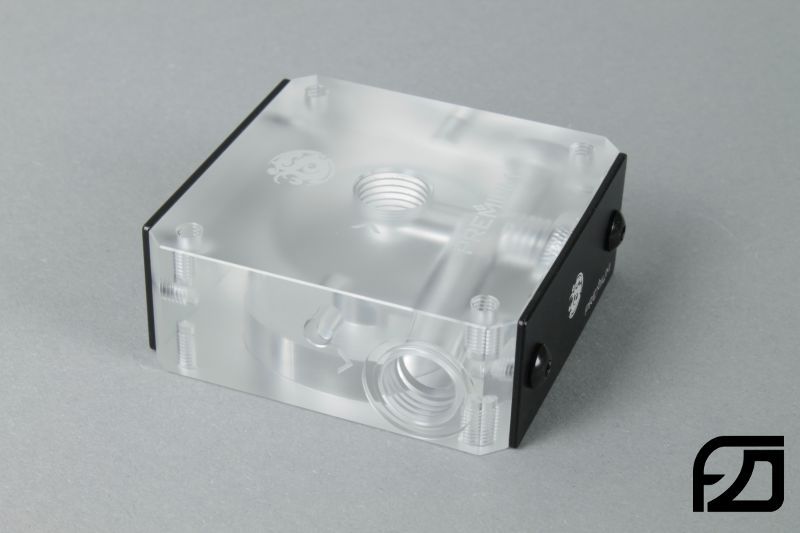
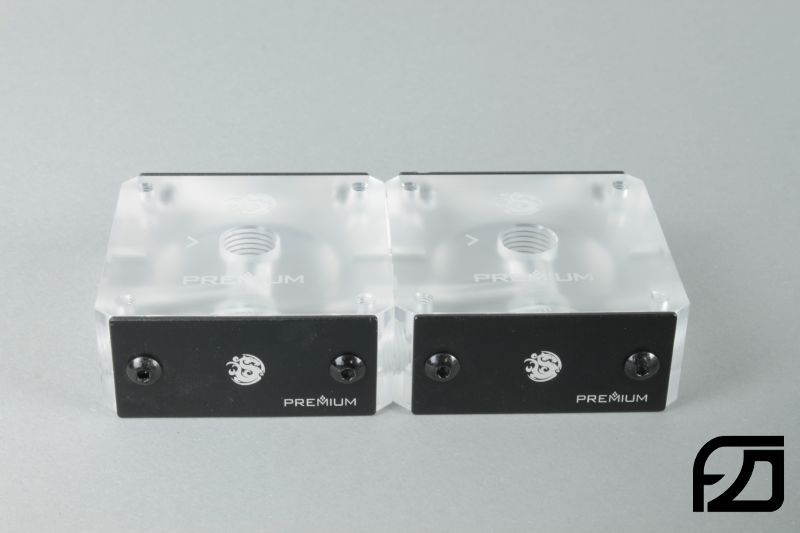
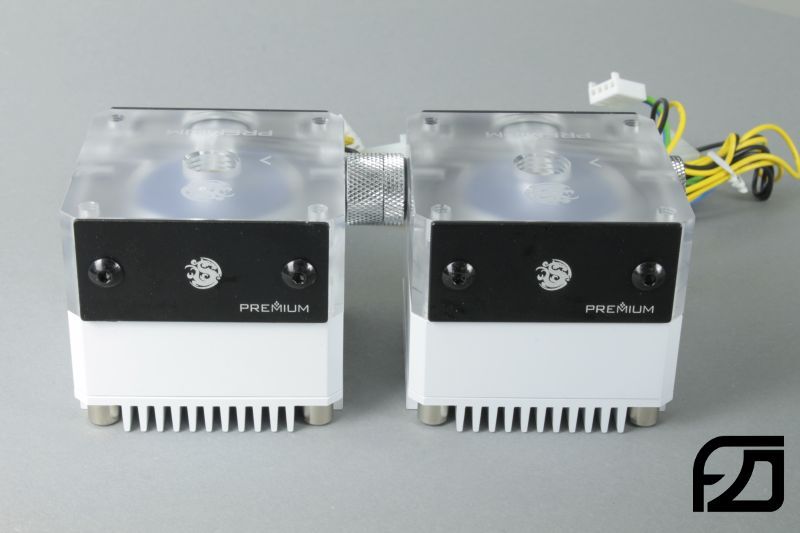
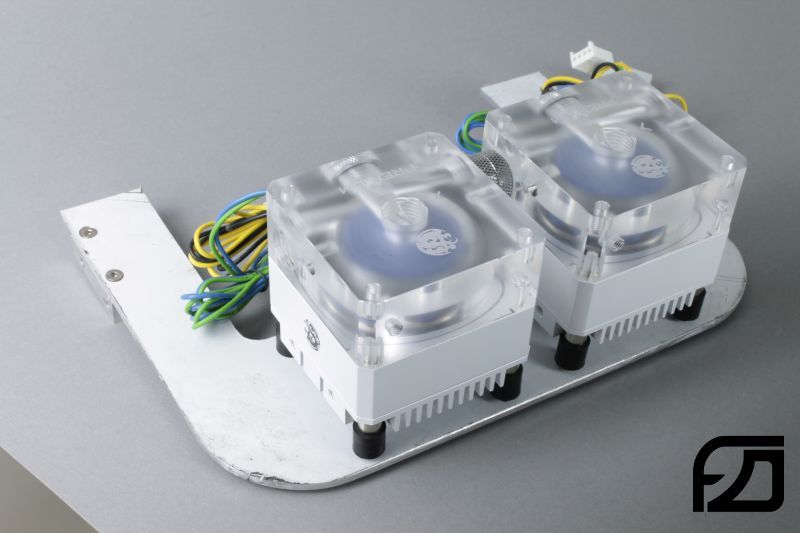
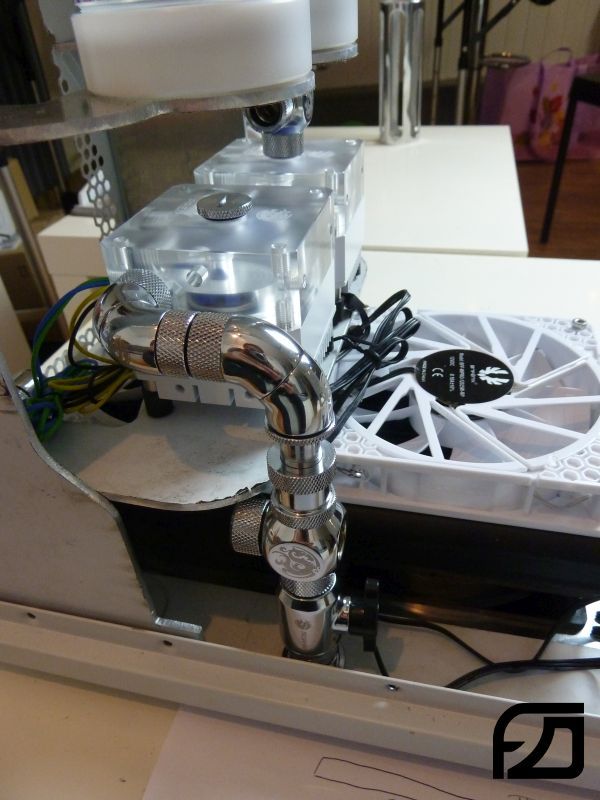
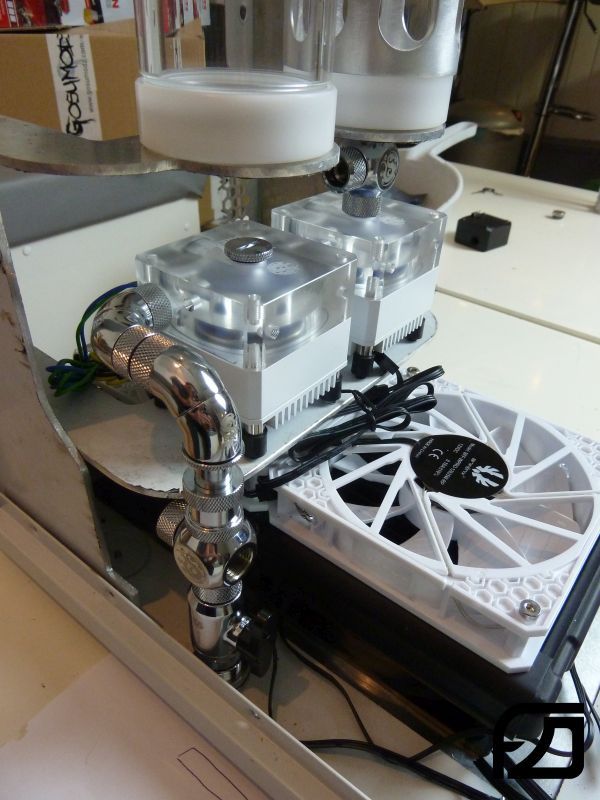
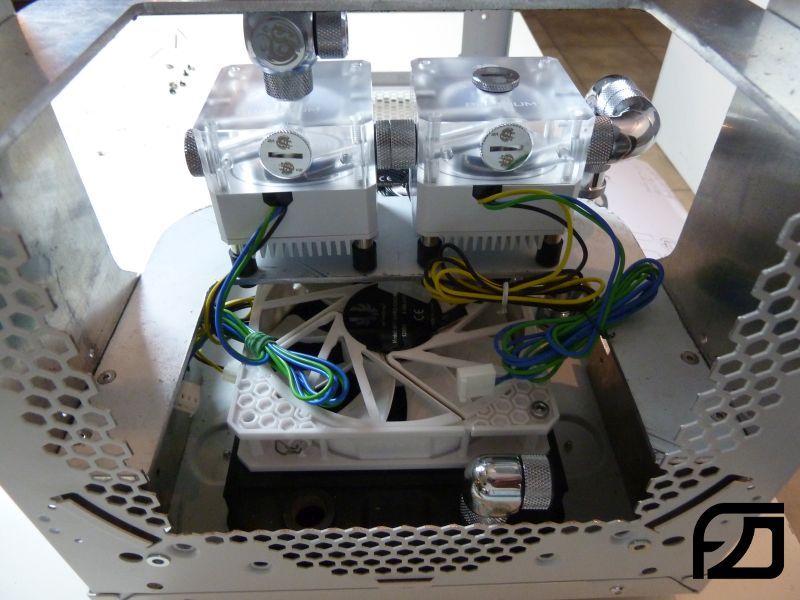
pump:
- Laing DDC-Pumpe 12V DDC-1T Plus PWM
- Bitspower Pump Cooler For DDC/MCP355 (White)
- - DDC TOP Acrylic Version
radiator:
- 2x Hardware Labs Black Ice Nemesis Radiator GTS 360
- Hardware Labs Black Ice Nemesis Radiator GTS 240
- Hardware Labs Black Ice Nemesis Radiator GTS 120
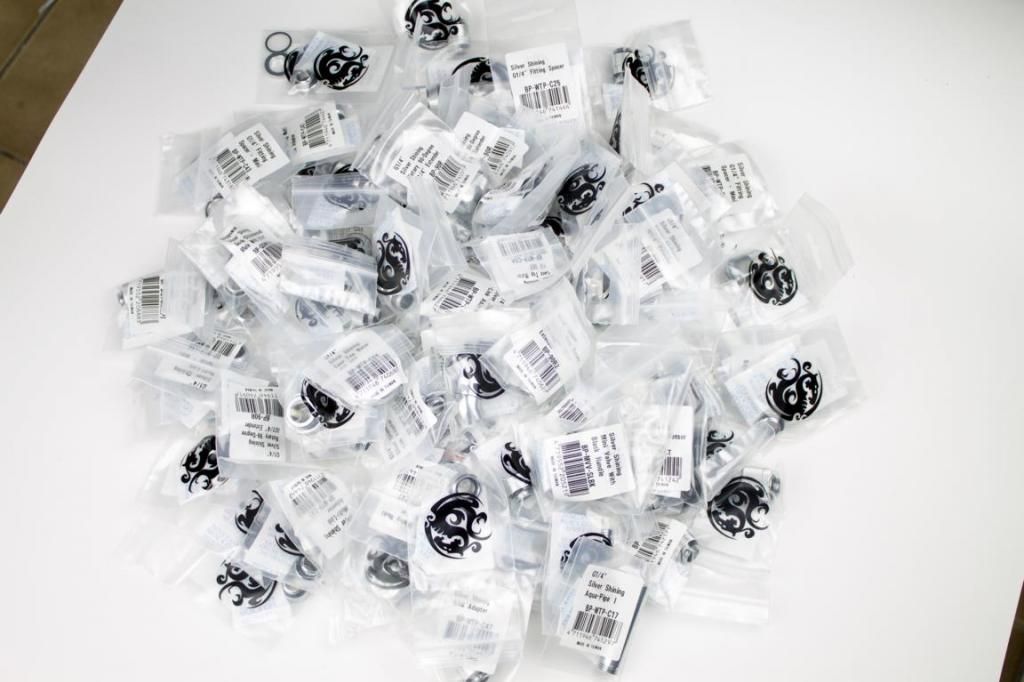
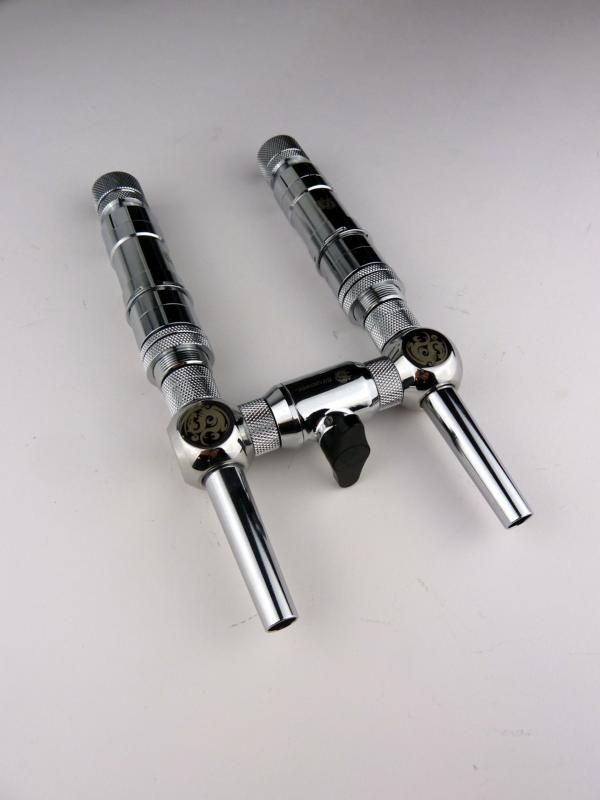
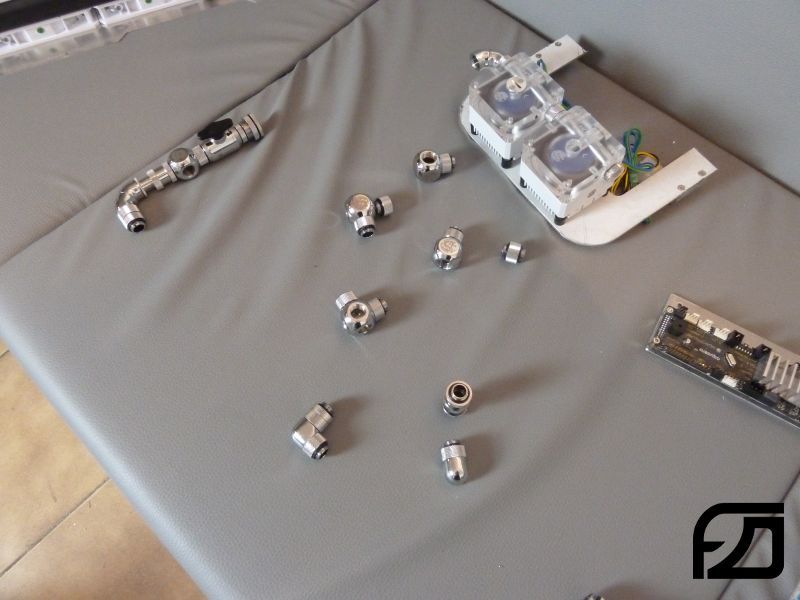
Fittings:
- Bitspower Silver Shining
A very big thanks goes to the following companys:


The Case:
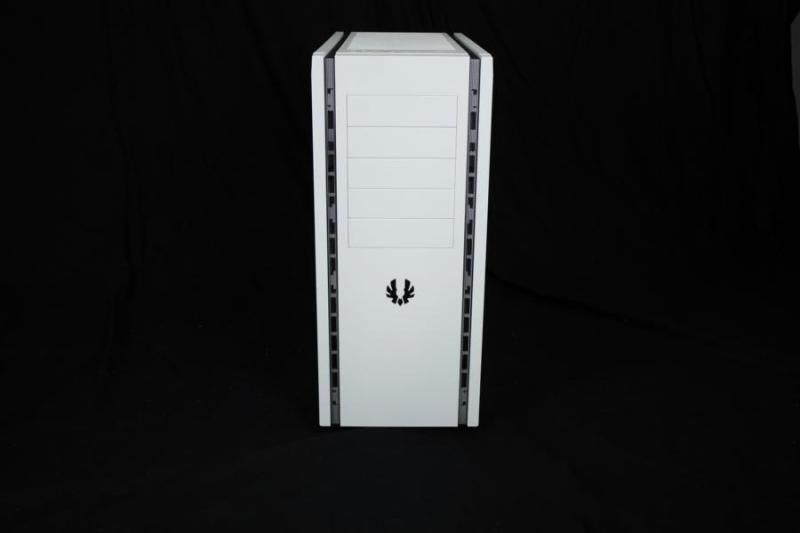
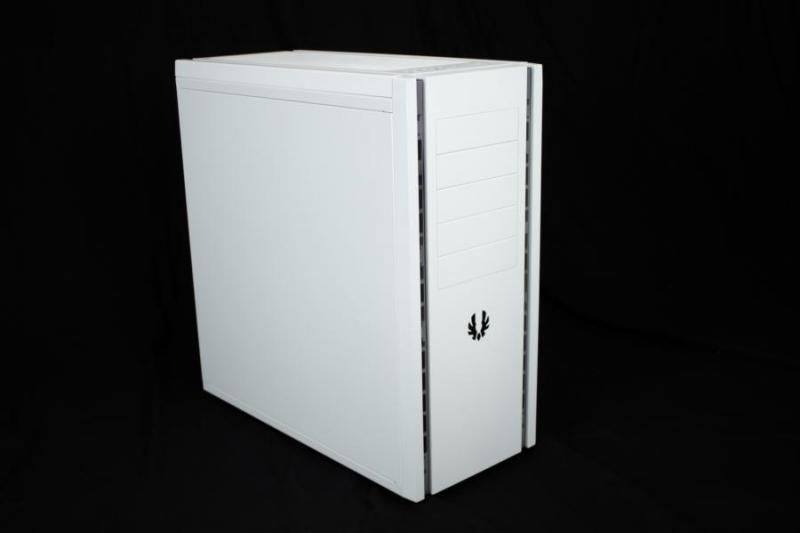

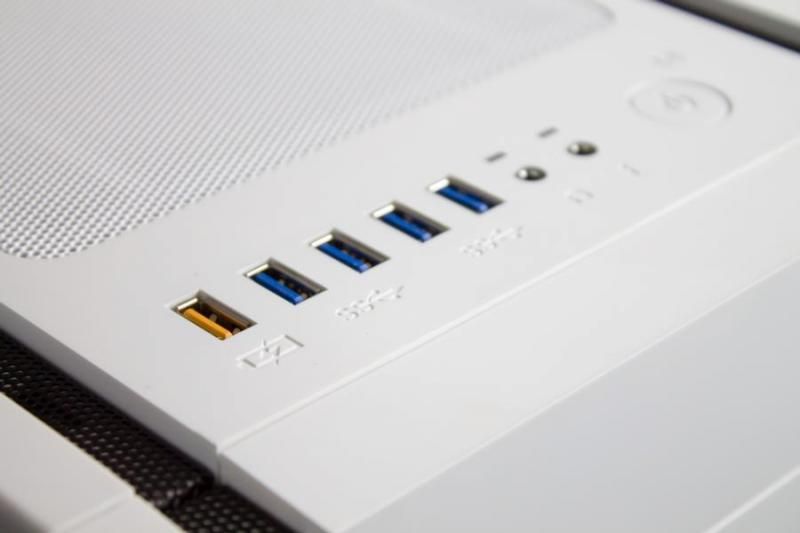
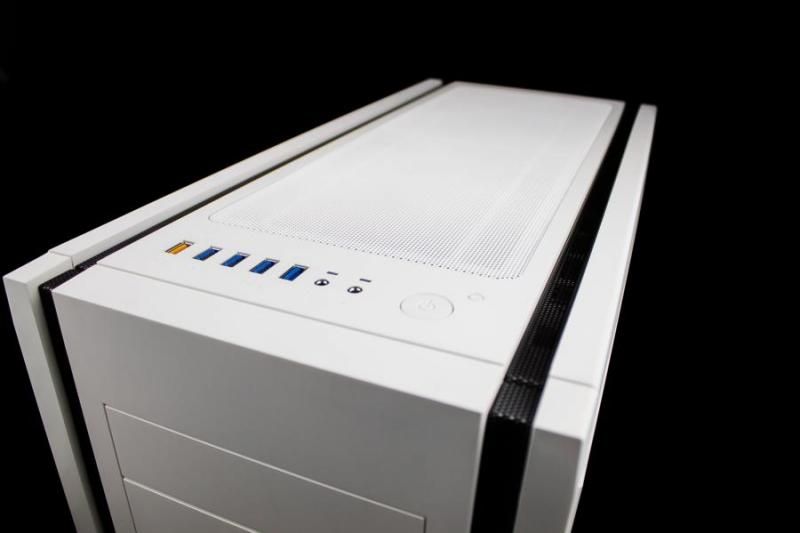
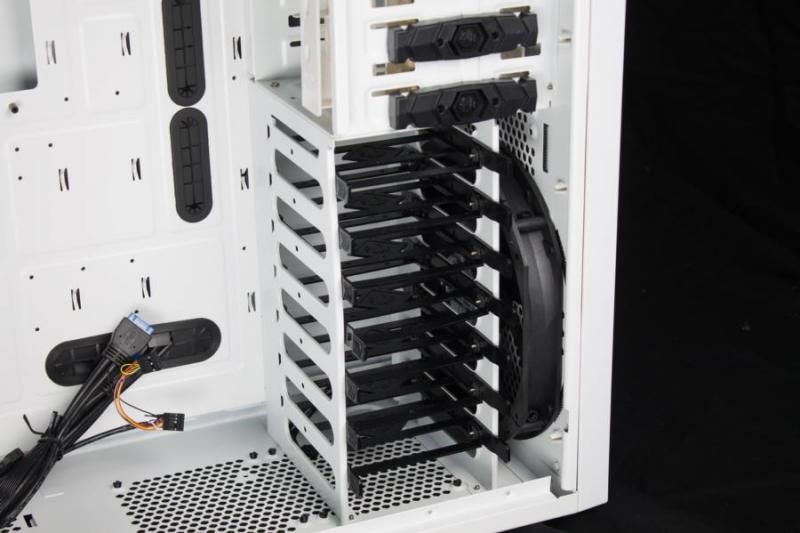
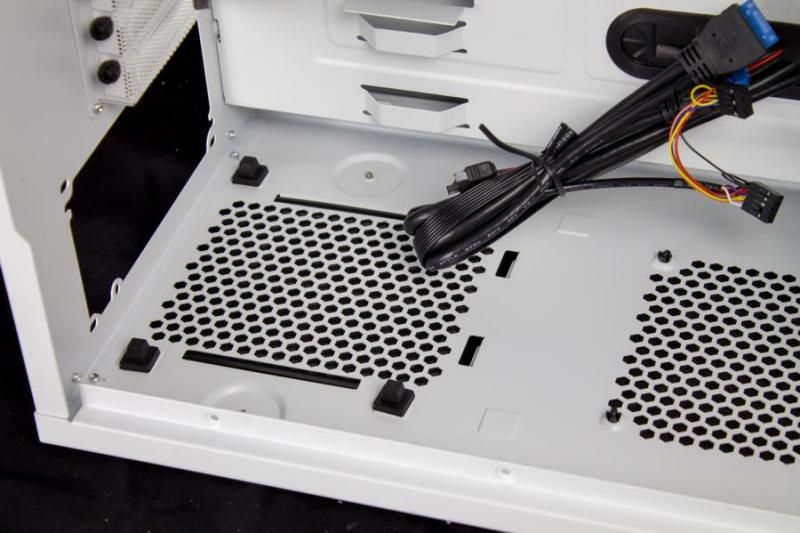
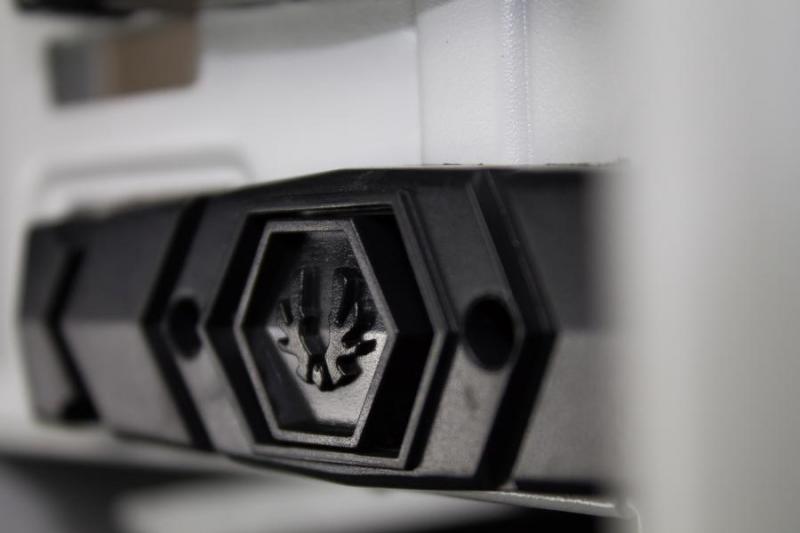
Some very nice features and top quality.
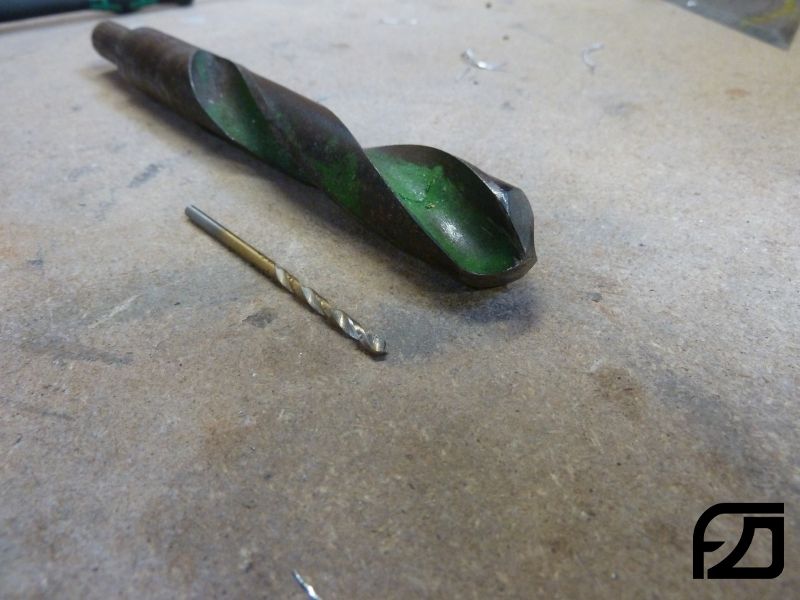
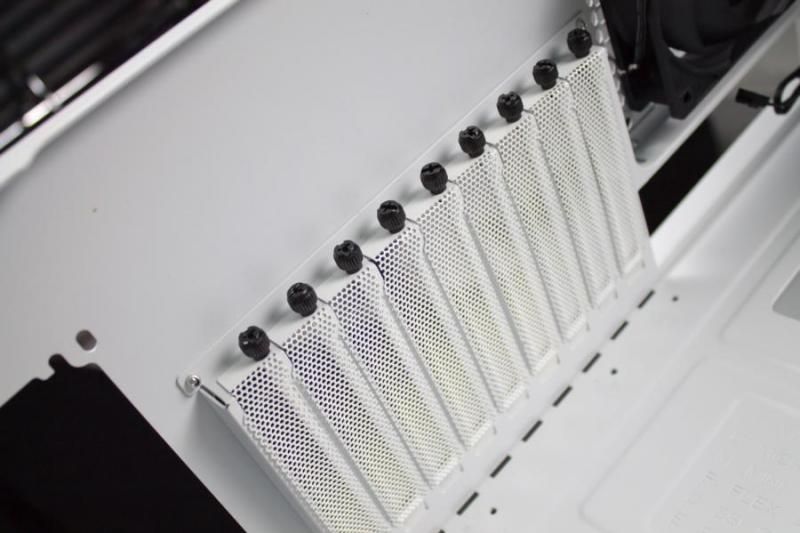
You can reach this point without drilling:
this will be my first worklog here at overclockers UK.
But maybe some of you already know my latest finished projects, Aprire, Full Steam Space Mashine and Pandora - HTPC. Now its time for a next project.
I already started this project in the end of 2014, now I'm making progress and want to show this project. 2014 I've been lookung for a big case with enough room for watercooling and hardware.
This is why I want to mod a Bitfenix Shinobi XL, which was provided by BitFenix.
This Case should get a very clean look, just a few colors: white, silver, a little black. I will redo a lot of thing in the case. For example a new mainboard tray oder relocate the positions of the radiators.
I think I'm done round about 40%.
I will hand in more updates later this week, so we will reach the current status very soon.
The parts I will use:
Hardware:
Case:
- BitFenix Shinobi XL white
- Asus Sabertooth Mark S
- Intel Core i7 4790K
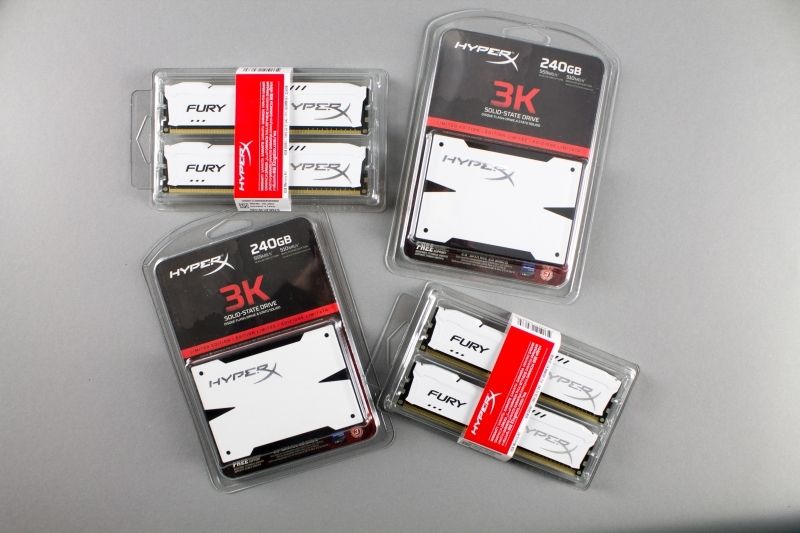
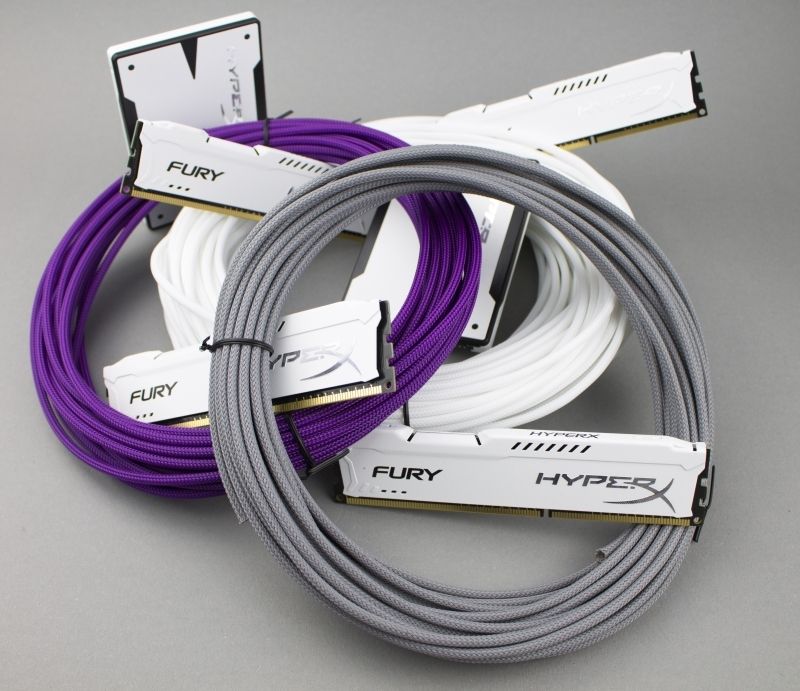
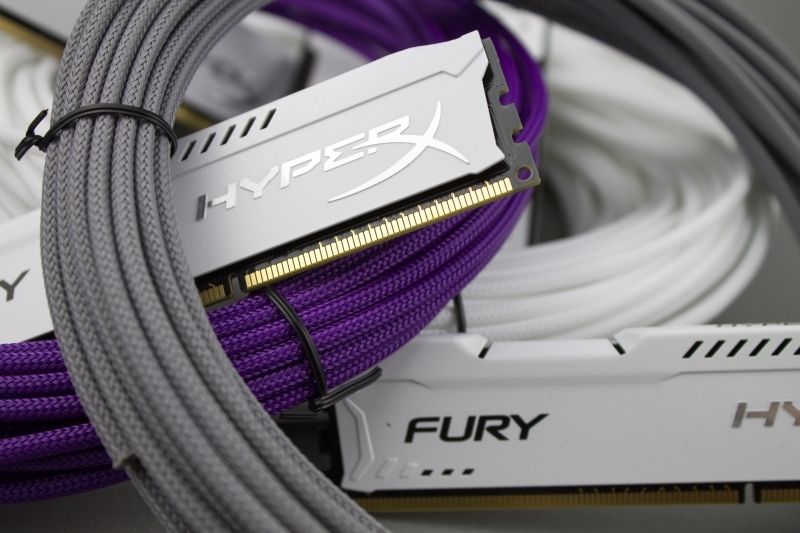
- 2x 8GB Kingston HyperX Fury white DDR3-1866
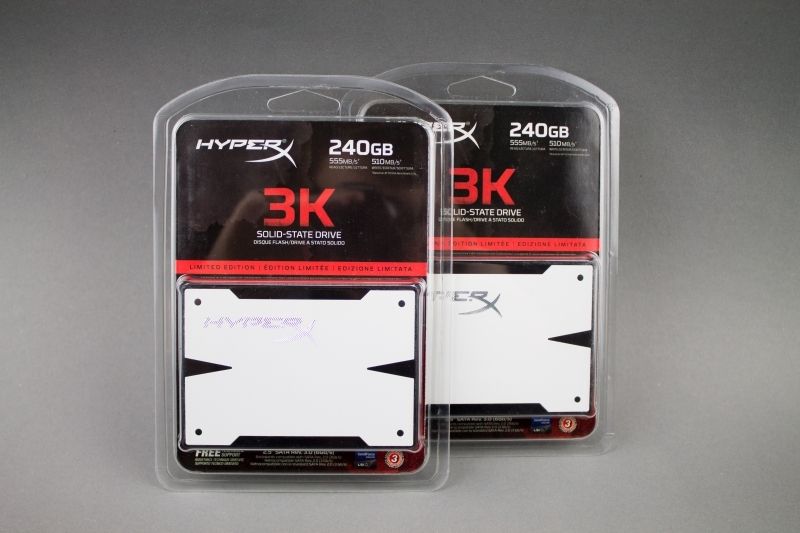
- 2x 240GB HyperX 3K SSD white
- 2x KFA2 GeForce GTX 970 HOF 4GB
- Super Flower Leadex 80Plus Platinum Netzteil - 1200W
- [...]
Cooling Parts
CPU block:
- Bitspower CPU Block Summit EF - BP-WBCPUIAC-CUMBKWH
- Bitspower CPU Block Plate For Intel CPU(Silver)
GPU block:
- Bitspower VG-NGTX980GXHOF
pump:
- Laing DDC-Pumpe 12V DDC-1T Plus PWM
- Bitspower Pump Cooler For DDC/MCP355 (White)
- - DDC TOP Acrylic Version
radiator:
- 2x Hardware Labs Black Ice Nemesis Radiator GTS 360
- Hardware Labs Black Ice Nemesis Radiator GTS 240
- Hardware Labs Black Ice Nemesis Radiator GTS 120
Fittings:
- Bitspower Silver Shining
A very big thanks goes to the following companys:
The Case:
Some very nice features and top quality.
You can reach this point without drilling:
Last edited: