

Associate
Hi,
I thought I would share with you my recent upgrade to acrylic tubing from standard flexi pipe. This is my first time using acrylic and am not sure what to expect. I will also be upgrading my PSU from a Corsair TX650 - RM1000 as I will be upgrading my Gpu to 2x 780ti's shortly.
Equipment:
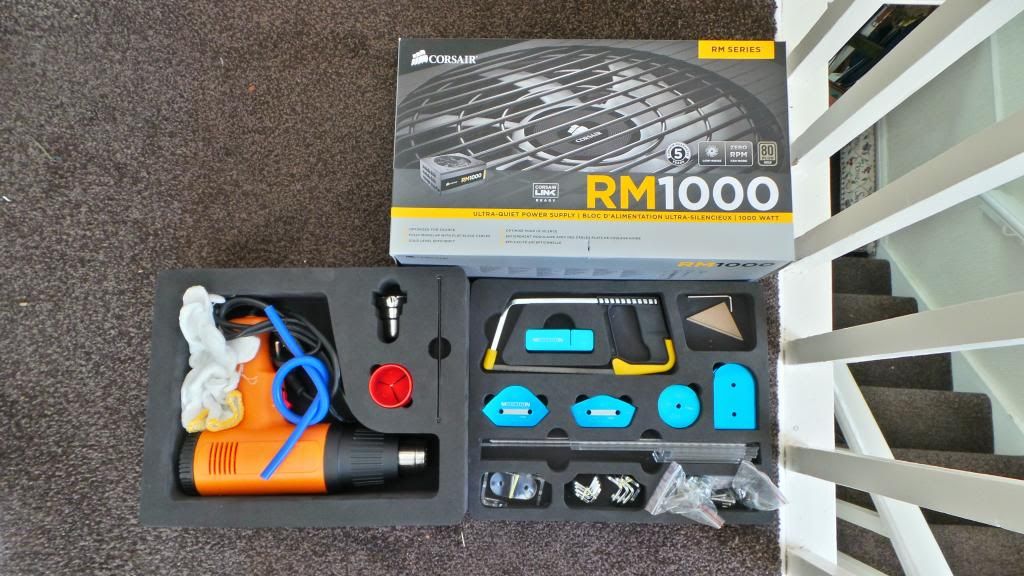
Monsoon Hardline Pro Bending Kit 13mm
PrimoChill 13mm Clear Acrylic tube
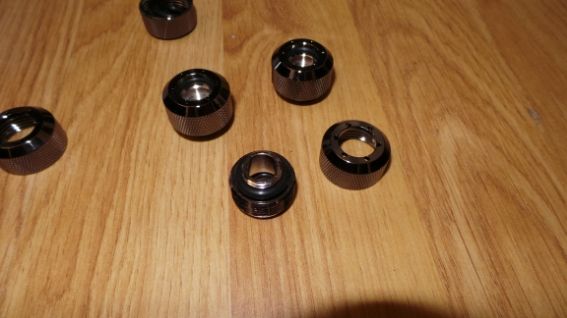
Primochill Revolver Black Nickel Compression Fittings:
This PC is also my very first ever PC build, my first attempt at watercooling and overclocking.
Current Hardware:
NZXT Phantom V2 Orange/Black Case
i5 4670k OC @ 4.5ghz 1.18vcore
Gigabyte Z87-OCX Mobo
8Gb G.Skill Ares RAM 2133Mhz
Evga 780ti Superclocked
Corsair RM1000 PSU
120Gb Samsung Evo 840
60gb Corsair Force 3
2tb Seagate Barracuda
I also have 2 x 200mm, 2 x 120mm & 1x 140mm Case Fans (not including rad fans)
Watercooling Consists of:
XSPC Raystorm block w/ Orange LED
XSPC AX120mm Rad
XSPC Photon 170 Res
EK 2.2 Pump
2x Corsair HP Fans
Primochill Revolver Black Nickel Fittings
Primochill 13mm Tubing
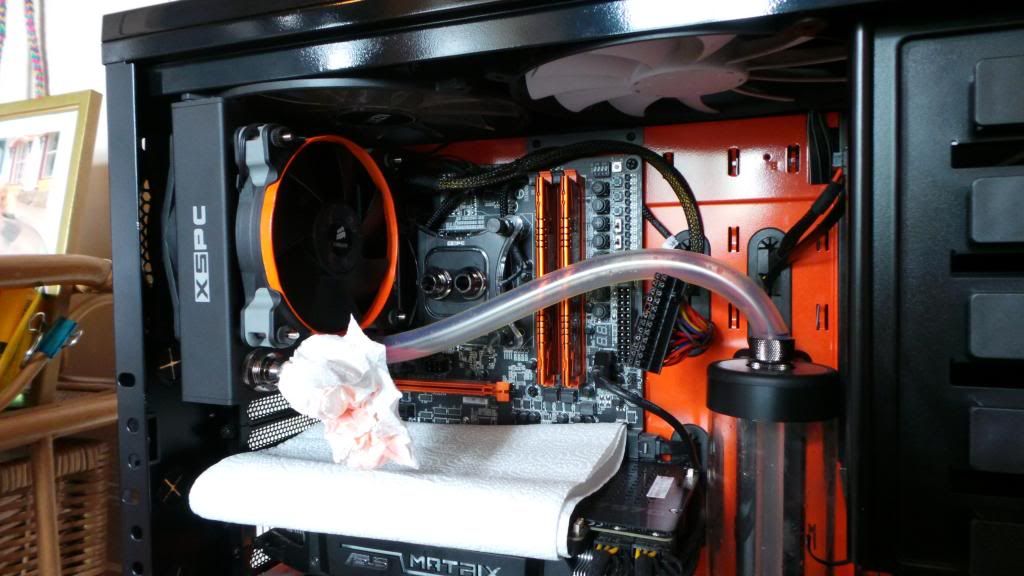
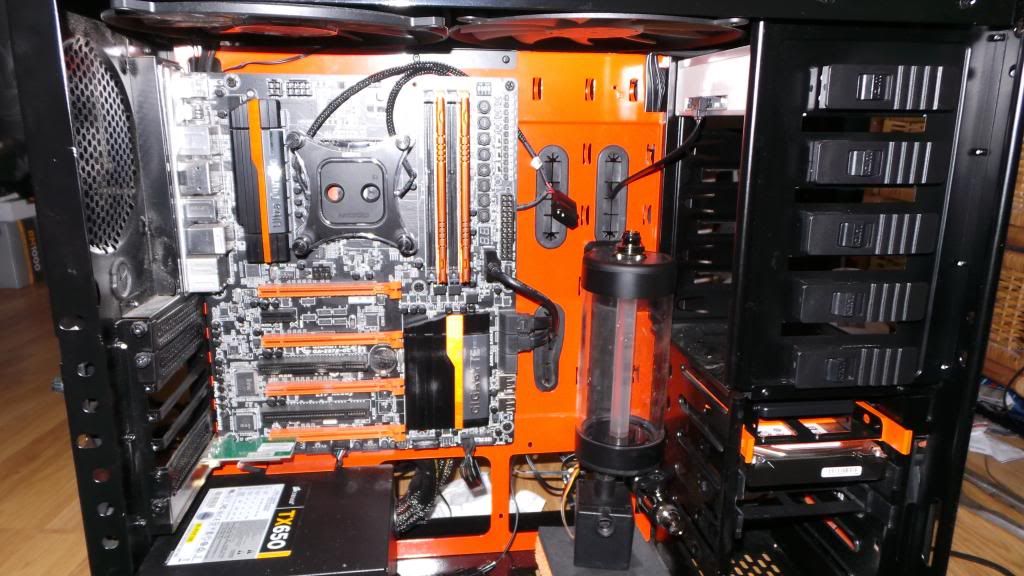
So this is currently what my PC is looking like on this inside
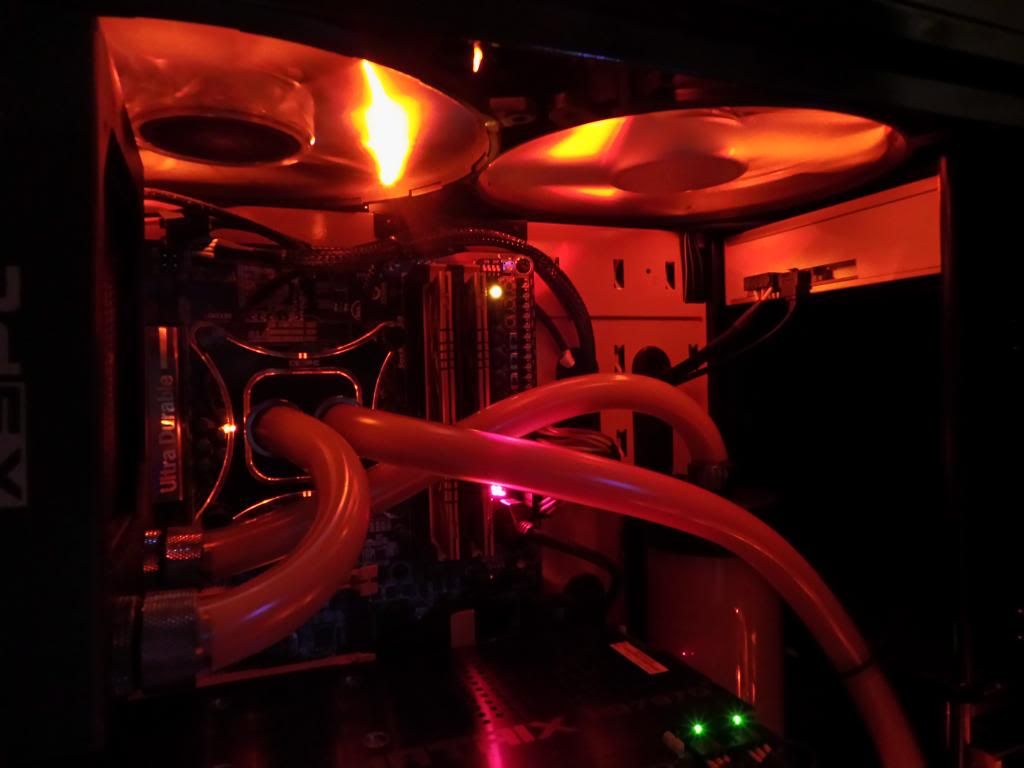
So the tubing has been bugging me for awhile now. The above photo was taken soon after I first filled it, the coolant has turned a dark orange and the tubing has started to get stained. I have always wanted to do acrylic but haven't wanted to risk it without proper tools, so when I found the bending kit here on OC I snapped one up.
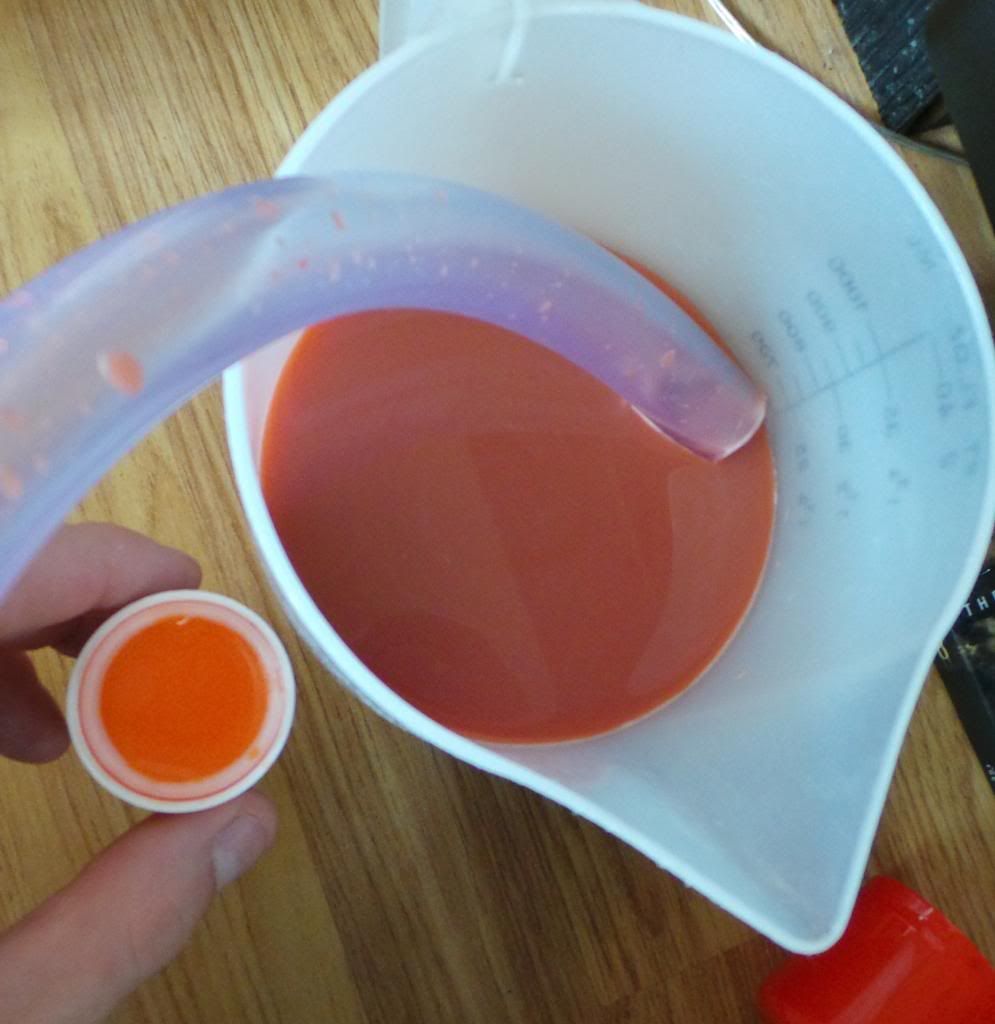
Anyway, first to drain the loop.
As you can see from this picture the coolant has changed colour quite abit and looks rather dirty in comparison to the fresh liquid next to it.
Removing the tubing (very carefully) as I have had afew close shaves with coolant and components.
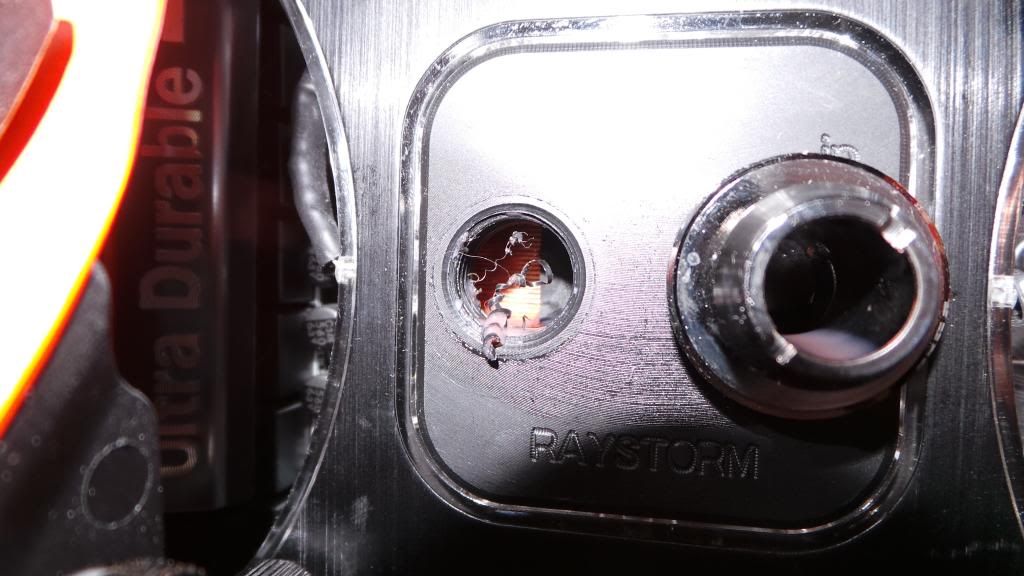
Inspecting the waterblock after I had removed the fittings revealed a shave of plastic that has been stuck there for over 6 months. Lucky it didn't get loose and clog the pump up.
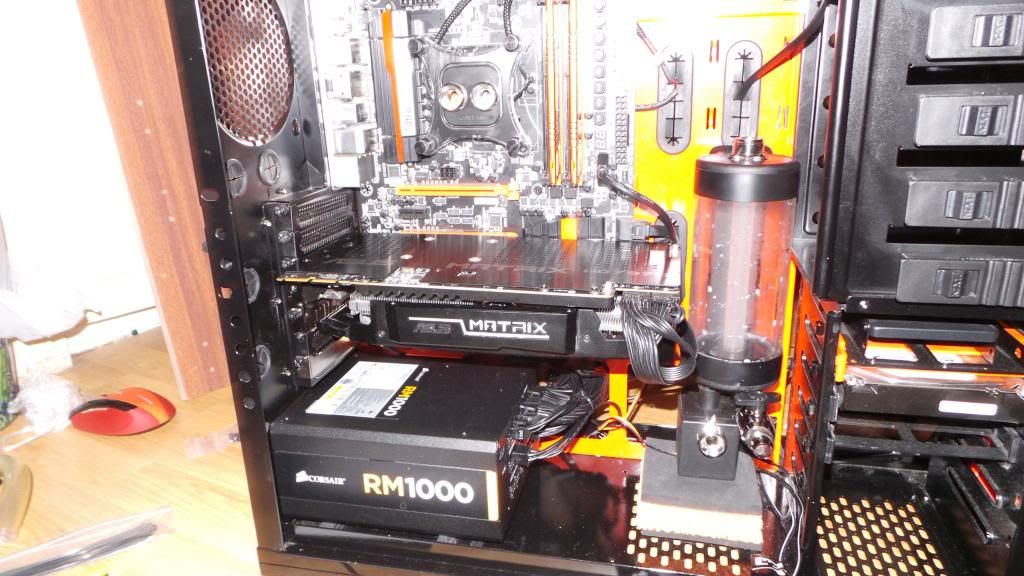
Also gave the graphics card a clean and a new dollop of thermal paste.
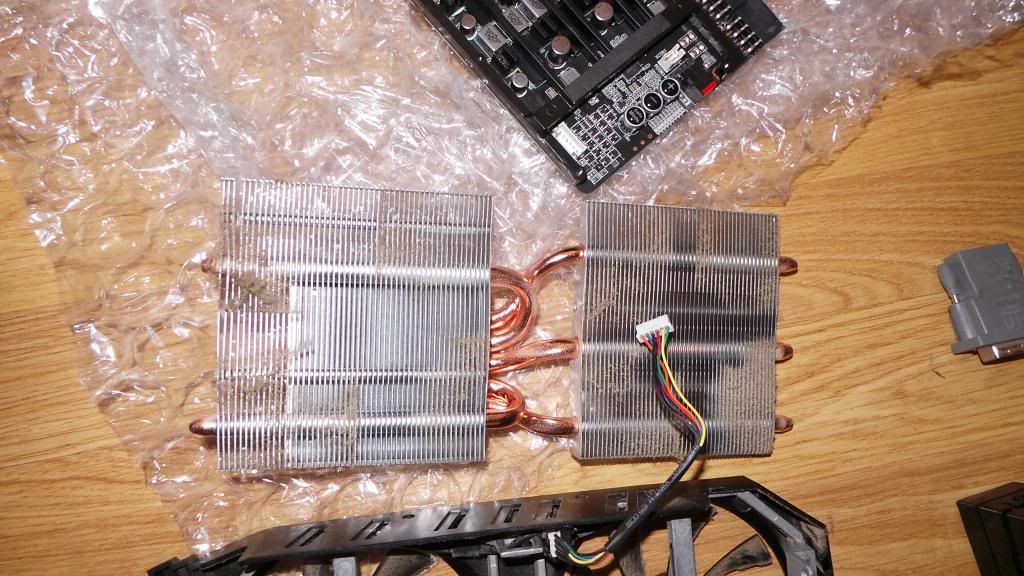
Time to fully strip out my PC and get some compressed air in there to get rid of all that dust thats gathered in the nooks and crannies. I will also be adding a new fan to the back of my rad as they are currently mis-matched.
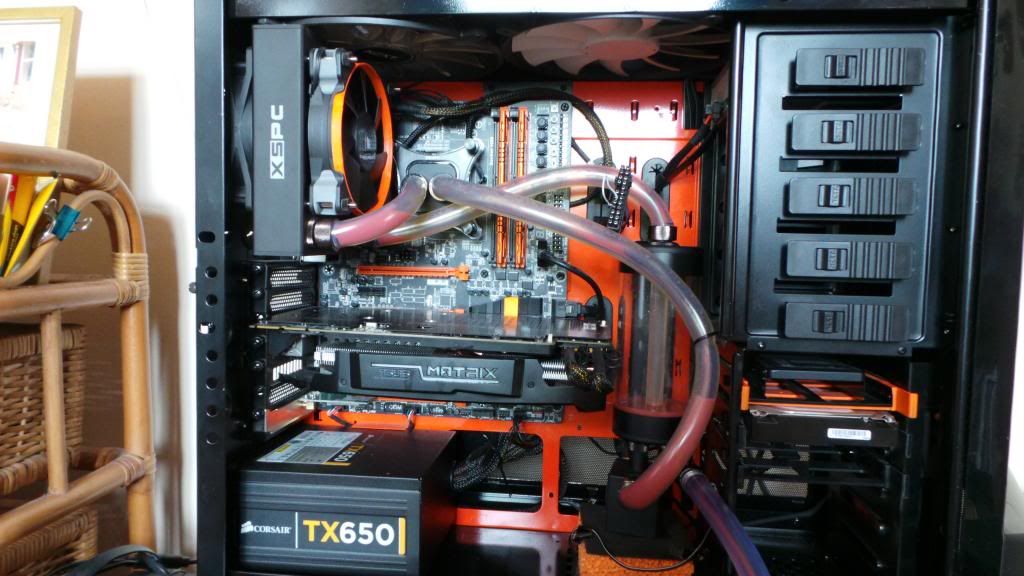
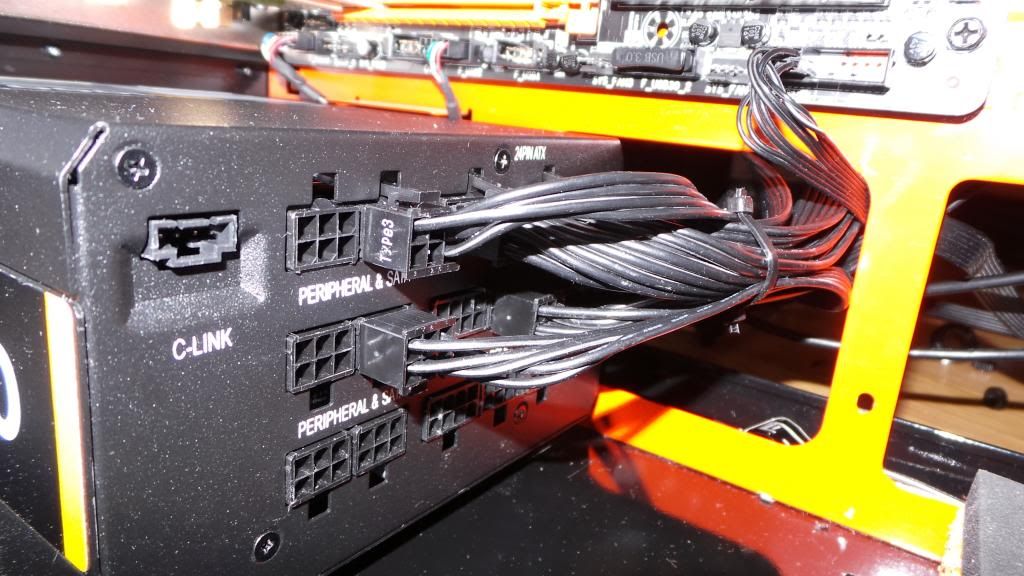
After much wrestling getting the old PSU wires out (I swear I will never buy a non modular psu again) and getting all the new cables back in finally had the new psu installed.
...
I thought I would share with you my recent upgrade to acrylic tubing from standard flexi pipe. This is my first time using acrylic and am not sure what to expect. I will also be upgrading my PSU from a Corsair TX650 - RM1000 as I will be upgrading my Gpu to 2x 780ti's shortly.
Equipment:
Monsoon Hardline Pro Bending Kit 13mm
PrimoChill 13mm Clear Acrylic tube
Primochill Revolver Black Nickel Compression Fittings:


This PC is also my very first ever PC build, my first attempt at watercooling and overclocking.
Current Hardware:
NZXT Phantom V2 Orange/Black Case
i5 4670k OC @ 4.5ghz 1.18vcore
Gigabyte Z87-OCX Mobo
8Gb G.Skill Ares RAM 2133Mhz
Evga 780ti Superclocked
Corsair RM1000 PSU
120Gb Samsung Evo 840
60gb Corsair Force 3
2tb Seagate Barracuda
I also have 2 x 200mm, 2 x 120mm & 1x 140mm Case Fans (not including rad fans)
Watercooling Consists of:
XSPC Raystorm block w/ Orange LED
XSPC AX120mm Rad
XSPC Photon 170 Res
EK 2.2 Pump
2x Corsair HP Fans
Primochill Revolver Black Nickel Fittings
Primochill 13mm Tubing
So this is currently what my PC is looking like on this inside

So the tubing has been bugging me for awhile now. The above photo was taken soon after I first filled it, the coolant has turned a dark orange and the tubing has started to get stained. I have always wanted to do acrylic but haven't wanted to risk it without proper tools, so when I found the bending kit here on OC I snapped one up.
Anyway, first to drain the loop.

As you can see from this picture the coolant has changed colour quite abit and looks rather dirty in comparison to the fresh liquid next to it.

Removing the tubing (very carefully) as I have had afew close shaves with coolant and components.

Inspecting the waterblock after I had removed the fittings revealed a shave of plastic that has been stuck there for over 6 months. Lucky it didn't get loose and clog the pump up.

Also gave the graphics card a clean and a new dollop of thermal paste.

Time to fully strip out my PC and get some compressed air in there to get rid of all that dust thats gathered in the nooks and crannies. I will also be adding a new fan to the back of my rad as they are currently mis-matched.

After much wrestling getting the old PSU wires out (I swear I will never buy a non modular psu again) and getting all the new cables back in finally had the new psu installed.


...
Last edited:


 )
)


")


