

This is just a PC build rather than project but i will share it with you anyway. I wanted to put together a cube pc with a matx board, this is to be my second pc which will have applications on it (autocad, office, corel etc..) no games. I didnt want to spend to much on the parts i needed and the ANTEC case was the only one one that seemed to fit the requirements.. i considered the P50 but the window would be facing a wall. i also had a slmline optical drive i wanted to use. the Lian Li cases where another option but to expensive. So heres a list of the parts used.
ANTEC ISK600M £56.99 from OCUK
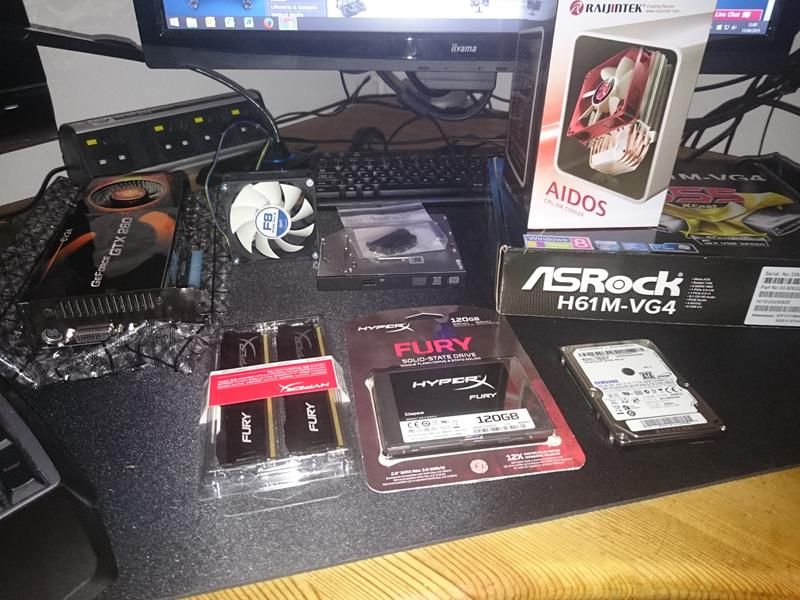
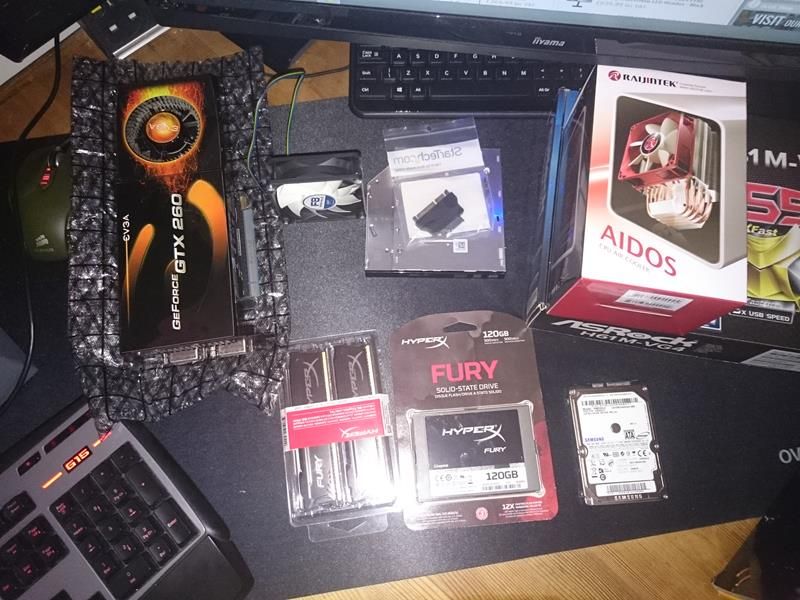
8gb Hyperx DDR3 1600 £35 from OCKUK popup soho
128gb Hyperx SSD £39 from OCUK popup soho
Asrock H61M-VG4 motherboard £15 New from auction site
Slimline SATA to SATA adaptor - £3 auction site
Raijintek Aidos Direct Contact CPU Cooler £14.99 OCUK
320GB HDD -already owned
Slimline Optical drive - already owned
Nvidia GTX 260 GPU - Already owned
Intel i5 3570s @ 3.1ghz - Recovered from a broken work PC
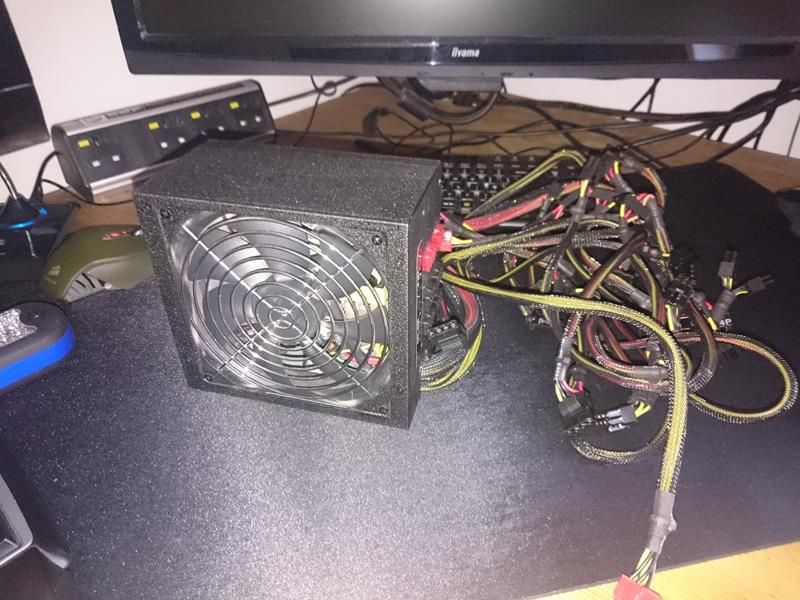
600w PSU - Already owned
OCUK velcro
I didnt use the fan in the photo wasnt needed
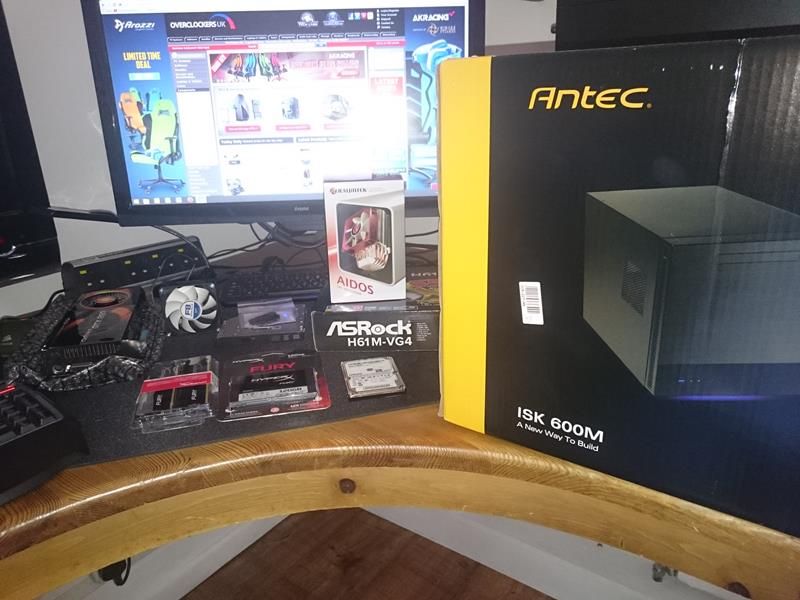
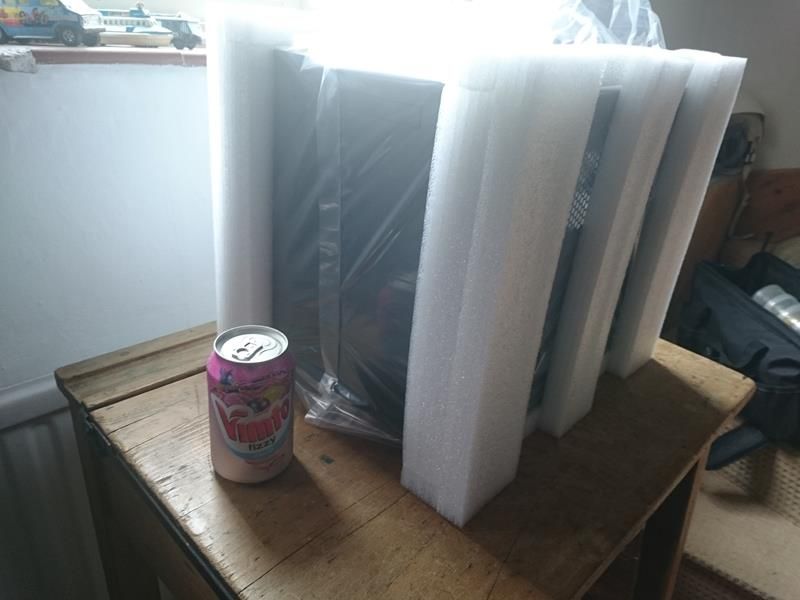
removed the case from outer packaging , shown here with optional vimto
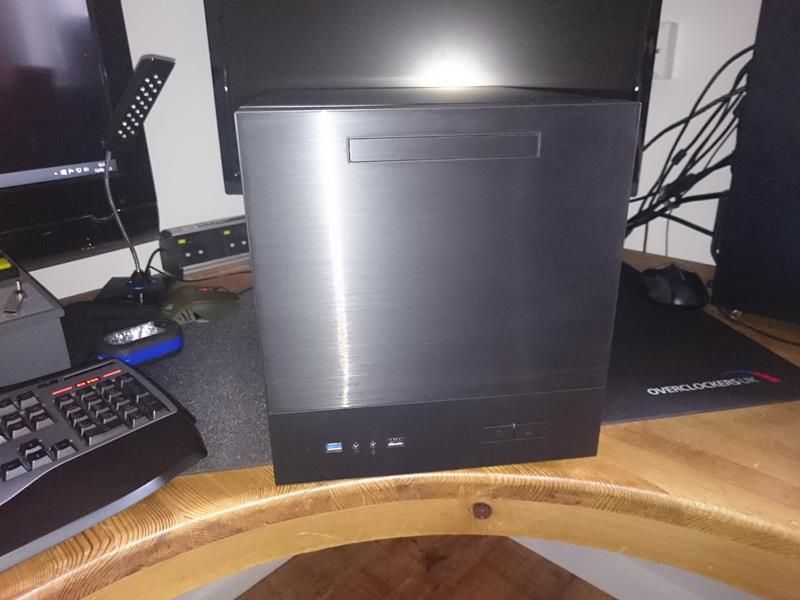
case unboxed - sorry for bad photos from my phone
The case cover is held on by 3 screws and lifts off in one piece. i thought we had gone past this with cases.. its quite thin , there is no sound proofing and hard to align to get back on. I tried to remove the front panel , but gave up as it felt like it might snap.
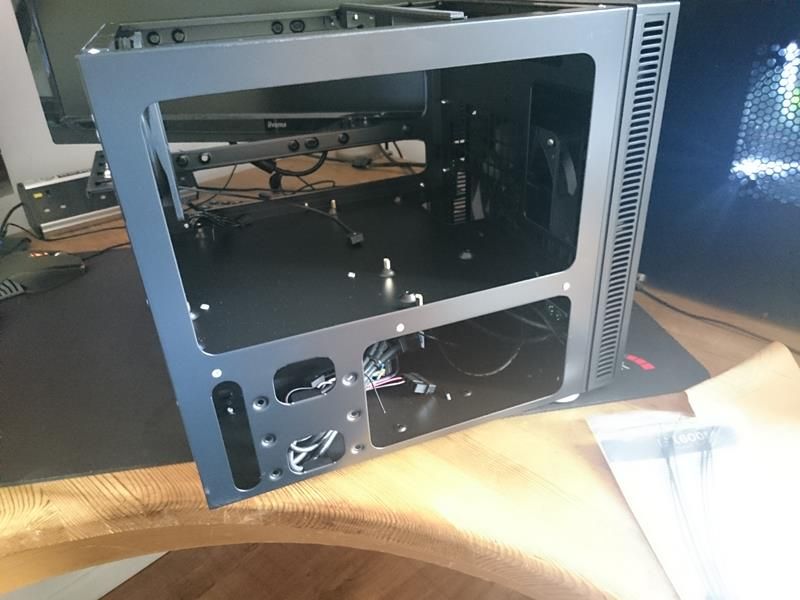
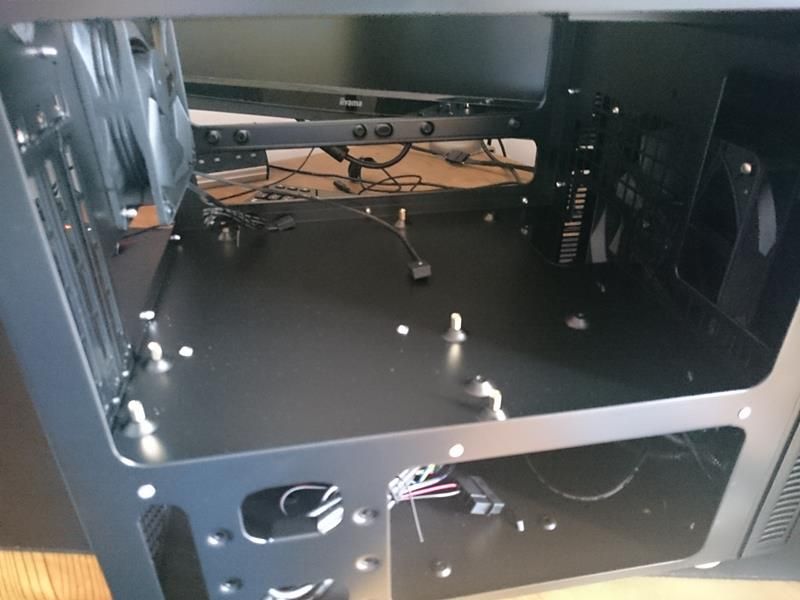
a closer look at the inside.. you see that doobry in the middle of the motherboard tray,, thats the fan speed selecter! theres another one on the front fan.. the only to change these is by taking the case cover off.. bizzare..
note, that the reverse of the motherboard cannot be accessed after installation. so you have to fit any 3rd party coolers before hand.
The back of the case. nothing exciting here.. just wanted to point out that to put a graphics card or any card in.. all 6 of those screws have to be removed. At the bottom you can see space for an 80mm fan, this is to cool the 3.5 hdd, i dont have any on this build so have left it out.
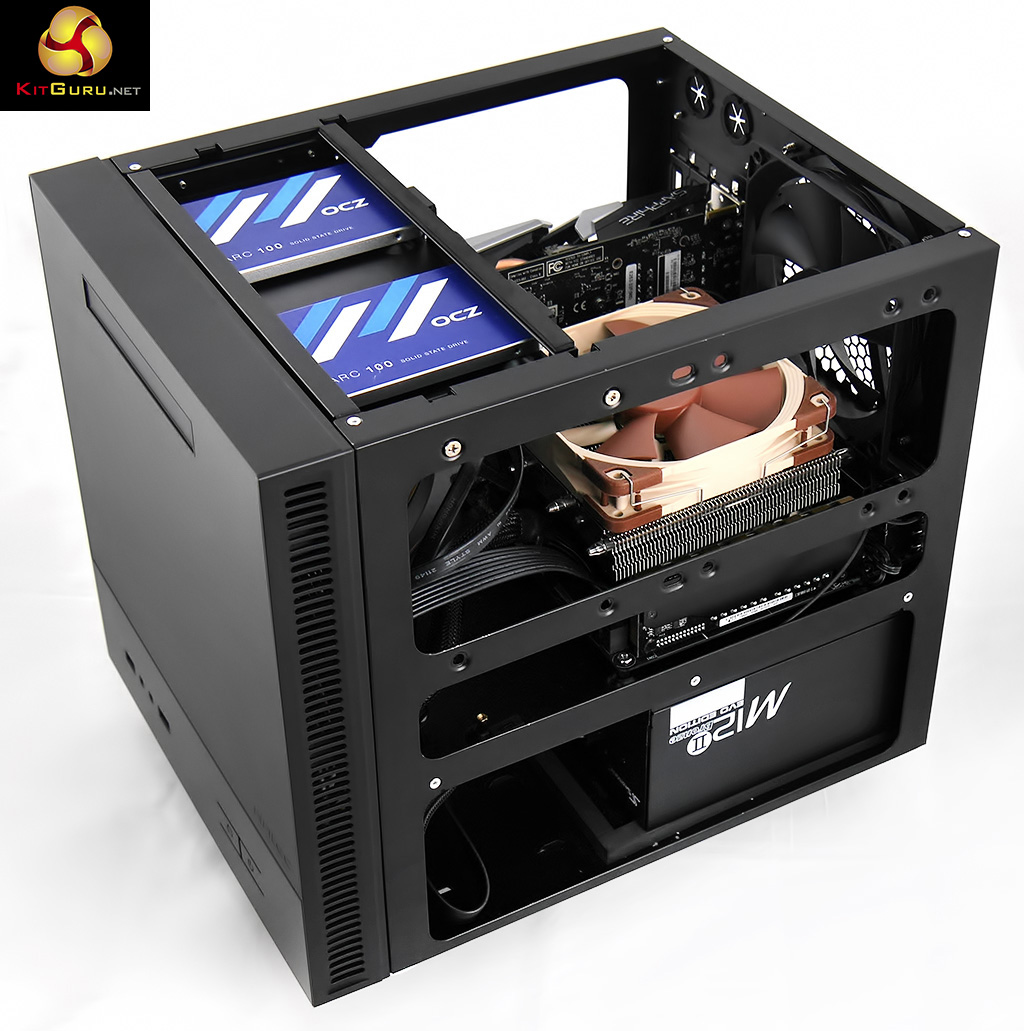
i forgot to take a photo of the optical drive bay / ssd bay so used this one from interent, i dont think im breaking forum rules as it goes to review site..
from this image you can see there are 2 SSD installed.. it would appear from the way the screw holes are alligned you are meant to either install SSD "OR" an optical drive and not both.. the reason being that the inner 2 mounting holes are not accesible after youve mounted the optical drive. and you cant mount the optical drive after youve mounted the SSD its chicken and egg thing... however if your happy to use just 2 screws on each SSD/HDD on the outer fixings it can be done.. its a bit crap though.. poor design
OK PSU in , sits on some foam padding and screws in
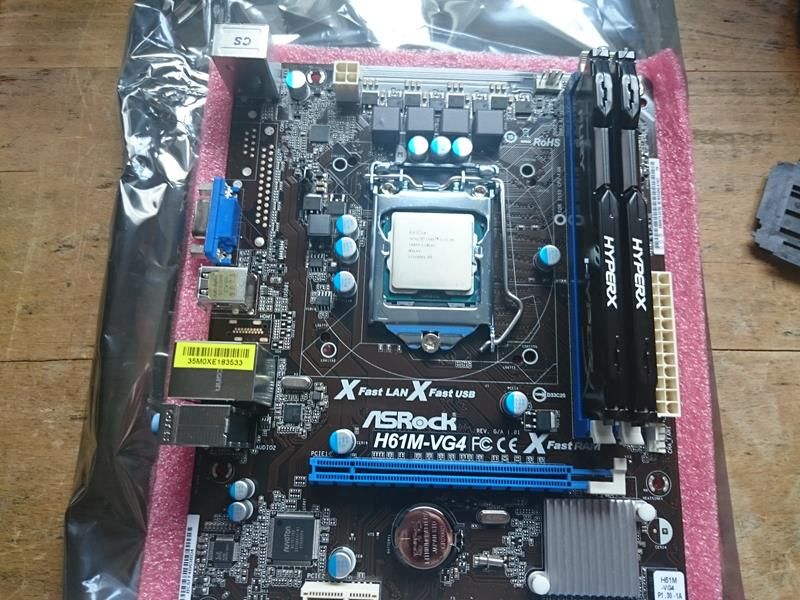
heres the motherboard with the CPU and RAM installed.. its a very small MATX board its almost ITX but not quite.
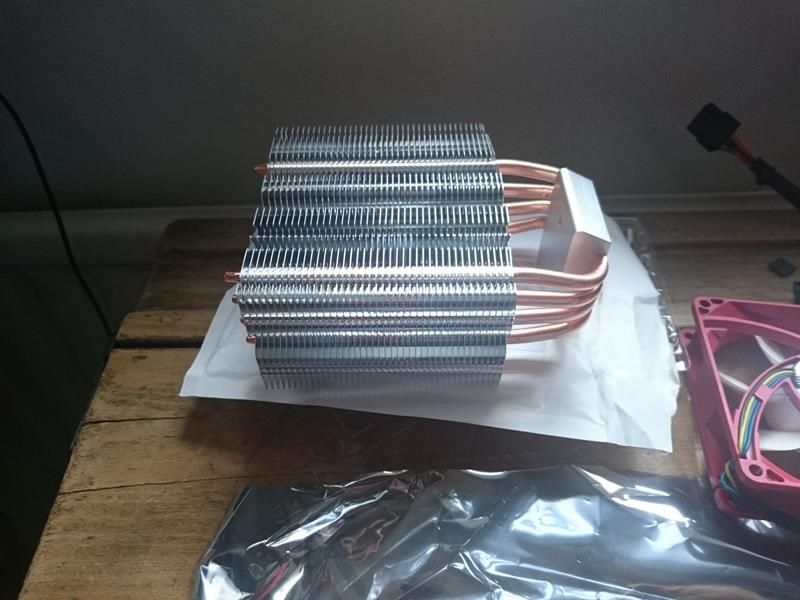
heres the heatsink ...umm its taller than i thought
heres me just testing it does fit, the motherboard isnt installed its just resting on the standoffs
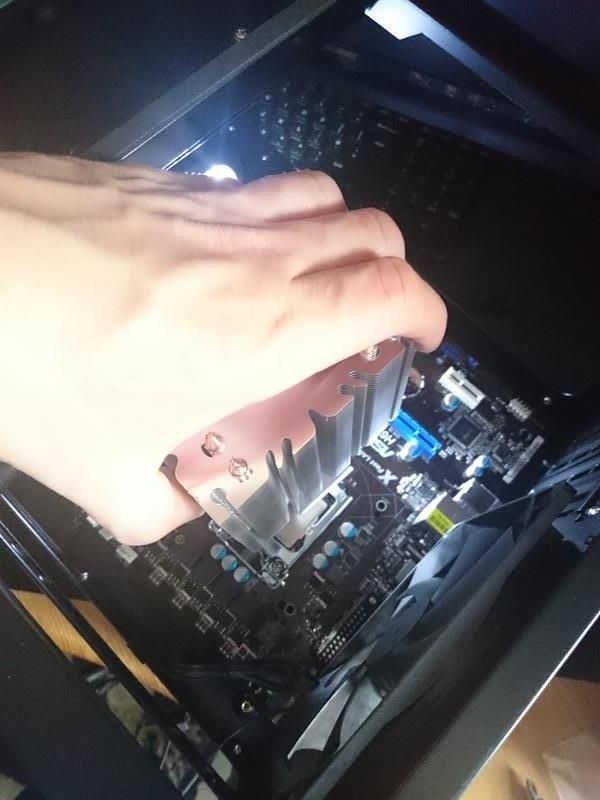
it does fit
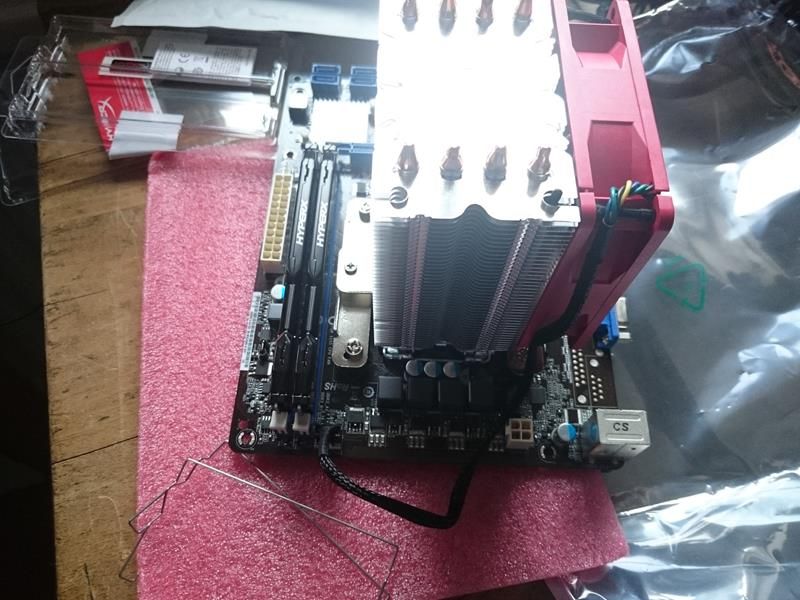
the Cooler installed on the motherboard, the photo has created some tropical illusion.. its tall but not that tall..OK.. now you see those metal brackets at the bottom of the photo.. they are NOT IN THE INSTRUCTIONS Raijintek they are not listed in the package contents. and i watched an installation video on you tube.. not mentioned... why why why..
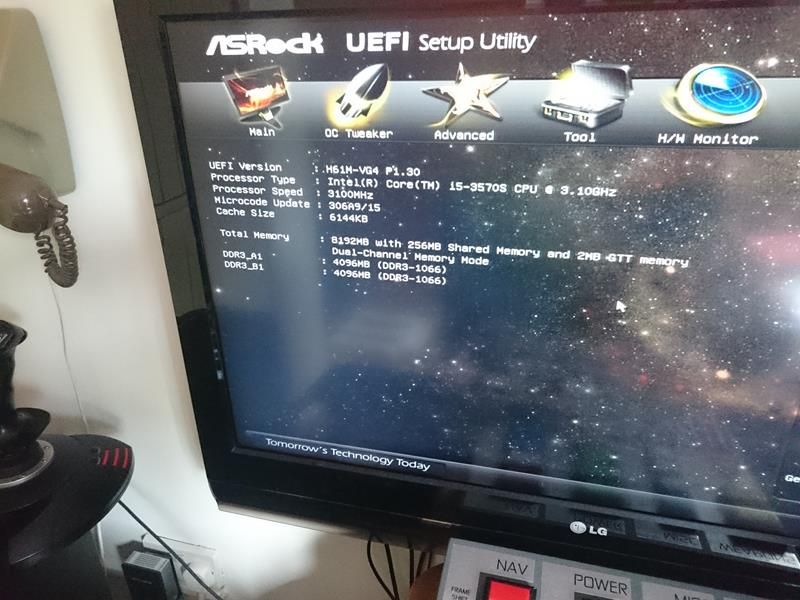
installed mobo and drives.. all a bit untidy at mo.. and got the bios screen up so all ok
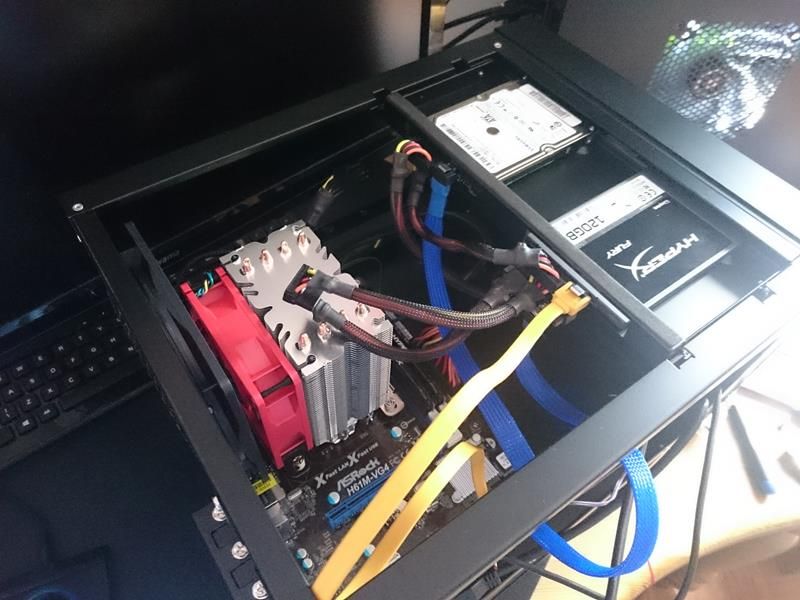
oh looks like i did take a picture of the drive bays. here they are with the drives intalled, no cables tied up yet. Also note that the CPU cooler fan doesnt have much room between it and the case fan.. its the only way it can go.. the Fan will not go in the push position because its obstructed by those lovely hyperx modules. low profile ram would prbably be ok
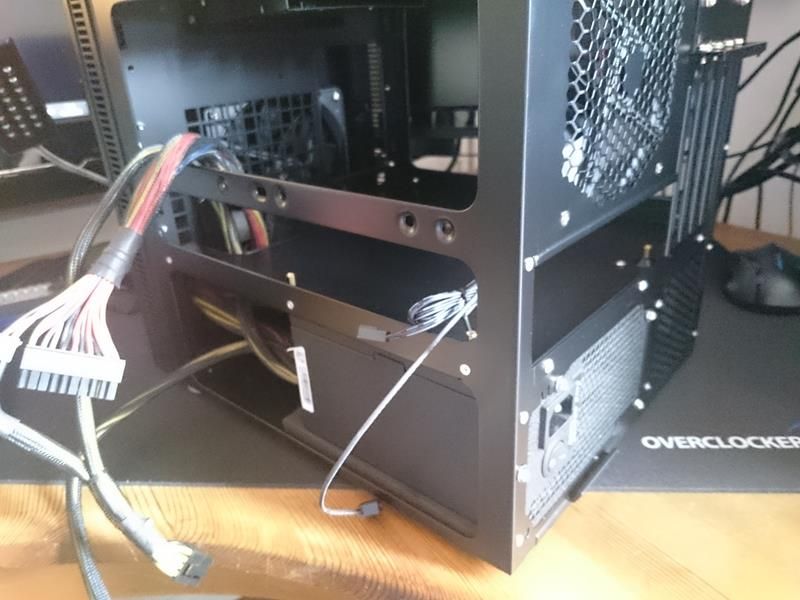
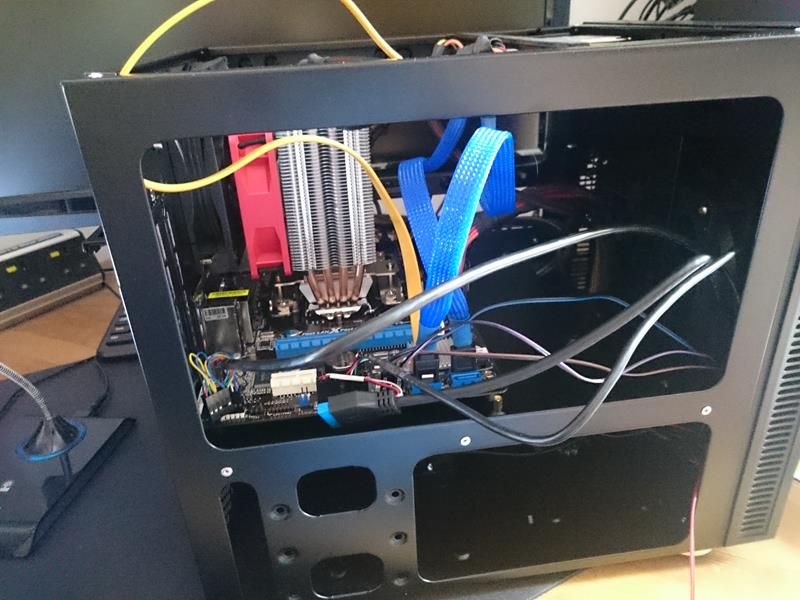
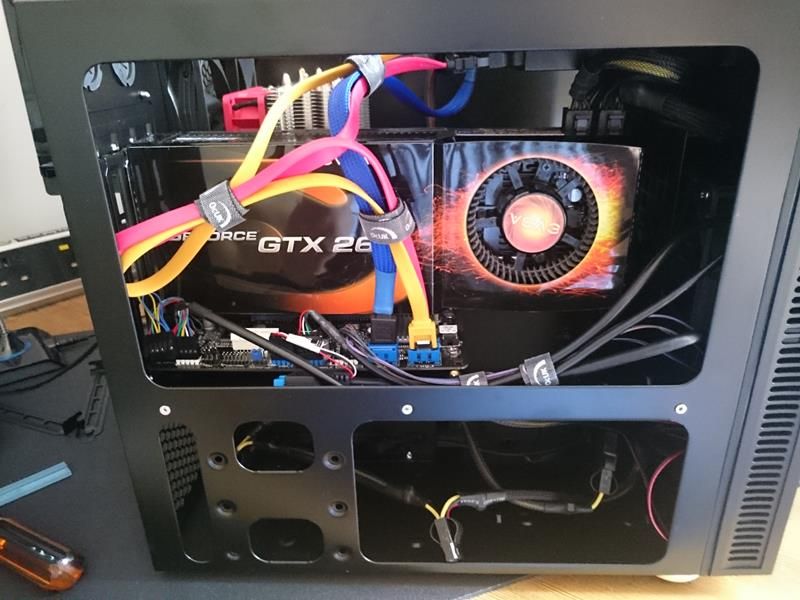
graphics card in, its quite tricky to get in, but a full size card does fit. this as good as cable management gets, there isnt anywhere to hide cables on the top part of the case. or any cable tie anchors. excess power cables can be hidden in the bottom zone. you can also see the 3 x 3.5 hard drive mounts, there are no caddys or tool free mounts.. all retro screws here.
top view.. again not much can be done with the cables.

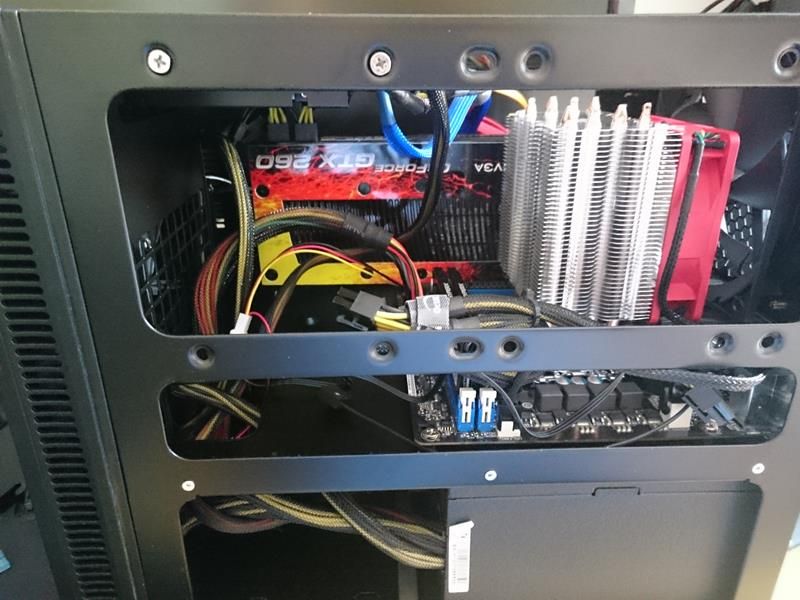
view from CPU side.. looks even more untidy.. all the cables come from the bottom zone through a single hole ..which is right in front of the front case fan you can also see the mouting holes which can apparently house a 240mm radiator , good luck with anyone who tries that one.
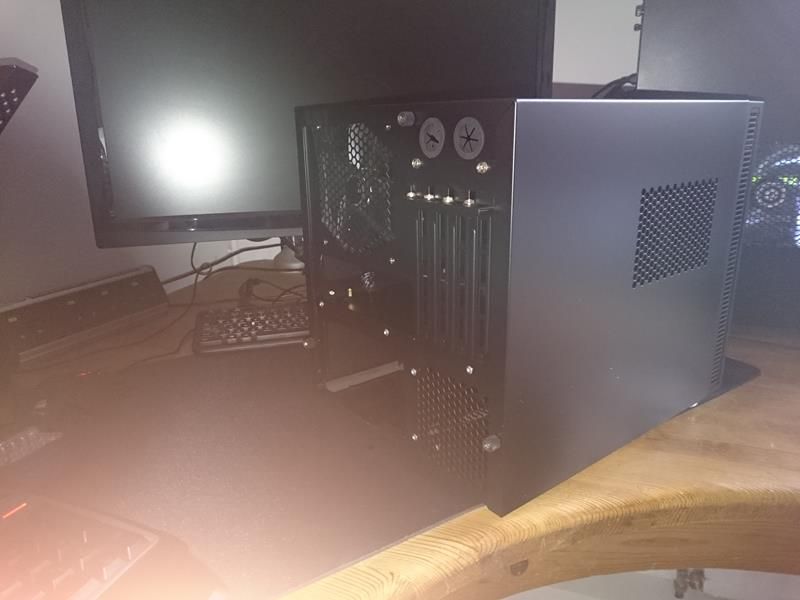
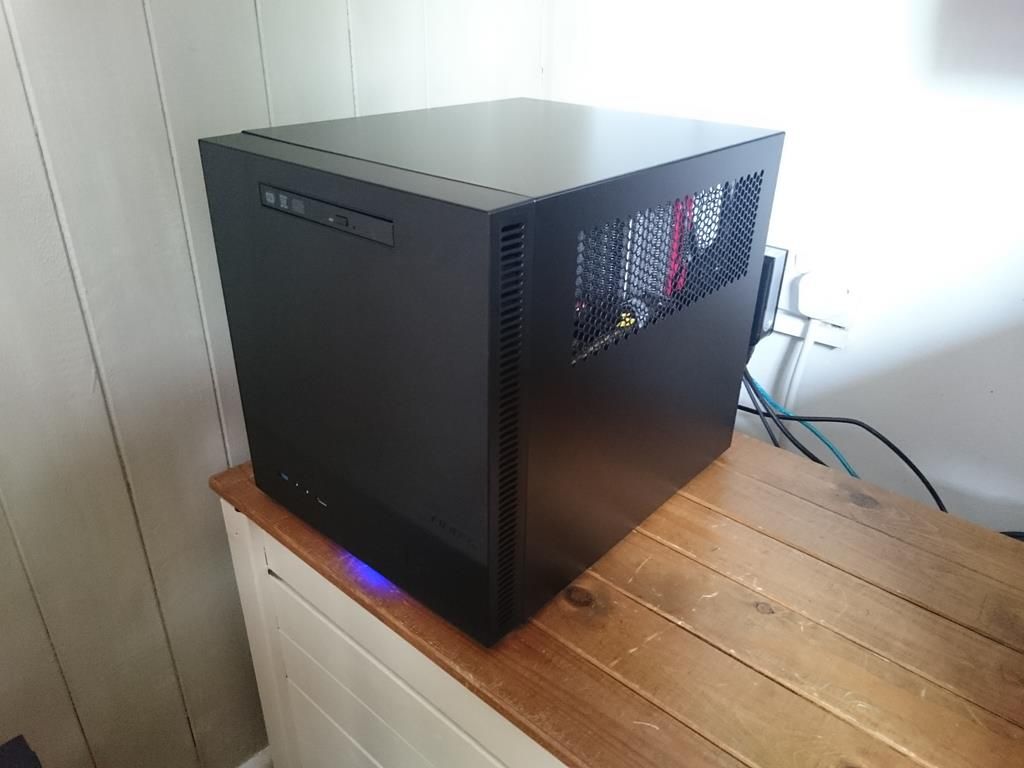
ok heres the finished case. you can see the optical drive installed. and the glow from the blue led under the front of the case. the Power and reset buttons are just cutouts in the front panel.. very cheap. you can also see the vent in the side , no mesh or sound proofing.. this case is loud very loud!
overall im not very impressed with the Antec case, here are some bullet points.
- Single piece case cover difficult to get back on, feels thin and flimsy. im not sure about the case paint either its got the feel of a £10 case. the sort that a button on your shirt might scratch
- front panel difficult to remove and made of cheap plastic
- poor quality power and reset buttons.
- No Sound proofing / No dust filters
- Poor / non existent cable management
- difficult to install 3.5 drives
- Fan switches should be mouted on the outside of the case or on a controller
- Poor design of the Optical and SSD mouting tray.
- GPU / Expansion card installation requires you to remove all 6 screws.
- LOUD its VERY LOUD IN HERE .. I will be looking at retro fitting some sound proofing to that open vent
Ok so the finished case looks ok. , but this is how cases were being made 10 years ago. i expected better. If this case was £20 or £30 it would be acceptable but not for £56.99..
so Mr Antec... Kurgen gives you 4 out of 10 for this case..
thanks for reading.
ANTEC ISK600M £56.99 from OCUK
8gb Hyperx DDR3 1600 £35 from OCKUK popup soho
128gb Hyperx SSD £39 from OCUK popup soho
Asrock H61M-VG4 motherboard £15 New from auction site
Slimline SATA to SATA adaptor - £3 auction site
Raijintek Aidos Direct Contact CPU Cooler £14.99 OCUK
320GB HDD -already owned
Slimline Optical drive - already owned
Nvidia GTX 260 GPU - Already owned
Intel i5 3570s @ 3.1ghz - Recovered from a broken work PC
600w PSU - Already owned
OCUK velcro
I didnt use the fan in the photo wasnt needed


removed the case from outer packaging , shown here with optional vimto

case unboxed - sorry for bad photos from my phone

The case cover is held on by 3 screws and lifts off in one piece. i thought we had gone past this with cases.. its quite thin , there is no sound proofing and hard to align to get back on. I tried to remove the front panel , but gave up as it felt like it might snap.

a closer look at the inside.. you see that doobry in the middle of the motherboard tray,, thats the fan speed selecter! theres another one on the front fan.. the only to change these is by taking the case cover off.. bizzare..
note, that the reverse of the motherboard cannot be accessed after installation. so you have to fit any 3rd party coolers before hand.

The back of the case. nothing exciting here.. just wanted to point out that to put a graphics card or any card in.. all 6 of those screws have to be removed. At the bottom you can see space for an 80mm fan, this is to cool the 3.5 hdd, i dont have any on this build so have left it out.

i forgot to take a photo of the optical drive bay / ssd bay so used this one from interent, i dont think im breaking forum rules as it goes to review site..
from this image you can see there are 2 SSD installed.. it would appear from the way the screw holes are alligned you are meant to either install SSD "OR" an optical drive and not both.. the reason being that the inner 2 mounting holes are not accesible after youve mounted the optical drive. and you cant mount the optical drive after youve mounted the SSD its chicken and egg thing... however if your happy to use just 2 screws on each SSD/HDD on the outer fixings it can be done.. its a bit crap though.. poor design
OK PSU in , sits on some foam padding and screws in

heres the motherboard with the CPU and RAM installed.. its a very small MATX board its almost ITX but not quite.

heres the heatsink ...umm its taller than i thought

heres me just testing it does fit, the motherboard isnt installed its just resting on the standoffs

it does fit
the Cooler installed on the motherboard, the photo has created some tropical illusion.. its tall but not that tall..OK.. now you see those metal brackets at the bottom of the photo.. they are NOT IN THE INSTRUCTIONS Raijintek
they are not listed in the package contents. and i watched an installation video on you tube.. not mentioned... why why why..
installed mobo and drives.. all a bit untidy at mo.. and got the bios screen up so all ok


oh looks like i did take a picture of the drive bays. here they are with the drives intalled, no cables tied up yet. Also note that the CPU cooler fan doesnt have much room between it and the case fan.. its the only way it can go.. the Fan will not go in the push position because its obstructed by those lovely hyperx modules. low profile ram would prbably be ok

graphics card in, its quite tricky to get in, but a full size card does fit. this as good as cable management gets, there isnt anywhere to hide cables on the top part of the case. or any cable tie anchors. excess power cables can be hidden in the bottom zone. you can also see the 3 x 3.5 hard drive mounts, there are no caddys or tool free mounts.. all retro screws here.

top view.. again not much can be done with the cables.

view from CPU side.. looks even more untidy.. all the cables come from the bottom zone through a single hole ..which is right in front of the front case fan
you can also see the mouting holes which can apparently house a 240mm radiator , good luck with anyone who tries that one.
ok heres the finished case. you can see the optical drive installed. and the glow from the blue led under the front of the case. the Power and reset buttons are just cutouts in the front panel.. very cheap. you can also see the vent in the side , no mesh or sound proofing.. this case is loud very loud!

overall im not very impressed with the Antec case, here are some bullet points.
- Single piece case cover difficult to get back on, feels thin and flimsy. im not sure about the case paint either its got the feel of a £10 case. the sort that a button on your shirt might scratch
- front panel difficult to remove and made of cheap plastic
- poor quality power and reset buttons.
- No Sound proofing / No dust filters
- Poor / non existent cable management
- difficult to install 3.5 drives
- Fan switches should be mouted on the outside of the case or on a controller
- Poor design of the Optical and SSD mouting tray.
- GPU / Expansion card installation requires you to remove all 6 screws.
- LOUD its VERY LOUD IN HERE .. I will be looking at retro fitting some sound proofing to that open vent
Ok so the finished case looks ok. , but this is how cases were being made 10 years ago. i expected better. If this case was £20 or £30 it would be acceptable but not for £56.99..
so Mr Antec... Kurgen gives you 4 out of 10 for this case..
thanks for reading.
")