

Antec Homepage - http://www.antec.com/product.php?id=706972&fid=5022020
OcUK Product Page - http://www.overclockers.co.uk/showproduct.php?prodid=CA-230-AN&groupid=2362&catid=160
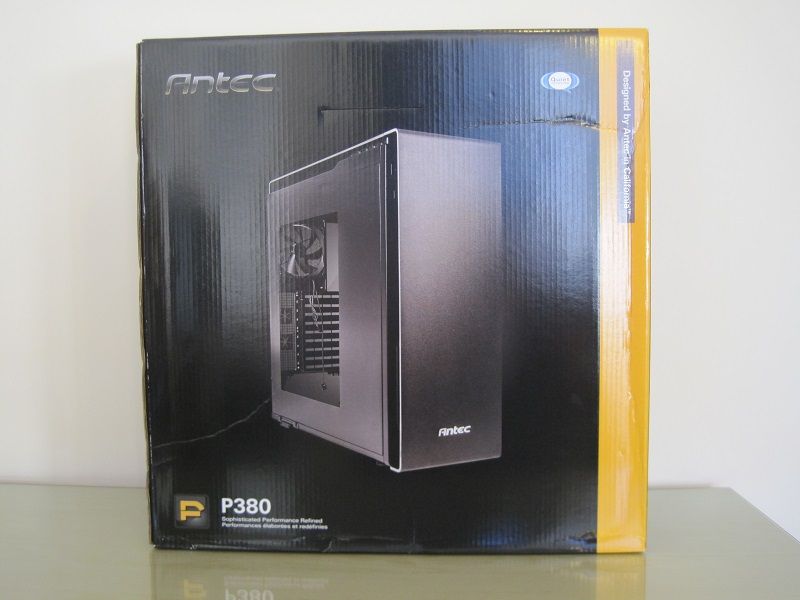
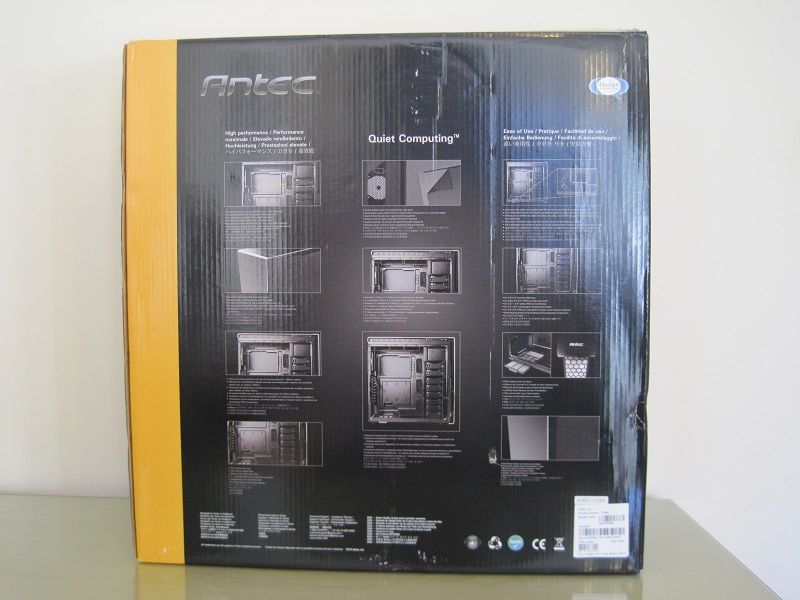
Packaging.
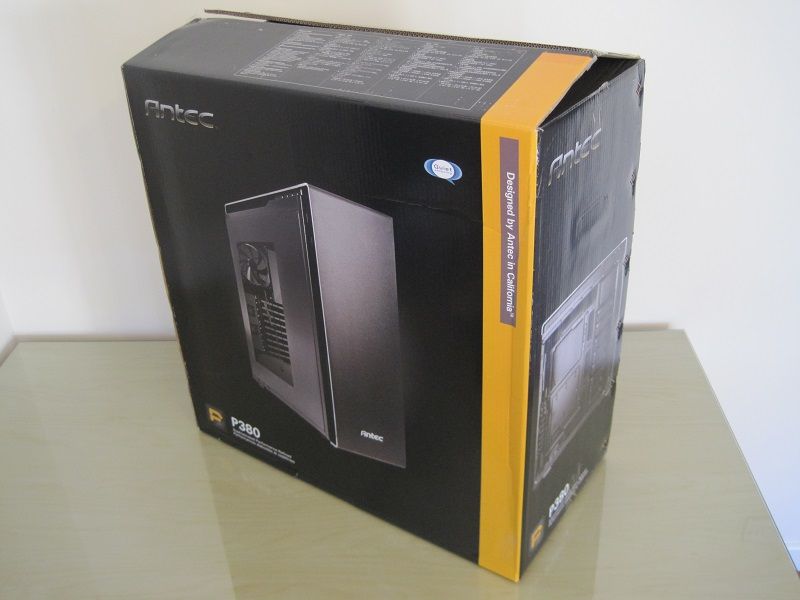
The case came in a strong box using soft cell foam inserts and survived a trip from Rotterdam to me in perfect condition.
The box has the usual point of sale highlights that you would expect.
Accessories.
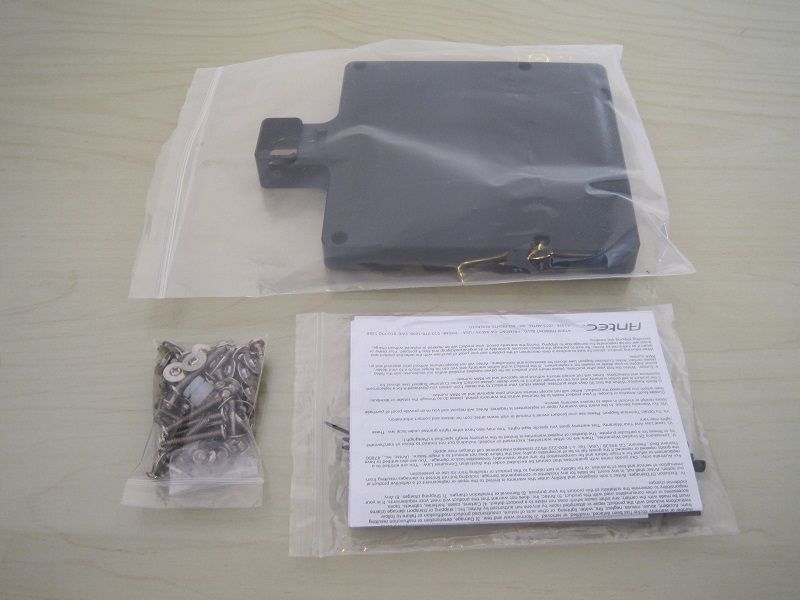
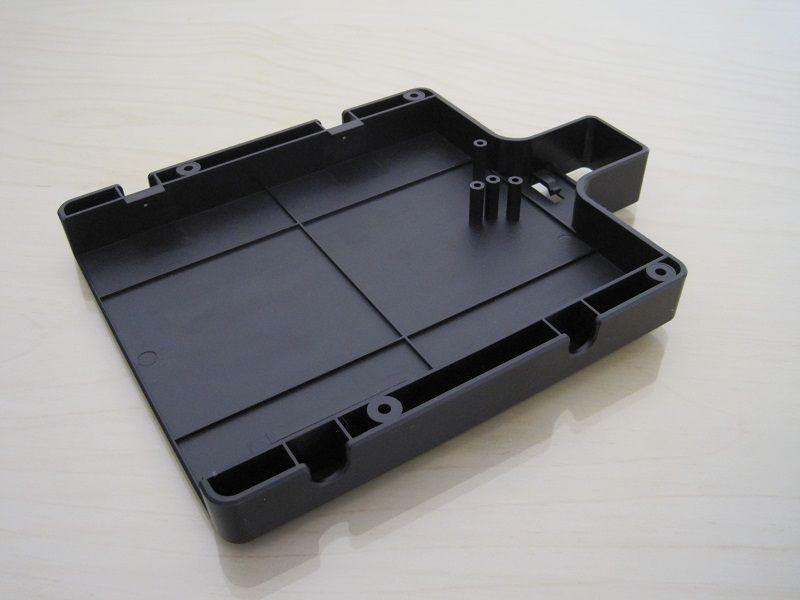
This is a slim optical drive bay that attaches to the front of the case, more on this later.
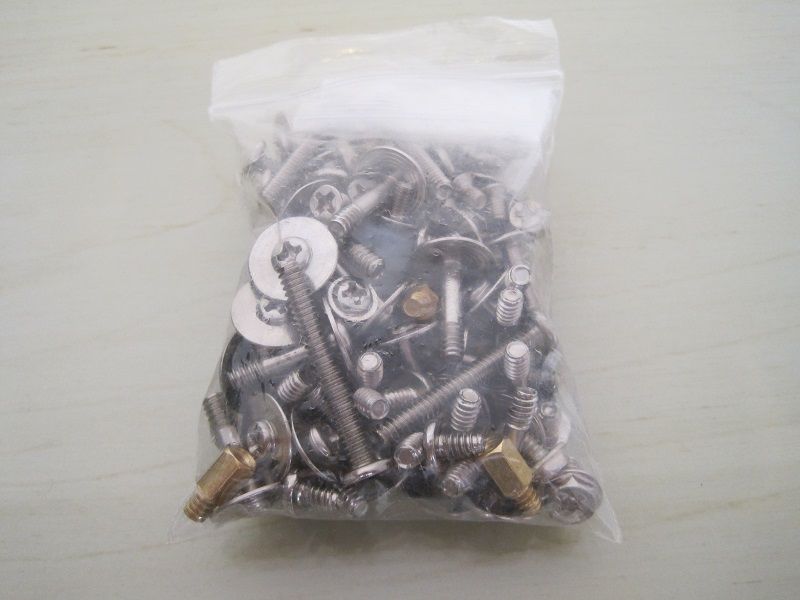
A bag of screws, some black ones to hold the motherboard in place would have been nice and would not have cost much extra to do.
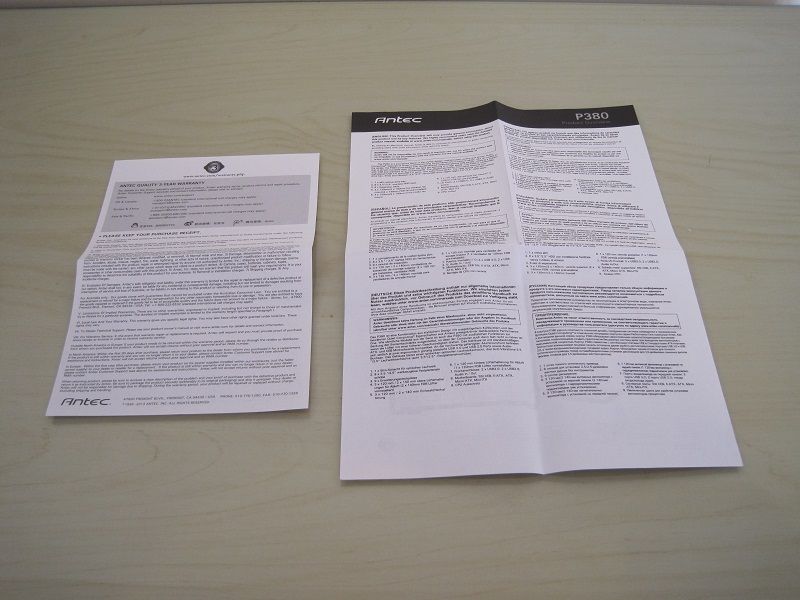
A warranty booklet and a case over view.
It is an over view to and does not not show any meaningful information about how to take the case apart or how anything fits together.
There is a much better guide online for this crucial information - http://store.antec.com/index.php?controller=attachment&id_attachment=1642
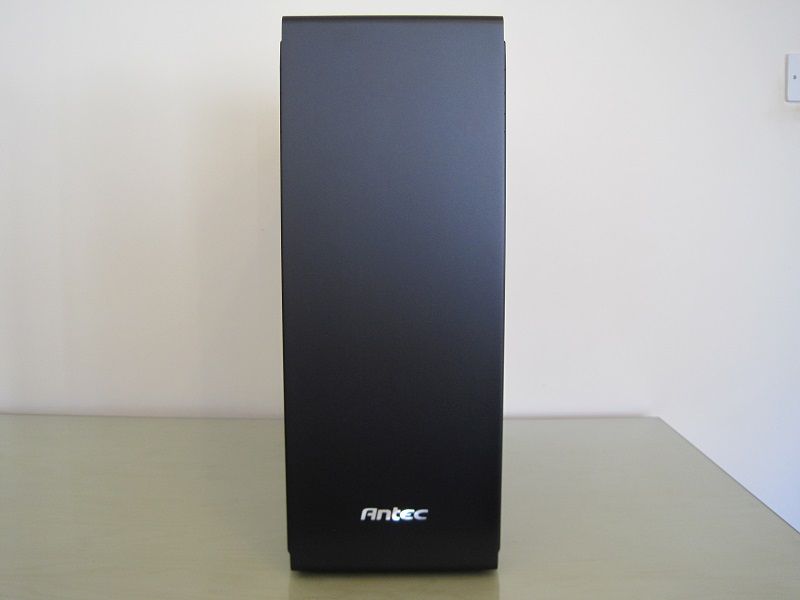
Exterior.
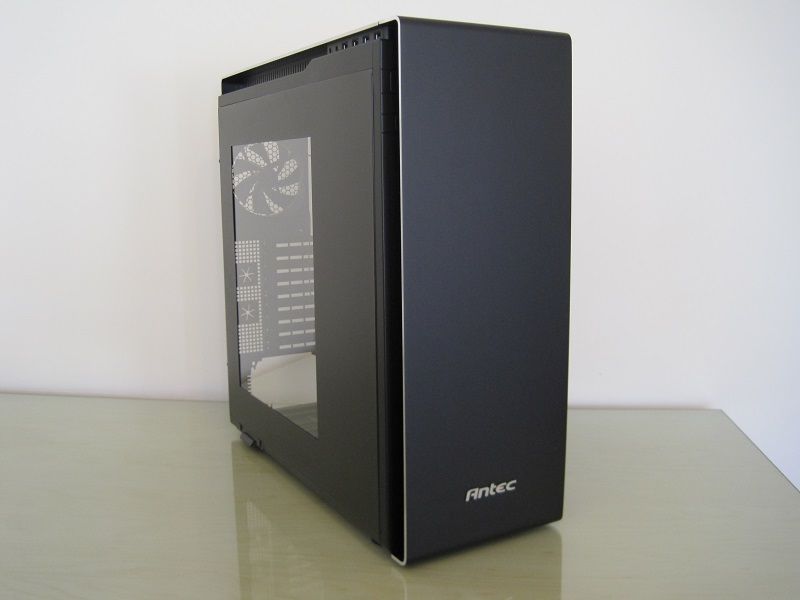
This is a really nice elegant looking case with the the plain front not suffering from having to accommodate any external drive bays.

The side window does not show any of the HDD cages.
The aluminium is 4mm all around.
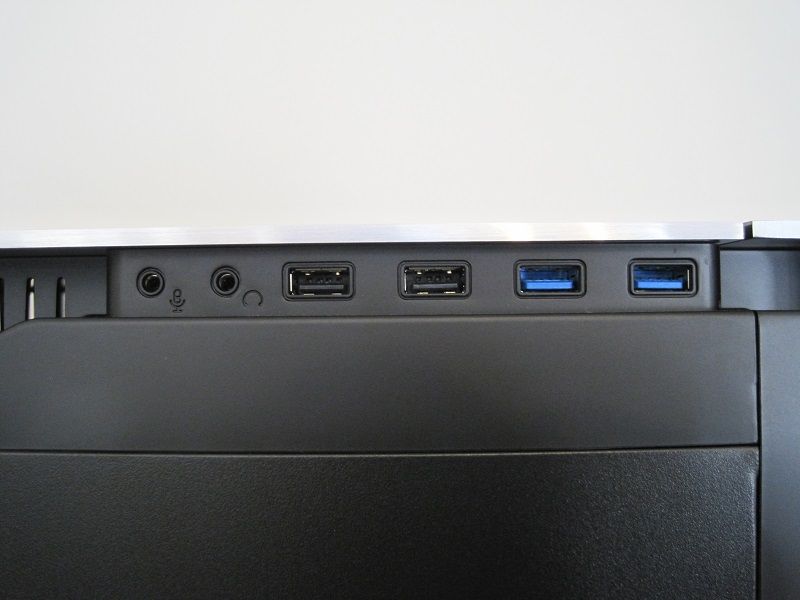
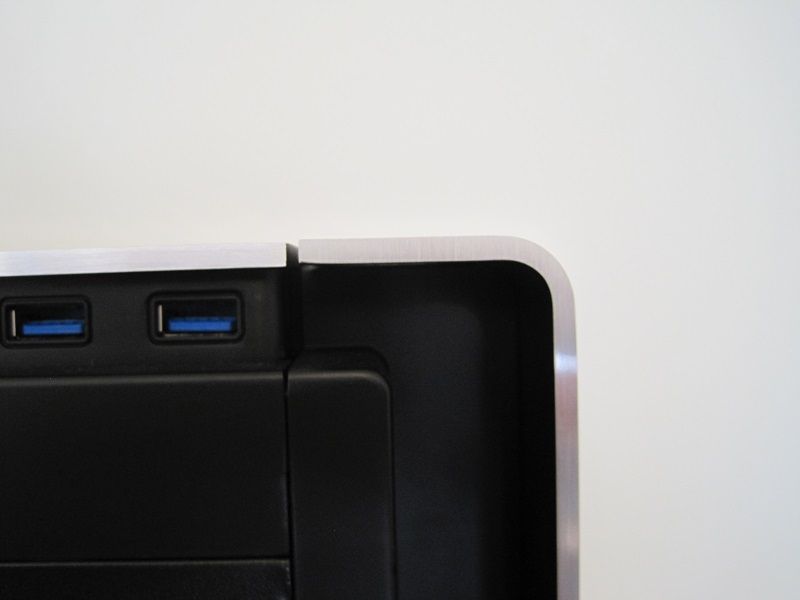
Two USB 3.0+2.0 and microphone and headphone ports are pre-fitted on to the right hand side. This can be reversed to fit on to the left hand side.
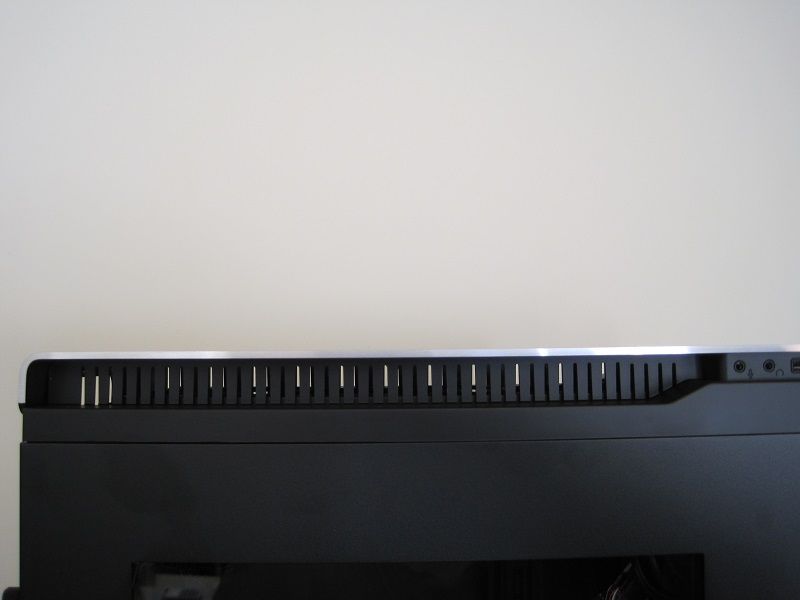
Plenty of ventilation in the roof.
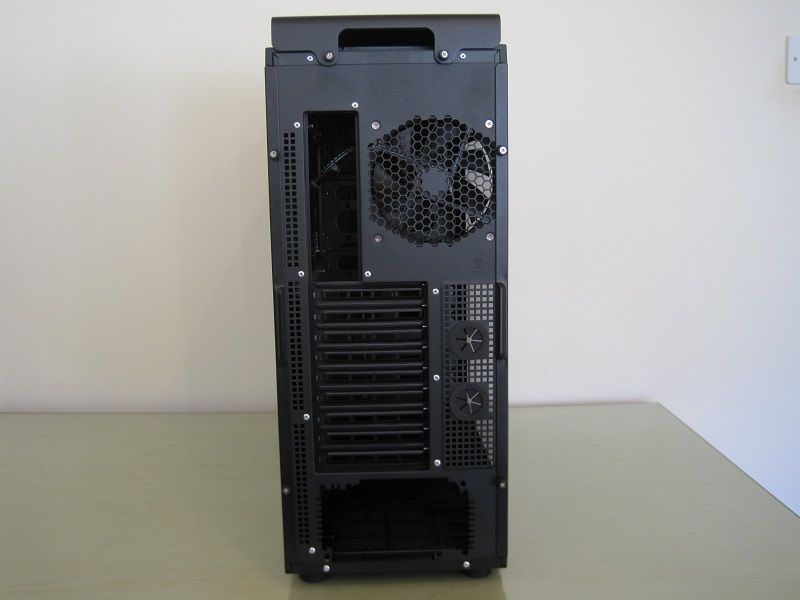
9 expansion slots, rubber grommets for water cooling and a 140mm rear fan.
Interior.
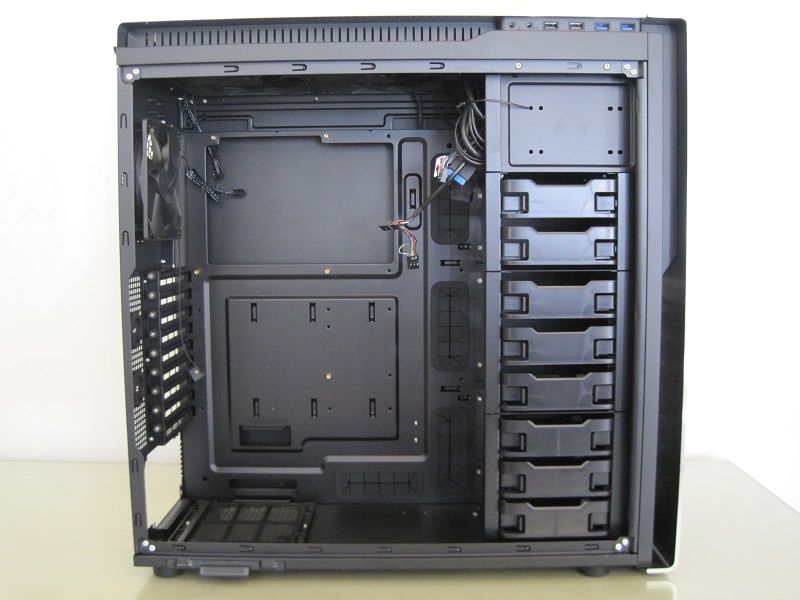
Eight HDD trays which take 3.5" and 2.5" drives.
Rubber mounts are fitted for 3.5" drives.
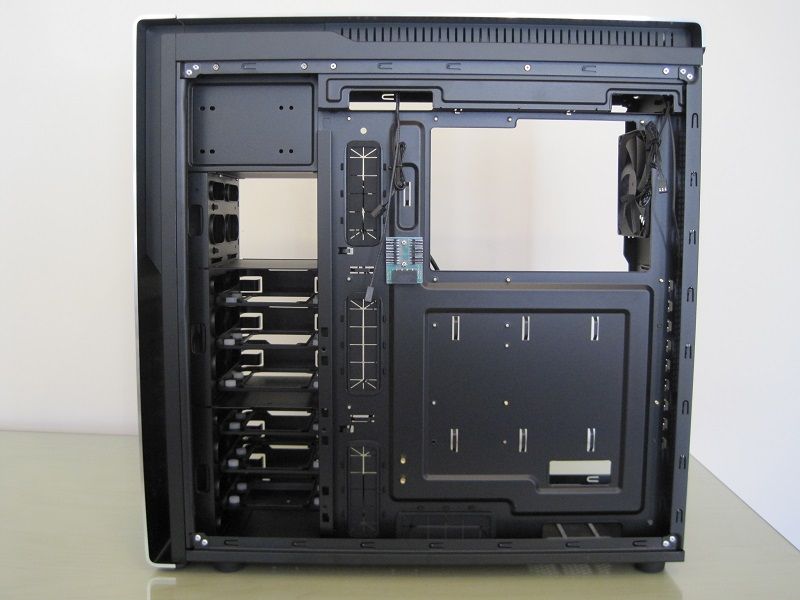
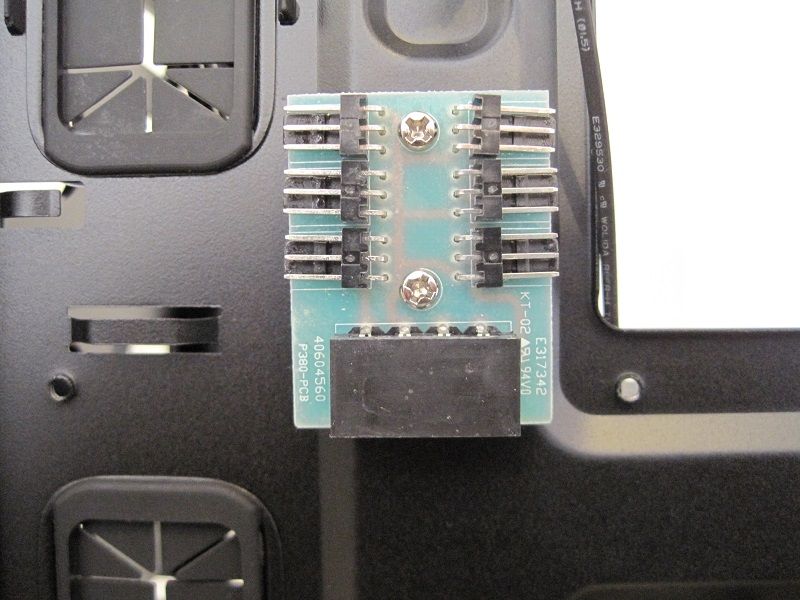
Molex powered fan splitter.
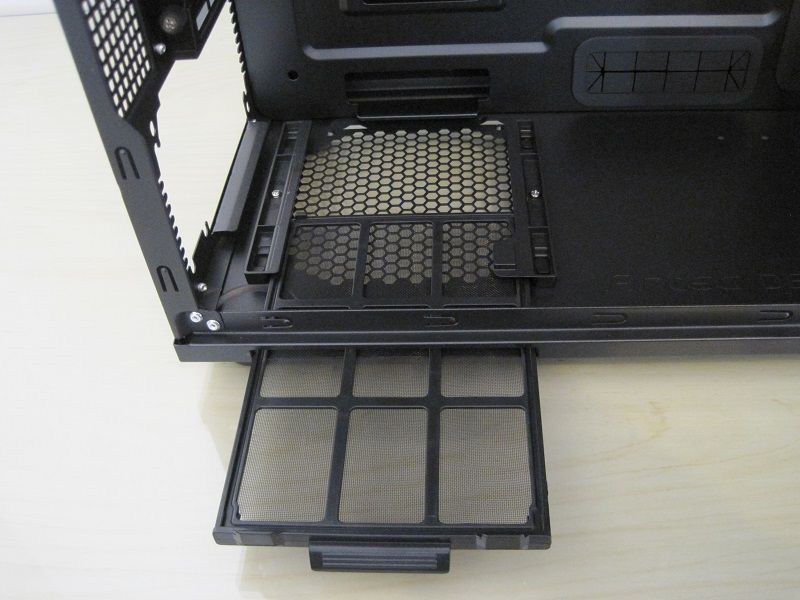
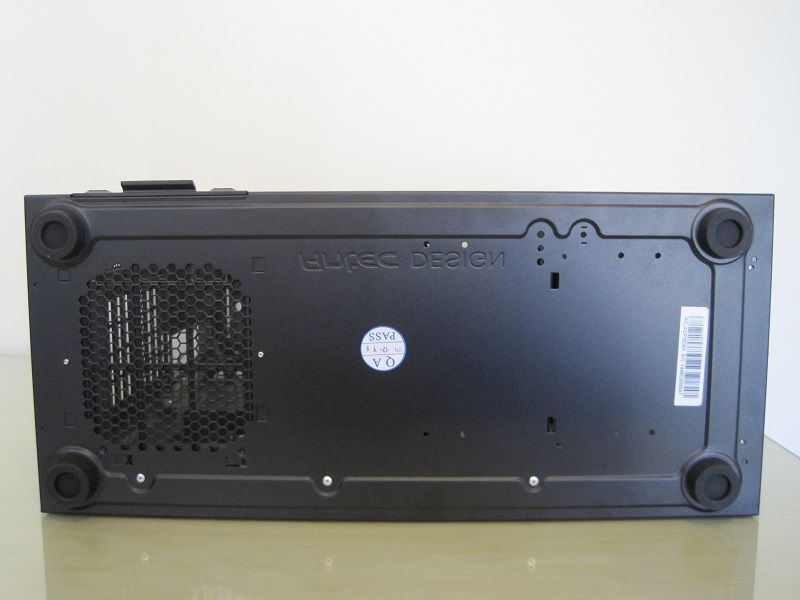
Dust filter for the PSU slides out from the side and clicks securely into position.
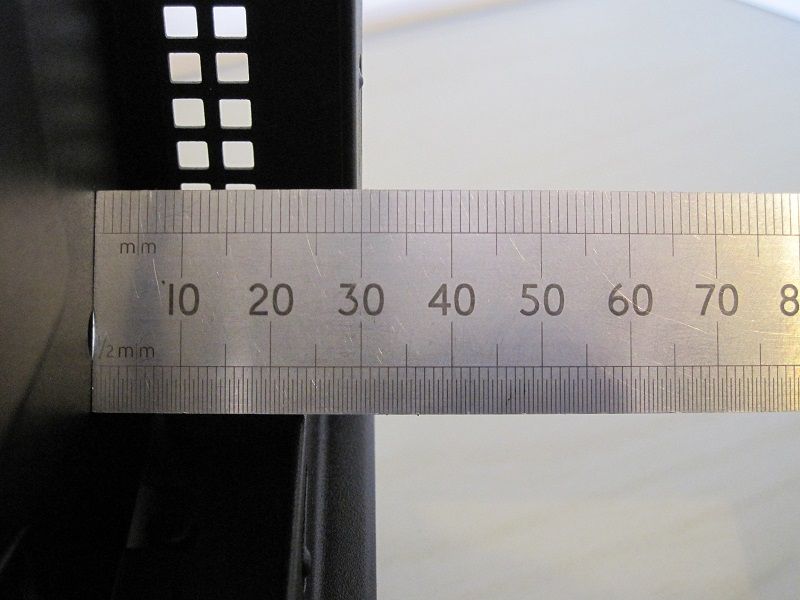
Just under 3 cm of room at the highest point for cable management at the back of the case dropping to a low of 2.5cm.
Both side panels have a sound dampening material applied to the inside surfaces.
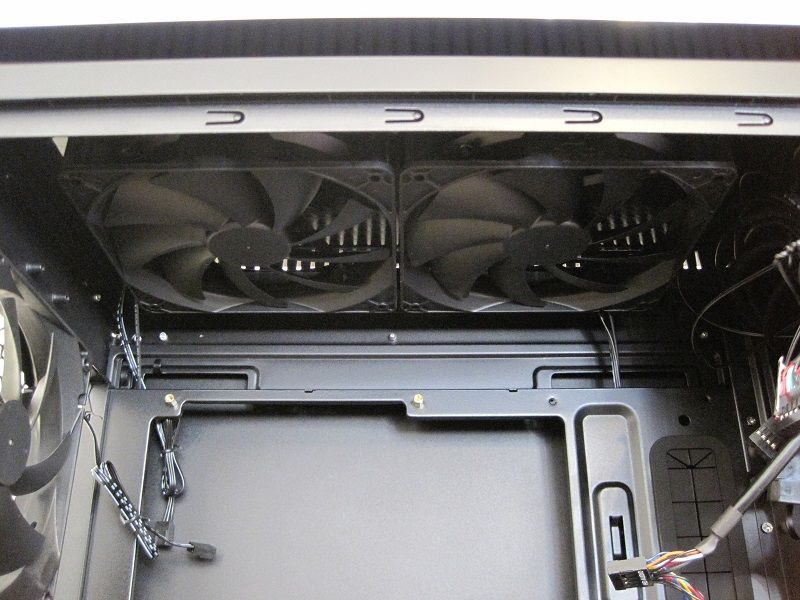
Two 140mm fans are pre-fitted in to the roof.
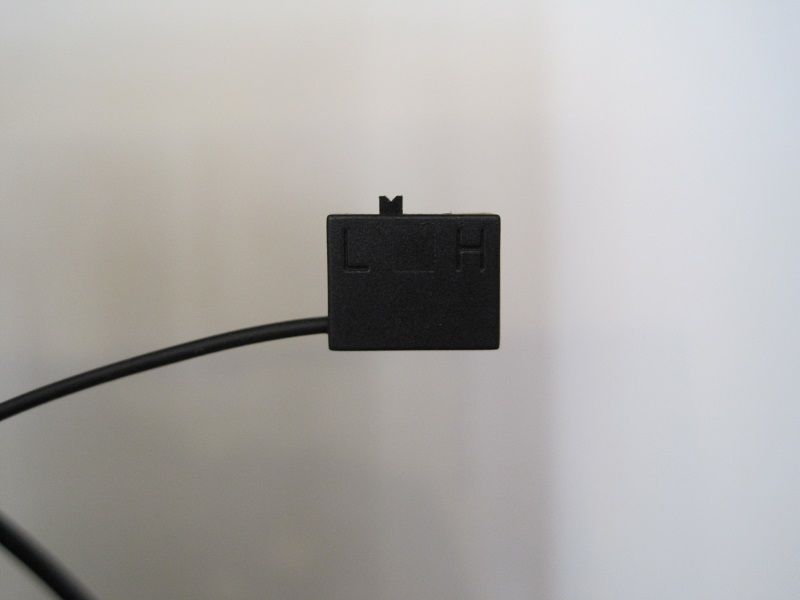
All three fans are dual speed with a fan speed controller for high and low coming from each one. Unfortunately there does not appear to be anywhere for these to fit and so have to remain inside the case and unreachable unless you open the case up. Previous Antec cases I have used have had these switches fitted to the rear and accessible from reaching around the back of the case.
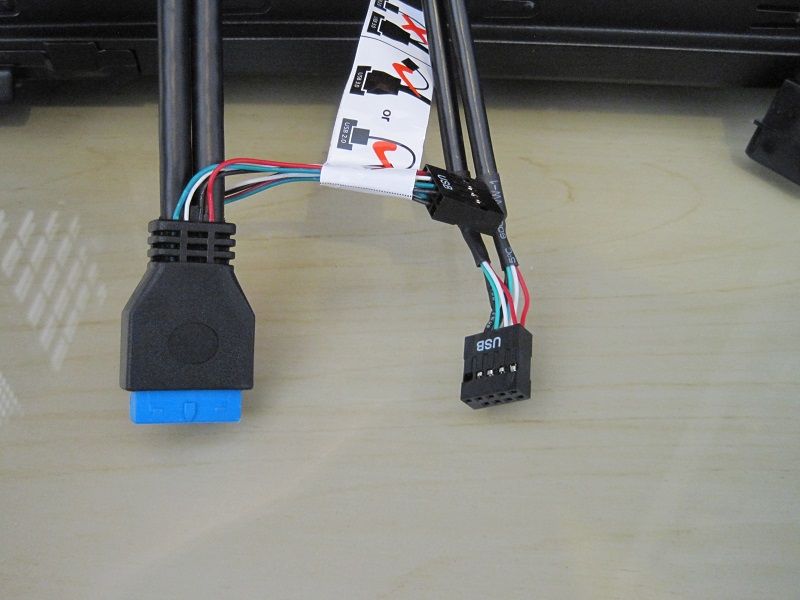
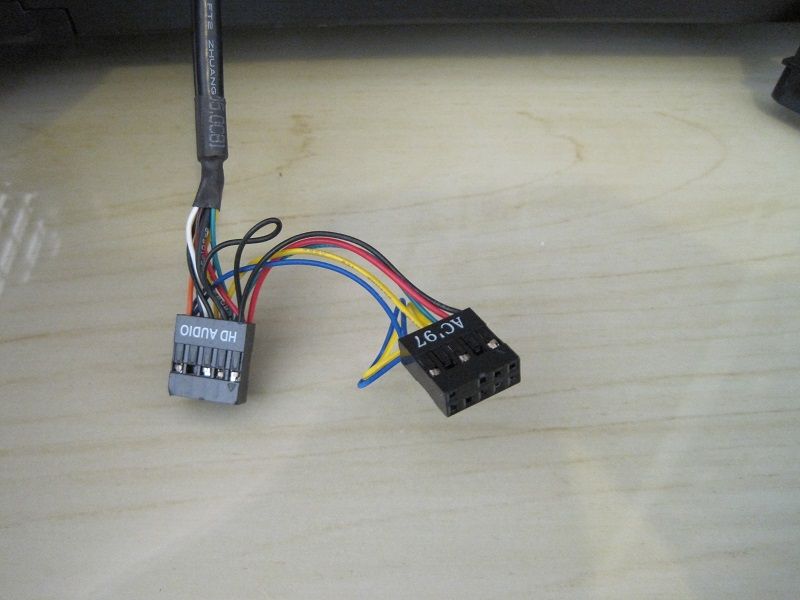
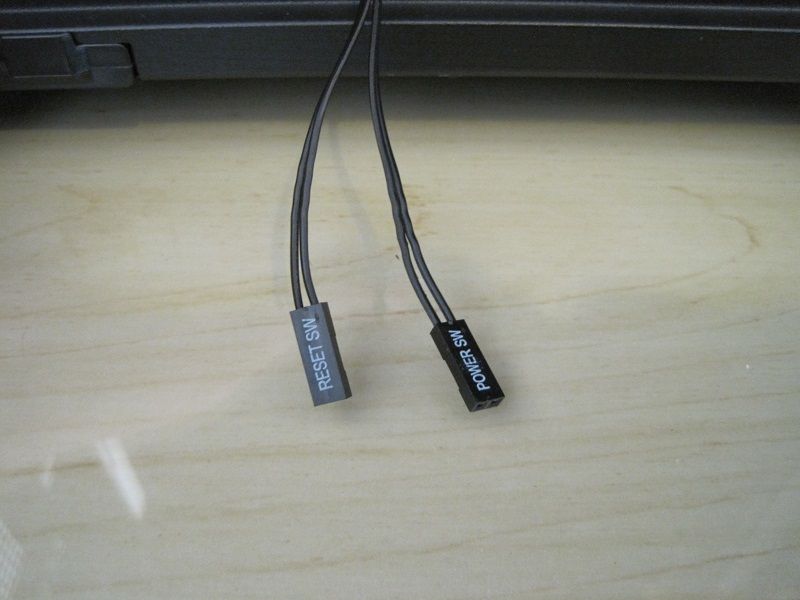
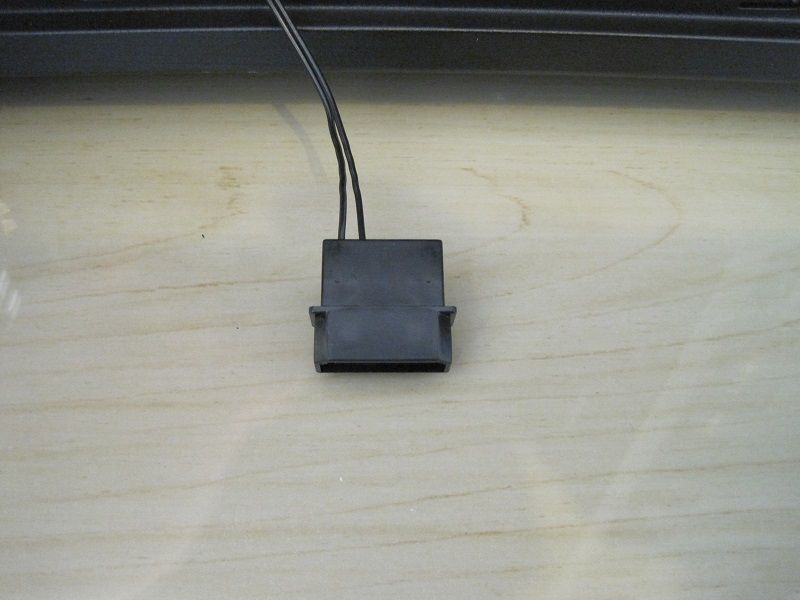
These are the front panel cables.
The molex connector illuminates the power buttons but I would have liked to have seen it use a SATA connector instead as it meant I had to run an extra cable from my PSU just to provide a connection for this, the fan splitter at the rear of the case could also have been SATA power instead of molex.
Finally I hate exposed individual coloured cables as shown on the USB and Audio cables, other manufacturers use all black wires.
Removing HDD cages.
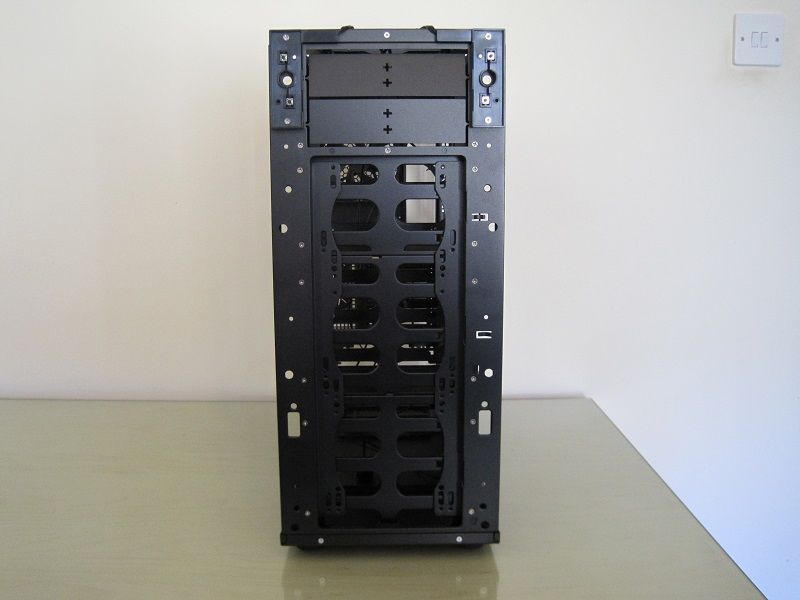
All the HDD cages and drive bays can be unscrewed from the case to enable you to fit a 360mm radiator in the front.
But finding all the screws to remove all these cages was not easy.
The front panel has to come off to expose screws going up either side of the fan mounts.
Screws underneath the case secured the bottom cage to the floor.
You can refit the bottom cage closer to the PSU so you retain HDD space and still fit a radiator in to the front.
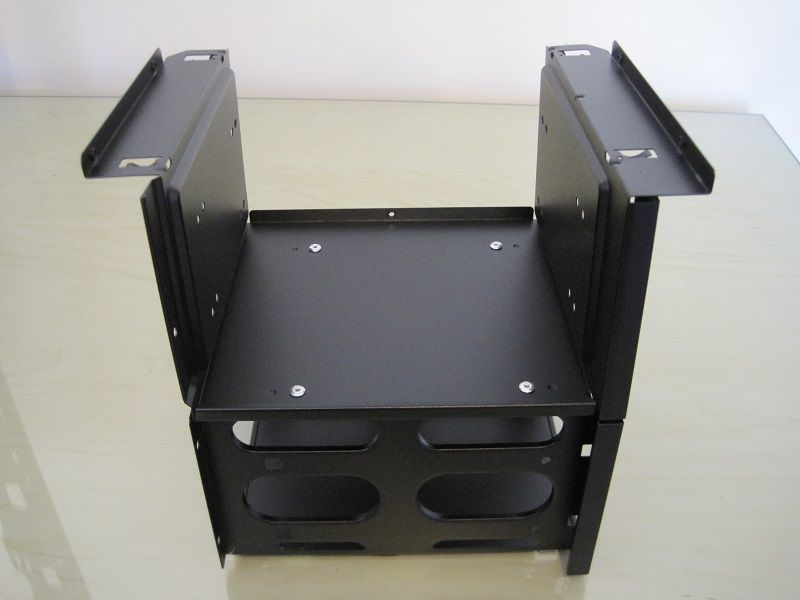
The two top cages are pop riveted together.
With the very top cage having a screw hiding behind the power and reset buttons on both sides.
Water cooling options.
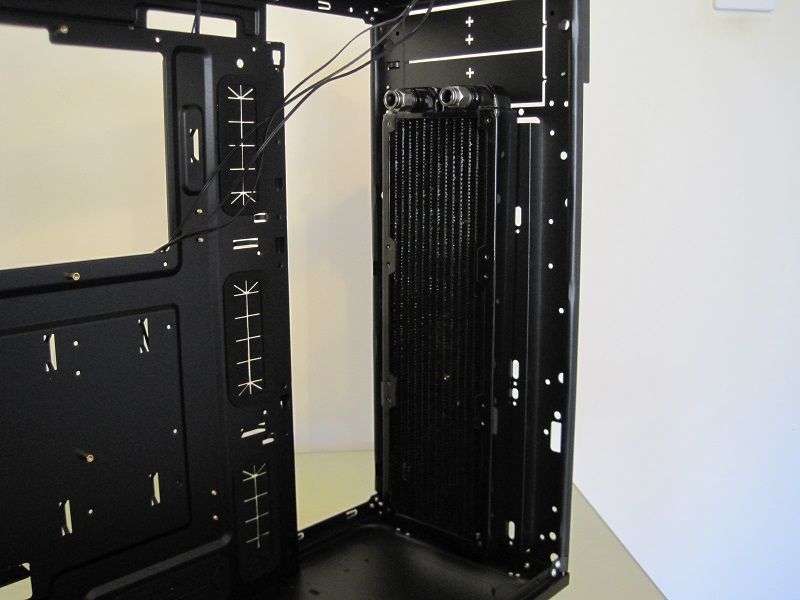
But once all the cages are out you can indeed fit a 360mm radiator in the front of the case and also there is room to do push/pull.
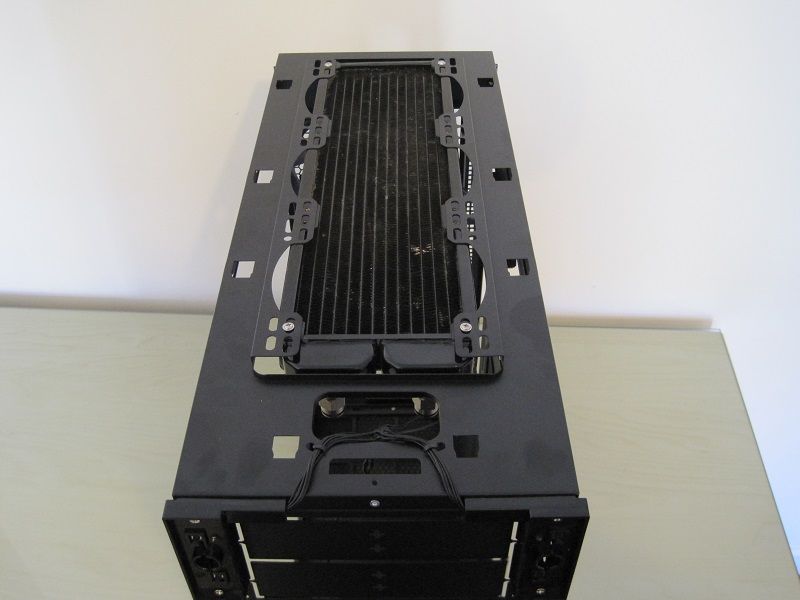
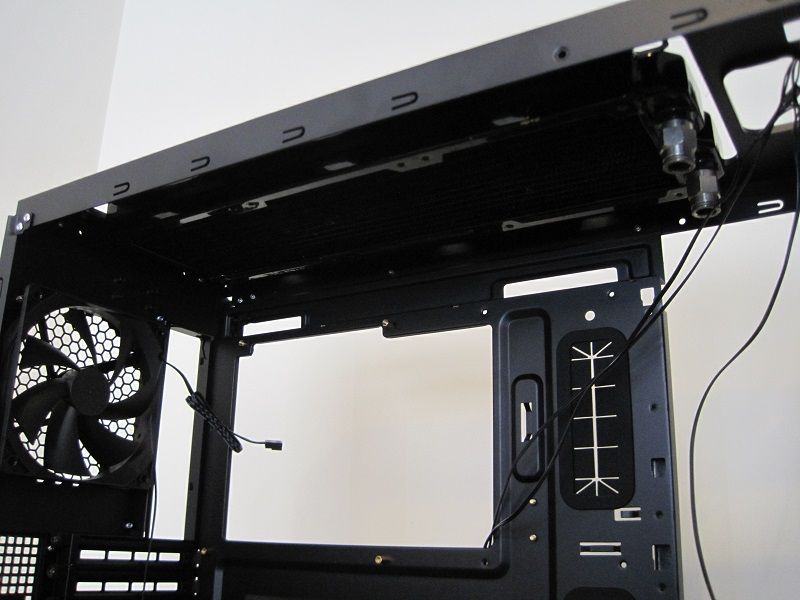
The roof will also accommodate a second 360mm radiator with a set of standard depth fans without interfering with the top of a motherboard.
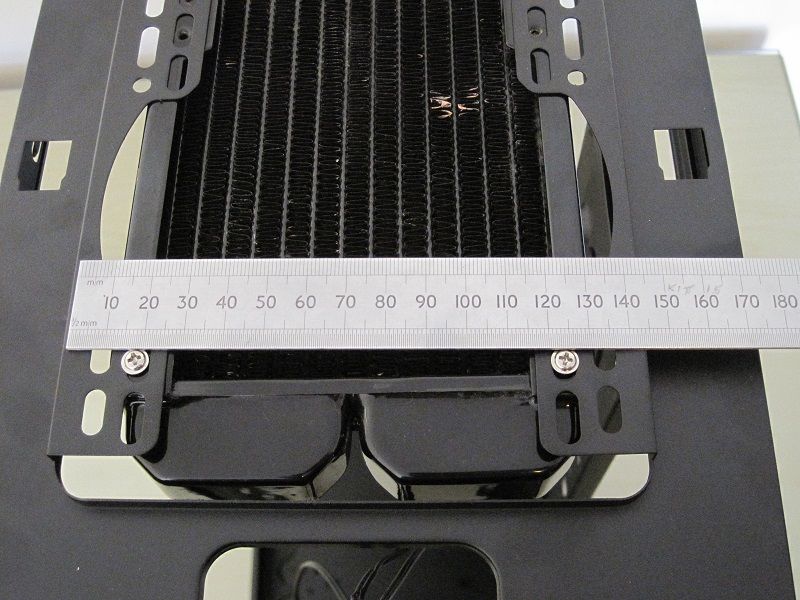
A 140mm wide radiator will also fit without issue.
I tried to fit a 240mm AIO radiator in the very top with the fans inside the frame and vca versa but the roof section would not sit flush again to be able to slide back into position.
I think ultra slim 120mm or 140mm fans will fit in this area and allow the top cover to fit back on.
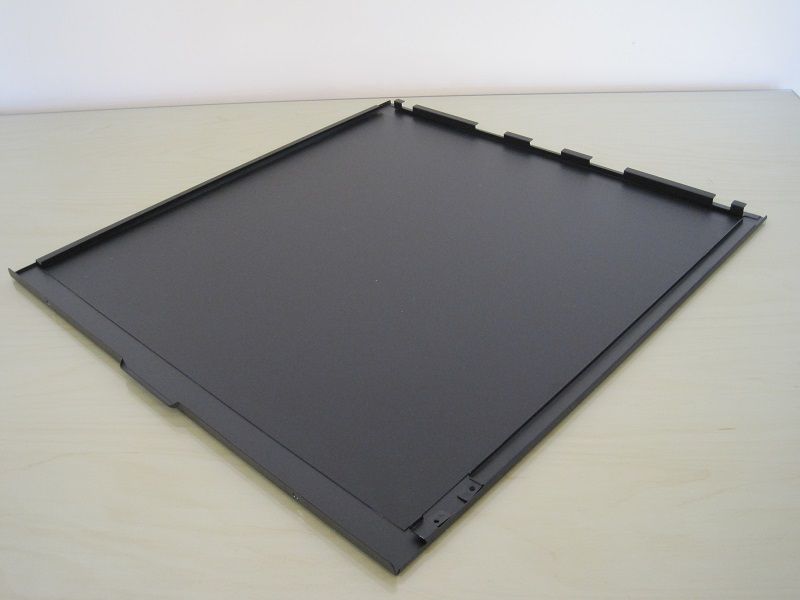
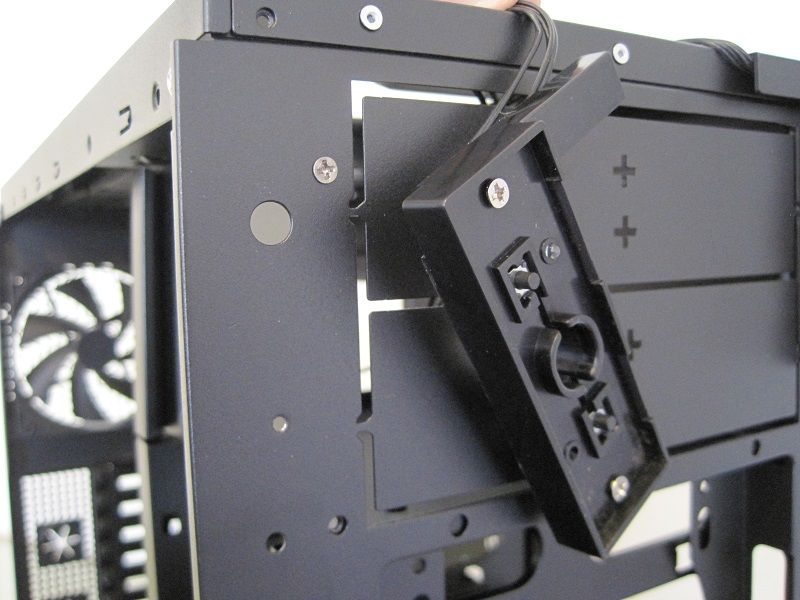
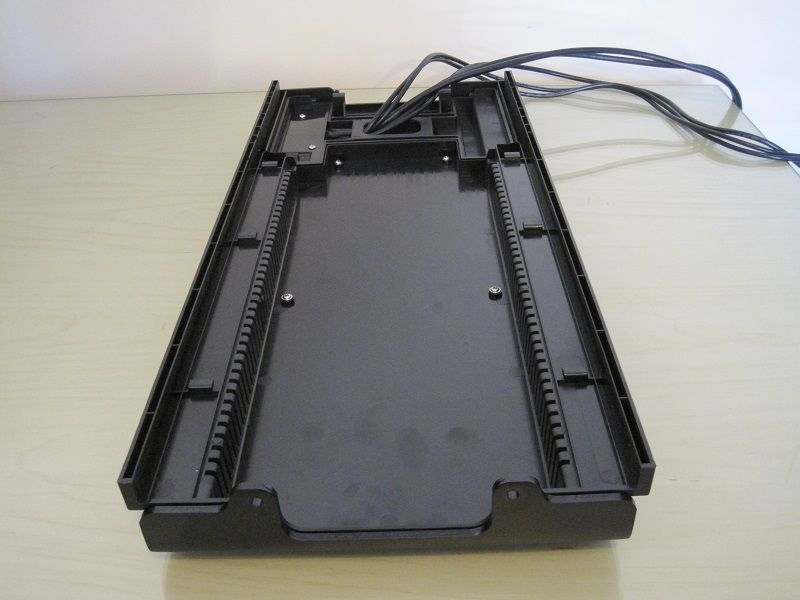
Front cover and ODD bay.
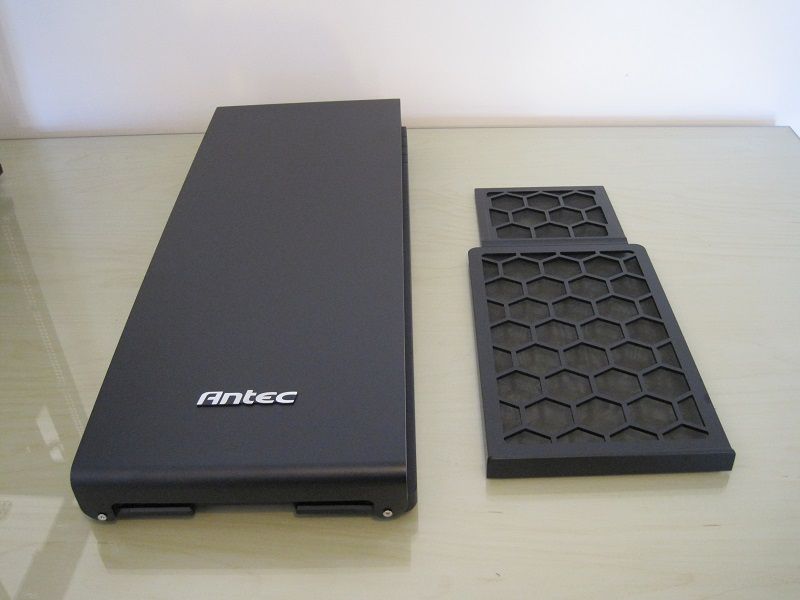

A full length dust filter is reached from underneath and slides out.
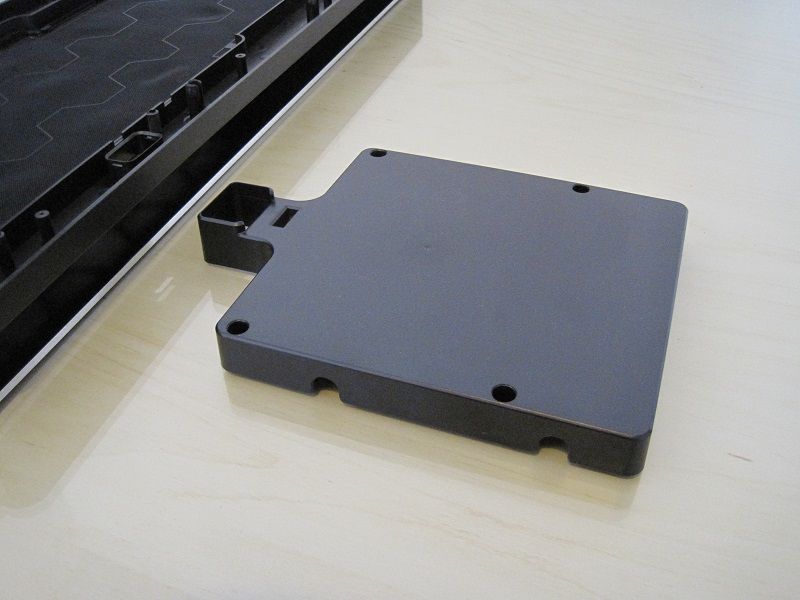
Remember this from earlier? it bolts to the aluminium fascia and will hold a slim optical drive.
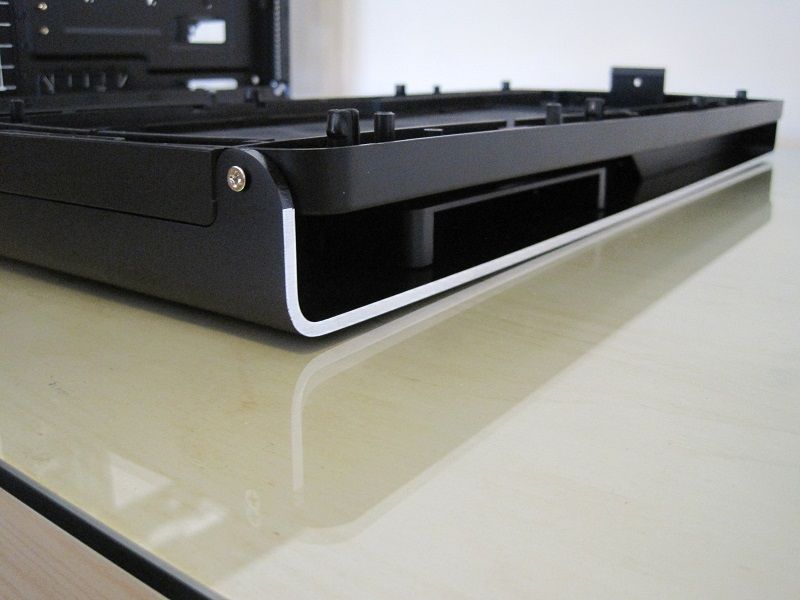
It can be mounted facing out the left or right side.
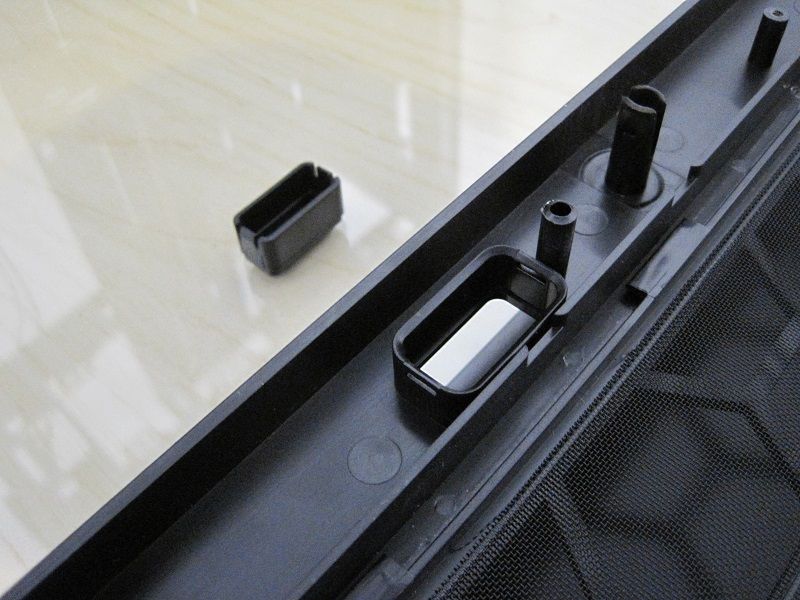
These pop out on either side to run power and data cables into the case.
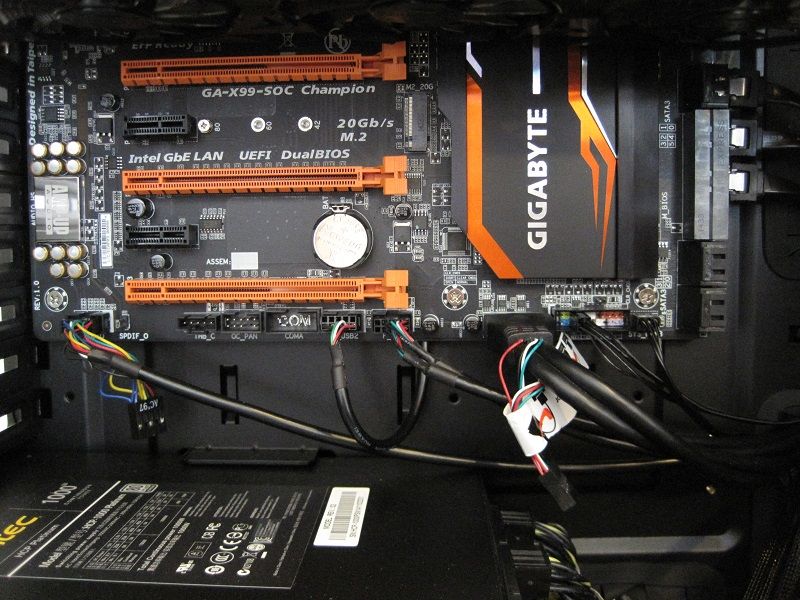
The finished build.
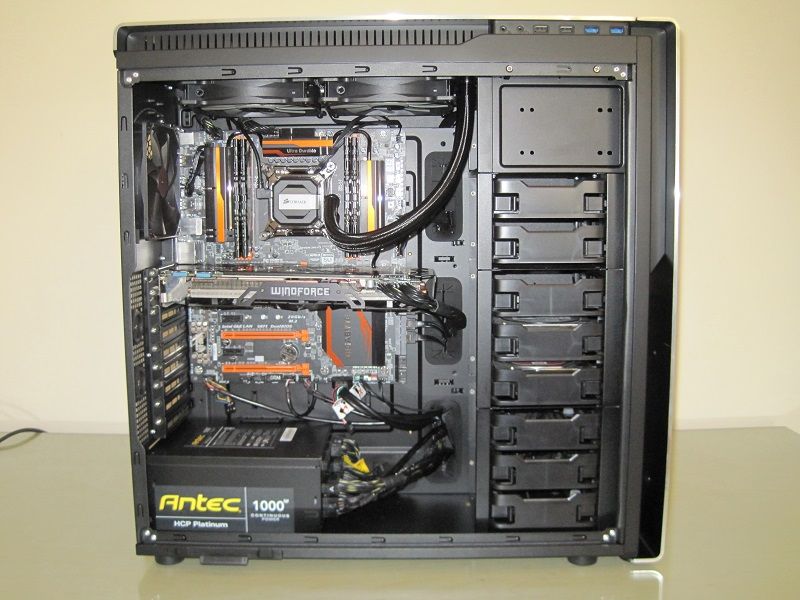
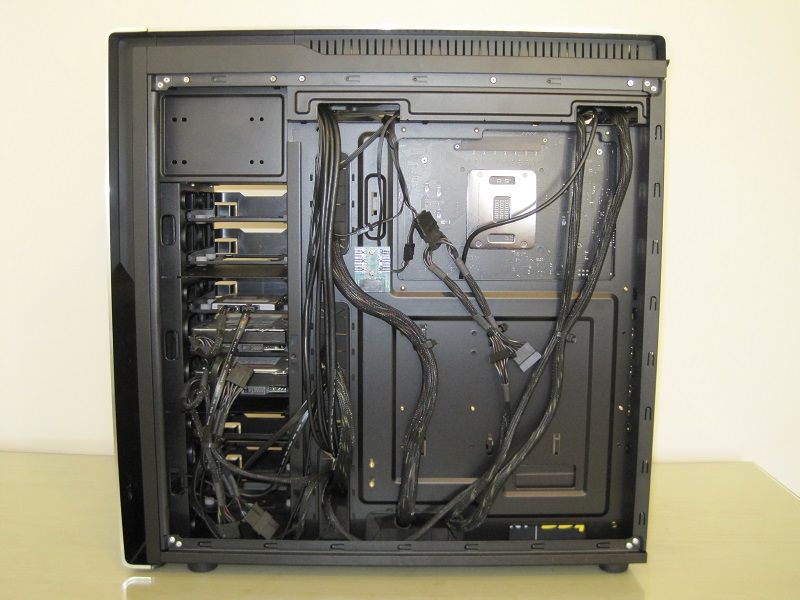
Building a PC within this case was not to hard. There are plenty of cable tie points on the back of the tray and having plenty of room to stuff cables behind certainly helped.
I would like to see more cable management holes along the bottom edge of the case.
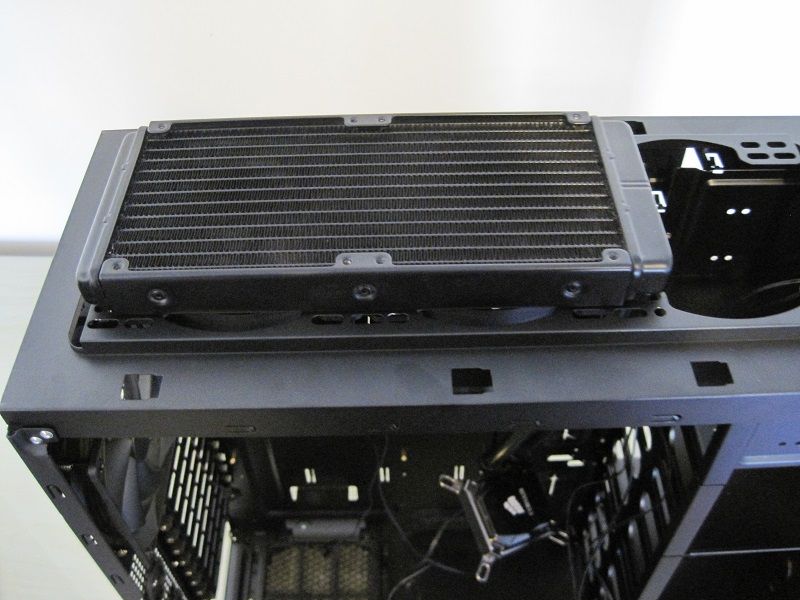
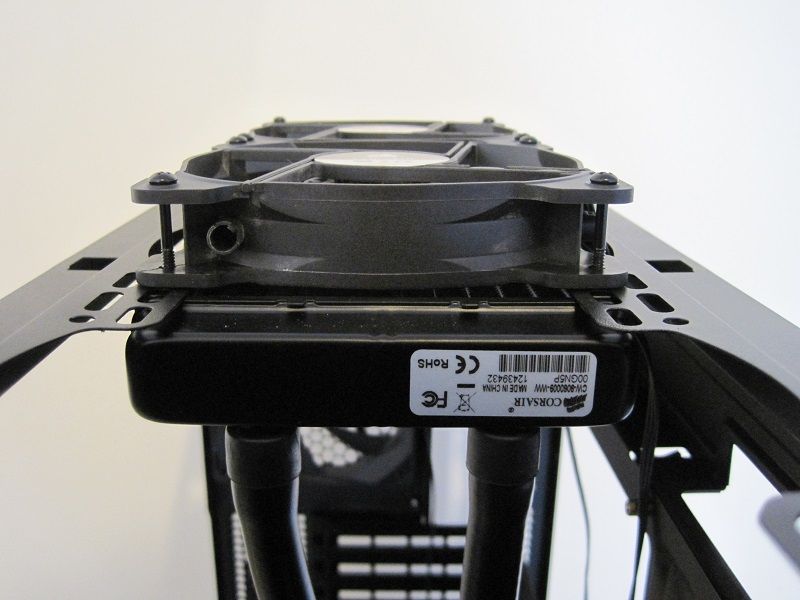
I fitted a H110i GT and found I could only get the radiator to line up with four screw slots in the roof, it is secure and not going to affect it but more thought into alternative radiator slot spacing would have helped.
I do not have any temperature results as this is the first time I have used an X99 SOC Champion, i7 5960X and H110i GT in a case so have no relevant temperature numbers to compare too, but at 4.7GHz using 1.31Vcore my CPU peaks at 72c in Cinebench R15
Summing up.
Overall a very nice case but with a few key points that can easily be fixed,
• Use SATA power for the fan splitter and power and reset button illumination as I had to run an additional cable from my PSU to connect to these.
• Do not pop rivet the top HDD cage to the 5.25" cage and make finding all the screws that hold the HDD cages in place easier to find and access.
• More room in the roof section to support a rad or a standard fan.
• More cable management holes along the bottom edge of the board.
• Have the fan speed controllers accessible on the outside of the case.
")
