Associate
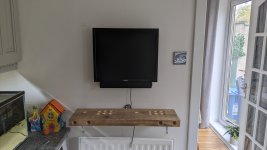
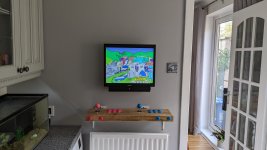
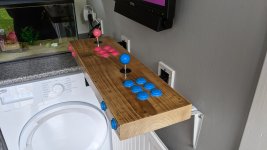
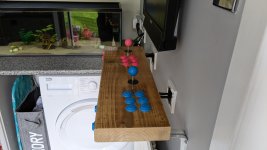
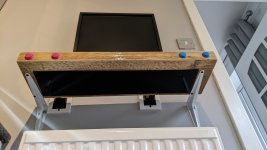
I was visiting my Mum and saw an old piece of scrap scaffolding board lying at the back of her garden and thought "I could make that into an arcade control panel and use it in my kitchen!". I didn't want to spend much money on the project so I am using the tools I have and I have a monitor, raspberry pi etc already.
Here is the scrap piece of wood as I found it:
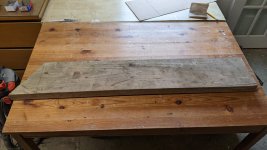
First step is to cut it to size:
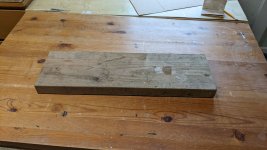
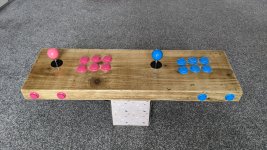
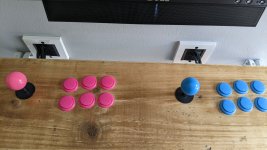
I then marked out where I wanted the holes for the buttons and joysticks. I am going with a classic six button design on the top of the control panel with two buttons per player on the edge for 'insert coin' and 'start' buttons. I think this will result in a pretty clean and uncluttered look. I used a hole saw on my pillar drill to make the cuts:
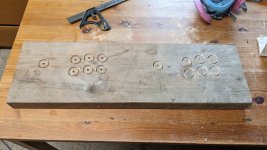
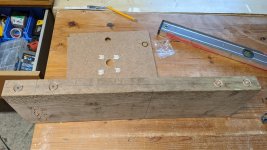
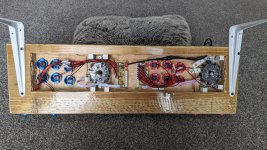
Now that the joystick and button holes are cut I started with the laborious task of hollowing out the wood to fit everything in:
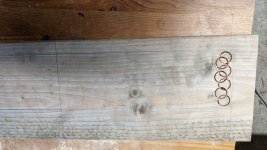
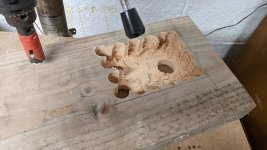
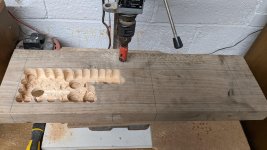
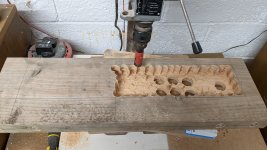
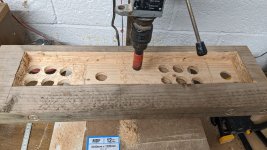
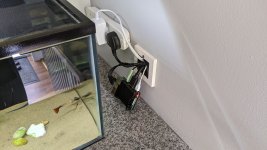
Once that was done I figured out that I will have the Raspberry Pi external to the control panel and will route all the cables into the wall, out into the control panel then back into the wall again and up to the monitor. I will need two holes in the back edge of the control panel for that:
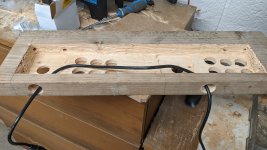
It was now time to start making the wood a bit more pretty. Out with the sandpaper. The back of the wood started off like this:
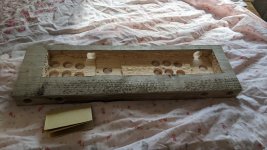
and then ended up like this:
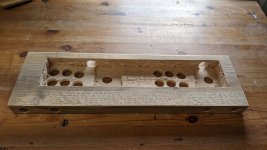
and the front ended up looking like this:
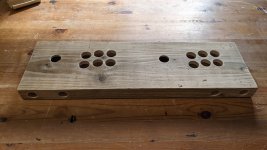
I had a tin of varnish kicking about so after a few coats it is now a bit shiny:
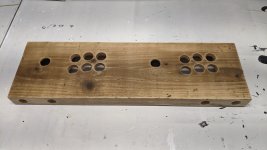
It is now ready for the buttons to be mounted into the control panel but I am still waiting on them being delivered. I will update this post when they arrive.
Here is the scrap piece of wood as I found it:

First step is to cut it to size:

I then marked out where I wanted the holes for the buttons and joysticks. I am going with a classic six button design on the top of the control panel with two buttons per player on the edge for 'insert coin' and 'start' buttons. I think this will result in a pretty clean and uncluttered look. I used a hole saw on my pillar drill to make the cuts:


Now that the joystick and button holes are cut I started with the laborious task of hollowing out the wood to fit everything in:


Once that was done I figured out that I will have the Raspberry Pi external to the control panel and will route all the cables into the wall, out into the control panel then back into the wall again and up to the monitor. I will need two holes in the back edge of the control panel for that:

It was now time to start making the wood a bit more pretty. Out with the sandpaper. The back of the wood started off like this:

and then ended up like this:

and the front ended up looking like this:

I had a tin of varnish kicking about so after a few coats it is now a bit shiny:

It is now ready for the buttons to be mounted into the control panel but I am still waiting on them being delivered. I will update this post when they arrive.


