AV Unit Build

Soldato
Joined
26 Feb 2007
Posts
8,546
Not sure if anyone is interested but I thought I'd put my AV cabinet build up on here. The idea is to have a three section unit with my amp, PS3 etc in the cental one, DVD's/blurays in the left and the sub in the right hand side, I also want it to fill the alcove to the left of my TV so it can be used for extra seating/a reading seat.

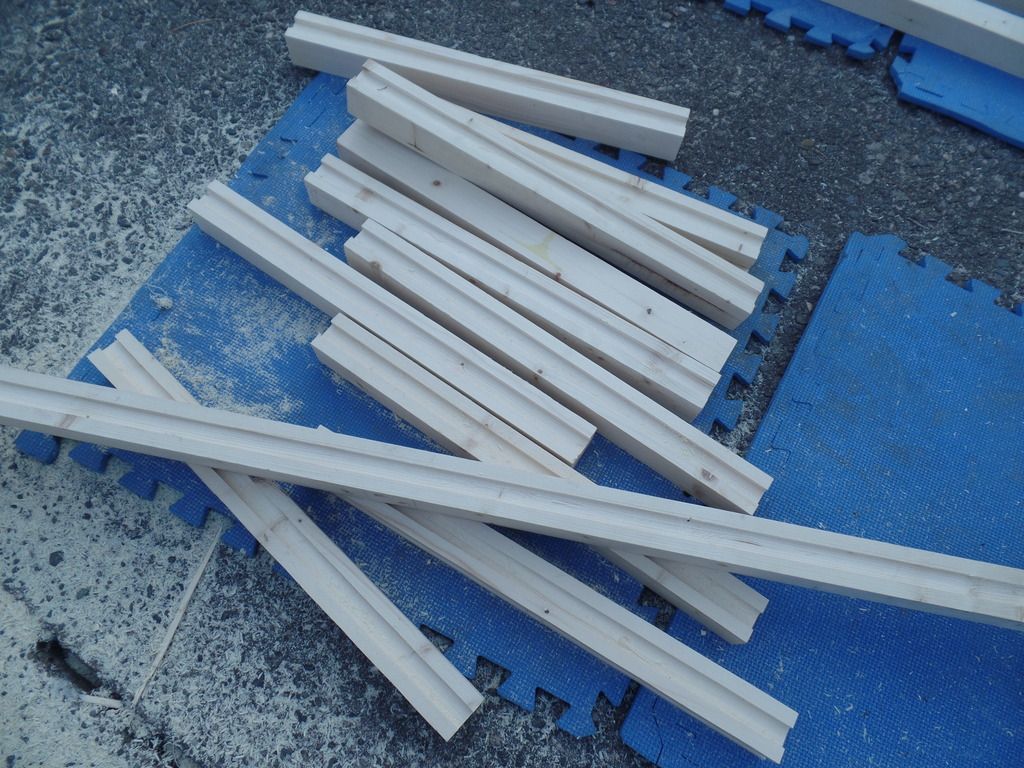
First step is to make the frame, so cut up the wood 44mm PAR baton.


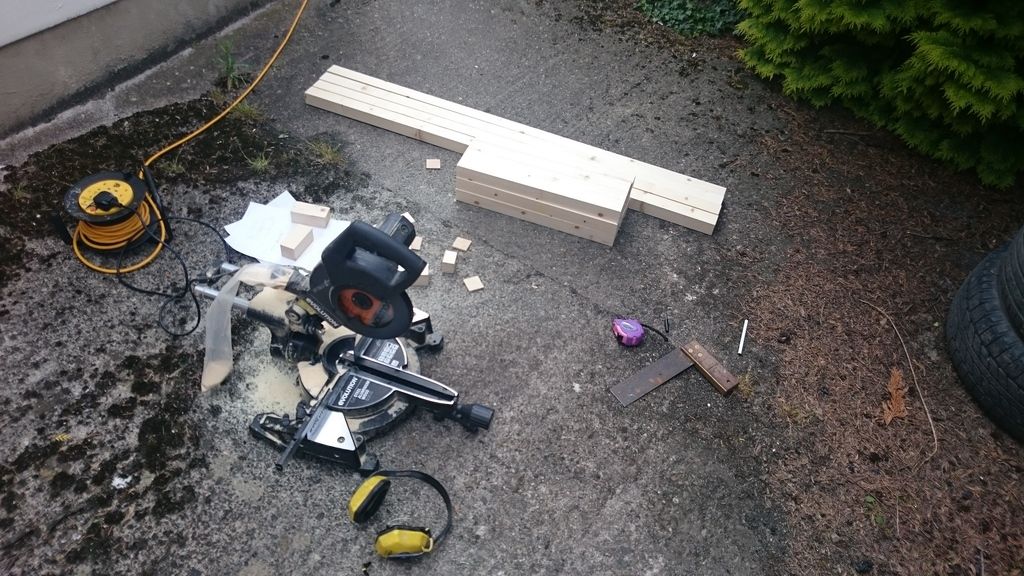
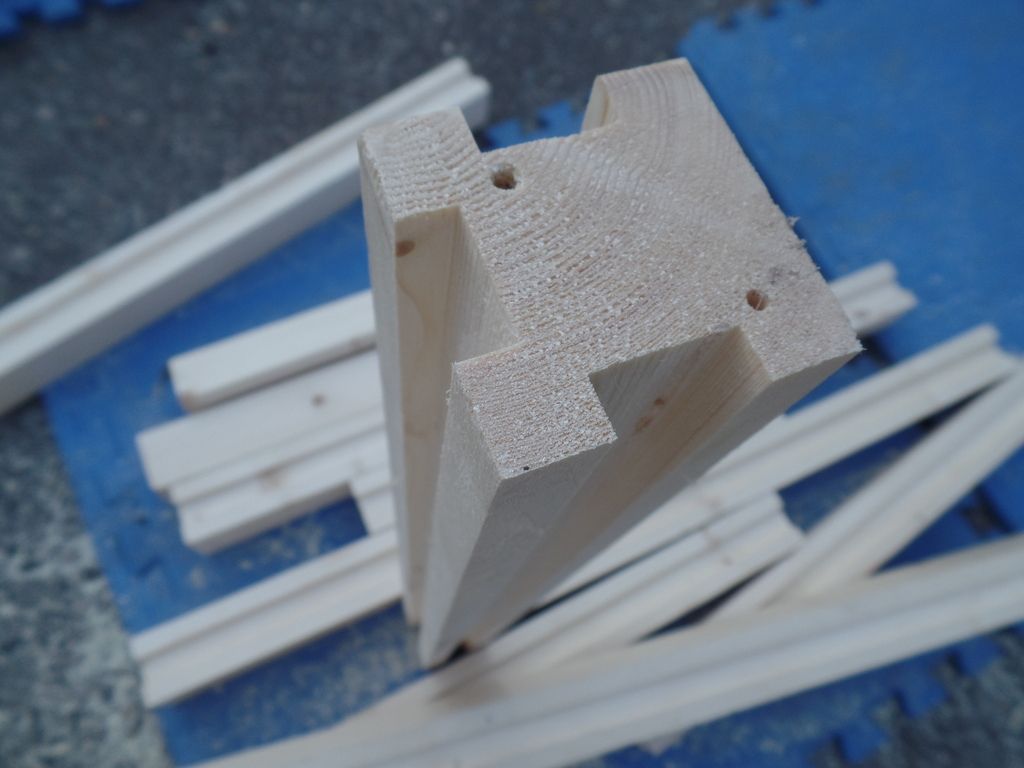
I was originally planning to do some fancy(ish) tenon joints I don't really have the time so thought I'd screw and glue instead. :)

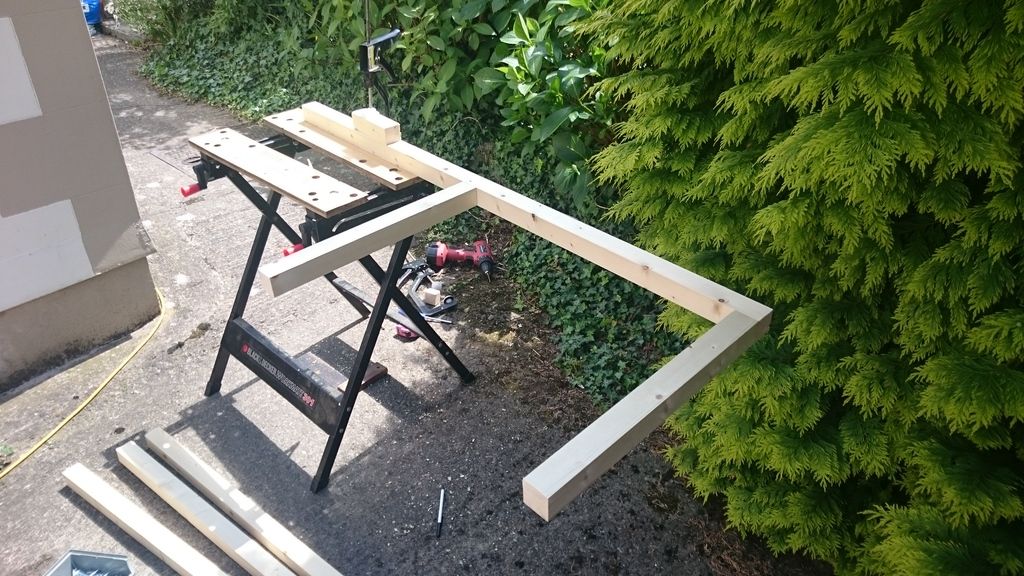
I actually probably did this slightly the wrong way around, but I next screwed it together, I've bought a plug cutter to recess the screws, hopefully the screw heads will be mostly invisible once I'm done.


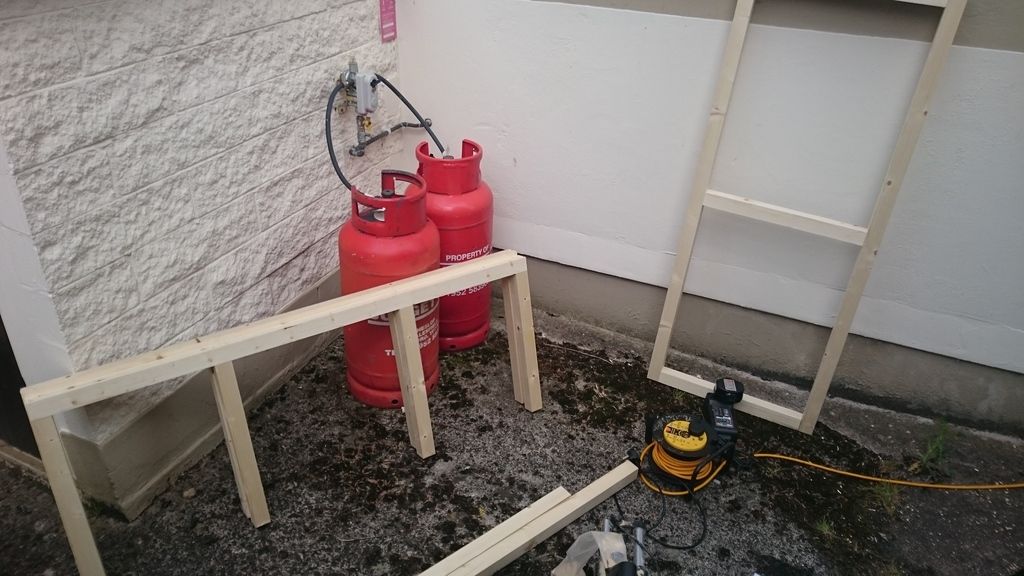
For the side panels I'm using 18mm hardwood ply, again I was going to use pine planks but this will be cheaper, stronger and its going to be painted anyway.

I'm going to recess the panels into the frame and glue it up, it'll add strength and look better.

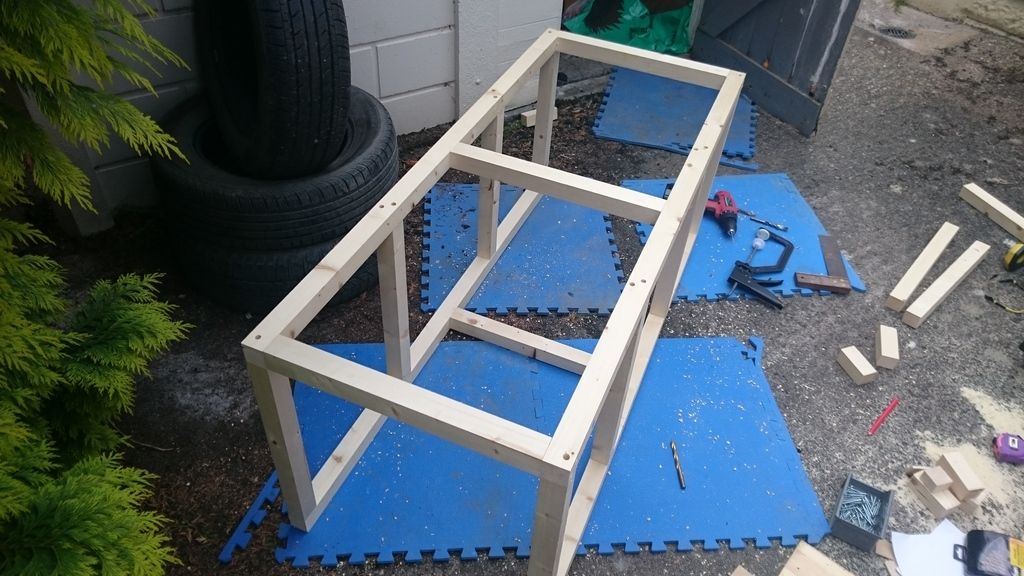
So time to break out the router and my homemade table. Lots of mess!


And...I forgot to take a picture of it all back together again.

Next step will be to cut the side panels, make shelves, doors and cut the top which will be out of the 18mm ply again.

Mildly boring post!
 
Cheers guys! Nice once sprite, looks tidy! Yep, made the table, I've got some pictures of how I did it somewhere..

Anyway, today I got the side panels sorted, needs a bit of tweaking to get it all together properly but I should be able to add the shelves and top tomorrow depending on when I finish work, then it's just the doors to go and paint/stain, still not sure.

First I put the routed frame together -


Used a jigsaw to cut the ply, I started off using a guide but had to go freehand in the end as for some reason the blade kept wandering around, bit if a pain! Need to get myself a ripsaw...


And slotted together, somewhat roughly -


And with the top frame sort of on -


I'm pretty happy with it so far, if the back and sides weren't going to be hidden I would probably route the frame edges to make it look a little less sharp but once it's painted up it'll look reet.

Oh and I need to put a base in at some point and cable access in the back, and think about holes for the bass to escape from..
 
Definitely not a boring post, great work so far. Looking forward to the next update

It was a counterboring post :p. Maybe I am just weird but I find any sort of project log interesting.

Dowels are a good compromise between speed and a strong joint. Not a big fan of using screws, but it should be good and strong with the ply panels in place.

Edit - Just saw the update after posting, definitely looks strong enough with the panels in place. What are you using for the top?
 
Last edited:
My plan is mdf box sectioned into cupboards and shelves then pocket hole screw a face frame on the front, but hinges on shaker style doors, not decided on colour to spray yet but will have an oak top on. Alcove isn't very deep so filler piece on one side and reed and bead panel on chimney breast side with skirting around bottom
 
Your TV must be pretty hefty! Nothing like a little bit (a lot) of over engineering!

Looks good though and seems to be keeping you happy, need some shots of the spot it's going into!

The TV it wall mounted, this is actually for some additional seating, pics will follow once it's installed. The wife is making cushioning for the top out of some thick foam.


Only just got home so no updates tonight, can't be bothered getting it all out to be honest!

Figured out how to make the doors, haven't got a router bit for making the frames so just going to dowel the frames together and route in the middle panels with a bit of decorative routing too.

It's just the hinges I'm not sure about, will probably recess some standard hinges into the frame, dunno.

Edit - oh, haha I see I have just described shaker style doors.
 
Last edited:
Shaker doors are easy. 3mm mdf panel with 100mm wide strips of 6mm mdf glued to the front & back. Sand, prime & paint. I've made 9 pairs for our house ranging from wardrobe doors to small cupboards.

e4WAK6
 
Last edited:
Shaker doors are easy. 3mm mdf panel with 100mm wide strips of 6mm mdf glued to the front & back. Sand, prime & paint. I've made 9 pairs for our house ranging from wardrobe doors to small cupboards.

e4WAK6

Butt hinges or Blum? I only ask because a 15mm door wouldn't have a lot left with either
 
Flush hinges, so a bit smaller. You have to be careful though, because of the size I was screwing into the glue join and it can split. I drilled pilot holes the same size as the screw shank and added a blob of glue to drive the screws through. Plus a clamp to ensure the join didn't split apart as I drove the screws in.
 
Last edited:
So I've managed to actually get some work on this done, been a bit busy this last week!

First I made the base, did this out of 8mm t+g.


Glued and screwed that in and then made some MDF shelves.


Fitted the shelves using some of these pegs, pretty handy things..


Then fitted the top.


And had a play with my plug cutter, I think they'll work reet with a bit of sanding.


Not a bad days work anyway! Going to cut some holes for cabling tomorrow and paint the inside, leaving the outside for now as I might just stain or matt varnish it or something, I don't know.
 
Last edited:
Back
Top Bottom