

Bazzaz ZFi TC install to my GSX-R 1000 K6.
Part One.
I've been waiting to fit this since end of last year, finally got round to doing it, now the fine weather is here at last")
Thankfully it was a pretty straight forward task. Anyone with a modicum of common sense and enthusiasm can fit it, but they do recommend you have it
installed professionally.
I'll be biased in saying working on the GSXR was great (compared to modern blades/S1000rr's), very straight forward bike to strip and work around. It is still a bit tight here and there, but overall
I'm happy with how it went.
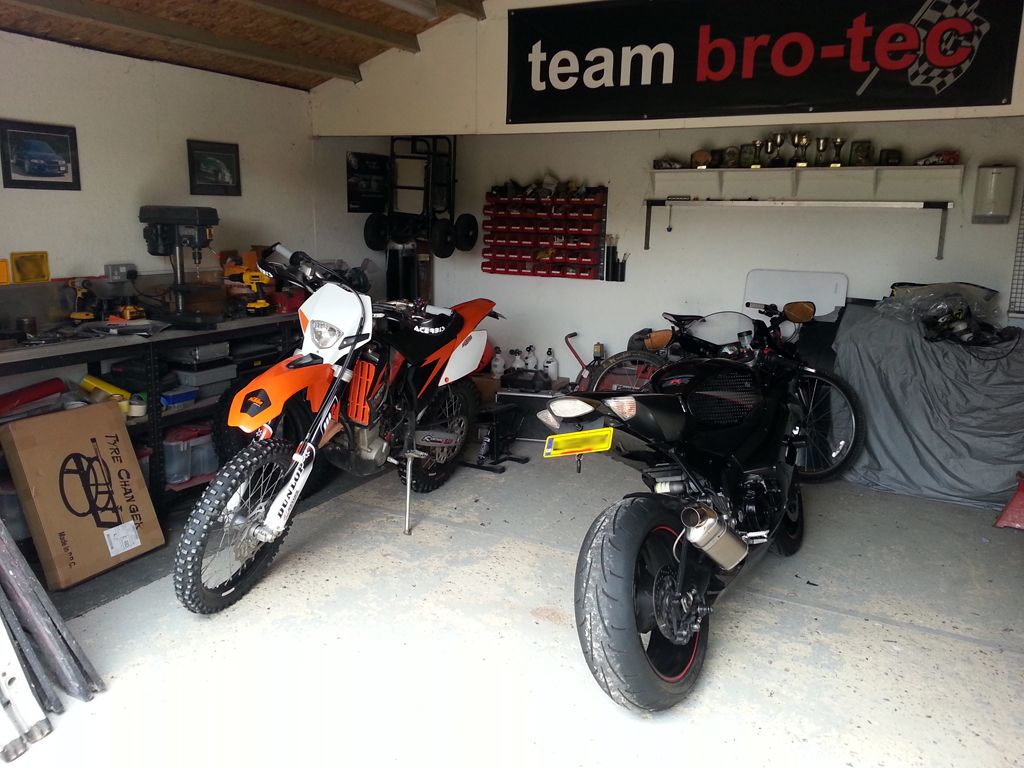
So firstly I have to thank my mate Graham for loaning me some garage space, I'm a Heavy Goods Truck Technician by trade and all my tools are at my place of work (and they don't allow private work)
I have no tools at my home. One of the reasons it's taken me so long to get round to doing this.
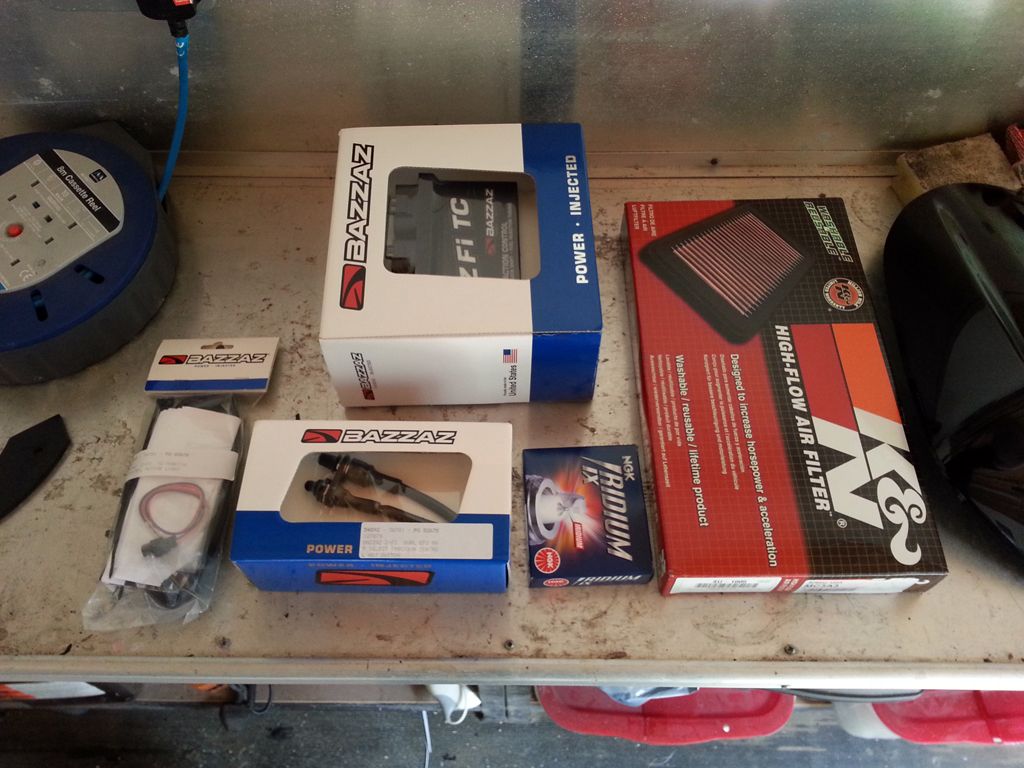
I decided to replace the spark plugs and treat it to a K&N whilst it was stripped. Be rude not to really")
Removal of the fuel tank, side panels, seat and rear cowel to start with.
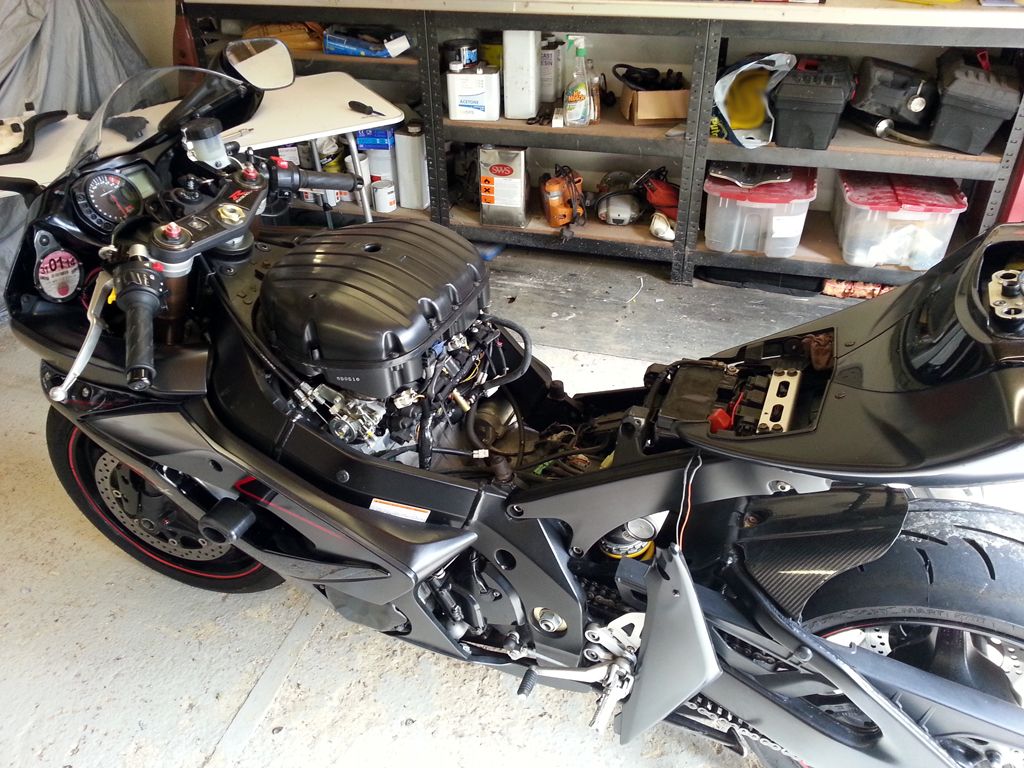

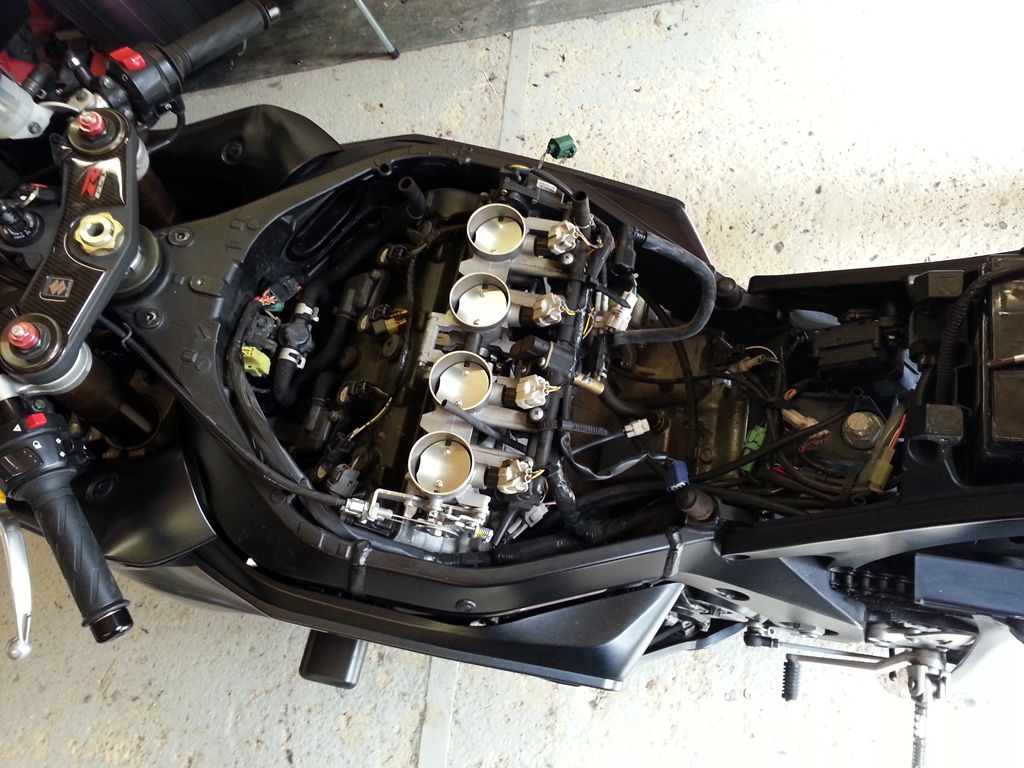
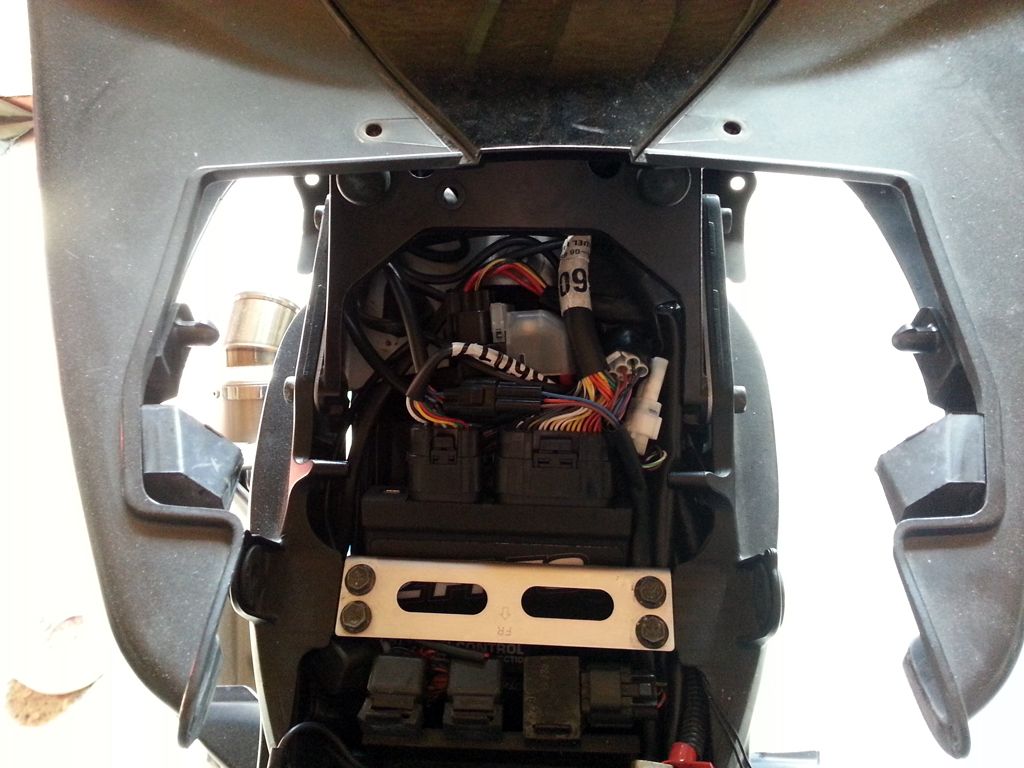
Next was the airbox removal to reveal ignition coils, throttle body and injectors.
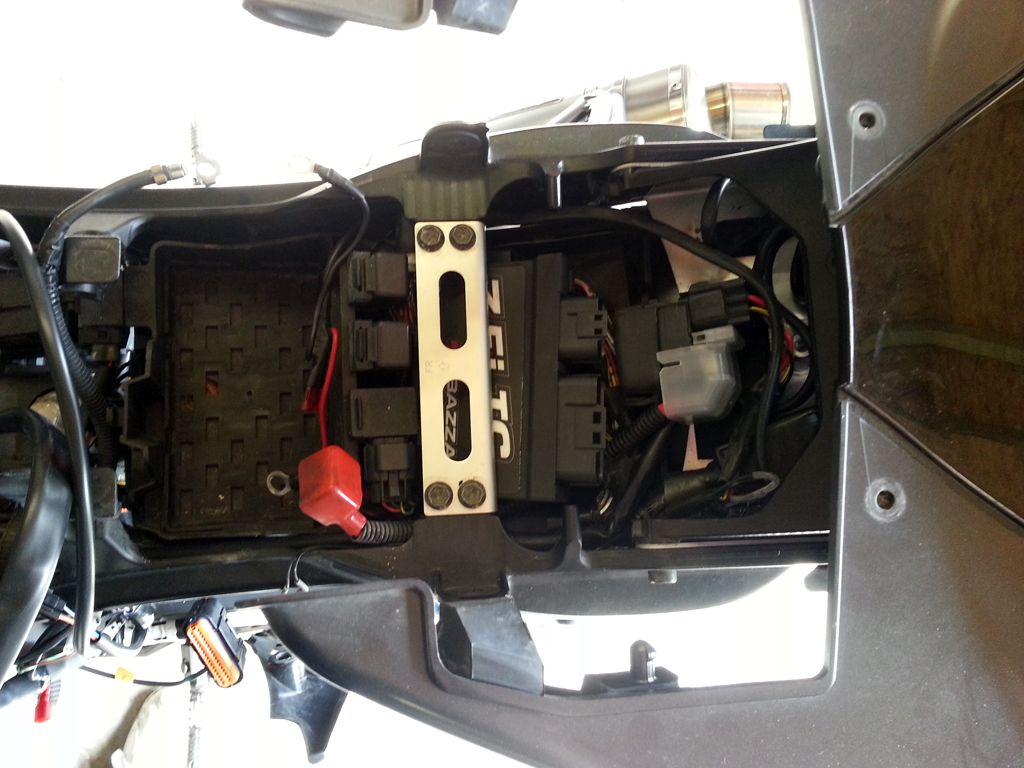
The first thing the instructions state is to find a location for the ZFi control unit. Not a lot of room at the back end of the GSX-R, but it seemed to fit nicely ontop of the existing Suzuki ECU.
So before installing the first of the wiring looms supplied (they supply a fuel/injector loom and an ignition loom) I renewed the spark plugs, I've owned the bike since 2010 and never fitted a set, so they were overdue a change. Then to fit the ignition loom. Very simply pop the plugs off of the coils and plug them into the new loom, then fit the new loom plugs into the coil packs.
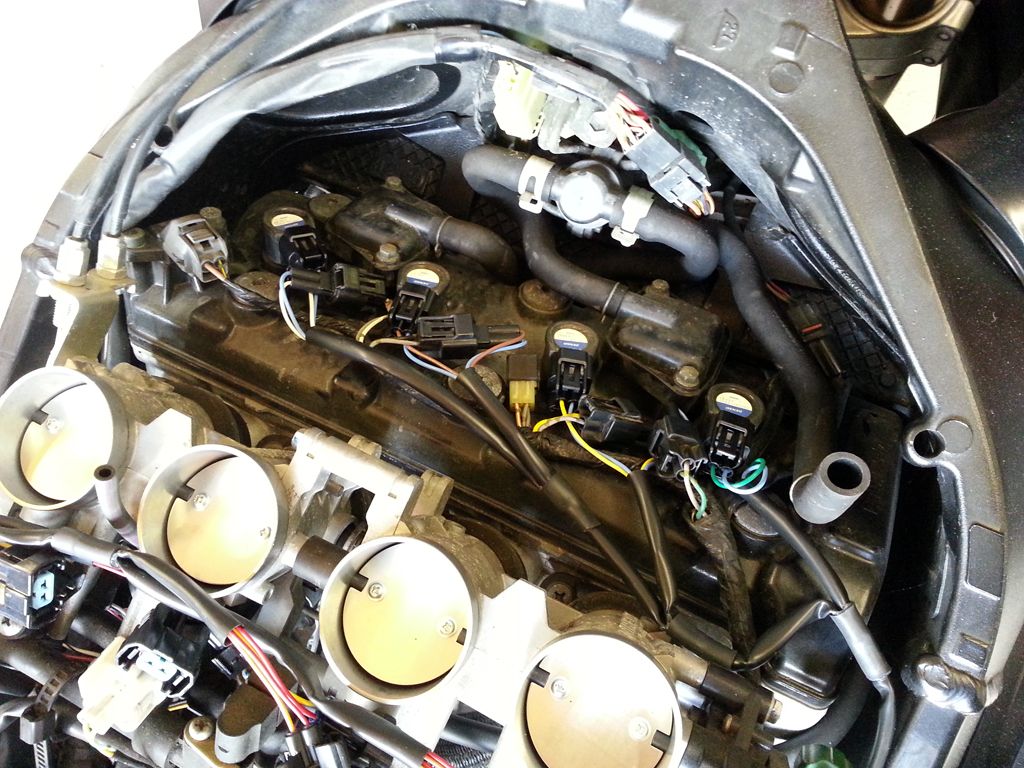
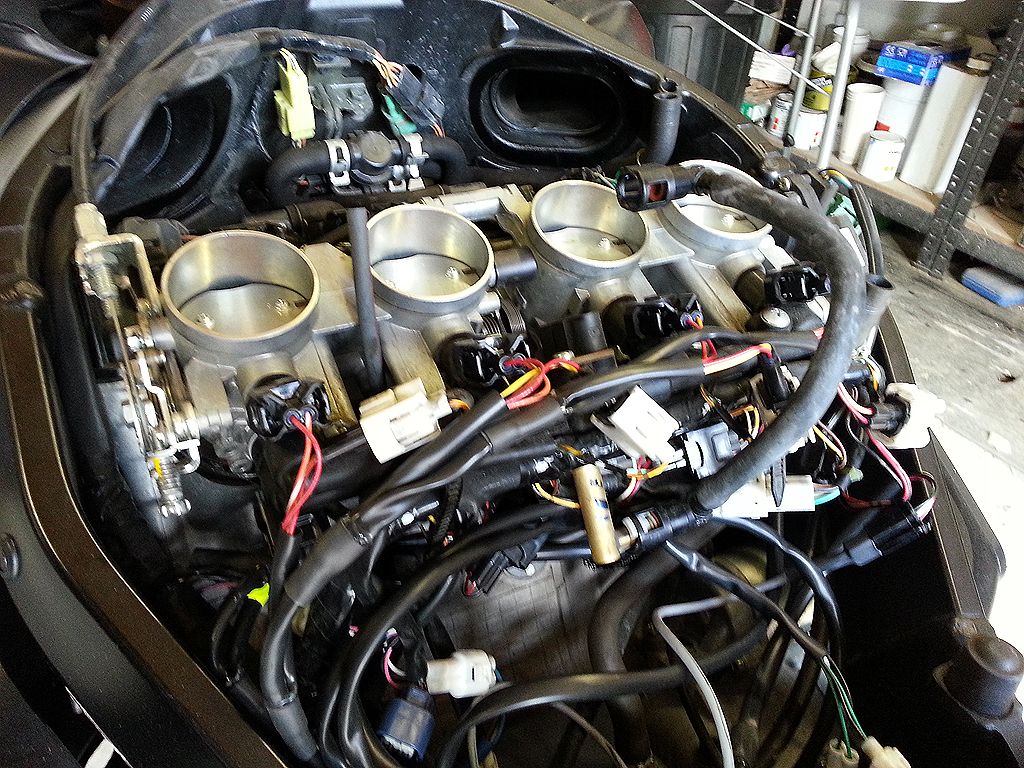
Next step was to lay the injection loom in and swap the plugs over, starting with the lower left injector and working across one by one to the right, then going back to the top left and repeating the process, making sure you hear and feel the plugs 'snapping' so they locate home properly. This is where things start to look untidy and wonder where the hell all the wiring is going to go!
Both looms are designed to go left and right of the engine, very neatly made and thought out.
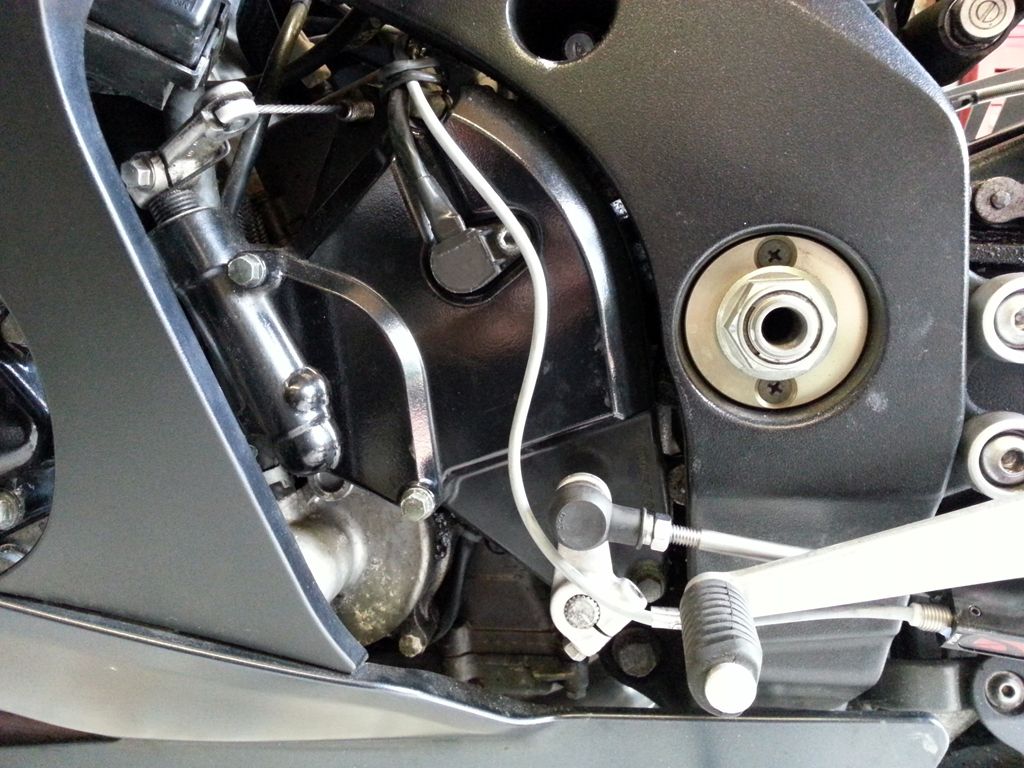
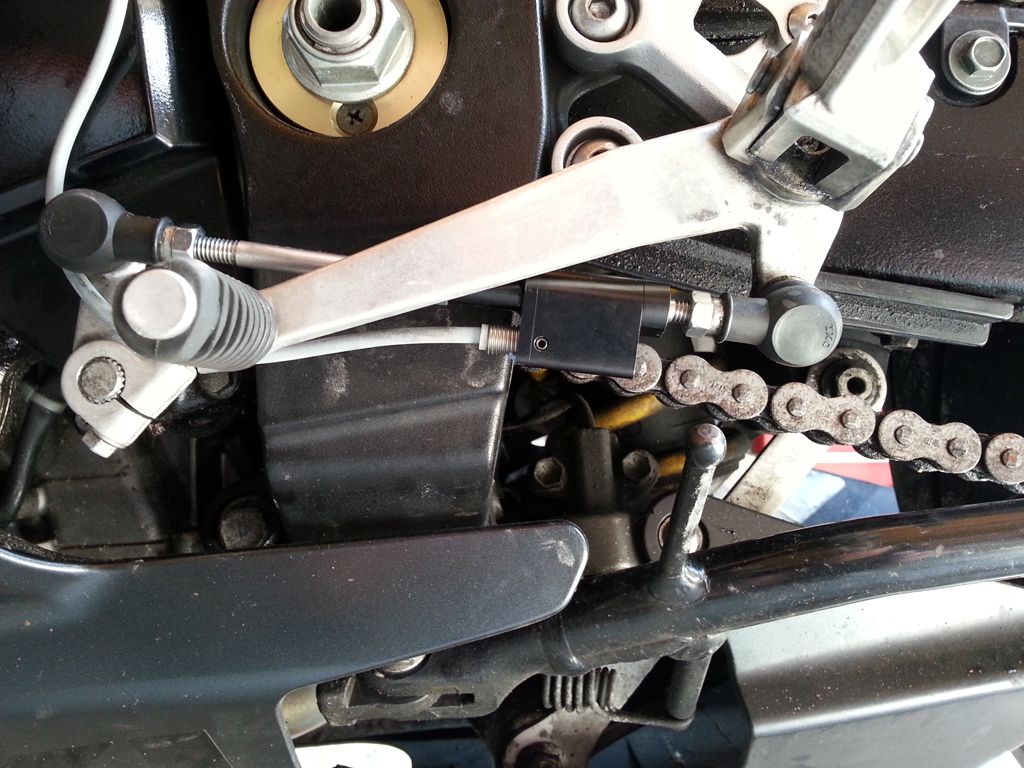
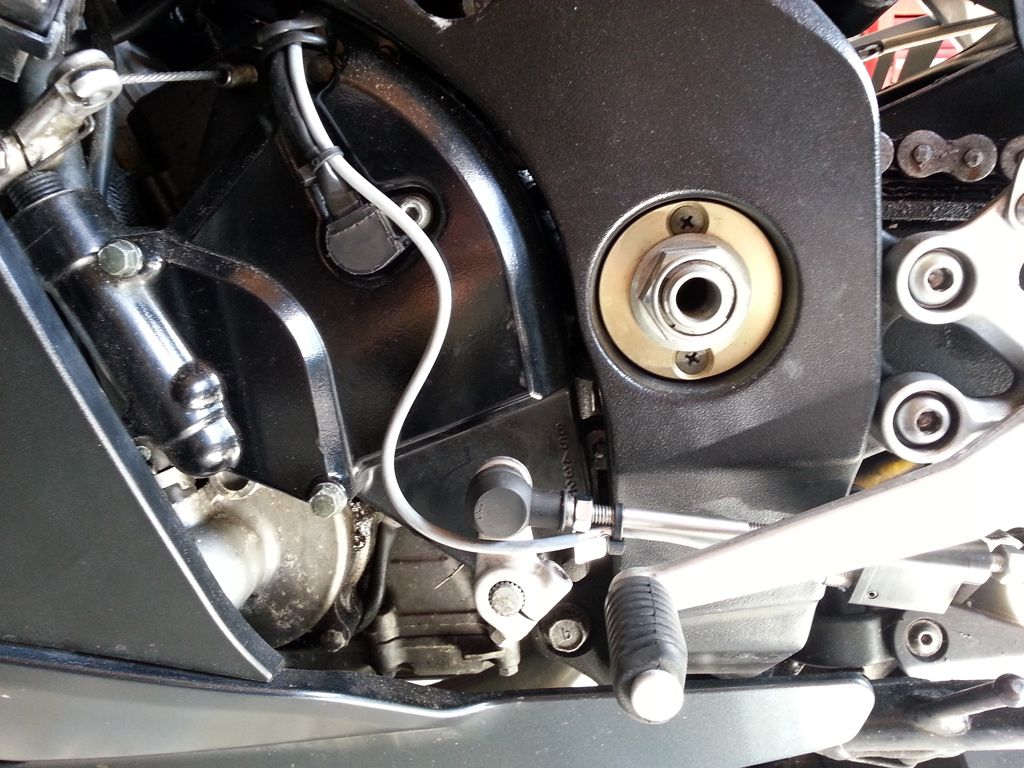
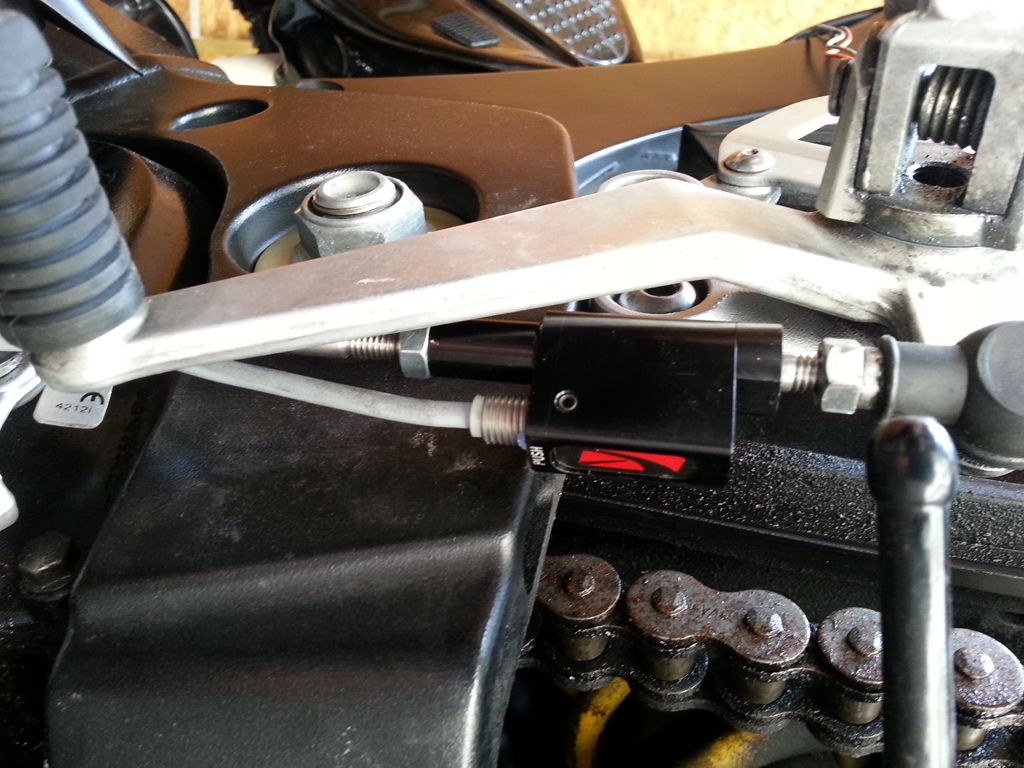
The next part of the install was fitting the shift switch, for the Quick Shift. It's a very snug fit but again, very neat. Maybe they should've used a black cable, not bright grey!! I've got the road shift switch not the race shift.
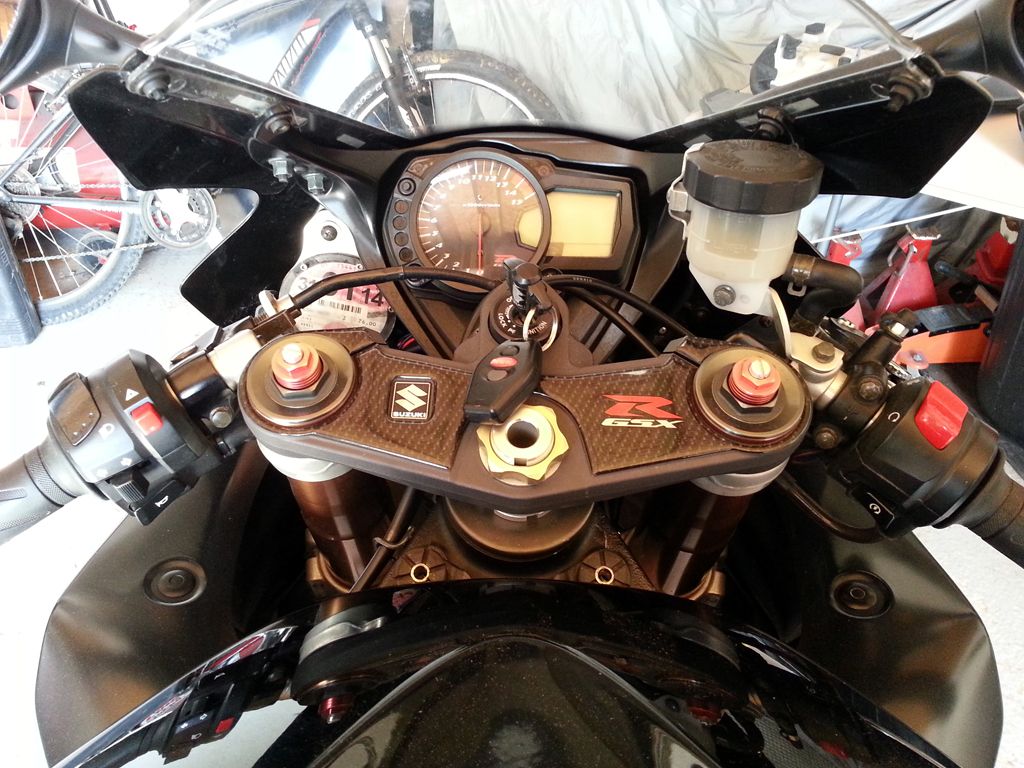
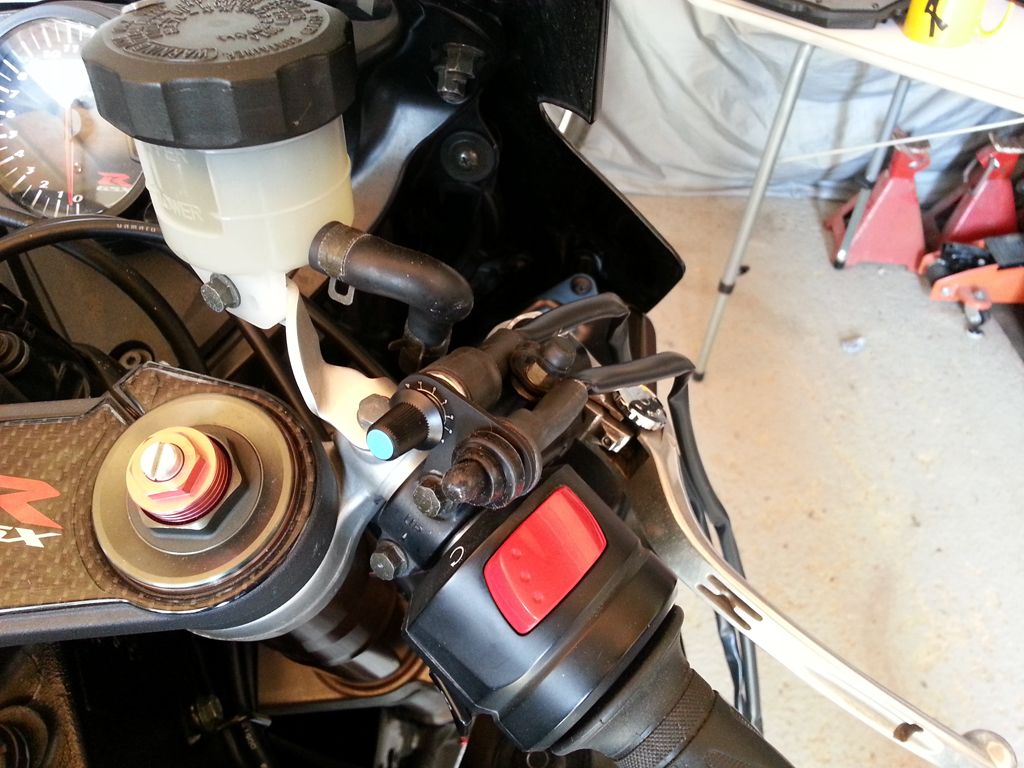
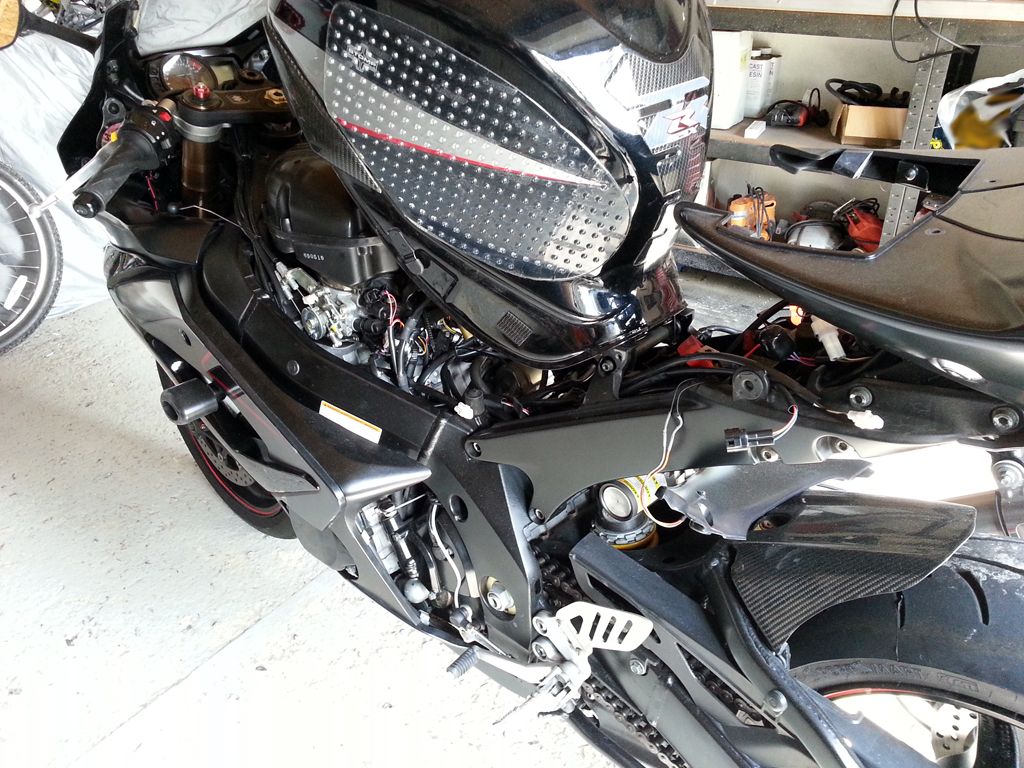
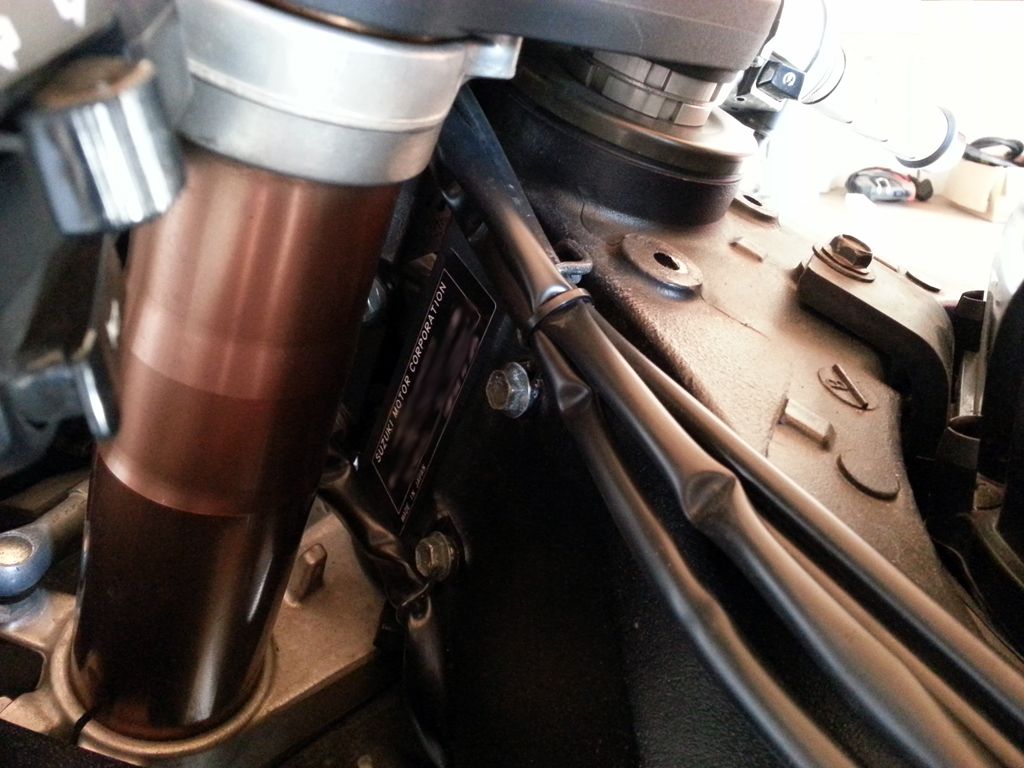
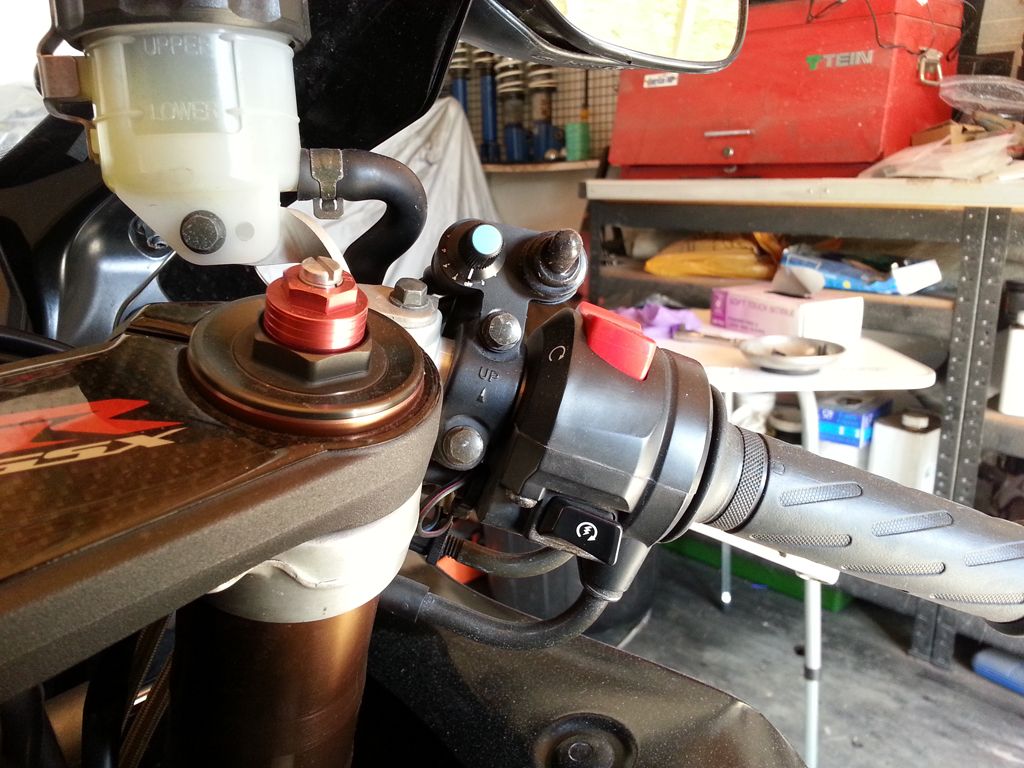
So with the ZFi unti, injection loom, ignition loom and shift switch all installed into place, I refitted the airbox. Next it was time to fit the Traction Control/Map selector switch. I installed it on the throttle side of the bars as the bracket wouldn't reach on the clutch side. Routed the cables following the throttle cables down.
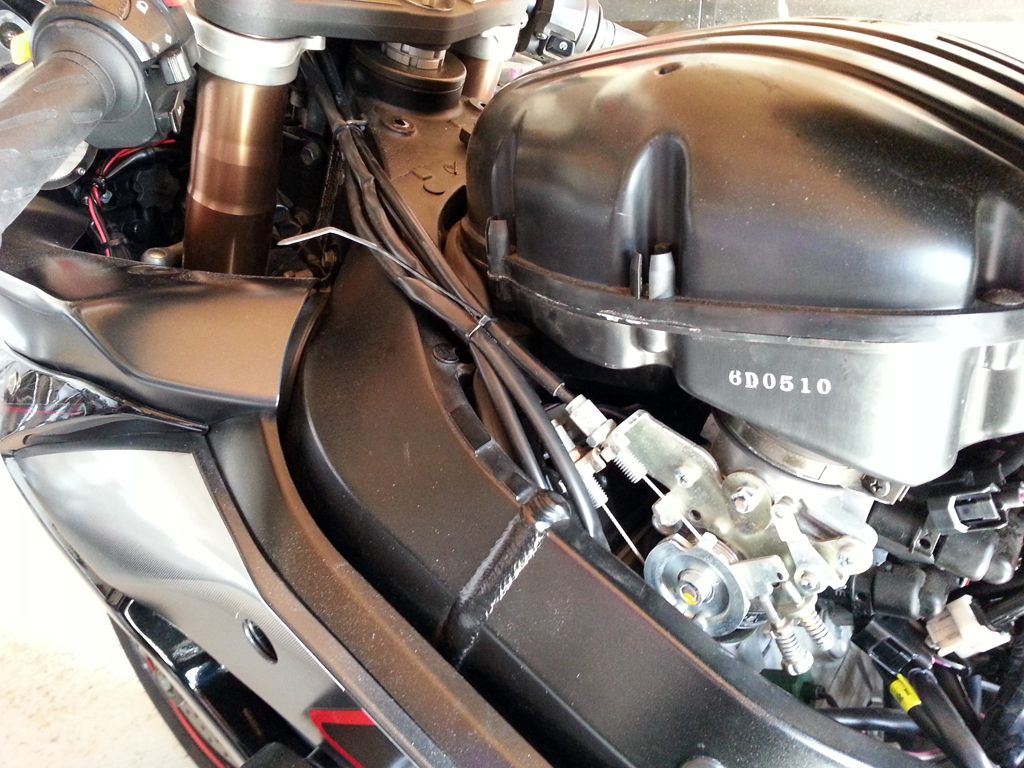
As you can see, the area under the fuel tank/back of engine, was starting to look a bit crowded and untidy, but at this point I was only laying down cables before tidying everything up with cable ties etc.

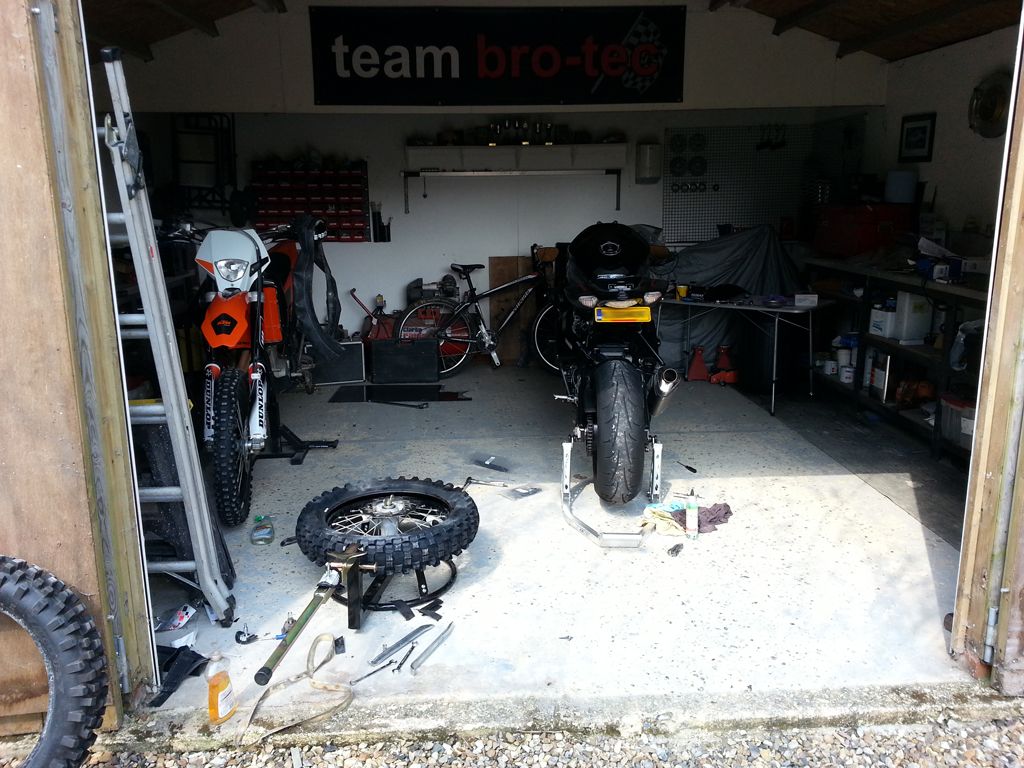
Meanwhile my mate required 'training' in the art of tyre changing...
Back to the job in hand (after a well earned cuppa) tidying of all cables now everything was installed.
Leaving some slack in the cable of the Quick Shift to allow movement. As you can see, the shift switch is very snug and had to sit at an angle, or it would back the lever/frame.
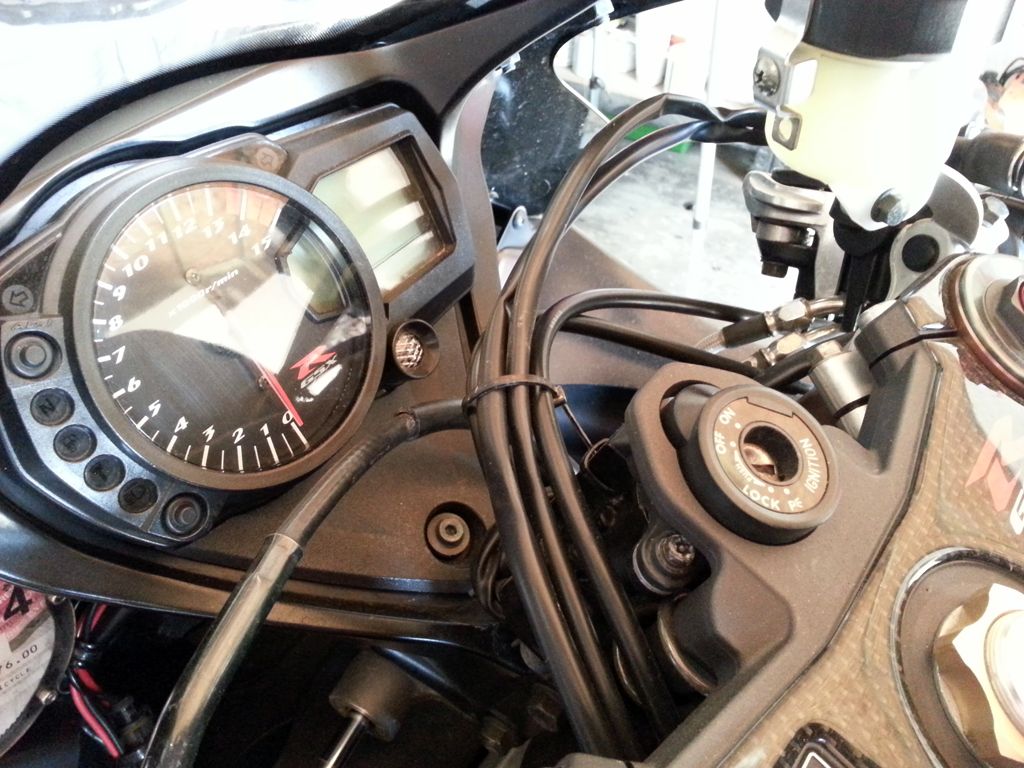
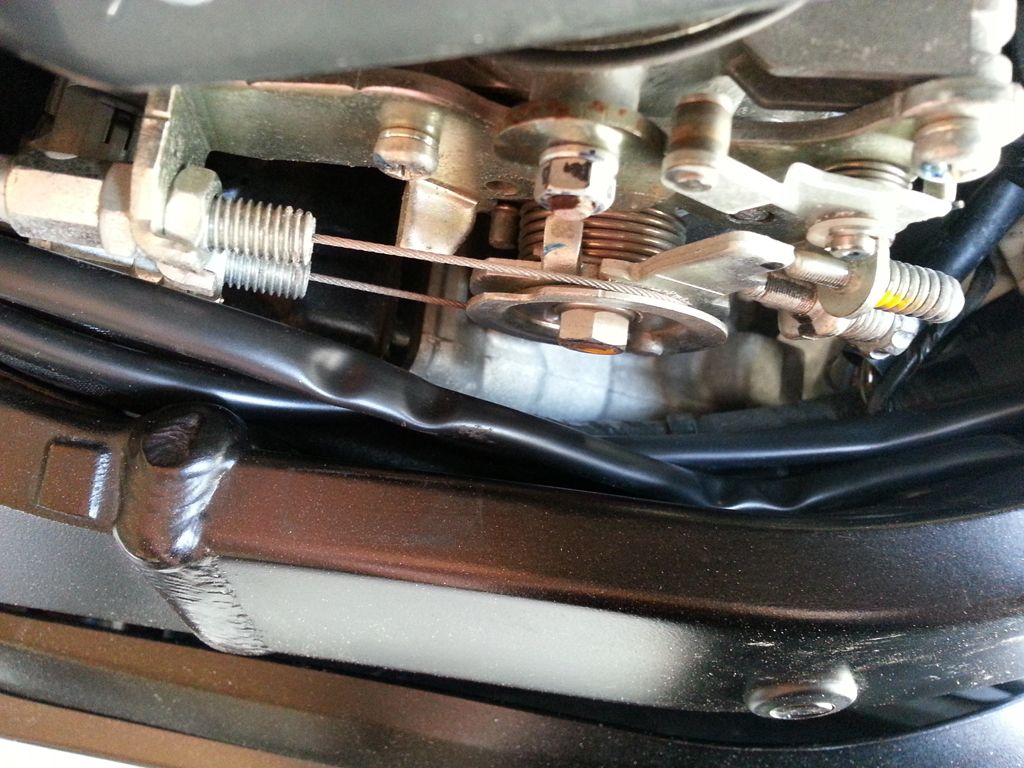
Again, routing of the TC/Map selector switch loom, was very tight, but not touching any moving parts, such as the throttle body mechanism.
Finally putting it all back together (and not snagging the fuel hose as I did the previous day..)

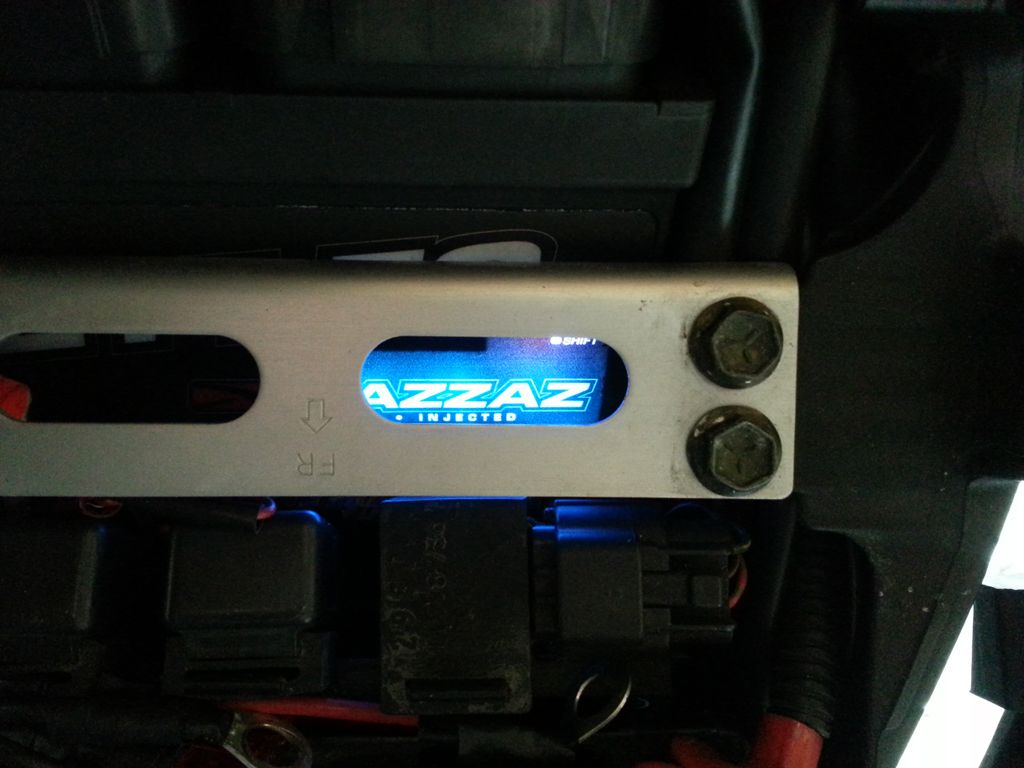
The Bazzaz ZFi in it's new home, plugged in and ready to run.
It's alive...
With rear seat cowl in place, ready for seat.
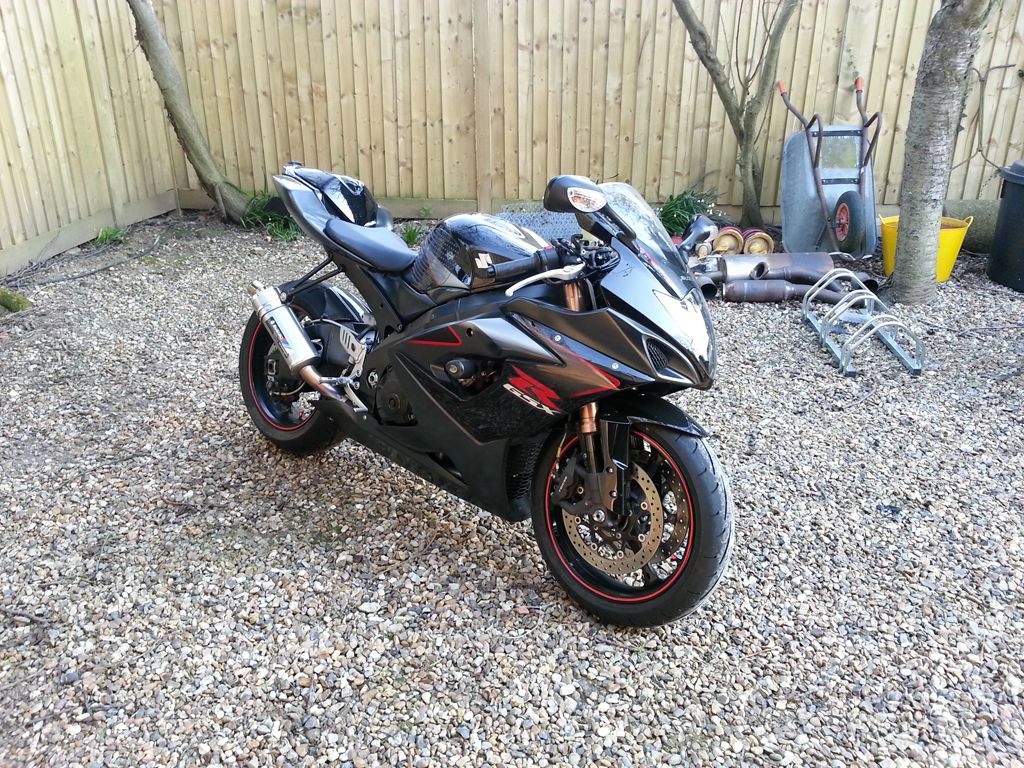
Finally ready for road test!
In Part two i'll show the laptop and software setting up the Bazzaz Fuel mapping/Traction control/Quick shift. Also a bit of onboard footage of the flatshift in action
unKle
Part One.
I've been waiting to fit this since end of last year, finally got round to doing it, now the fine weather is here at last
Thankfully it was a pretty straight forward task. Anyone with a modicum of common sense and enthusiasm can fit it, but they do recommend you have it
installed professionally.
I'll be biased in saying working on the GSXR was great (compared to modern blades/S1000rr's), very straight forward bike to strip and work around. It is still a bit tight here and there, but overall
I'm happy with how it went.
So firstly I have to thank my mate Graham for loaning me some garage space, I'm a Heavy Goods Truck Technician by trade and all my tools are at my place of work (and they don't allow private work)
I have no tools at my home. One of the reasons it's taken me so long to get round to doing this.
I decided to replace the spark plugs and treat it to a K&N whilst it was stripped. Be rude not to really
Removal of the fuel tank, side panels, seat and rear cowel to start with.
Next was the airbox removal to reveal ignition coils, throttle body and injectors.
The first thing the instructions state is to find a location for the ZFi control unit. Not a lot of room at the back end of the GSX-R, but it seemed to fit nicely ontop of the existing Suzuki ECU.
So before installing the first of the wiring looms supplied (they supply a fuel/injector loom and an ignition loom) I renewed the spark plugs, I've owned the bike since 2010 and never fitted a set, so they were overdue a change. Then to fit the ignition loom. Very simply pop the plugs off of the coils and plug them into the new loom, then fit the new loom plugs into the coil packs.
Next step was to lay the injection loom in and swap the plugs over, starting with the lower left injector and working across one by one to the right, then going back to the top left and repeating the process, making sure you hear and feel the plugs 'snapping' so they locate home properly. This is where things start to look untidy and wonder where the hell all the wiring is going to go!
Both looms are designed to go left and right of the engine, very neatly made and thought out.
The next part of the install was fitting the shift switch, for the Quick Shift. It's a very snug fit but again, very neat. Maybe they should've used a black cable, not bright grey!! I've got the road shift switch not the race shift.
So with the ZFi unti, injection loom, ignition loom and shift switch all installed into place, I refitted the airbox. Next it was time to fit the Traction Control/Map selector switch. I installed it on the throttle side of the bars as the bracket wouldn't reach on the clutch side. Routed the cables following the throttle cables down.
As you can see, the area under the fuel tank/back of engine, was starting to look a bit crowded and untidy, but at this point I was only laying down cables before tidying everything up with cable ties etc.
Meanwhile my mate required 'training' in the art of tyre changing...
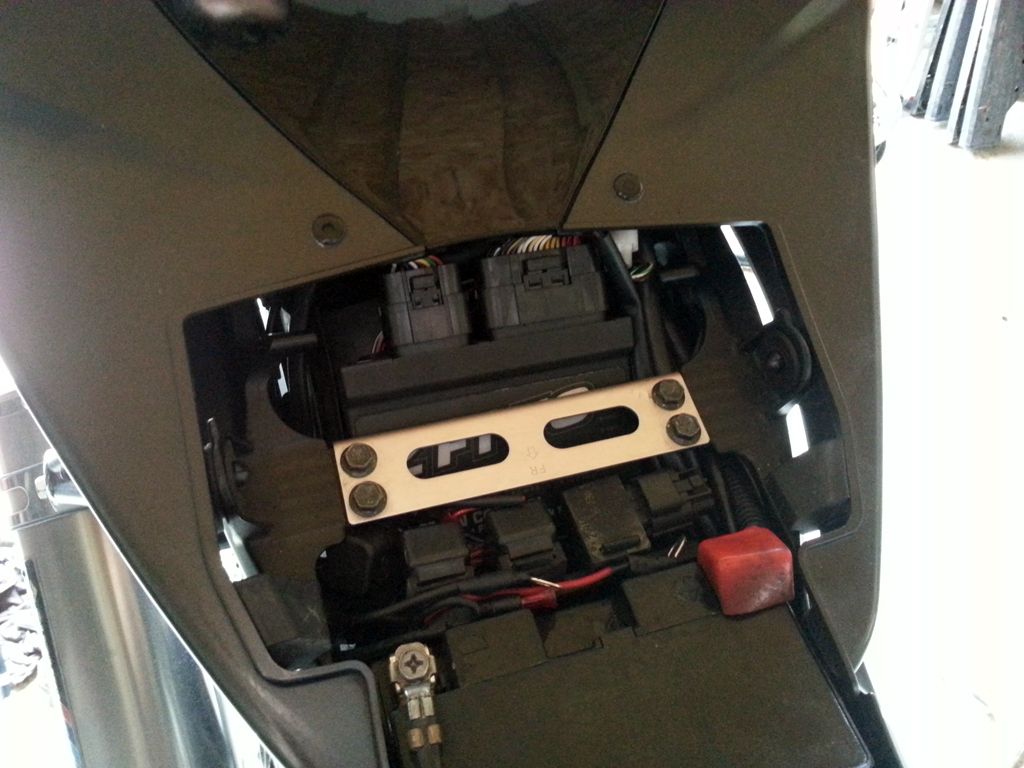
Back to the job in hand (after a well earned cuppa) tidying of all cables now everything was installed.
Leaving some slack in the cable of the Quick Shift to allow movement. As you can see, the shift switch is very snug and had to sit at an angle, or it would back the lever/frame.
Again, routing of the TC/Map selector switch loom, was very tight, but not touching any moving parts, such as the throttle body mechanism.
Finally putting it all back together (and not snagging the fuel hose as I did the previous day..)
The Bazzaz ZFi in it's new home, plugged in and ready to run.
It's alive...
With rear seat cowl in place, ready for seat.
Finally ready for road test!
In Part two i'll show the laptop and software setting up the Bazzaz Fuel mapping/Traction control/Quick shift. Also a bit of onboard footage of the flatshift in action
unKle