


OcUK Product Page - https://www.overclockers.co.uk/be-q...-full-tower-gaming-case-orange-ca-11c-bq.html
Be quiet! Product page - http://www.bequiet.com/en/case/699
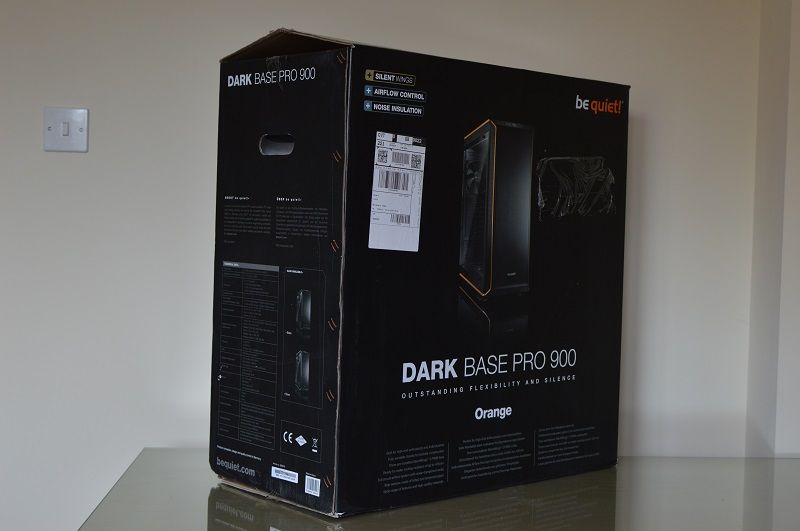
Here for an overview is the Be quiet top end case called the Dark base Pro 900, At £220 it is a substantial outlay for many people but it is a case to last a long time and house many many upgrades as the years go by.
There is a non Pro version of this case that dithers by not having the wireless quick charge, fan speed controller and included LED strips along with a slightly inferior PWM fan hub but most importantly also misses out on a lovely tempered glass side panel.
Box and Accessories
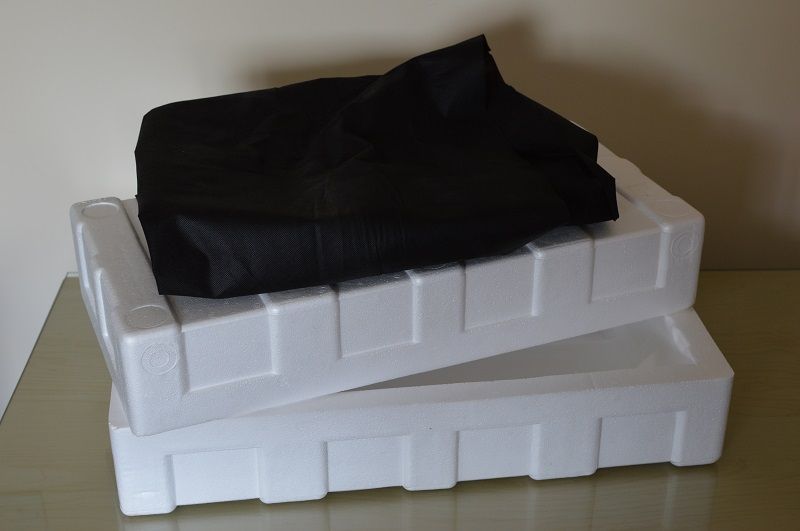
So the case comes in an enormous box and a soft bag and polystyrene inserts.
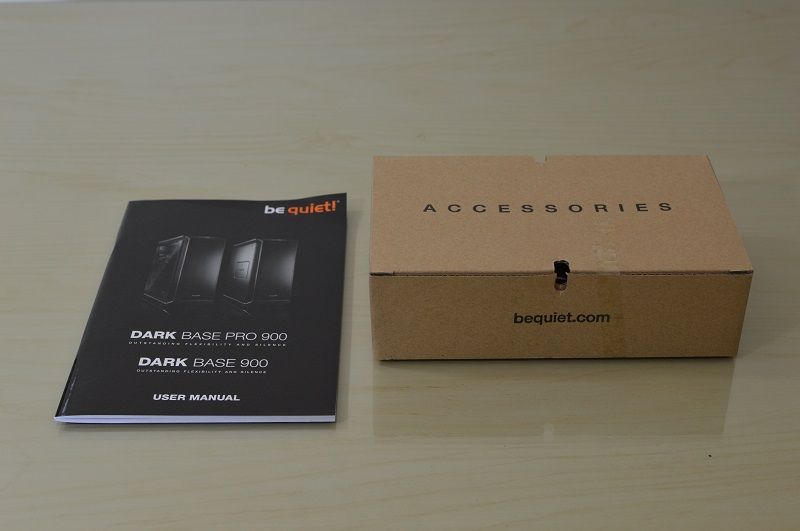

The Accessories is well catered for with,
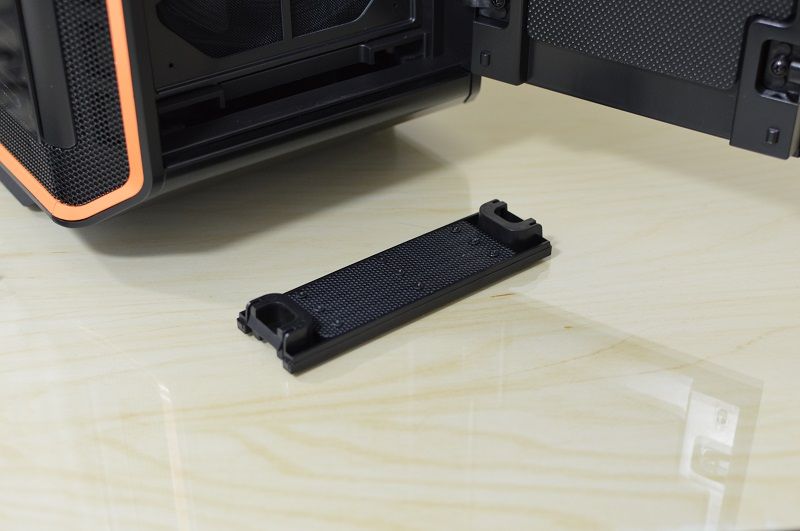
• Third fan plate for the front
• Pump mounting plate
• Various screws, Velcro ties and a rubber HDD cable management grommet.
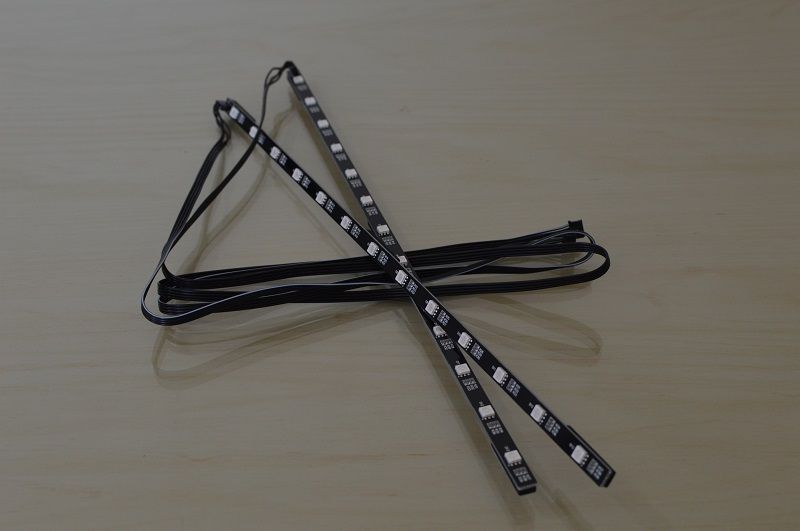
Here included with the Pro version we have two LED strips for adding illumination inside the case, would have been nice if these were magnetic instead of using sticky pads to attach
The case
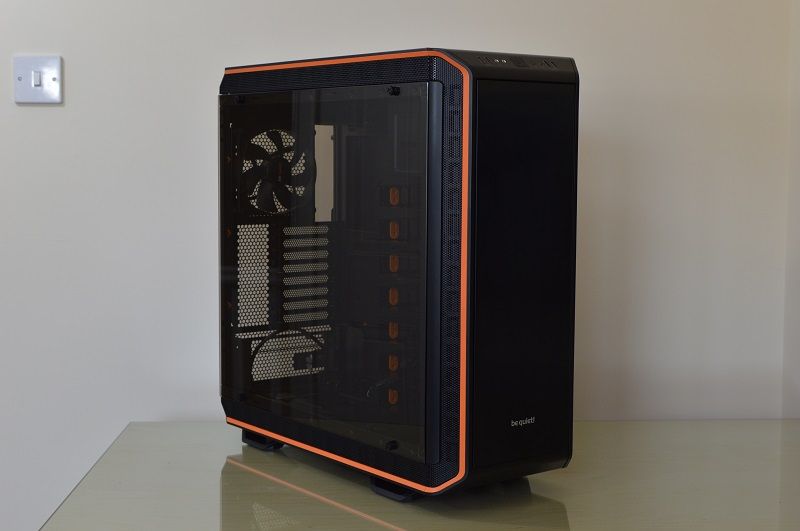
With the case out of its box and on my desk it strikes an imposing figure due to its size and weight.
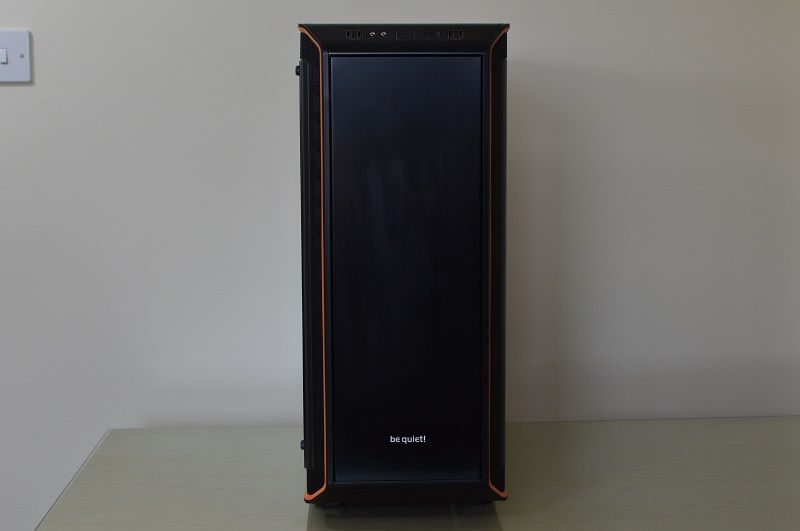
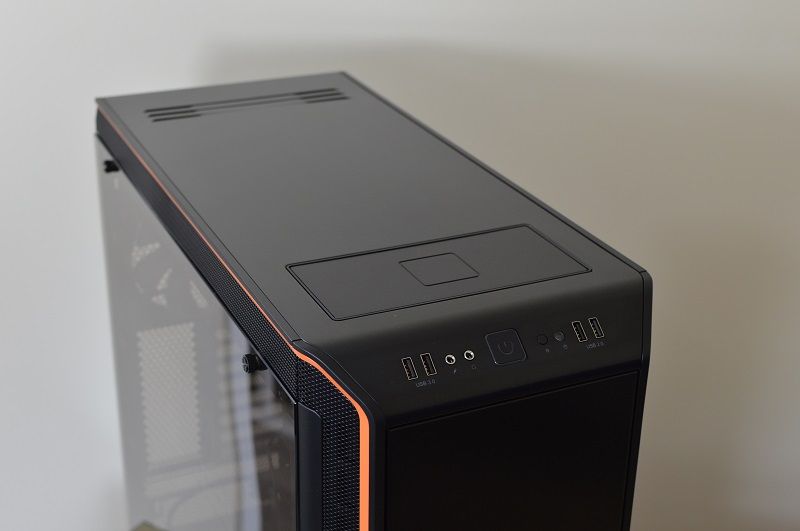
The front IO consist of,
• Two USB3.0 ports
• headphone and mic jacks
• power button
• Reset and HDD activity LED
• Two USB2.0 ports
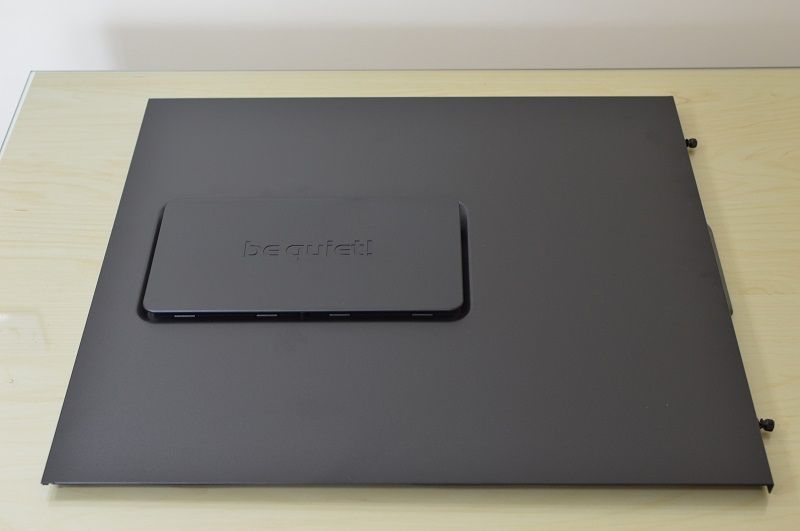
The flat rectangular area is a wireless charging station for smart phones (only on the Pro model)
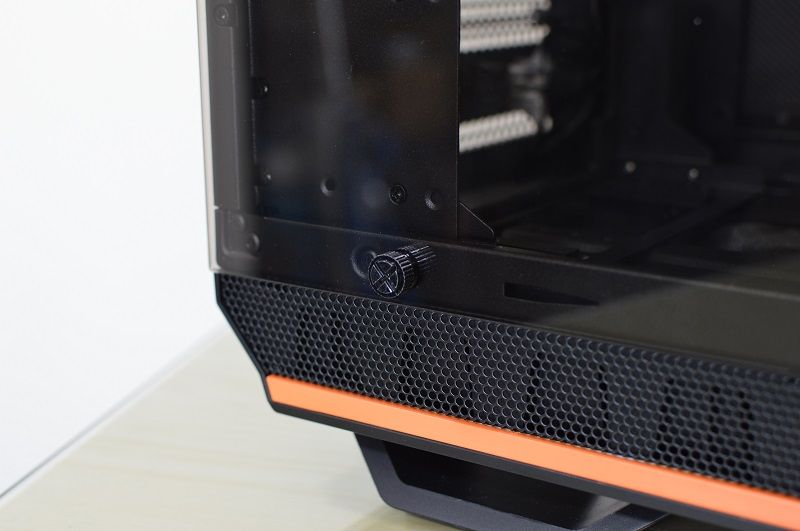
Four thumb screws hold the tempered side window on.
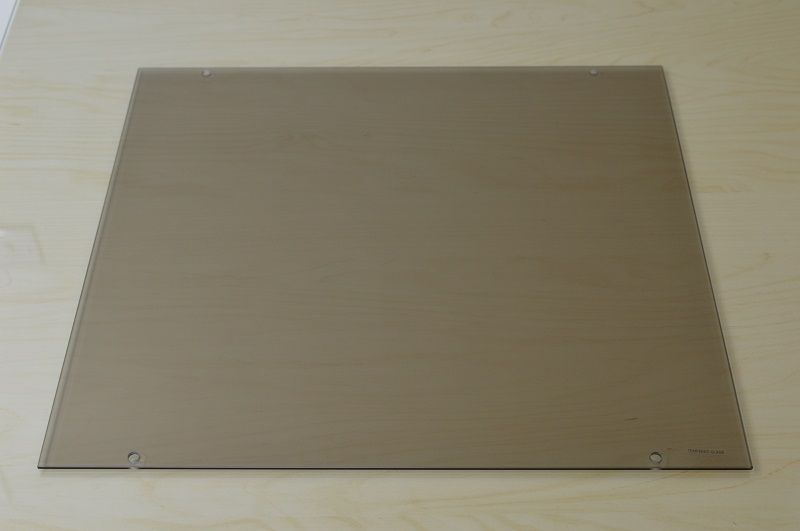
4mm tinted and tempered glass side panel.
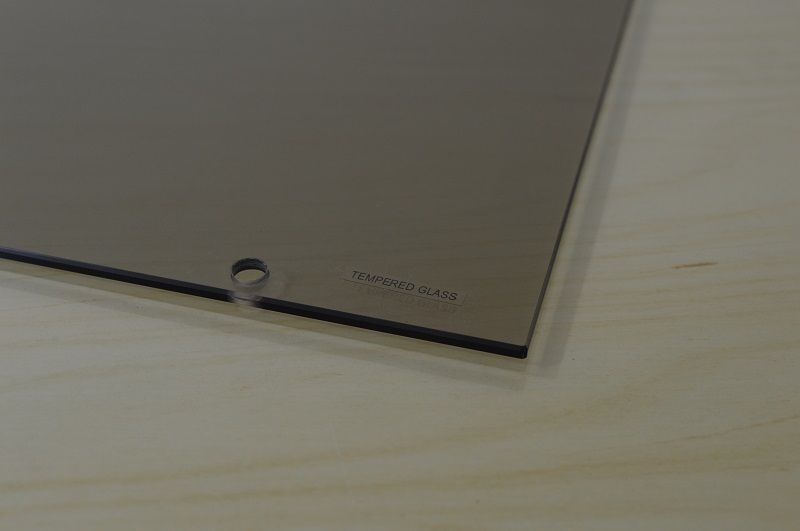
This is a quality item and is head and toes better than a typical plastic window with greater scratch resistance and improved clarity to see the internals.
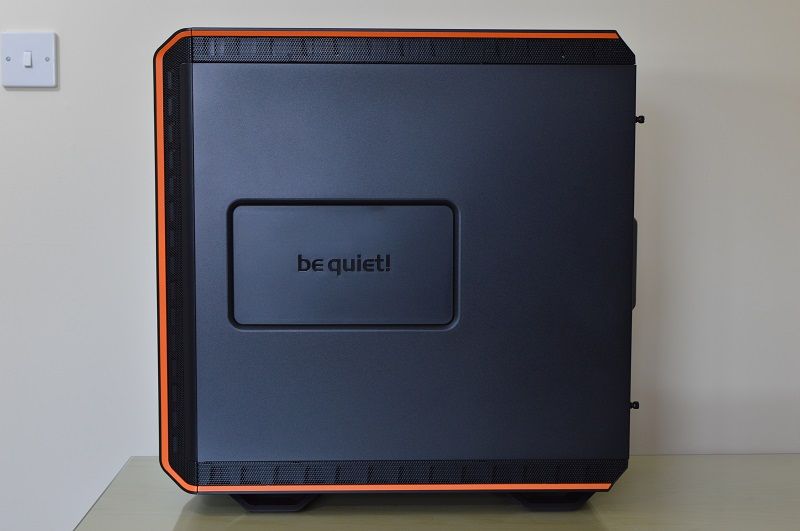
This side is plain apart from the be quiet logo.
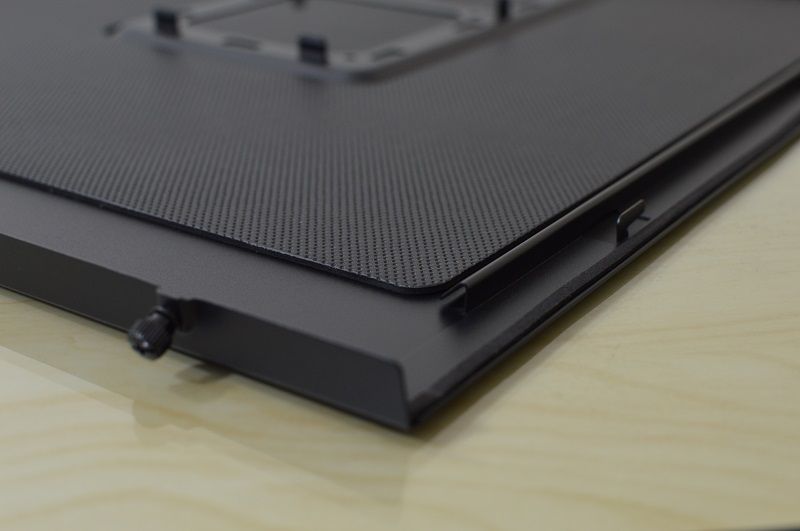
Captive thumb screws are always handy to have.
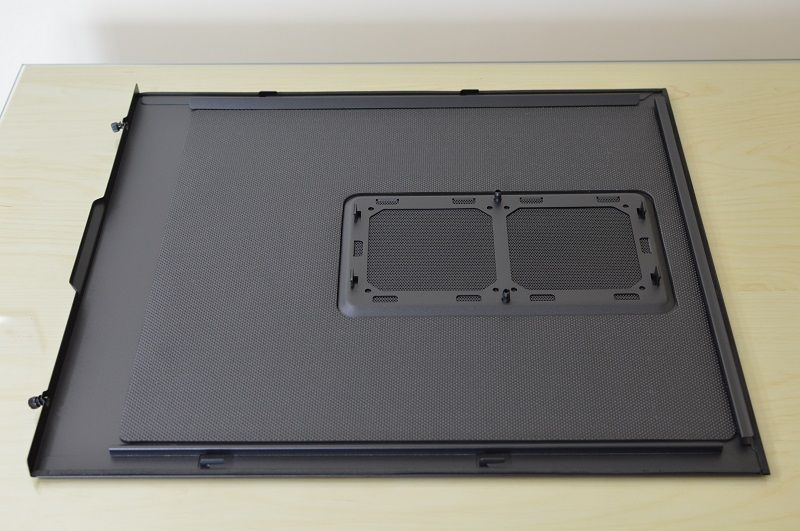
So this is the other side panel and as you can see it has sound dampening material applied to the inside.
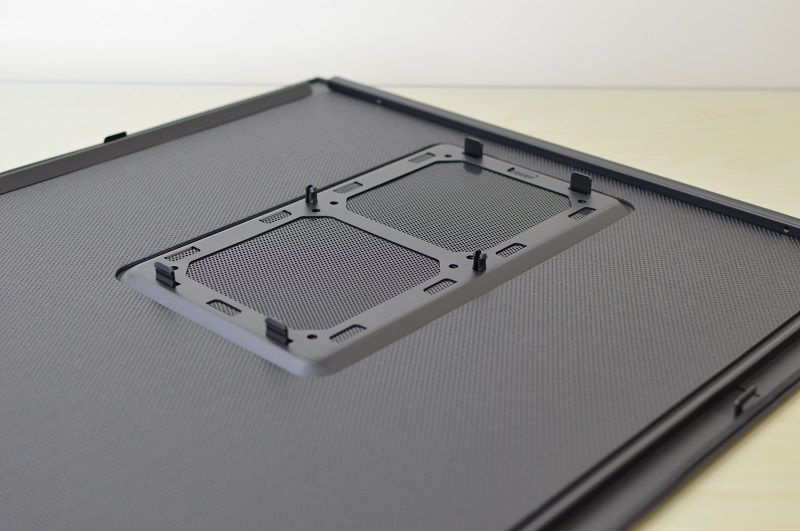
This feature allows you to add a fan or two and also pop it out to allow air flow to the rear of the case.
A dust filter is also fitted.
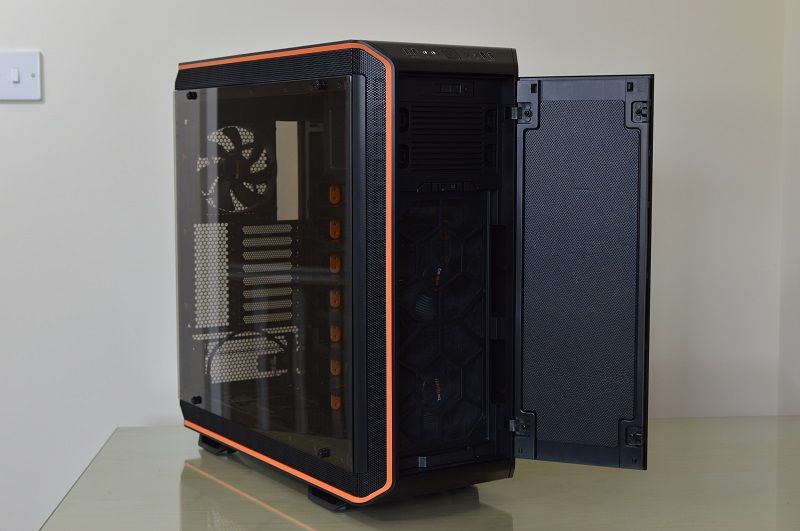
With the front door open you can see more sound dampening material applied, at the top behind the door is a sliding fan controller and a LED switch (only on the Pro model).
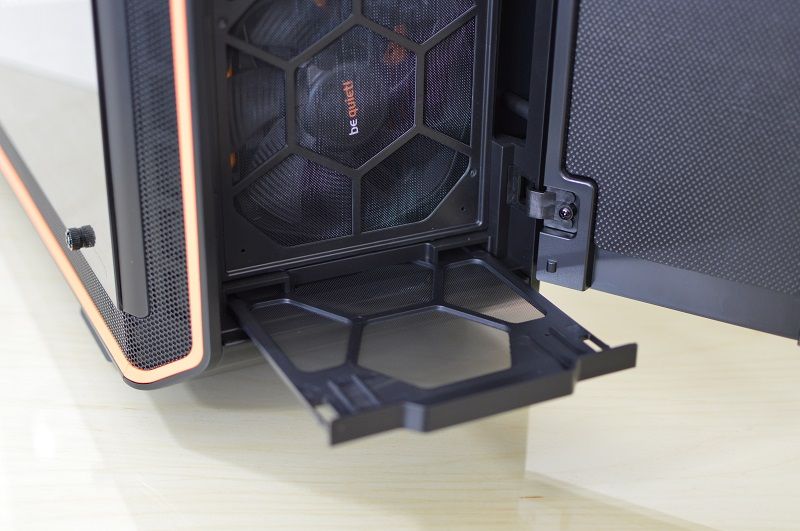
At the bottom is the dust filter.

It is full length for the case and is very easy to slide in and out.
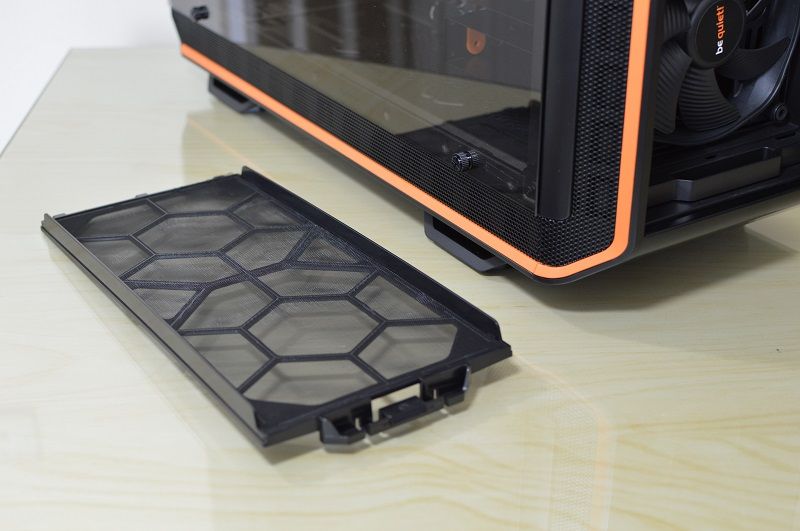
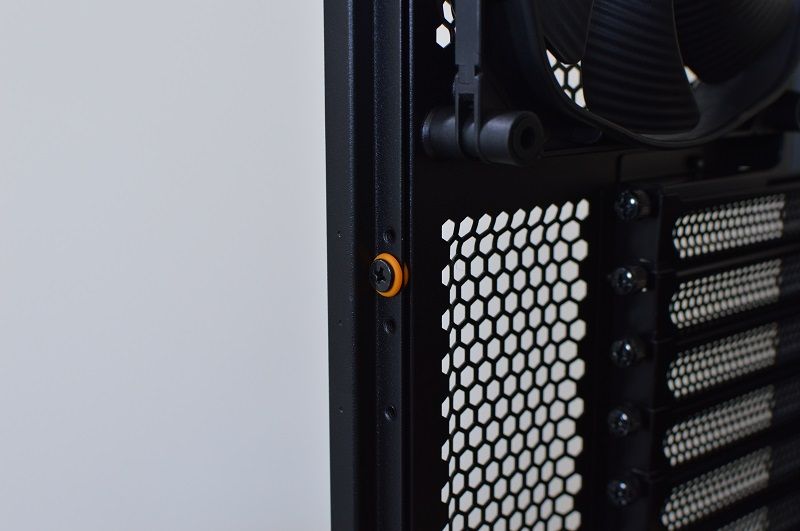
This is the front fan filter, again very easy to remove.
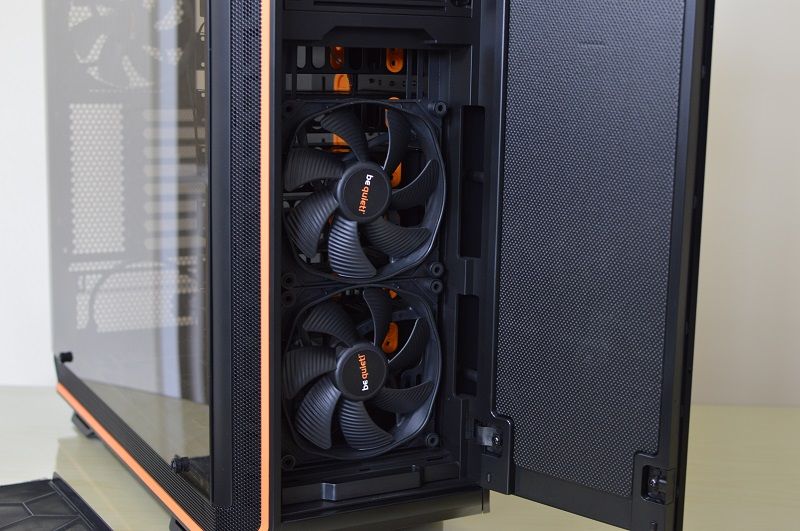
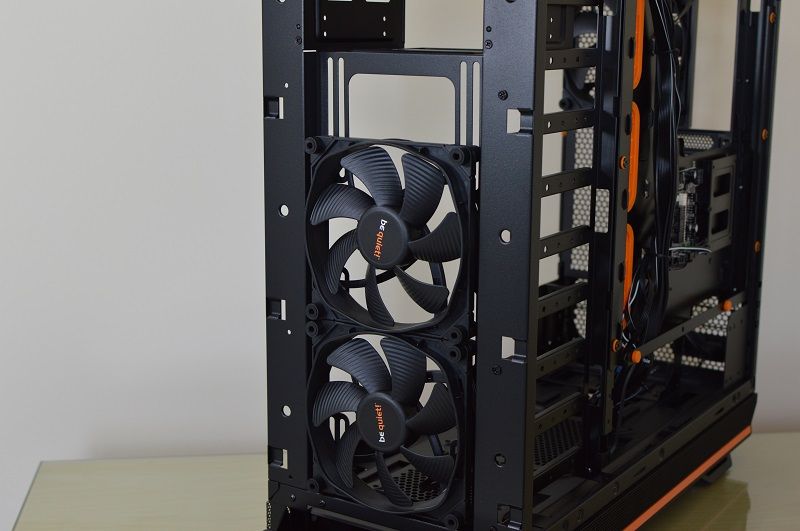
At the front we find two silent wings 3 140mm PWM fan able to run up to 1000RPM.
You can add a third fan using the supplied plate and if you remove the top drive bays.
Even the 5.25" drive bay covers have some sound dampening.
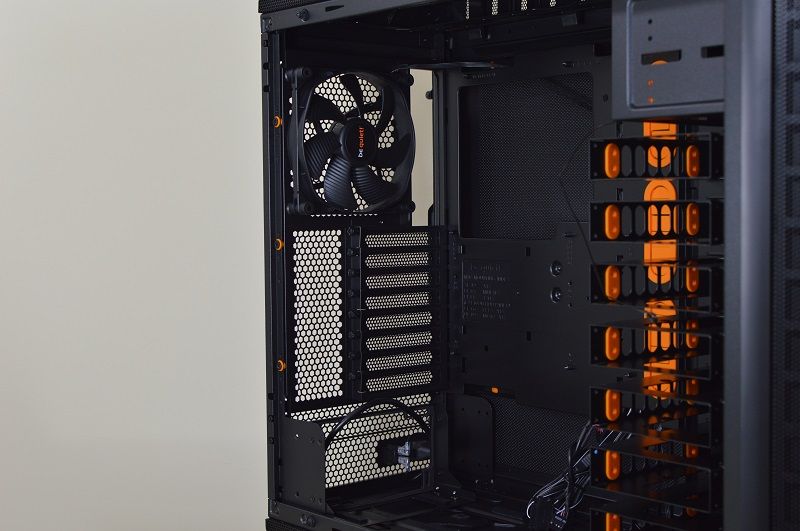
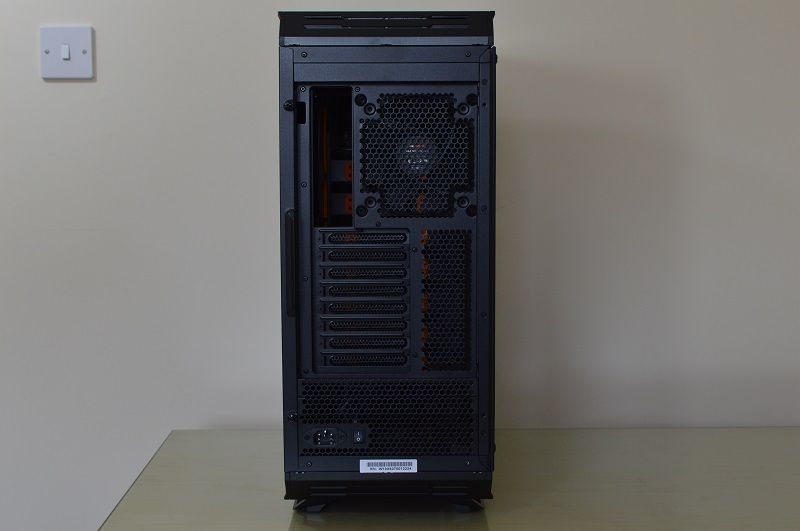
At the rear of the case is one more silent wings 3 140mm fan.
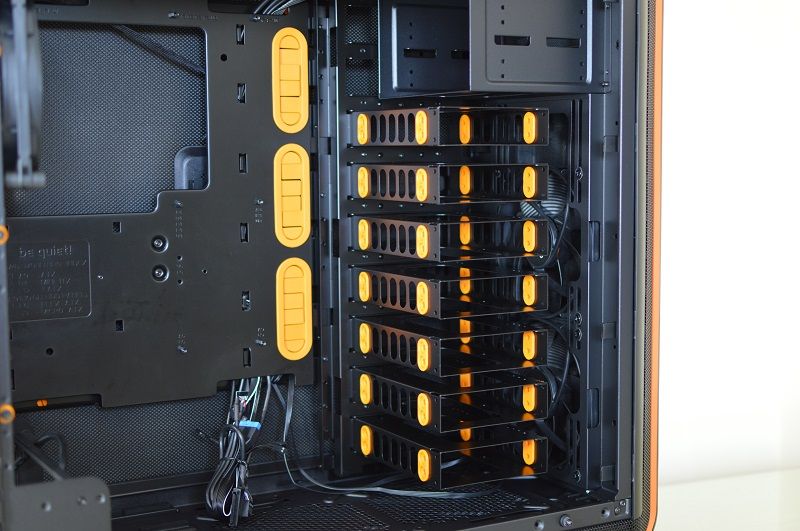
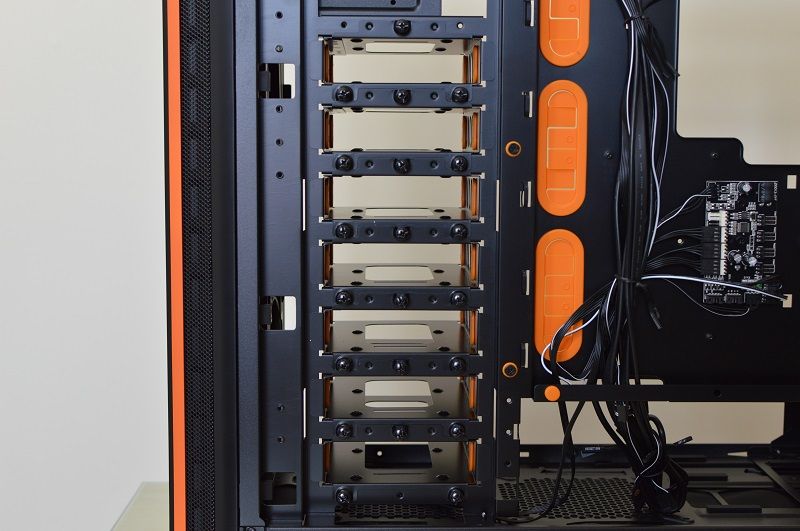
These are the 3.5" drive bays, they can all be removed if you so wished.
The case has a maximum drive capacity of,
• Two 5.25"
• Seven 3.5"
• Fifteen 2.5"
That is a lot of room for storage.

The usual bunch of cables for connecting to your motherboard.
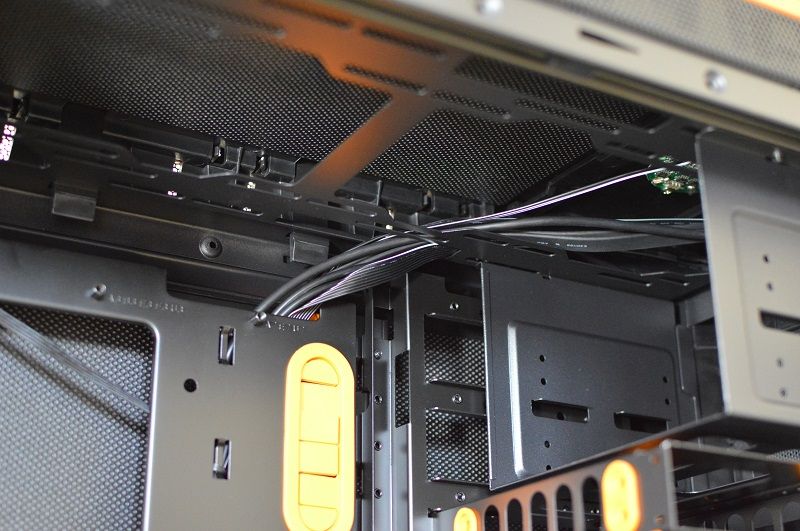

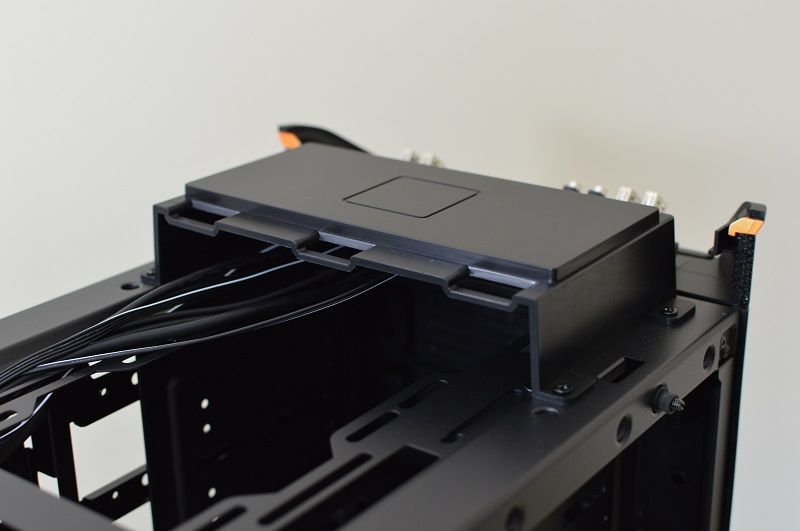
With the cases top panel removed you can see the wireless quick charge panel and front IO more clearly.

The top of the case has a lot of room for radiators such as a 420mm maximum sized radiator.
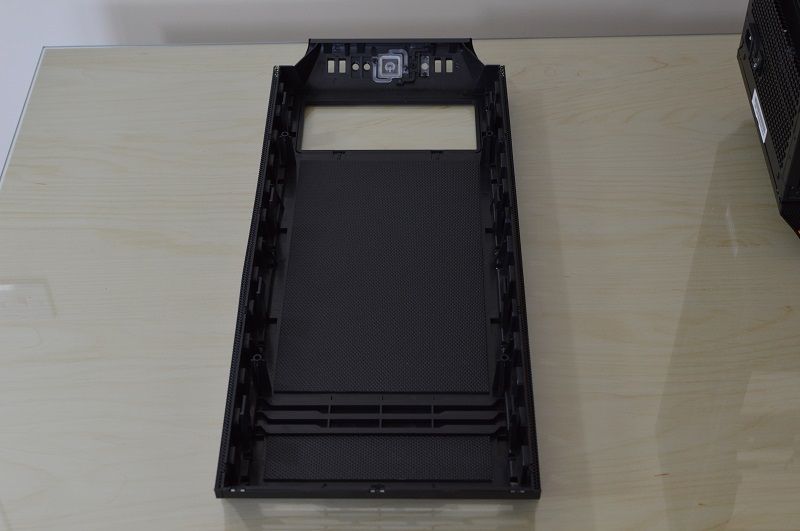
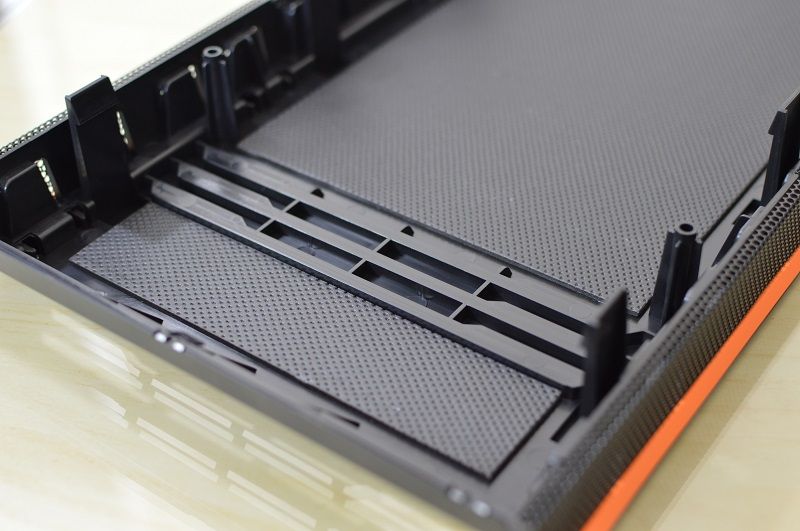
the top panel also has sound dampening material.

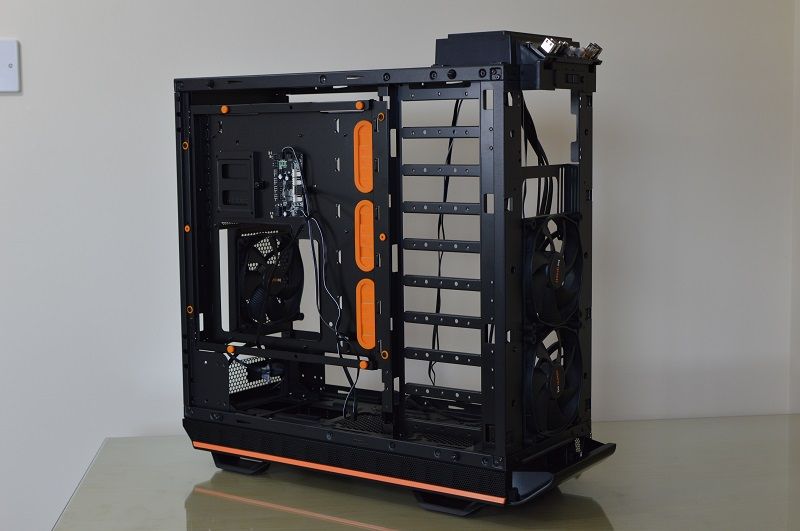
This is the PWM fan hub and LED controller, the non Pro models controller only has some 4pin and 3pin fan headers.
Next to it you have a 2.5" SSD/HDD mounting plate.
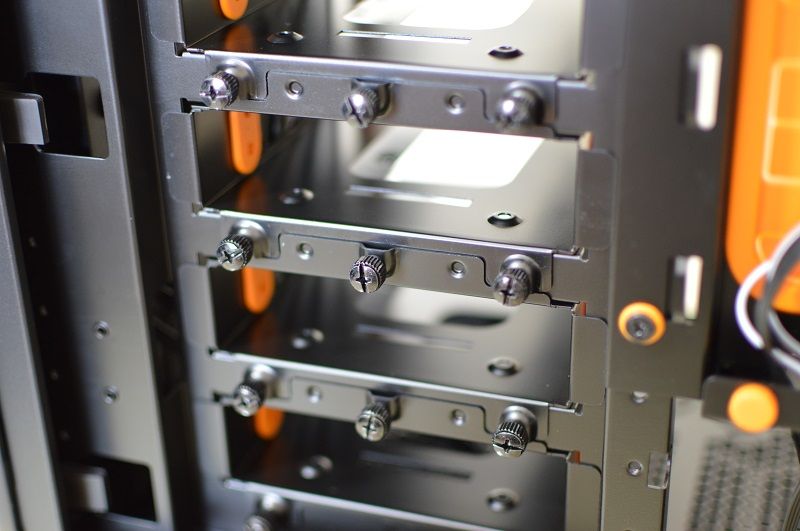
The 3.5" drives are removed individually by three thumbscrews each.
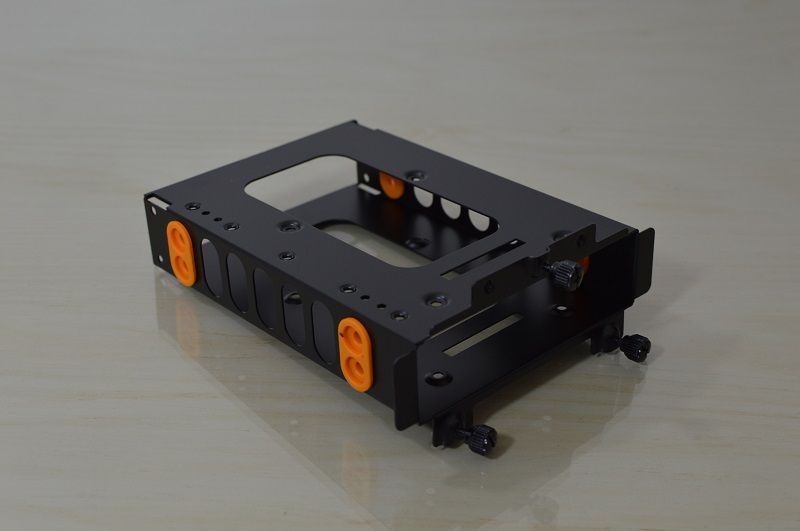
With one of the drive bays out mounting a HDD is simply a matter of of four screws and note the rubber vibration mountings.
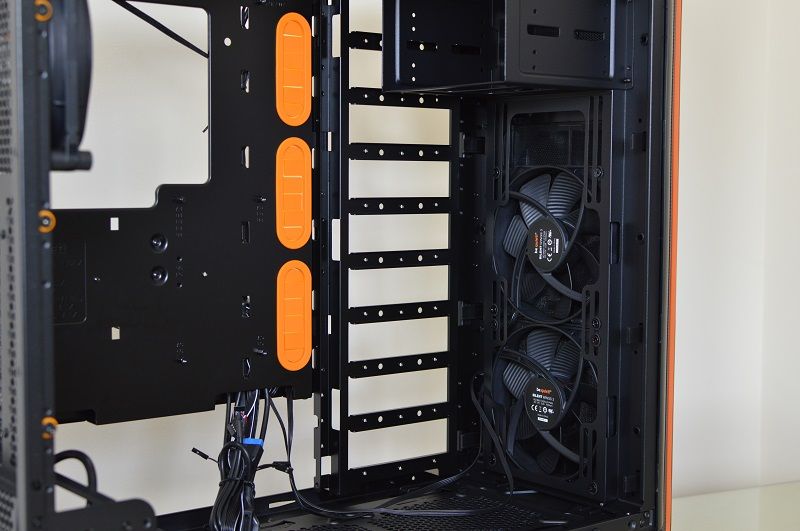
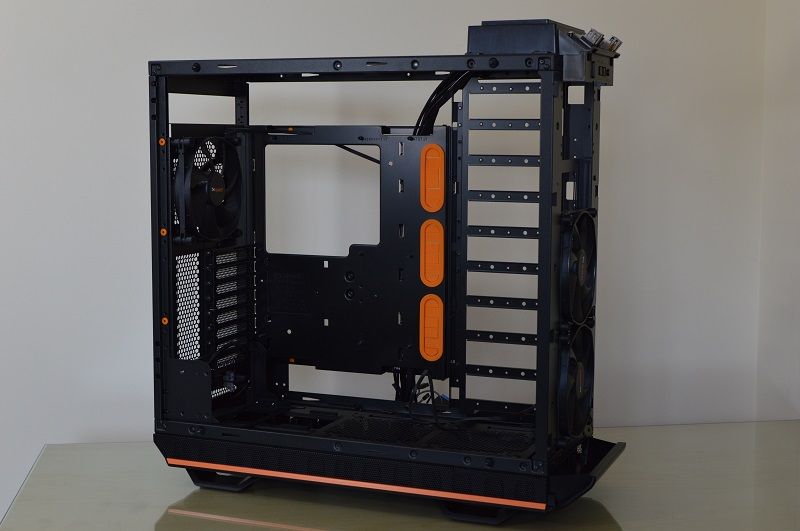
This is with all the HDD bays removed you can see more clearly the front cooling options which again is able to house up to a 420mm radiator.
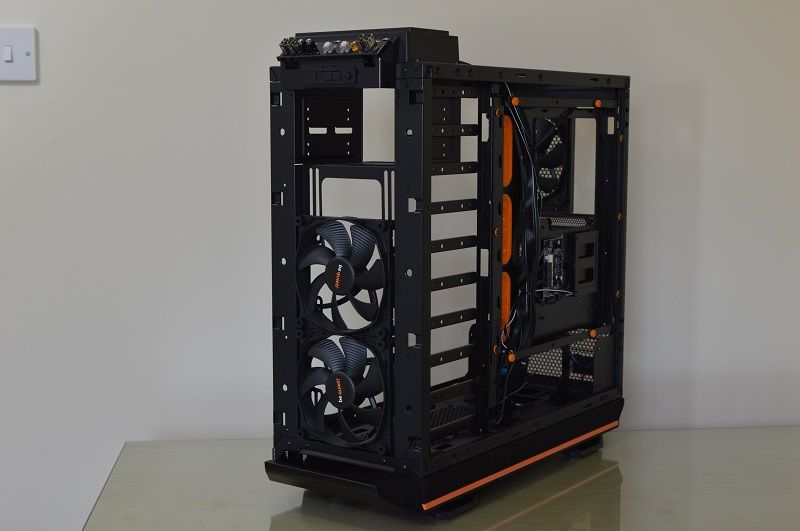
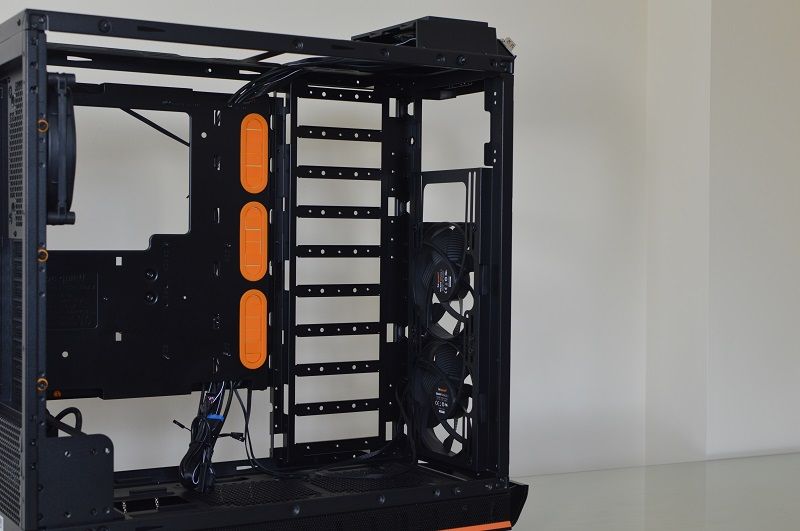
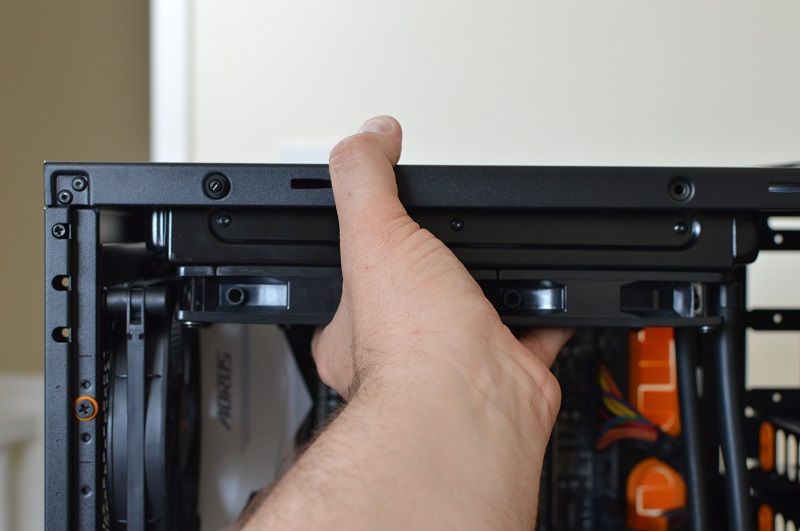
And now with the very top external drive bays removed It really opens the inside of the case up for water cooling.
These two plates are part of the cases unique feature and that is the ability to slide the motherboard tray up and down to increase room for extra thick radiators.
If you remove all these screws that again have anti vibration washers that are holding the motherboard tray in place.
You can flip the motherboard try over and inverted so you could have the case on your left hand side and switch both side panels around so now the glass is the other side
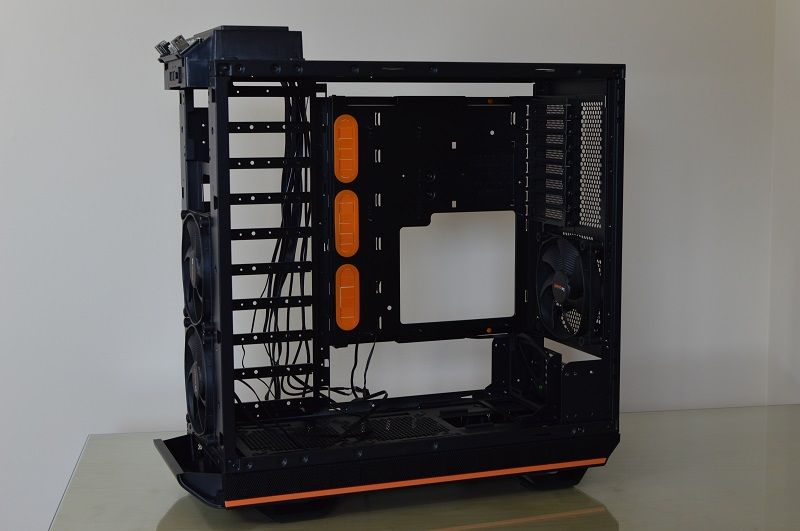
So now in this configuration the expansion cards are at the top with the CPU and heastink at the bottom.
If I wanted I could flip the PSU mounting plate up into the roof and bring the motherboard all the way down to the floor.
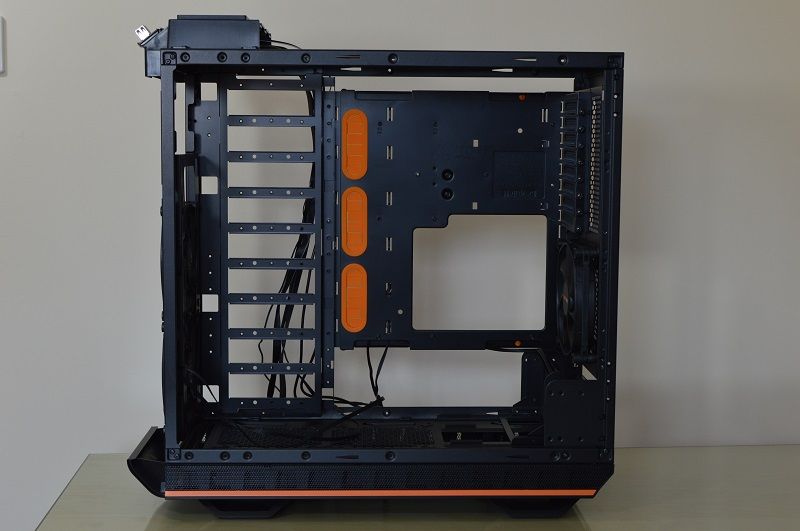
The PSU mounting is also very clever and is moved inwards to allow the motherboard to slide up and down (but you do lose the lower expansion ports if you do this)
So if you were to slide the motherboard downwards in the case you lose 2-3 expansion slots.
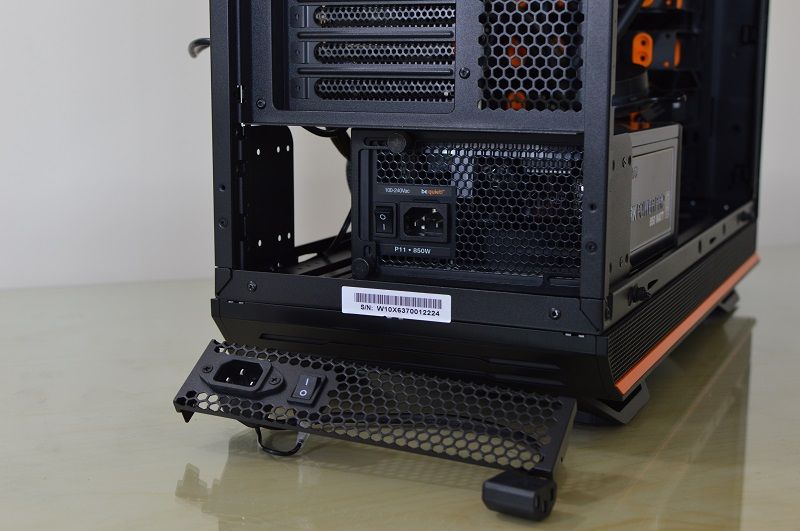
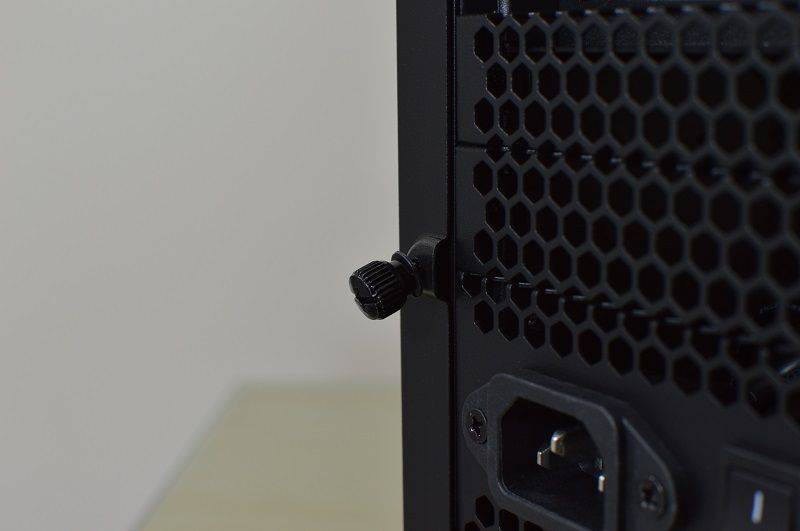
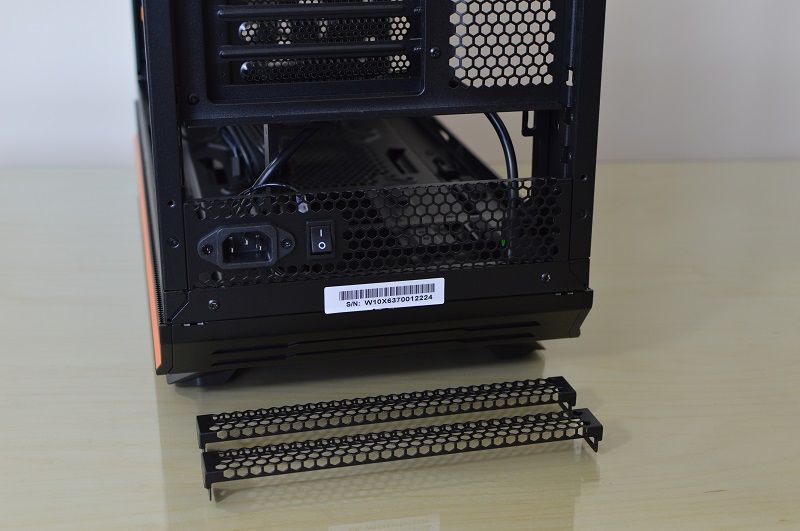
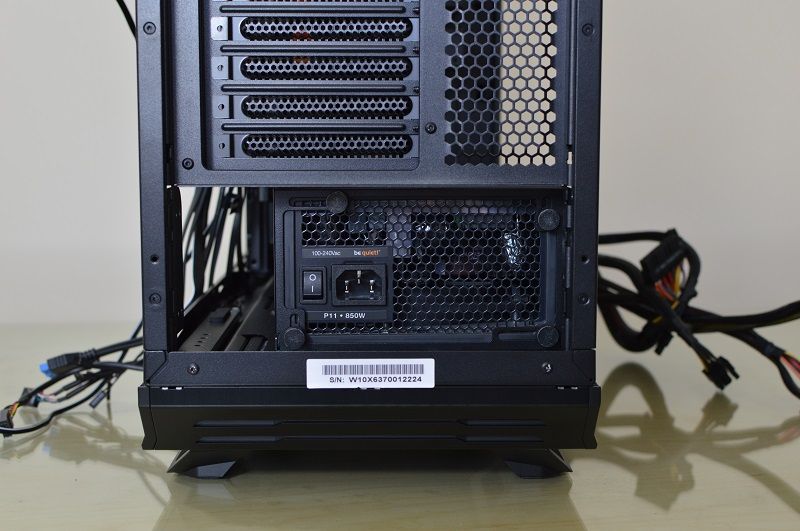
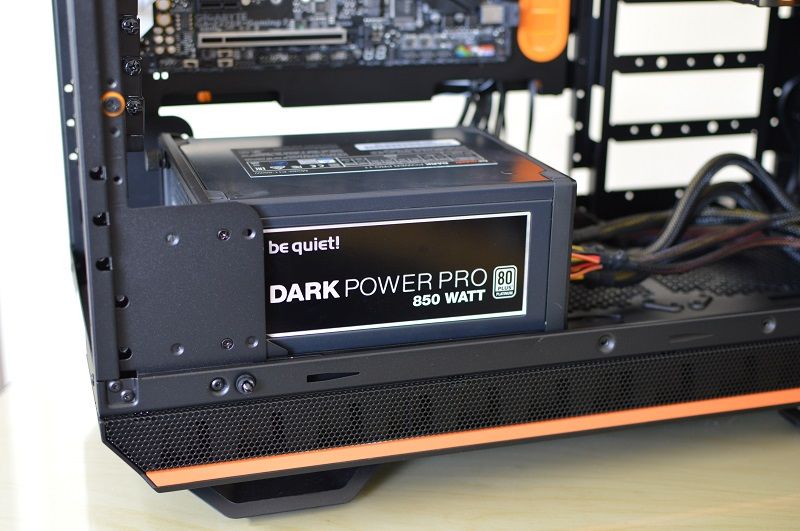
This is how the PSU is connected to the back of the case.
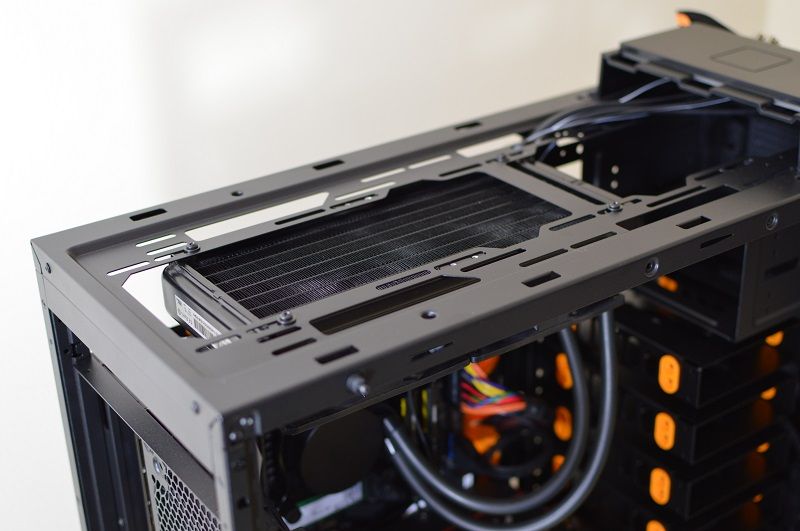
I tried fitting a standard 240mm AIO with the fans underneath blowing up and out but found the motherboard heatsinks to get in the way.
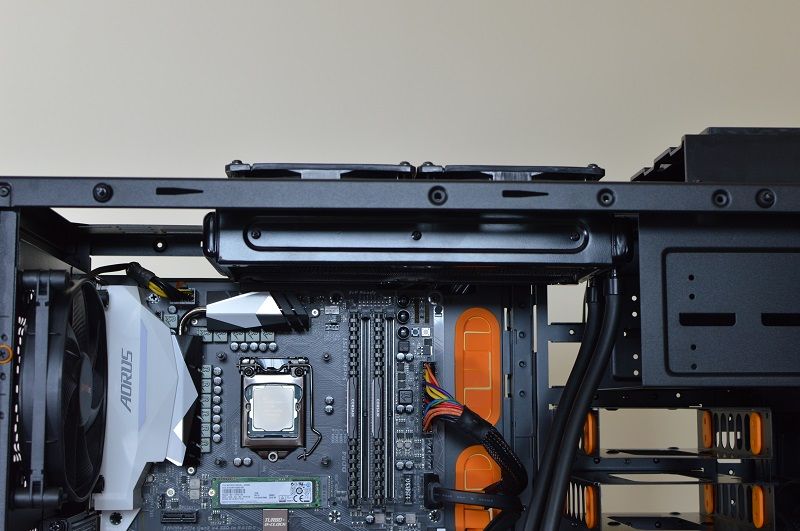
Luckily the case has enough space in the top to put the fans above the radiator.
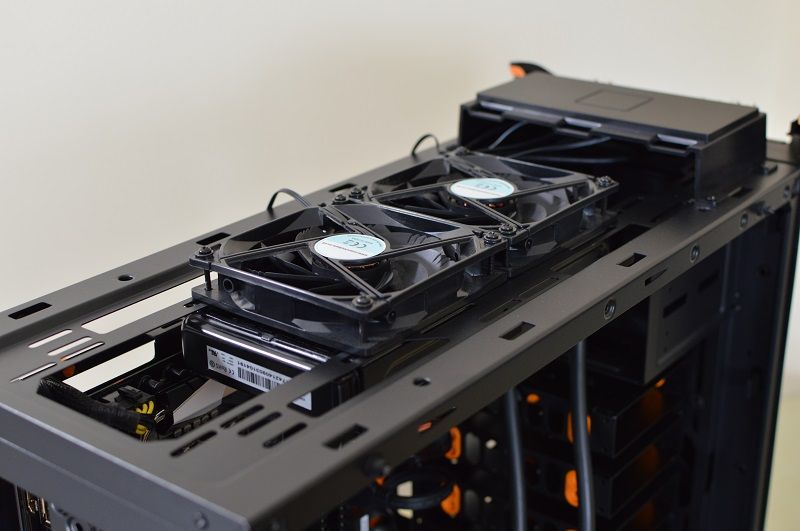
And yes the top panel does fit back on.
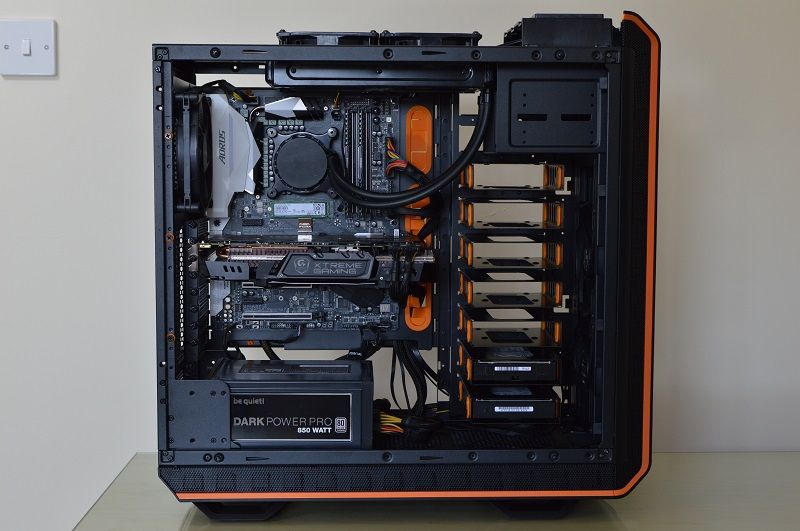
This is my competed build. Despite the lack of a PSU shroud I have to say it looks rather neat and tidy considering.
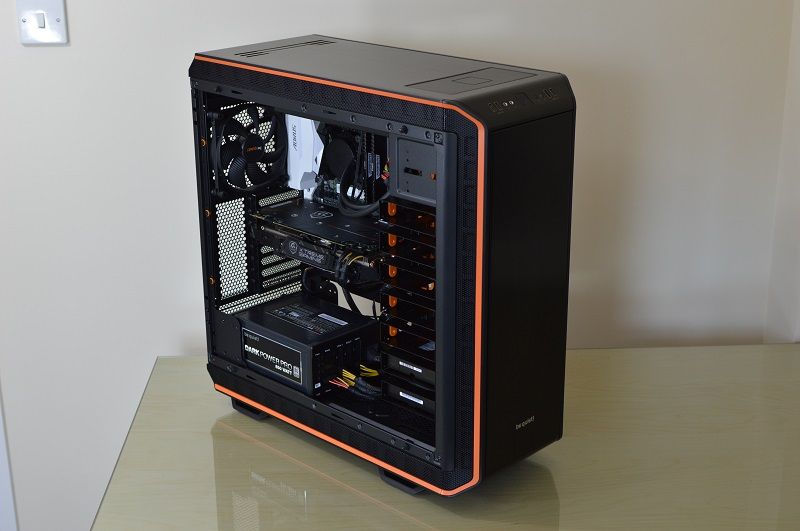
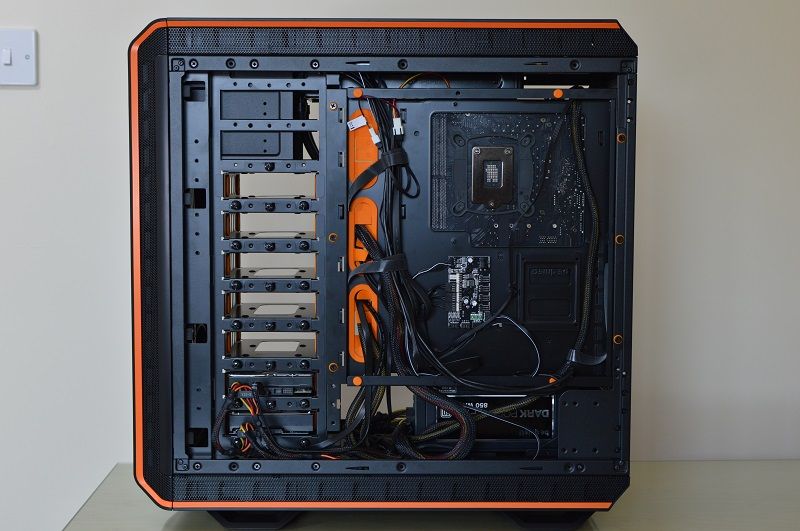
There is plenty of room at the rear to tuck away cables
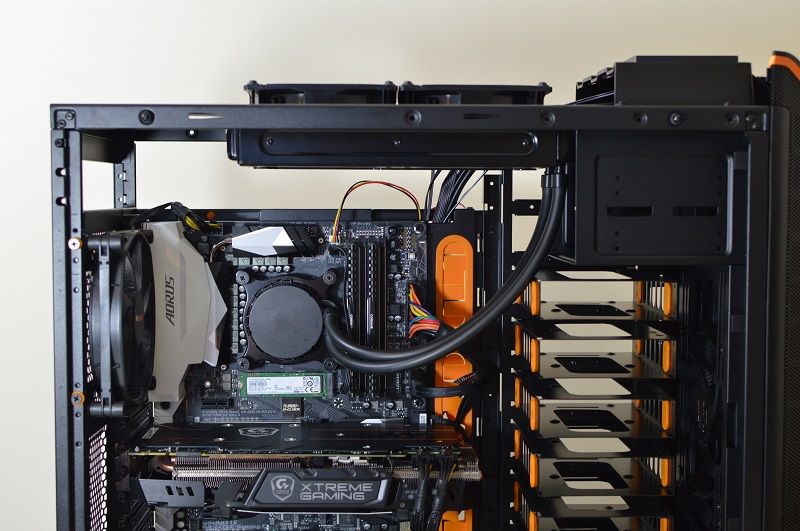
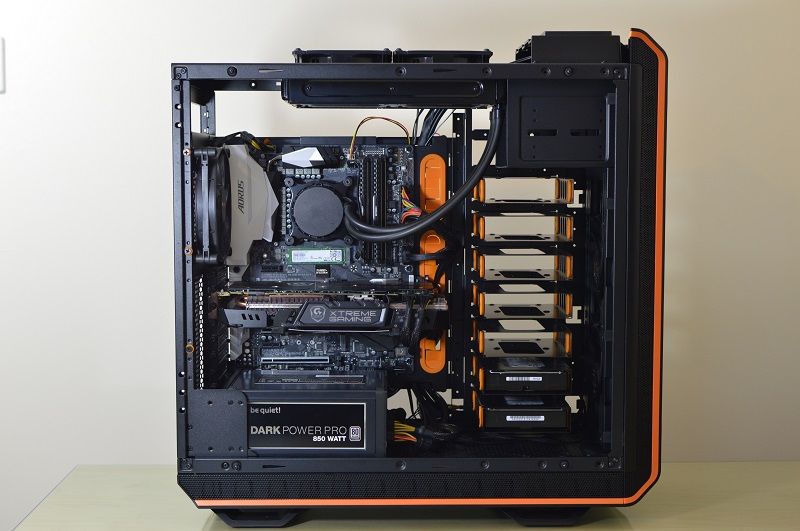
This is with the motherboard moved downwards, you can see the space at the top rear were you would mount the two plates that normally sit with the PSU.
You can see how much room is now available for thicker radiators.
Might be able to get a sound card the available PCI-E slot.
With the motherboard moved downwards the fans can now be brought back inside the main chamber.
Summary.
This is an interesting case that is for sure with so many options for making stuff fit and having it set out how you like, want an inverted setup? you got it, want to fit two 420mm radiators? you got it, want to move the motherboard up or down to increase available head room? you got it.
It is also relatively easy to make the motherboard tray inverted or to slide it up or down and removing all the drive bays from the front of the case was not that hard to do either, yes there are a lot of screws but at least you don not have to go hunting around for them.
This case is exceptionally quiet with the include silent wings 3 fans which are quality items and all the sound damping along with the anti-vibration precautions all add up to this actually being on par with the be quiet base 800 I had before which I believe to be the quietest case I have ever used.
Water cooling options are excellent with the top able to take a 420mm radiator, the front able to take a 420mm radiator, the rear able to take a 140mm radiator and the floor area in front of the PSU can accommodate a 280mm radiator.
E-ATX or XL-ATX motherboards is an option along with 323mm (472mm without drive cages) long gfx card and CPU air coolers up to 185mm tall.
My only slight gripe is the lack of slots in the top panel for evacuating air out, it has just a couple at the very rear but I guess that also helps reduce noise from air flow?
At £220 it is a lot of money but you do get that wonderful tempered glass side panel and a plethora of options to make a rig how you want it, basically it is a case to last many many years.
