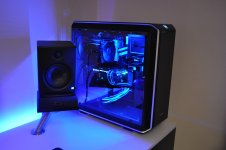
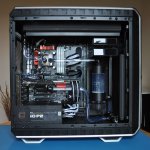
BeQuiet Dark Base Pro 900 Watercooled Build

Associate
Joined
17 Jul 2015
Posts
1,206
Hi guys this is a project log for my first watercooled PC build.

Here are the specs...

CPU - Intel i7 4790k
GPU - EVGA GTX1080FTW
PSU - EVGA 850P2 with Cable mod custom cables
MB - Gigabyte GA-Z97X-SLI
RAM - 16gb HyperX FURY DDR3 1866MHz
SSD - Kingston 120 GB V300
HDD's - Seagate 1TB & WD 2TB
Case - BeQuiet Darkl Base Pro 900 Black/Silver
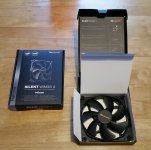
Fans - 5x BeQuiet Silent Wings 3 1000rpm pwm and 1 x BeQuiet Silent Wings 3 1500rpm pwm fan
Fan Controller - Aqua Computer Aquaero 6 XT - Blue
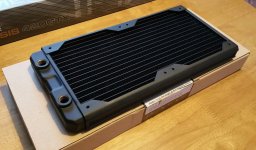
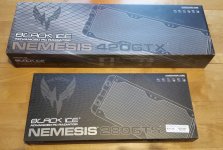
Front Rad - Hardware Labs Black Ice Nemesis 280GTS
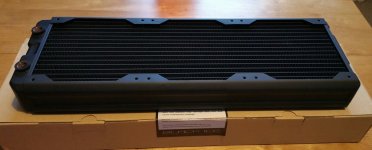
Top Rad - Hardware Labs Black Ice Nemesis 420GTX
CPU Block - EKWB - Supremacy EVO - Nickel
GPU Block - EK-FC1080 GTX EVGA FTW - Nickel + Plexi
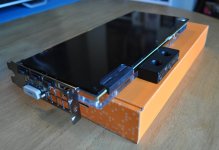
GPU Backplate - EK-FC1080 GTX EVGA FTW Backplate - Black
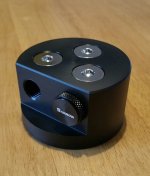
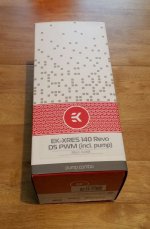
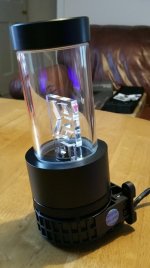
Pump & Res - EK-XRES 140 Revo D5 PWM (incl. pump) with multiport top etc
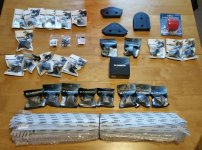
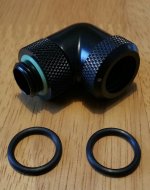
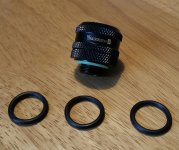
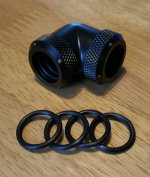
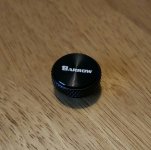
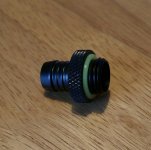
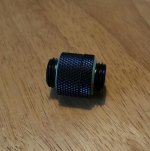
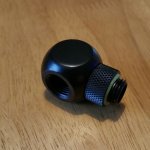
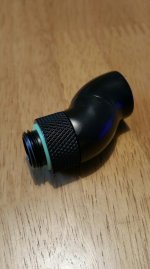
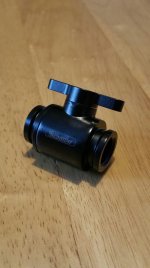
Fittings - Barrow
Tubing - Barrow 14mm PETG
Coolant - Mayhems Clear UV Blue

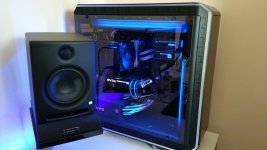
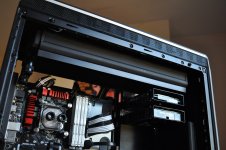
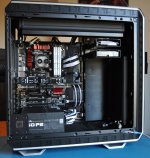
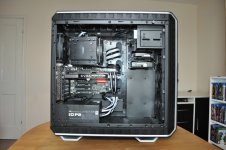
It's currently running on air and looks like this...
TLZHfr1.jpg
coKhCwJ.jpg


Will have to wait after Christmas to start the build properly as the gpu and cpu blocks are presents.

Here's a few pics to get started :)
qi3TMx3.jpg
1fi412p.jpg
bXbBPXk.jpg
8FpgLxQ.jpg
Fl8Ay4X.jpg
jfhPRuJ.jpg
G3pC6UQ.jpg
F2HZOJ3.jpg
qUWWynn.jpg
UVMQJ38.jpg
1khTXKU.jpg
Cl0s92M.jpg
AXeoKVj.jpg
ixHVASh.jpg
7dWrPqe.jpg
JRrs35W.jpg
NA5FGsK.jpg
3f5mHor.jpg
 
Last edited:
Associate
OP
Joined
17 Jul 2015
Posts
1,206
I plan to make a cover for the unused hdd slots made from black plasticard and black brushed aluminum vinyl.

It will be running as intake through the front rad via push and exhaust through the top rad via pull. I'll consider a 3rd fan in the front just as a cold air intake if needed.

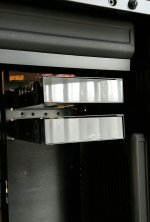
The blu ray drive and cage will be removed and the hdd's will be moved up.
 
Last edited:
Associate
Joined
6 May 2016
Posts
218
awesome, a custom psu shroud could also really tie this together well. I think white pastel will make this build pretty sweet! would have been cool to see a spot of silver accents to tie the case accents into the build somewhere
 
Associate
OP
Joined
17 Jul 2015
Posts
1,206
Cheers guys :)

Yeah very happy with the Barrow fittings, the quality looks great.

Was originally going to do a psu shroud but now the pump will be to the right of it I'm not sure it's needed, we will see.

I am leaning towards the white coolant just worried about it clogging up the system etc.

It did have some silver inside with the gpu but the case fits in well with the rest of the set up. Silver speaker stands, handles on the desk and the monitor stand.

On another note. Flushed the rads out last night with very hot distilled water. Flushed each rad 10 times so there ready to fit.
 
Associate
OP
Joined
17 Jul 2015
Posts
1,206
Couldn't help myself and made a little start!

Ran into a few problems so glad I did.

-Removed the blu ray drive and cage and fitted the extra fan bracket in the front.
-Lowered motherboard tray.
-Fitted top fans and both radiators.
-Moved both HDD's up a slot.

Sorry for the poor pics they were taken with my phone. Promise to do very high quality pics for the end result.

bagOP69.jpg

Now for the problems...

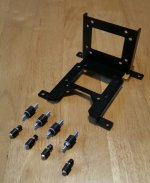
-The pump mounting system I planned to use wont fit as its too tight and the fittings on the front rad foul on the pump bracket. I originally was going to use the EK mount and some rubber mounts and fit it to the bottom of the case on the fan mount holes but it too close to the rad and fouls the fittings.

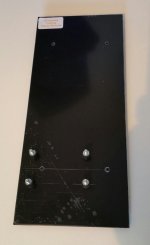
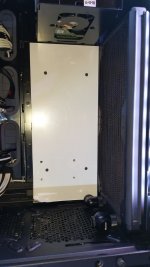
So now i'm thinking of mounting the res/pump to the panel at the back that covers the HDD holes. Problem with this is the plasticard I got is only 2mm thick and very flexible. I'm picking up a piece of 5mm acrylic this afternoon to try that. Like this but thicker, using these rubber mounts to hopefully quieten down the pump a bit. What do you think?

USH2Oi9.jpg
kvCfGK8.jpg

Hope this is good enough and doesn't vibrate, I want the pump as quiet as possible. This way I can line up the pump to rad pipe well at the bottom but then this causes the res multiport top to face a different way which causes this problem...

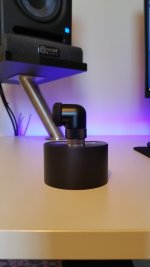
-New position of res/pump puts the ports at the top facing the wrong way. Now the side ports face the rear when tight and not to the left like planned originally. I can go into the top of the res but don't really like the adapter you need to use so you can fit a standard fitting (see pic)

1zDdPTJ.jpg
ADSPVCp.jpg

If I use one of the rear ports it needs to face this way but it needs to come out to the front of the case more so it lines up with the cpu socket.

qYvbycu.jpg

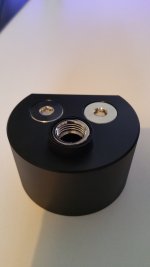
Any ideas on what will look best or what fittings to use so the rear port comes to the front more? How can I improve the looks of the nickle extender fitting so it matches the colour and size of the fitting?

-The led lighting now doesn't light the case as well as before due to the rads blocking the beam :(
 
Last edited:
Associate
OP
Joined
17 Jul 2015
Posts
1,206
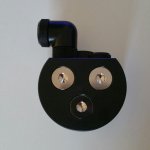
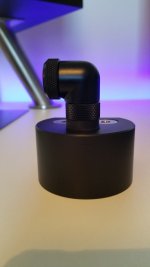
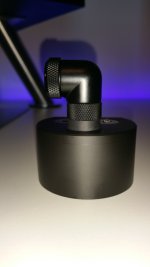
Come up with this for the nickle fitting. A few layers of heat shrink tubing. What do you think?

ewTAzLv.jpg

o9pnhzk.jpg

25Ve2w2.jpg
 
Last edited:
Soldato
Joined
23 May 2016
Posts
3,728
Location
North Essex
Ive mounted my pump/res combo to 5mm plastic. There is a little flex but its not going to go anywhere. Not too sure how it has affected vibration as it was quiet before and still is :)
 
Soldato
Joined
4 Dec 2015
Posts
3,221
Location
London
Looks good mate, those Barrow fittings do look nice quality so I hope they're as good as they look as the price is certainly more reasonable than most! The Shrink on the res looks fine to the eye also, but the fittings do take paint well if you want to spray them.
 
Associate
OP
Joined
17 Jul 2015
Posts
1,206
Looks good mate, those Barrow fittings do look nice quality so I hope they're as good as they look as the price is certainly more reasonable than most! The Shrink on the res looks fine to the eye also, but the fittings do take paint well if you want to spray them.

Cheers mate, the reviews suggest so :)

Yeah I could paint it but its also a lot thinner that the barrow fitting and i'd like it the same thickness.
 
Associate
OP
Joined
17 Jul 2015
Posts
1,206
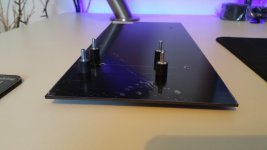
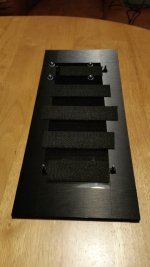
Got my thicker piece of acrylic so went ahead and made the pump mount. Test fit...

391MXGr.jpg

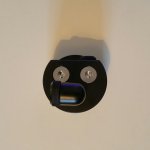
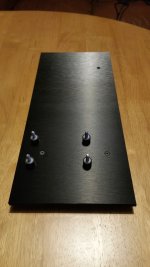
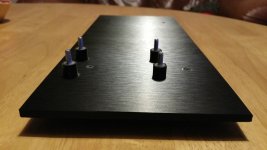
Countersunk the mounting holes then wrapped in black brushed aluminium vinyl. Test fitted the rubber mounts for the pump and attached some felt tape to the rear to stop and vibrations etc.

H136F9x.jpg

udqphrD.jpg

0AFGdAg.jpg

Also been thinking of where to mount some extra led strips because the current ones are blocked by the rads.

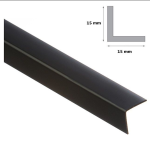
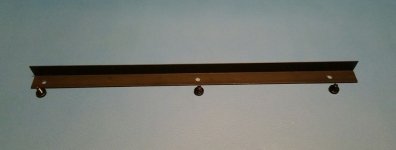
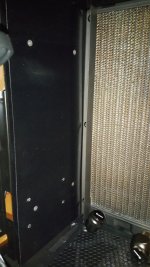
For the front strip that will face the rear of the case I thought about mounting a strip of this to the inner rad screws acting like a shield and fixing the strip inside that. That way the strip will be hidden and shine past the rear of the res to the mb etc.

gEoz0t5.png

AjydAy5.jpg

This could also work for the rear mounts of the top rad facing down.

I'm thinking of darkside uv leds strips on the inner with my current rgb in there current place. This combined with Mayhems clear blue uv coolant should give a good effect, I hope!

Should be blue round the outside with a purple inner but with blue glowing tubes etc.
 
Last edited:
Associate
OP
Joined
17 Jul 2015
Posts
1,206
Made and fitted the led mount/shield for the top rad also.These are for the darkside UV led strips.

VrELZ0E.jpg

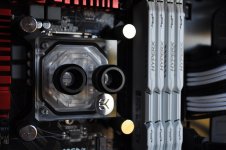
Fitted the EK CPU block.

DUOSMJ8.jpg

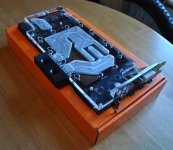
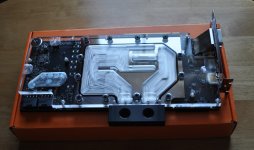
Fitted the GPU block and backplate :)

smiUMU5.jpg

9MrZ1Ji.jpg

HURIjum.jpg

Fitted the GPU

47sLSZj.jpg

Whats your opinion on how I should have the right fitting on the gpu block? Top right going right then down to the fittings or bottom right and behind the gpu cables down to the fittings on the front rad?

OLoKmVa.jpg

NjldT80.jpg
 
Last edited:
Associate
OP
Joined
17 Jul 2015
Posts
1,206
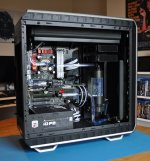
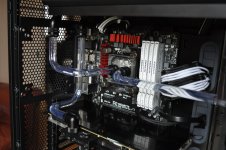
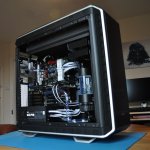
Had some major progress with this.

Got it all together and passed the 24hr leak test :)

Just trying to get the last remaining bubbles out then its done (for now)

Heres some pics...

nr8YS38.jpg

bgPKM5L.jpg

YUSakmI.jpg

ssubUGG.jpg

Let me know what you think. Will get some photos with it up and running and some results for the temps etc very soon.
 
Last edited:
Back
Top Bottom