Bitfenix Prodigy watercooled v2

Soldato
Joined
3 Jun 2012
Posts
11,079
Hey

This is my second prodigy case.
This build will take a bit longer than I normally take as I want to make sure I gwt it right.

The Specs:

Asus P8Z77-I ITX Mobo
i7 3770k
16GB DDr3 Ram
Asus 7970 DCII
2x 1TB 2.5" Hdd's
1x 128GB SSD
1KW XFX Platinum PSU (too long by who cares)


Cooling:
EK Supreme HF
EK DCII 7970 Block
Alphacool 120.2 Thin Radiator
Alphacool 120.1 Thin Radiator
D5 @ setting 3 with a res pump top for easy bleeding.
3/8 tubeing with Alphacool fittings Black.

I allready have this all in a prodigy, but that was a rush build and i dont like how it turned out.

So i decided that because i could get a prodigy from ebay for around £50 i would grab it and work on it slowly to get a case that is exactly what i want.

My aims:
Silence
No Vibration (hence 2.5" HDD)
Good cooling

For now some pics of what I did tonite

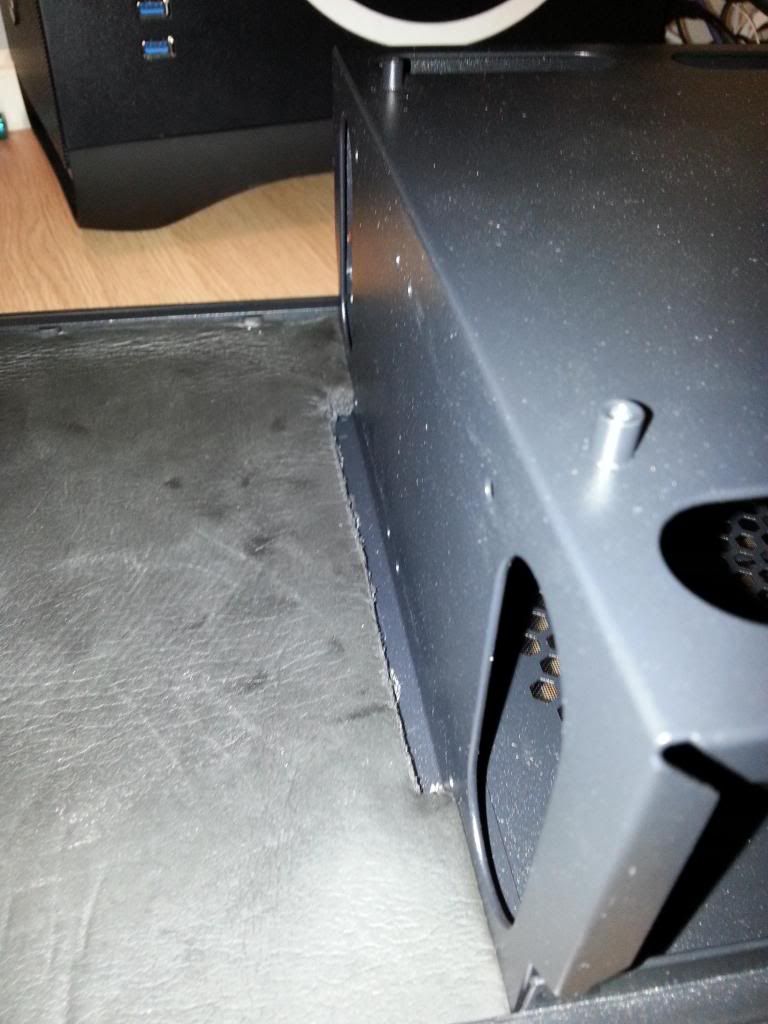
Added some sound dampening to bottom
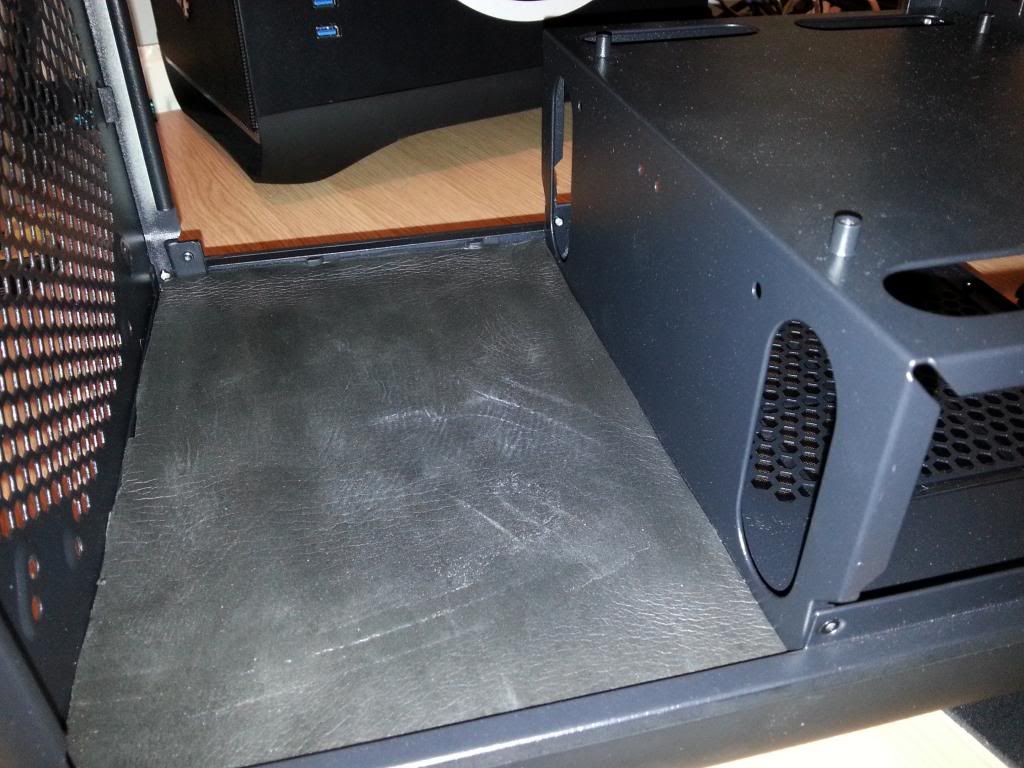
20130304_022728_zpsf5e3ff7a.jpg


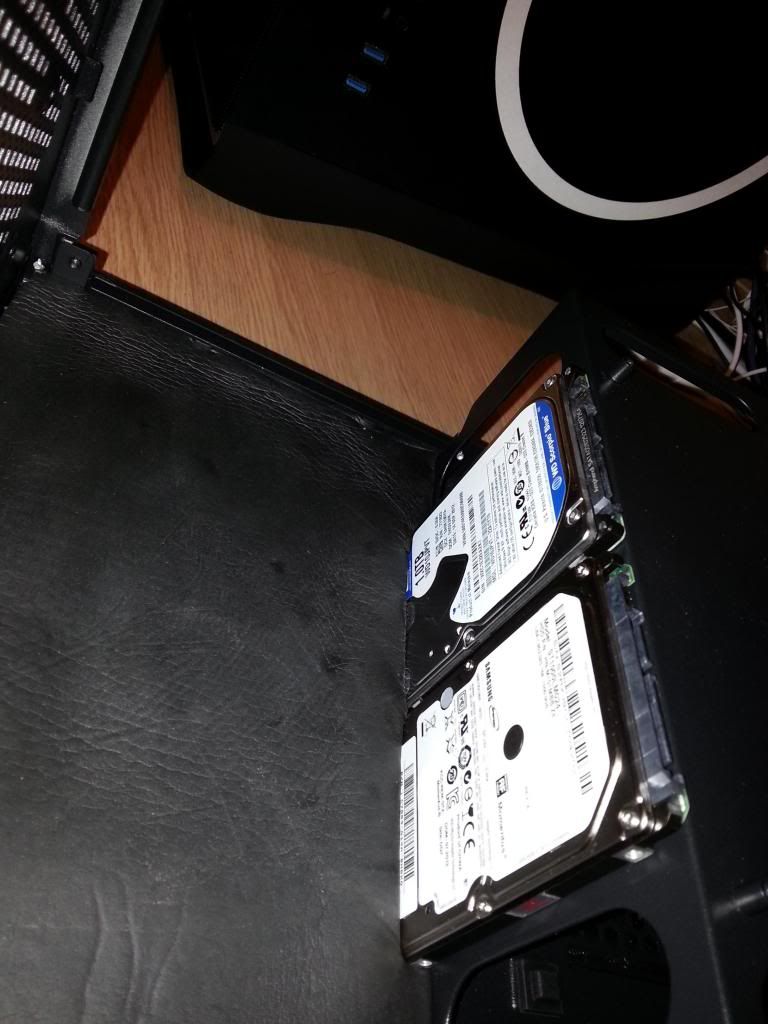
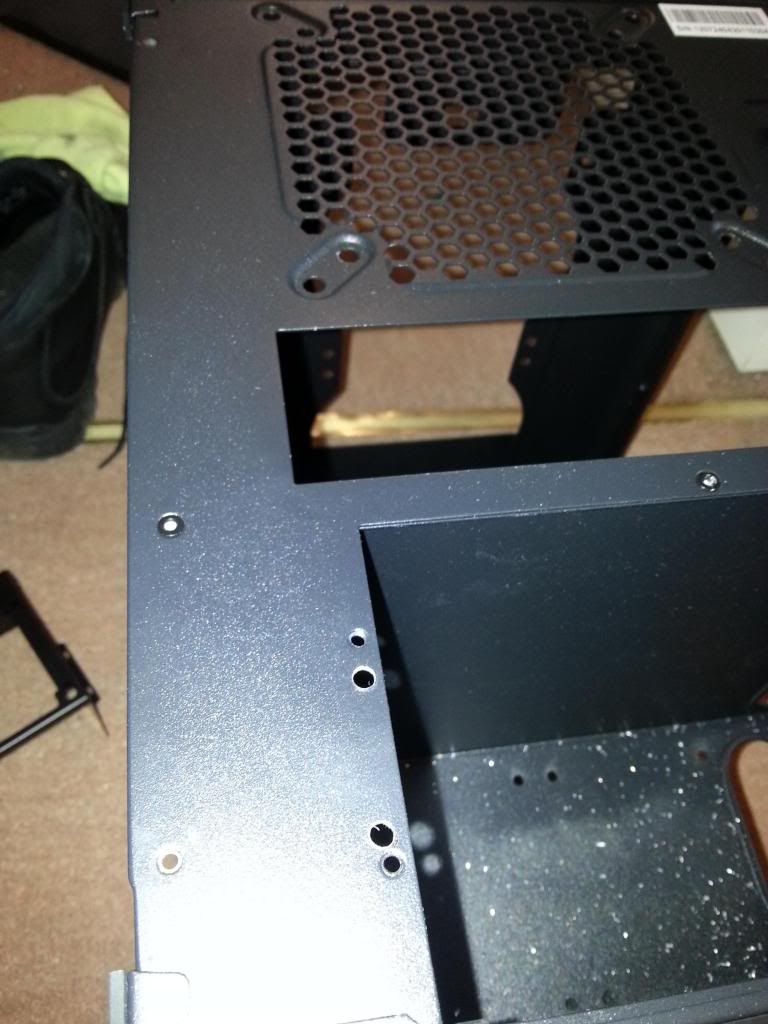
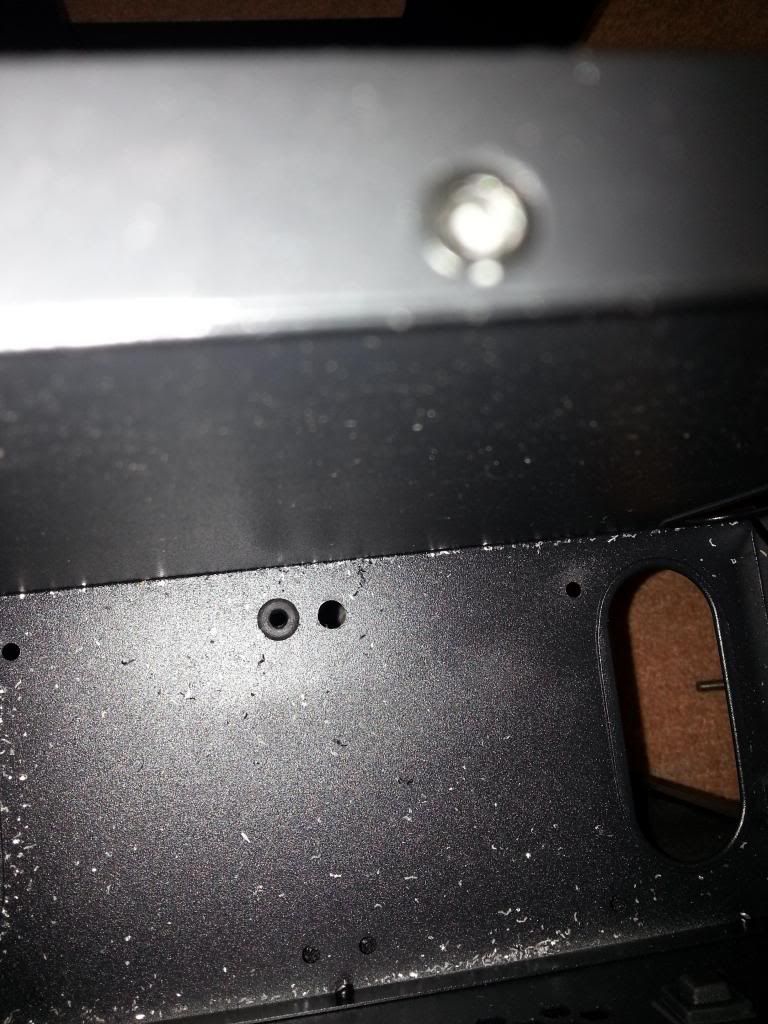
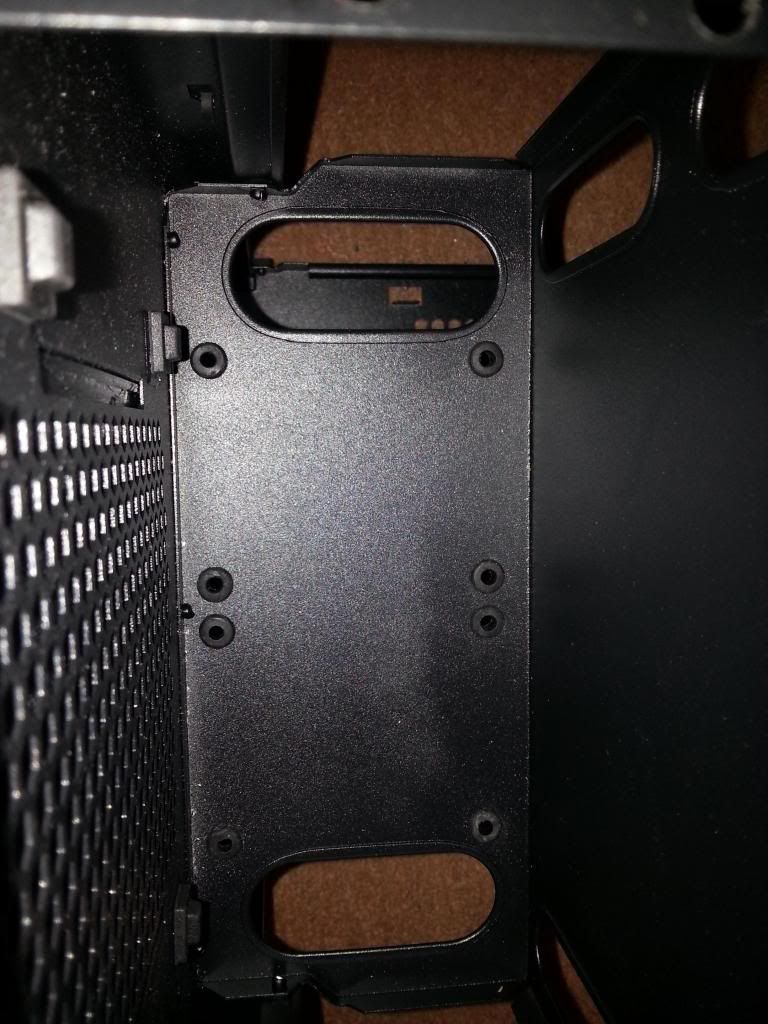
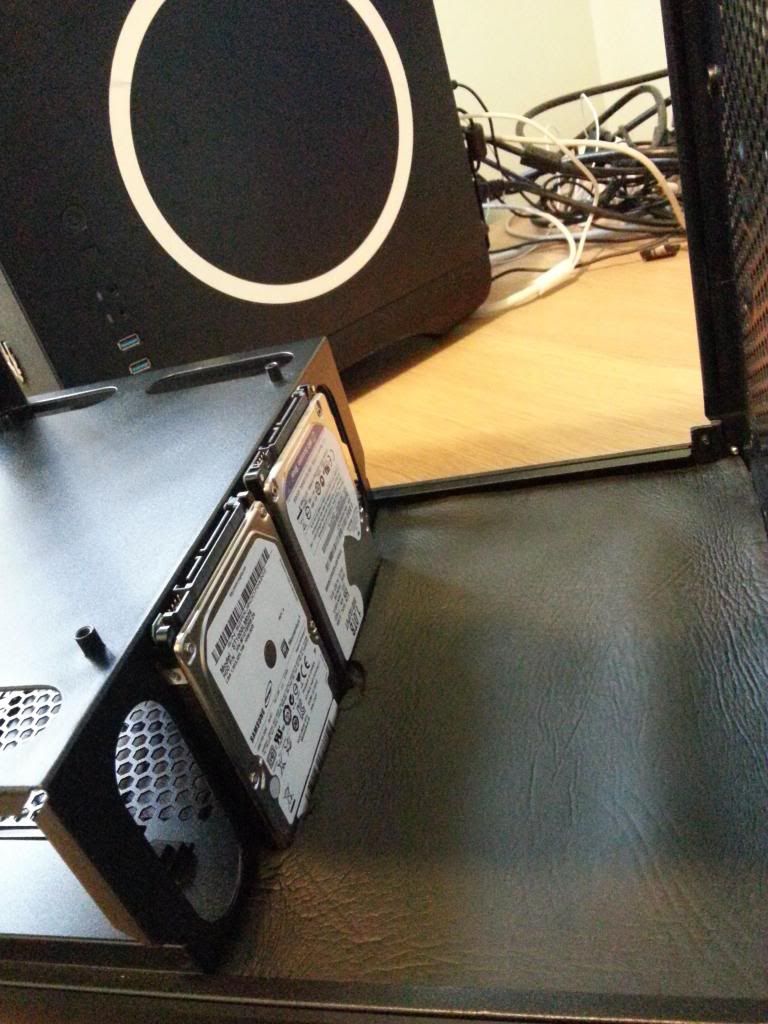
Made holes for hdds
20130304_023132_zpsea322f0c.jpg


TEst fit
20130304_023153_zpsf7a080bb.jpg


Fitting dampening to front. This will be cut for fan later
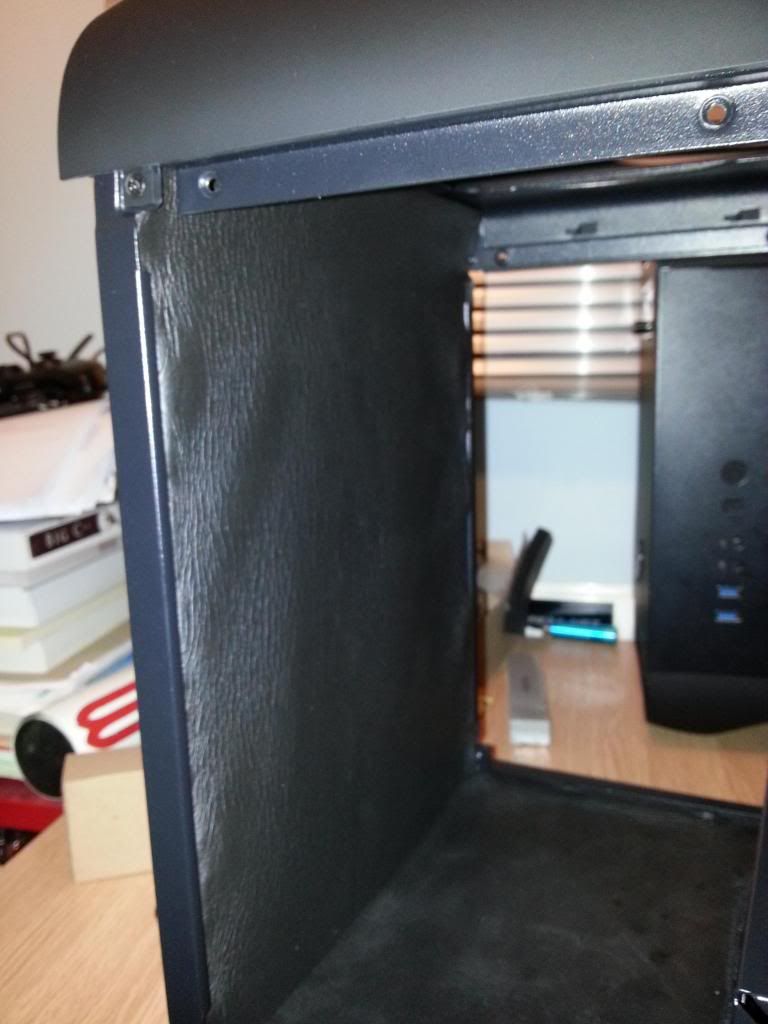
20130304_023658_zps2bb36415.jpg


Plan to stop this rig from vibrating at all and to be as silent as possible when doing simple word documents.

More pics tomoz if my parts come in post
 
Last edited:
I just spent AGES typing up stuff and adding Photo's.. Then crome decided to crash and lose it all.

I will just do a quick write up as now i'm annoyed.

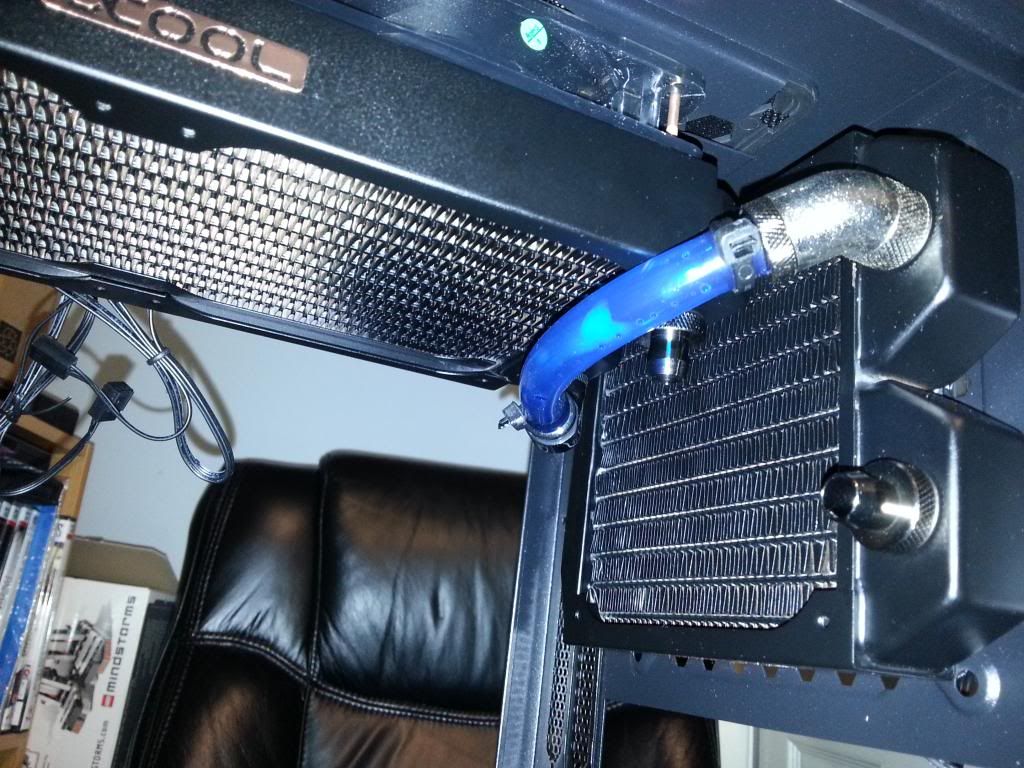
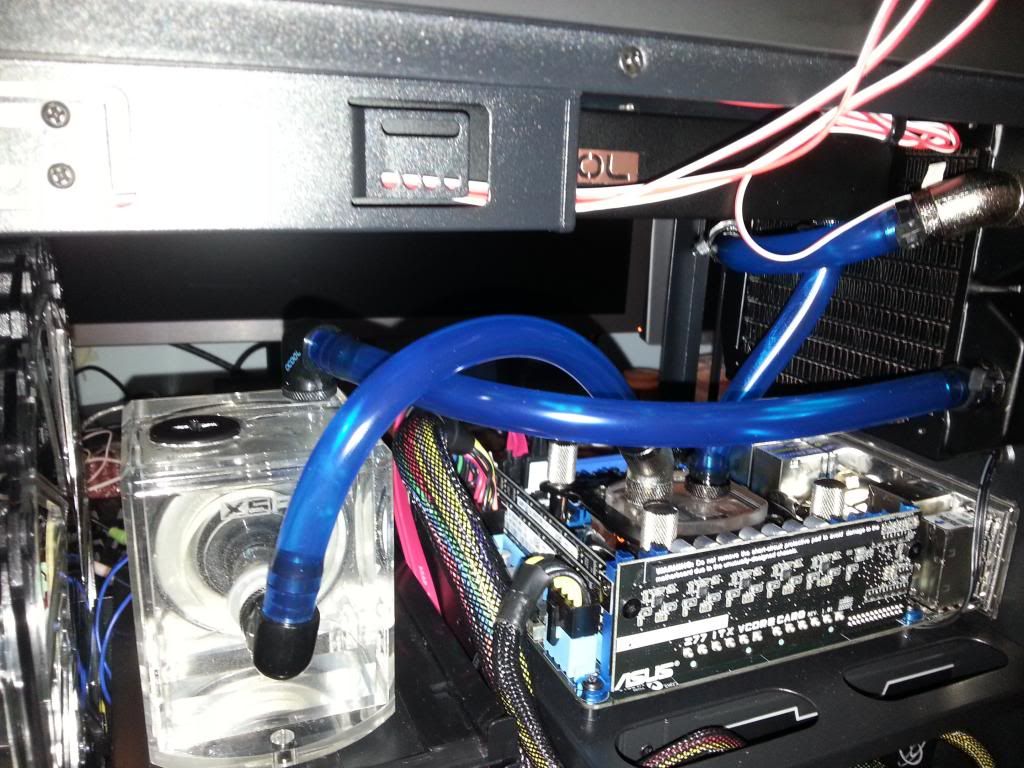
Radiators fit
20130129_122904_zps9e76b234.jpg


Mobo in
20130129_135916_zpsb8df78c5.jpg


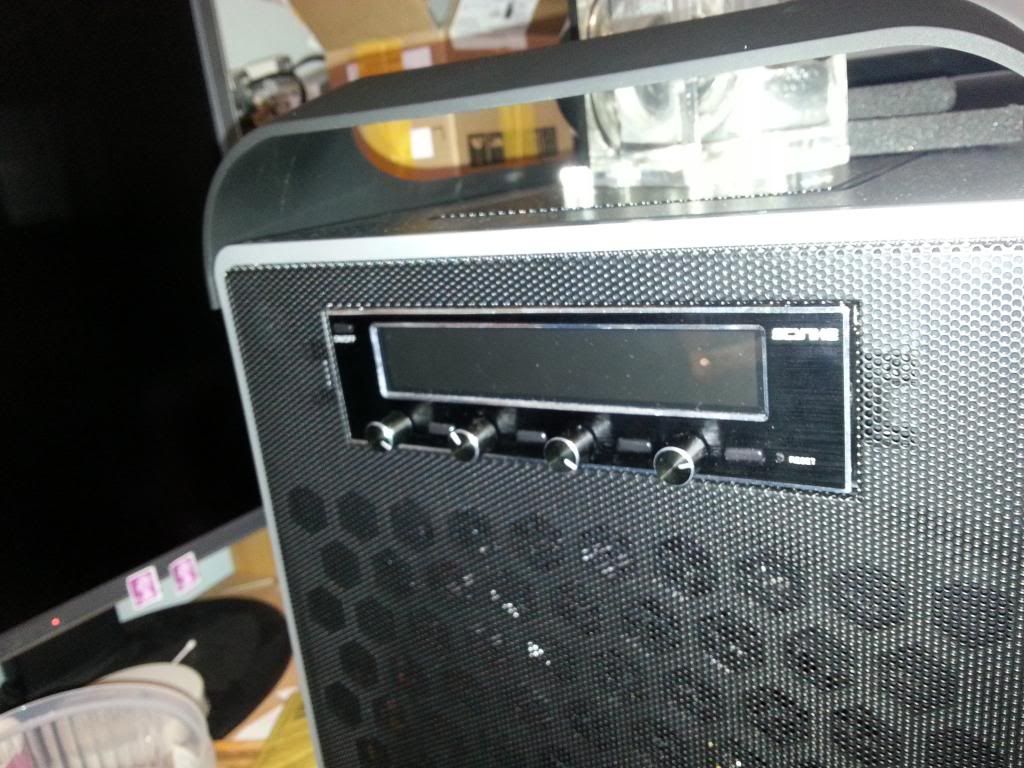
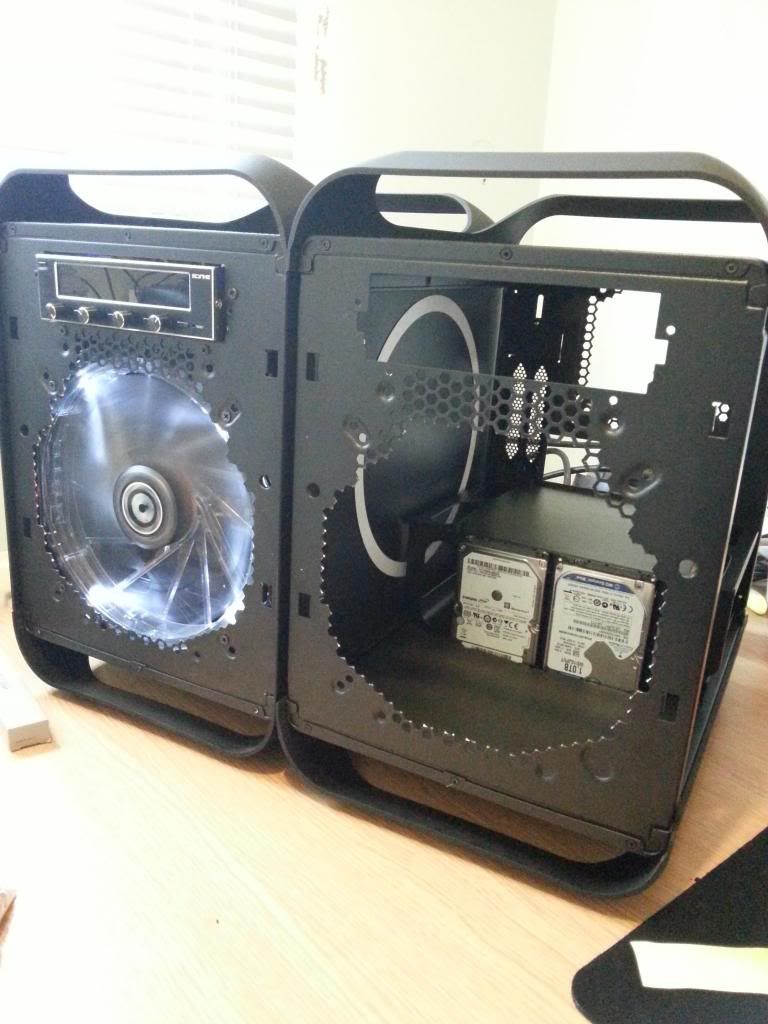
perfect! I can still use my fan controller!
20130129_135924_zps3b55fdbf.jpg

20130129_135932_zpsdef446eb.jpg

20130129_141921_zpsc267c4b6.jpg


testing the loop before the GPU
20130129_160413_zps9a1ccb0b.jpg


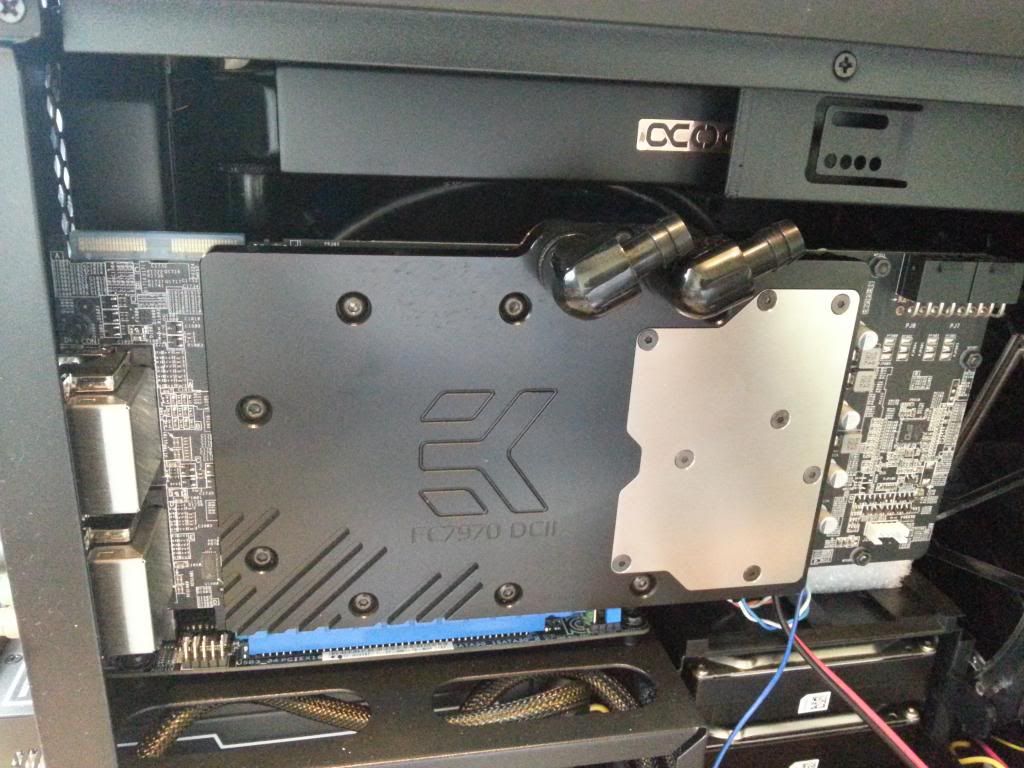
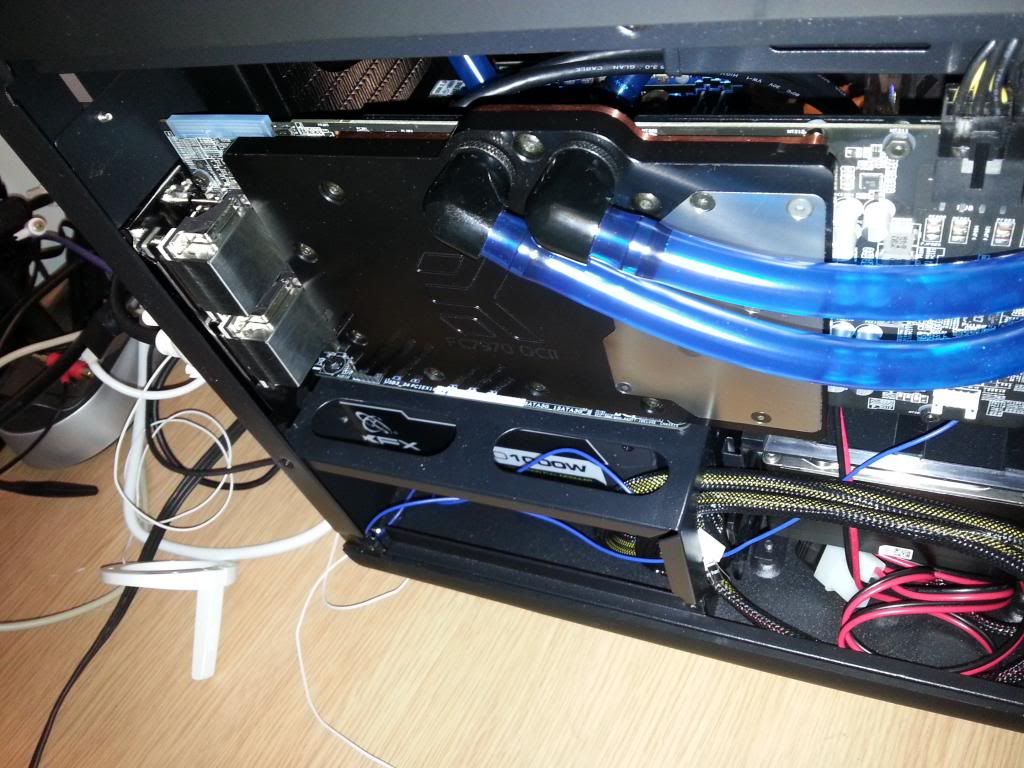
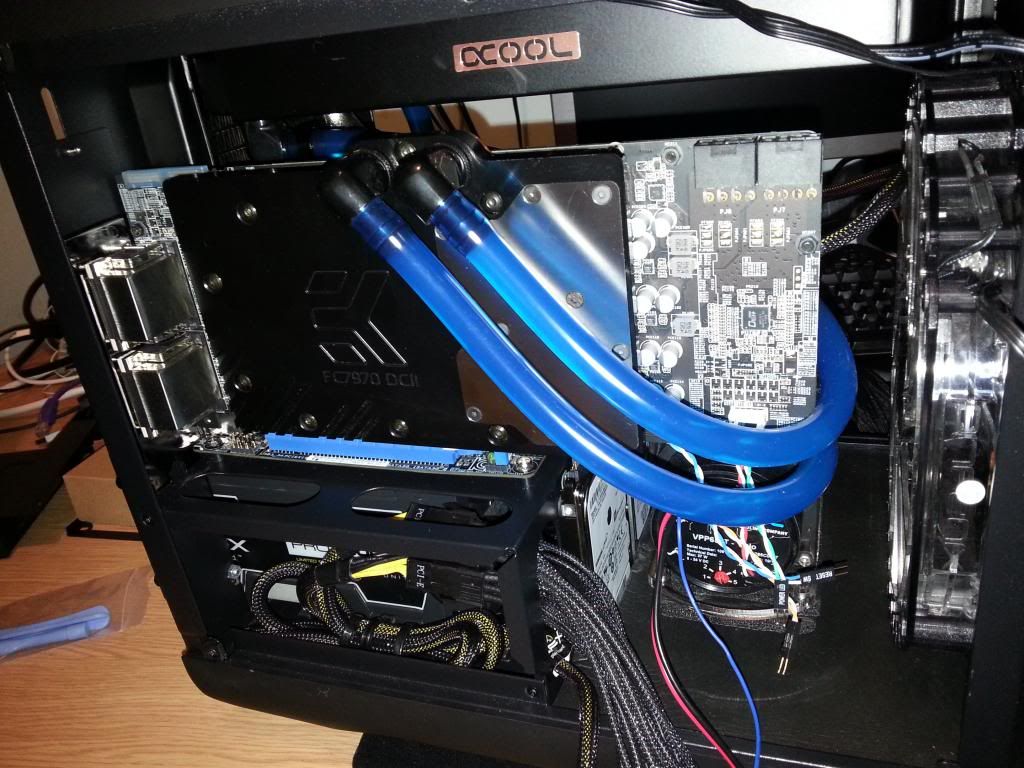
The GPU: Fits very well!
20130204_114024_zps0bbf15e1.jpg


20130204_132406_zpse339d420.jpg


Removed everything and made some holes for a PSU extender
20130307_133847_zpsa87466fa.jpg


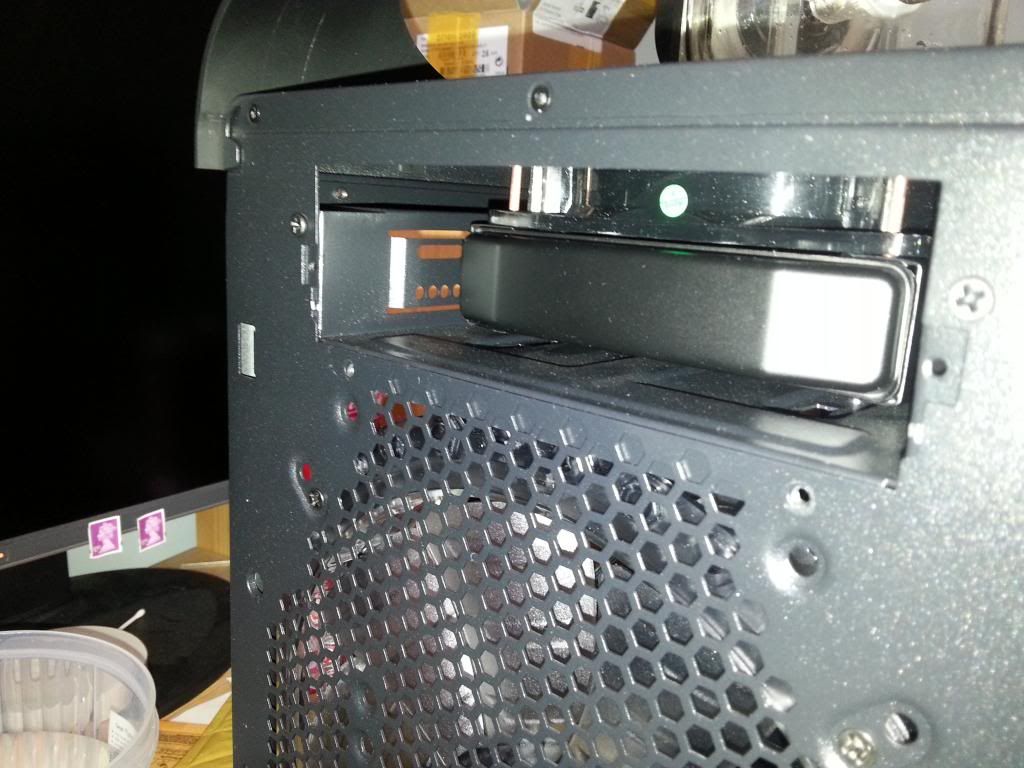
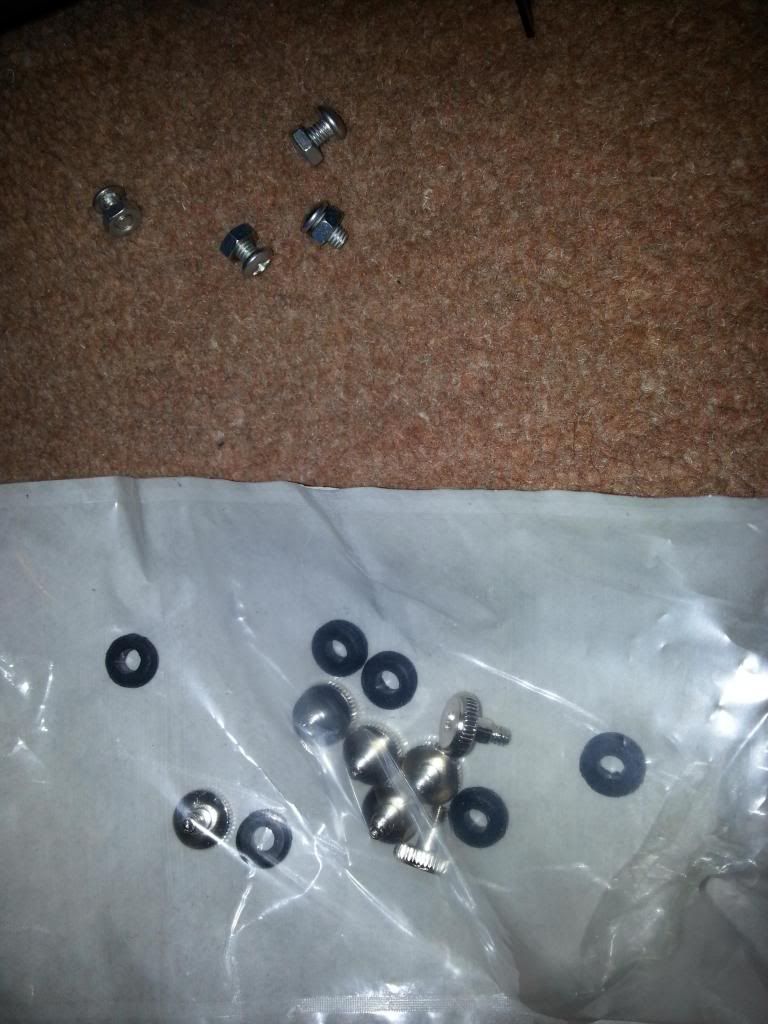
Also Made the HDD mounting holes bigger to use some rubber gromits
20130307_134658_zps94d70354.jpg


these ones!
20130307_134702_zps9b2a910f.jpg


All done and cleaned up
20130307_135704_zpscca8fe42.jpg


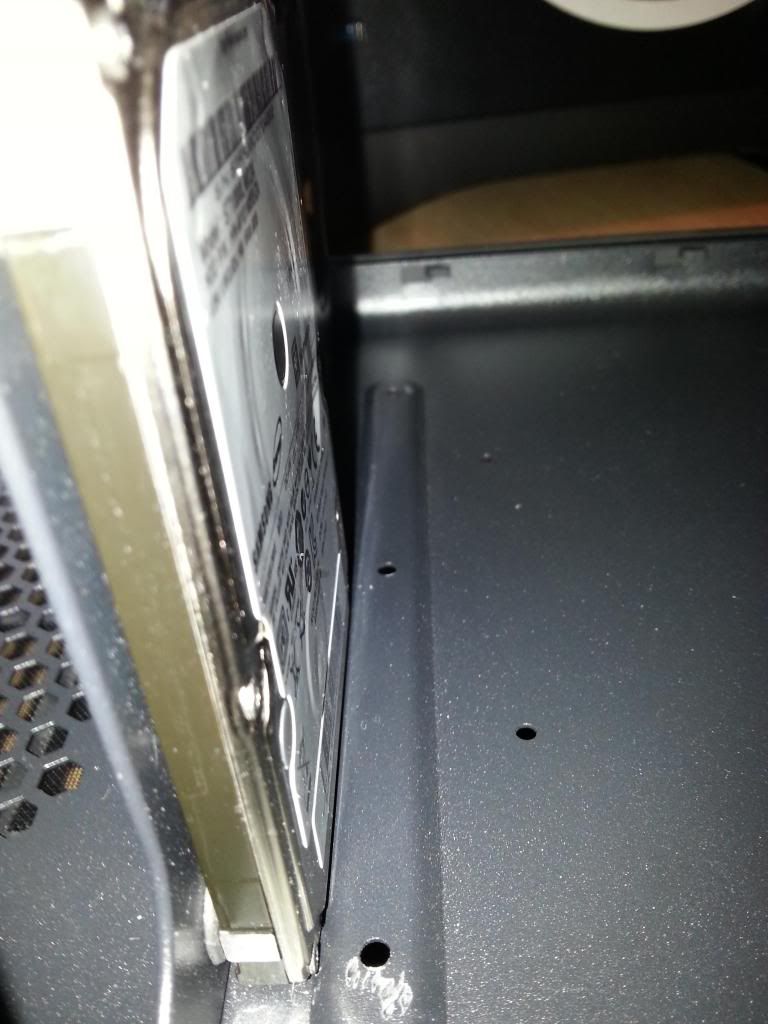
there they are! As you can see there is less than 1MM between the HDD and that raised metal on the base of the case, Its not touching so its ok!
20130307_141209_zpsa9755b67.jpg


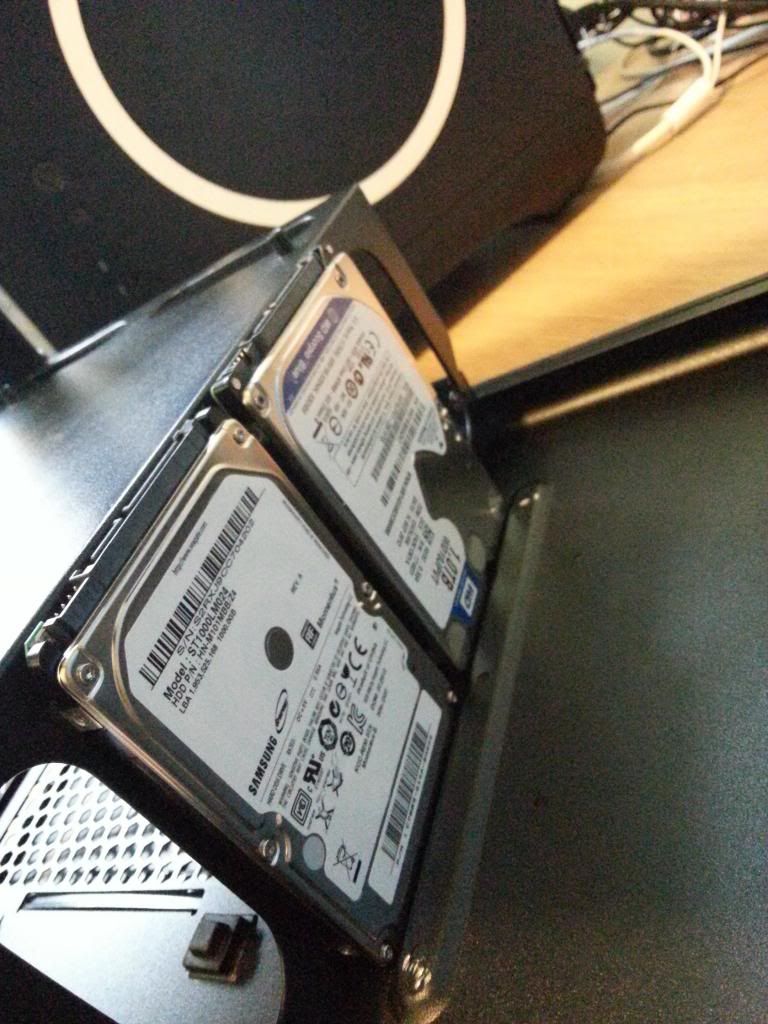
Both mounted
20130307_141750_zps39a66a32.jpg


Sound Dampening back
20130307_142055_zpsa2b47c24.jpg


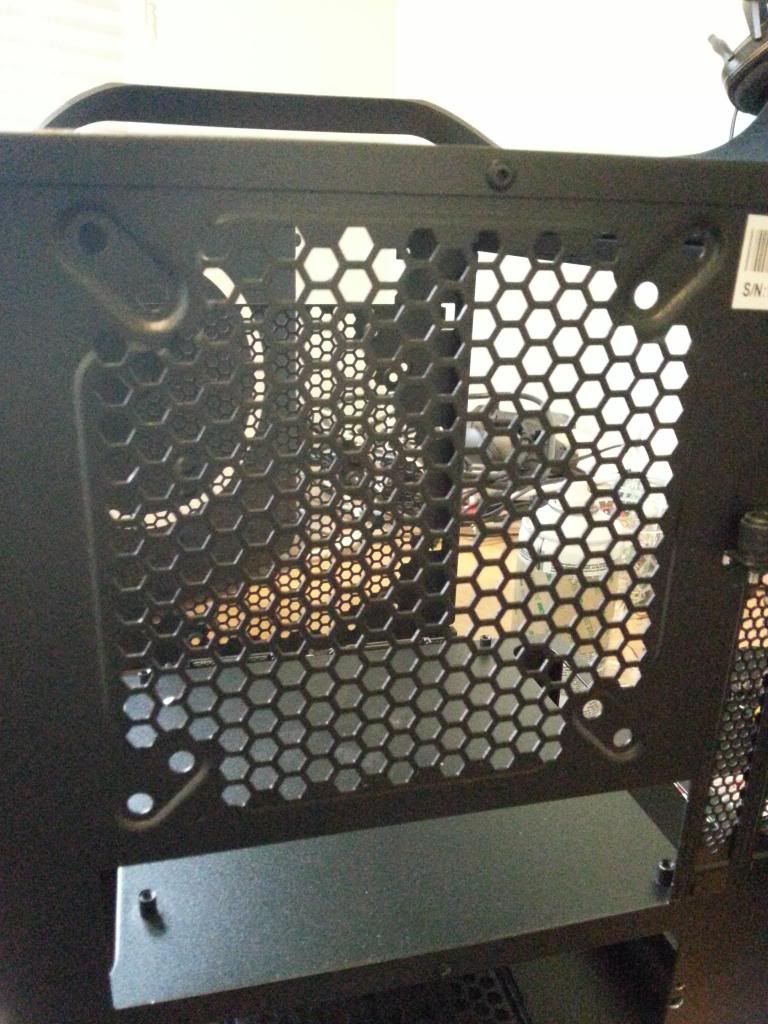
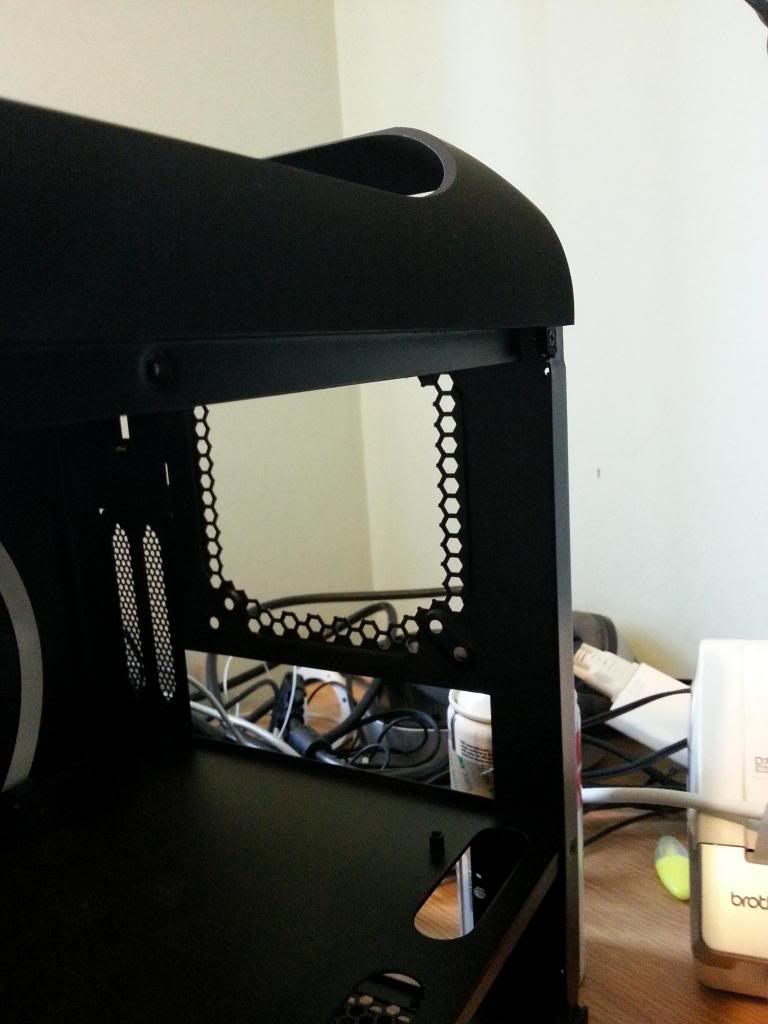
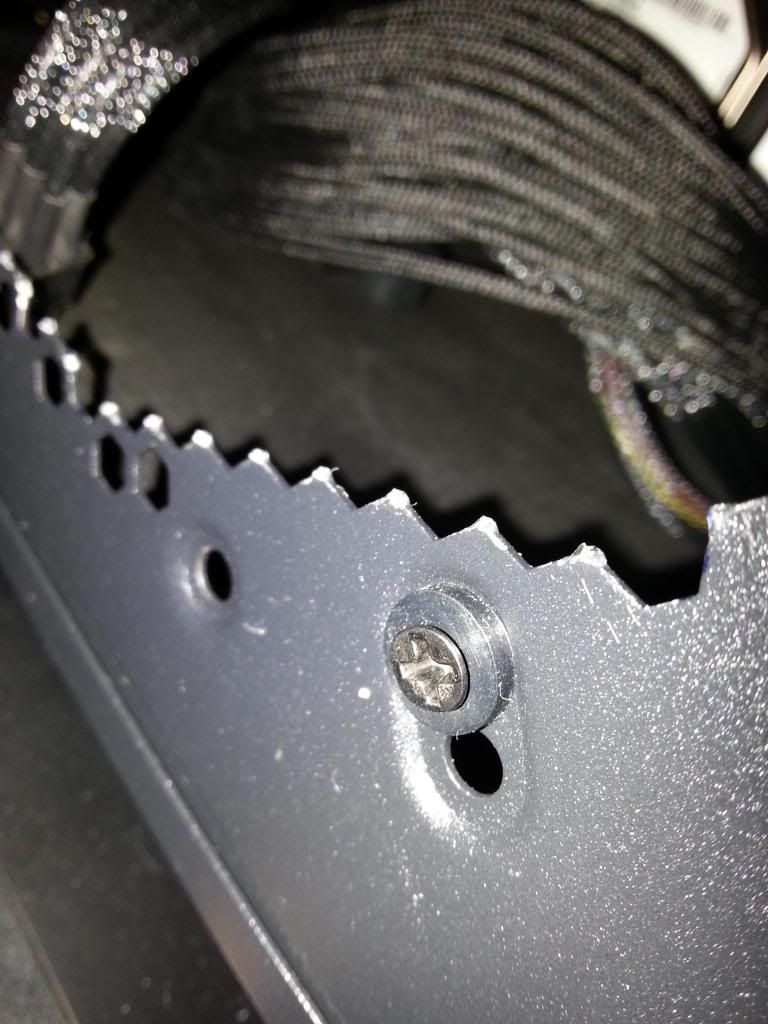
I am not a fan of these grills
20130307_142427_zpsf8f31398.jpg

20130307_142431_zpsa427aea9.jpg


So i decided to remove them
20130307_144745_zpsfd9afa33.jpg

20130307_144750_zpscfd2a326.jpg


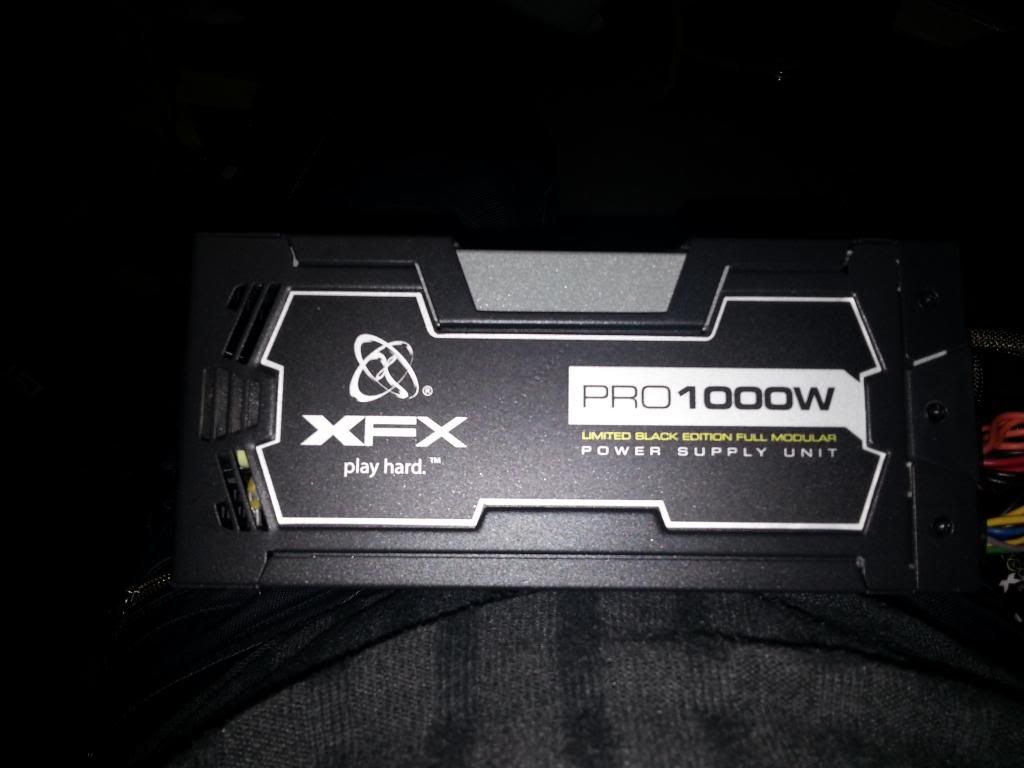
This is the beast of a PSU thats going in
20130307_220320_zps4cc69f24.jpg


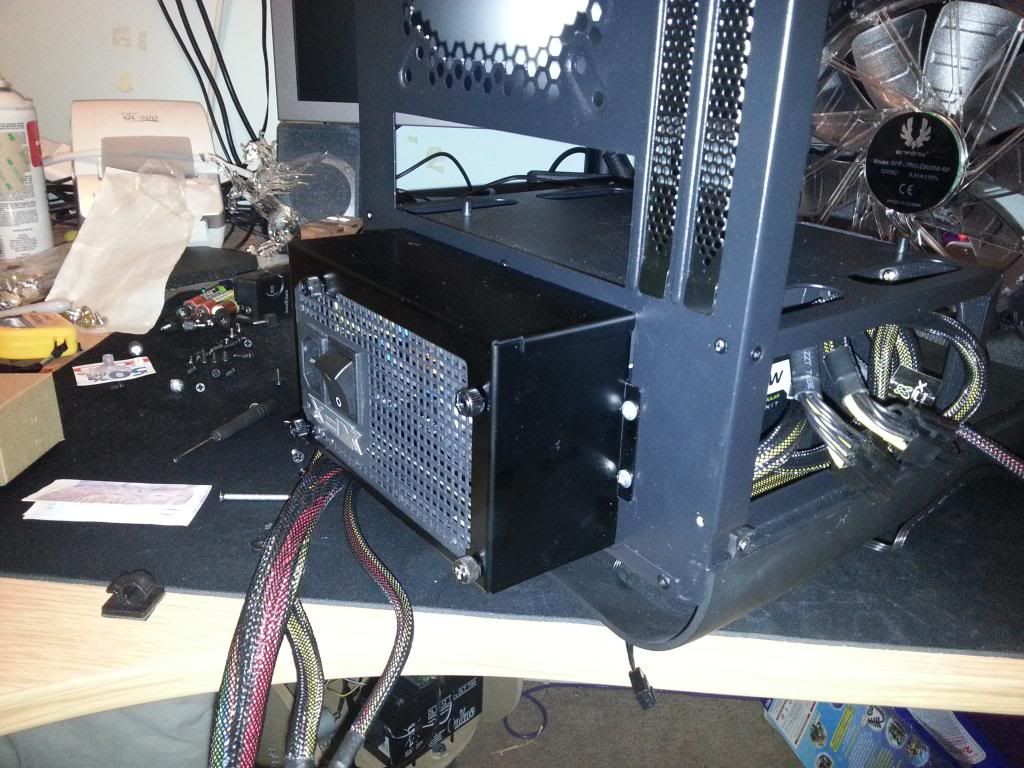
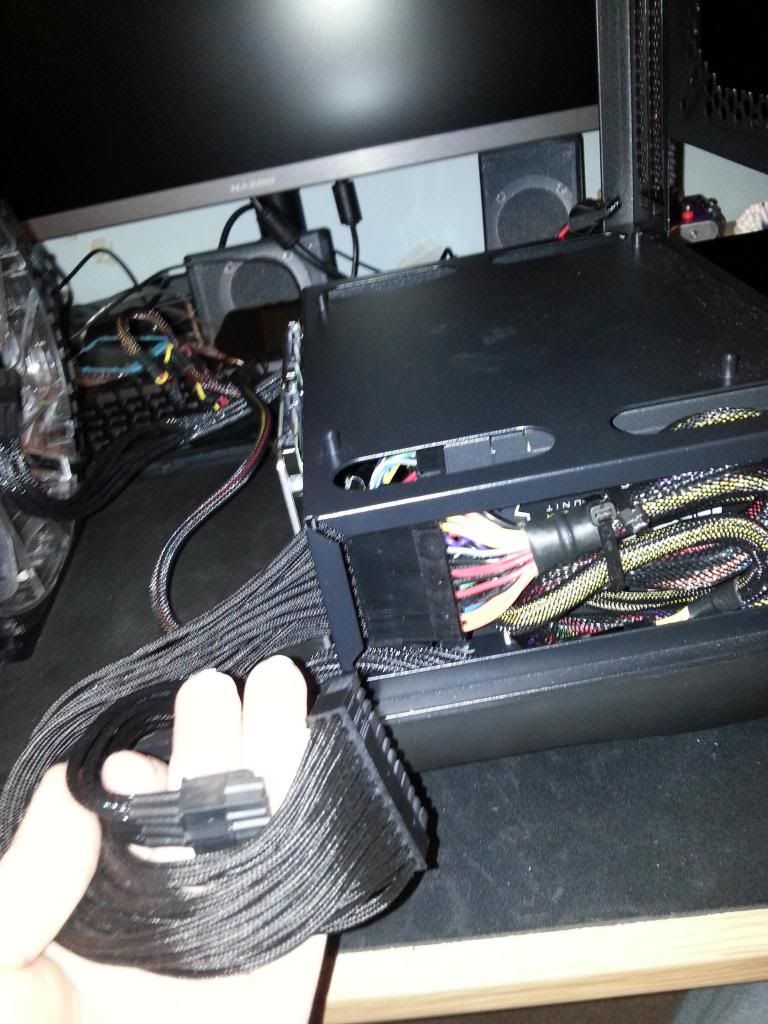
I said about that PSU extender, and here is it and why its needed!
20130307_225021_zpse01ecfe2.jpg


Sorting the cables out
20130307_230351_zpsd9c7276a.jpg


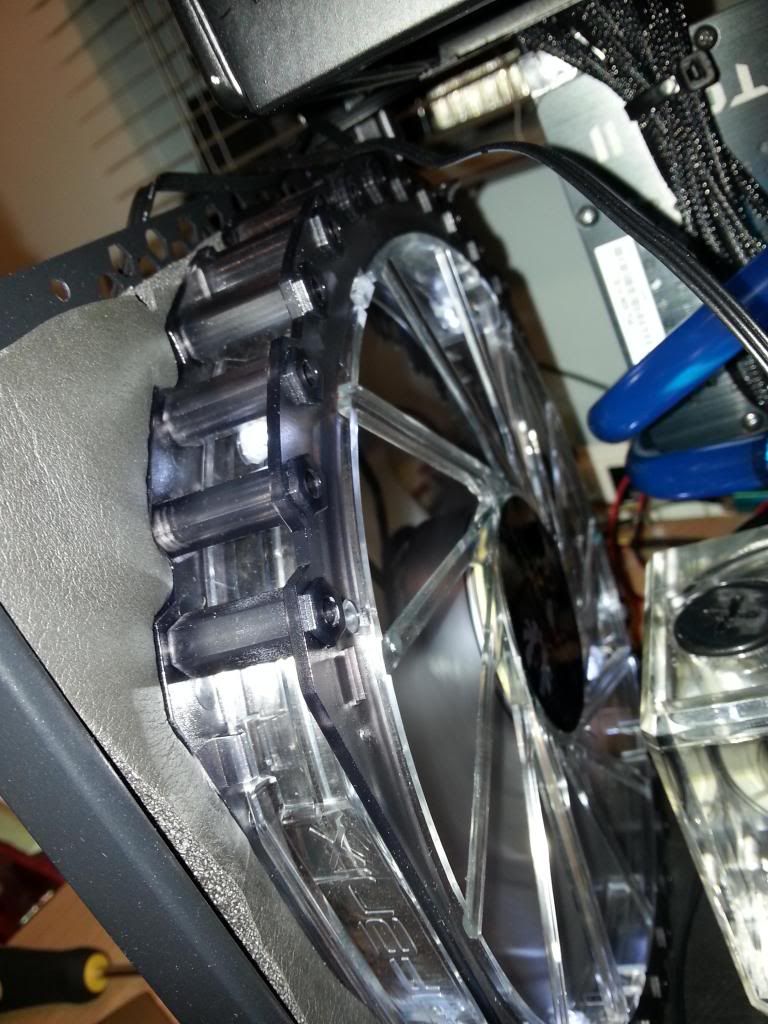
Vibration Reducing measures to the 230mm fan screws
20130307_231430_zps0e744a44.jpg


20130307_231434_zpsa651de0e.jpg


You may think.. WTF where are the pics of the loop being made.. well im sorry but i didnt have any it was allready in the other Case so all i did was Put them side by side and pull the hardware though very slowly and then screw into place haha
20130308_000903_zps631885c6.jpg


20130308_000913_zps1b3525b7.jpg


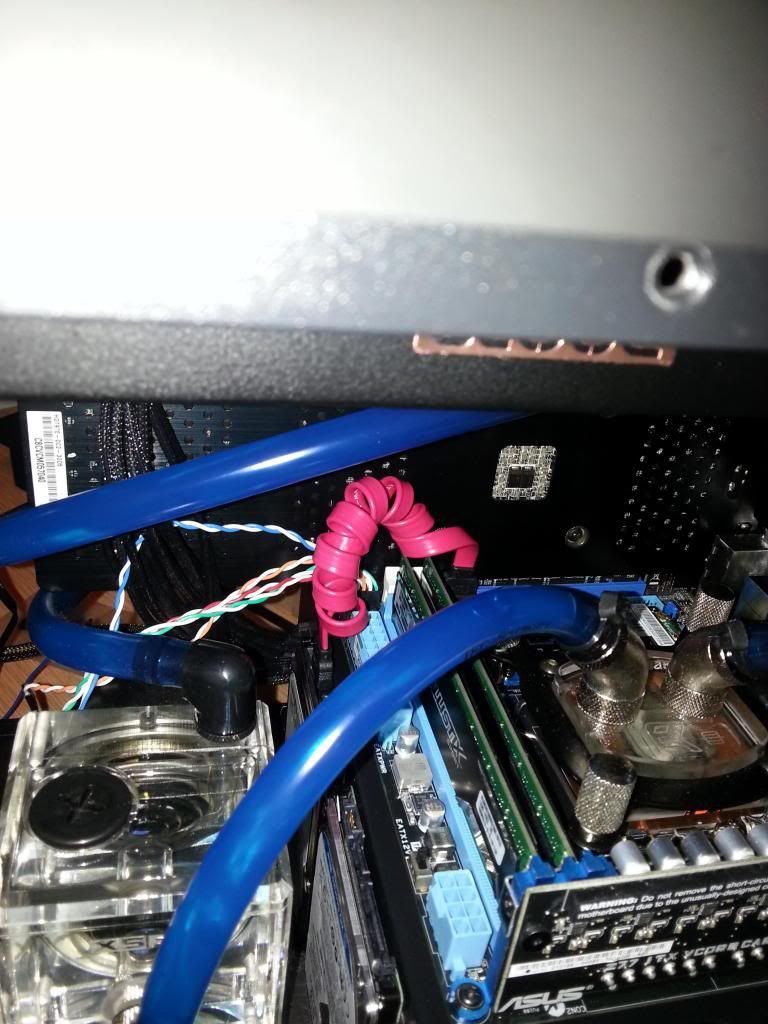
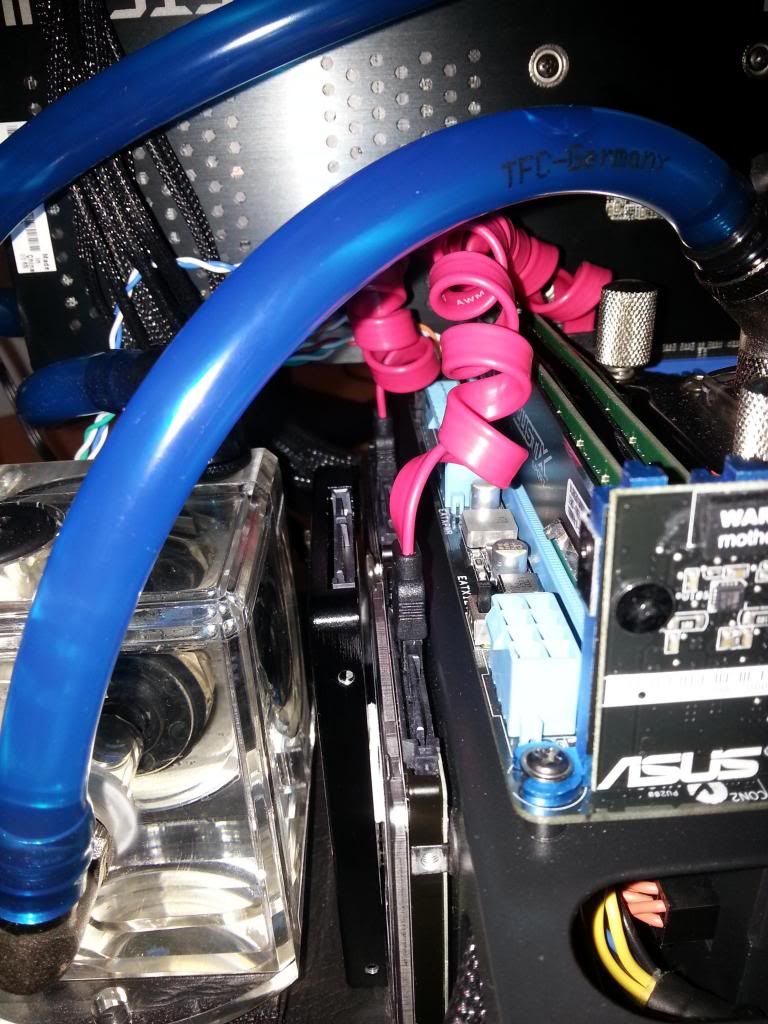
Sorting the Sata Cables
20130308_002704_zpsaf59a53d.jpg


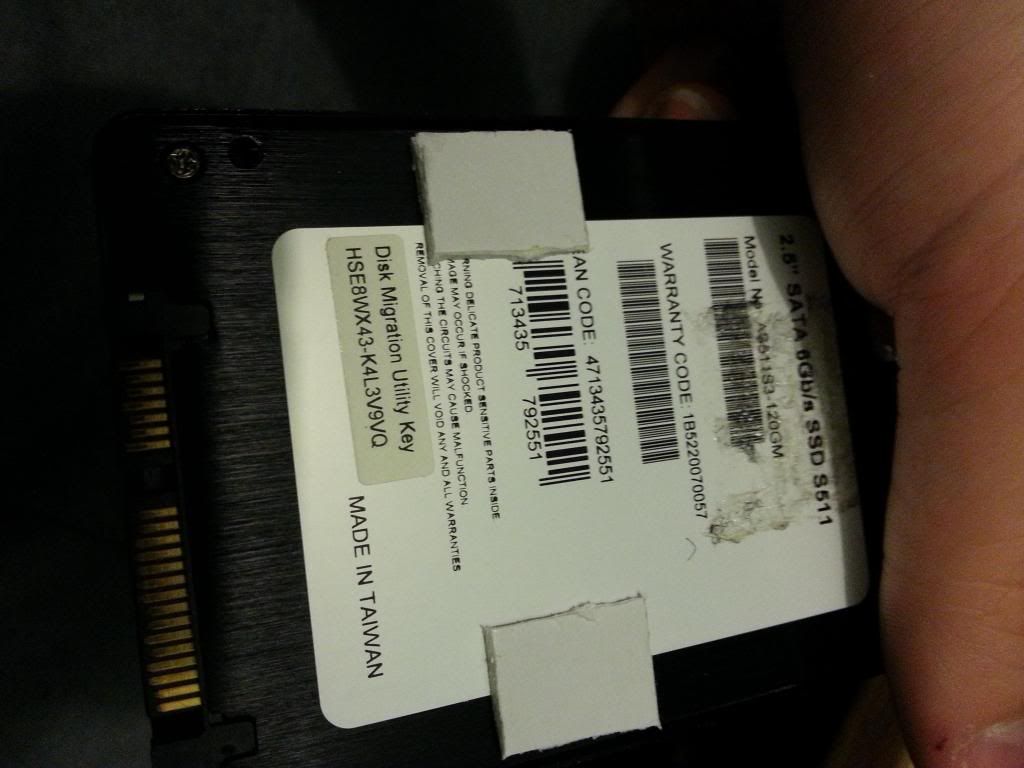
Mounting the SSD
20130308_002945_zps324f2800.jpg

20130308_003053_zpsf9762c2d.jpg


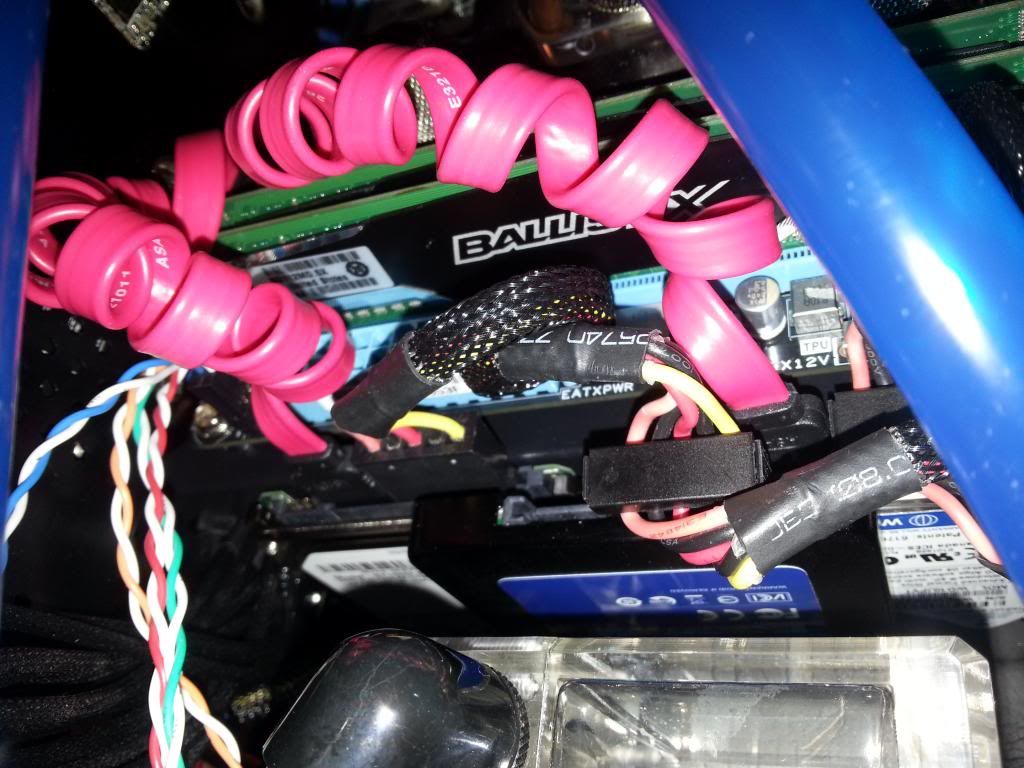
Plugged them all in and the sata Power
20130308_003804_zps7b894eda.jpg


better View
20130308_003809_zps7ff7aae2.jpg


Wired in the 24pin
20130308_004009_zps41a5c9b7.jpg


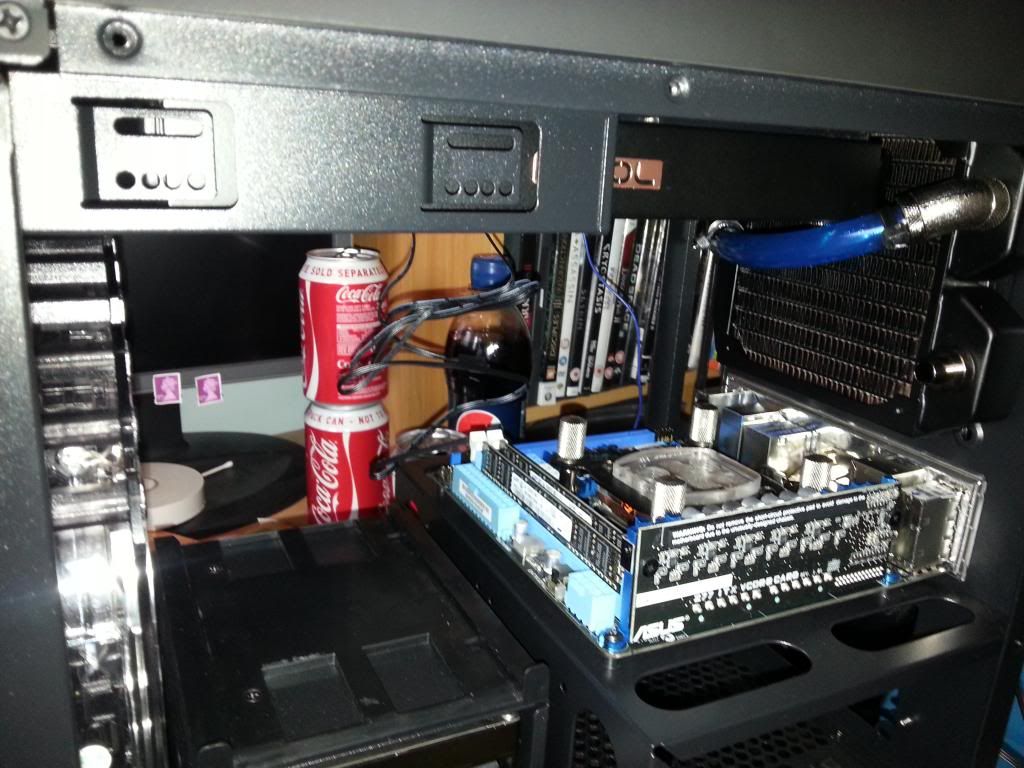
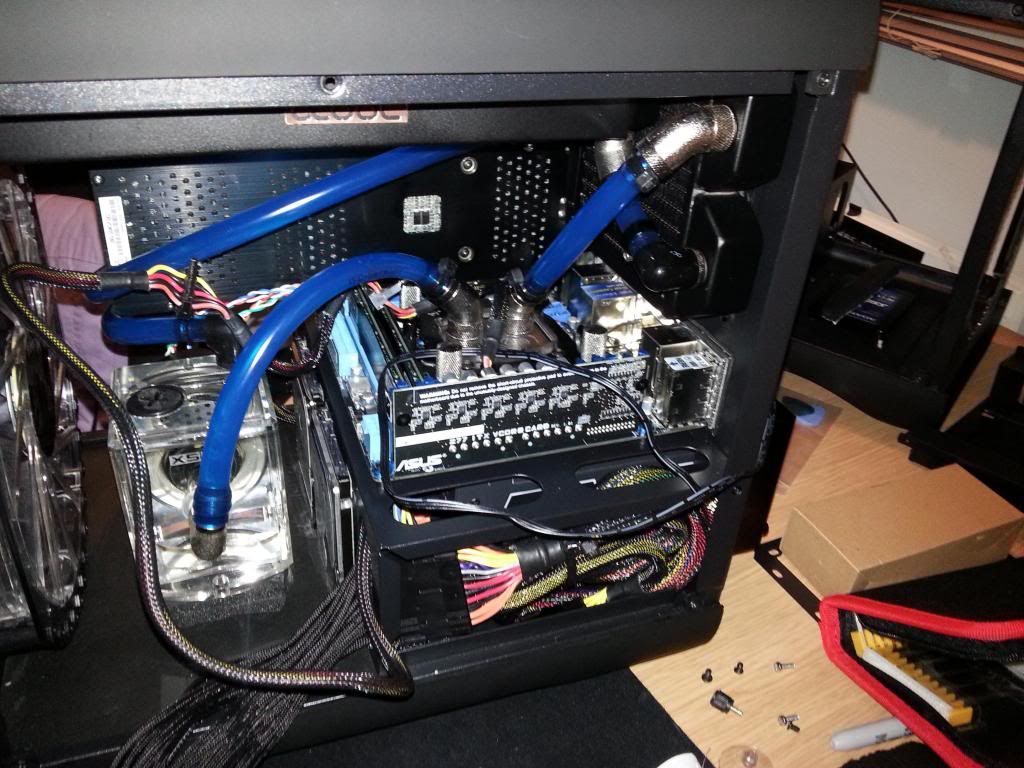
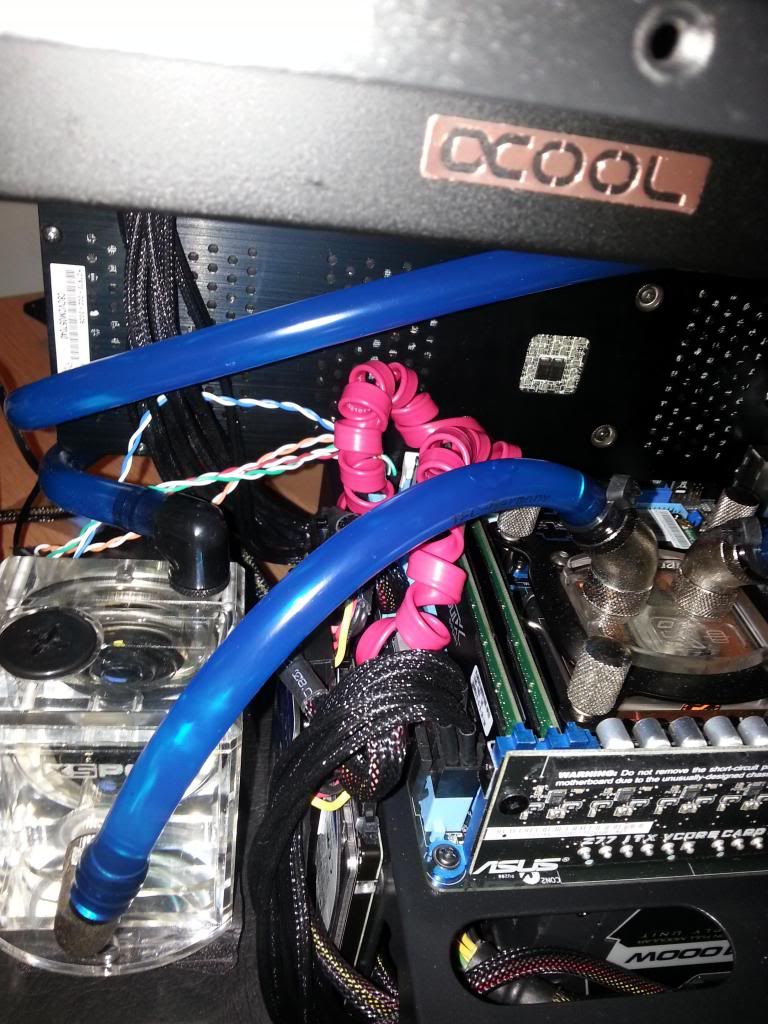
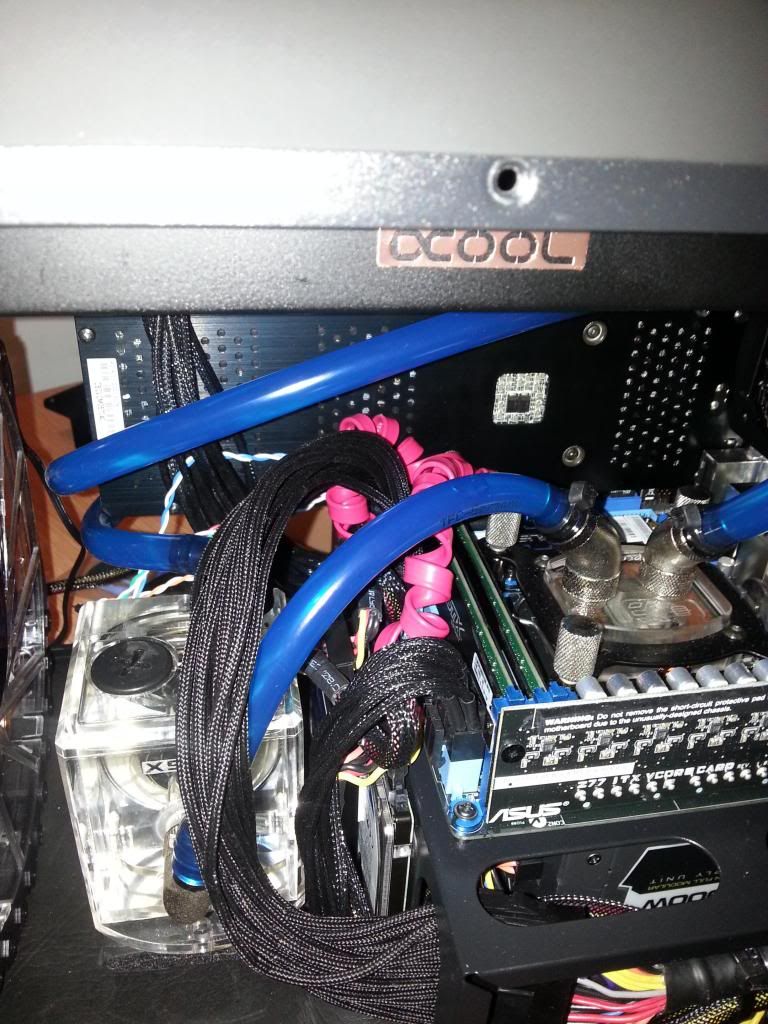
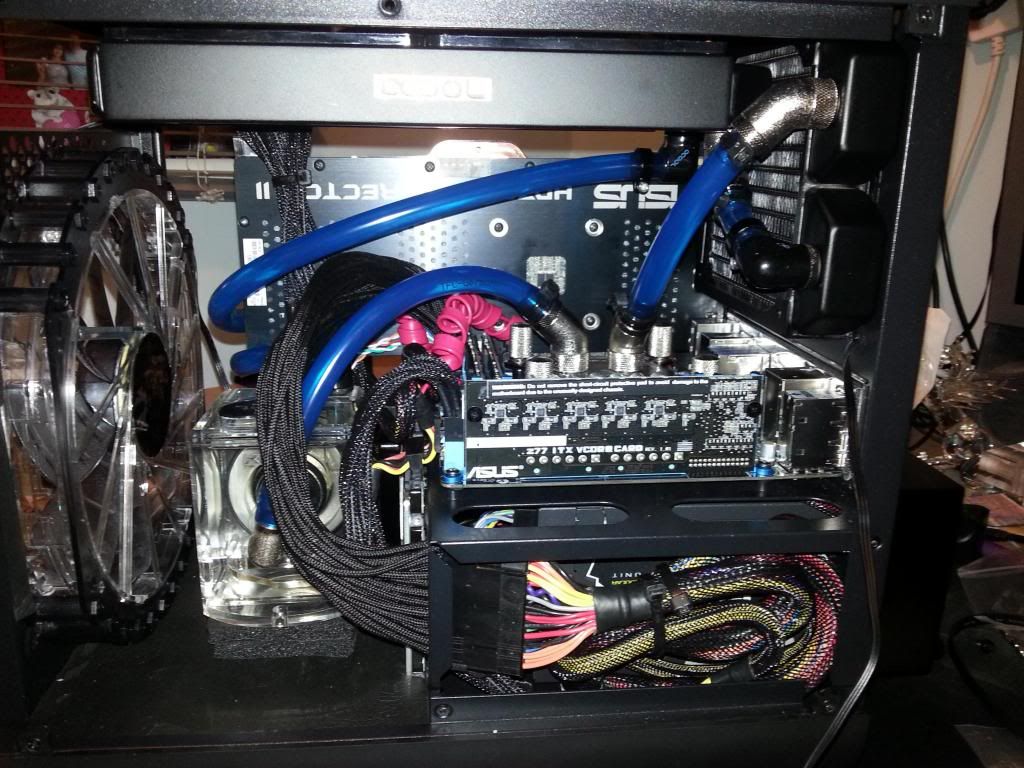
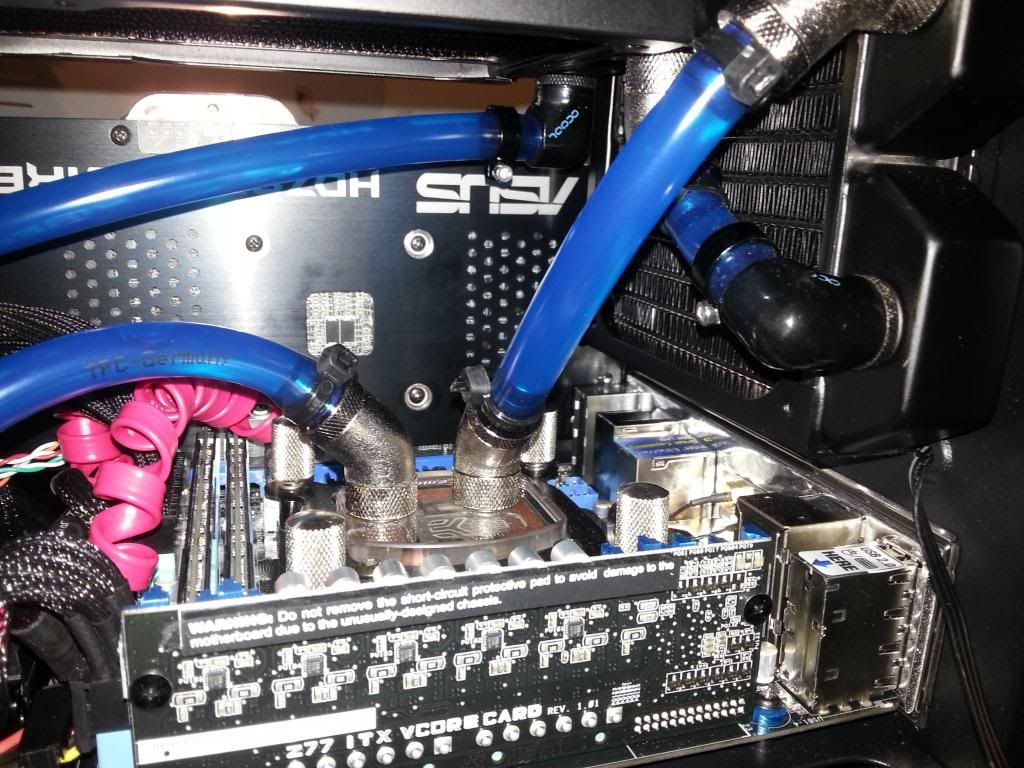
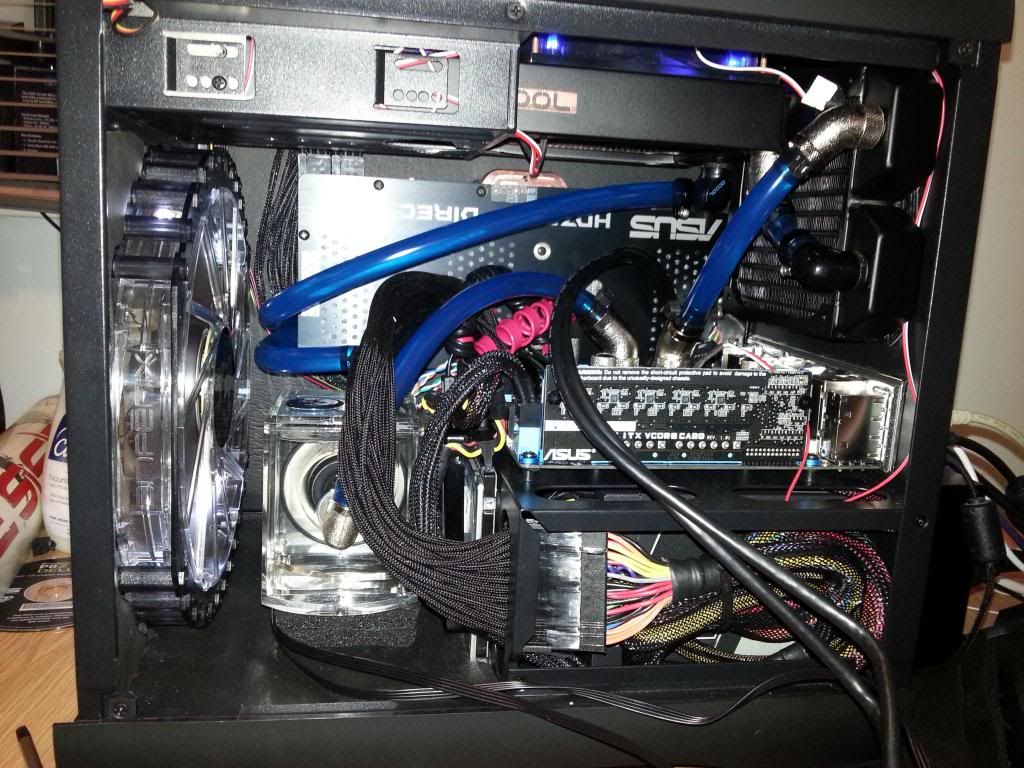
Some nicer pics of where i am so far:

20130308_004015_zps1e6fe0bb.jpg

20130308_004023_zps3831a32d.jpg


Whats left:

Redo Vibration Mat for front 230mm fan with correct cut out as the first try was a FAIL.
Add Vibration matting to side pannels
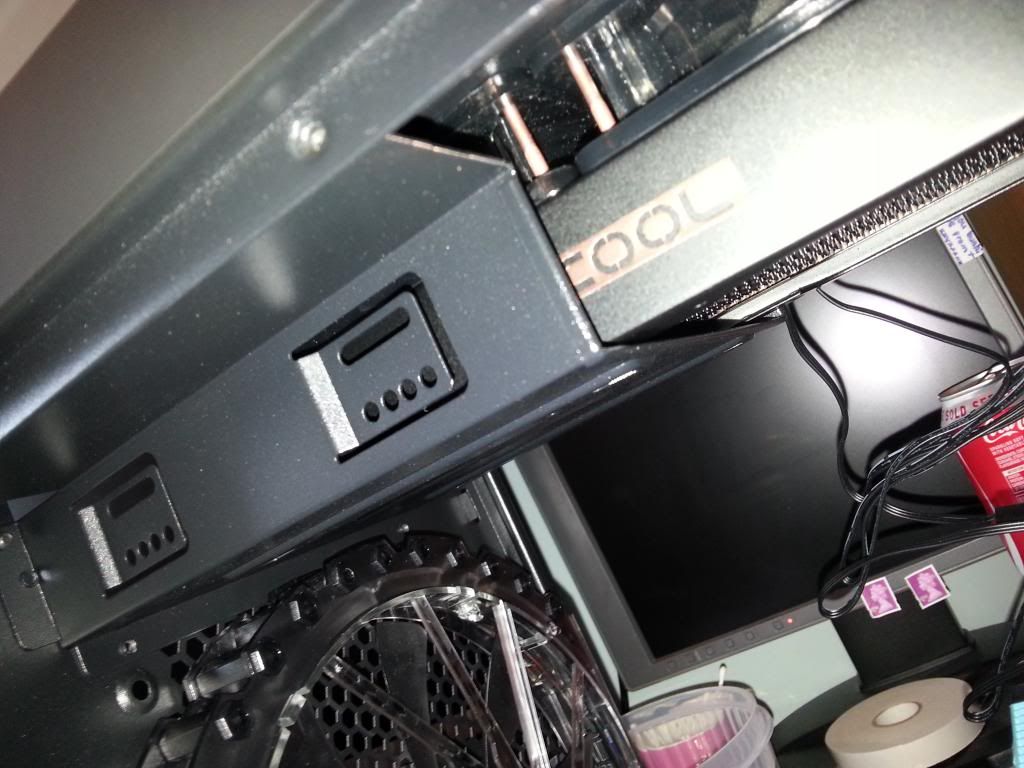
Cut A series of holes into the DVD drive cage to allow for airflow to half the rad that will be covered.
Braid the temp sensors on my fan controller.

Im going to do some of these things now and will add pics when im done!
 
Yea not much room at all for cables, Only reason i could fit them in is because i have used so little of the ones i can use!

I'm happy with how its going so far, Need some more Sound dampening put in and i will be adding them!

I plan to be able to turn off all the fans apart from the 230mm fan when idle and doing uni work, to do this i will be blocking ALL venting holes with Dampening sheeting so that all air will be forced to exhaust through the rads :)

In my eyes Amazing cooling is on the back burner and Silence when idle / uni work use is at the forfront.

When cooling is required those 3 fans can do a lot and the temps are low enough to be called good :)
 
More pics

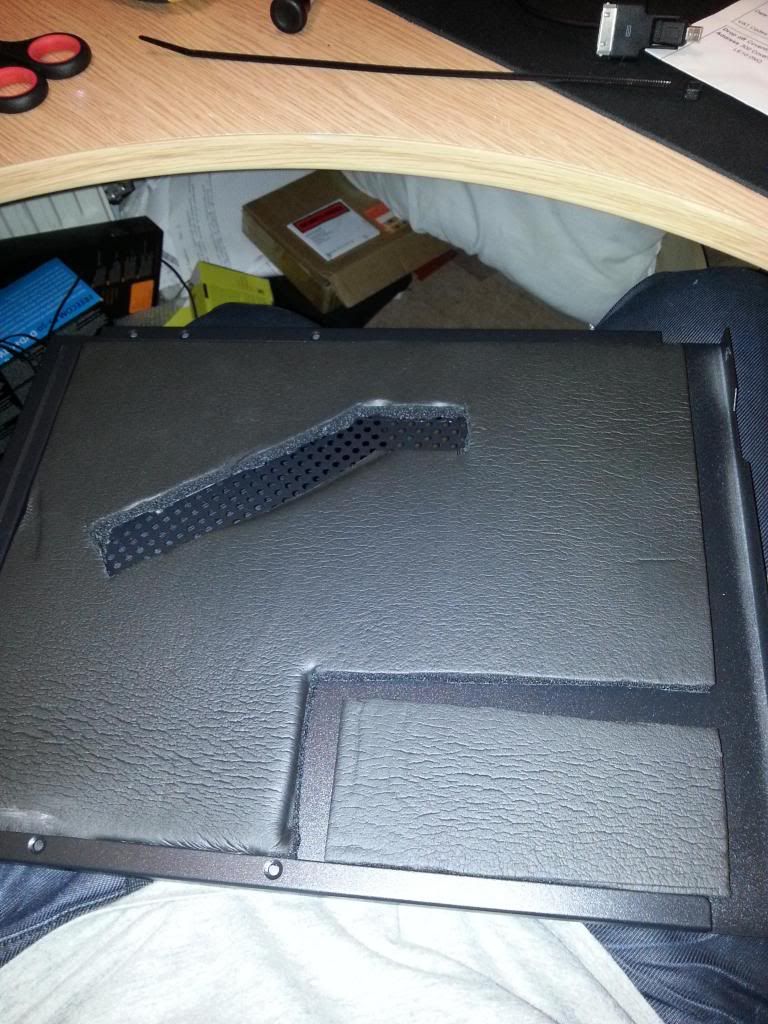
Cutting out fan in new dapening
20130310_215005_zps5c09c0a9.jpg


Sticked in the fan and had a look at the seal
20130310_222140_zps481a52bc.jpg

Looks good

Put It on the side pannels, Made cut outs for various metal works and the GPU tubes
20130310_232512_zpse0d112b0.jpg

20130310_232512_zpse0d112b0.jpg


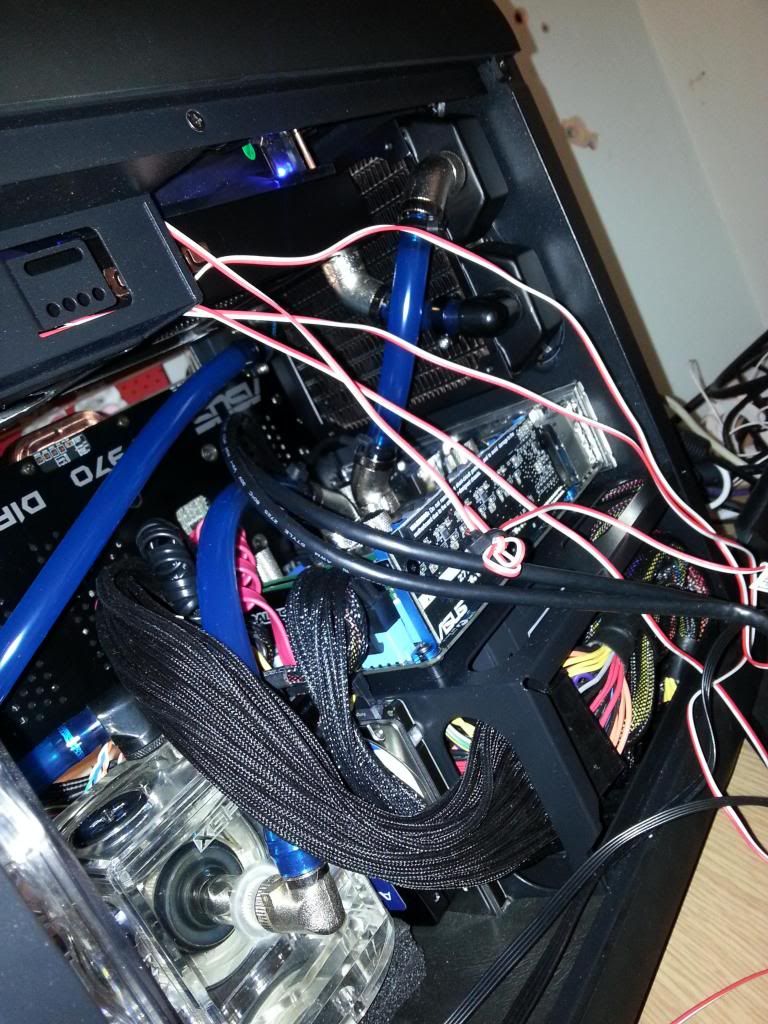
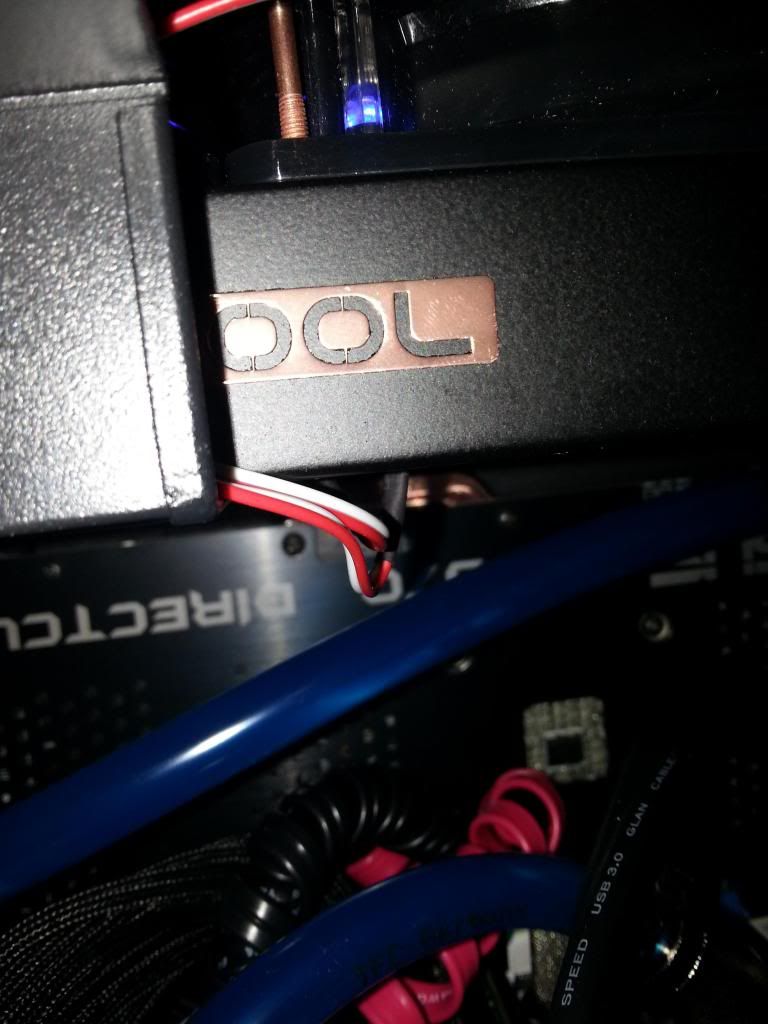
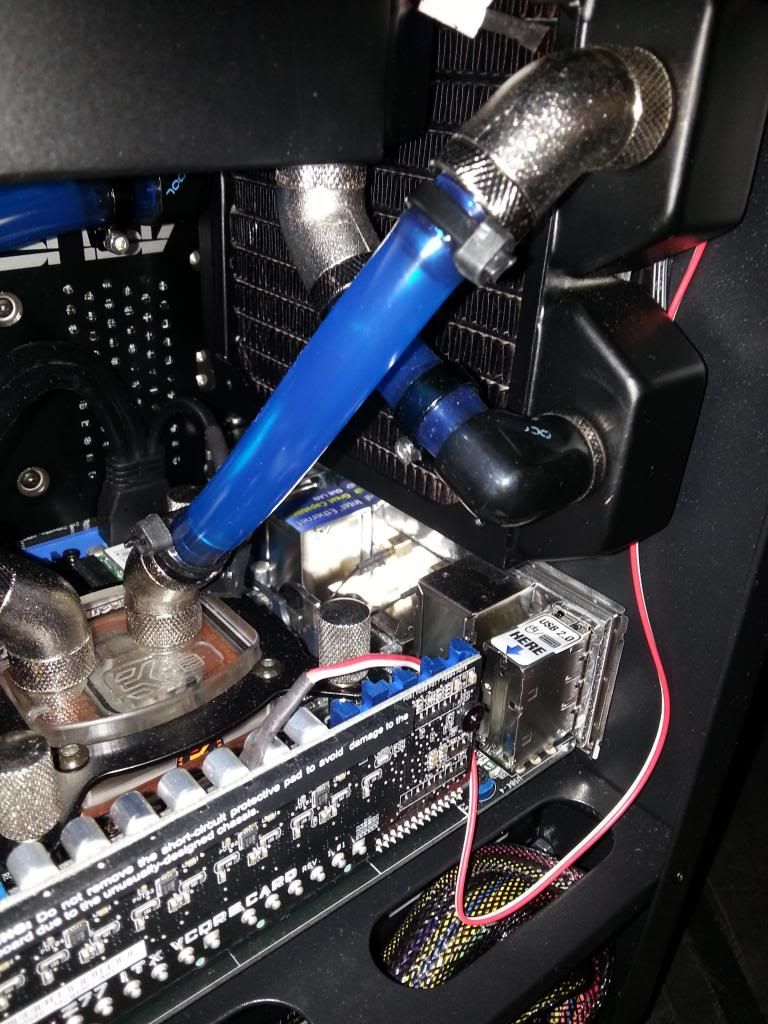
Arrrgh need to hide these wires!
20130310_232523_zps6f12928b.jpg


One hidden
20130310_232945_zps11c1b6b9.jpg


Two Hidden
20130310_232948_zps27090562.jpg


This is not that hidden but its where it needs to go, this one determines the 230mm fan speed
20130310_232952_zpsdbfa4463.jpg


What it looks like:
20130310_233001_zpsfd050404.jpg


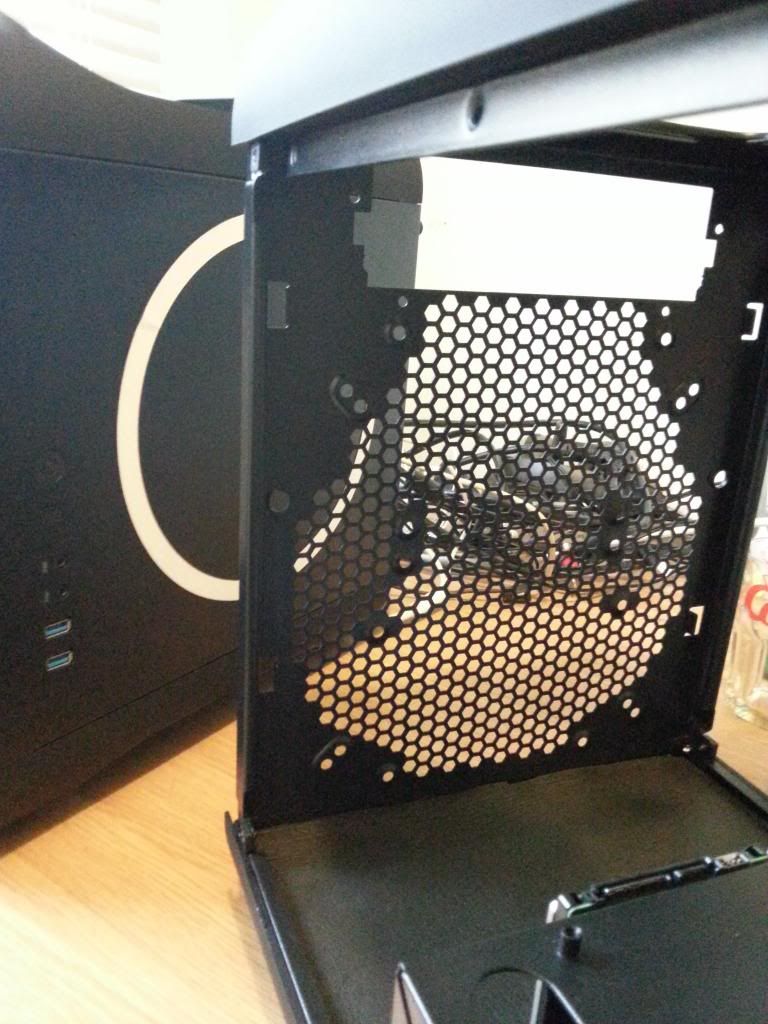
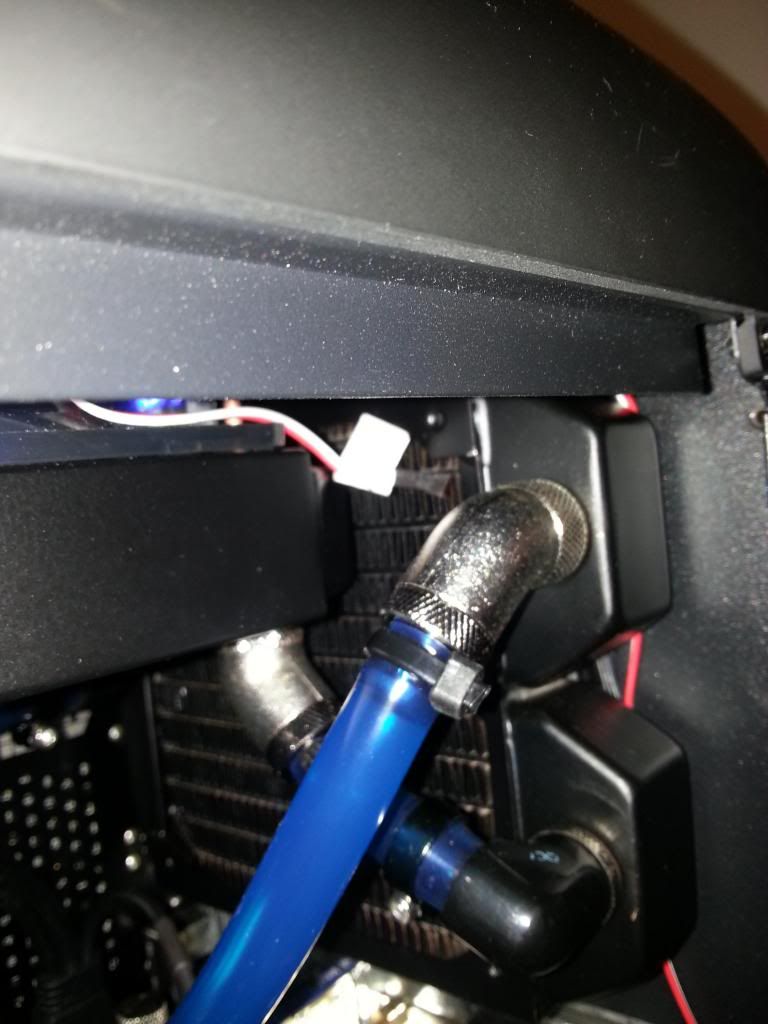
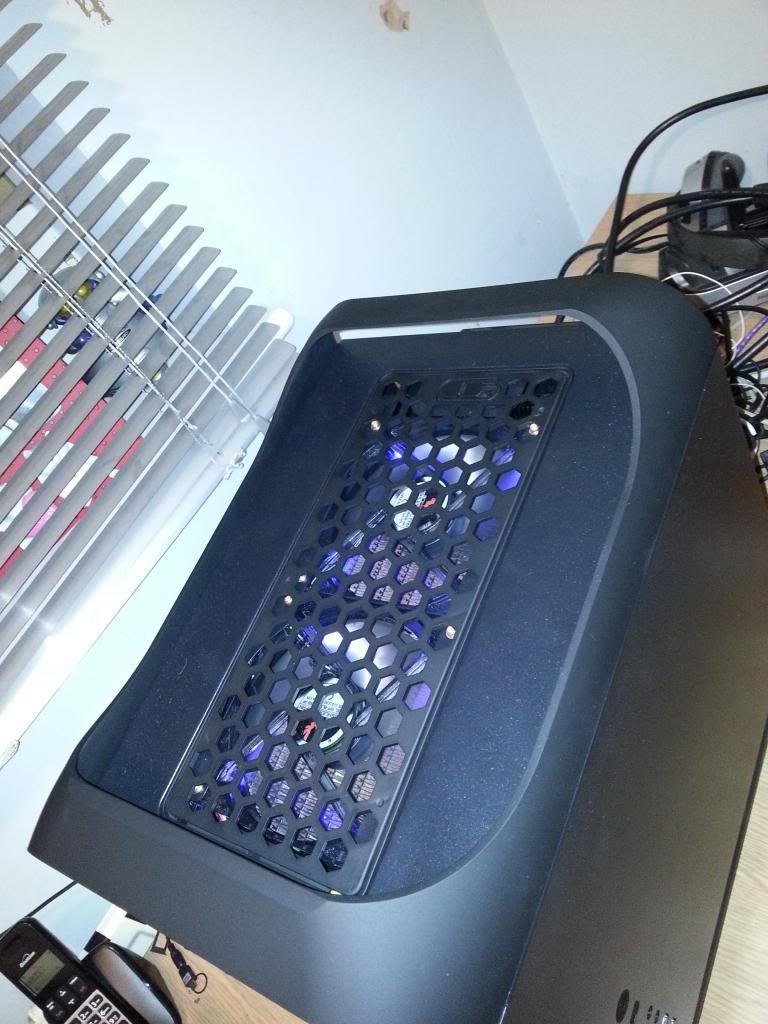
Removed the mesh at the top:
20130310_233534_zps601db303.jpg


I will be cutting a 200MM hole in the Front panel to allow for airflow to the front fan.
 
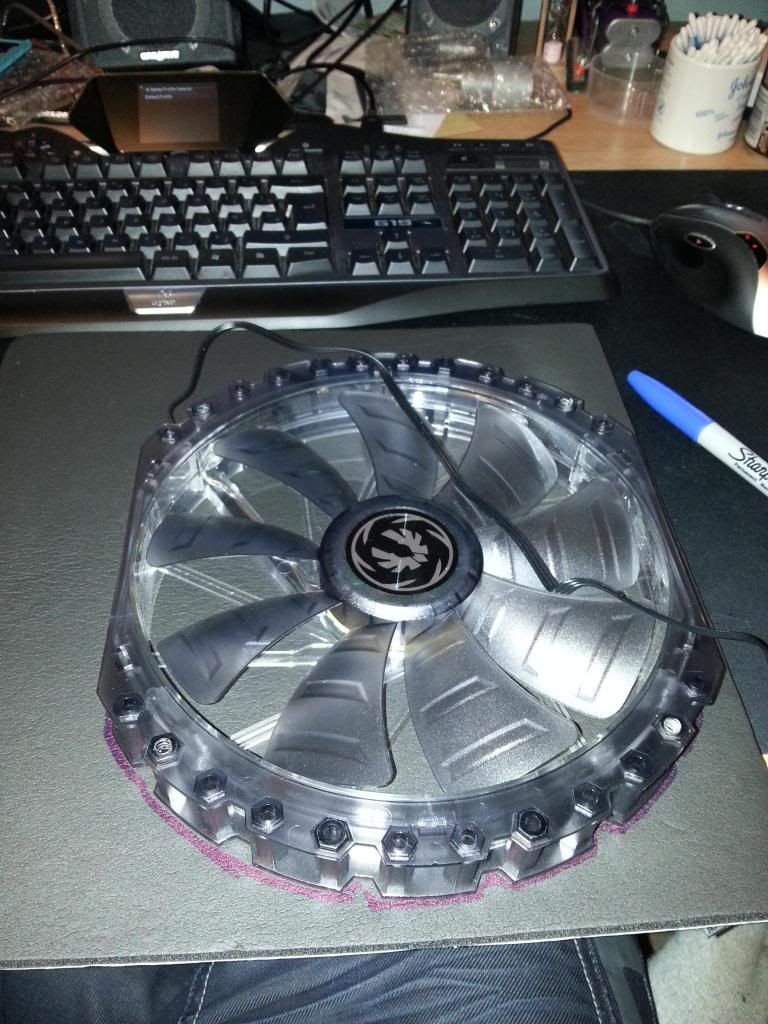
NOOOOOO My silence has been destroyed! the 230mm fan is makeing a scratching sound from within the drive shaft!

EDIT: Woo they are less than £15!

Got one on order with free shipping from OCUK GO ME!
 
Last edited:
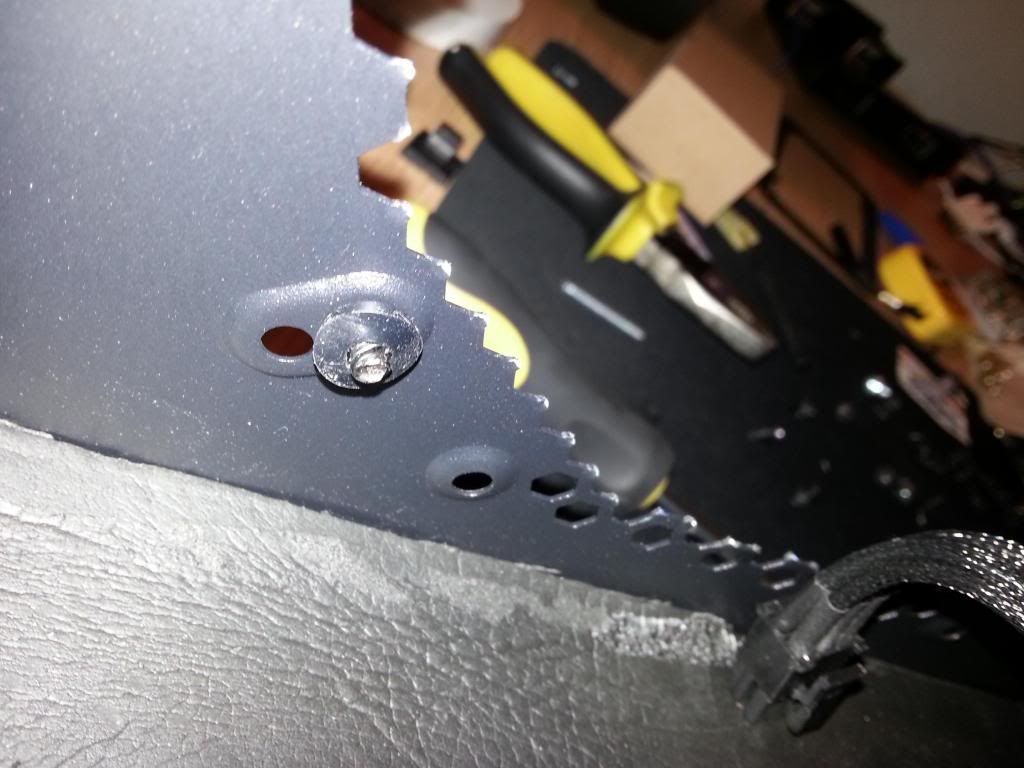
Put the new fan in the front, Looks much nicer as this one is the solid black and it actually makes much less noise on full blast.

Loveing it!
 
Back
Top Bottom