[Build Log] MODZERO KIMKO - PARVUM S2.0

Associate
Joined
16 Oct 2014
Posts
130
KDwB6sv.png


Whilst MOD05 is waiting to get underway I agreed to do a build for a buddy of mine. £1500.00 budget with a couple requests, he wanted a full custom loop with orange coolant in a Parvum S2.0 case.

Warranties need to be kept intact so mods to the hardware are out the window. It'll be a pretty quick turn around as summer LAN is but weeks away. The boys at Parvum have cooked up some additions for the stock S2.0 (orange/black) picked up from OCUK which will be with me soon, so I've held off the case shots for now.


Ss21tEo.jpg
...


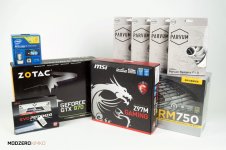
SPECS:

  • Intel Core i7-4790K
  • Corsair RM Series RM 750
  • Parvum Systems F1.0 Fan - White
  • MSI Z97M Gaming Intel Z97 Micro ATX
  • GeIL EVO Potenza 16GB (2x8GB) DDR3 2400MHz - White
  • Zotac GeForce GTX 970 "Reference Design" 4096MB

All bought from OCUK having grabbed a couple items on sale, considering the budget this machine should deliver plenty of performance. SSD and HDD are the only items being brought forward from his current rig.

78SFbt8.jpg
....

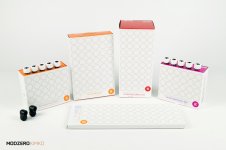
WC:

  • EK Water Blocks EK-DDC 3.2 PWM X-RES 140
  • EK Water Blocks EK-HDC Fitting 12mm G1/4 - White x10
  • EK Water Blocks EK-Supremacy EVO - Nickel
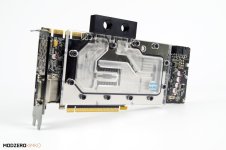
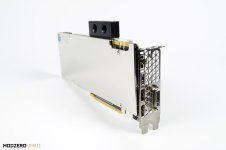
  • EK Water Blocks EK-FC980 GTX - Nickel
  • EK Water Blocks EK-FC980 GTX Backplate - Nickel
  • EK Water Blocks EK-AF Angled 90 Degrees G1 / 4 inch - Black x2

Except the GPU block, these we're bought directly from EKWB, shipping was effortless with everything turning up in just a couple days.
rGeJvBl.jpg
....

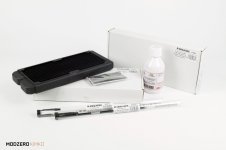
  • DarkSide - Dual LP240 Extra Slim Radiator x2
  • DarkSide - CONNECT Dimmable Rigid LED Strip White - 12" (30cm) x2
  • Mayhems - Pastel Orange 250ml

I'd considered sticking with the EKWB PE series of RADs but feared with the chosen pump/res I'd not quite enough room. I've wanted to try out the DarkSide LP range for a while having seen them in a few great builds. Having used DazMode with MOD04 I'd seen the RADs and LEDs, it was great to see Mayhems carrying these items (saved me on import duties).

Pexon PCs are cooking up some sharp Teleios extensions which will look great no doubt and then I'll get cracking on putting it all together.

I've plenty of 10/12mm E22 tubing left from MOD04 which I intend to bend (first time bending tube) so that'll no doubt drive me nuts. Looking forward to getting my teeth into this one.

Cheers

J.
 
Great idea to use the slim rads with the S2.0. I have two EKWB PE240 rads and while they fit, the 40mm thickness makes things tight!. I am interested to see how the vibration is with the DDC housing feet. I use a vibration pad, but think the method you have selected looks better.

I have the PE240's in MOD04, they filled the space great but with the S2.0 I agree, it would have been tight. The DDC housing feet are great, I've used them a few times in the past. This time around I'll be mounting it directly to the base panel so there is a possibility of desk vibration. However I went with the PWM pump, so a bit of RPM control should minimise that.

Nice, always happy to see a new Parvum based build, looking forward to seeing the case!

Fingers crossed I'll get it posted tomorrow! I'm expecting a Parvum Parcel in the morning.

That's a nice healthy budget and great spec list.

Isnt it just. You tend to see a lot of BTO rigs at this price point that don't offer the same scope. I get it, you gotta build it and make a profit and blah blah blah.. so when my buddy was asking for my advice I started pricing things up and got excited. I love the build process, I hope to build many more.. but when your not a big player in the modding scene nor super active in the right places, building for friends is a great way to get some builds under your belt.


Cheers, it's gonna get better.

So tomorrow, the case 'extras' are due to arrive and possibly the PexonPC extensions (he posted them to FB, they look awesome). time permitting I'll get a shoot done of both and get the update posted.

J.
 
KDwB6sv.png


UPDATE 1: THE CASE

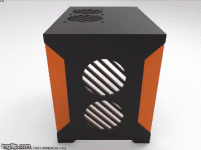
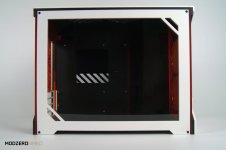
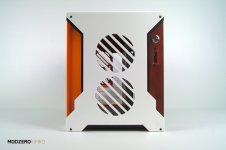
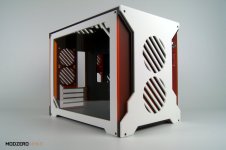
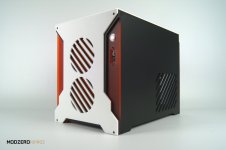
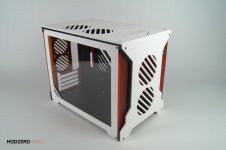
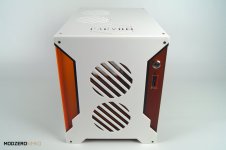
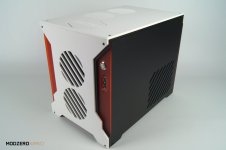
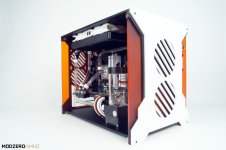
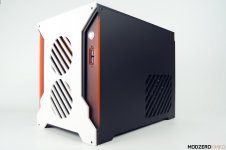
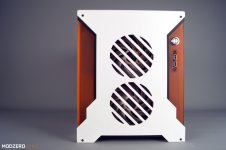
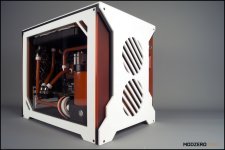
This is the stock Parvum Systems S2.0 - Black with Orange. Having seen the third layer panels Parvum had used on the Nvidia UK builds and again on Snefs (awesome) Green Karnage II case I mocked up a crude SketchUp adding an extra two panels to the S2.0 and sent them over the Parvum boys.


1XYRUkV.gif


Swapped out the black window frame panel for white one and added the white PCI bracket.


5eCBWyq.jpg

mWN0QbX.jpg

u3PQJ9F.jpg

fmQ6Vxi.jpg

I'm happy with the result, the case looks great! the black interior panels will help balance the black PCBs and Rads whilst the white should make the fittings and fans pop.

Fh0bb4N.jpg

WWjJPRv.jpg

cYivsVc.jpg


Should have another update shortly with the PexonPCs extensions. So, what do you think?

J.
 
Fantastic case mate, love the colour combinations, matching cable extensions I presume?

yup yup, mainly teleios white with single orange and black lines in the 8 pin PCI and 24 pin ATX. PexonPCs posted them on his FB, I'm hoping to get some photos taken today of them.
J.
 
KDwB6sv.png

UPDATE 2: PEXON PCS EXTENSIONS

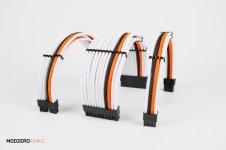
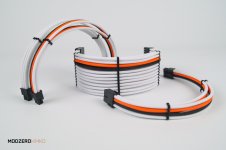
Quick update folks, Pexon PCs here in the UK offer a great range of cable braiding services and having used them on my WCFT03 and MOD04 builds, they really do great work. This time I went with the extensions option, opting for a Teleios white braid. Pexon got in touch and asked the color scheme for the build and came up with these.


2IyPj13.jpg
...


ldhckAI.jpg
...


You can check PexonPCs out here or on FB here

I've started putting some of the hardware in the case, should have another update soon.

Thanks for checking it out.

J.
 
KDwB6sv.png

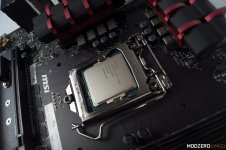
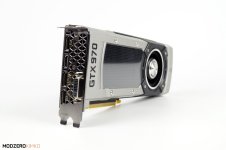
UPDATE 3: MSI Z97M Gaming & Zotac GeForce GTX 970

The build is moving along nicely, I'm hoping to have it finished by the weekend. But whilst I finish working on the loop I thought I'd share these images I took of the MOBO and GPU.

3s3ojYv.jpg

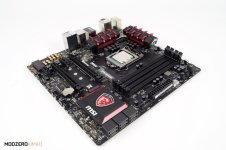
I went with this board for it's mainly black design, as modding it was out the question I'm glad the red accents are just that.. accents.

OddRJnd.jpg

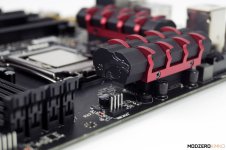
If I were building myself an MATX Z97 rig, I'd go with this board. The build quality is great and the extra details in the heatsink designs are pretty cool. I was happy to find no stupidly placed fan headers, liked how black the PCB is and thought how the debug screen shows the CPU temp a great little touch.

3oTM9VZ.jpg

Overall really happy with the MSI Z97M GAMING, seems a great little board.


NMHehgZ.jpg

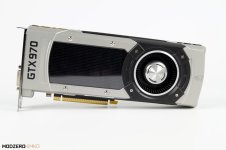
Went with the Zotac GeForce GTX 970 for it's reference design. I'm not a fan of the short PCBs found on most the partner designed boards. The extra length gives me clearance off the width of the motherboard to tuck the cables nicely.

jWO7edz.jpg

Plus... who doesn't like the Nvidia reference cooler!

Id2J3ao.jpg

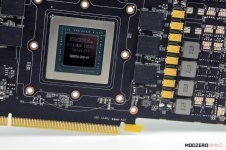
It was almost a shame to take it off, spot the single rogue dog hair..

aGIBLJi.jpg

Not the greatest shot of the EK FC980 block but it'll do. I use the same block on an actual GTX980 in MOD04. When lit by the 2x5mm LED holes you really need to look down on the block to get that great visual of the coolant. With MOD04 the card is in a SFF case which meant all the LEDs did was show off the CNC toolpaths.

LWMARHX.jpg

With this project I'm gonna stick to the Darkside LED strips. Shortly before I took these I had the hardware running on a test bench to ensure no surprises once the loop is in. The MSI BIOS appears well thought out and I had no issues getting the 16GB 2400mhz DDR3 RAM to run at the correct speeds.

KIMKO (the name of the fella this build belongs too) is coming this weekend to collect, so the heat is on to get the hardware fitted and the loop complete.

I'd not bent tubing before and found the process best executed by timing your sweet ass time. I bought some bending mandrels but found the bend radius to be too large for a MATX build and ended up using a piece of copper I picked up from a local store to get those tighter bends.

I'll be back with another update tomorrow once I've shot a couple of the loop complete.

Thanks for checking it out.

J.
 
KDwB6sv.png

UPDATE 4: THE LOOP

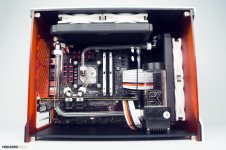
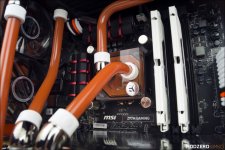
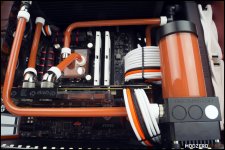
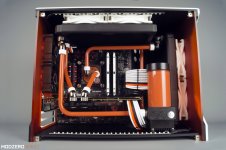
The loop is in! I ended up making use of some Bitspower fittings I had laying around to minimise the number of bends each length required. You can't really see it in these shots but the output from the pump to the front RAD was a journey of burnt fingers and frustration. It called for a 180' and three 90' turns in a single length of tube.

qmk457T.jpg

I'll be leak testing the loop with deionised water this evening, then drain and mix up the Mayhems Pastel Orange.

R576zH2.jpg

RES/PUMP > RAD > CPU > GPU > RAD > RES/PUMP

g809gPM.jpg

Still need to add the rear two 80mm fans, the two Darkside LED strips and hookup the PSU. It's getting there.

Thanks for checking out the update.

J.
 
KDwB6sv.png

UPDATE 5: FINAL SHOTS

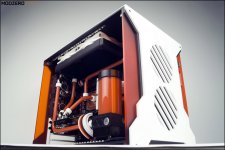
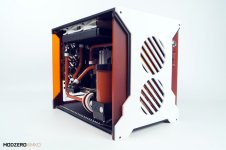
Kimko has been and gone with his new PC. Had a lot of fun with this build, it was nice to have a project to work on whilst MOD05 suffers more delays. This was a £1500.00 budget build, Not cheap certainly, but far from the monster magic we see a lot of. I wanted the challenge of taking a healthy PC budget, a figure I think many would consider expensive but not outrageous and deliver much more than you'd find from a vendor (which was the route he was headed).


6tEhaGk.jpg
...

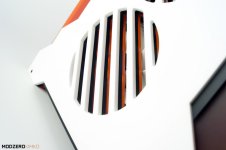
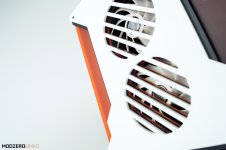
That extra front panel adds some great flare to the fan grills.

iQprJLJ.jpg
...

I can't fault the Parvum F1.0 fans. I used the F1.0's daisy chain cables to connect all four fans to the CPU2 header. Being PWM this offered me the simplest control via the EFI. The EK DDC PWM pump is hooked up the CPU1 header and MSI's great fan monitor tool in the EFI (which I much prefer to that of Asus offering) allowed me to set some RPM/'c rules.

Tvssori.jpg
...

vik7IZL.jpg
...

INpfFut.jpg
...

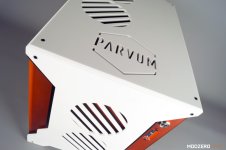
Three sides white, three black and a touch of Orange. These extras were a cheap addition direct from Parvum. I'd say to any S2.0 owner, get in touch HERE and add a little something to your own S2.0. It really gave the design a unique look.

rAgNThI.jpg
...

First time bending tube, first time using EK hardline fittings and first use of Darkside rads. Can't fault any of the hardware, I have been impressed by the rads (both needed a good flush!) and whilst bending was a steep learning curve, it was a lot of fun. The coolant is 'Mayhems Pastel Orange' with about 50 drops of 'Mayhems Orange Dye' (I bought the pastel as a concentrate and whilst I mixed it correctly there must have been just enough water still in the rads (left over from the leak test) to make the coolant look like cheap peach soft drink. The Mayhems thread on OCN offered swift advice and half a bottle of dye later I got the shade I was looking for.

8th5iKe.jpg
...

VBgYrsc.jpg
...

d1J3wyh.jpg
...

Whilst the build did come in under budget, I admit I donated a few items... The BitsPower fittings and the two 80mm NoiseBlocker fans came from WCFT03 and the E22 tubing I had left over from MOD04.

qP4WvmG.jpg
...

DrabVxV.jpg
...

I ended up pulling the two Darkside LED strips out, I bought them with molex pass through rather than 3pin fan connectors (dimmable). so once they were hooked up they could have lit the burj khalifa!!!

I added two 3mm LEDs to the CPU block and that alone gave the case a nice level of illumination. Decided to add two 6mm LEDs to the GPU block then fit a GPU width mirror to the floor panel. Those Nickel Plexi EKFC GTX980 blocks are too pretty not to be seen. I'll make the LEDs and obtain the mirror and get them fitted at the next LAN.:dremel:

EstgK8I.jpg

So there we have it. I'd say thanks for all the support and great input but it appears the project past by in the night, here at least... haha.. not to worry. I'll be back with another project a little later in the year.

J.
 
Love it. Nice work, one of the nicer Parvum builds I've seen, certainly better than any thing black and red ;)

Reminds me a little of the TitanFall build

Thanks, The Titanfall parallels are certainly there. Difficult to differentiate when they share a common case design and color scheme. His build was certainly an influence, like all of JamesWalt1's work. The man is a master craftsman.

J.
 
Love it nice work!

I had always wanted a Parvum case for my build but decided i would look for alternatives just because everyone has seemed to start buying them.

Hard set on one now!

Haha, I know what you mean. However, the vast variety available allows for so many possibilities. Like this one.. it's just the stock black and orange S2.0 bought right here at OCUK. I sent an email to Parvum systems with some photos of other Parvum mods which gave an idea for the sort of thing I wanted (granted.. I did a little mock up in Sketchup, but it wasn't needed). The extra panels cost very little and gave the finished case a very unique look amongst the many out there.

I think this is the Parvum appeal. Everything is changeable and the service great. makes for a good experience.

J.
 
So what have the temps been like with the DarKSide RADS? I am thinking about replacing my 40mm RADS with these or the EK SE. I am interested to know how they perform.

I didn't get much time with the finished build before it was taken home, but from the the bench tests I did I found the RADs to be great performers. temps didn't top 50'c. It's all very subjective, but in the config above the fans and pump don't go 100% until the temps are much higher so for it to hold solid temps in the mid ranges of the F1.0 RPMs I was impressed.

Great looking build, really liking all the builds in Parvum cases that have been appearing of late - makes me want to get one haha :D

Get one! You'll love it.

J.
 
Thanks for the info Joe, that is good to know. Now I just to decide what vendor I choose for the thin RADS.

The Darkside LP240 rads I used here are a perfect fit, good performance but thin enough to allow plenty of work space for pump/res and clearance above the mobo. Others have used the EKWB PE series, I used them in MOD04. They are thicker but they'll still fit. I hear EK are releasing the SE series soon (same thickness as the Darksides). Black Ice do some great <30mm rads. As do Alphacool. Plenty of choice.. haha

Just a quick question, did you drill through the base yourself to mount the pump? If so, I take it was fairly straight forward?

I did mate yeah, the acrylic is really easy to work with. Securing the pump was one of the last things I did. I fitted the loop to ensure the pump was in the correct spot before drilling, then used some masking tape under the pump. Used a pencil to mark on the tape where each mounting point was, removed the pump res from the loop, removed the floor panel from the case (whilst everything else was still fitted, be careful as the sides are not too secure without the base) and used a small drill bit first then a larger one.

Hope that helps.

J.
 
Back
Top Bottom