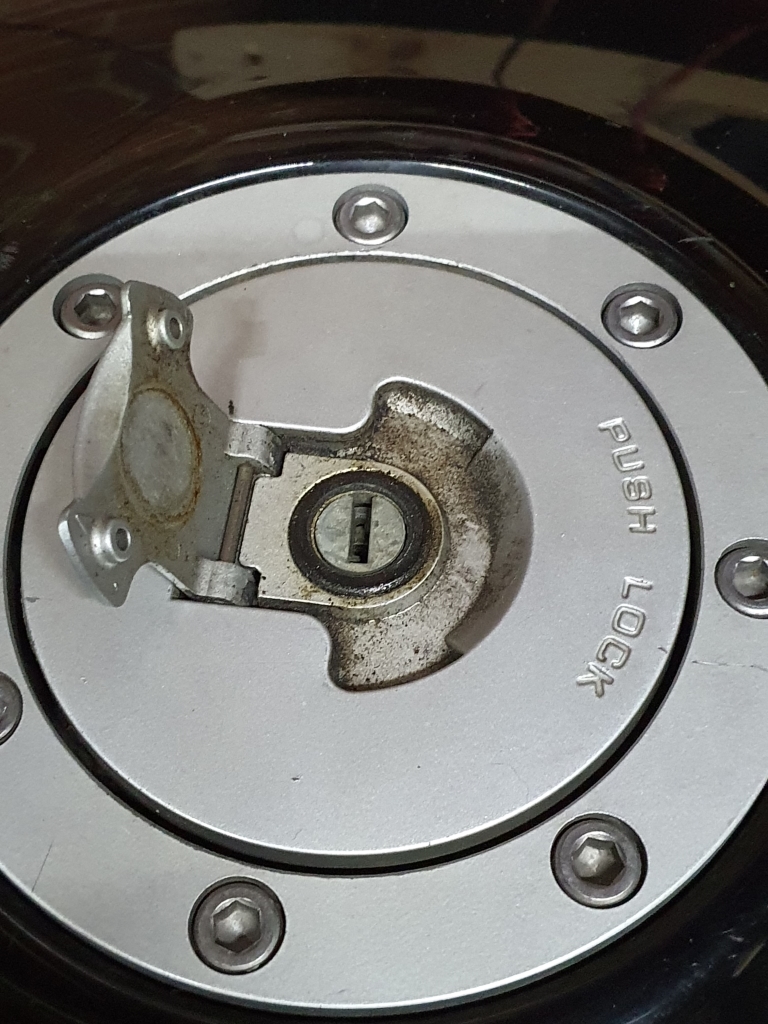
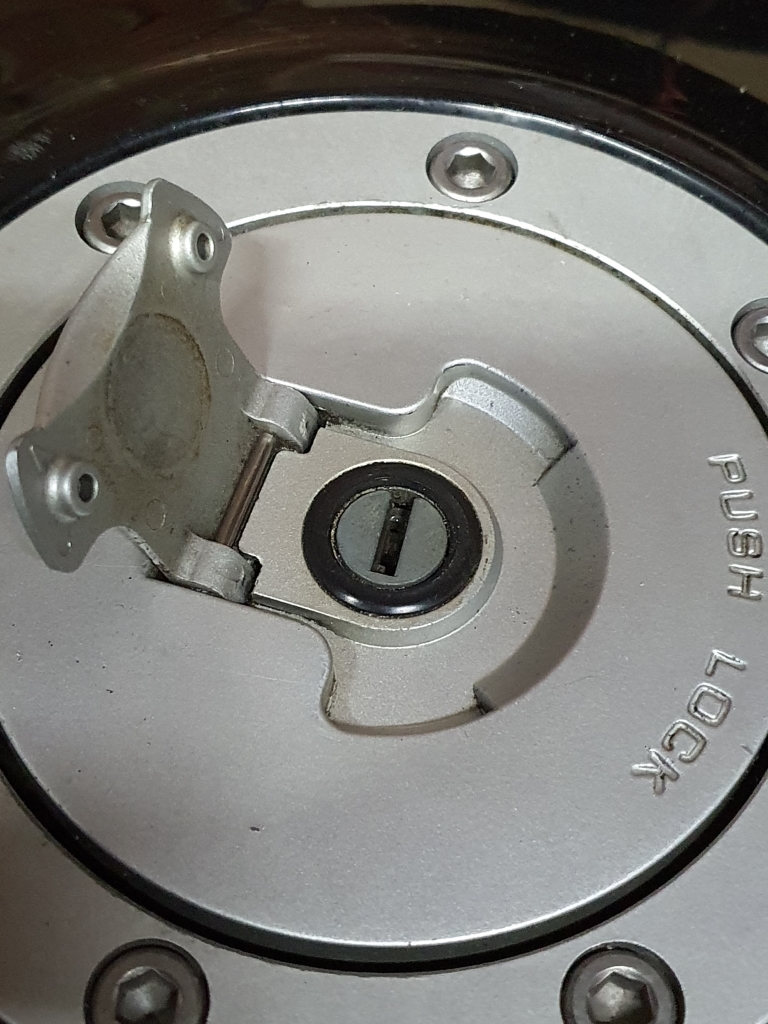
CBR600F2 - Another Project!

Joined
20 Oct 2002
Posts
16,995
Location
In a house
I decided to look at another project. I was riding my Hornet less and less, due to enjoying the 400 so much I found I was putting it into more regular use, which was not the original plan!

So, I went looking about at CBR600F(x) (of varying eras) and looking at prices, decided an F2/F3 would be the sweet spot to find a cheap project that I could likely fix and make into a reliable "hack", that will replace the Hornet when I sell it on.

I spent a few weeks looking about, and kept going back to an F2 import that had been up for a few weeks (5 weeks) at £1000 on facebook marketplace. It listed as a non-runner, but looked to be in pretty tidy condition.
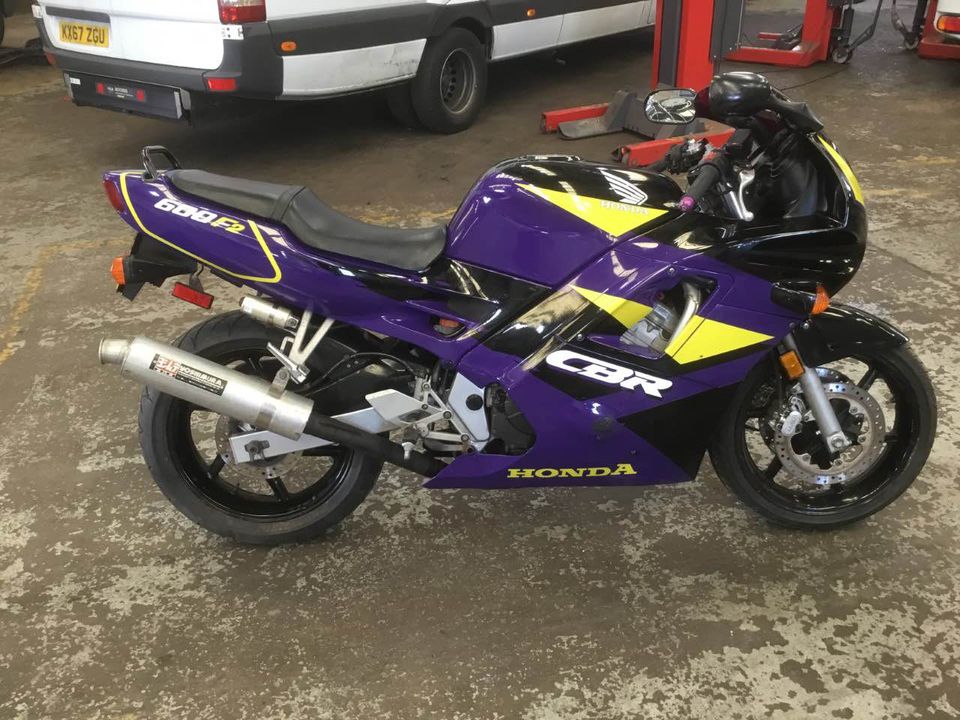
CBR600f2ADVERT.jpg


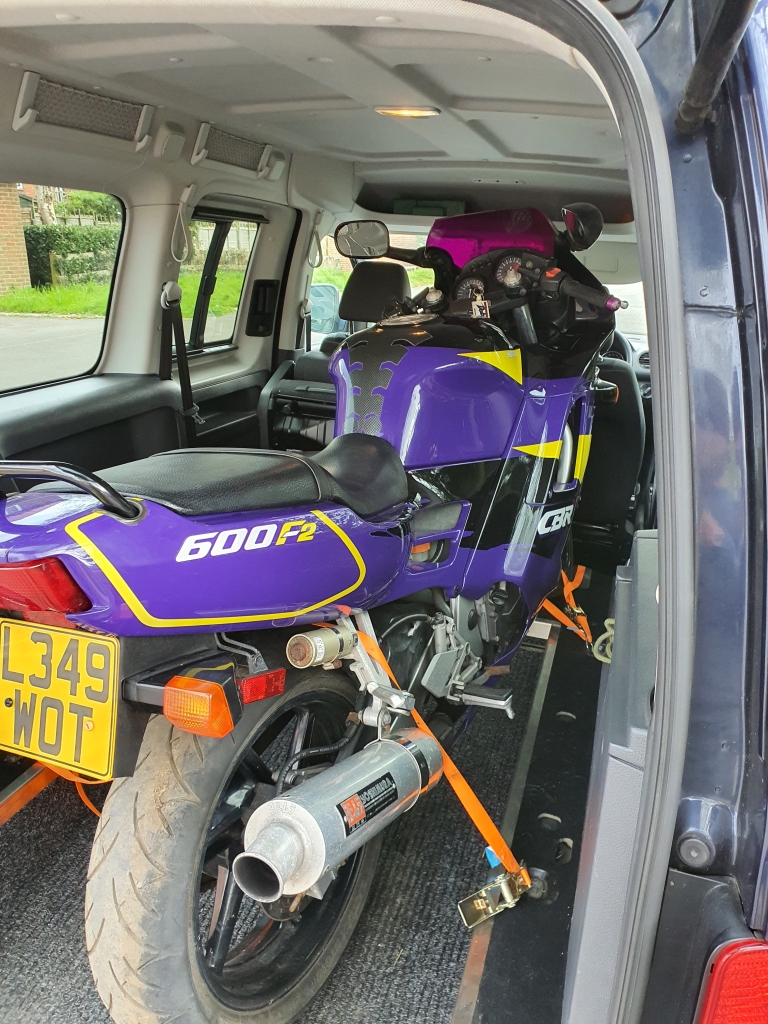
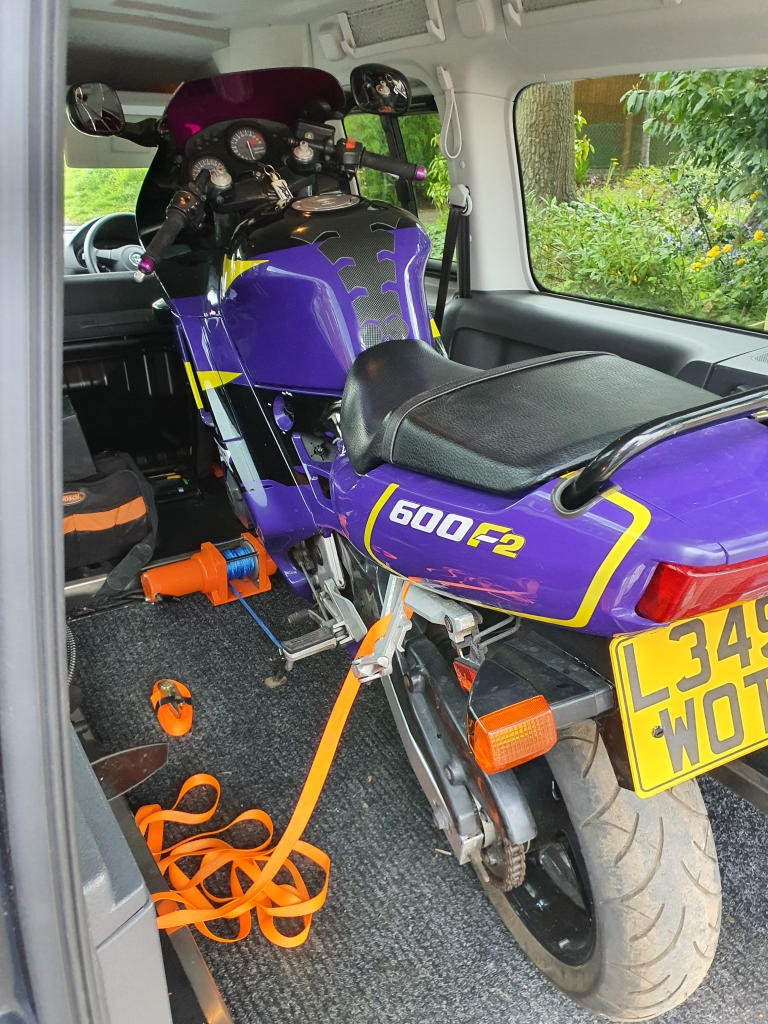
HOWEVER, there was a spanner in the works. First issue was the location (about an hour away), and it had no MOT, and was apparently not rideable. So, my had recently gained access to a vehicle that I thought would make a perfect bike transport vehicle! An ex disability equipped VW caddy high top thingy, with a split tail, and winch already built in...

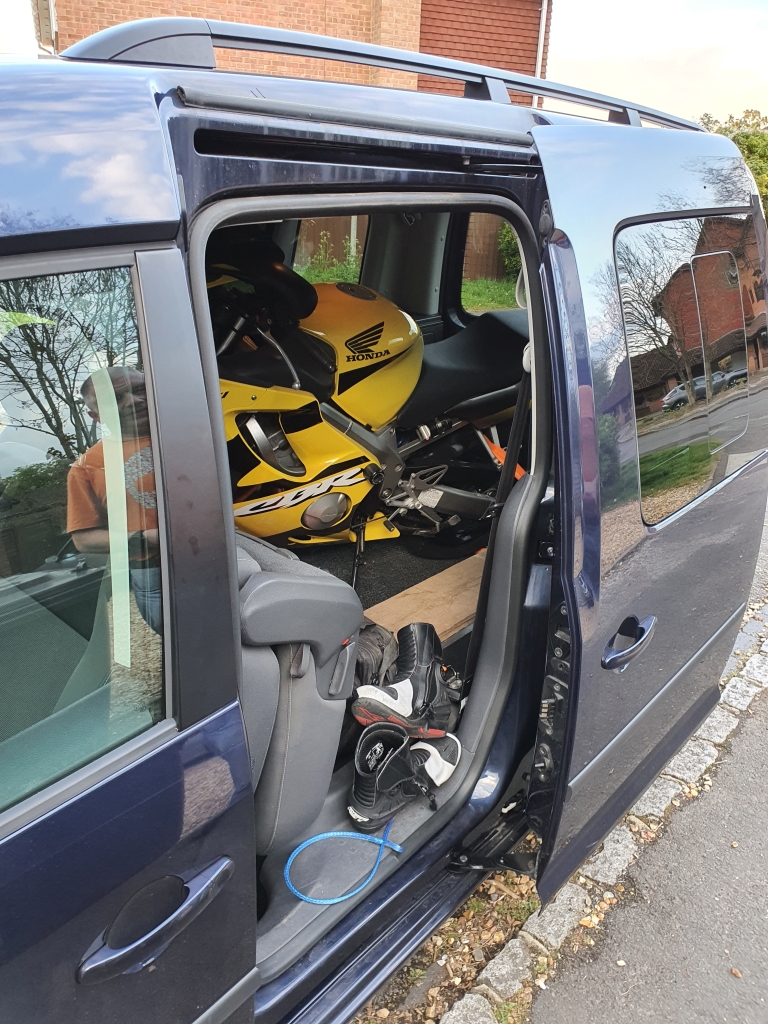
Very fortuitously, a guy in my village asked if anyone could move a CBR600F4i a few miles from a garage to his house so he could get it running in the summer! Bingo! The bike is almost identical dimensions to my proposed F2 unit. So we had a go, and Boom:
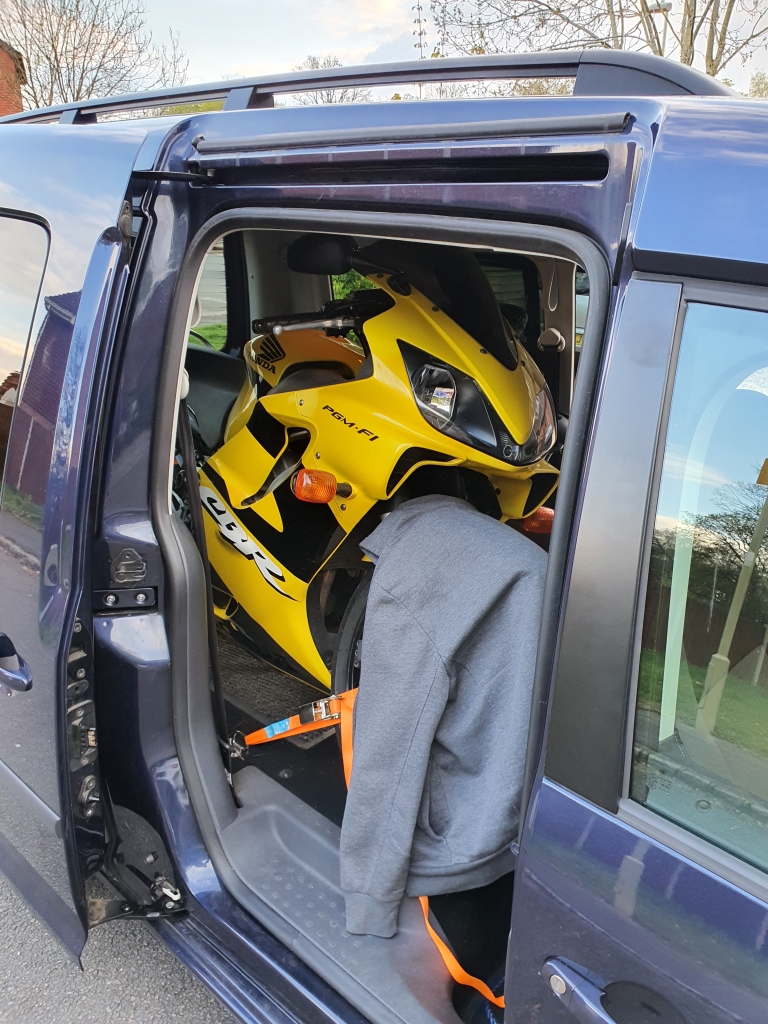
CBR600F2001.jpg

CBR600F2002.jpg


It fitted like it was made for it! I learnt a few things transporting it the few miles, and the unload/reload was success. Had to make some tweaks to the dropped tail to let it drop further to make using a ram a lot easier, but ultimately, it did a great job, and the game was on.

Arranged to pop over on the Bank Holiday weekend (Sunday) and upon seeing the bike, it would not start (which they thought it would), the manifold was shot, but it had had new manifold stud/bolts done very recently. I also found the disc on the front right was badly cracked/damaged. Managed to get the price down to £650 in the end.

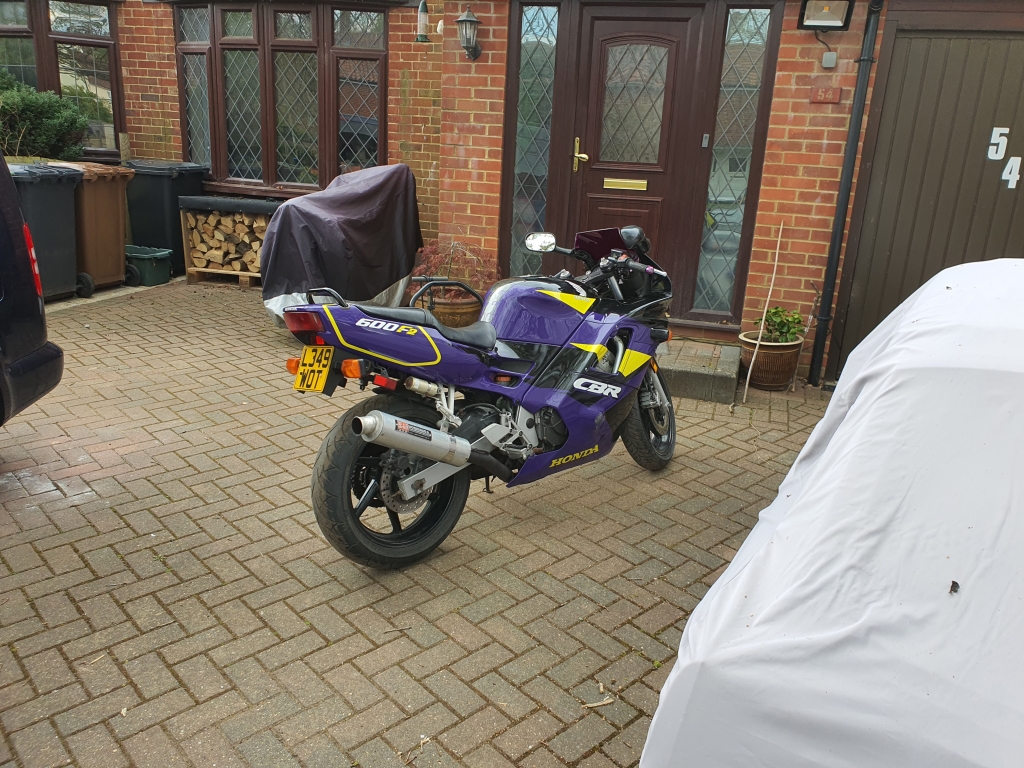
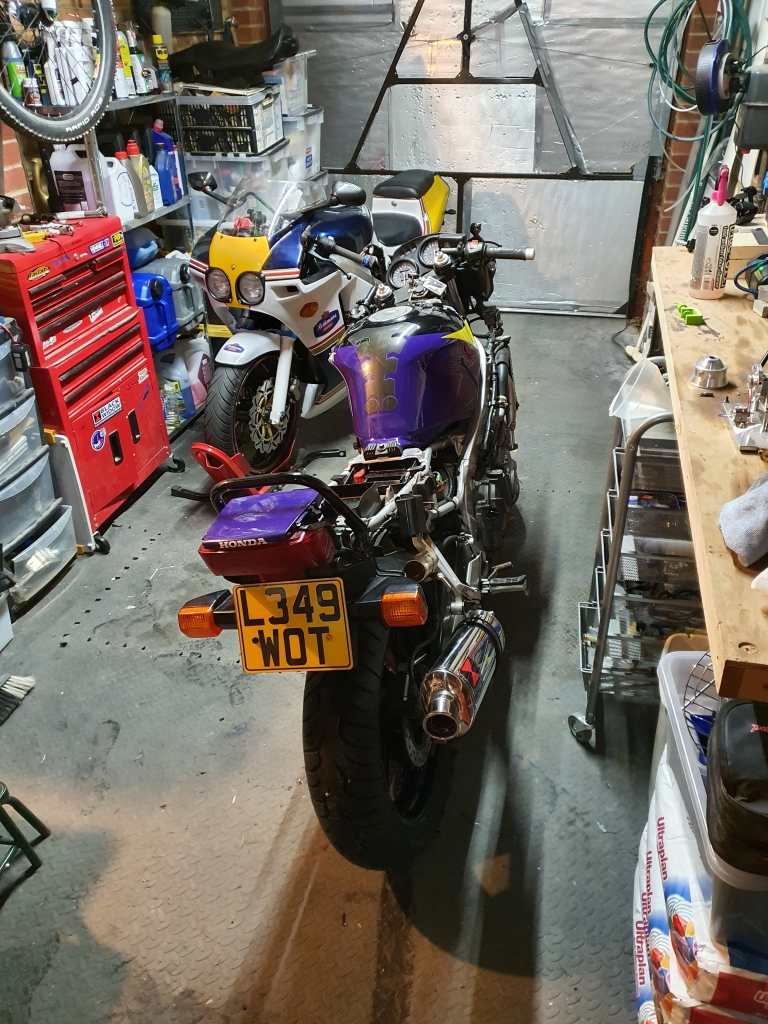
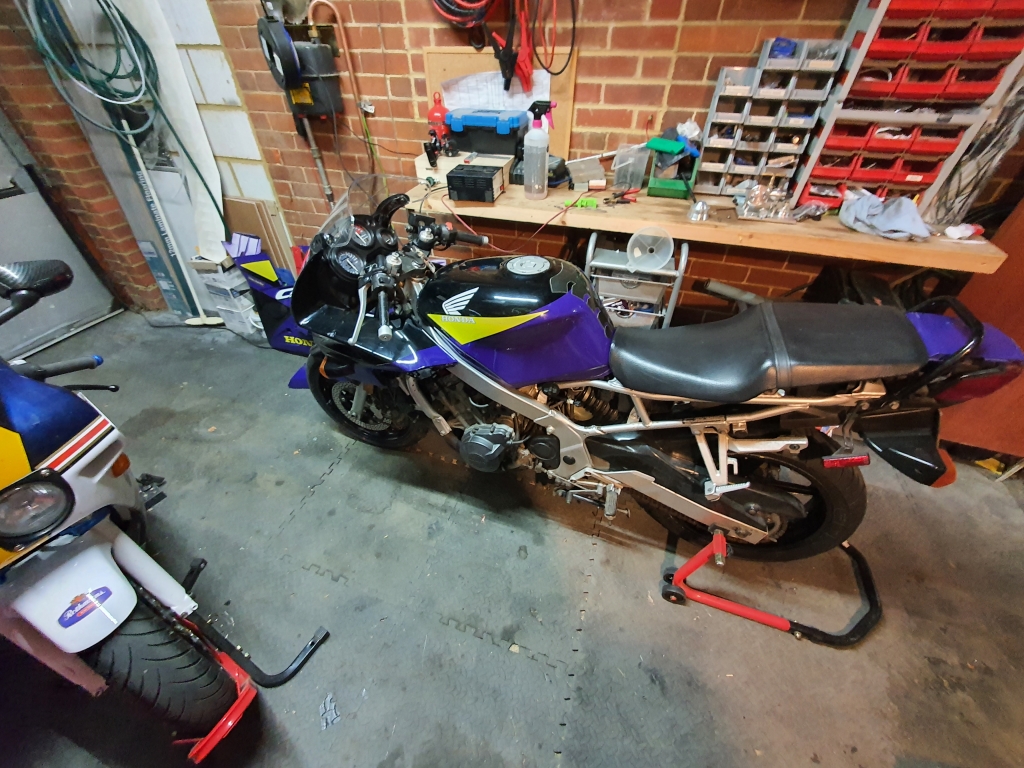
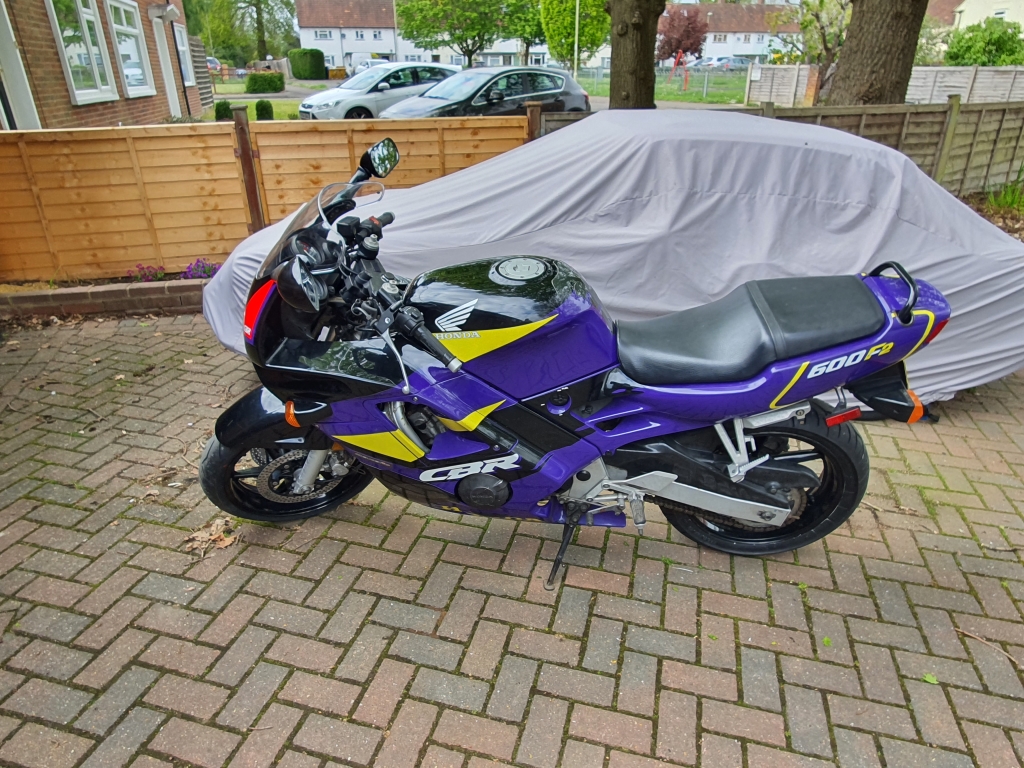
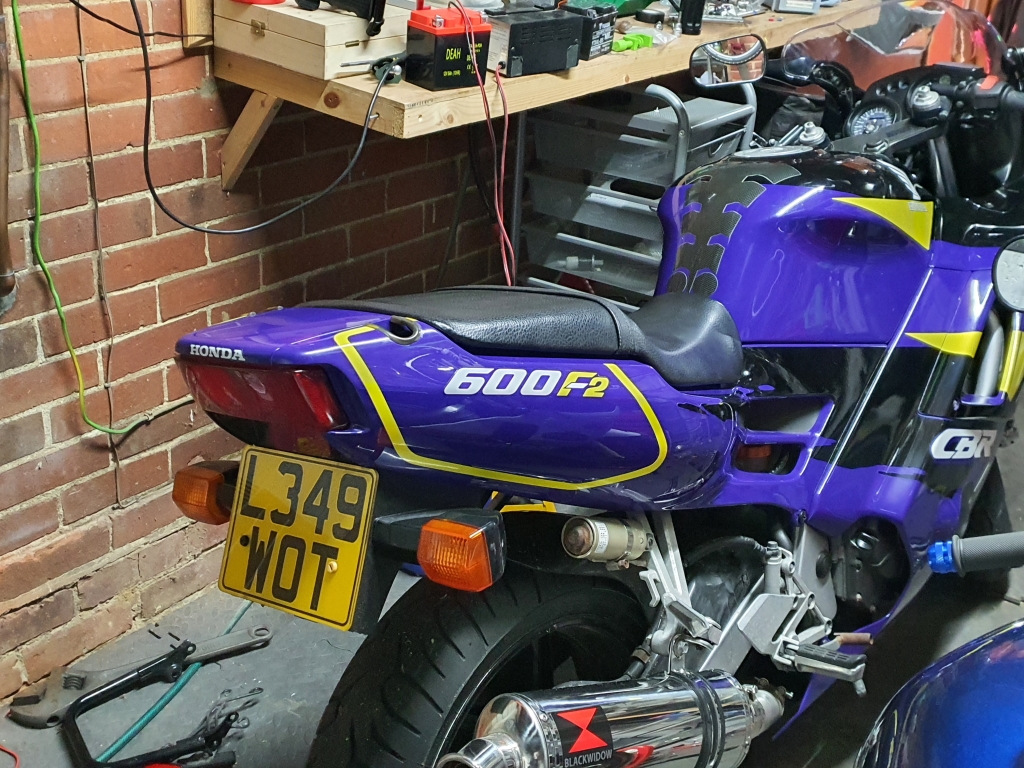
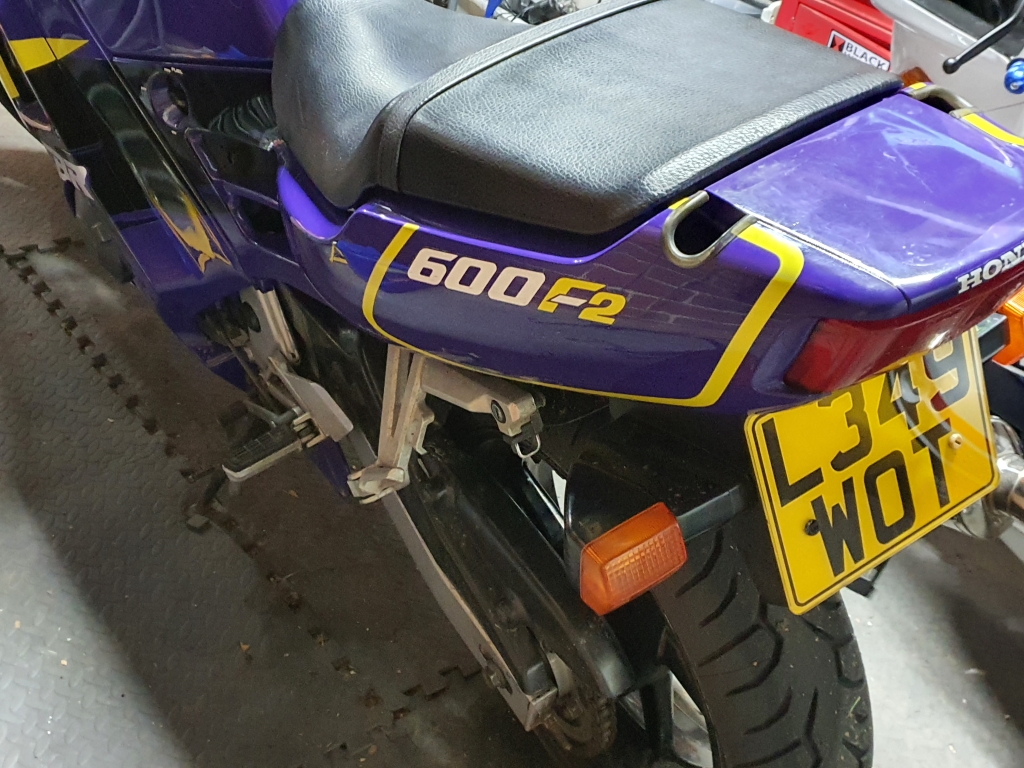
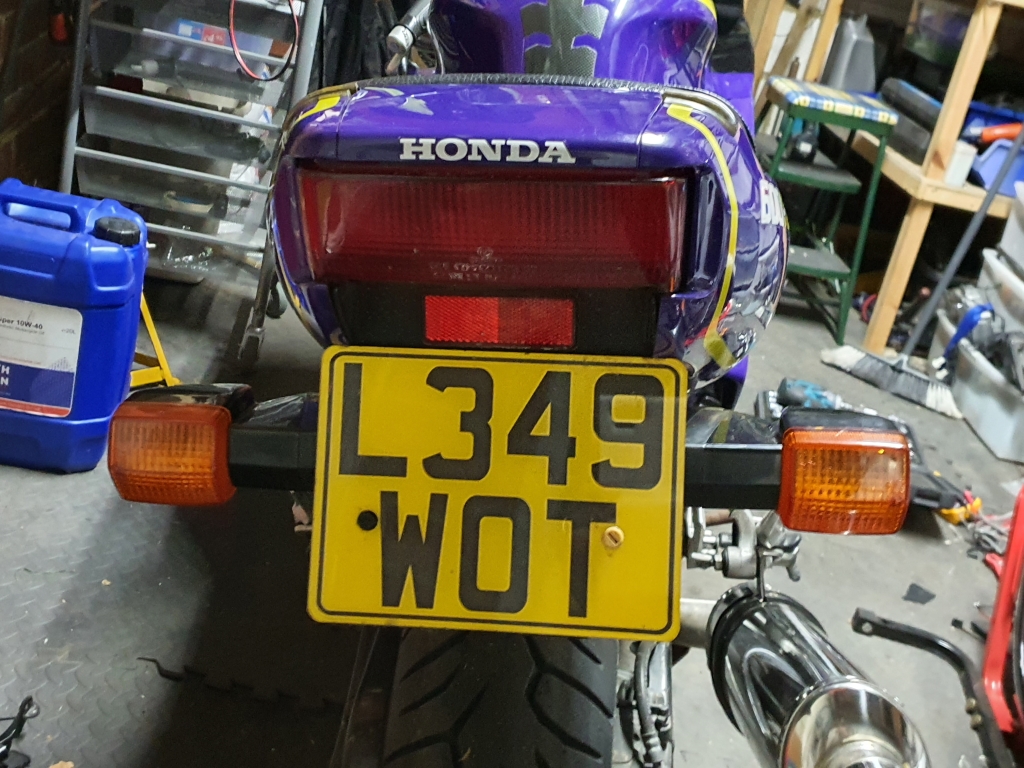
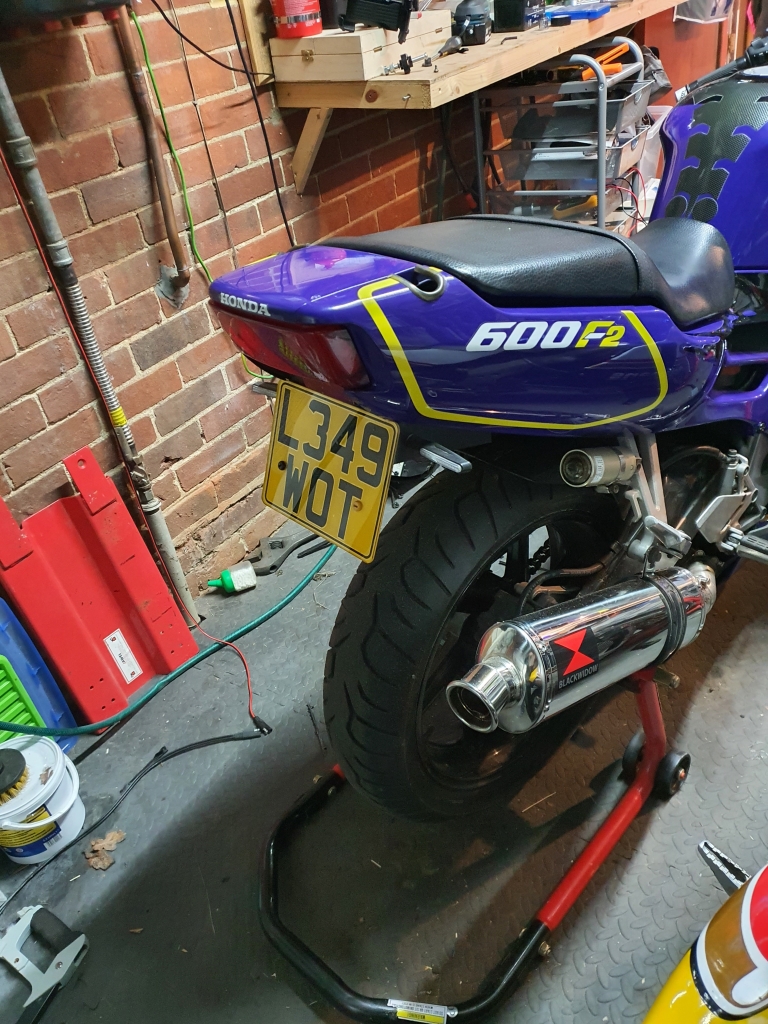
Whipped it into the "Van" and drove it back home. Here she is! Oh, and I love the plate!
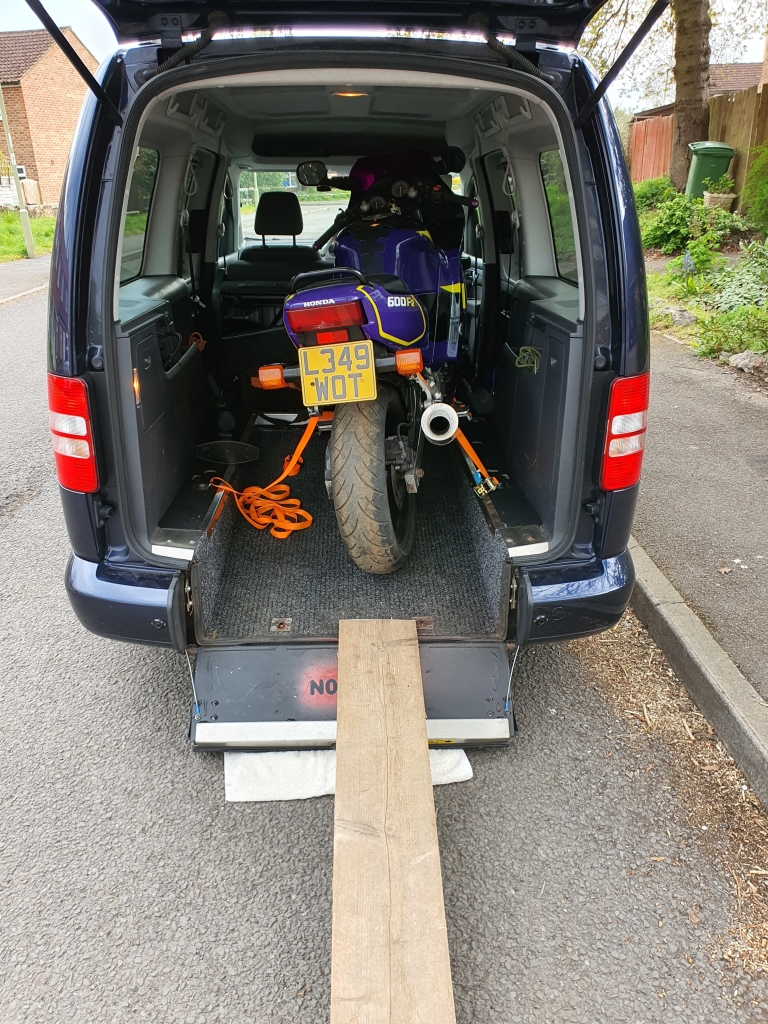
CBR600F2003.jpg


Some pics in the transport:
CBR600F2004.jpg


CBR600F2005.jpg


Unloaded!

CBR600F2006.jpg


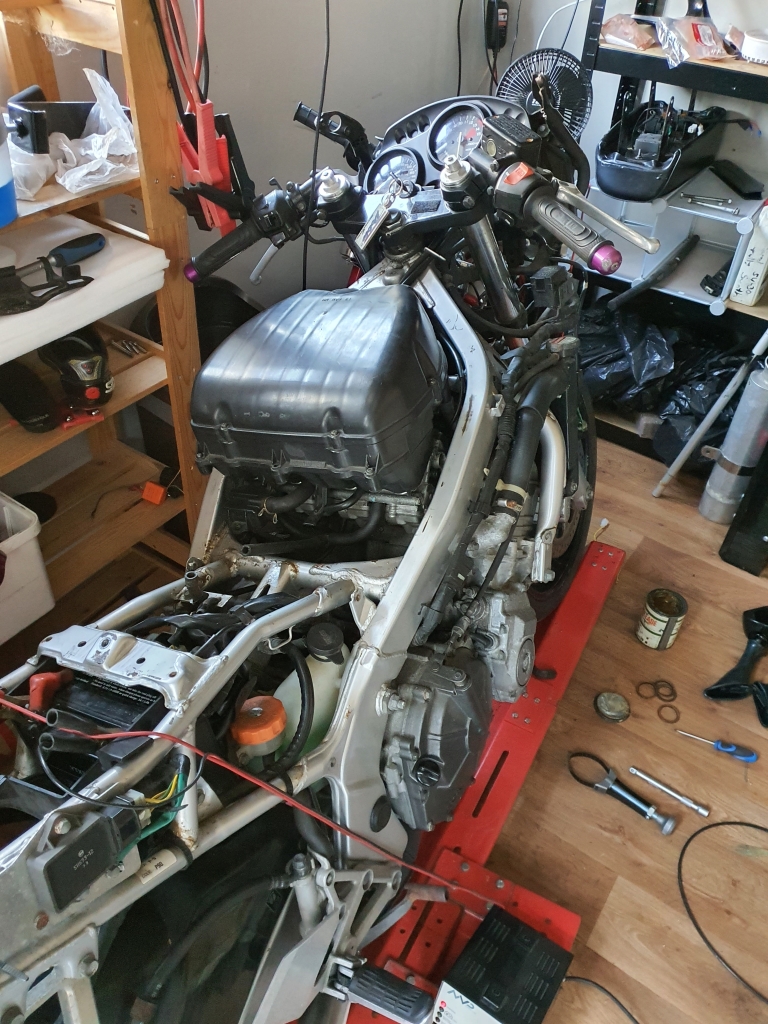
I added some fresh fuel drained the carb bowls, checked all the connections. Fuel was coming through, and it sounded right, but just would not start! I started to whip the fairings off, and had a good look through, check the timing chain was still hooked up/etc.

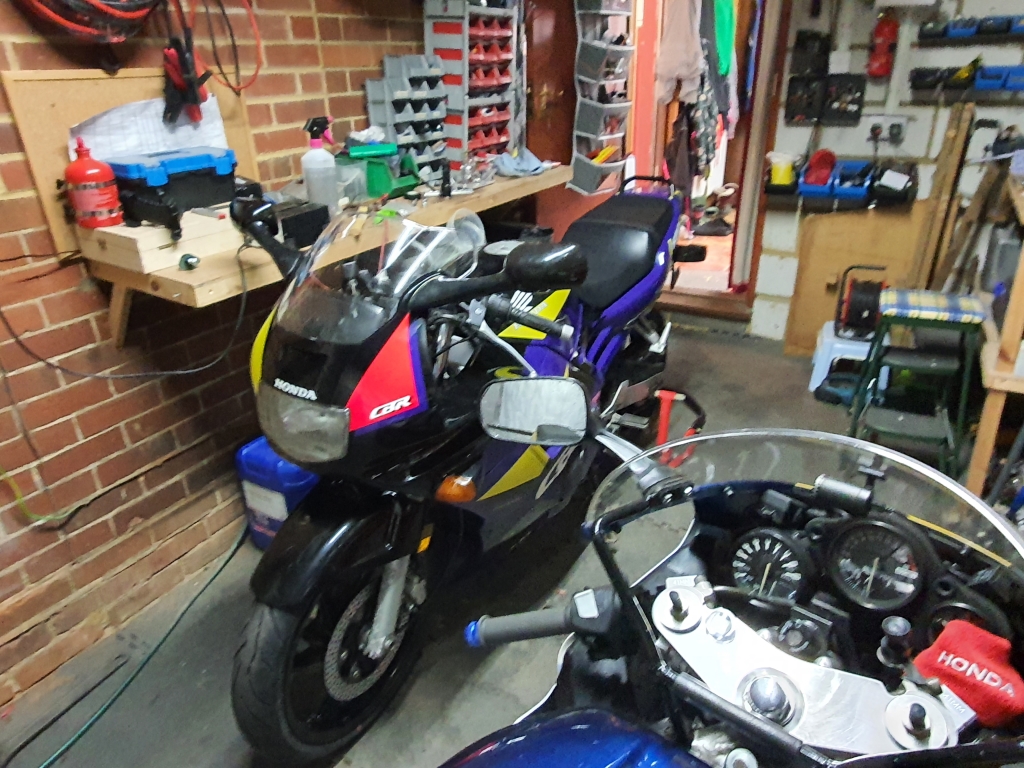
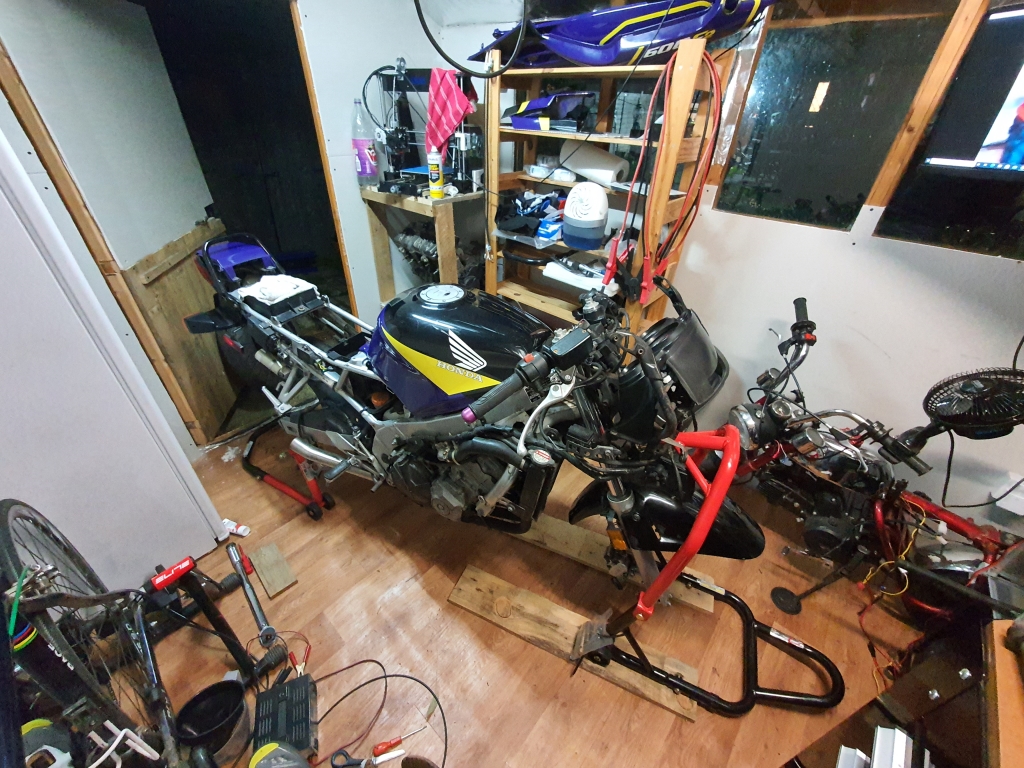
I gave up, and wheeled it through to the shed for further examinations, in a nicer environment.

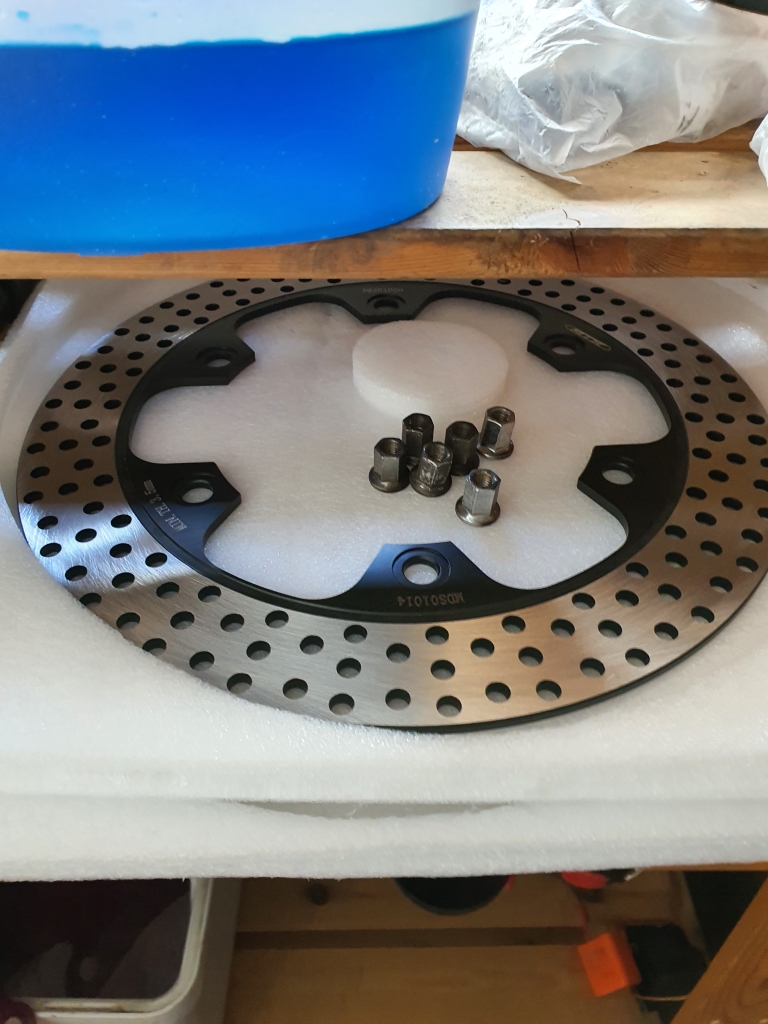
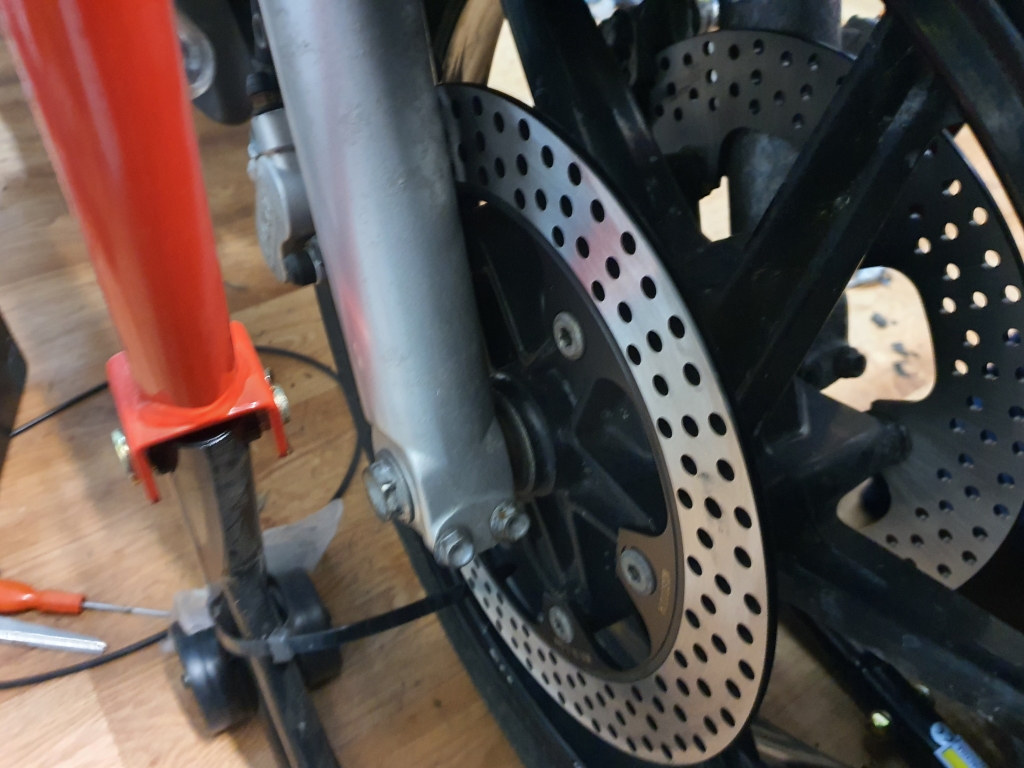
So, what else needs doing? The right disk is knackered, full of cracks/chips/damage. So I have ordered a full new set (even though one side is ok) as it felt like a bad idea to change only 1!
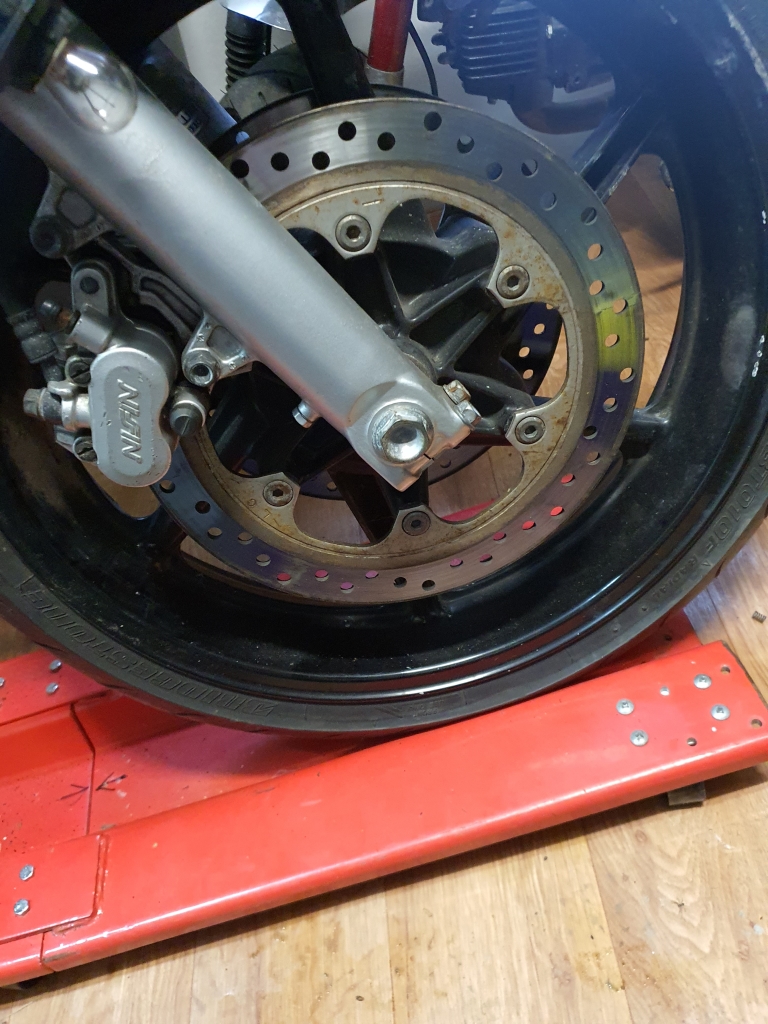
CBR600F2007.jpg


Other side - Passable, but worth changing together I feel:
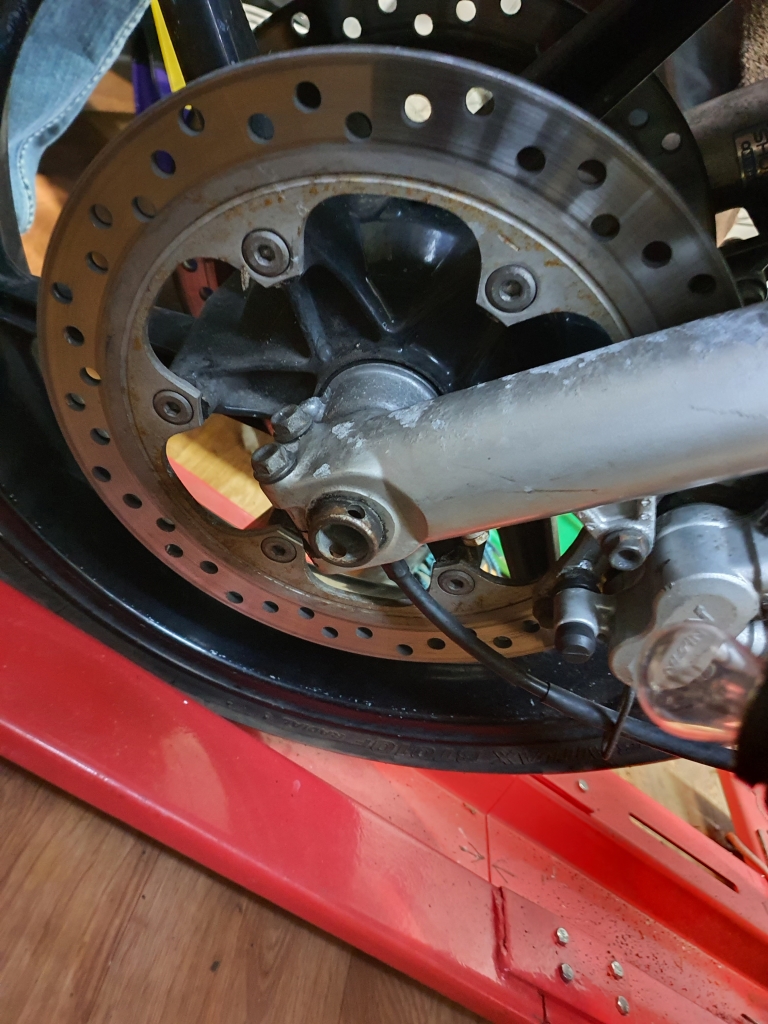
CBR600F2008.jpg


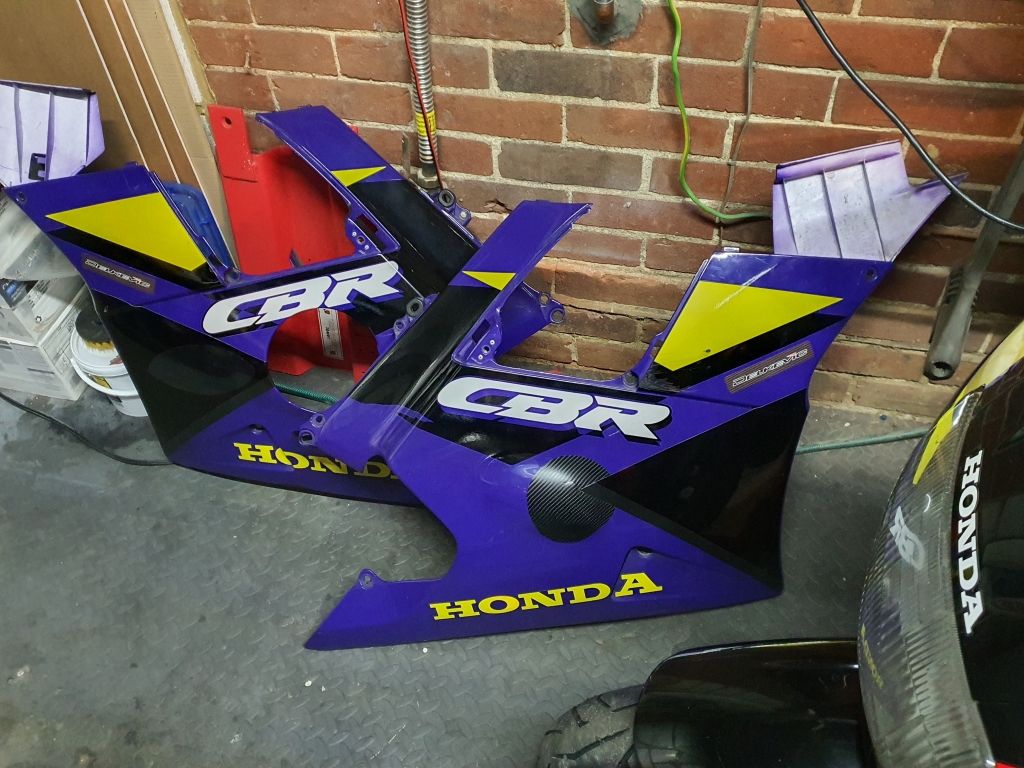
Fairings off, everything is laid bare, the screen is horrible, broken in the corner, and I have a replacement ordered in clear (STANDARD!):
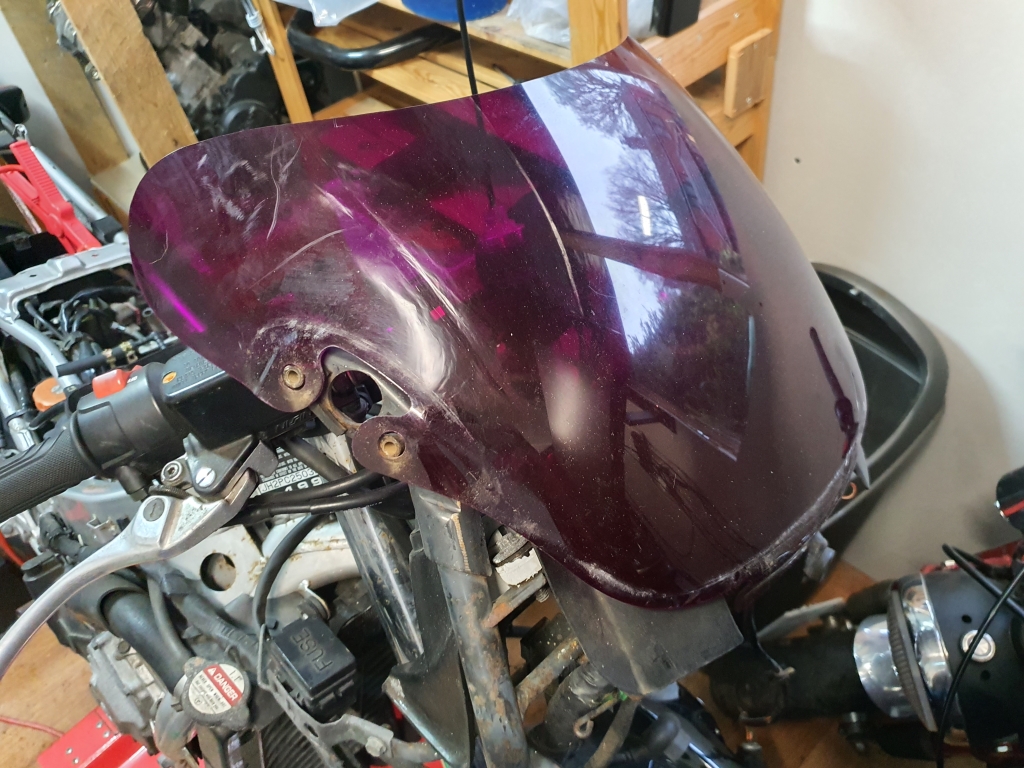
CBR600F2010.jpg


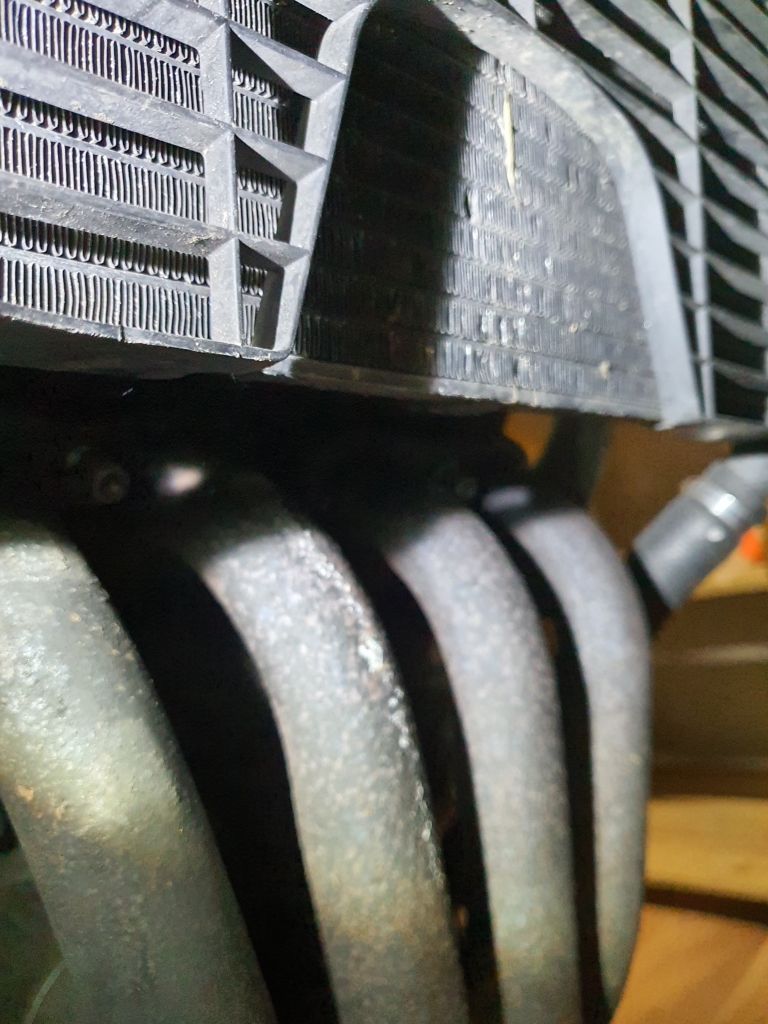
Manifold with a little bit of the paste that was used to hide the crappy welding/holes fallen into the pipes down below. No good - Ordered a new one!
CBR600F2011.jpg


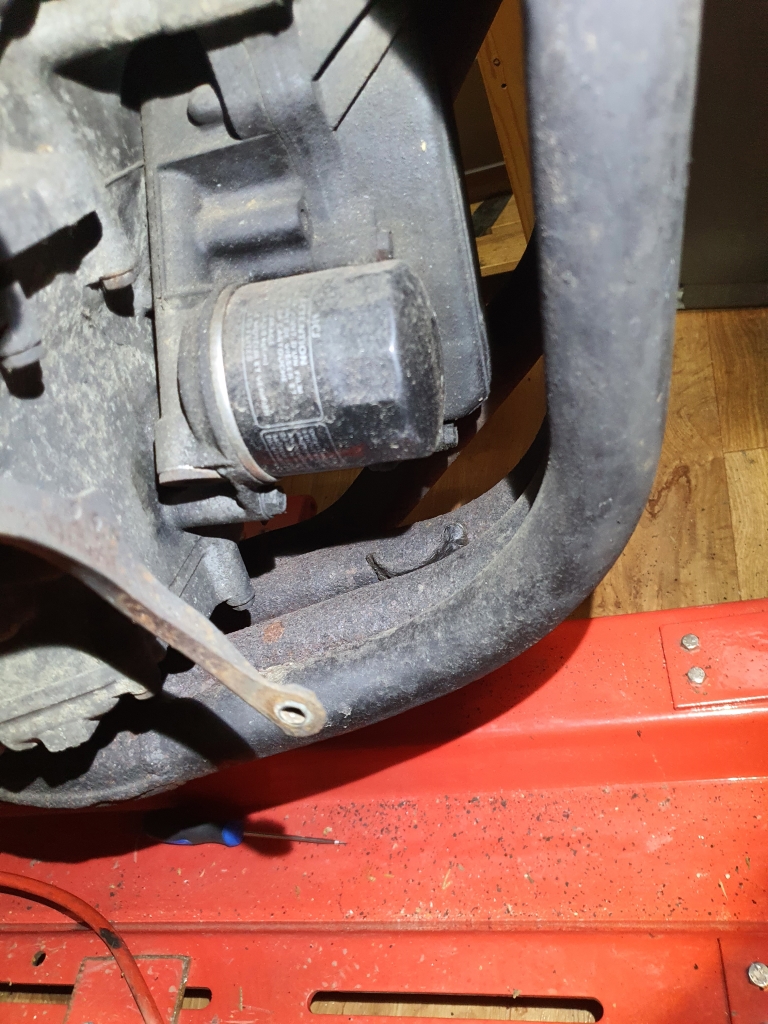
Little bit of surface rust some of the inner frame sections:
CBR600F2012.jpg


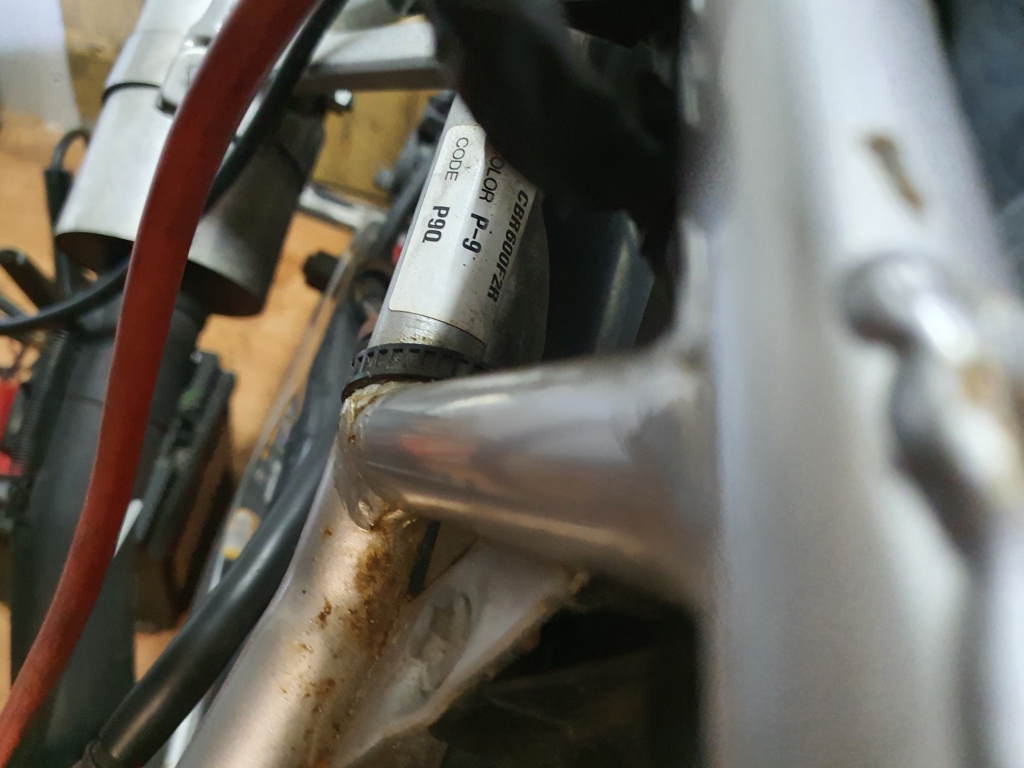
Most of the bike is sort of dusty/watermarked like this:
CBR600F2013.jpg


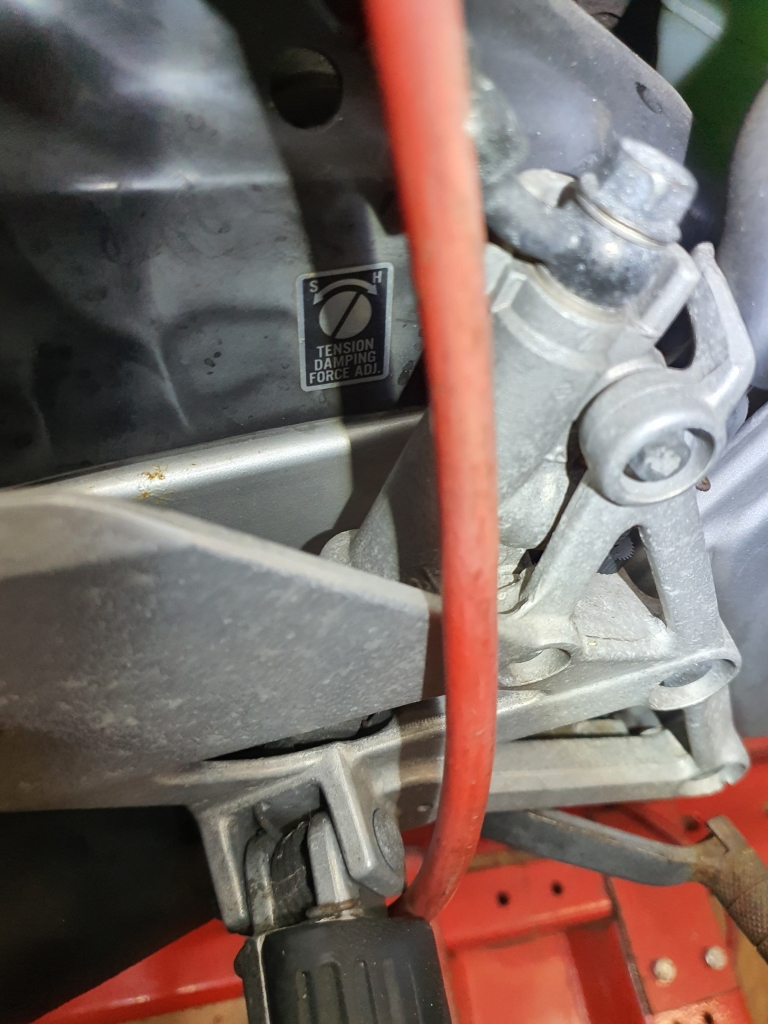
Should all clean up pretty well.

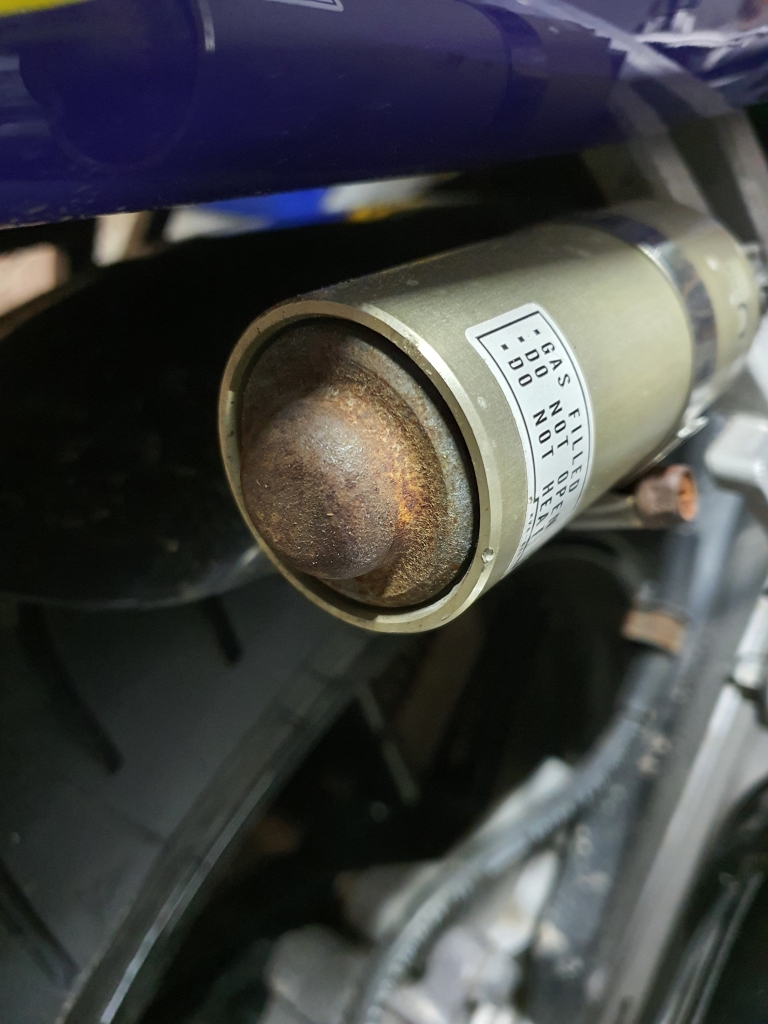
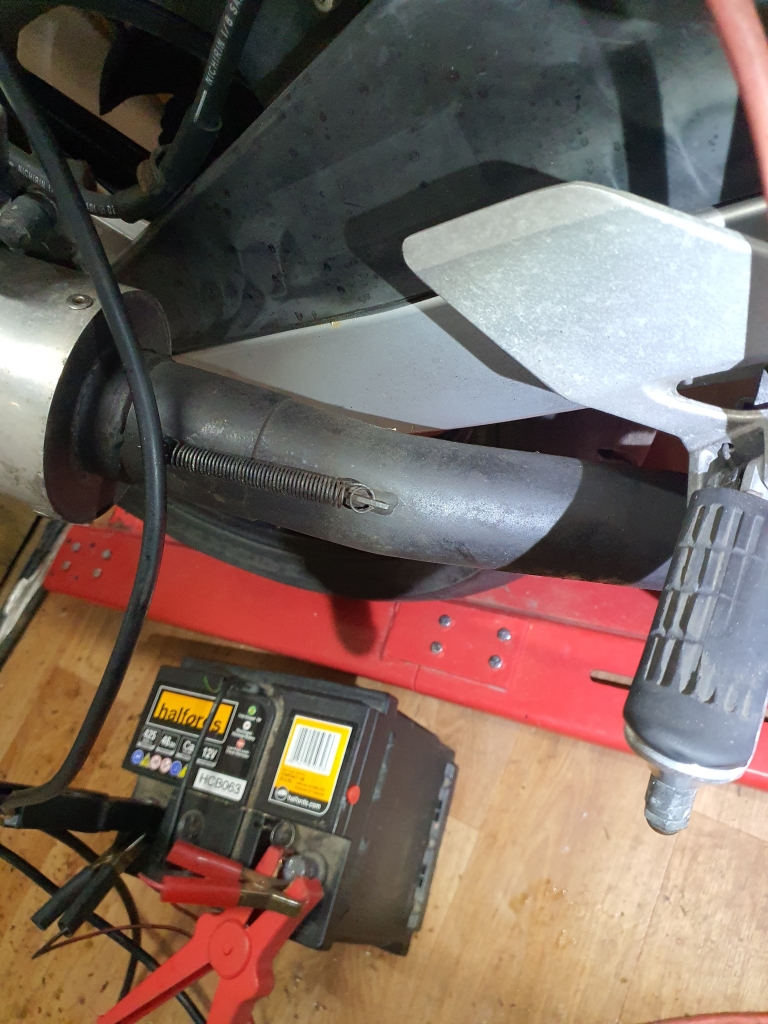
The Yoshimura exhaust looks in great nick all over, and should bolt up nicely to the new manifold when it turns up!
CBR600F2015.jpg


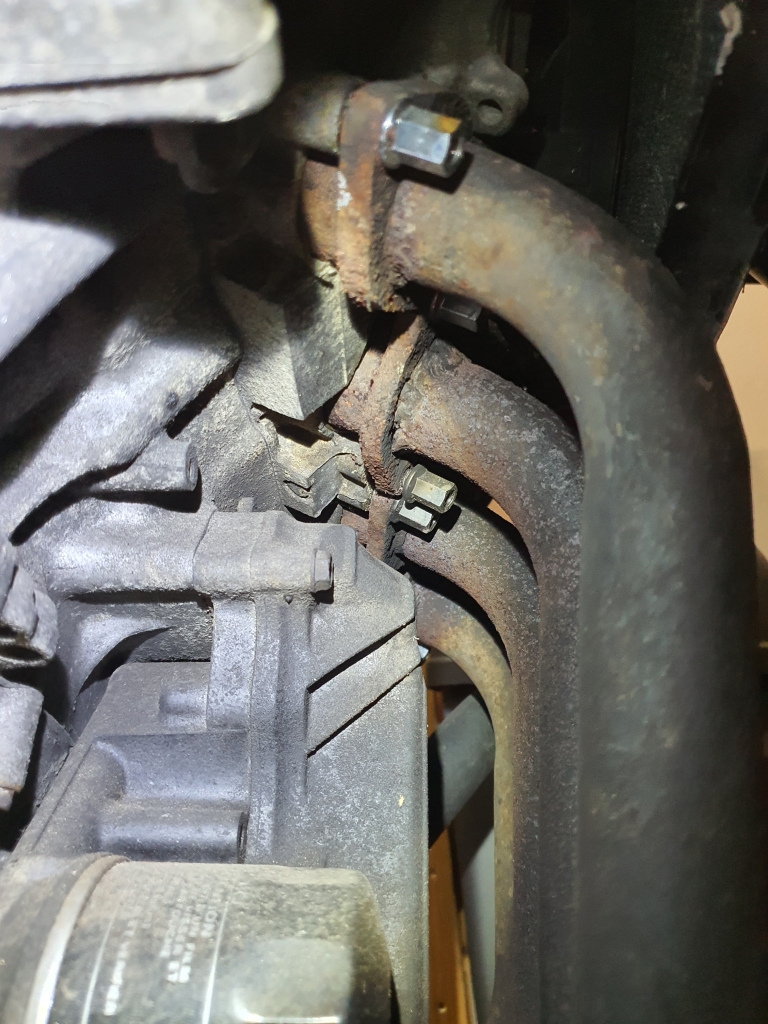
Top of the manifold is a mess, but the new bolts/studs should really help with the replacement :D
CBR600F2016.jpg


CBR600F2017.jpg


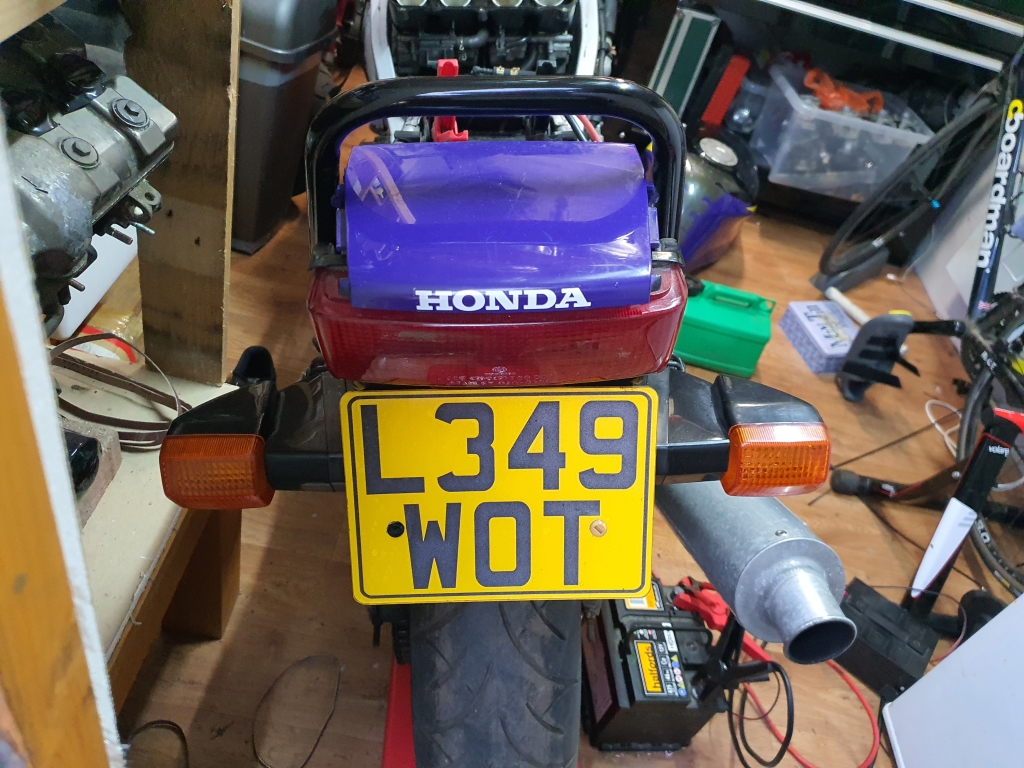
Rear end looks in pretty good nick too:
CBR600F2020.jpg


Ordered load of consumables and extras to replace the tatty stuff:

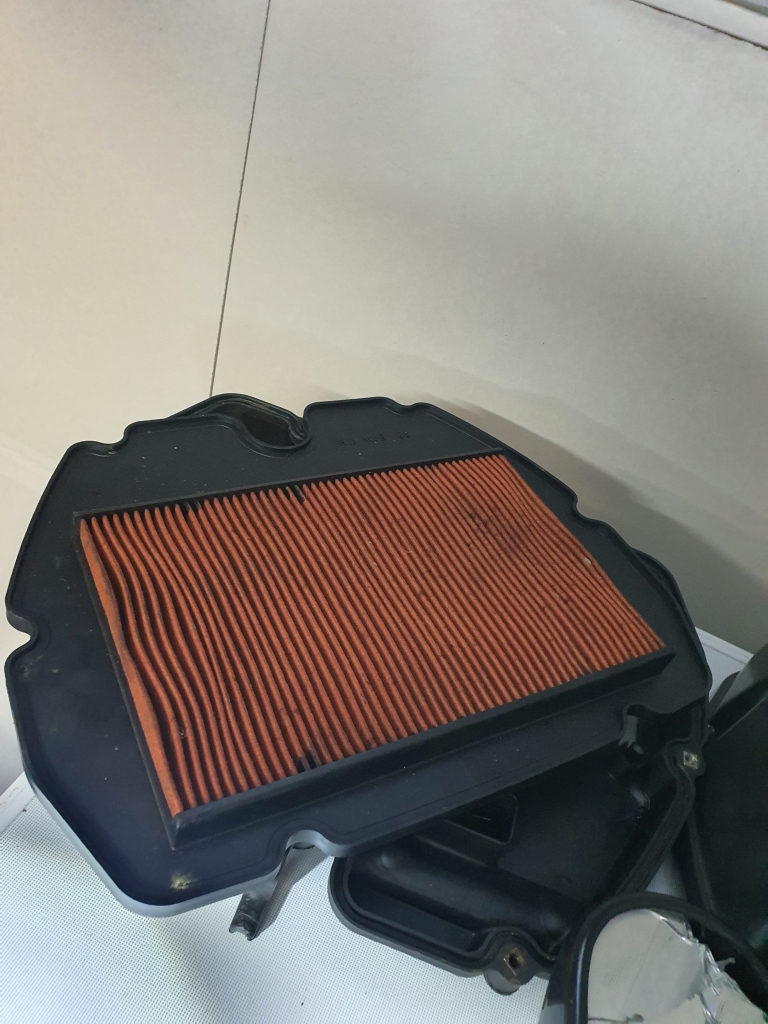
Air filter - on order
CBR600F2021.jpg


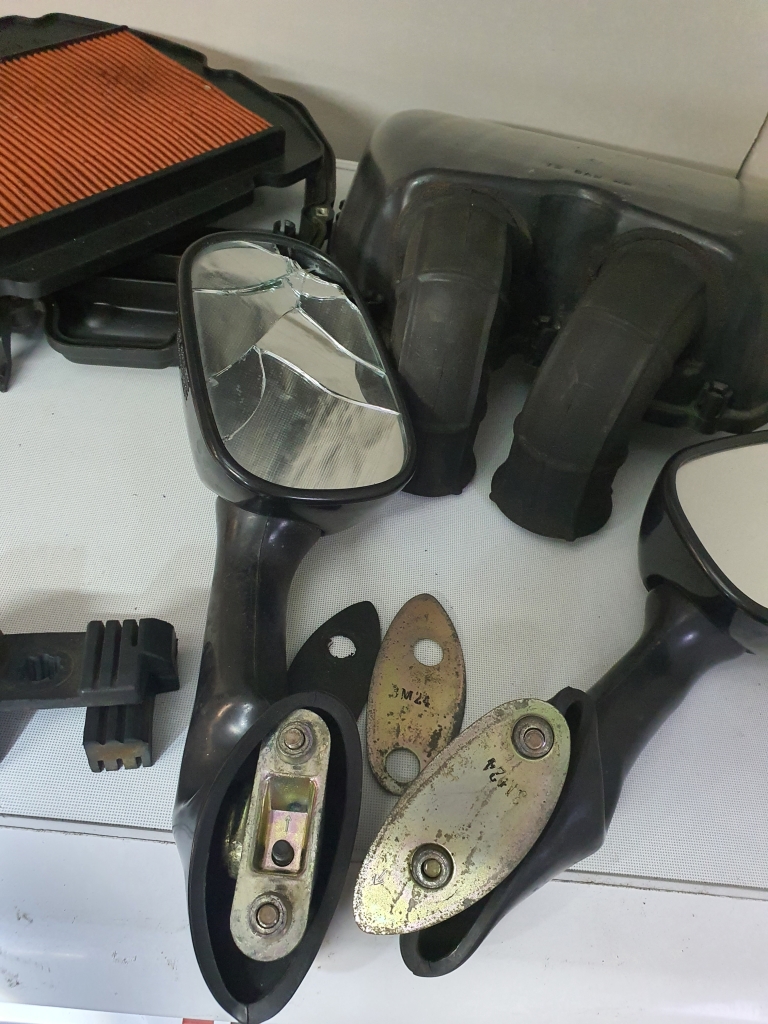
Ordered new mirrors, as I figured a single replacement might not match up anyway!
CBR600F2022.jpg


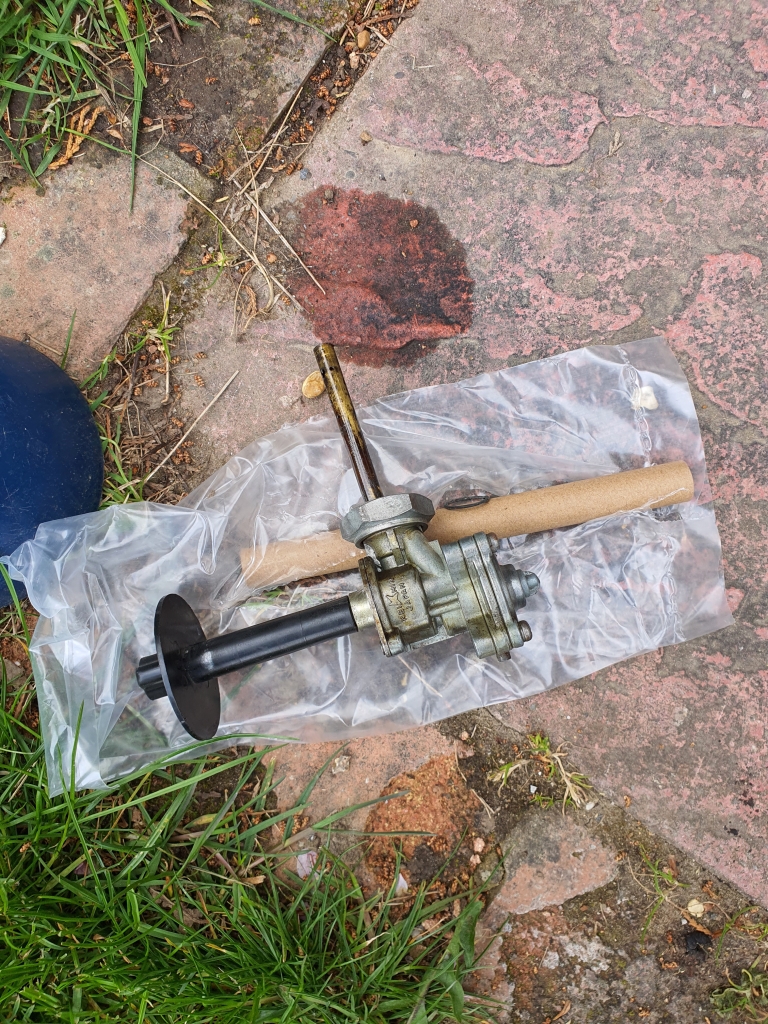
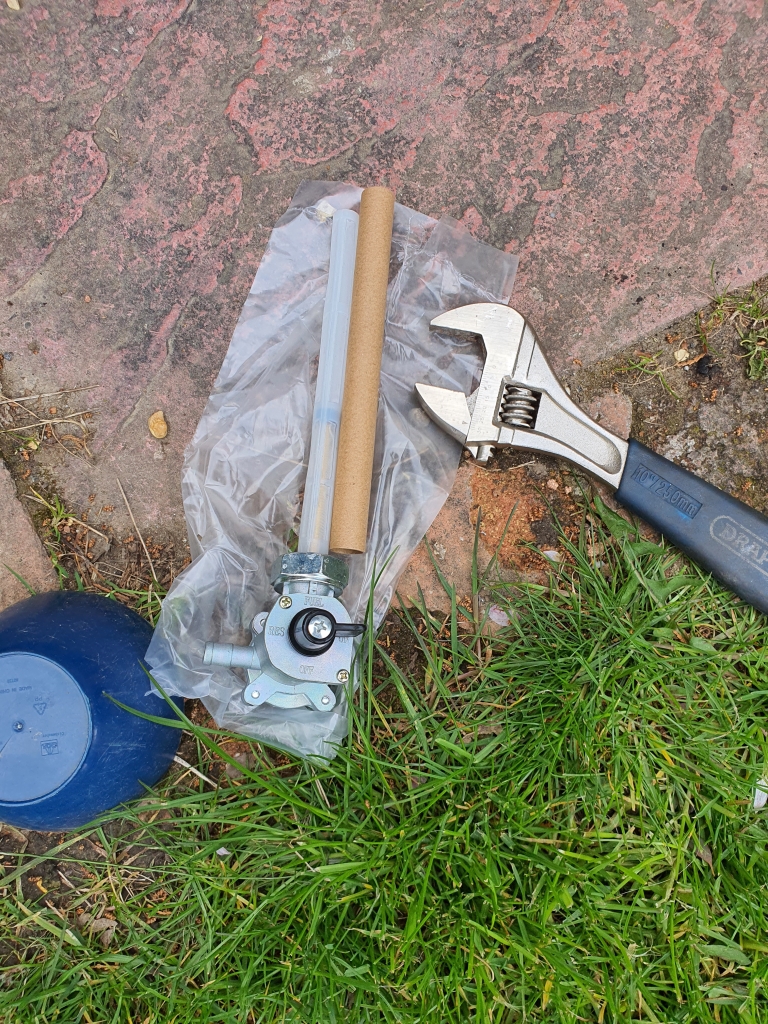
I also grabbed a few other little missing bits, some infill vanity panels, oil filter, some oil. I also noticed the fuel tap did not have the filter sock on the top, so ordered a new tap also, with all the pre-filter stuff on it also.
 
Last edited:
Nooo, I paid £650 :) Will edit the OP to show that, forgot to add it!
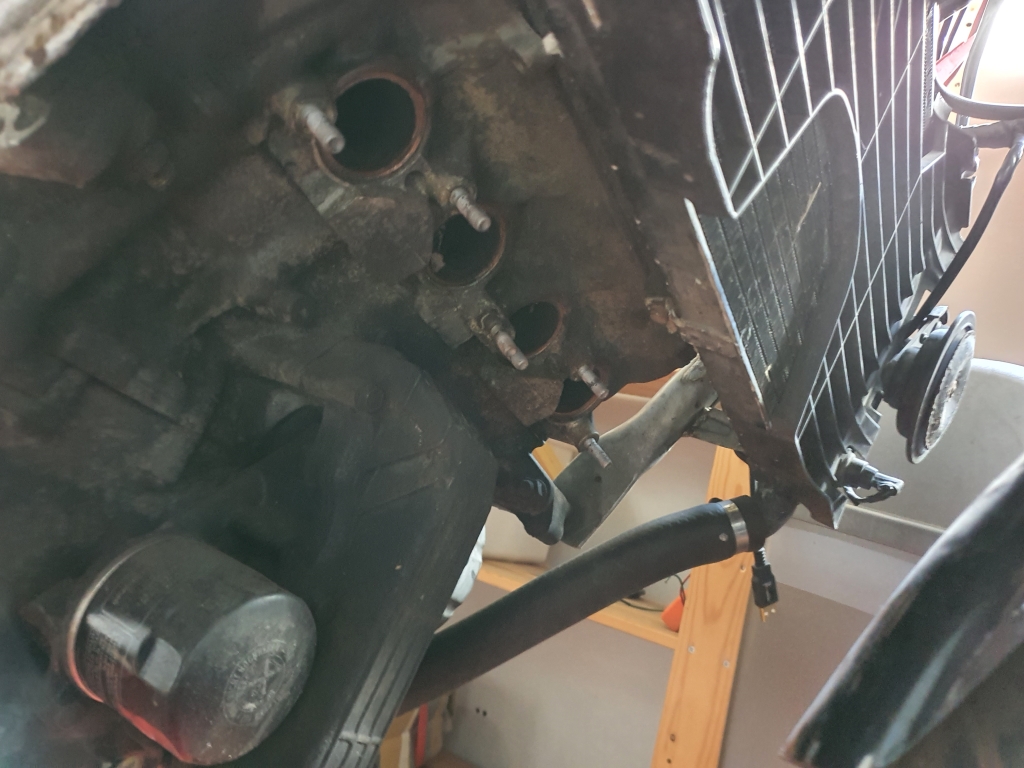
Next up was getting it running! Usual checks on oil/leaks/etc before I started tinkering too much.

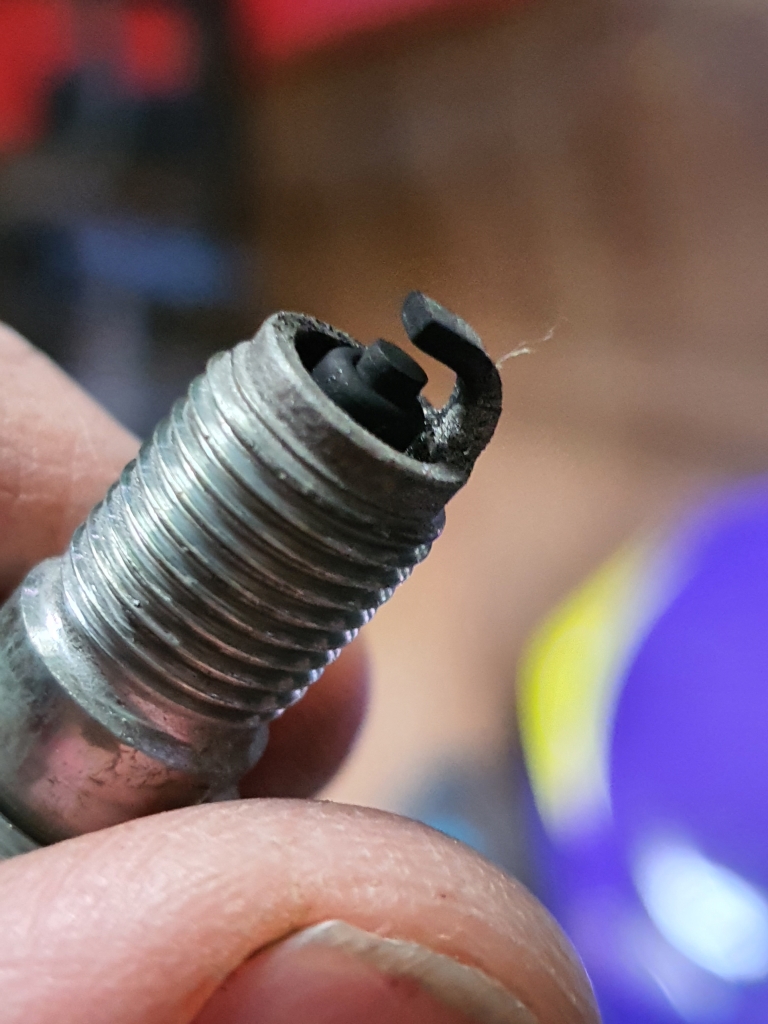
In the end I decided to whip out everything around the engine, and have a look at the spark plugs. I checked all the HT leads with a spare plug, and they were all sparking nicely, so I whipped out plug 1, and it was BLACK. It would not spark properly. I even tried cleaning it, but in the end I ran down to Halfords to get a new set as I assumed all the plugs would likely be the same. It looked like Carbon fouled, so maybe the air-filter had got a bit dusty/clogged over the years standing, and caused it to run badly? Still, I dropped 1 plug in, and turned it over, and it spluttered into life on that first cylinder, first press! Awesome!

Whipped out the other 3, swapped them over, and then this happened... I just quickly lobbed my phone onto a shelf to film as I was not sure it was going to work..


Feels like a real result, as I was not sure if there was something wrong with the ECU, or perhaps the timing when I first clapped eyes/ears on it, so it may be up and running faster than I originally planned.

I then ran some fuel into it with a hanging fuel tank, and it ran quite well, spluttering a bit, but I suspect that's just because it's not happy with the manifold hole(s) making it a little lumpy/noisy. So I will stick up a new video when its fully running to hear the Yoshi at full song! It was revving quite well by the end when it was a little warmer (no video as I was killing myself with fumes in the shed!). It seemed to be warming up as expected, and the coolant looks to have been replaced recently going by the colour. So I may be able to have a little run about on it next weekend if I can get all the parts here, and get it booked into the local MOT place.

With all the parts ordered last night, and including the cost of the bike itself, its cost me £1030.51 so far :)

I could have scrimped a bit more by ordering some of the parts from China, but this is a bike to keep, so spent a little more!
 
Last edited:
Sooo, some small progress!

Just for the record, this was one of the original plugs!! Urgh - messy
CBR600F2025.jpg


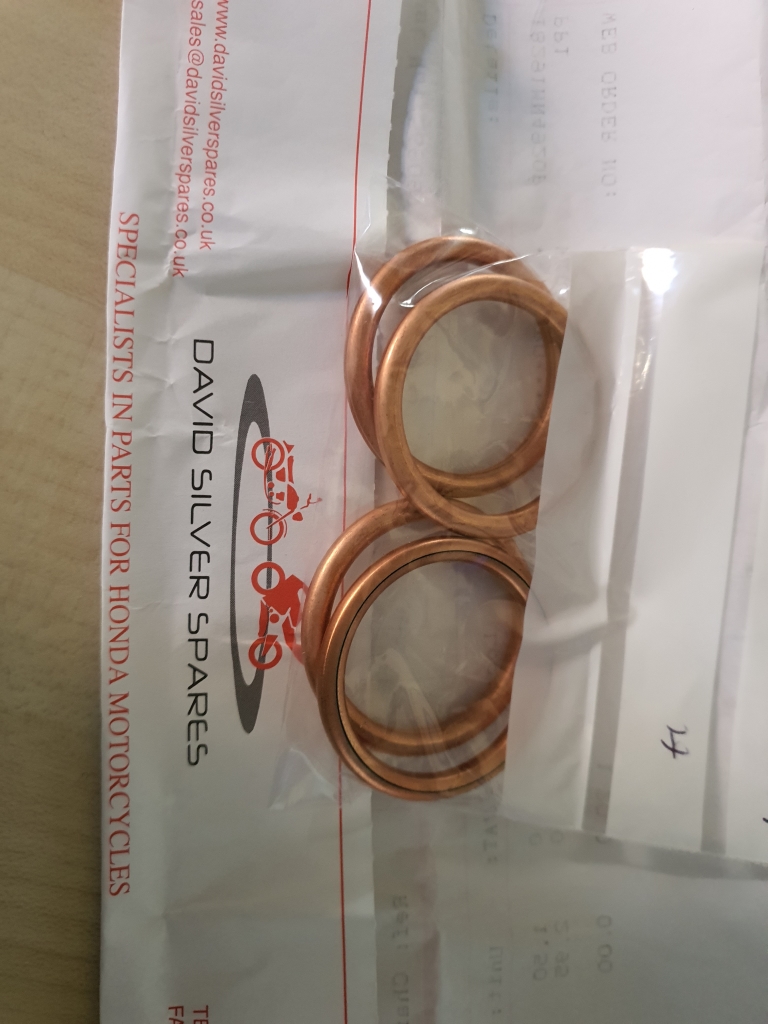
Got the manifold off, and all looking good in here, just waiting on some new crush gaskets for when the new one goes on:
CBR600F2023.jpg


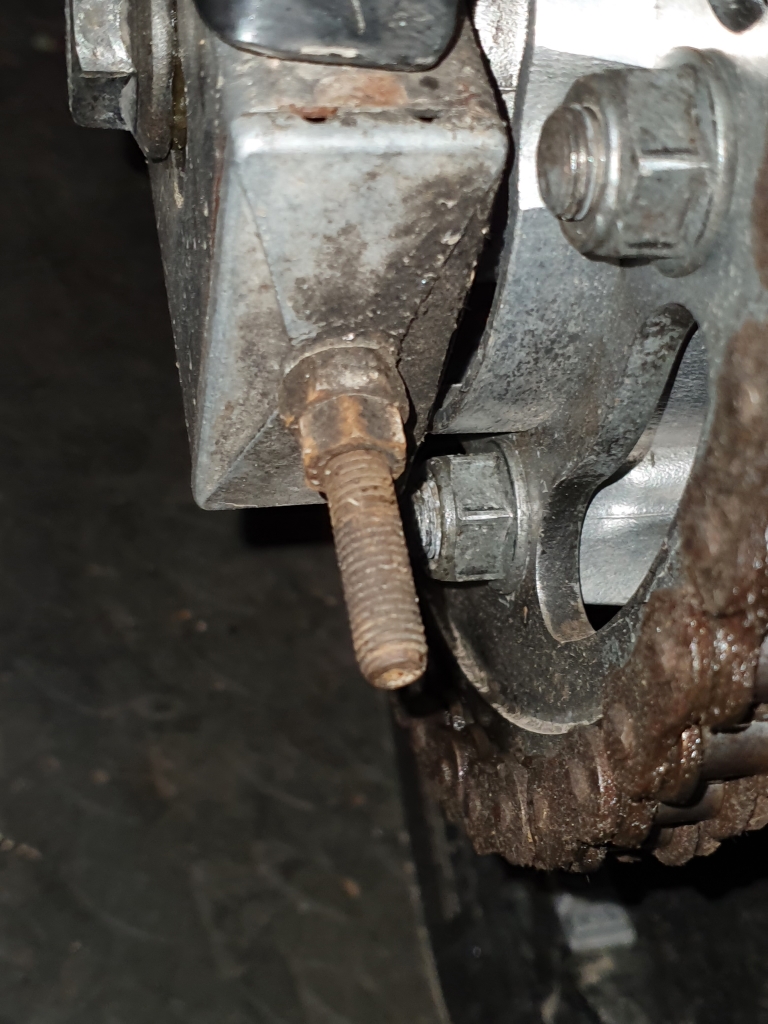
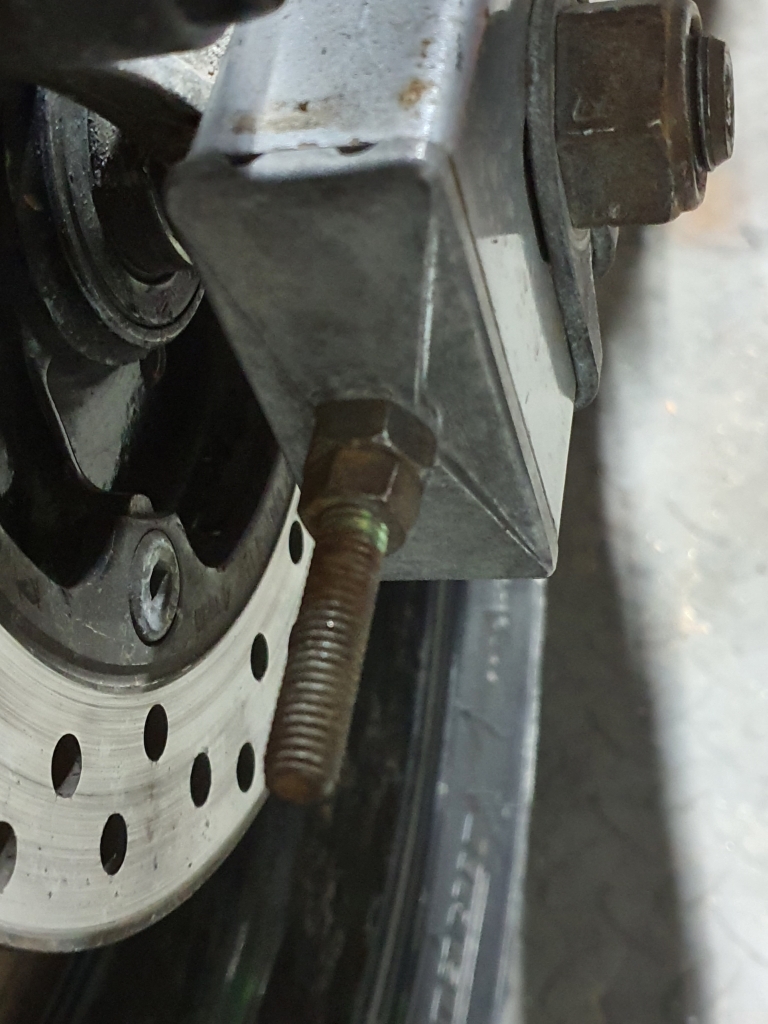
One of the new discs, and you can see the state of the manifold nuts, which I am pretty happy with. They were barely tight either!

CBR600F2024.jpg


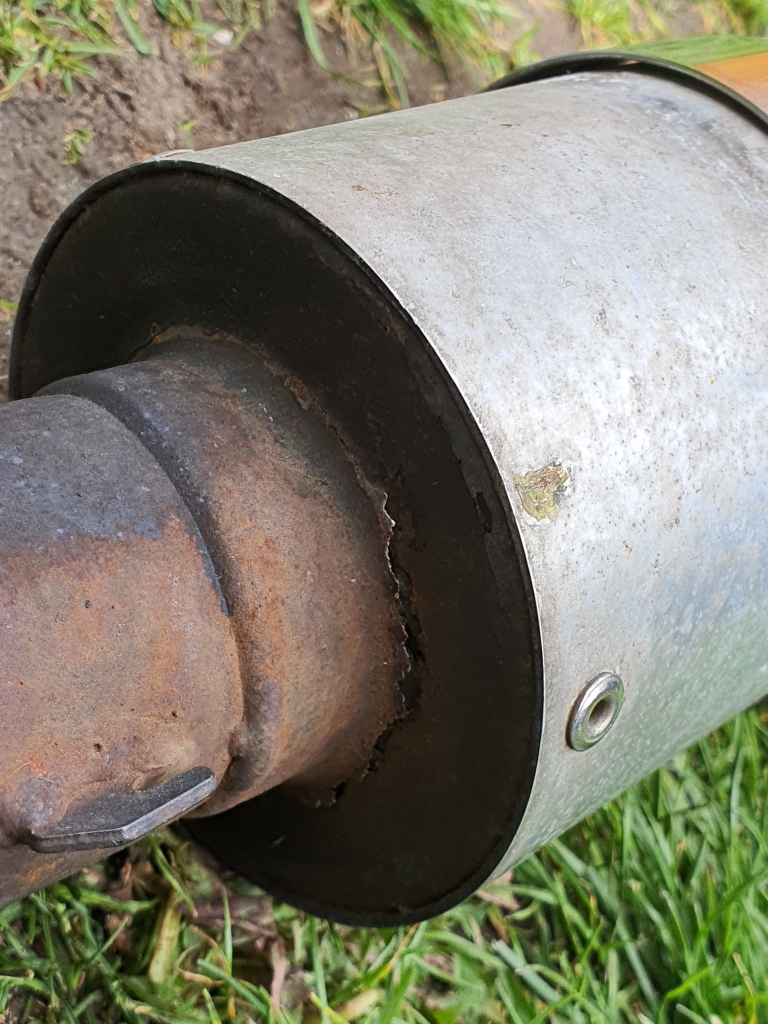
Upon removing the exhaust, not quite such good news :(

CBR600F2026.jpg


I was toying with the idea of repairing it as it was, but I think I have another idea, so this may make a re-appearance in the future...

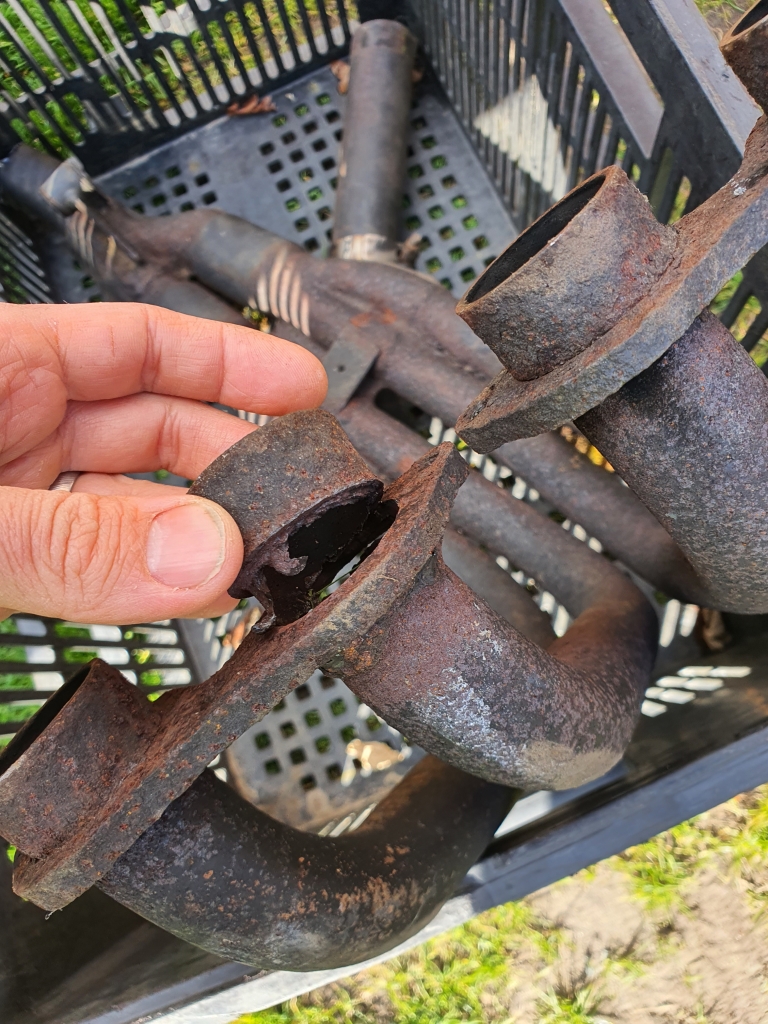
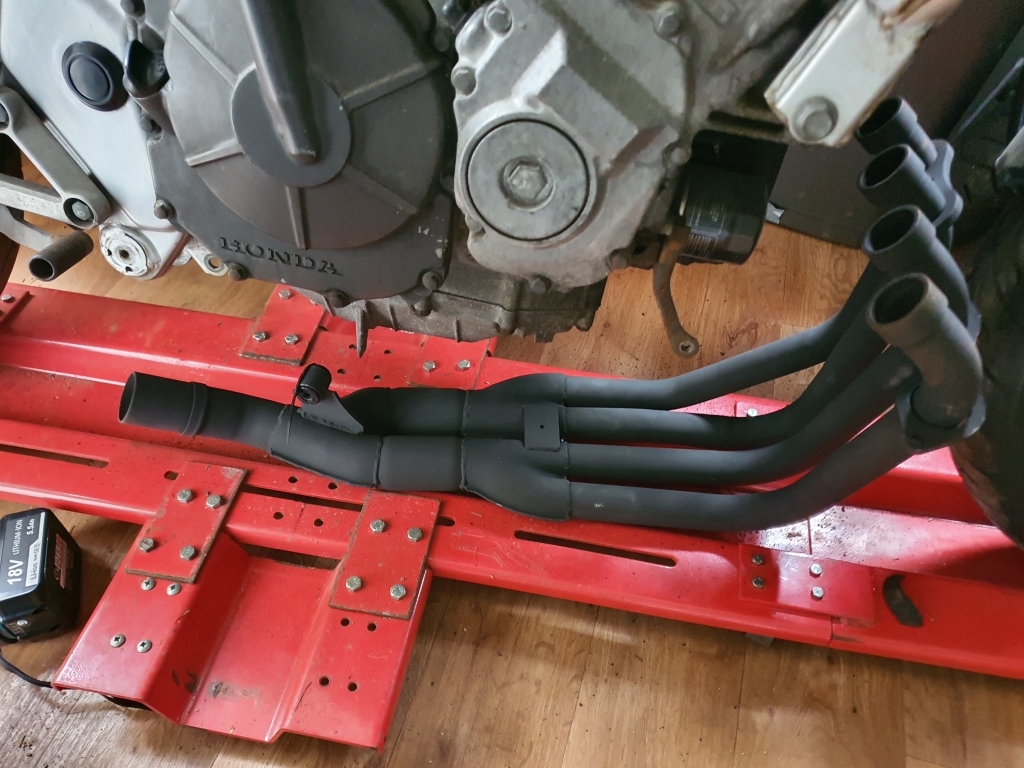
The manifold was beyond saving, as it basically fell to bits when I removed it:
CBR600F2032.jpg


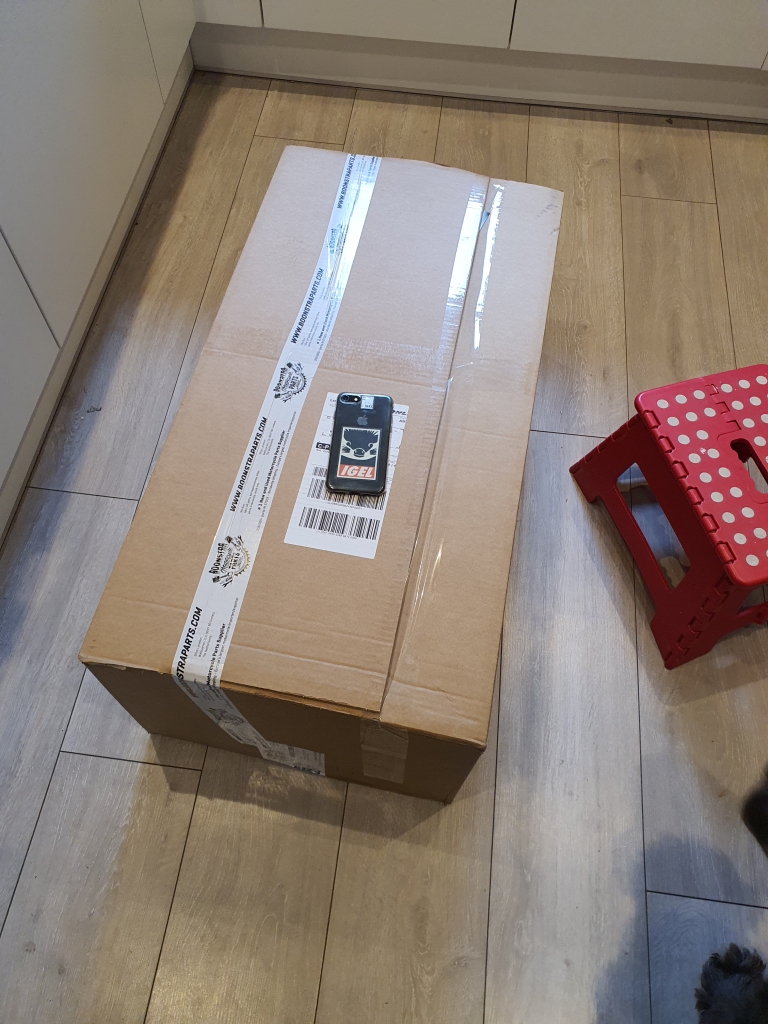
But fear not, as this turned up

CBR600F2027.jpg


looks a little less knackered!

CBR600F2028.jpg


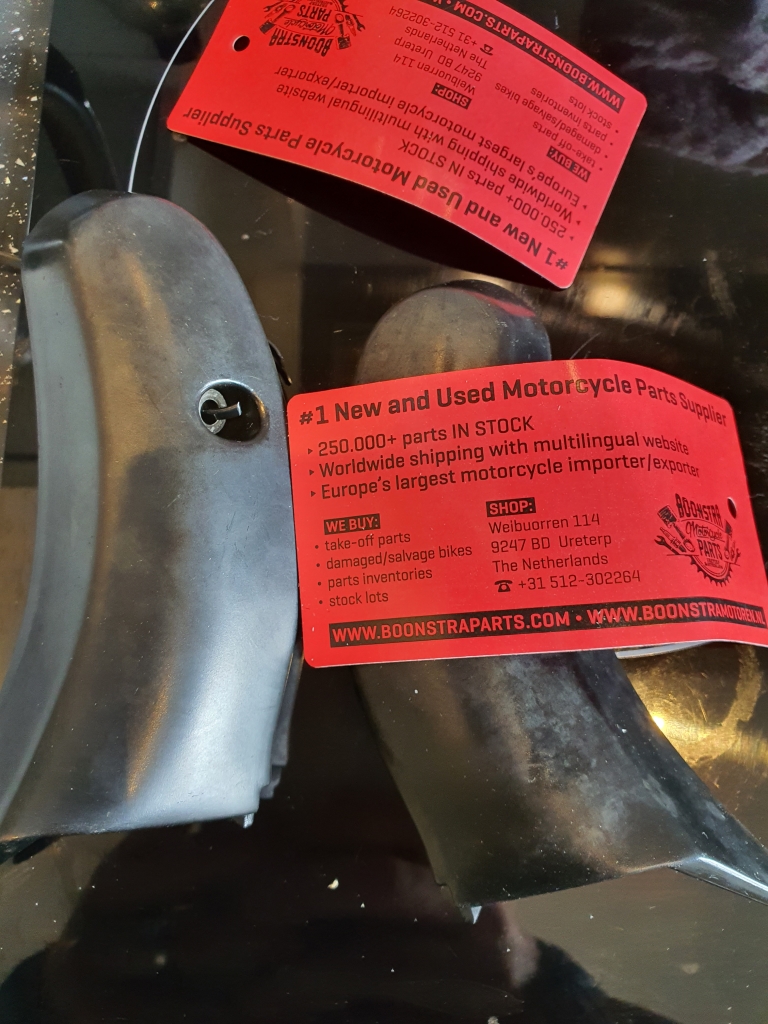
These little vanity panels above the fairing also arrived with it, second hand :)

CBR600F2030.jpg


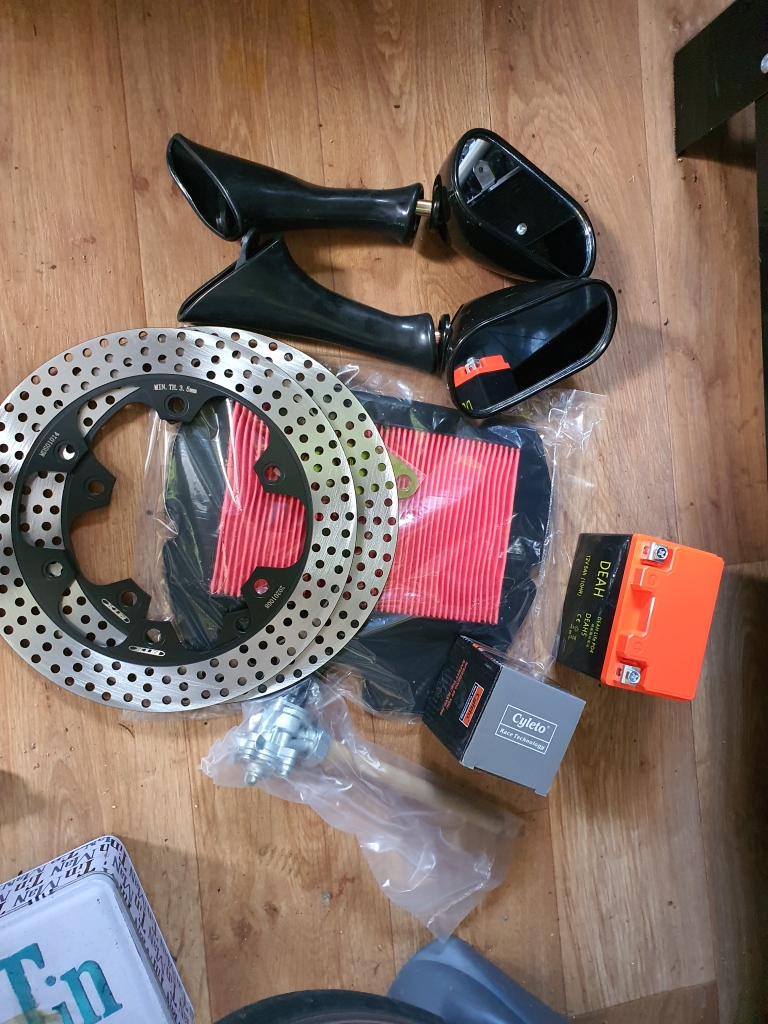
A collection of most of the new/replacement parts so far!

CBR600F2031.jpg


Also, a lithium bike battery I ordered ages ago from china (for testing!) turned up. Not sure its going on this build, was going to try it on the Monkey bike, as its much smaller/lighter than the one on there now :)

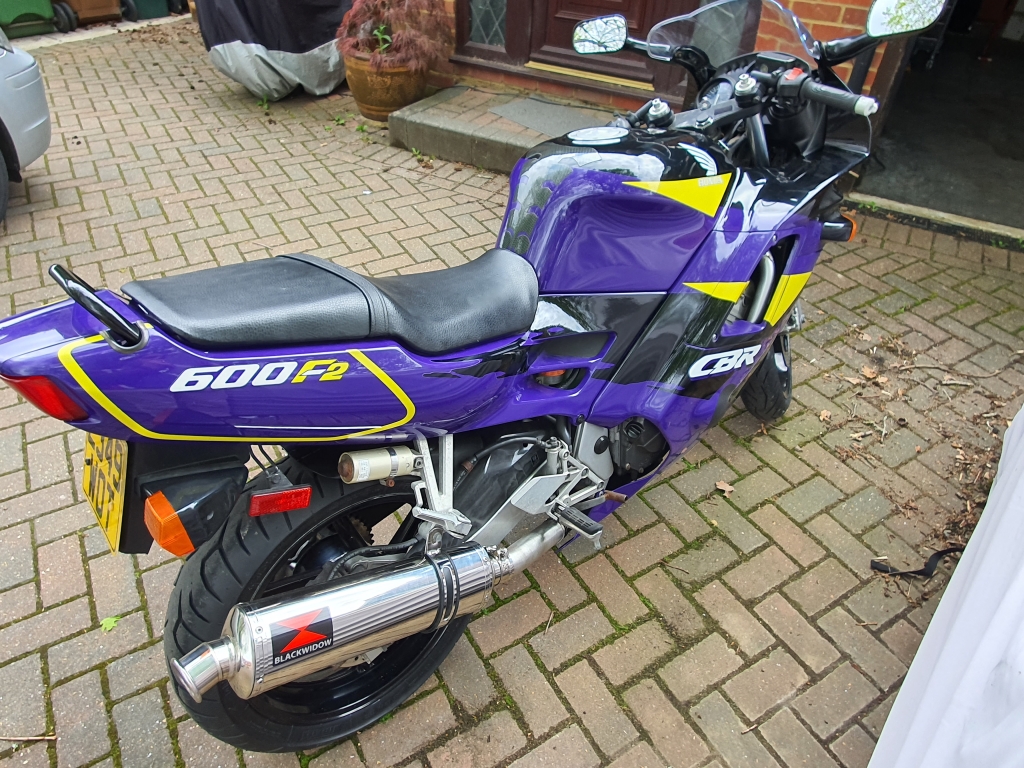
Hoping for the crush washers and the new exhaust to arrive today. Had to go for Black Widow, as the Pipe-Werx I usually use are quoting 4 weeks lead times at the moment... I can never wait that long for shiny metal!! Will be interesting to see how decent it is for the price I paid for it (not a lot!)

Will maybe be able to slot some of this in tonight, and see if its ok for a little run up and down the private road on the weekend.
 
Thanks! Indeed, its not to big a deal. Just a chance for some new shiny stuff :)

Speaking of which, more stuff arrived:
CBR600F2034.jpg


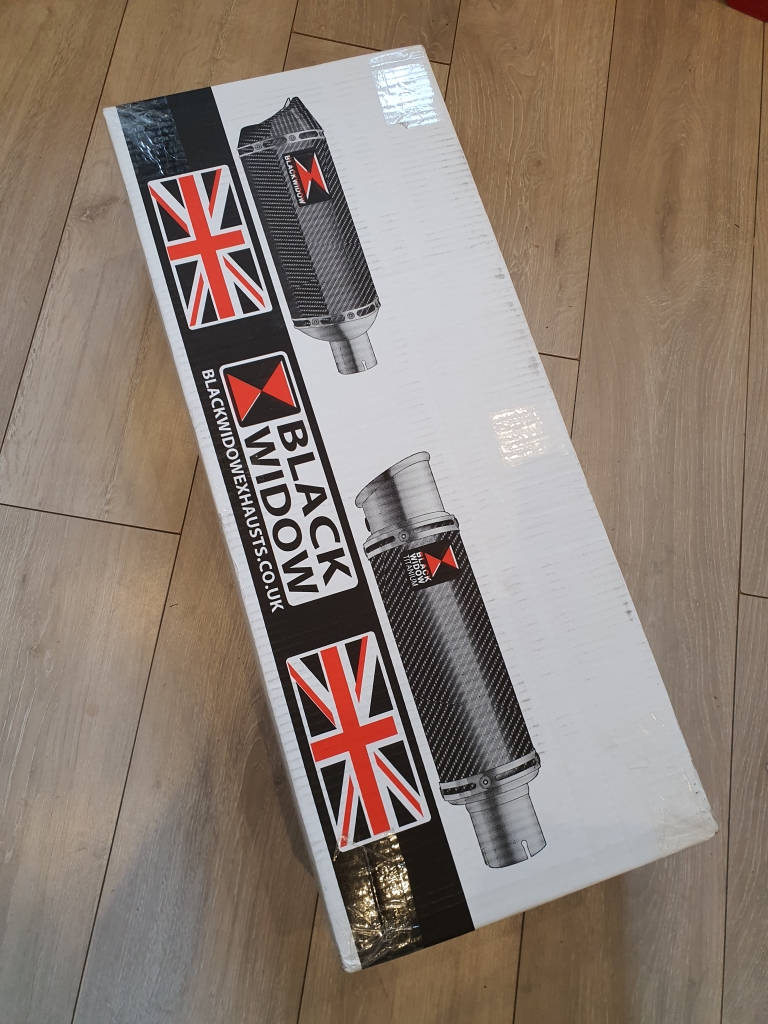
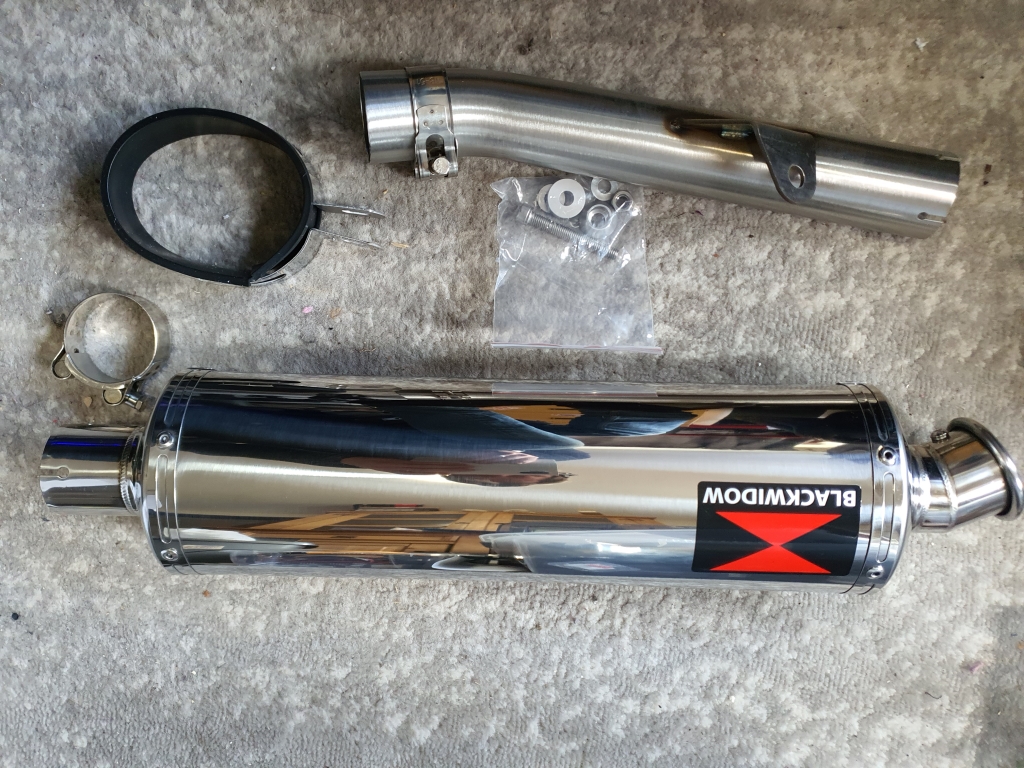
A new exhaust!

CBR600F2035.jpg


I was planning on getting another Pipe-werx exhaust, but they were quoting 4 week lead times, so decided to give Black Widow a go!
It looks ok!:

CBR600F2036.jpg


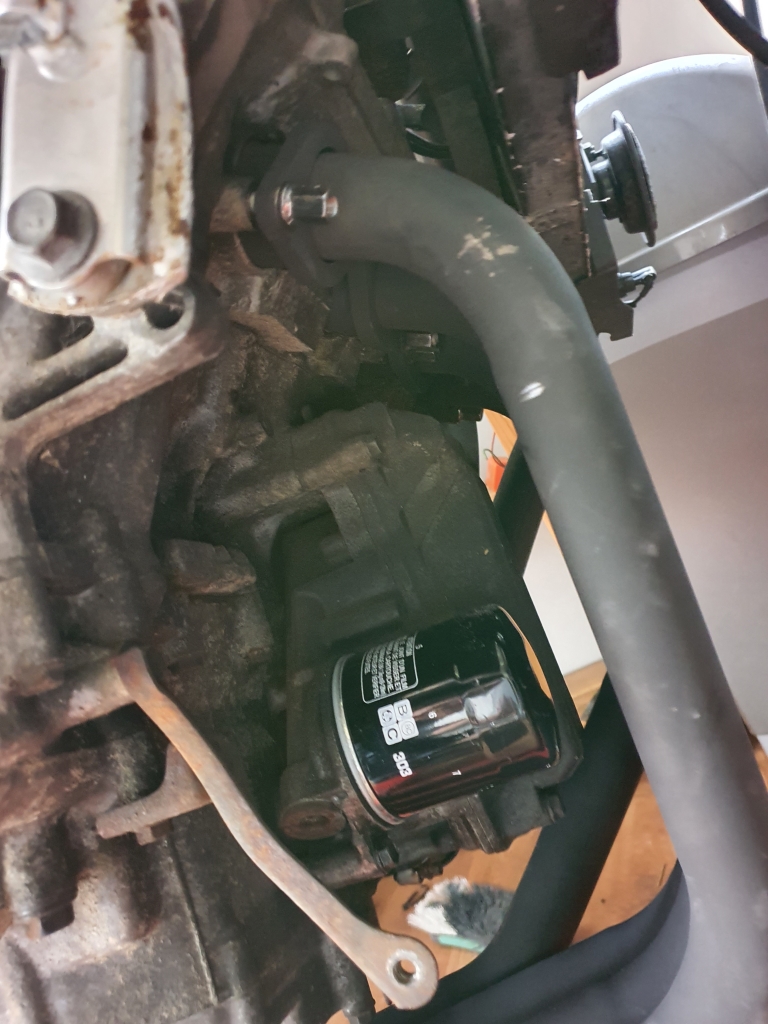
Oil drained, new filter fitted:

CBR600F2037.jpg


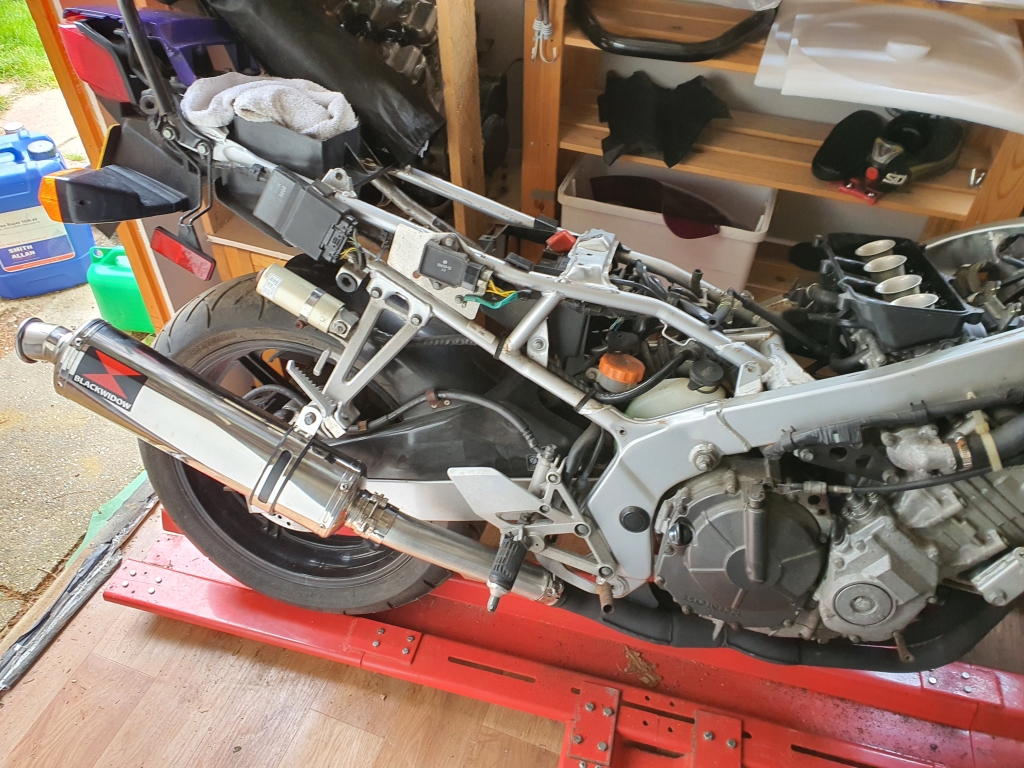
Thrown on quickly:

CBR600F2038.jpg


The fuel tap pre-filter being missing was bothering me, so i swapped it out.

CBR600F2040.jpg


This is what it is supposed to look like:

CBR600F2039.jpg


Swapped it out, and it looks the same, so no pics once it was fitted :D

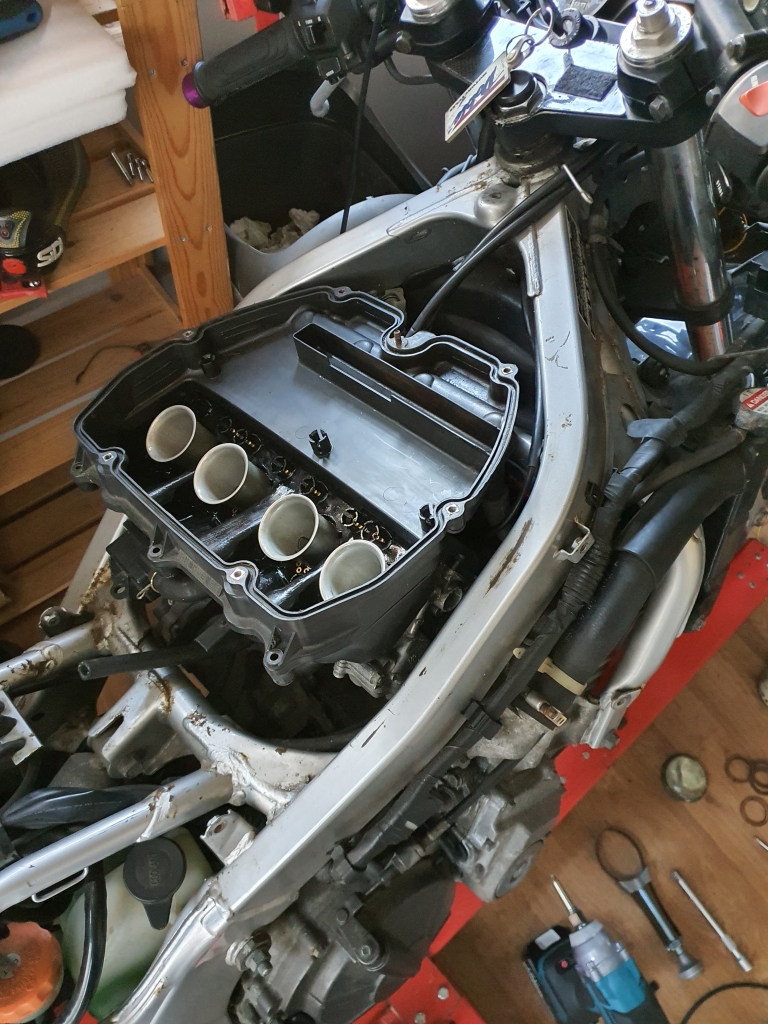
Started to put the filter box back together:
CBR600F2041.jpg


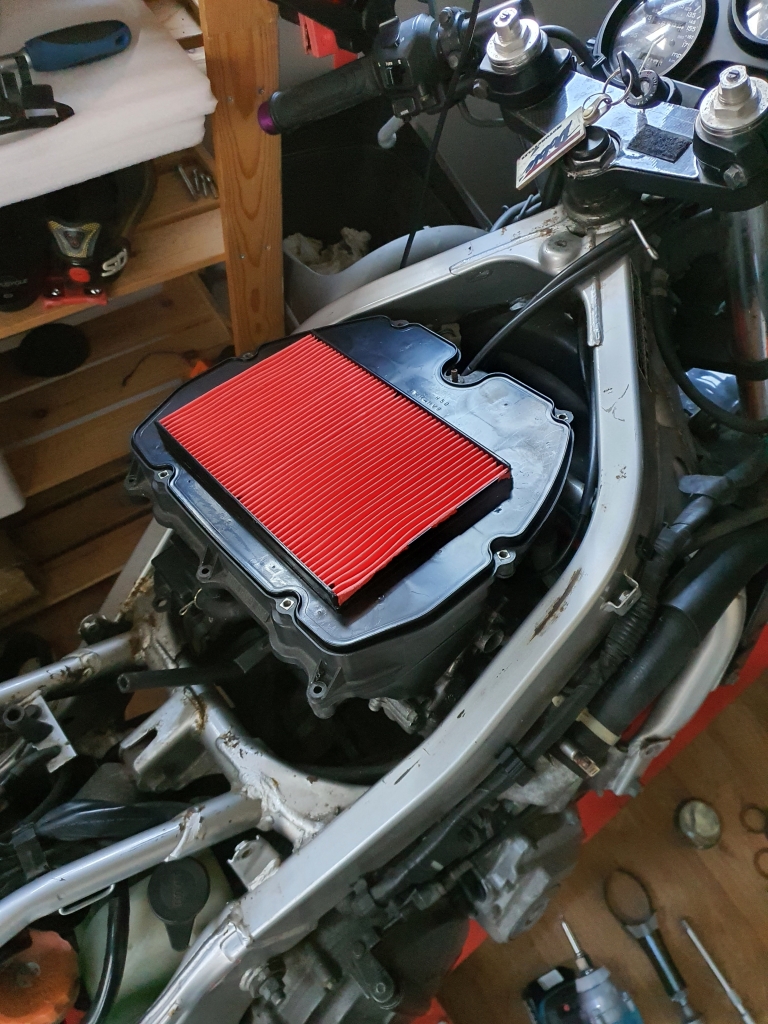
Nice and clean new filter!

CBR600F2042.jpg


Back together!

CBR600F2043.jpg


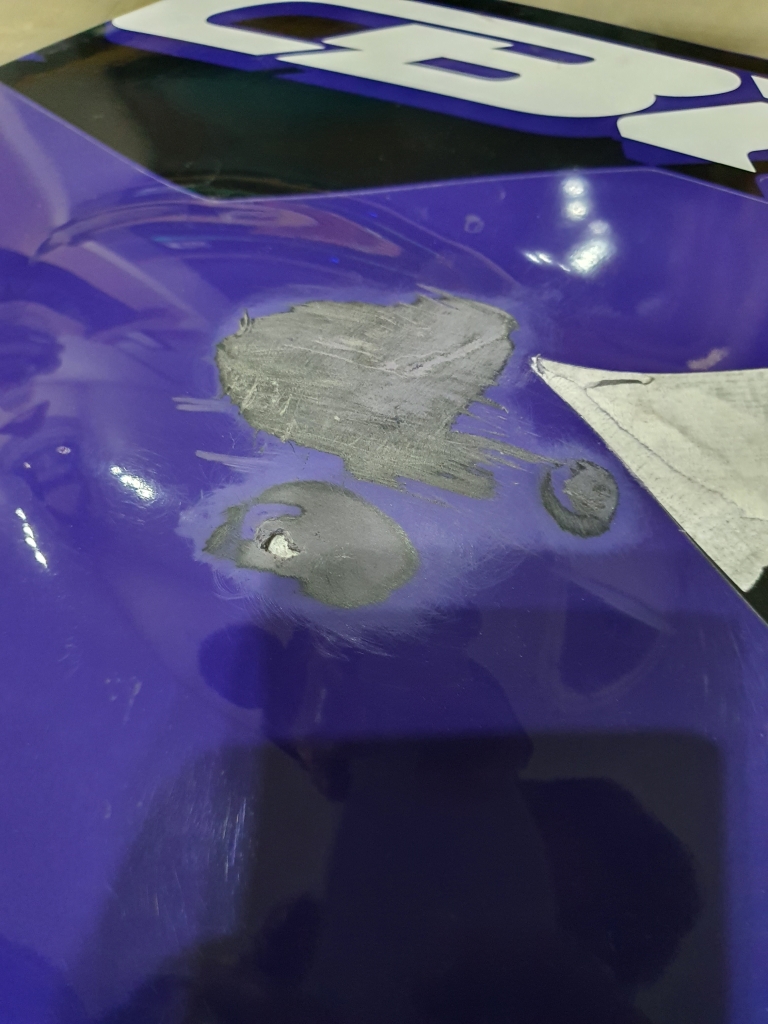
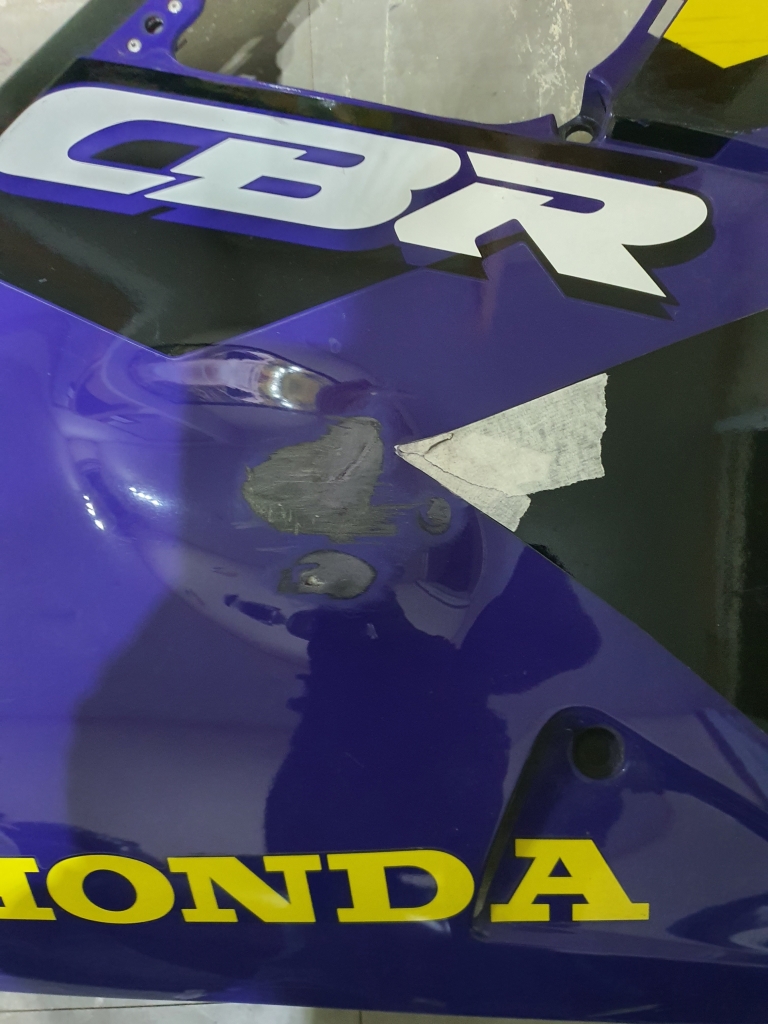
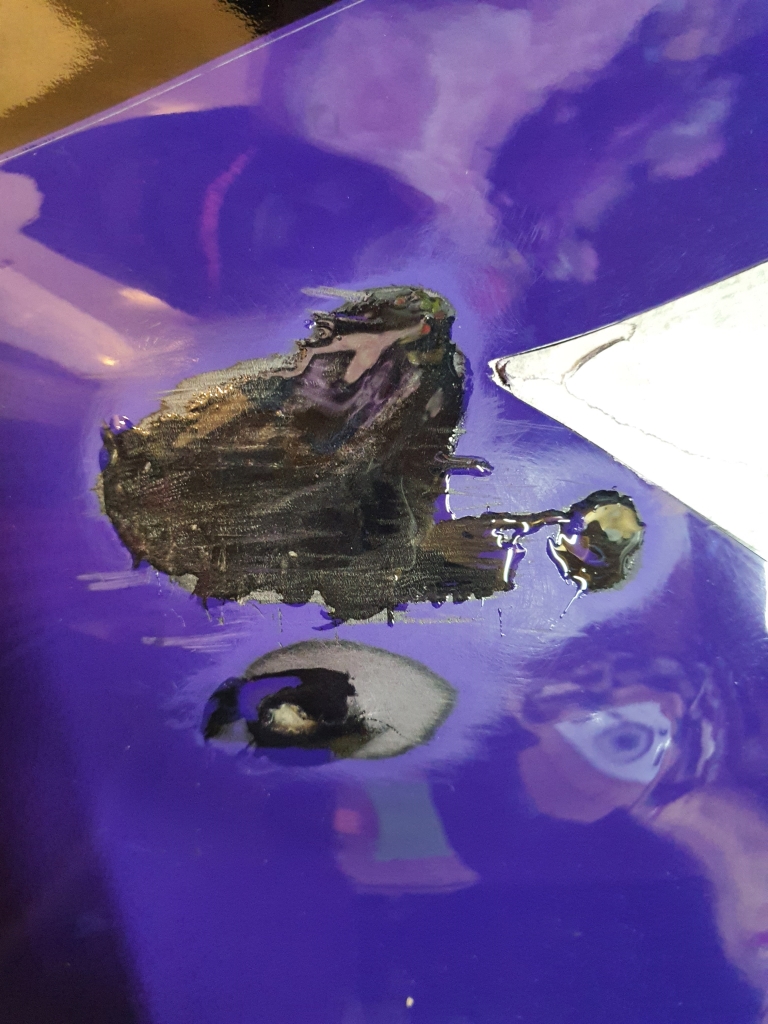
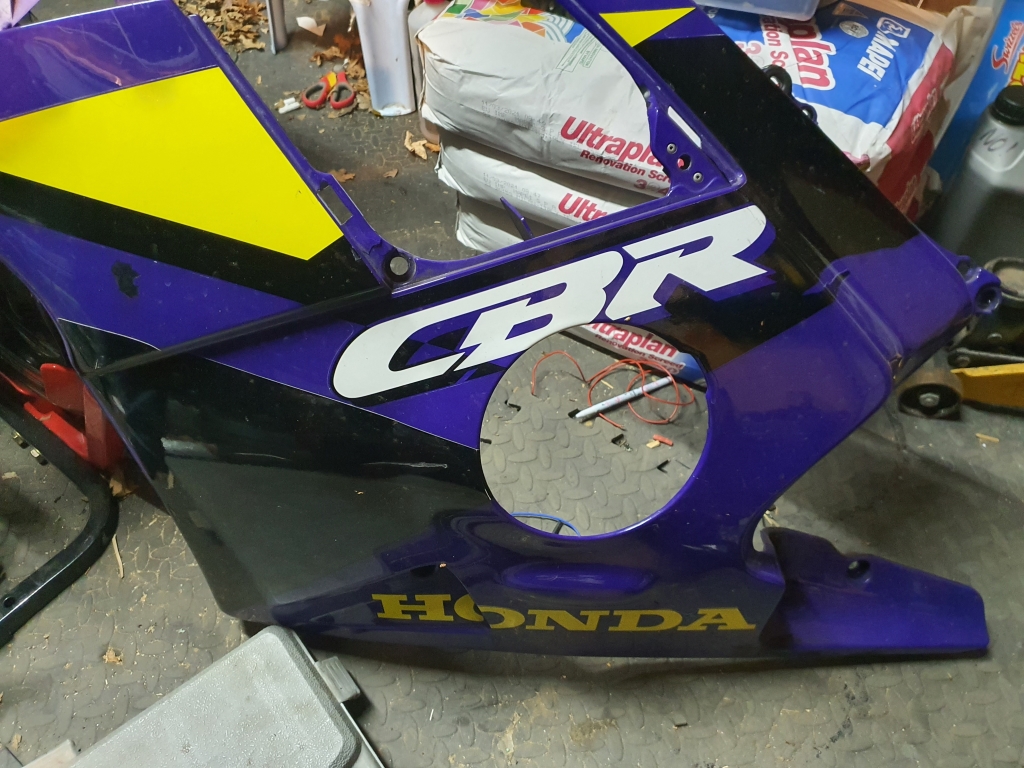
I then started cleaning up the fairing that was a little damaged, just sanded it down, and prepped for some epoxy:

CBR600F2044.jpg


CBR600F2045.jpg


Going to try using the epoxy to fill the gaps, so I can get a nice smooth surface for the final cover up!

CBR600F2048.jpg


The other one looks mostly ok, just some decal damage:

CBR600F2046.jpg


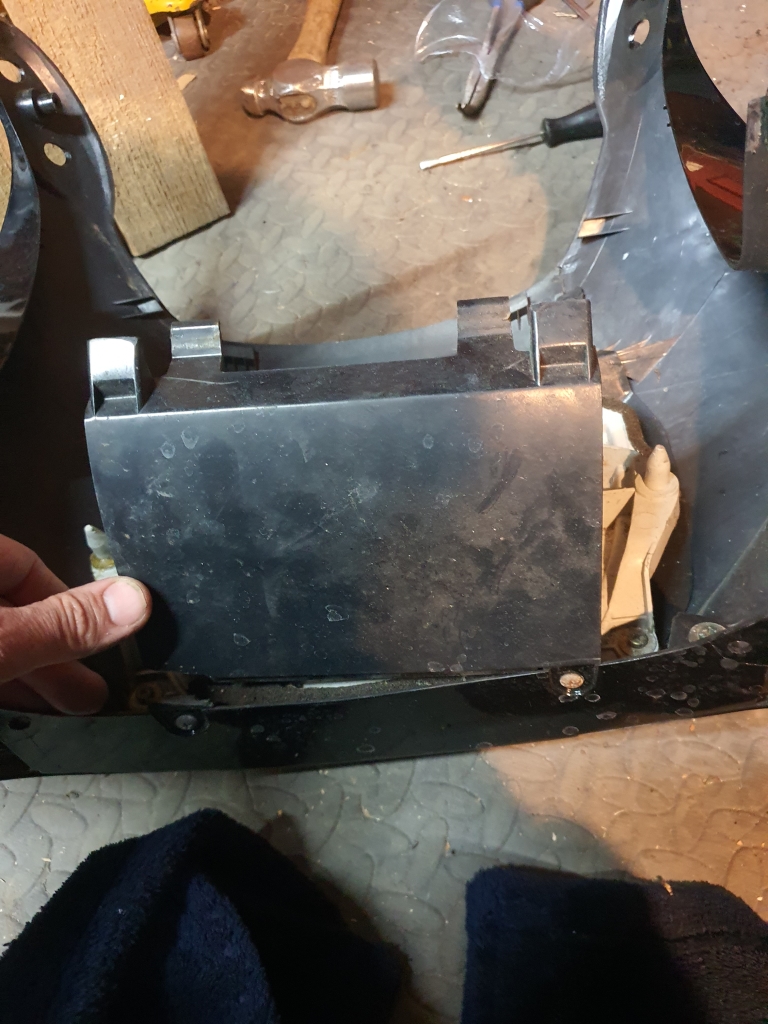
This little panel was under the cowl, and was snapped/damaged. Its not highly visible, so a simple set of superglue repairs will suffice :)

CBR600F2047.jpg


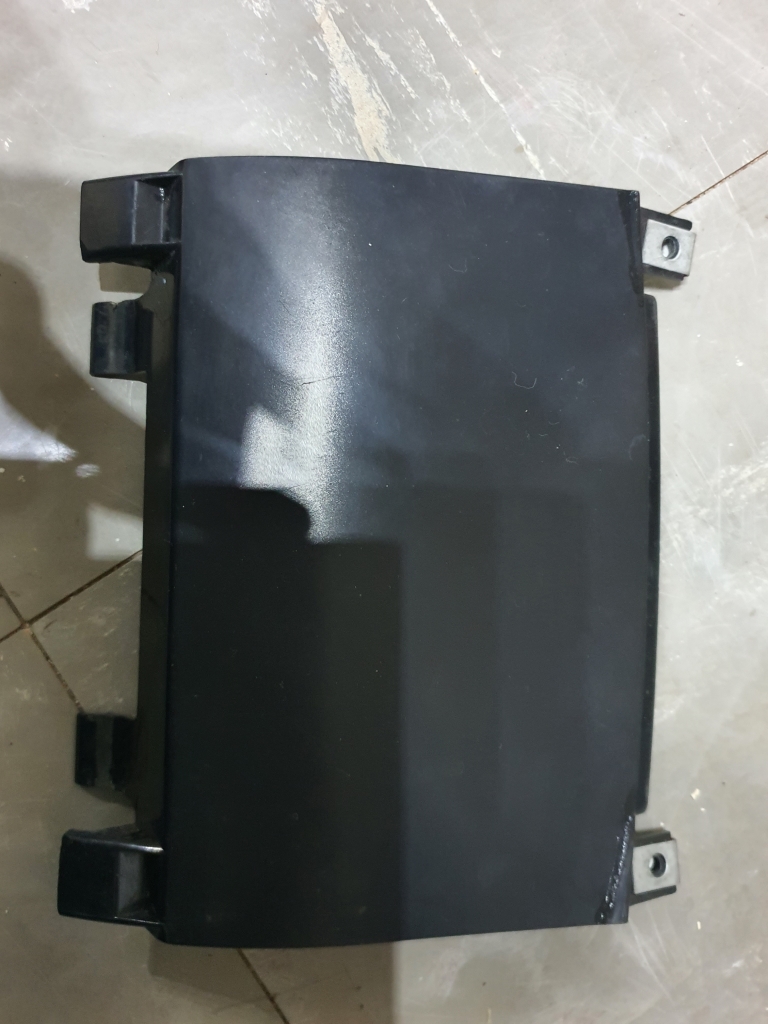
Glued up, cleaned:

CBR600F2052.jpg


Back in place:

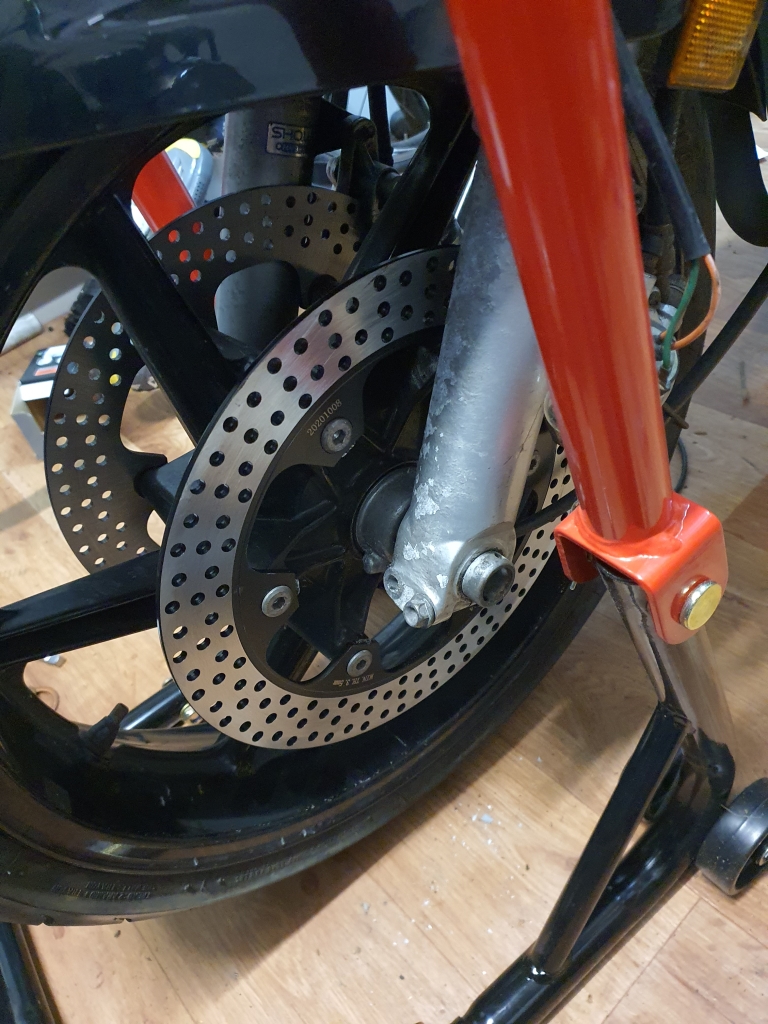
Then, whilst the epoxy on the side panel was drying, I swapped out the discs. The pads look fine (I suspect they were done relatively recently, miles wise, so leaving them for now :)

CBR600F2050.jpg


CBR600F2051.jpg


Oh, and a little sneak peak starting after the mini service, and new exhaust loosely in place. Its not running quite right yet, and it had been warmed up a little earlier without the tank in place:


Yes, I am wearing my safety shoes slippers...
 
The under cowl panel is now repaired, and re-installed:
CBR600F2054.jpg


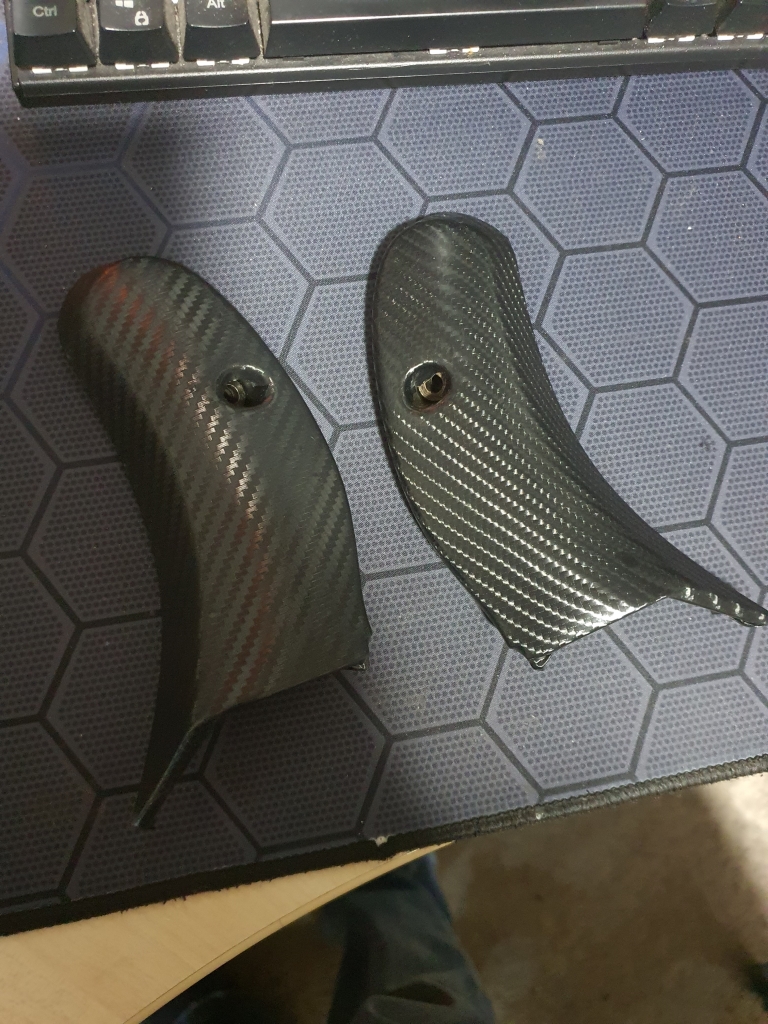
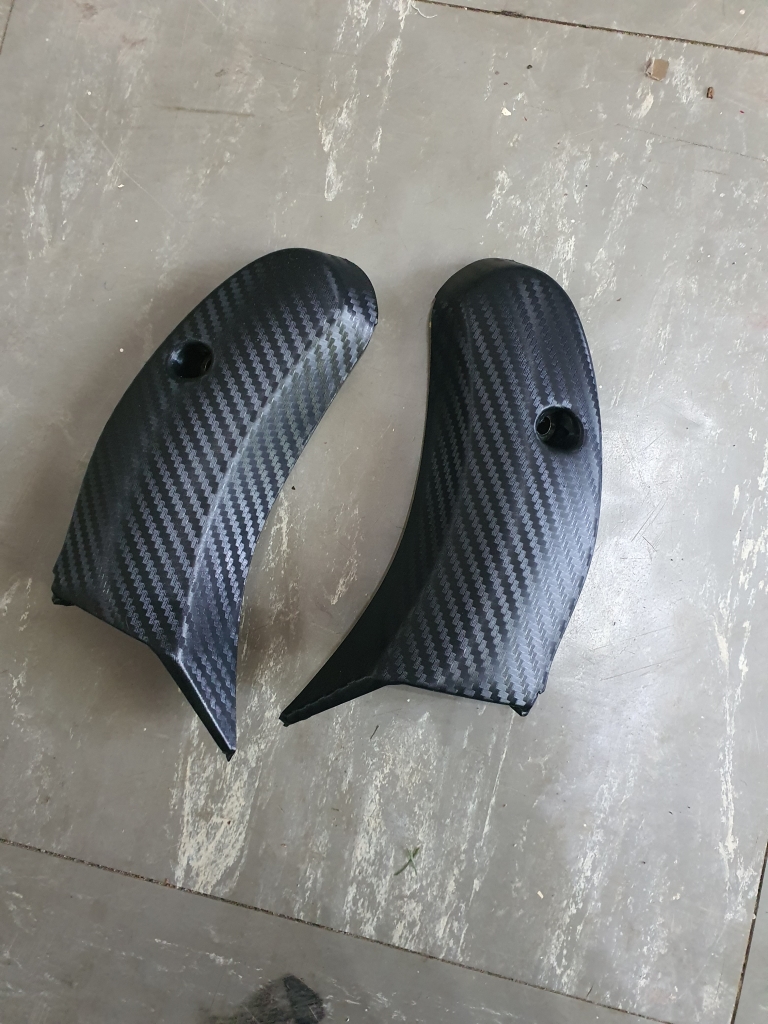
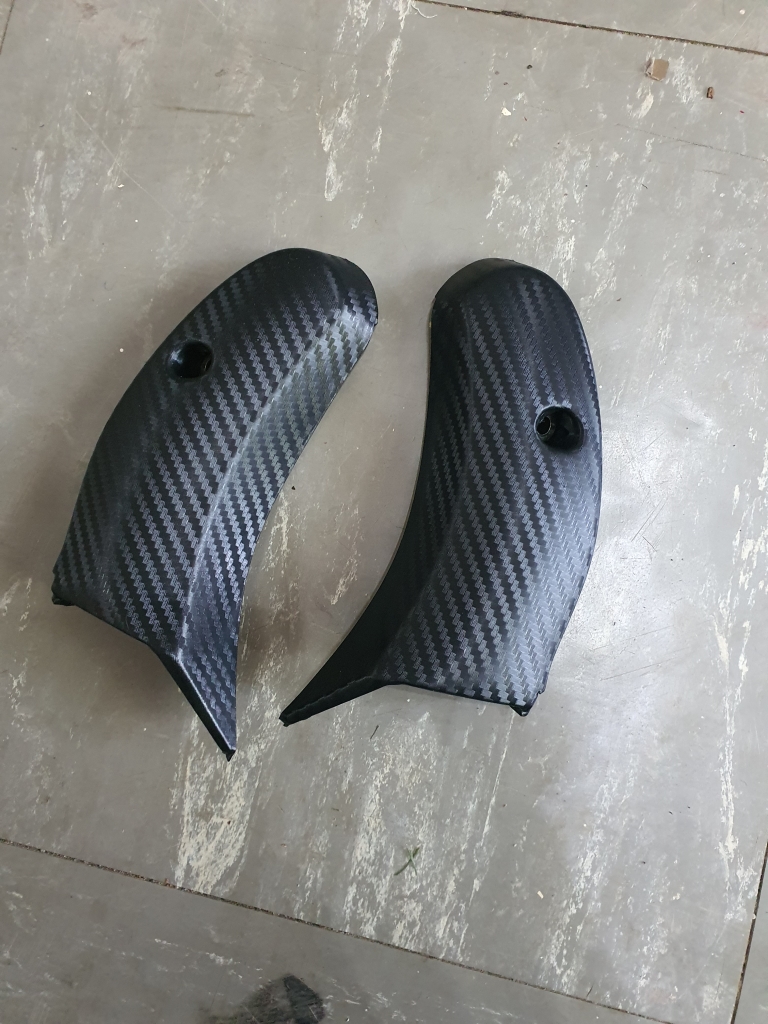
I then quickly tried a couple of different carbon wrap offcuts on the small fairing vanity panels, as the plastic finish on them looked a little tired, and I was unsure how well they would polish up. So will see which one holds up better, then redo them both with a little more effort :D

CBR600F2056.jpg


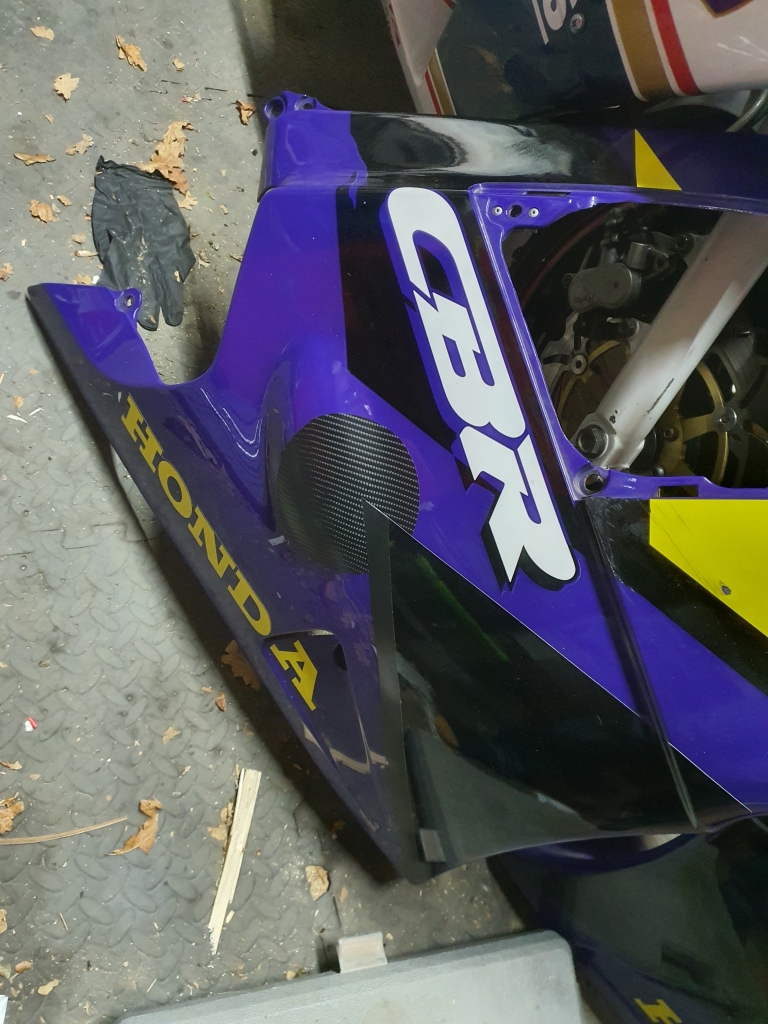
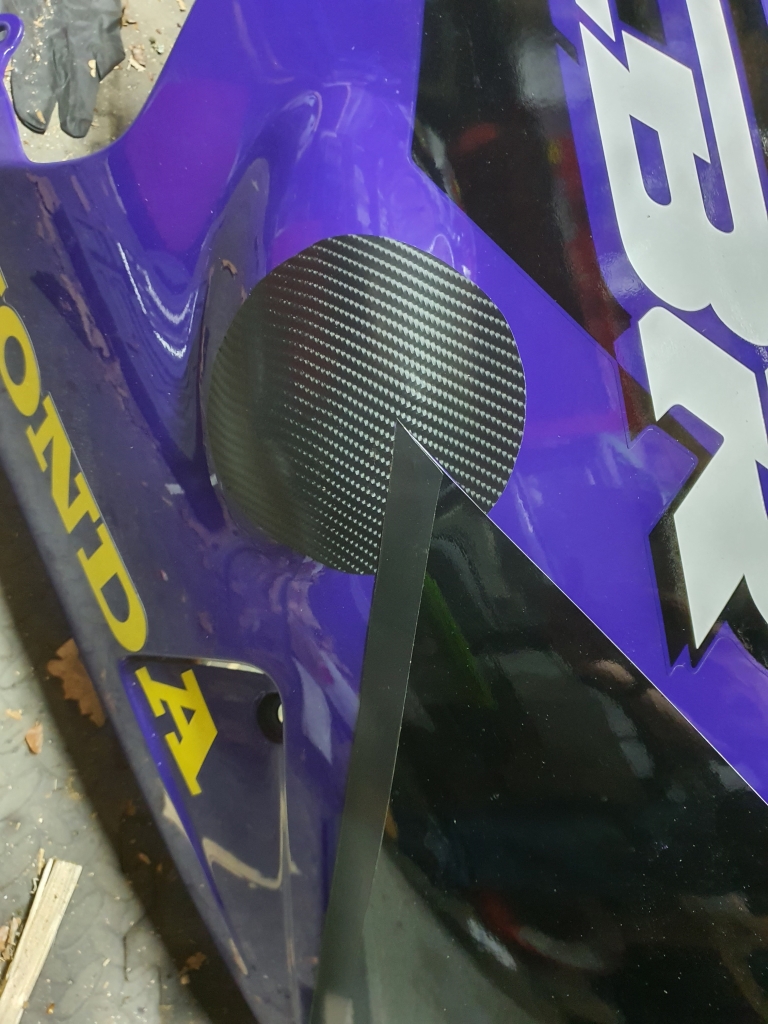
I finished up my panel repair too. Quite happy with the result. I sanded back the epoxy, cut out a little circle of the wrap, and trimmed it around the fairing, and used a little finishing tape to clean up the line on the edge of the damaged decal, and provide a little extra highlight to the design. I think it looks passable, given it took about an hour of work, and next to no materials to sort!

CBR600F2057.jpg


I am not too fussed about the other little scuffs and scrapes, as I think this will be a bike I use a lot (hopefully!) and will be a bit of a workhorse :)

A close up:

CBR600F2058.jpg


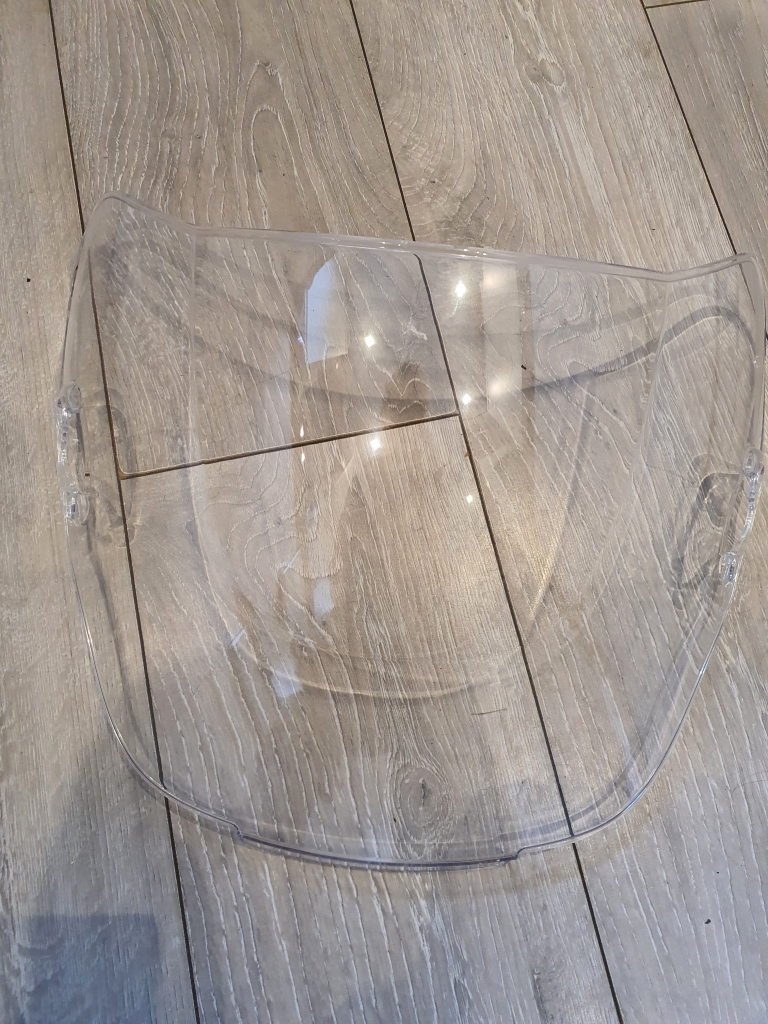
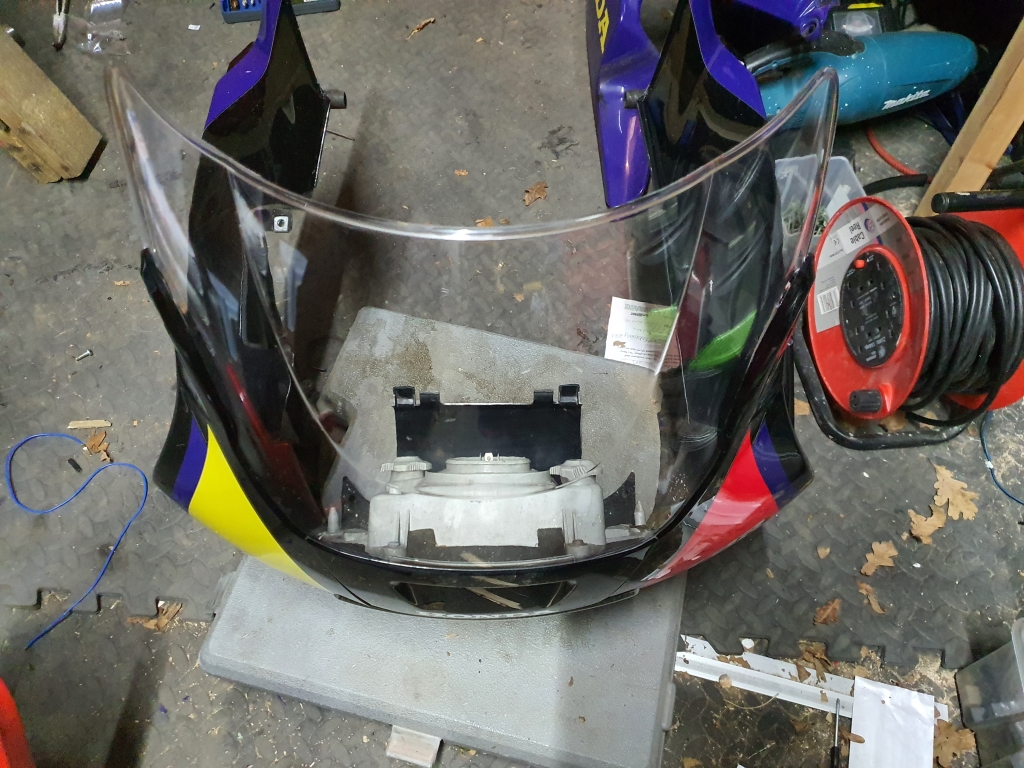
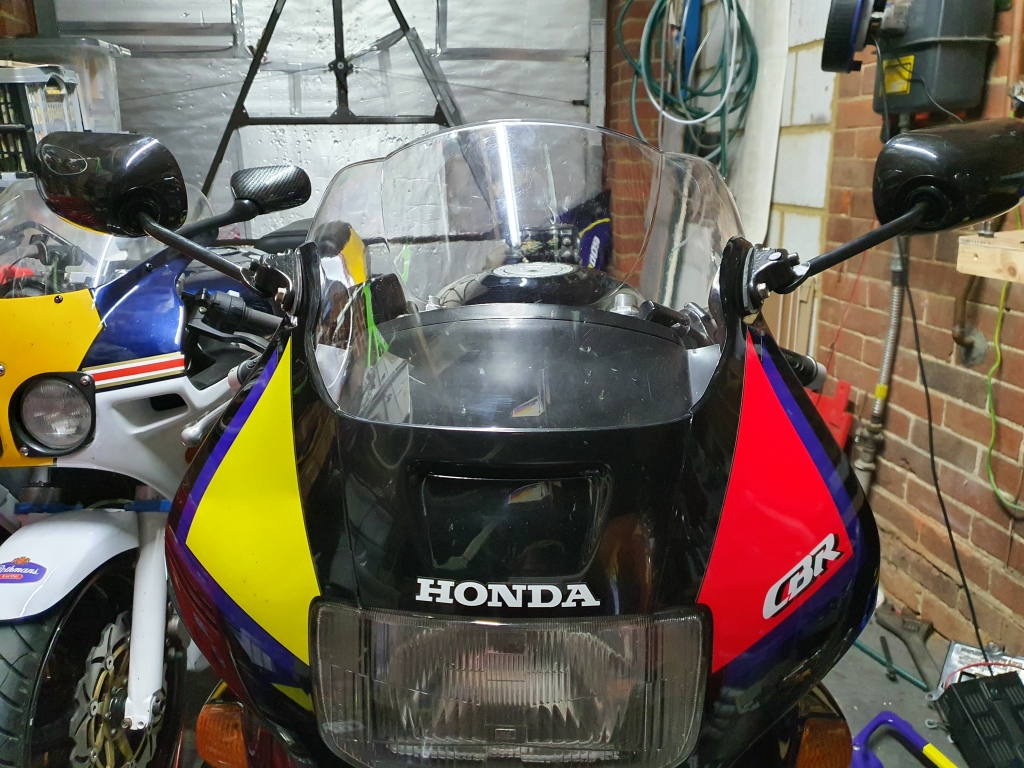
The new screen arrived, and it looks great!

CBR600F2059.jpg


CBR600F2060.jpg


Much more standard looking!

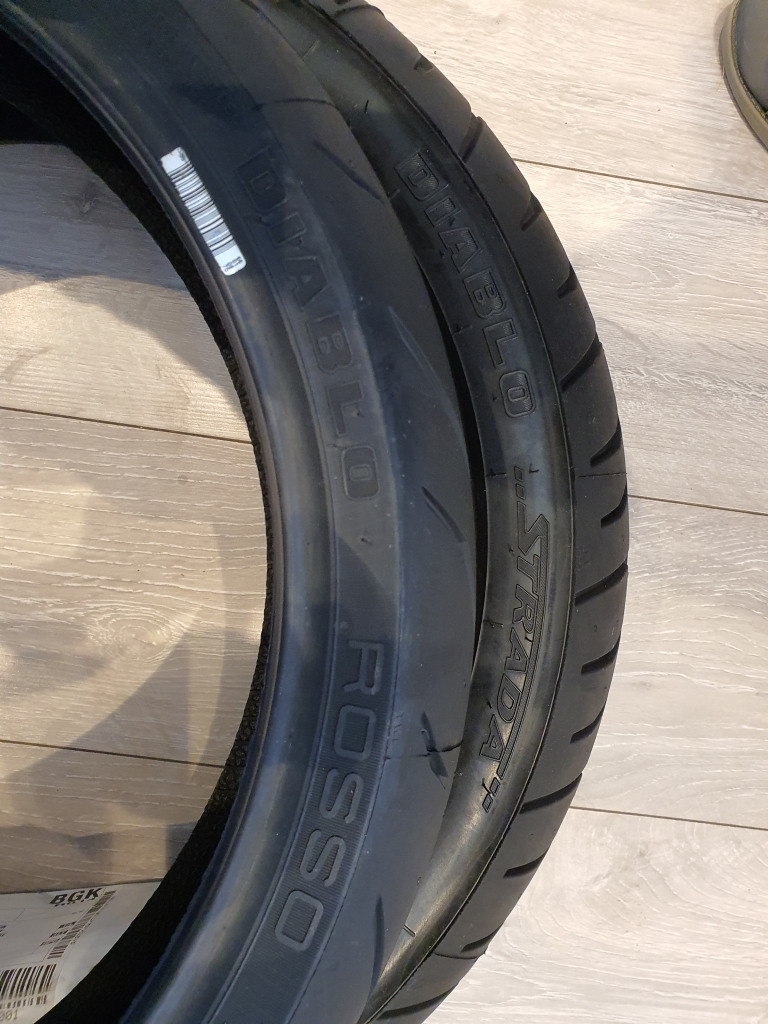
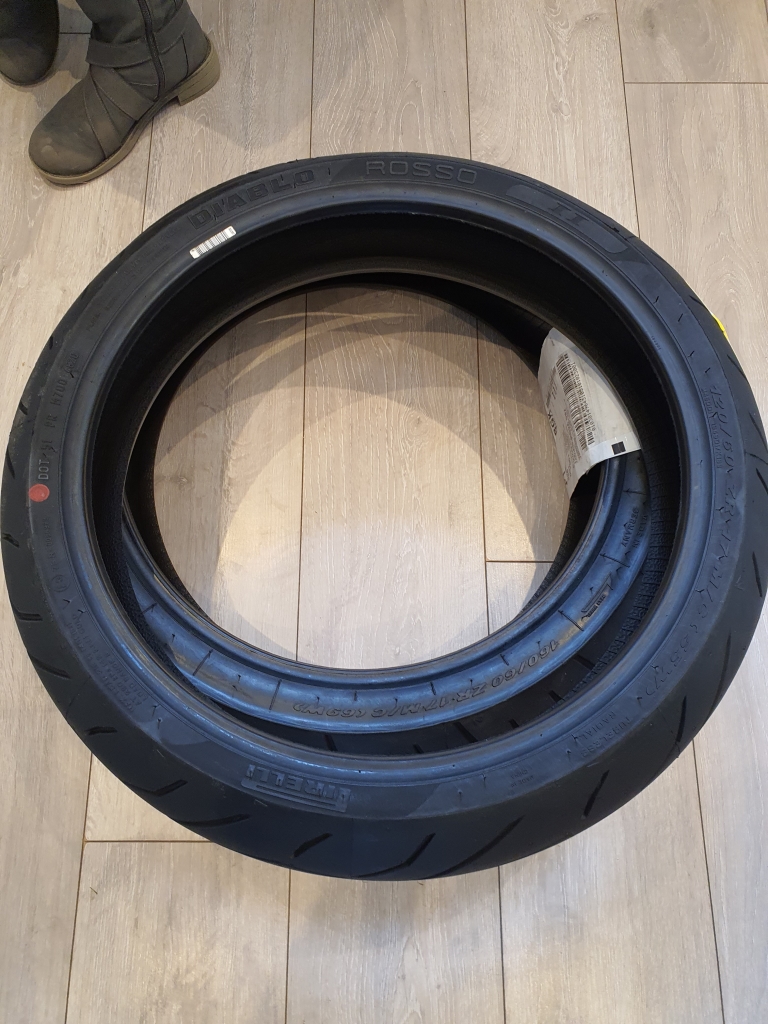
I had a think about the tyres, and the tread looked ok, but there was a bit of cracking/perishing around both, so just decided to get new boots:

CBR600F2061.jpg


CBR600F2062.jpg


Couple of new Pirellis that I found at reduced prices with 3 day postage for £125 total, including delivery! Clearly the Mrs was very impressed with me dumping tyres on the floor in the Kitchen :D

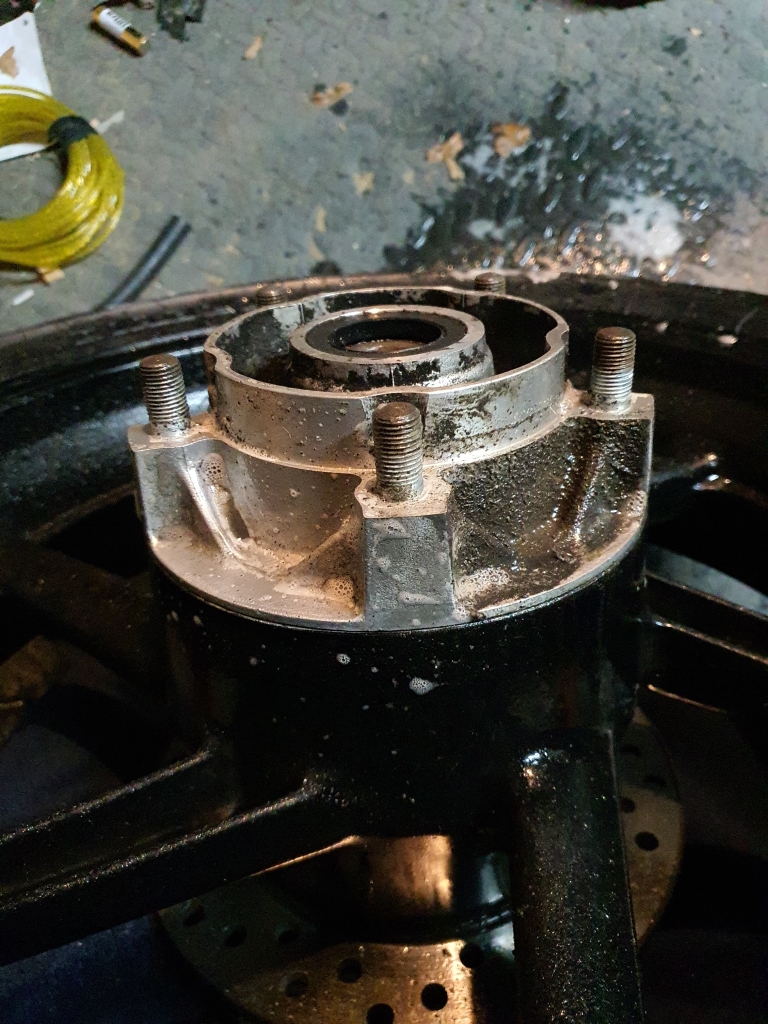
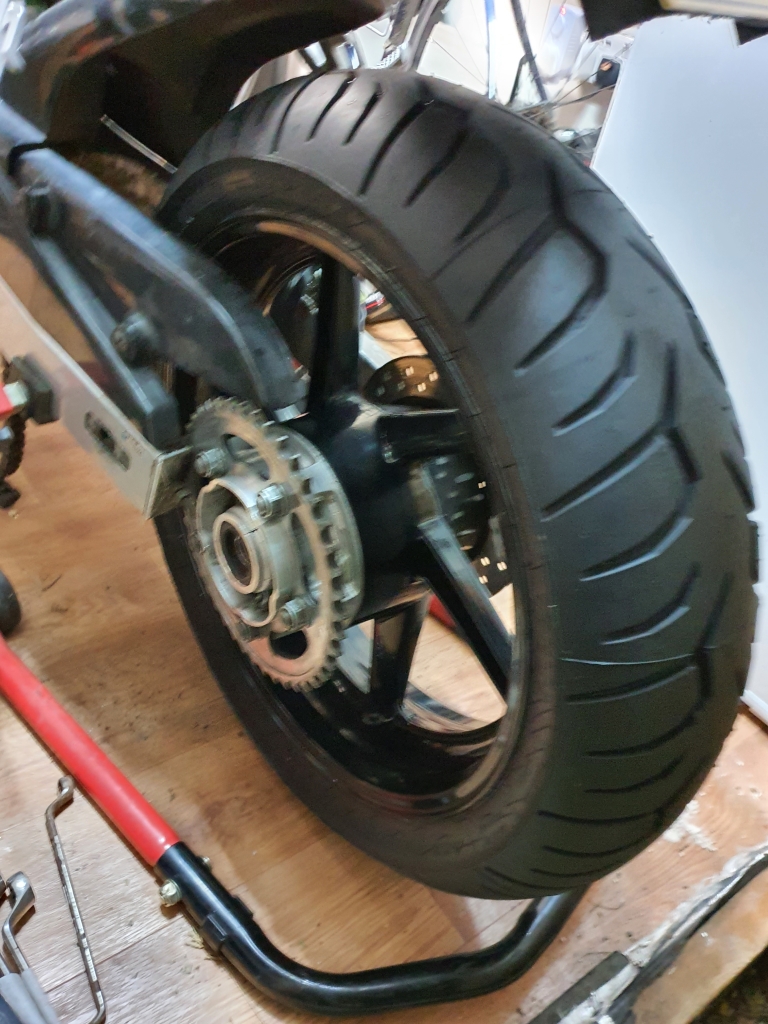
So, wheels off! I whipped off the exhaust end can as the rear axle/spindle required some expert persuasion to extract itself, and I didn't fancy whacking it with the persuasion implement by accident..

CBR600F2063.jpg


I will give the wheels a quick tidy up when they are changed, again, not too worried about how they look, but seems like a good opportunity to give them a once over.

CBR600F2064.jpg


CBR600F2065.jpg


CBR600F2066.jpg


I was toying with the idea of changing them myself, but it looked like a ridiculous amount of effort, or required buying some tools to make it a little easier, and frankly, I want this done sooner rather than later. However, I will be investing in some tools to let me do my own tyres in the future. I mean, I have 4 bikes at the moment, and its bound to pay for itself eventually!!
 
really enjoyed reading through this thread
great progress, looking forward to seeing finished result

Great to hear! Thanks for reading :)

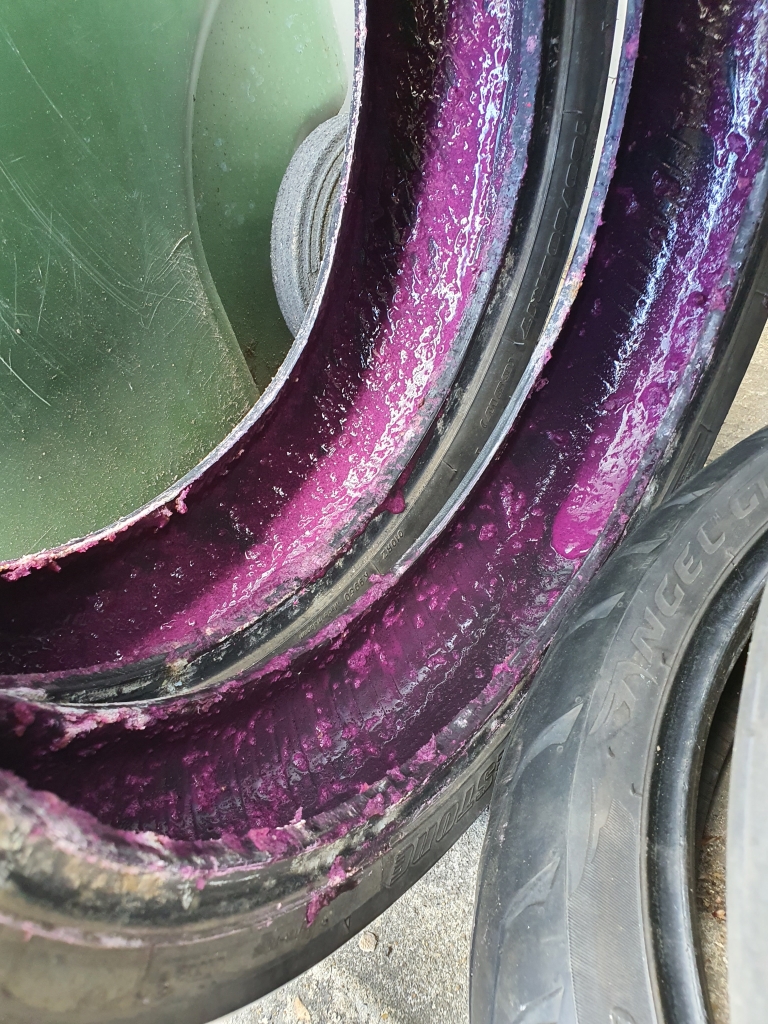
Latest progress! New tyres are sorted! I had to pay a little extra though....

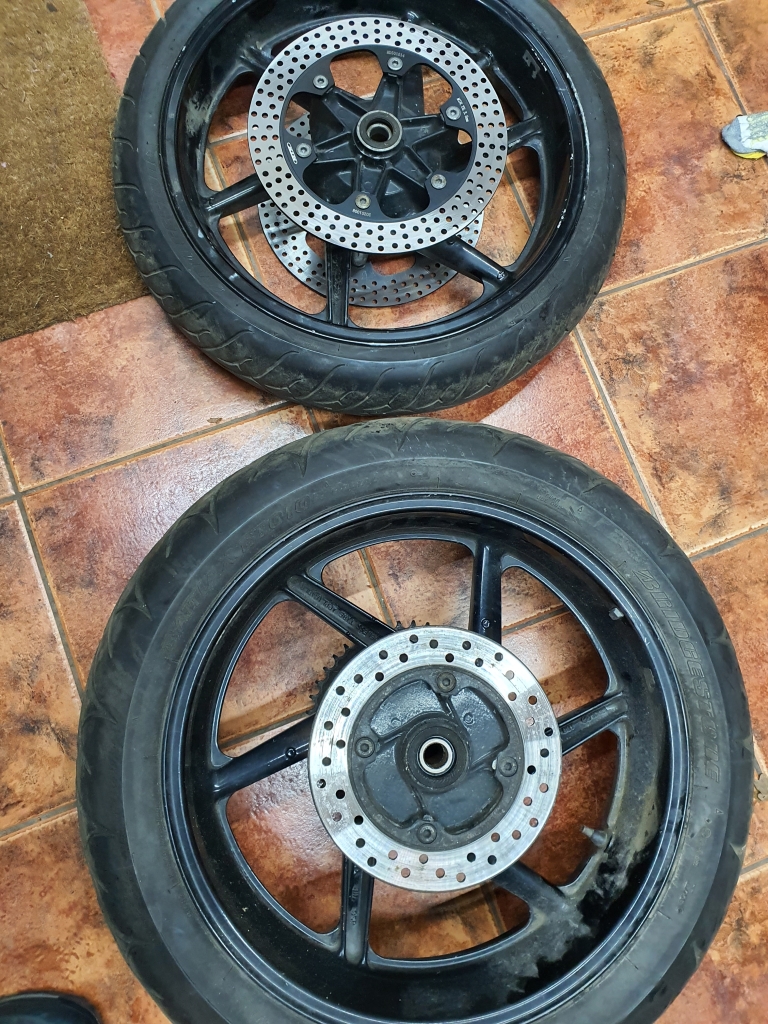
Apparently the previous owner was running some sort of tyre gloop in there, and it made a BIG mess of their tyre machinery. I was sceptical at first, but then they showed me the old tyres!

CBR600F2067.jpg


I paid up straight away after seeing that :D

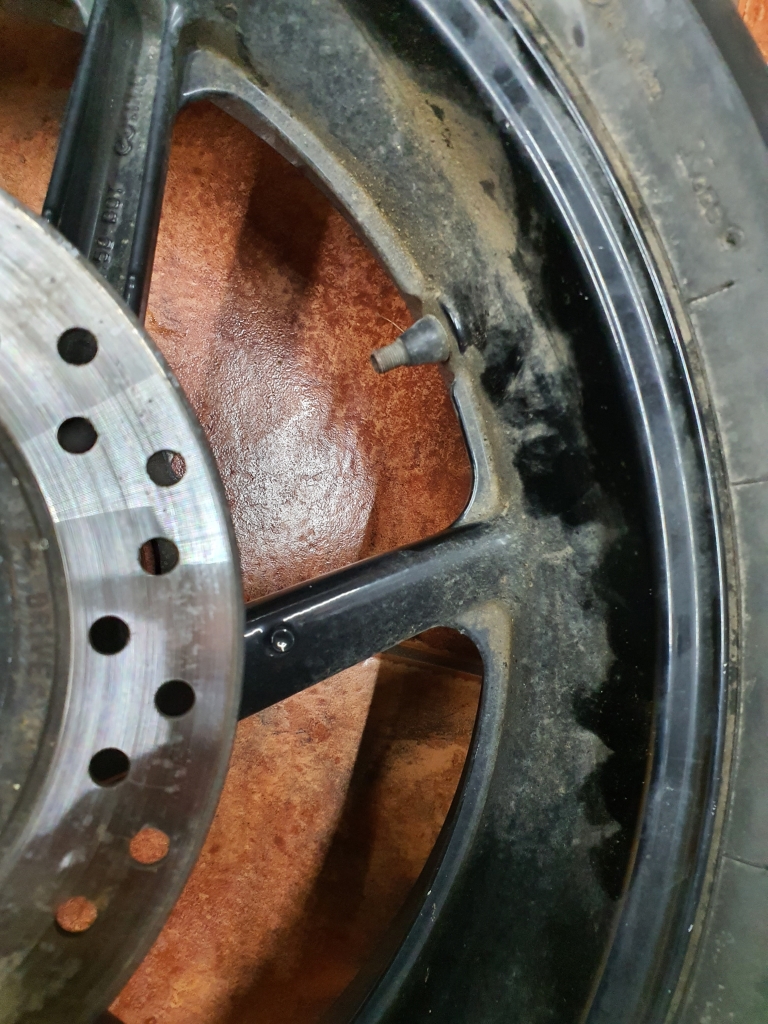
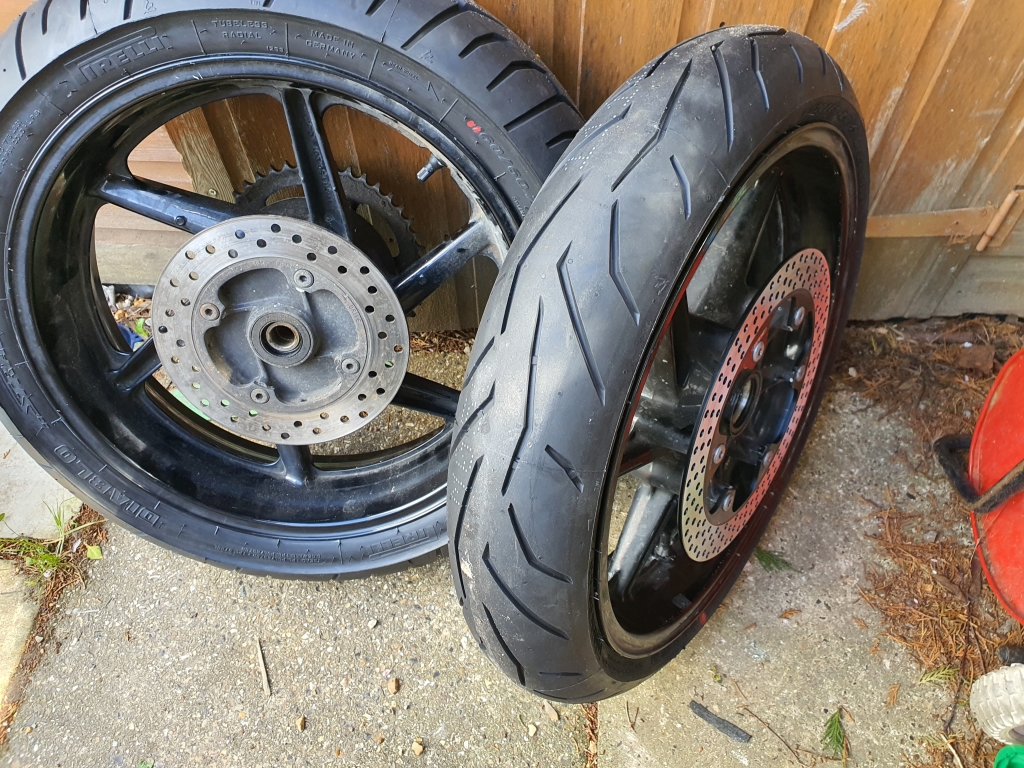
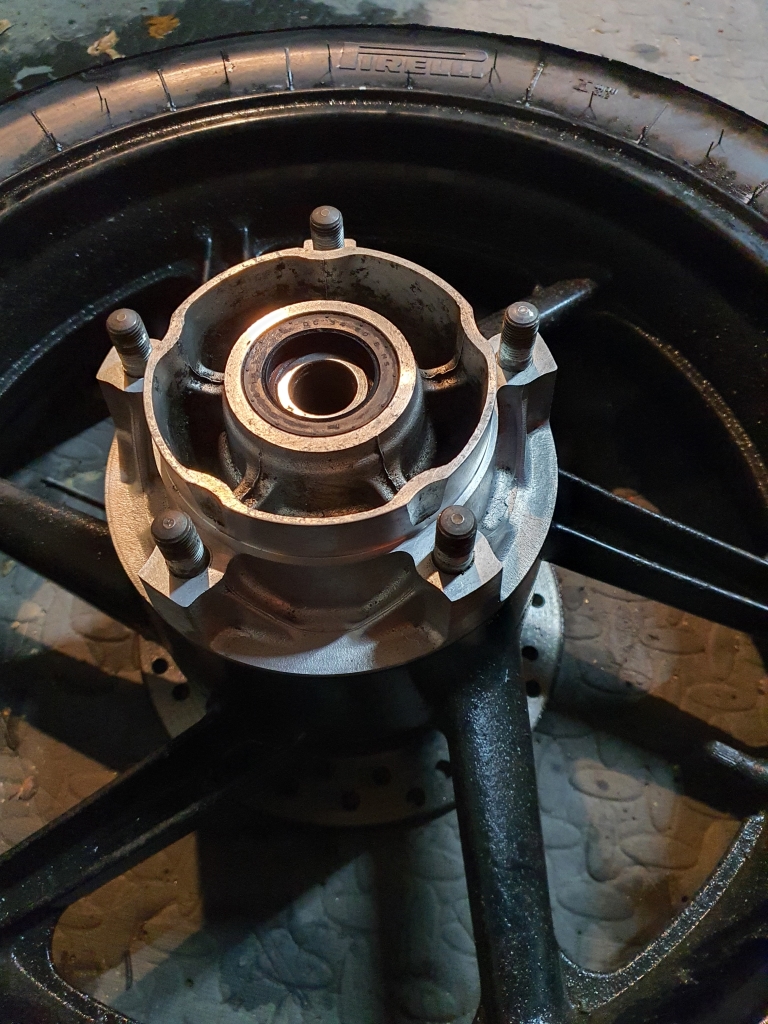
So, all straight! But seems a shame not to at least clean them up a bit whilst they are off!

CBR600F2069.jpg


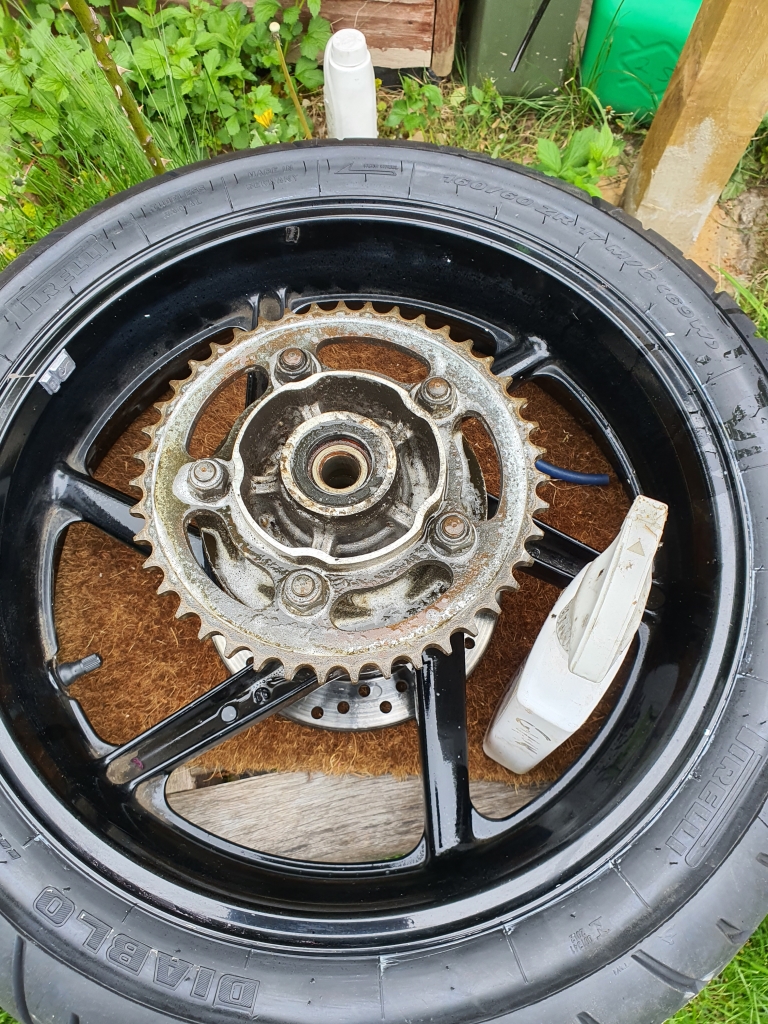
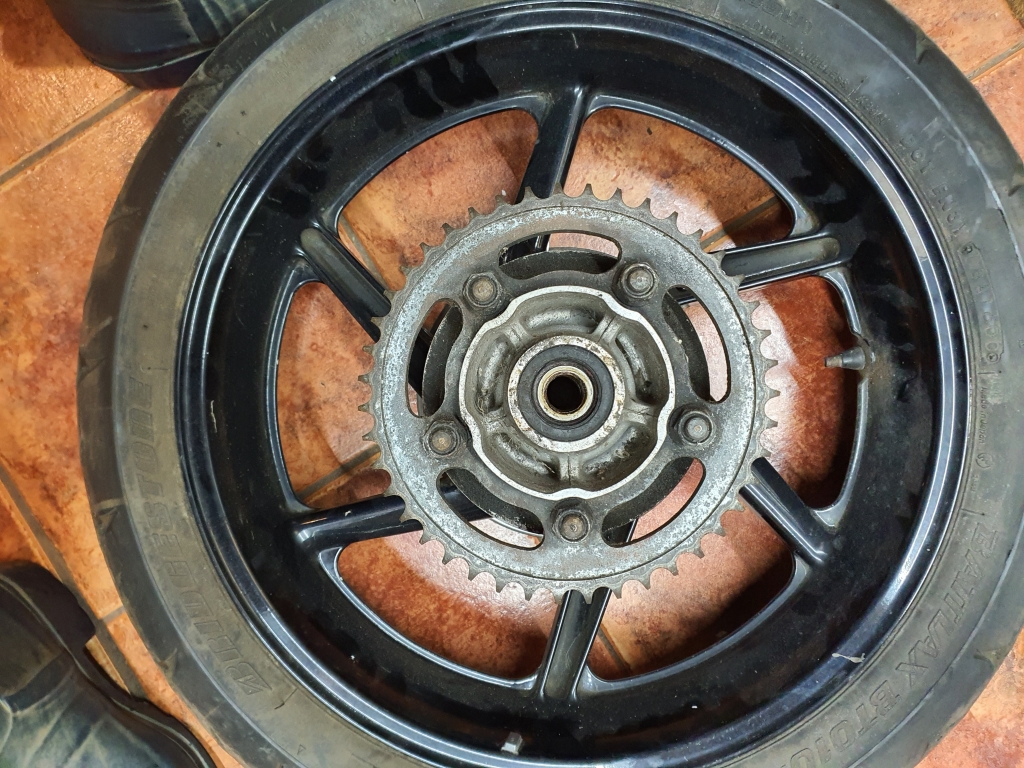
So, Started with the rear gave it a little coat of degreaser, and had a go with the brush head on the drill.

CBR600F2070.jpg


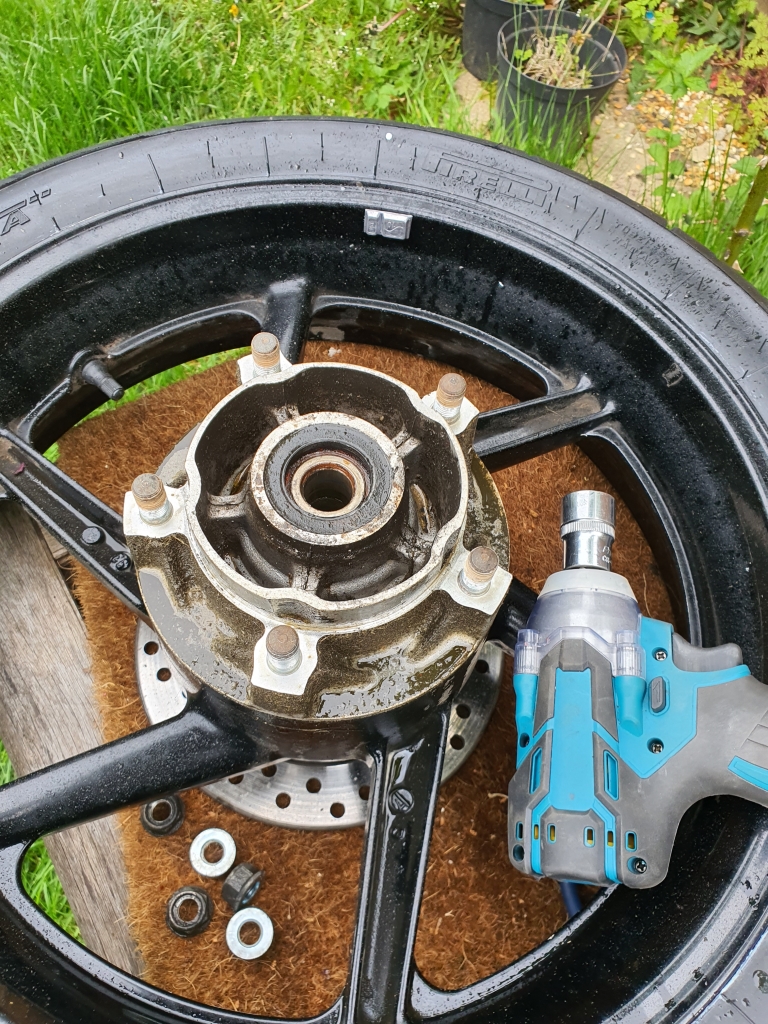
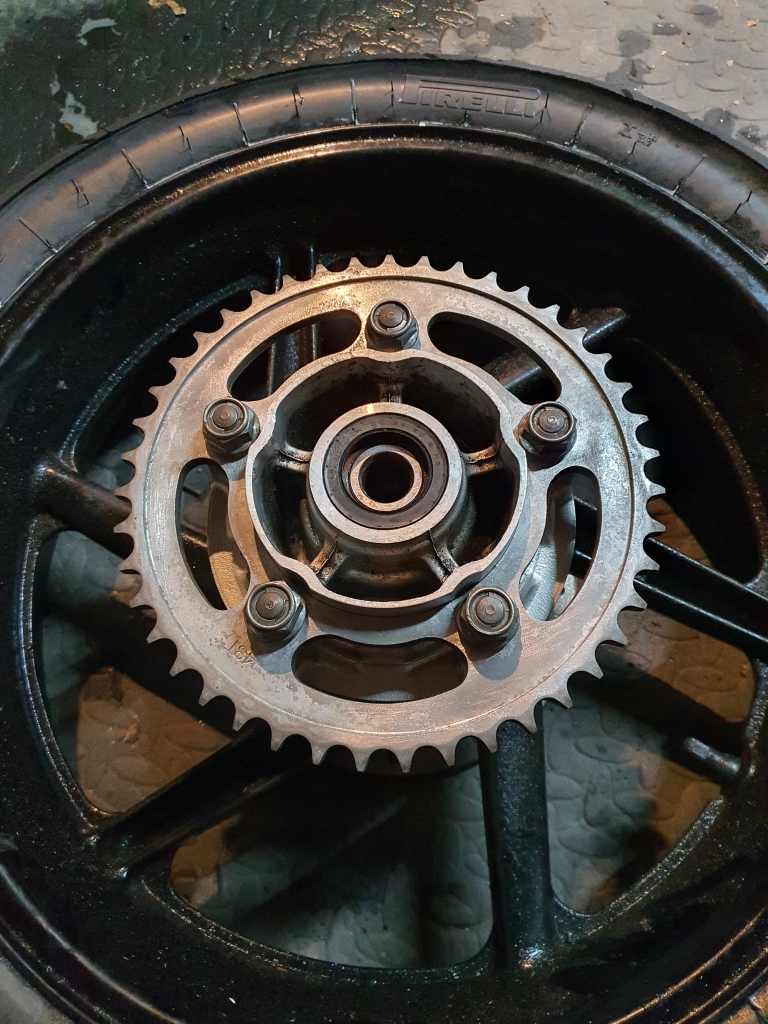
Whipped off the sprocket for easier access to the carrier:

CBR600F2071.jpg


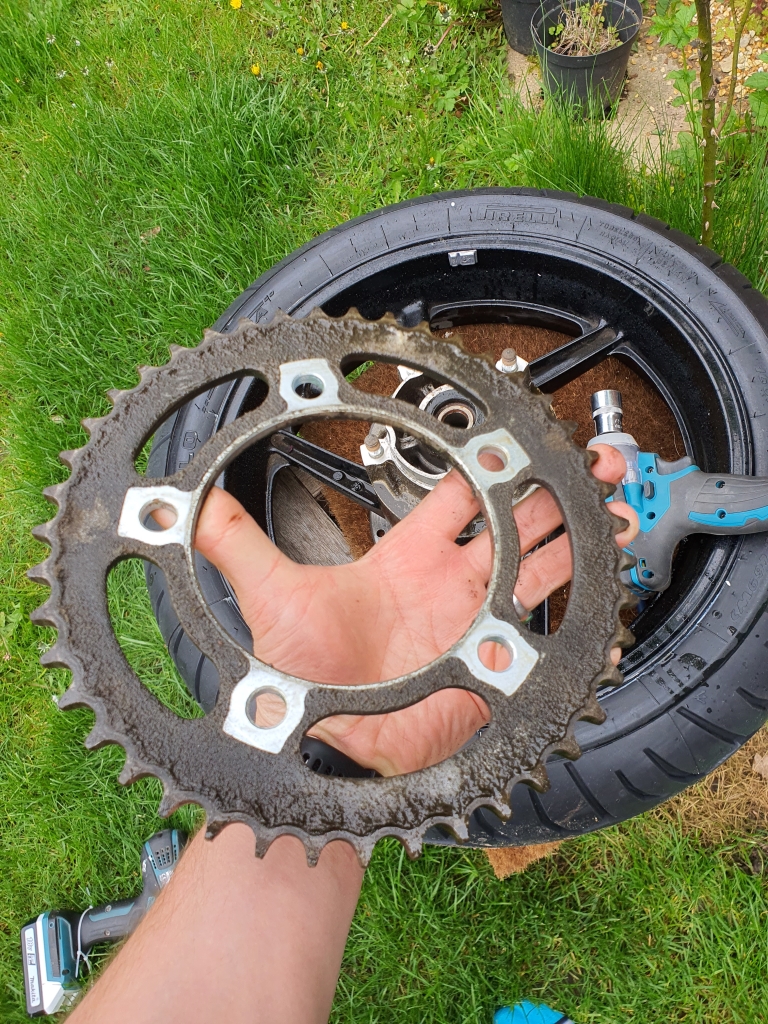
The back of the sprocket was messy...

CBR600F2072.jpg


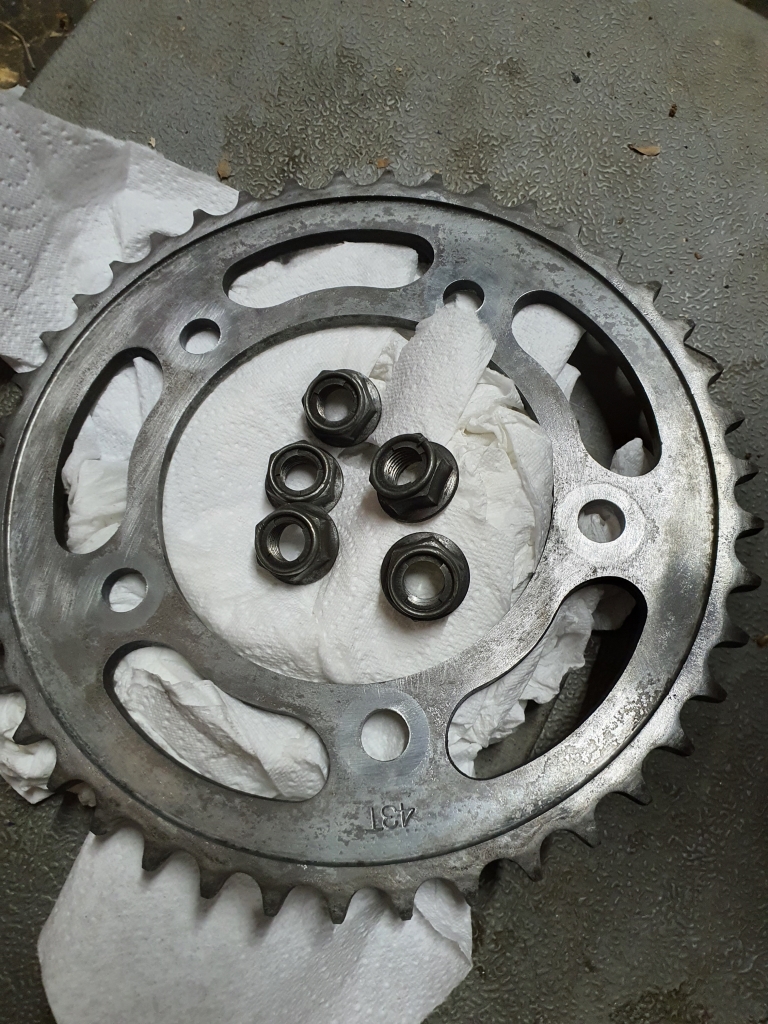
Degreased, dunked in citric acid for a few mins, then hit with the wire brush (both the sprocket and nuts)

CBR600F2073.jpg


half way through the carrier cleaning:

CBR600F2074.jpg


Looking a little better:

CBR600F2075.jpg


Sprocket on!

CBR600F2076.jpg


I then just cleaned up the wheel and put it in place ready to go back in!

CBR600F2077.jpg


I also cleaned the front, and got that ready to go back in too.

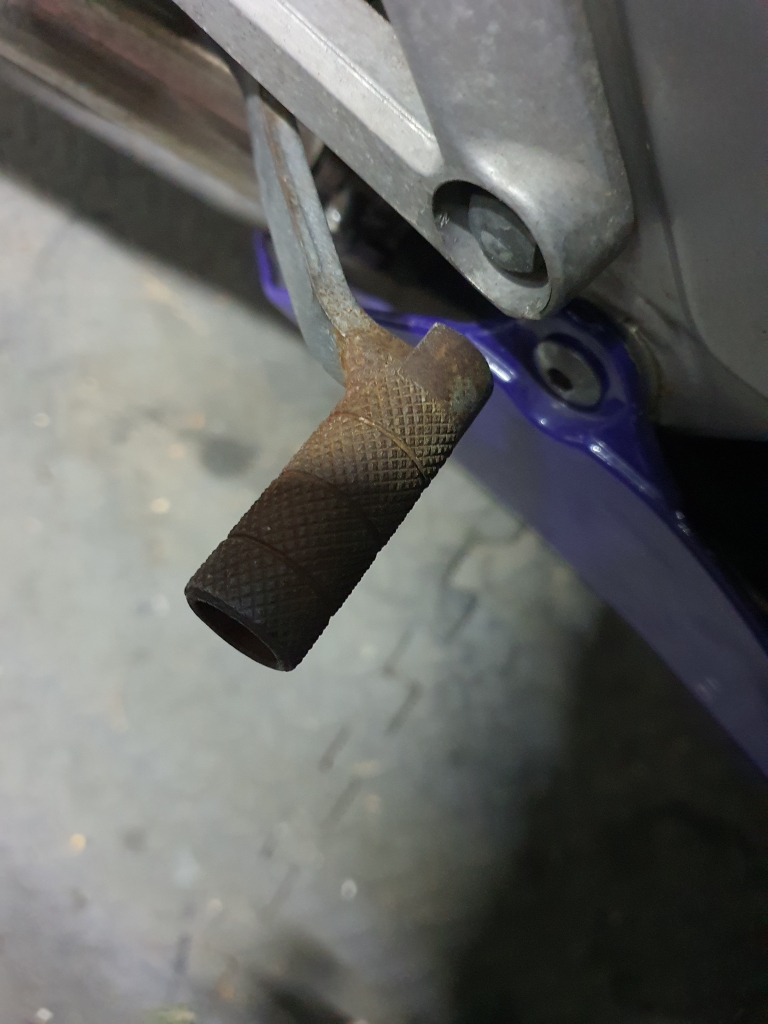
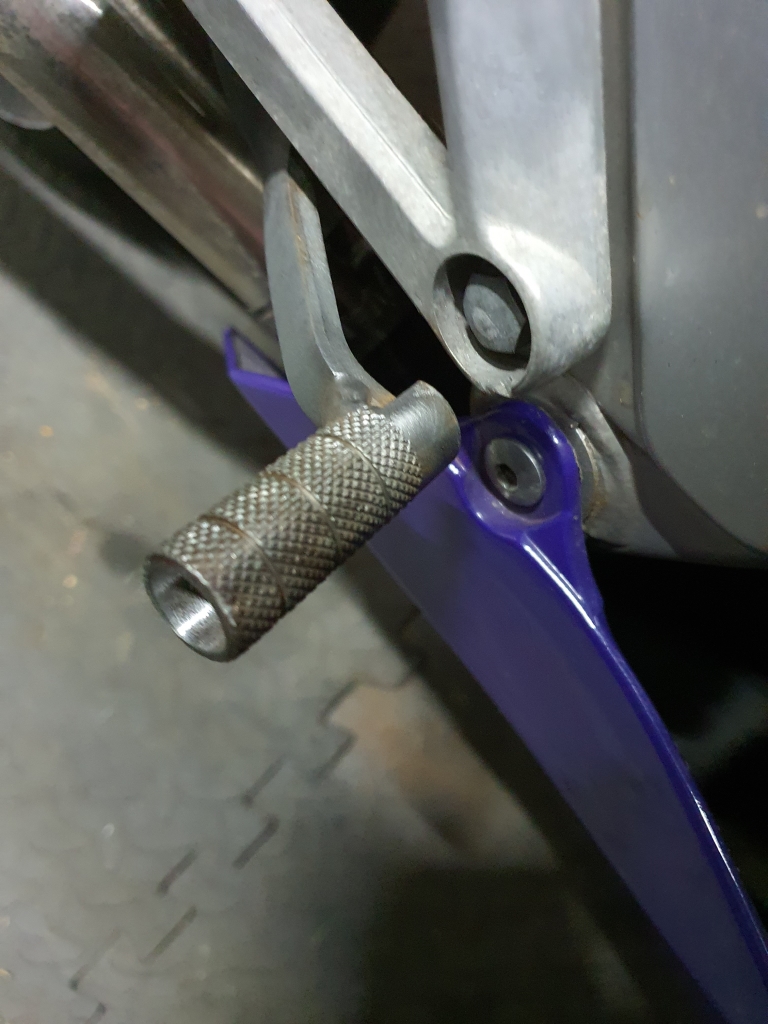
Then it was these....

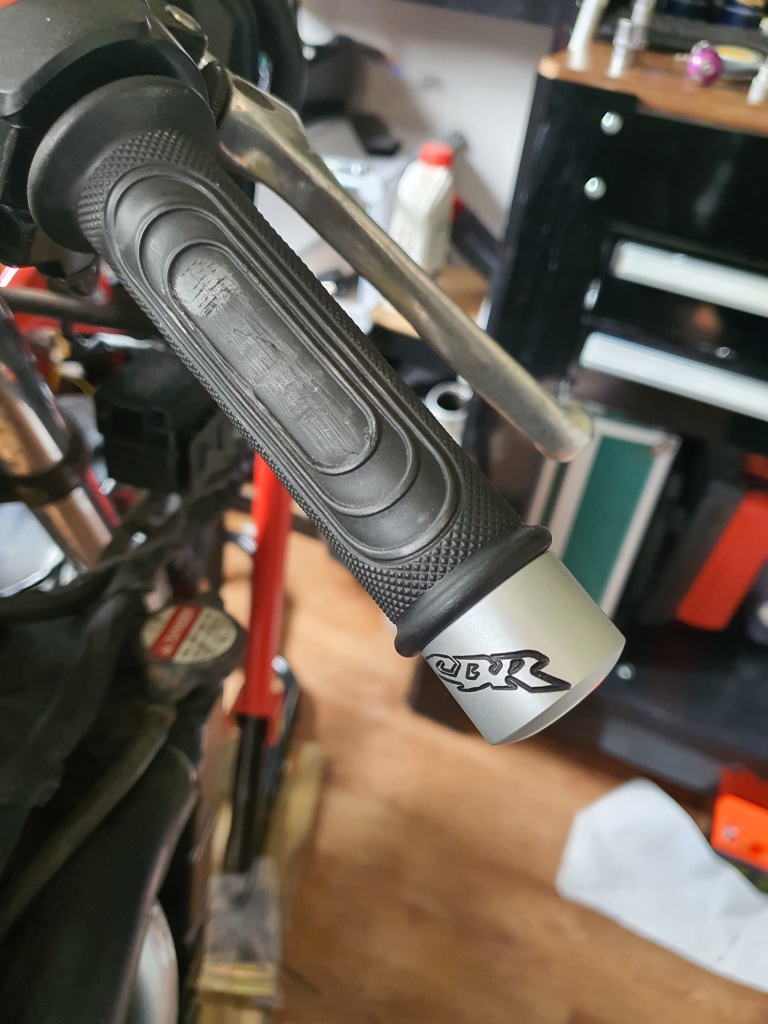
CBR600F2078.jpg


Swapped out the first one, easy:

CBR600F2079.jpg


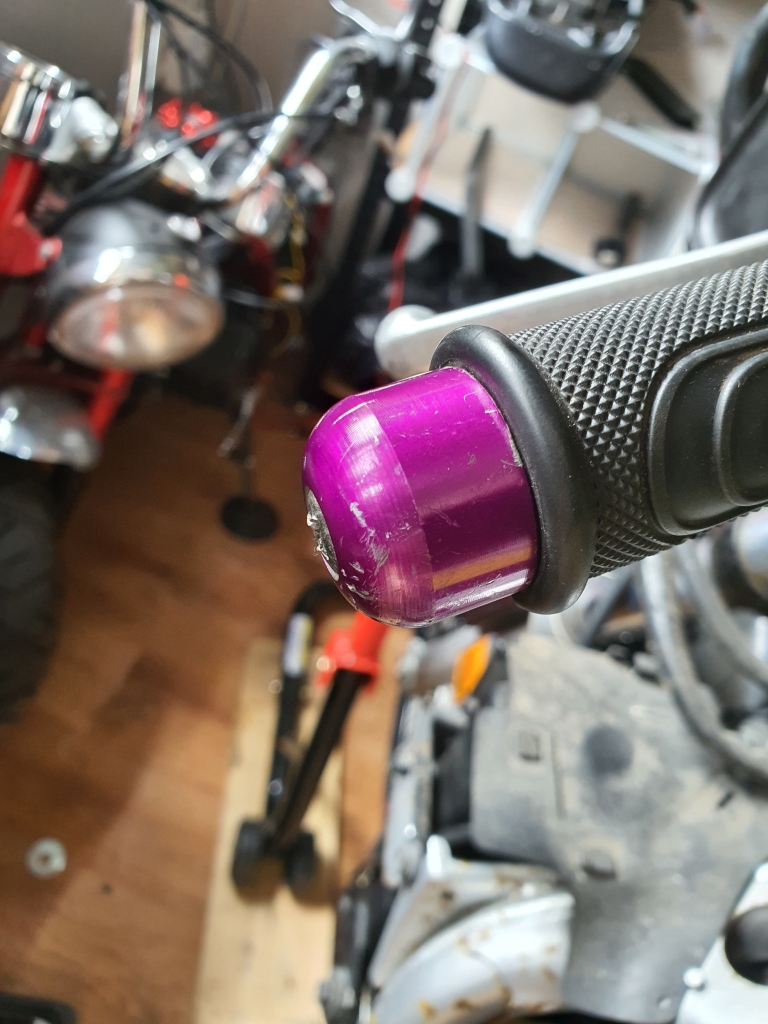
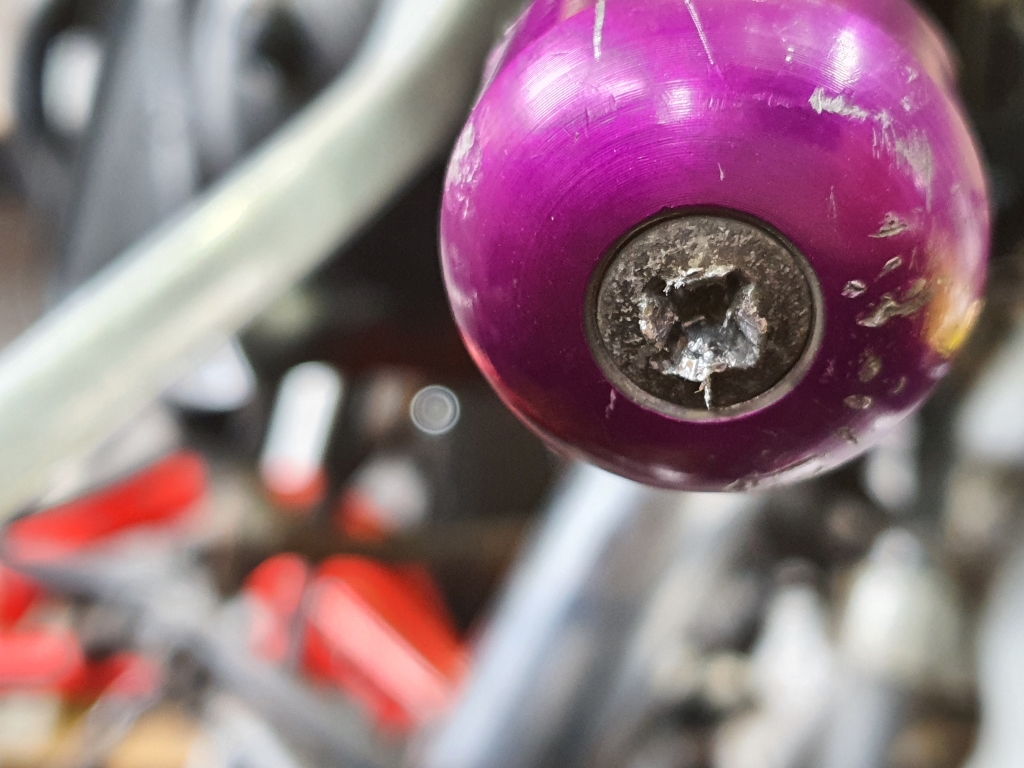
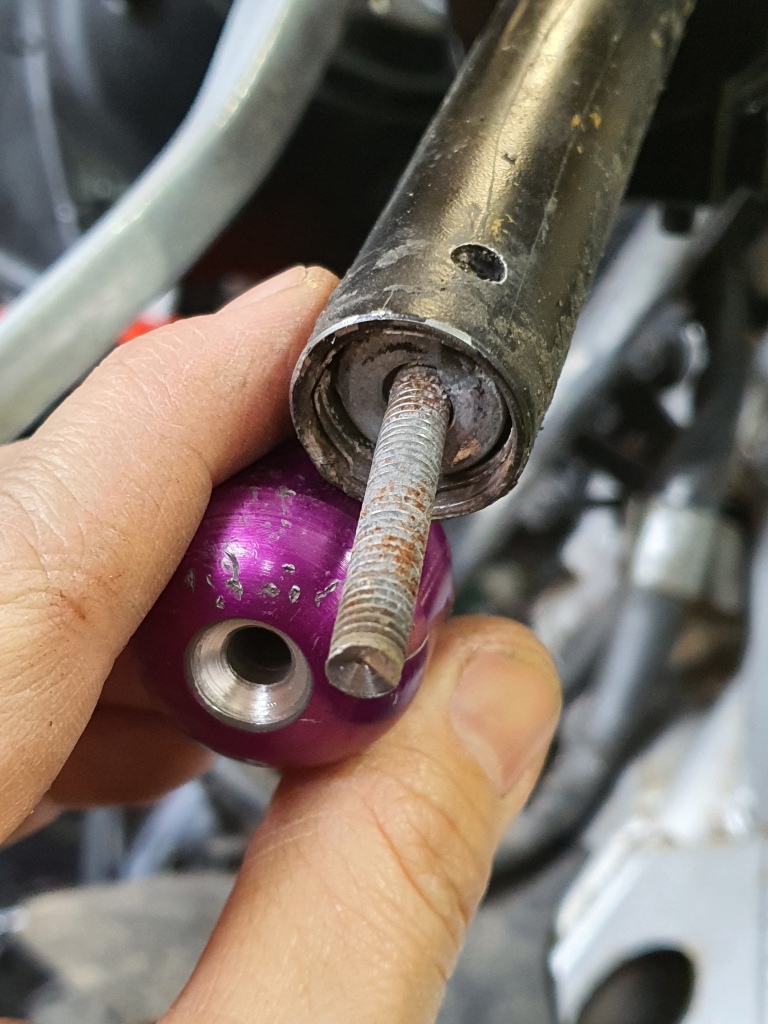
Then I realised the other grip was cut and re-glued because of this:

CBR600F2081.jpg


I could almost get it to rotate a bit, but it would not undo, it also looked a little, not straight...

CBR600F2080.jpg


Ok, lets drill it out, and see what we have:

CBR600F2082.jpg


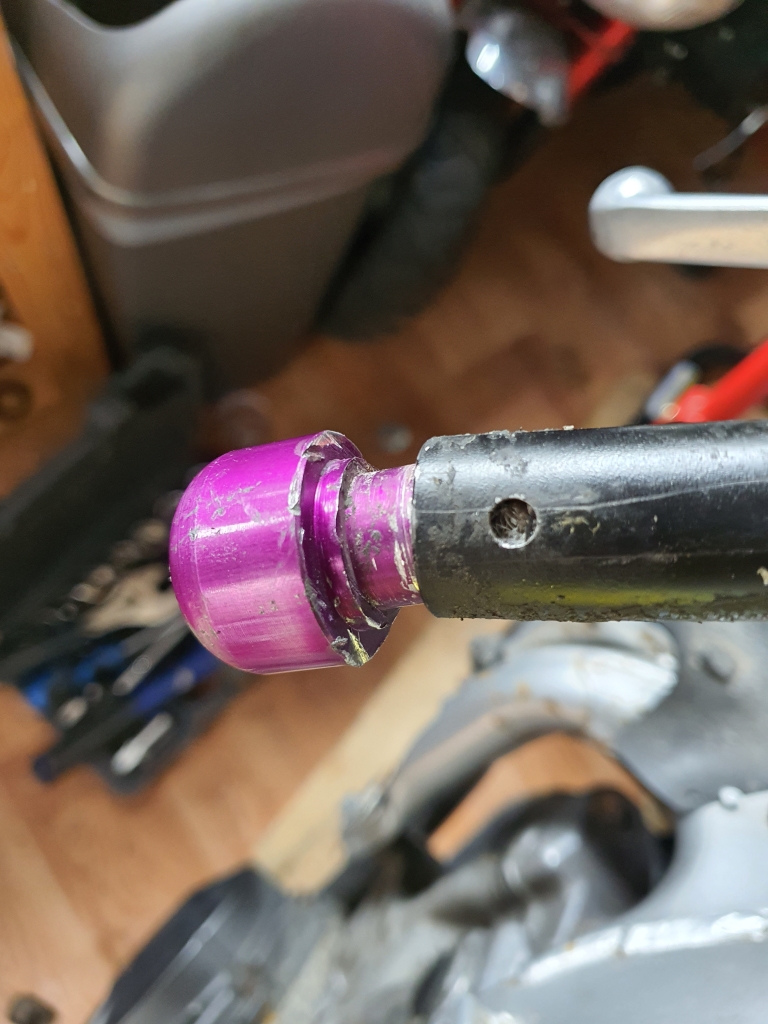
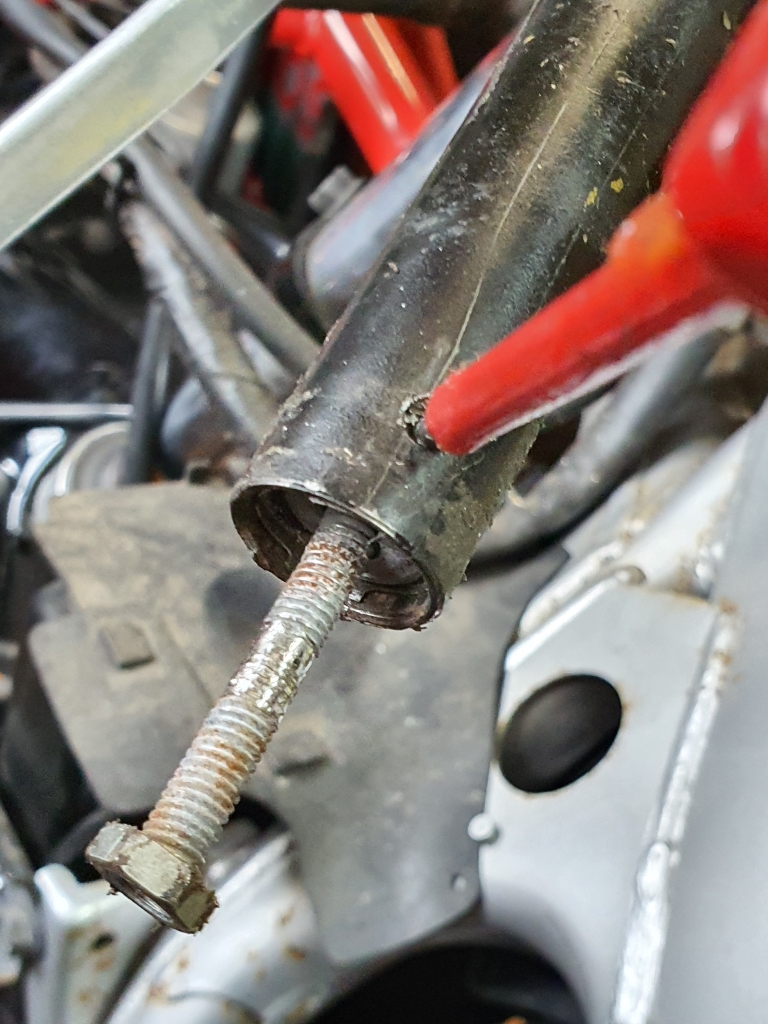
I whacked it back into straight, but it would not undo without spinning the centre weight, so I used the little hole in the handlebar to drill a small hole into the weight, and wedged a screwdriver in there:

CBR600F2083.jpg


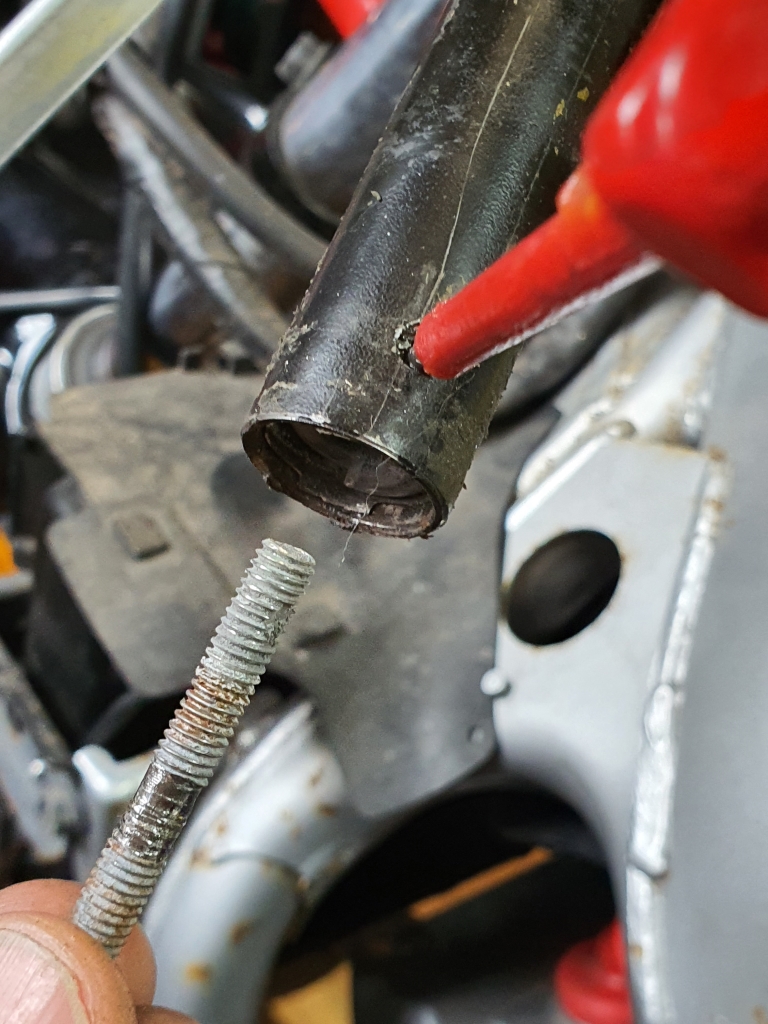
This let me then force a nut onto the end, which was a little mashed (as you can see, I tried with the mole-grips which just stripped the threads). This wedged on nicely as I was screwing it in, and it started to actually tighten! Success, so I wound it out with a little spanner:

CBR600F2084.jpg


Job done!

CBR600F2085.jpg


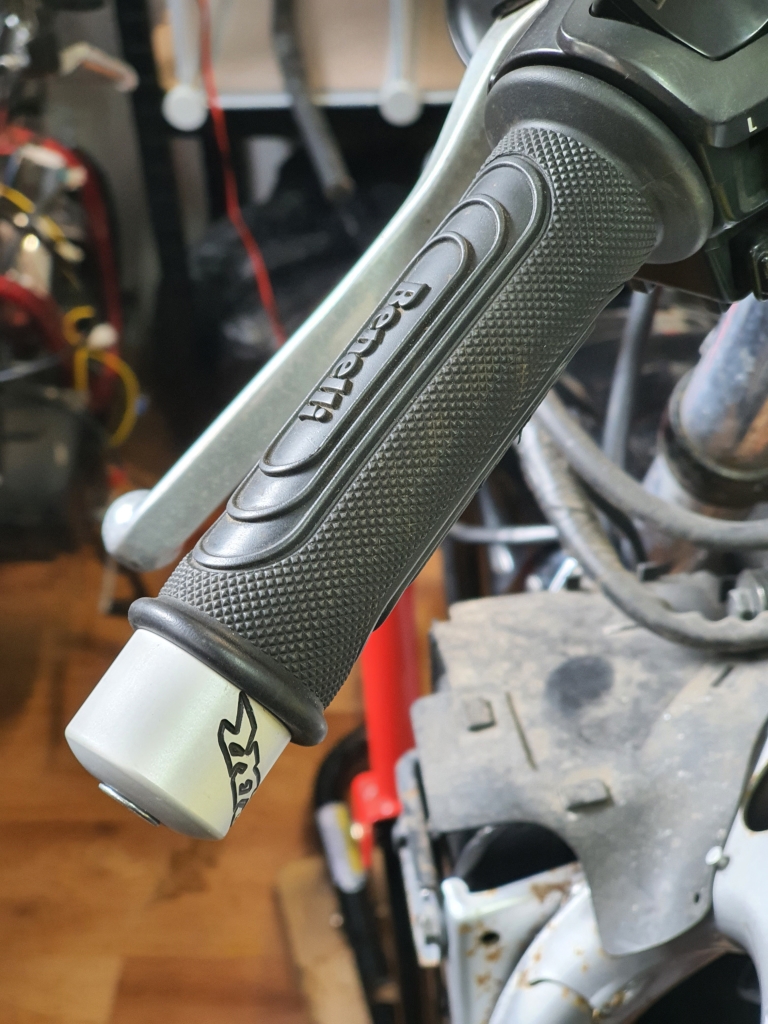
Just got to clean the bar up, and replace the split grip, so I ordered in a set of Renthal grips for tomorrow, so should be able to get this thing into the MOT which is booked in for Sat @ 11am!
 
Build a shed :D Its to answer to most problems!!

A little more progress this weekend, these forks were a little pitted in places, so I decided to see what I could do to improve the situation before the MOT.

CBR600F2087.jpg


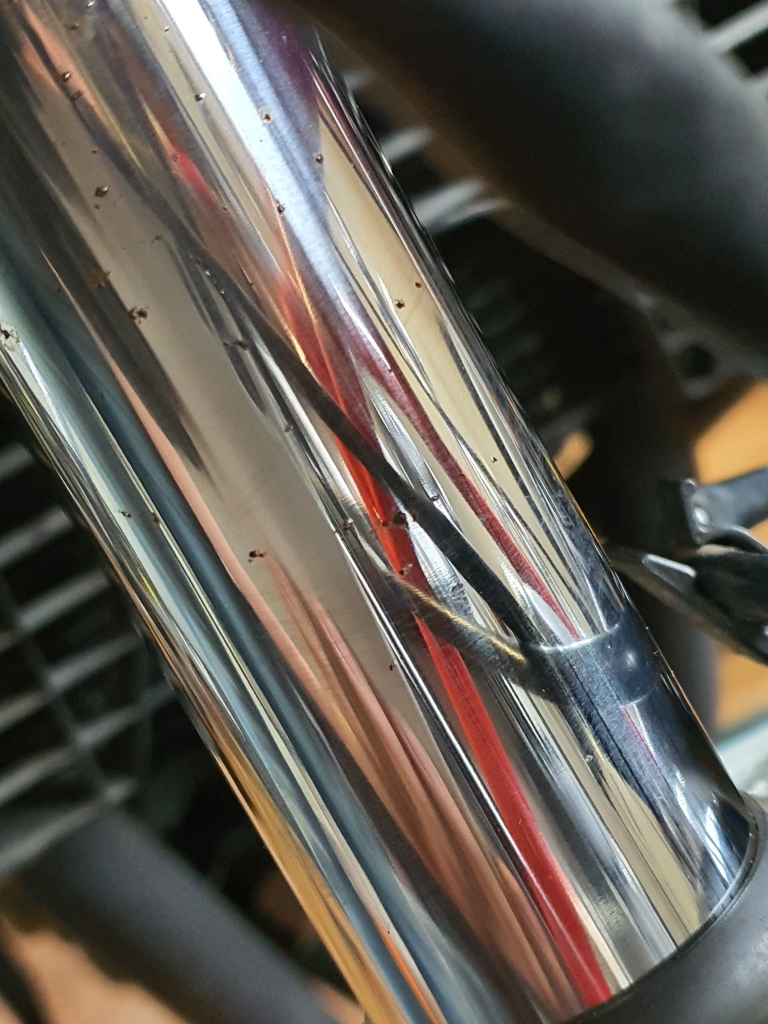
So i went at them with some polish (Silvo!) and took off the easiest stuff quite simply, but there were a few of the pits that would not come off, and I could still feel them with my fingernail as I ran over them, so i used some 1500/2000/2500 grit with some WD40 as lube, and went over any bad areas. This takes down the high points gently, without damaging the finish too much.

CBR600F2088.jpg


They will never look perfect, but it should make the fork seals last a little longer without those high spots whacking through them. The top sections were actually a little easier to sort out:

CBR600F2089.jpg


No major issues here, Silvo took care of almost all of it, only a couple of spots needed a little sandpaper action, and this part is not going through any seals, its largely cosmetic anyway.

CBR600F2090.jpg


Next step is final assembly for the MOT! So it was moved from the shed to the garage in its bits:

CBR600F2091.jpg


Stuck the front fairing/screen back on:

CBR600F2092.jpg


Side fairings ready to go back on:

CBR600F2093.jpg


On:

CBR600F2095.jpg


CBR600F2096.jpg


Off I went for the MOT! And she passed! No advisories :D

CBR600F2097.jpg


CBR600F2098.jpg


The yellow CBR600F4i that I picked up in the van to test it out, was also there 30 mins after mine to have his MOT done, and he also passed, so good day all round.

Now it's time for further mods/tidying up/etc, but she is now in regular service
 
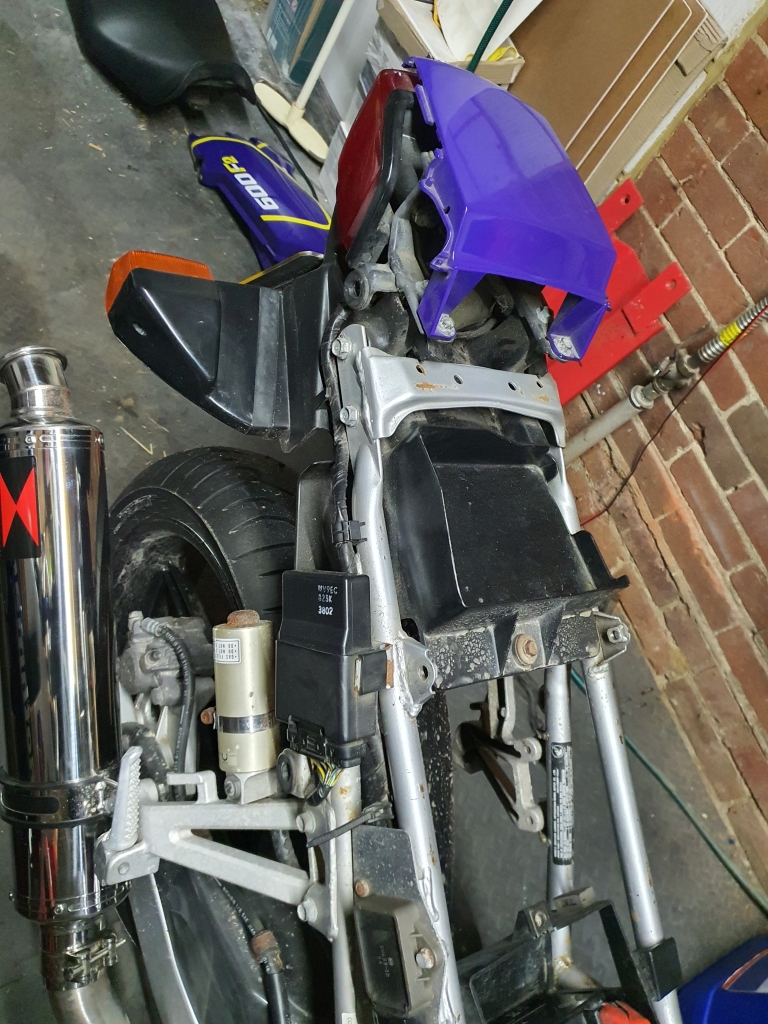
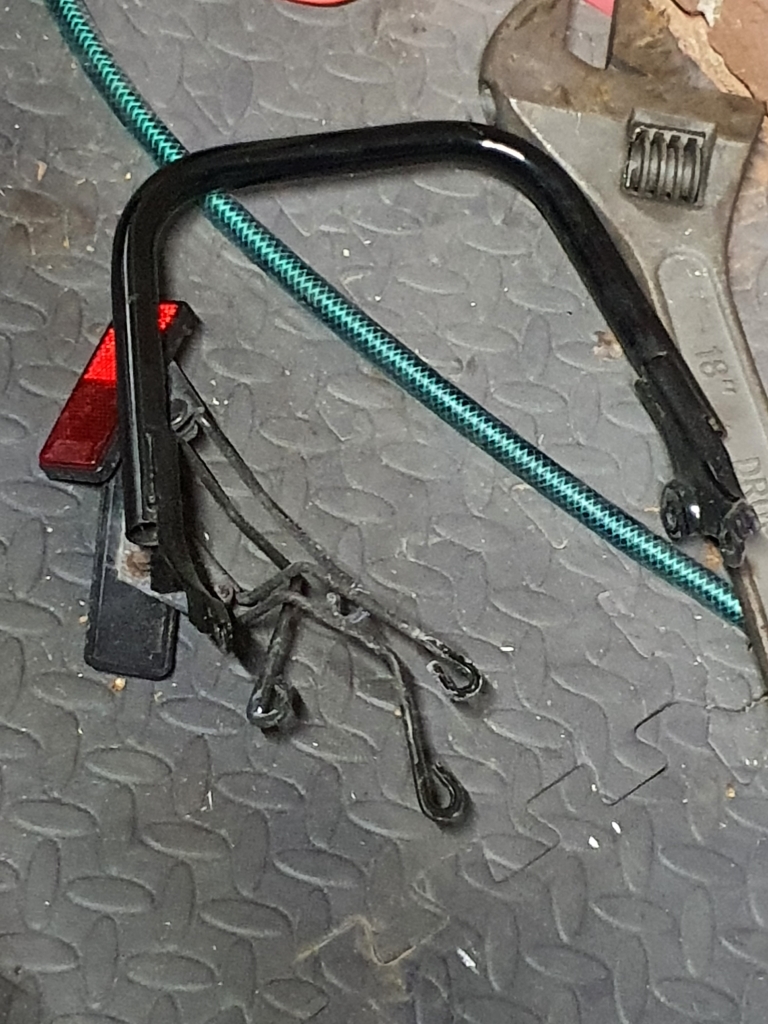
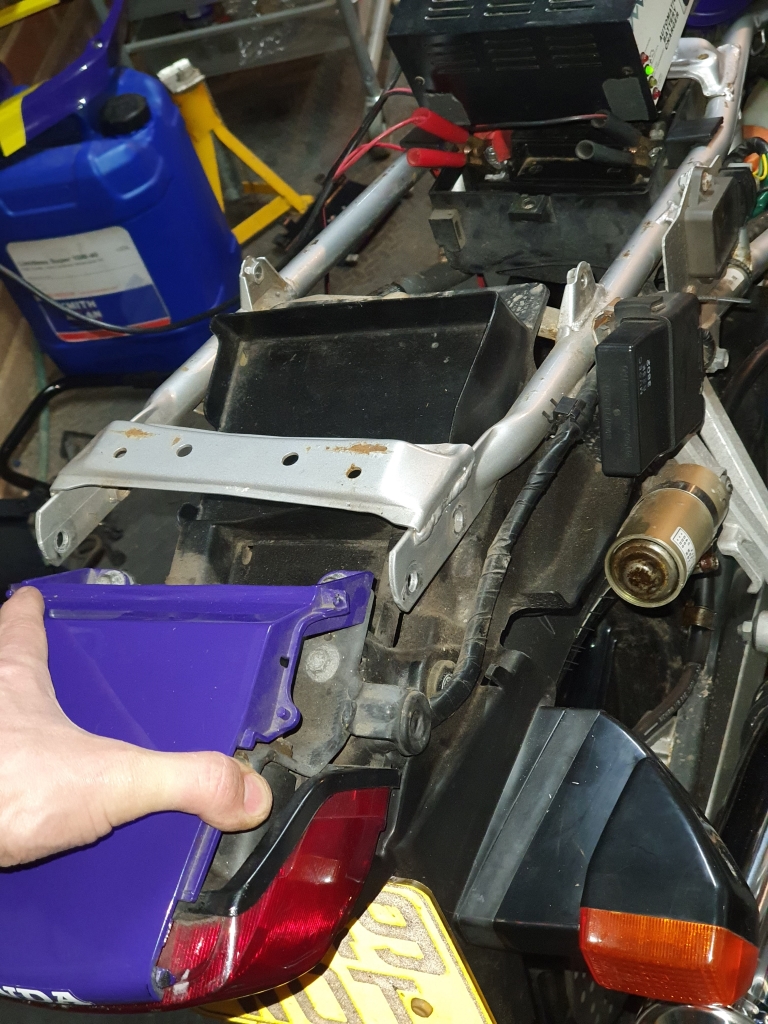
So, after finding out at the MOT that my bike was likely a US import, given all the reflectors and some possible extra wiring (to be investigated!) I decided to see what I could do to tidy up the rear a little. So, seeing as I have no pillion cover on my insurance, the rear handle was first to go, and the rear side reflectors were mounted in the same place, so they came away too!

CBR600F2099.jpg


CBR600F2100.jpg


starting to look ok! It does leave me with some holes to fill, but I hope to 3dprint something to sort that later :)

CBR600F2101.jpg


CBR600F2102.jpg


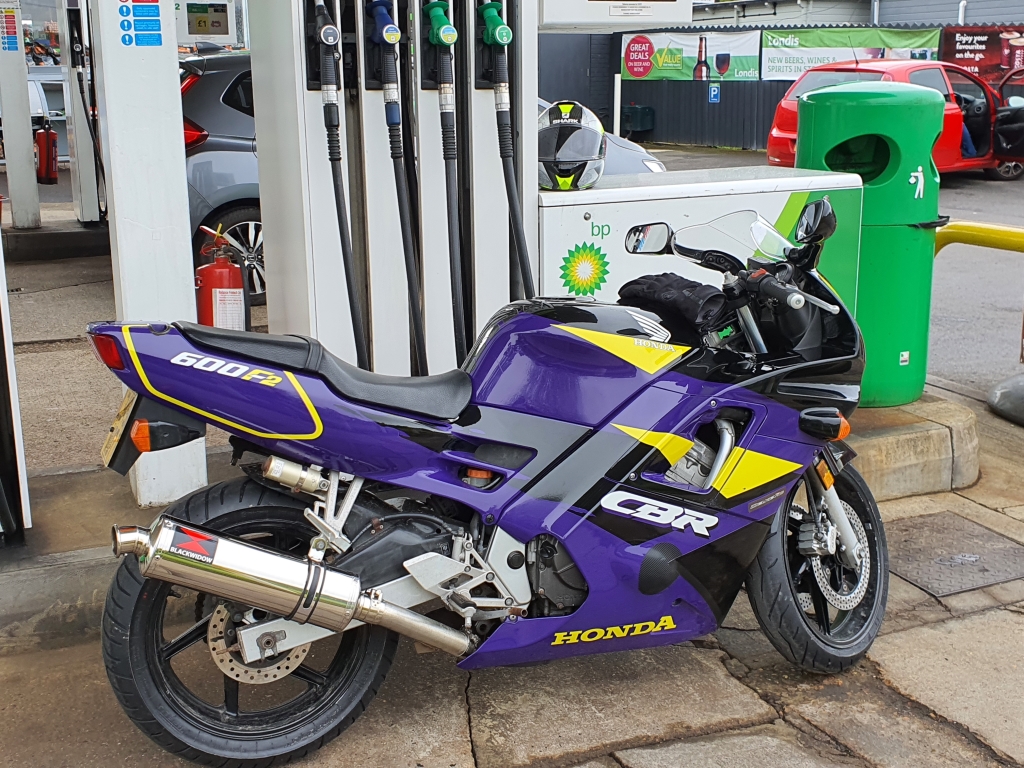
Looking a little cleaner, so we went out on our first fuel fill-up :D

CBR600F2103.jpg


Its a very confidence inspiring bike. It feels a lot more planted than the 400, and a little more "effortless" in the way it makes progress. I will do some longer runs before I write down many more of my thoughts though.


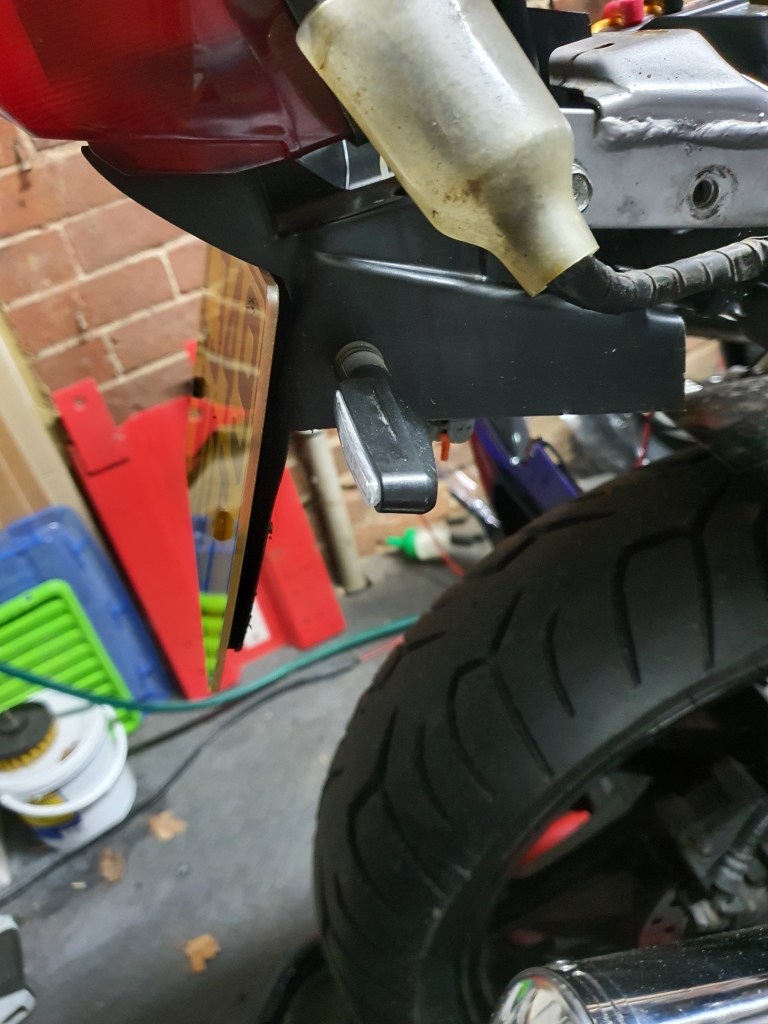
I really have to do something about these rear indicators. They are HUGE!
CBR600F2104.jpg


more on that later!

I then went around the bike, spotting a few little spots that need attention

I wont cover them all, but little areas like the following:

CBR600F2105.jpg


CBR600F2106.jpg


So, I spent a little time tidying them up with varying methods/tools:

CBR600F2107.jpg


CBR600F2108.jpg

(more to do here, but its a start!)

these were bugging me, so I have them some Kurrust treatment:

CBR600F2109.jpg


In progress:
CBR600F2110.jpg


Looking a little better, will do a better job when I change the brake fluid and take them out fully, but will stop me seeing rust when I look down :D

CBR600F2118.jpg


Some other little spots to address with Kurrust, just to slow down the process before I can get in there and fix them properly:

CBR600F2111.jpg


CBR600F2112.jpg


Will sort these out properly later, but there is not much rust on the bike in general, other than some light bits around welded joints in the frame, which only a full strip down will really be able to address.

Some other misc parts:
CBR600F2114.jpg


The other side after a cleanup

CBR600F2115.jpg


This was also bugging me:

CBR600F2116.jpg


Little bit of cleaning:

CBR600F2117.jpg


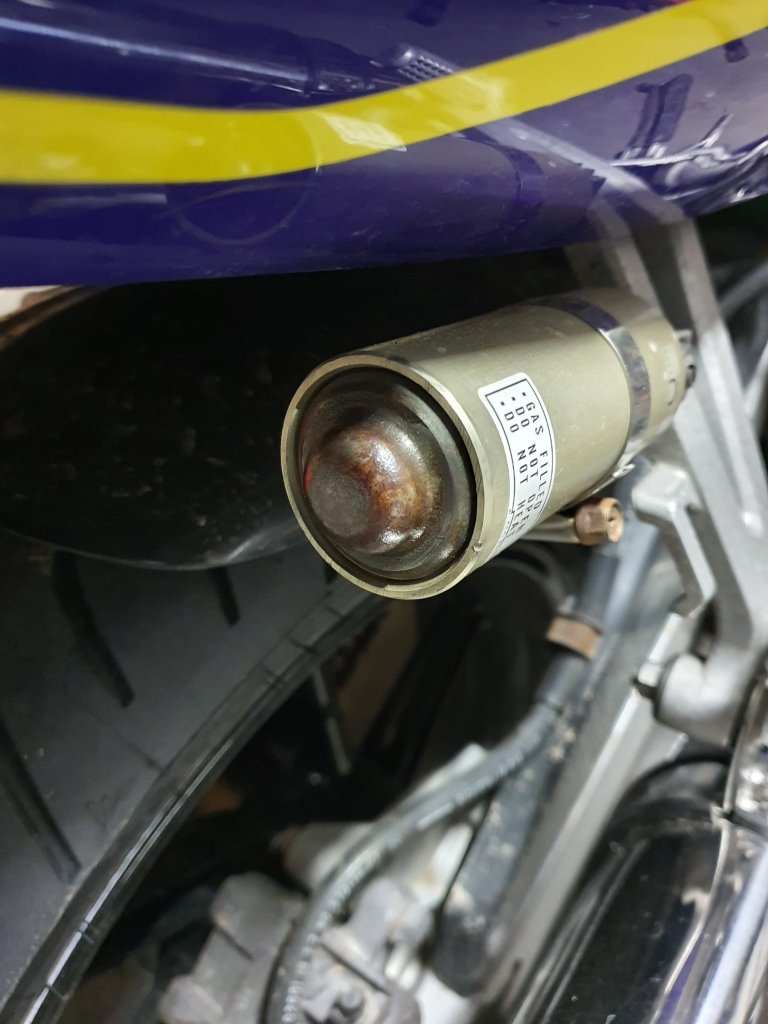
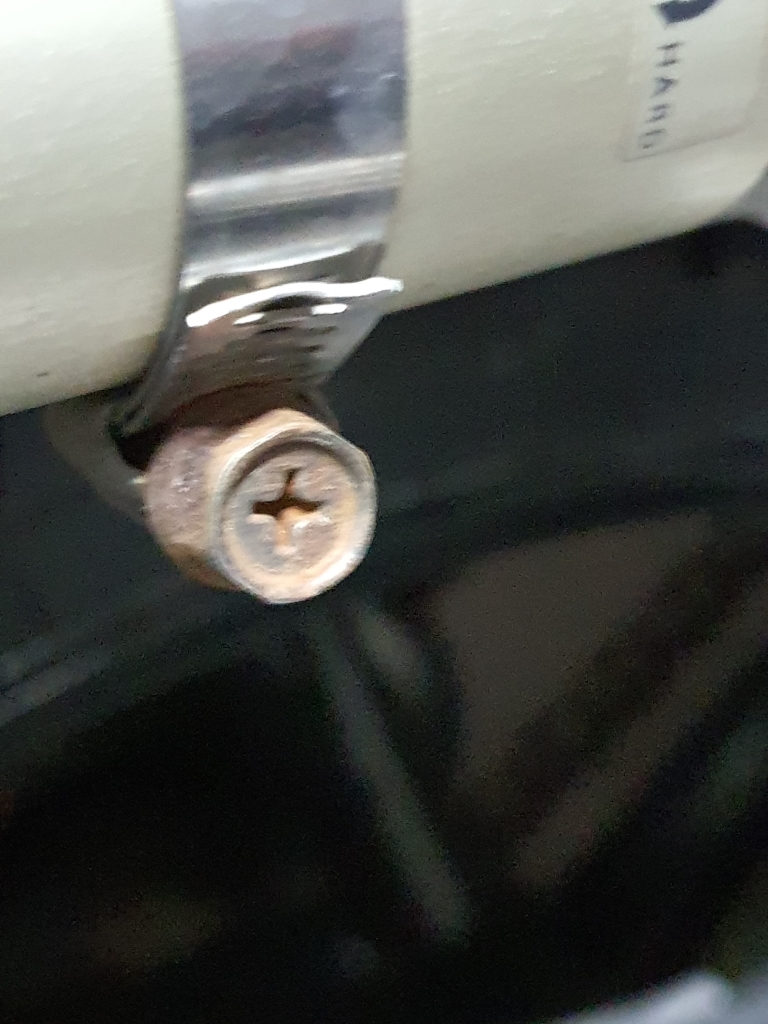
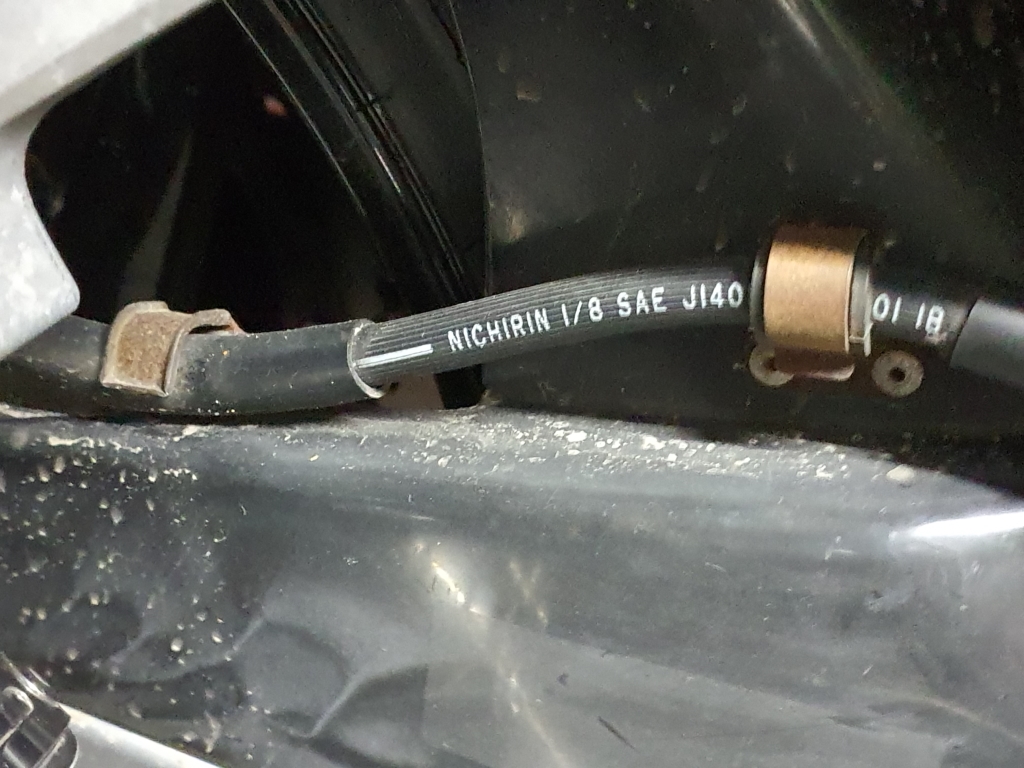
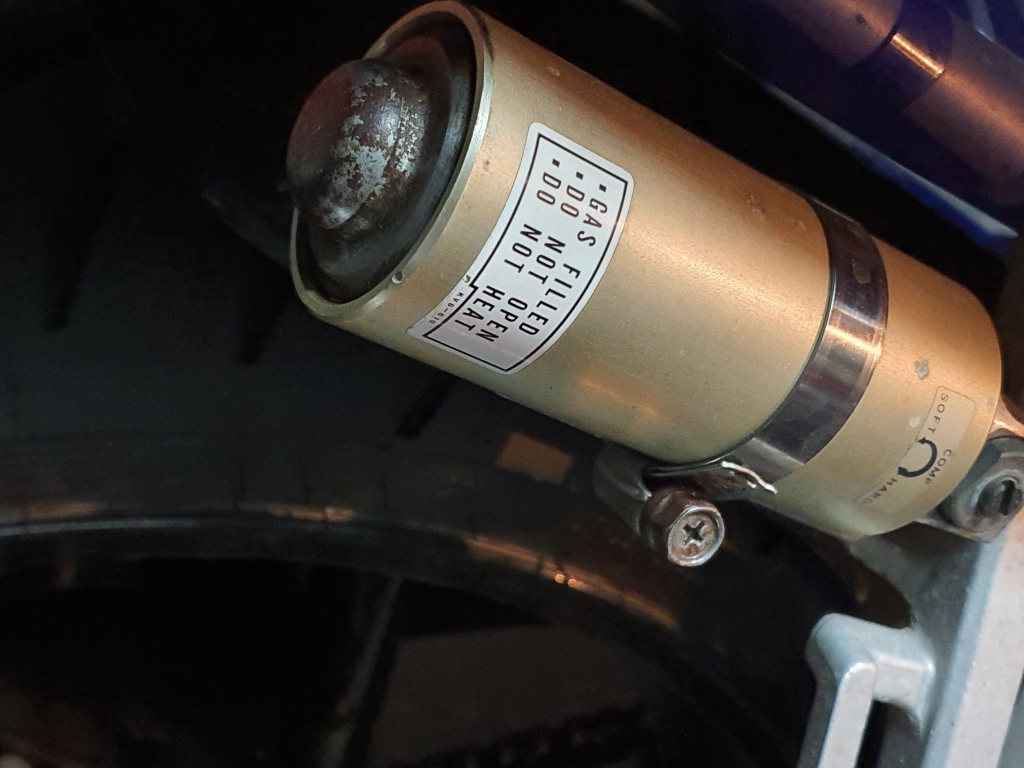
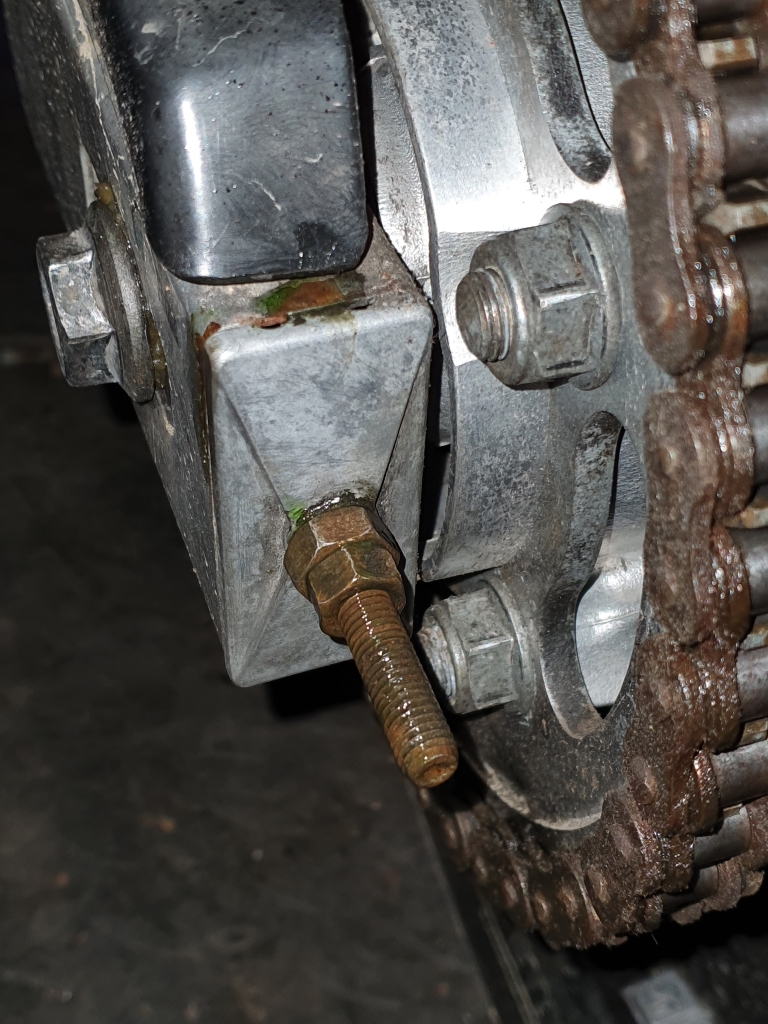
Little more work on the shock remote, and the rusty hose clip screwhead :

CBR600F2120.jpg


Other side of the swingarm tidied up, and a little kurrust on there to slow down the rust there.

CBR600F2123.jpg


I think some of these parts will end up being replaced/reworked/upgraded as I go, but there is not really all that much wrong with it fundamentally for the moment, so I am quite happy with it for now.

I think the carbs could do with a balance, and I might even ask the guys at the local place to stick it on the dyno, and do a little tweaking for me :)
 
Only just spotted the thread, enjoyed your tri arm rebuild.
As soon as I saw the pic I thought 'that's a us import' based on the colours. Looks like and fp or fr (the f2's in the UK ran from 92 until 95 ish, FM,FN,FP,FR) most likely an fp equivalent as you've got the remote reservoir shock and alloy pillion pegs, the FN didn't have the remote reservoir and had black coated steel pillion hangers.

Loved my FN, brilliant bike.

I've got a pair of clean uncrashed standard clip ons if you want to replace yours, pm me an address and I'll send them over.

Great info on the bike! I might take you up on those bars, I will check mine out in more detail, and if I need them you will be the first to know!

I also have the extra cables for the indicators and dual/function bulbs in there, which again proved it was a designed to have them as always on extra lights.

So, onto the work done!
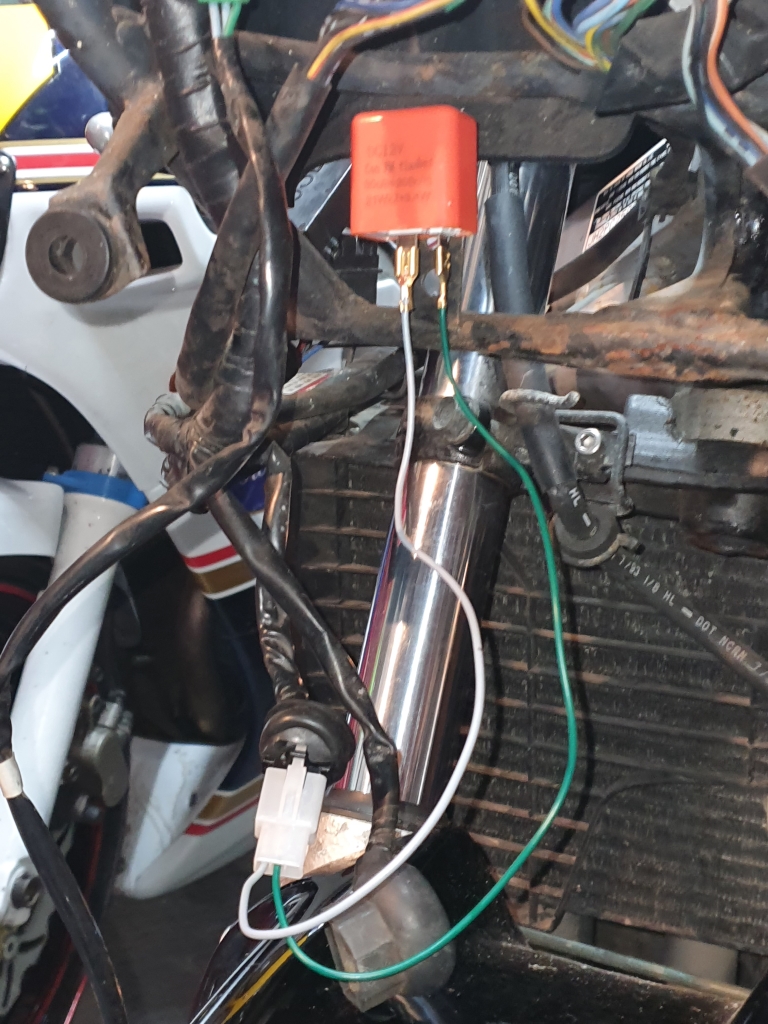
I decided I wanted to move to LED indicators, so i had to make an LED flasher fit nicely, I just hooked it up first to make sure it was working:

CBR600F2124.jpg


Tested it, proved it worked, so I shortened the cables, wrapped them up nicely, and made it look a little more presentable, without adjusting the factory loom at all.

CBR600F2124.jpg


Next... I went a bit crazy...

Whipped this out..

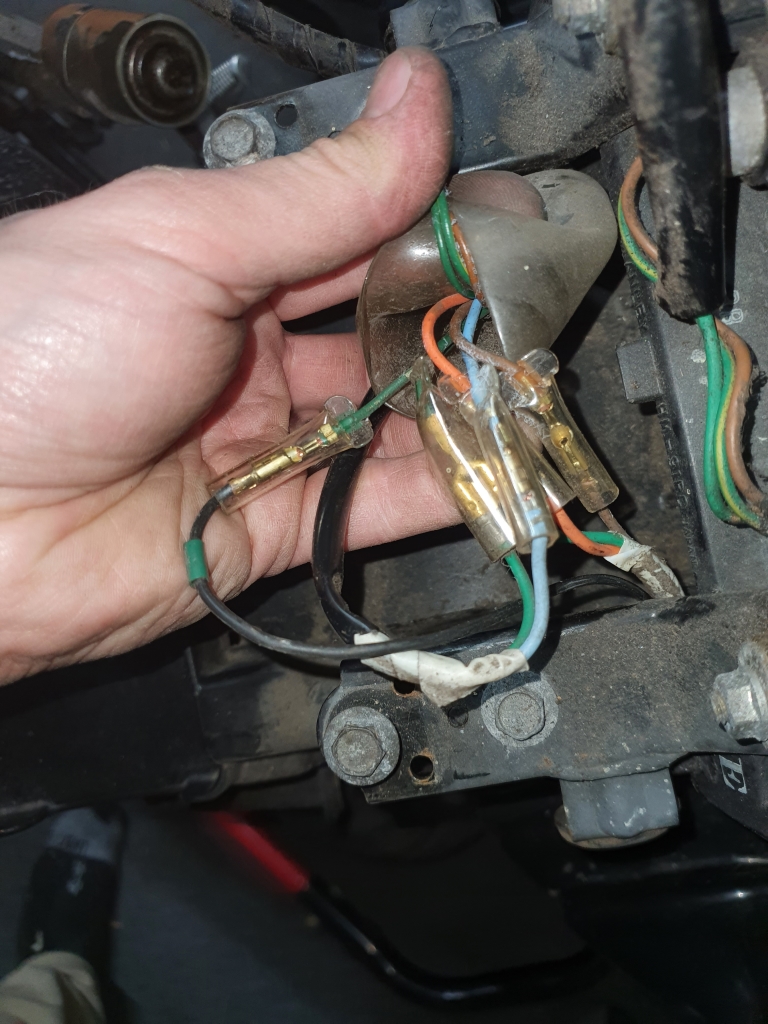
CBR600F2126.jpg


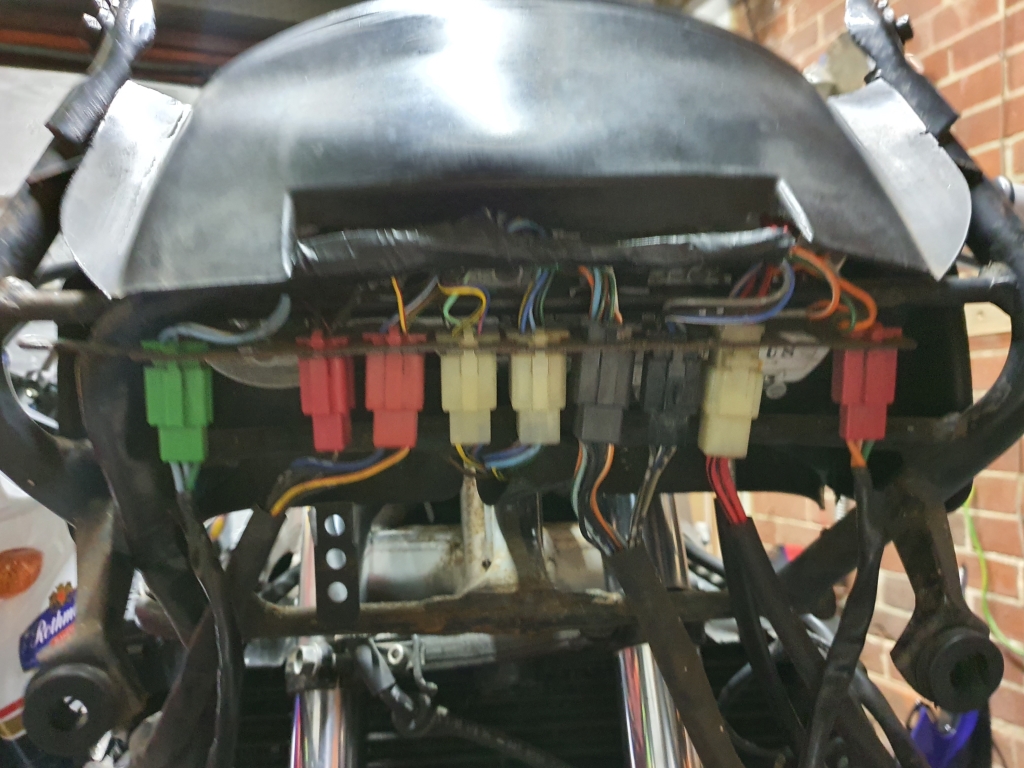
Unhooked all of this, finding two wires that are extra, and not connected to anything, so will work that out from a US wiring loom asap, as I am curious!

CBR600F2127.jpg


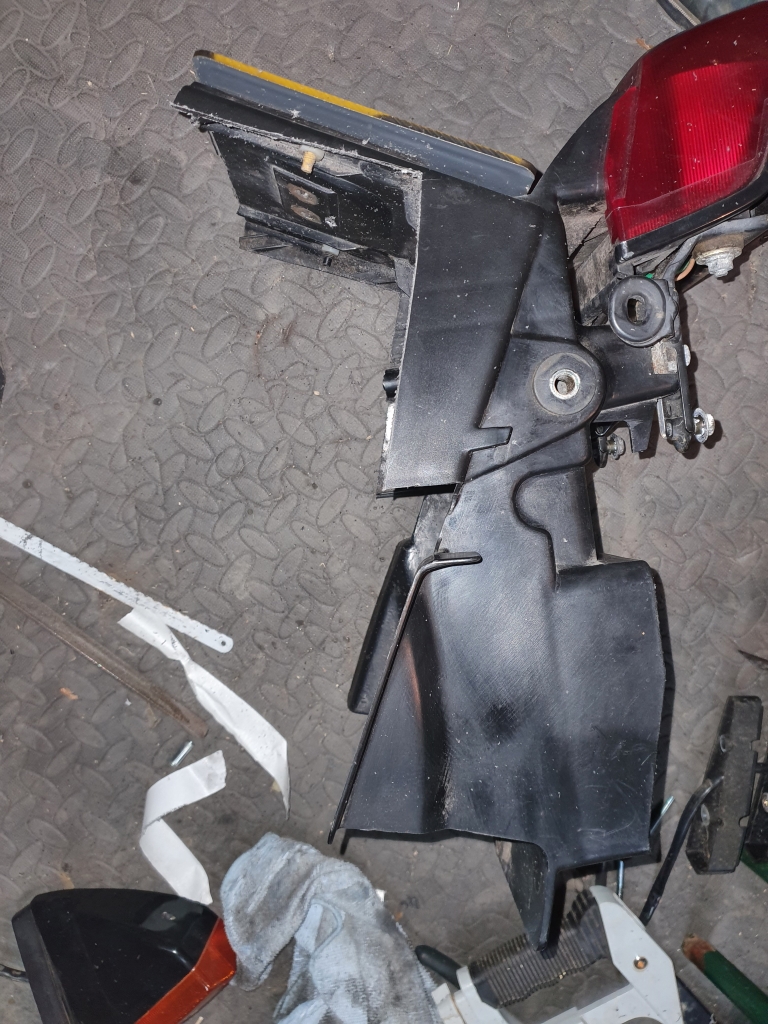
I got out a hacksaw blade...

CBR600F2128.jpg


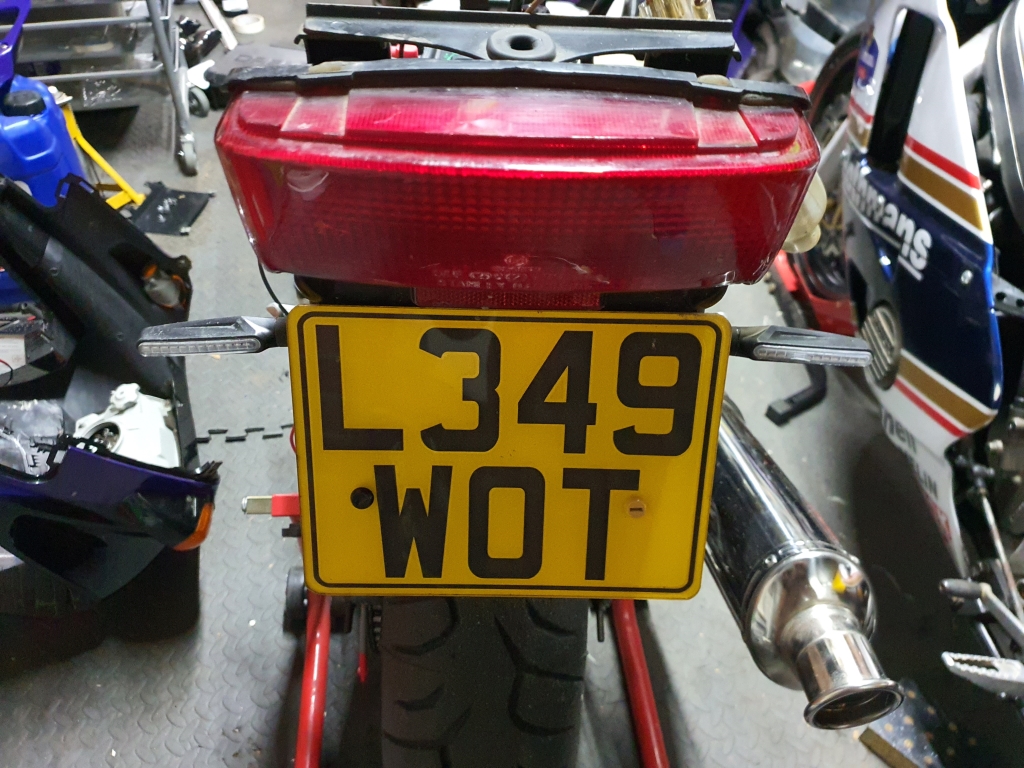
Tidied it up a bit, and then added these (the indicators themselves are not staying, I will use a little more traditional looking smaller ones. However, these were in the parts bin here, and proved that it would work :)

CBR600F2130.jpg


I think its a LOT cleaner, but will deffo need to change the indicator units:

CBR600F2131.jpg


Next I wanted to get rid of these mirror covers on the new mirrors, as getting them to seat nicely was a right pain, and they kept slipping back out.

CBR600F2132.jpg


Quite like the clean look:

CBR600F2133.jpg


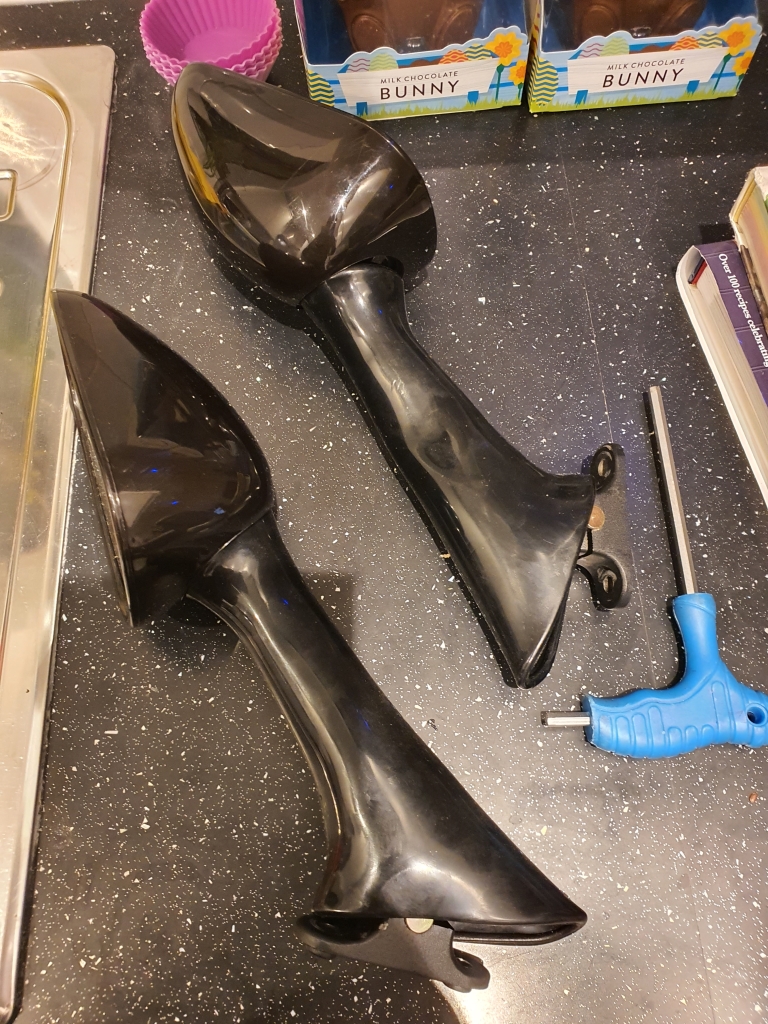
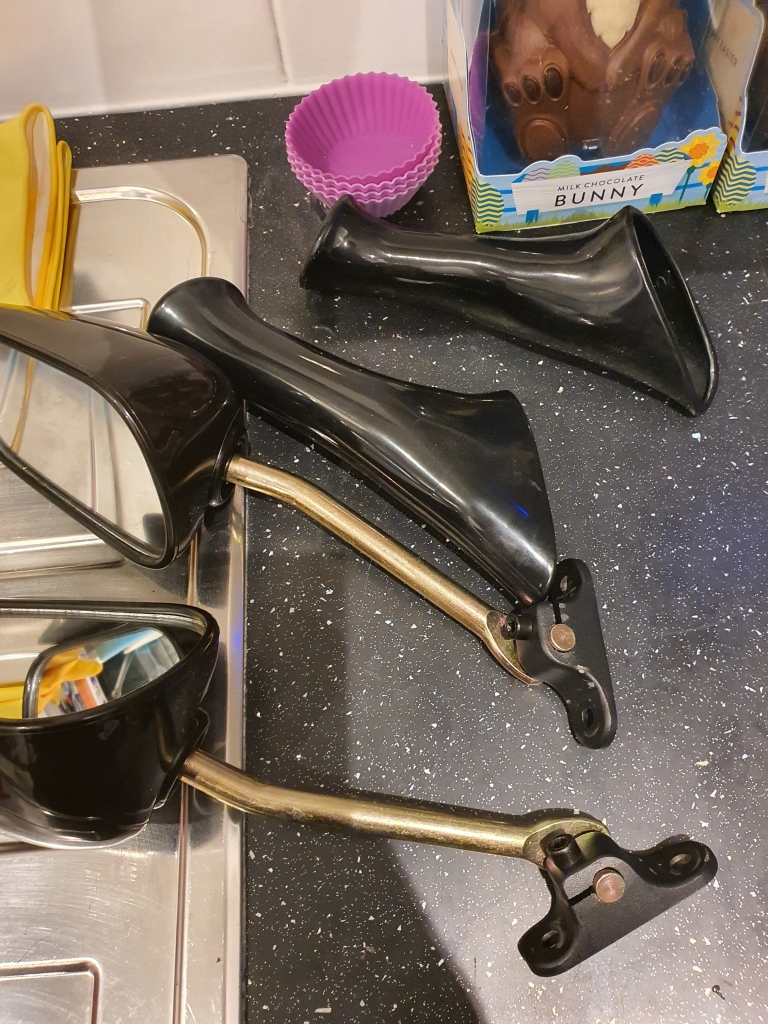
I decided to paint them black where I could, so tried to get the mirrors out of the mounts, and managed to do this:

CBR600F2151.jpg


DOH! Finest Chinesium!

Luckily the old ones were much happier with the abuse:

CBR600F2152.jpg


No problem!

Now it was time for paint. cleaned, primered, painted.

CBR600F2155.jpg


Mirror stalks were also under attack, mid primer application.

CBR600F2156.jpg


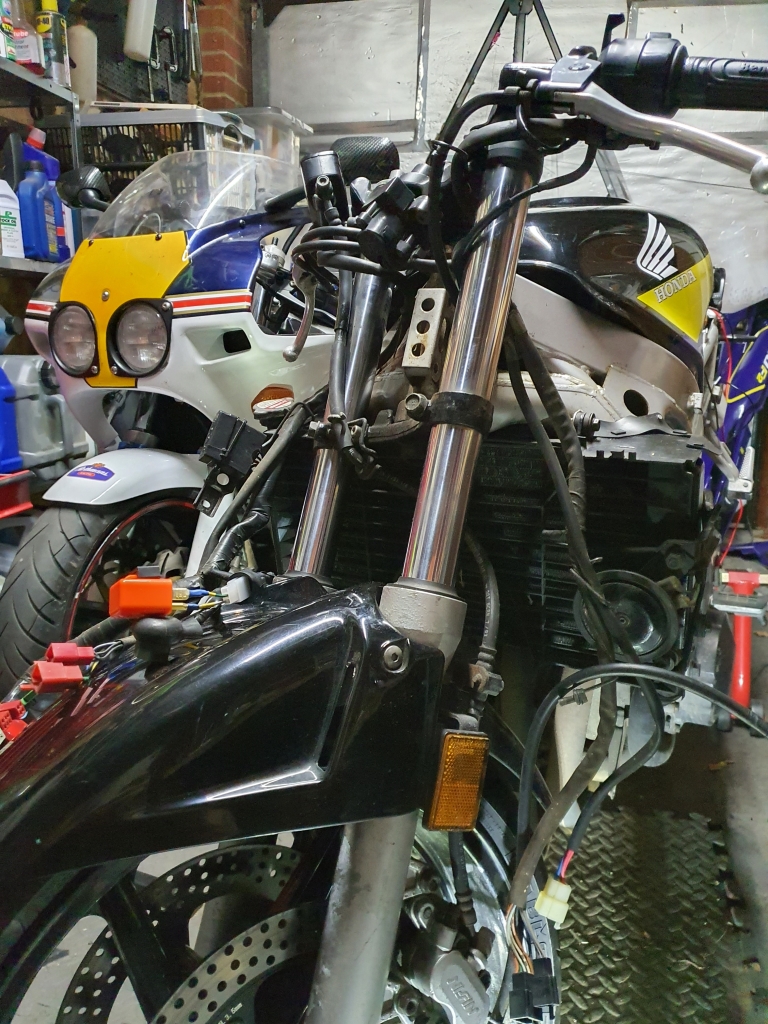
I the replaced the bulbs in the dash box with LEDs (because why not!) then I decided that the front fairing frame was a little too rusty to leave alone:

CBR600F2134.jpg


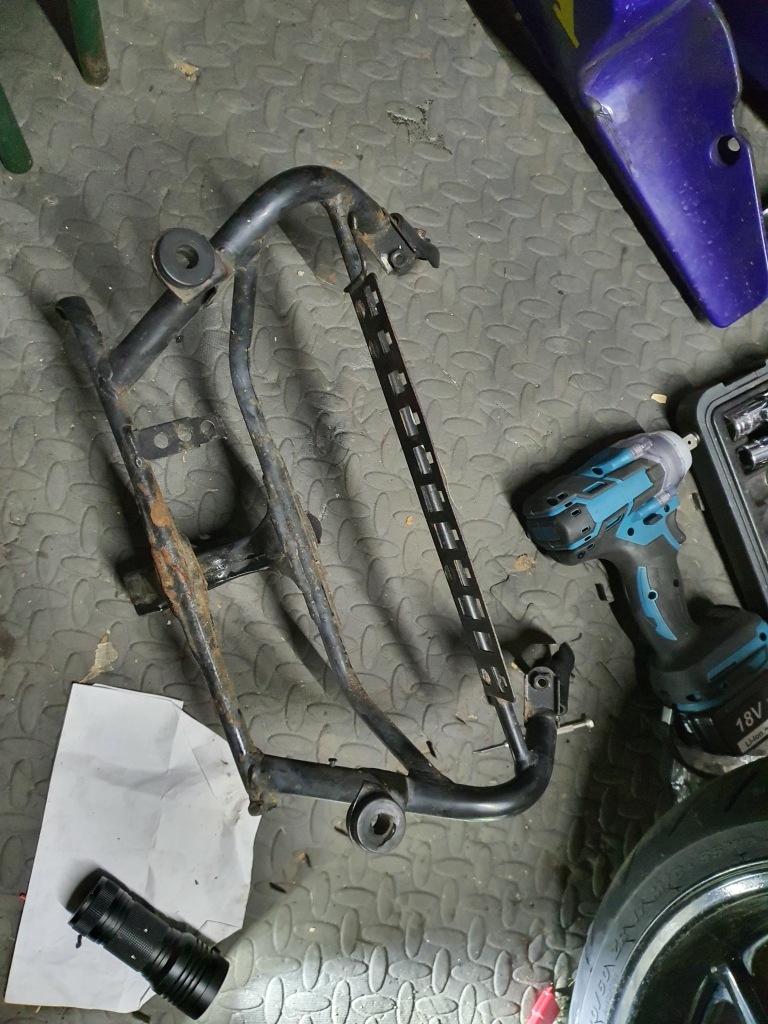
Off it comes!

CBR600F2135.jpg


Not the best looking!!

CBR600F2136.jpg


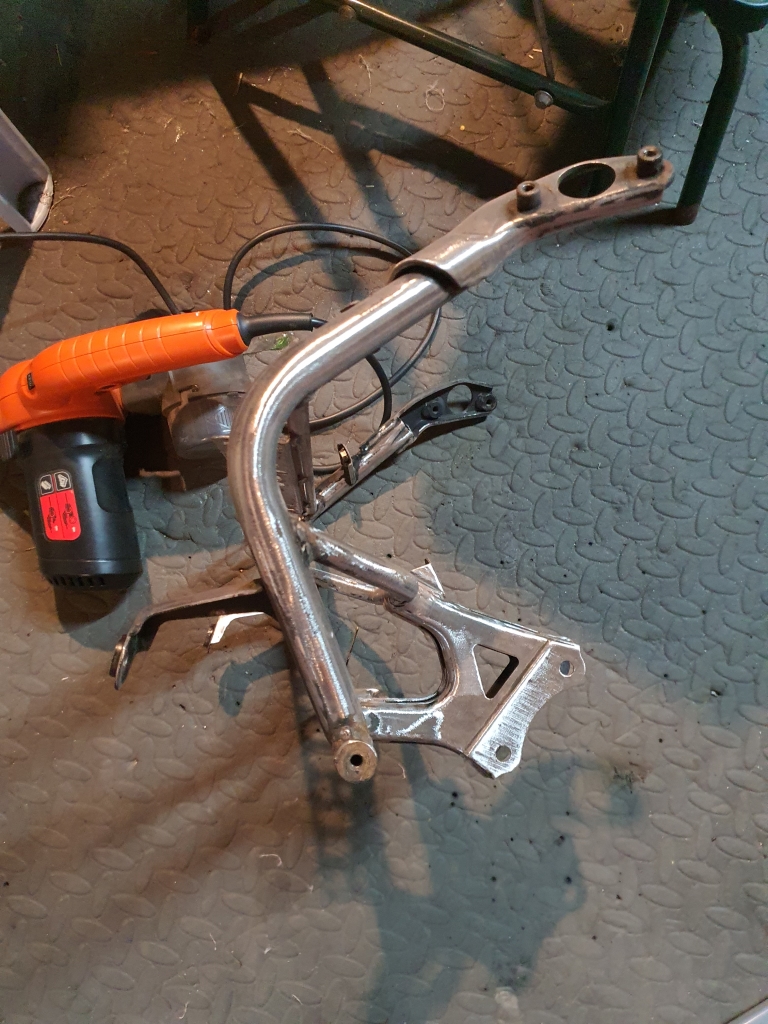
Started to attack with a finger sander:

CBR600F2137.jpg


Spent ages removing paint all over with a selection of hand tools, drill bits, sanders/etc.

CBR600F2143.jpg


A few hours later, I was bored, and then the paint turned up! So I did a little more tidying up in difficult spots with a tiny file, before painting!

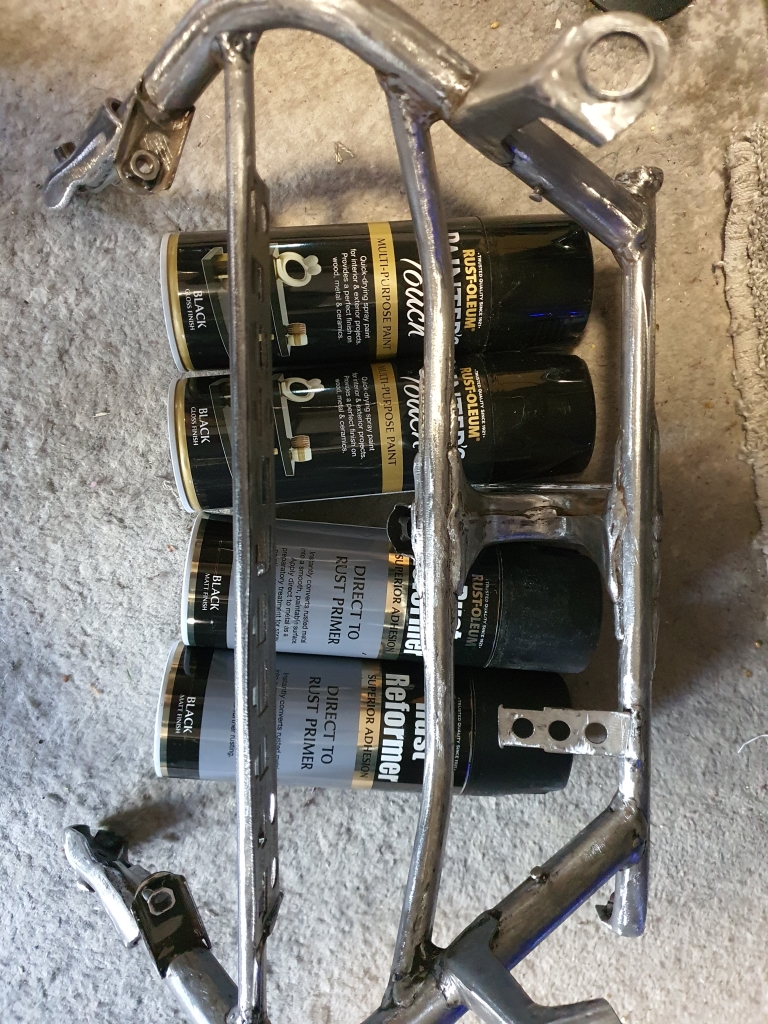
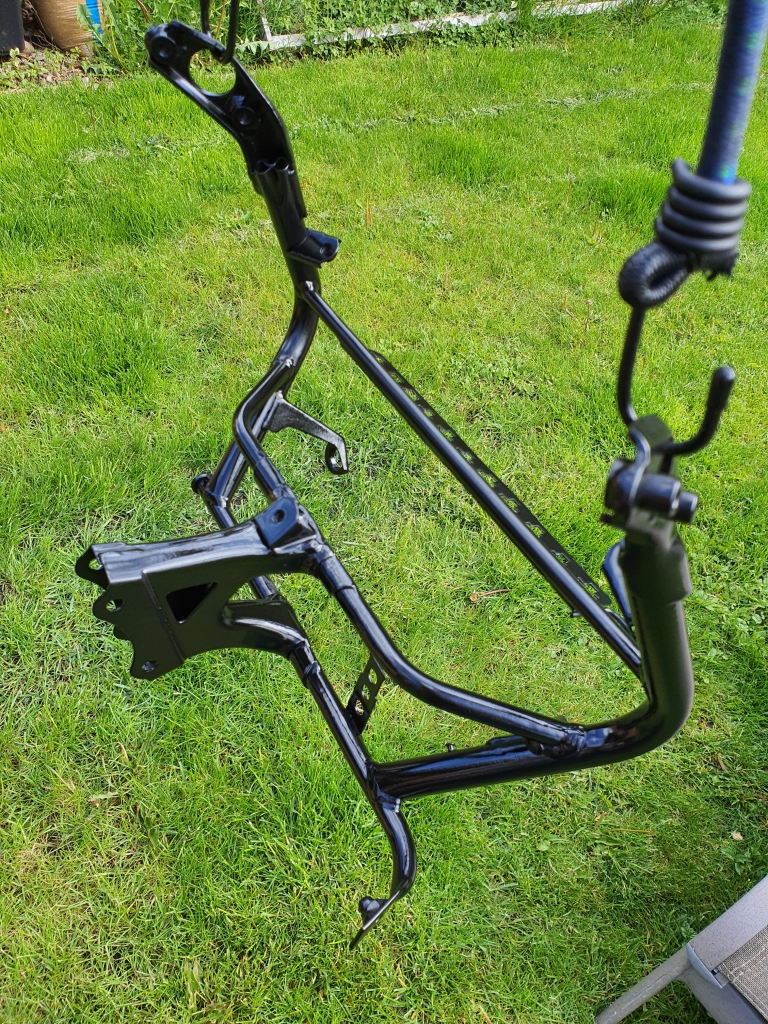
I decided that the Hammerite single stage paint was not really ideal, and the drying times were too slow, so this Rustoleum stuff came highly recommended. I used the straight to rust primer to protect any of the little spots I failed to get to (not many!)

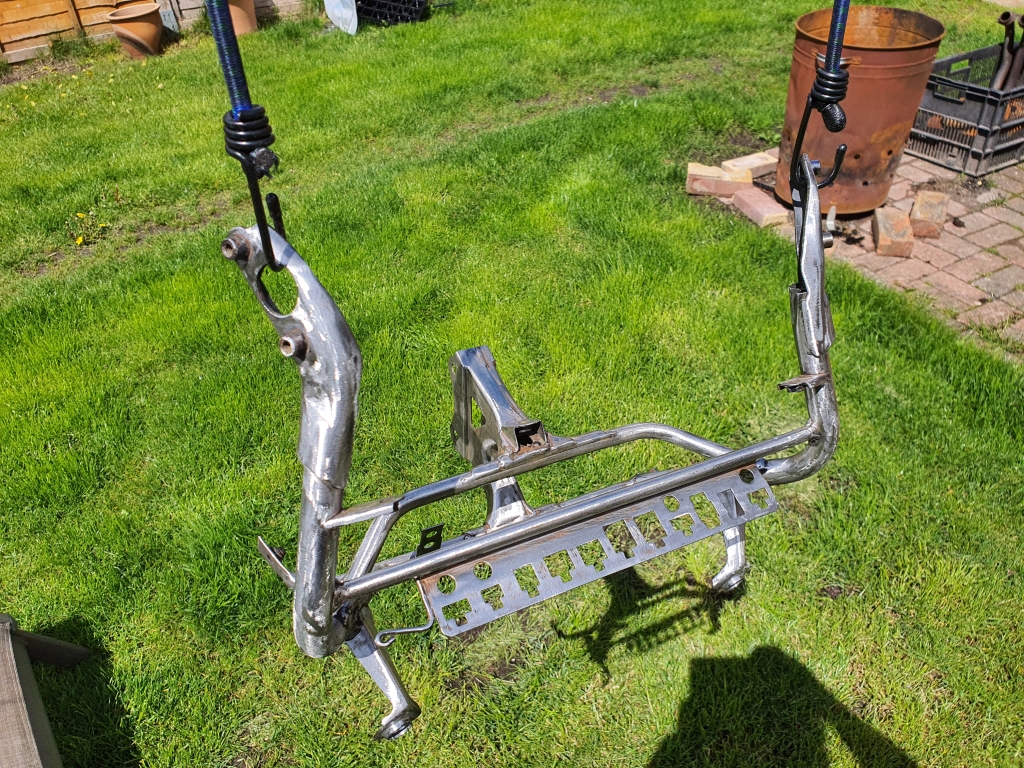
Cleaned, and hung up

CBR600F2144.jpg


primer

CBR600F2145.jpg


CBR600F2146.jpg


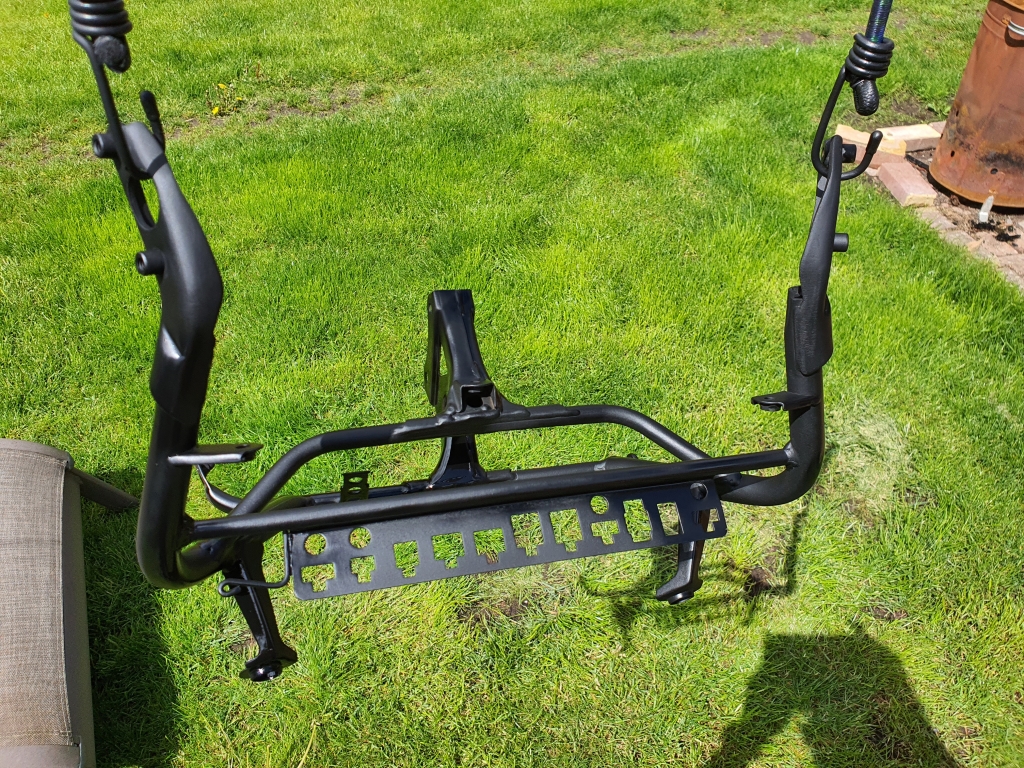
I was half tempted to leave it! It looked great, and seemed quite hard, but seeing as its going to likely get wet/collect water in a few places, I did then paint it with the gloss black single stage paint.
CBR600F2147.jpg


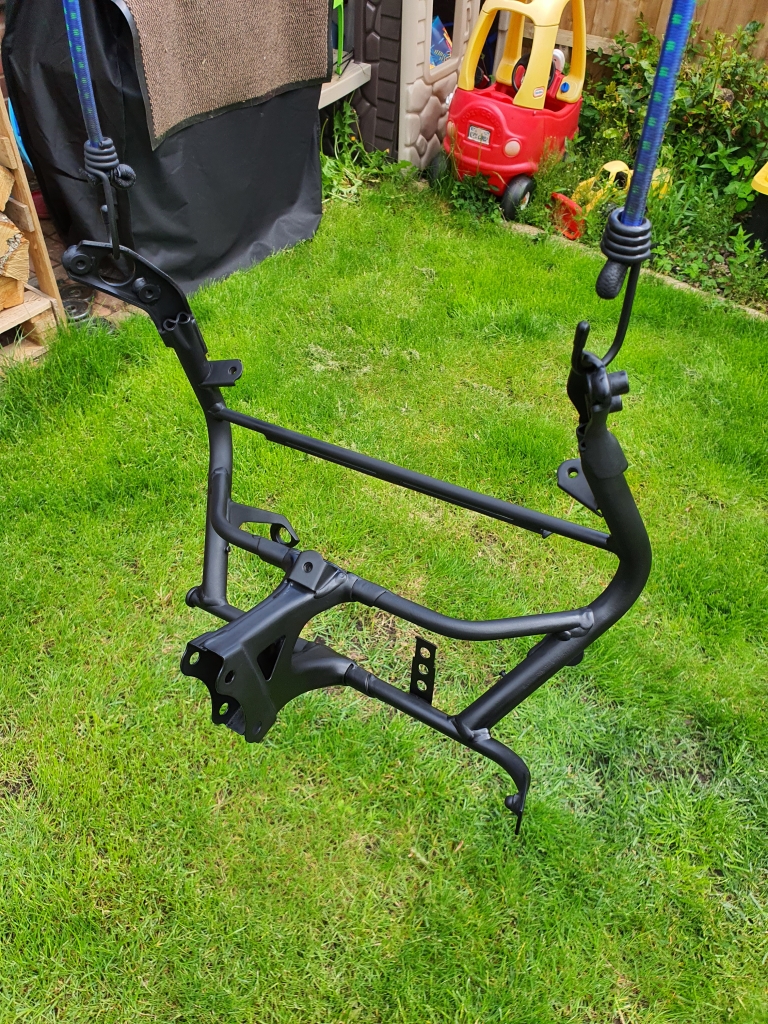
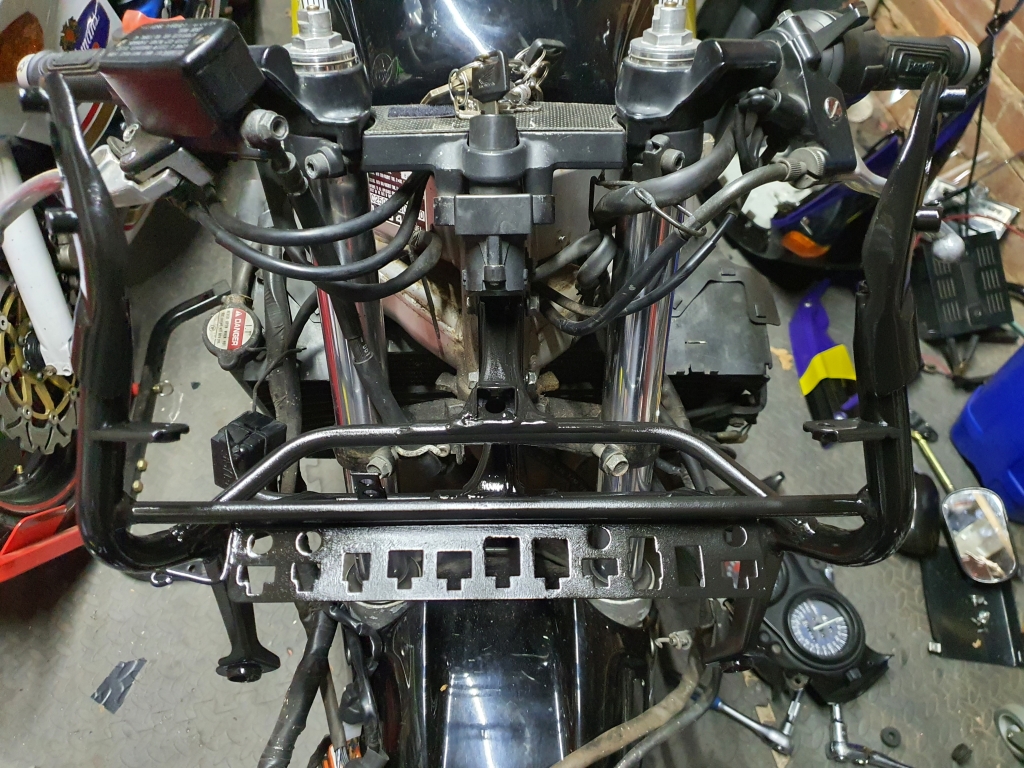
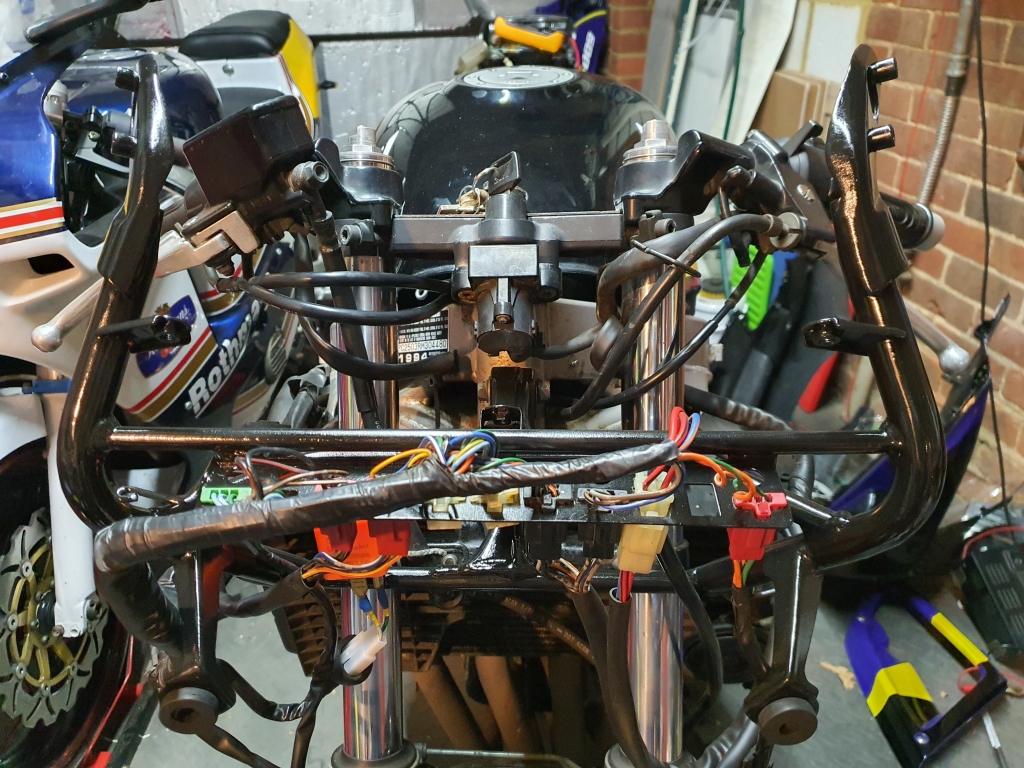
Couple of coats in, pretty happy, and then fitted!

CBR600F2148.jpg


Much better!


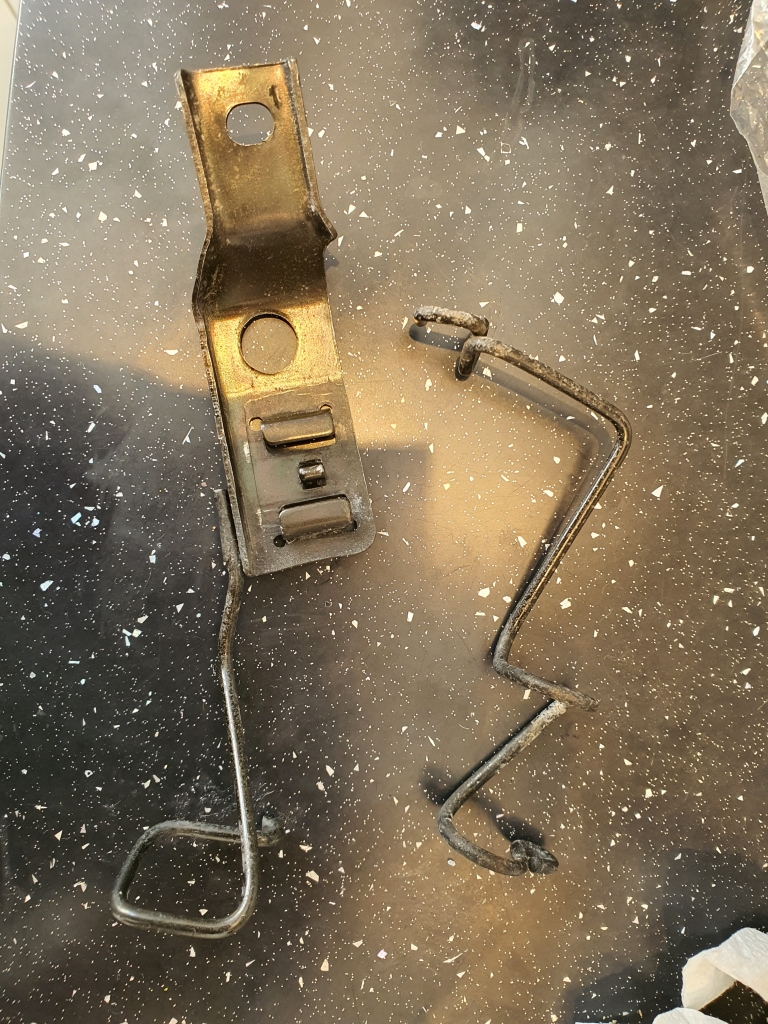
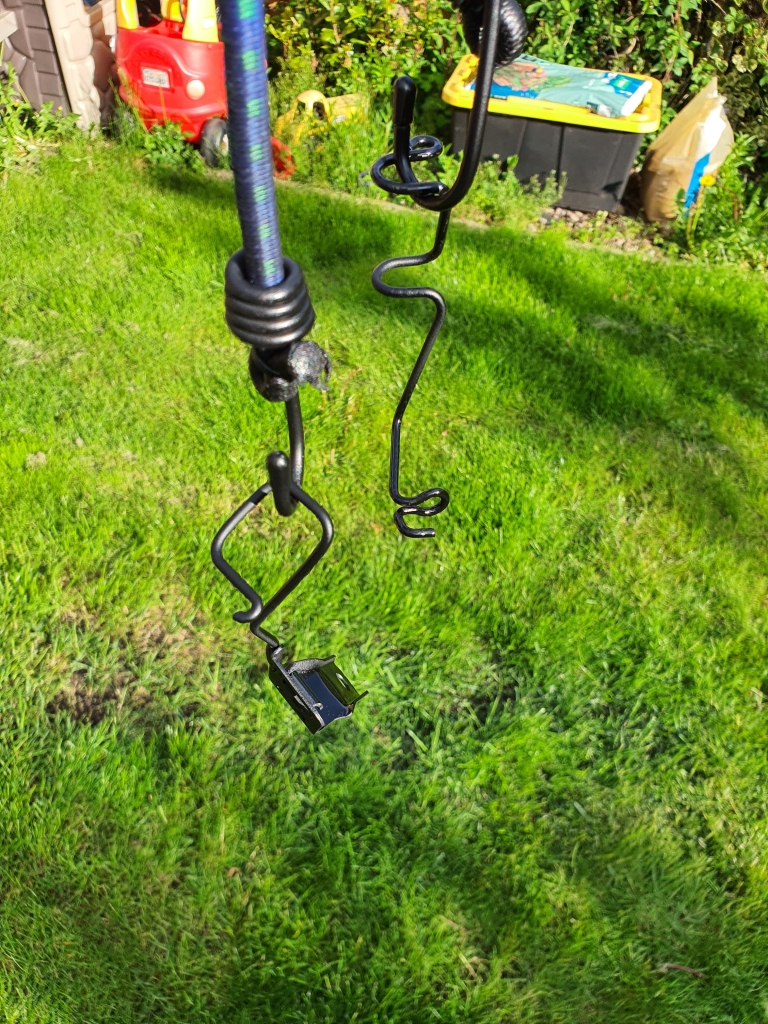
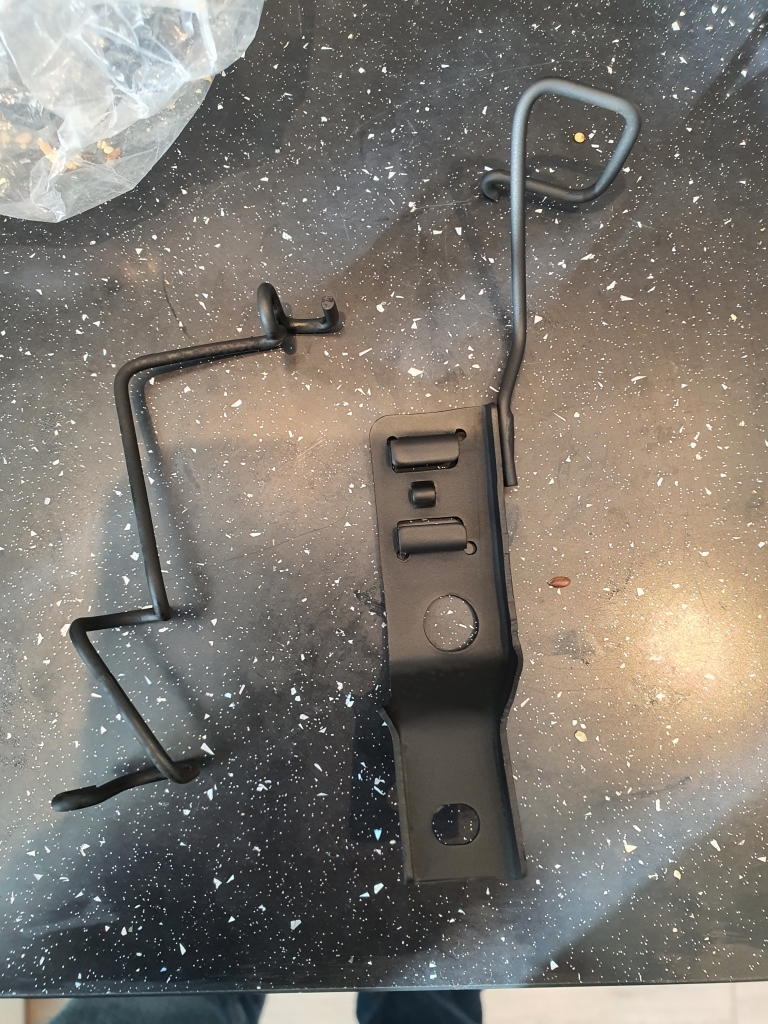
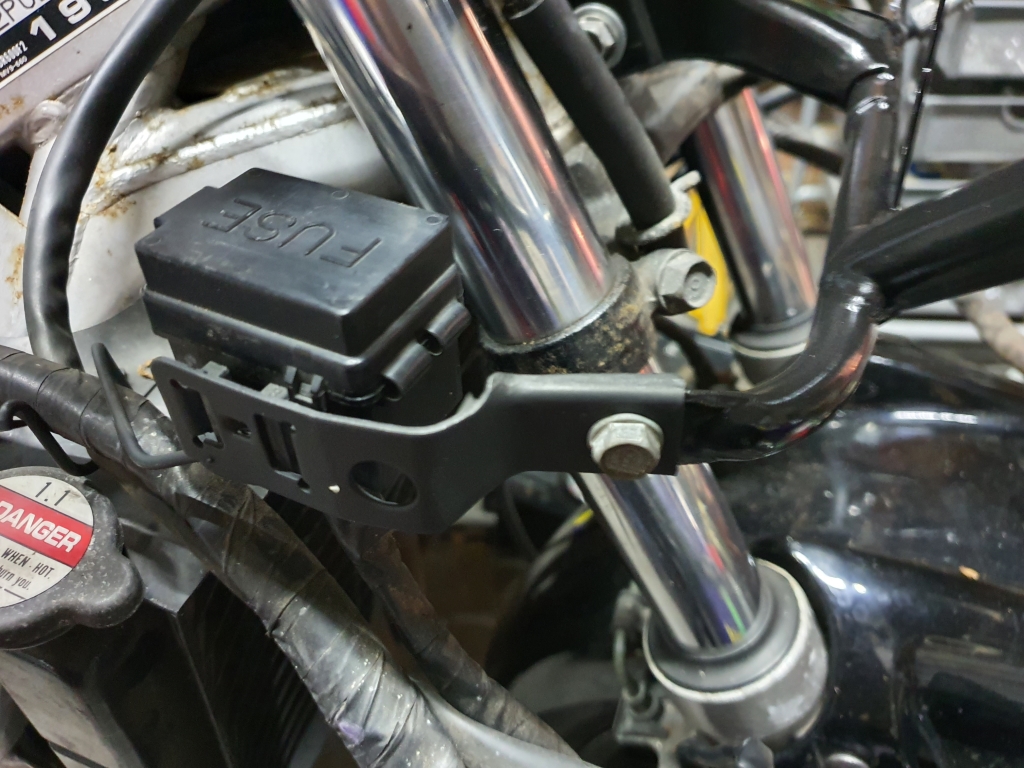
These little fuse cable guides and fuse holder were looking a little off now the other bits were painted, as they are a little more protected, I just primed them. I figure its a nice little way to see how their hold up, and they can be easily removed and redone if they go wrong!

CBR600F2149.jpg


Painted:

CBR600F2150.jpg


CBR600F2153.jpg


CBR600F2154.jpg


All going back together, and then tested that all was working! I am toying with the idea of using the 2 spare cable holders in there to daily chain a couple of plugs, to an ignition live and run a couple of accessories from the 12v+ without it looking too untidy, or adjusting the original loom.

CBR600F2160.jpg


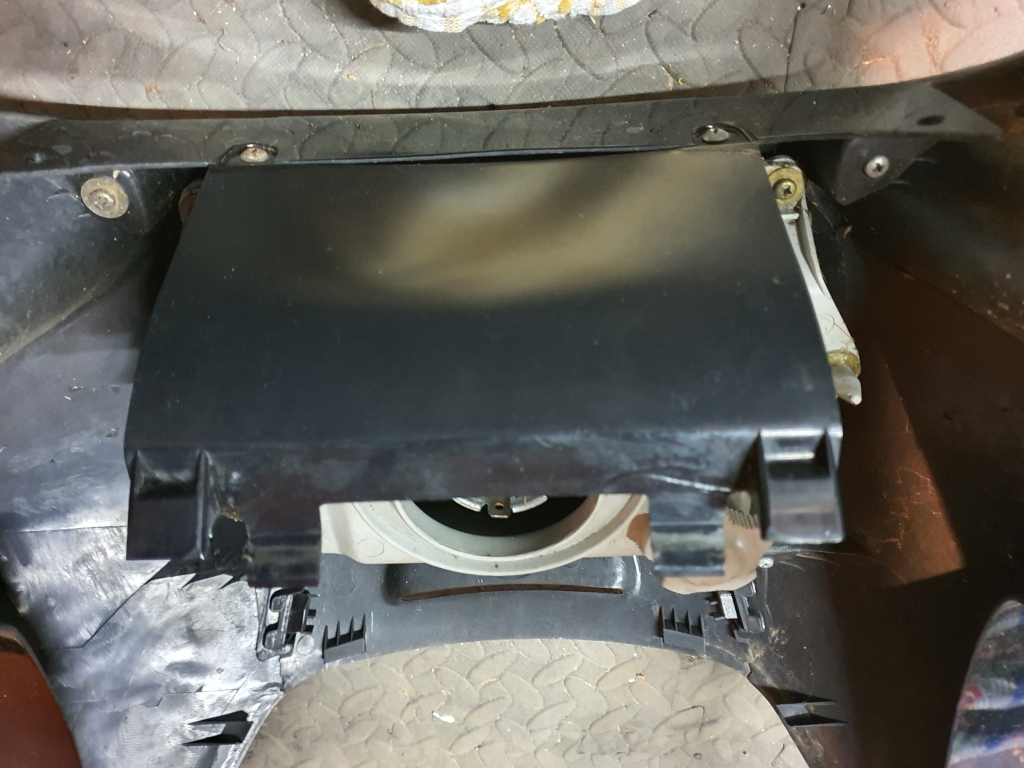
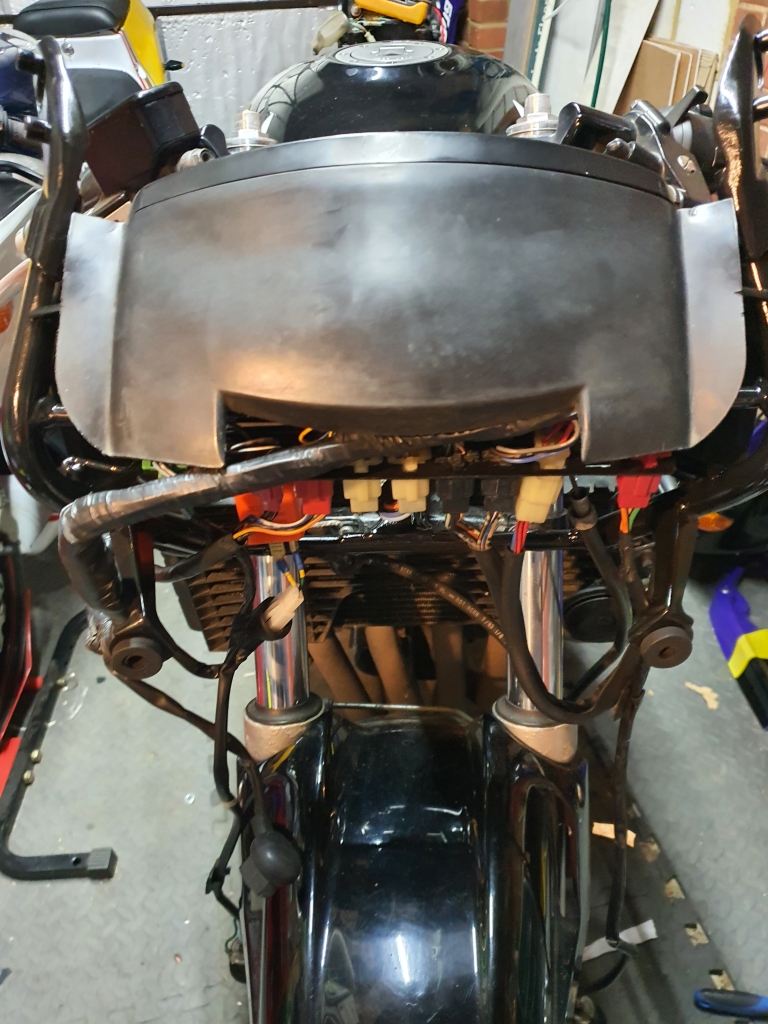
Clocks back in! Wish I knew how to tidy up this shroud, its a floppy rubbery thing. Any ideas?

CBR600F2161.jpg


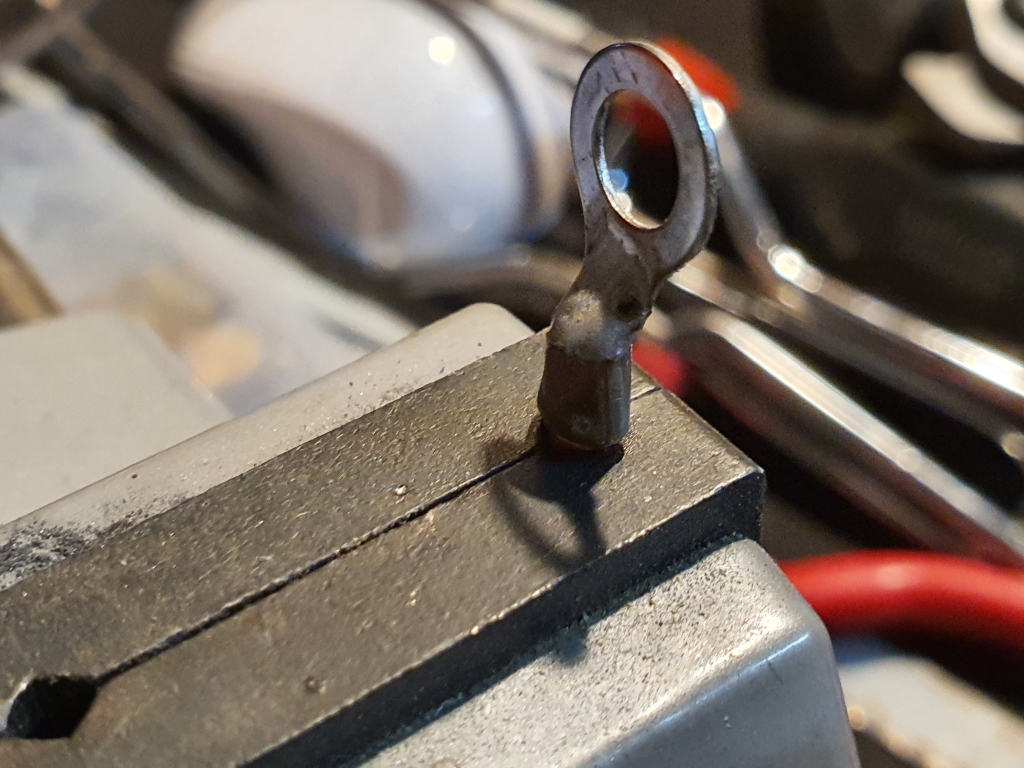
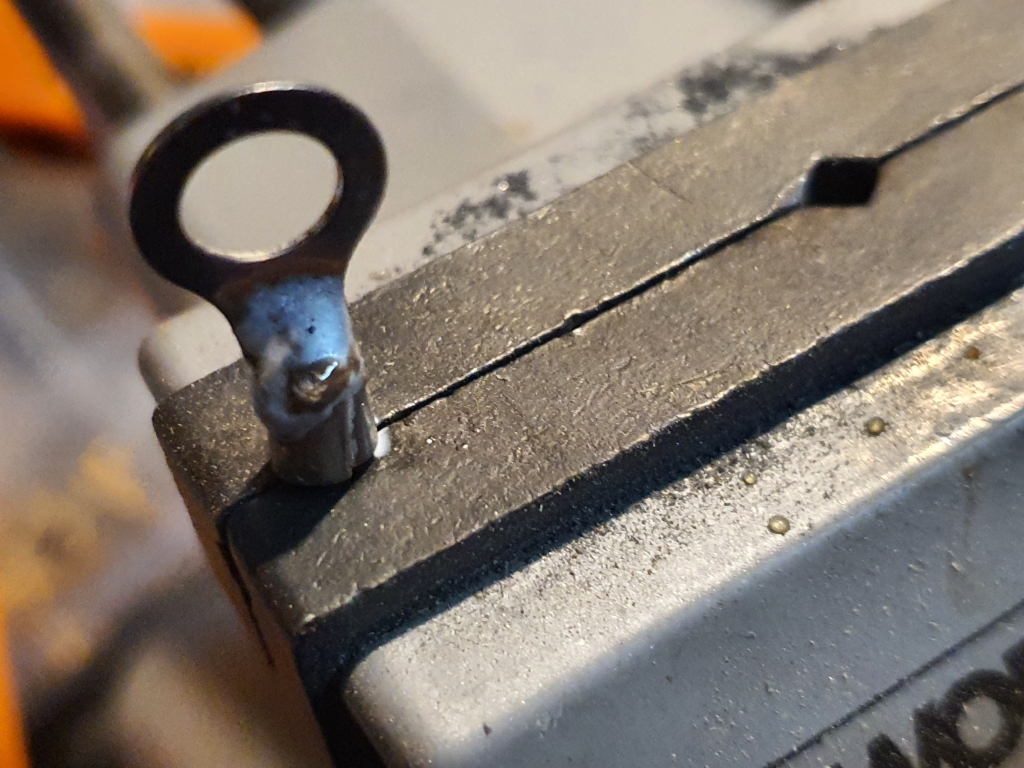
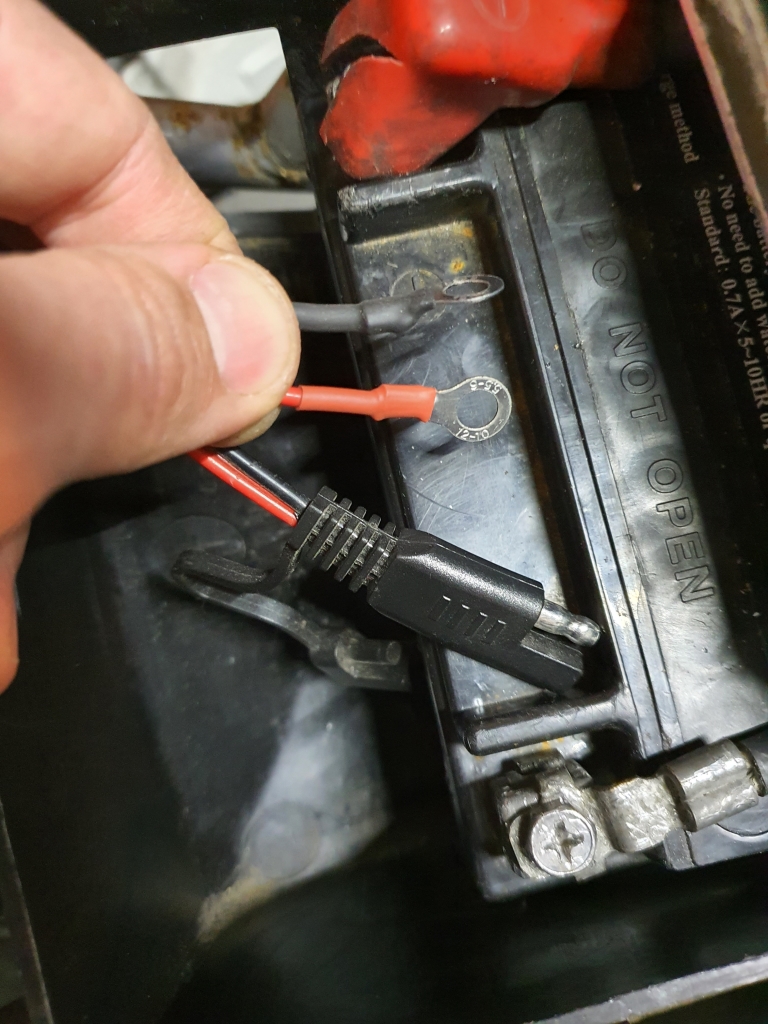
Talking of wiring, I also knocked up a charging cable for the unit. Snipped off some alligator clips off and soldered them up:

CBR600F2138.jpg


CBR600F2139.jpg


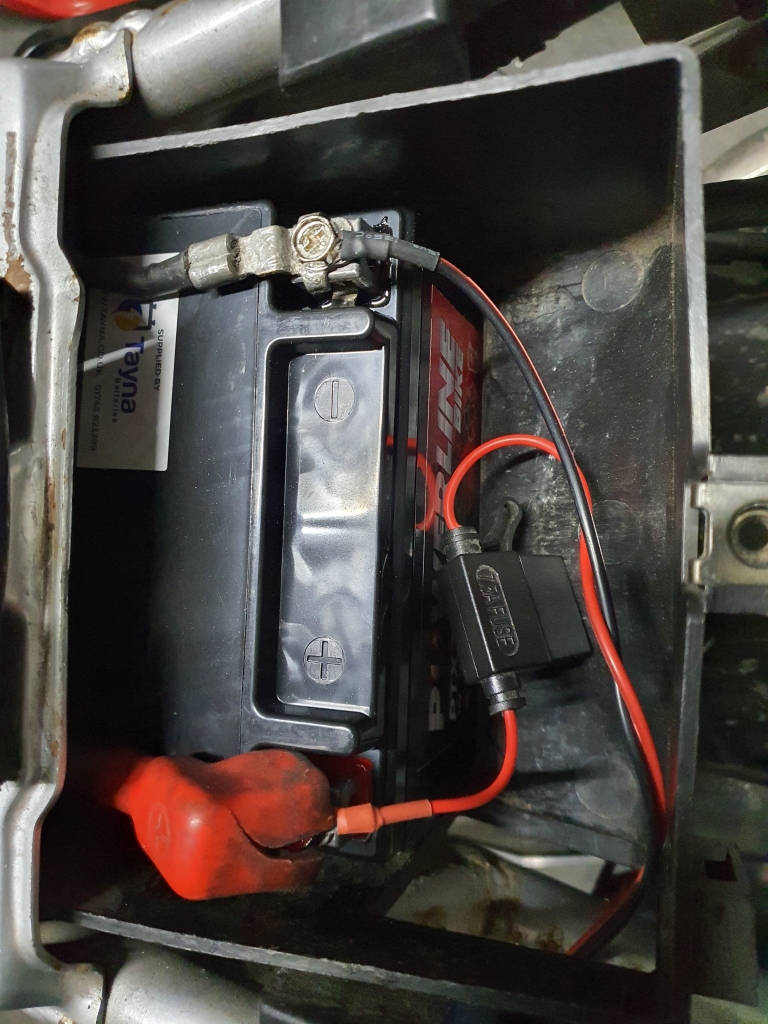
Finished up, shirnkwrapped, and then not fitted, as I had a new battery coming!

CBR600F2140.jpg


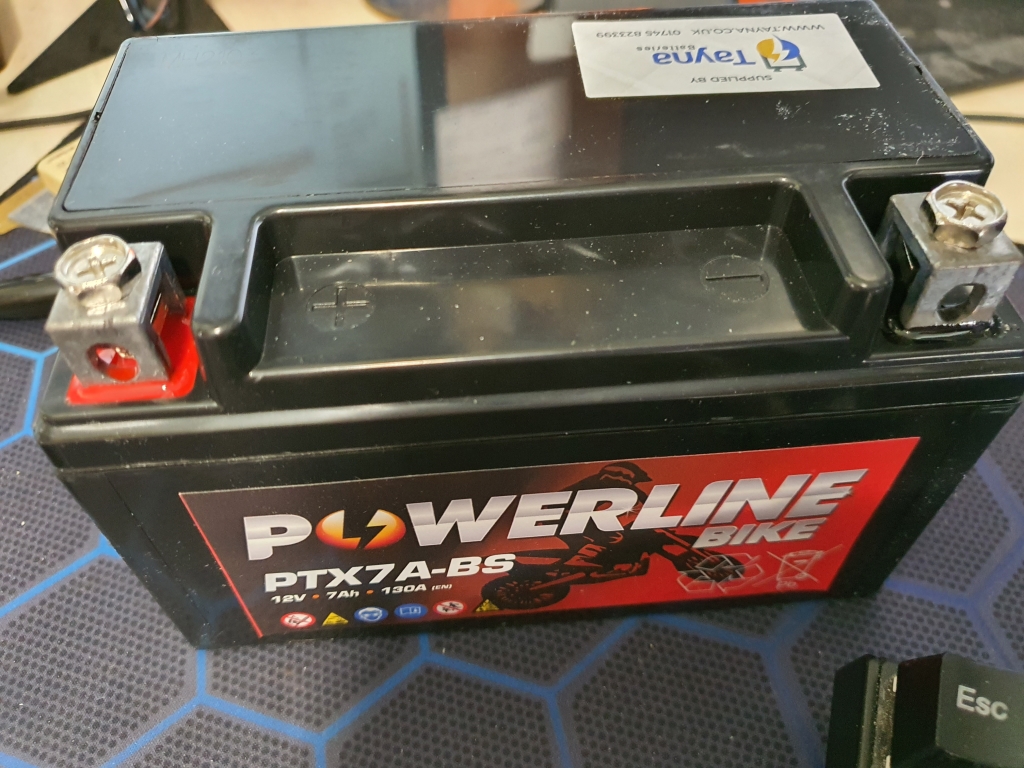
And here it is! Few more CCA and Ah :)

CBR600F2141.jpg


Sorted! Need to get a new Positive terminal cover!!

CBR600F2142.jpg


Now I am happy with the paint finish i can get at home again, there will be a couple of other exposed metal parts that get the cleaning/painting routine to just to clean up the overall finish.

I will want to get the frame stripped and powder-coated at some point, as its got a few little spots that I would want to clean up, but cant really do without total dis-assembly. For now I want to get on with riding it! So, it will have to wait :D
 
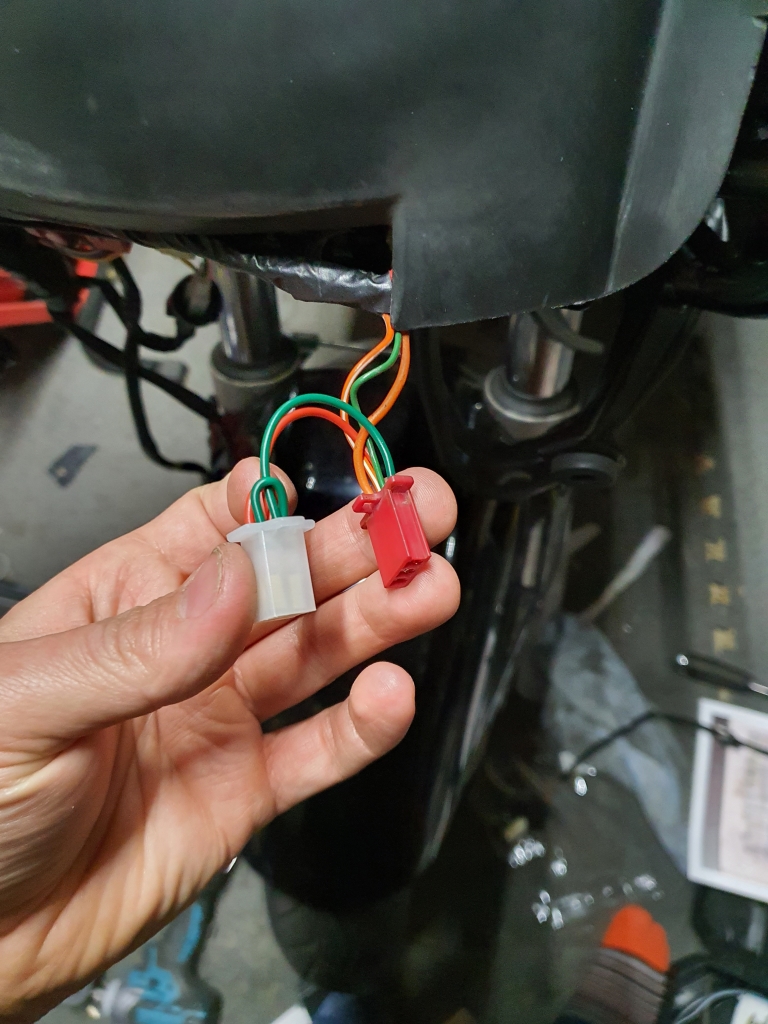
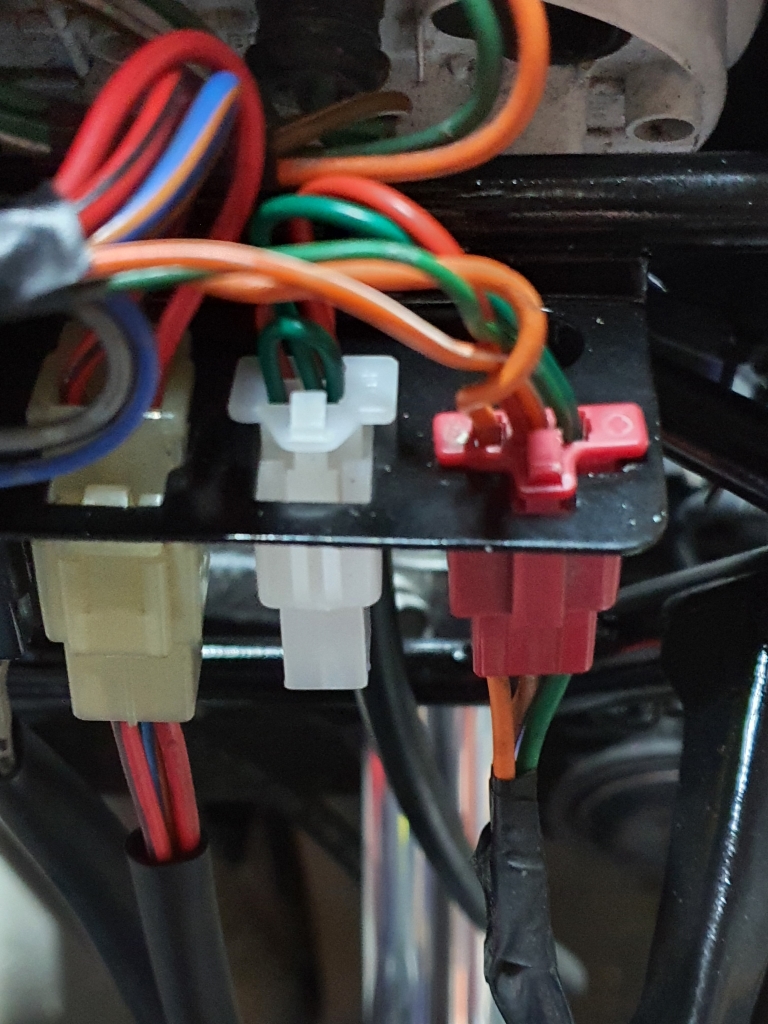
Whilst I had access to the main wiring holder, and as this was an American bike, I decided to use the ignition live that was previuosly running the indicators as sidelights (Currently disconnected) as an extra connector to let me run a couple of accessories easily at a later date (Volt-meter, and USB adaptor). So I daily chained them from there into an OEM type connector:
CBR600F2162.jpg


Stuck into the free wiring holder next to the indicator connector:

CBR600F2163.jpg


Should make it a doddle to add them to the lower end of the connector later :)

Re-assembly of the front end needed a few new rubber gaskets, so I bought some rubber sheeting, and cut the required bits to fit:

CBR600F2164.jpg


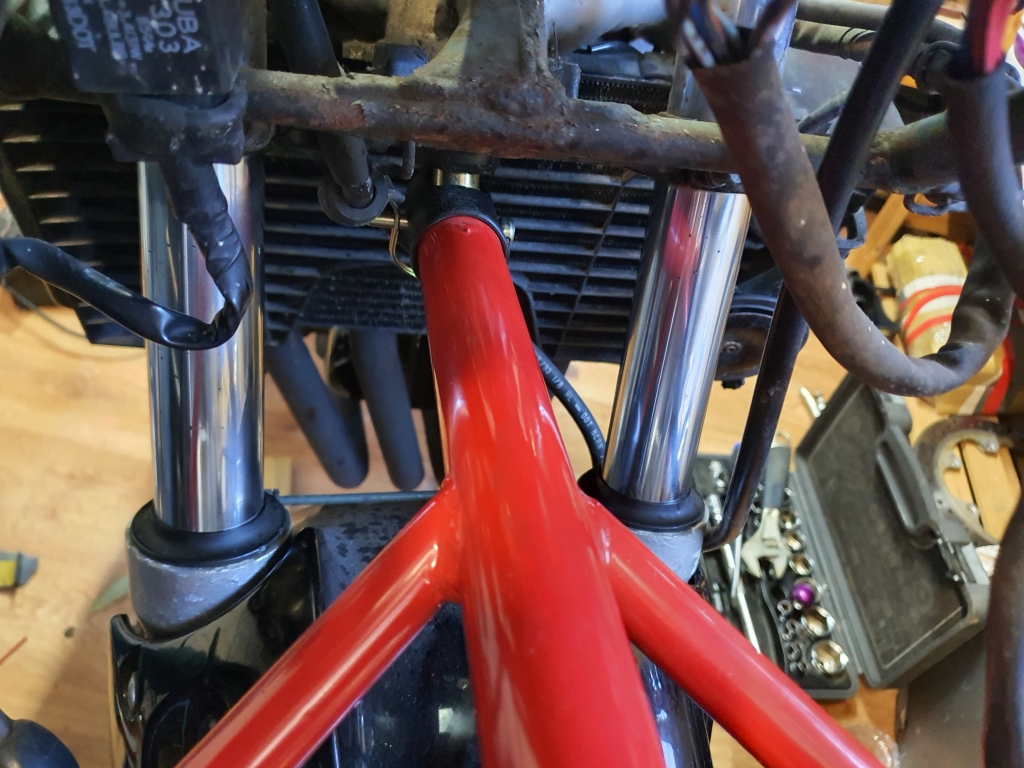
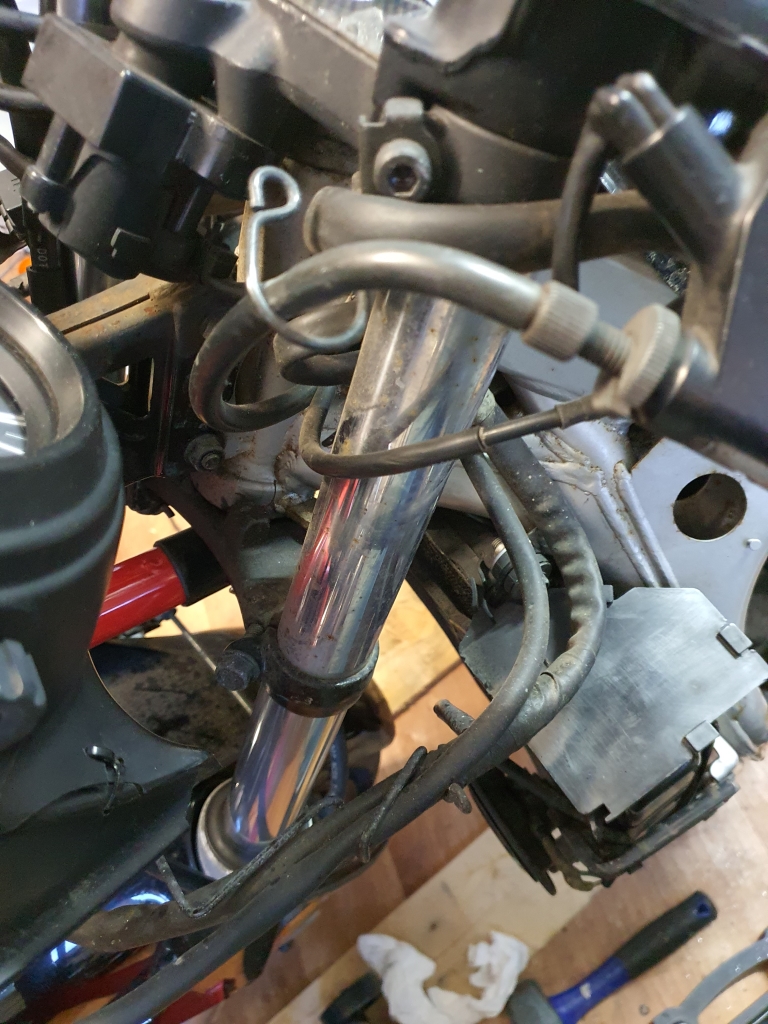
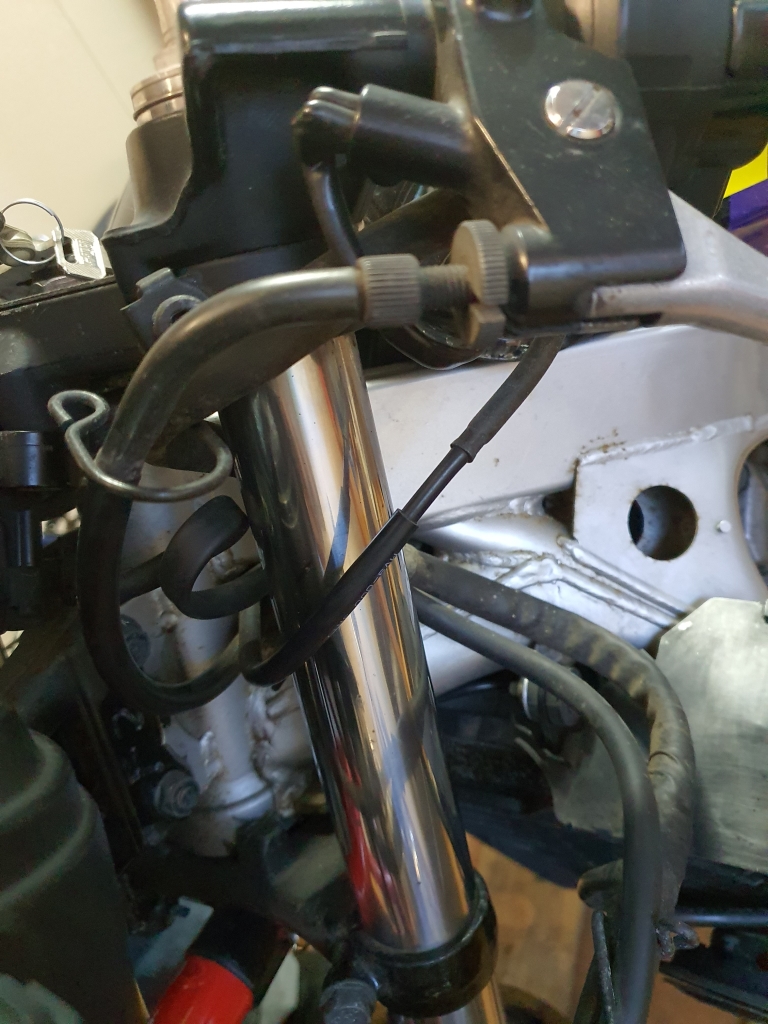
There were a few gaskets to make up, but then it was all done, and looking like this (with the newly modded mirrors:

CBR600F2165.jpg


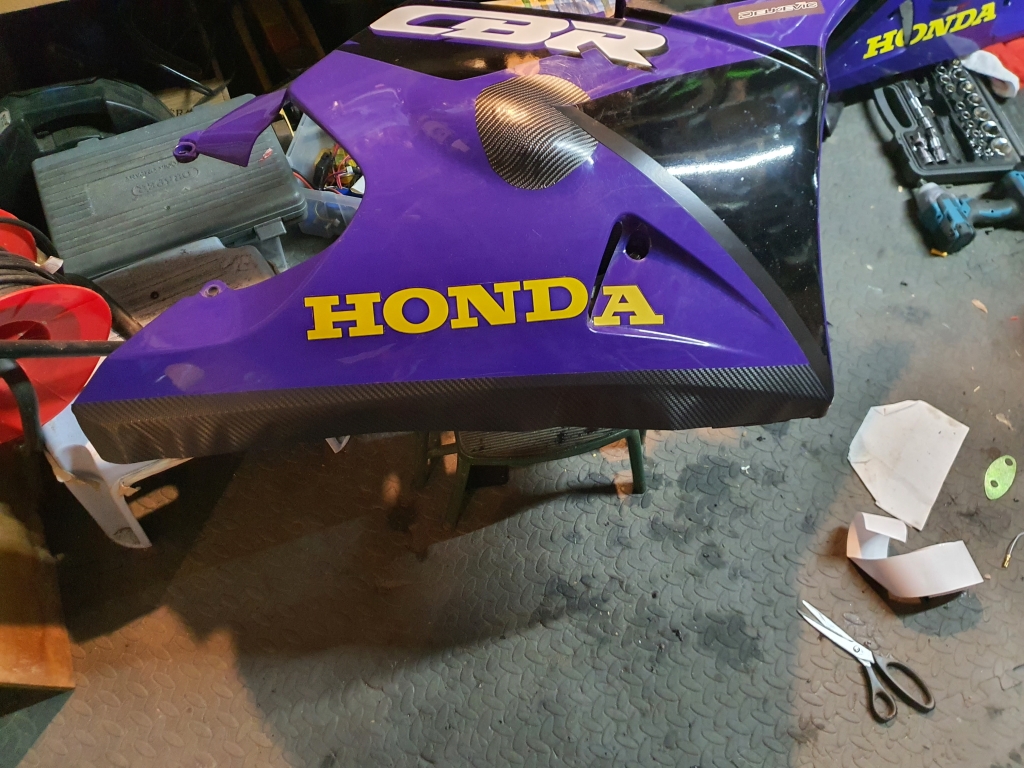
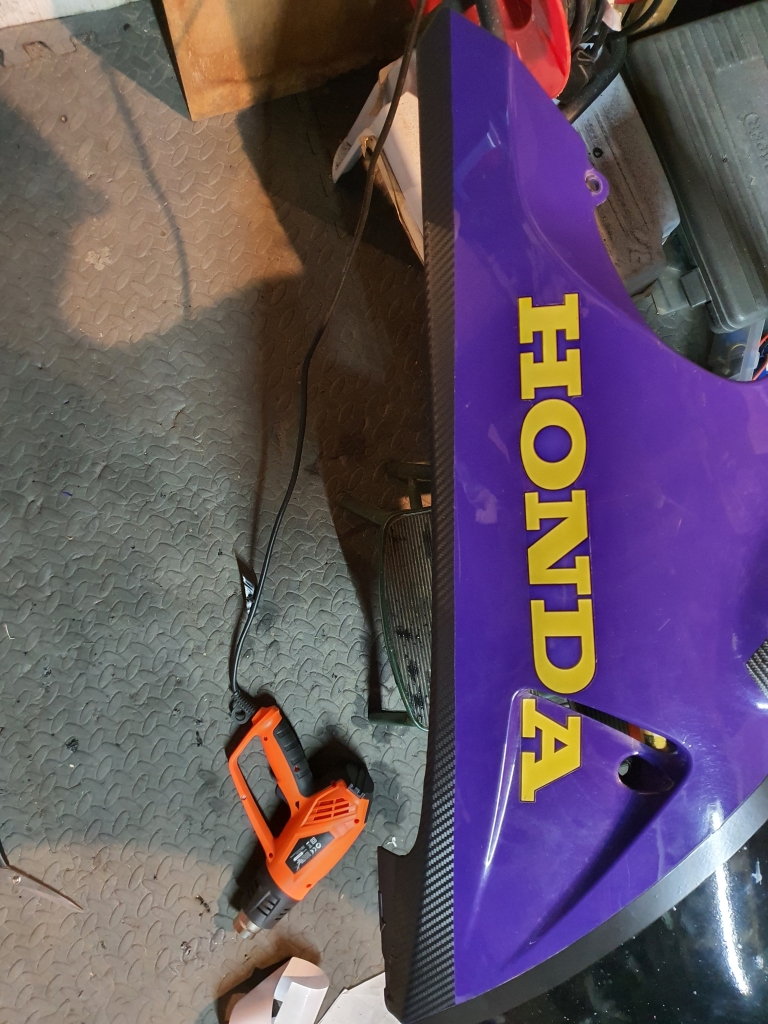
Whislt they were off, I cleaned up the main fairing panels, then went about adding a layer of protective trim to the lower edges, as one was peeling. This is would do a couple of things,

A - Cover the damage
B - Stop it getting worse!
C - Add a further layer of protection to the plasitcs underneath the bike

Cut to size, and mid-fitting with the heat gun!

CBR600F2166.jpg


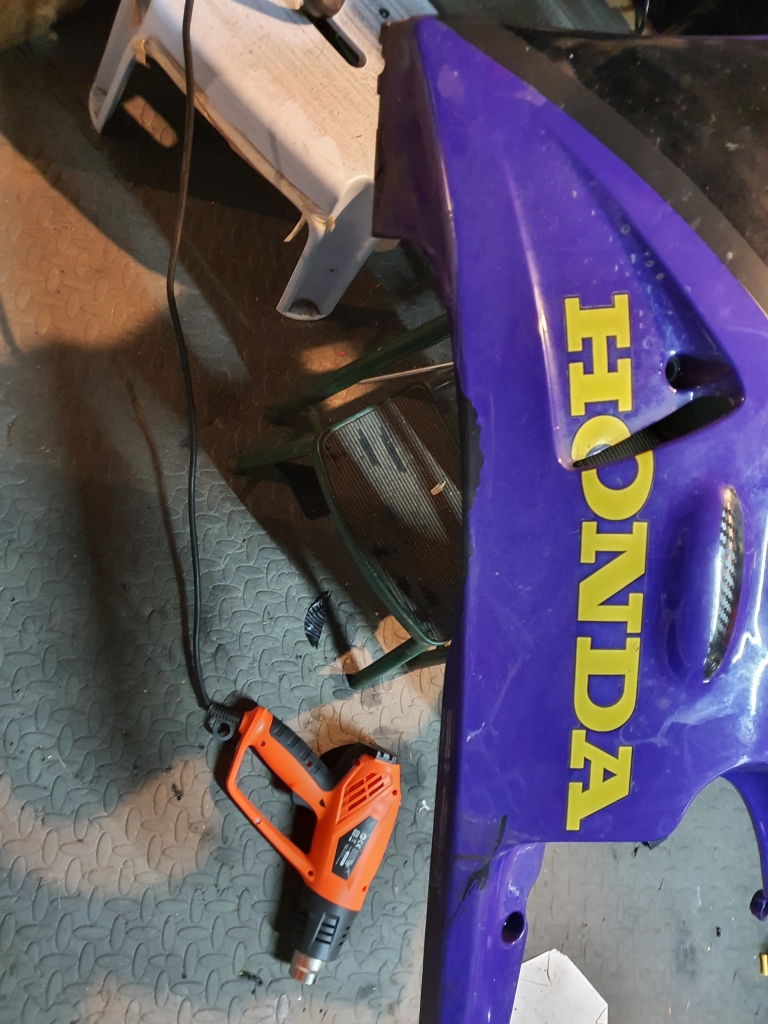
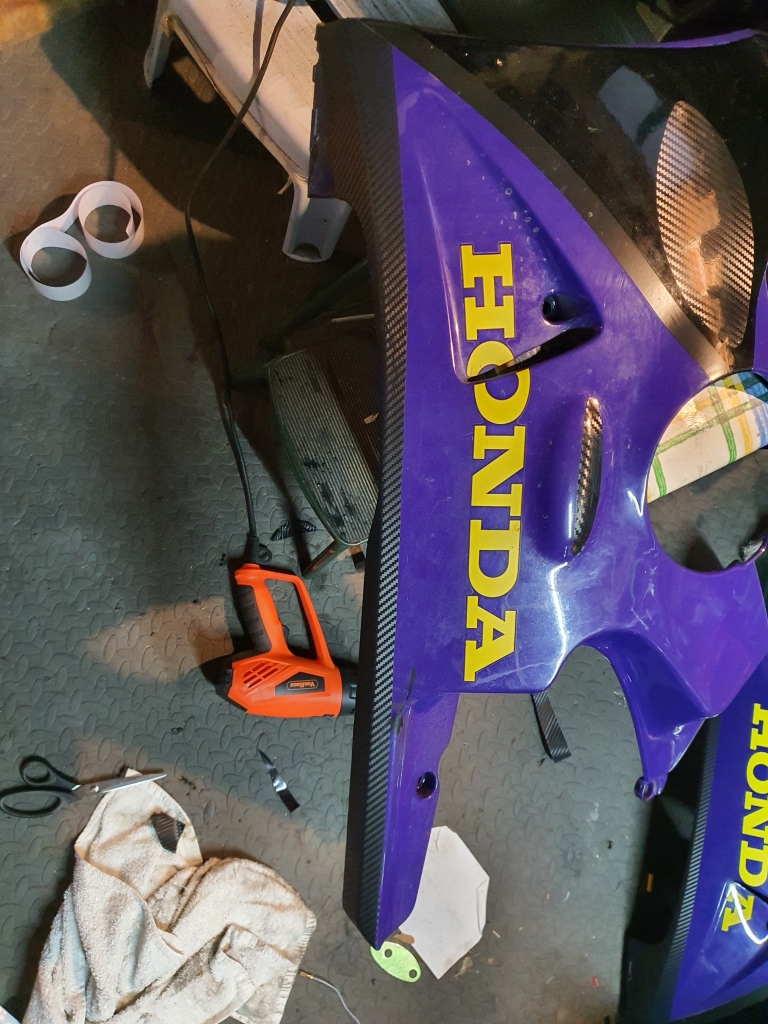
Fitted, tidied up, and trimed to match the decals where needed:

CBR600F2167.jpg


The side with the damage:

CBR600F2168.jpg


Mostly covered up:

CBR600F2169.jpg


Next the fairings all went on, and you can see the back end looking a little more "together" then before

CBR600F2170.jpg


Next, whilst watching the Grand Prix, i quickly wrapped the tired looking plastic trim panels that fit above the clocks:

CBR600F2171.jpg


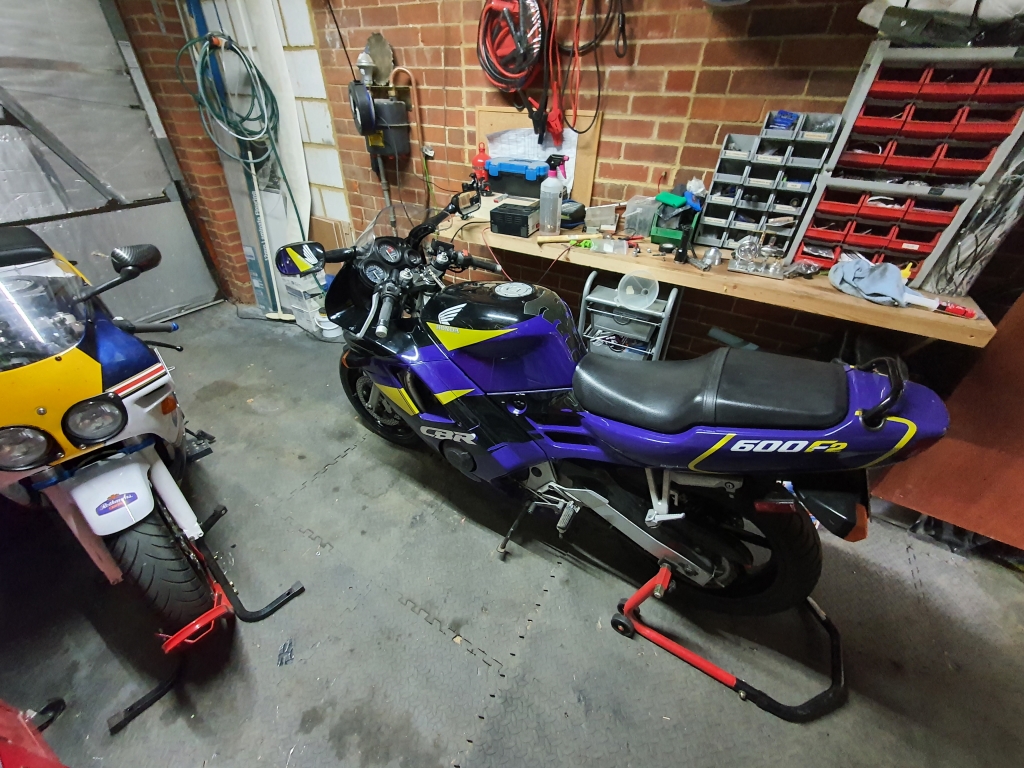
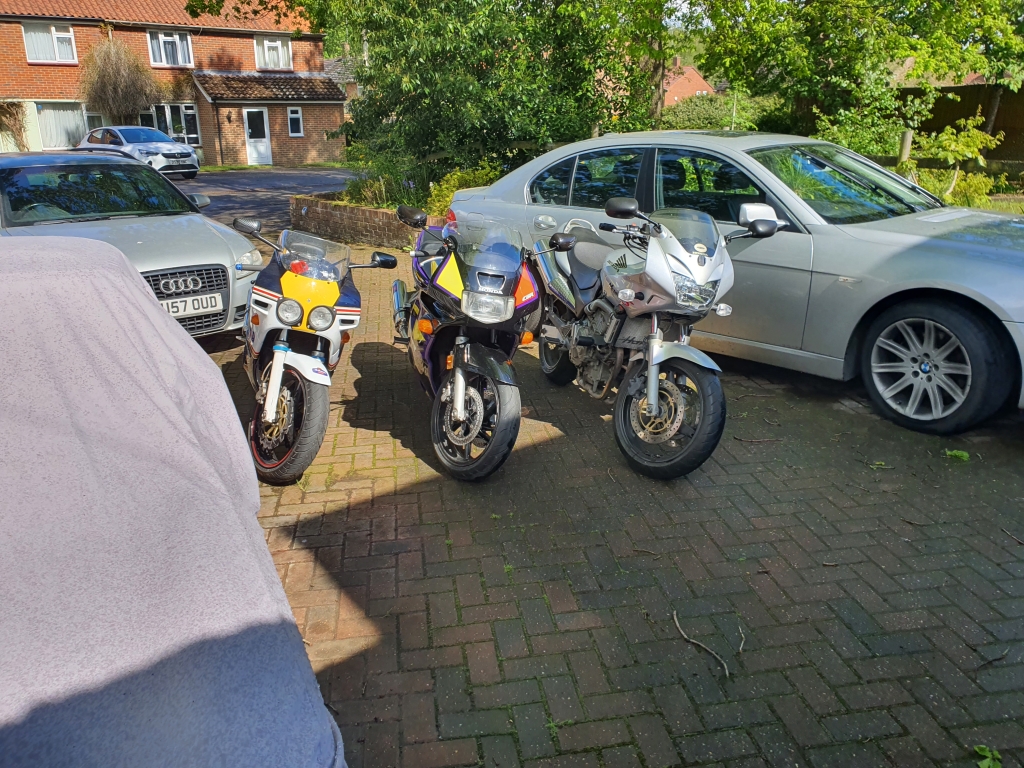
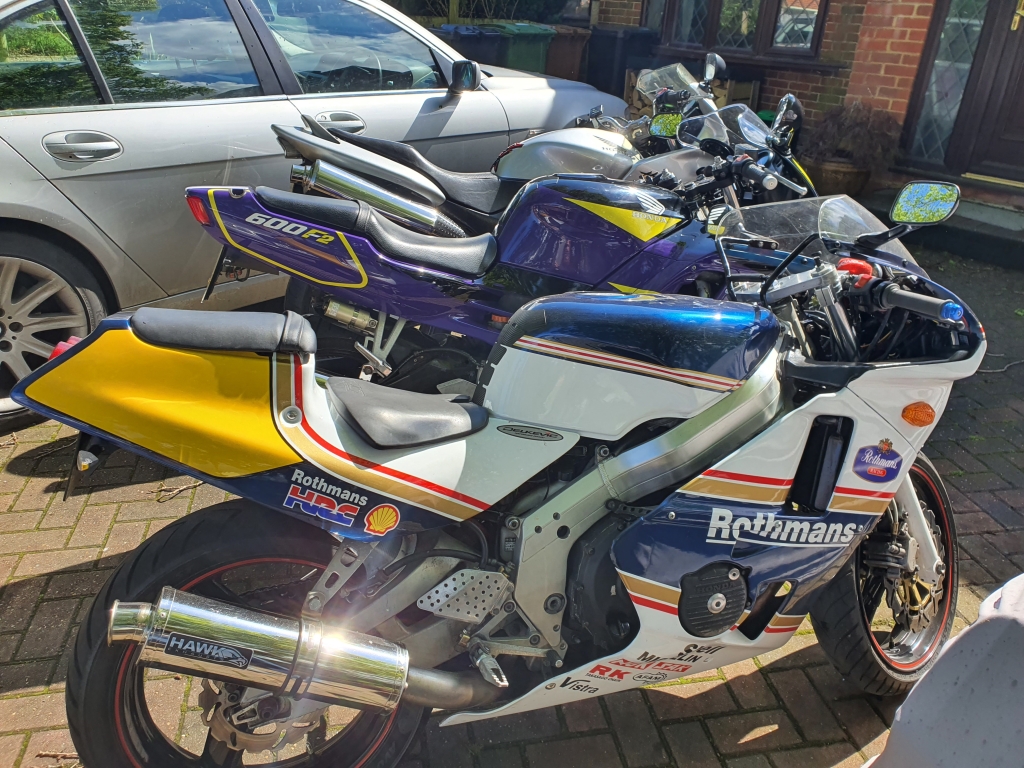
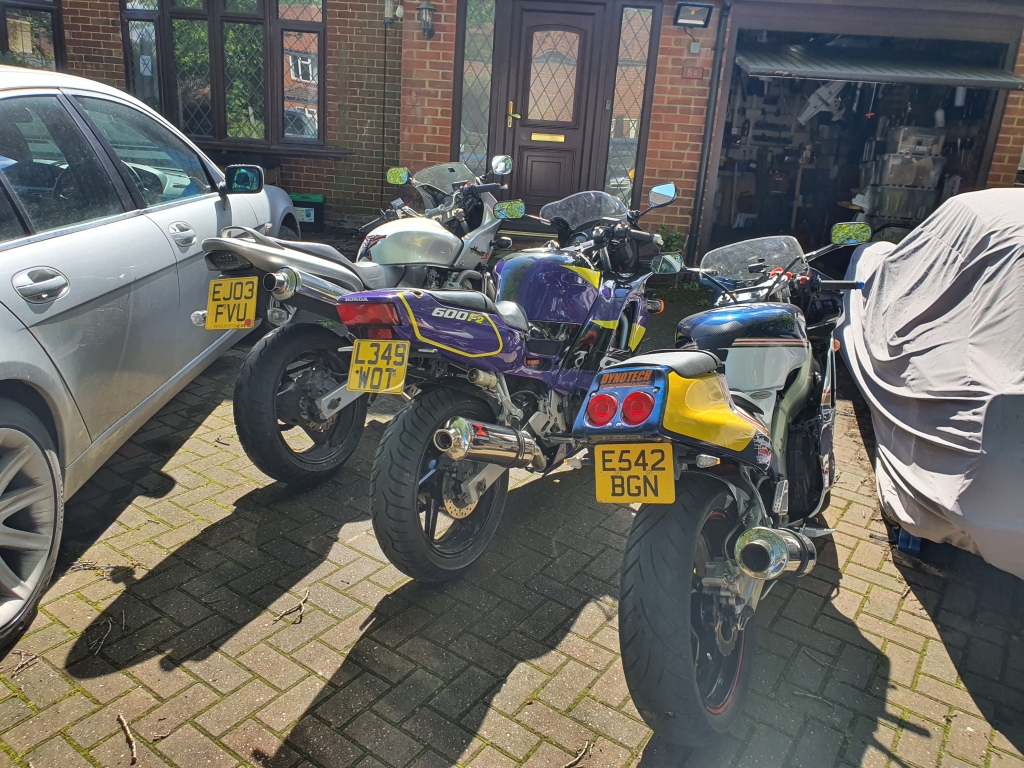
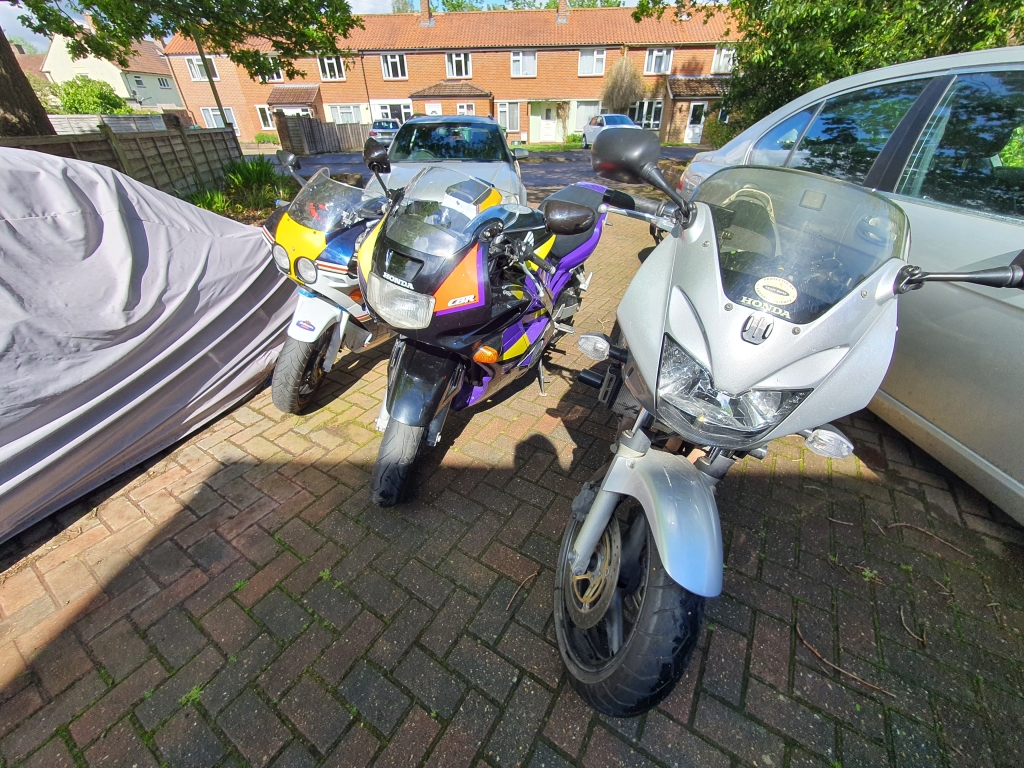
Then, whilst moving all the bikes around I decided to grab a couple of photos of my three "big" bikes all together, 80's, 90's and 00's:

CBR600F2172.jpg


CBR600F2173.jpg


CBR600F2174.jpg


CBR600F2175.jpg


It seemed like a rare moment!! All three big bikes were all legal, and ready to ride! However the hornet is going into the shed to be whipped apart for a new gearbox and a general tidy up before it is sold!
 
Was not happy with the finish of these vanity panels, so re-wrapped them.

CBR600F2176.jpg


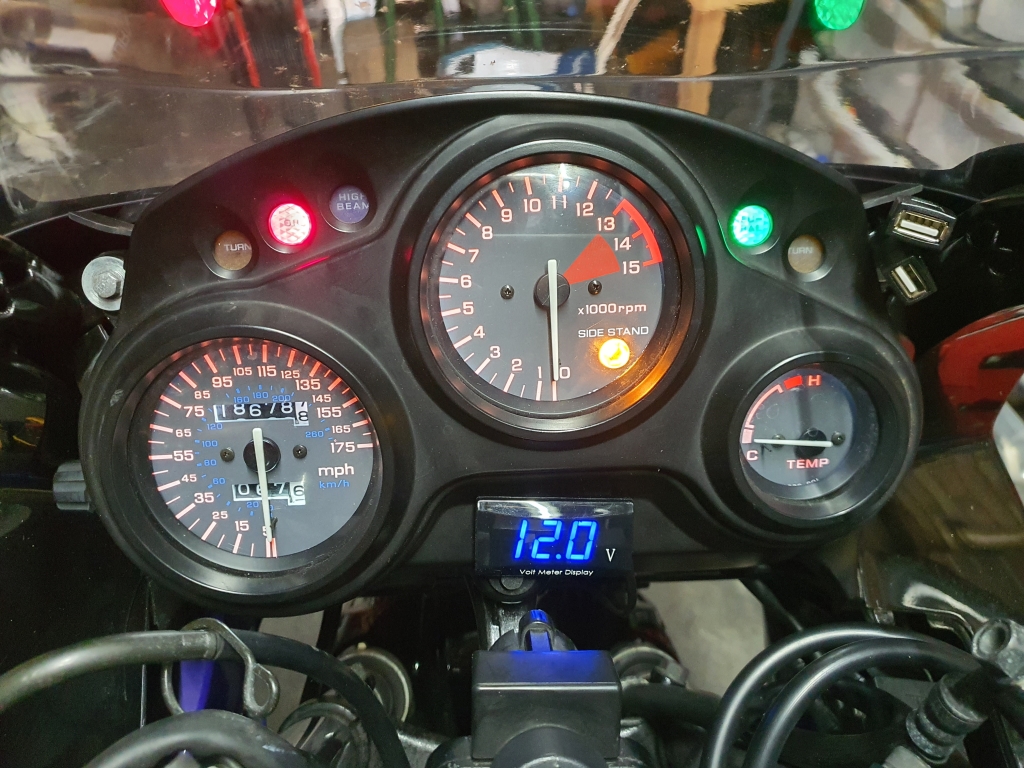
Fitted the volt new volt meter, and also a dual USB plug. I will likely use one of them to run a dash-cam, and the other for phone charging if needed.

CBR600F2177.jpg


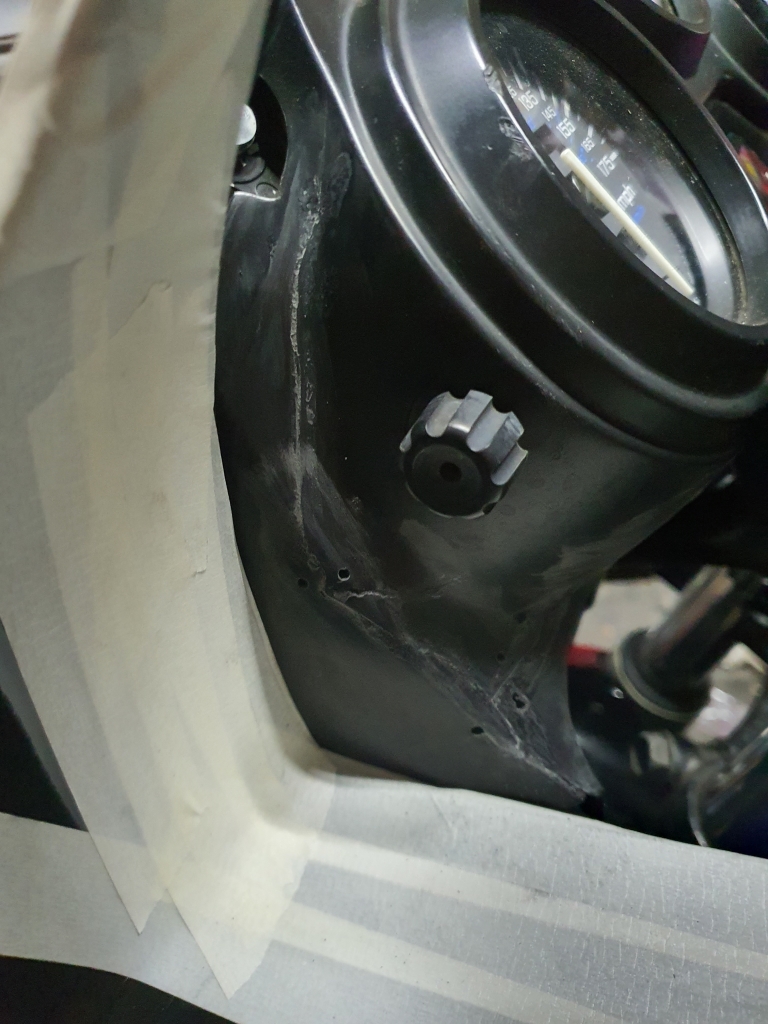
I also took some time out to glue/sand the heavily cracked clock vanity panel. The left side of the photo above was cracked just left of the turn light to all the way down to the base of the speedo. It had some holes drilled in it, and zip-tied to hold it together. It took a little manipulation but eventually got it mostly lined up, and glue back together.

CBR600F2178.jpg


its a lot more solid now, and it will allow me to sand it back further, and see if I can make the finish look any nicer.
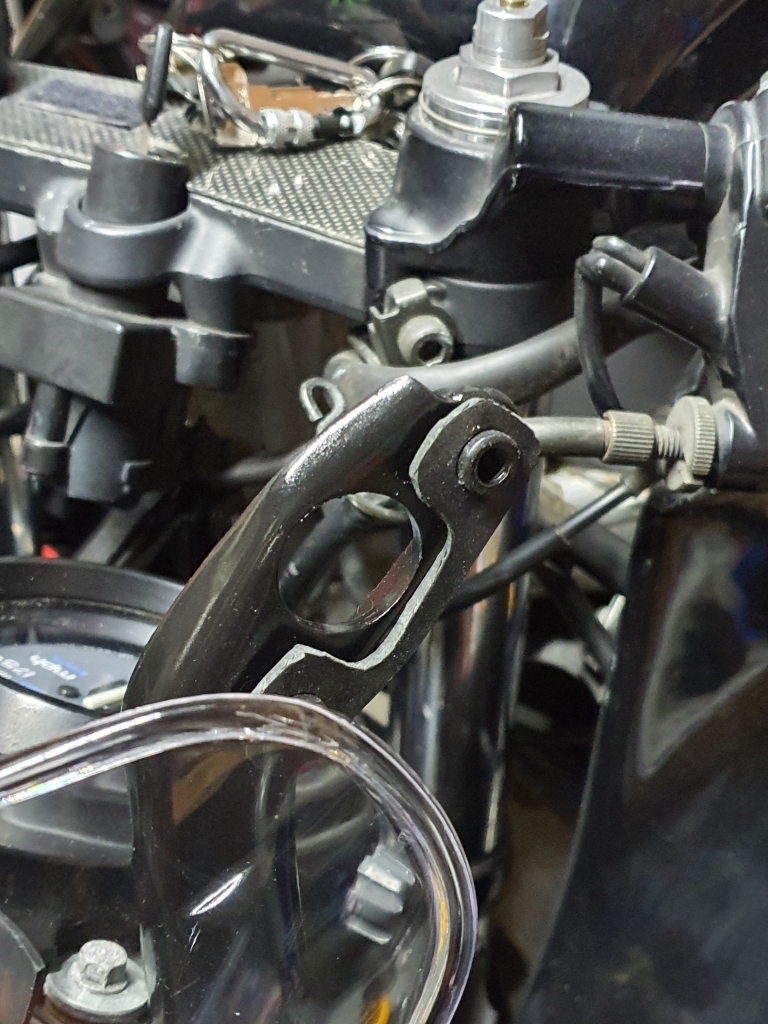
Will see if I can fill/hide the left over holes also :)
 
Back
Top Bottom