Associate
- Joined
- 11 Dec 2012
- Posts
- 90
Hey guys,
First post so hope this is in the right section
Background:
I entered the Cooler master mod competition this year and thought.
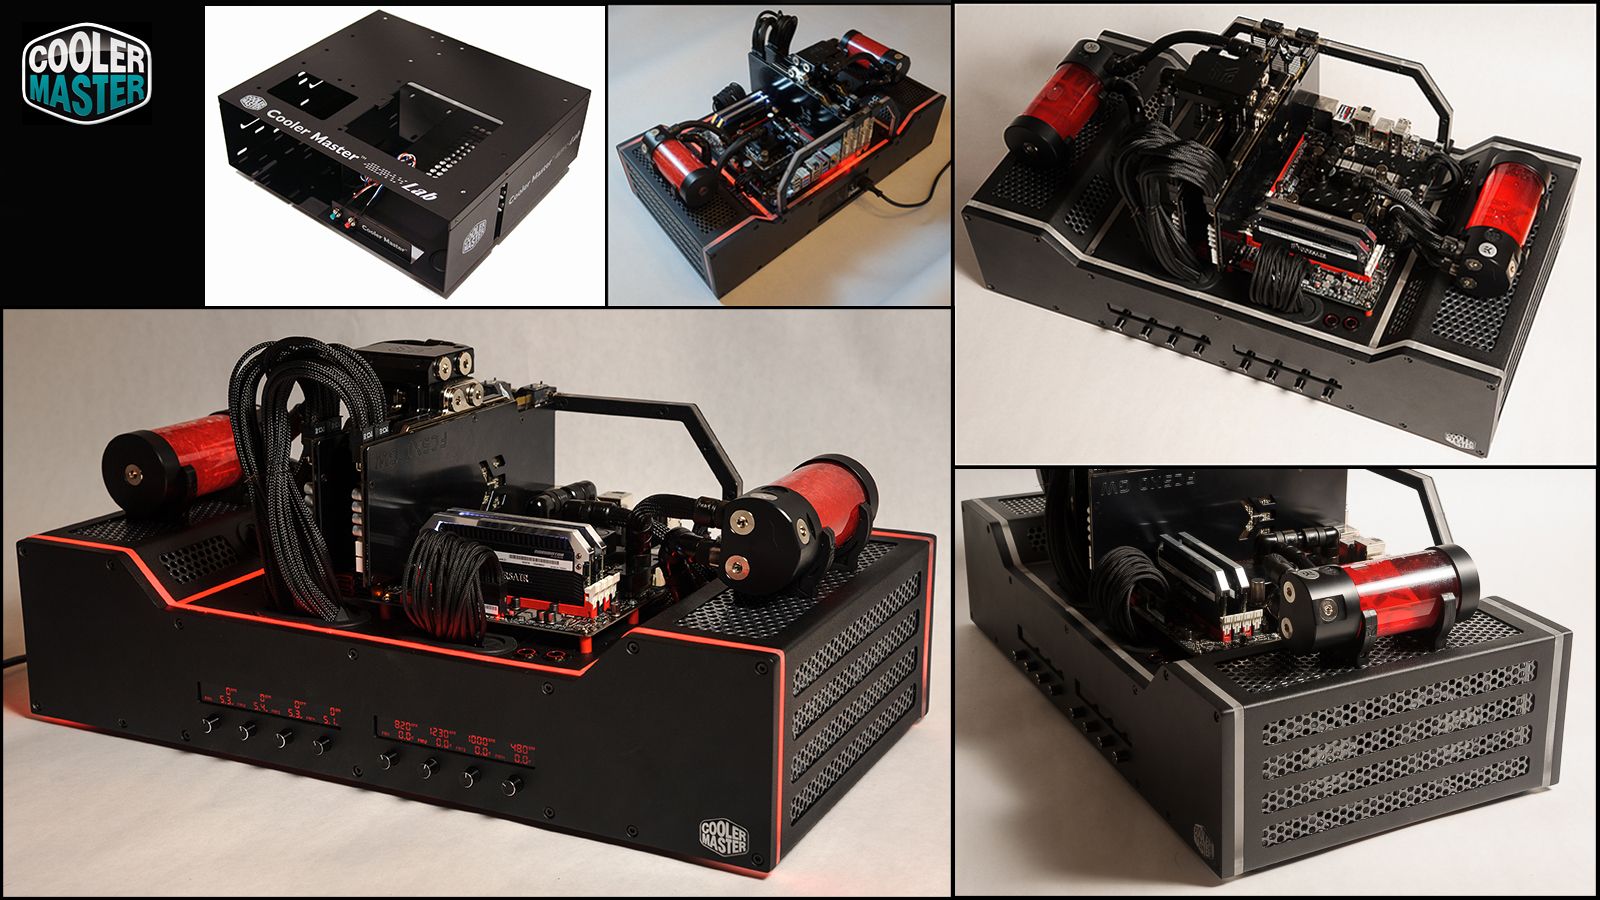
I was thinking for ages for a case to pick and by accident I found the test bench by Cooler Master at a local computer store. I knew instantly that this is the case I wanted to modify. It's different enough to other cases and I didn't find anyone else in the competition using the same case.
After countless hrs designing i think i came up with something worthwhile doing.
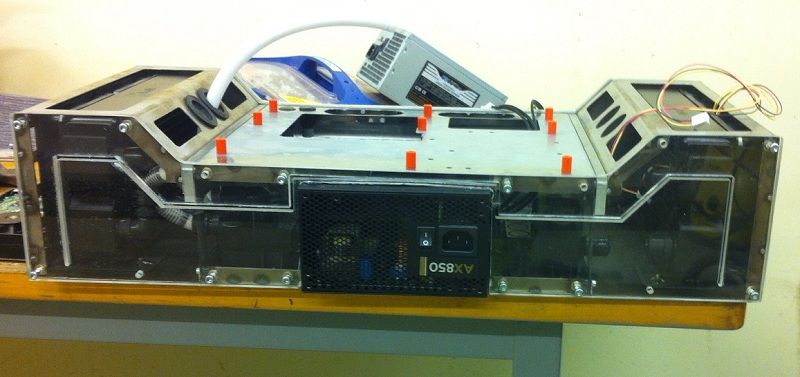
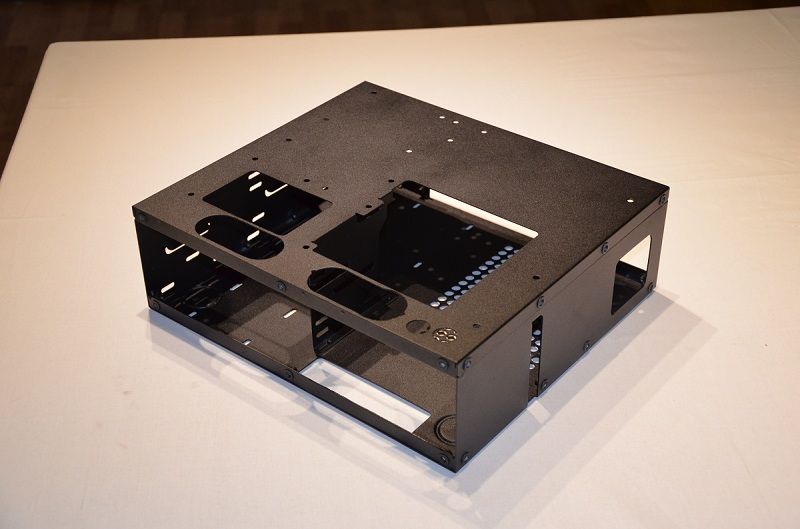
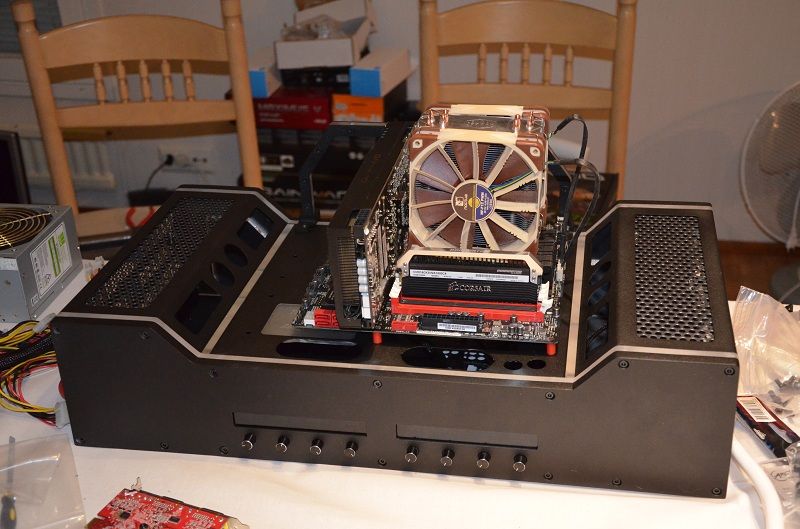
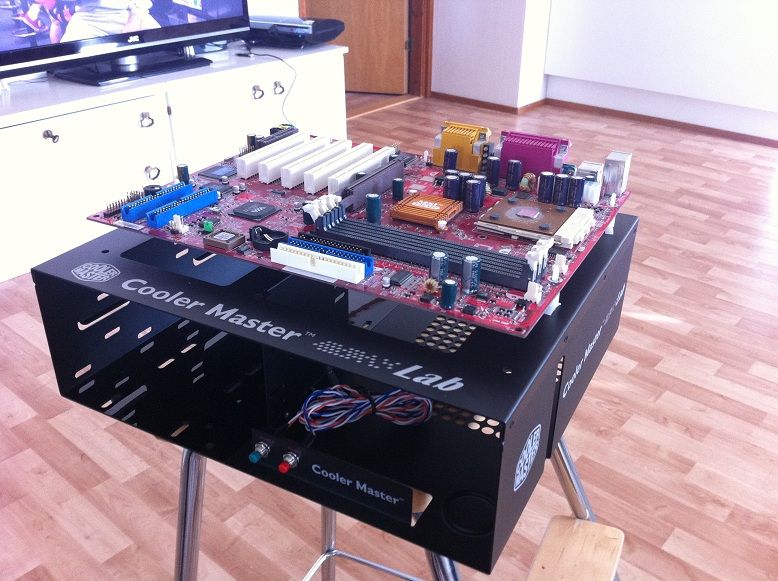
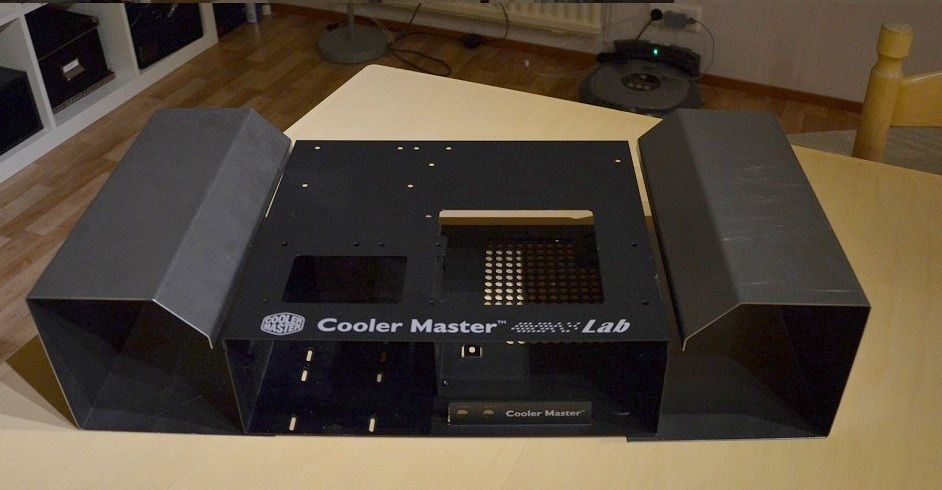
The original case
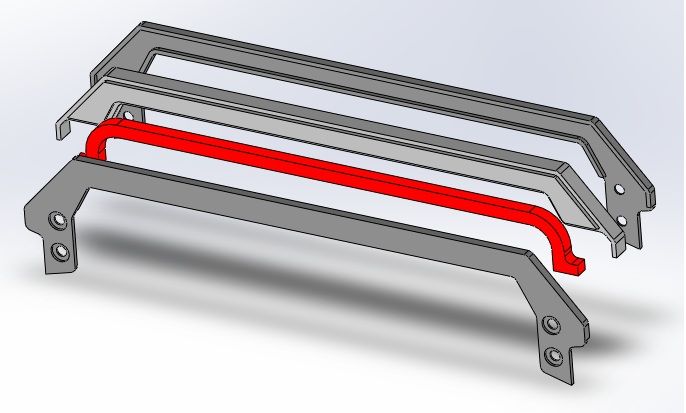
This was the design I stuck with for now unless i change my mind for a 100th time

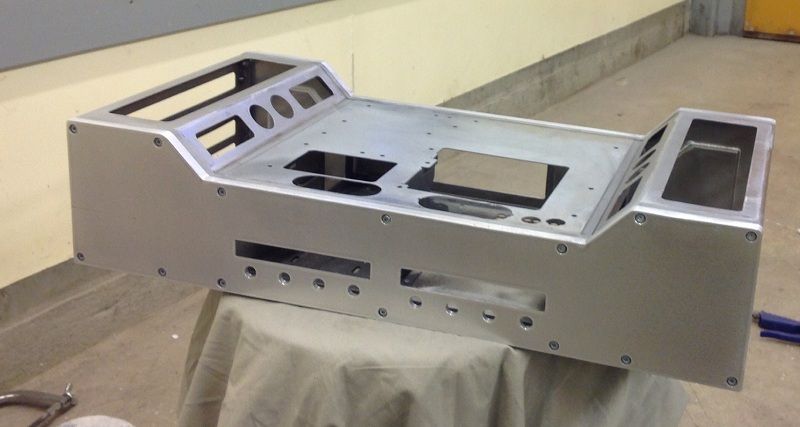
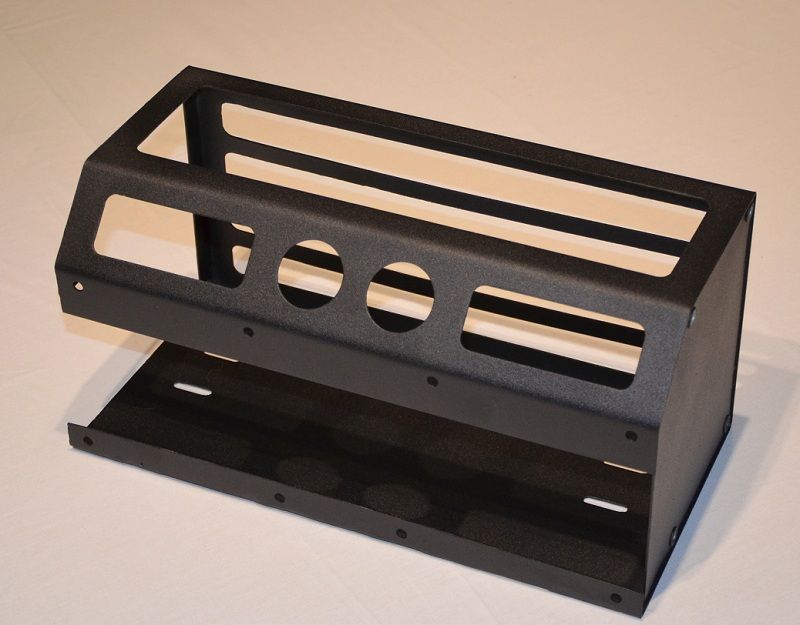
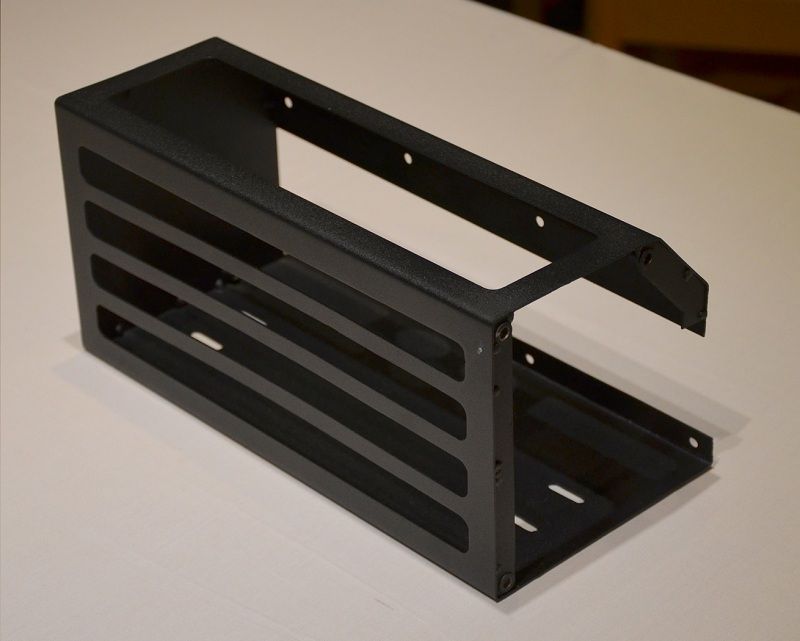
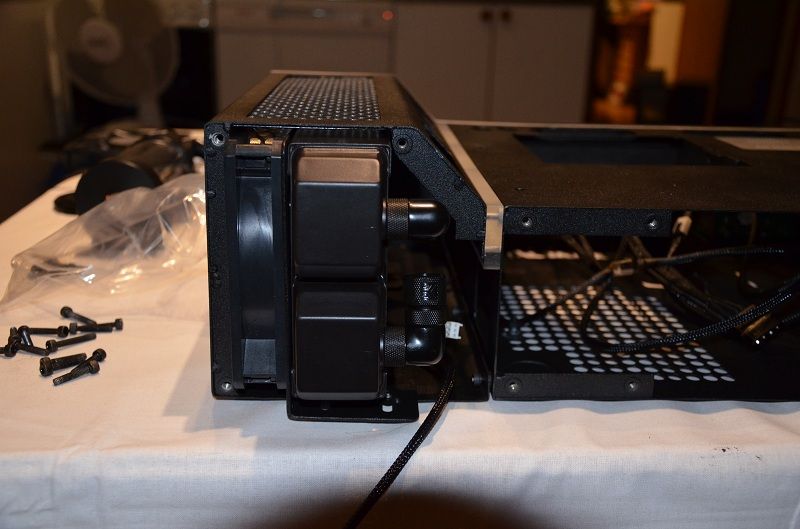
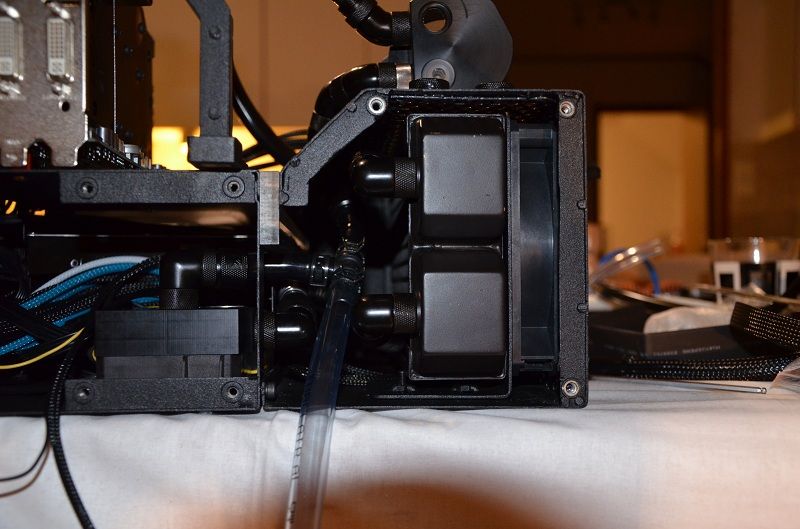
Also started fabricating the radiator boxes today.
Started with some kinda straight pieces of 1mm sheet metal. Decided on 1mm thickness to add some stability and still easy to fabricate.

The machine

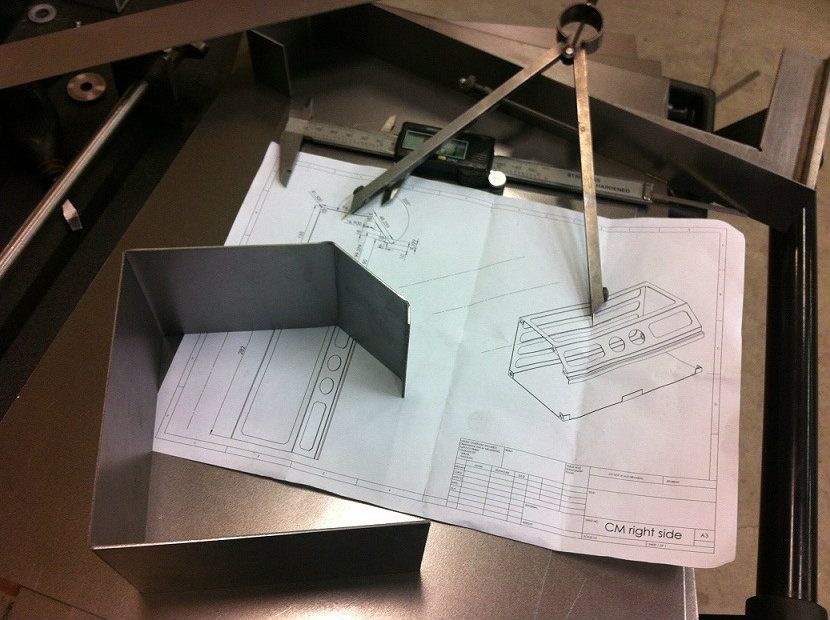
Bent a small test piece to figure out the radius and the measurement, also to get all the angles right.
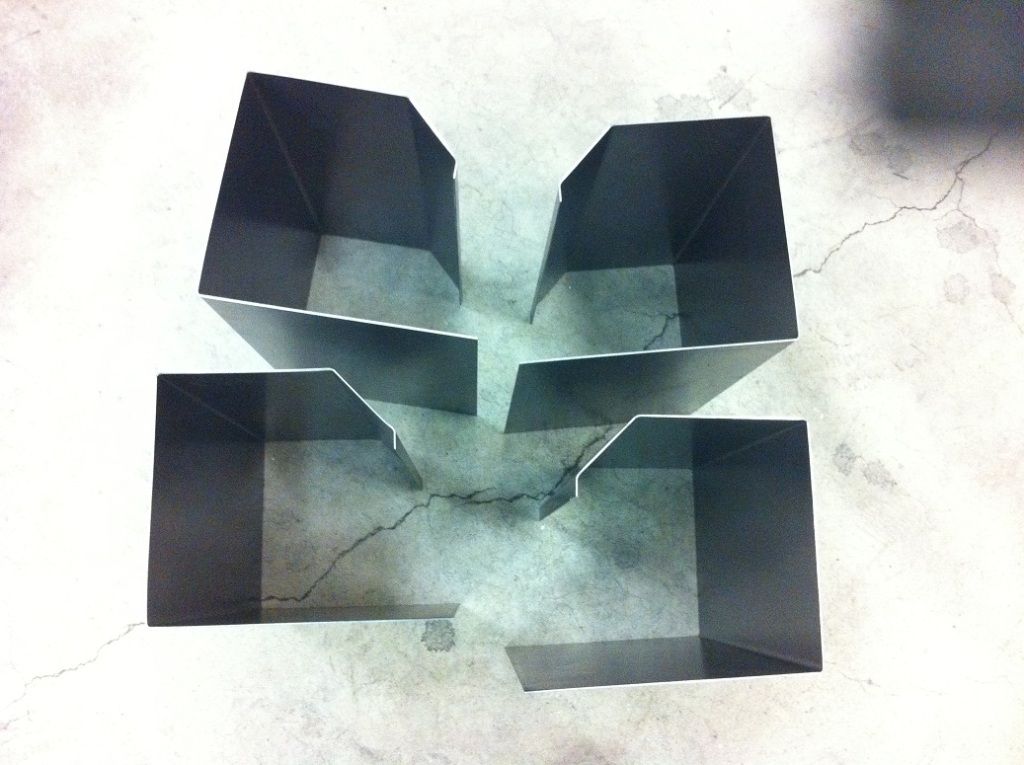
Made four pieces so i can mess up two, easier to make extra now than going back to make two new ones
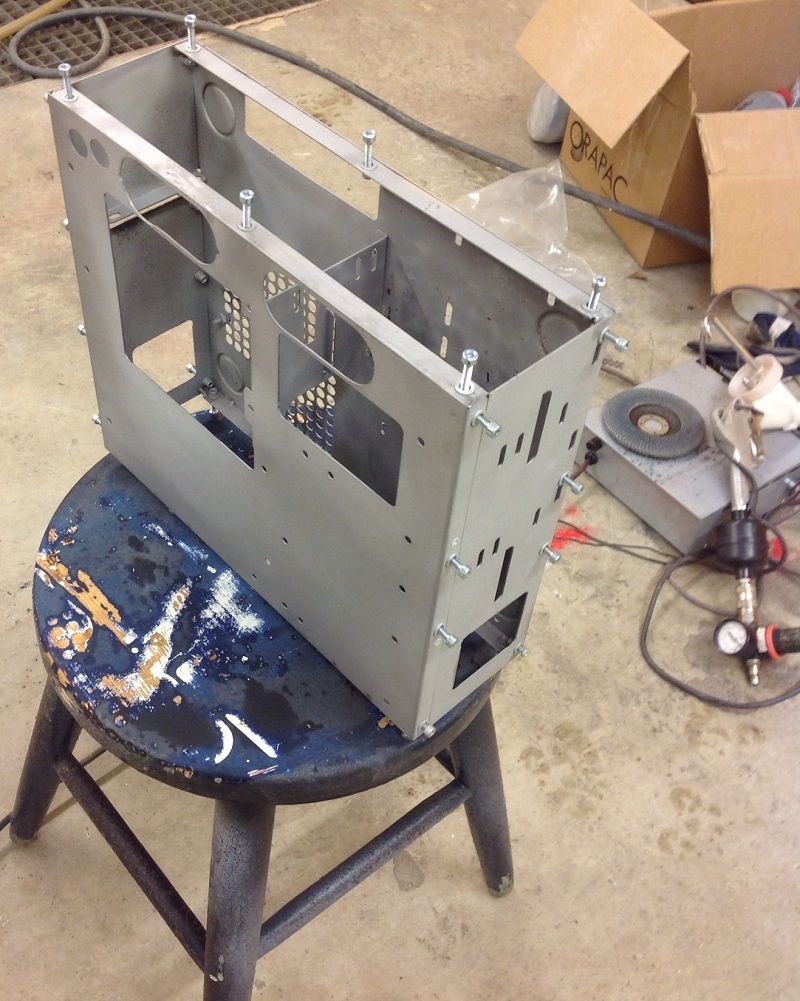
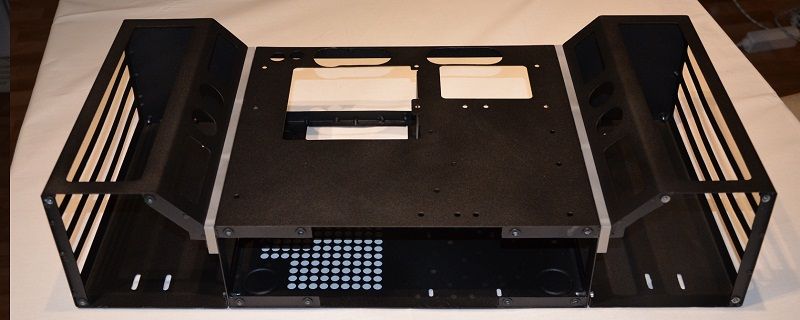
Quick test fit to see how its gonna look

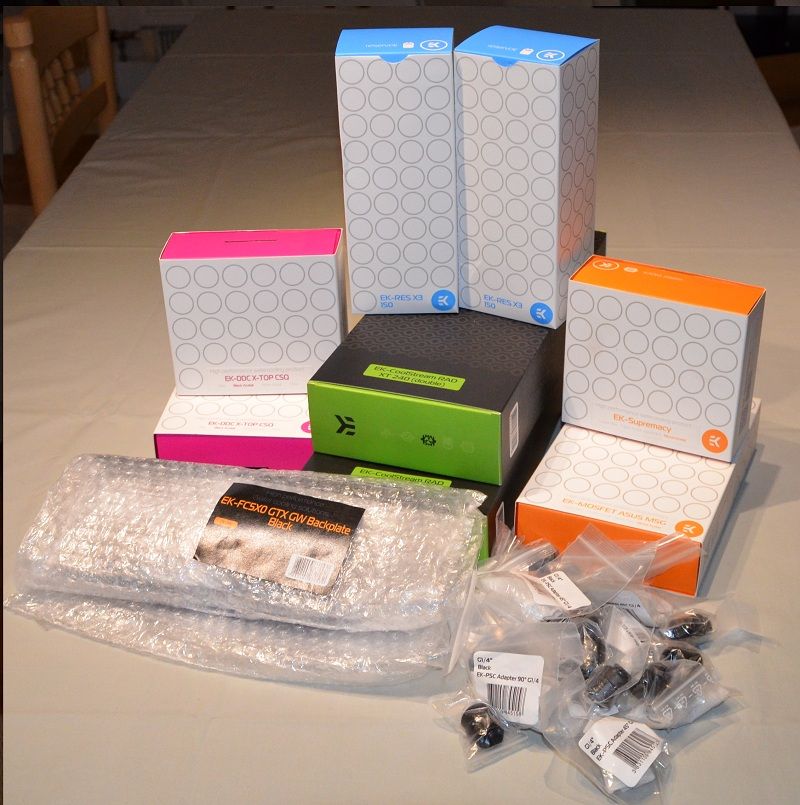
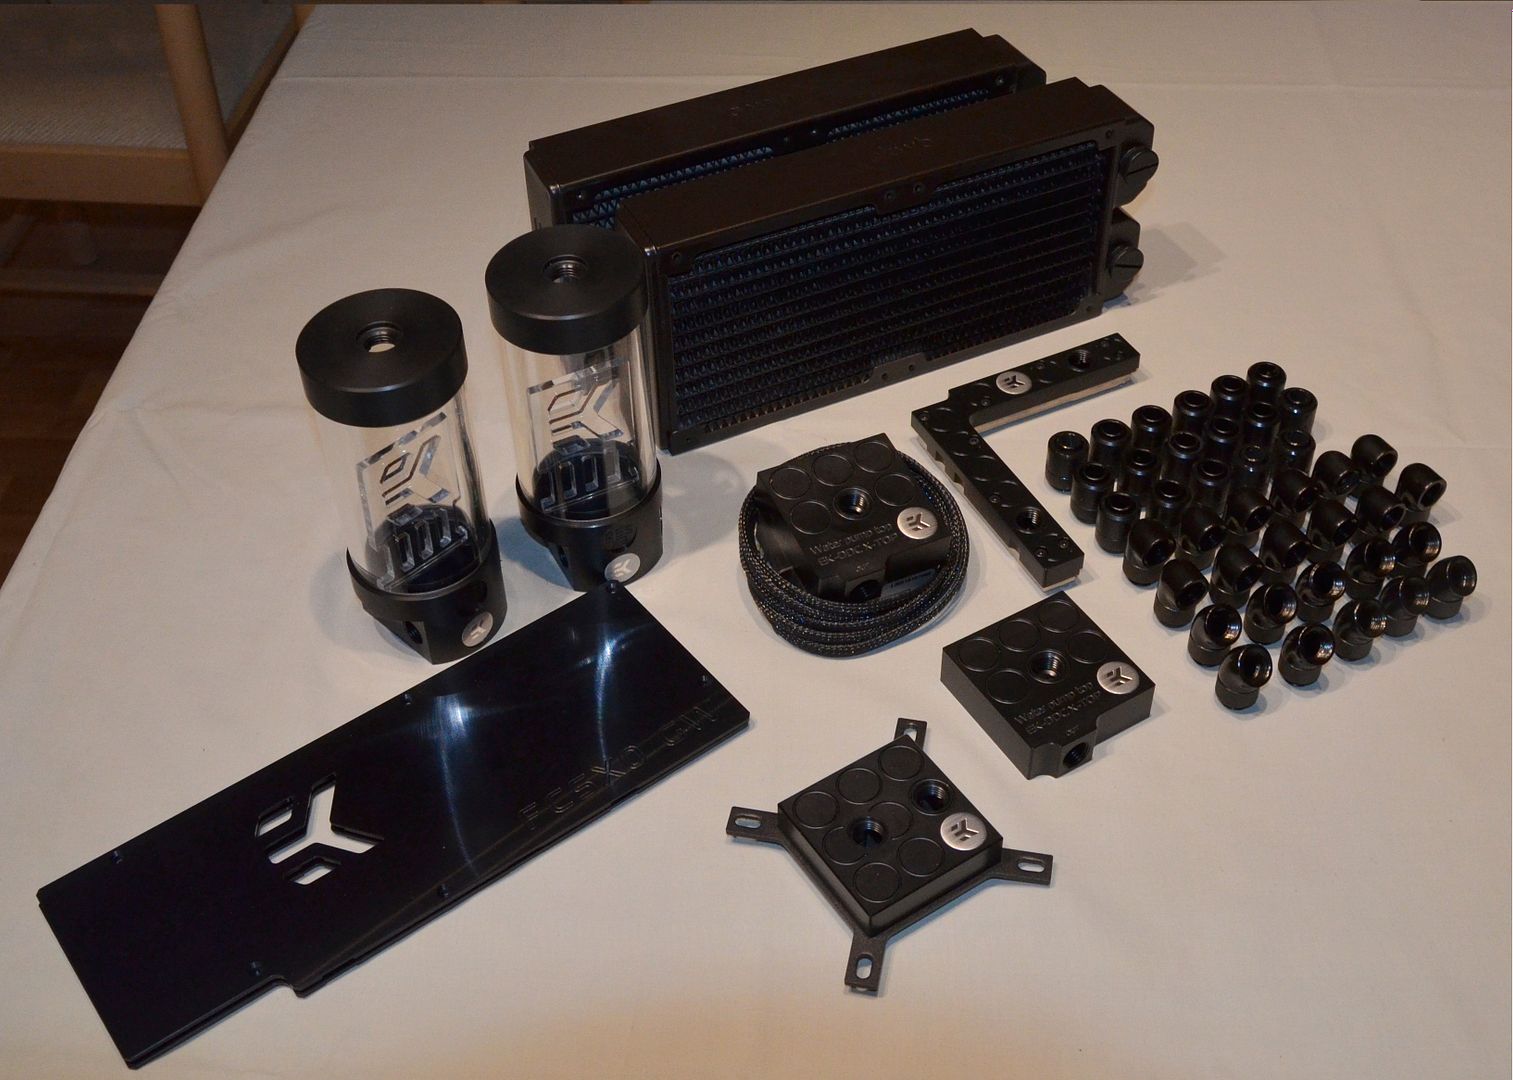
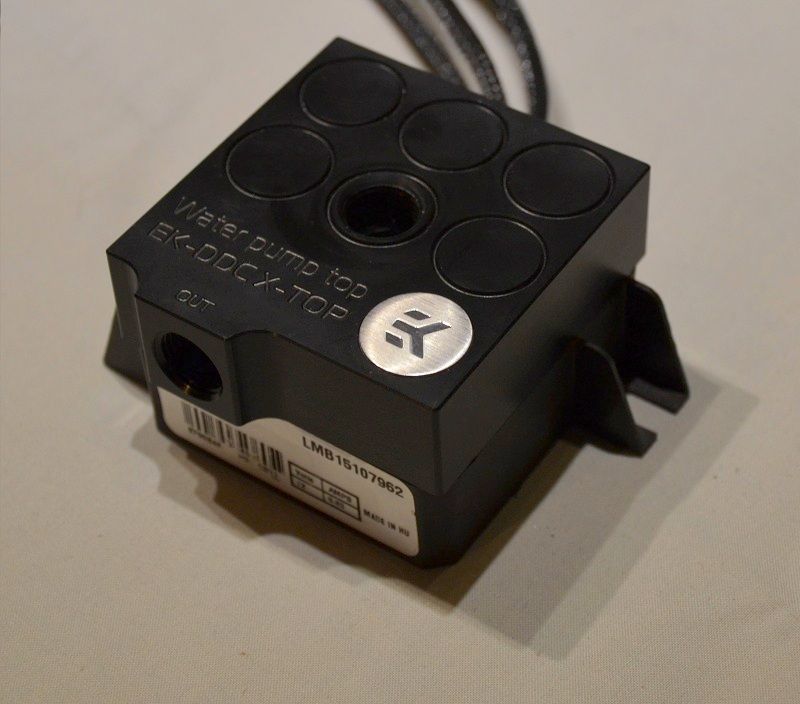
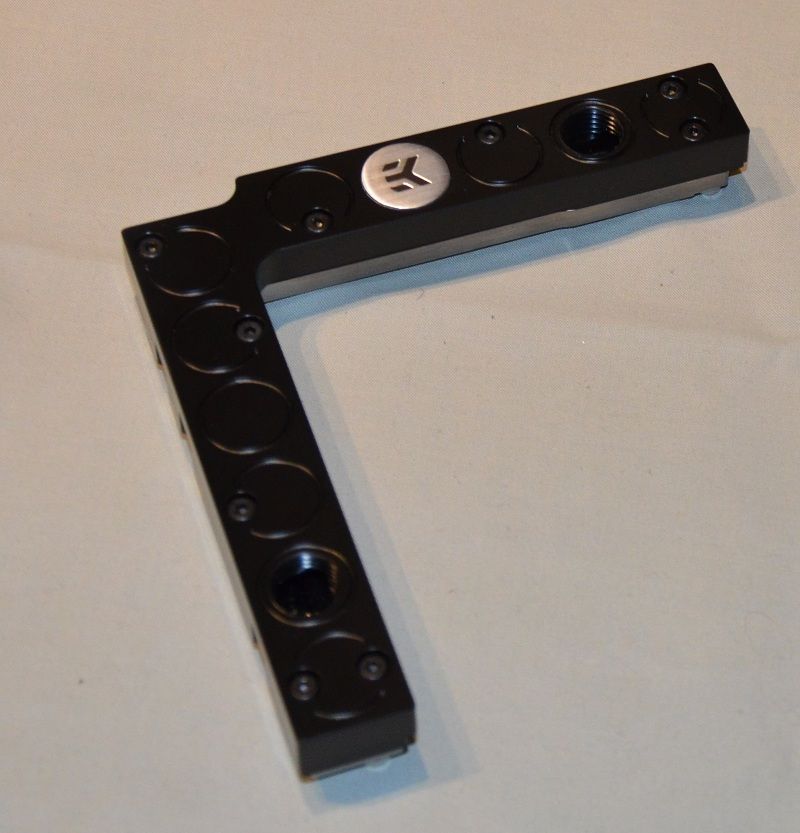
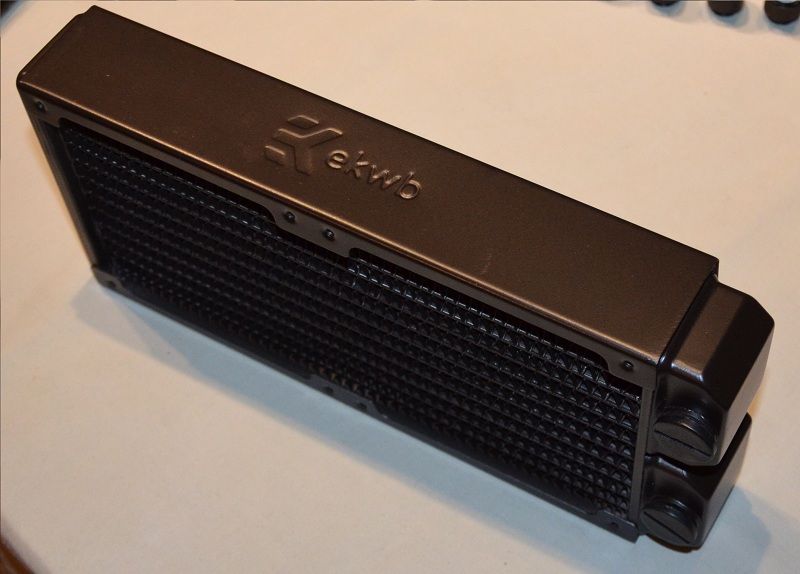
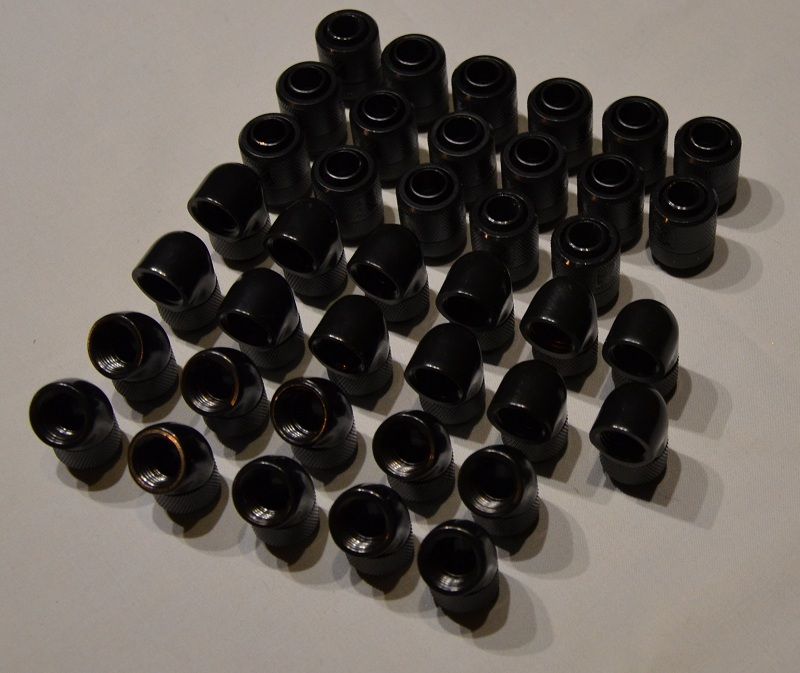
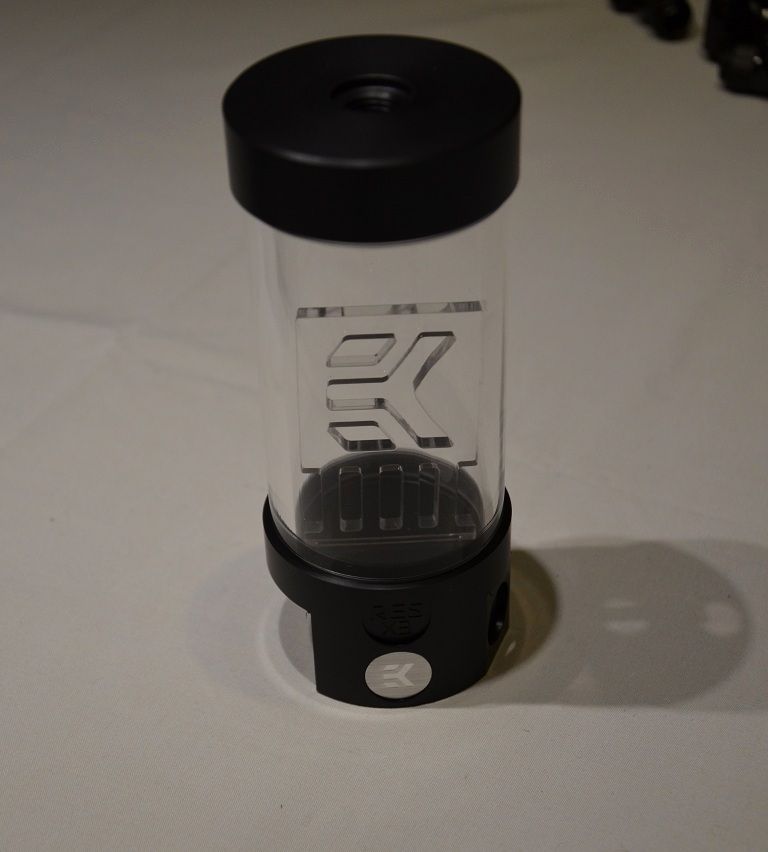
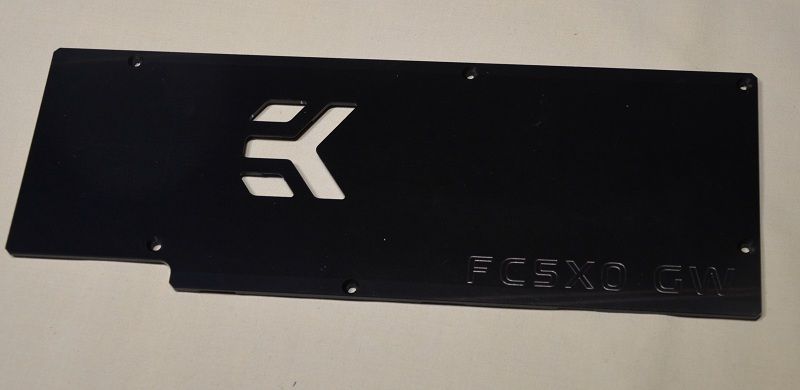
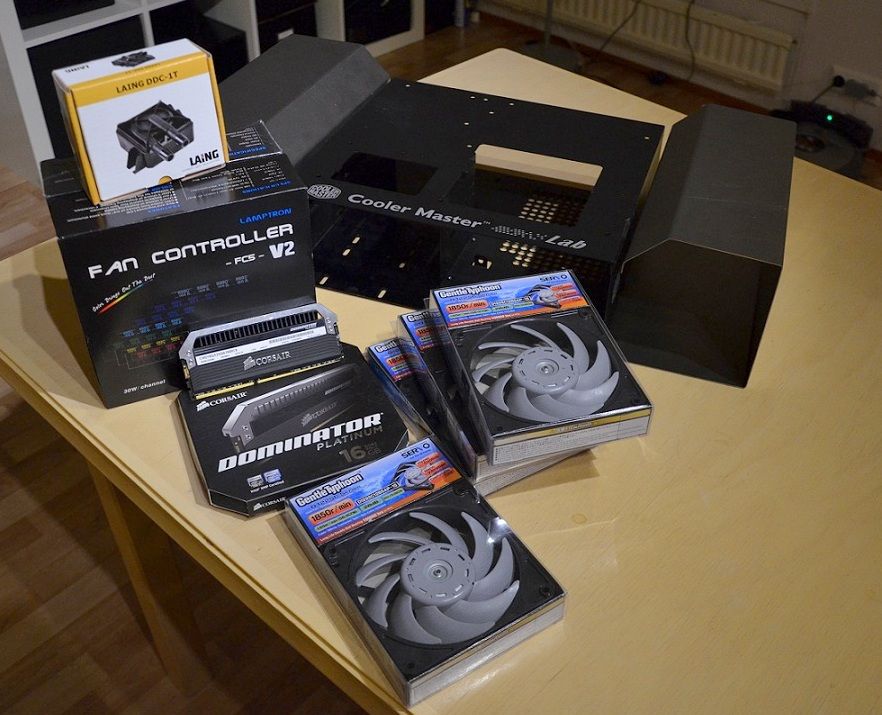
Also some parts arrived
Back after a lot of hrs in the garage and at the workshop at work. Not much of an update when it's full of fail but thought i would share anyways.
Plan A
Cut a template of the size i wanted
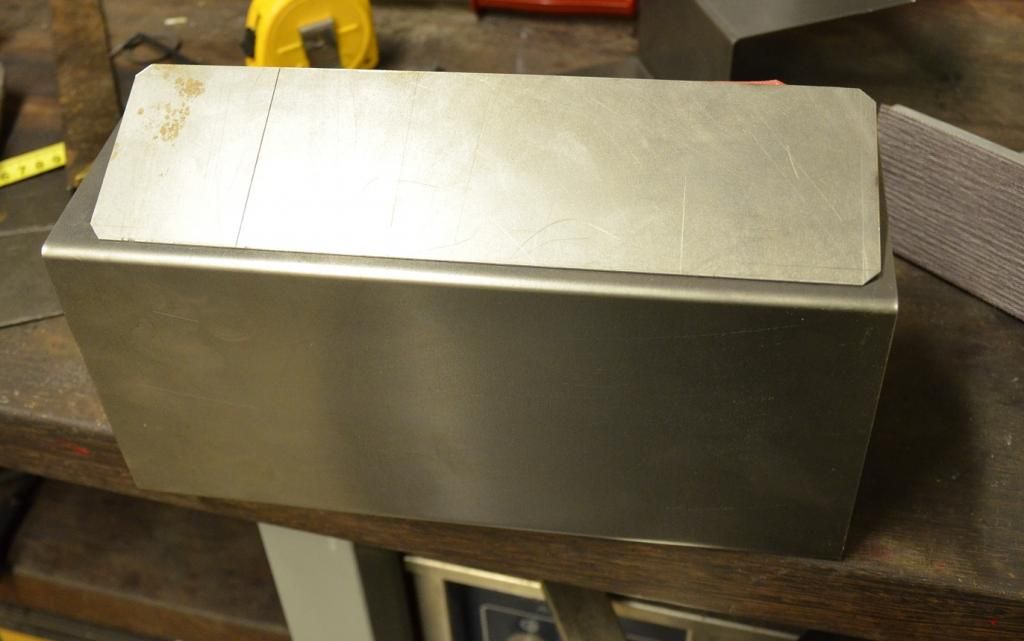
Mark the piece to be cut
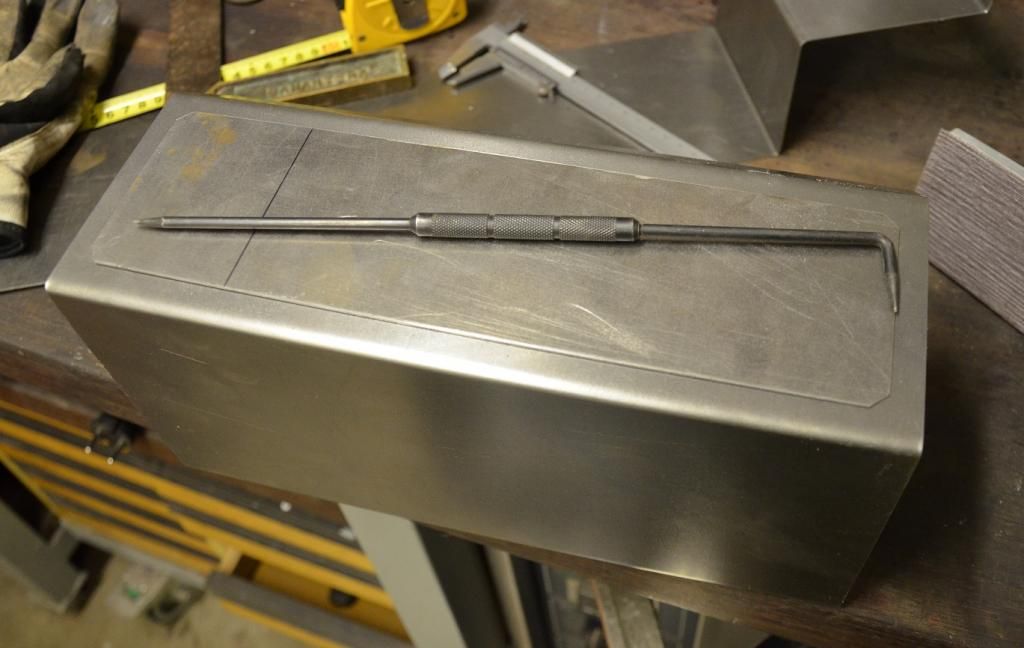
Working with my best friend (angle grinder)

After a lot of filing.
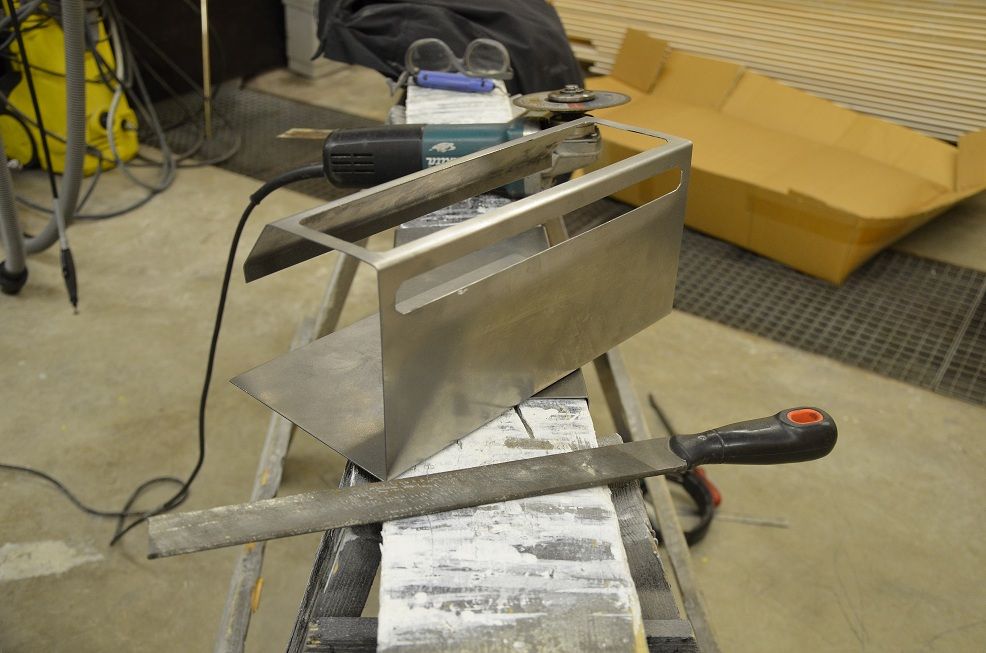
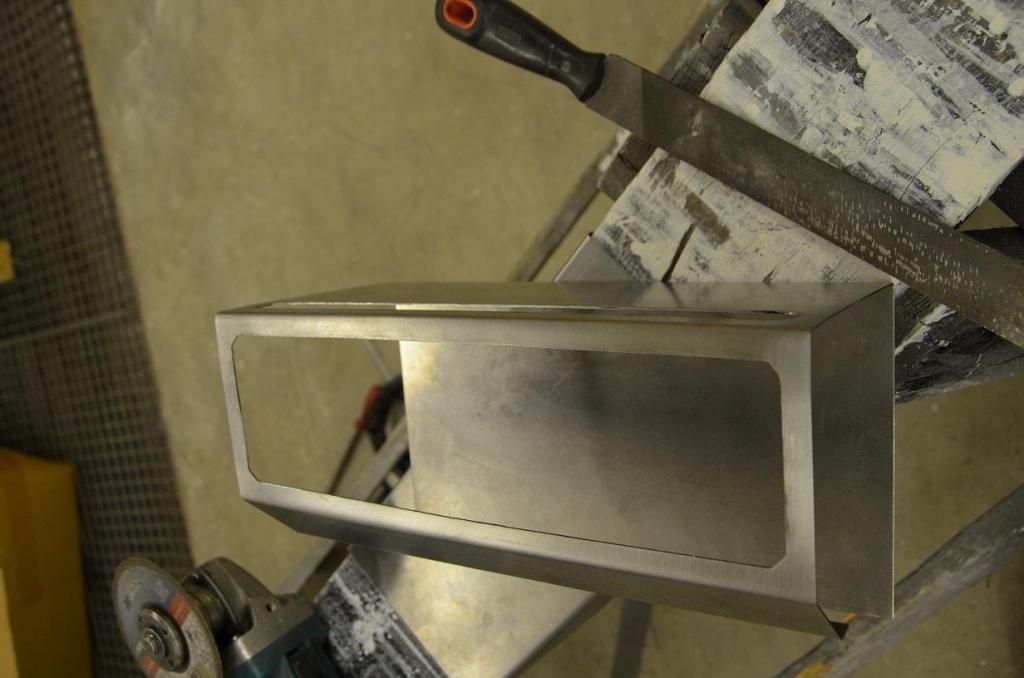
After this i realized cutting the next 3 slots in the metal will make it very thin and will flex and bend a lot. And the plan is to powder coat it after i'm done with it, so i can't use any filler. so over to...
Plan B
Decided to get all the cuts before bending. Don't mind the tolerances, just forgot to adjust the digits
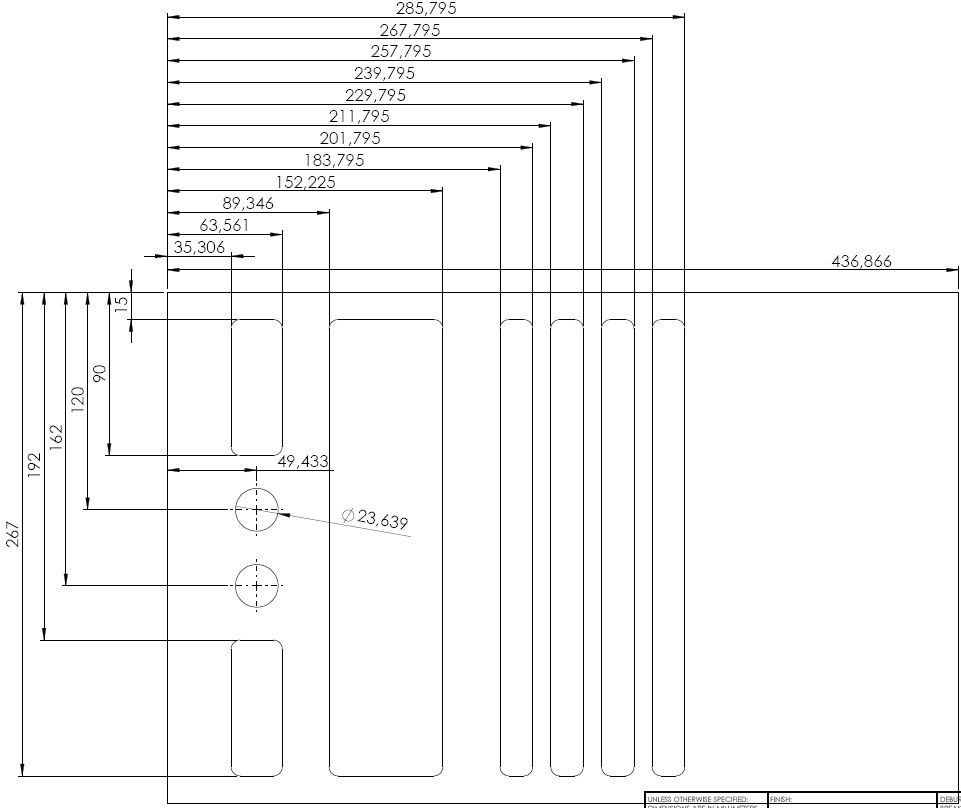
Make a "table" for the mill at work.
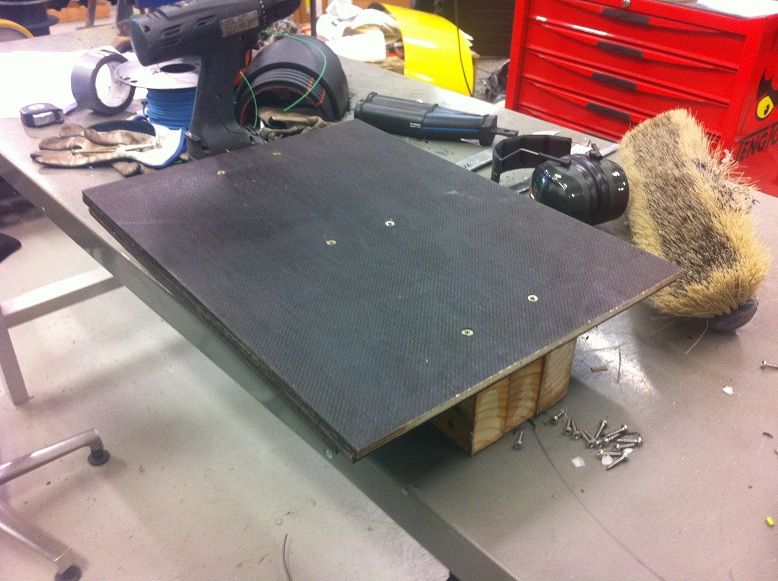
Used double sided sticky tape between the table and the metal sheets to prevent the pieces to vibrate during milling.
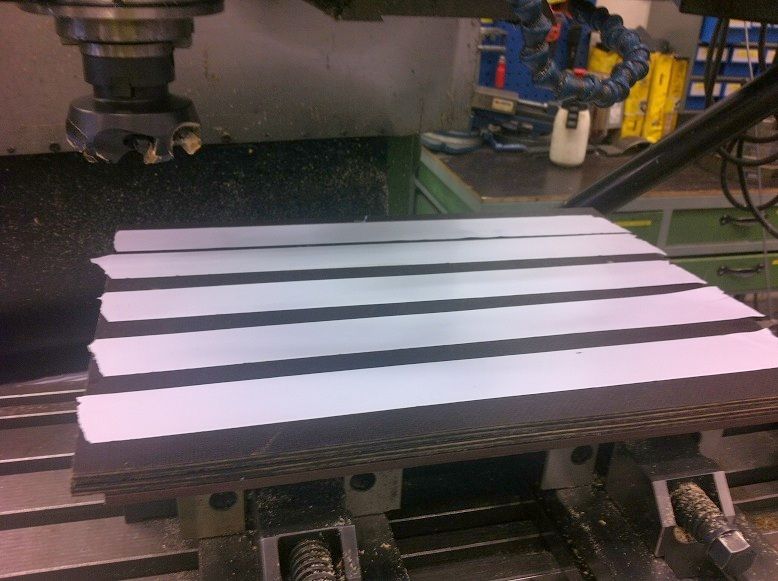
Fastened the sheets with screws in as many places as possible, i did not want the sheet to move during milling.
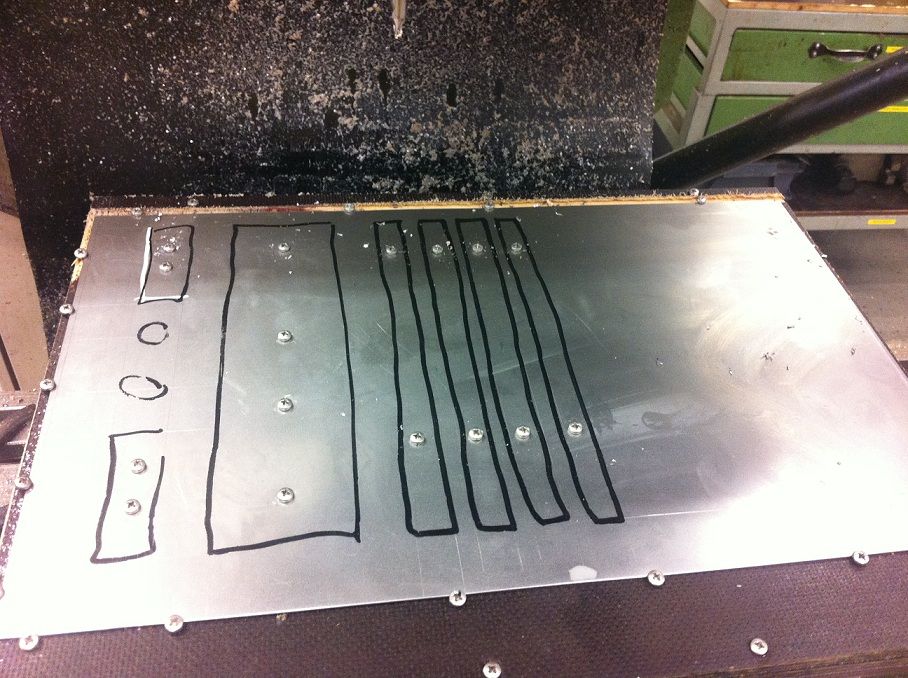
Let the milling begin. Still a Manual mill so need to be very focused
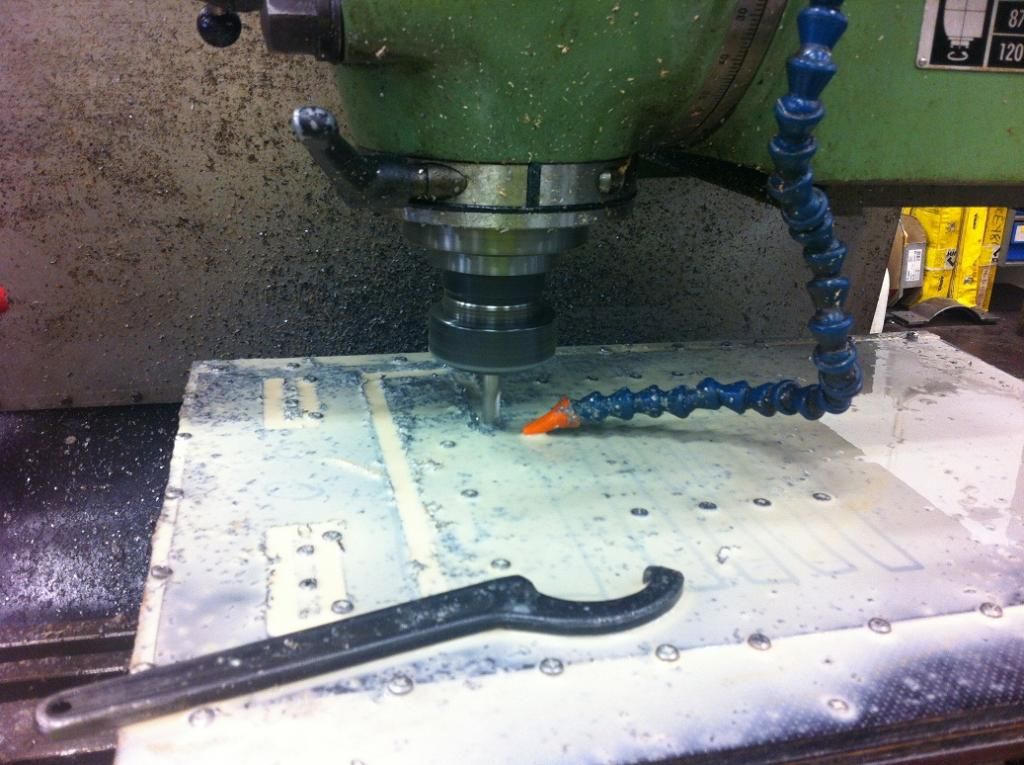
More fasteners used as it progressed.
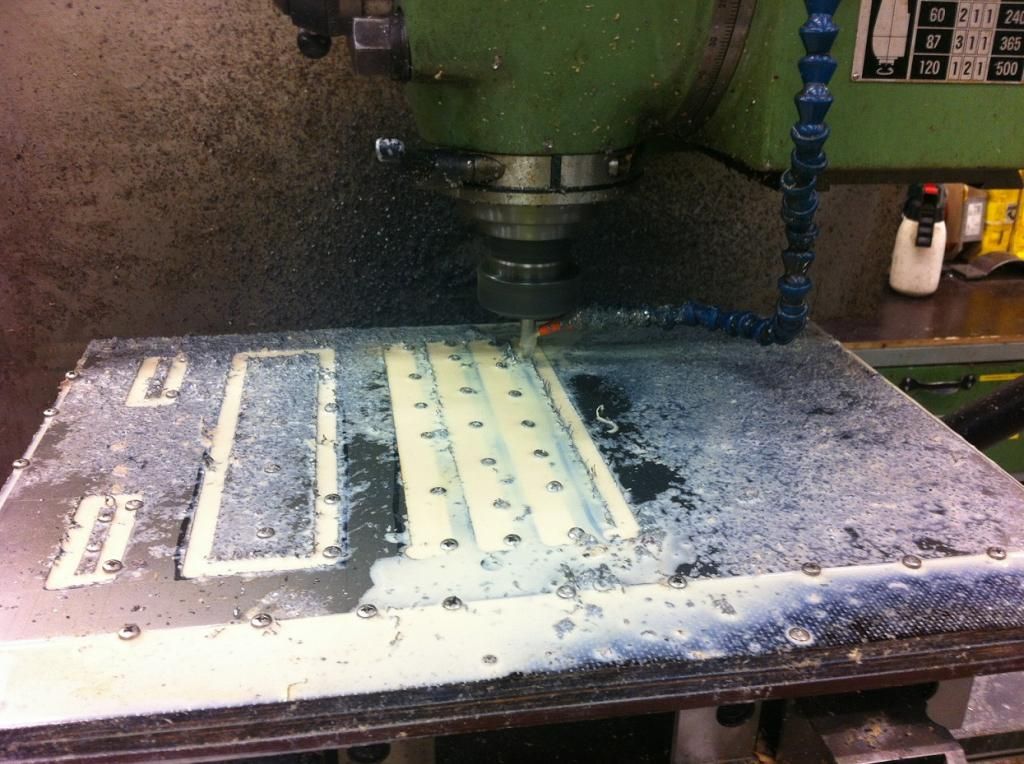
Almost done, still need to clean all the edges and as you can see in the red circle i made a bit of a mess. I had just finished that slot and turned the mill off without turning off the feed. So when i turned the mill on it went like a bat out of.... Words cannot describe the feeling when that happened. I had spent 6 hrs milling just to do a simple mistake. Anyways, gonna weld it back and see if i can file it down. Wouldn't be a problem if i could use filler.
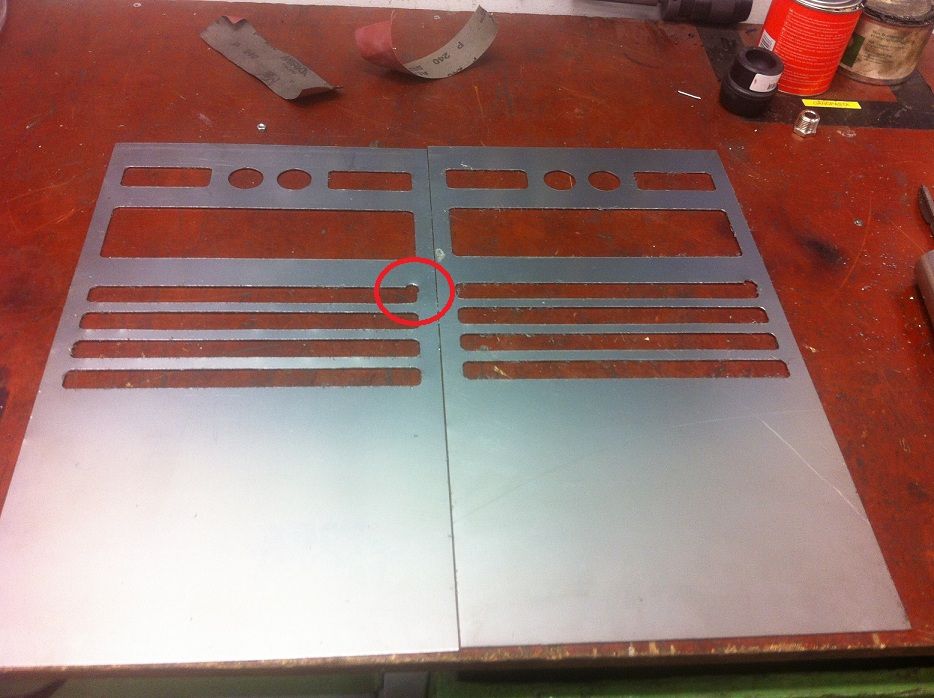
welded and grinded down the mess i did the other day
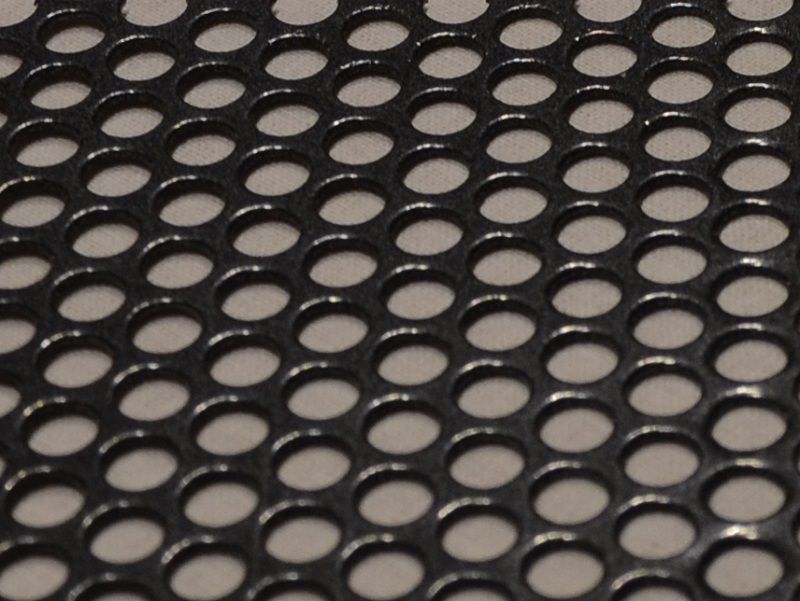
Got the sheets bent today but now i don't know if i should go with the circular mesh or the hexx mesh. The hexx mesh is made out of 1mm aluminum and the circular mesh is made out of steel sheet which would make the whole construction a lot more stable.


Found another mesh today but not really liking it

Also tried some powder coating last night
This is satin black. Two problems with this color, fingerprints sticks instantly, and it looks kinda cheap
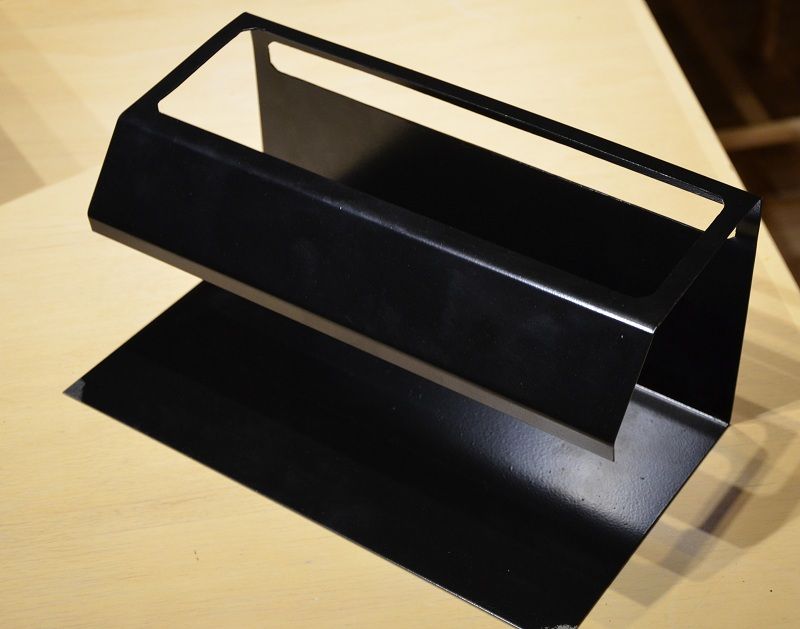
Gun metal gray. Had to try, not gonna paint it like this though

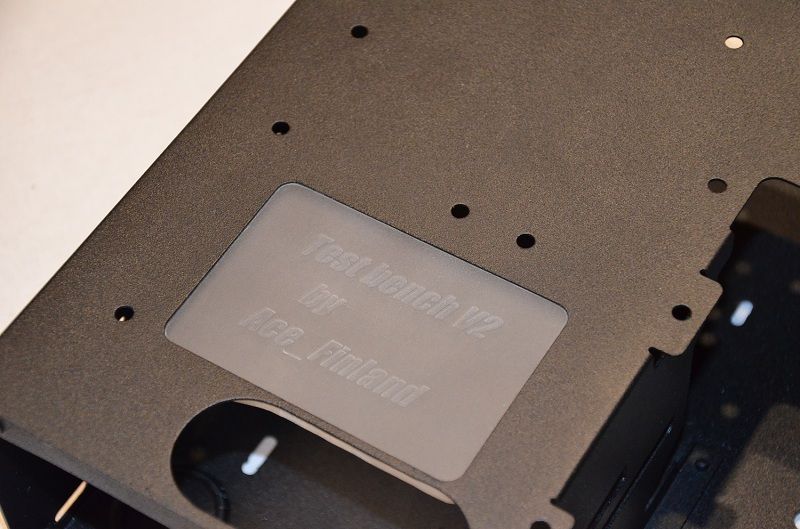
This is the surface finish of the original cooler master case. I'm really liking this surface finish so i'm gonna order some textured powder coating black and give it a try.
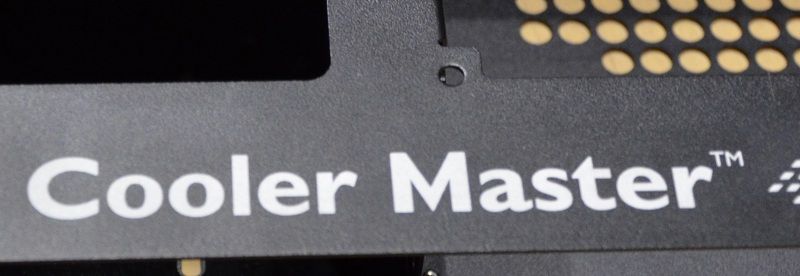
Gonna order this color and give it a go!
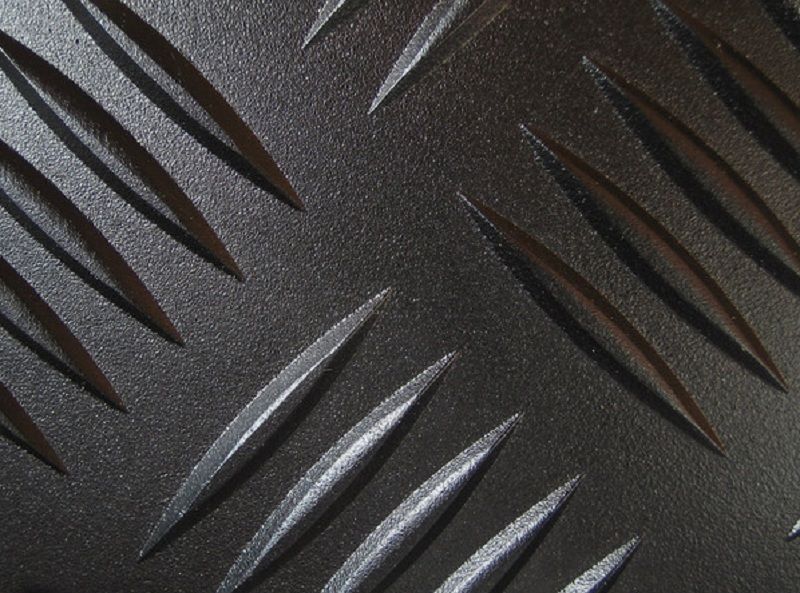
Got a lot done the last week so thought i would post a few pictures
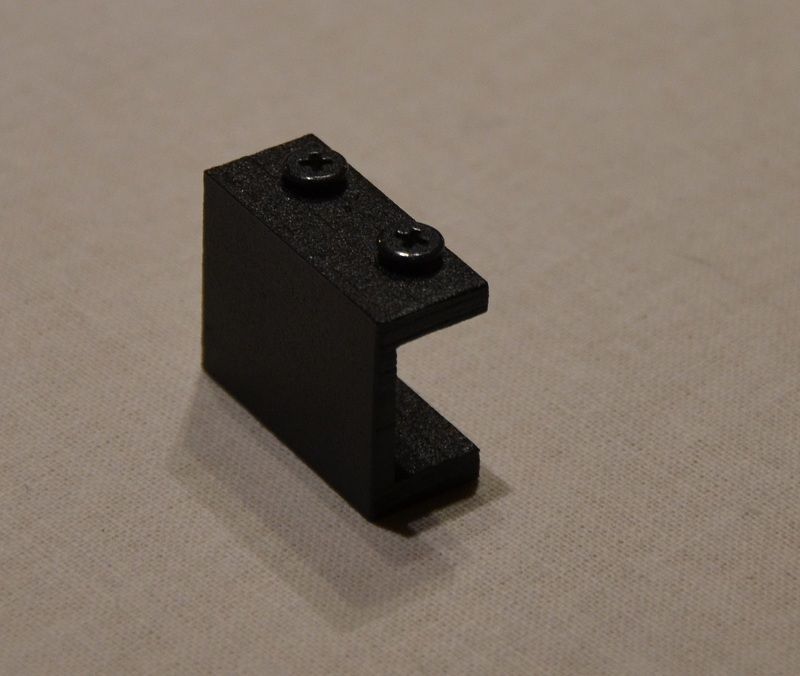
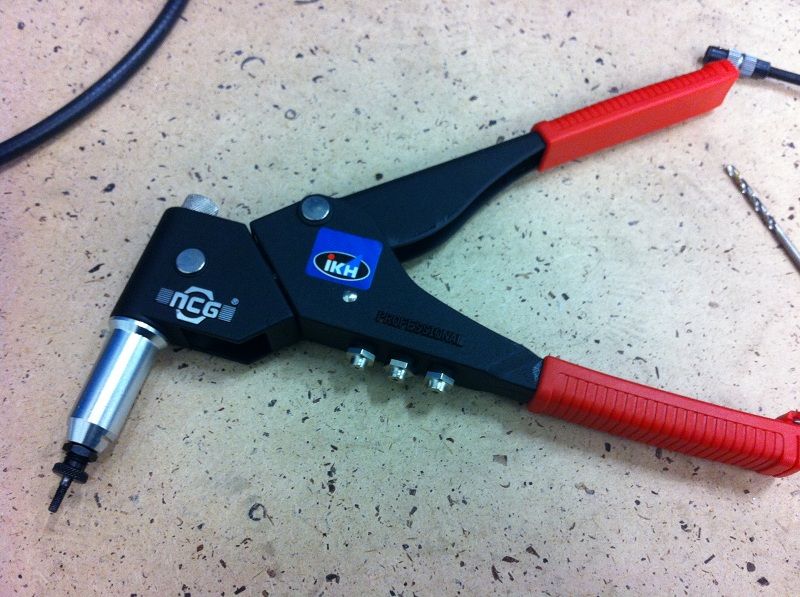
First of all I'll show you something great when working with metal sheets. I have not seen many use these and i don't know why. They are quite handy when you don't want to weld and will help a lot in hard to reach places, when you don't have to use a regular nut. It's rivet nuts
Works like a normal rivet.
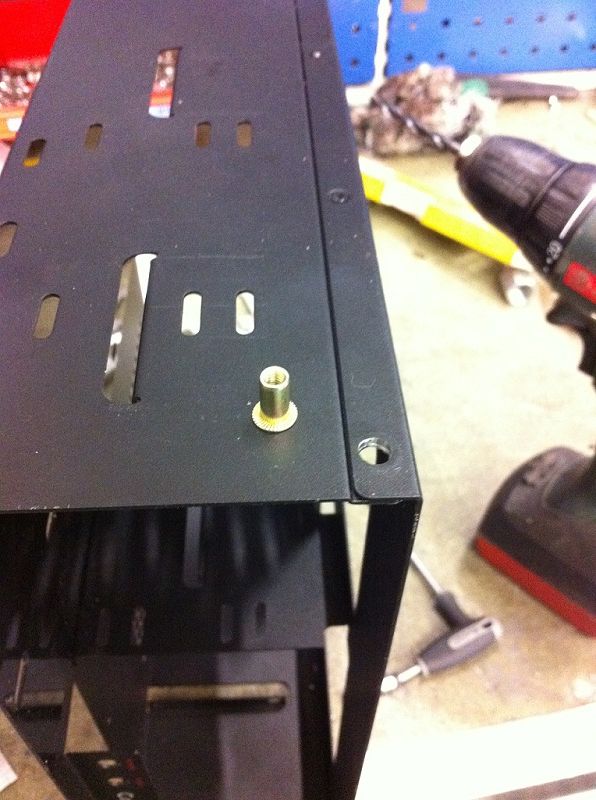
Modified a normal rivet gun buy cutting the head of a M4 bolt and jamming it in the rivet gun. Added a few washers to prevent the rivet from entering the gun
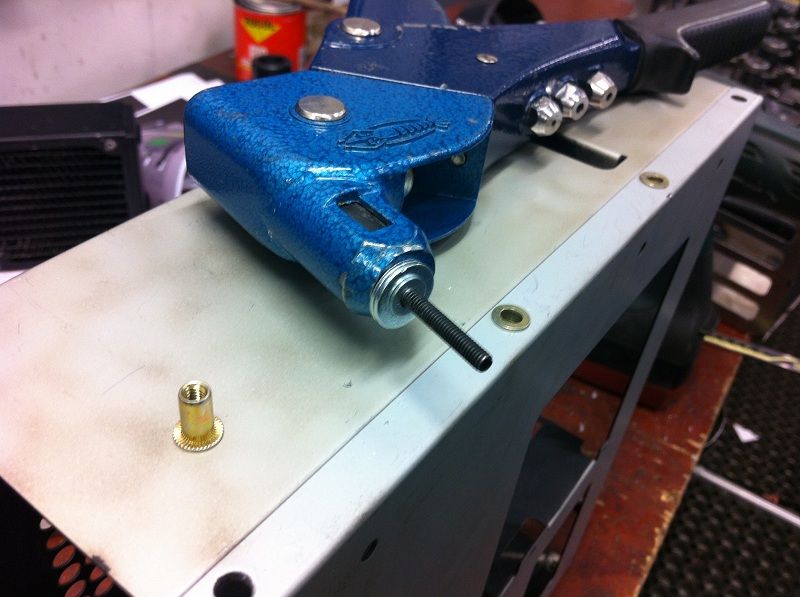
Screw the nut on the thread
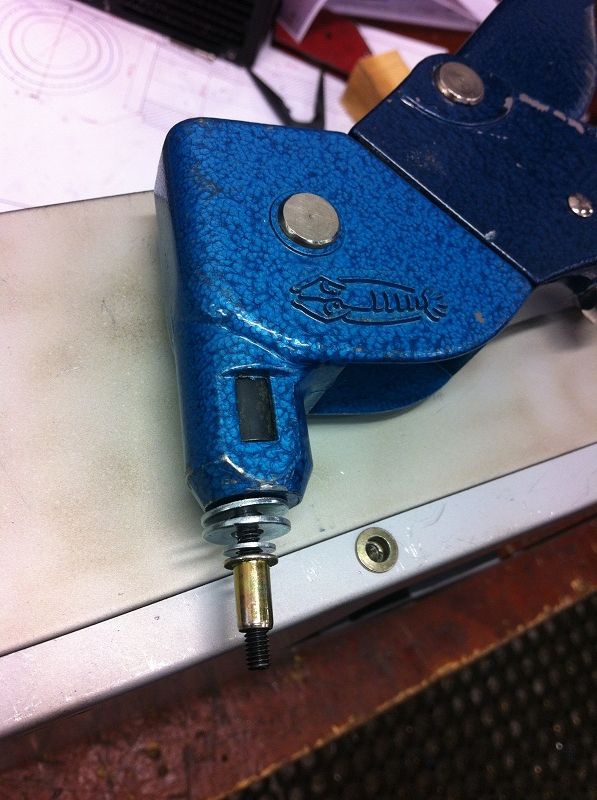
All done
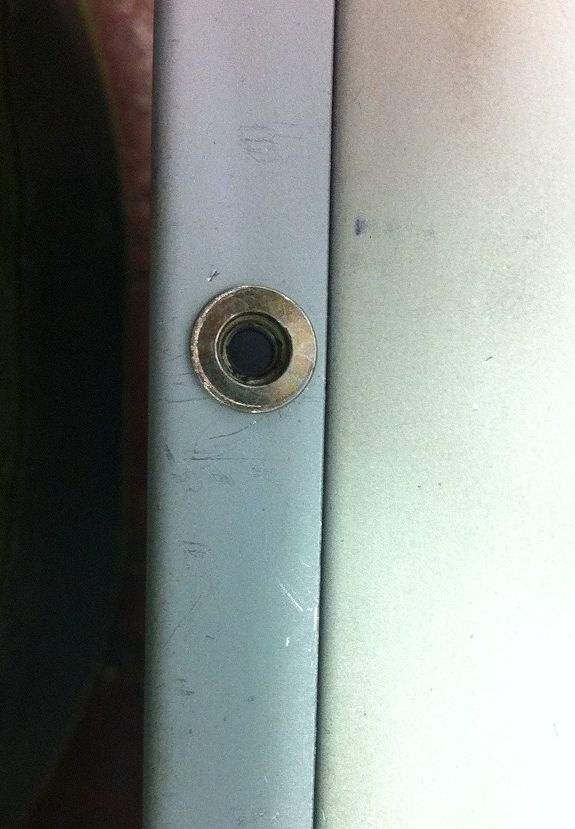
In the end I just got a rivet gun made for the rivet nuts which made it a lot easier.
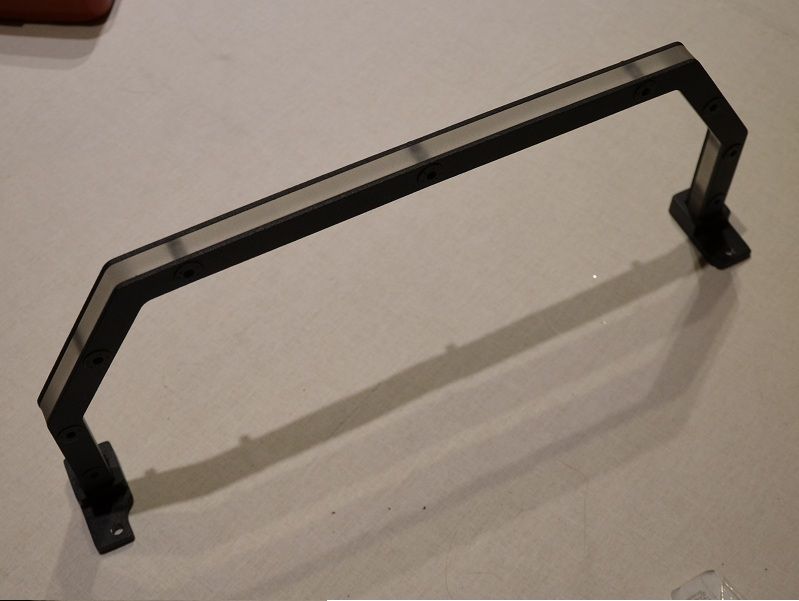
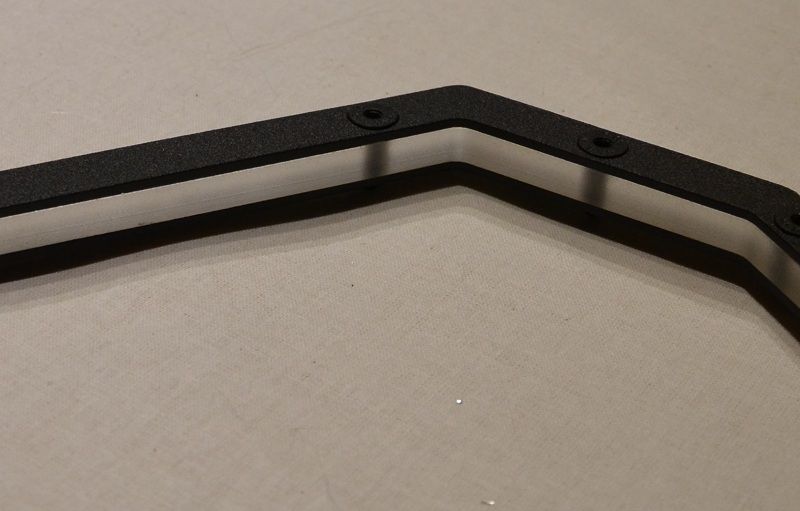
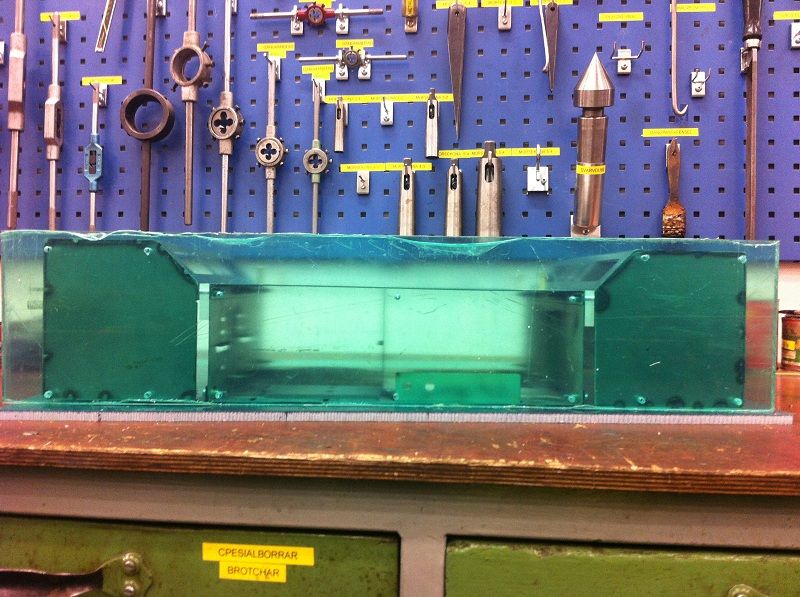
Made some acrylic for the case. Had to countersink the acrylic in order to get it flush against the case
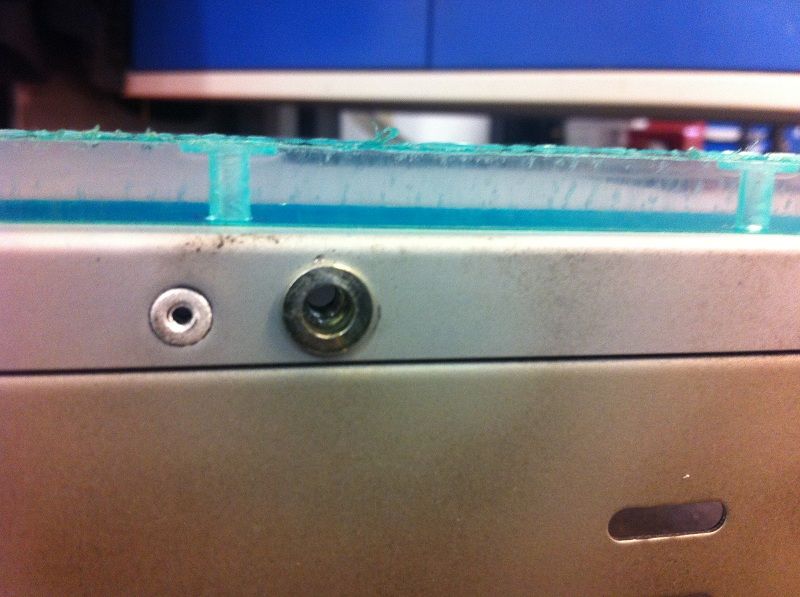
Mounted. It's clear acrylic but it has a green protective sheet on it.

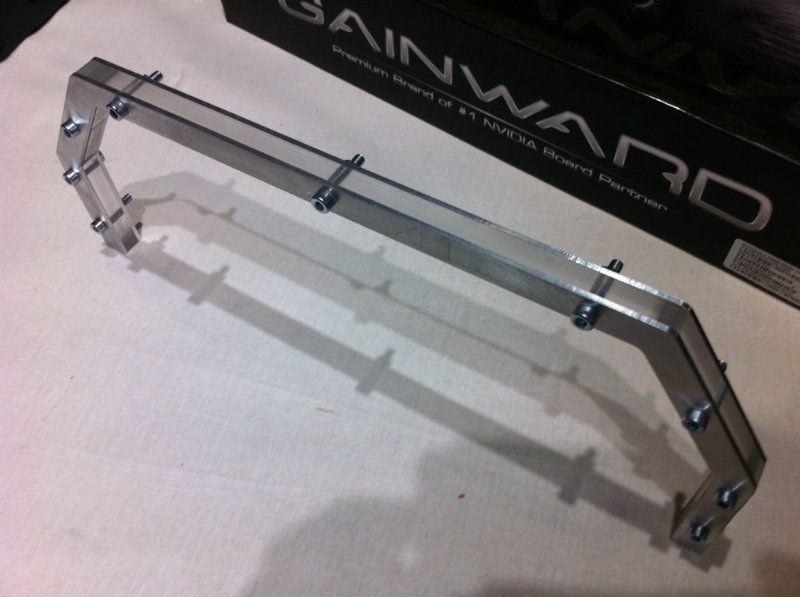
Spot welded some ends on the radiator holders and mounted it all together

Removed the green protective plastic. Still needs to be sanded to get a matte finish so the red leds will spread the light better.
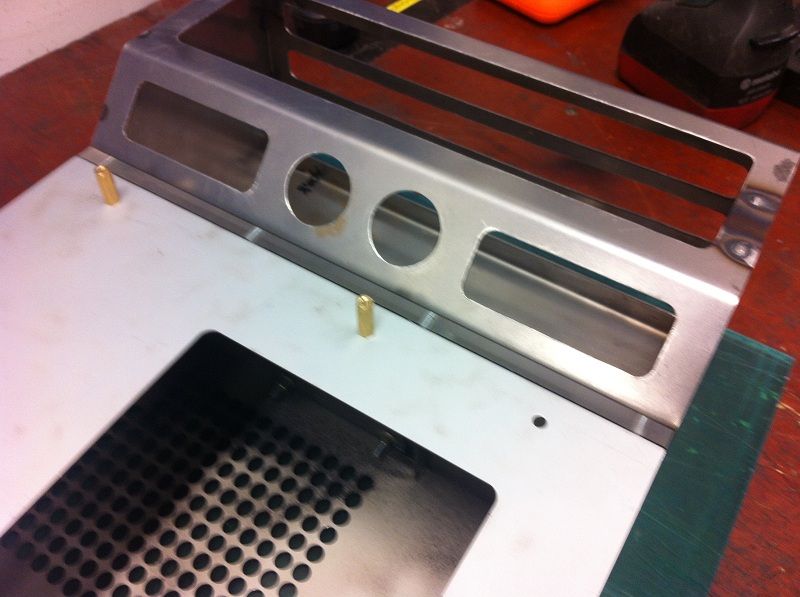
Drilled the front acrylic plate. Still need to remove a lot of acrylic in the middle
Drilled holes in the aluminum after i knew the acrylic would fit.

Test fit
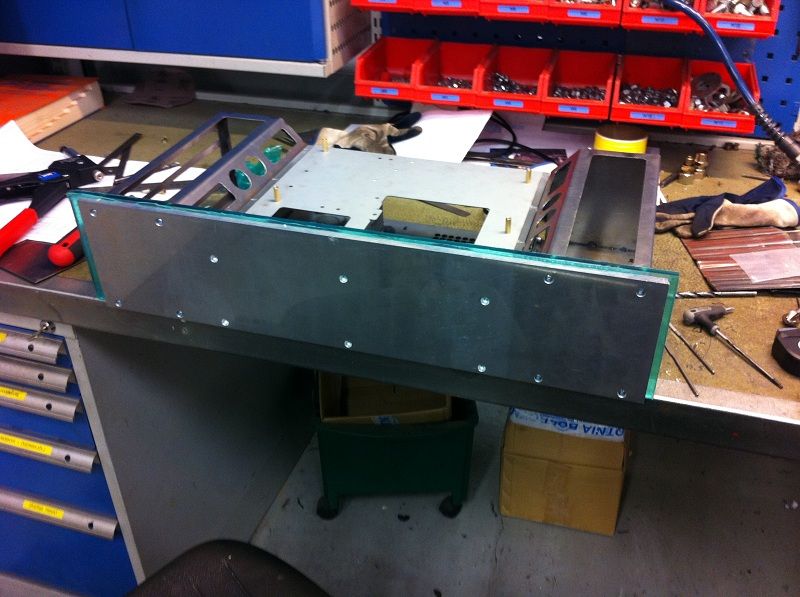
During the test fit i marked around the edges with a knife so i could get a rough template.
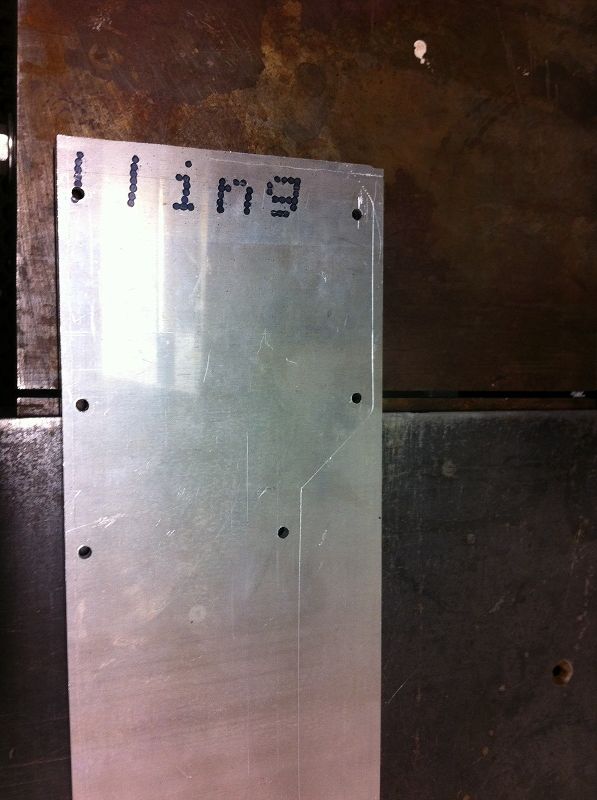
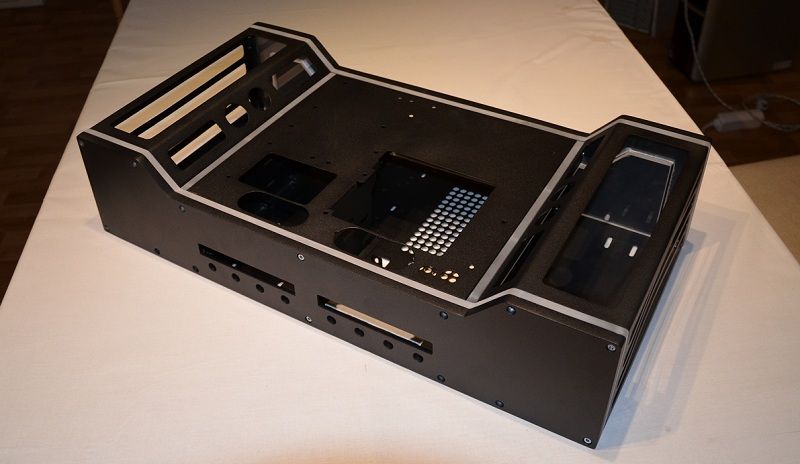
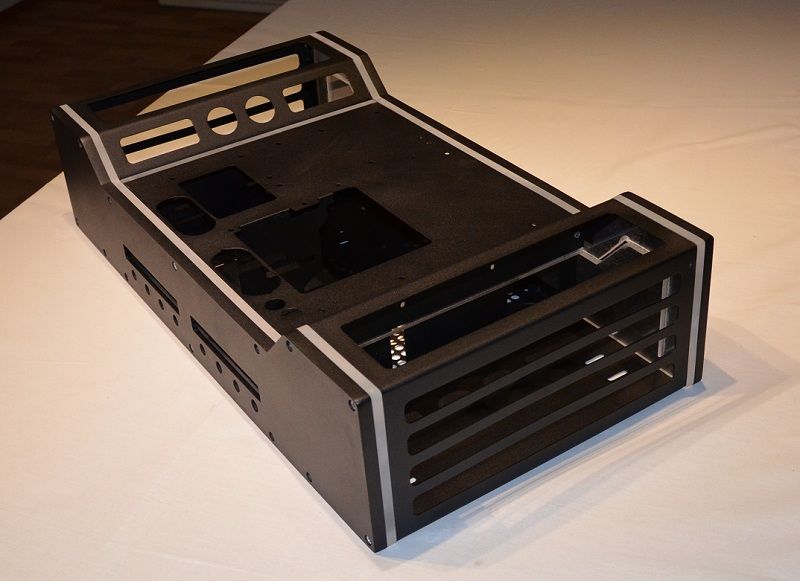
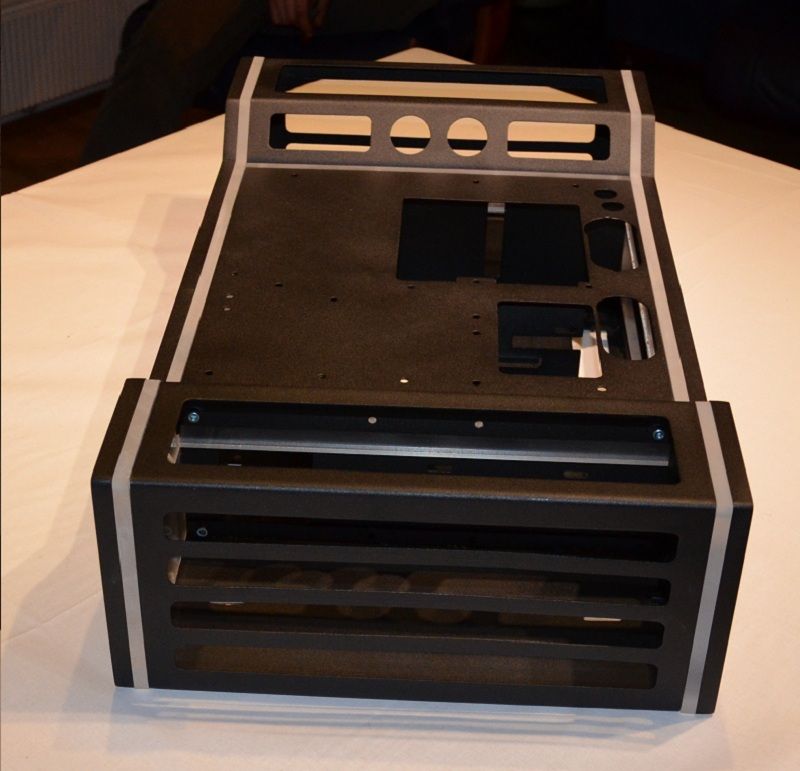
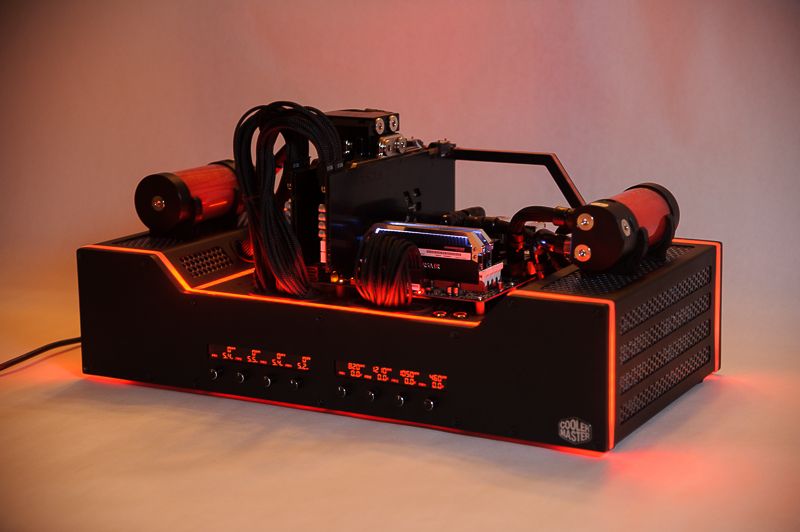
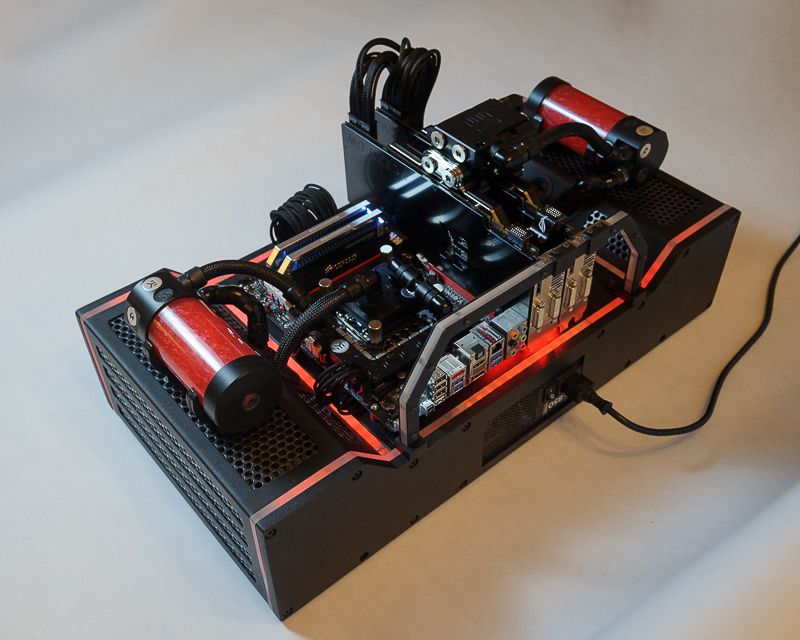
As you can see its a bit rough Will still do some more welding on the case and when that is all done i will grind down the front and back plate and sand it smooth. But you can see its starting to look as the rendering
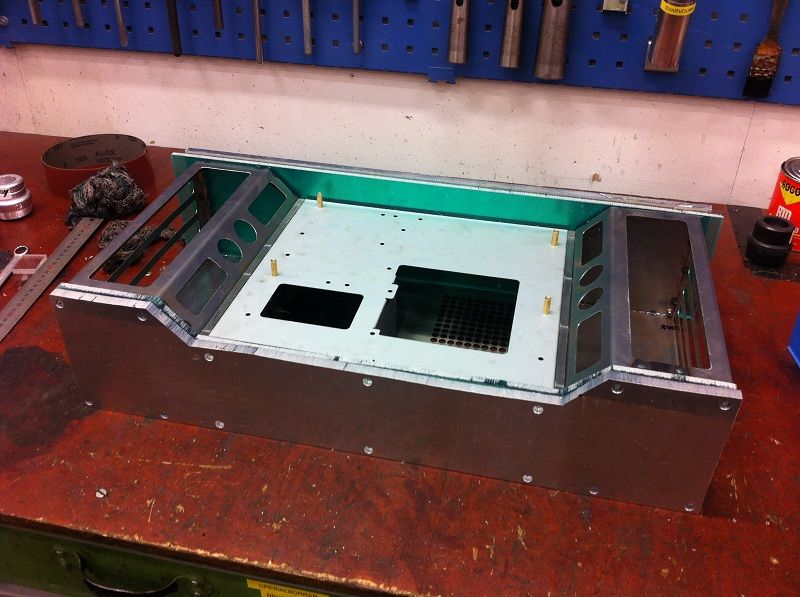
Sneak preview

Almost forgot to update, have another project that I've been working on for the last 5 months. Can anyone guess what it is? Just got the "table back from a workshop that leveled it for me. So now i just need to get it assembled and it should be good to go if I just can figure out how to use it

Back on topic
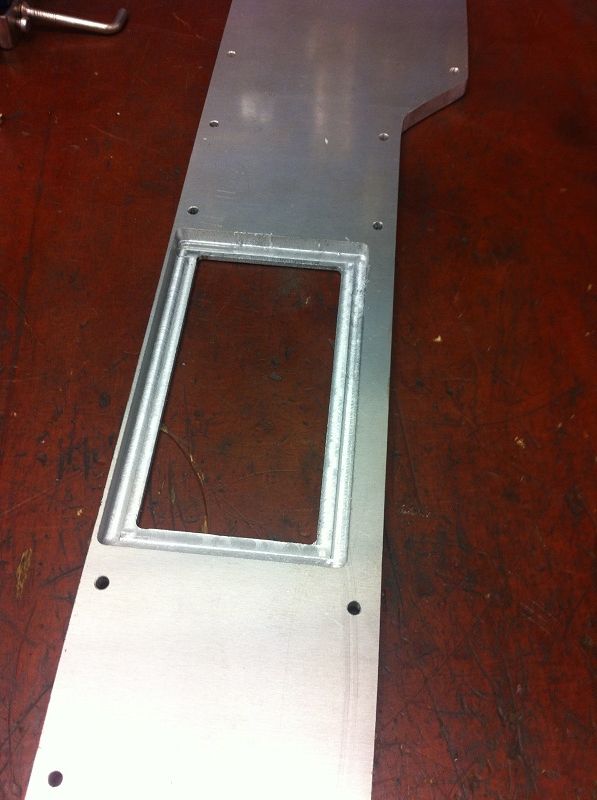
Started sanding the edges, tried a lot of different machines and files before getting the result i wanted. Still need to straighten up the edges but wanted to mill the fan controllers first in case i make a mistake and need to redo it.
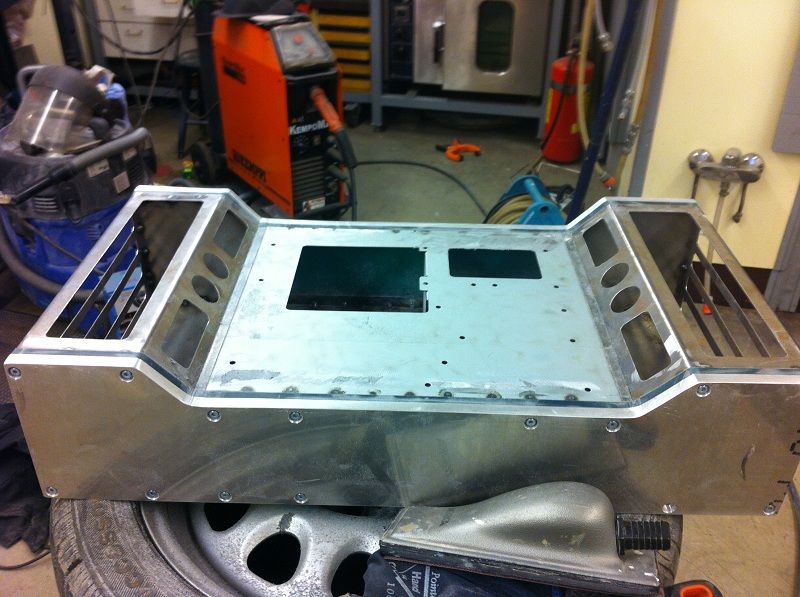

Milled away a bit of material to get the psu as close as possible to the back of the case to make as much room as possible inside the case
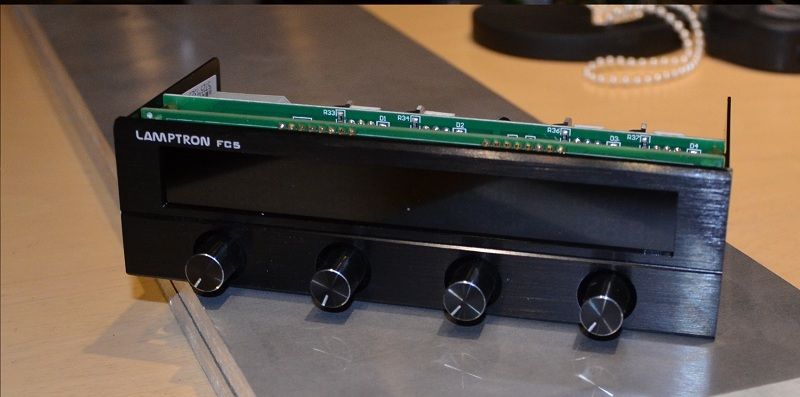
Started disassembling the new lamptron's
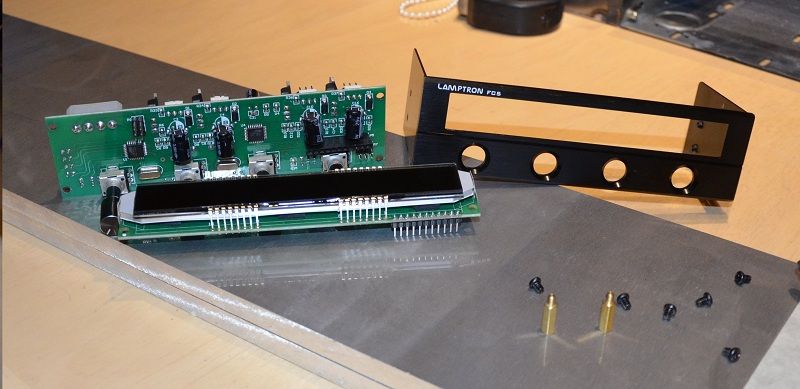
Very easy to take apart
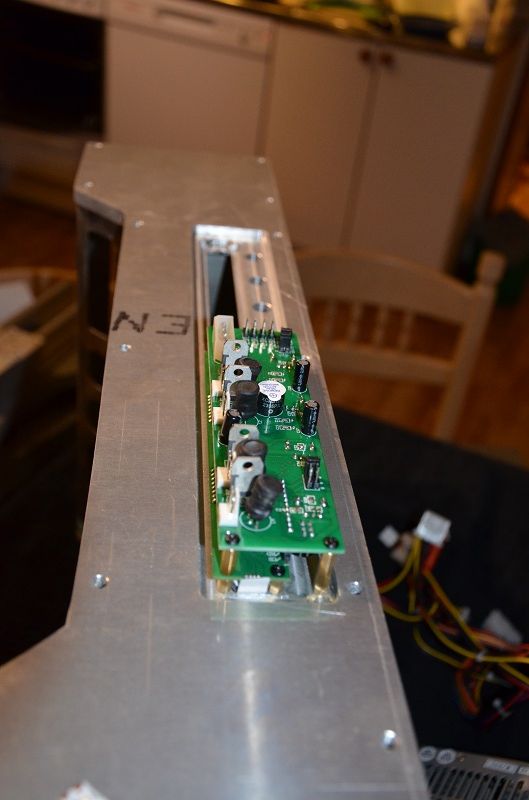
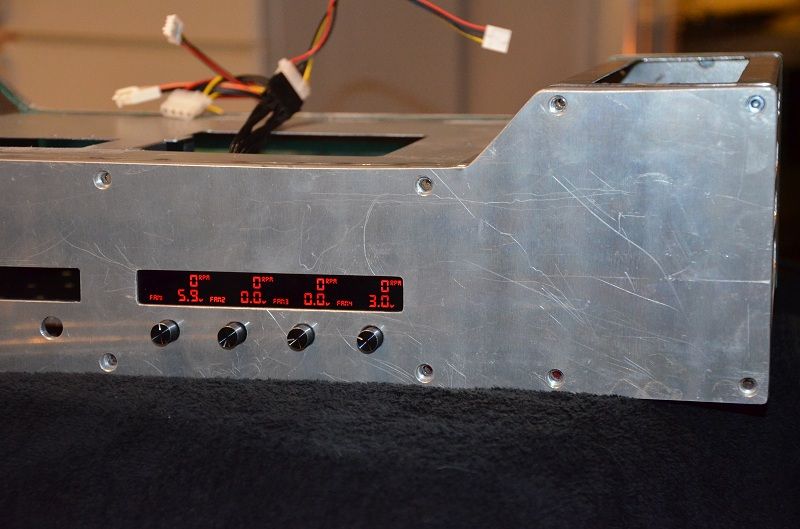
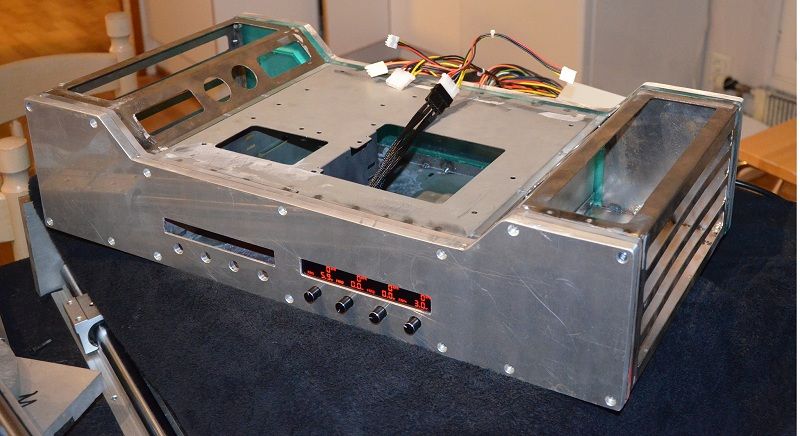
In the preview yday you saw the milling so no need to post more pics of that, the controller fitted!
Had to power it up
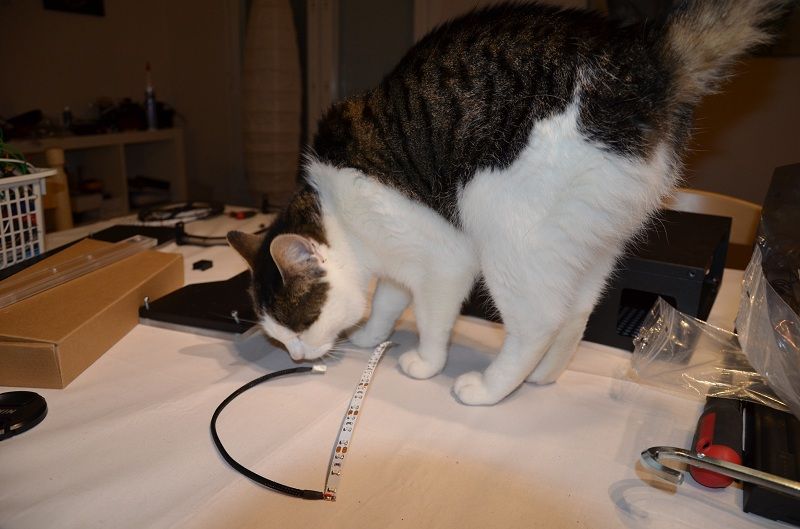
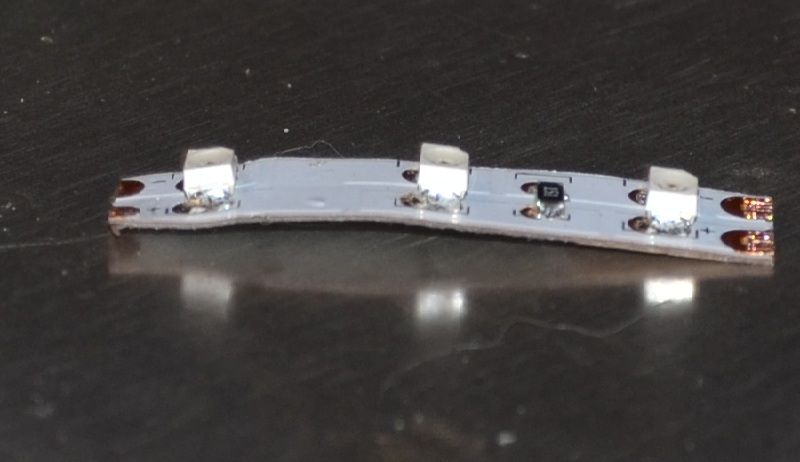
After looking for leds for the acrylic and realizing buying "computer leds" are way too expensive i started looking for other options. Found this through a company in Finland. I don't know the price but it should be less than 50€ for 5m of leds. These are 15,6W/m so should be plenty of lumens
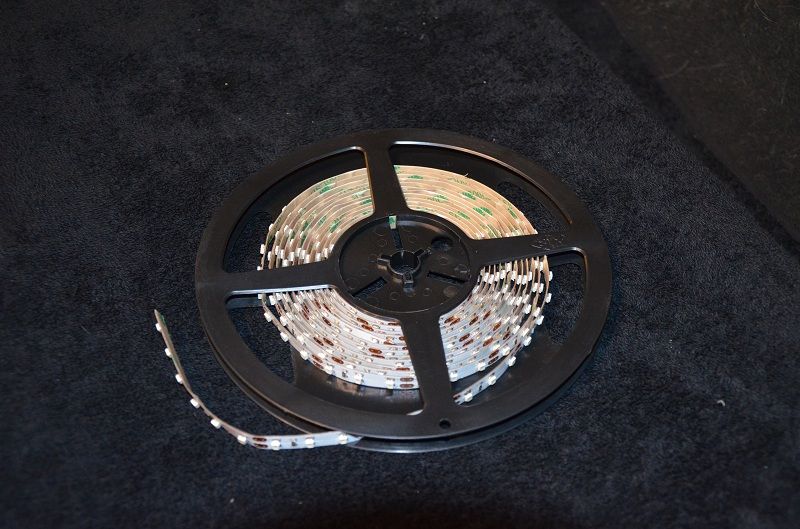
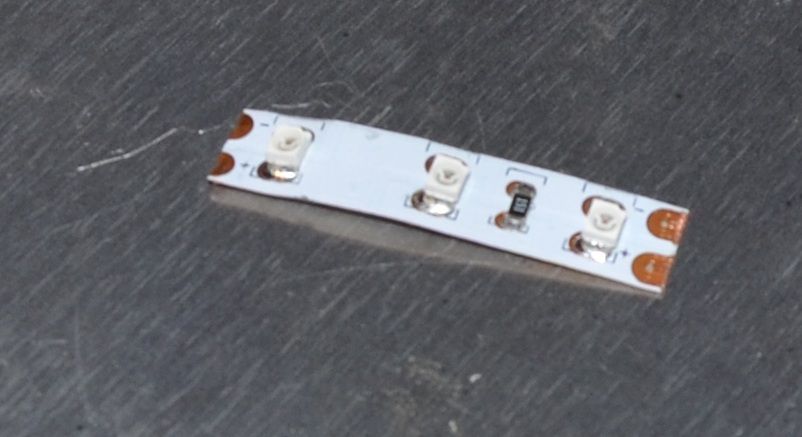
The Leds can be cut every three leds and cables can be soldered on straight on the copper tabs, 8mm wide and 2,5mm high. The best thing with them is if you have a 2cm led strip or a 5m led strip all you need is 12V.
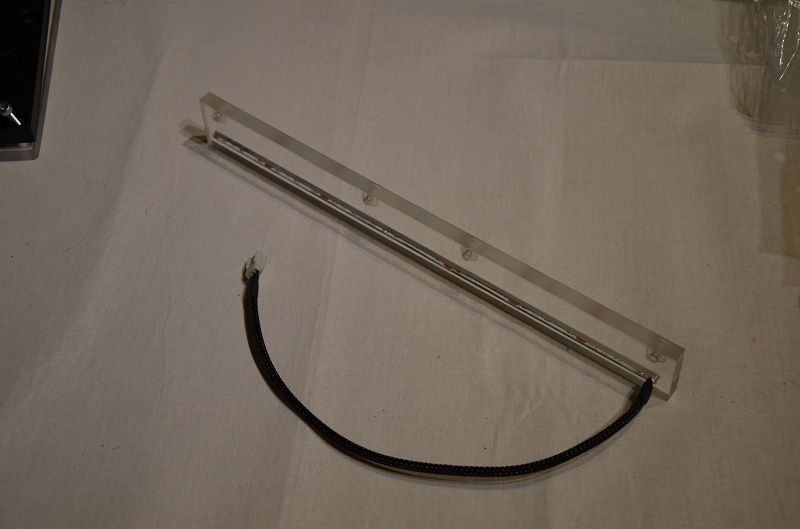
Also have milled the front acrylic, milled a 3mm gap to place the leds in, a nice tight fit.
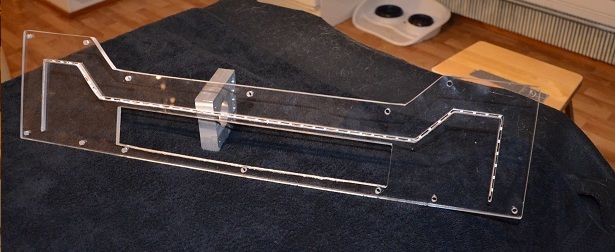
From the top
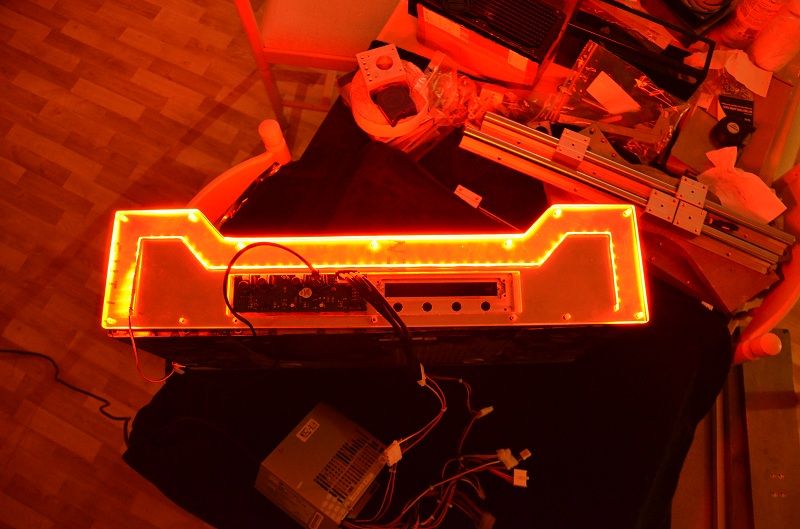
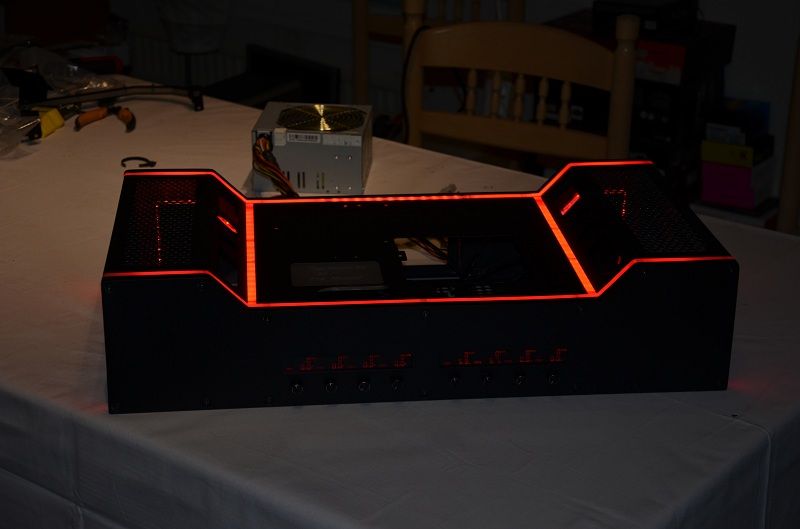
Full 12V, probably need to run them on 8V, otherwise with 2m's of leds it will look like a nuclear power plant
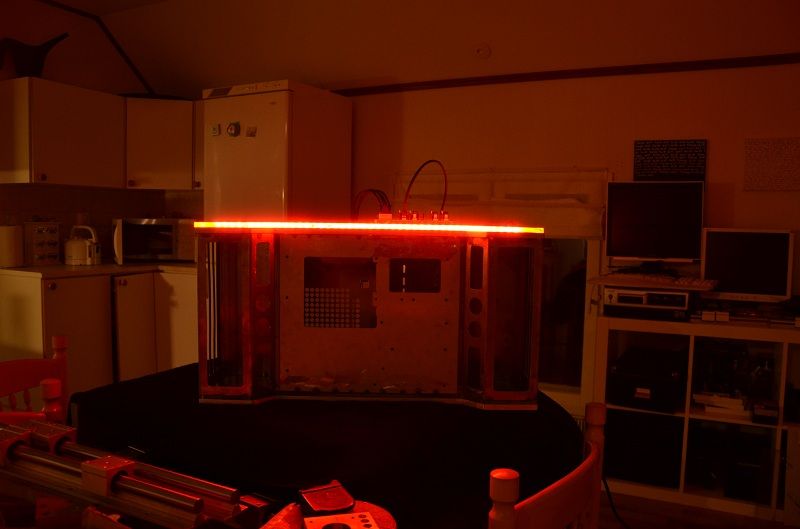
As low as it goes.
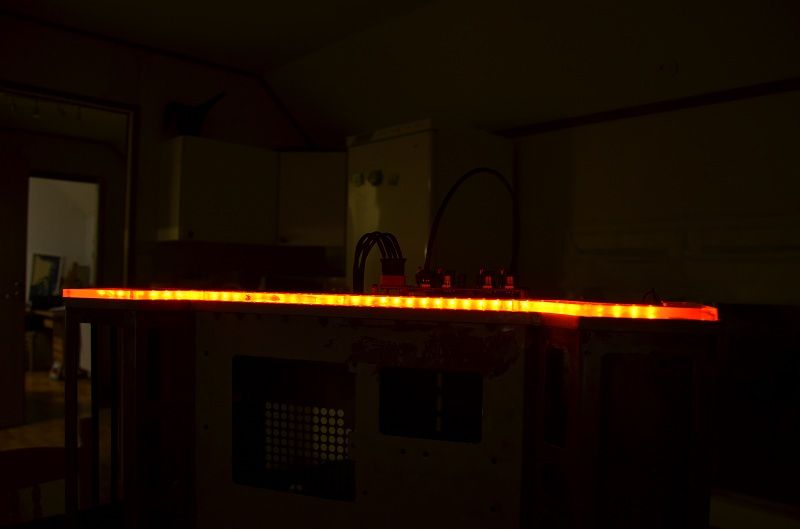
Still need to sand the acrylic edges to make it more smooth and spread the light even better, but it's a good start.
Sponsored by:

First post so hope this is in the right section

Background:
I entered the Cooler master mod competition this year and thought.
I was thinking for ages for a case to pick and by accident I found the test bench by Cooler Master at a local computer store. I knew instantly that this is the case I wanted to modify. It's different enough to other cases and I didn't find anyone else in the competition using the same case.
After countless hrs designing i think i came up with something worthwhile doing.
The original case

This was the design I stuck with for now unless i change my mind for a 100th time

Also started fabricating the radiator boxes today.
Started with some kinda straight pieces of 1mm sheet metal. Decided on 1mm thickness to add some stability and still easy to fabricate.

The machine

Bent a small test piece to figure out the radius and the measurement, also to get all the angles right.

Made four pieces so i can mess up two, easier to make extra now than going back to make two new ones


Quick test fit to see how its gonna look


Also some parts arrived


Back after a lot of hrs in the garage and at the workshop at work. Not much of an update when it's full of fail but thought i would share anyways.
Plan A
Cut a template of the size i wanted

Mark the piece to be cut

Working with my best friend
 (angle grinder)
After a lot of filing.


After this i realized cutting the next 3 slots in the metal will make it very thin and will flex and bend a lot. And the plan is to powder coat it after i'm done with it, so i can't use any filler. so over to...
Plan B
Decided to get all the cuts before bending. Don't mind the tolerances, just forgot to adjust the digits

Make a "table" for the mill at work.

Used double sided sticky tape between the table and the metal sheets to prevent the pieces to vibrate during milling.

Fastened the sheets with screws in as many places as possible, i did not want the sheet to move during milling.

Let the milling begin. Still a Manual mill so need to be very focused


More fasteners used as it progressed.

Almost done, still need to clean all the edges and as you can see in the red circle i made a bit of a mess. I had just finished that slot and turned the mill off without turning off the feed. So when i turned the mill on it went like a bat out of....
 Words cannot describe the feeling when that happened. I had spent 6 hrs milling just to do a simple mistake. Anyways, gonna weld it back and see if i can file it down. Wouldn't be a problem if i could use filler.
welded and grinded down the mess i did the other day

Got the sheets bent today but now i don't know if i should go with the circular mesh or the hexx mesh. The hexx mesh is made out of 1mm aluminum and the circular mesh is made out of steel sheet which would make the whole construction a lot more stable.


Found another mesh today but not really liking it

Also tried some powder coating last night
This is satin black. Two problems with this color, fingerprints sticks instantly, and it looks kinda cheap

Gun metal gray. Had to try, not gonna paint it like this though

This is the surface finish of the original cooler master case. I'm really liking this surface finish so i'm gonna order some textured powder coating black and give it a try.

Gonna order this color and give it a go!

Got a lot done the last week so thought i would post a few pictures
First of all I'll show you something great when working with metal sheets. I have not seen many use these and i don't know why. They are quite handy when you don't want to weld and will help a lot in hard to reach places, when you don't have to use a regular nut. It's rivet nuts

Works like a normal rivet.

Modified a normal rivet gun buy cutting the head of a M4 bolt and jamming it in the rivet gun. Added a few washers to prevent the rivet from entering the gun

Screw the nut on the thread

All done

In the end I just got a rivet gun made for the rivet nuts which made it a lot easier.

Made some acrylic for the case. Had to countersink the acrylic in order to get it flush against the case

Mounted. It's clear acrylic but it has a green protective sheet on it.

Spot welded some ends on the radiator holders and mounted it all together

Removed the green protective plastic. Still needs to be sanded to get a matte finish so the red leds will spread the light better.

Drilled the front acrylic plate. Still need to remove a lot of acrylic in the middle

Drilled holes in the aluminum after i knew the acrylic would fit.

Test fit

During the test fit i marked around the edges with a knife so i could get a rough template.

As you can see its a bit rough
 Will still do some more welding on the case and when that is all done i will grind down the front and back plate and sand it smooth. But you can see its starting to look as the rendering

Sneak preview

Almost forgot to update, have another project that I've been working on for the last 5 months. Can anyone guess what it is? Just got the "table back from a workshop that leveled it for me. So now i just need to get it assembled and it should be good to go if I just can figure out how to use it


Back on topic
Started sanding the edges, tried a lot of different machines and files before getting the result i wanted. Still need to straighten up the edges but wanted to mill the fan controllers first in case i make a mistake and need to redo it.


Milled away a bit of material to get the psu as close as possible to the back of the case to make as much room as possible inside the case

Started disassembling the new lamptron's

Very easy to take apart

In the preview yday you saw the milling so no need to post more pics of that, the controller fitted!

Had to power it up


After looking for leds for the acrylic and realizing buying "computer leds" are way too expensive i started looking for other options. Found this through a company in Finland. I don't know the price but it should be less than 50€ for 5m of leds. These are 15,6W/m so should be plenty of lumens


The Leds can be cut every three leds and cables can be soldered on straight on the copper tabs, 8mm wide and 2,5mm high. The best thing with them is if you have a 2cm led strip or a 5m led strip all you need is 12V.


Also have milled the front acrylic, milled a 3mm gap to place the leds in, a nice tight fit.

From the top

Full 12V, probably need to run them on 8V, otherwise with 2m's of leds it will look like a nuclear power plant


As low as it goes.

Still need to sand the acrylic edges to make it more smooth and spread the light even better, but it's a good start.
Sponsored by:


