Coca Cola Can PC

Associate
Joined
1 Jan 2014
Posts
29
Location
Lincolnshire, UK
24/02/2014
Hello all,
Welcome to my project log.(Cool named suggestions welcome)

I decided to build this project because since i was around 14 years old i have had this picture in my mind of a cool 'idea' for a PC. I'm 30 now and can finally afford it :p

I have not had a lot of call for a PC these days due to tablets and smartphones and TBH i don't ever see the time of day when i can sit and play games so i have no need for a mental gaming system so i decided to start building the computer case i wanted to build as a lad, Ive not seen one anywhere or similar so i like the fact it will be a one off piece when done.

I have basic knowledge when building computers and have only ever built one when i was about 15-16 so i cant really say i have any clue what im doing, so go easy on me and i welcome your constructive advice.

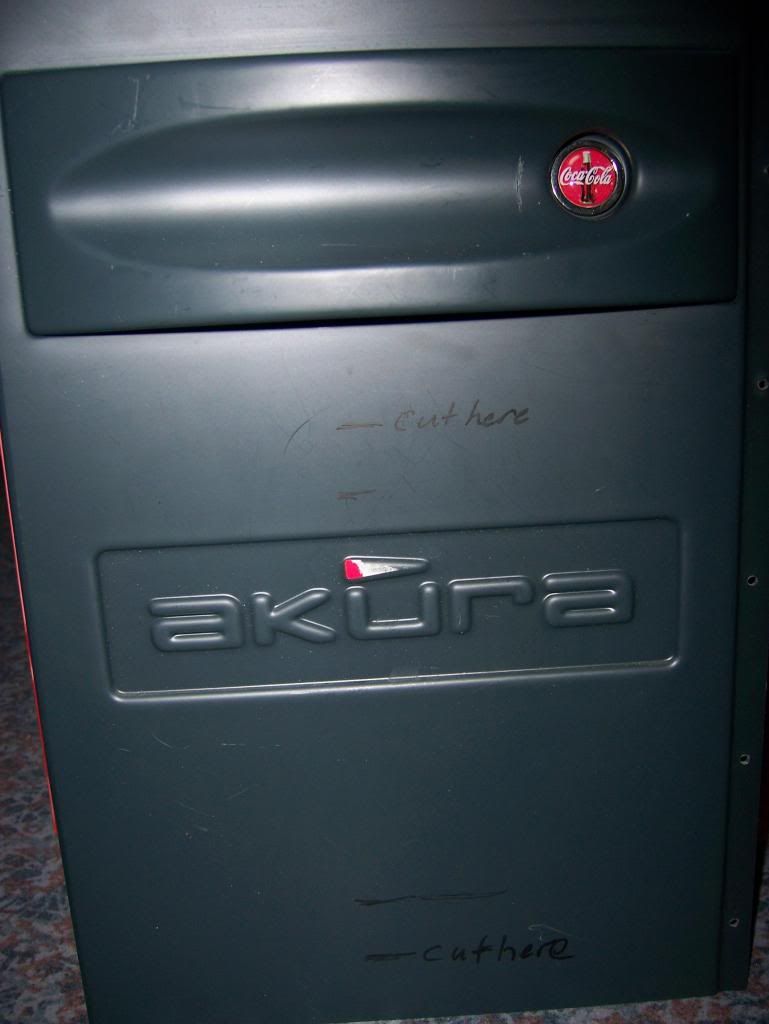
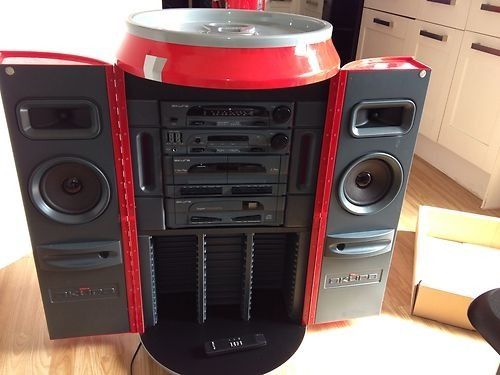
I am starting with this old gem from the 80's/90's. Its an Akura Hi-Fi in the shape of a coke can. (I had one when i was young after breaking it i threw it away and i thought of this project in its memory)
bcd7cc5fceb524009362183b33348805.jpg


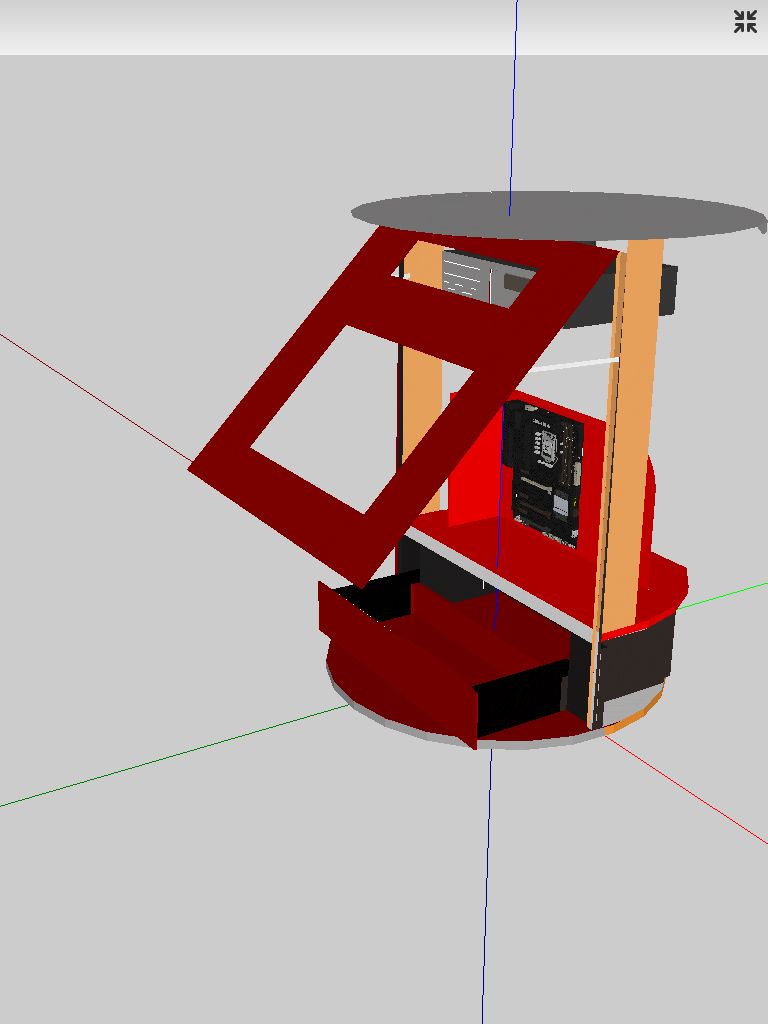
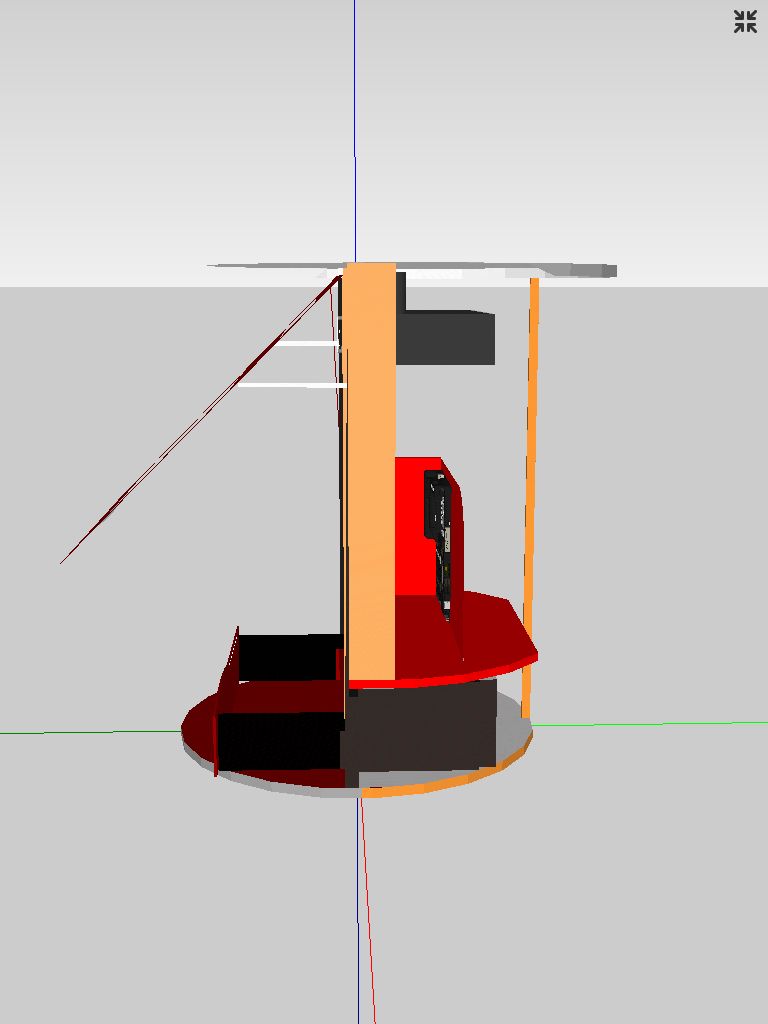
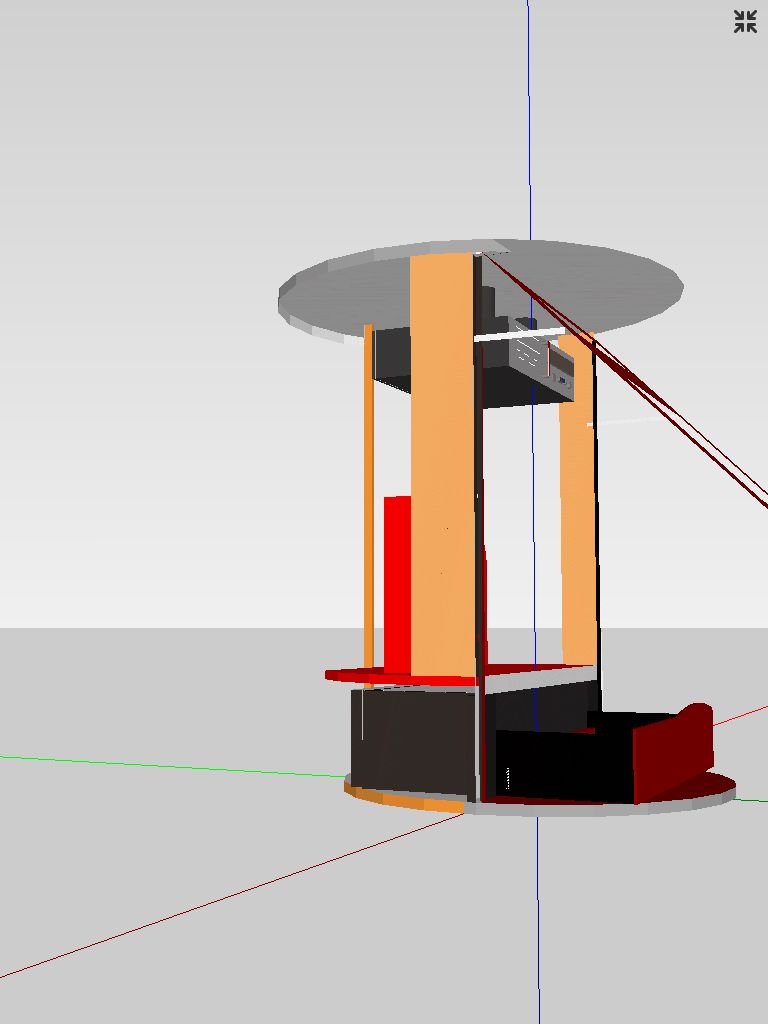
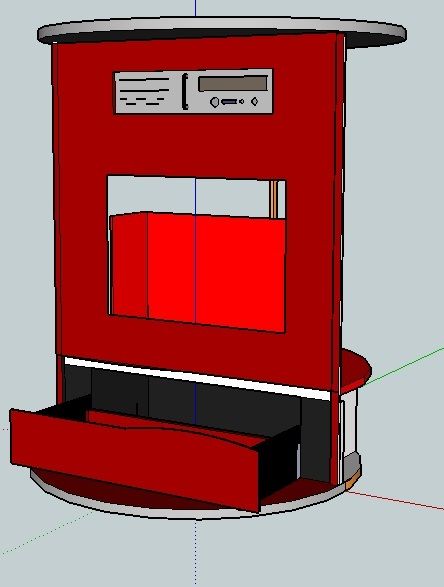
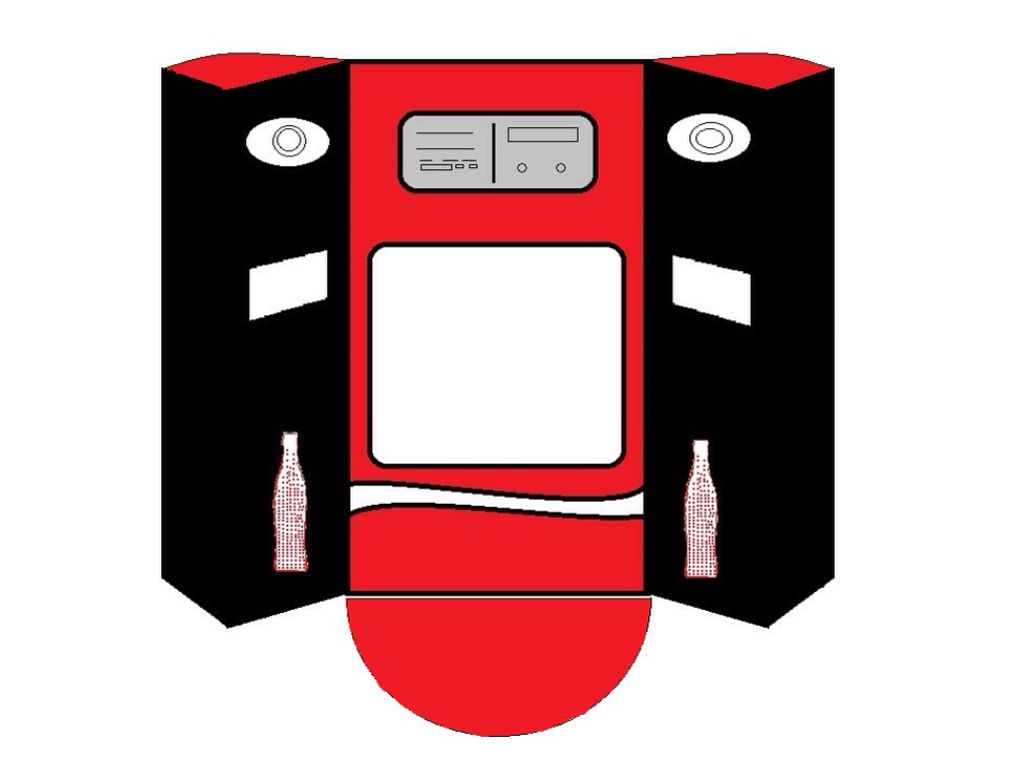
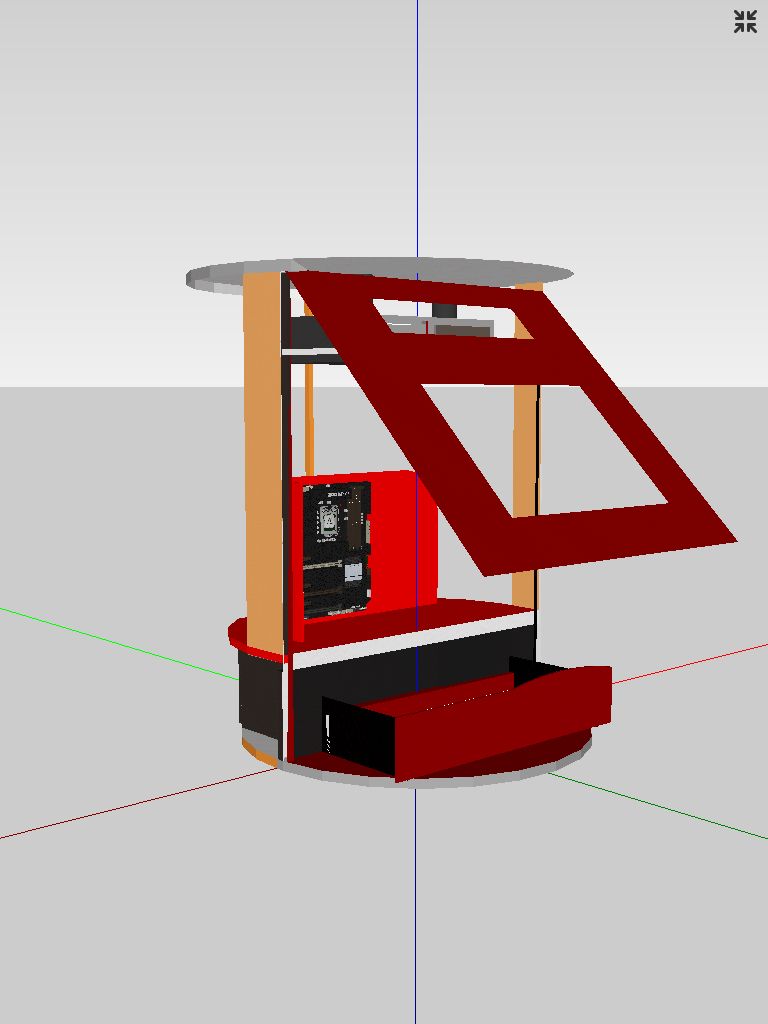
Here is a crude paint mock up of what i'm after with a few sketch up models of the plans.
b424e382dd34952426cefa634cccacc0.jpg


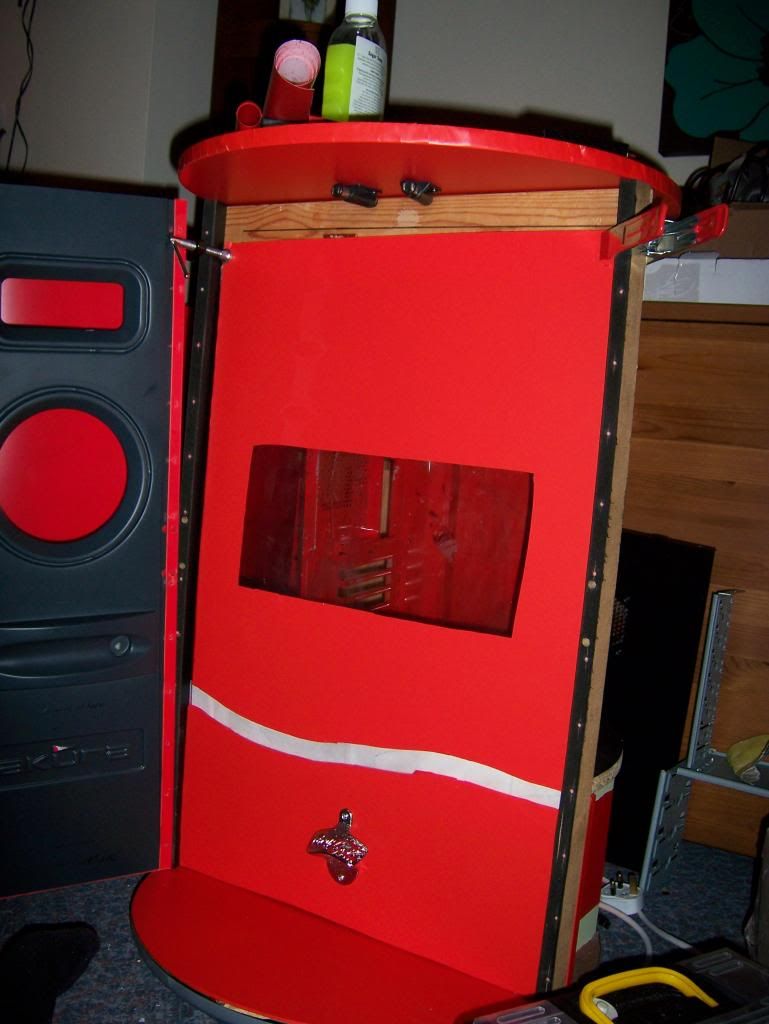
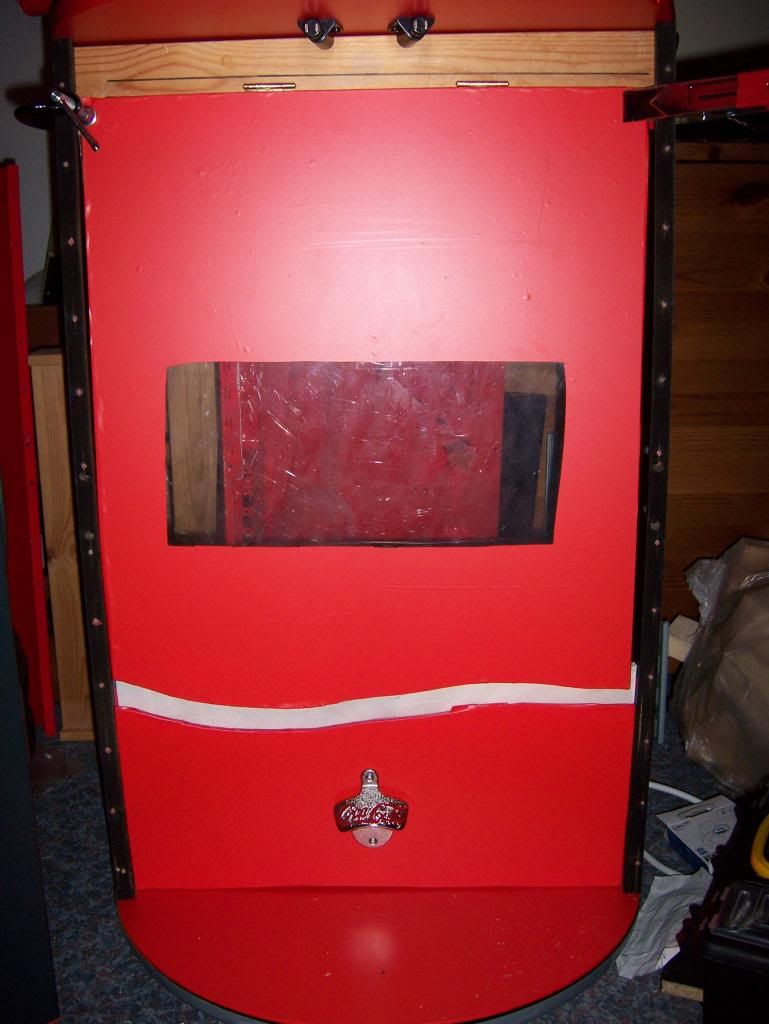
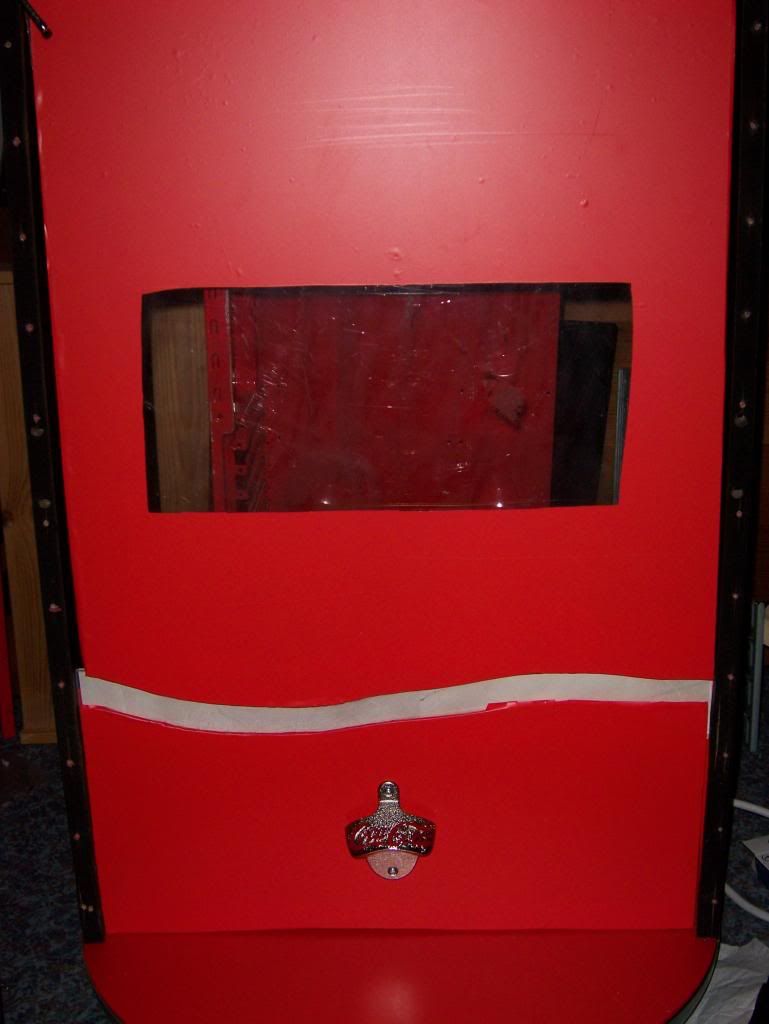
The sketch ups were difficult but give the clearest idea of what im doing.
Left
99a4a2815af7515ac66aa7c5bb69ef2c.jpg


Right
1bf4b92b5799e869e49fb6f29a8d22ef.jpg


Side
c1bc82e86933a6037733bdf06b9d1002.jpg


Other side
67d14f3632355fd6486d4fce4075e5d1.jpg


(ADMIN- hopefully i have sized these right otherwise i will rectify this upon realizing when i hit submit new post? and then edit until they do please bear with me while i do this and i will try to keep it clean)

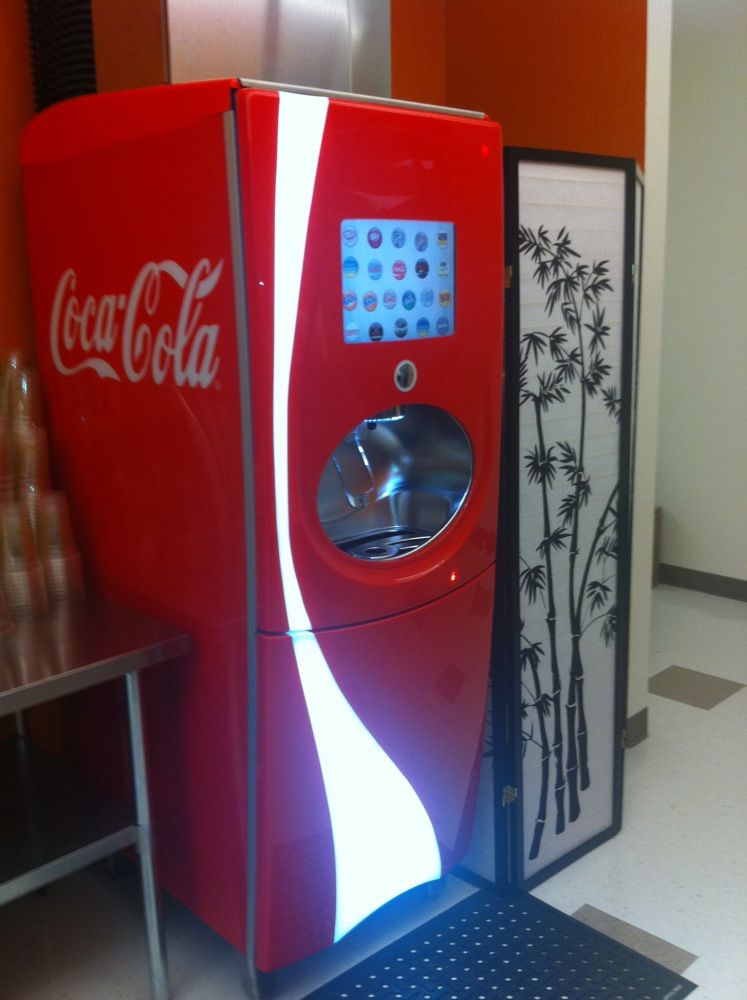
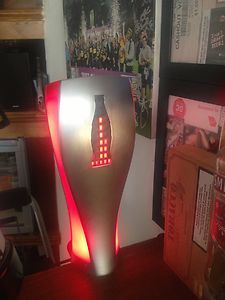
I have drawn inspiration from various things like this
d058bb4836c27e14a51bca95f4920885.jpg

and this
5-Variable-Price-Coke-Machines.jpg


My idea is obviously to build the computer inside, but upon opening i soon noticed space was a bigger issue than i thought.

Ok so my equipment wish list and prices are below

(not purchased yet) more to add later
£429 MB, CPU +ram
Asus Sabertooth Z87 carbon fiber Armour motherboard
I5 chip (specs to be considered yet)
8- 16gb ram
Component speakers
slot load dvd and a slot load bluray drives


(Purchased) more to add later
Coca Cola hifi £50
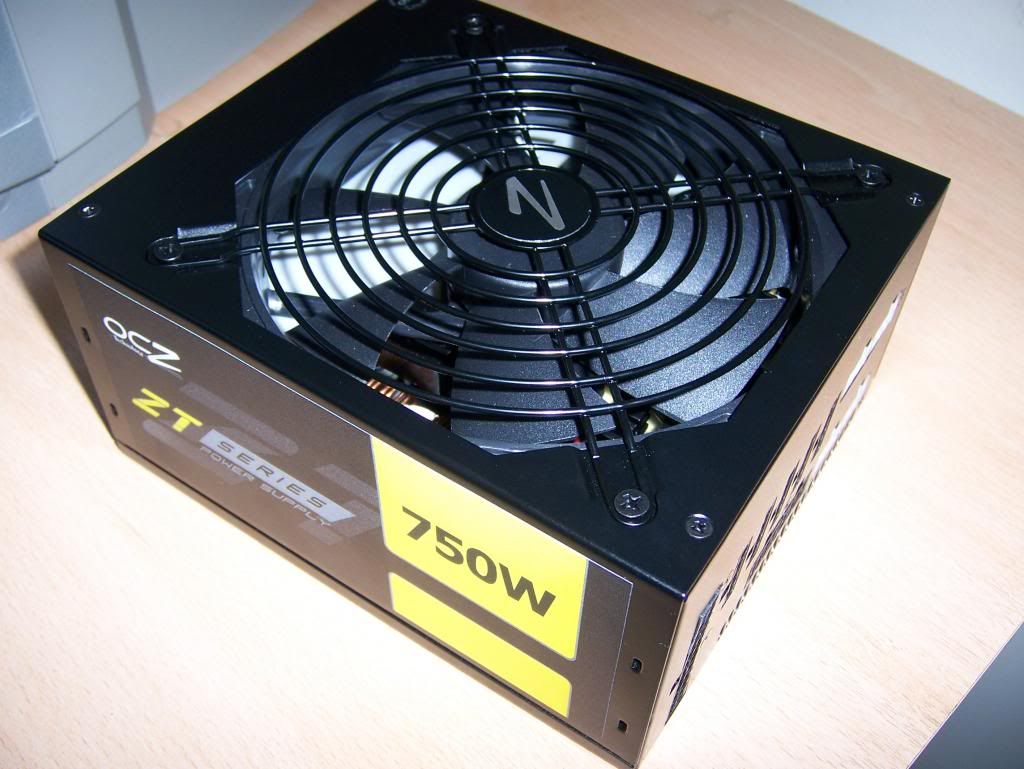
OCZ 750w power supply £99
(i bought this already in anticipation of needing a lot of power but probably wont)
7 inch VGA headrest monitors x2 £74
Mini Amp £13
Large EL panels £60
Heart EL panels £30
Original EL panels £12
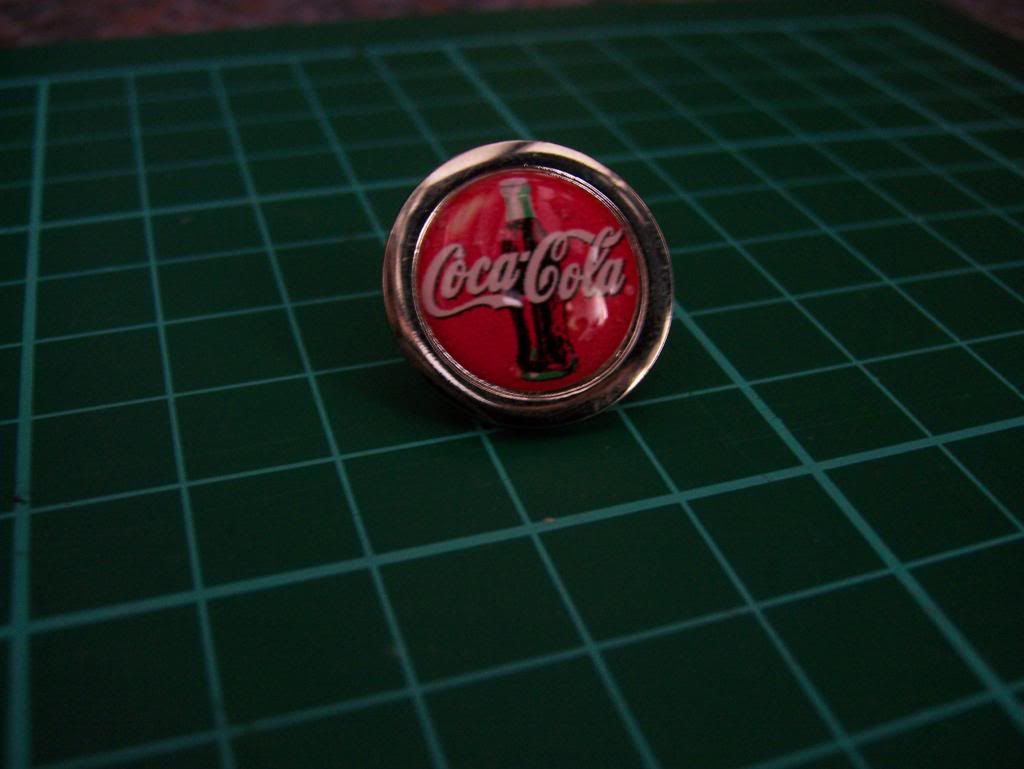
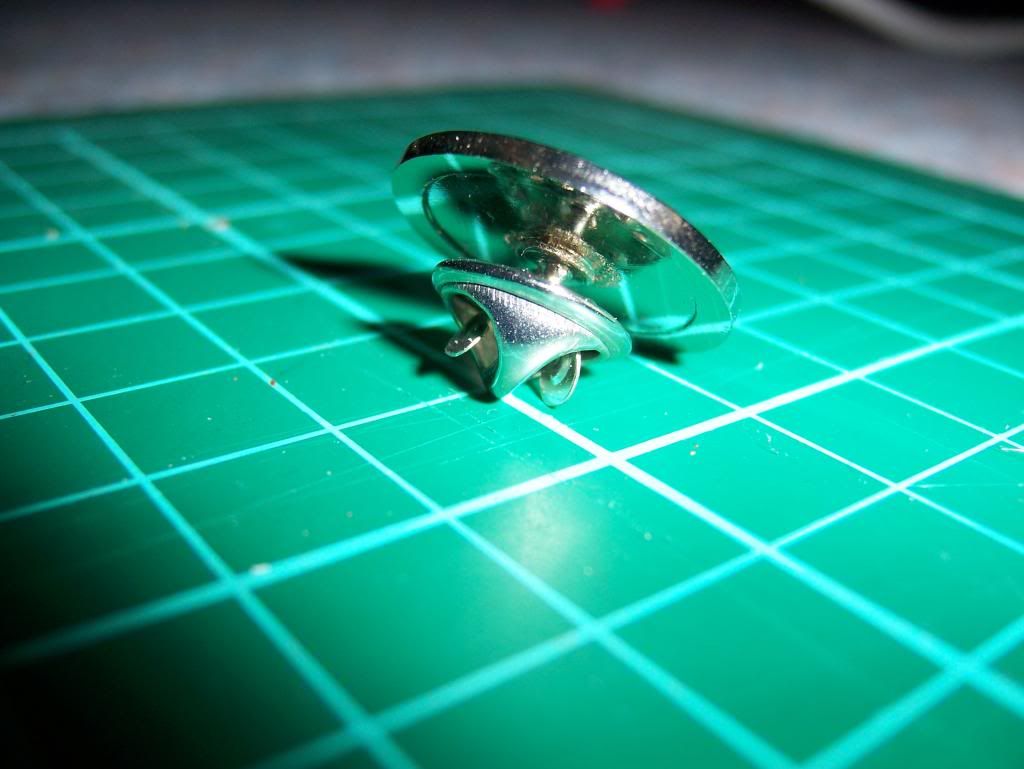
Coca cola badges £7
Hole saws £24
Kingston v300 SSD £65
Extension lead £6
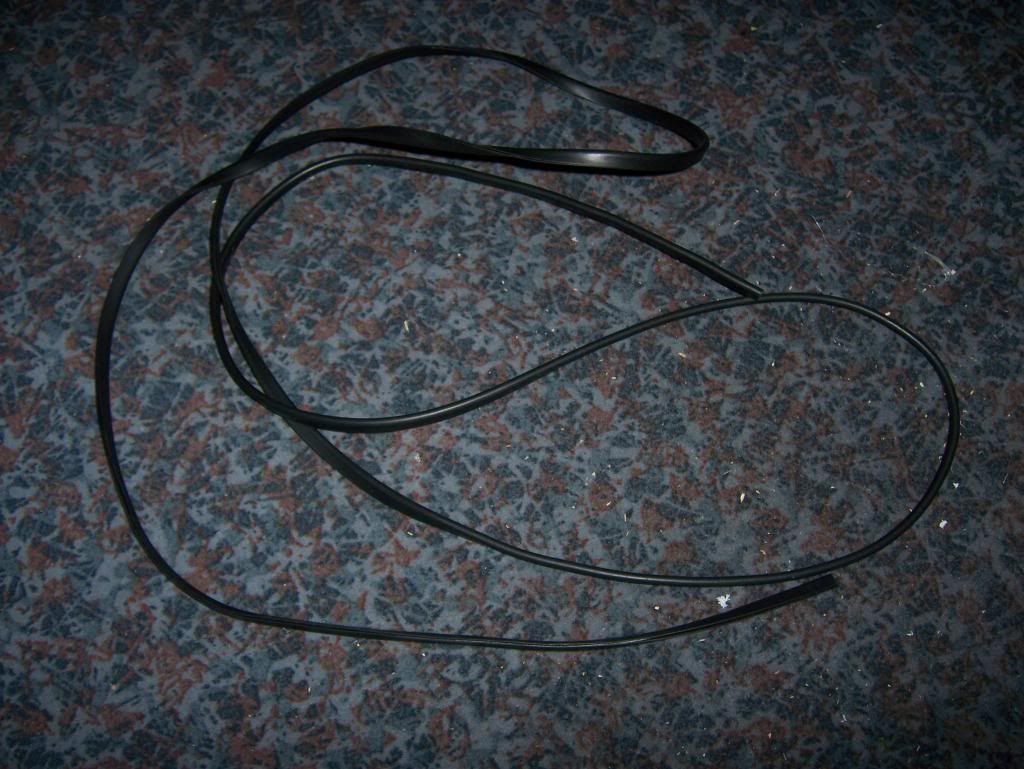
Black foam seal £5
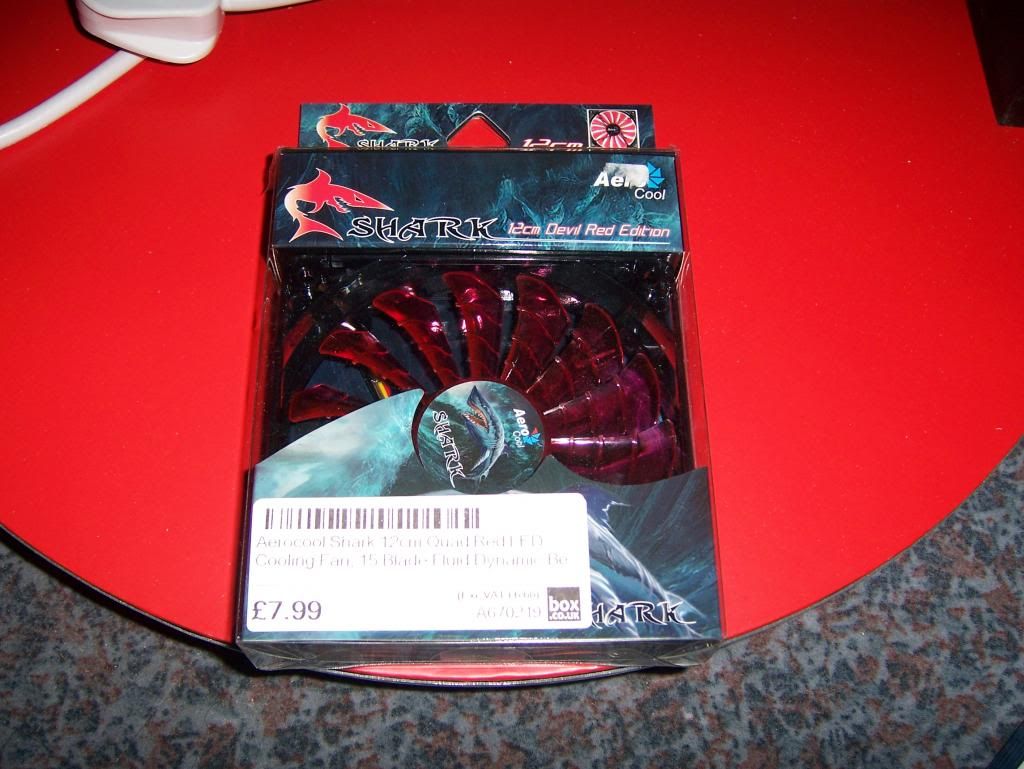
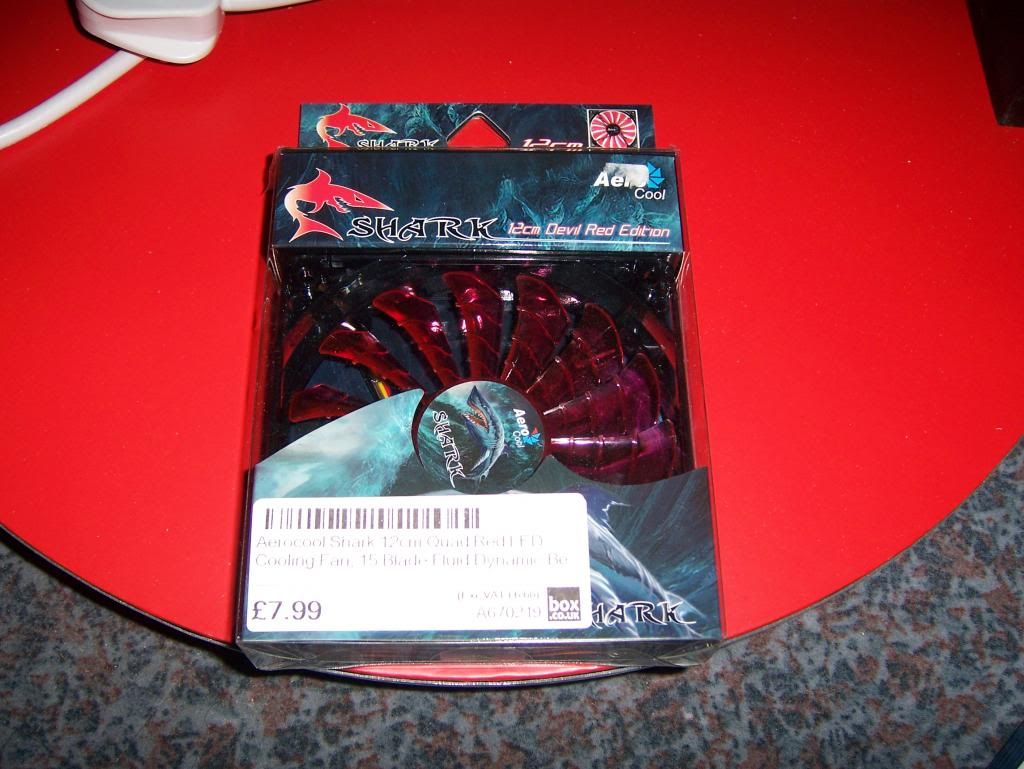
x2 120mm aerocool shark 15 blade fans with red LEDs £13
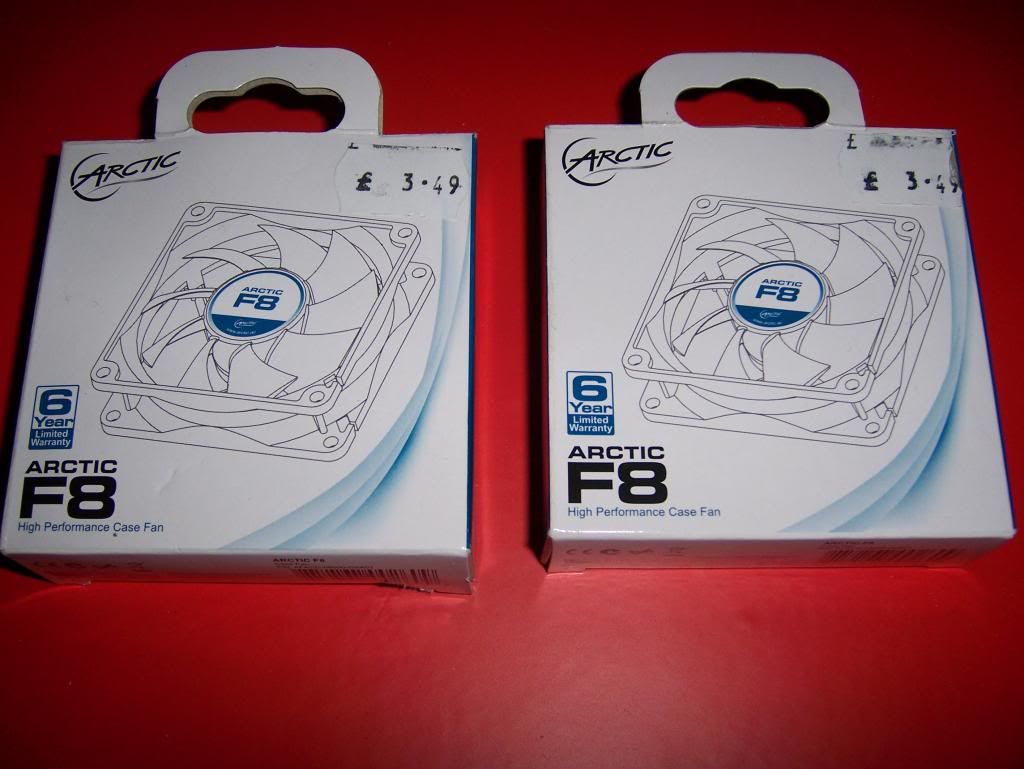
x2 80mm arctic F8 fans £6.98
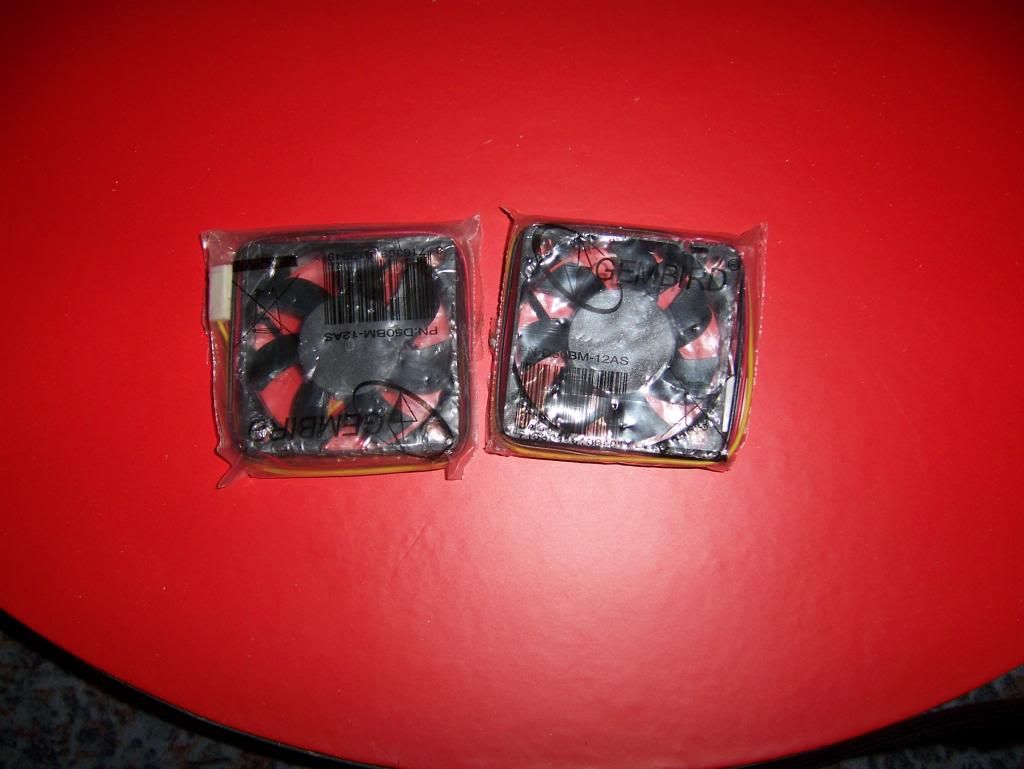
X2 50mm fans £5
aerocool fan controller with LCD display £22
multicard reader with 2.5 HDD hot swap bay £16
4x rolls of red DC fix vinyl £16
a lot of carbon fiber 3d weaved di-noc ? film (its from ebay so who knows but looks awesome) £30
Orange film £6
Pci slot covers £3.50
Led strip RED £1.79
Cable bungs £7
Mesh £2.49
Sata to molex cable £1.48
Red acrylic paint £5
Air duster cans £2-3

(I have to come back and edit this list later as there's too much of the top of my head and im trying to sort photobucket and my getting my pics the right sizes for now)

I have loads of pictures to put up so this may need updating a lot over the next few days but here is a few teaser/spoiler pictures of a few bits to wet your appetite :D

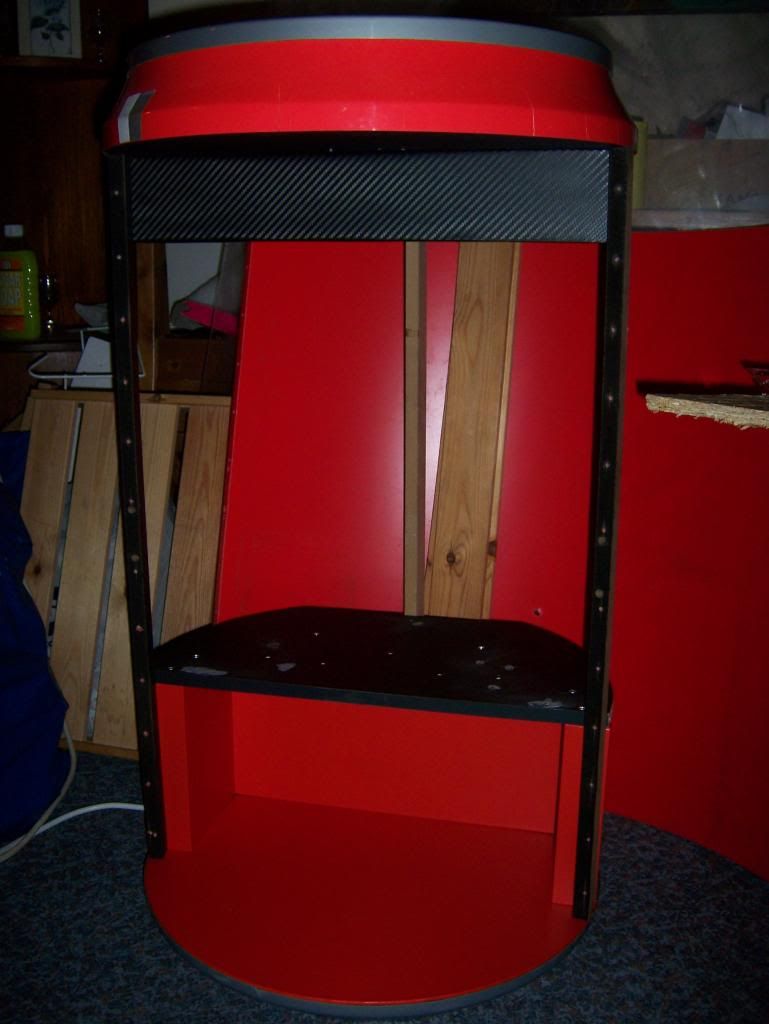
The base unit
100_1394.jpg

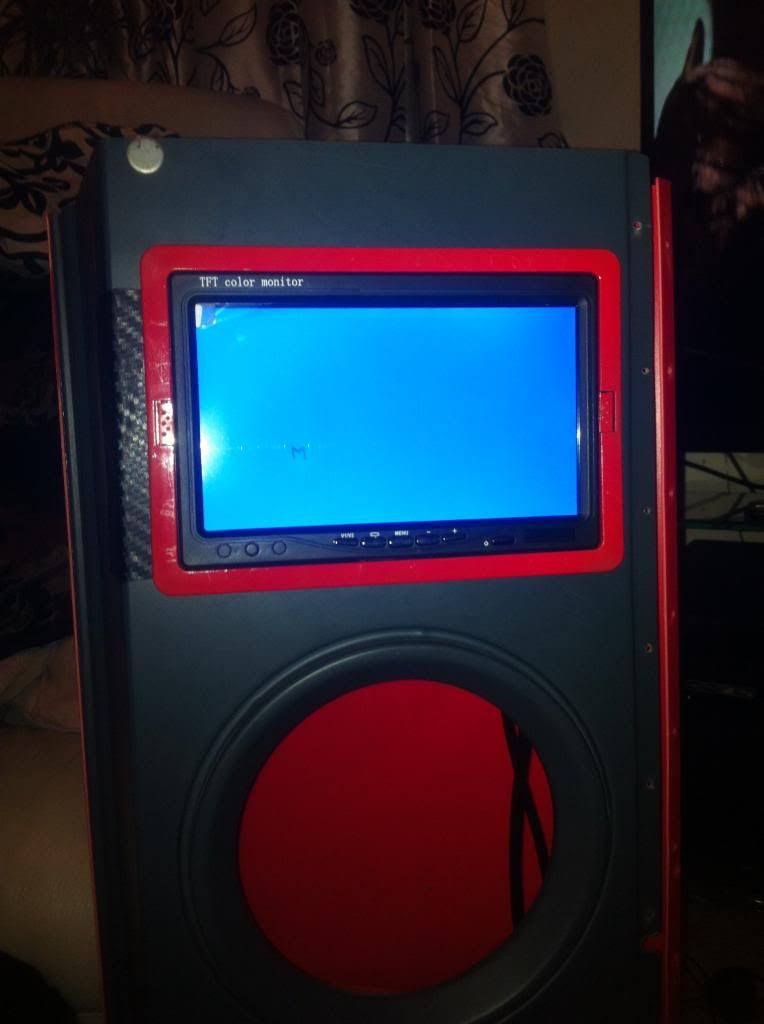
Some equipment
100_1506.jpg

A door
2014-02-09201700.jpg

PSU
100_1566.jpg

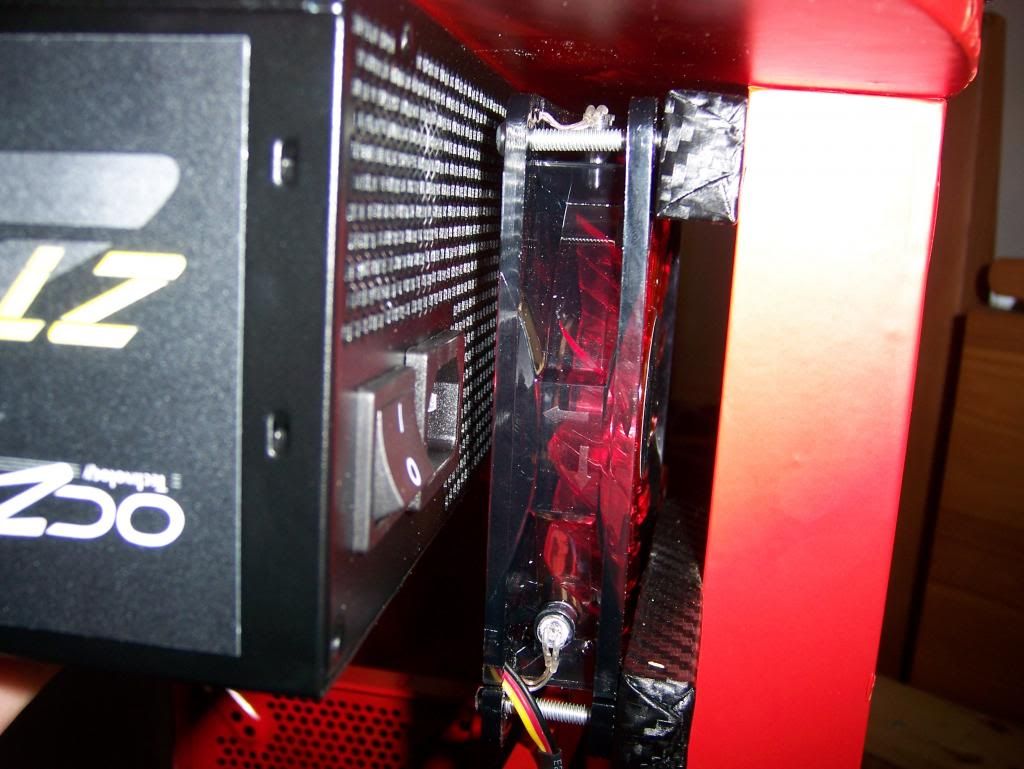
Fan
Photo02-01-2006121013.jpg

I wont give too much away for now and will get started on the next post however i will be editing the first post along the way as well as posting and discussing on new post below.
 
Last edited:
Part 1 'start from the bottom'

Ok so pictures say a thousand words so here's how i got the bottom started.
(Please note i have iphone and camera pics and mostly were camera taken)
I stripped the can to its main parts and removed the stereo and wiring.
c561ac2e5907b18cee10895aedf7e5cb.jpg


I then proceeded to wrap this although i was a little concerned on the fact this was a 20 year old bit of cardboard/wood.
803669dc72684f5d20e4129388a50ce2.jpg


Looks great until it started bubbling.
088a65e9452edc4a57b0d2cd0c108de1.jpg


Once it dried i could not get rid of this raise in the film that would push out but kept coming back so i ripped it off to cover in red film instead.
100_1362.jpg


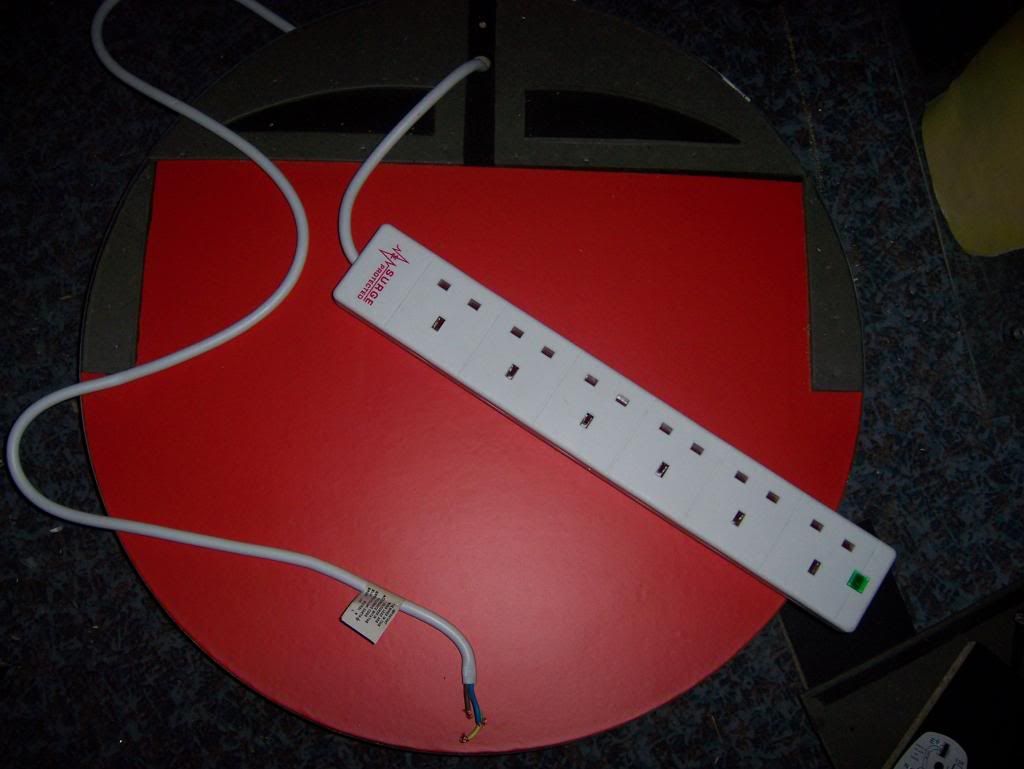
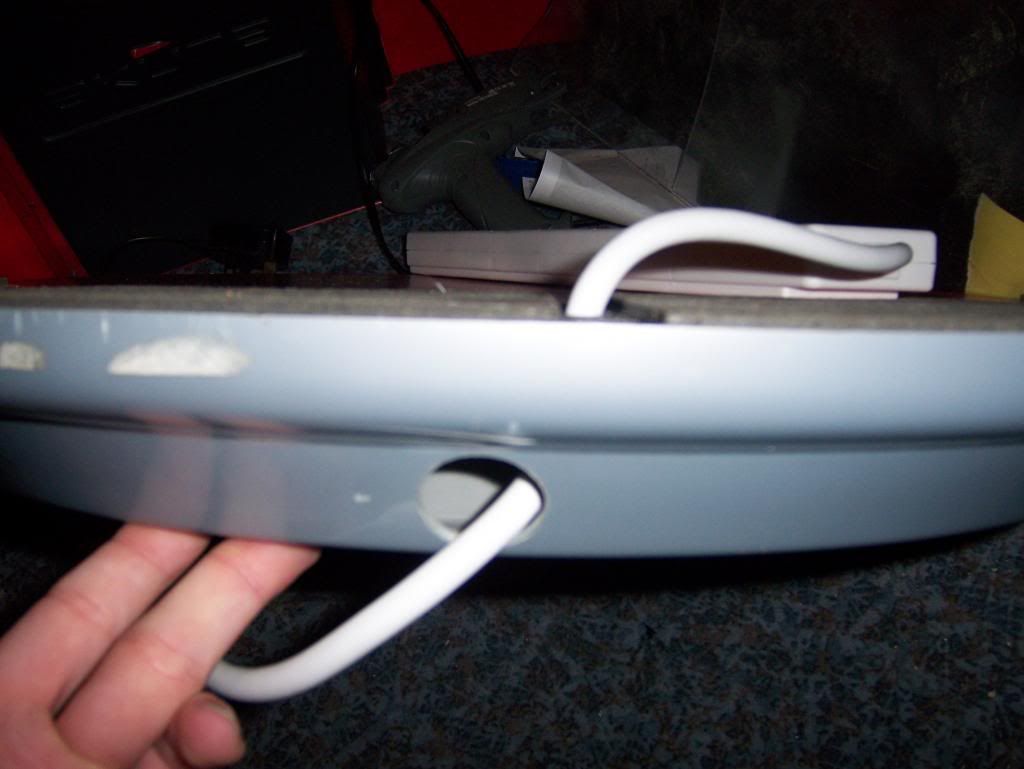
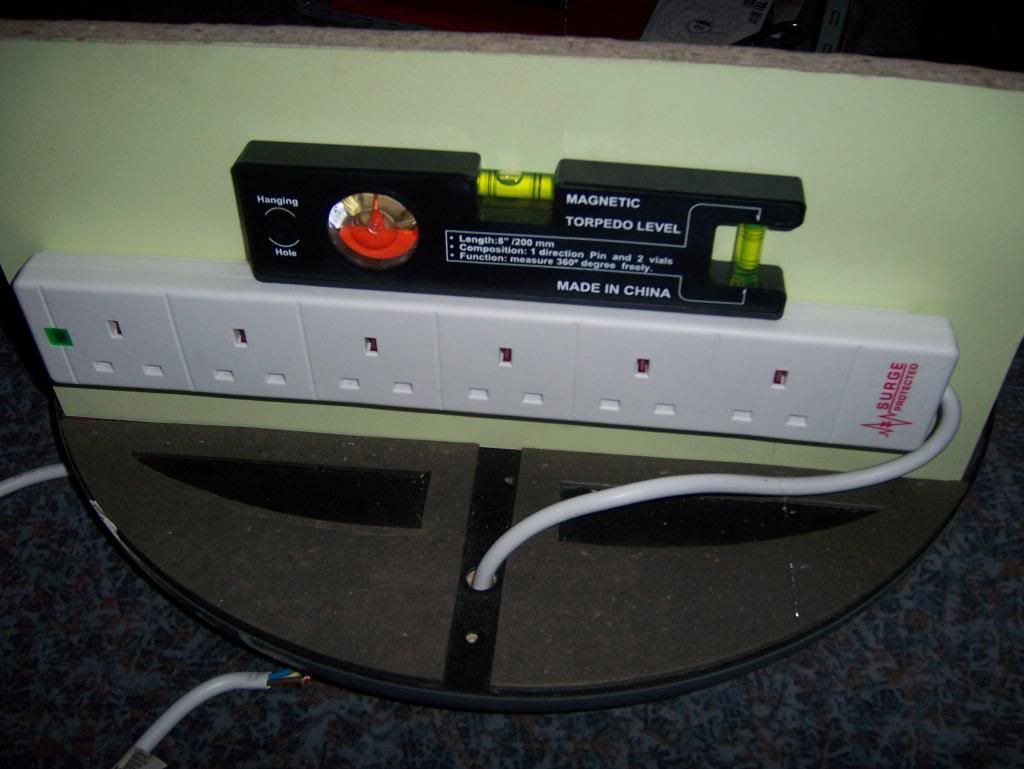
Threading the power extension through the base (this will be fitted inside)
100_1363.jpg


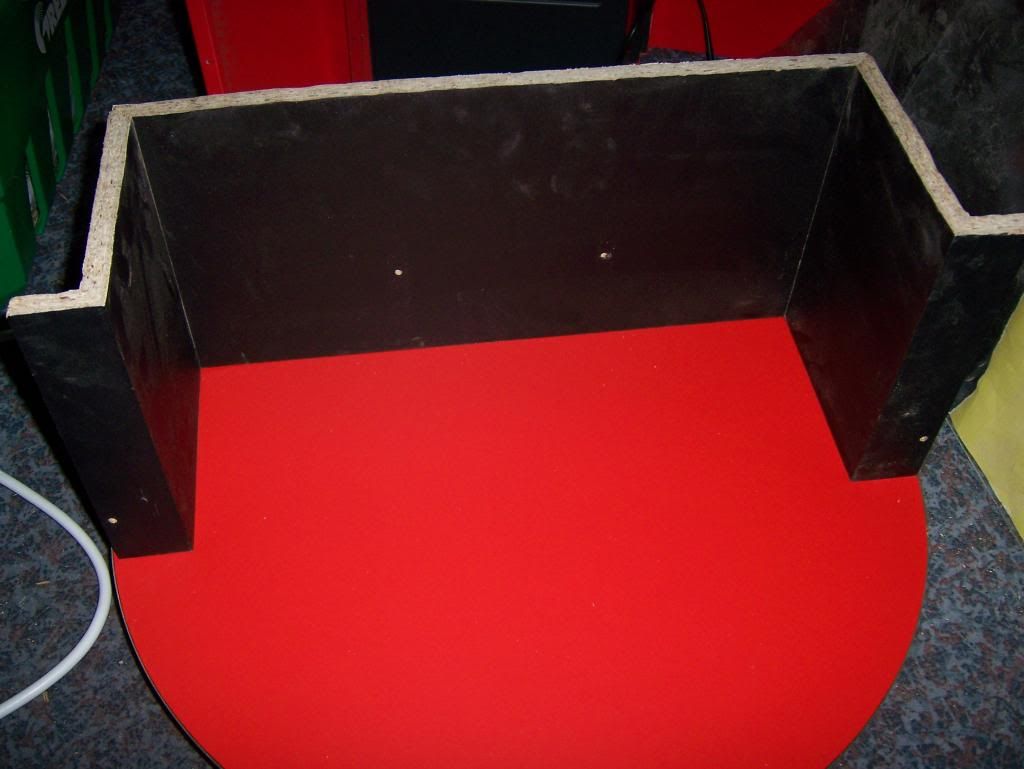
Adding the original shelf parts back and prepping them for vinyl.
100_1364.jpg

100_1376.jpg


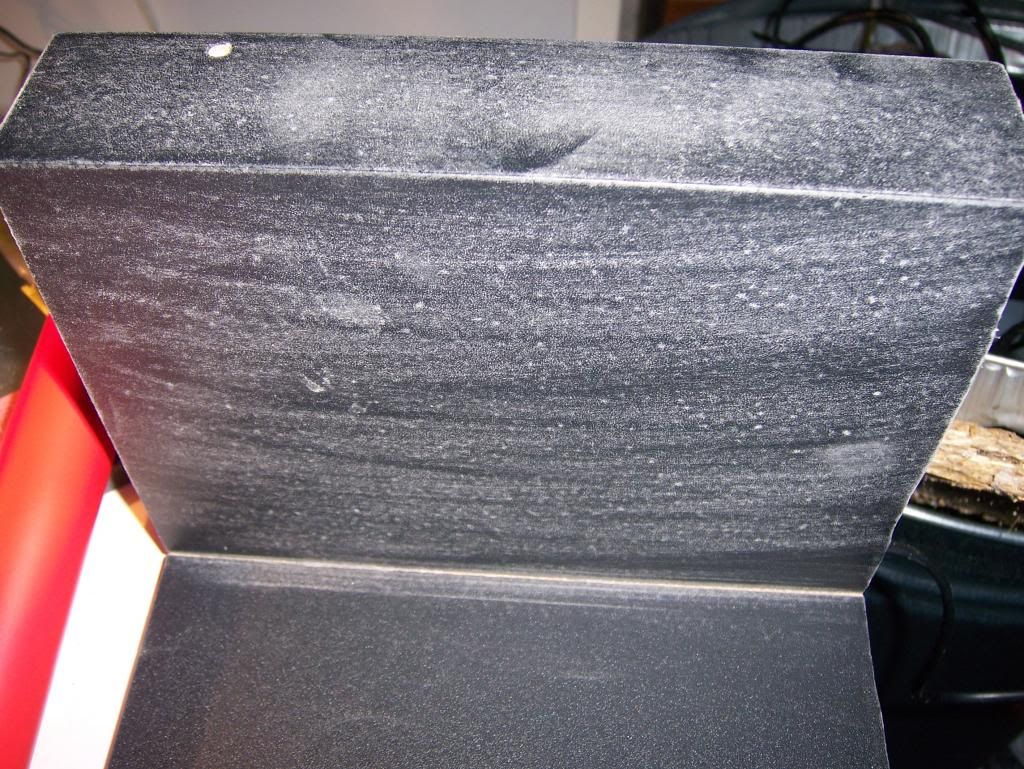
sanding any imperfections
100_1377.jpg


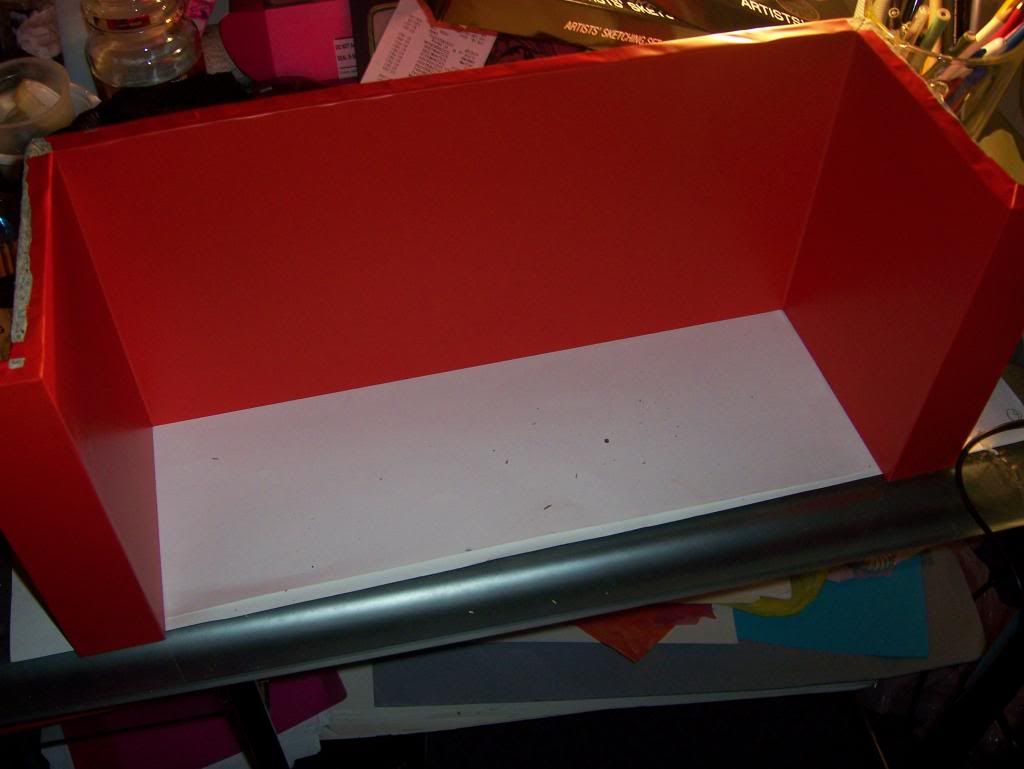
After a good scrub i then wrapped it in red film
100_1378.jpg


I had originally added the extension lead here (but have relocated this recently)
100_1365.jpg


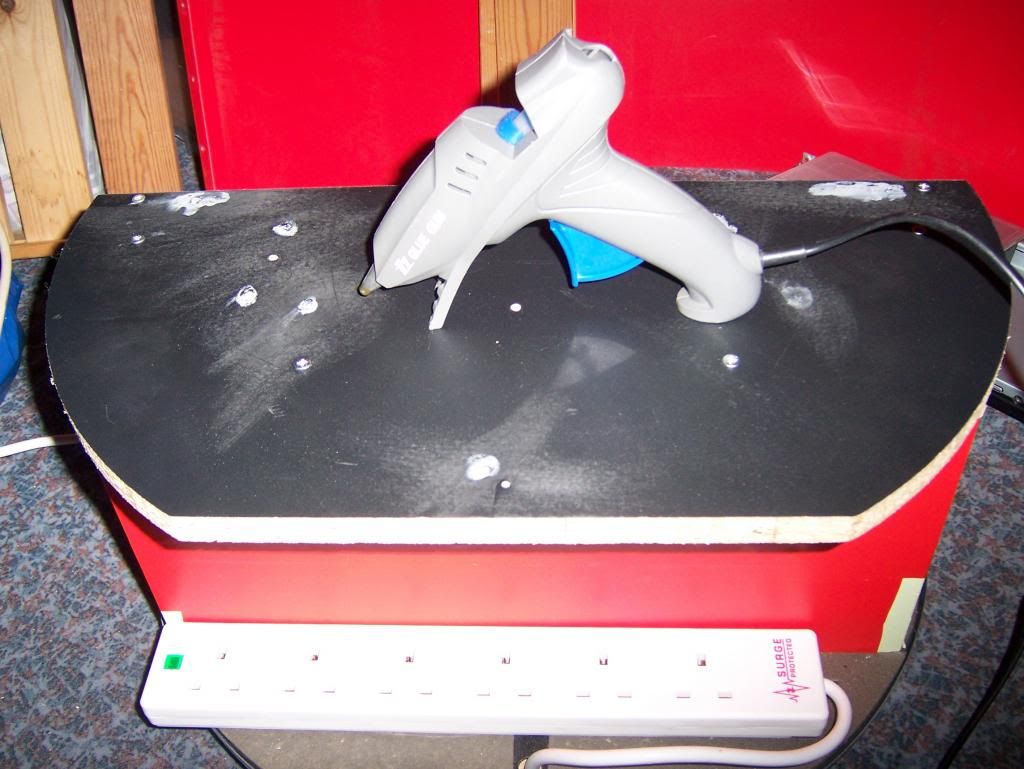
Hot gluing the extension lead to the back
100_1385.jpg


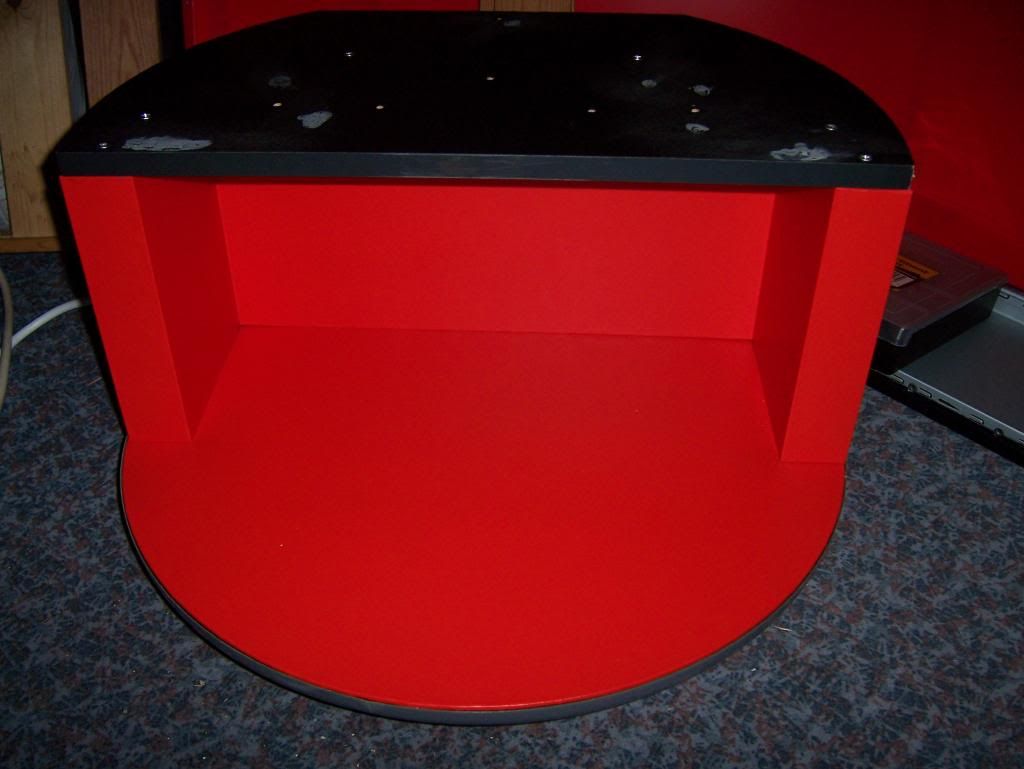
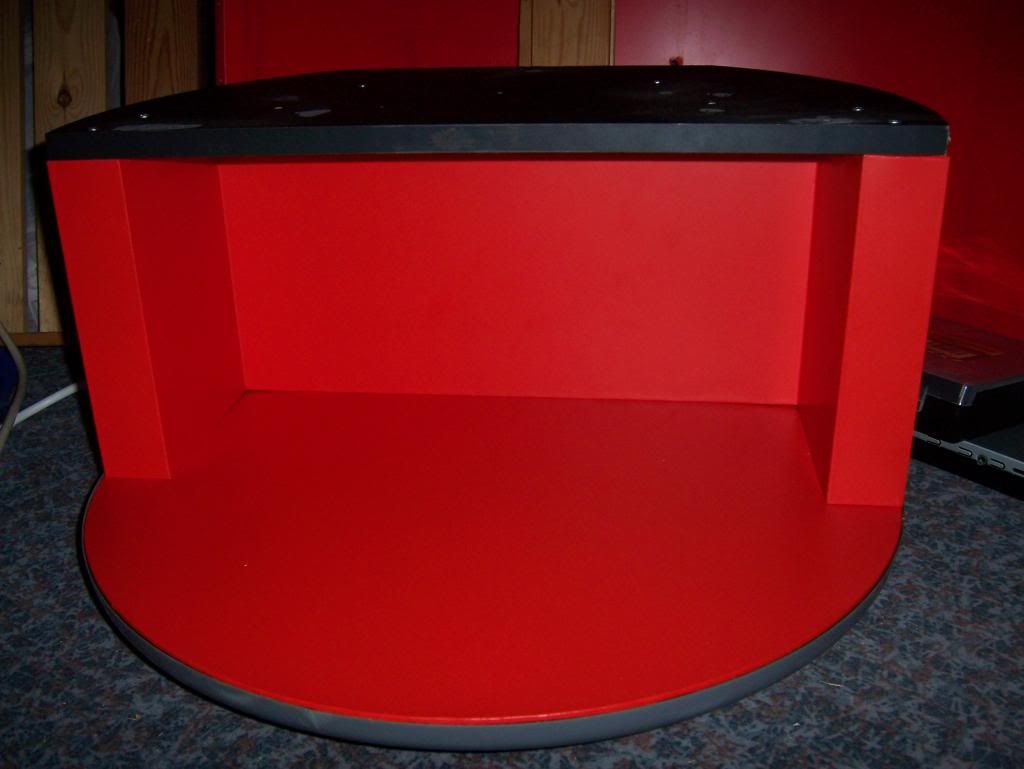
Now its looking really RED
100_1389.jpg

100_1390.jpg


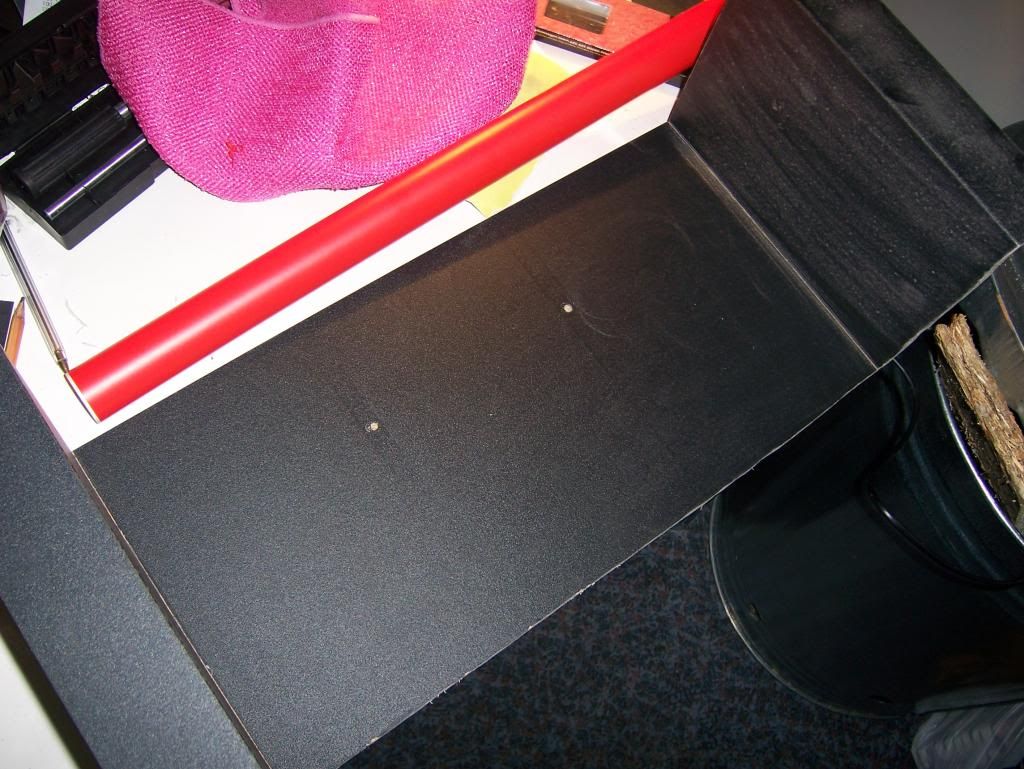
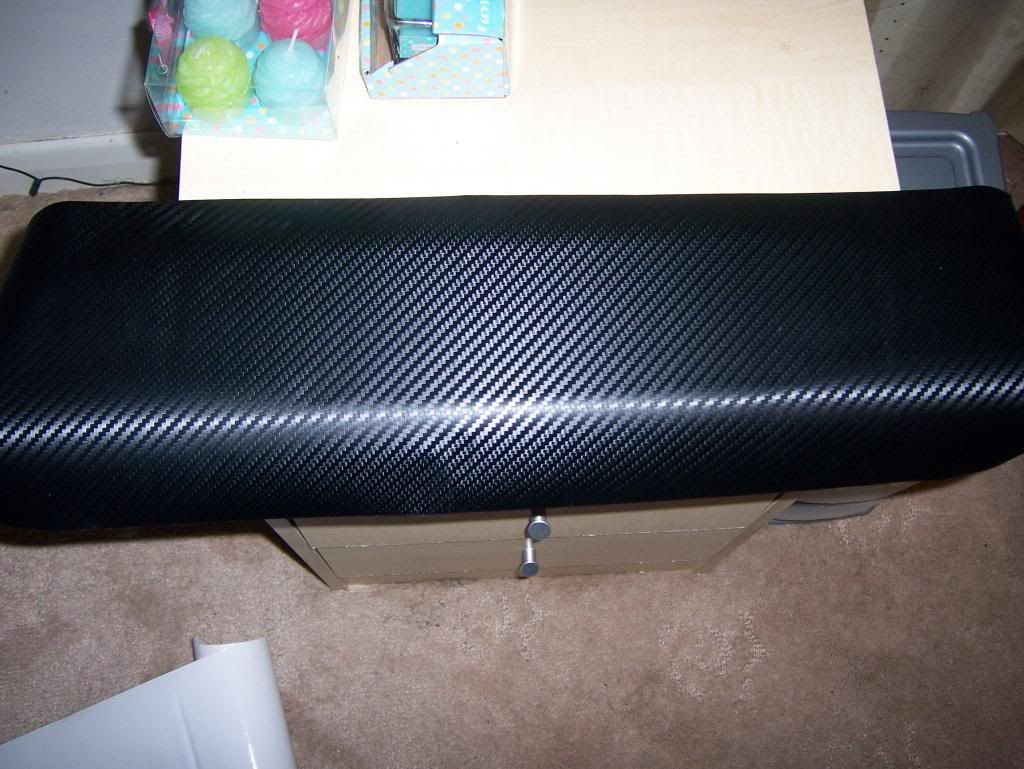
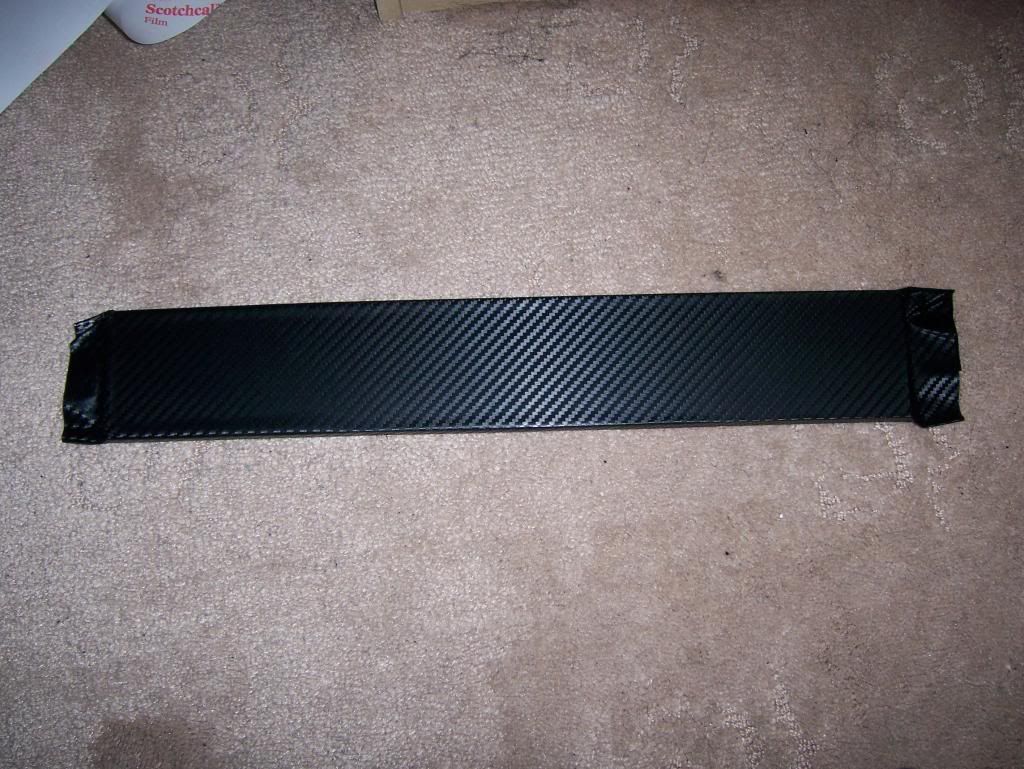
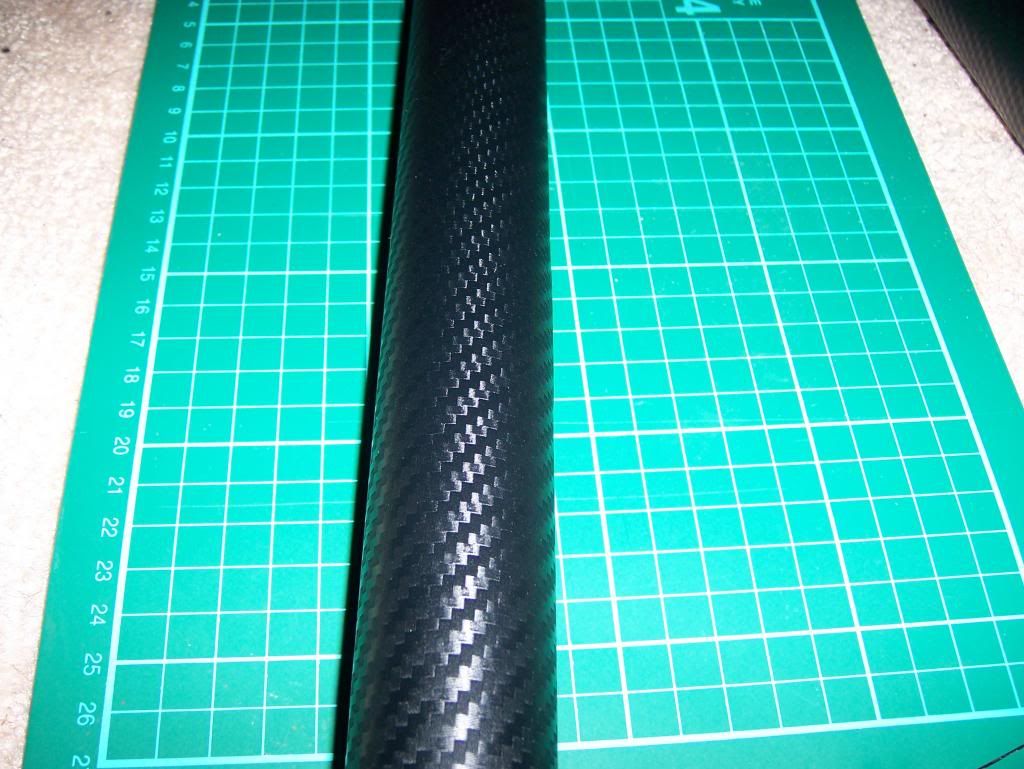
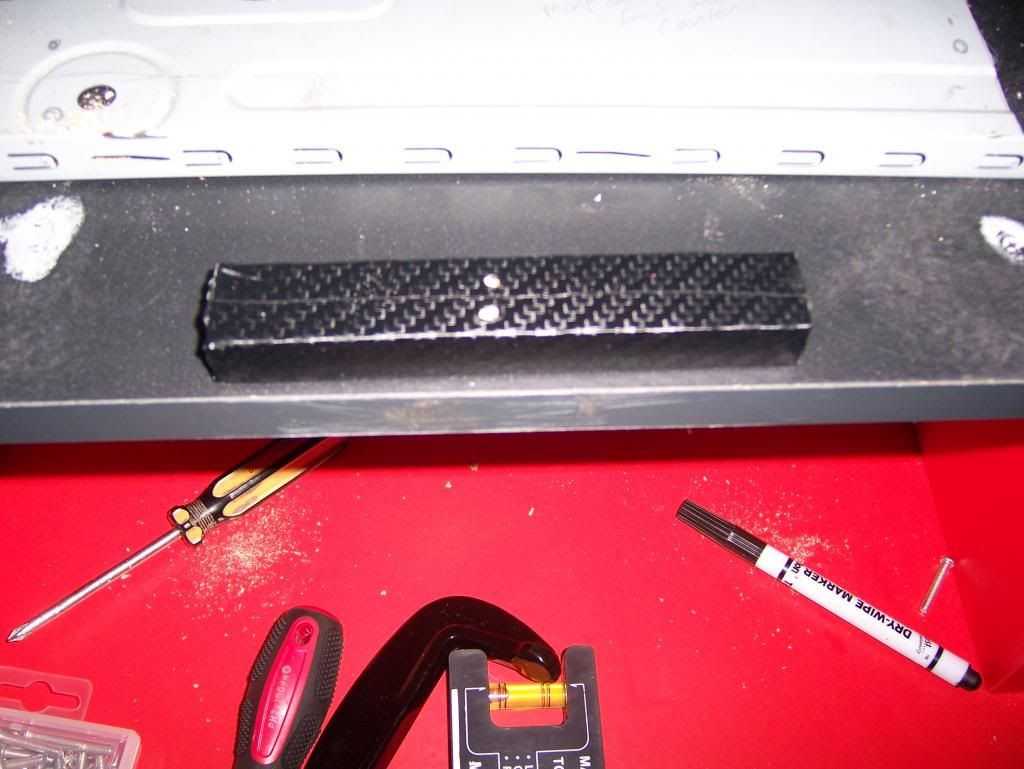
Then i found another piece of wood for the top frame and i just wrapped it in carbon
100_1374.jpg


As you can see i do this all over the house wherever there's a space :p
100_1375.jpg


I tidied this piece up on the ends and added it to the mainframe.
100_1394.jpg


More to come on Tuesday now guys. The PC bits will be added too HAHA :eek:
Looking forward to any comments the more i show what ive done the more in detail i have gone so im hoping it will look good.
Thanks for viewing.
 
Thanks for the support guys. I just wrote a long reply and it logged me out and that wiped my message. I'm writing this for a second time now :mad:
Never mind though.

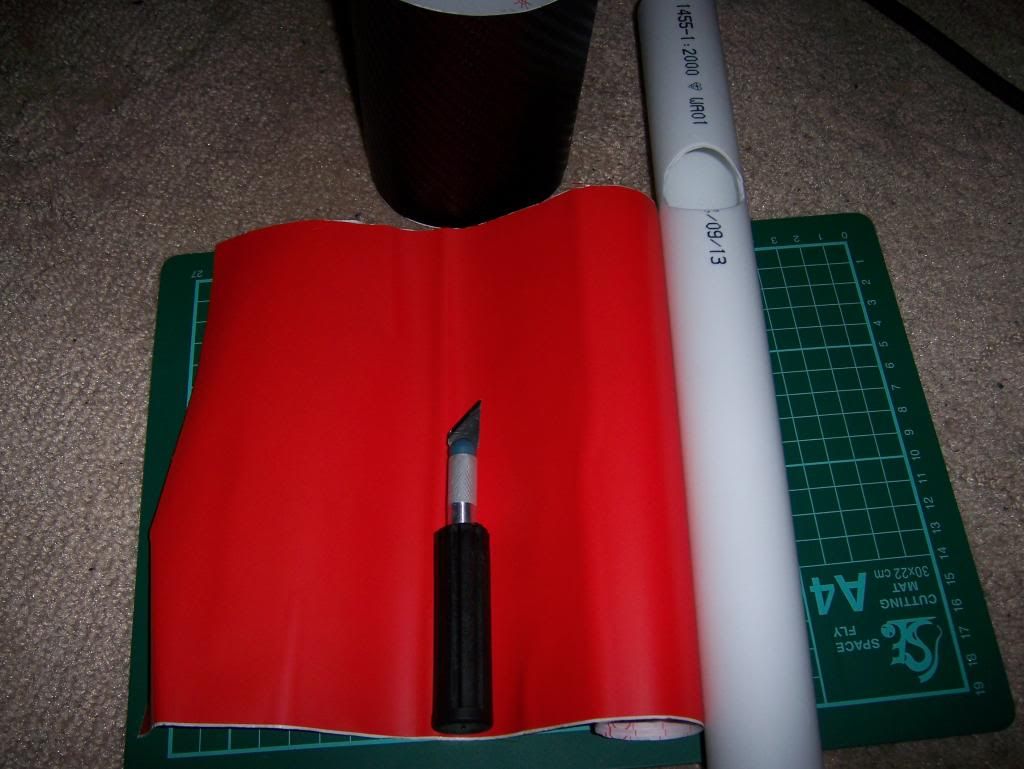
The carbon wrap is 3M scotchcal 3D Carbon weaved (not printed) wrap/film.
It takes a while to get used to but makes anything look good. I must have gone round the house wrapping anything that was not nailed down with the off cuts :D
My only complain is the lack of adhesion after heating round corners and its easy to twist the film if not stretched properly.

I also used just a thick red film from dc fix and this would cover anything i couldn't wrap with carbon fiber.


I came across a few issues at the start.
1) size and space was limited (despite it being 3ft tall)
2) there is a support beam on the back which means the fans cannot be fitted to the outside of the casing easily
3)I originally planned to fit the psu box where the extension lead is but there was clearly no space. So had to find somewhere else.
4) Lack of tools! Cheap tools are useless and break often. my bargain screwdrivers couldn't turn a screw without rounding of the screwdriver head! It didn't effect my project but wasted money that could have been better spent.
5)Cause the can is curved, so is everything inside.
6) I'm was in the middle of having damp proofing injected into my walls and most walls being re plastered so finding somewhere that's dust free and easy to work in is a nightmare.


PICTURES!

I know you love them

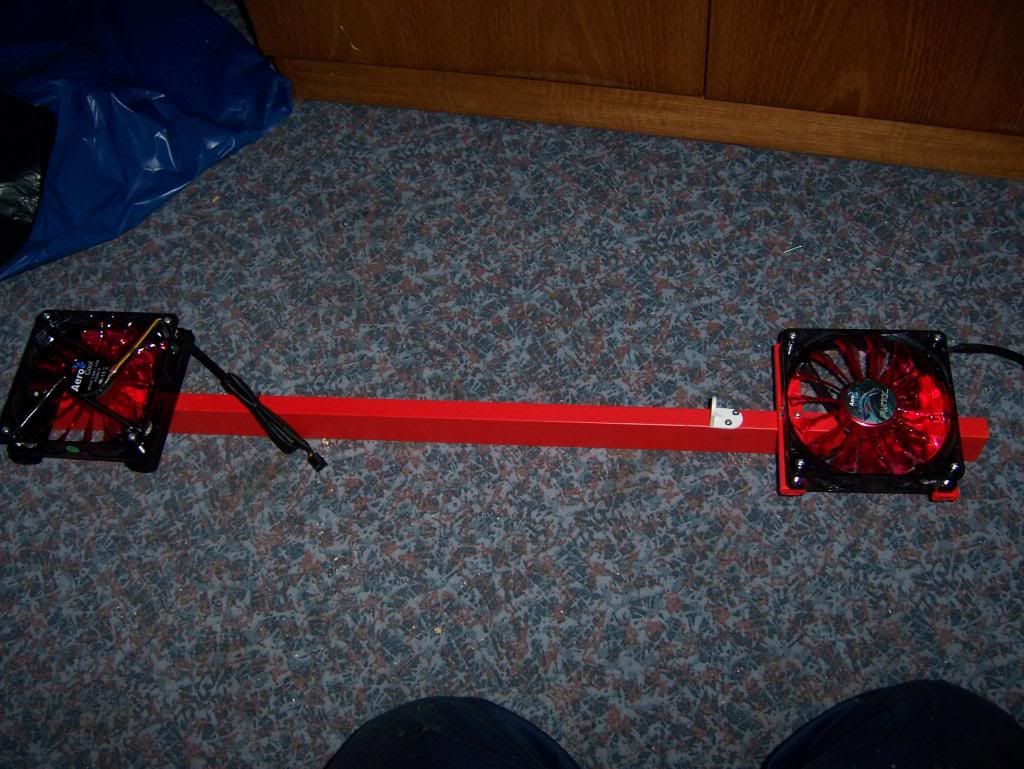
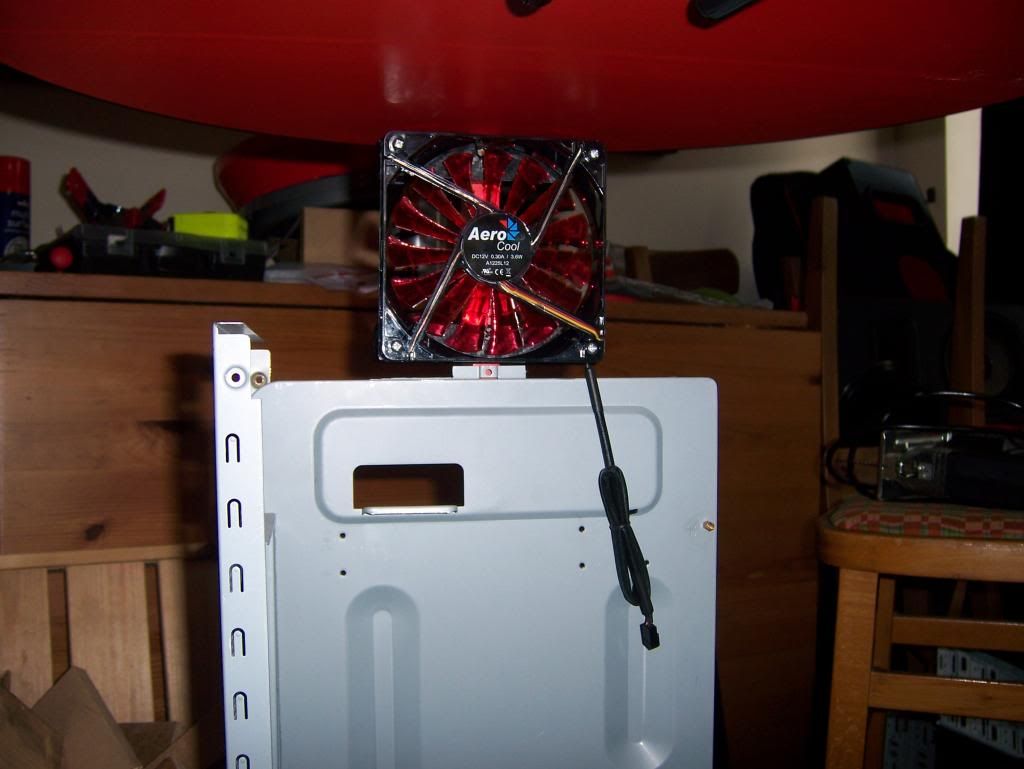
I had purchased a couple of fans from ebay. These had to look cool, glow red and pack a punch because i can unfortunately only fit them one way as i will explain later.
100_1371.jpg


I purchased two 120mm aerocool fans and 2 of these Artic F8 80mm from my local computer center.
100_1368.jpg


two 50mm fans which was for the dvd drives, switches etc but airflow plans have changed.
100_1372.jpg


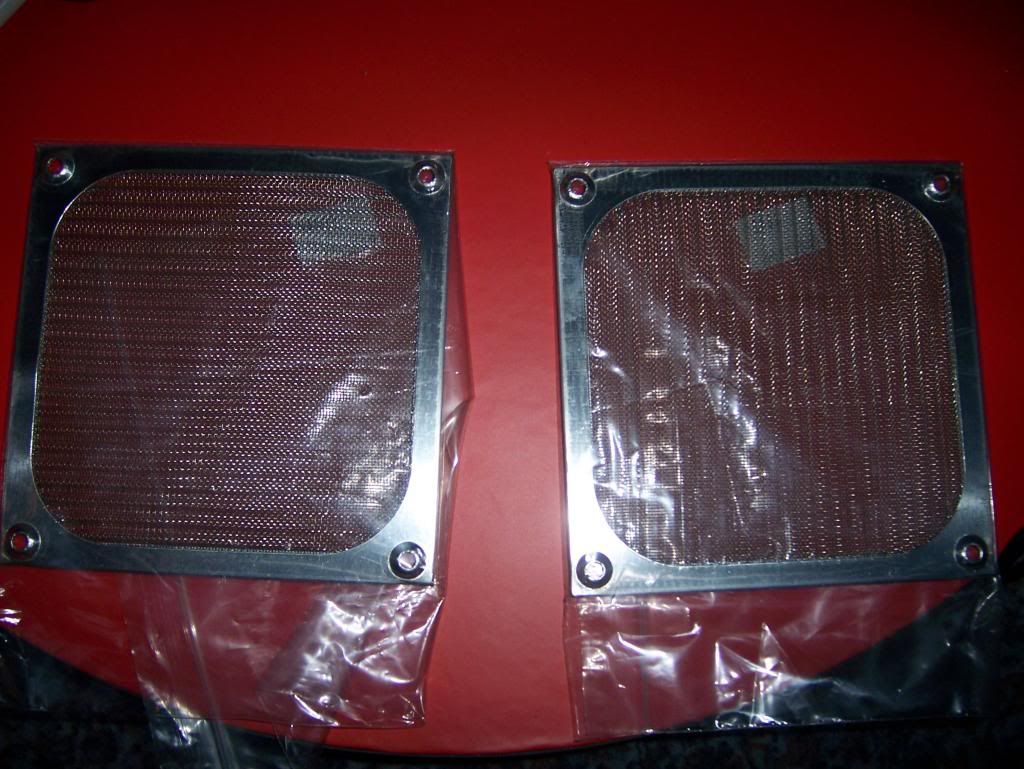
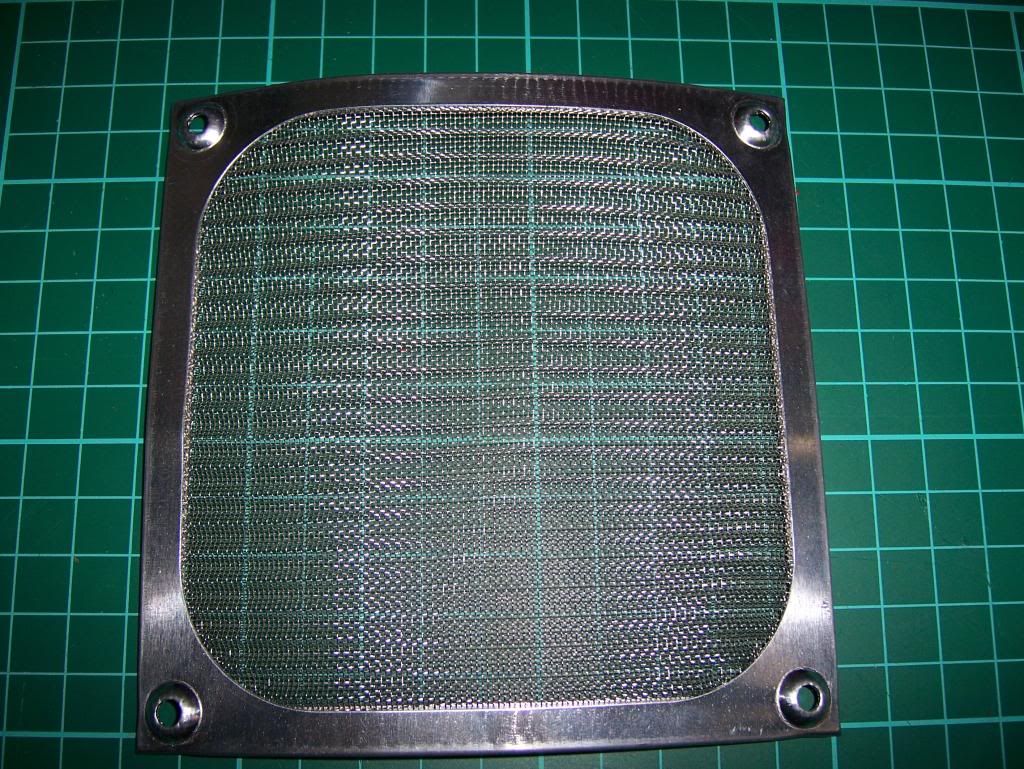
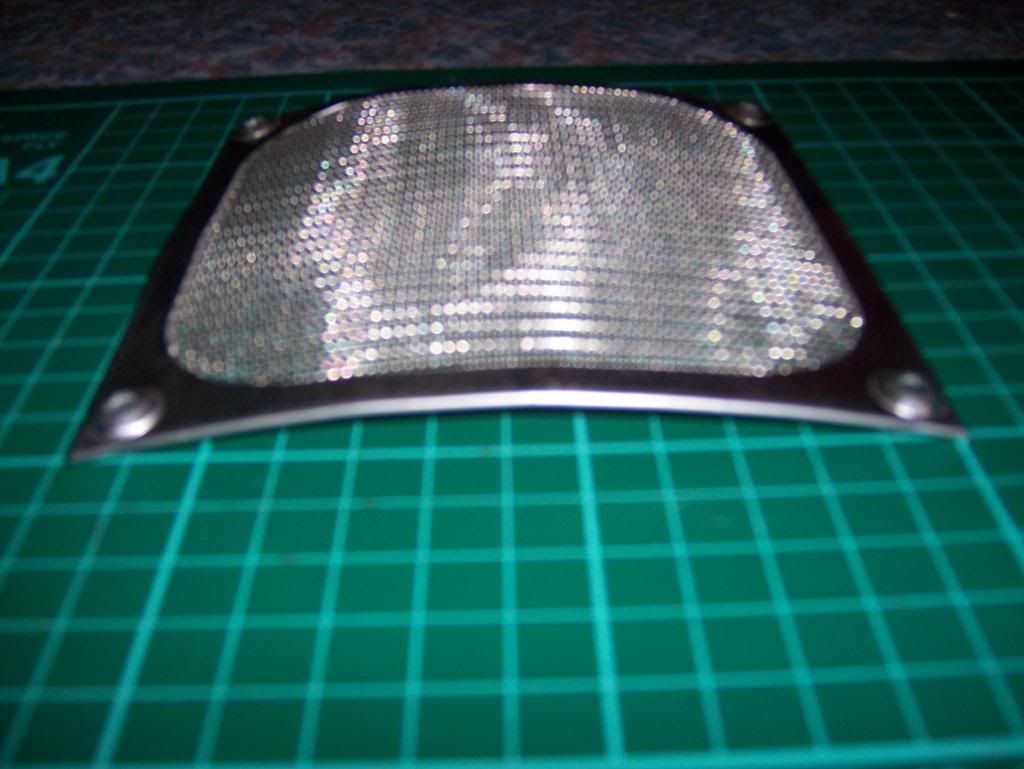
Two outside fan grills (can be bent to fit around the back of can)
100_1373.jpg


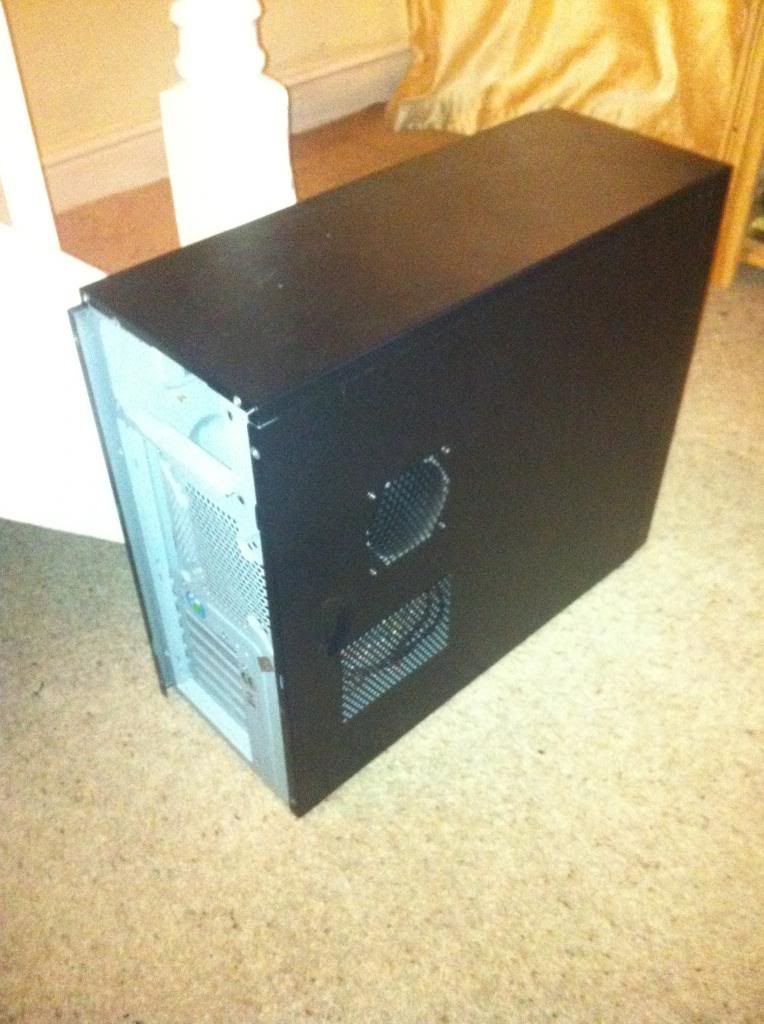
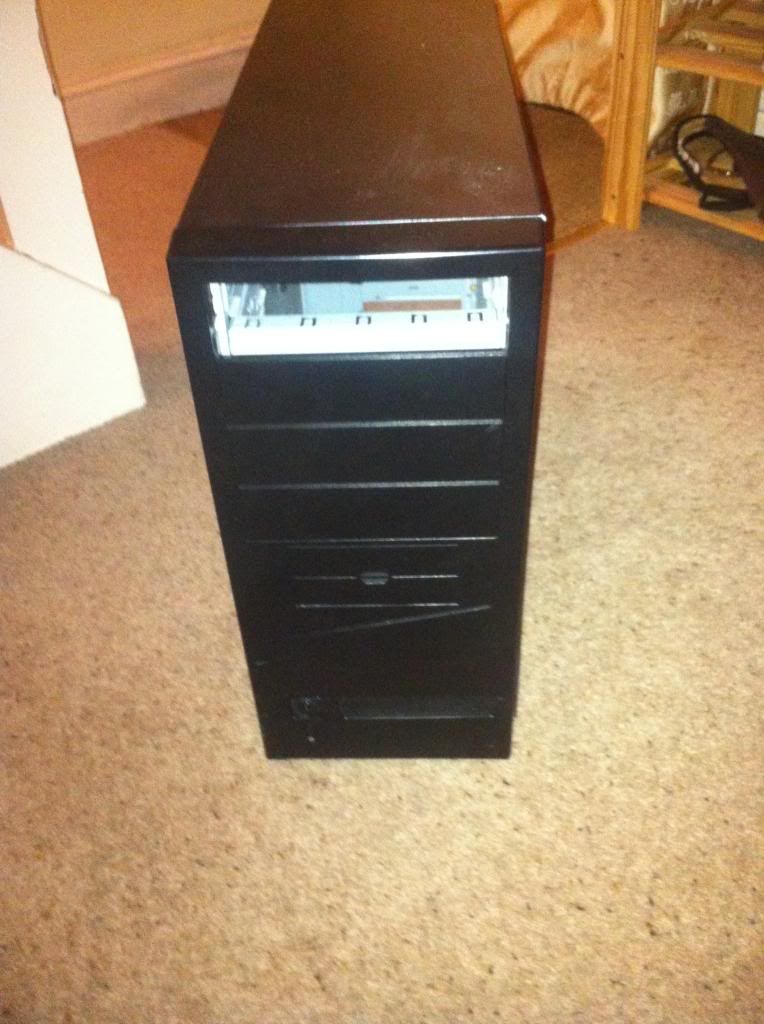
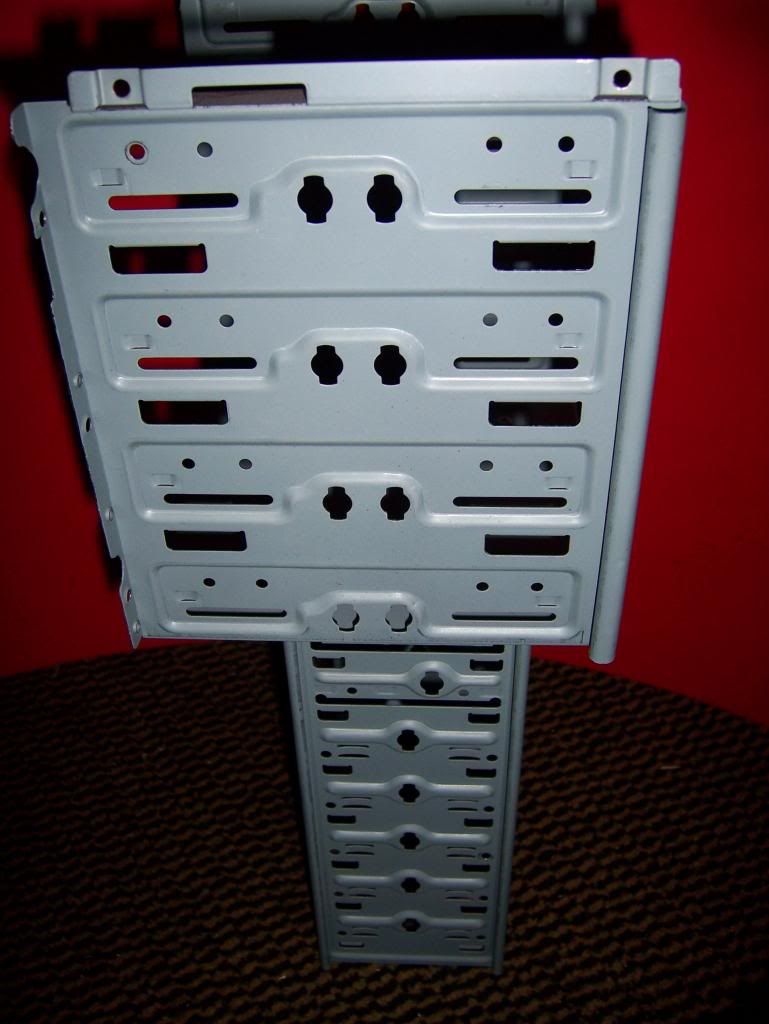
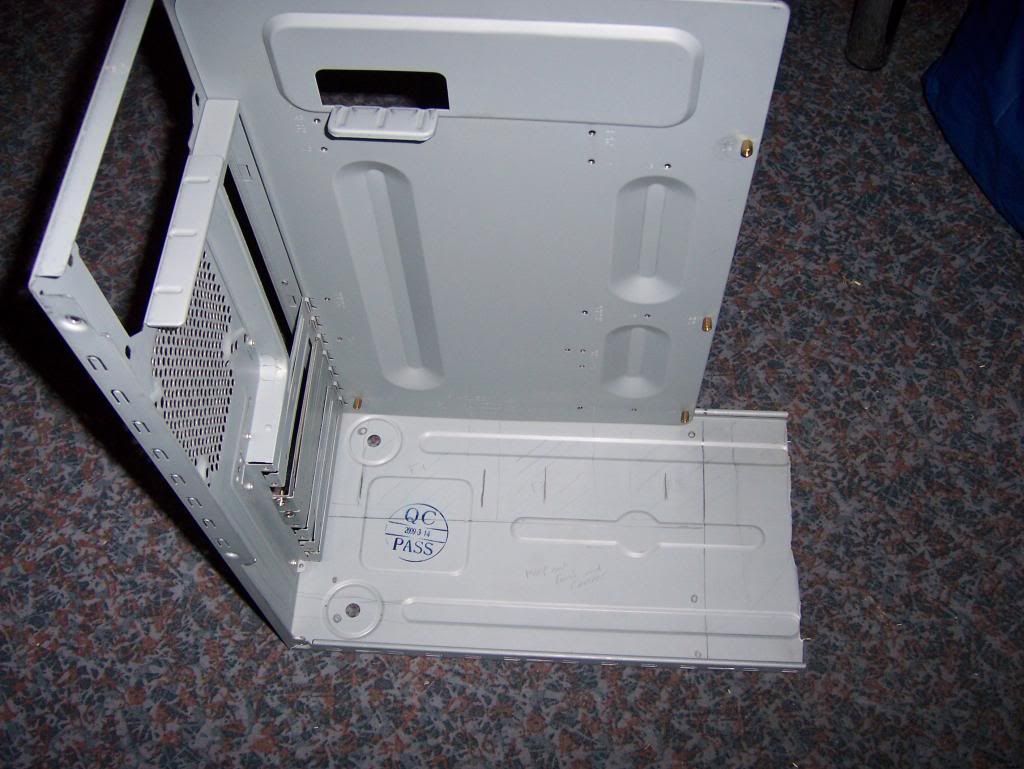
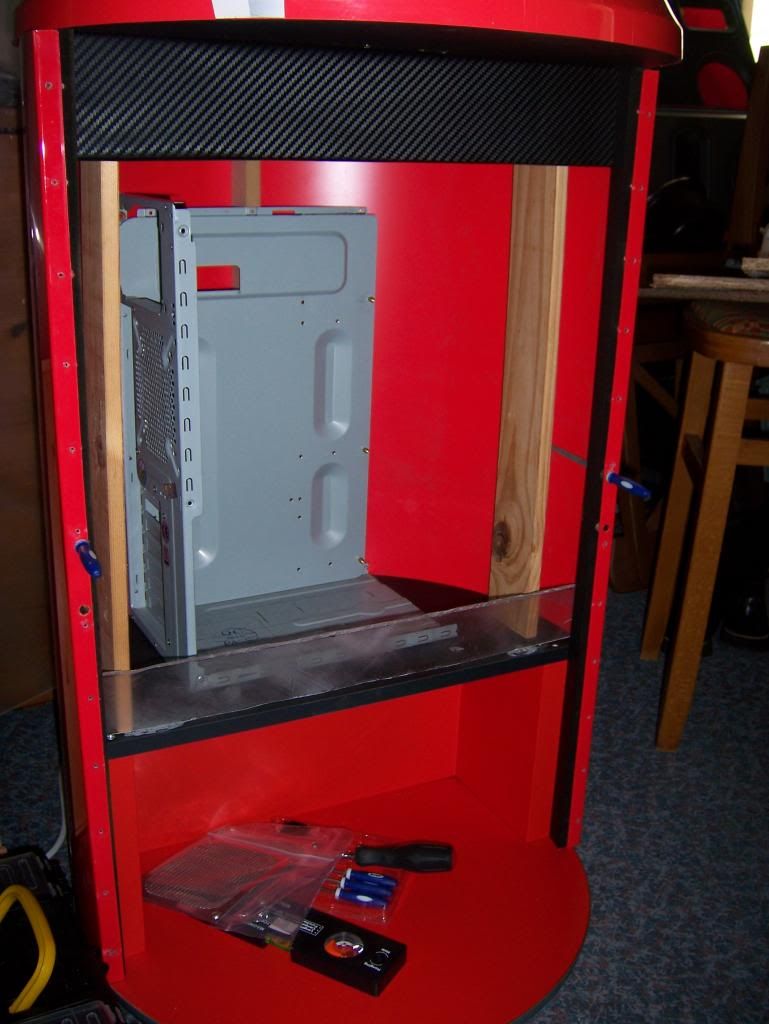
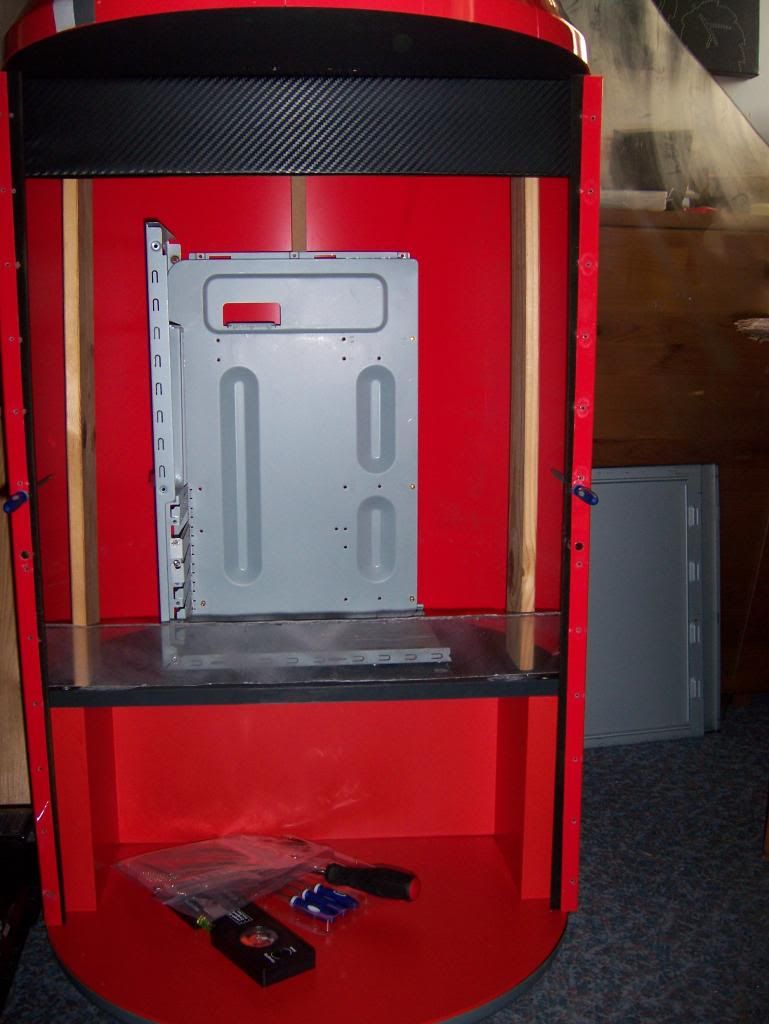
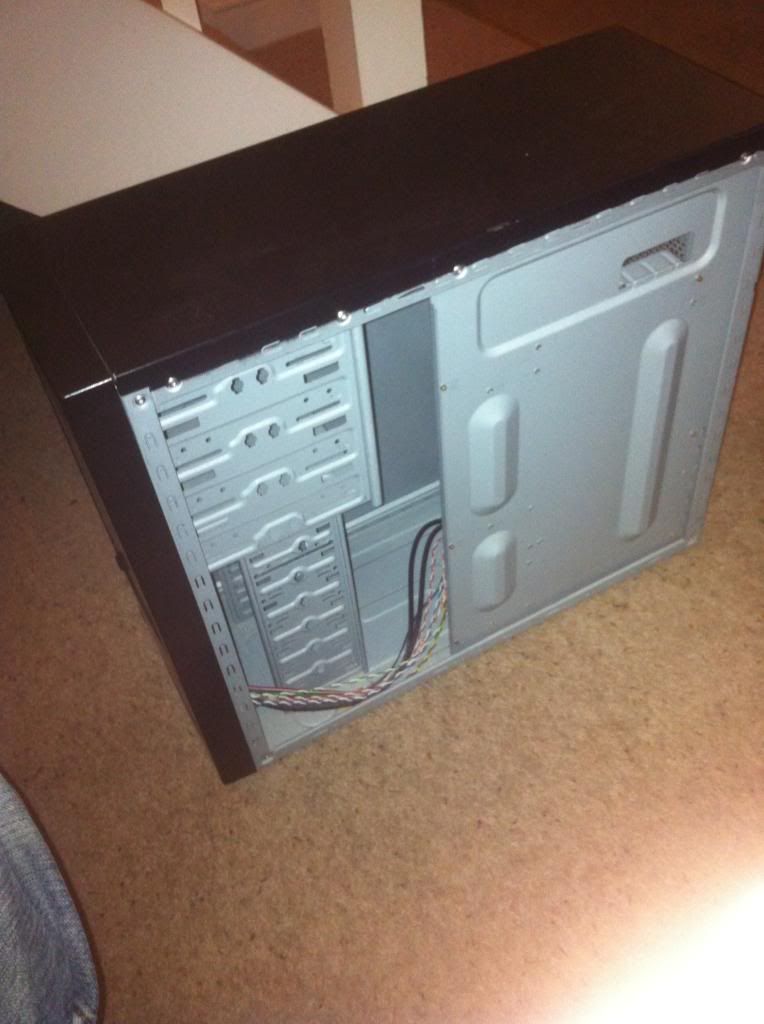
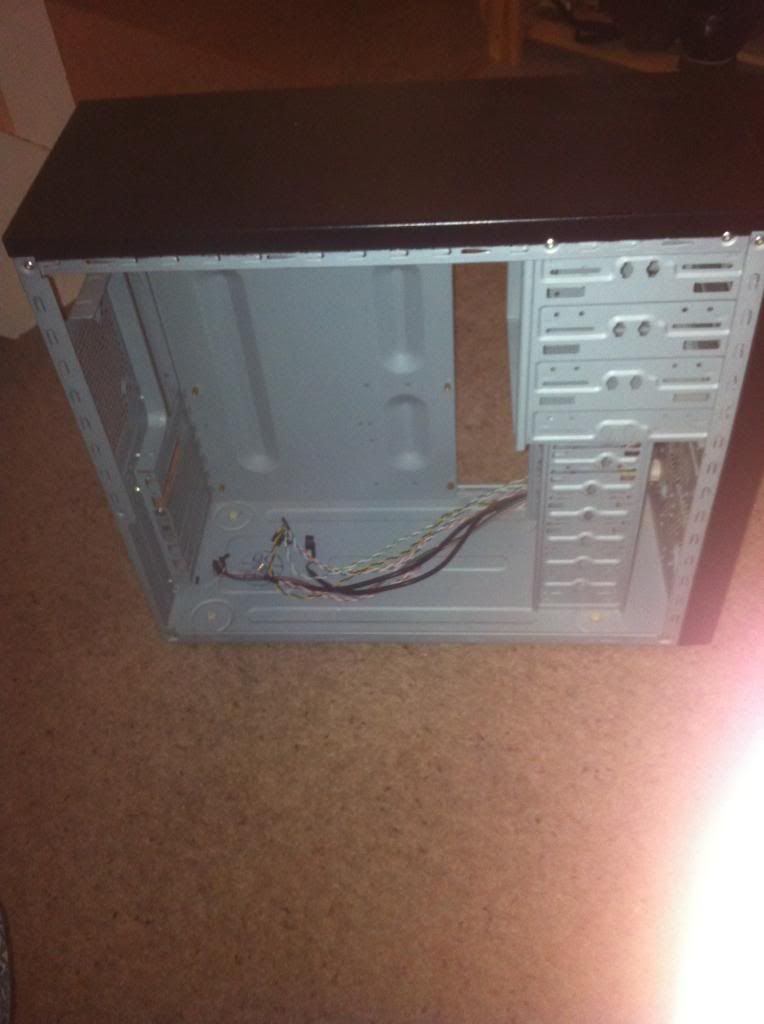
Then i bought this computer case from the local computer center (no brand) and then tested where it can go and how to fit.
2013-11-11095627.jpg

2013-11-11095647.jpg

2013-11-11095704.jpg

2013-11-11095719.jpg


I originally thought sideways and then i can add an acrylic panel to peer in.
2013-11-11102644.jpg

2013-11-11102658.jpg

space issue again, as the square corners would stick out.
2013-11-11102729.jpg


so i need to strip it and cut it too bits
100_1382.jpg

100_1406.jpg

100_1405.jpg

100_1410.jpg

100_1529.jpg

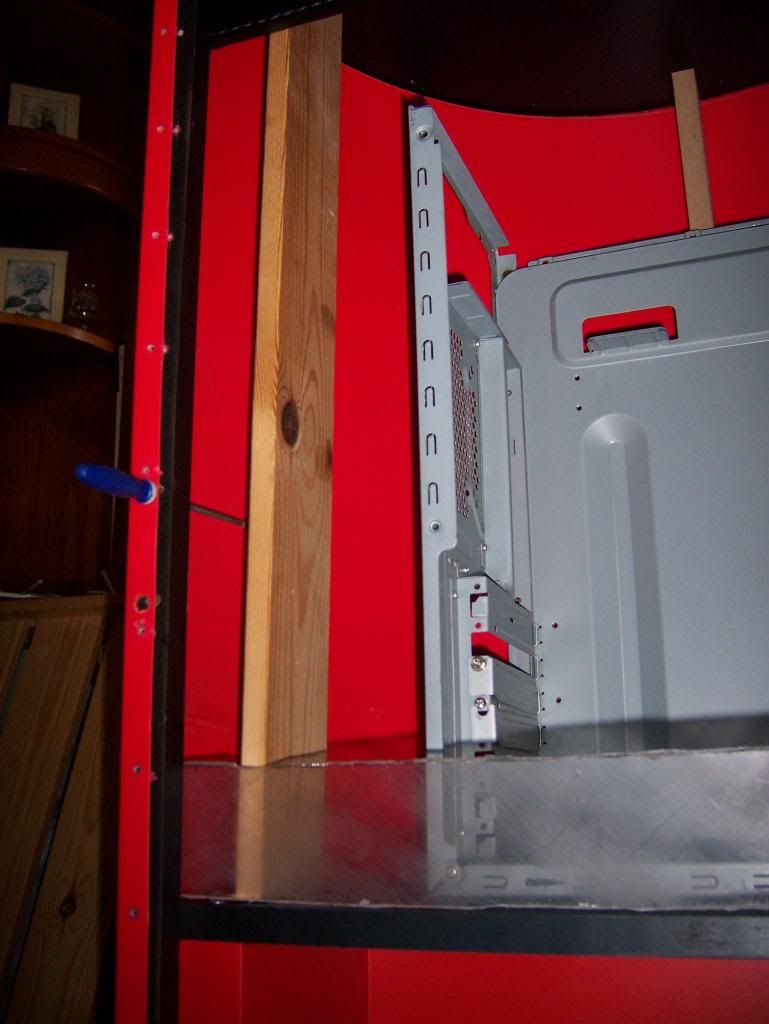
Near to finished but still need some adjustments to make it fit on the shelf.
100_1383.jpg


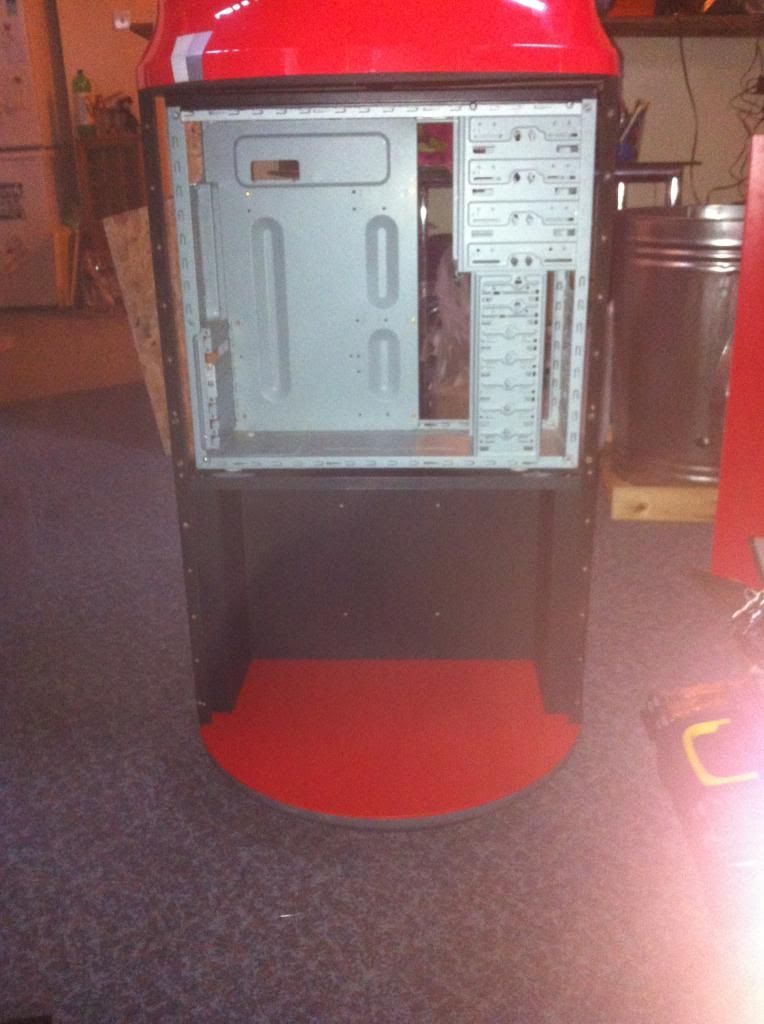
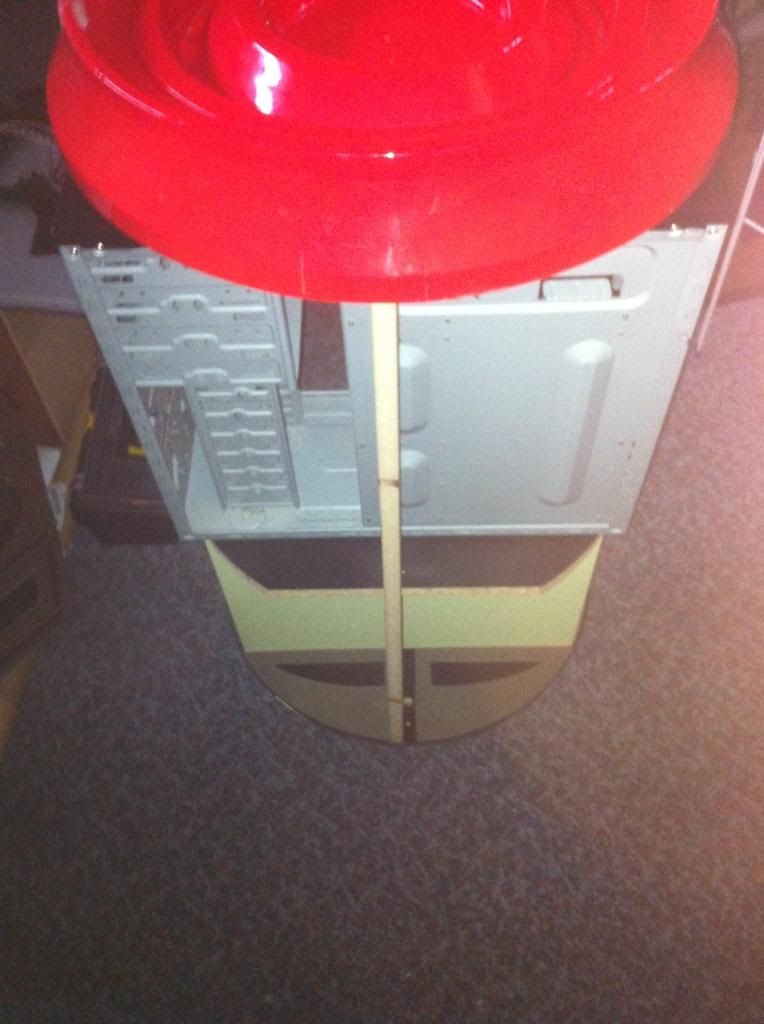
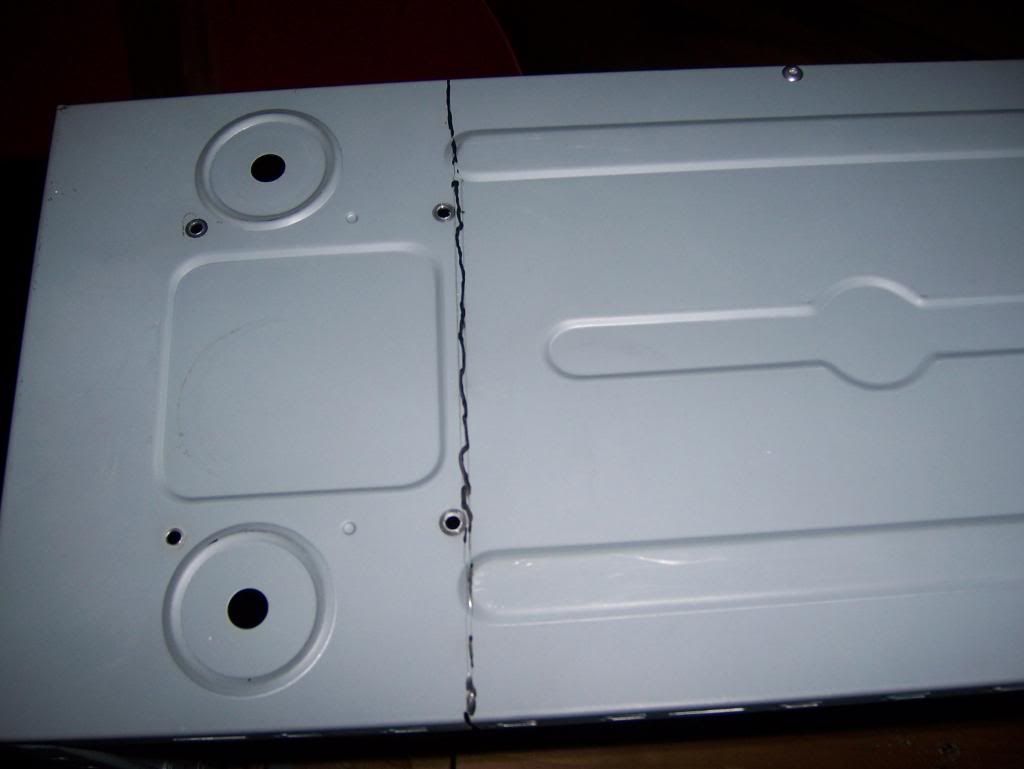
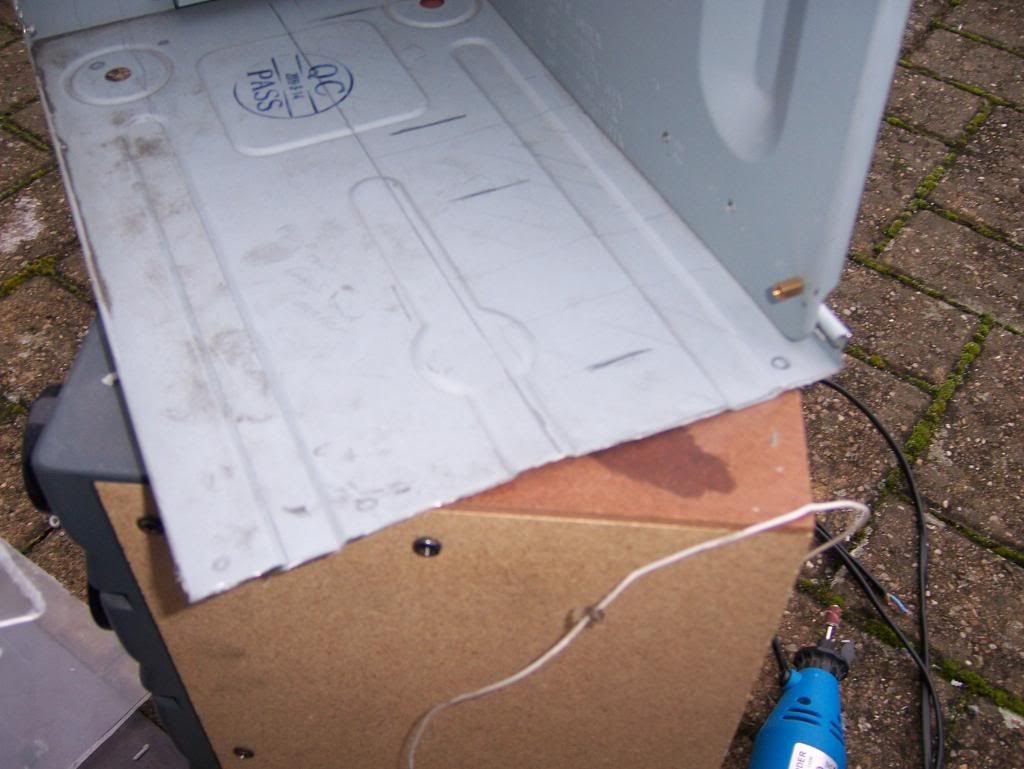
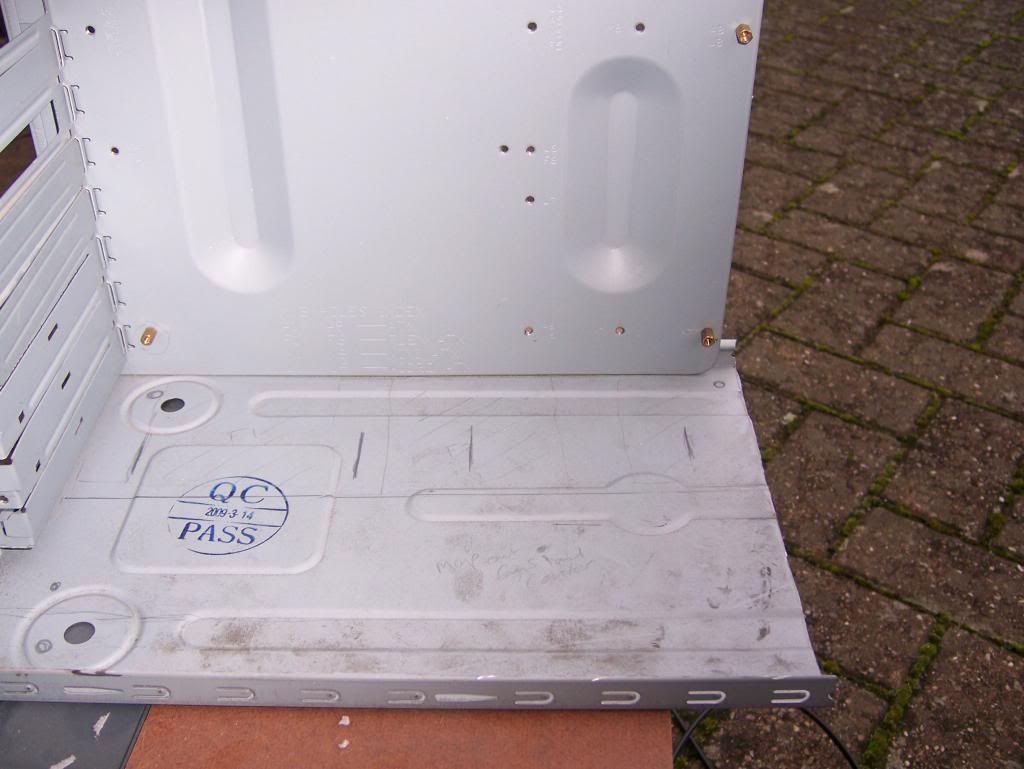
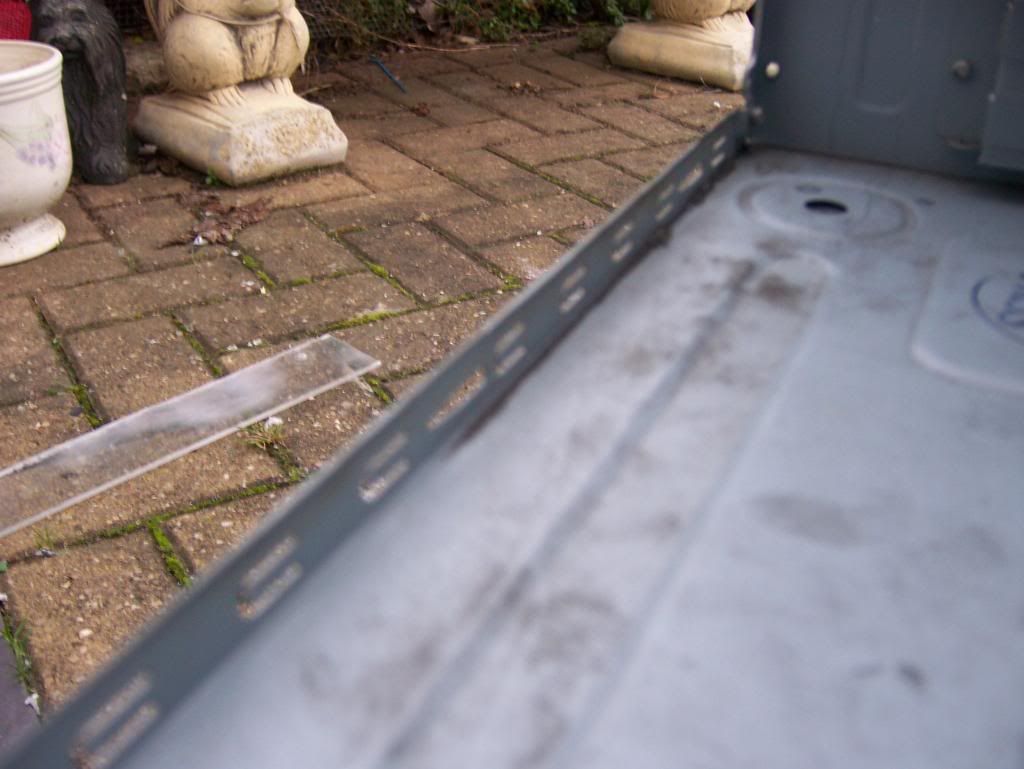
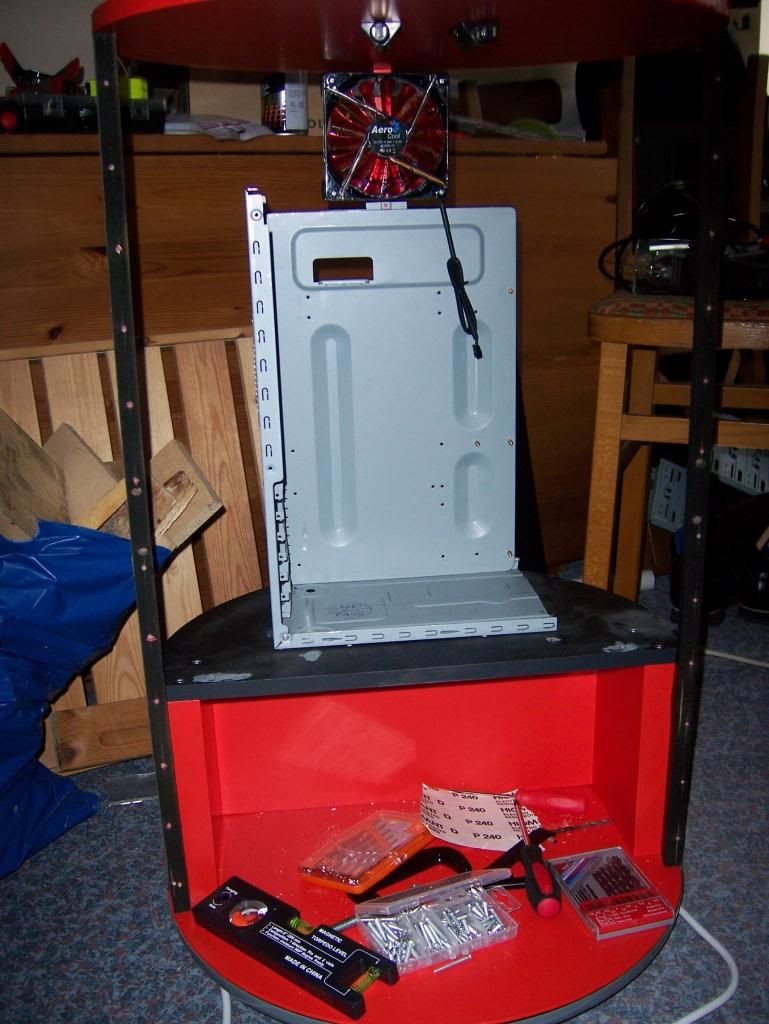
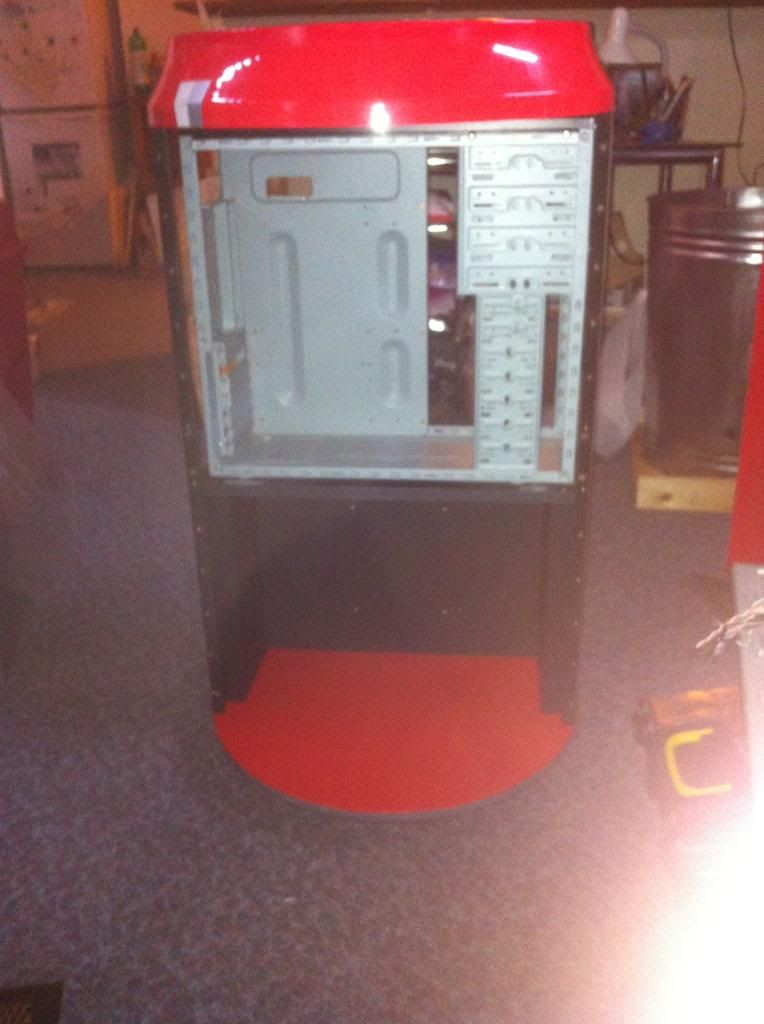
I bought a multi tool online and cut away most of the case to keep the MB tray and the rear of the case


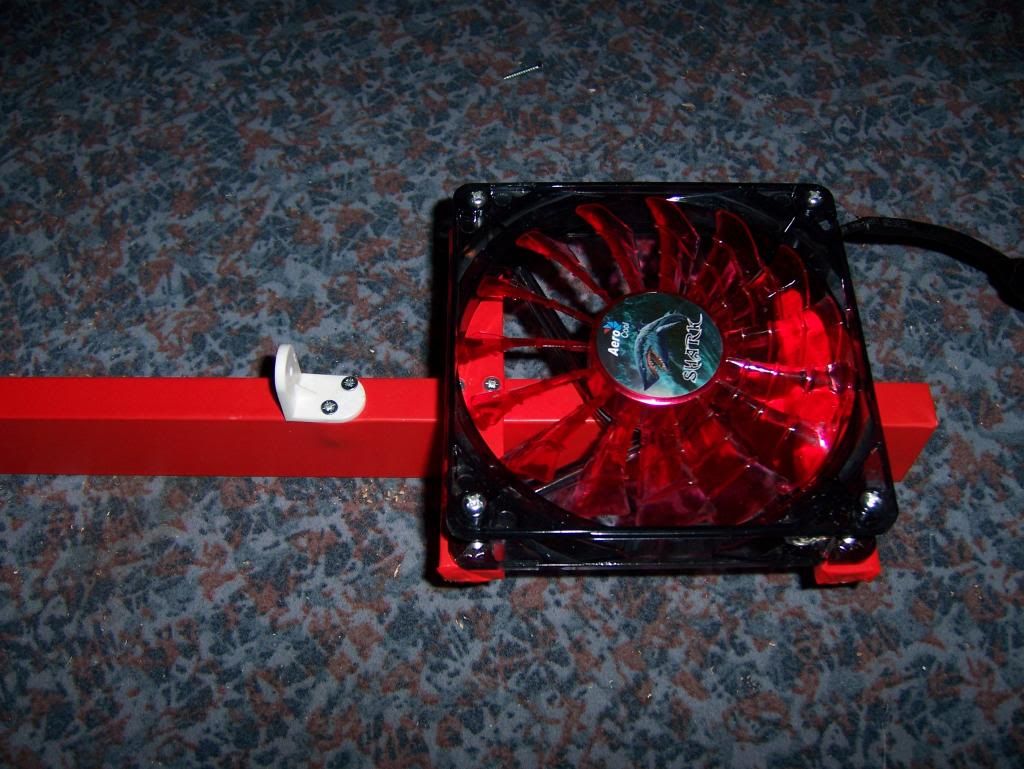
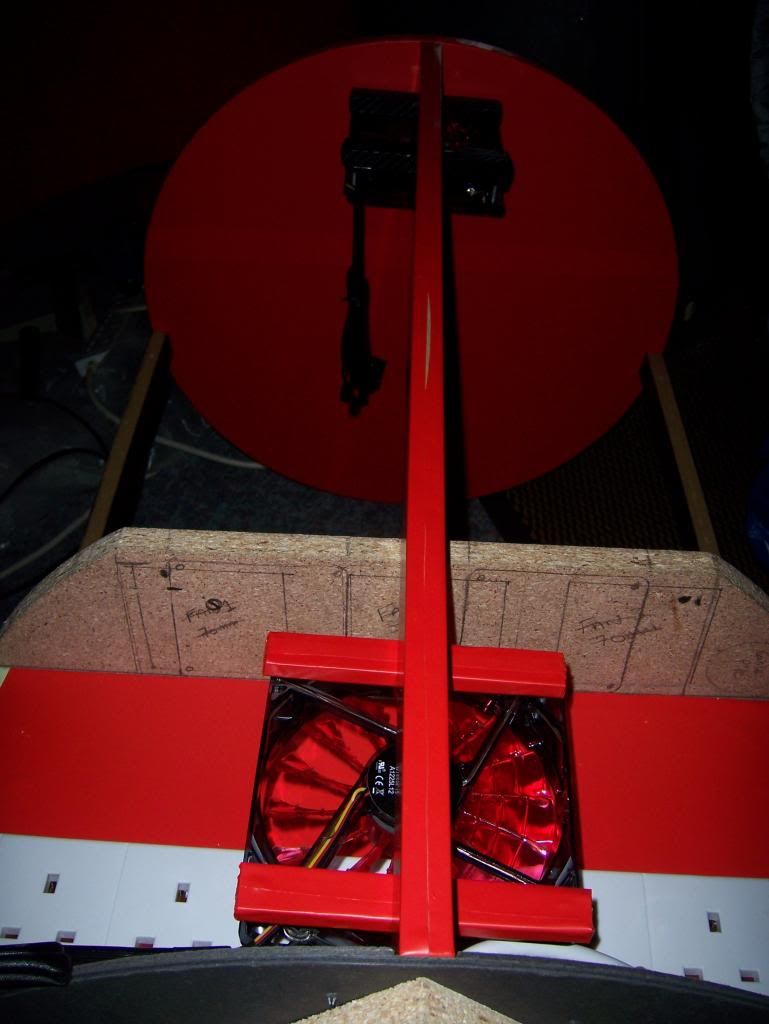
Whilst this was going on i wrapped the rear post in red and planned to find way to add the rear fans.
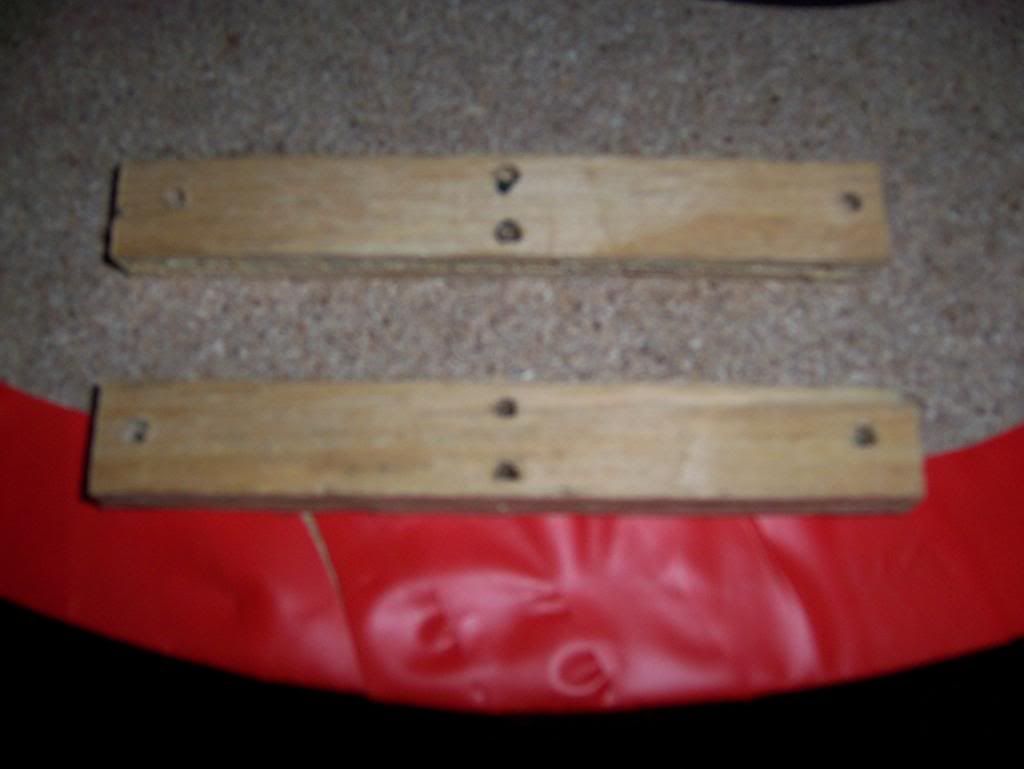
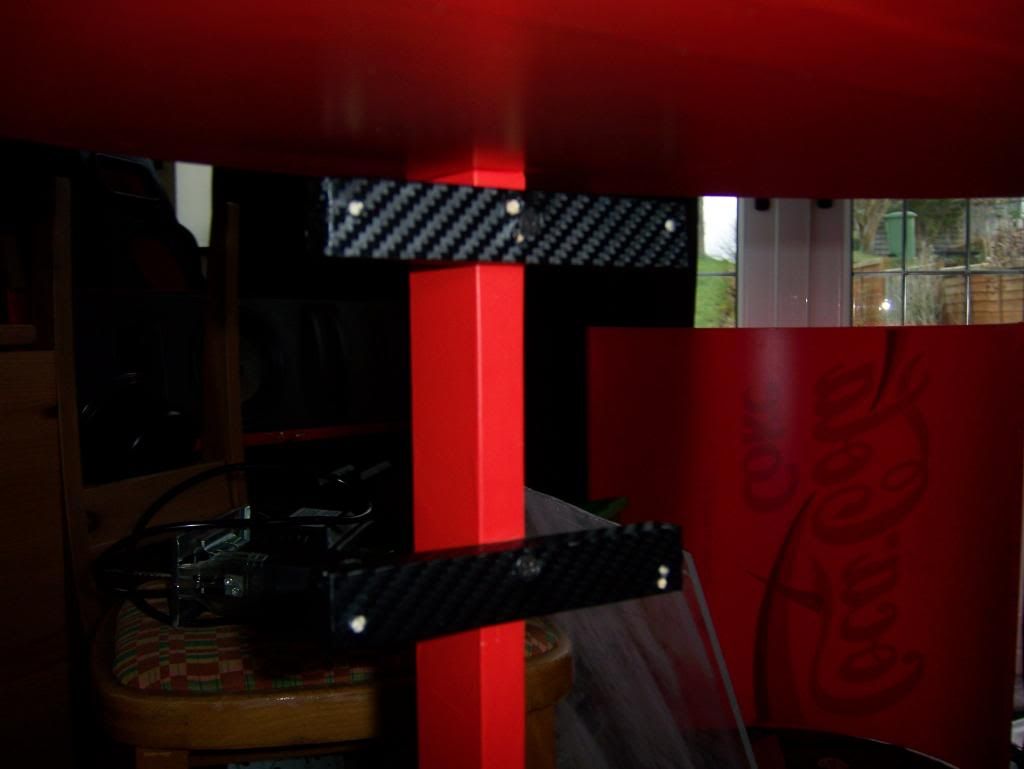
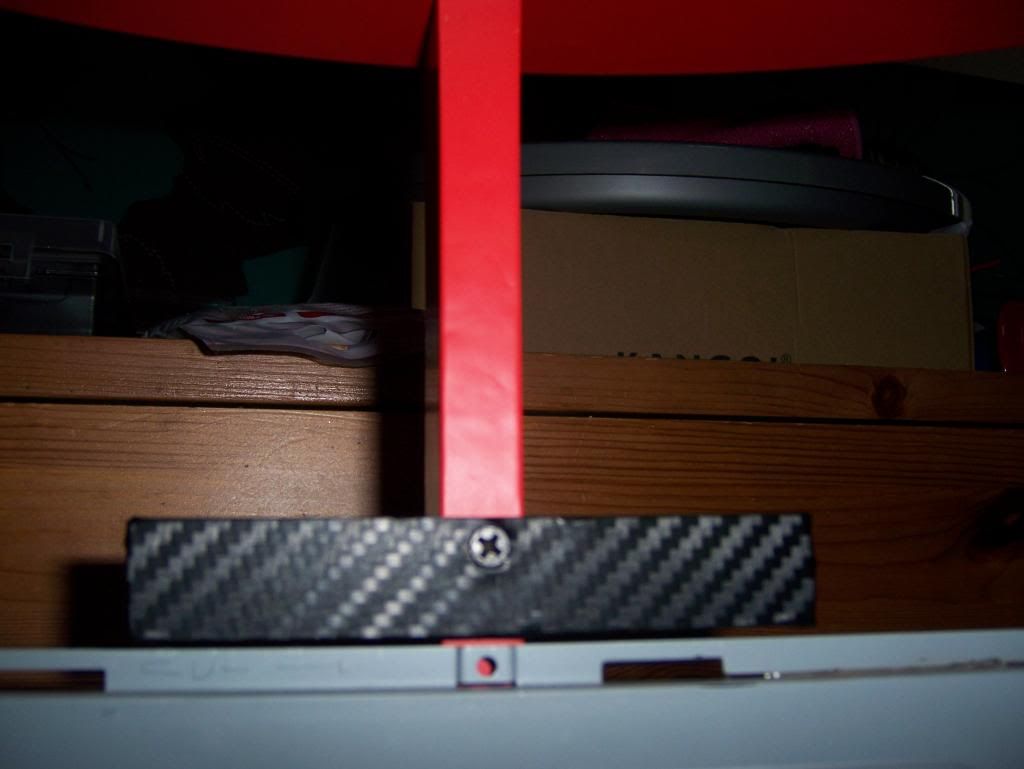
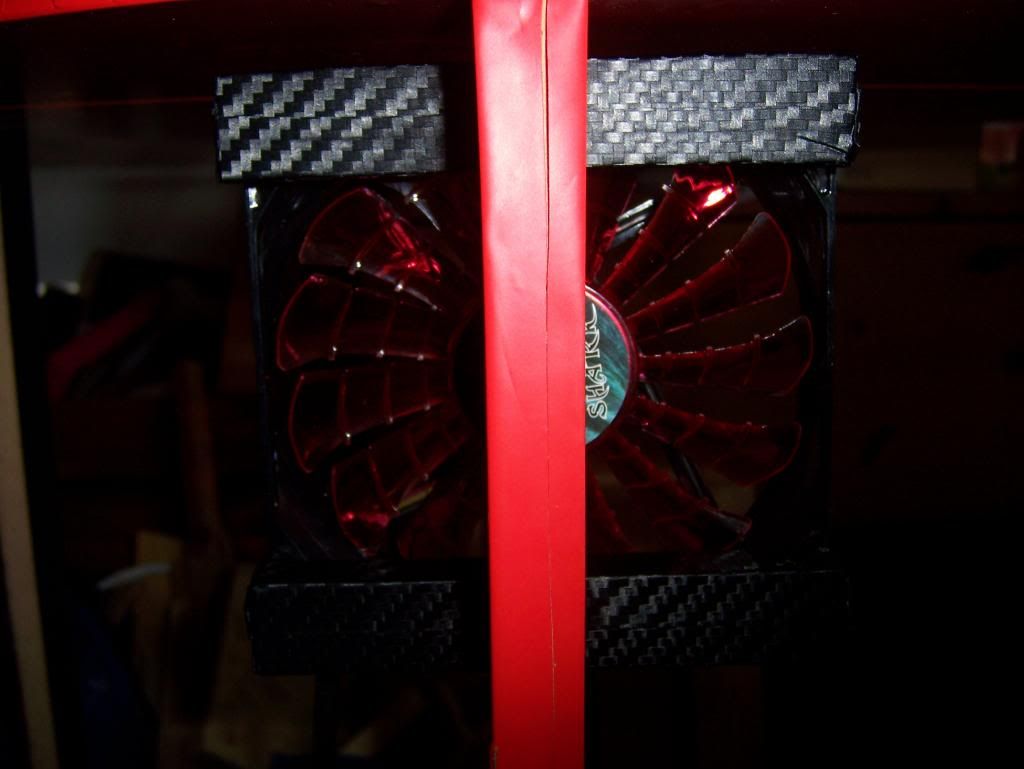
I have a lot of spare wood for my fireplace and found a few bits i could cut to size and use as mounts.
100_1445.jpg

100_1446.jpg

100_1428.jpg


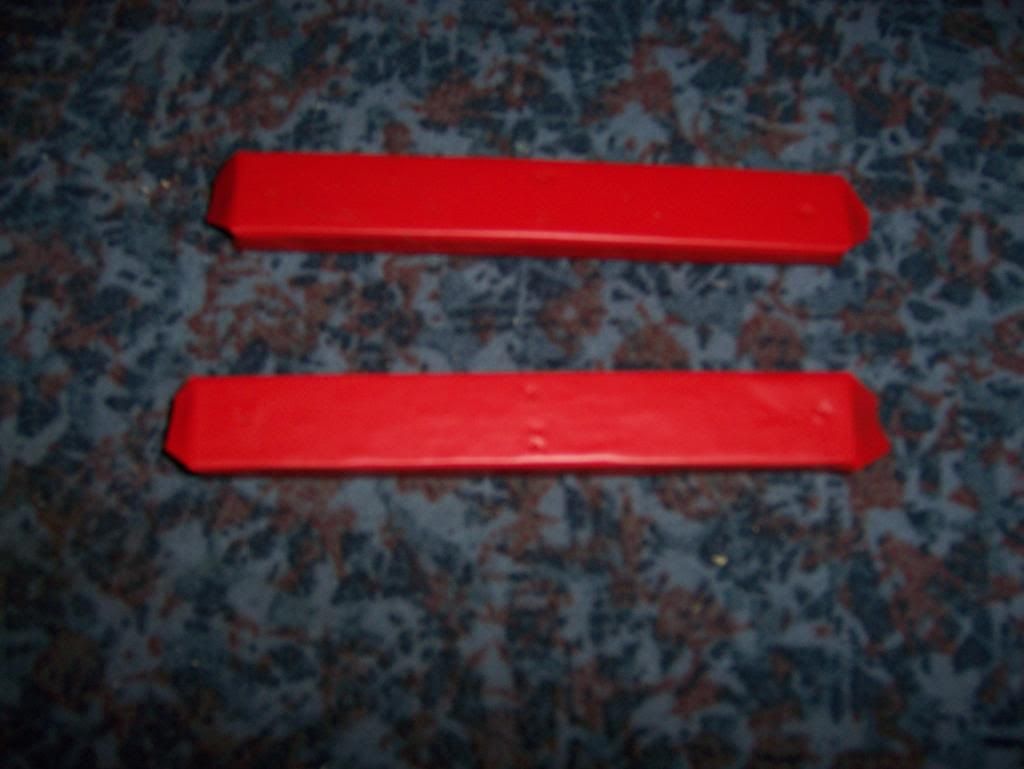
Then i covered them in film and fitted them back to the unit with the 120 mm fans fitted in place. Tidying where the vinyl didn't stick with glue.
100_1447.jpg

100_1435.jpg

100_1429.jpg

100_1438.jpg

100_1440.jpg

100_1441.jpg

100_1449.jpg

100_1450.jpg


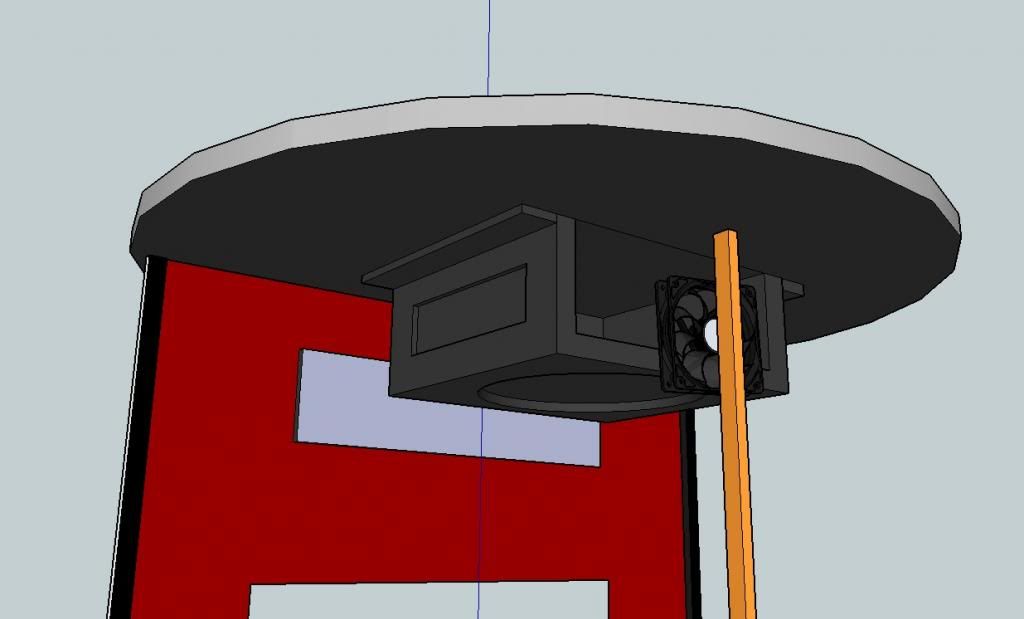
Whilst doing this, i planned where to fit the two 80mm fans would be going.
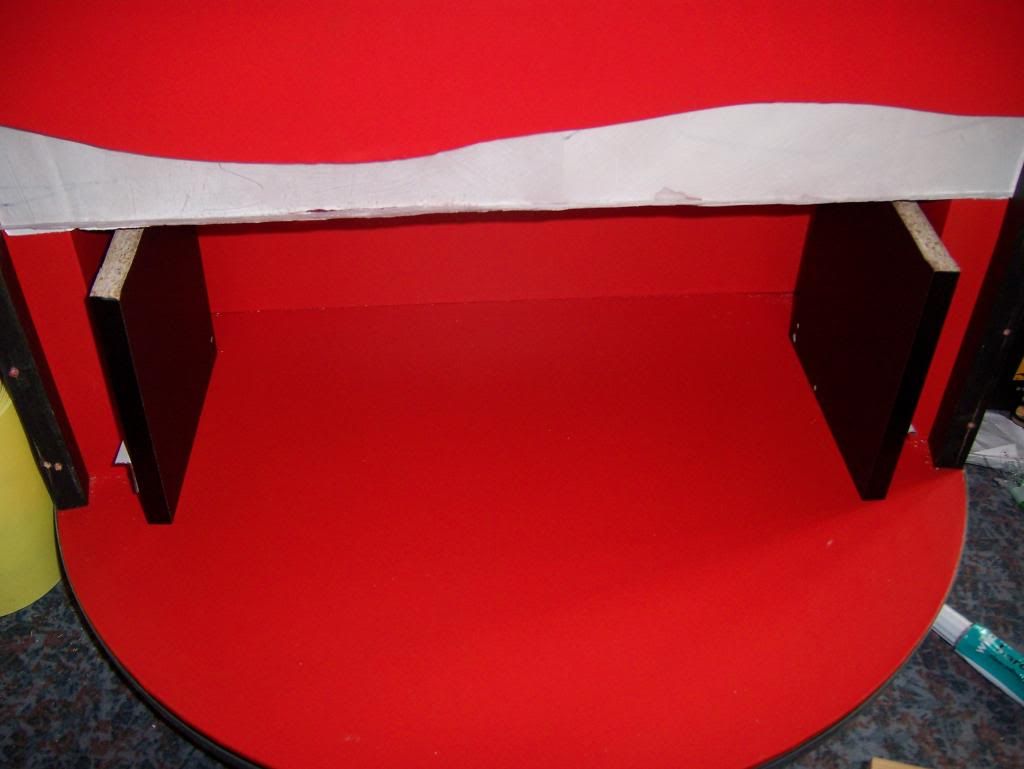
My intention was to suck the air in from the bottom (rear) fan, upwards through the shelf, through the PC case and over the motherboard then sucked out from the top rear fan.
100_1457.jpg


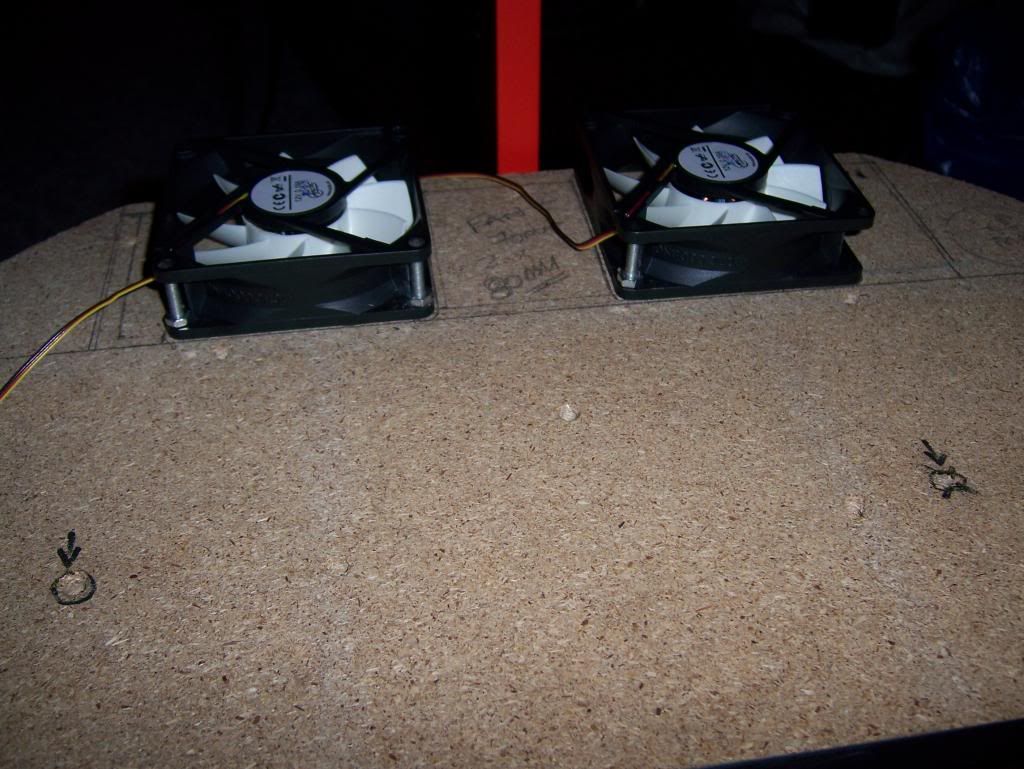
The fans were then fitted to the shelf underside.
100_1458.jpg

100_1458.jpg

100_1462.jpg

100_1464.jpg


I also needed to work out how to fit the front panels and how to lift them so support will be needed here for gas strut braces to be fitted later.
100_1411.jpg

Photo11-01-2006055511.jpg

The clear plastic piece will be explained later in depth.
Photo11-01-2006055535.jpg


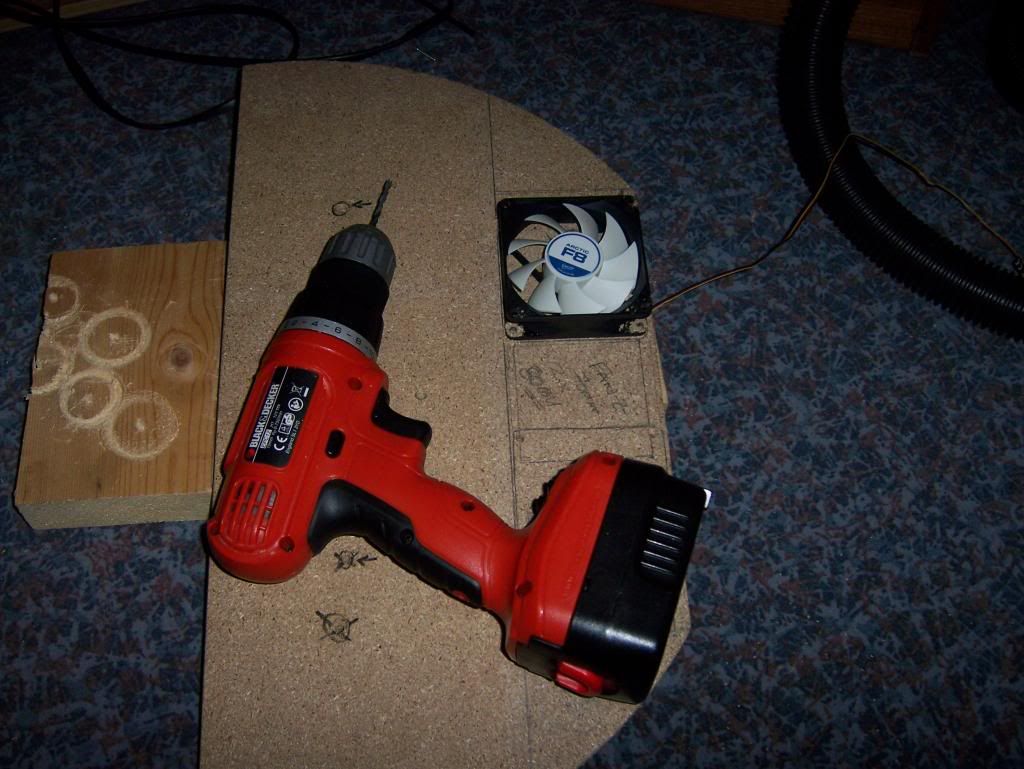
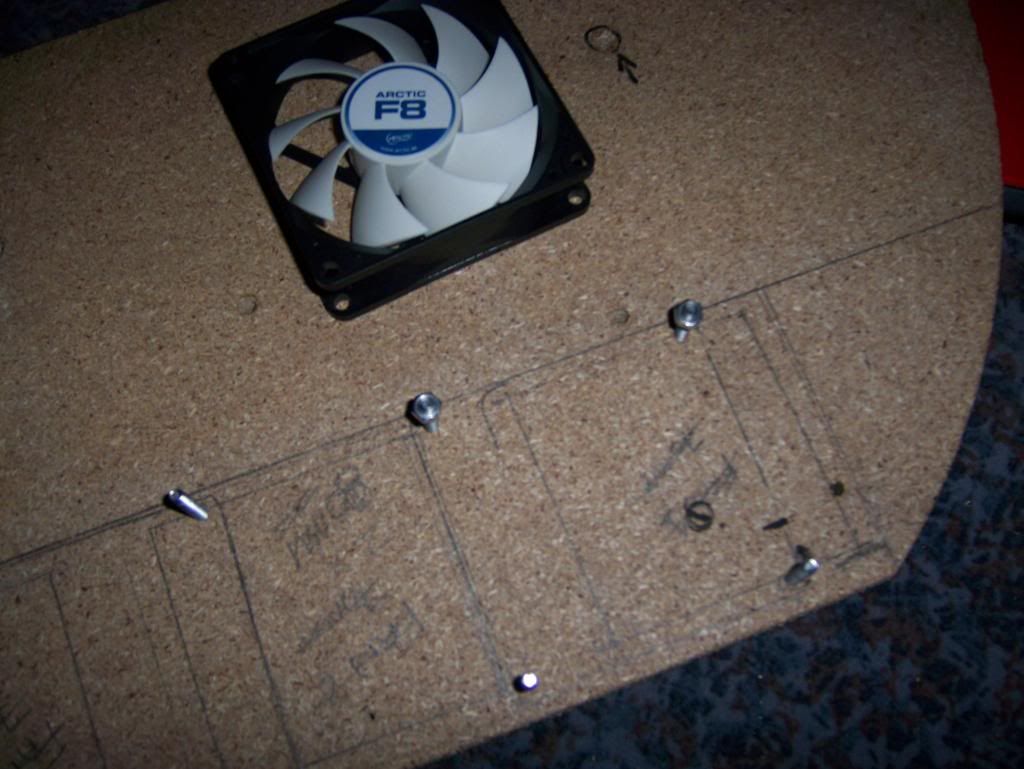
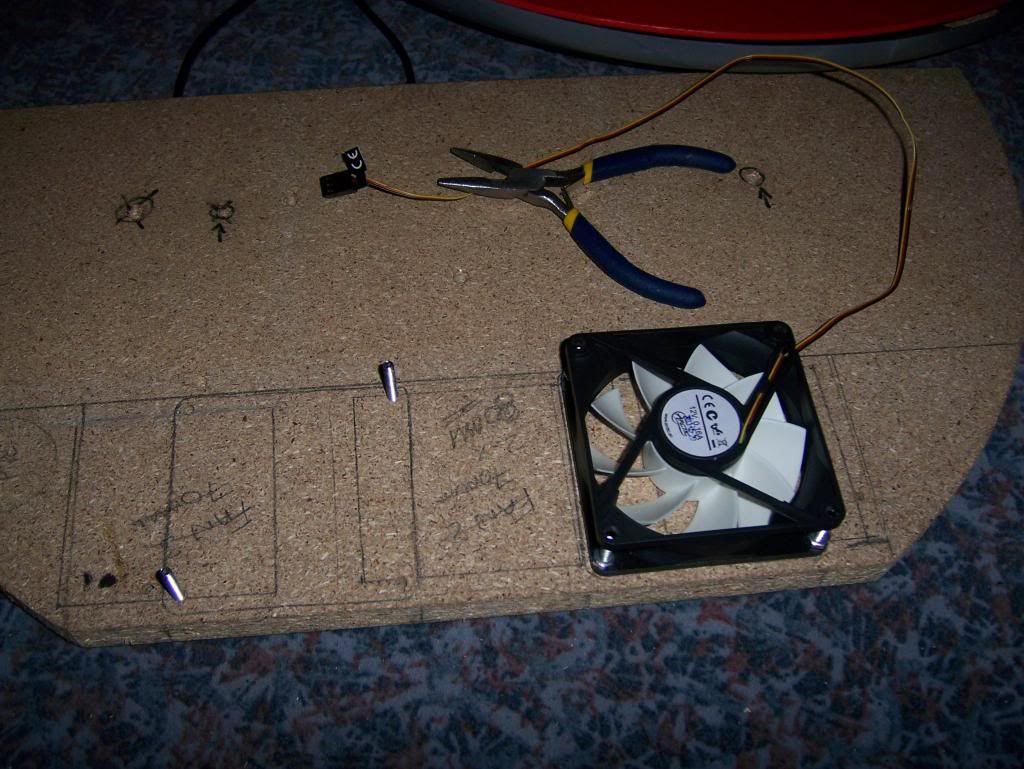
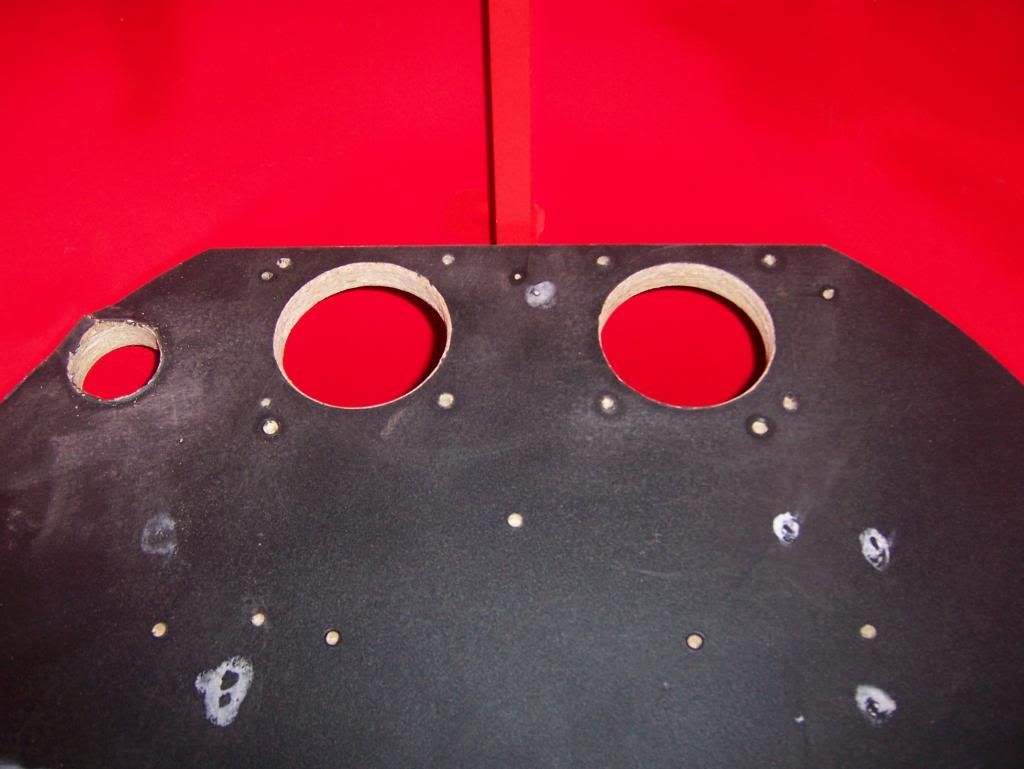
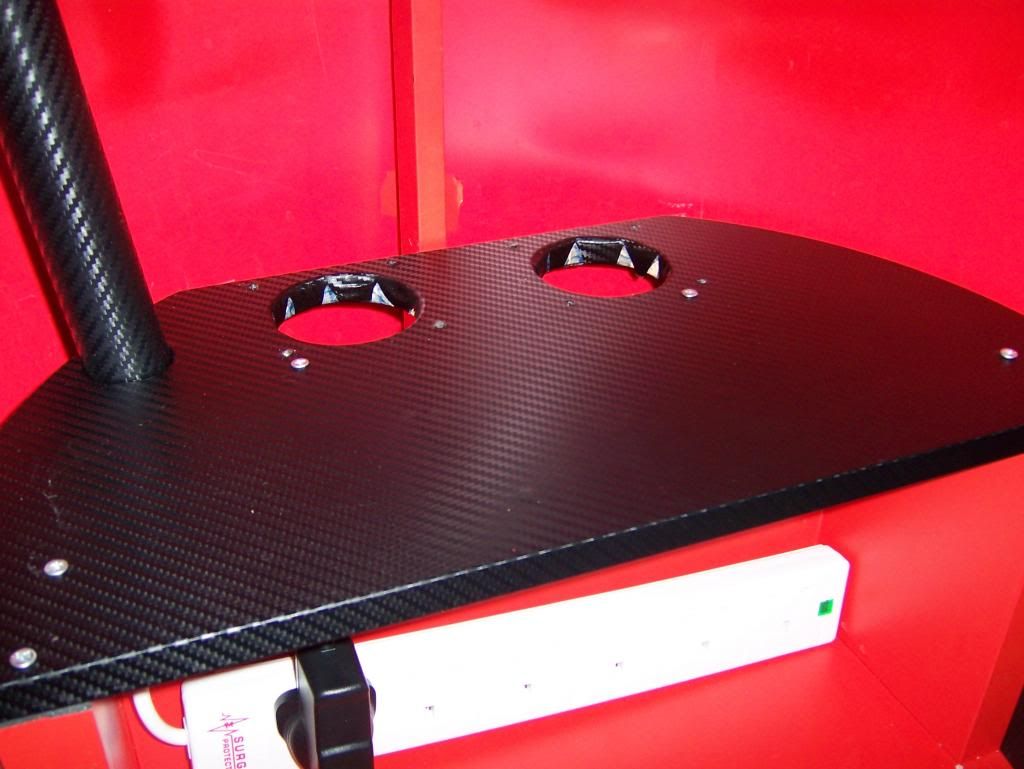
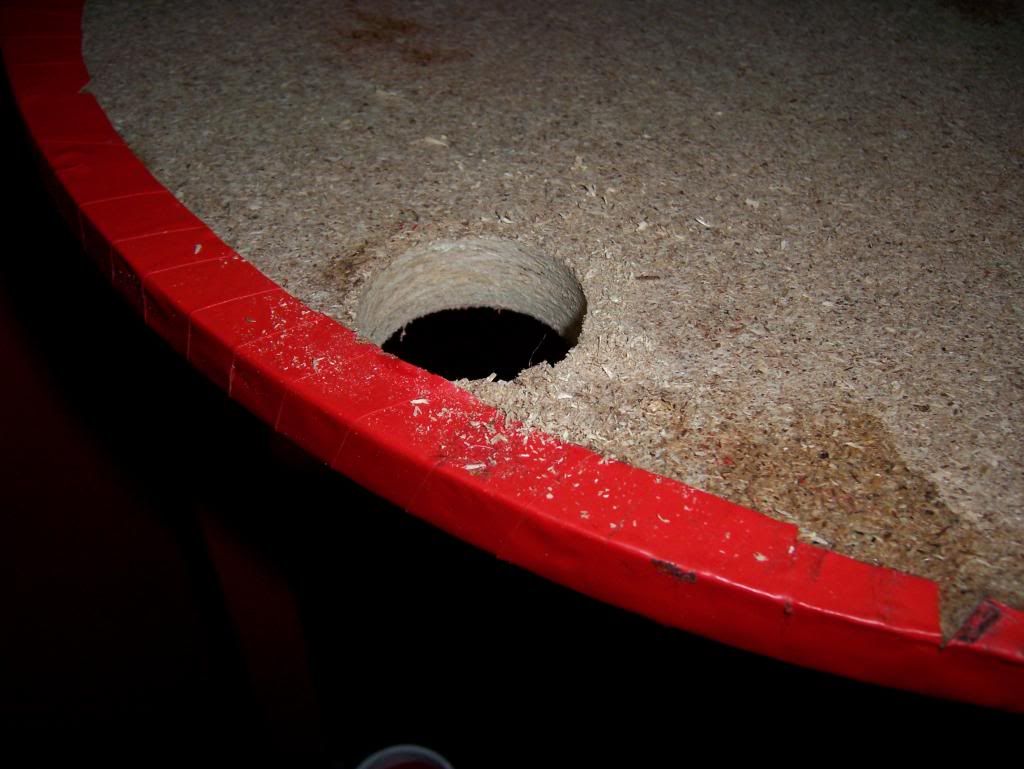
I then needed to cut some 76mm fan holes in the shelf plus another hole to the side for cables.
100_1535.jpg

Pipe for the cables could be added?
100_1536.jpg


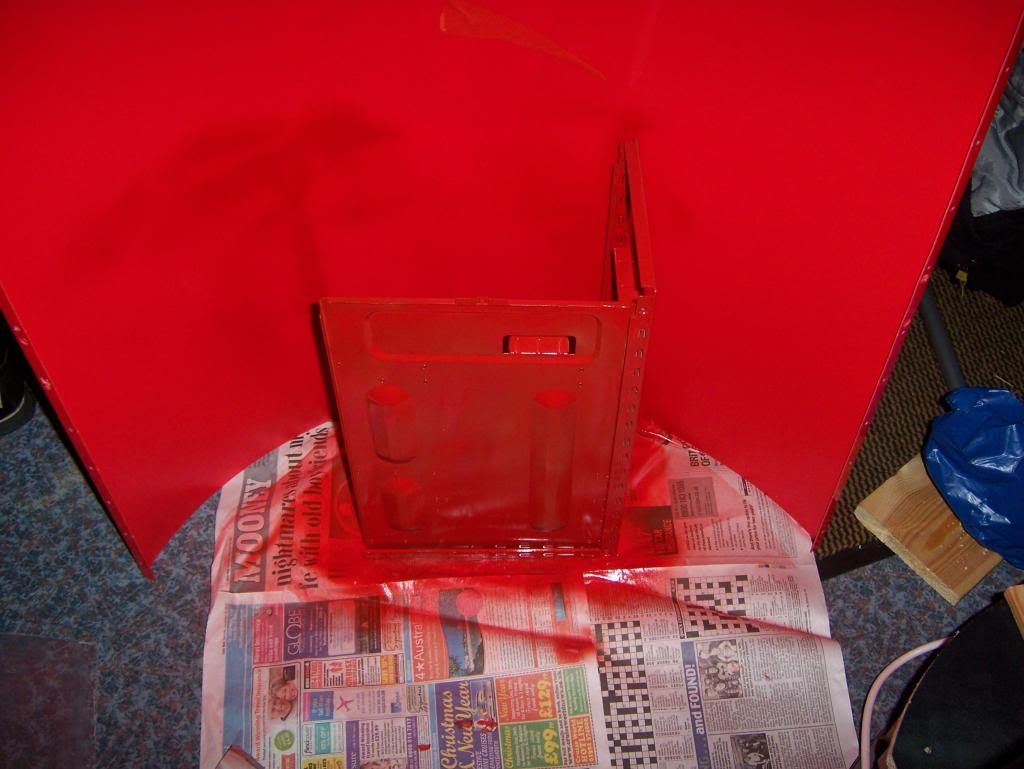
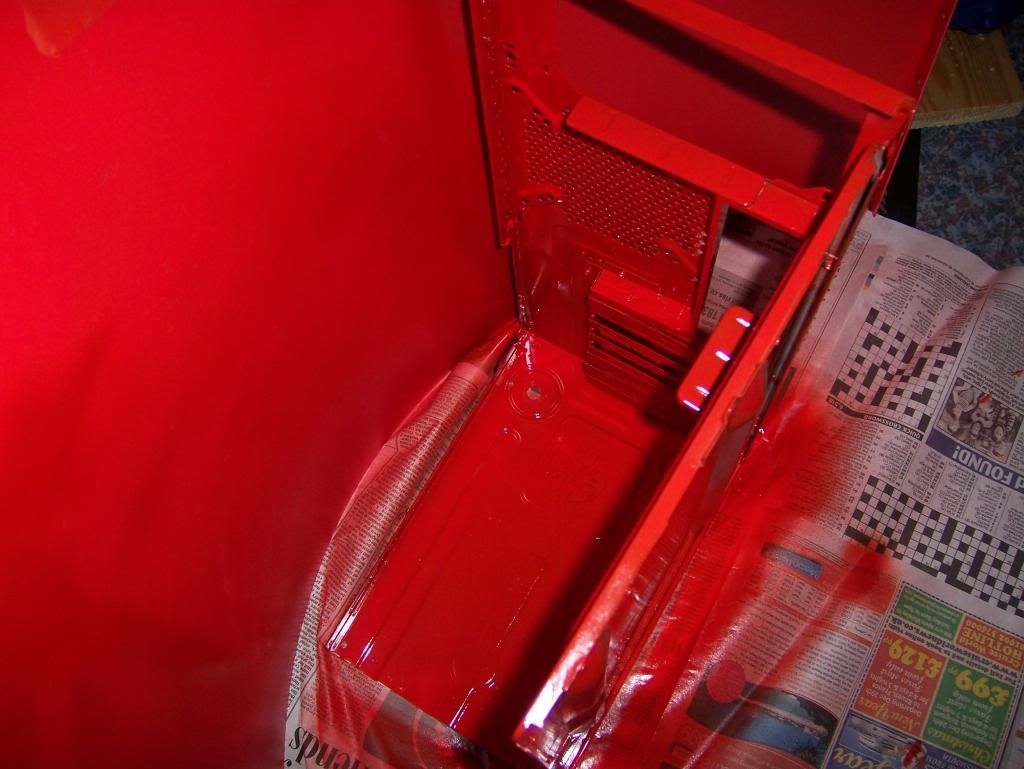
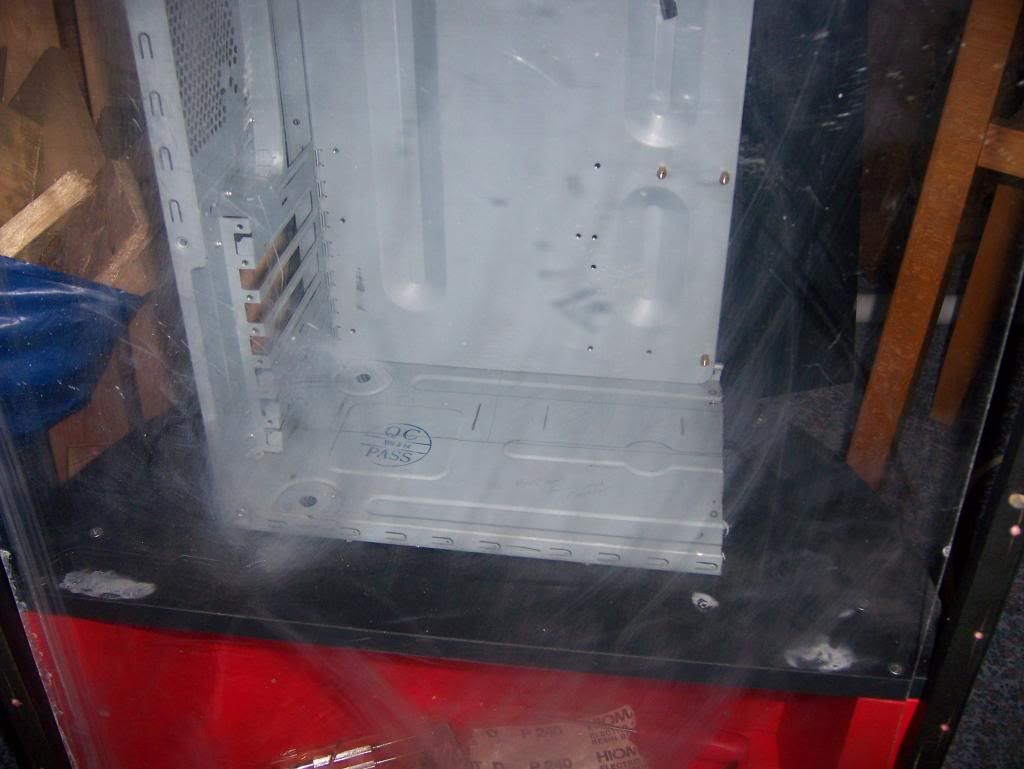
by this time im juggling a few things im doing so i decided to get some paint cause i wanted to see how the pc case would look in red.
100_1454.jpg

100_1453.jpg

100_1455.jpg


a light coat was all i needed for now. i let this dry while i ordered some car edge trim to go around the case.
100_1456.jpg

100_1434.jpg


This is roughly what it will look like after a lot of sanding and repainting and a few other mods but it will help you get the idea for now.
100_1469.jpg

100_1522.jpg

100_1523.jpg


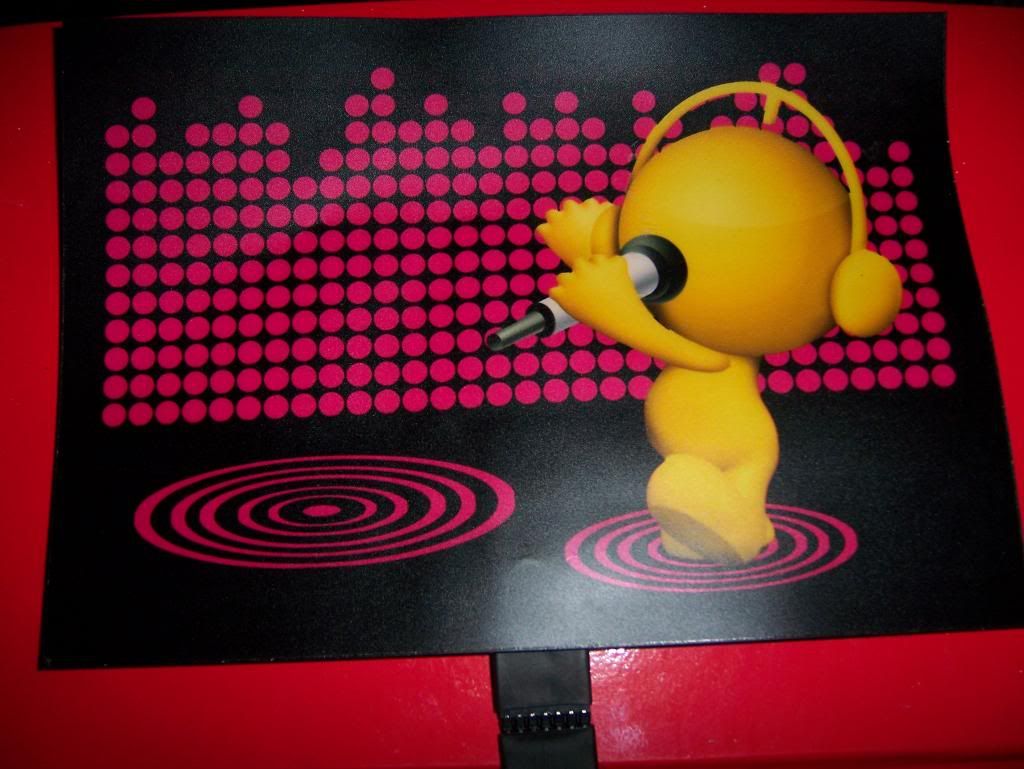
next i bought some dancing Electroluminescent (EL) panels for the doors so i can recreate the dancing LED coke bottle effect. At £5.95 each i thought i cant go wrong (this proves to be a pain and i don't use these ones because they arrived and lit up blue not red)
100_1476.jpg

100_1483.jpg

100_1481.jpg

100_1494.jpg

100_1495.jpg

100_1501.jpg

100_1502.jpg


I have replaced these now with the exact red dot size and colour i wanted at an additional cost of £30!! I wanted to be a perfectionist and this would have bugged me not getting it right first time. I will show more in the next few days post.

I will have to go have some tea now so that is your lot tonight. Ive not purchased a lot of hardware yet for the fear of the dust and damage from the plastering work im having done but this is my next purchase hopefully for march but its coming together.

my pictures are not in order my end, so its taking a while to post these by memory so if you don't mind a long post i will do them this way but let me know if you want smaller regular post.

The next few sets of photos should bring you up to speed with where i am. Theres lots of problems i didn't think of writing about cause i either solved them or changed the design.
I'm still waiting on a replacement monitor and the painted one above was just a spare bracket i decided to paint test but you can see it forming now i hope.
but with this pic you can see whats to come....
2014-02-09194755.jpg

2014-02-09185935.jpg


More tomorrow guys
:p
 
Last edited:
So many pictures, /drool

Looking good so far, you're working at quite a clip too. Must be enjoying yourself :D

I am now its coming together, eerily excited but the only thing that's holding me back is the postage on some items coming from America or china and i had to get a replacement monitor from another seller on eBay cause only one of the two worked others sellers just didn't bother posting an item and i ordered one cable and the opposite one turned up. Ebay sellers are the bane of my life at the minute but its the only place to find the stuff i need at a decent price.

Nice 1 man! Looking forward to helping you spec up the hardware to go inside!

I could always do with some good advice on the hardware.
I want the ASUS sabertooth z87 Mother board because i like the look of it and it will be on show through a window. I will probably go for an I5 CPU 4670 or the K. I don't know what the difference is other than you can overclock the K i think? Ive never tried overclocking before.
I want it to be powerful and smooth operation but i don't think I will get into gaming very often other than a bit of gta modding which is usually rough anyway. The pc will be a server to my TV mostly TBH.
Ive had a good quote through my local computer shop £429.99 MB, CPU and 2 4gb ram as above so im tempted by that price to just stick with what ram they have for now.

The rest of the equipment will include two slot load dvd drives (maybe a 3D one but not necessary) i will get a main SSD for the operating system and plan to have space to add more but i have loads of old sata drives i can use for extra storage for now.
Ive bought the memory card reader, fan controller and worse thing is im praying ive bought the right fans now? :(

I also need to find someone to make me some metal front display panels to fit all this stuff too.
Then im adding some usb 3.0 sockets in the door moulds this should be easy enough but im confused on the best way to make the sockets powered.

Im bending my mind on what to do for monitors because i want the can to be standalone and without a monitor nearby or on top etc so i have a small monitor with my old pc and a large 3D tv to use for a monitor but i dont know whether to get a wireless HDMI transmitter, i hear bad things about them but its about 10ft away from each other and i dont want to run a cable if i can help it.

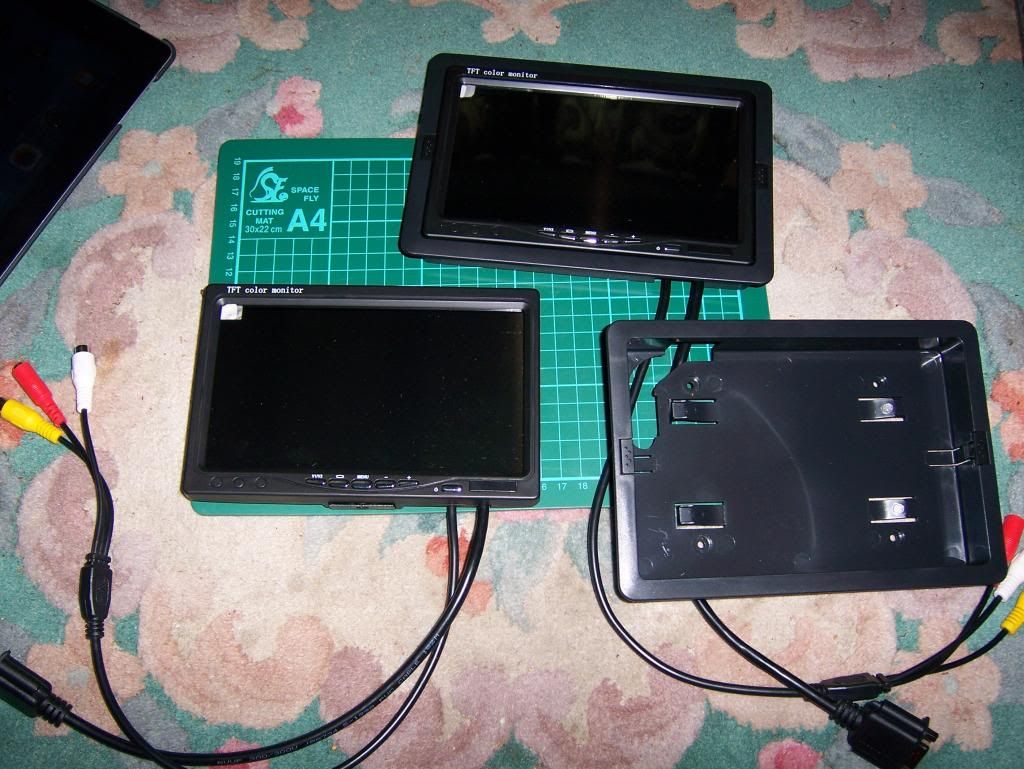
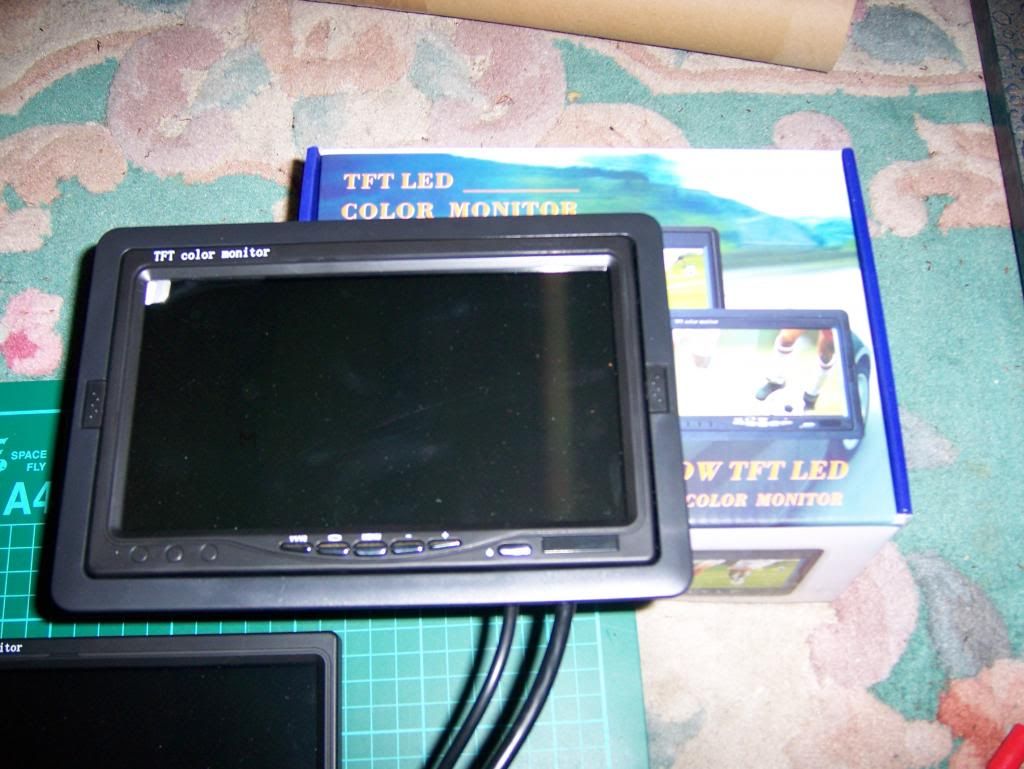
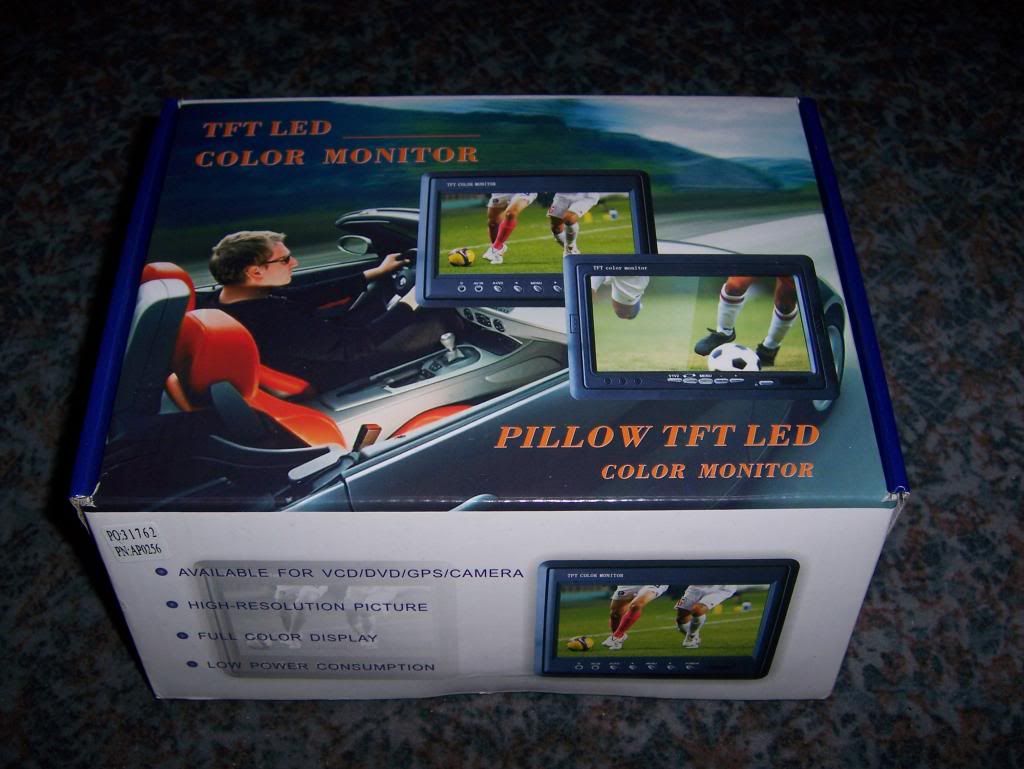
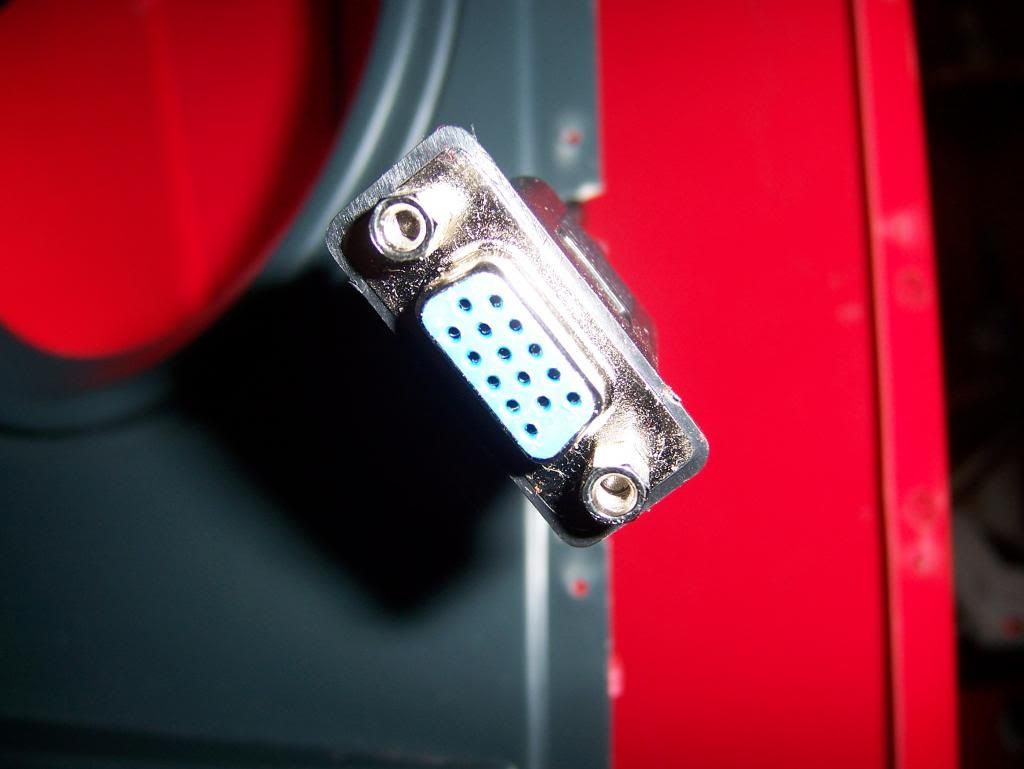
There is the two 7'' VGA monitors and im going to have to convert them to hdmi with another adapter off ebay or something just so i don't damage the frame when threading the cables between the door and the main body i need a smaller adapter so hdmi seems the best solution because of the size of the adapters.

Please let me know what you think on the hardware as I could do with another opinion on what im buying before i buy it and what i else i can add to the design.
As you can probably tell i have lots of questions :D

Oh and i would love to add some water cooling with a coke coloured liquid running through seems a cool idea but most people are saying i shouldn't bother. Plus again ive never done it before.

I will have something to eat and then il get started posting a few more pics. Keep your eyes peeled :eek:
 
cant believe my internet just shut down last night it was taking 5 minutes to upload one pic, can anyone suggest somewhere better to host my pics than photo bucket.
Ive just set aload of pics to upload while im in work all day so hopefully they will be ready when i get back.
 
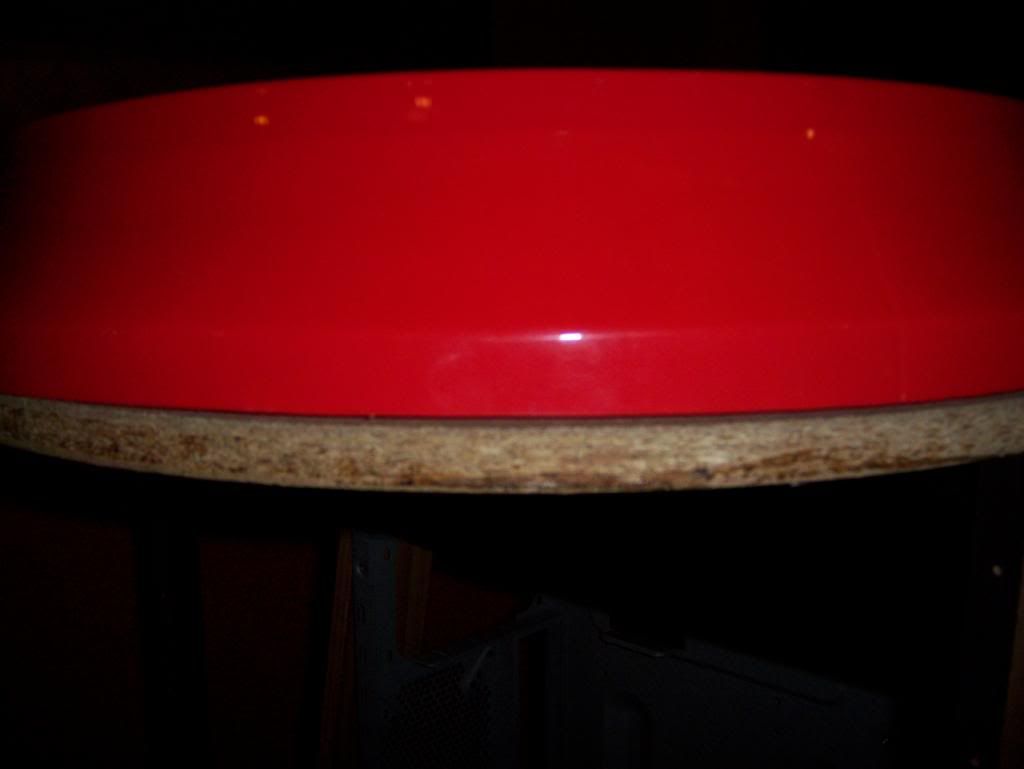
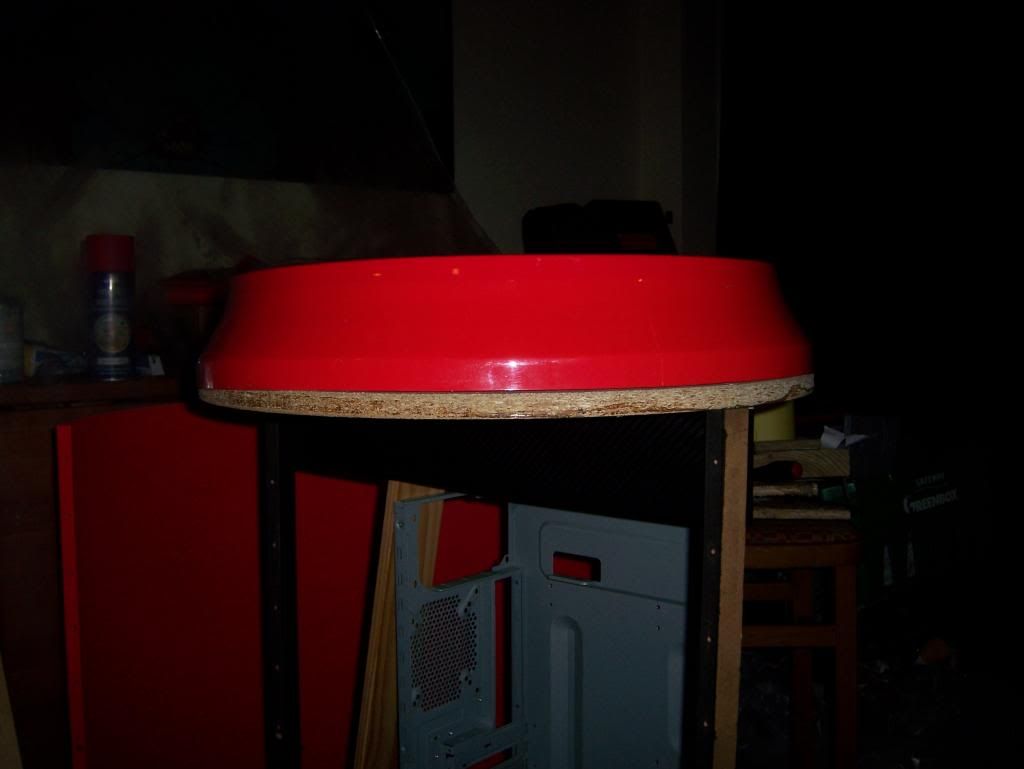
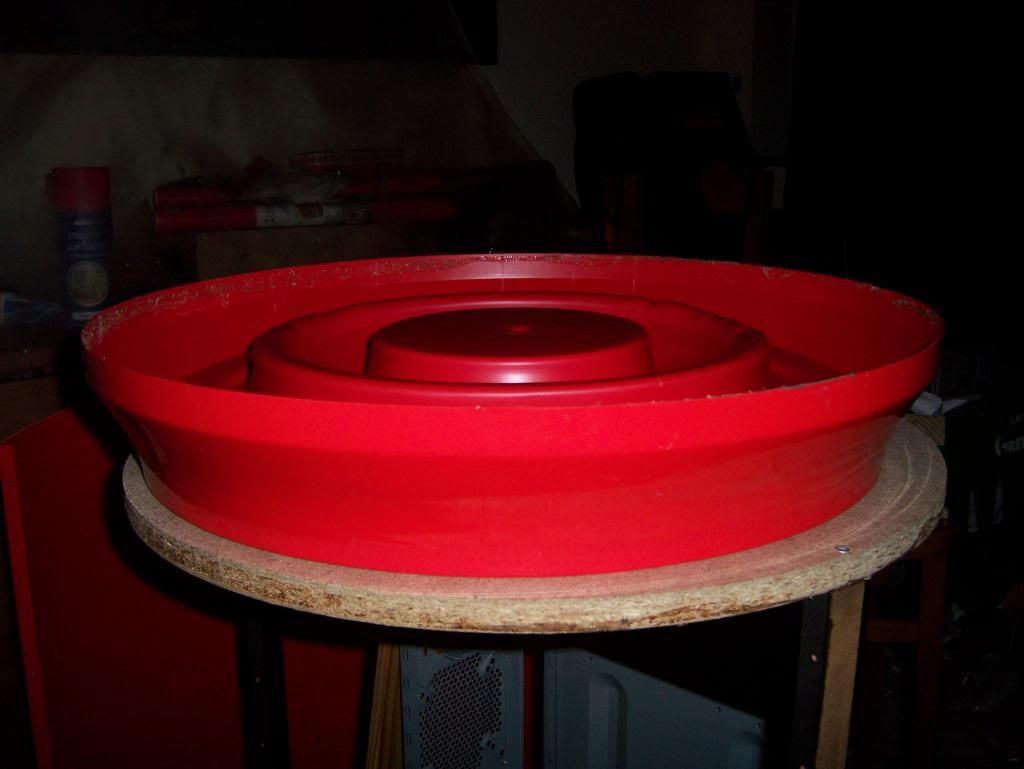
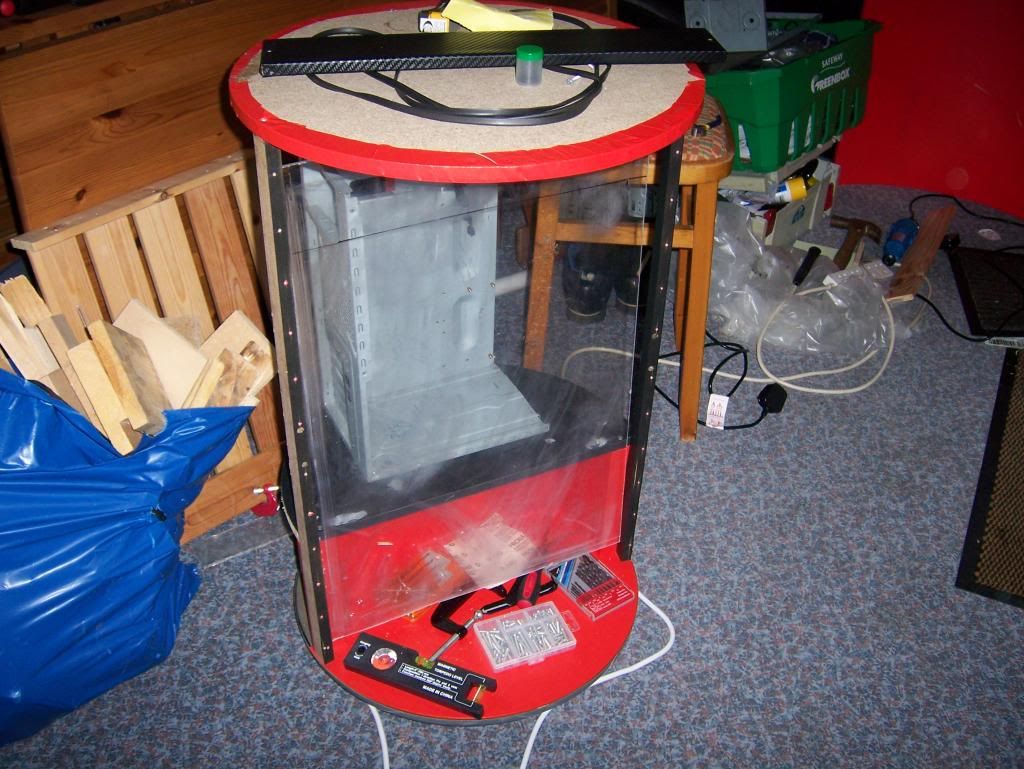
First off as you can probably see i had to remove the top part of the can and wrap the top circle in red.
100_1431.jpg

100_1430.jpg


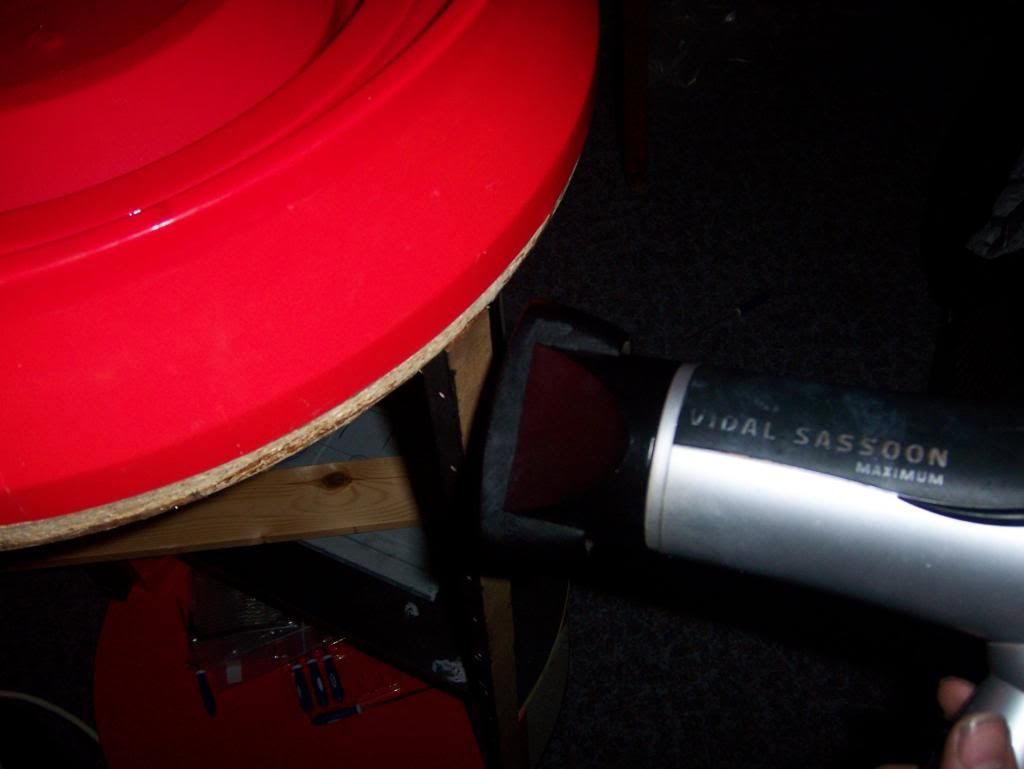
I also had to remove the top of the can (lid) by heating the glue and prying off.
100_1421.jpg

100_1415.jpg

100_1419.jpg

100_1420.jpg


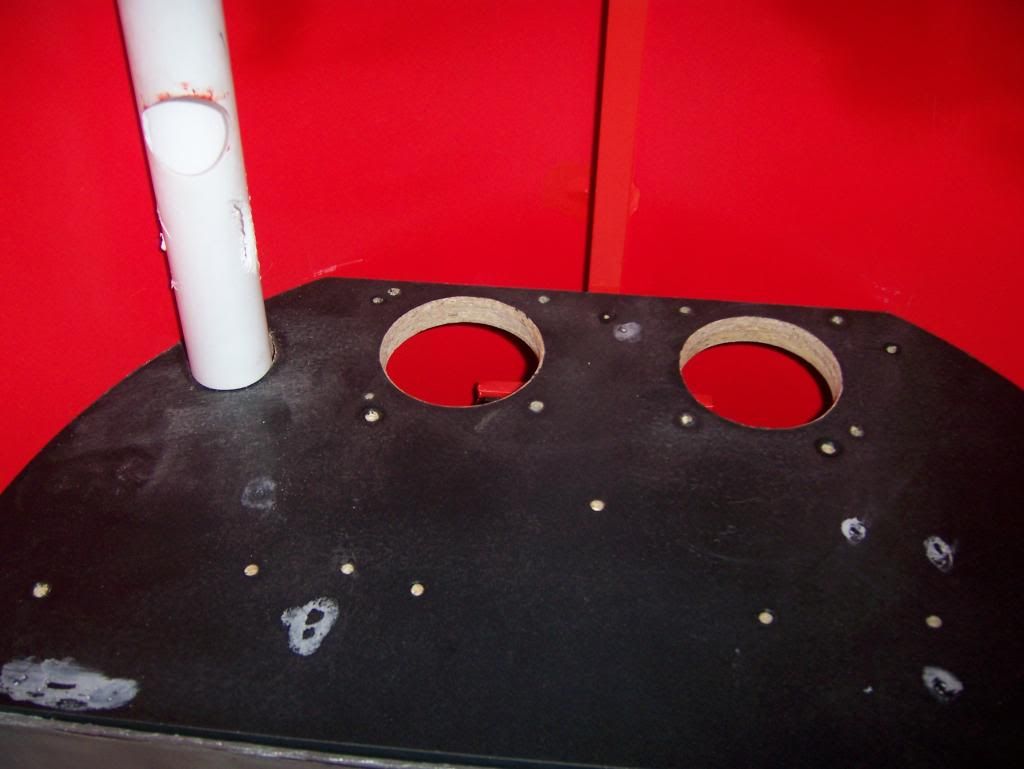
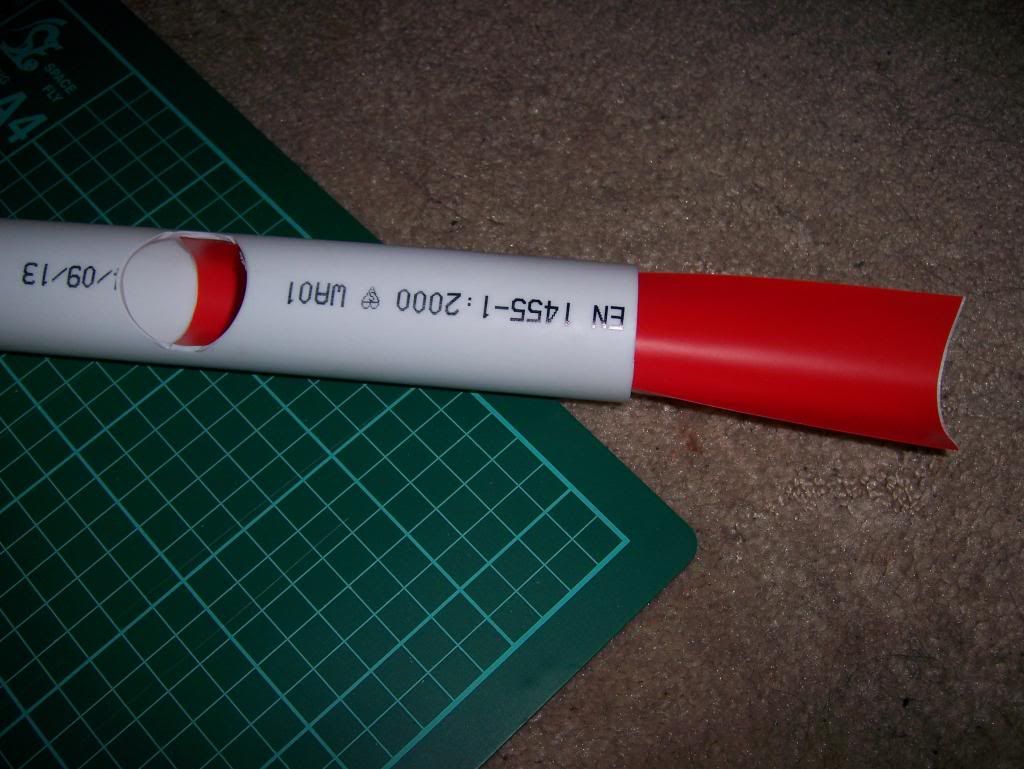
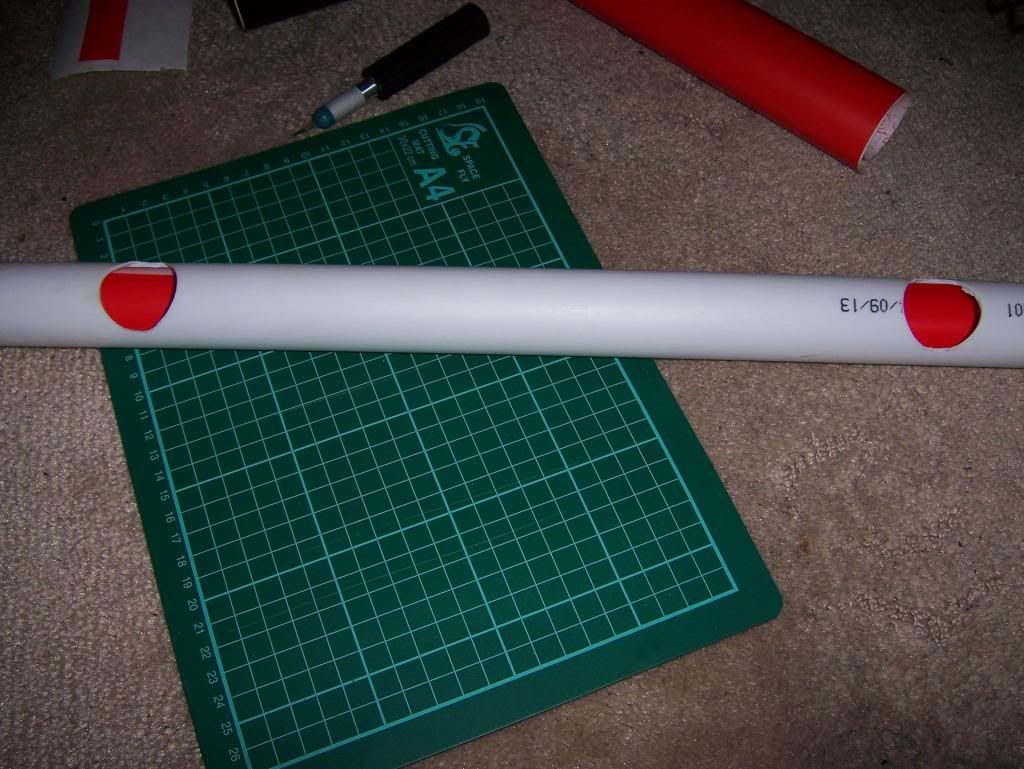
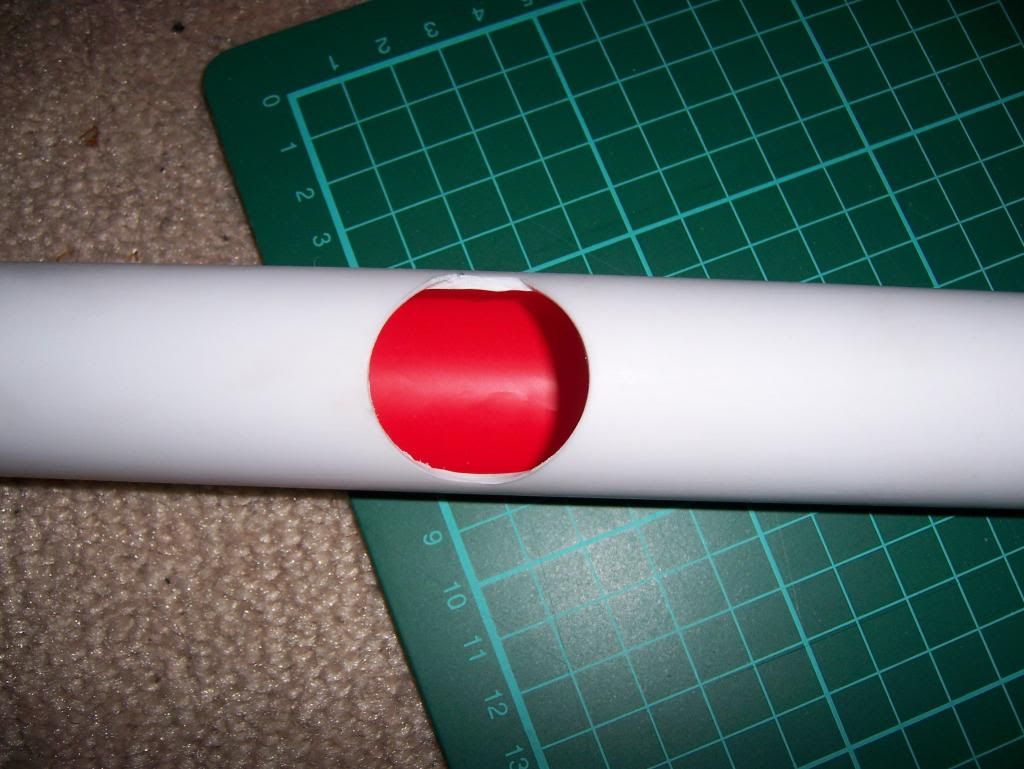
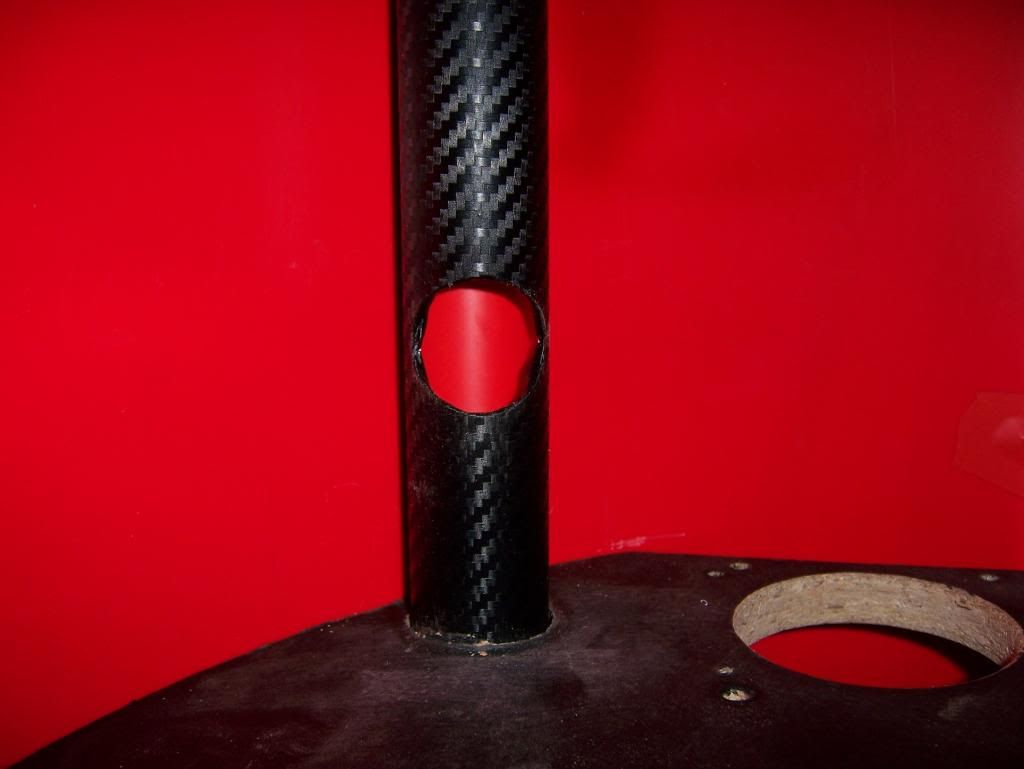
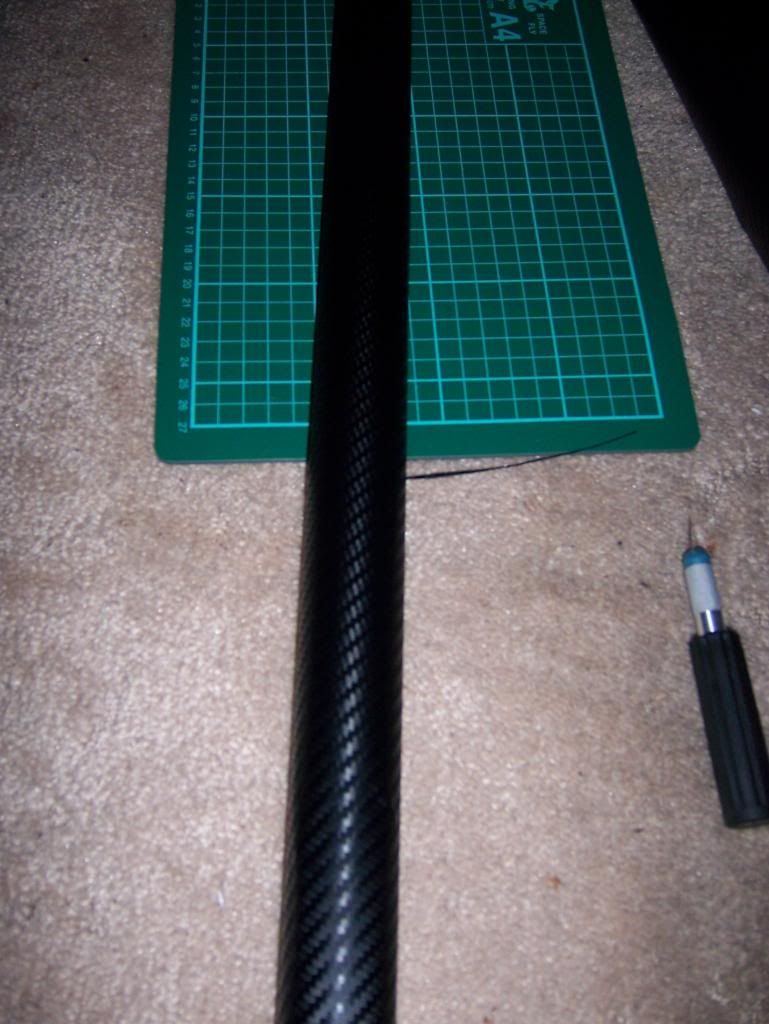
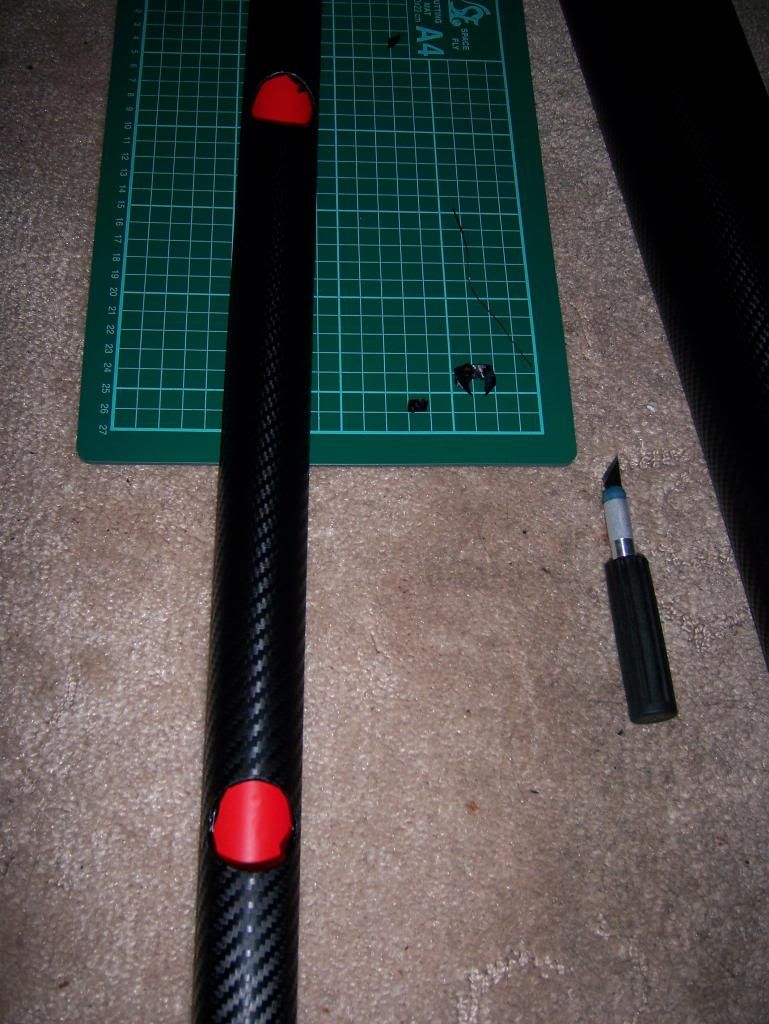
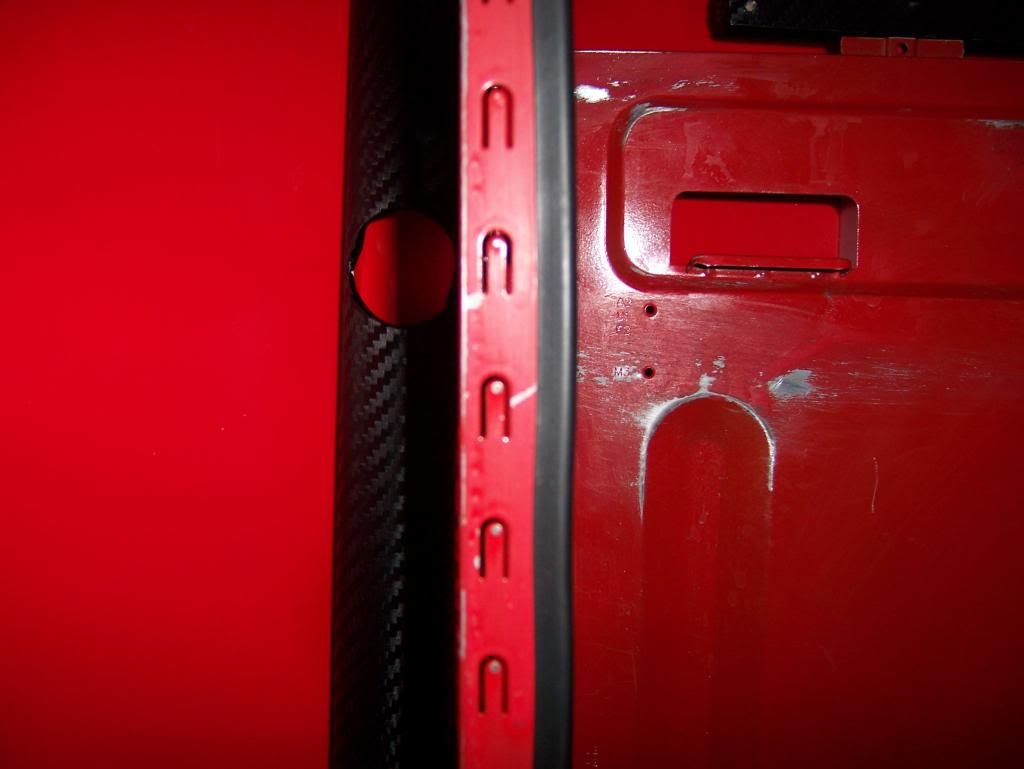
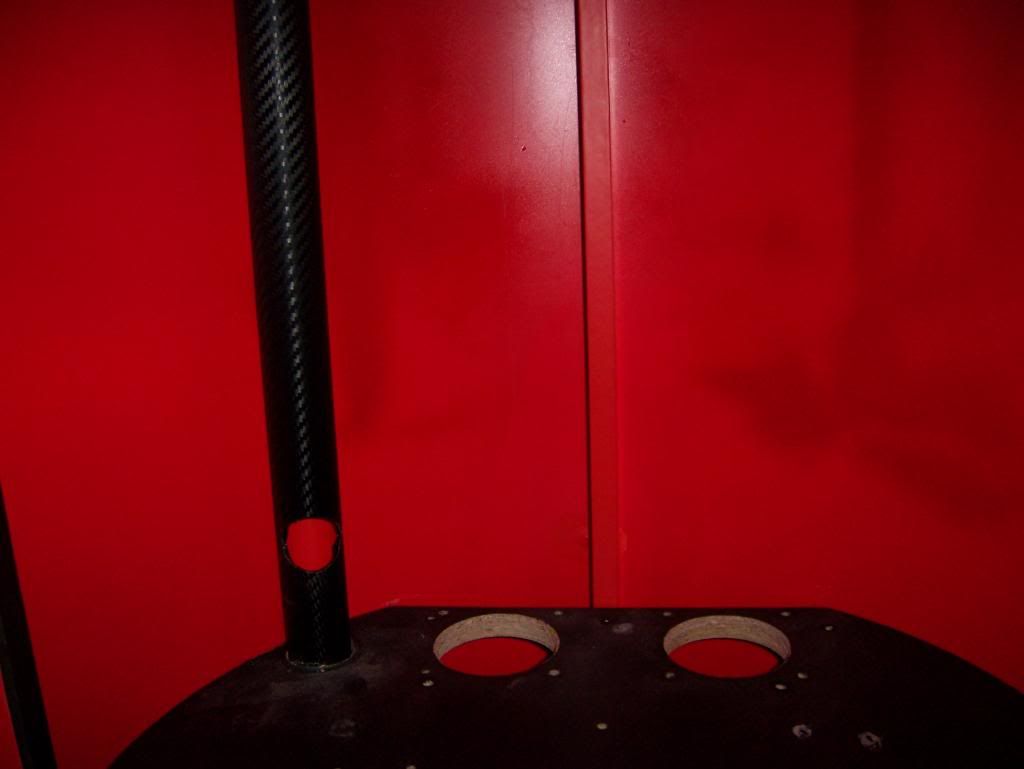
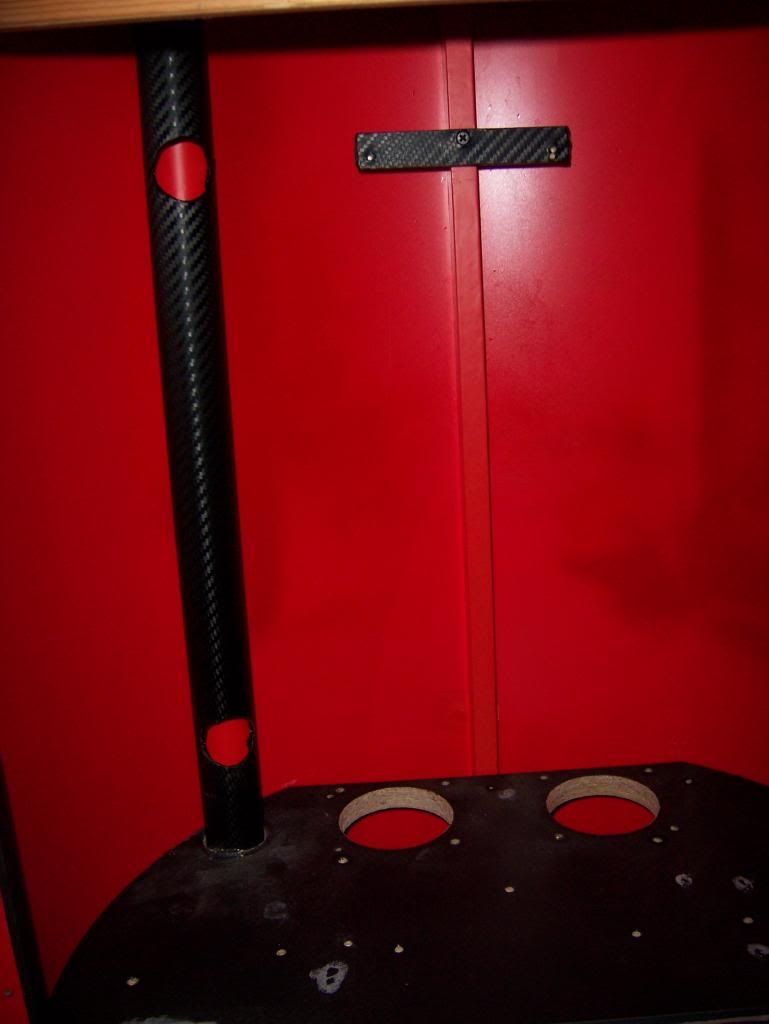
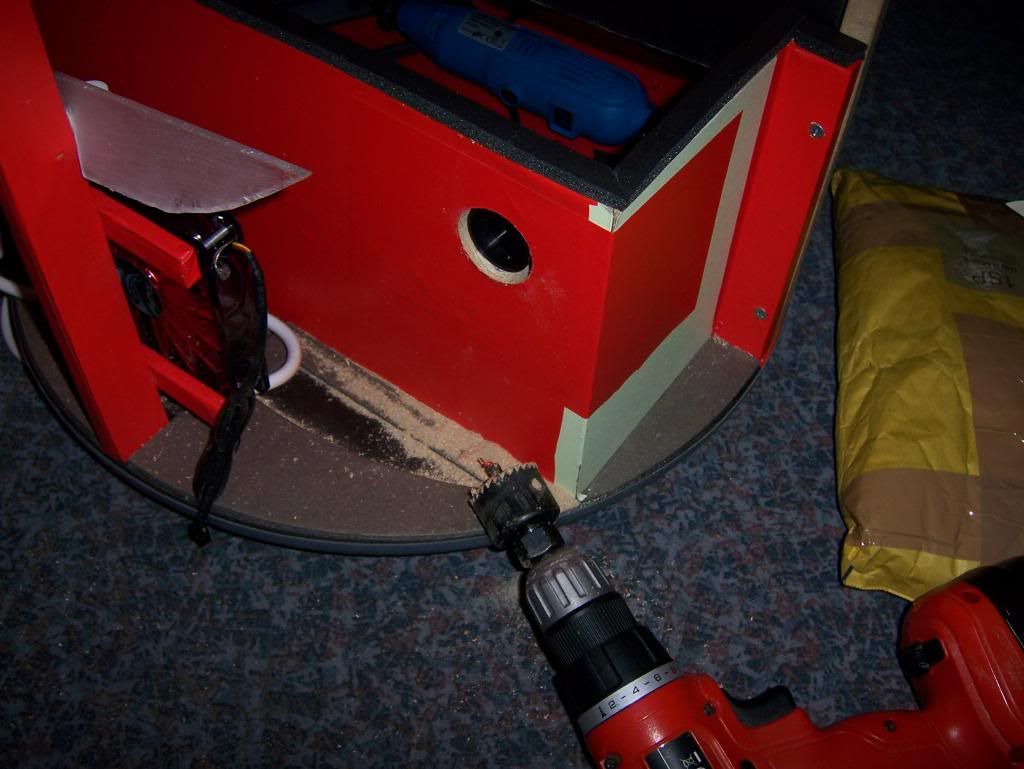
Next i have set about with the pipe i am using for the wires, its a 35mm pipe where i cut two 38mm holes into. I still have some edge trim to go around the holes yet.
100_1538.jpg

100_1539.jpg

100_1540.jpg

100_1541.jpg

100_1542.jpg

100_1546.jpg

100_1543.jpg

100_1544.jpg

100_1553.jpg

100_1545.jpg

100_1548.jpg


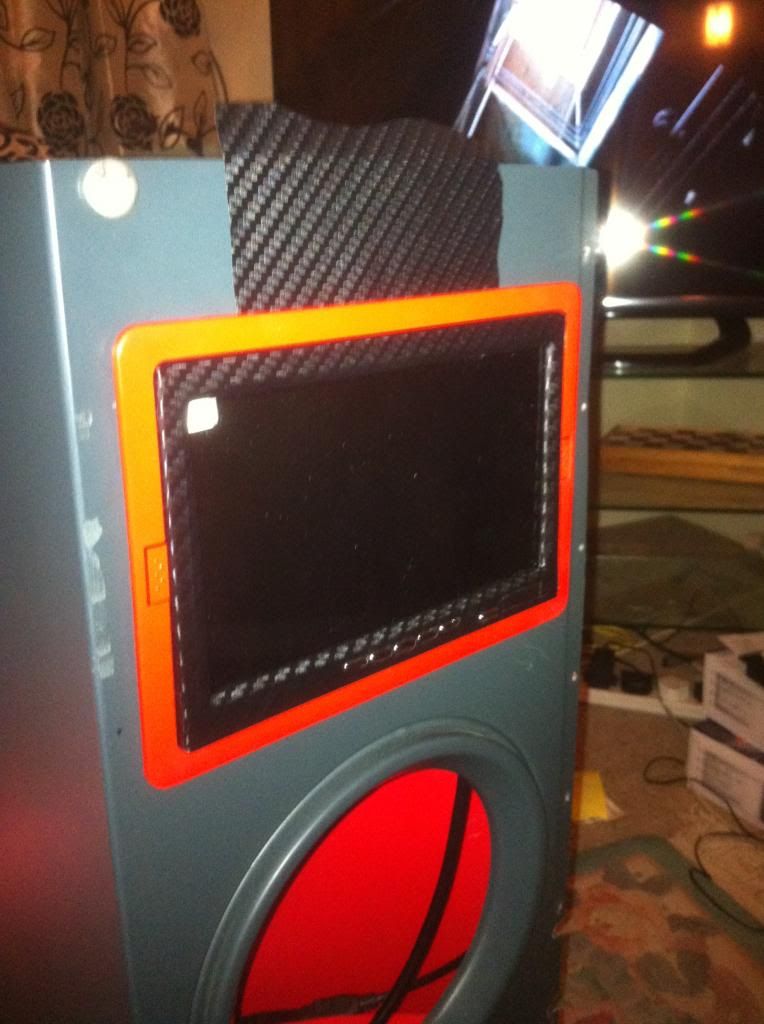
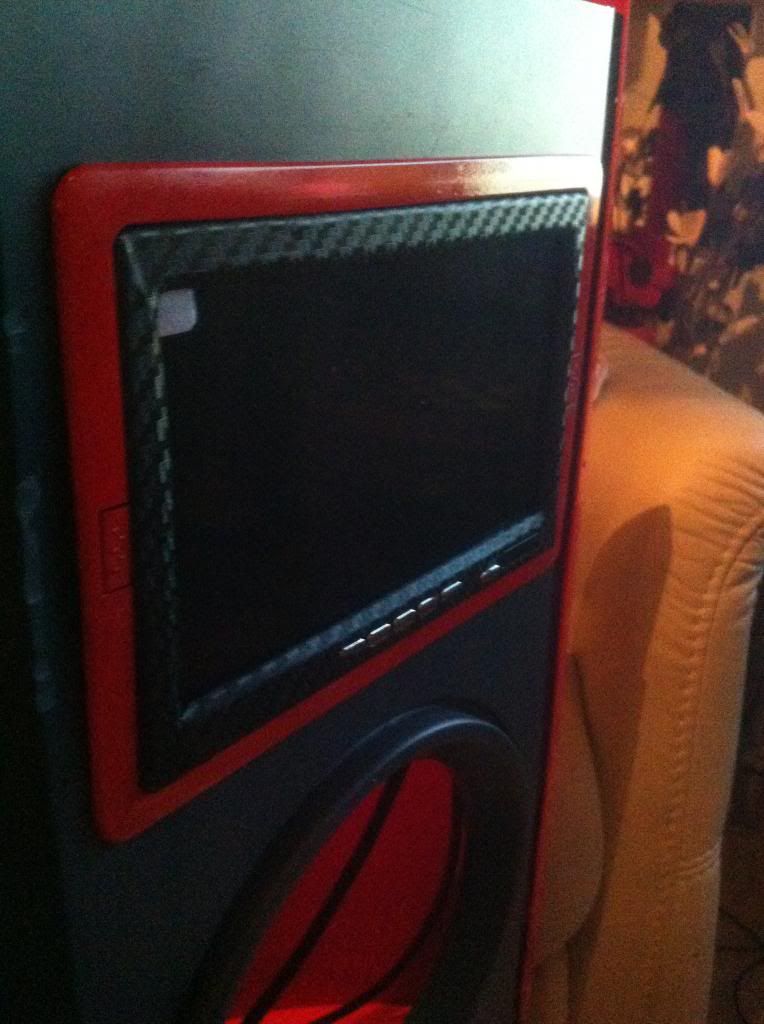
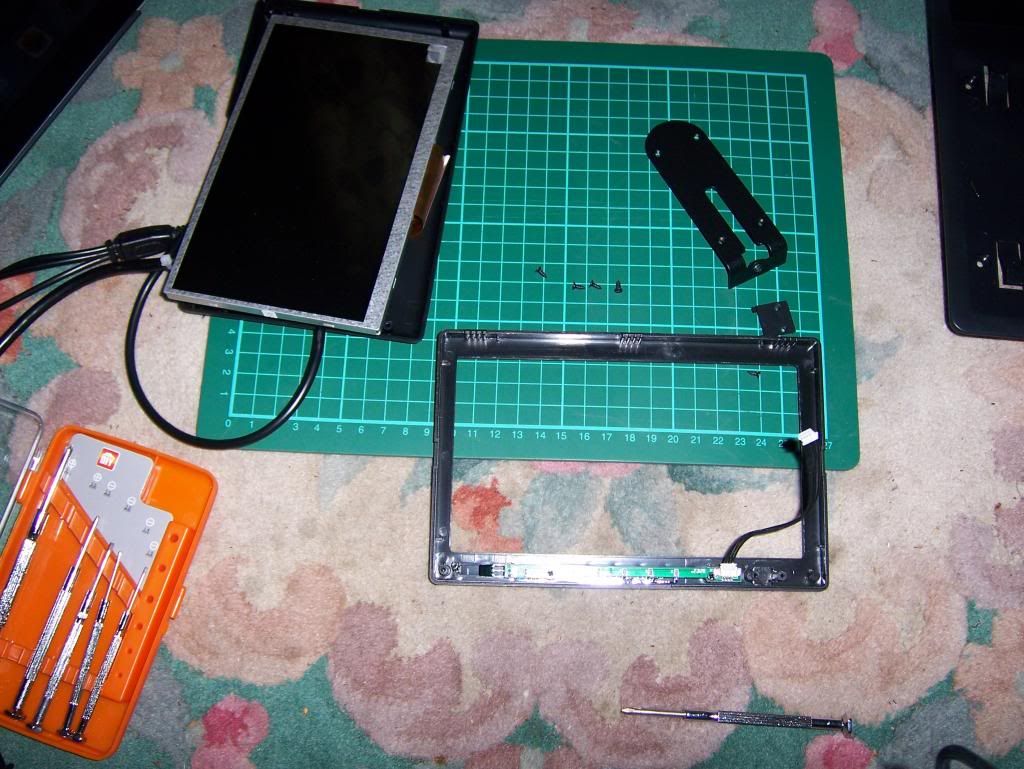
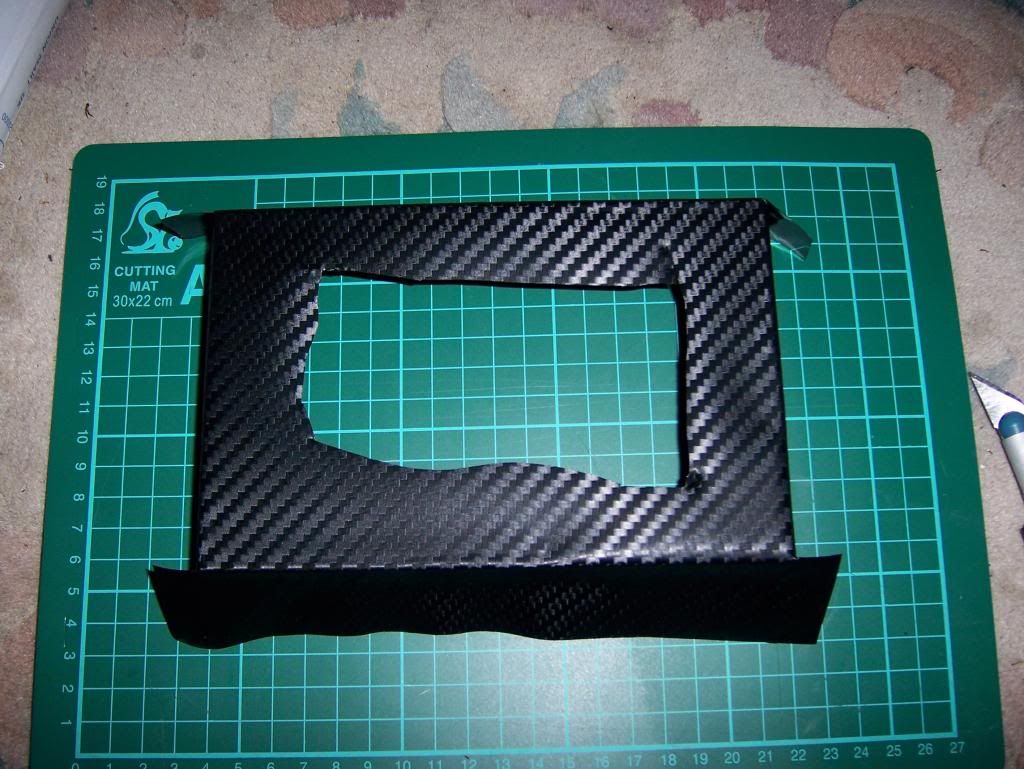
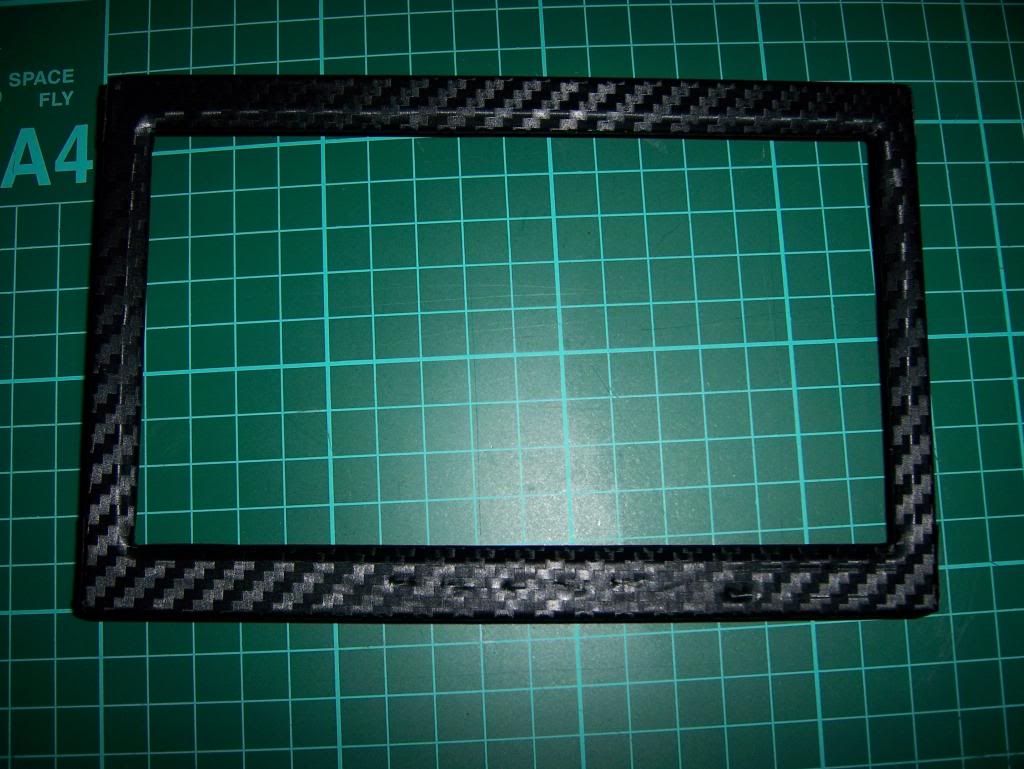
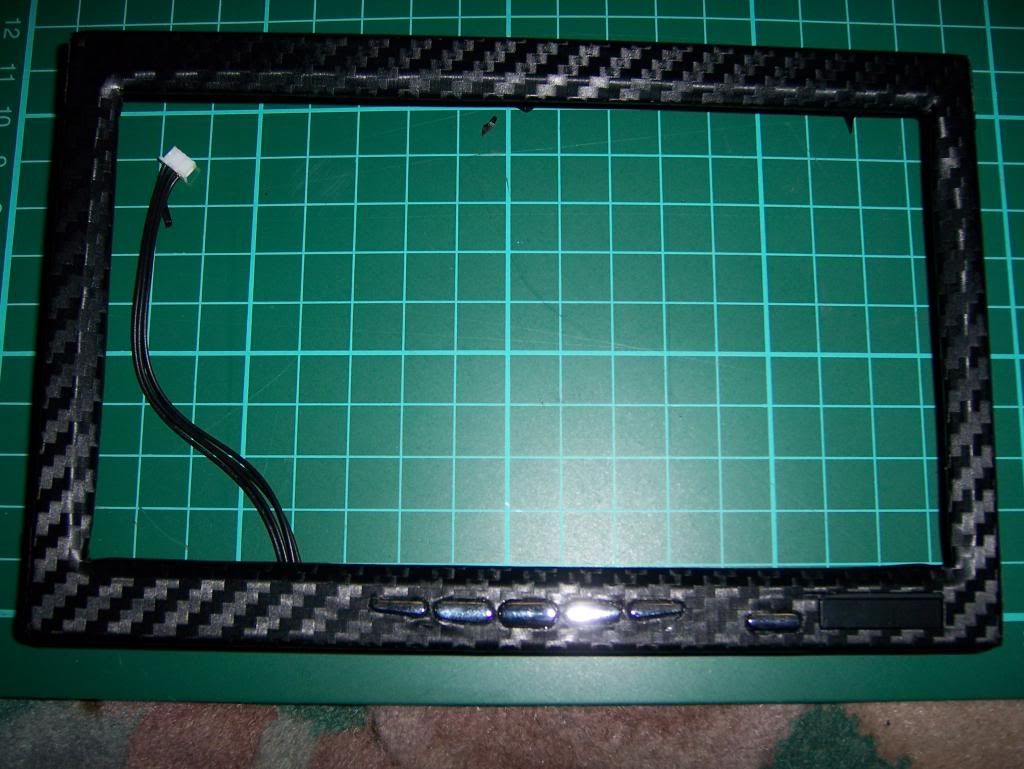
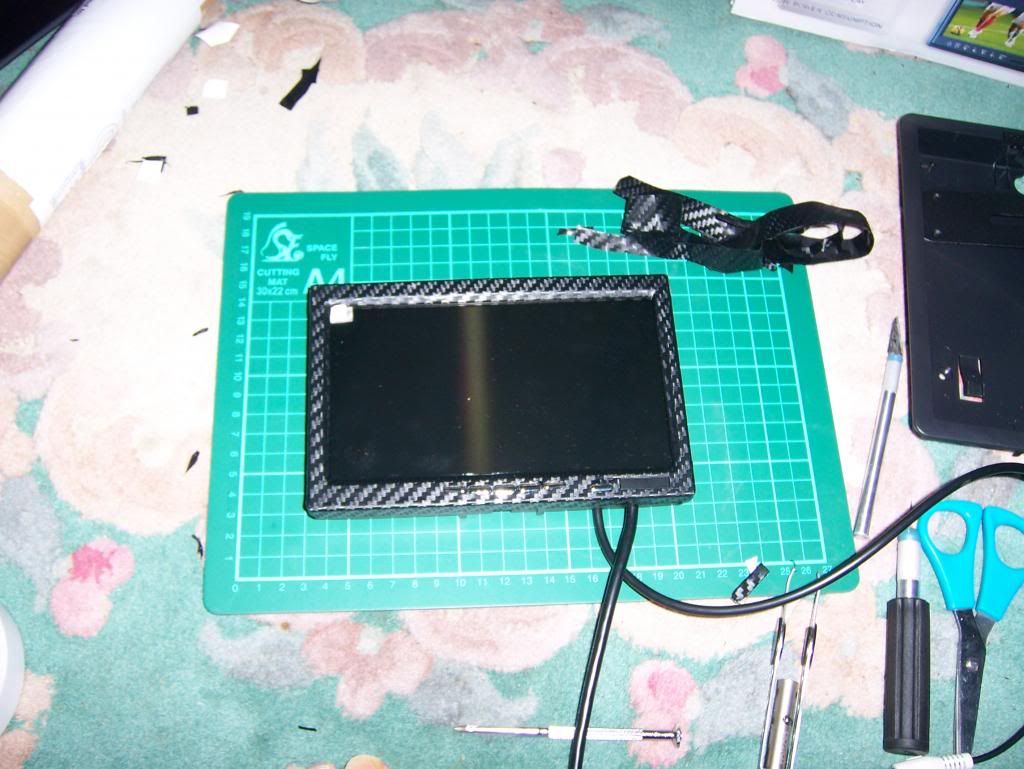
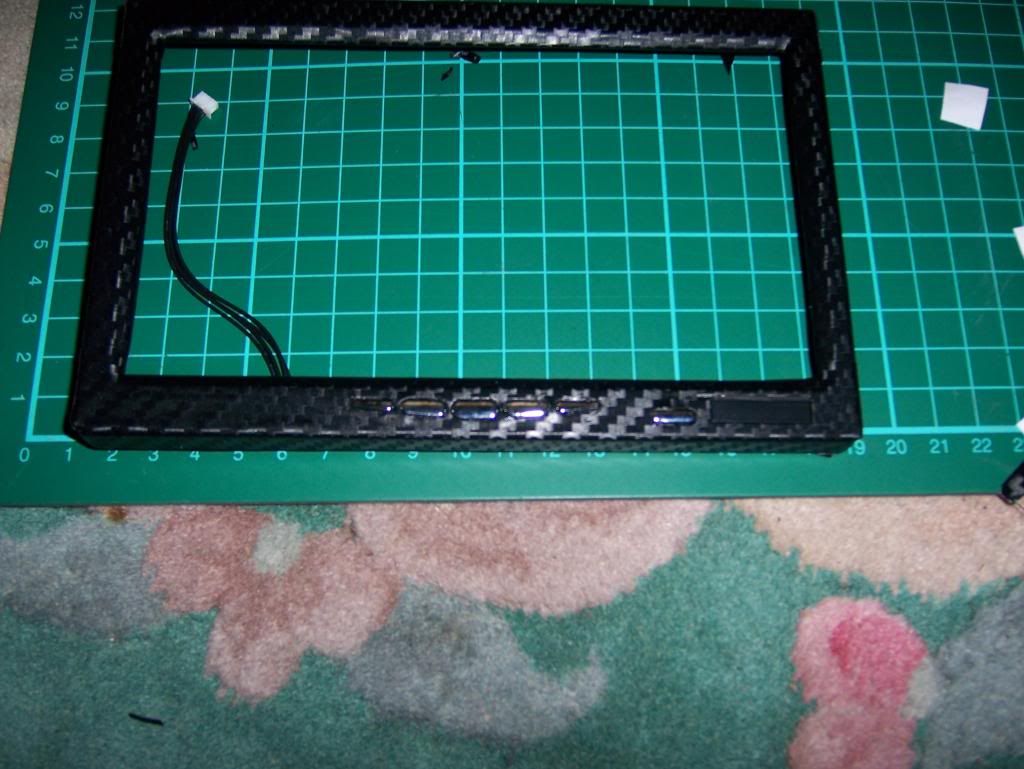
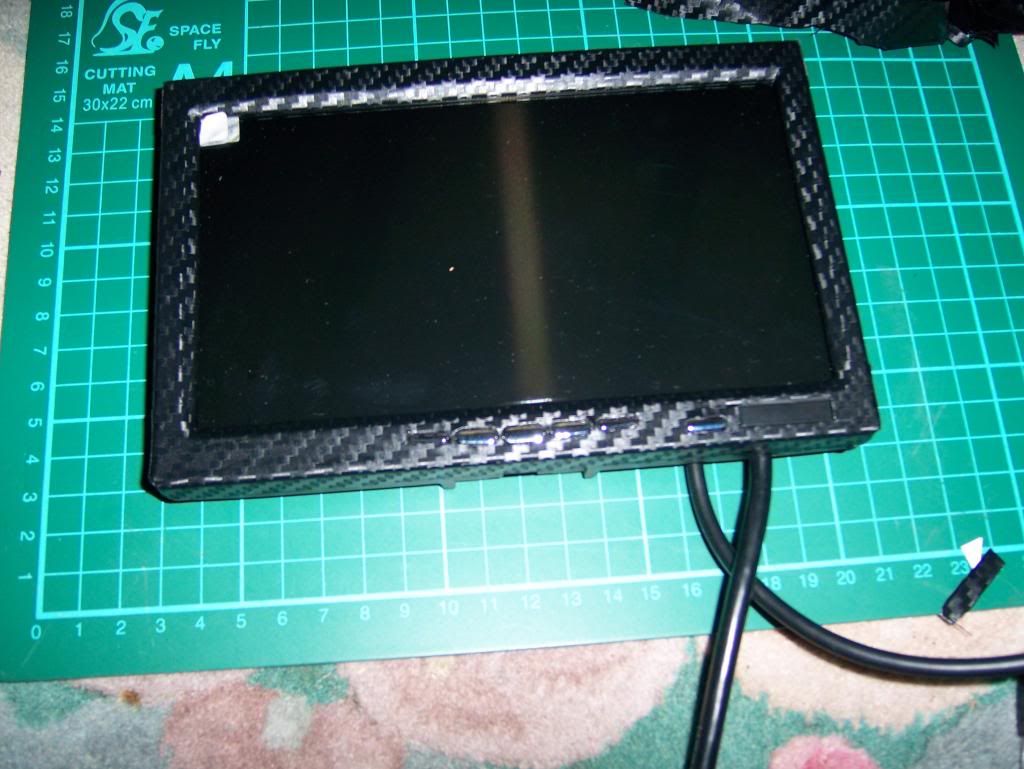
The monitors needed a test coat of paint (mainly cause i was bored and had a spare) lucky i did though cause im going to tape up the pop out buttons on the sides when the last screen arrives then spray as they are a bit stiff once painted.
100_1569.jpg

2014-02-09194755.jpg

100_1571.jpg


I wrapped the monitor too and it looks more impressive up close.
100_1572.jpg

100_1573.jpg

100_1574.jpg

100_1575.jpg

100_1582.jpg

100_1576.jpg

100_1579.jpg


Now for the front panels im hoping to have a lift up metal/alluminium? front panel on gas struts.
At this stage i had the idea of a drawer in the bottom too. However im starting to realize this will have to be a sort of cupboard. so i dont know whether to move the coca cola bottle opener/ handle.

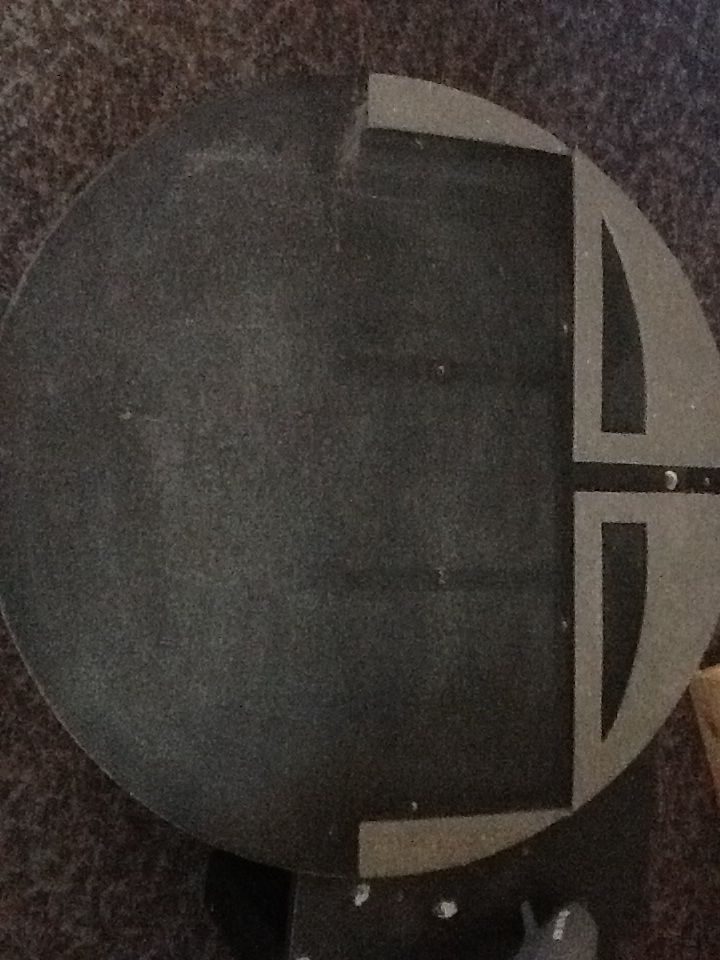
I needed to visualize this so i made a plastic front panel (i got this for free as it was a work display board they were throwing) so i cut it up and used it as a temporary front panel.
100_1443-1.jpg

100_1444-1.jpg

100_1442-1.jpg

100_1504-1.jpg

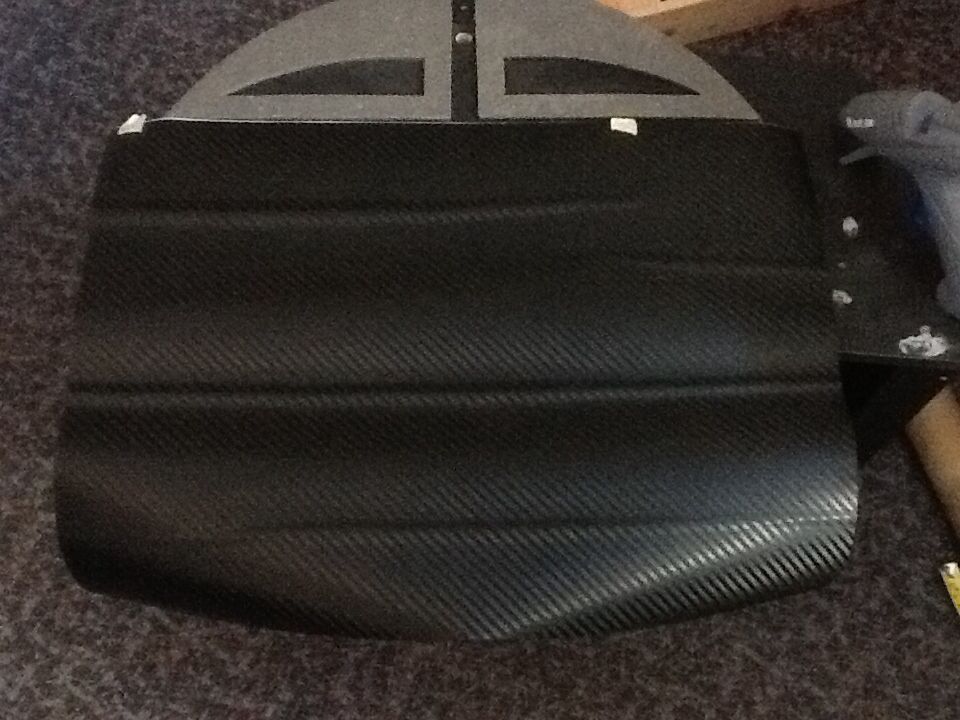
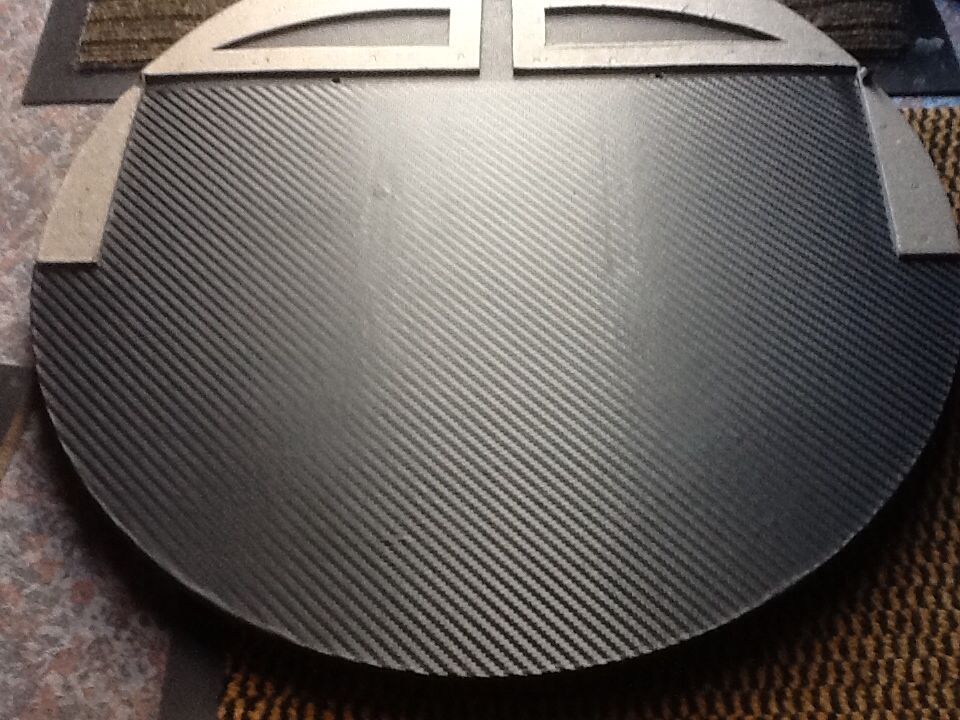
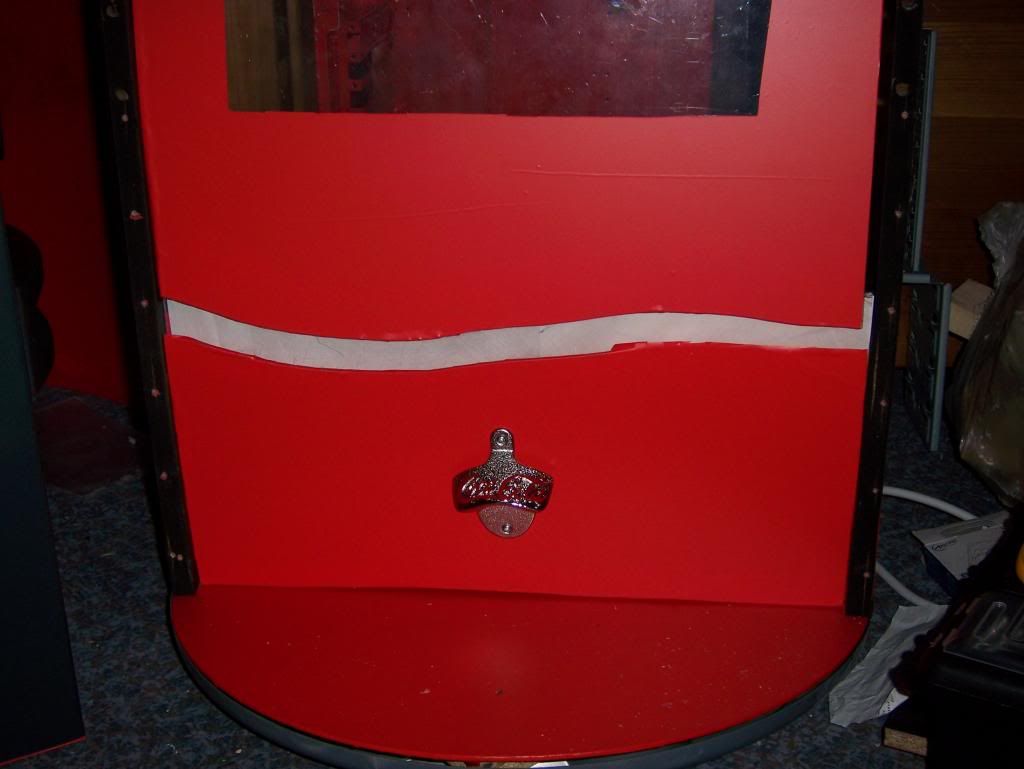
Then i cut it into two parts and wrapped and mocked up temporary panels. These will be metal when finished.
100_1514-1.jpg

100_1513-1.jpg

100_1517-1.jpg

100_1512-1.jpg

100_1516-1.jpg


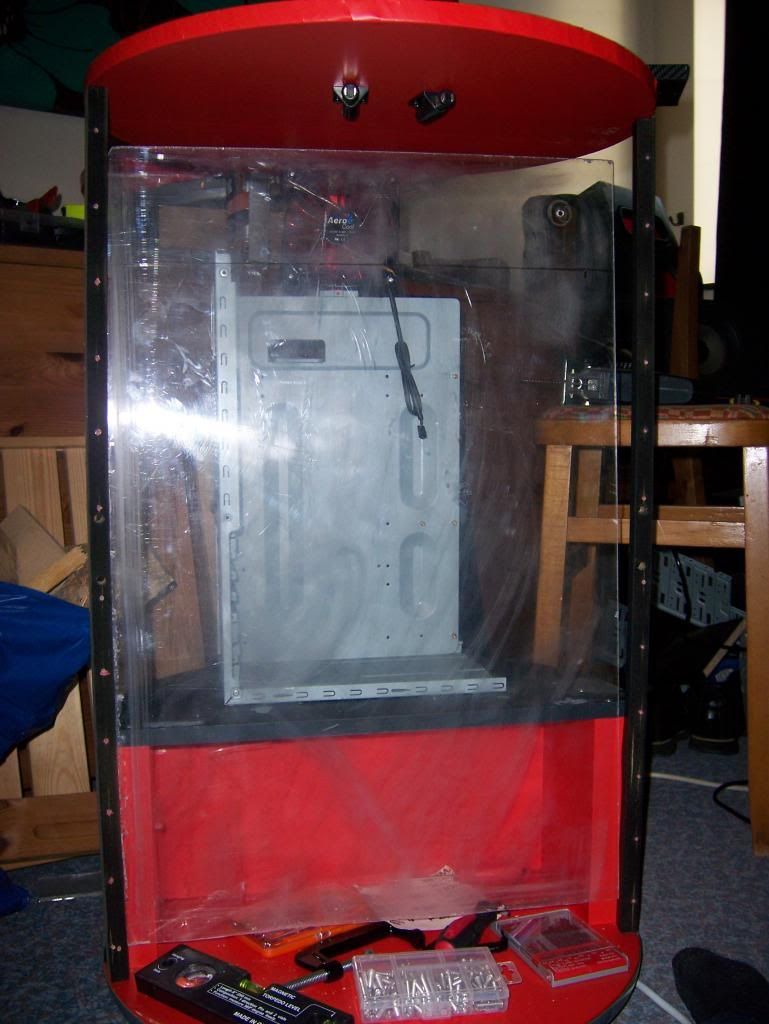
Now you may have noticed the crudely cut piece of clear plastic in the pics this will be a center point for my two front panels to form the swoosh.

Once i cut and wrapped the plastic you can see the idea i am going for hopefully (will be replaced with a red metal)

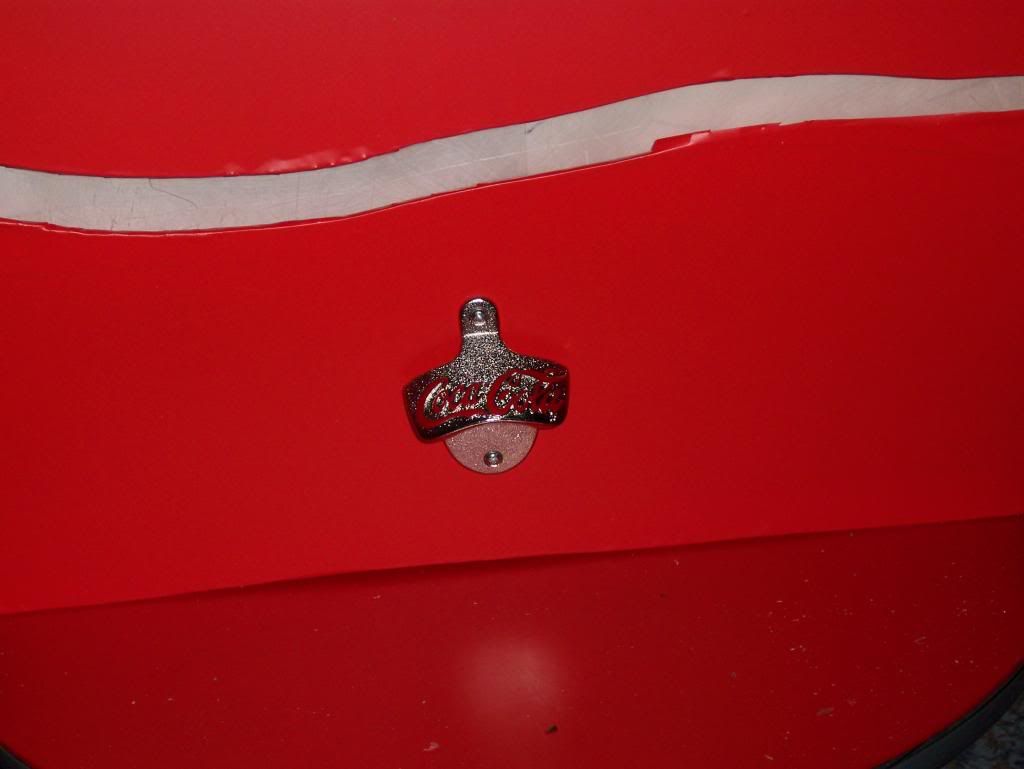
I am terrible at cutting this stuff and i will get the swoosh more precision cut with the metal however i have recently picked up something special to go in the middle :)

well just a little bit here for you to see today but i will add more tonight.
 
Sorry for the short post this morning with all the uploading and internet issues i have had for a few days i decided to post while it was working. Thank you walderx for your thorough post, the information was much needed. I seen the motherboards you mentioned and i dont know why but i just keep coming back to the sabertooth.
The monitors are the old VGA crt style connectors and i can find a few ways to convert these now. I will revert back to your post when making my decision though. I like the watercooled cooler you shown, i was looking at similar versions of this but have not seen one with the coolant and clear tubes. (my plan if it will work is to add this to the front with some holes cut in the top front panel to butt up against the fan when the panel is closed so it has its own dedicated area for air intake).

Pictures
So with my original plans for the bottom drawer, i tried all sorts to get this to work. The space for the drawer is merely 14cm deep and i could not even cut some down as it was not smooth enough or big enough for any decent storage.
canclosed.jpg

100_1519.jpg

100_1518.jpg

100_1520.jpg

100_1521.jpg


Instead this will have to be put on hinges but i dont really want to start screwing them in until i have the metal panels.

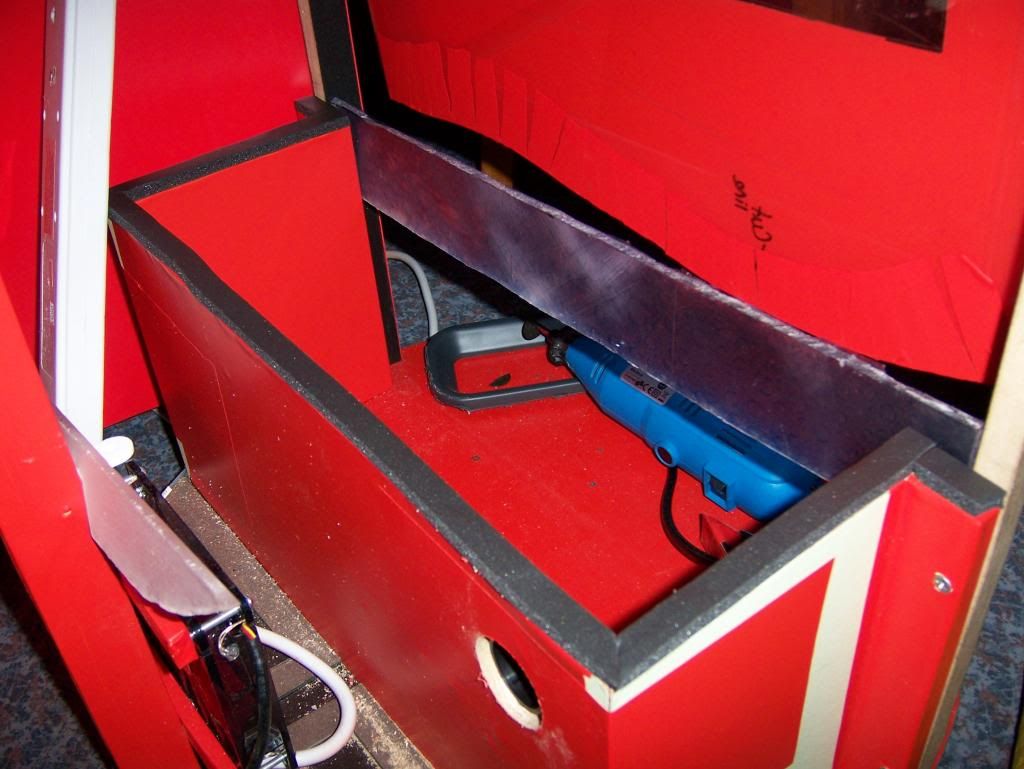
So instead i am starting to prepare the space to fit the extension cable (to give more access to the plugs)
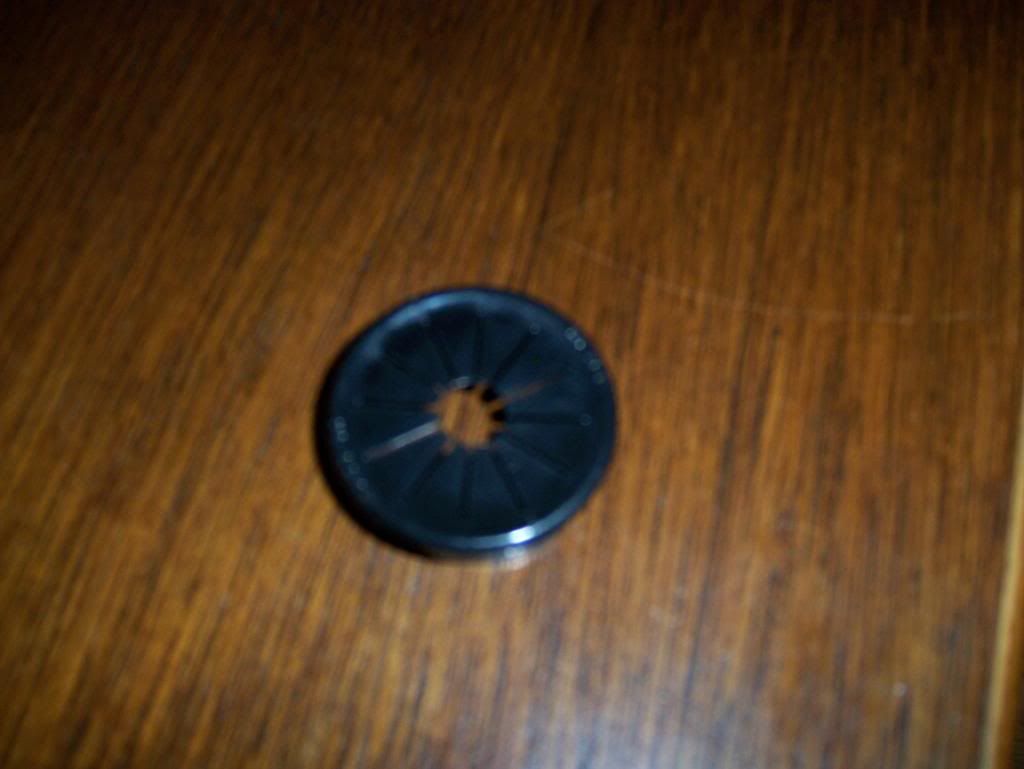
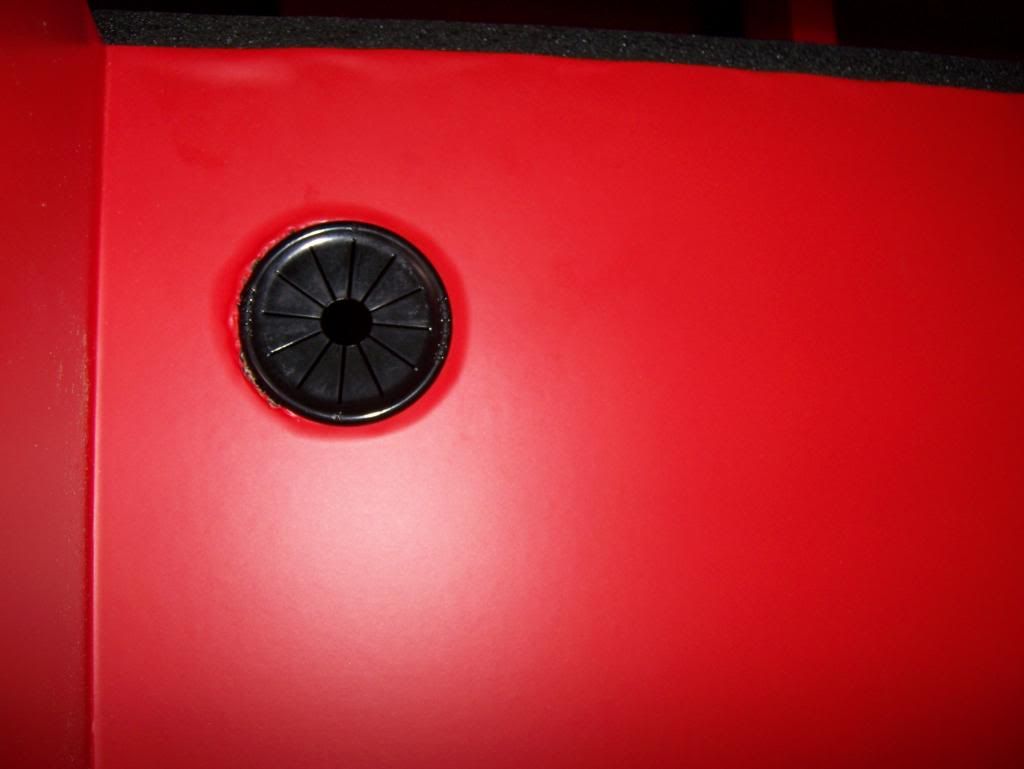
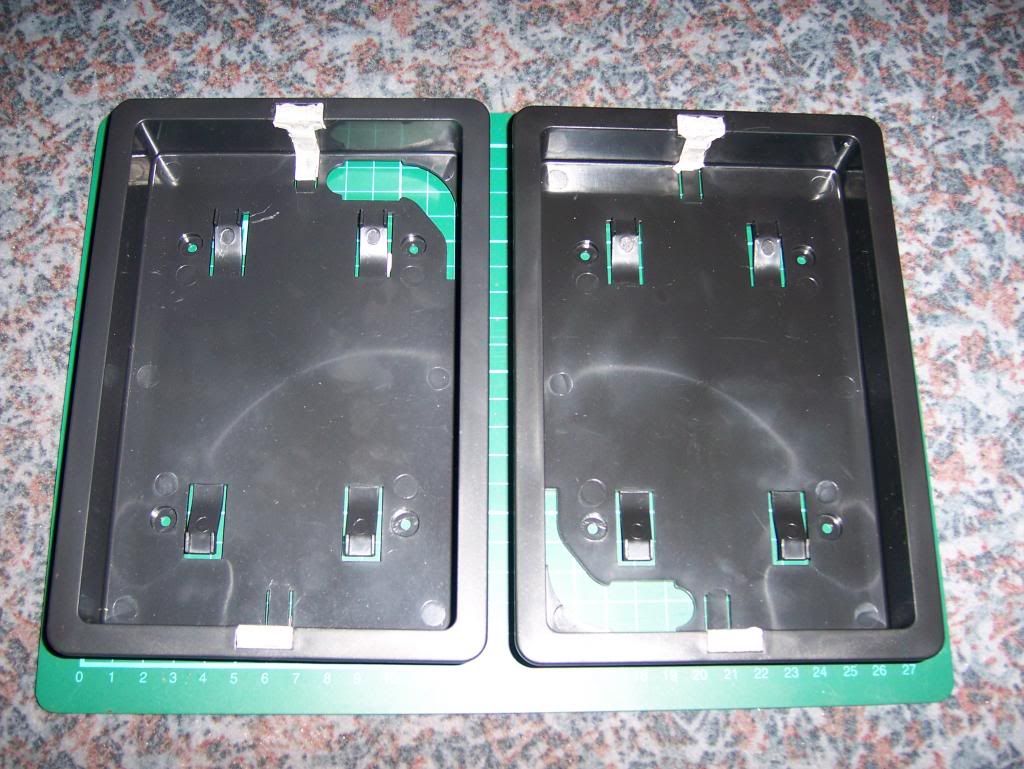
I bought two of these cable bungs and fitted them but unfortunately they are a bit too small but the largest i could buy and i thought i would just get away with it. they are about 1mm out in size so i am thinking of adding some sticky foam to hold in place.
100_1623.jpg

100_1624.jpg

100_1625.jpg


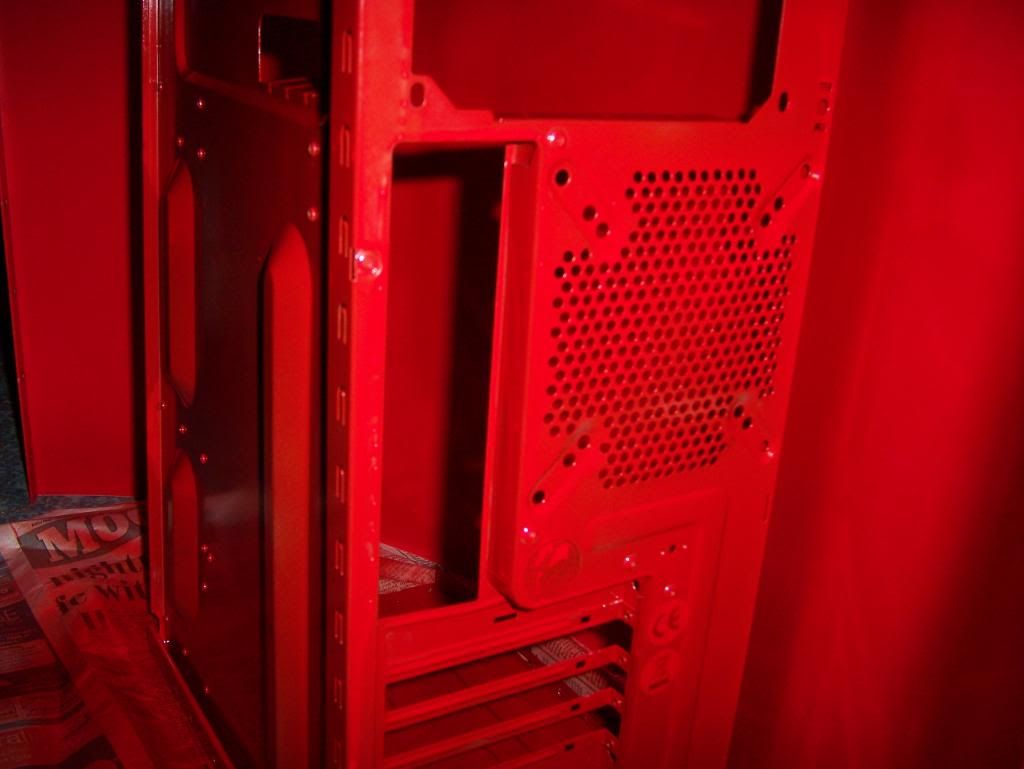
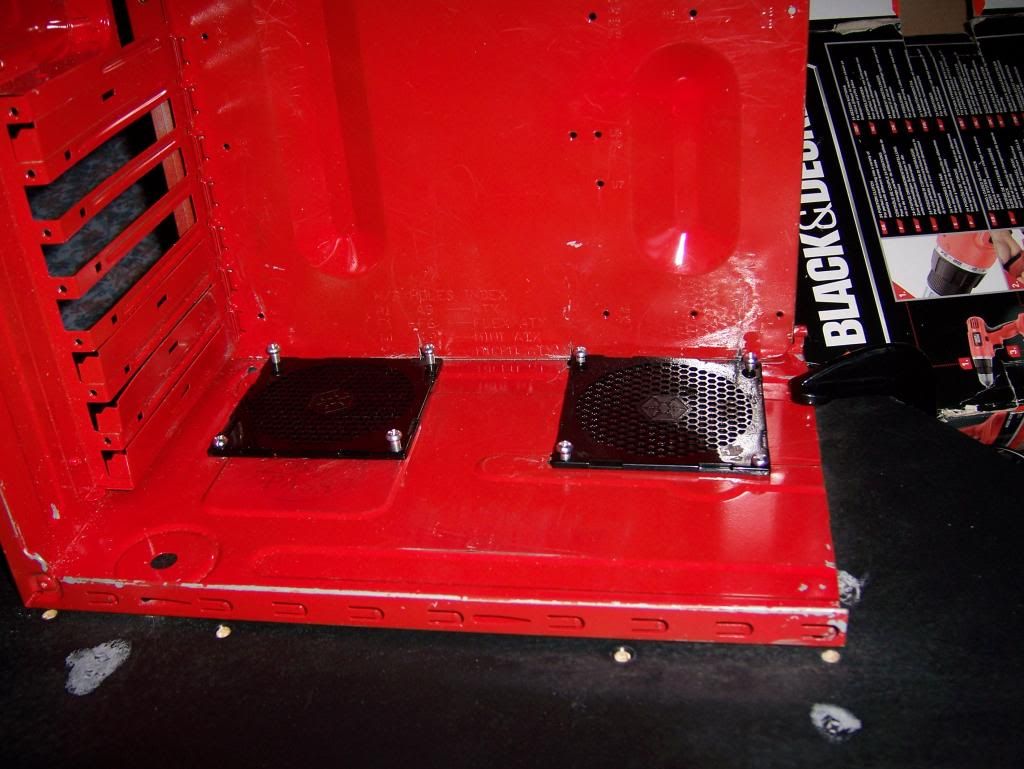
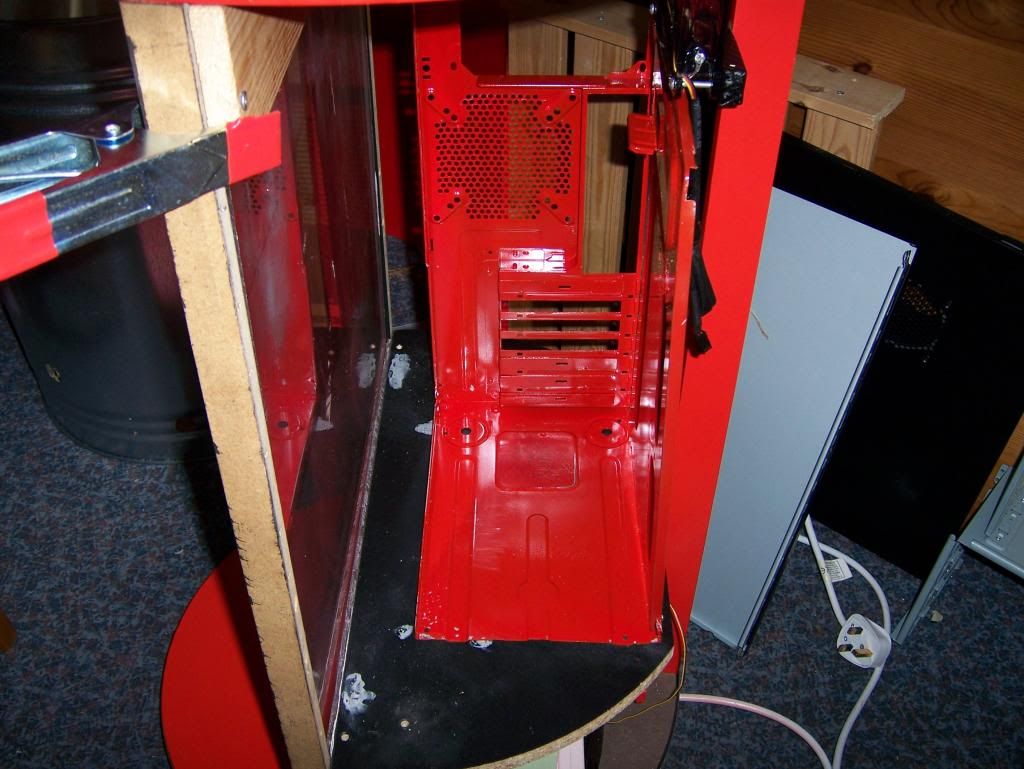
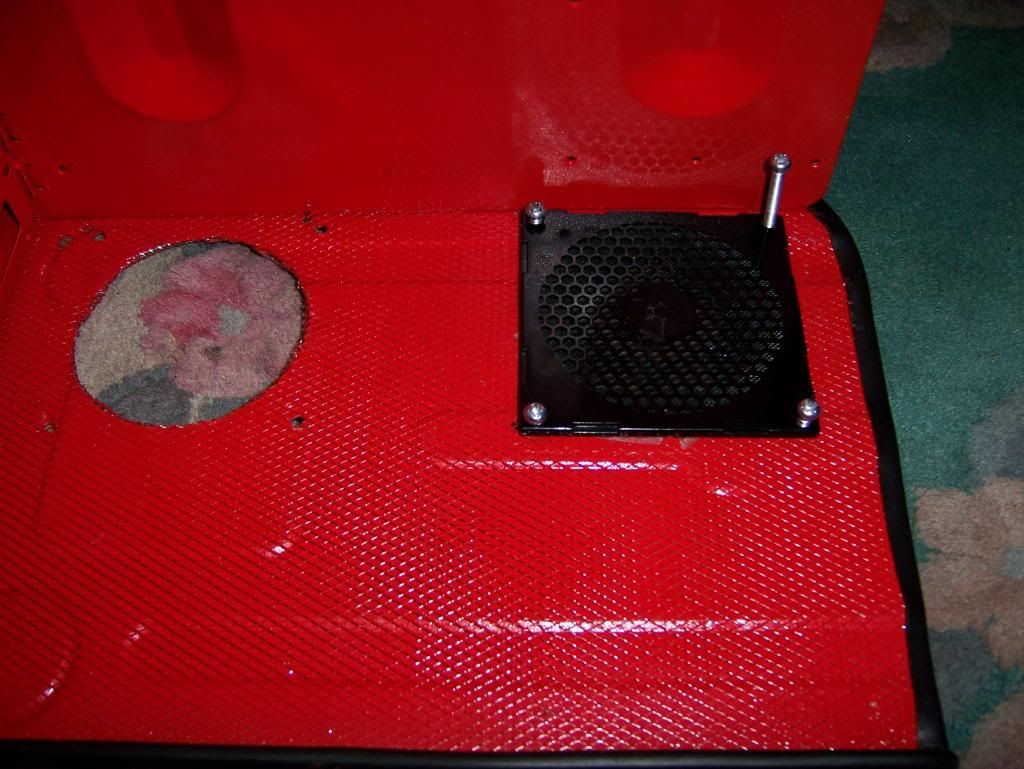
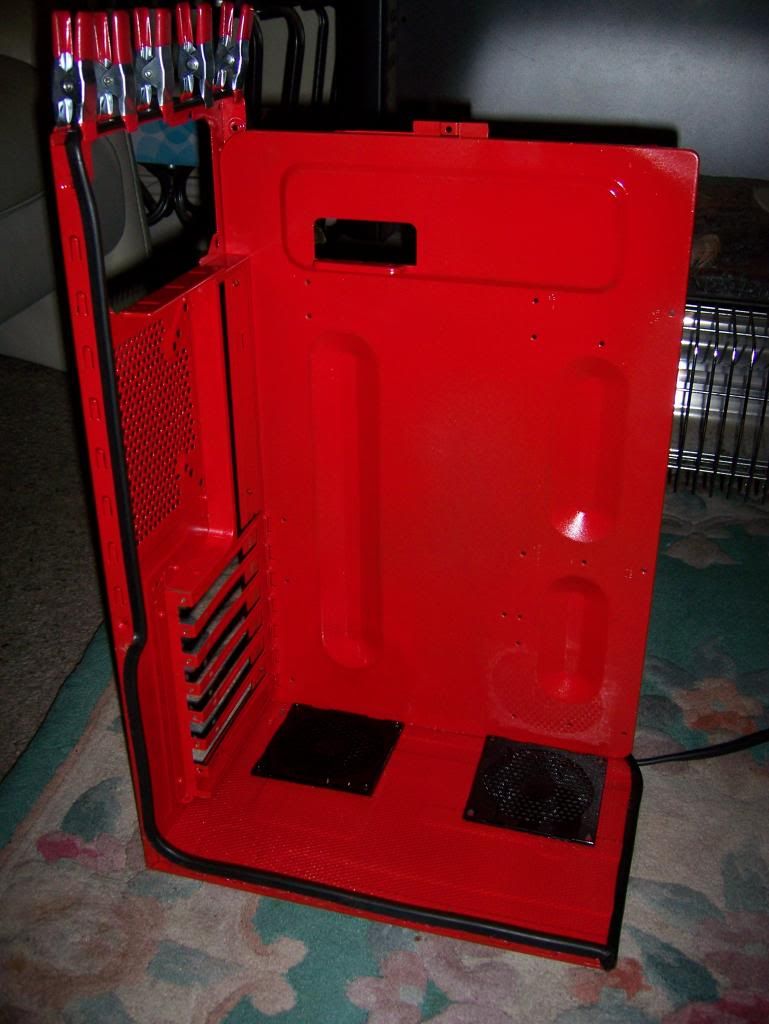
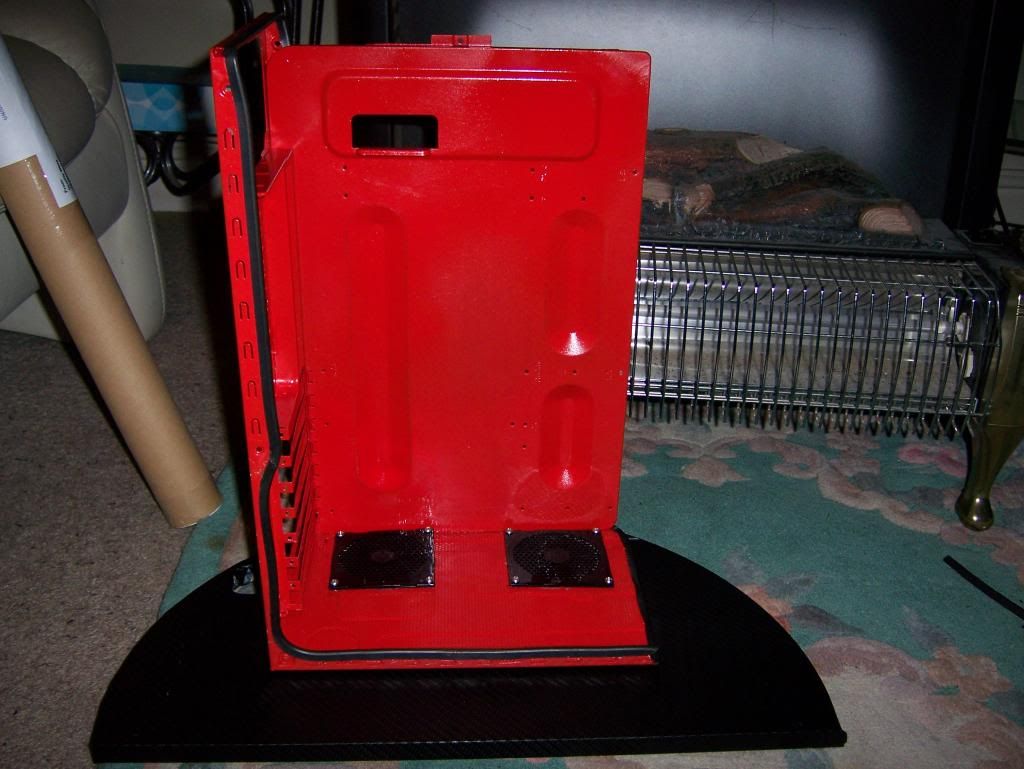
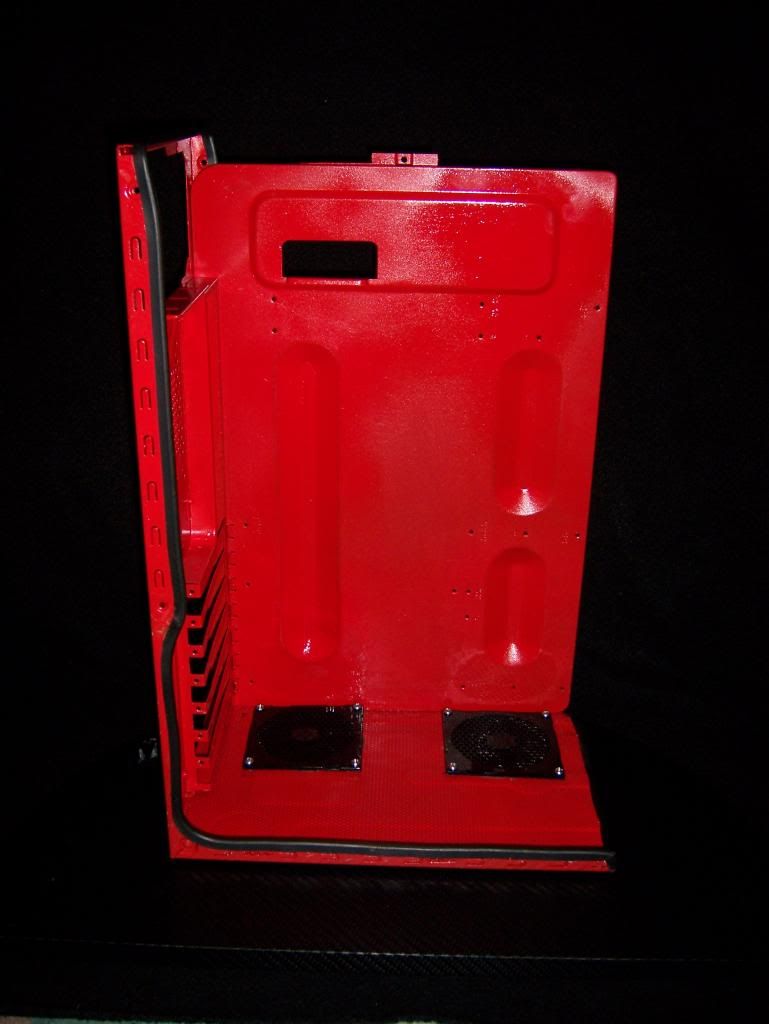
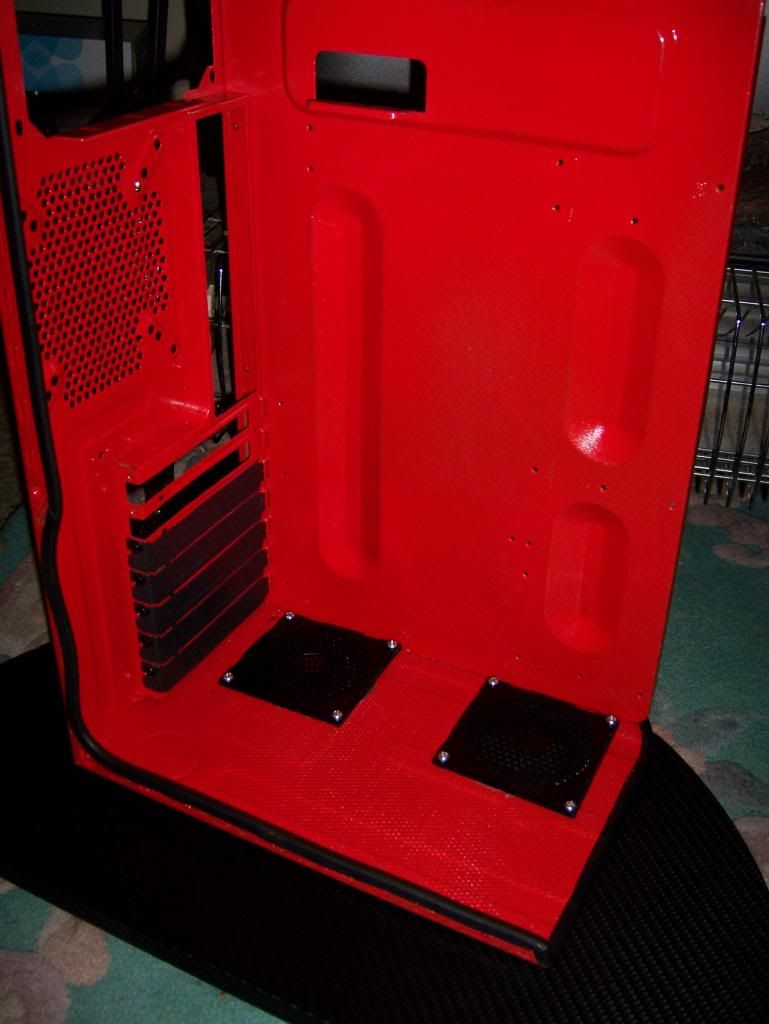
I got the pc case cut next for the fan holes.
100_1554.jpg

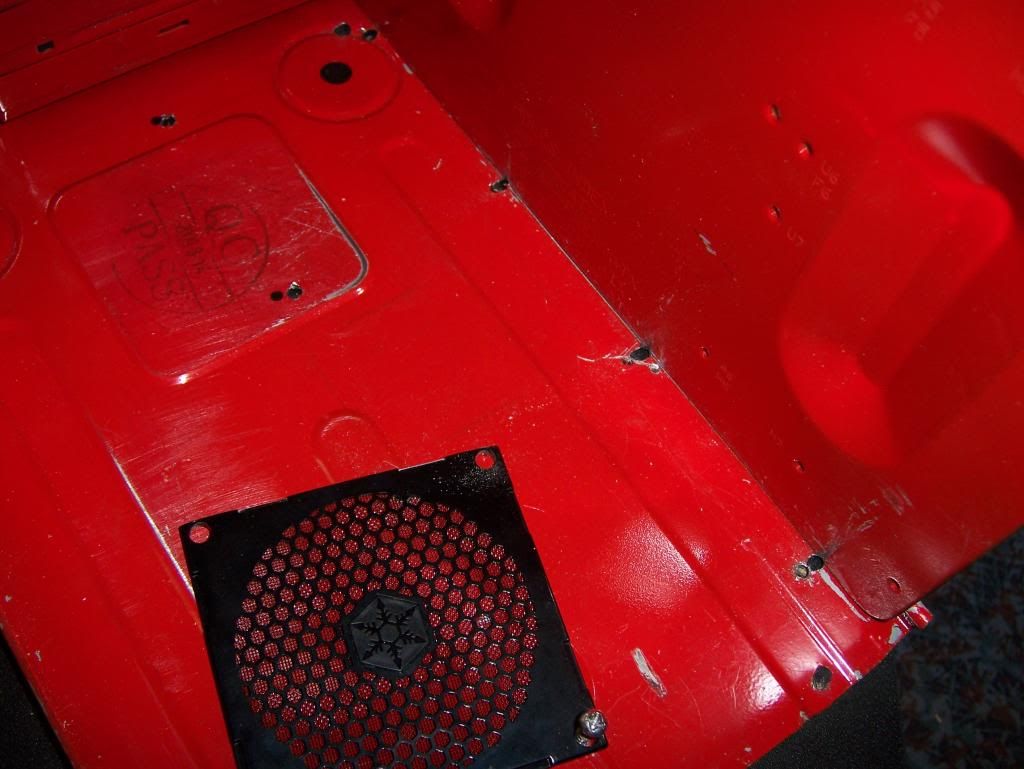
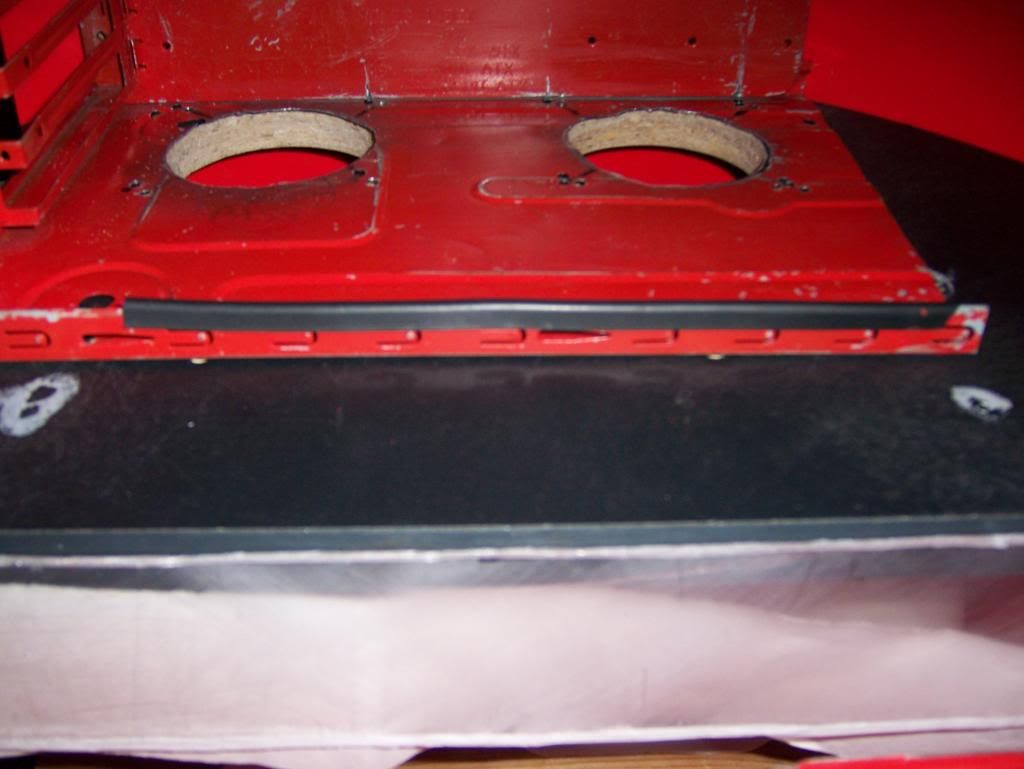
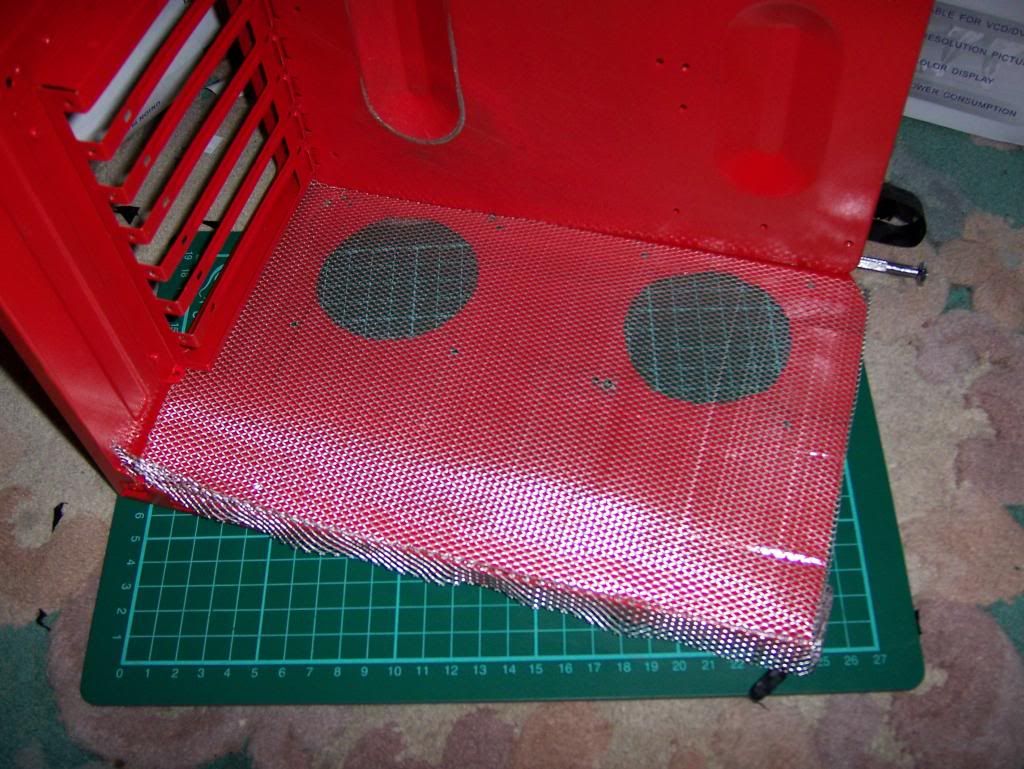
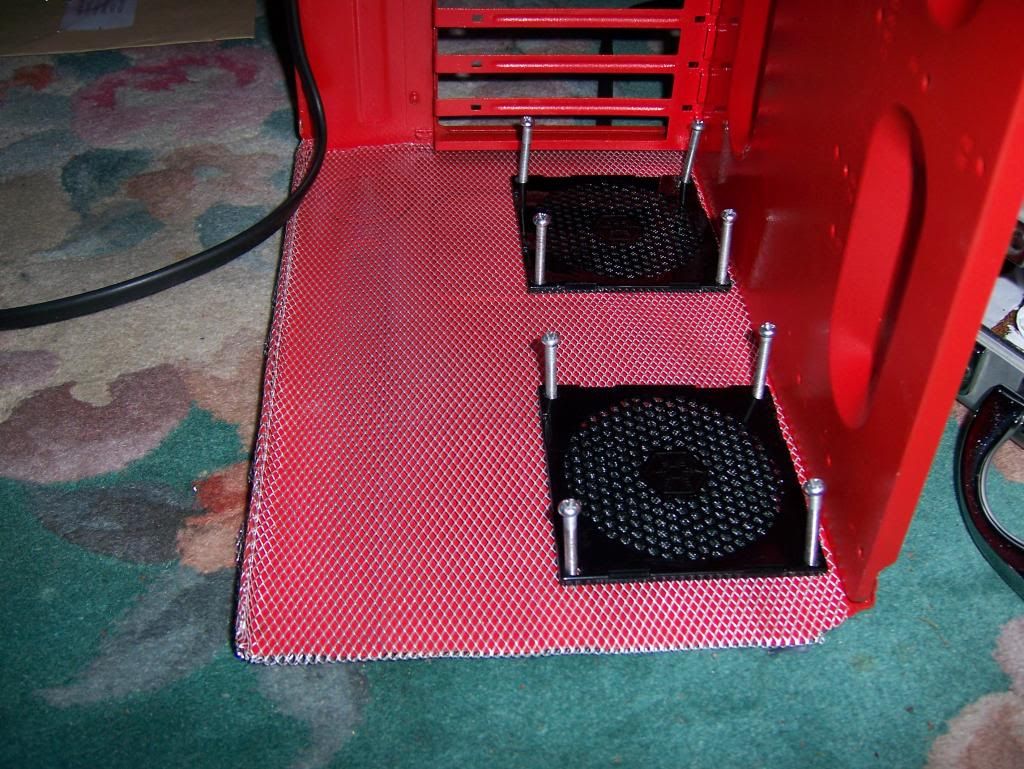
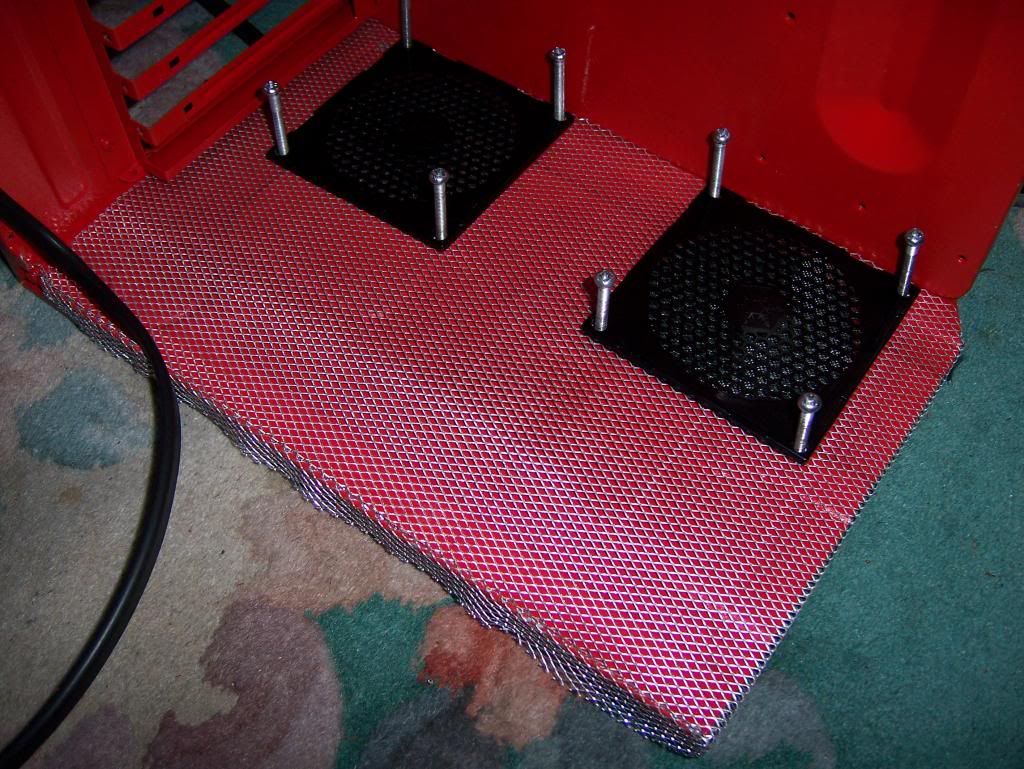
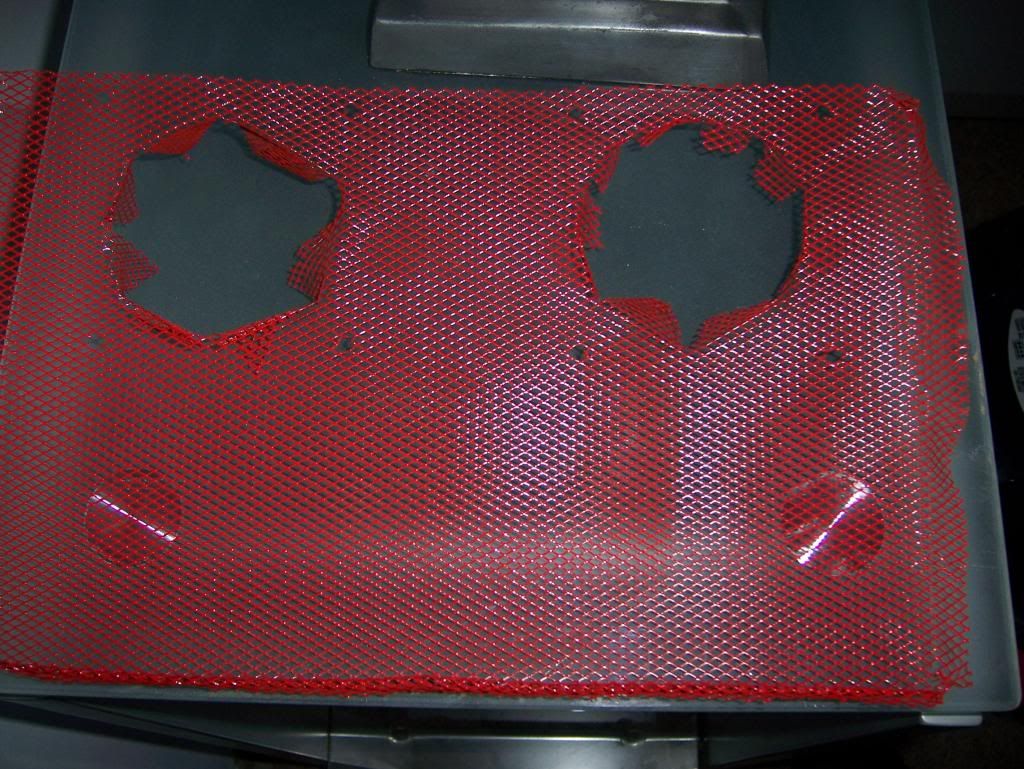
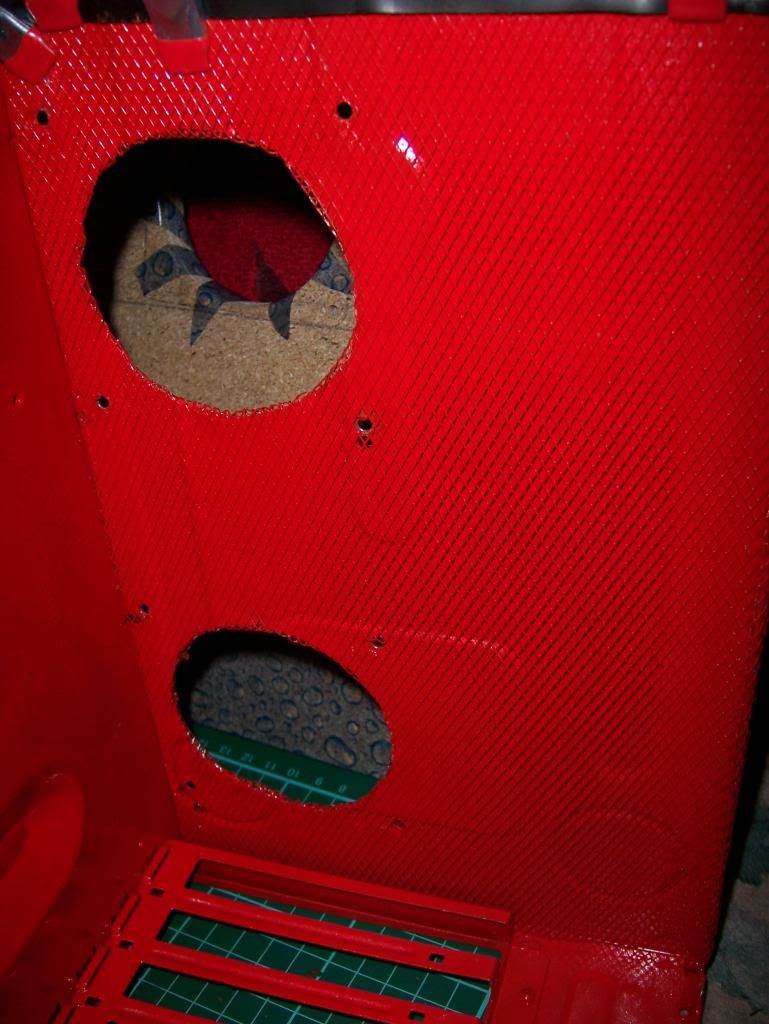
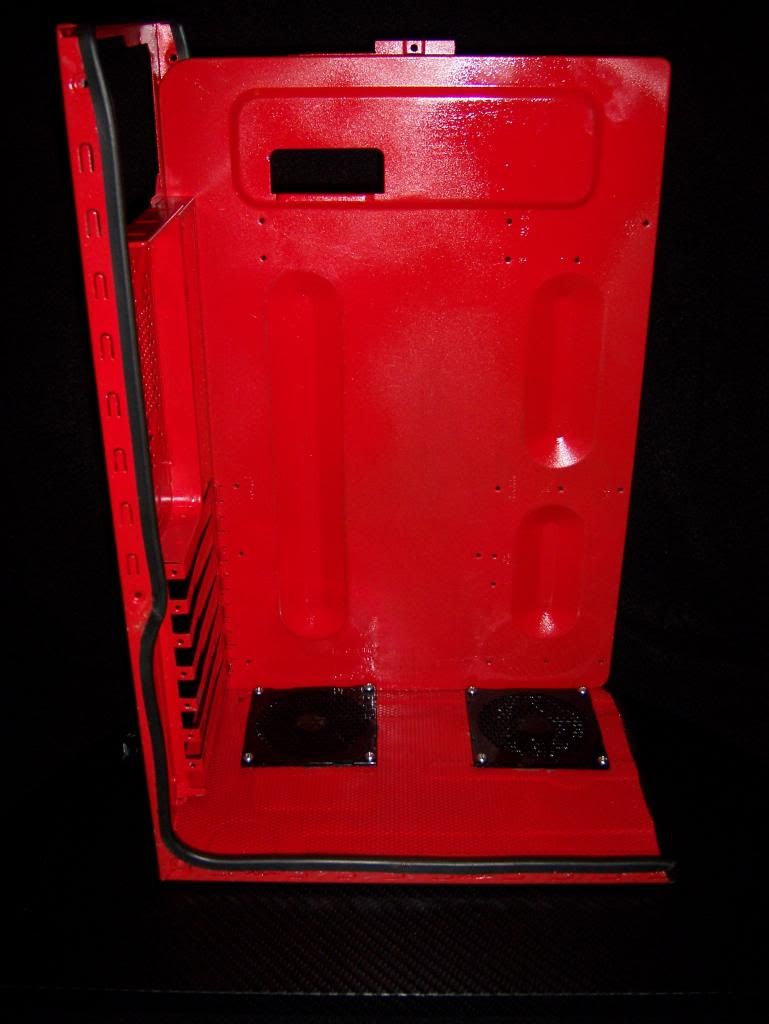
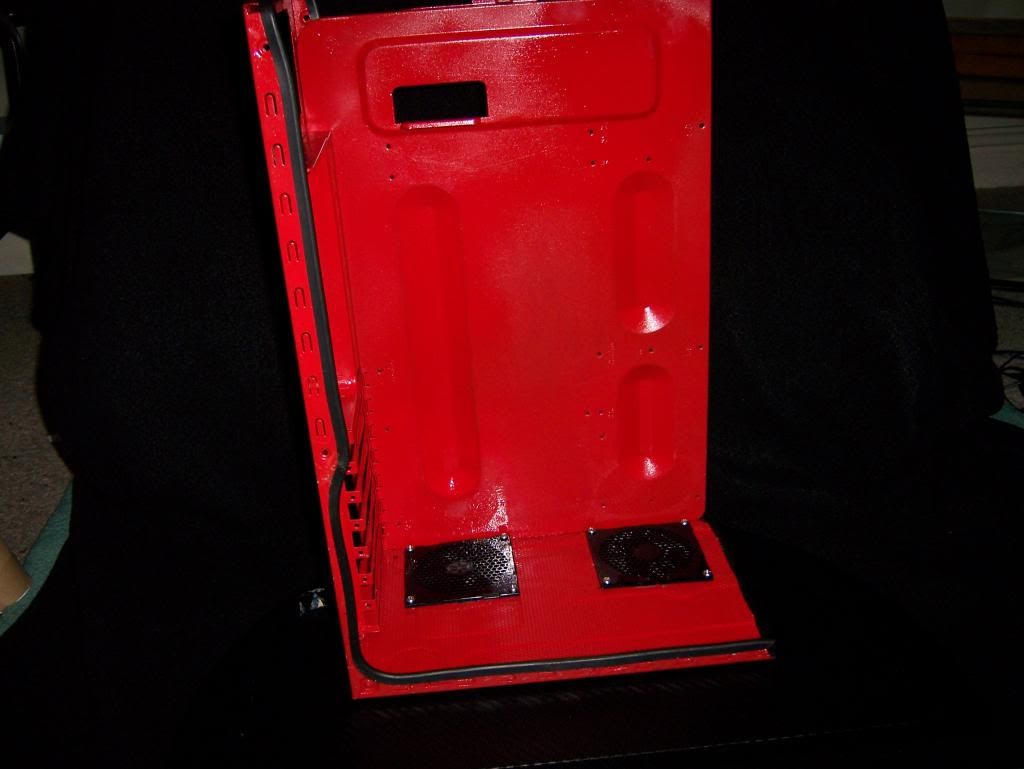
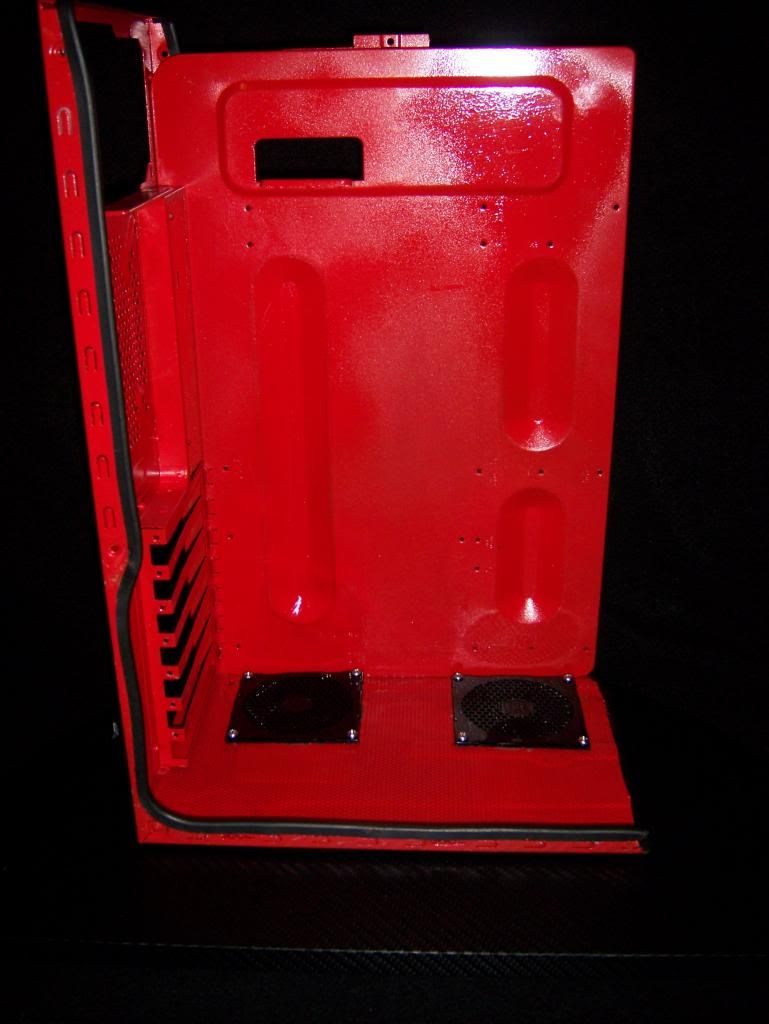
After sanding, spraying and fitting in place i wanted to cover the rough bottom of the case so i also bought some mesh and got to work cutting it in place.
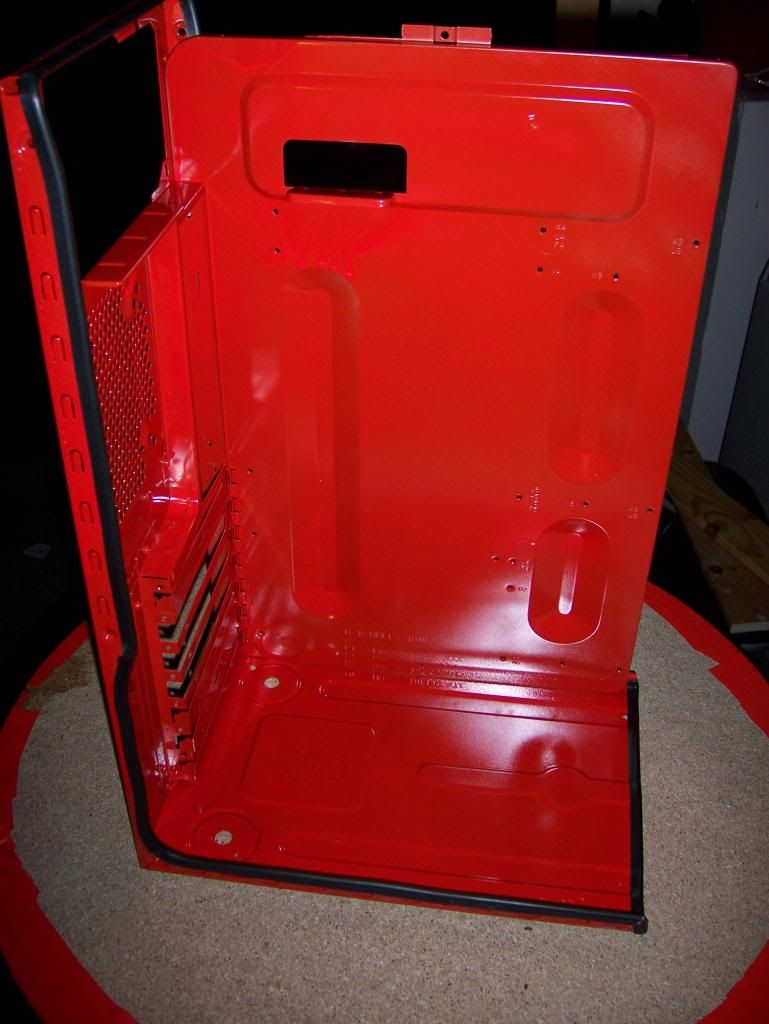
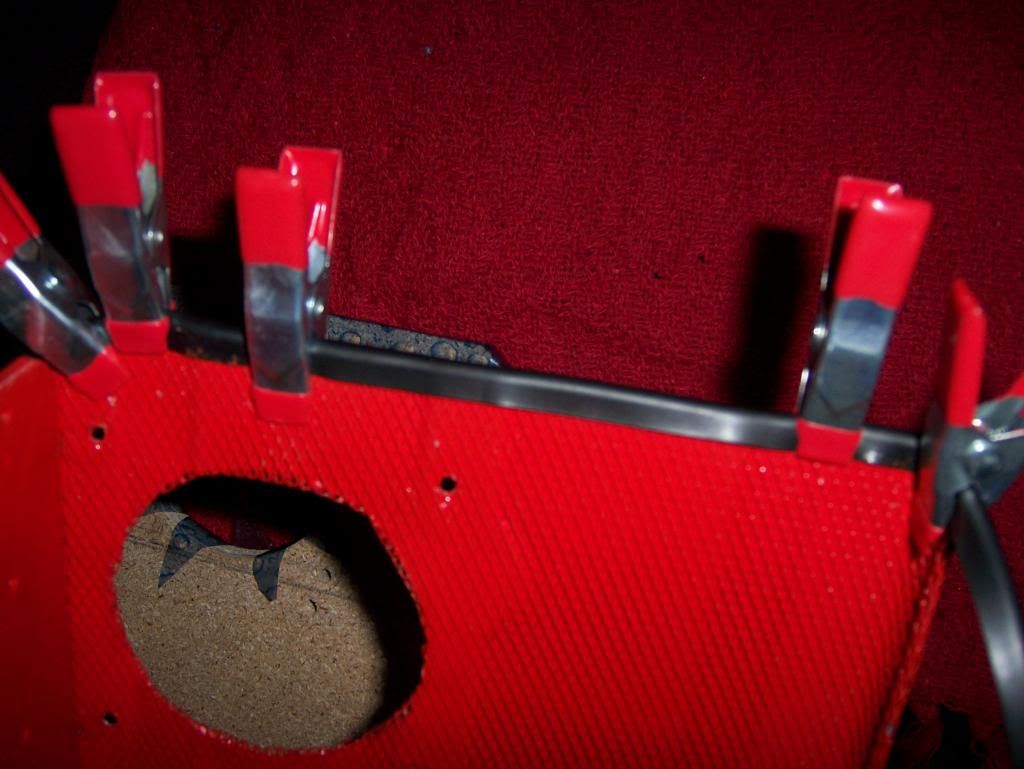
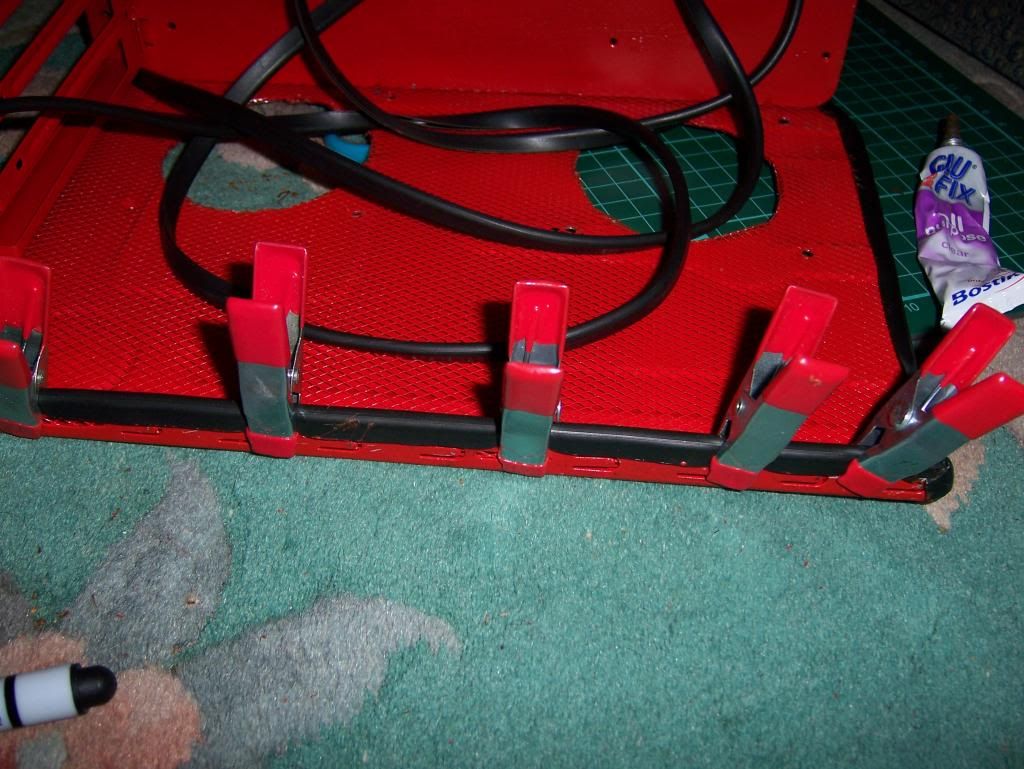
I also fitted the black edge trim around the edge of the case.
100_1586.jpg

100_1602.jpg

100_1601.jpg


I then sprayed it red and fitted it in place. Along with the edge trim.
100_1603.jpg

100_1604.jpg

100_1605.jpg

100_1609.jpg

100_1606.jpg

100_1607.jpg

100_1608.jpg


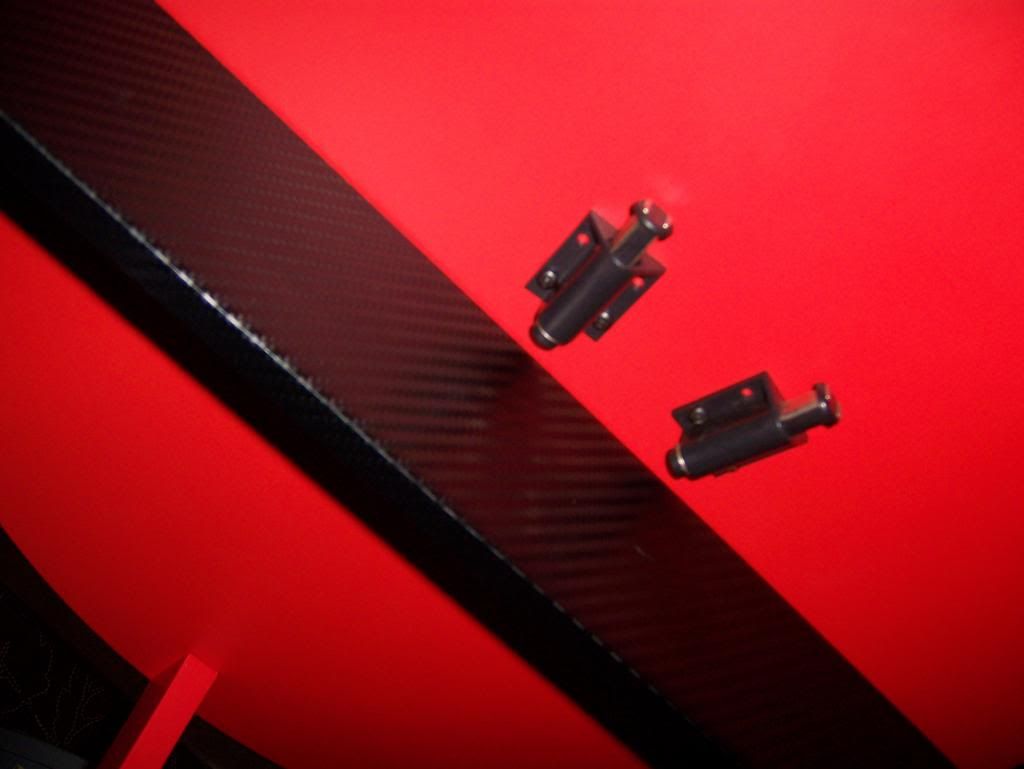
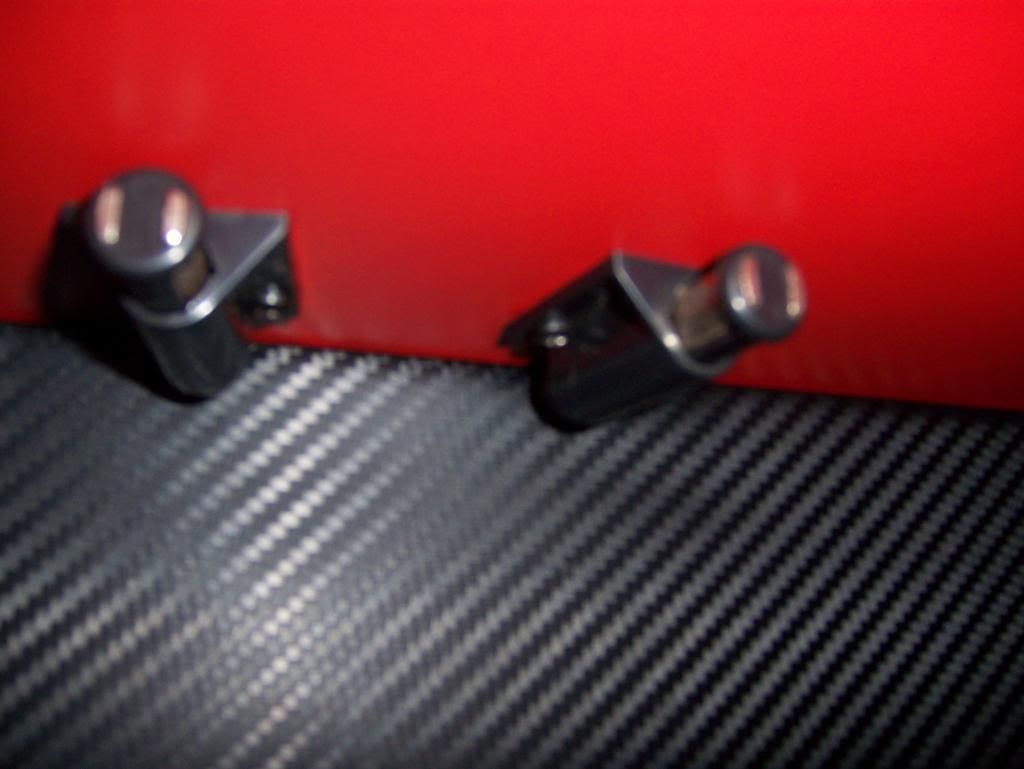
Meanwhile i was working on wrapping the shelf in carbon fiber wrap.
100_1626.jpg

100_1627.jpg


The case is starting to look like i imagined it now.
100_1610.jpg

100_1616.jpg

100_1615.jpg

100_1621.jpg


I bought some black PCI covers and i reckon this is almost finished.
100_1612.jpg

100_1611.jpg

100_1618.jpg

100_1616.jpg


I have ordered a new piece of frosted clear acrylic custom made from a local plastic cutters.
whitepanelguide.jpg


I have just ordered some more carbon fiber and the 114mm hole saw and arbor to cut the rear fan holes in the outer casing, more to come on this though.
And my second monitor has now arrived today!
That's all for now more to come later! and a massive thanks for following my project guys.
 
Looking good mate! I'm wondering if those 2 fans on the bottom of the PC case will have quite restricted airflow with the 2 meshes on there? Will make them noisier too. I could be wrong and perhaps you have already tested it but just a thought.

EDIT: looking at the pictures again I think it will be fine, it's akin to having a dust filter and PC case mesh so I'm sure air will flow ok

Im hoping it will work and ive been unable to test them however the artic f8 fans are surprisingly powerful. Im adding sticky foam strips all over the case to eliminate any air holes in the design, to keep it flowing properly. I did cut the mesh and the black covers are dust filters so i was hoping that would be enough.
Along with a seperate fan mounted near the front panel so when closed it will have its own cooling for the cpu right from the front.
Then the psu will be mounted at the top so hopefully that will draw in the air and exhaust it through the top rear fan.

I think 'hi-fi' may be pushing it a little- if memory serves, the SQ was pretty poor!

The sound was not great but not bad when listening to the radio. They must be 25 years old or sumwhat, but to be fair they did a good job of filling the room with sound. I remember my old one had a dodgy door speaker connection though, which was one of the reasons i got rid of it (if only i knew it was that easy to fix).
They are only cheap speakers, and i dont think the casing could take the rattle of anything bigger. Which is why im fingers crossed when it comes to replacing them with 3 way component speakers, there wont be any rattle or its another £15-20 to sound proof them (if that would do anything at all). The casing is thin.

They were wired strangely though. The speakers are connected then they connect to a point on the hinges, and the same on the other hinge then to the stereo. The sound goes through the hinges and keeps it wire free.
This i cannot replicate because of the power and connector cables so i am having to braid them i reckon and just have them showing through the doors, hopefully it wont effect the opening and closing too much.

Ive just order a kingston 120gb SSD based on your previous advice walderx, its supposedly the v300 model. I had $90 on amazon gift cards to use up somehow so that covered the SSD. Only a month to deliver the darn thing!

I have also bought some EL panels for the build and once cut i will show you all my plans for these. I got a cracking deal but im not sure if i can post the link to the site?

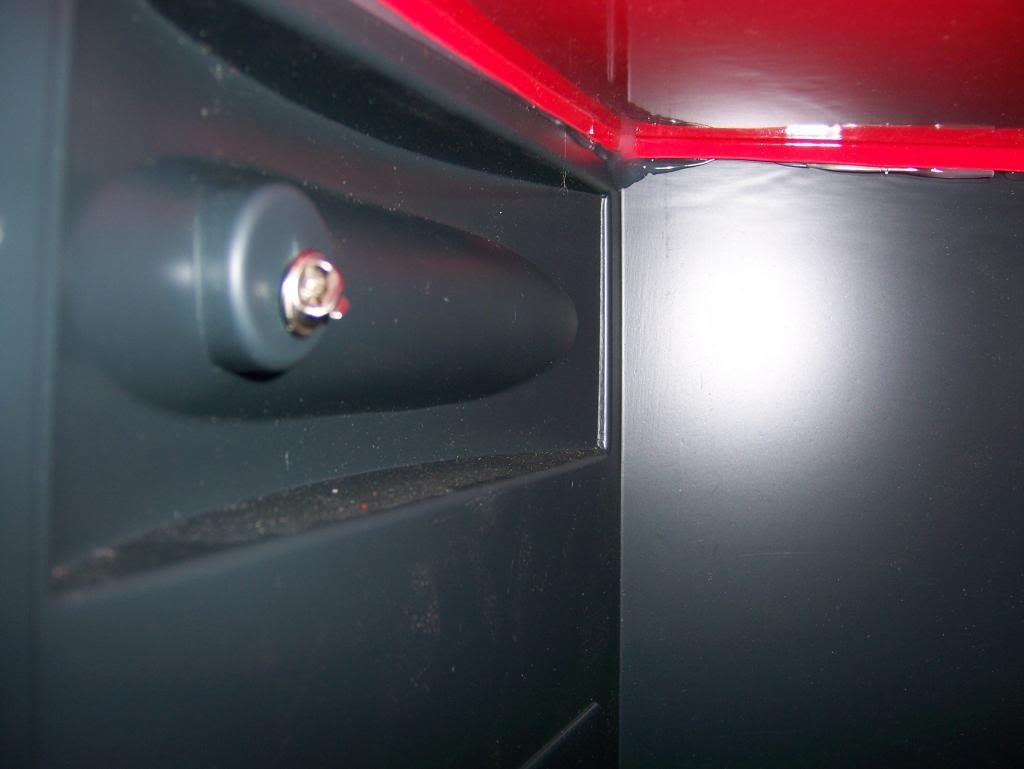
Originally i planned to cover the entire insides (pretty much everywhere im doing carbon fiber wrap now) in a coca cola bubbles pattern. Then i could not find any material/ pattern to match this.
Hence why i chose carbon fiber but admittedly this will look better in CF.
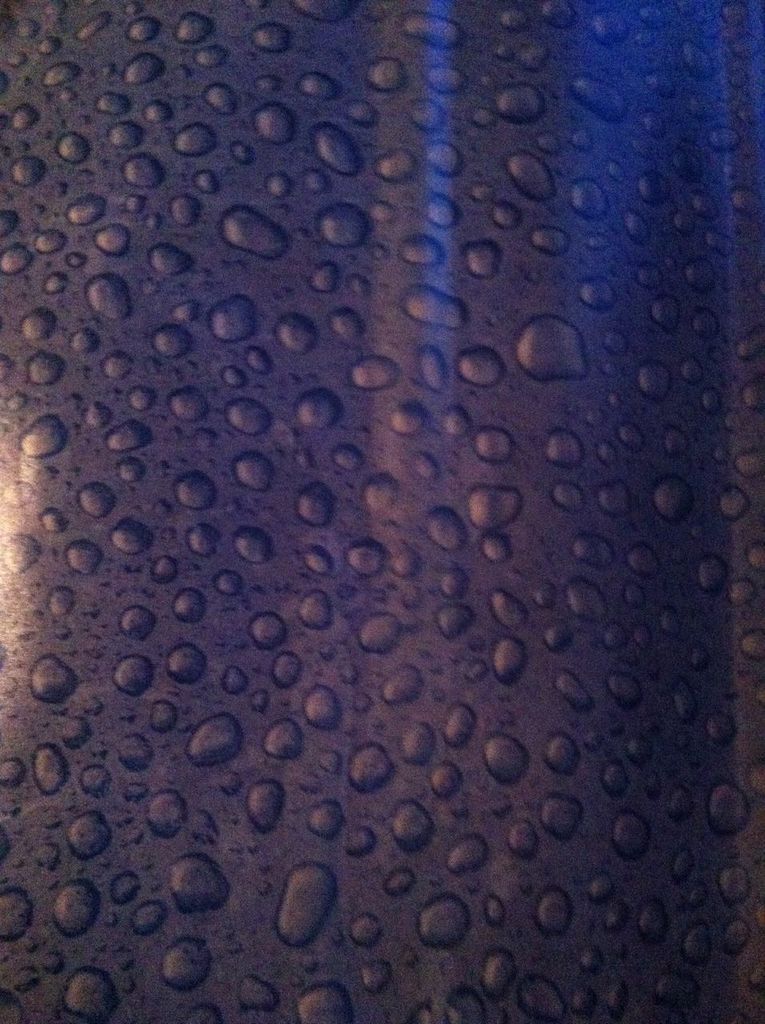
However i have since found a blue window film with raindrops effect from dc fix, this was the perfect pattern! I wanted it in brown but it was not available.

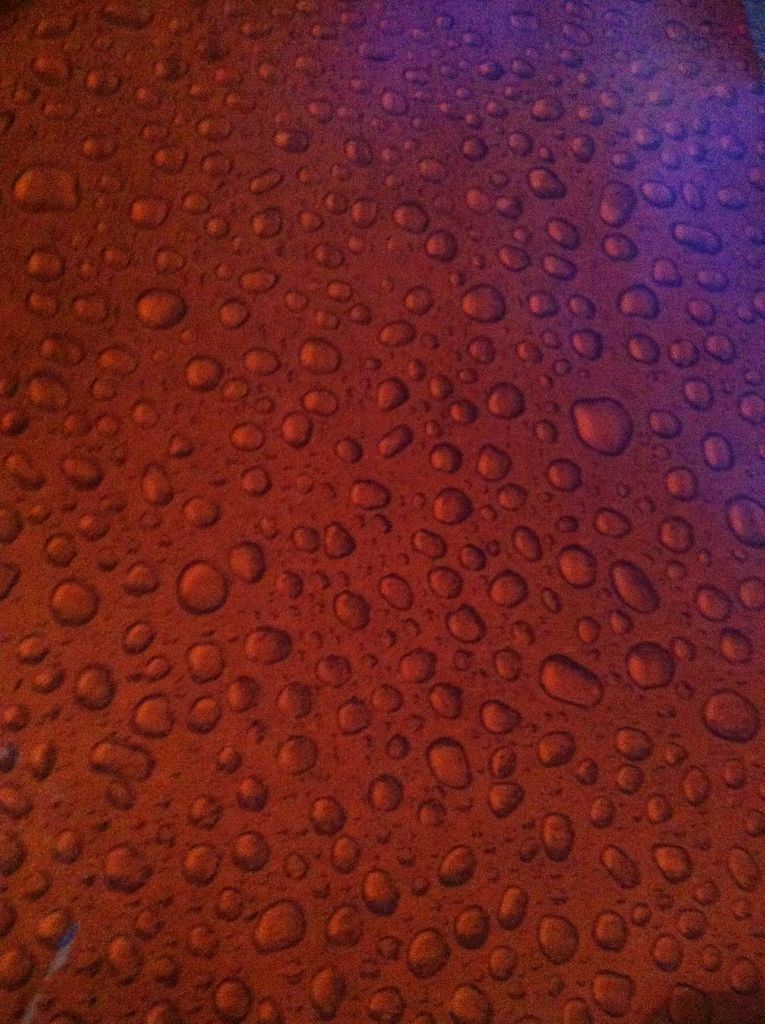
So i have now found some orange vinyl on ebay and once i put these together (i will take some pictures and show you soon) the pattern is now exactly what i was originally after! Brown bubbles.
I have ordered enough to cover the outer casing on the inside so instead of the red background you see in the can this will look like coca cola liquid bubbles! (I reckon with an orange led uplighter it will look like coke).
Ive paid for the new roll of carbon fiber now for the doors, so i doubt i will bother covering the doors in bubbles like i originally wanted but it will look better this way.
I will try and get some pics of this now, if i can find my camera charger!
 
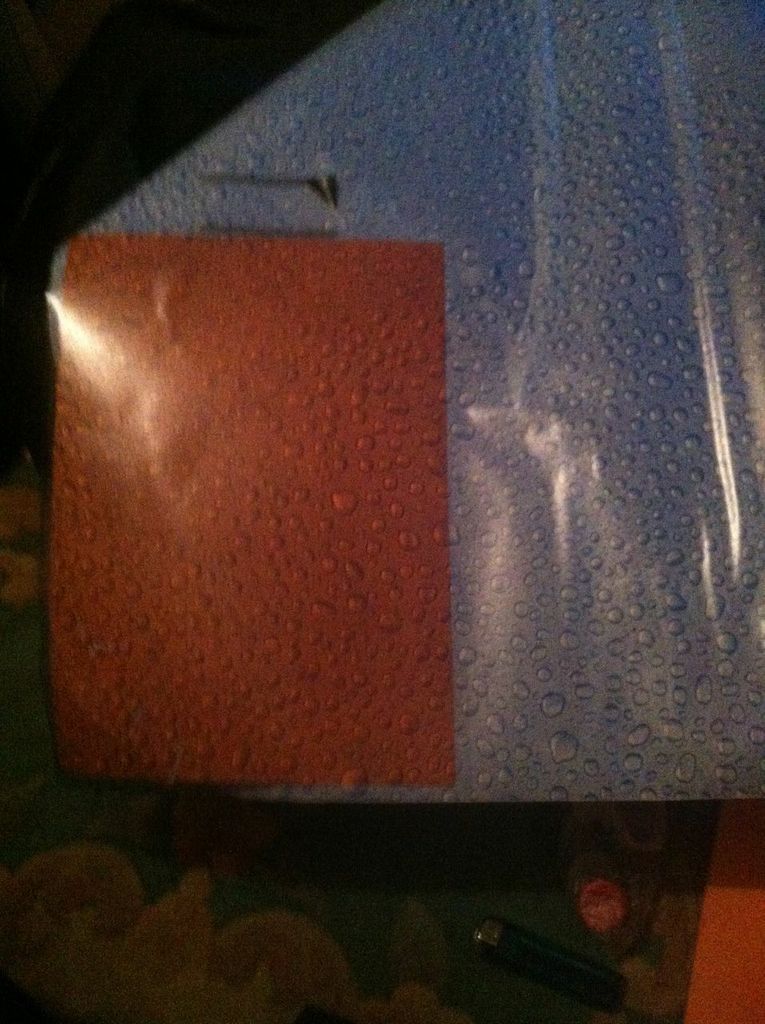
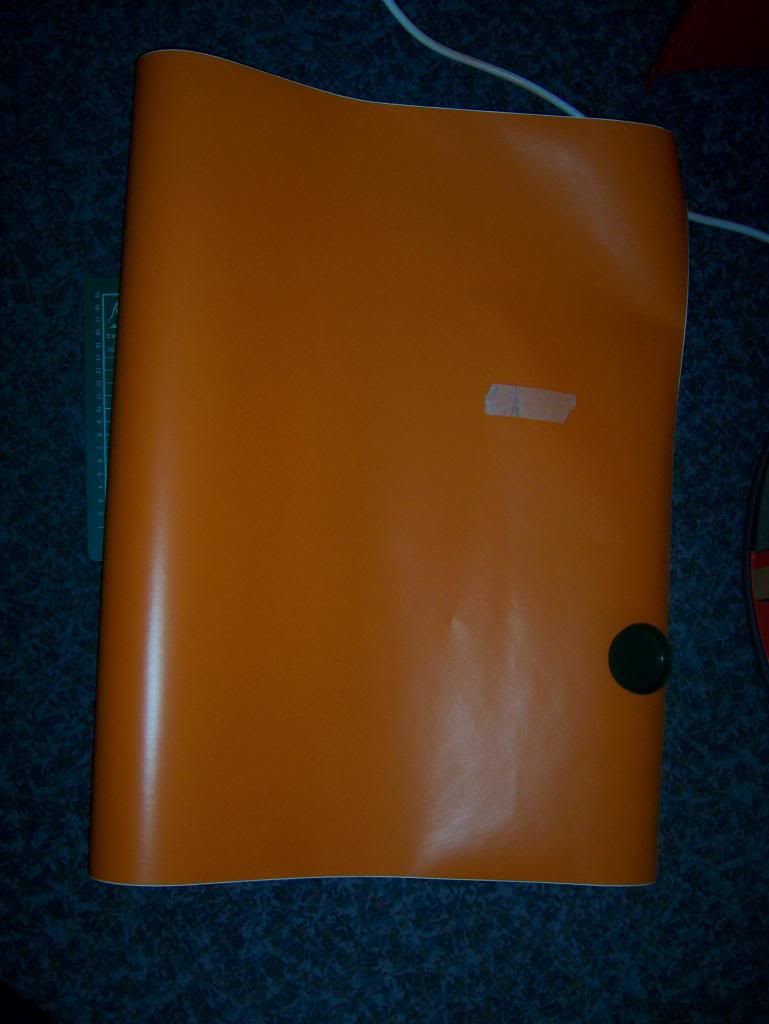
Ok i can only take iphone pics so sorry for the poor pics, they were the best of the bunch. I only have enough orange film to cover the back so i didnt want to use that for a demo (i will use this orange film when the hole saw arrives and the fan holes are cut) instead i have used orange card to give the same effect.
Heres the blue/ clear bubbles thick window film.
afccb91e0b11a5f4ec0dac7375d3c480.jpg


Heres the orange beneath the vinyl.
f15de35f55eb9680aa1f6d45b77b0852.jpg

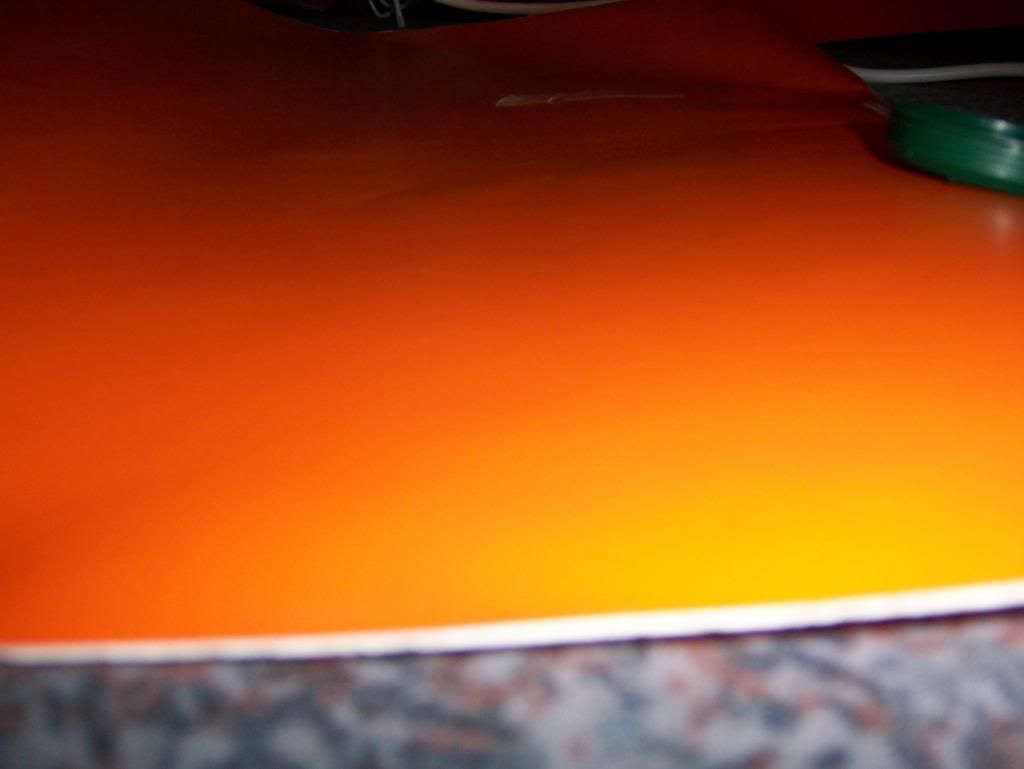
Here it is up close, sorry for the camera glare.
2ae66a8f2747b37c8790630e7cc62b0d.jpg


Imagine this inside the can, so you can only see it through the clear perspex or if and when the front is opened.
What do you think? I dont want it to look tacky but it will be keeping with the theme.
 
Last edited:
Hiya guys, i should have a few more pics tonight.
I am planning this build as a recycling project. I own it so coke can go swivel. I would let them take me to court and fight it the whole way then just take the stickers off! LoL (look up the fake ferrari 355 MR2's, in the end they just slightly tilted the horse by a few degrees and they got away with it scot-free)

Ive not set a budget on this but with the tools and the custom pieces i think im looking at around £1200. Its not a money issue though because im just spending a little each month. I could sell it on and maybe for more but will no doubt keep it as it can be upgraded as time moves on.
Im building this cause it was an idea from my childhood, if im honest i dont need a new PC so its all about getting something i always wanted.

Im sure there is no issue with coca cola and recycling this anyway cause lots of people are selling coca cola stickers on ebay, which they printed and are not endorsed. Basically the only thing coca cola about this is the stickers on the outside, although i am paying stupid money for 8 coca cola badged bolts for the rear fan covers and coca cola badges for the doors.

I cant see me building another one as most of the stereos are selling for £200-£300 on ebay. Plus the headaches, swapping and changing designs.

Ive previously added a hard drive, iphone dock, USB hub and hdd hub into an old playstation console, recycling again.
I love taring things apart and recycling them with electronics.

My carbon fiber turned up today along with my amp i think, i will have to pick them up from the post office but you will start to see this project coming together over the next few weeks more to how im visualizing it to be.

Well i will try and get another load of pics on, ive been holding back to take some better pics with my camera but i cannot find my charger and its dead. I only have the iphone and the pics are too grainy :(
 
Hiya guys, ive not had a chance to get on the last few days.

More Pictures

My replacement monitor has arrived, so i should be getting on with spraying them red this afternoon.
100_1630.jpg

I taped off the buttons this time to avoid the buttons sticking.
100_1683.jpg

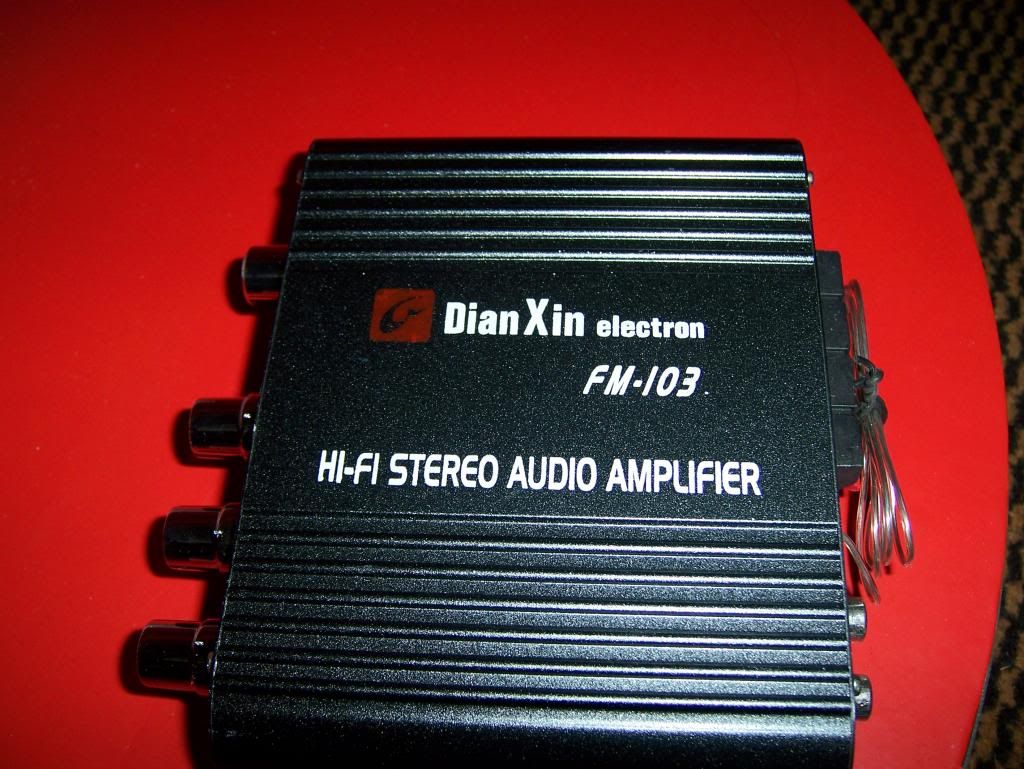
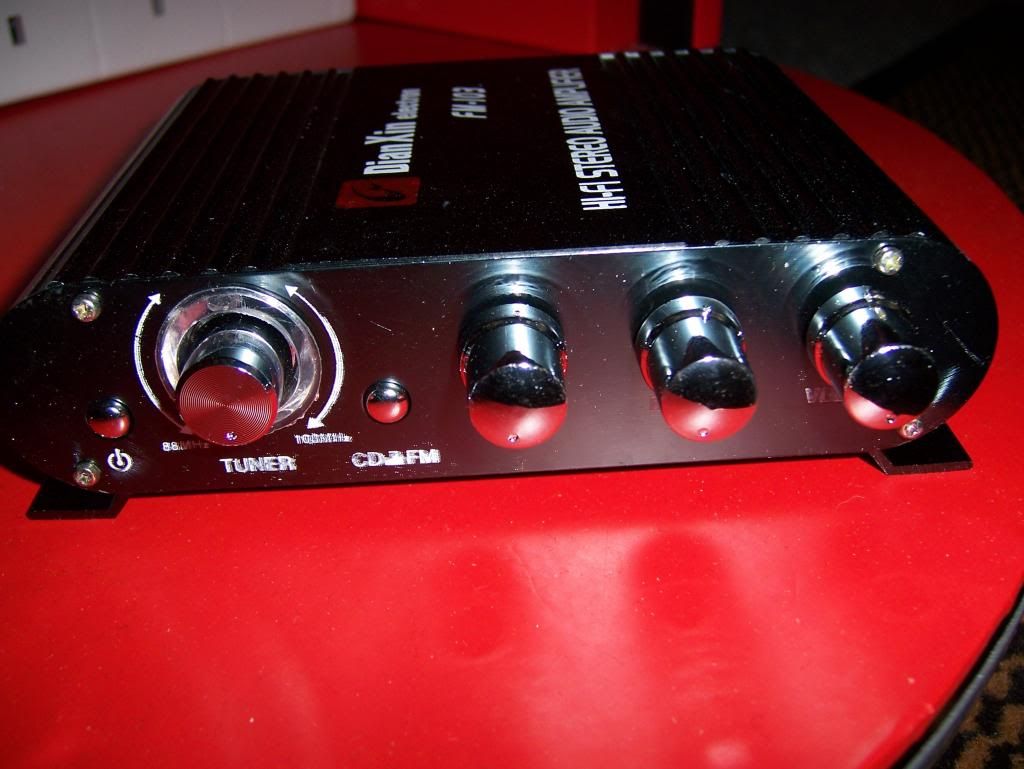
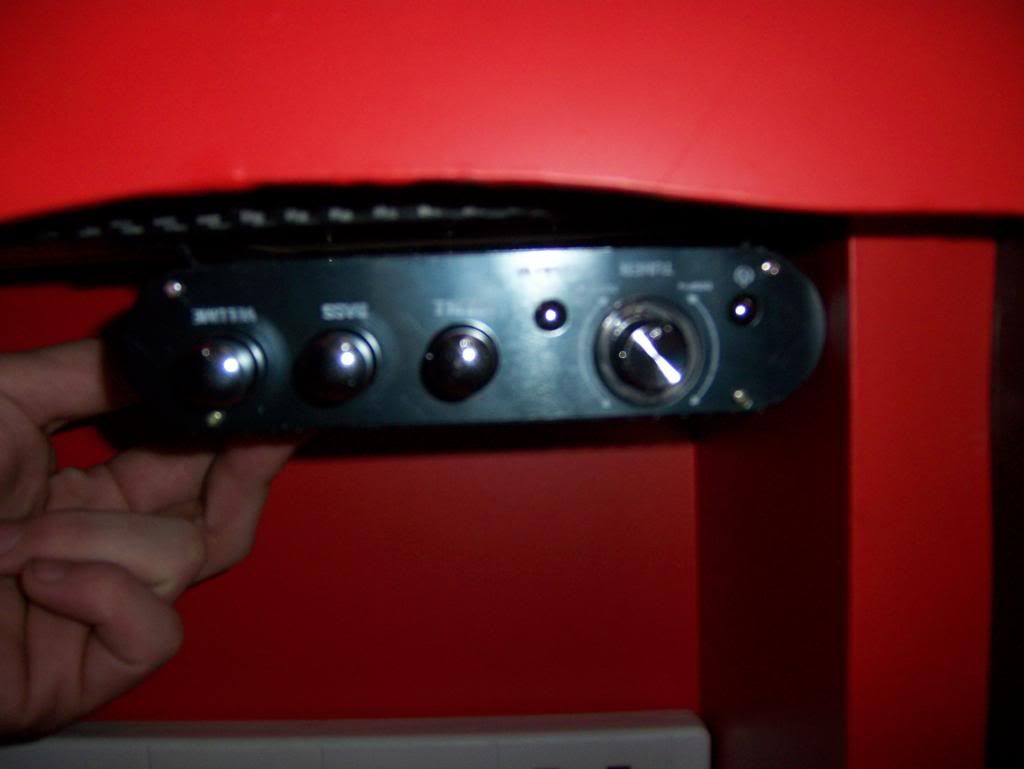
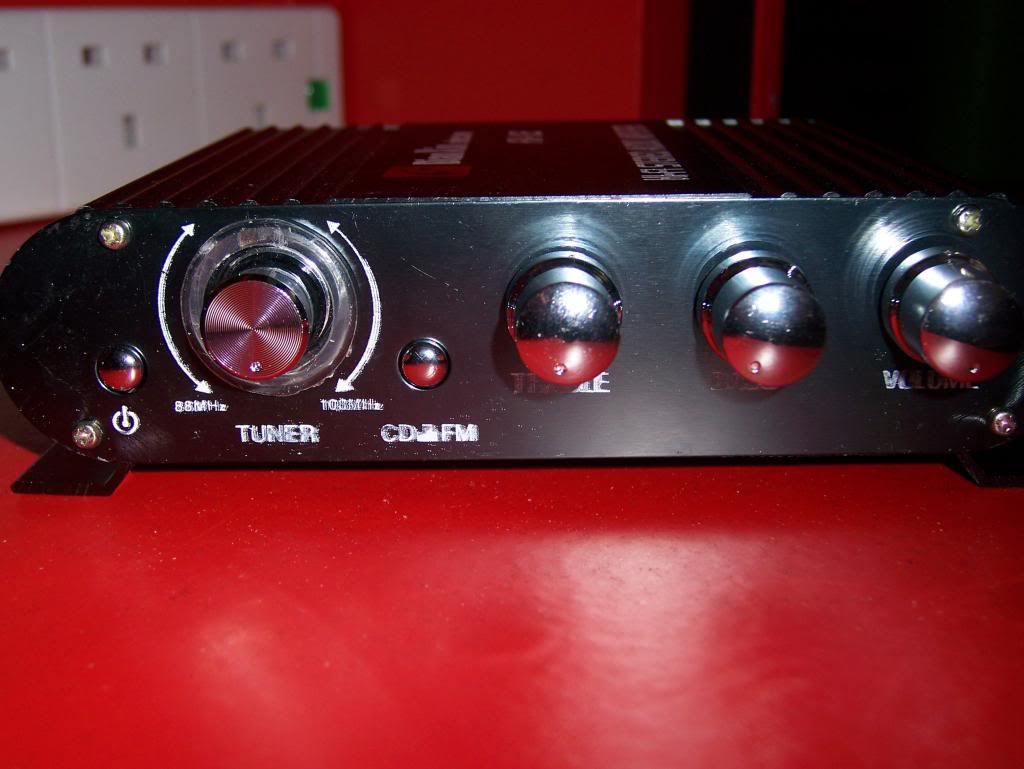
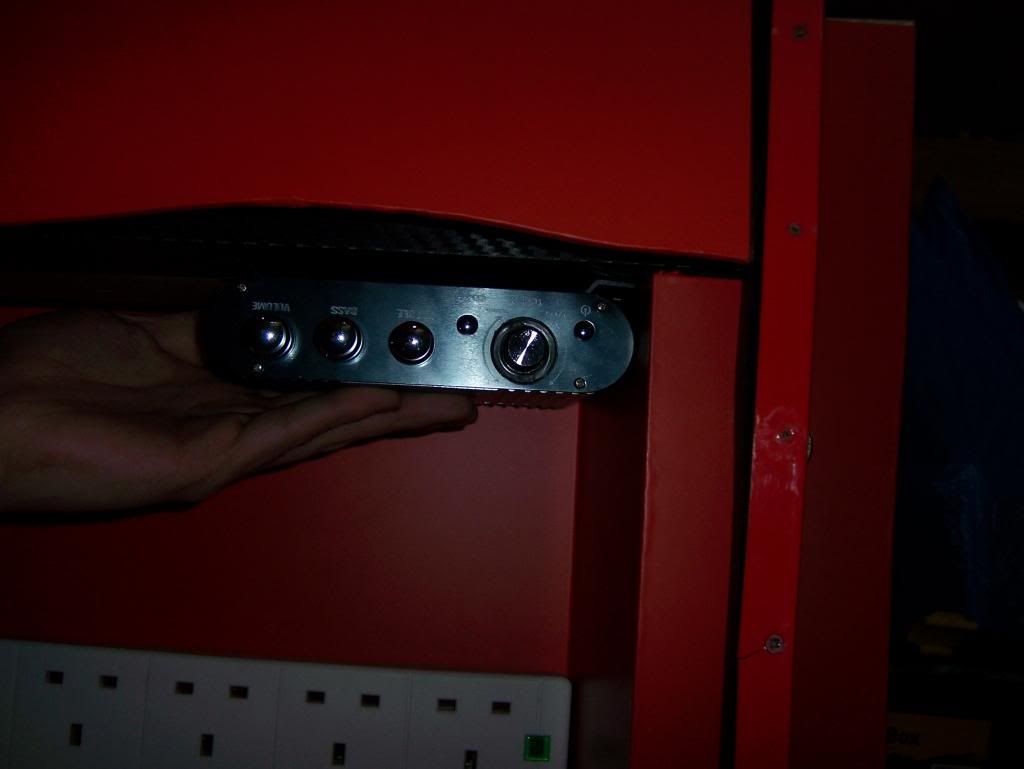
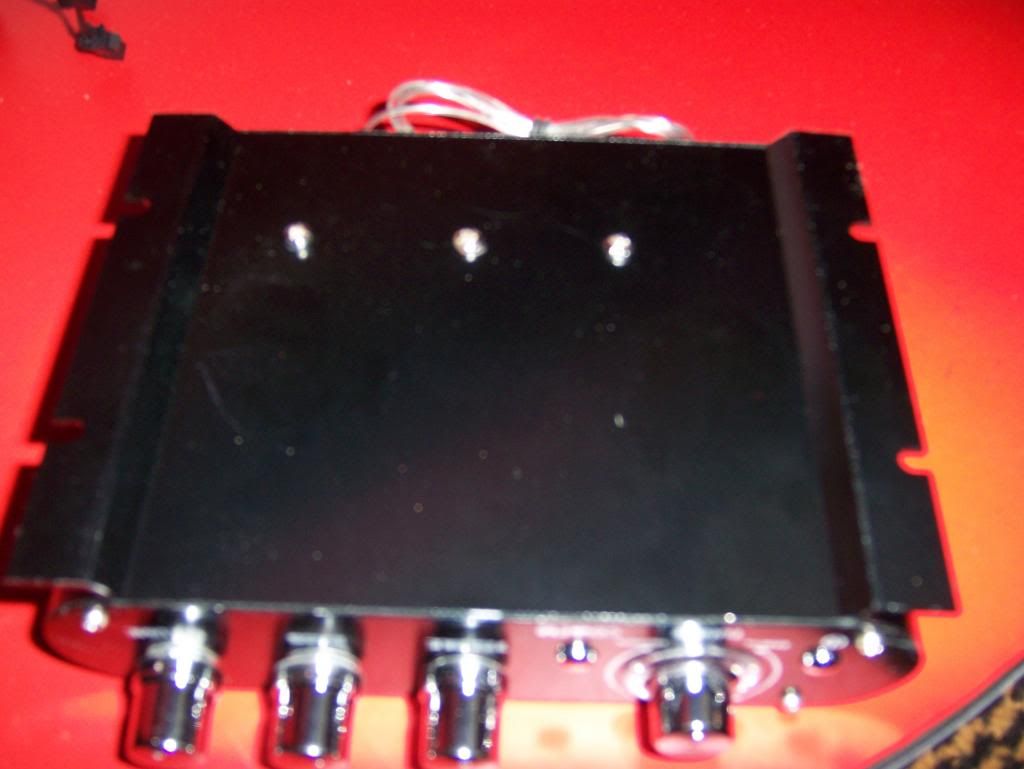
I have an amp now to power the speakers in the doors. I searched everywhere to find speakers that would be a good replacement but im going to have to risk it and go for the same size speakers only 3 way models for cars.
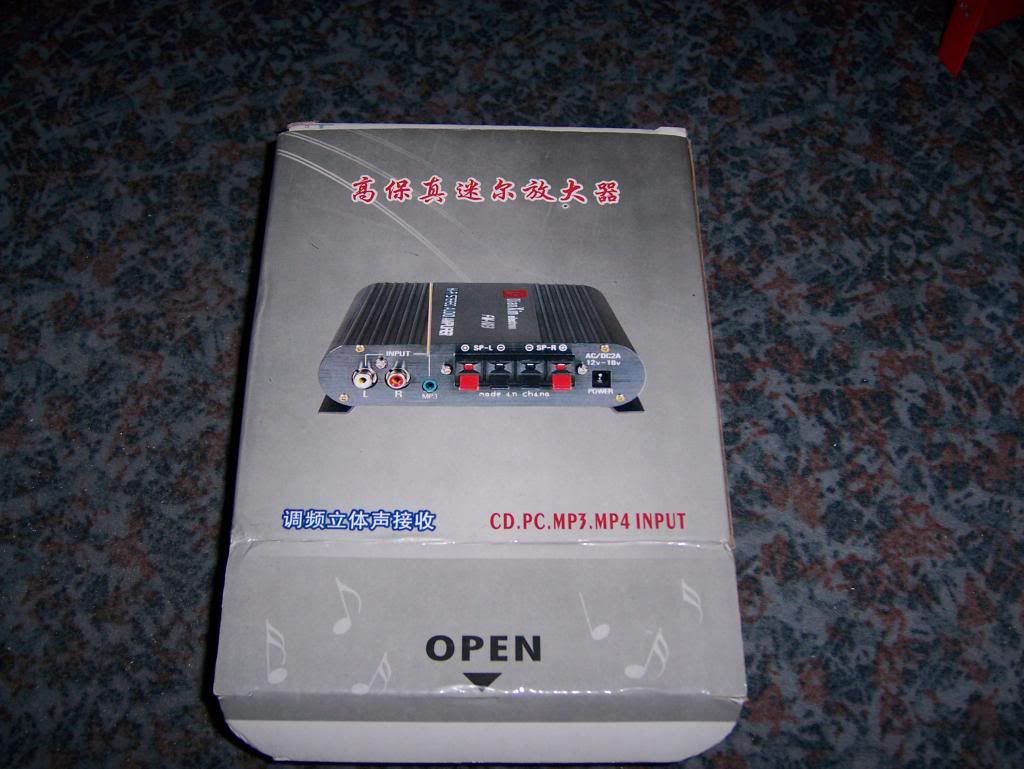
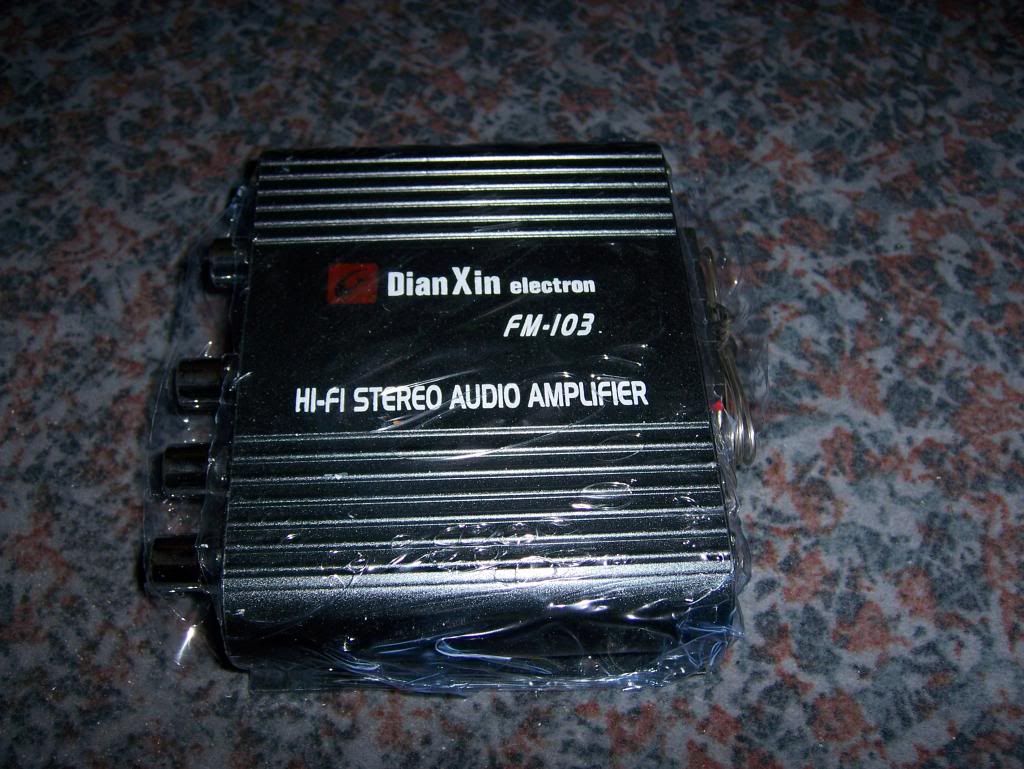
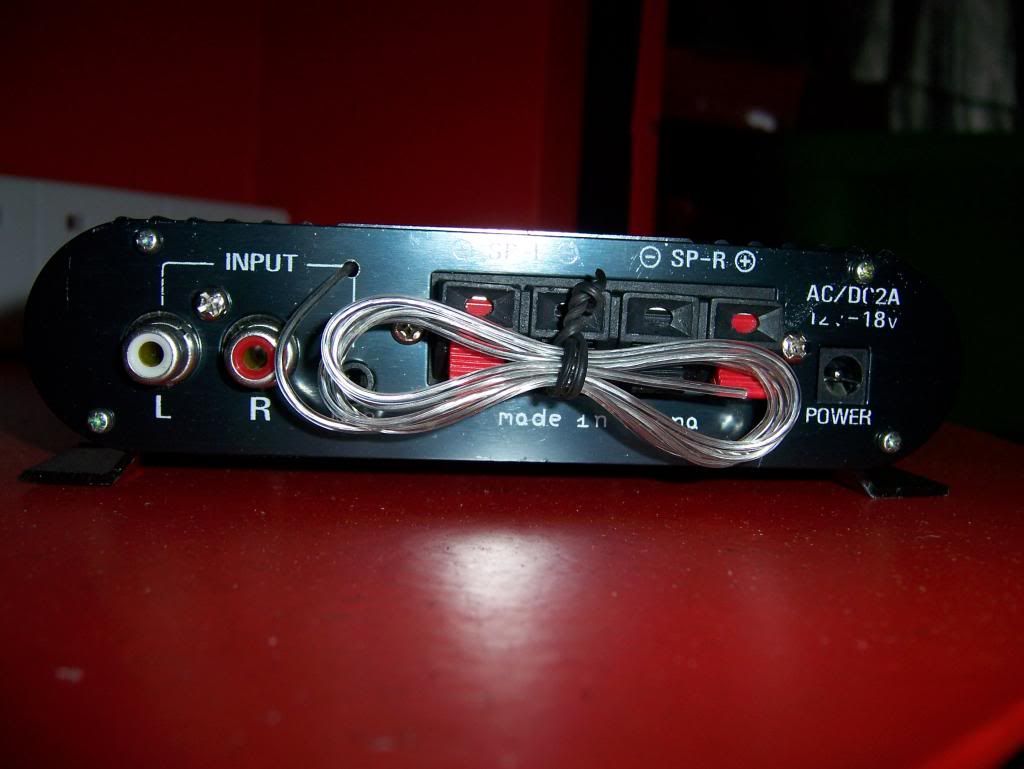
The amp arrived without a power lead so im waiting for a 12v 2A power supply to arrive in the post. Heres some pics of the amp and plans.
100_1633.jpg

100_1634.jpg

100_1639.jpg

100_1640.jpg

100_1635.jpg

It was only £13 but had good reviews and it was the ideal size to fit inside the bottom cupboard. (Sorry some pics are blurry i didnt notice when taking it)
100_1642.jpg

100_1653.jpg

I plan for it to go under the cupboard.
100_1644.jpg

100_1643.jpg


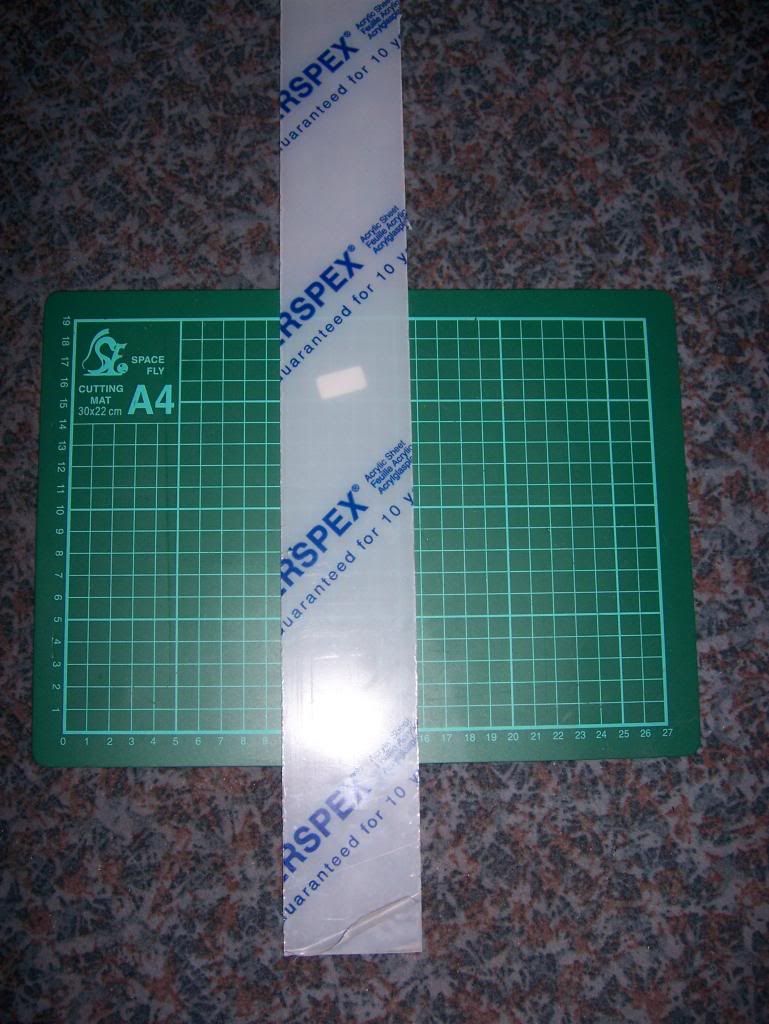
As in my first post i liked the look of the blue/white glow on the coke machine to form the swoosh. To recreate this i ordered this piece of plastic.
100_1682.jpg

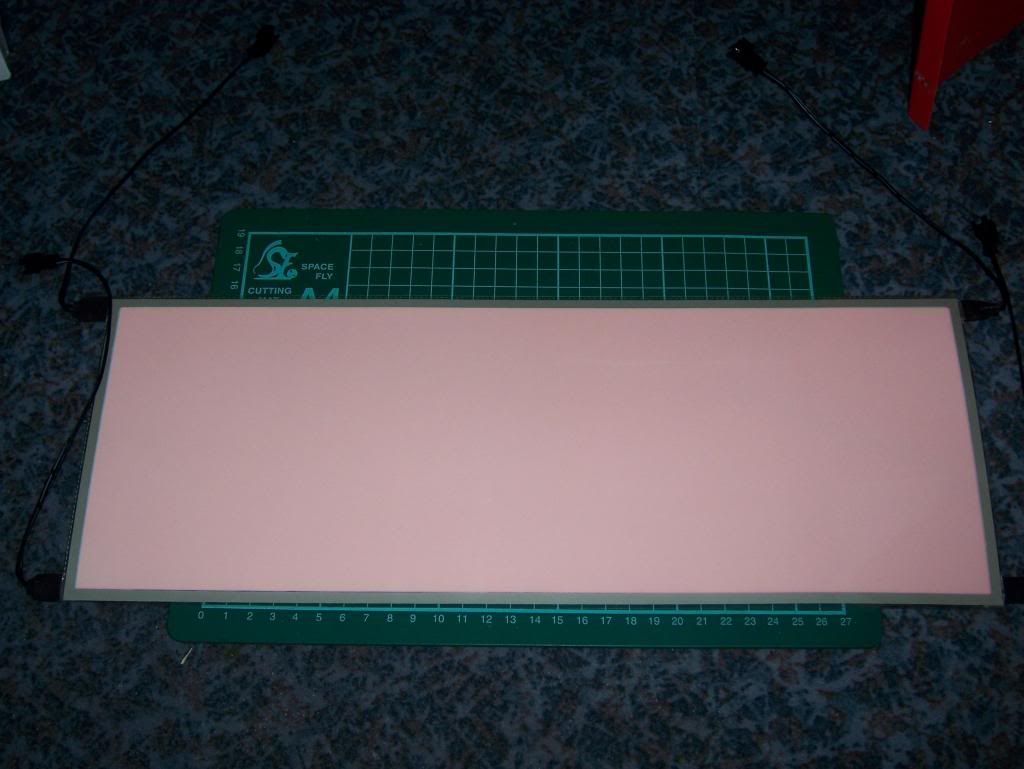
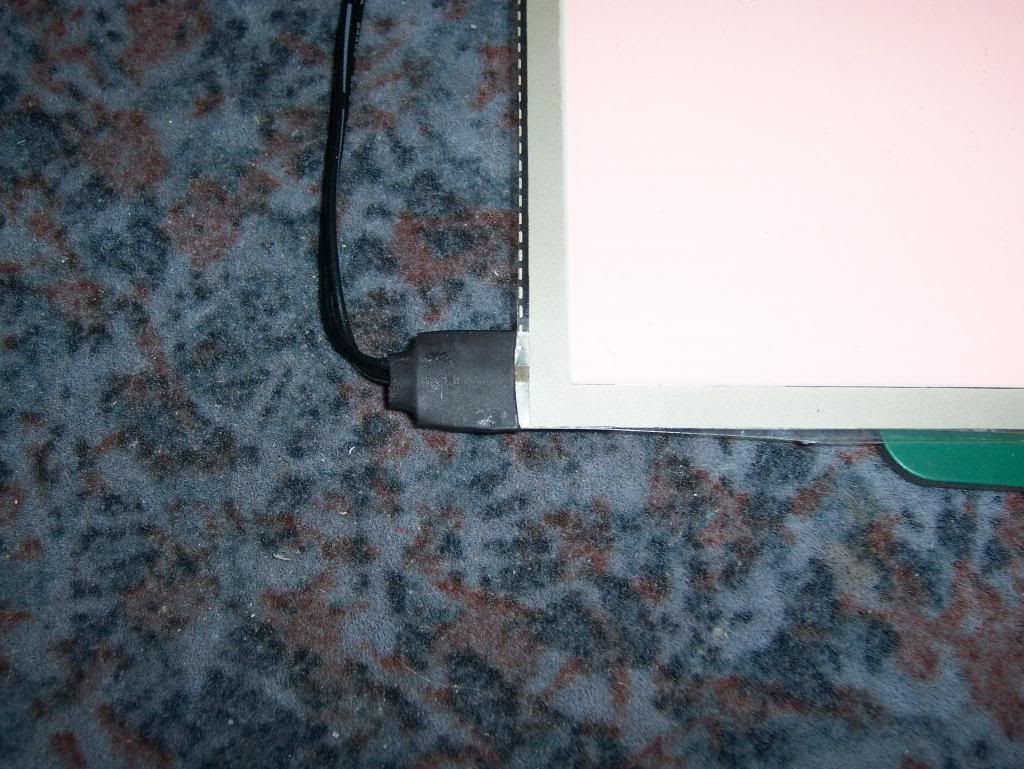
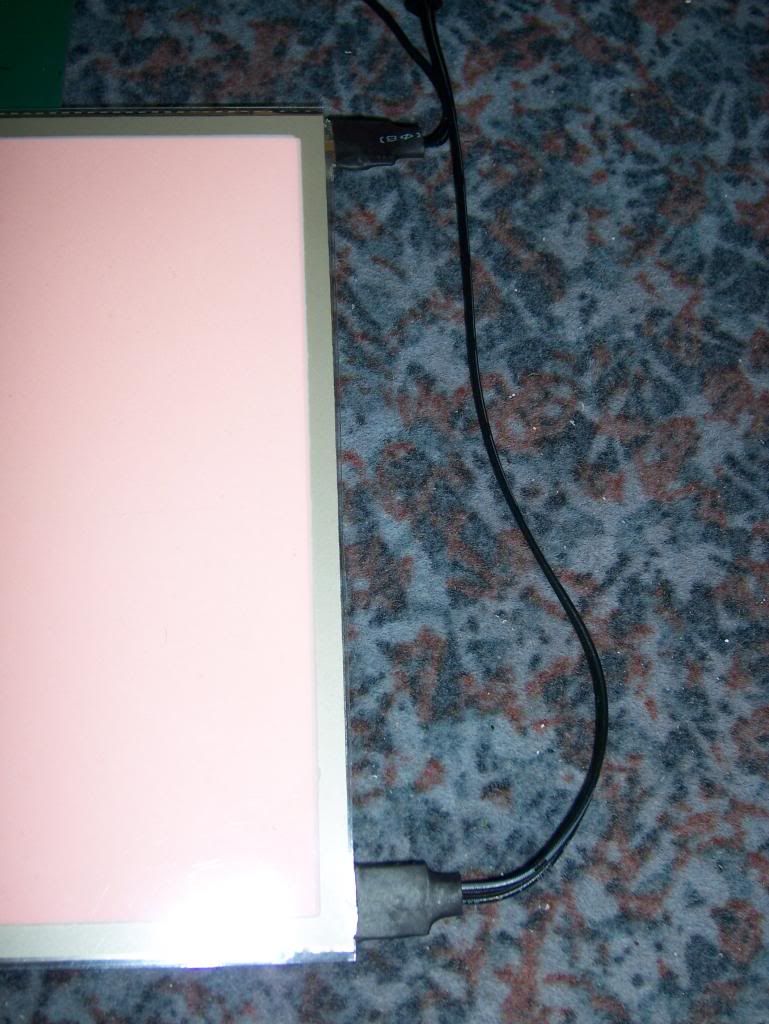
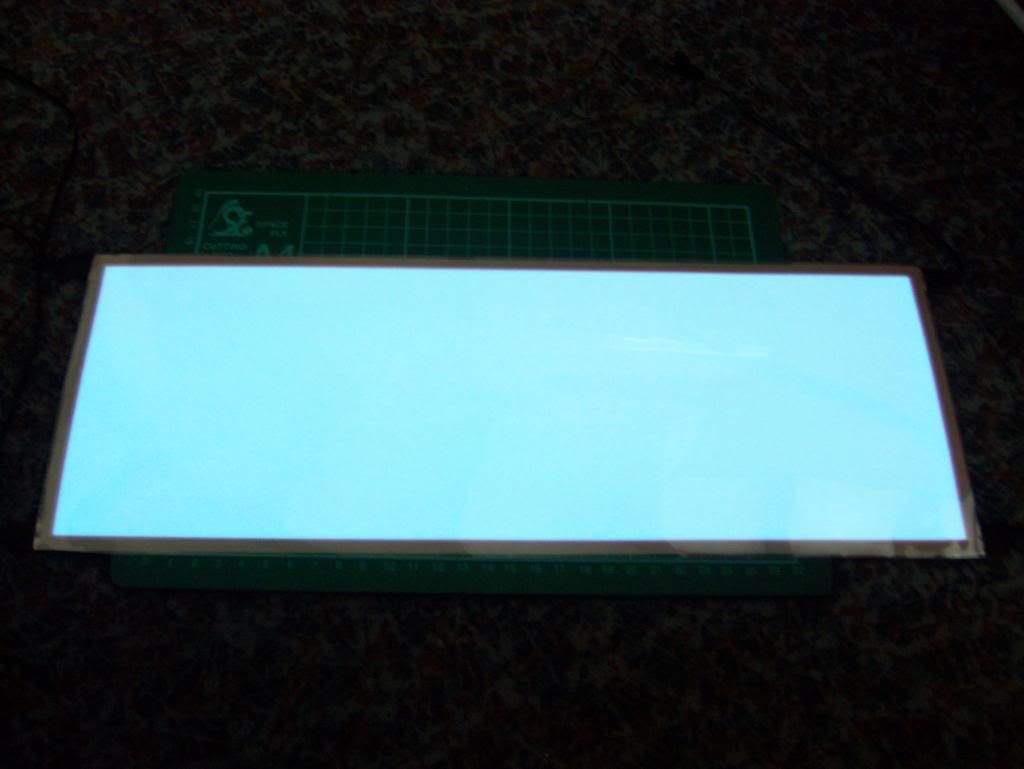
To go behind this i have bought an Electroluminescent panel (£60) i got an awesome deal online from EL wire craft i worked the panels out for £105, when i called him up he shown me other ways to get what i wanted for only £60 and they look great. Ive included a video in this post of the EL panels.
100_1646.jpg

I know its pink but this will be hidden behind the frosted clear plastic piece.
100_1651.jpg

100_1652.jpg

Here it is all lit up.
100_1674.jpg

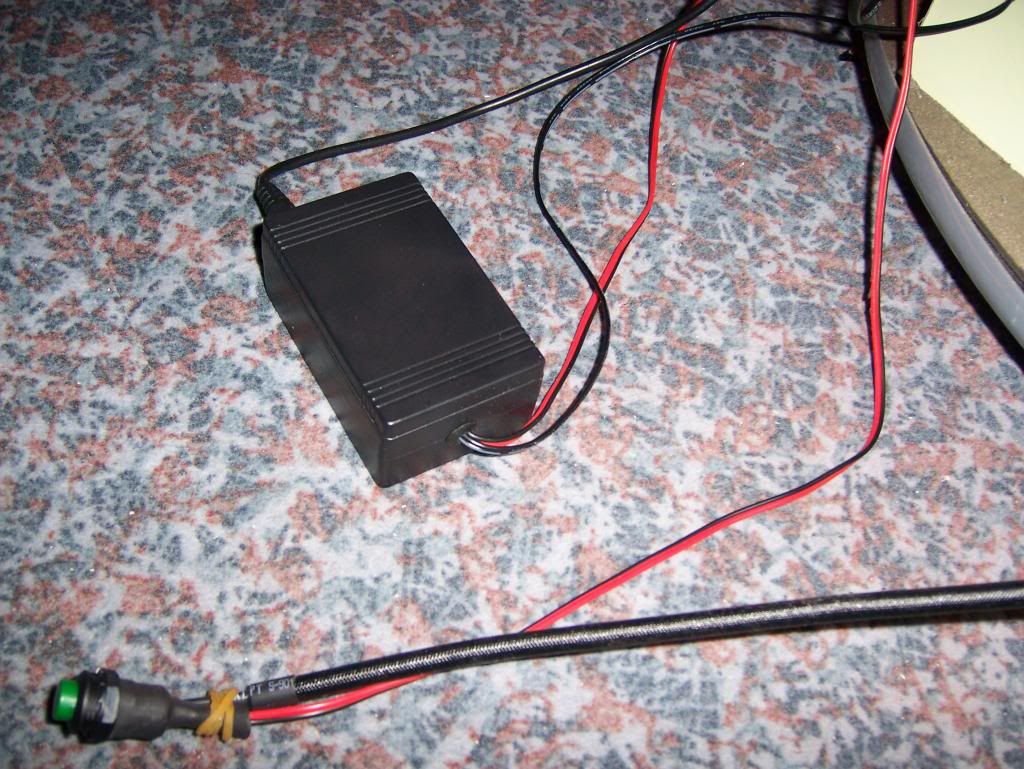
Here is the box that powers the EL panel, i tried to make a sound proof box to cover this but it had no effect. The box has a squealing noise but it wont be too noticeable once its packed inside.
100_1631.jpg

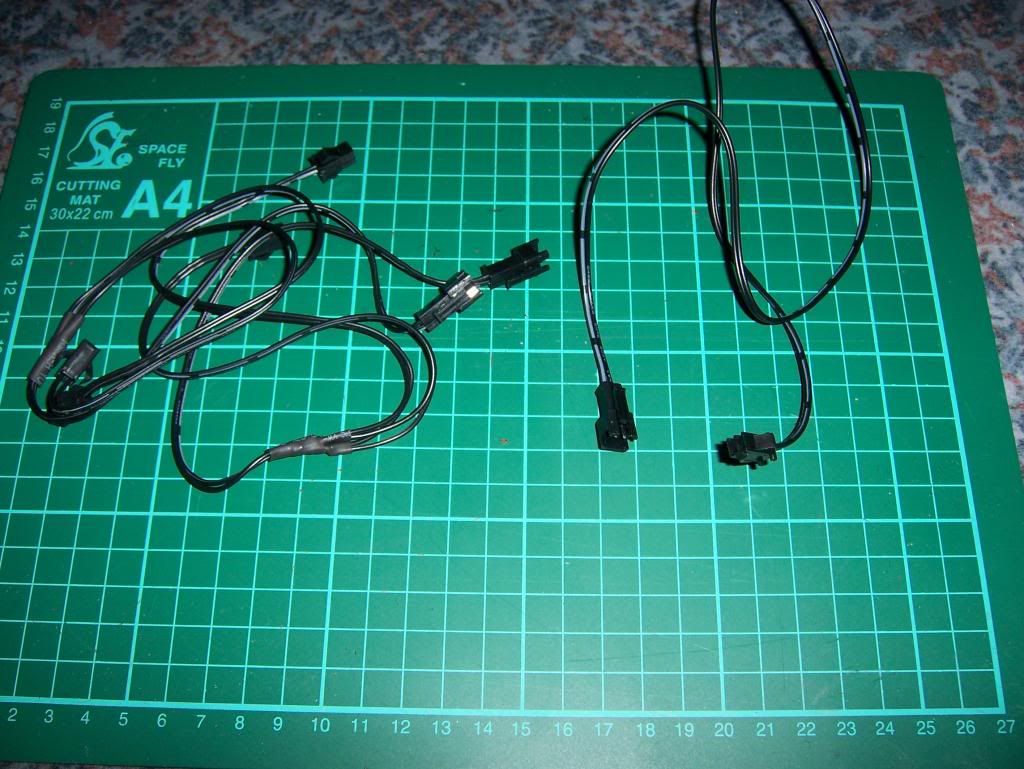
They also chucked in the extension cables i needed to wire around the insides of the can.
100_1645.jpg

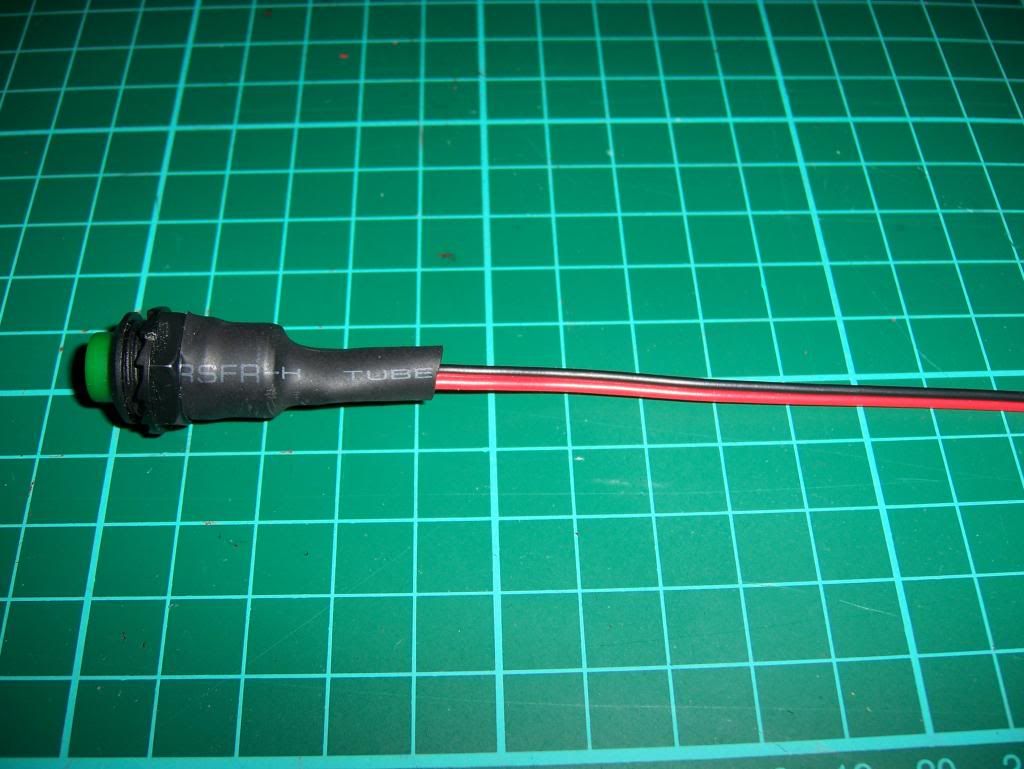
The switch is attached to a red and black cable that goes to the box, i would like to swap this to a 12v switch for the front display panel.
100_1680.jpg

Here is a video of the panel.
100_1675.mp4


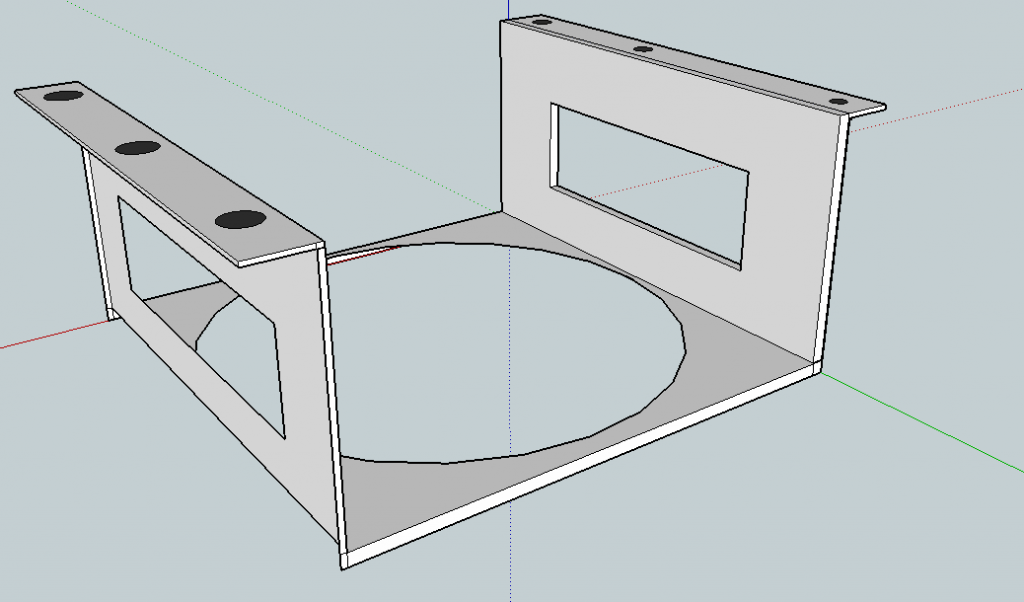
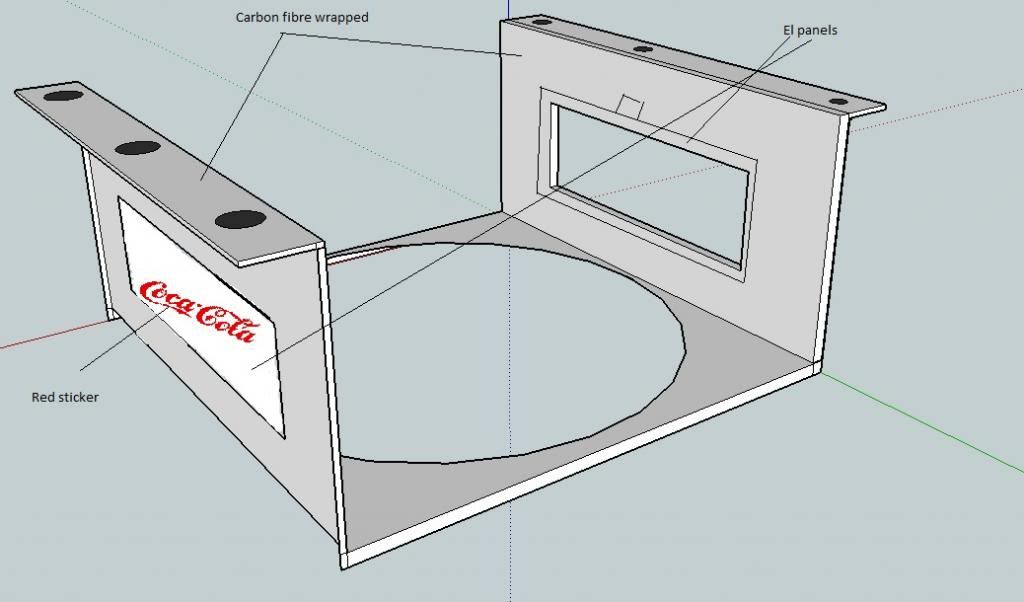
Ive had a load of quotes for the PSU box, i was hoping to order last week but didnt get a chance but here is some pictures of my plans.
psuboxroughguide.png

psubox.jpg

PSUboxposition.jpg

I will be cutting the larger panel into pieces to fit into the sides of the psu box with coca cola stickers in the middle.

More to come later guys im off to enjoy the sun while its out.
 
Last edited:
Yeah your not wrong. I wanted to make it completely unique. The EL panels are great for any build and hopefully when complete will give my PC the look I'm after. My biggest problem is getting the front lift up door to seal airtight when closed and I'm soon going to start creating the front control panel. I have a few more pics to load later of the doors.
 
Hiya guys, ive got a few more pics uploaded.
I have my SSD now it turned up from america already not bad considering it said a month. The holes saw has arrived today too so i will get round to sorting the coke pattern back ground and the rear fan holes.

Ive been busy this week so not got much done at all but i ordered a new power cable for the amp and tested it on some old 6x9 car speakers. It was a little tinny but very loud however it was only the fm signal, ive not tested it on better speakers or an mp3 track yet. Its got a crap light on it but atleast its red and not the blue as advertised.

So here is some more pics of the bits ive been accumulating.
I first cut a hole for the pipe to fit into the top, im hoping to hide all the psu wires in the top of can.
100_1628.jpg


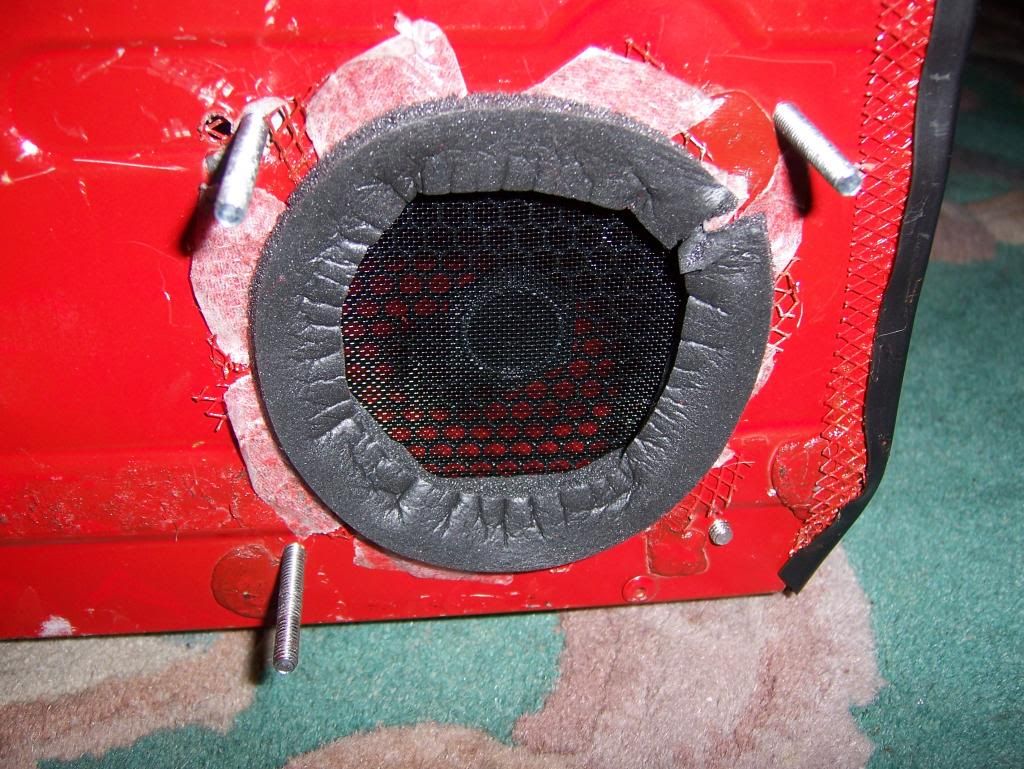
Next i have started to bend the fan grills to fit around the outer casing.
100_1719.jpg

100_1718.jpg


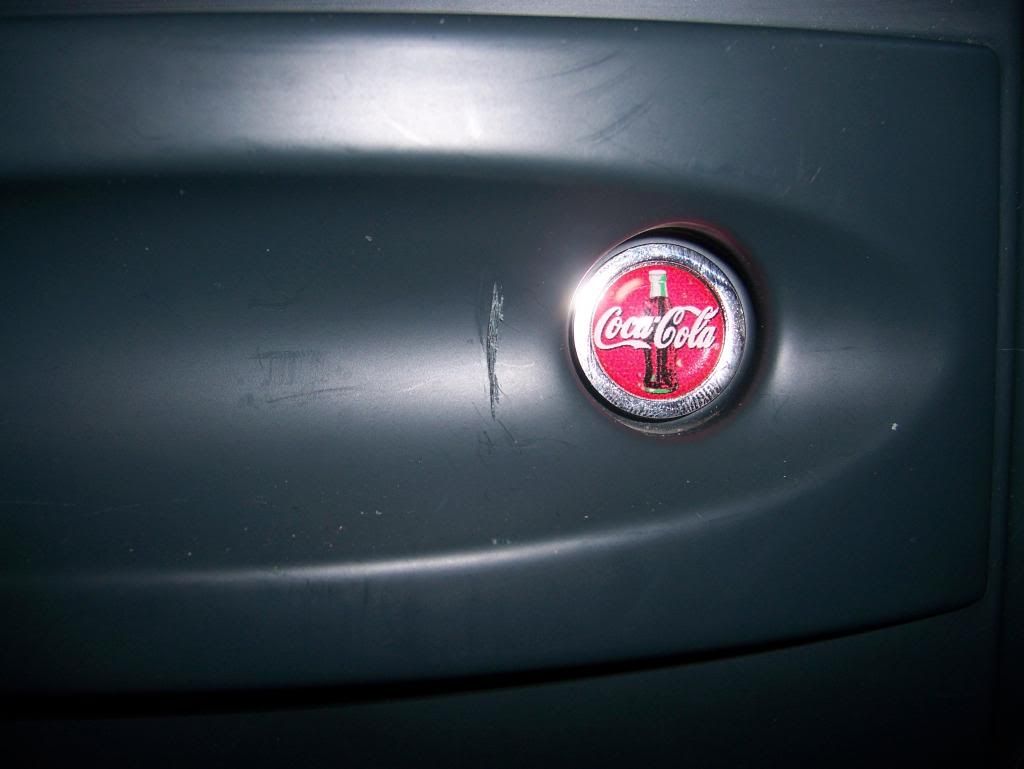
Ive also had the badges arrive..... Eventually. Had issues with postage on these but they fit perfectly in the doors and will look great once i have wrapped the doors in carbon.
100_1712.jpg

100_1714.jpg

100_1690.jpg

100_1691.jpg

100_1697.jpg


The orange film.
100_1709.jpg

Its hard to get the light right to show the colour of this.
100_1711.jpg


Since ive had the work done in the house this has attracted a hell of a lot of dust. I will take care of this and have plenty of ways to get rid of the dust before i put the motherboard inside. However i have bought a lot of cans of this to help along with use of an airline if its really bad.
100_1705.jpg


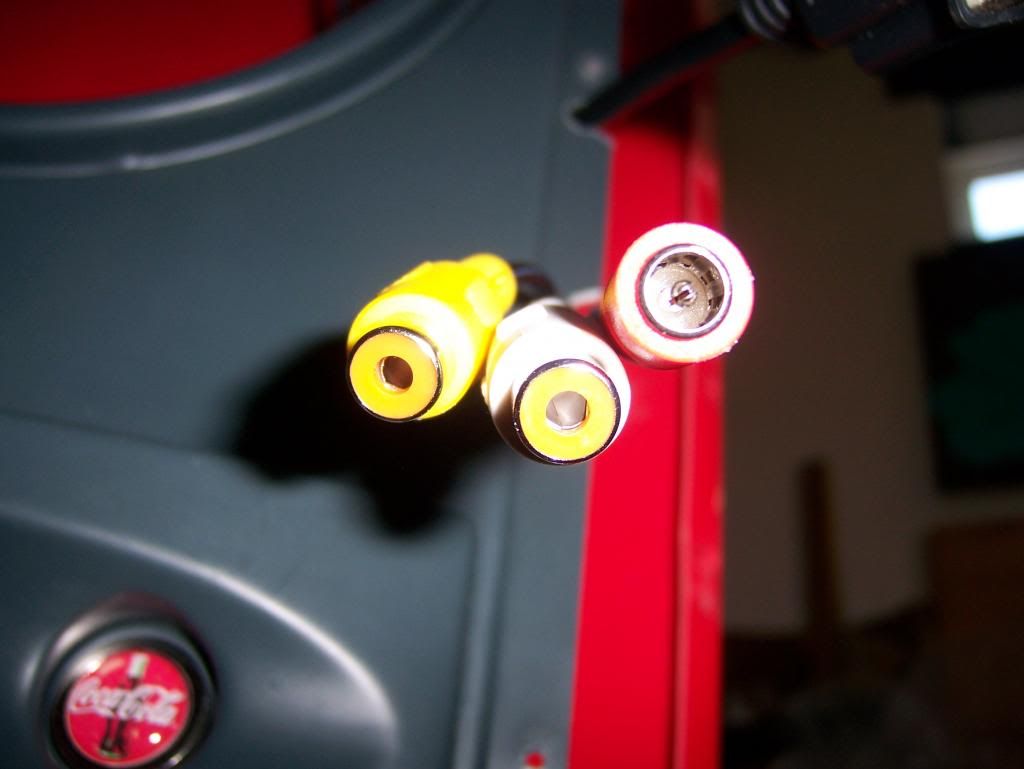
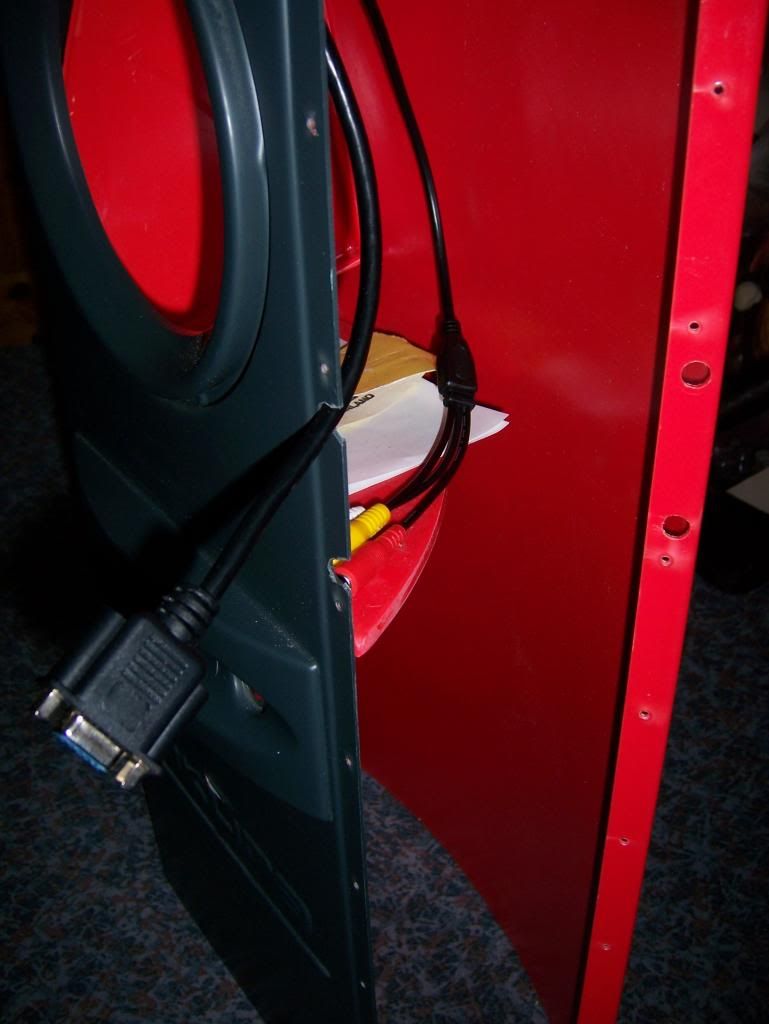
Im shopping around now for the cables for the doors i.e usb sockets. Monitor cable extenders, power cables, speaker wires etc.
The problem im scratching my head about is how to fit these into the front post from the edge of the door.
Heres what im working with.
100_1696.jpg

100_1695.jpg


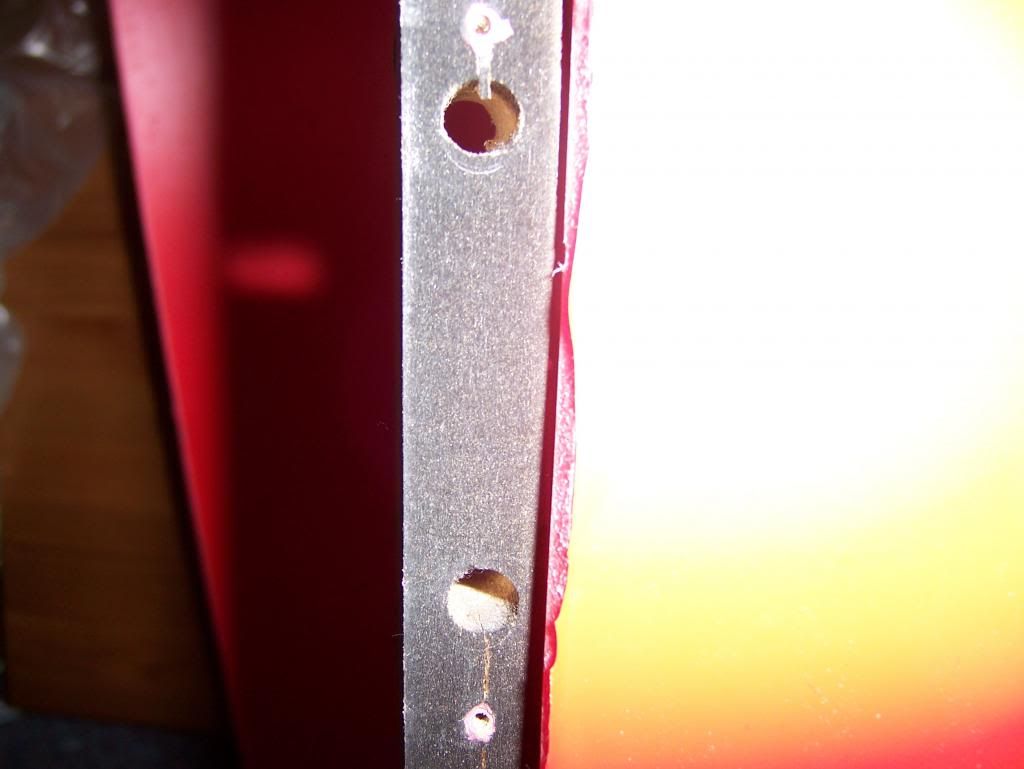
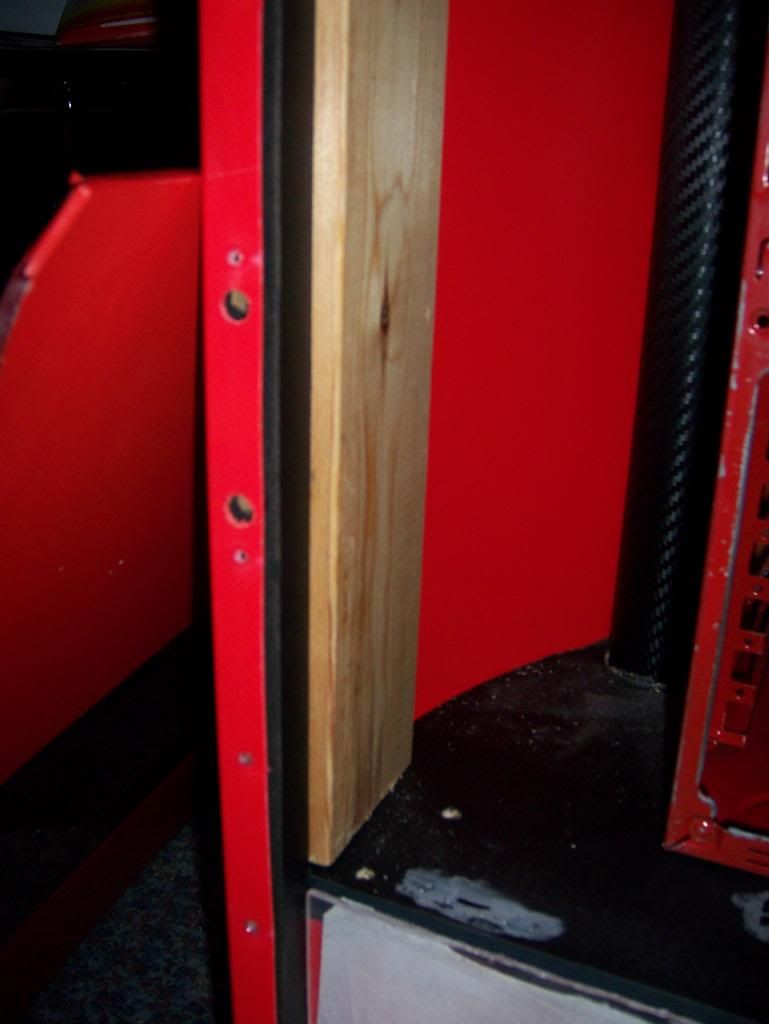
I have to mod the existing holes to get the cables to fit through.
100_1694.jpg


On the can itself
100_1699.jpg


I have removed the old speakers and am planning on buying some 3 way coaxial car speakers as its difficult to buy panel speakers without testing them locally first which i cannot and i have tested these car ones on the display in halfords and it will give me what im after. Plus the amp is variable in ohms so i can change them later.
Now i need to fit them back in the doors hopefully the same way they were fitted originally.
100_1693.jpg


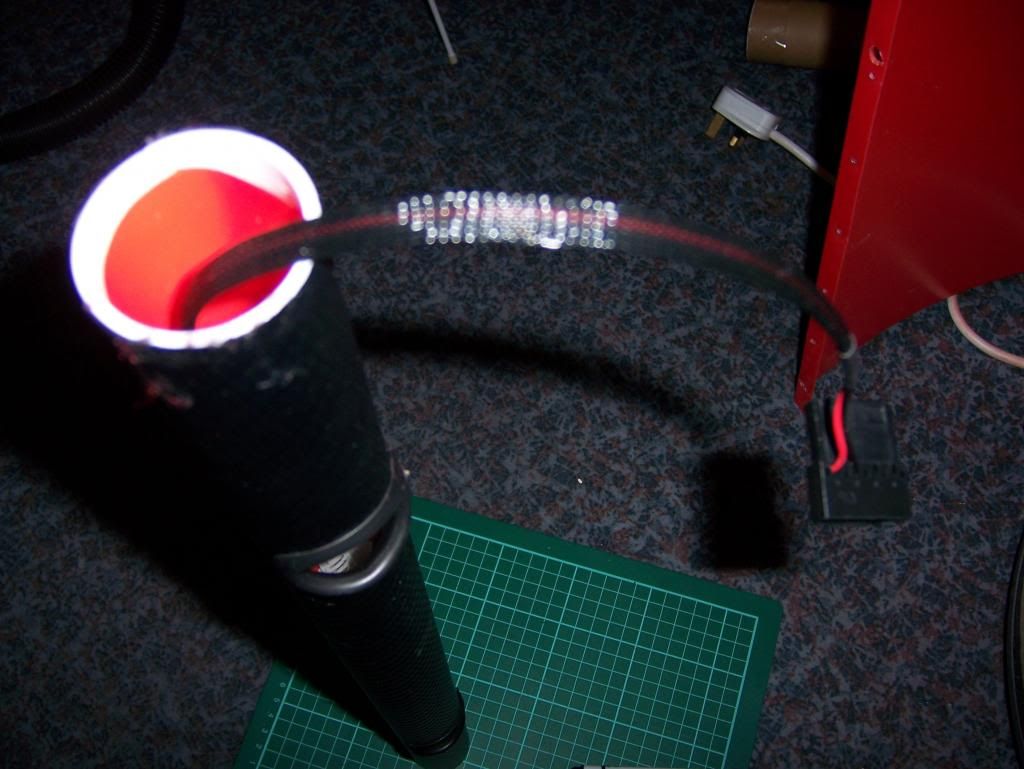
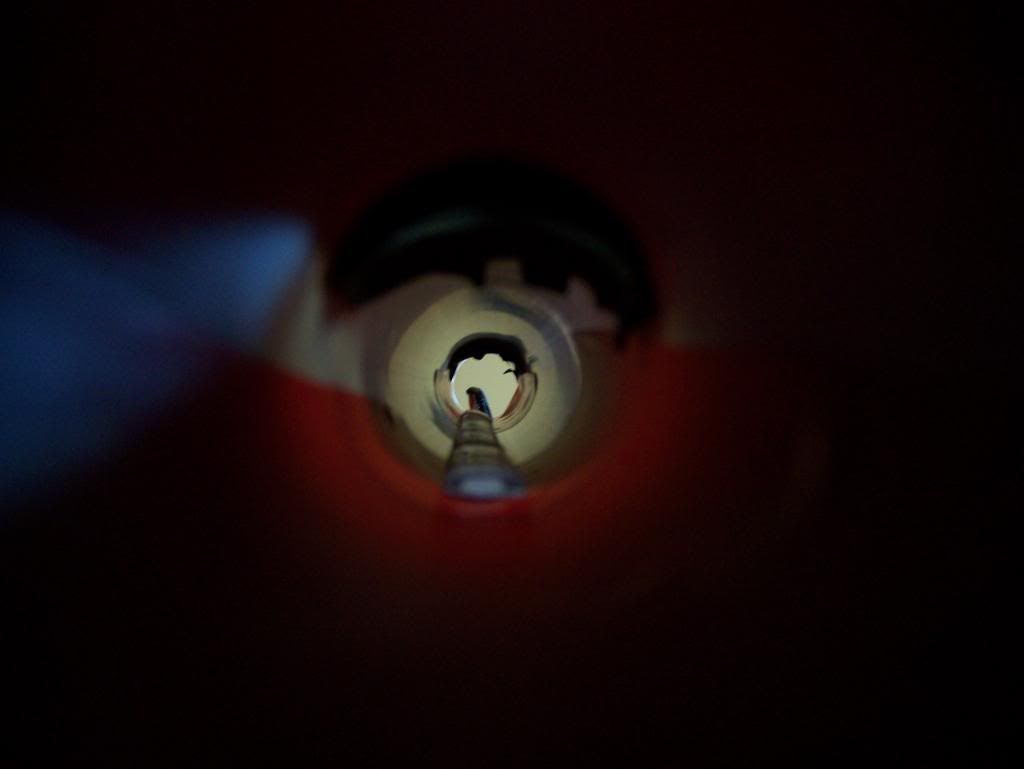
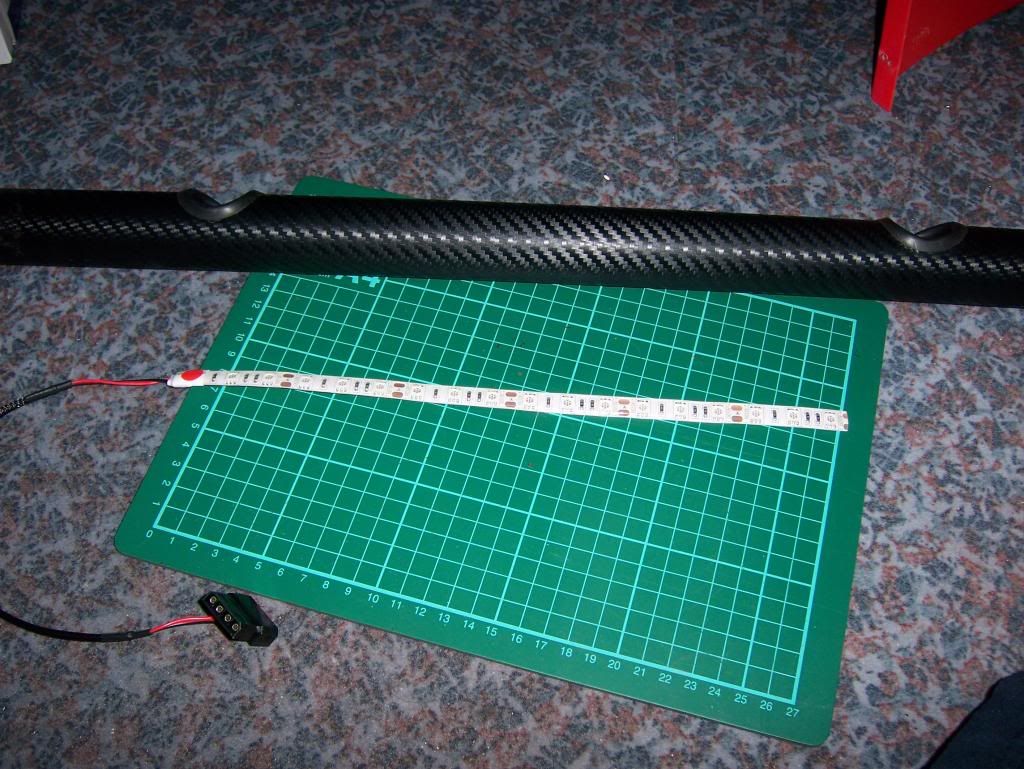
I mentioned the pipe inside for the cables. Ive fitted a red LED strip inside so that will light up the holes in the pipe.
100_1673.jpg

100_1671.jpg

I fitted rubber edge trim round the holes on the pipe too.
100_1669.jpg


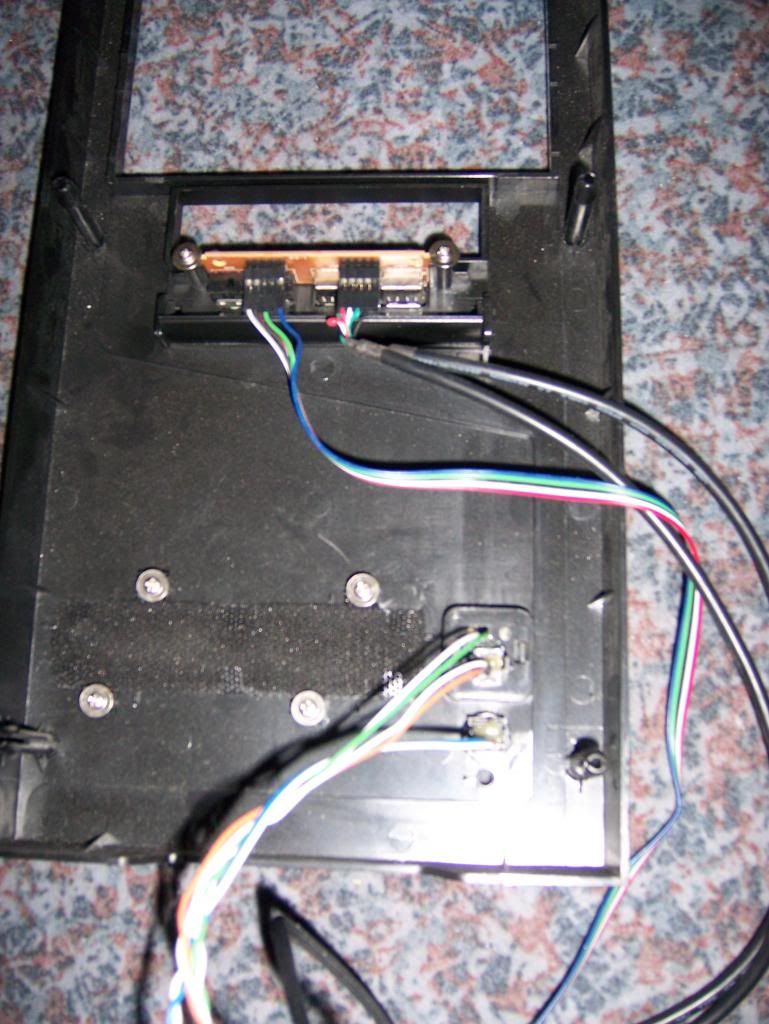
I have this piece left over, does anyone know if i can reuse the cables on this for the switches? They have all the connectors for the motherboard on.
100_1721.jpg


This is an earlier pic but i plan to add two carbon wrapped post either side of the opening for the front panel to help make it an airtight seal. I have a sticky foam to fit so that the front panel (when closed) will be fitted tightly and not let any air escape or mess with the air flow. It will also hold two gas strut lifts to make the front panel open and close.
100_1555.jpg


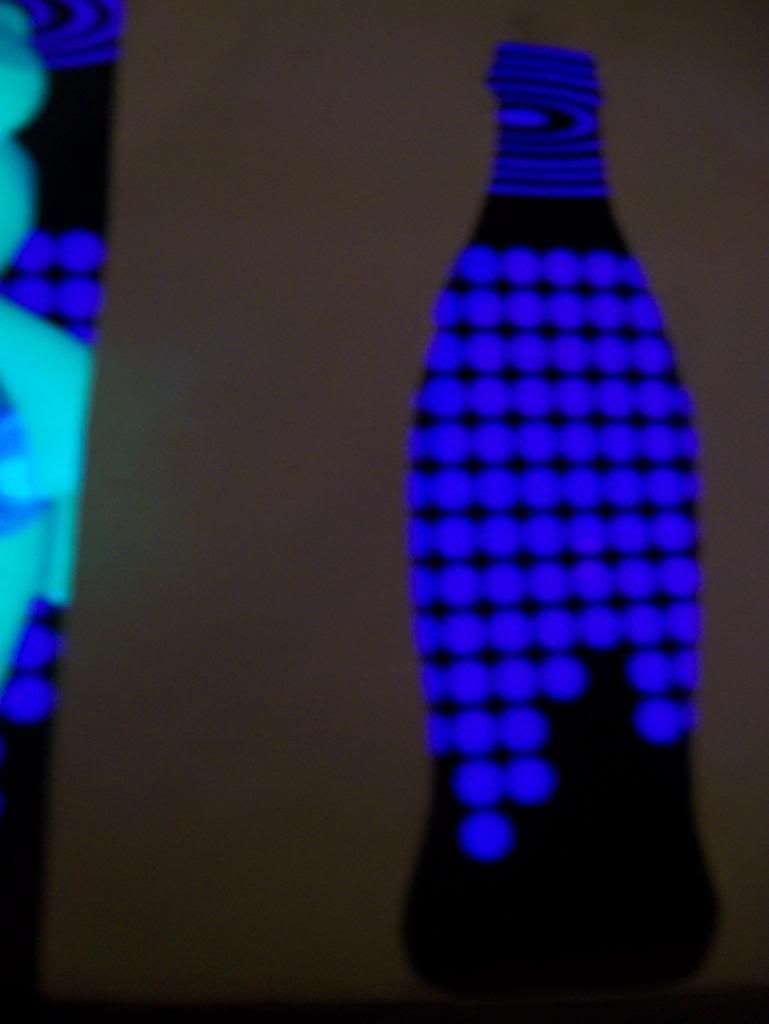
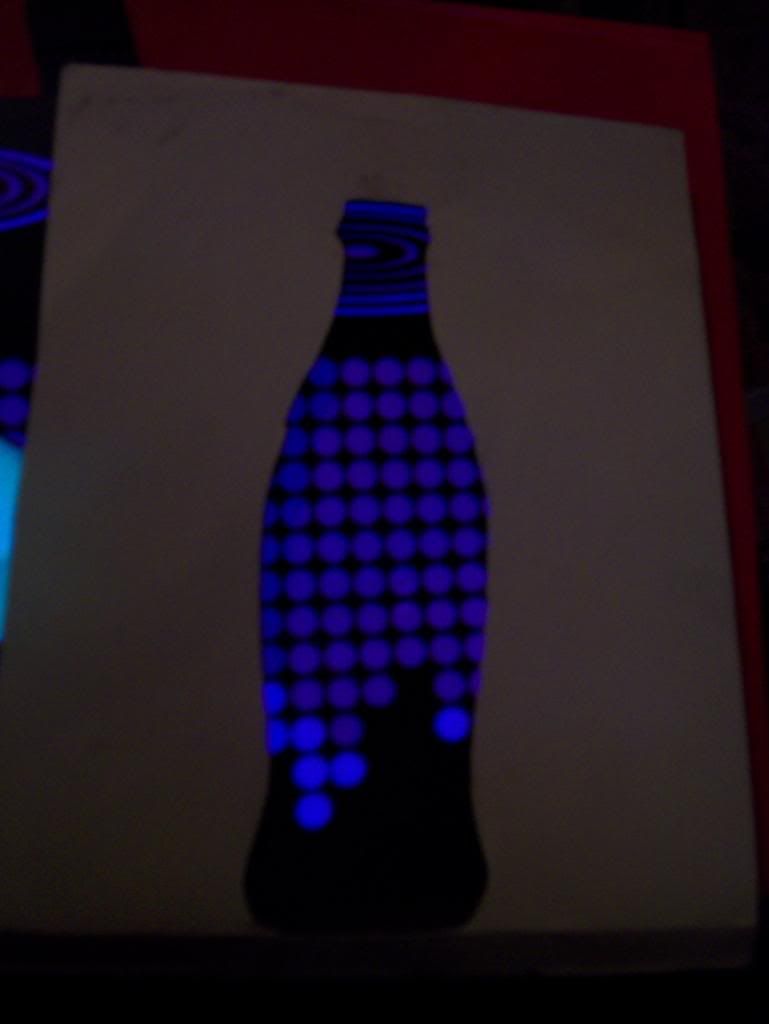
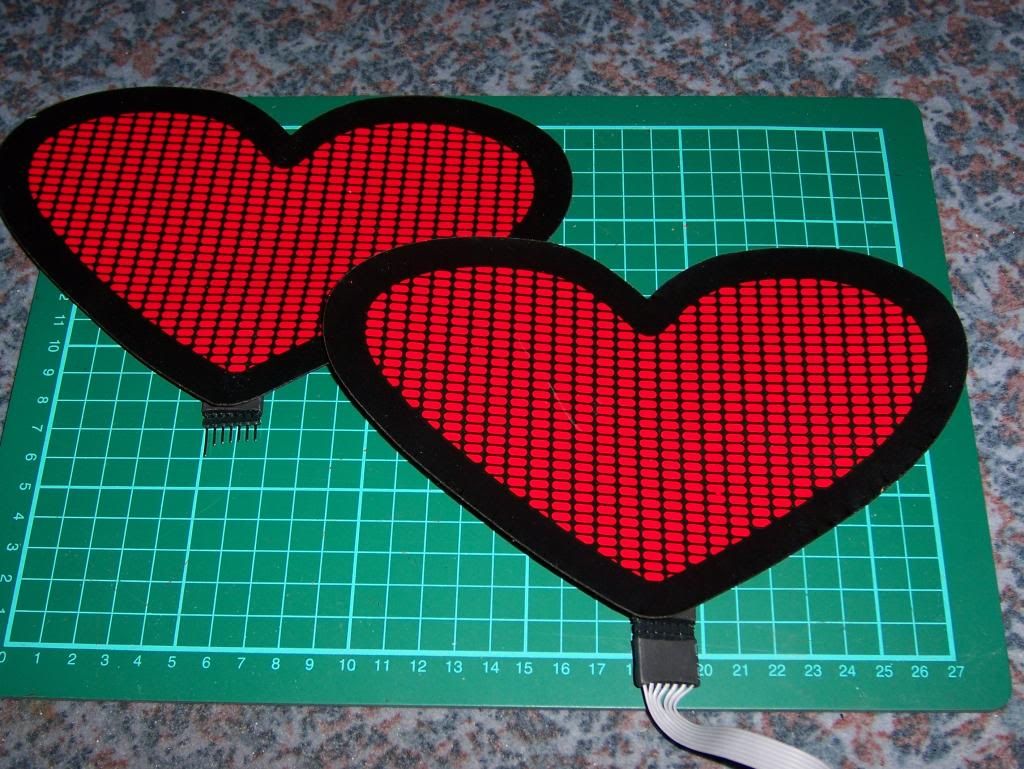
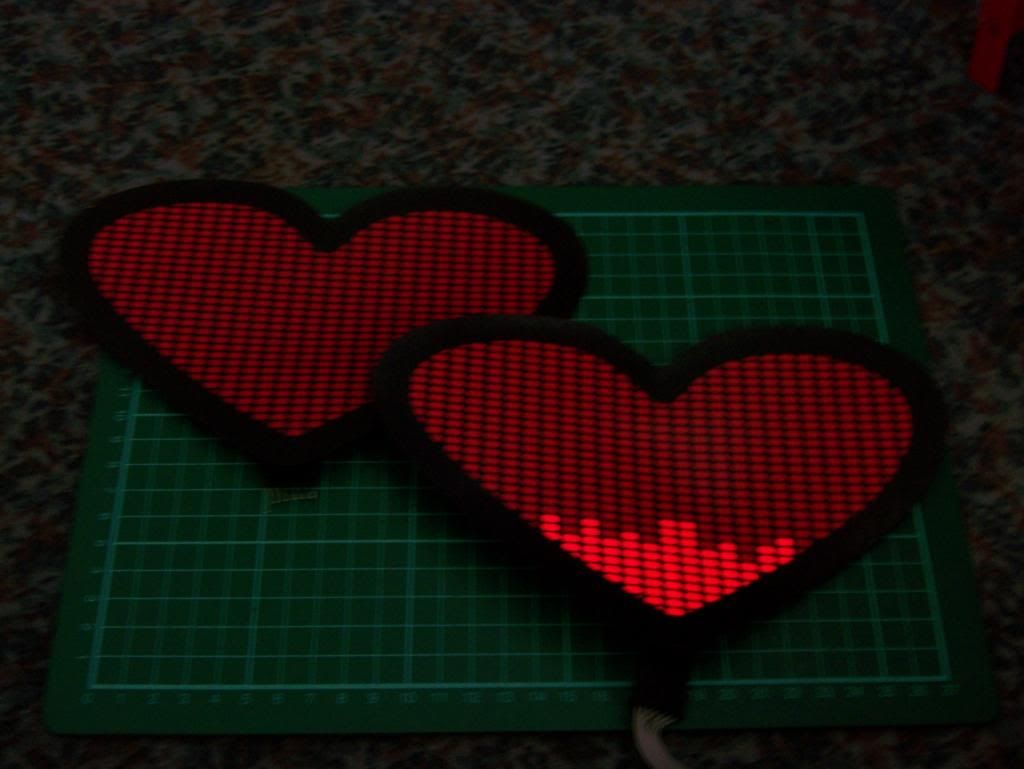
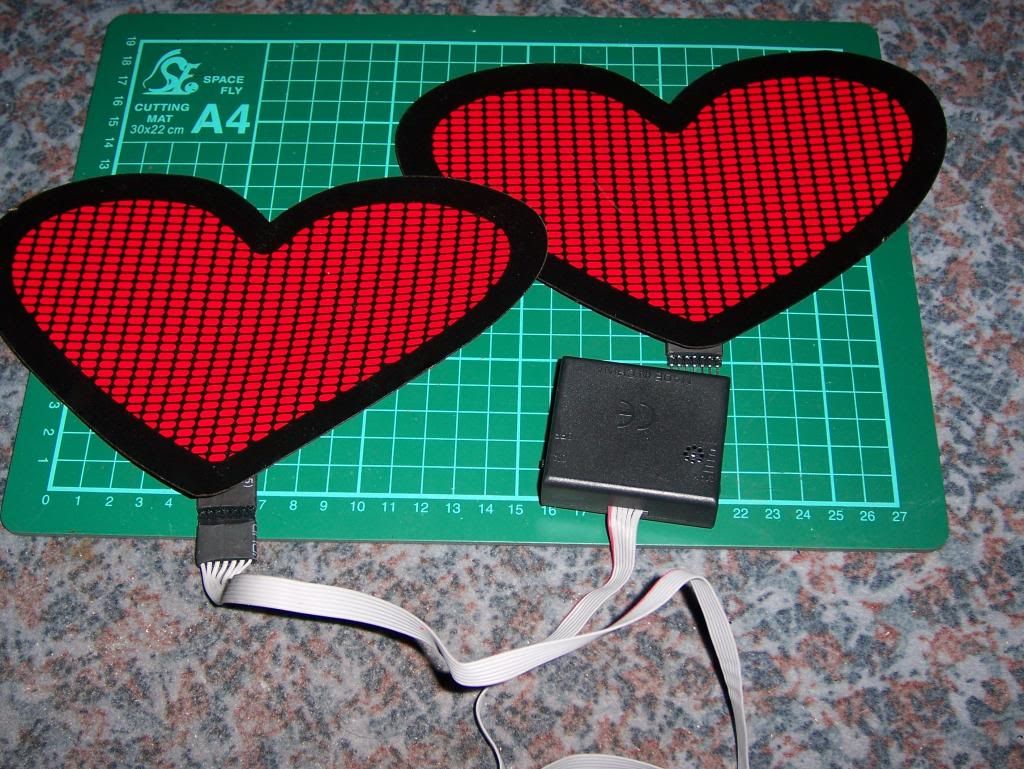
I have also taken some pics of the door EL panels.
100_1656.jpg


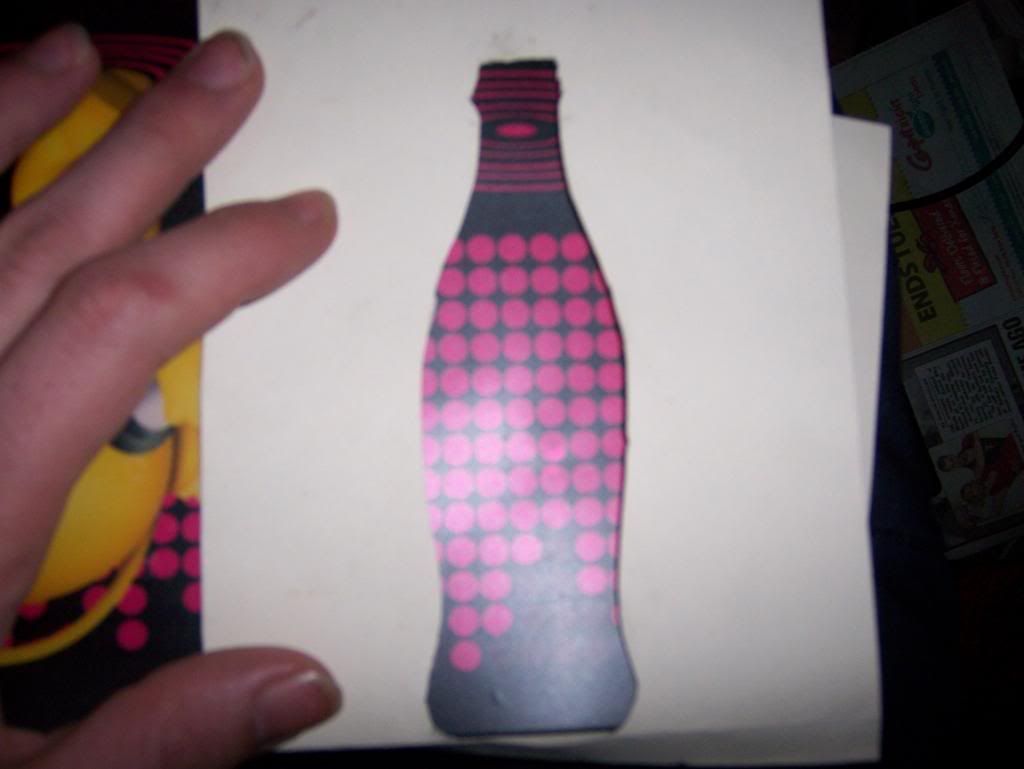
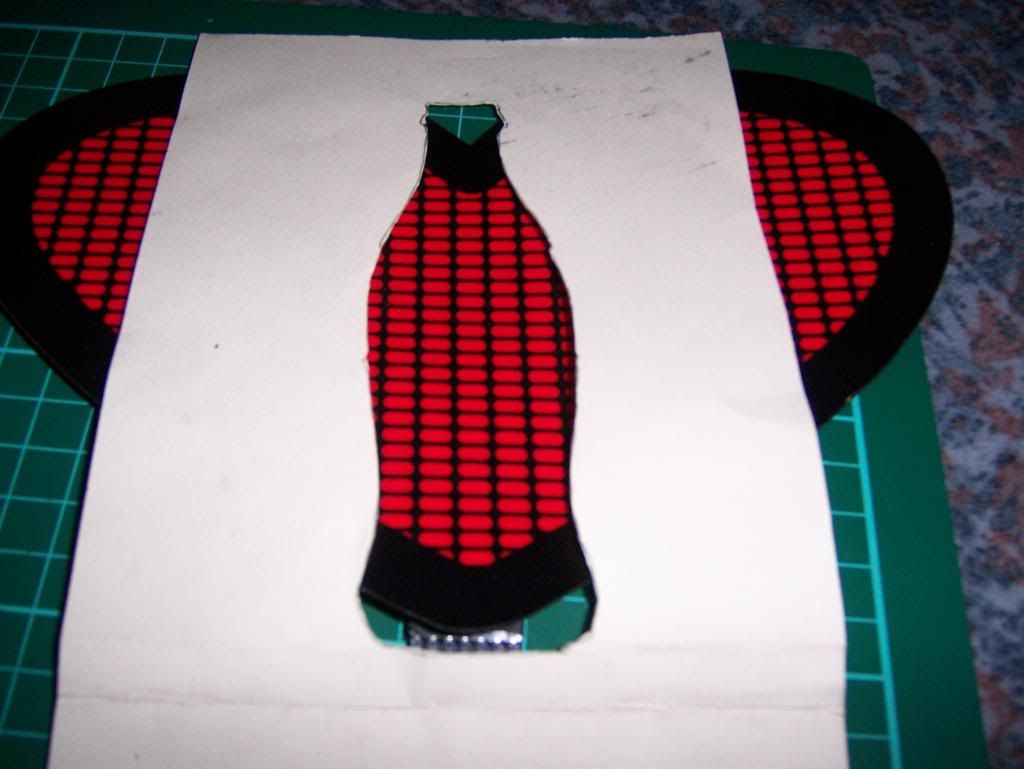
The heart shape will be hidden and only the red dots in the shape of a coke bottle will be showing (im ordering a laser cut plastic piece to cover these).
The panels were from america and were £30 in total but it was the only way to get what i wanted.
100_1659.jpg

100_1658.jpg

100_1660.jpg


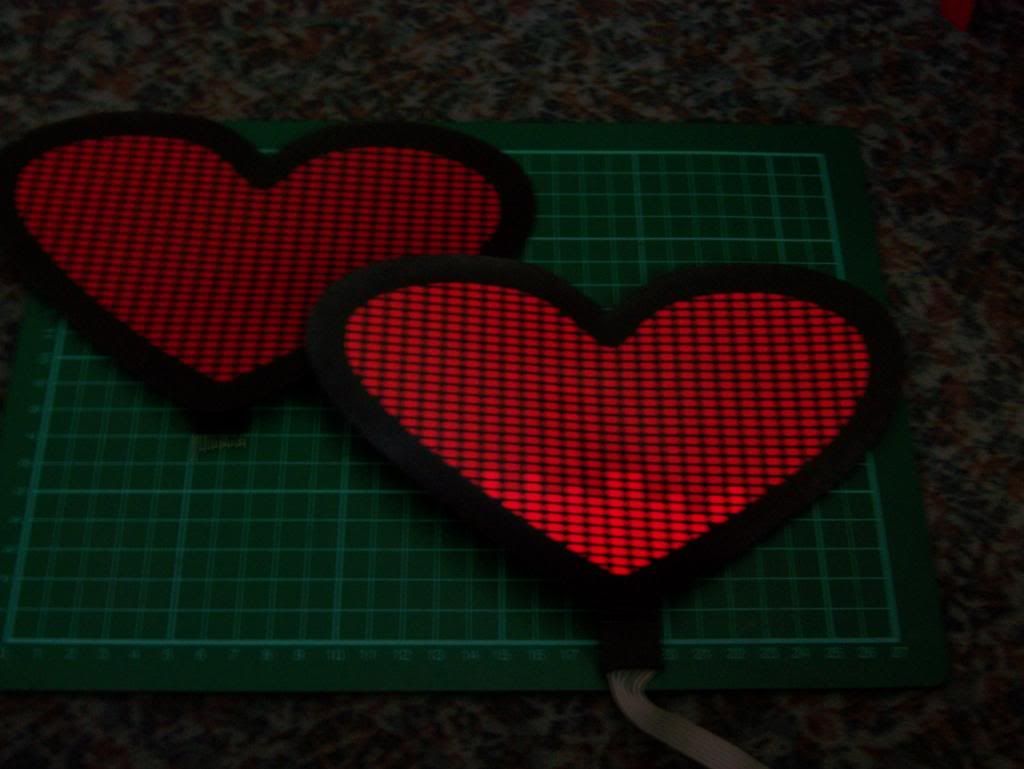
They are battery powered and im planning on adding the sound activated box inside the door. So changing batteries is going to be an issue but i will find a way round that in the design.
100_1663.jpg


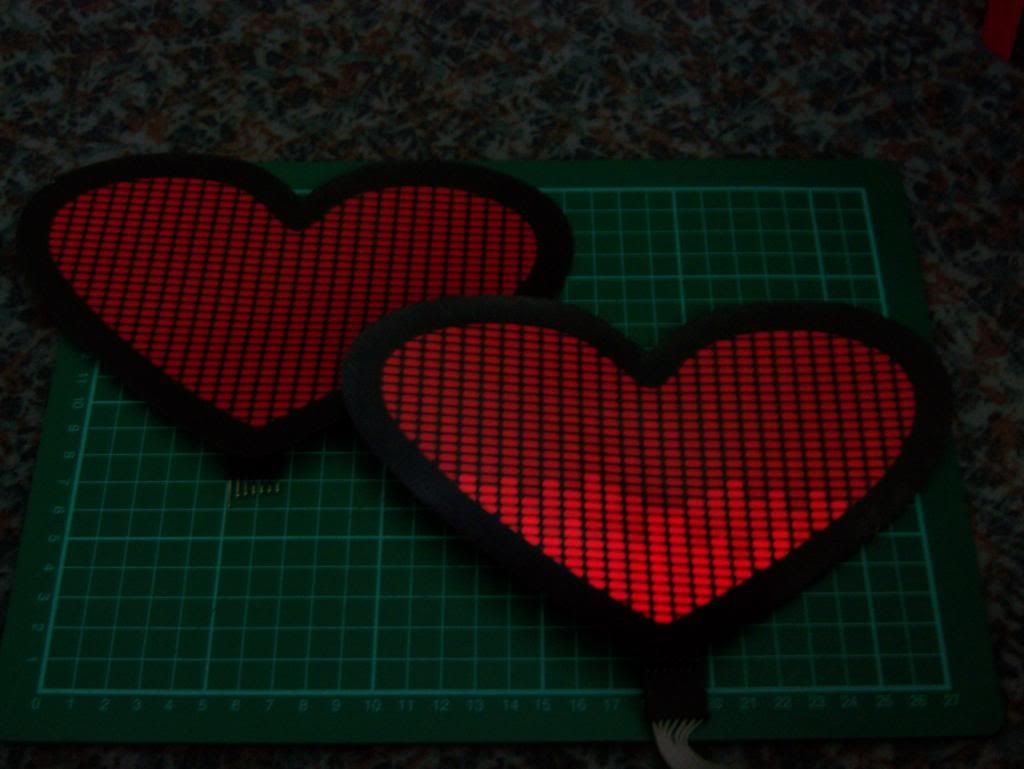
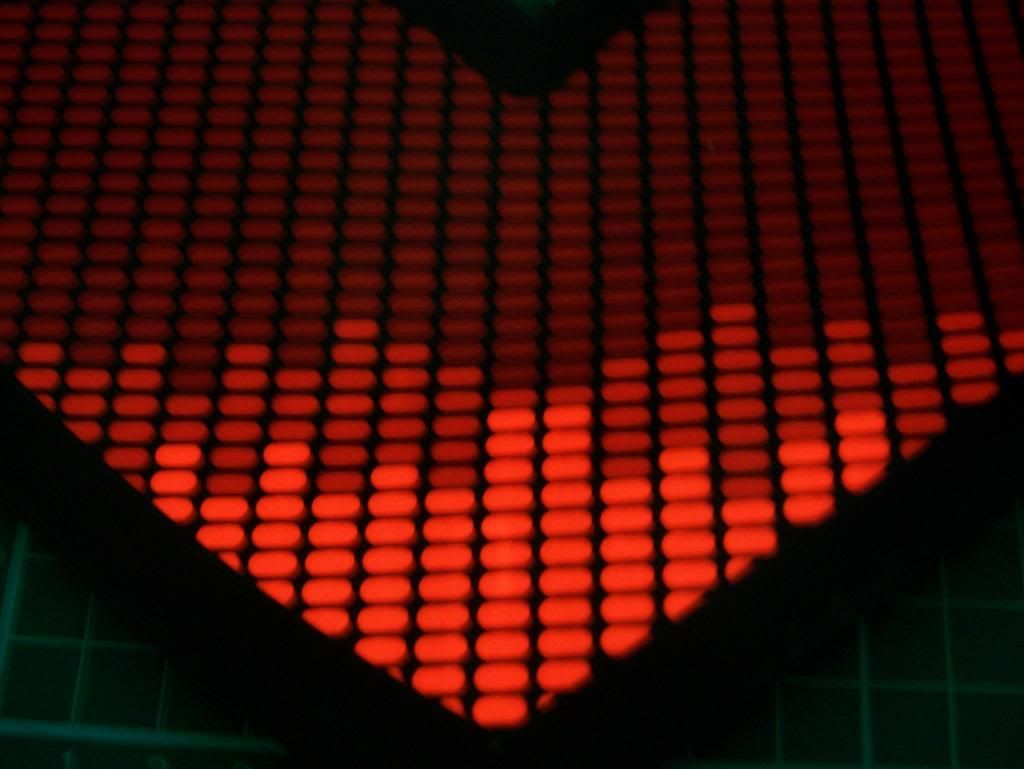
They do light up the whole way but it was a bugger to time tapping the box and take a pic but they look good in the dark.
100_1666.jpg


Only problem is they are a bit smaller than i was lead to believe. So im having to resize the the plastic laser cut bottle design to fit. I just hope it dont look too small.
Here was an old template i made a while back but the original size i wanted.
100_1667.jpg


So to sum it up i have a lot more work ahead of me but as all the pieces are arriving im able to start getting it looking the way i want and ready for the motherboard and the front panels. Its time i need but its better not to rush things.

Enjoy the pics, hopefully you can see what im aiming at but im no photographer :p
 
Last edited:
That's a great idea! Keep up the good work it's gonna look amazing!

Im hoping so. Ive got the weekend almost free so i reckon i can get on with it a bit.


There is lots to do walderx but im glad its fun doing it.
Im hoping once the case is done, i can upgrade the parts effortlessly.

I will try and get some more pictures taken over the weekend guys. Have a good weekend! :cool:
 
Thanks Jpod. Always nice to have a fan.
I was hoping to get round to doing some more this weekend and ended up only spraying the monitors surrounds and laquering them. Along with wrapping the other monitor.
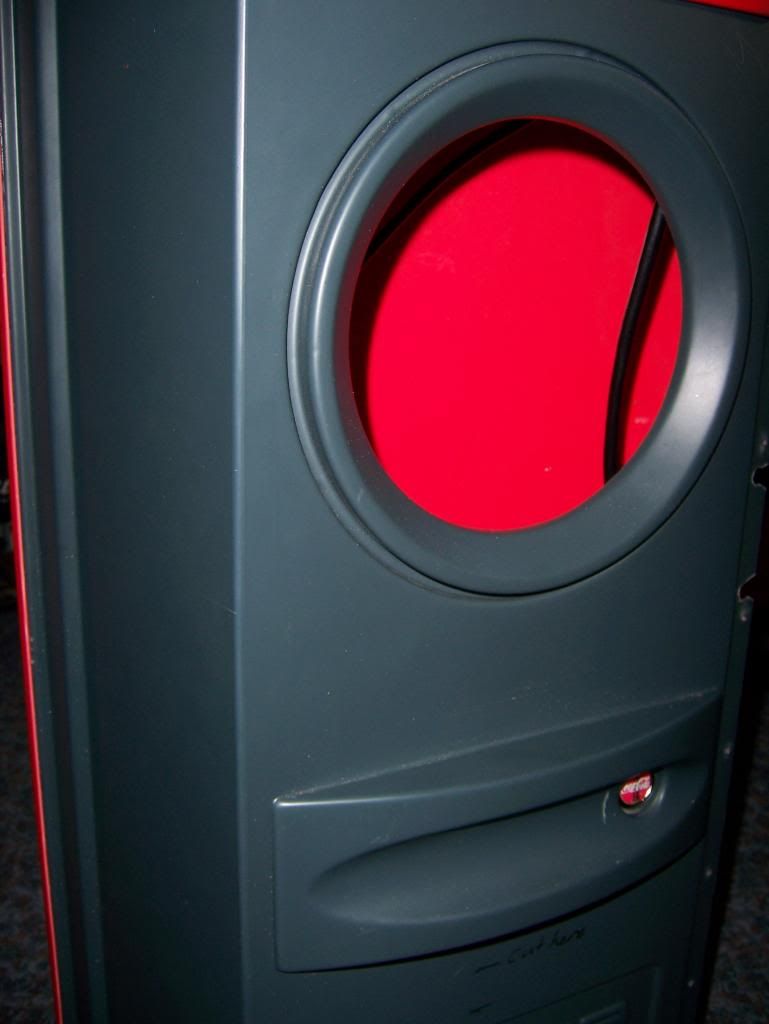
Im a little worried the curved plastic outside will snap if i cut the two 114mm holes and add the fan covers.
I will be covering the inside in two layers of vinyl so im hoping that will stop it from snapping down the middle when both holes are cut. The plastic is very thin but flexible.

I wanted some coca cola license plate bolts on ebay. I messaged the seller to ask the size/thickness of the bolts to ensure they fit and i got a reply to basically say dont bother buying them? I reckon he could not be bothered to post to the uk as advertised. However he is the only supplier so im stuck now. May just buy some fancy red bolts now.

I have a few other goodies in the post and i will add pics when they arrive.
Thanks for following all.
 
Hey sorry ive not been on for a while, ive had a busy week. Ive not had a chance to do anything in the end. I should be able to get on with it soon this week. Im waiting for the usb extenders for the doors and im just looking at some speakers for the doors now.

Thanks for idea deblow, i see what you mean. Im wondering if i can do this with EL panels as you can buy some to cut the shapes how i want them. Im going to try a smaller bottle first but i was thinking of adding something else to use the rest of panel like the words COCA COLA eitherside but im not so sure it would look great.
Or i could turn the bottle on its side and have a longer piece but im not sure if it will look great either.

I will bring another update soon. Thank you for your comments guys!
 
Heya guys, sorry ive not been back with an update in a while. I had a few issues that has taken up my time and thoughts.
Im back on the build and have been able to fit the speakers in the doors.
Ive started on a few other bits but will wait until i finish the bits im doing before i post pics.
Thanks for all your comments, the build has been delayed but is going full speed ahead now.... Hopefully.
 
Back
Top Bottom