Converting to Hard Tube

Associate
Joined
5 Jan 2015
Posts
156
Hey guys,

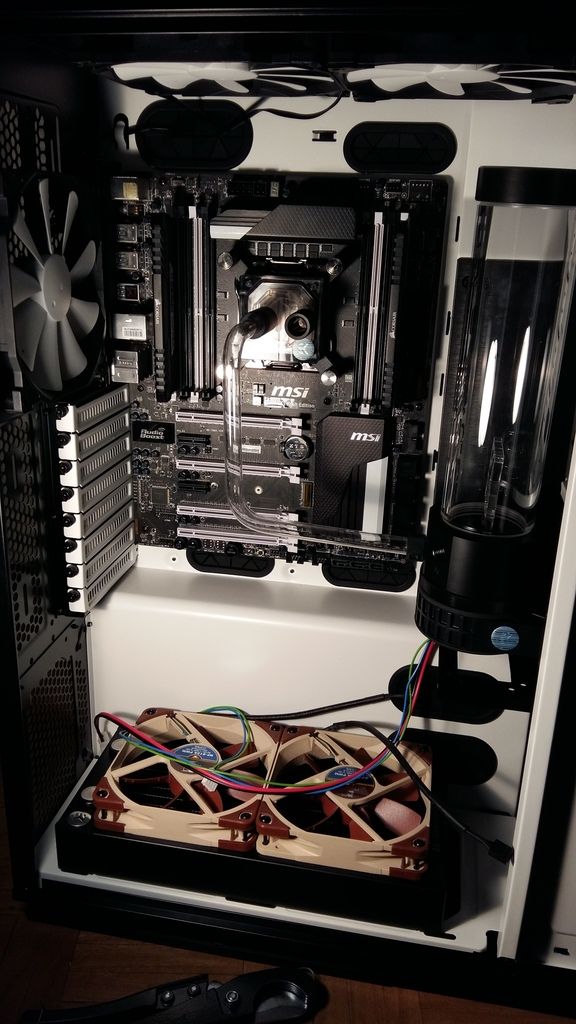
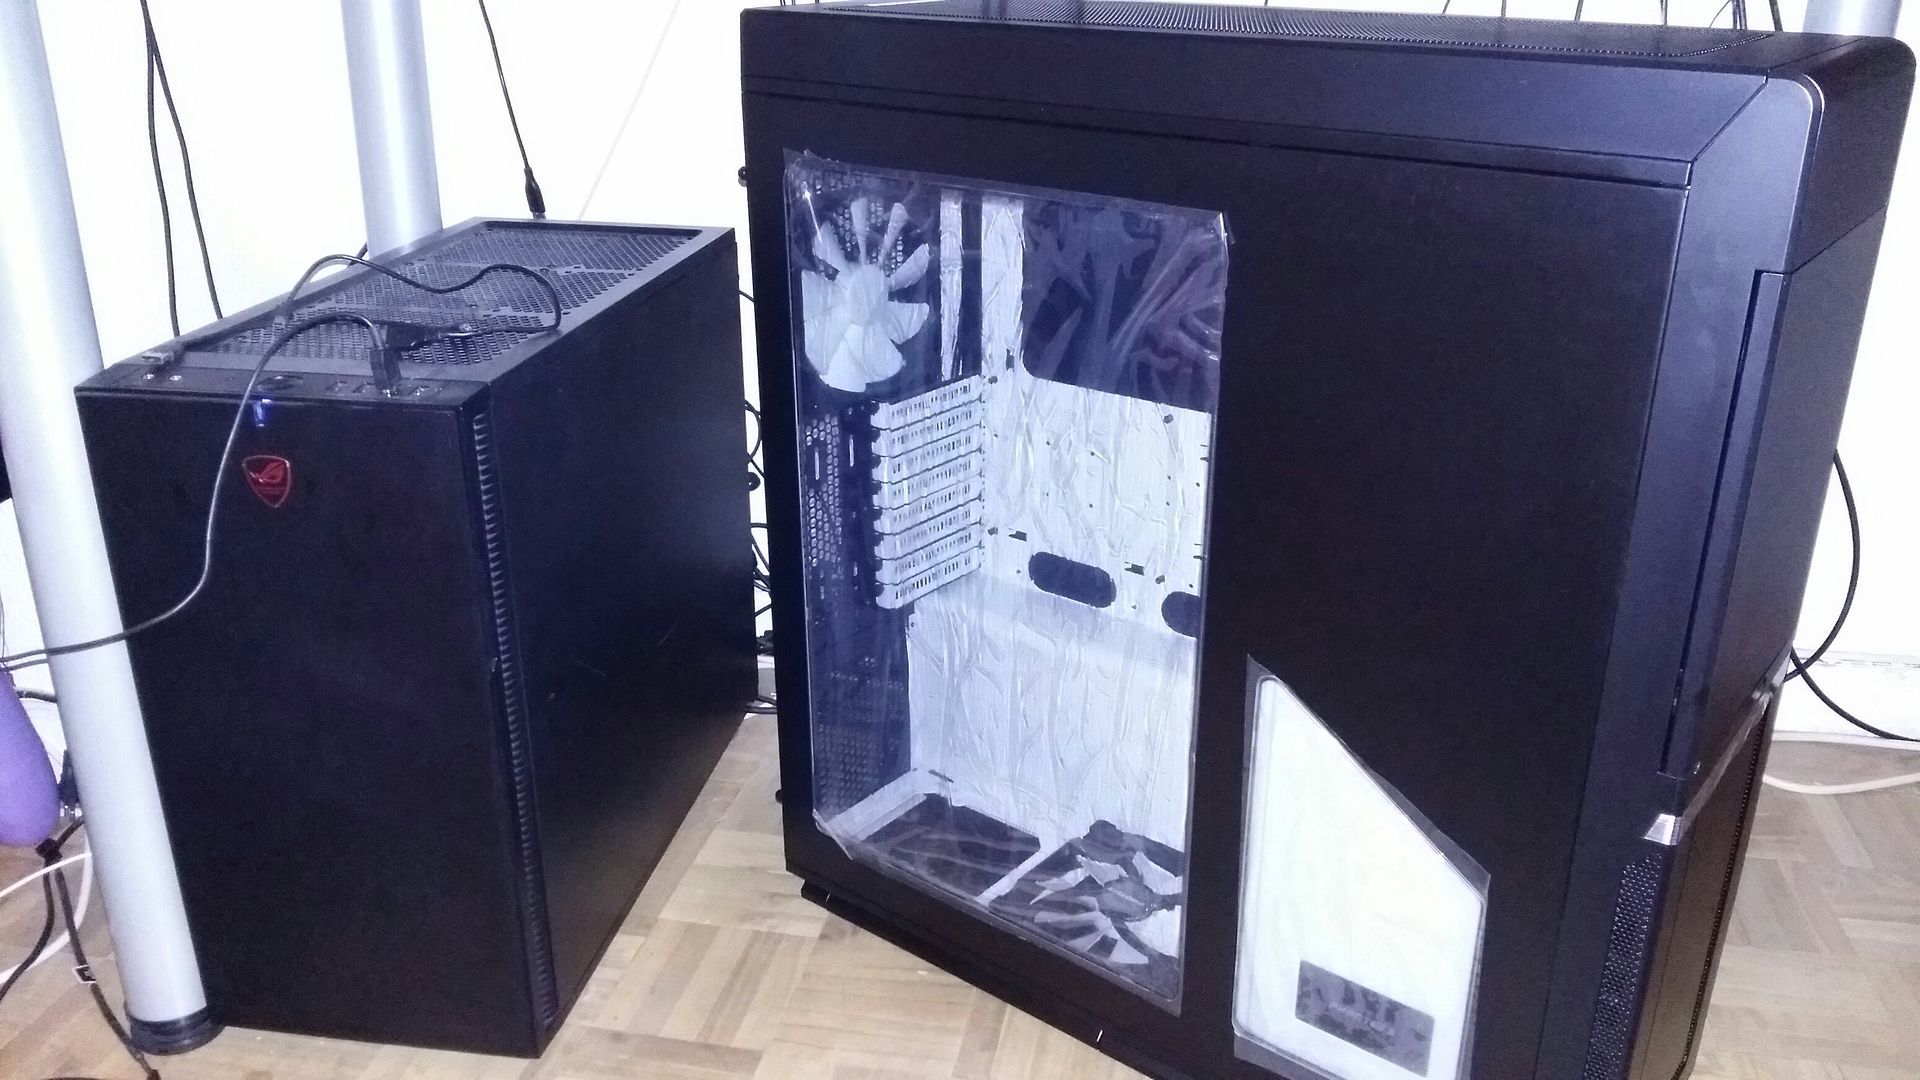
I was hunting around for a new case in an attempt to improve airflow and make everything a bit less cramped inside my case. I eventually settled on the Phanteks Enthoo Primo, but my research also turned up some really nice looking hard tube builds using this case. I needed a new project, so I was thinking of turning my current (soft tube) loop into a hard tube loop.

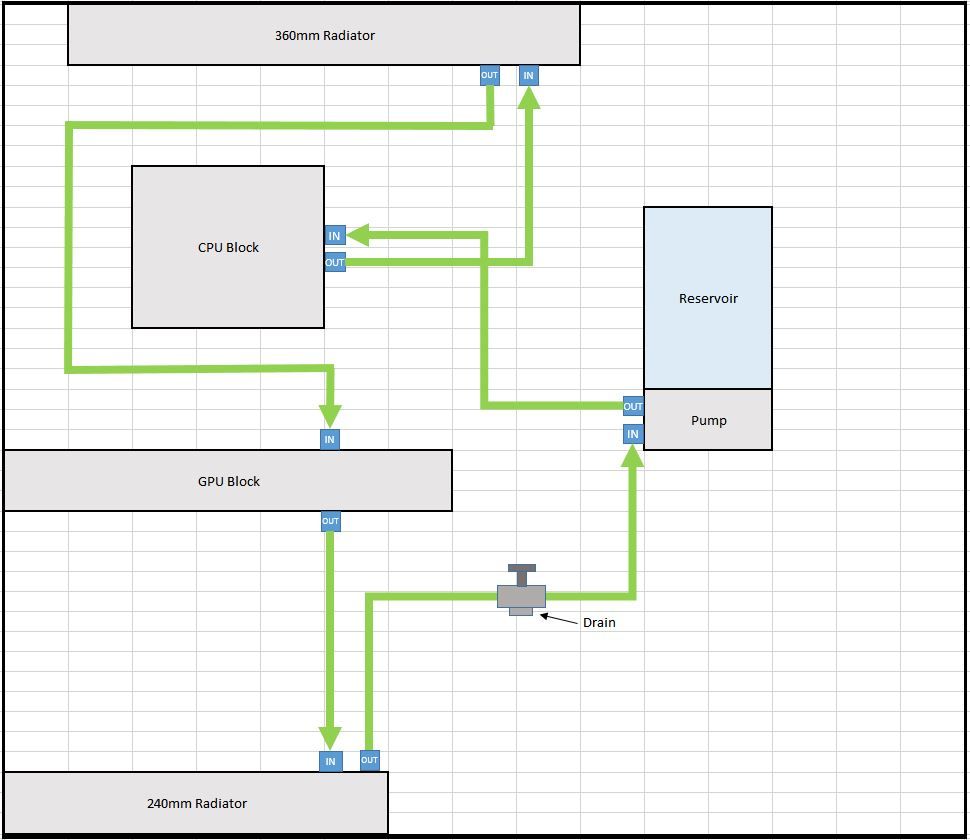
I haven't tried hard tubing before, but I was looking at a setup roughly like this. The component positions aren't 100% accurate, but the flow/chain hopefully are .. so PUMP/RES > CPU > RAD1 > GPU > RAD2 > PUMP/RES:

hardtube_1_zps3w3dyjlz.jpg


Here's what I already own:
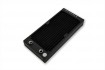
EKWB 360mm Rad + 3x Vardar fans
EKWB CPU Waterblock
EKWB Radeon R9 390 Waterblock
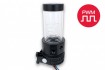
EKWB Pump/Res Combo
EKWB Fixtures and Fittings!

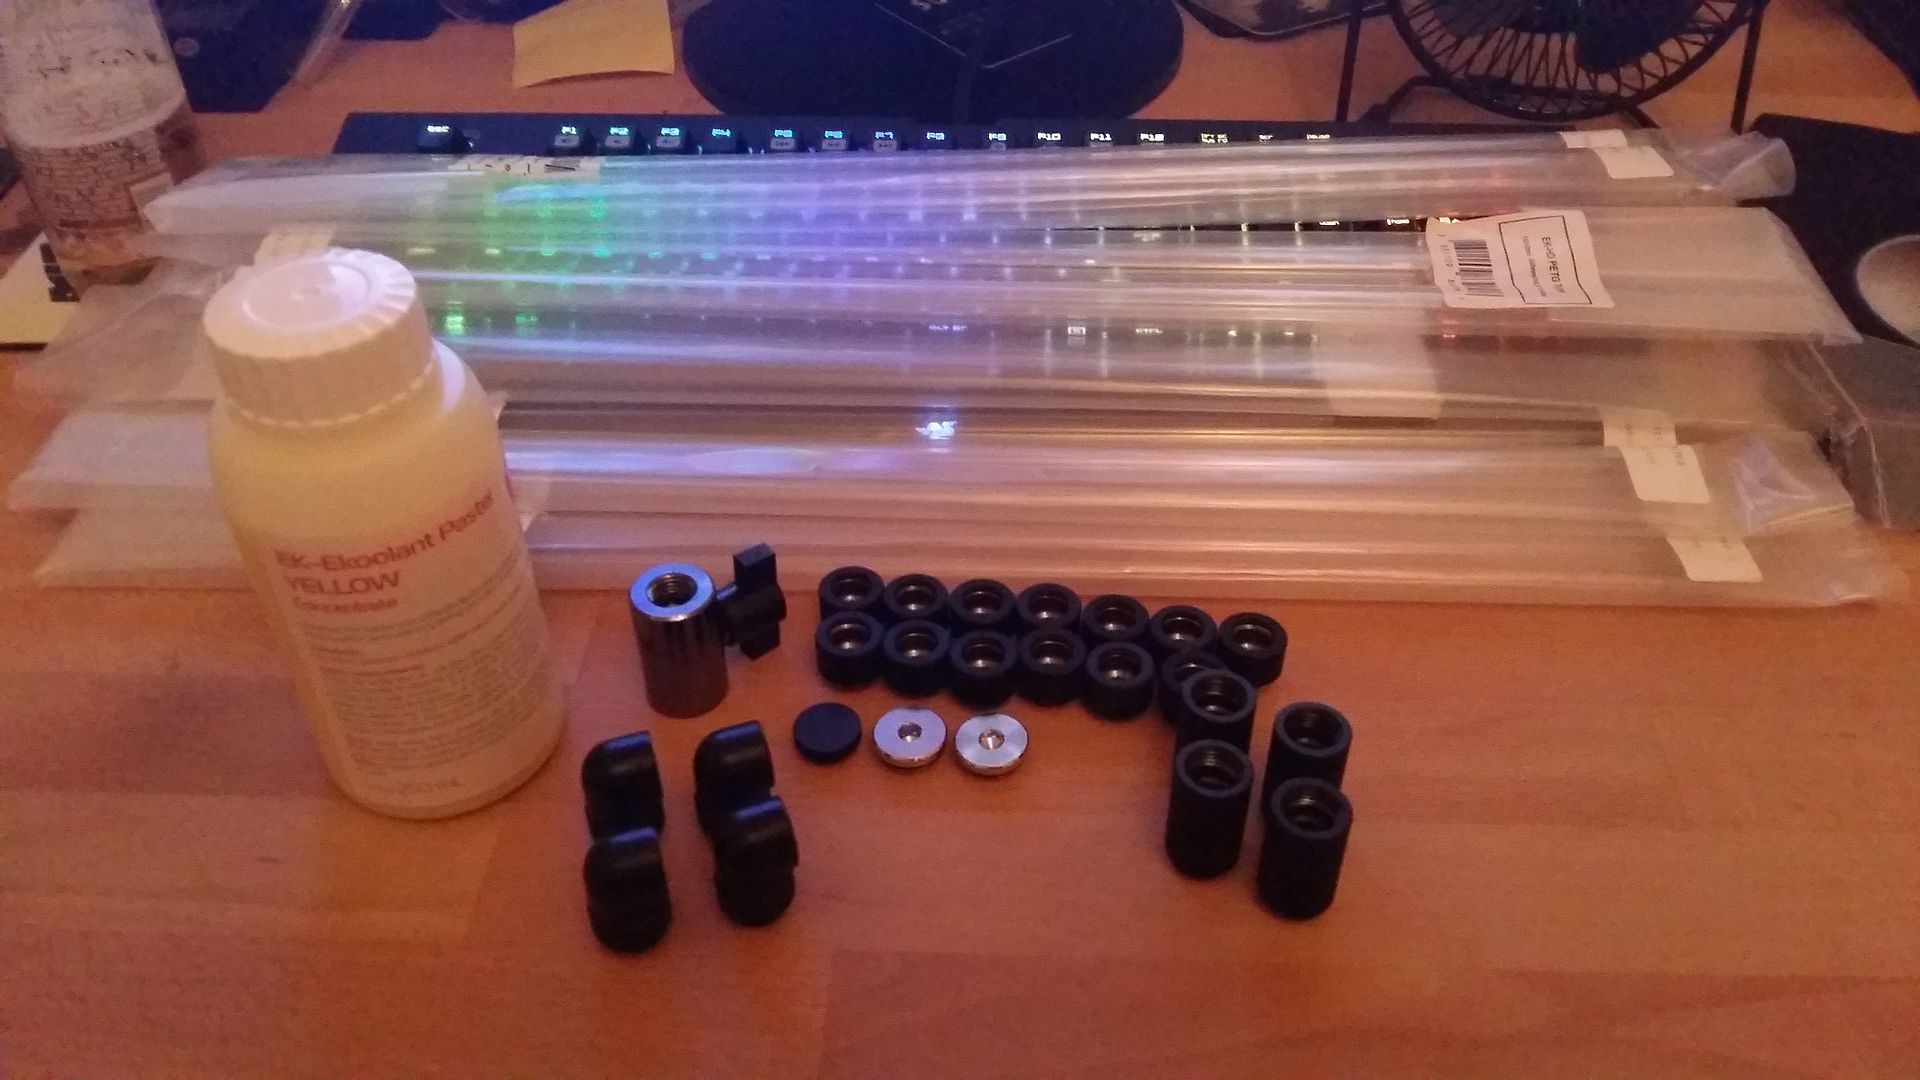
Here's what I "think" I need to make the swap:
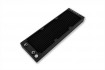
EKWB 240mm Rad
EKWB HD PETG Clear Tube (x3)
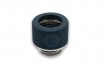
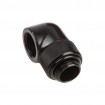
EKWB HD 10/12mm Adaptor (x10)

And I was also thinking of getting this to make life easier - XSPC PETG Easy Cut/Bend Toolkit

First question ... have I overlooked anything obvious? I am essentially just adding an extra 240mm rad into my existing loop, and changing everything to hard tubing instead of soft.

Second question ... the cut/bend kit doesn't come with a heatgun. Is it actually 100% necessary, or will a hairdryer do the job?
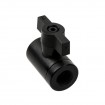
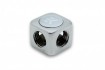
Third (and final :D) question. What parts would I need to add a draining pipe into the system (as crudely shown in my image above)? Some kind of "T" piece and a valve? I am not too sure what to look for here.

Thanks very much for any help. I'm sure I'll have more questions once I think of them :p

Cheers, Ori
 
Howdy,

1. You will probably need more tubing... If you make a mistake or somethings not quite right its too late and you have to chuck it and start over. I would get some extra for sure, I think I used about 5 of those packs or there abouts - its good to have a few spares for future also.

2. Get a splitter and a ball valve, most of what you want is in here: https://www.overclockers.co.uk/water-cooling/fittings/bulkhead-and-stop I would also get another plug as its peace of mind to have the plug screwed in to the valve even when closed. Add it to a low point in the loop, potentially under the pump - the splitter in line with the valve coming off (don't forget extra fittings for the tube to the valve. Your diagram is a bit off - basically the splitter joins the loop and the valve comes off the splitter.

3. Defo get the stuff to cut it, makes life much easier but make sure the insert fits nice and tight - if it doesnt dont use it and find one that does. You can use olive to lube it a little and then wash post bend/cut it works a treat.

4. Heat gun is essential really, get a cheap one. A hairdryer might eventually work but its thick stuff and VERY tough that PETG

Just take your time, the first ones will be a bit frustrating and take a while but you soon get the hang of it.

Good luck!
 
Awesome, thanks Smffy .. good info.

I went with 3 packs of the tubing to start with, thinking that would be enough .. but (as a first-timer) I can be pretty confident that I will render at least one pack useless whilst I learn the ropes.

I will definitely make sure I get a few spares of everything (connectors, o-rings, plugs etc), as there is nothing more annoying that having one small thing that doesn't work, and having to wait for a new one to be delivered!

I was looking at those valves earlier, but was struggling to figure out how/where it would fit. But your description makes sense, so I would need separate splitter, and then the ball-valve comes off that somewhere?

Heat gun it is. As you said, they don't seem expensive, but I saw some old kits that came with the heat gun, and the newer ones don't. So I figured that maybe people don't "need" the heat gun, and a hairdryer will suffice.

Thanks again!
Ori
 
No worries, with the splitter just think of it like this:

---T--- the connector will be either 3 or 4 way (just block one) so you add it to the loop flow straight through it then drain off or us it as a 90 degree bend and drain below. Pretty much whatever is convenient, off the pump is usually easy to hide and allows some space to connect tube below it... Keep a section of your soft tube to drain, you simply remove the plug on the ball valve, attach your barb/fitting and tube then open the valve to drain.

P.s. check out some of the project logs if you haven't already, find a detail hardline build and read it - will give you a really good sense of the challenges etc.
 
I used at least one tube learning how to bend and get the feel of when was too cold, too hot and just right.

I found the rubber in the bend kit slightly too big for the tubes and despite sanding was still a pig to work with and distorted the hot tubes. I'd get a few different makes and see which work for you - they're dirt cheap and at least you're not faffing around sanding.

I would strongly advise investing in some mandrels. They will make life easier.
 
Thanks guys, very useful information.

I've already checked-out a bunch of build logs. It looks fun, but I have no doubt it will throw up a bunch of interesting challenges!

Thanks for the extra drain tube info, the way you described it was what I was thinking, so good to know I'm on the right track!

And thanks Wavehunter. You mean get a few different options for the rubber inserts, right? If that's the case, good to know. The kit is made by XSPC, so I assume if I also get an EKWB branded rubber insert, it should do the job properly for EKWB PETG tube.

Now the REAL question ... do I get the Enthoo Primo with the Orange interior or the White interior :D. The Orange looks cool and funky, but I have a feeling that the white will look "cleaner" and will contrast better with the build, regardless of my cooling fluid colour etc :p

Thanks again!!!
 
Right!! It's done!

I got the Phanteks Enthoo Primo (arriving tomorrow), I got about 4 meters of PETG tubing, I got an extra 240mm rad, I got the heatgun ....

... and I got the XSPC bending kit!! I just had a quick go at using it after seeing a bunch of people complaining that the insert won't fit into 10mm I/D tubing, and they are right!

I've lubed it up (heh heh), but I can only get it about 1 inch in! I've tried twisting and turning and all sorts, but it won't budge!

Does anyone have any tips! I know it needs to be a tight fit, but this is impossible! Are there are tricks, or alternatives? I can't seem to find any other insert providers that are in-stock and available. Is there just a more generic thing I can look for as an insert that isn't necessarily branded as PETG watercooling insert. Like silicone fuel hose or something?

I don't want to trip at the first hurdle!!
Cheers :D
 
I hope you got everything working despite the problem with the bending kit not fitting in the tube.

I guess the only way of fixing the problem is to order another silicon rod that has the right diameter. If I read correctly, OC has taken away the XSPC bending kit.

Will hopefully take the plunge into hard tubing as well the day I order parts for a new computer.
 
Yah ... I ordered the EK Kit which arrived yesterday. I haven't started the build yet, but the EK silicone hose fits perfectly :D

Just waiting on a few more components before I will kick things off! I will update this thread when it's underway!
 
Duly noted, thanks!

It's strange that the EKWB kit doesn't come with a bending aid and tapering tool. You almost have to combine the XSPC with the EKWB and take the best bits from both to create the full kit.

My main concern now is how you actually measure hard tubing to fit correctly. It was easy with the flexible tube where you just hold it in place, mark and cut. But obviously you can't do that with the hard stuff.

I don't have any specific tools for this (like the monsoon kit with the "ruler" device), but most videos I've seen indicate that it's easy enough to do by eye!

Cheers.

p.s. The new case is much bigger than I expected. Space shouldn't be an issue ... this is it next to my Fractal R5! I feel like I need a mortgage for this thing:

IMG-20160913-WA0001_resized_zpshlvrbgsm.jpeg
 
And so ... it begins:

20160923_205756_zpsnwdwfowy.jpg


Unfortunately, I have to travel for work, so I won't get the chance to kick the build off for a while. But I think I have all of the "bits and bobs" now to get things rolling!

Problem is that I don't want my PC to be offline for more than a day or so, so I also need to find a convenient window!
 
Howdy folks!

I finally got to start work on this ... but I have one question. How "tight" should the EK-HDC compression fittings hold the PETG tube in place?

By that I mean that after I connect one and screw it down hand-tight, the tube will still rotate in the fitting with a little force. I can even pull it out if I wanted to I think. There is resistance there so it's not like it just falling out easily, but the tube doesn't seem to be held completely tight.

Is that normal, or should I expect the tube to be totally solid once the compression fitting is screwed tight?

Thanks very much,
Cheers, Ori
 
Hi mate, could you drop me links to what you purchased?
I have the rads, blocks, pump.
I need to get myself a reservoir, fittings, tubing, liquid, a drain, bending kit (got a really good heatgun already) aswell as any other bits and bobs aswell as advice haha
Create me an ocuk basket if you get 2 seconds as i just want to finish now haha
 
Howdy folks!

I finally got to start work on this ... but I have one question. How "tight" should the EK-HDC compression fittings hold the PETG tube in place?

By that I mean that after I connect one and screw it down hand-tight, the tube will still rotate in the fitting with a little force. I can even pull it out if I wanted to I think. There is resistance there so it's not like it just falling out easily, but the tube doesn't seem to be held completely tight.

Is that normal, or should I expect the tube to be totally solid once the compression fitting is screwed tight?

Thanks very much,
Cheers, Ori

It's hard to say, but I just finger tighten to the point which feels tight without applying too much force. But a powerlifter and a 7-year old would both have very different interpretations of that lol!

It is normal for the tube to turn and be pulled out, as long as it's not happening with ease. If you have the same brand of tubing and fittings, don't worry about it. It's only when you start mixing these can you sometimes have issues.

BTW, I don't see anyone else mentioning it, but the order of your loop doesn't matter one bit, so don't feel you have to go back to the rad after CPU. The only thing that matters is the in/out flow.
 
Thanks guys,

I think it sounds ok then .. they aren't coming out "with ease", so I think we're cool.

I know the order of the components doesn't really matter, and I may-well change it all around once everything is in place. Whatever looks the most aesthetically pleasing I guess :)

Theaterix - unfortunately I am working in Spain right now, and OCUK stopped delivering over here :(. But my shopping cart would look something like this:

My basket at Overclockers UK:

Total: £405.21
(includes shipping: £11.10)


I haven't really mapped out the system exactly, so I got a few 90 degree fittings, extensions and spare compression fittings ... just in case! I am also "tagging on" to the EKWB 360 Kit that I've been running with soft-tubing for the last 2 years, so things like the 360 radiator, pump/res etc I already had.

Cheers, Ori
 
Just by way of an update ... I've finally made a start, and I got all excited this evening after installing my first ever section of hard-tubing.

Hoping to get it finished off this coming weekend if life allows it!

20161117_010155148_zpsjgpjujrk.jpg


Fingers crossed!
Cheers, Ori
 
So you went with the white case in the end then :)

Looking good, nice colour combination, then them noc fans in bottom, why or why did they ever design them in fake skin like colour?

Anyway hope it all goes well :)
 
Back
Top Bottom