Associate
- Joined
- 4 Nov 2013
- Posts
- 53
This is my first ever build! So if i sound like im a complete dork. Well thats because i am  I'm also posting this as it might help others with a Corsair 570X build.
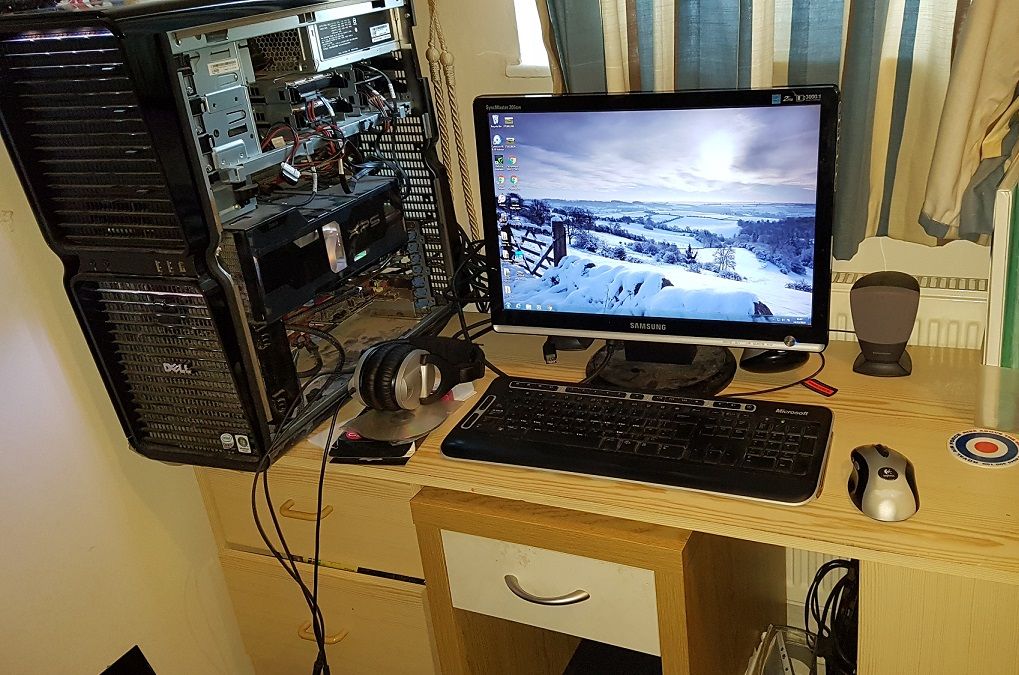
So my plan was to get rid of the old Dell 720h2c that had been brilliant for me, but no bios updates for windows later than vista left me with only 2 working USB's. Also i had been using a desk for an infant and there was a lot of clutter about. So basically i was starting from scratch.
1. Buy a nice desk
2. Buy a nice monitor
3. Buy a nice Case
4. Buy all the components needed for the case.
DESK - After spending months looking i setted on a metal designer desk. If bought brand new it would cost you £425 This was second hand and with scratches on it. I got it off ebay for £100. I had to pick it up in soho London. Of the £100 i had to pay an £65 for accidentally driving down a bus lane at piccadilly circus
  Anyone who knows London will tell you what a nighmare this area is. Then i removed the scratches by gently sanding them out and resprayed it back to a gun metal colour and voila. A bargain and great looking desk.

Monitor - This was easy. Reading all the posts here on overclockers i went for the Dell S2716DG G-sync
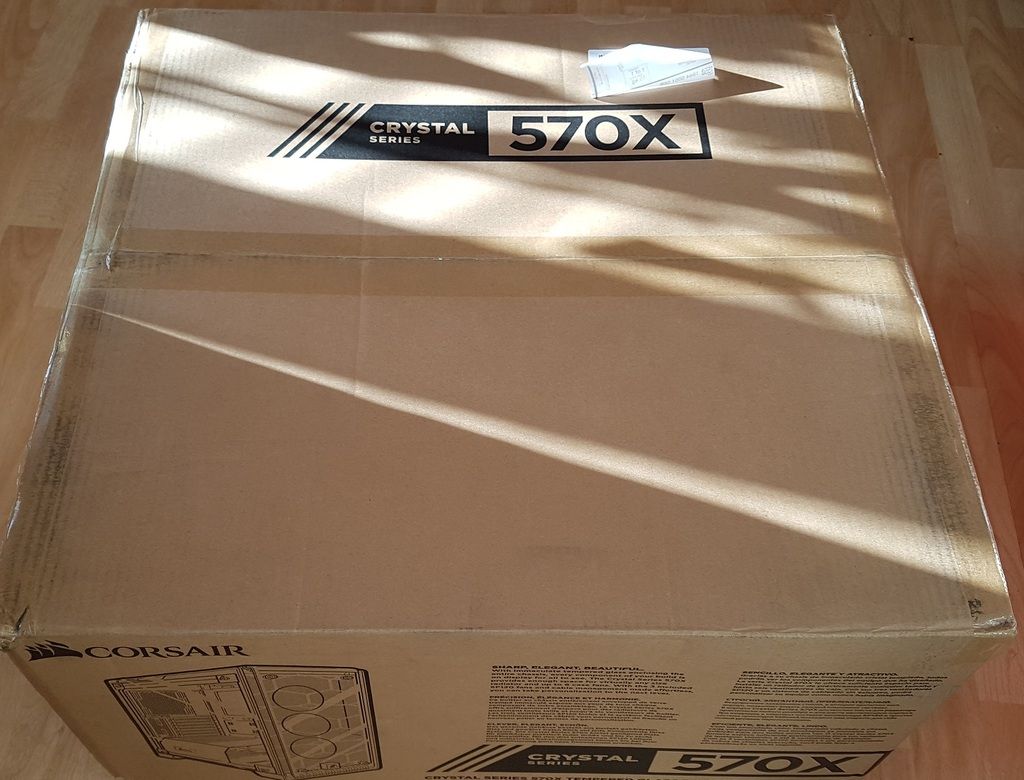
The case - Looking at lots of cases i finally decided on the Corsair 460X. The day it came out i descover the 570X was due to come out a month later. All the questions about space in the 460X was answered by the 570X. So then more waiting and i finally got it.
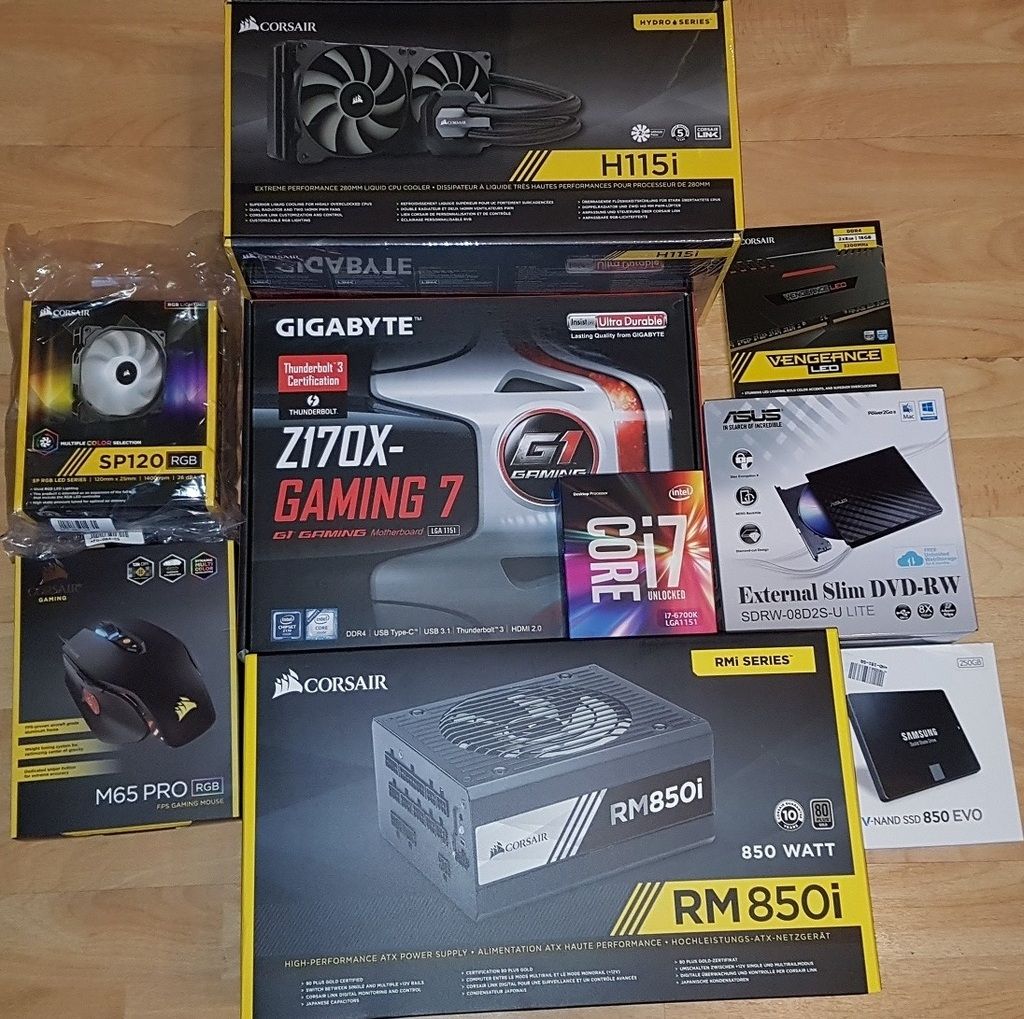
The Parts - I would be using my existing hard drives and graphics card for the time being. The will be getting upgraded in the next month. The rest of the parts was reading millions or reviews and posts on here that fianlly made up my mind on the following.
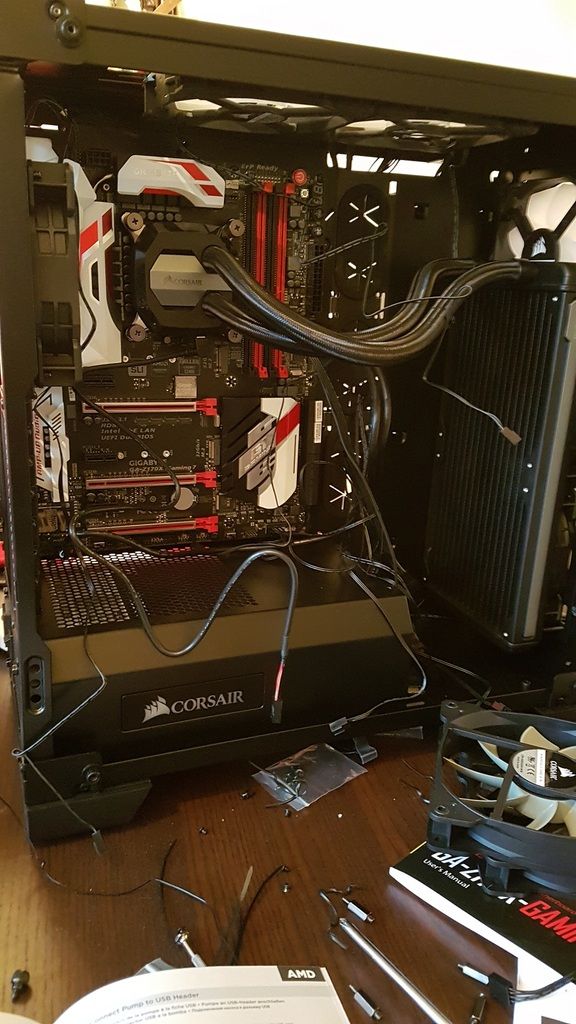
The Build
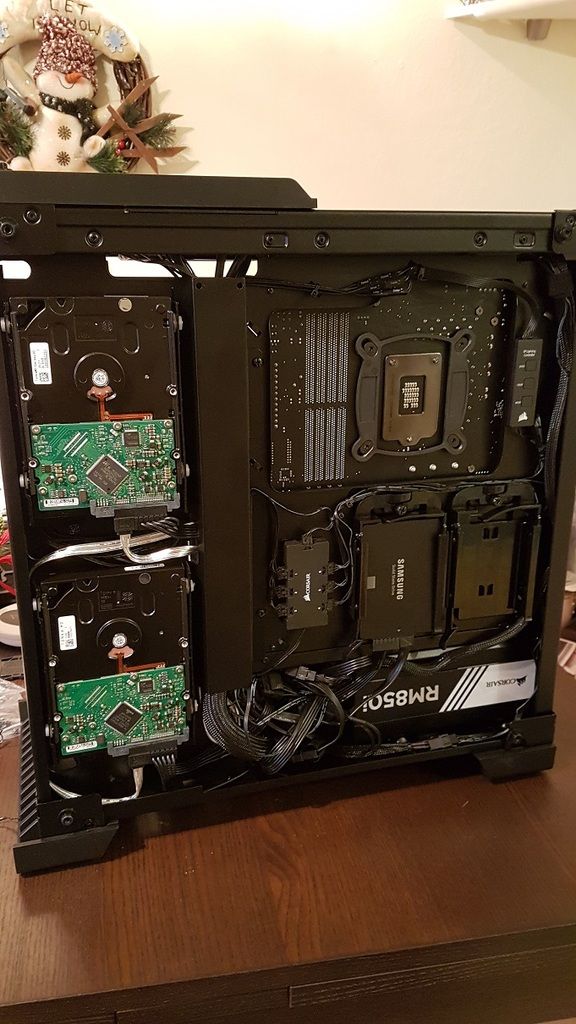
The main issue with this case is that its glass. You have to be very careful removing the covers and secondly you have to hide the wires. The hiding of the cables was very difficult. In fact it took me over 2 full days to make this build. Most of the time it was with the wiring part.
Do you think i did a good job in the end?
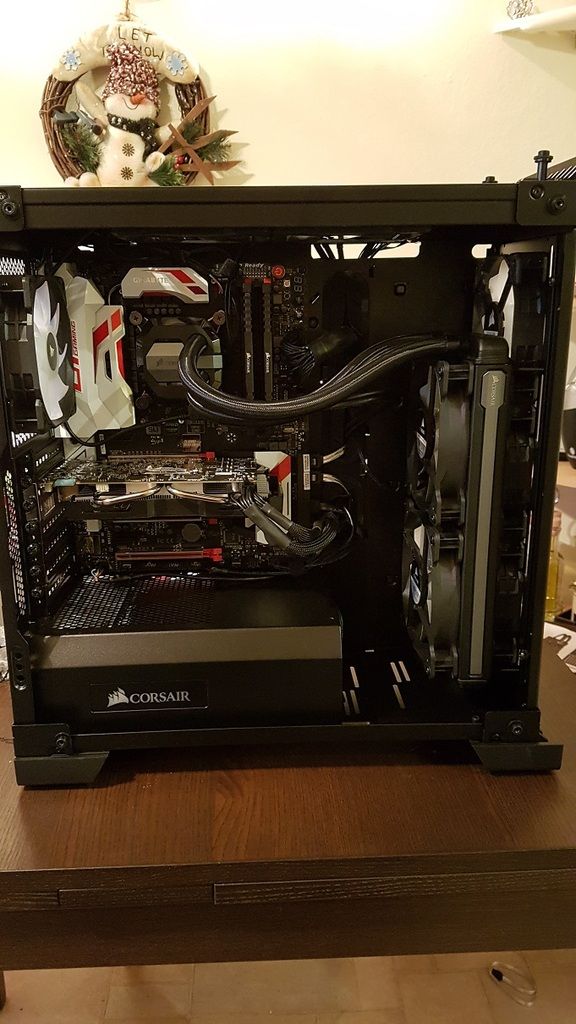
I did tidy up the cables at the bottom of the backof the case. However the glass as a dark tint to it and as no leds are shown here nothing can be seen anyway.
After i plugged it in you can see the Corsair RGB fans working a treat.
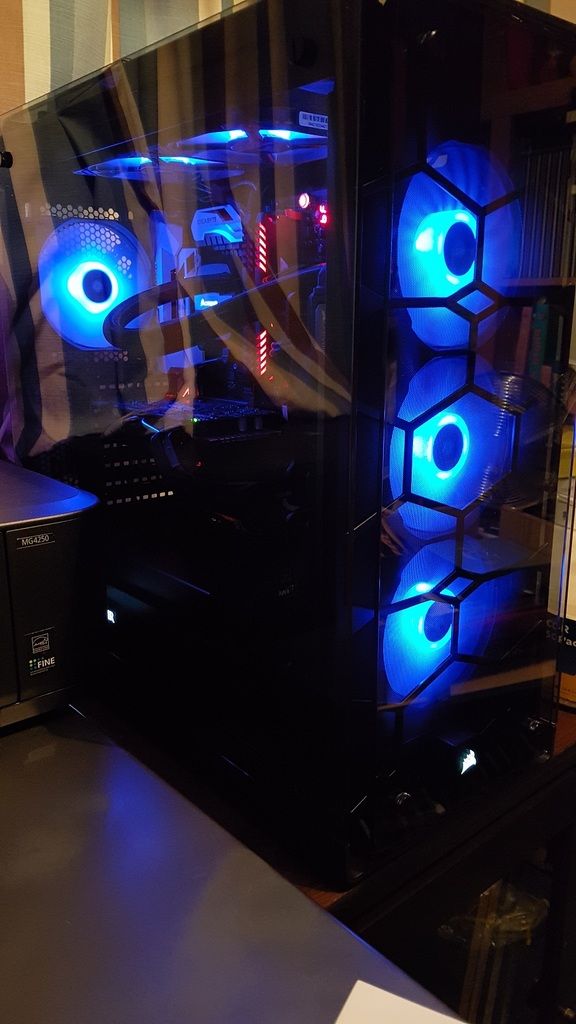
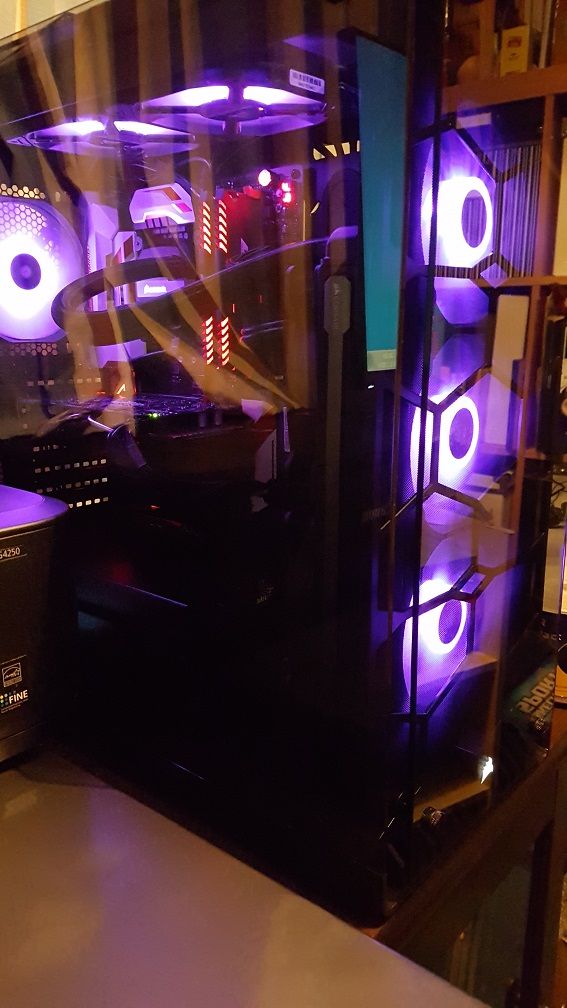
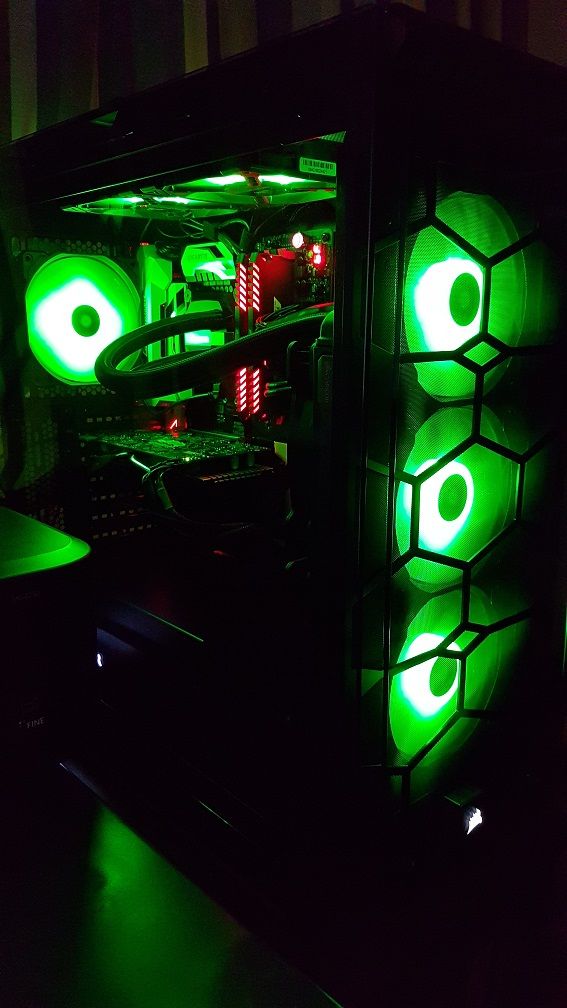
I only had 1 real issue with the installation. The 2 Corsair radiator fans H115i was blowing a gale. Infact my hands got very cold as i was on every website trying to turn them down and i had the glass covers off. I discovered the corsair link software doesnt detect the motherboard. In the end i installed the fans directly to the motherboard headers and set them to quiet mode. This works a treat.
Let me tell you something funny also.....this case has 9 fans in total! 3 RGB at the front. Thes blow air through the radiator. 2 Large corsair fans suck that air up on the other side of the radiataor. 2 Rgb fans at the top. 1 RGB fand at the back expelling hot air. Finally 1 fan on the Corsair power supply. So no issues with heat i guess
2 weeks ago
Now
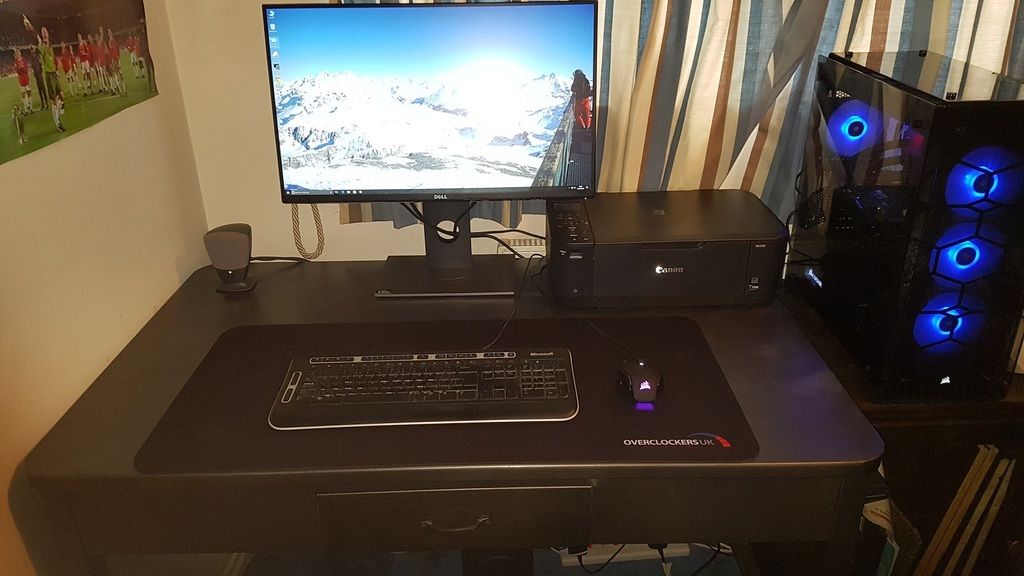
I still need to do some work. Like install a GTX 1080. Adjust the setting on the new rig. Decorate the room. Change the horrid curtains and so on, but you can already see a vast improvement. Better pics will be uploaded at a later date. Any questions or advice then please let me know.
 I'm also posting this as it might help others with a Corsair 570X build.
So my plan was to get rid of the old Dell 720h2c that had been brilliant for me, but no bios updates for windows later than vista left me with only 2 working USB's. Also i had been using a desk for an infant and there was a lot of clutter about. So basically i was starting from scratch.
1. Buy a nice desk
2. Buy a nice monitor
3. Buy a nice Case
4. Buy all the components needed for the case.
DESK - After spending months looking i setted on a metal designer desk. If bought brand new it would cost you £425
 This was second hand and with scratches on it. I got it off ebay for £100. I had to pick it up in soho London. Of the £100 i had to pay an £65 for accidentally driving down a bus lane at piccadilly circus
  Anyone who knows London will tell you what a nighmare this area is. Then i removed the scratches by gently sanding them out and resprayed it back to a gun metal colour and voila. A bargain and great looking desk.
Monitor - This was easy. Reading all the posts here on overclockers i went for the Dell S2716DG G-sync
The case - Looking at lots of cases i finally decided on the Corsair 460X. The day it came out i descover the 570X was due to come out a month later. All the questions about space in the 460X was answered by the 570X. So then more waiting and i finally got it.

The Parts - I would be using my existing hard drives and graphics card for the time being. The will be getting upgraded in the next month. The rest of the parts was reading millions or reviews and posts on here that fianlly made up my mind on the following.

The Build
The main issue with this case is that its glass. You have to be very careful removing the covers and secondly you have to hide the wires. The hiding of the cables was very difficult. In fact it took me over 2 full days to make this build. Most of the time it was with the wiring part.

Do you think i did a good job in the end?

I did tidy up the cables at the bottom of the backof the case. However the glass as a dark tint to it and as no leds are shown here nothing can be seen anyway.

After i plugged it in you can see the Corsair RGB fans working a treat.


I only had 1 real issue with the installation. The 2 Corsair radiator fans H115i was blowing a gale. Infact my hands got very cold as i was on every website trying to turn them down and i had the glass covers off. I discovered the corsair link software doesnt detect the motherboard. In the end i installed the fans directly to the motherboard headers and set them to quiet mode. This works a treat.
Let me tell you something funny also.....this case has 9 fans in total!
 3 RGB at the front. Thes blow air through the radiator. 2 Large corsair fans suck that air up on the other side of the radiataor. 2 Rgb fans at the top. 1 RGB fand at the back expelling hot air. Finally 1 fan on the Corsair power supply. So no issues with heat i guess
2 weeks ago

Now

I still need to do some work. Like install a GTX 1080. Adjust the setting on the new rig. Decorate the room. Change the horrid curtains and so on, but you can already see a vast improvement. Better pics will be uploaded at a later date. Any questions or advice then please let me know.
Last edited:


