[Corsair 600T SE] Red/White/Black Themed Watercooled Gaming Rig

Associate
Joined
9 Oct 2005
Posts
912
Location
Cambridge/London
Hey everyone!

I've spent the best part of a year trying to collect the right water cooling components from the members market and along the way I've upgraded my hardware from a Core 2 Duo (E8400) to an i5-2500k.

Water cooling has been a headache, especially sourcing the right parts - but it all comes down to researching hard and possibly not owning a 600T - which is terrible for installing a custom loop without modding :D.

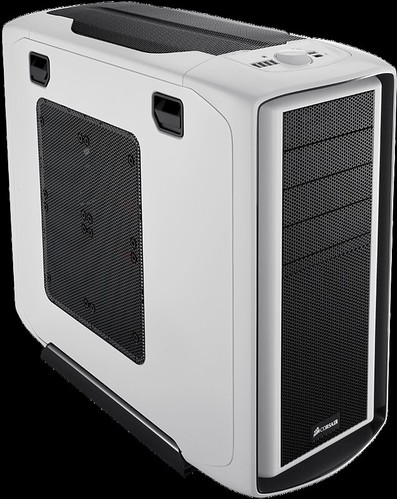
This is the case I'll be modifying: The beautiful 600T Special Edition:
6892241584_04617fd60d.jpg


I had thought about going for the 650D, but I'm glad I made this choice. No regrets! I'm planning to do a Red/White/Black themed build which will be watercooled. All the pictures I post in this thread will be taken from my Samsung Galaxy S2 phone - so I'm going to apologise in advance if the quality of the photos aren't up to par :D!

My hardware list:
  • Intel i5-2500k
  • ASUS Maximus IV Extreme P67-B3
  • 2 x 4GB Corsair Venegance DDR3 9-9-9-24
  • XFX Black Edition Radeon 5970 HD
  • ASUS Xonar DX 7.1 Sound Card
  • Antec Truepower 650W PSU
  • Crucial RealSSD C300 64GB
  • 2x Samsung F3 500GB (HD502HJ)
  • Sony Optiarc DVD ROM

My watercooling kit:
  • Swiftech MCP655 (D5) Vario Pump
  • EK X2 Basic Reservoir 150ml
  • Magicool 360mm Slim Radiator
  • Bitspower Matt Black Compression Fittings
  • Bitspower Sliver Compression Fittings
  • EK Supreme HF CPU Waterblock - Full Nickel
  • Masterkleer Hose Pack PVC 19/13mm (1/2ID) Clear 2.0m
  • 3x Gentle Typhoon 1850rpm
  • 2x Mayhems UV Blood Red Coolant 1L
  • MNPTech U-channel moulding

Here we go......! :)
 
Last edited:
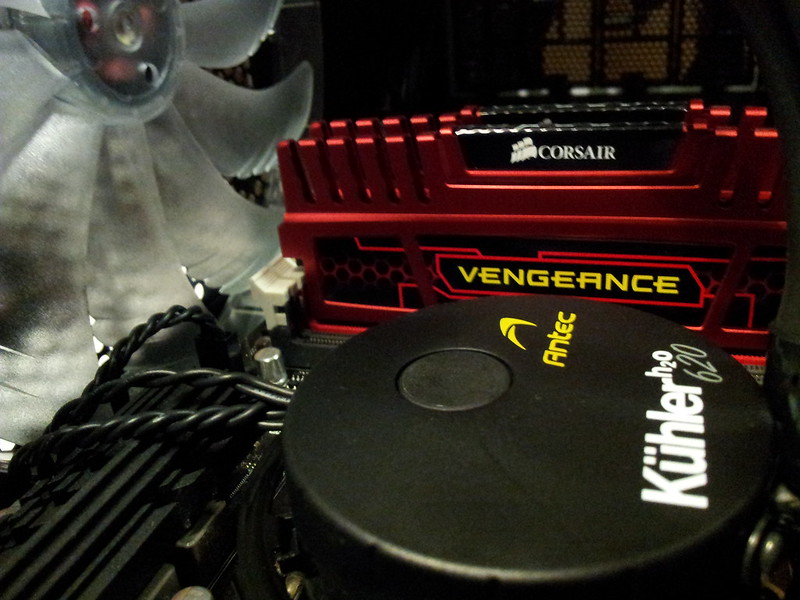
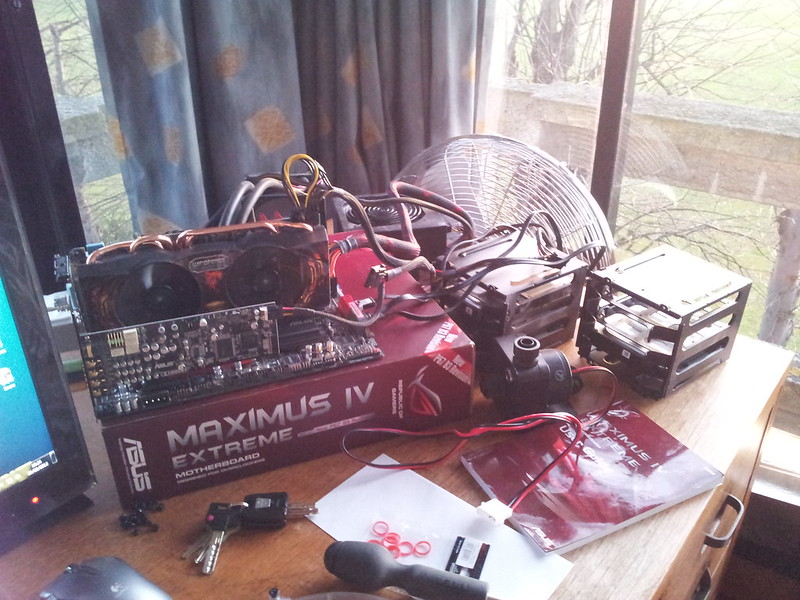
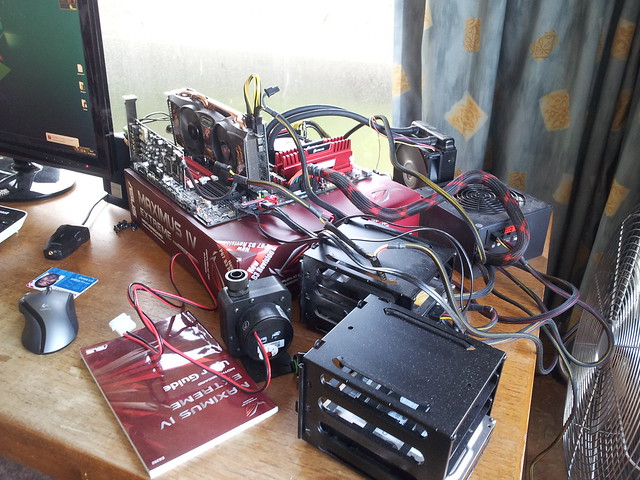
At the time of these pictures, I didn't have all the necessary WC components, so I built a working gaming rig and used an Antec Kuhler 620 to cool the CPU.

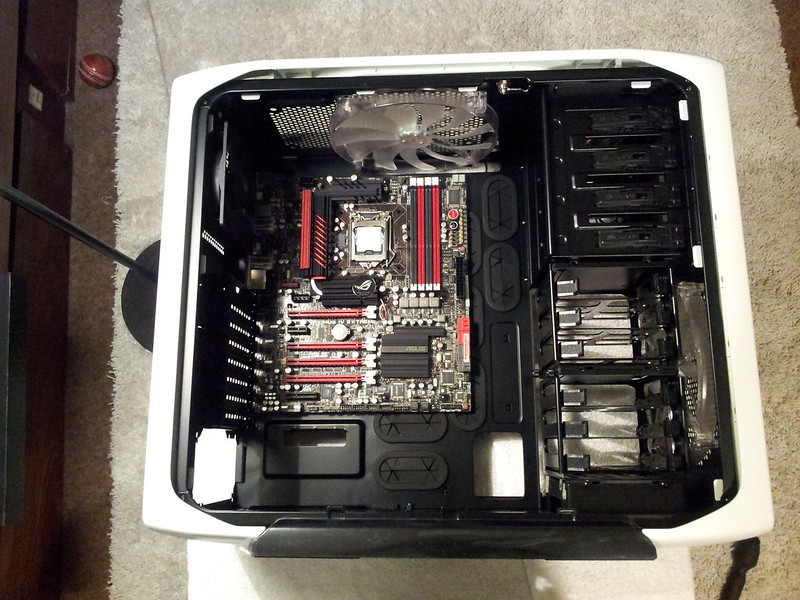
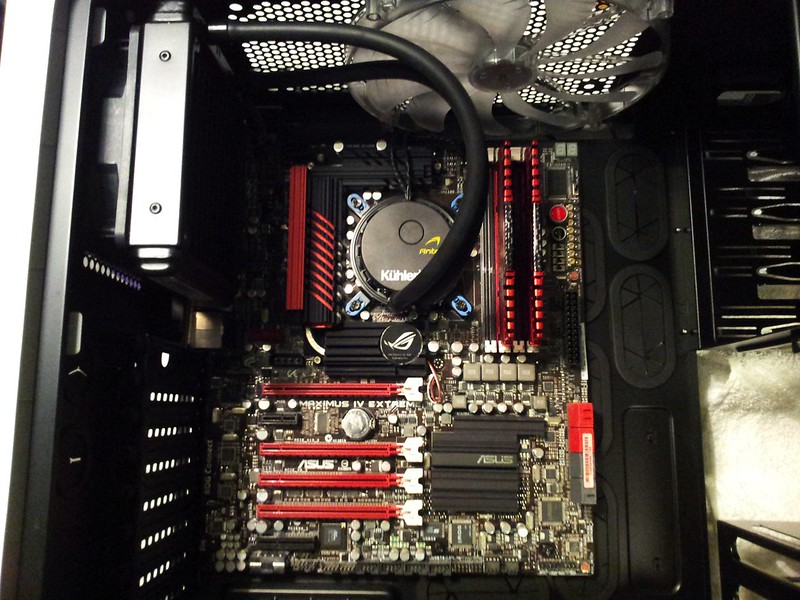
Maximus IV Extreme in the 600T SE:

7038332685_c216f4567d_c.jpg


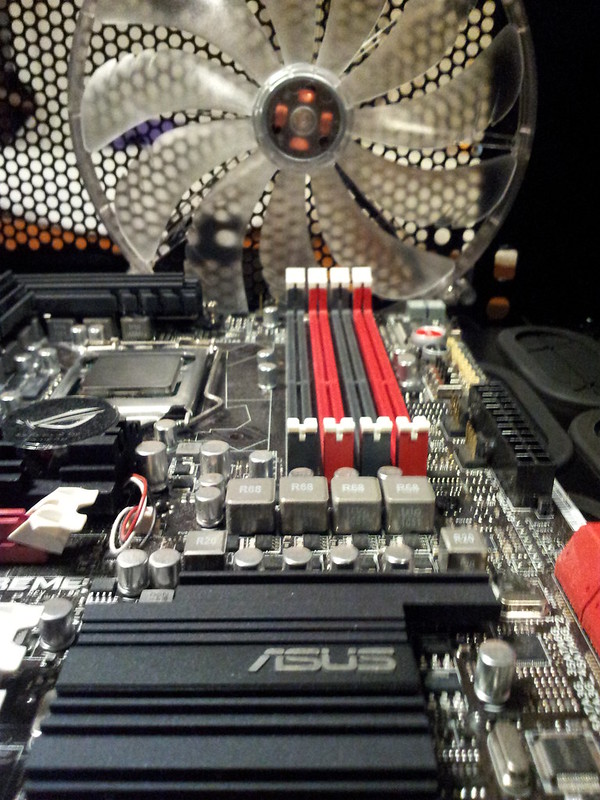
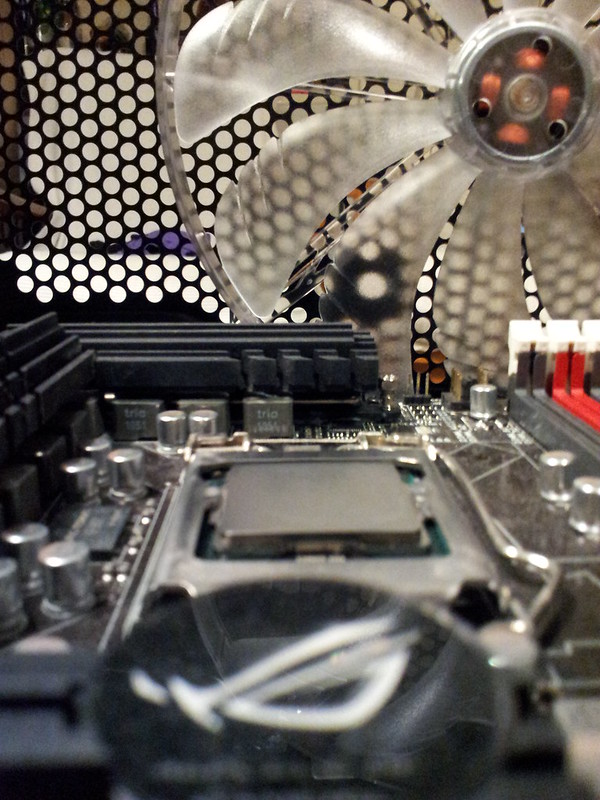
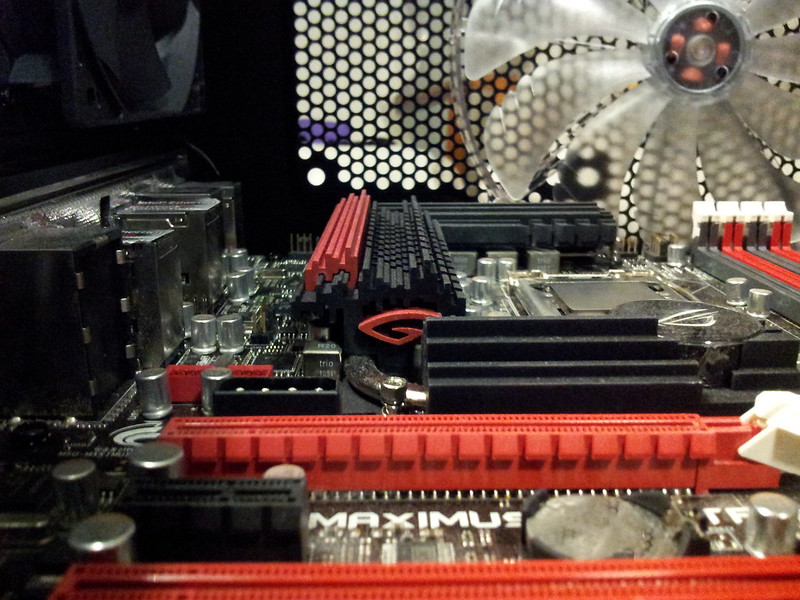
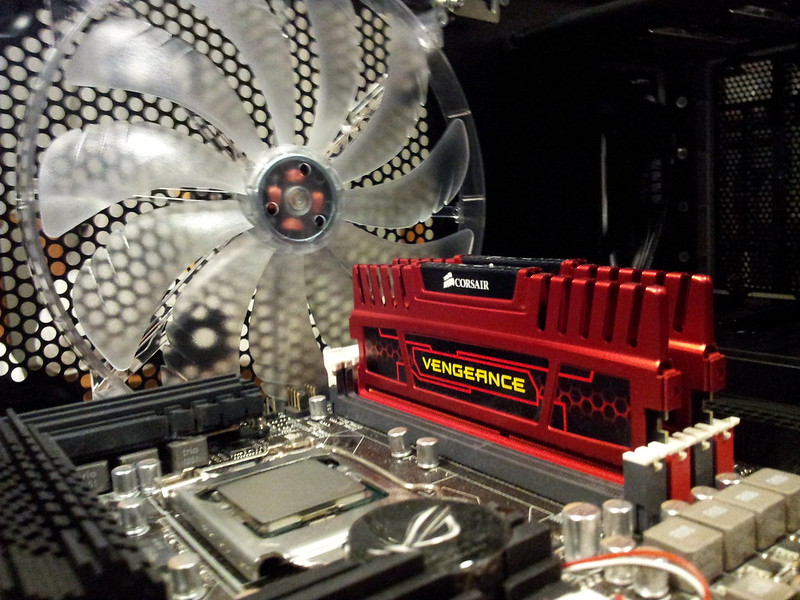
Artistic shots of the motherboard :p

7038333199_ddb59a8656_c.jpg


7038333711_0f223c79b9_c.jpg


6892238986_7768dc1f29_c.jpg


7038334307_6b1c1fe2ac_c.jpg


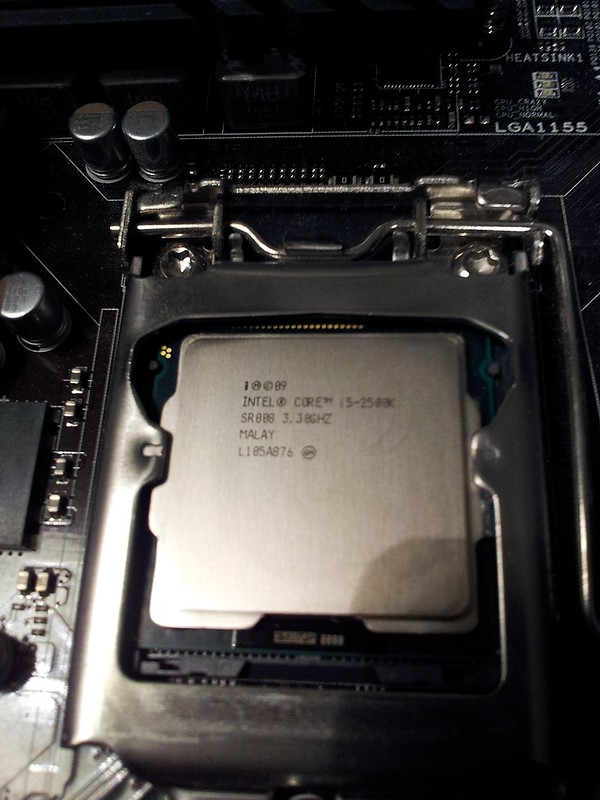
Intel i5-2500k sitting in it's socket :)

6892239558_ede2045607_c.jpg


8GB of ram installed:

7038334977_b75ae65147_c.jpg


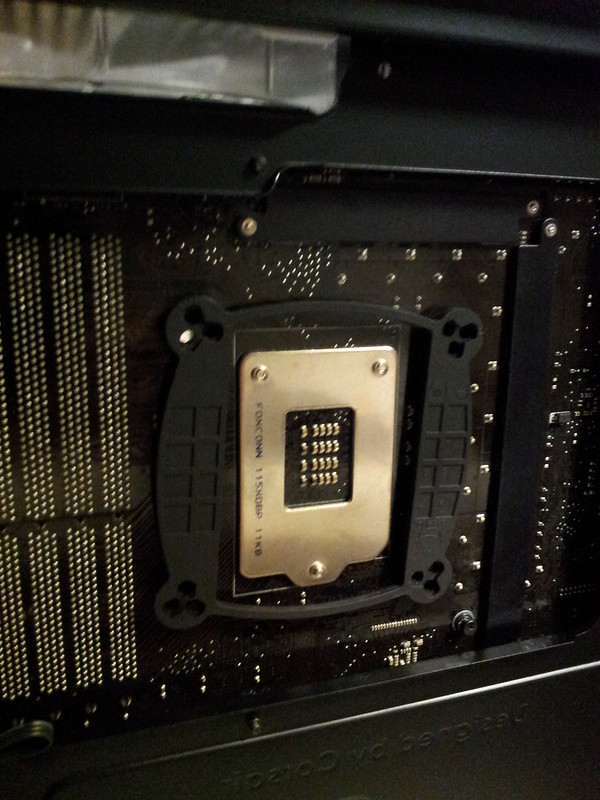
Back plate for the Kuhler 620 installed:
7038335473_b0d677ac76_c.jpg


Kuhler 620 installed:

7038335757_7ff1ba9939_c.jpg


Birds eye view:

6892240872_730a8a20b4_c.jpg


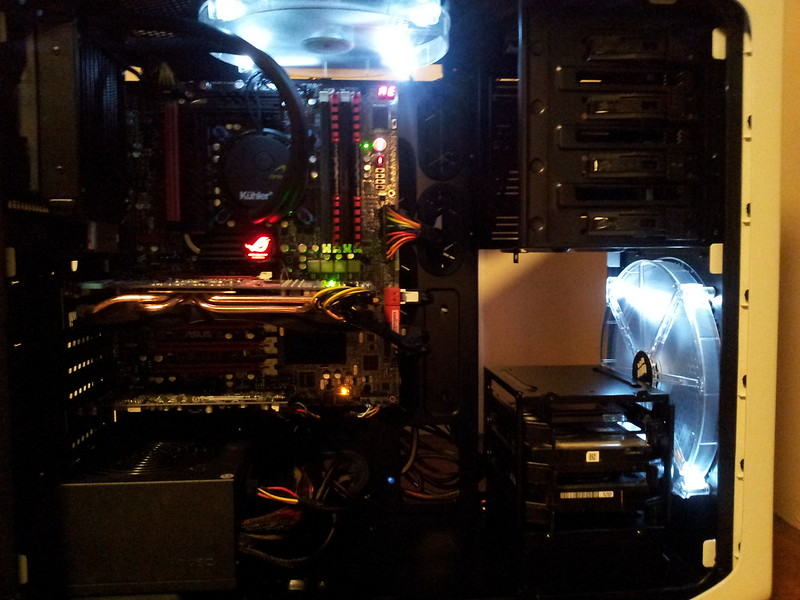
Gaming rig up and running.... the GFX card here is a Gigabyte 560Ti SOC:

6892241138_0ea32eb101_c.jpg


7038336589_230c5b95eb_c.jpg
 
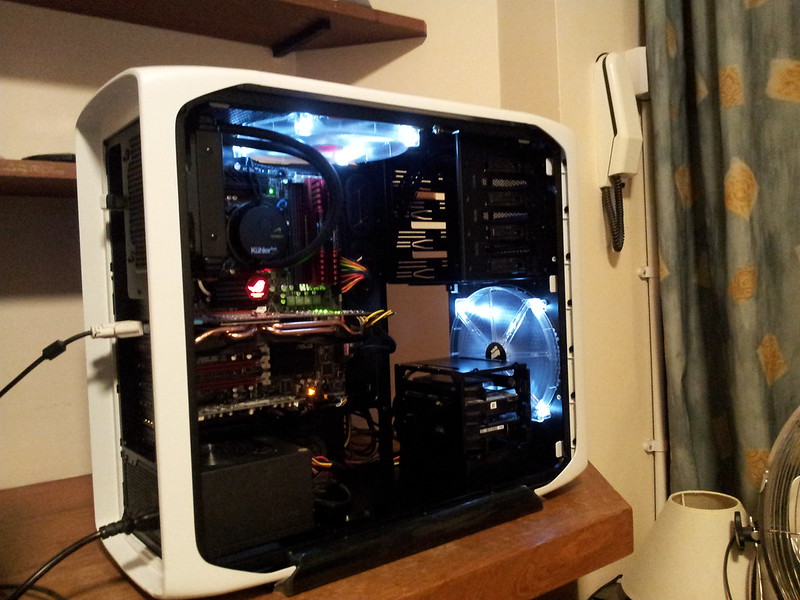
My system presently, on my desk with a Gigabyte 560Ti SOC

6892242086_f9edee9067_c.jpg


6892244898_23ce1046fe_z.jpg


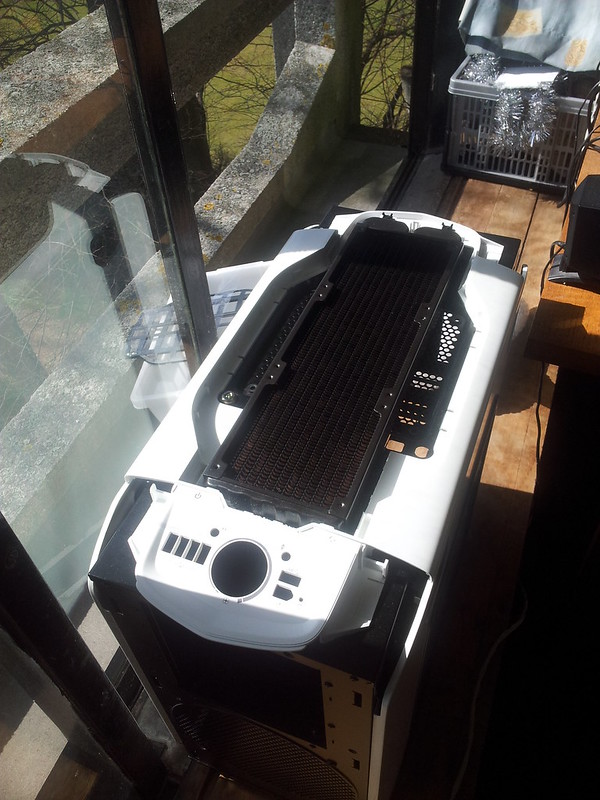
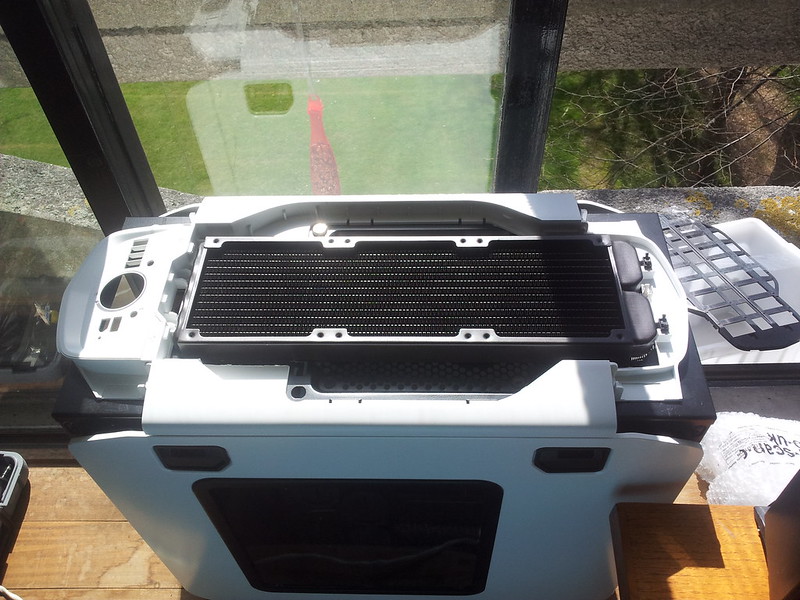
I'll be sticking a Magicool 360mm radiator in the top of the 600T: To do that I need to modify the case for it to take a triple rad.
35041-01.jpg


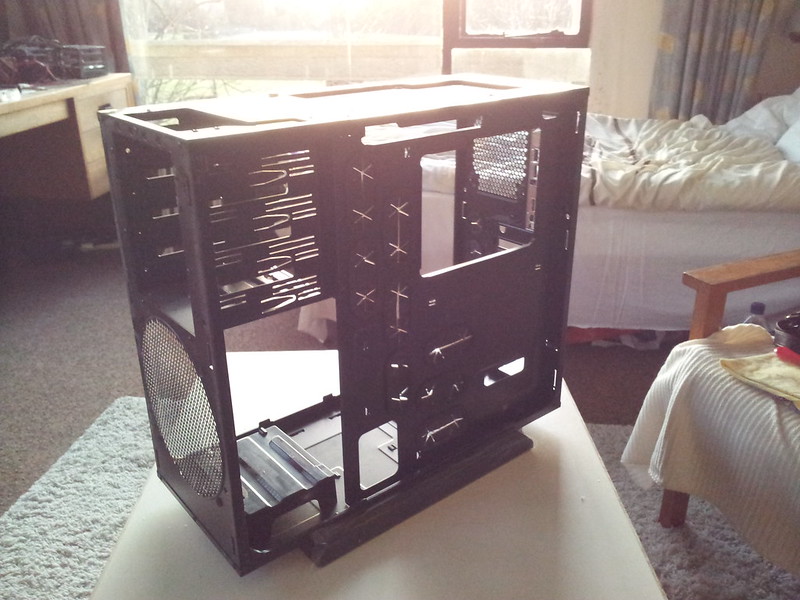
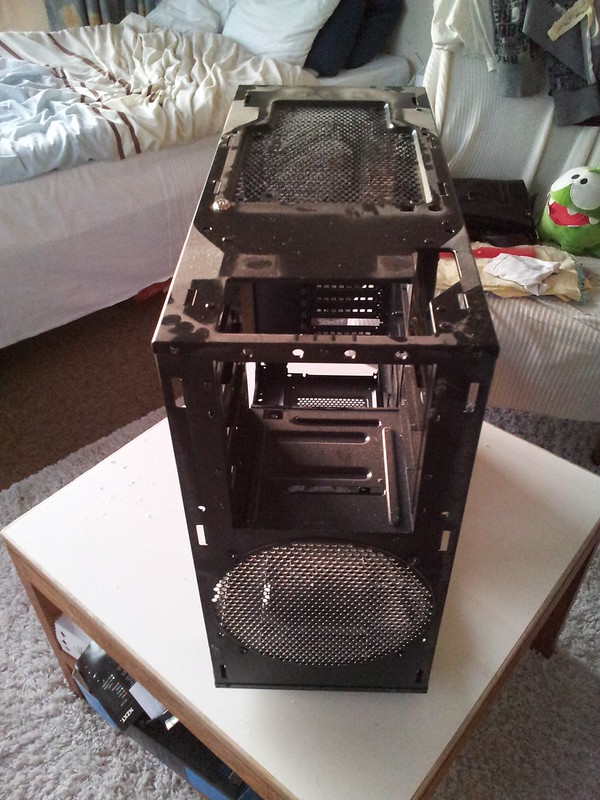
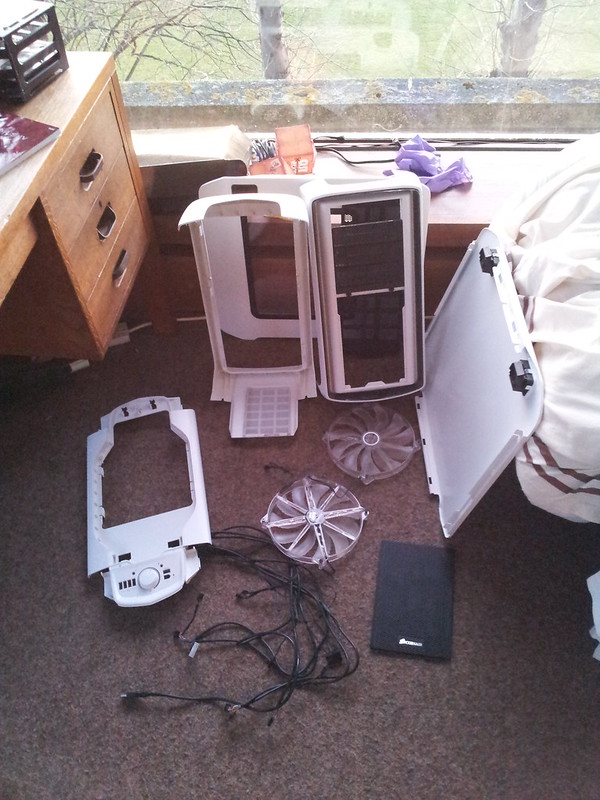
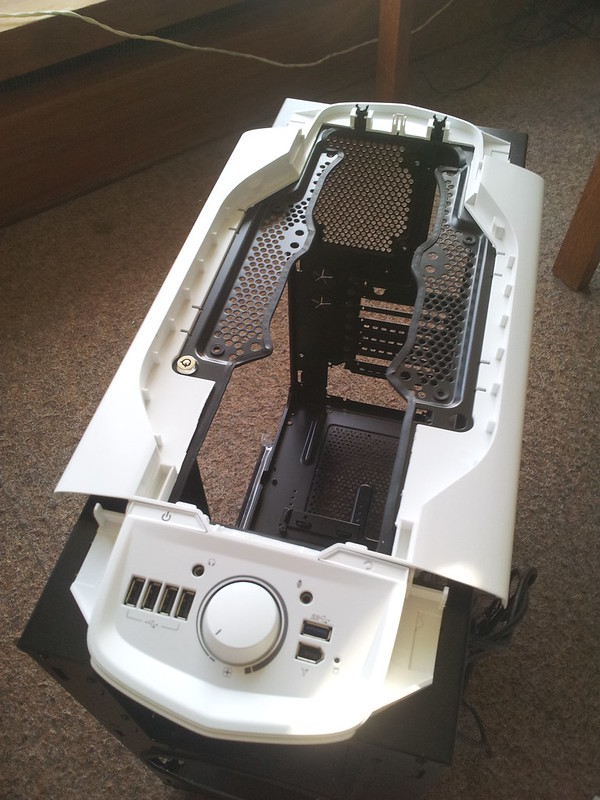
All the plastic on the exterior of the case is removed really easily and leaves:
6892241812_26135bde9d_c.jpg


Case is pretty dusty, gives you an idea how long I've left it to begin water cooling :p
6892242664_208d3b0f38_c.jpg


Here's all the plastic:

6892242366_216b64e281_c.jpg
 
Last edited:
Looks very very very nice! What kind of temps are you getting with the Khuler 620?
In those pictures, I was using an Akasa Apache - in that image it was in a pull configuration and I was getting 31-32c at stock speeds. Since then I've used a Gentle Typhoon 1850rpm and I was seeing temps of 29c.

Very nice.

Now get braiding :)

kd
Planning to get some MDPC-X braiding soon :)
 
You're as bad as me :p i put my system together months ago with the intention of water cooling it a few weeks later.

Waterblocks and rads are still sitting here but i'm now considering a new build :rolleyes:
 
Back again! :D

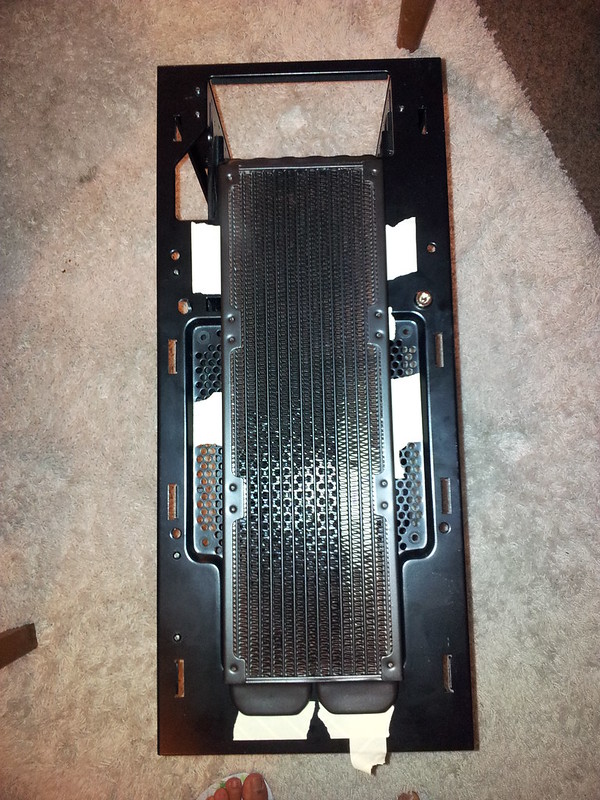
Preparing to mark the case for cutting to fit the triple rad:

6892243378_49c1c26984_c.jpg


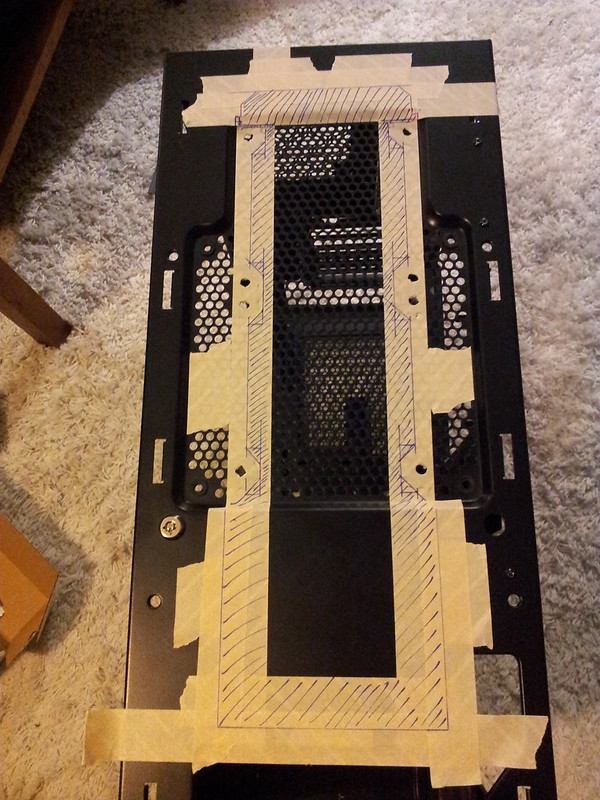
Masking tape on (to protect against scratches) and screw holes punctured:
7038339025_f3441e0529_c.jpg


The area to cut is measured with military precision. The G1/4 thread for the radiator will be position towards the back of the case (shown at the top of the picture):


6892244222_ff31a038bf_c.jpg


**** NEXT DAY ****

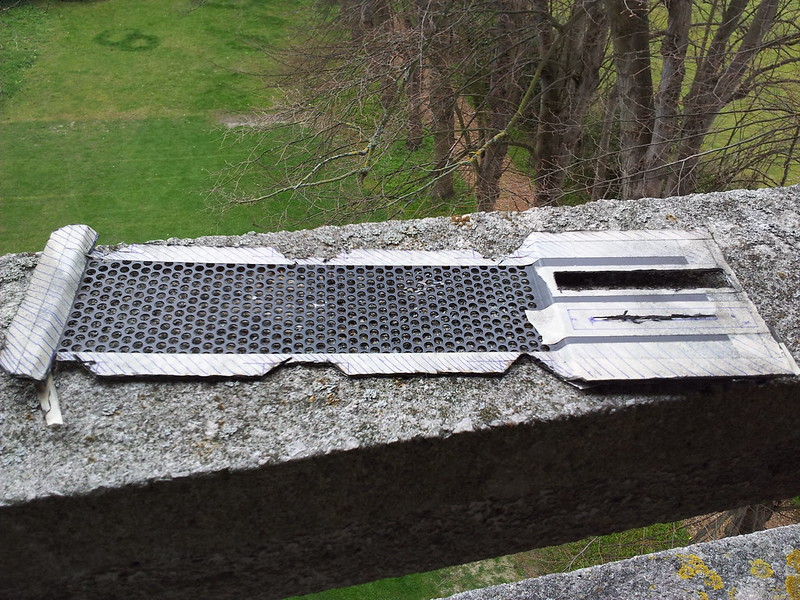
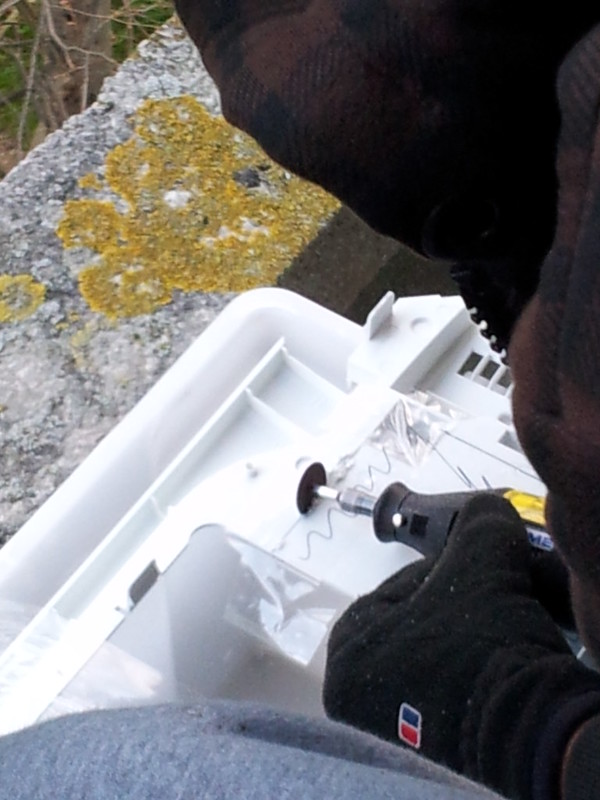
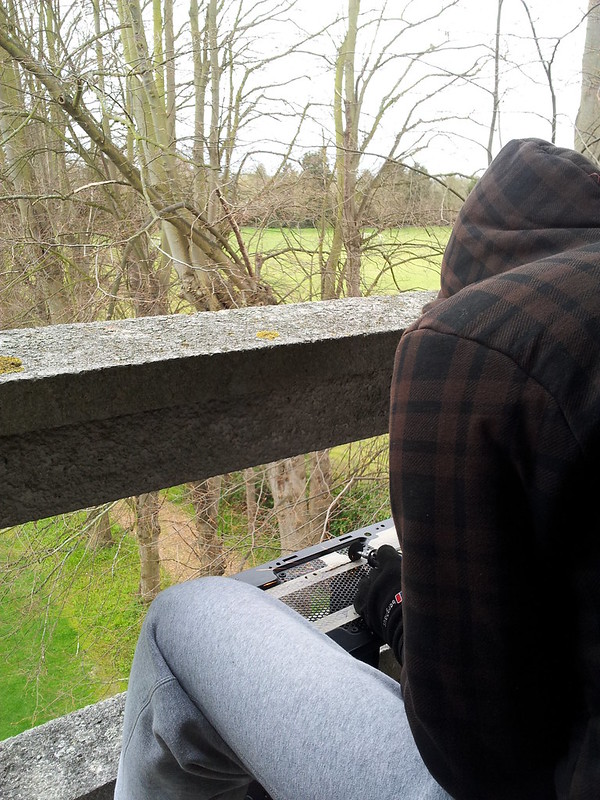
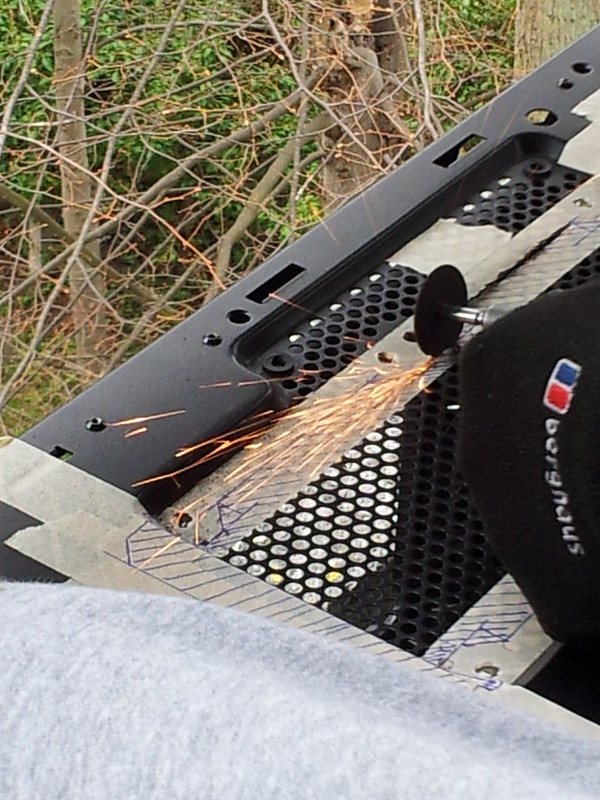
I live in a student accomodation, so I have to do this on my tiny balcony overlooking our lovely garden :p :

6892245284_7ca96f9127_c.jpg


I used a Dremel 100 Multi-tool with a reinforced cutting discs (No. 426) :

6892245710_a950524514_c.jpg


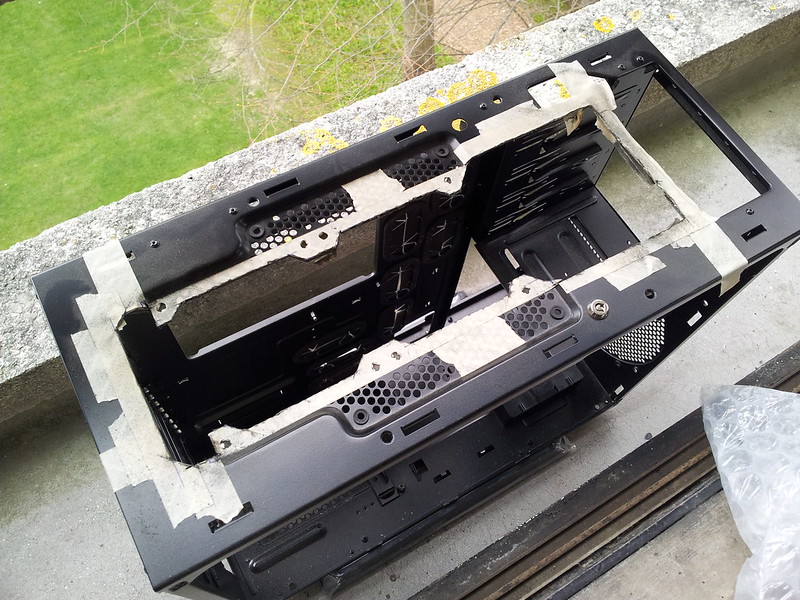
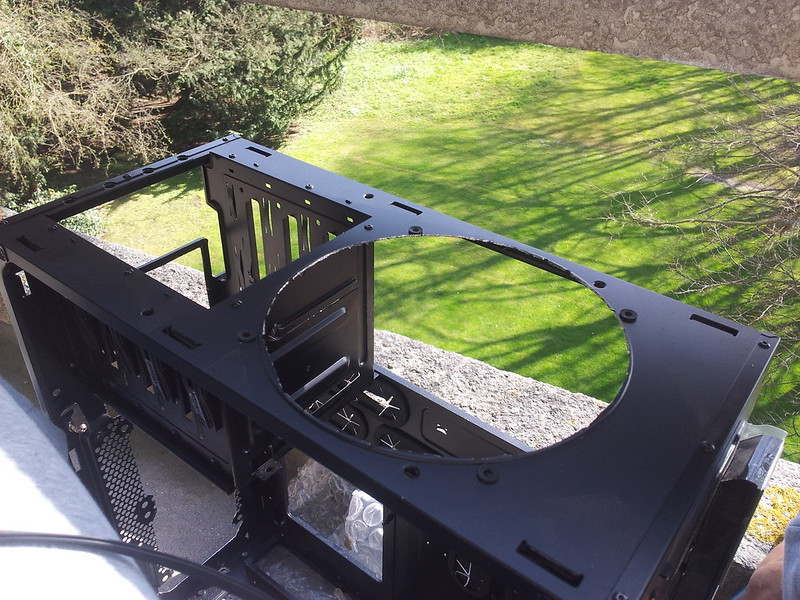
Job finished and went well :)

7038341549_52abf7b30f_c.jpg


The cutout:
On the right of the cutout, you'll notice a rectangular piece missing - I was going to try making my own reservoir bracket since OcUK ran out.
Luckily OcUK had them in stock the following day! :D


7038342037_a6f35fbb6c_c.jpg


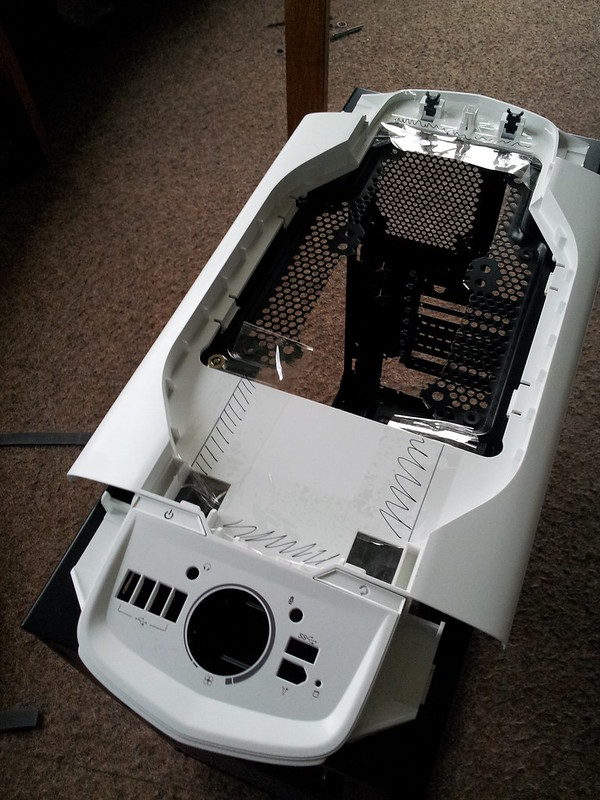
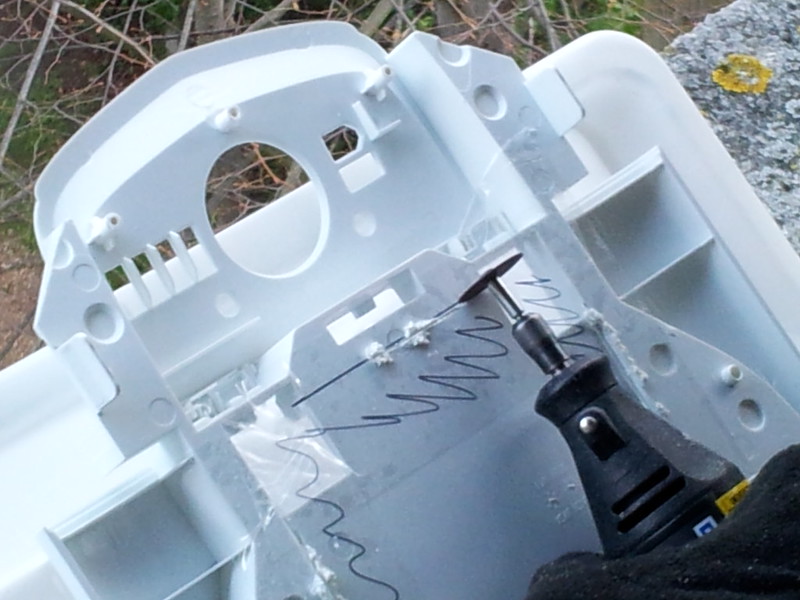
The plastic top of the case has to be cut out too, so here it is marked out:

7038342305_11337fee7d_c.jpg


And subsequently cut:

6892247352_db195a7e18_c.jpg


6892247518_4e95a62196_c.jpg


It all fits together very nicely! :D

7038343079_0a83828a37_c.jpg


7038343353_3475f4d089_c.jpg


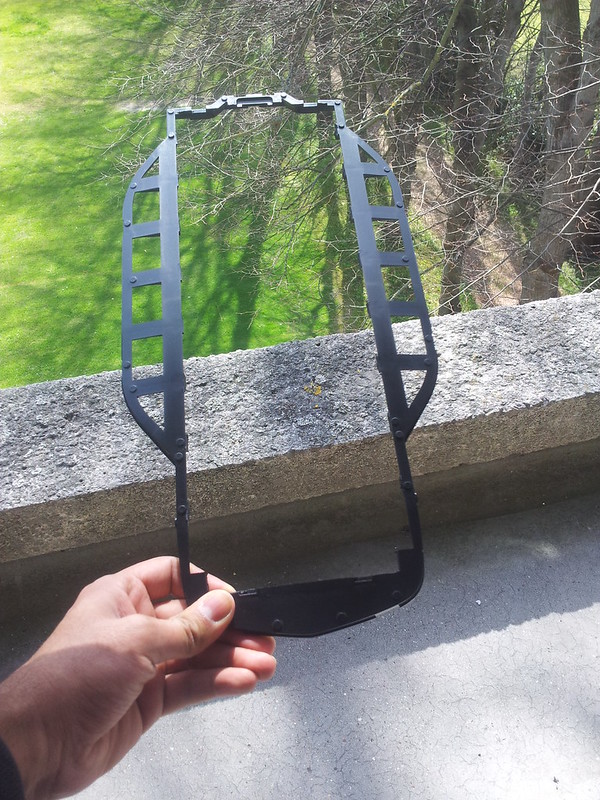
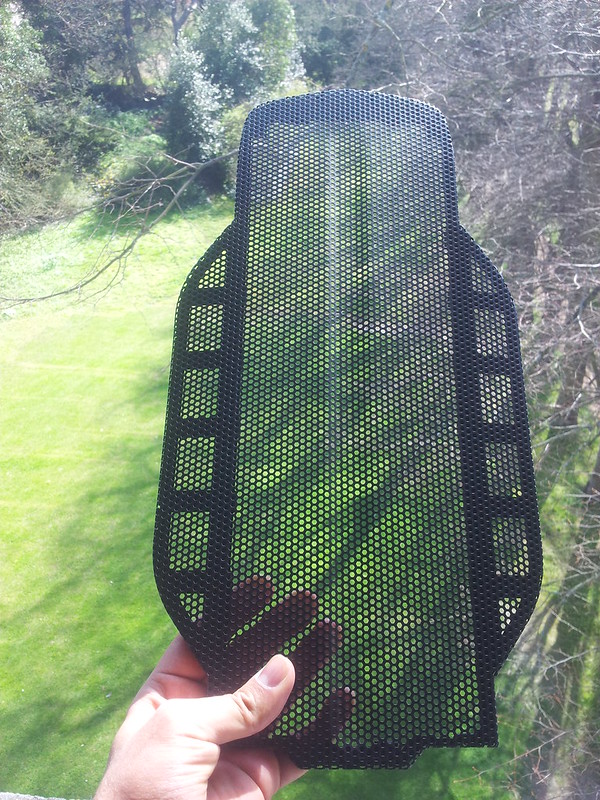
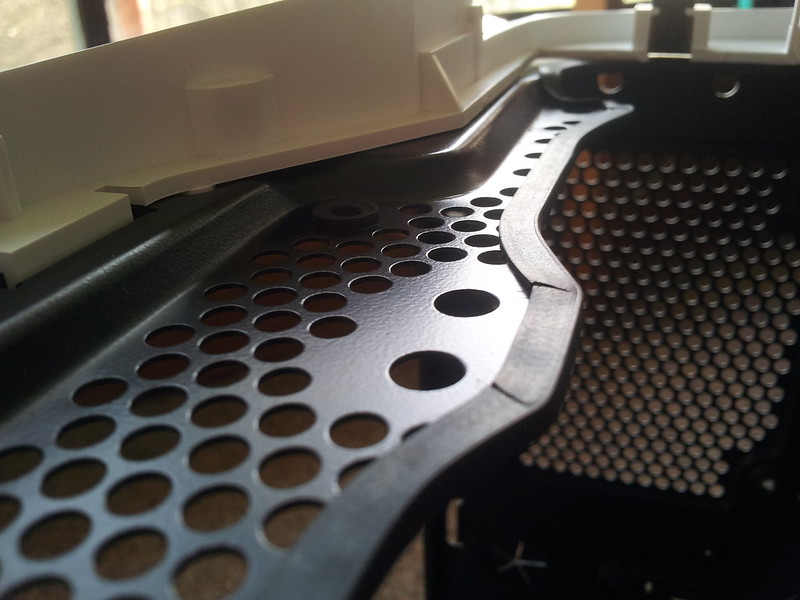
The plastic support that holds the mesh has to be cut to allow the radiator to fit when the mesh is repositioned on the top of the case.

7038343877_76045671b6_c.jpg


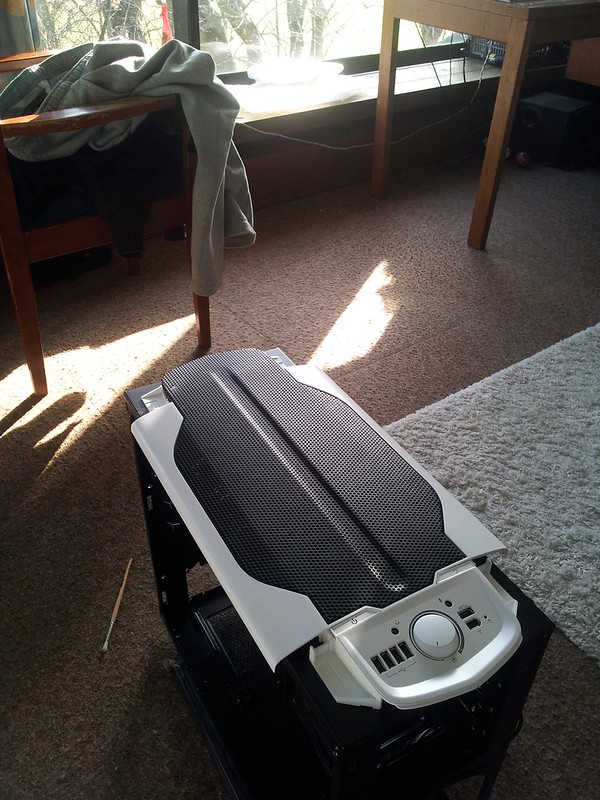
The mesh is put back on:

6892249034_cd7102bba4_c.jpg


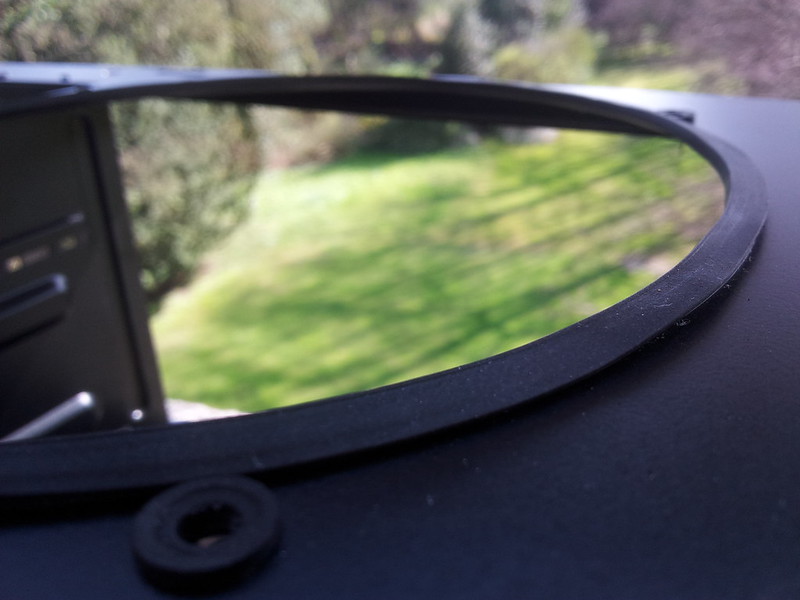
To improve airflow, the front circular mesh bit was cut:

6892249378_e9b8d9961f_c.jpg


To neaten things up, I bought some U-channel moulding from MNPtech, it took 7 days to arrive and it is slightly cheaper than buying it online from the UK :eek:.

7038345025_9726ec2d9e_c.jpg


Here's a closeup:
7038345283_0507810ec7_c.jpg


Also done with the top of the case:

7038346797_74dccef691_c.jpg


Another closeup :D:

6892251942_f2e29ae12d_c.jpg


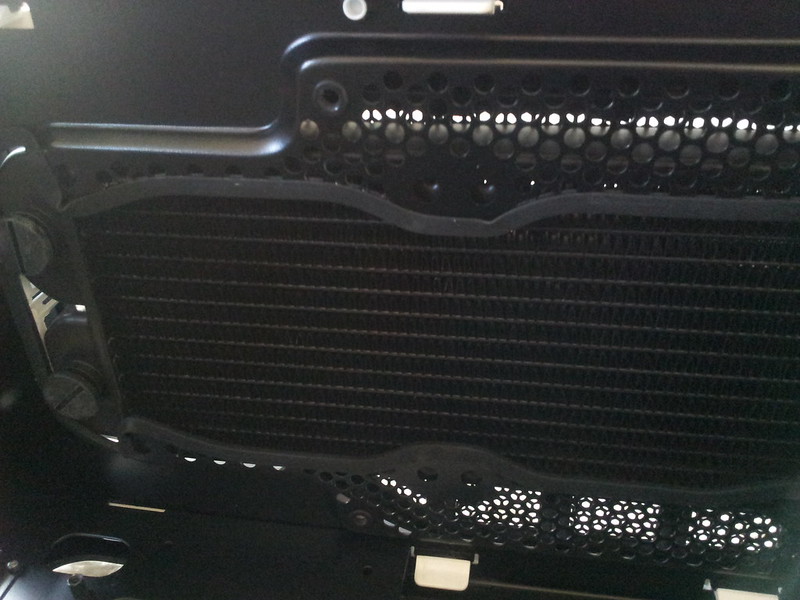
With the radiator in position, everything fits like a glove!:

6892251204_8b45cf8c29_c.jpg


And from the inside of the case:

6892252264_2698e3f4ab_c.jpg


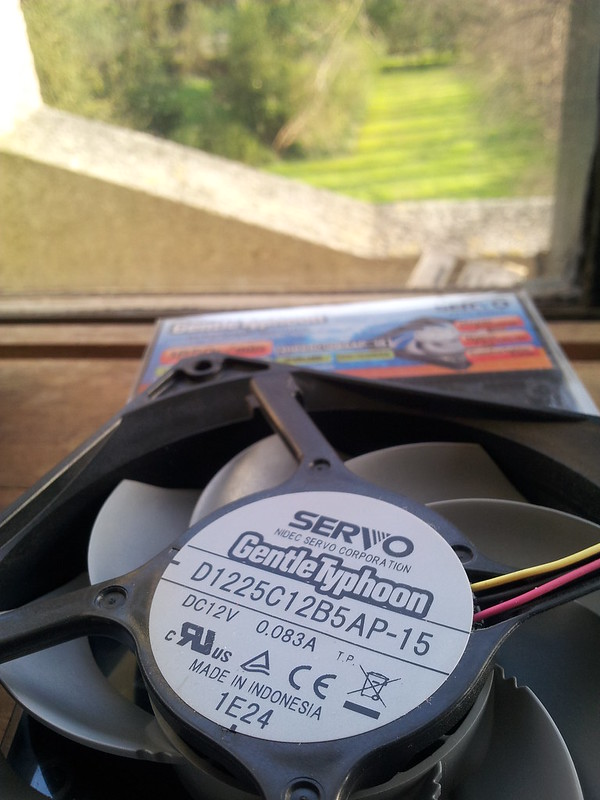
Then I take 3 of these bad boys:

7038332127_69726e507c_c.jpg


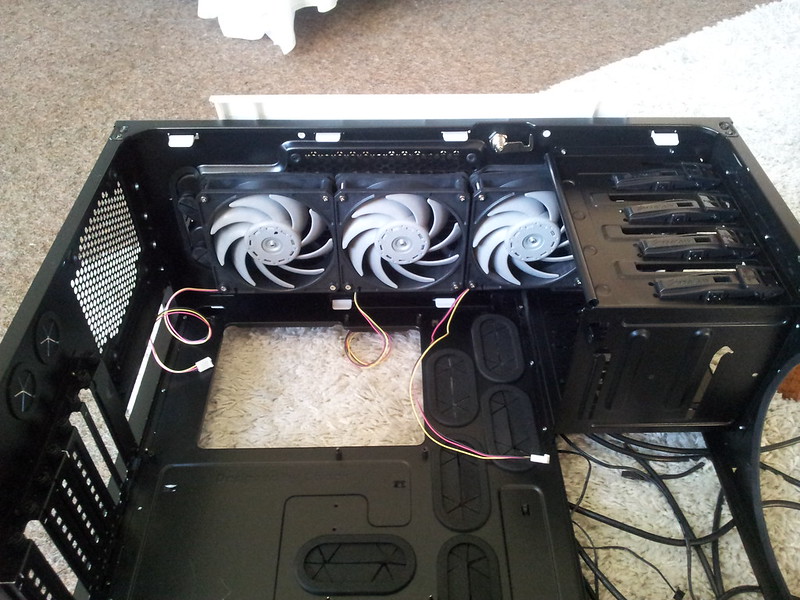
Screw them onto the radiator in a push configuration:

6892236716_ae620dc224_c.jpg


That's it from me for now! Stay tuned!! :D
 
Thats some really nice work, as other people have said its stuff like this that gets me tempted to have a crack at it myself.

Looking forward to updates.
 
Thanks for the comments everyone! This is my first time I've modded or watercooled a PC so your comments are encouraging :). The cutting is all done, so now I've moved on to building the loop.

A small update today: My lovely Swiftech MCP655 pump needs to be mounted on pads to dampen the noise. Here's the pump:

6924522290_bf2c6d8fed_c.jpg


I could buy one of these: Phobya Noise Destructors:

noise-destuct.jpg


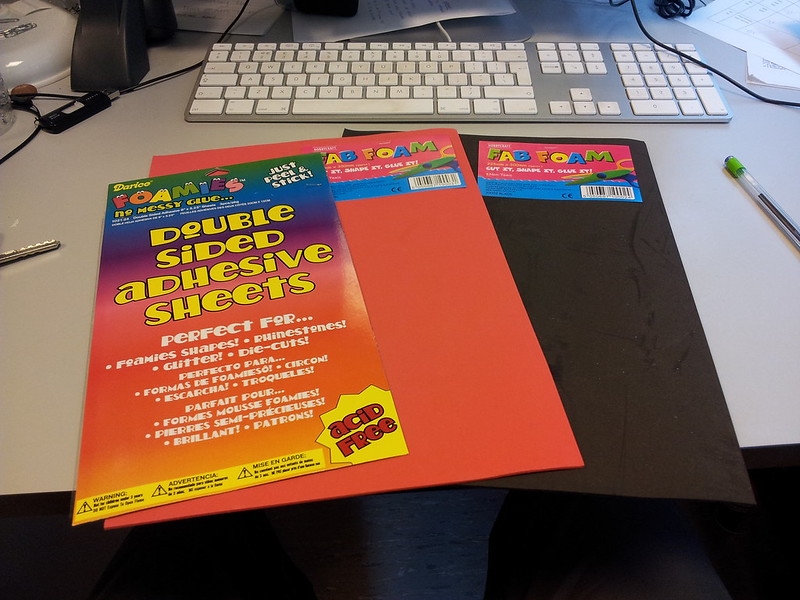
But I decided to make my own :p. I went to Hobby Craft a while ago and remembered they had these foam pads. I went in an bought my self two foam pads (99p each!) and some double sided adhesive stickers:


6924522778_bb7c2a0210_c.jpg


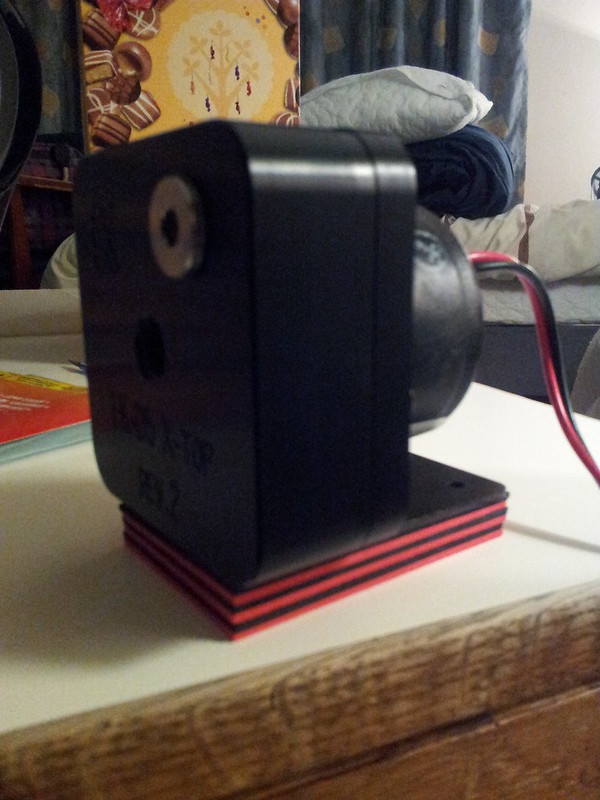
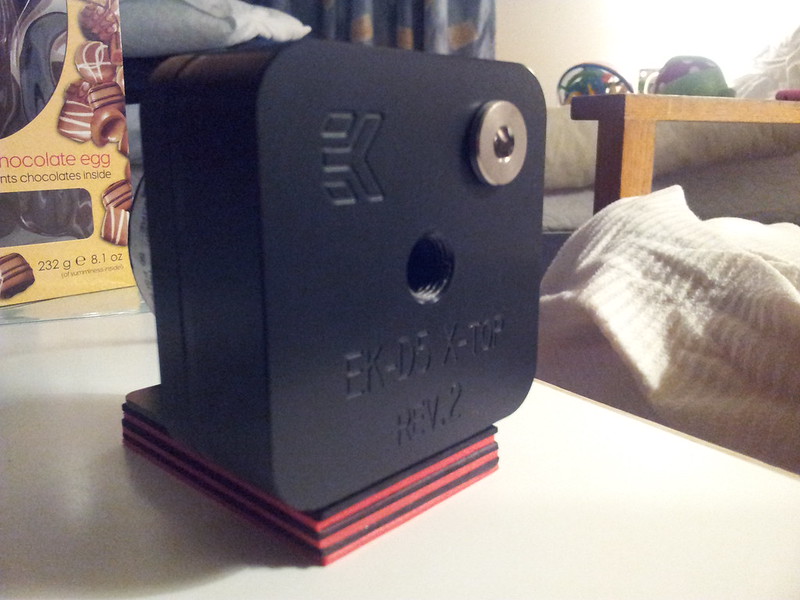
I used a guillotine to try and get straight edges. The pads were cut to the size of the pump stand and stuck back to back with double sided stickers. I'm left with this:

6924523254_5fc8d03d4f_c.jpg


In better light/angle:

6924523686_f6f7cc9846_c.jpg


The pump runs very quietly on my homemade pump stand. At a pump speed setting of 2, it's inaudible. At pump speed 5, the only noise made is from the water sloshing around in the reservoir. All in all, an awesome mount that is at least 2x cheaper than anywhere + it matches my coloured theme! :D
 
:d liking the homemade noise dampening, i first saw one of them in a video of the shoggy sandwich i think it was called... obviously worked but it looked terrible... and was massive.

Looking forward to more updates.
 
Back
Top Bottom