Hello All,
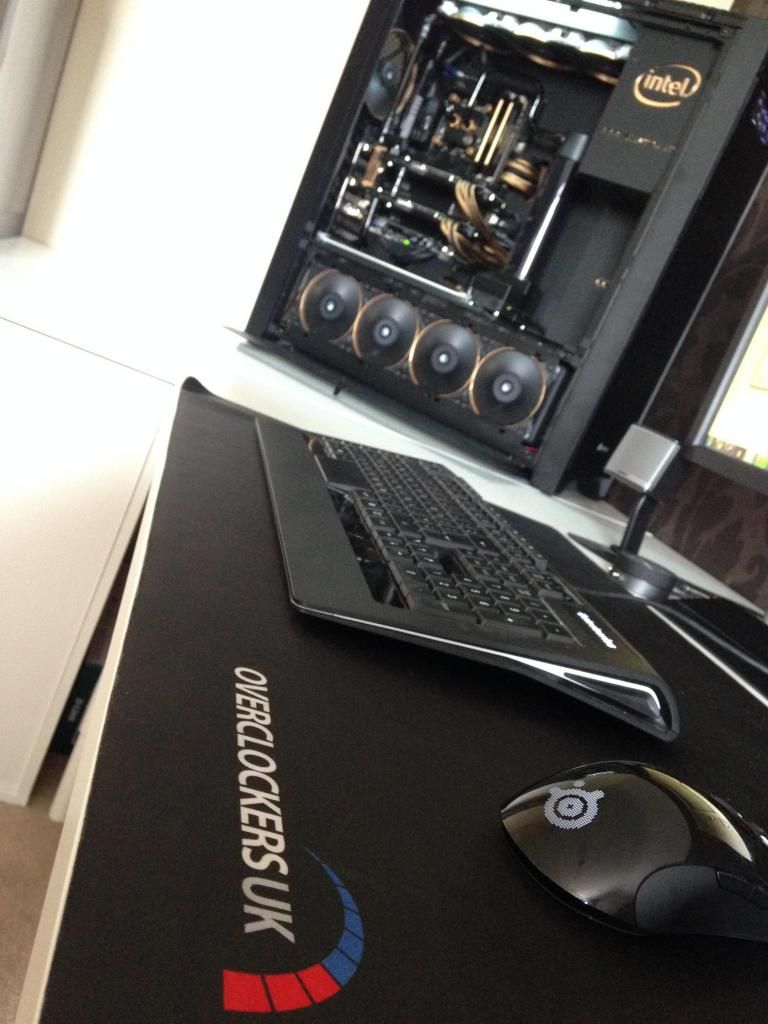
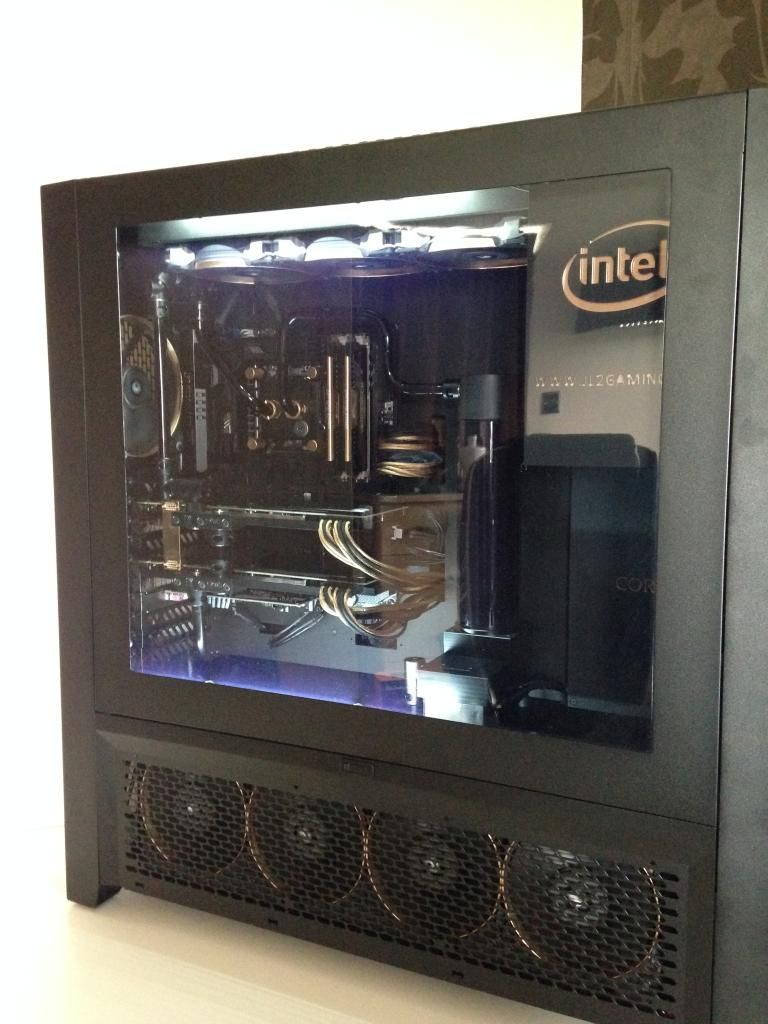
welcome to my build thread of my recent computer build, which actually started off as a pretty damn good computer anyway, then i got inspired by a black and gold build from Yoyotech, and then decided to completely rebuild my computer from the ground up. so sit back and enjoy.
Specs:
Corsair 900D Case
Intel I7 Haswell 4770K
16GB Corsair Vengence Pro Ram
Asus Sabretooth Z87 MOBO
EVGA 780TI SC X2 in SLI
Sandisk Extreme 1 256Gb SSD
OCZ Vector 128Gb SSD
Toshiba 3TB HDD
Seagate 2TB HDD
Seagate 1TB HDD
EK DUAL DDC 3.2 PWM Dual LANG Water Pumps
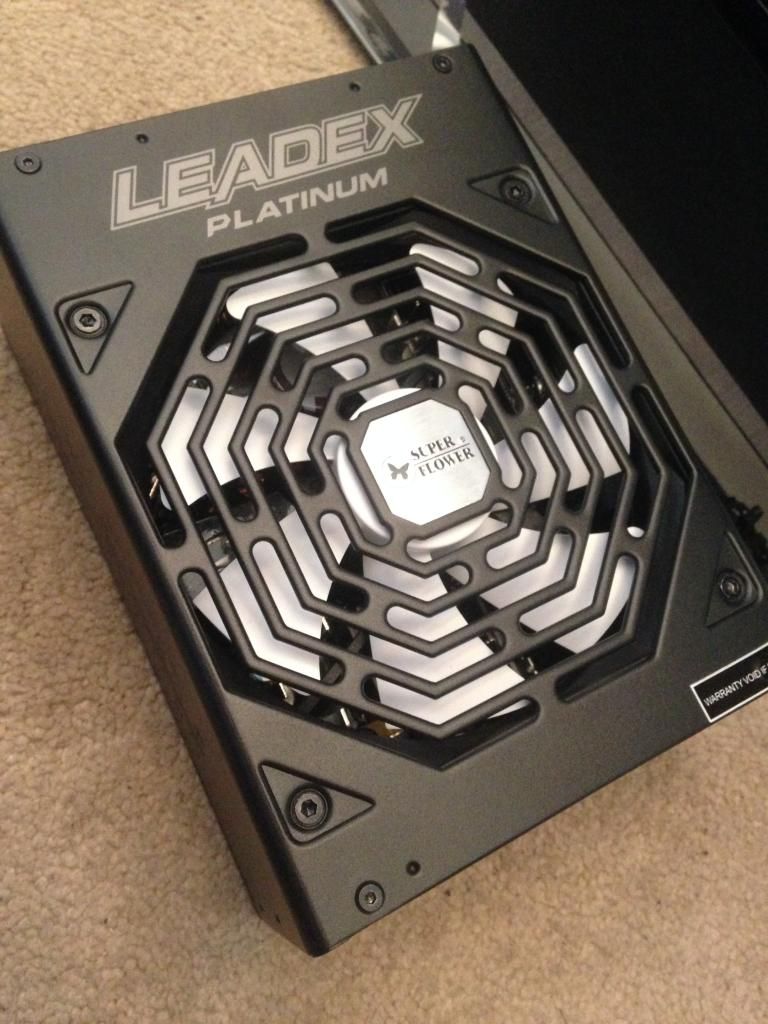
Superflower Leadex 1000W Platinum
RX480 XSPC Quad Radiator
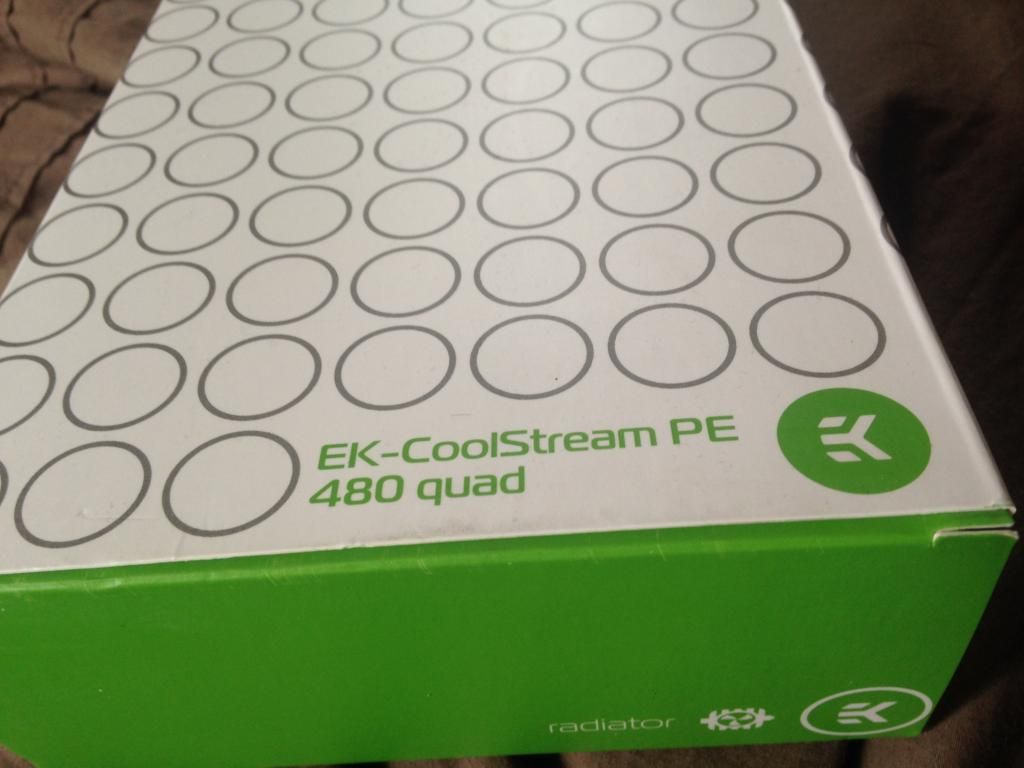
EK480 Quad Radiator
EK X3 Tube Res 250MM
Monsoon Black Hardline Tube 3/8 x 1/2
Monsoon Free Center Hardline Fittings (Matte Black)
Lamptron CW611 Watercooling Controller
Ek Waterblocks 780ti Nickle
EK Water Blocks EK-Supremacy Clean CSQ - Acetal + Nickel
Mayhems Pastel - Pure Black Coolant
9 Corsair SP120 Fans
1 Corsair AF140 Fan
Full Case Kit From Coldzero ,HDD Cage Cover,MOBO Cover,MidPlate,SSD Mount
Nearly All Parts Were Purchased Through OCUK
i hope i haven't missed anything..
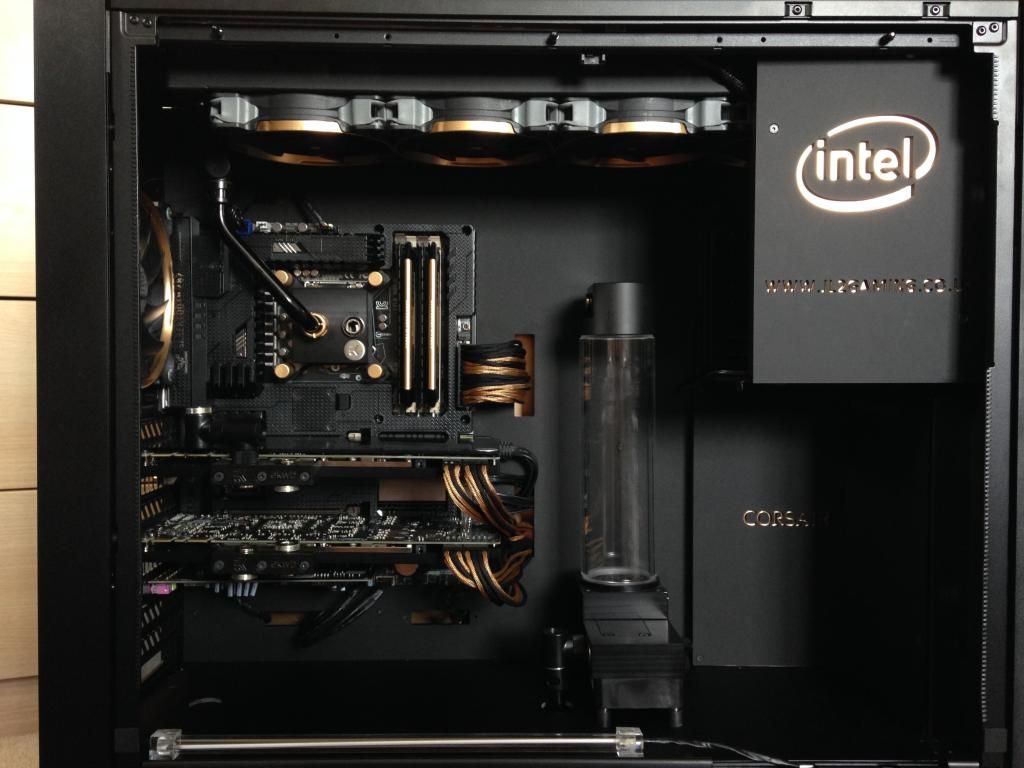
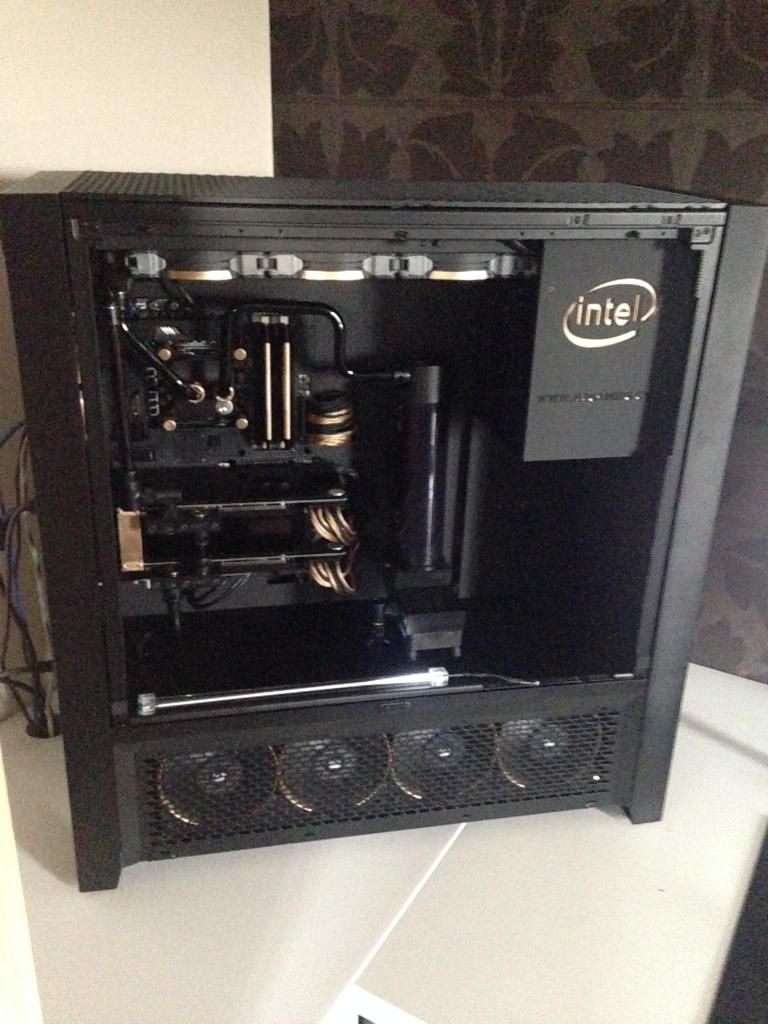
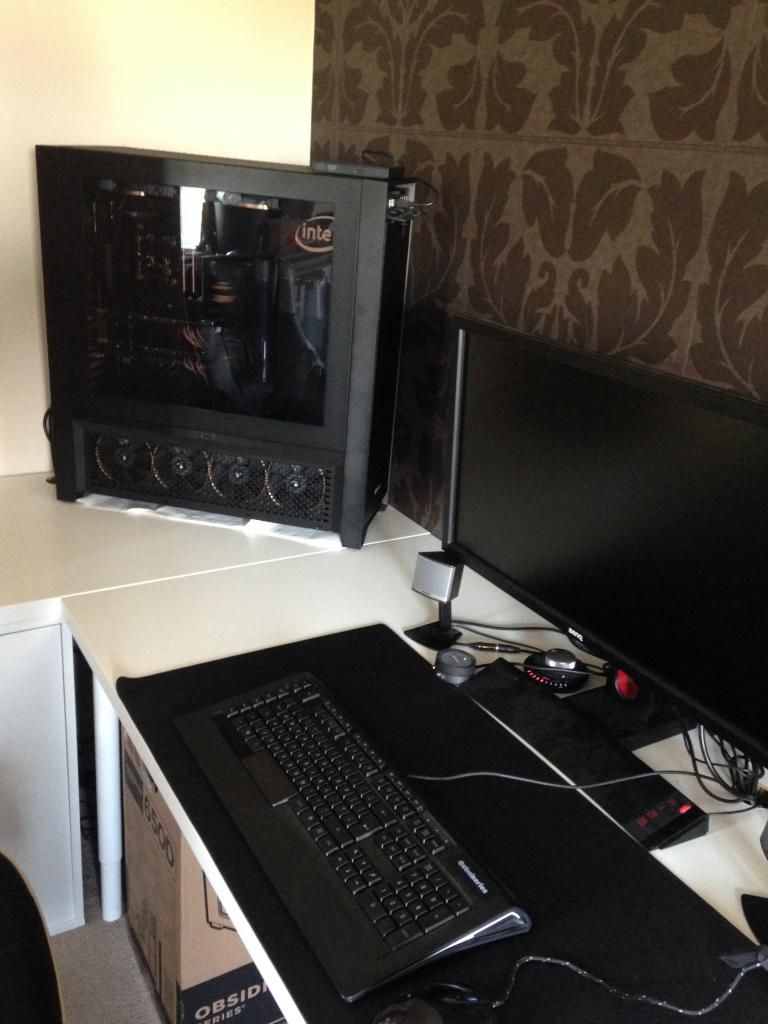
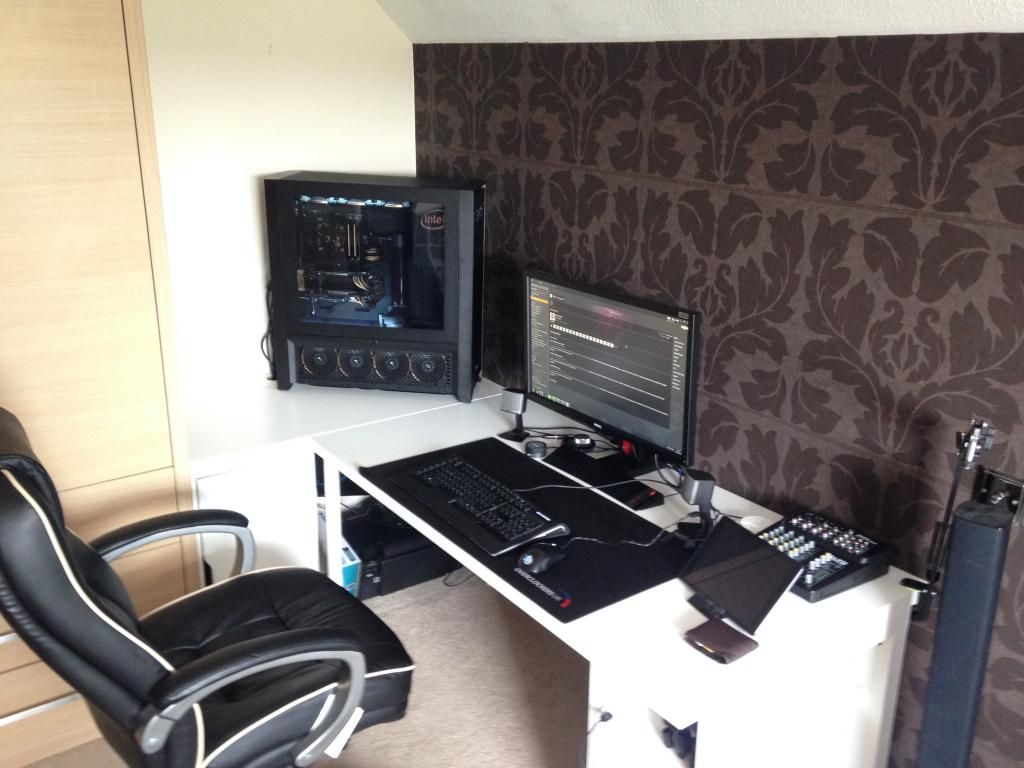
Final Outcome
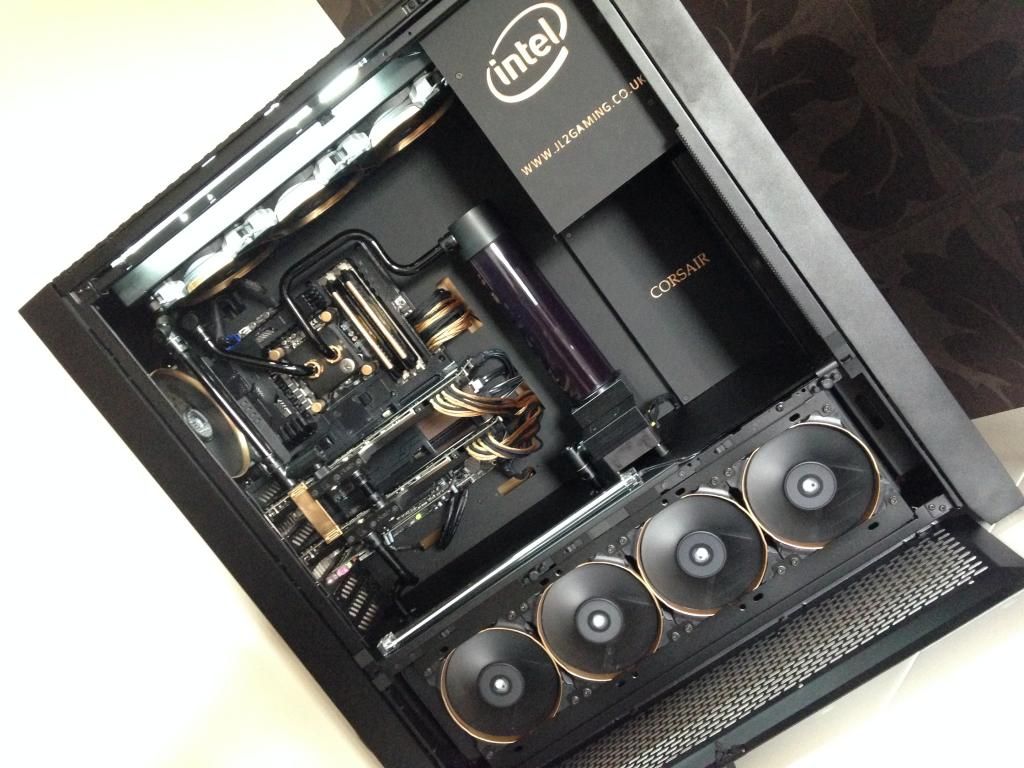
Below is My Full Build Log
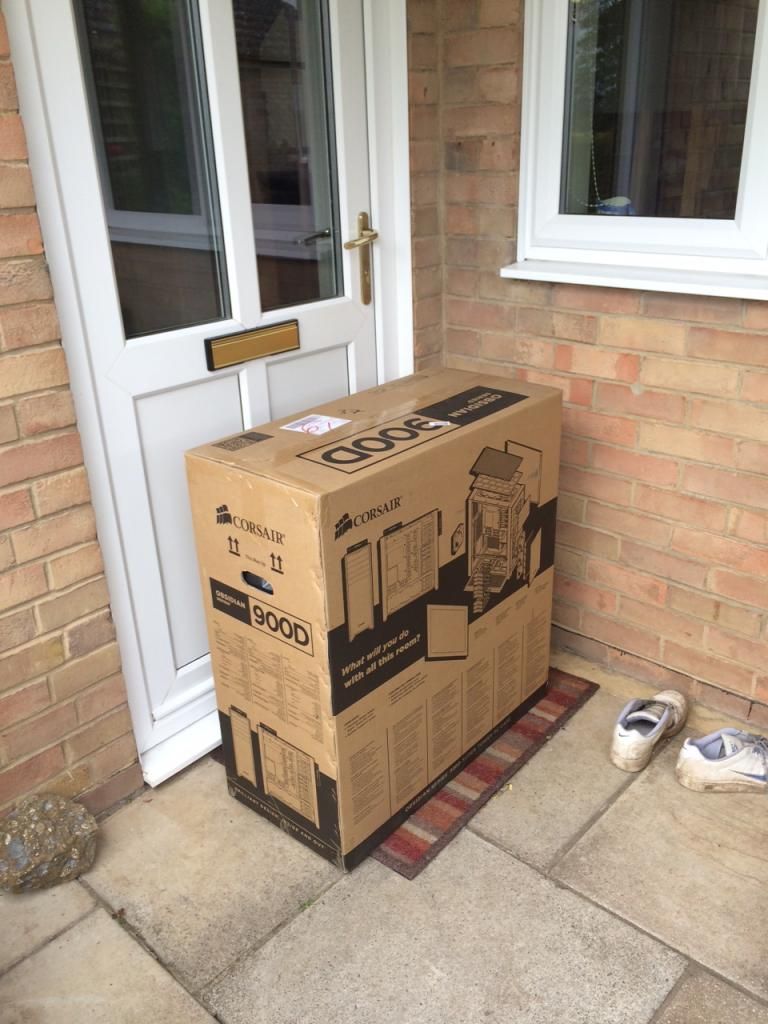
Delivery From OCUK! - Best Part Was The Haribo Of course
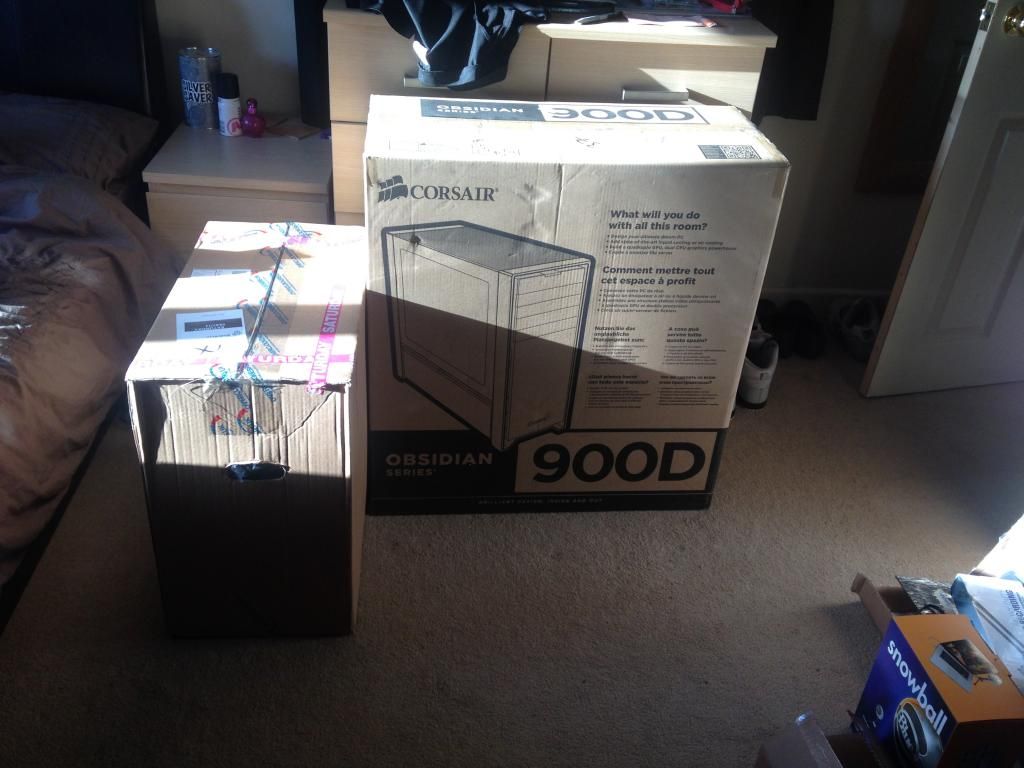
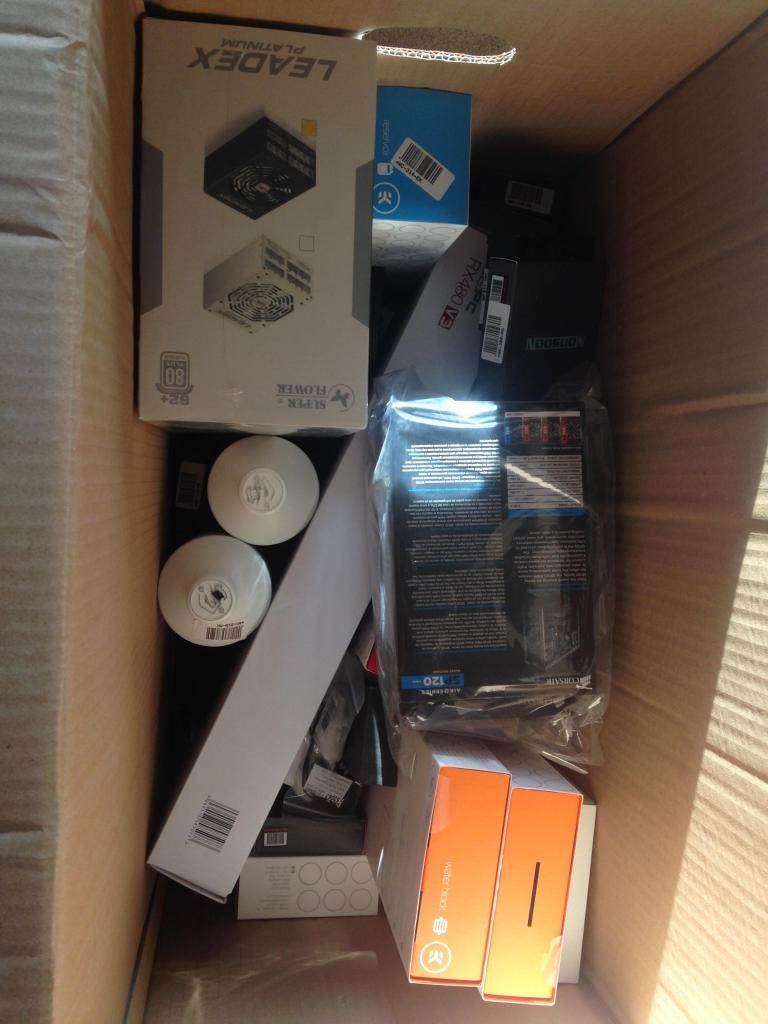

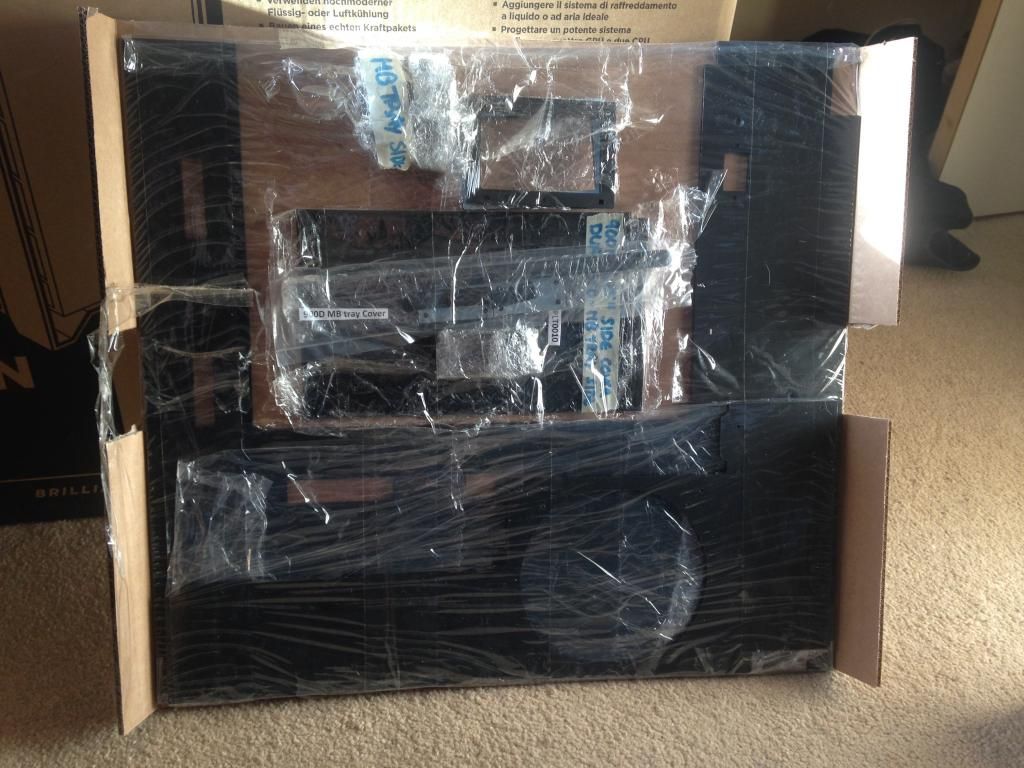
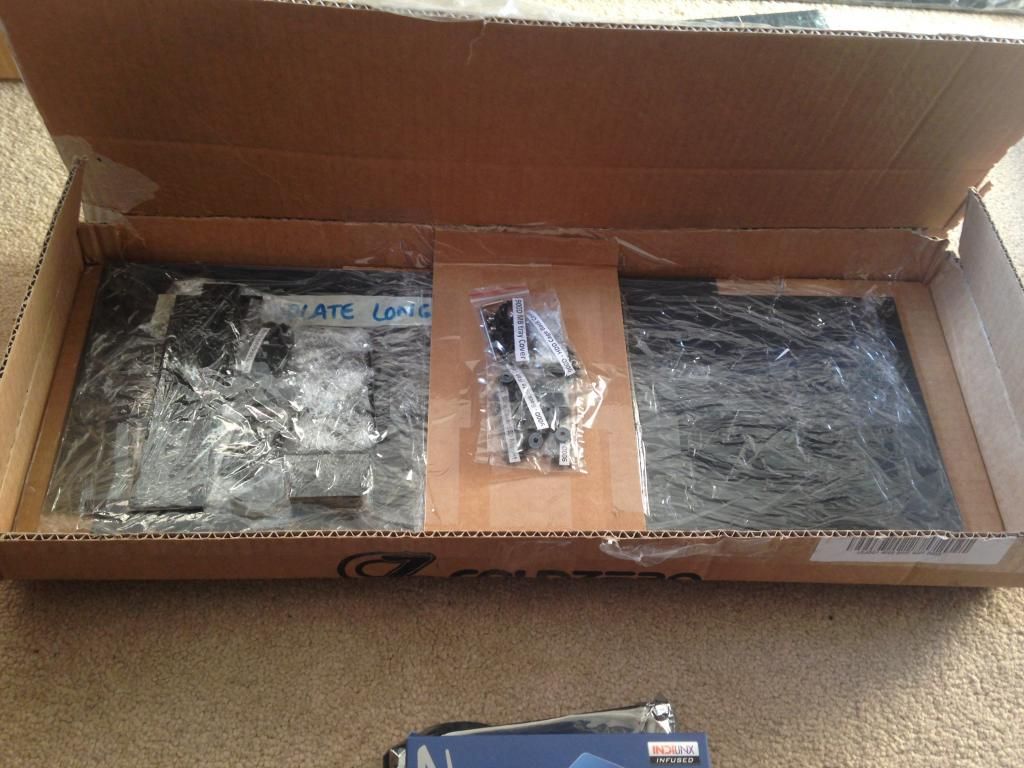
Delivery From Coldzero, Lots Of Matte Black Acrylic Parts! No instructions, this should be fun

Lots Of Cables and Bits

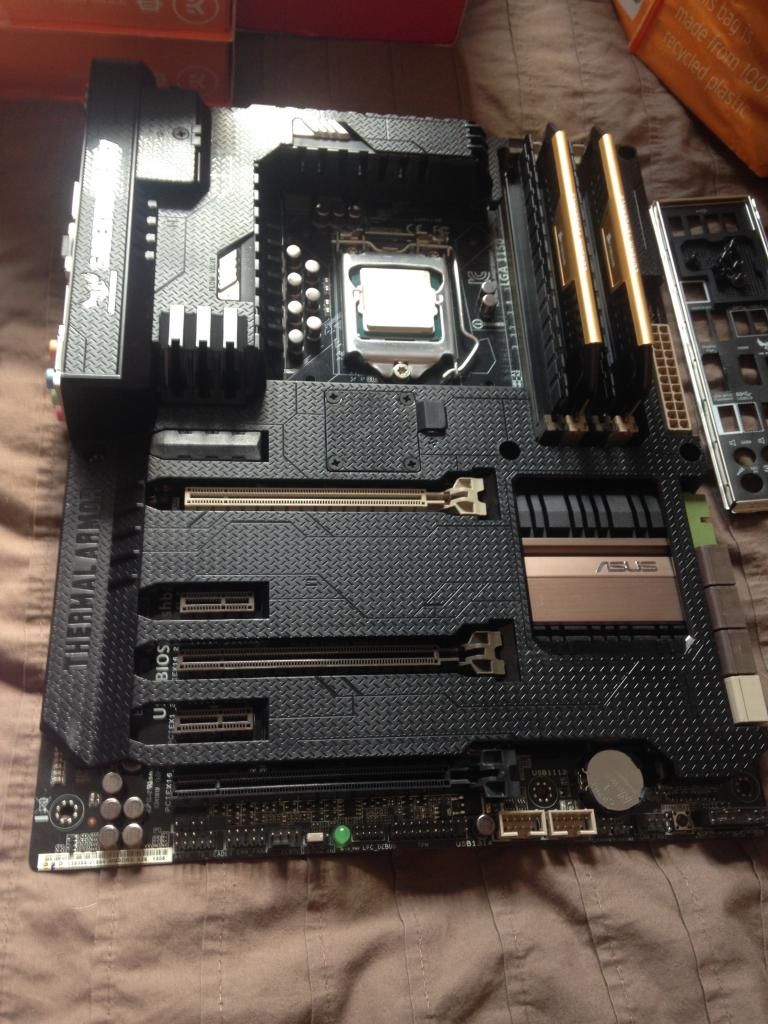
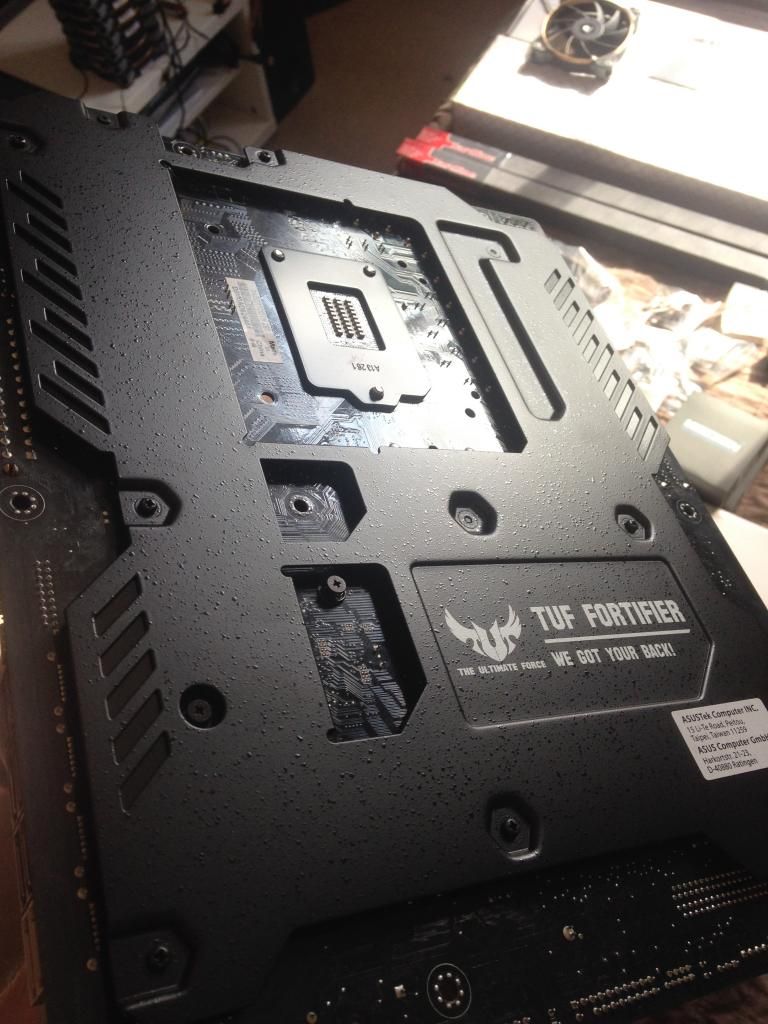
MoBo
First Major Task Was stripping this monster of a 900D case of all its goodness, all hard drive cages needed to come out the lot, to make for an easy installation of the coldzero acrylic parts


Now With The Case Fully Stripped Of Almost Everything , I Went About Test Fitting Some Of The Hardware That was going to be in the bottom of the Case under the Acrylic Mid Plate
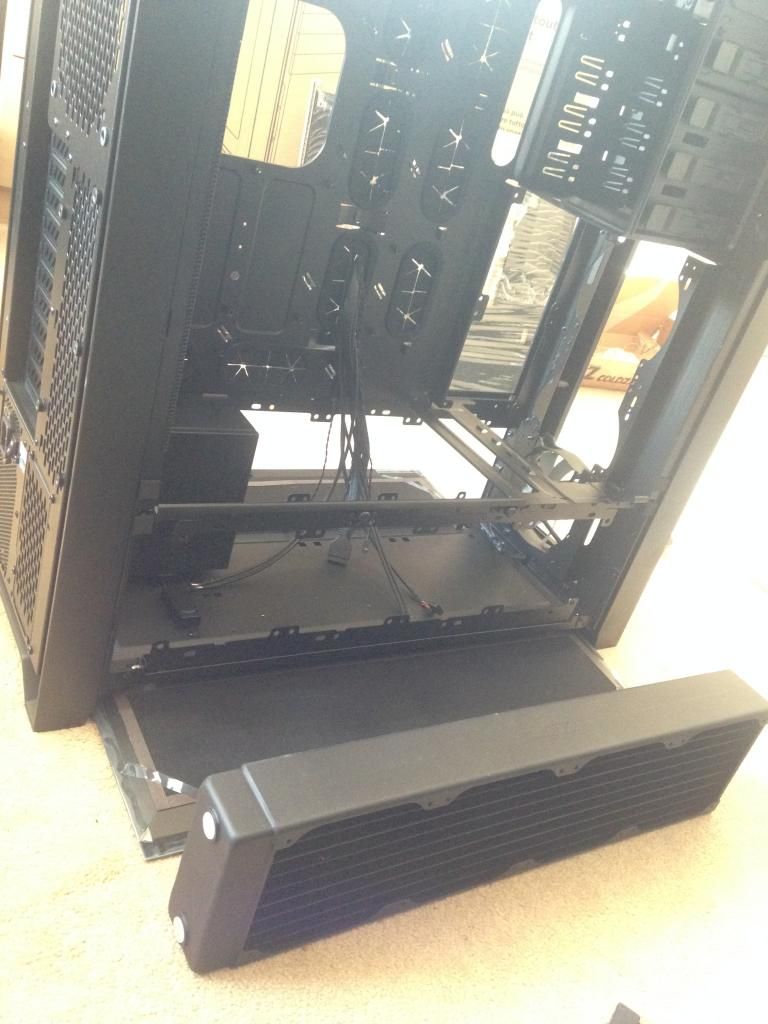
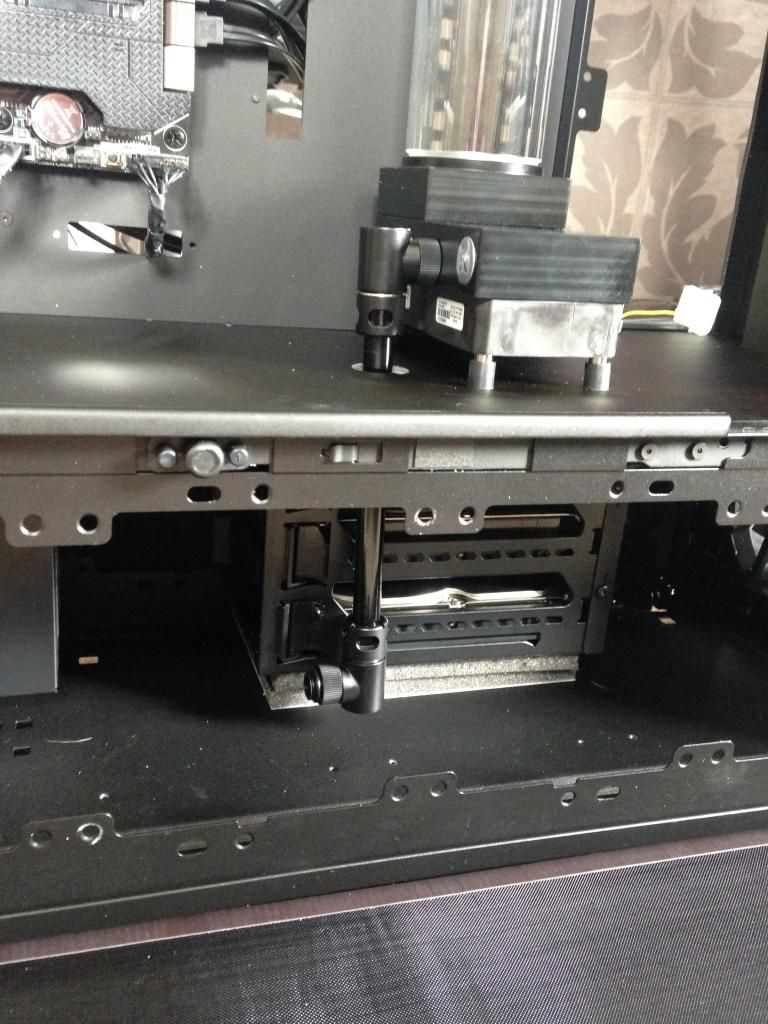
Because of the thickness of the RX480 radiator the space between the back of the radiator and the PSU when installed was going to be just big enough to run the pipe work down behind from the pump.
next issue
hard drive placement, originally i wanted to have no harddrives in the main case area due to the minimalist look i wanted, which however meant i had to fit not only a 480mm Rad and PSU in the bottom of the case, but also the 3 Bay Hotswap Hdd Cage
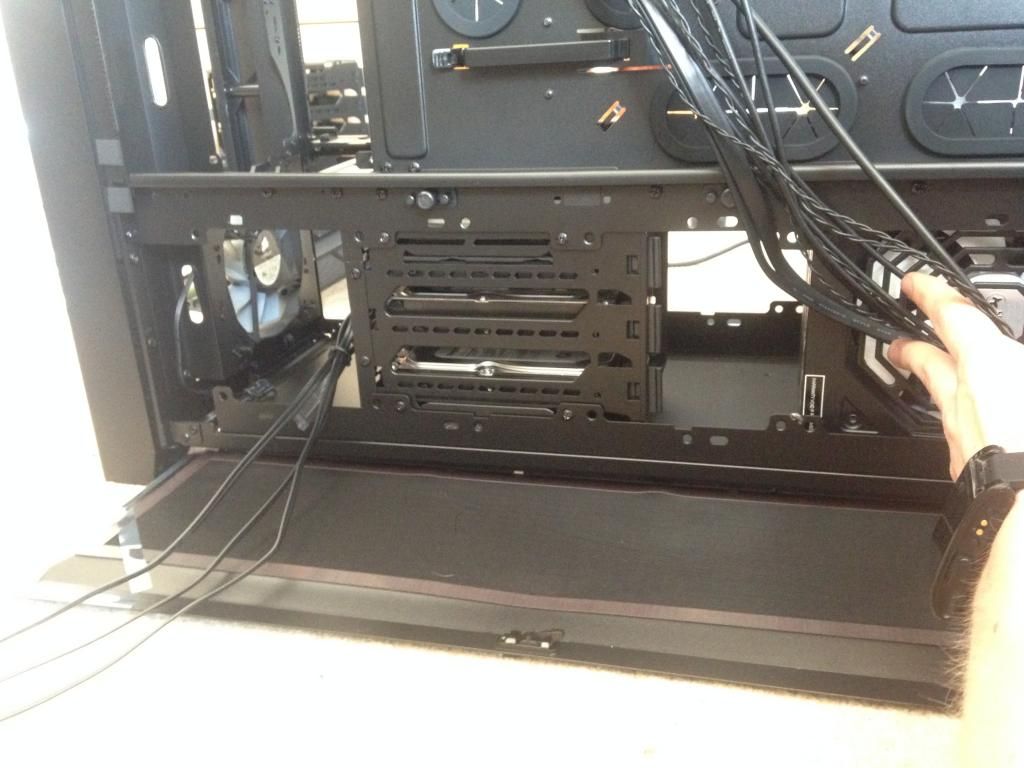
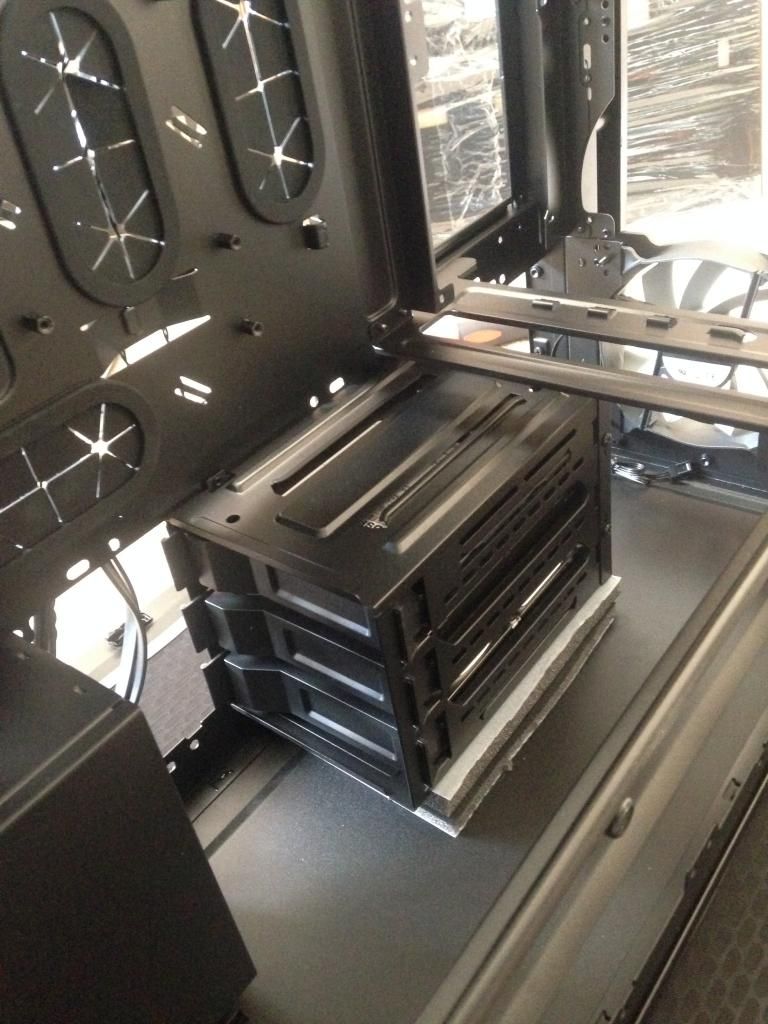
After some fiddling and moving around and measuring, i managed to rotate the hard drive cage 90 decrease, and mount it onto the Cases Back side Radiator Mounts, only downside would mean once installed it would not be "hot swappable" as would not be able to remove the hard drives without taking the whole hot swap bay out. (not a massive issue)
Next Would be mounting The SSDs on to the back of the 5.25" inch bay
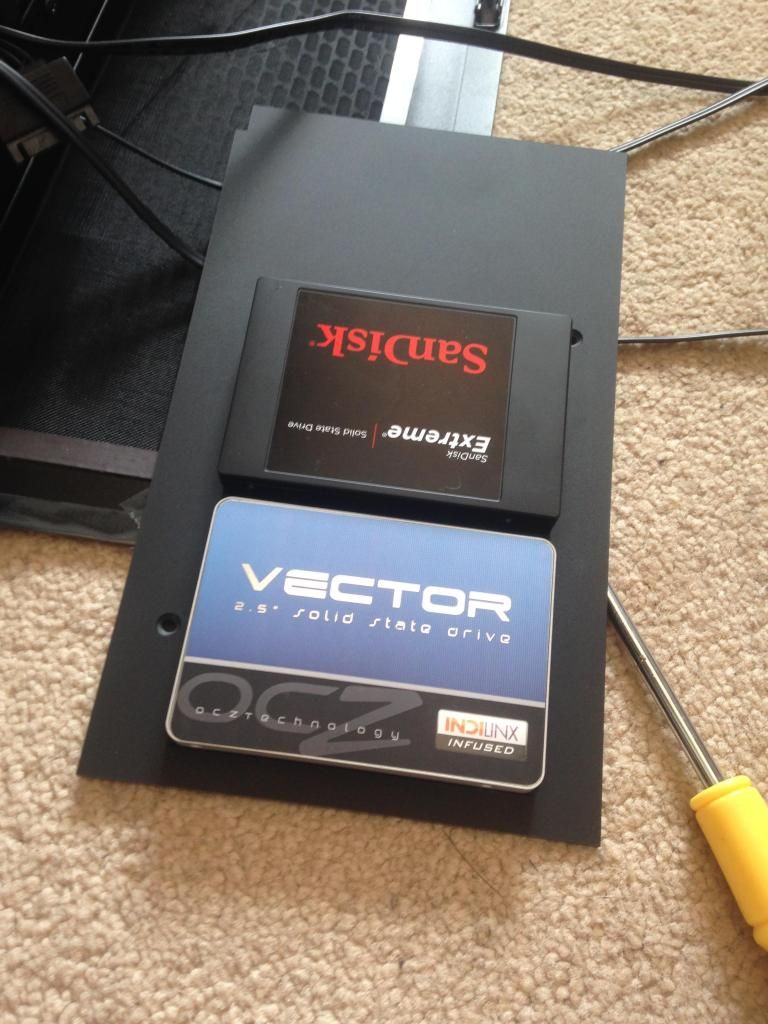

Nice clean and tidy, even if its never going to be seen!
Next Job Was Fitting The Various Acrylic Plates for the case to box it off and give the case that clean look.
First was the I/O Back plate to stop any unwanted dust entering the case

Mid Plate to Separate the PSU And Cables, Radiator, Hard drives From Rest of The Case
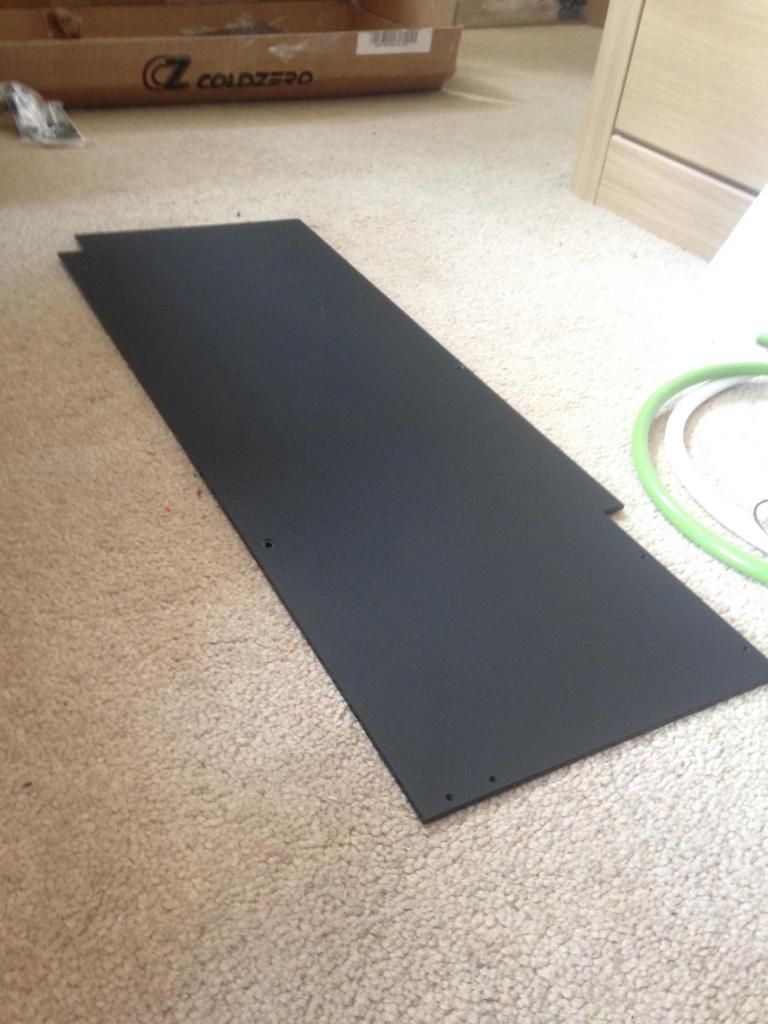
Couple Of Mounting Parts
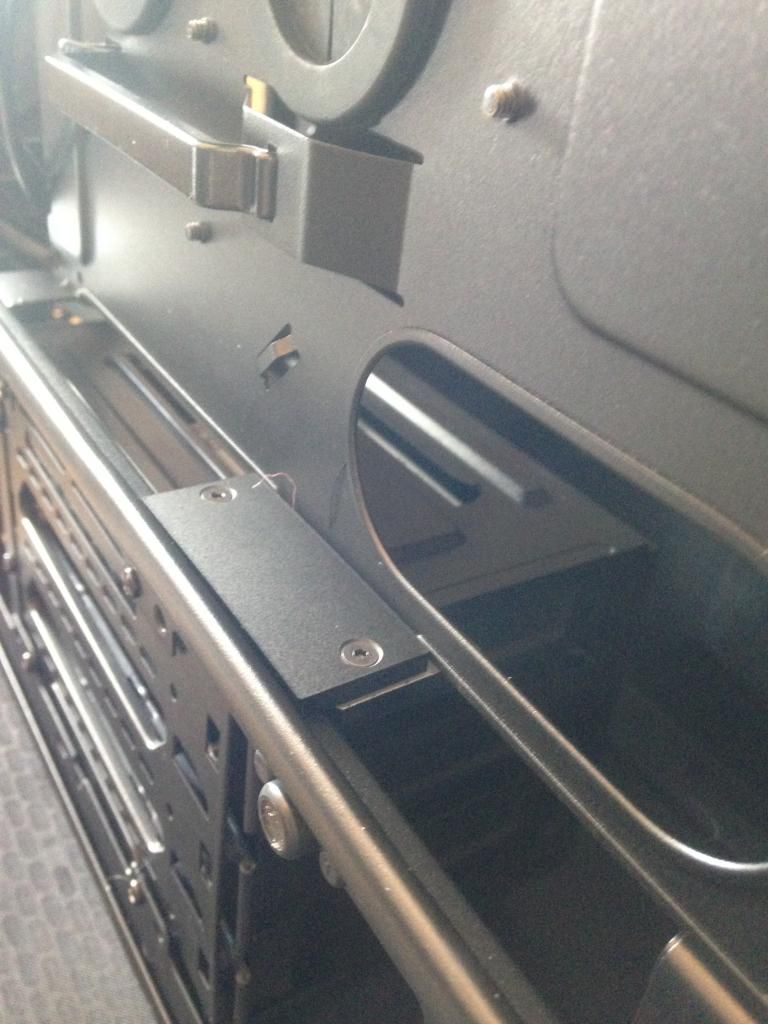
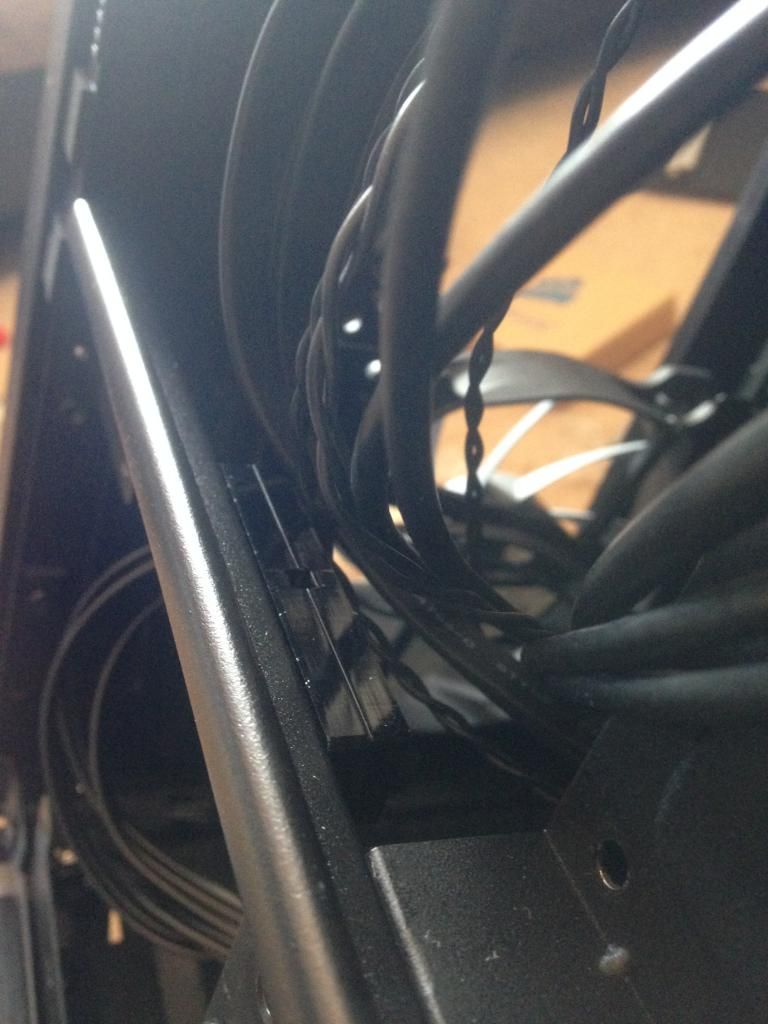
The Mid Plate Was Also Going To Double Up As A Mount For The DUAL DDC Water Pump, Which Meant i had to first measure up where about the pump output pipe would come out and make sure it lined up with the input from the Radiator In The Lower Deck. "Measure Twice Cut Once"
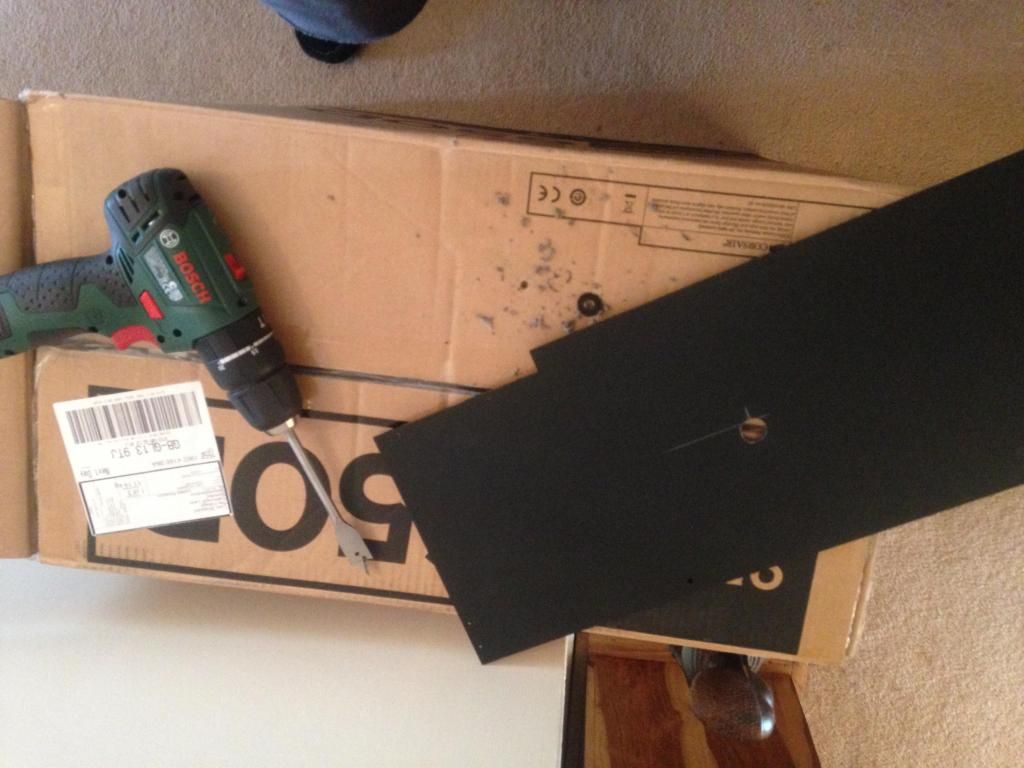
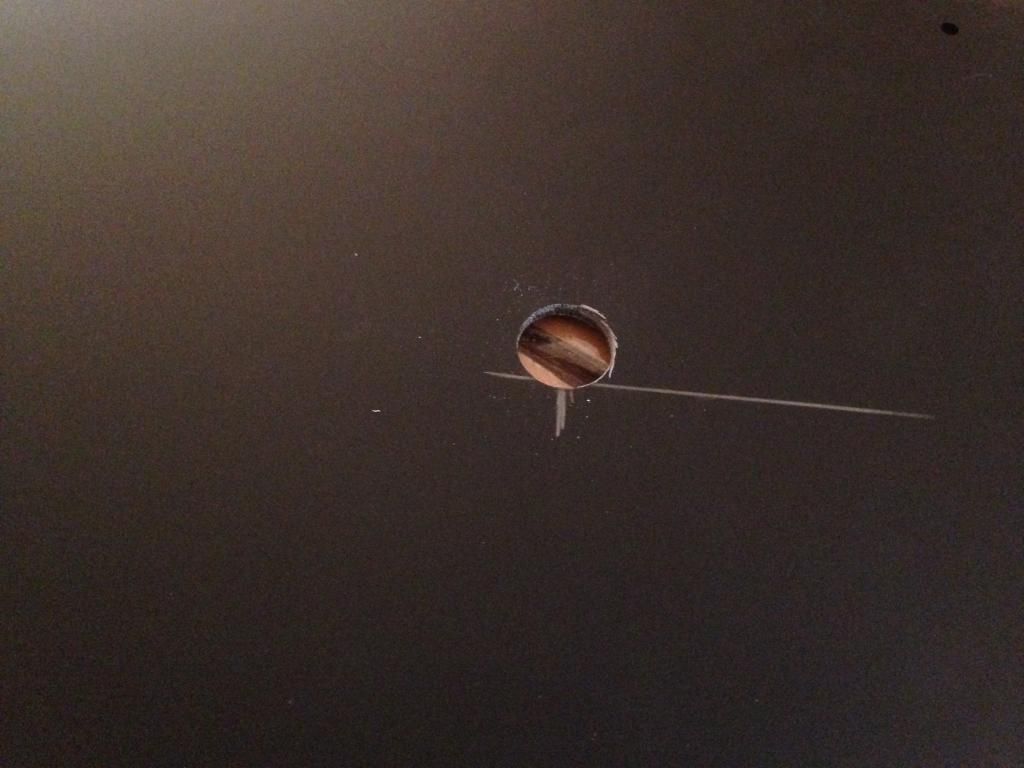
Pipe Fits!

Next I had To Drill The Holes To Mount The DUAL DDC Pump
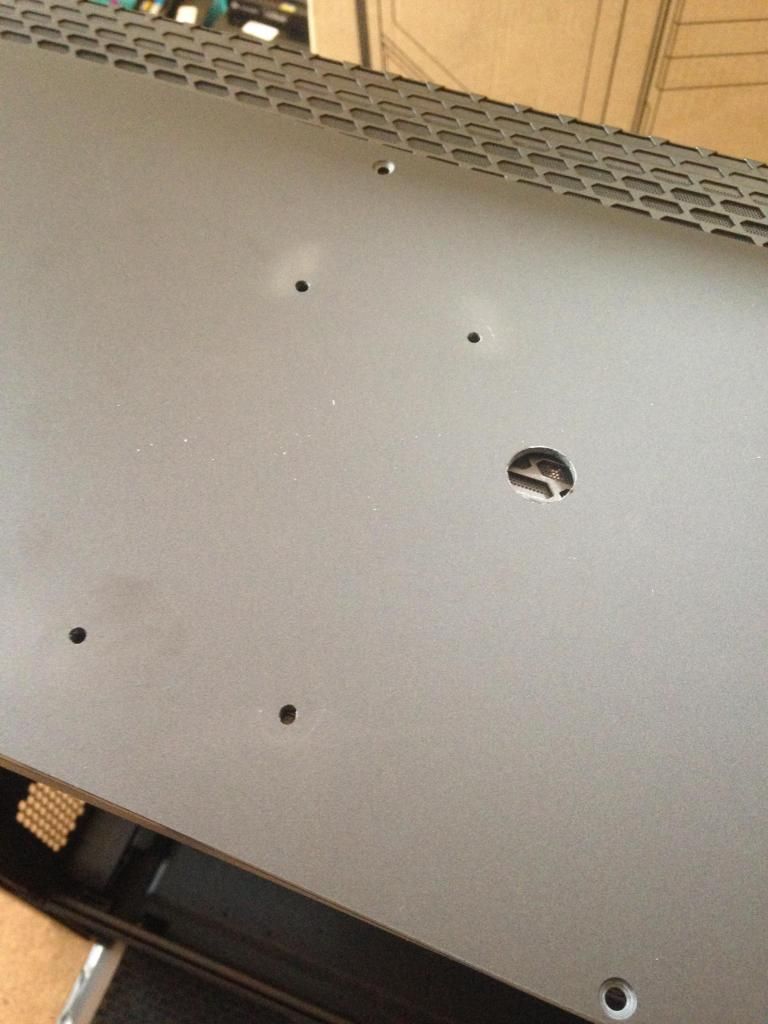
Test Fit
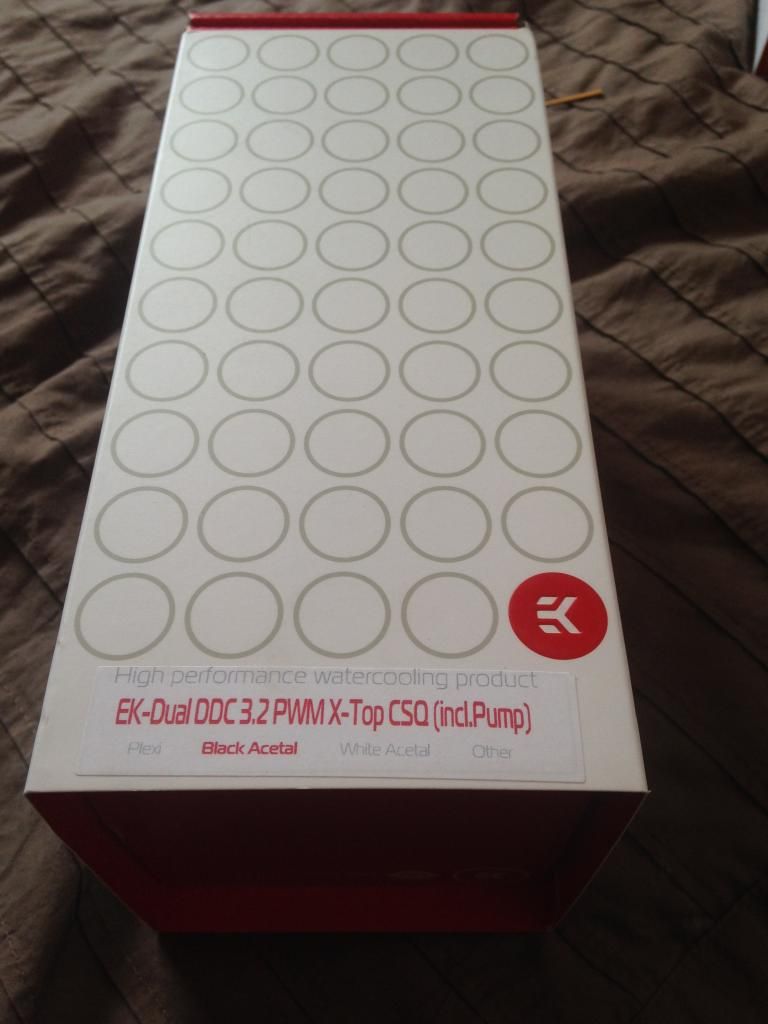

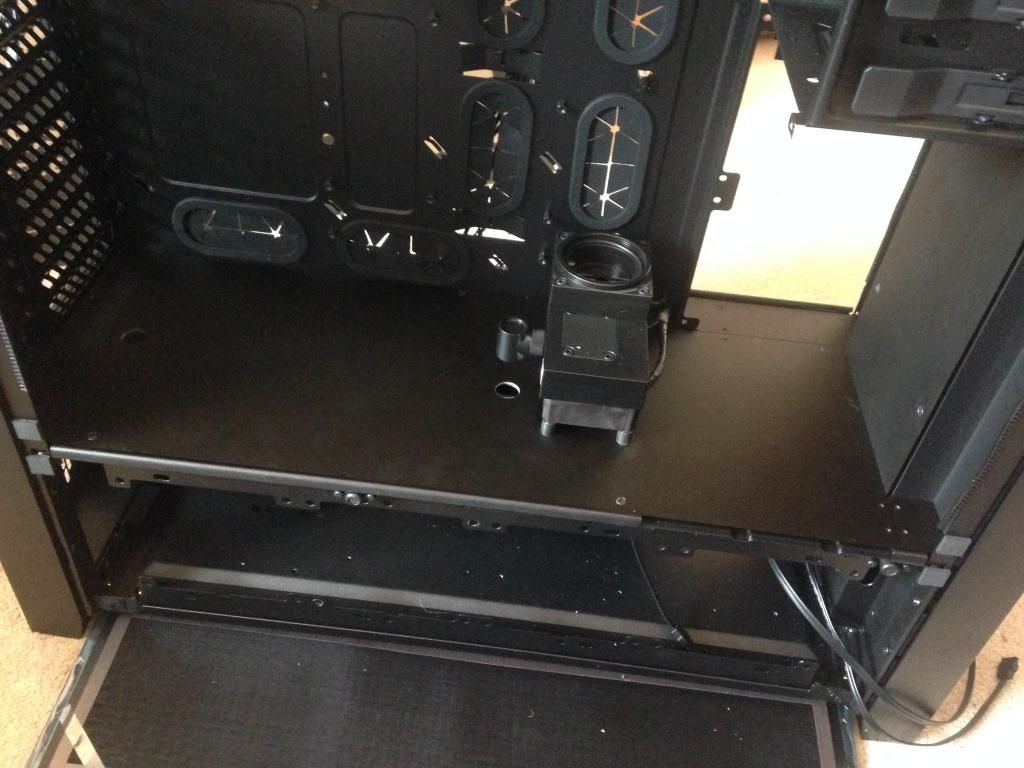
Next is The Fan Front Panel Plate
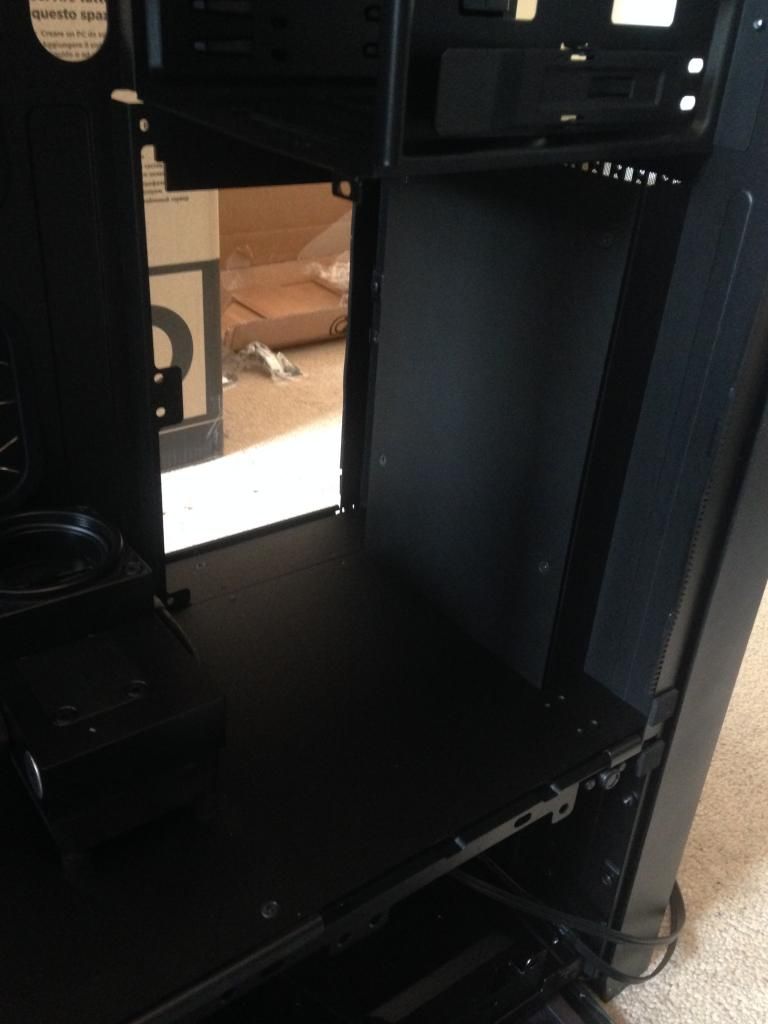
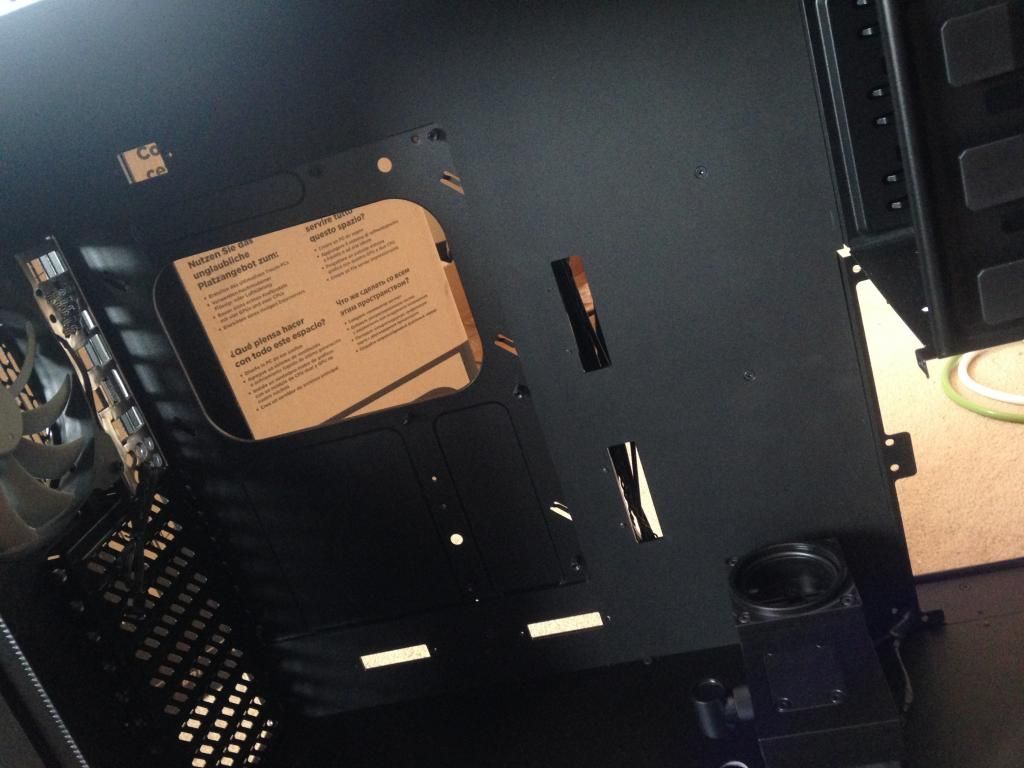
My Favorite Part next the Mobo Backplate Test Fit
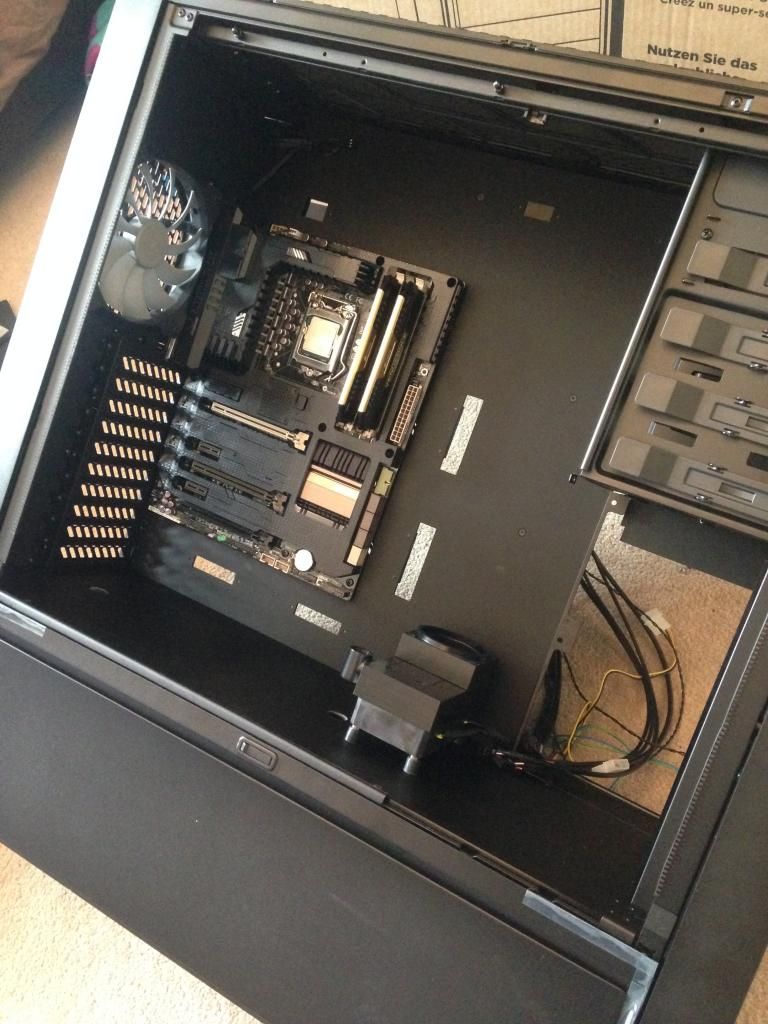
Then Next With The Mobo Installed
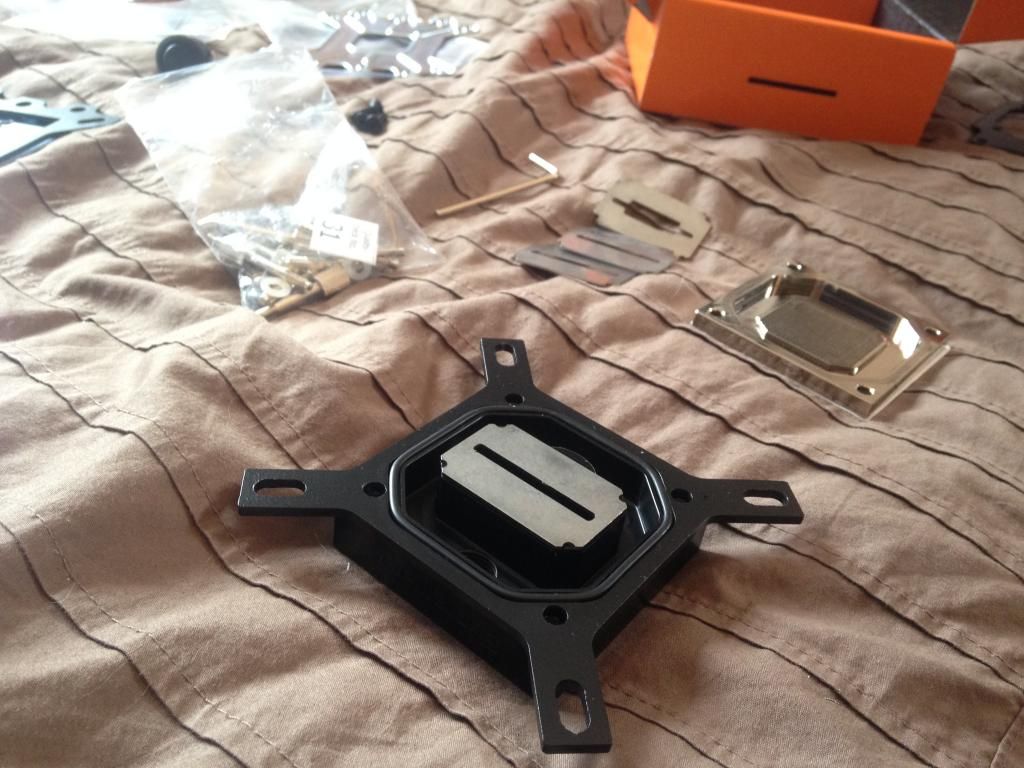
Next Up Was Fitting the CPU Block
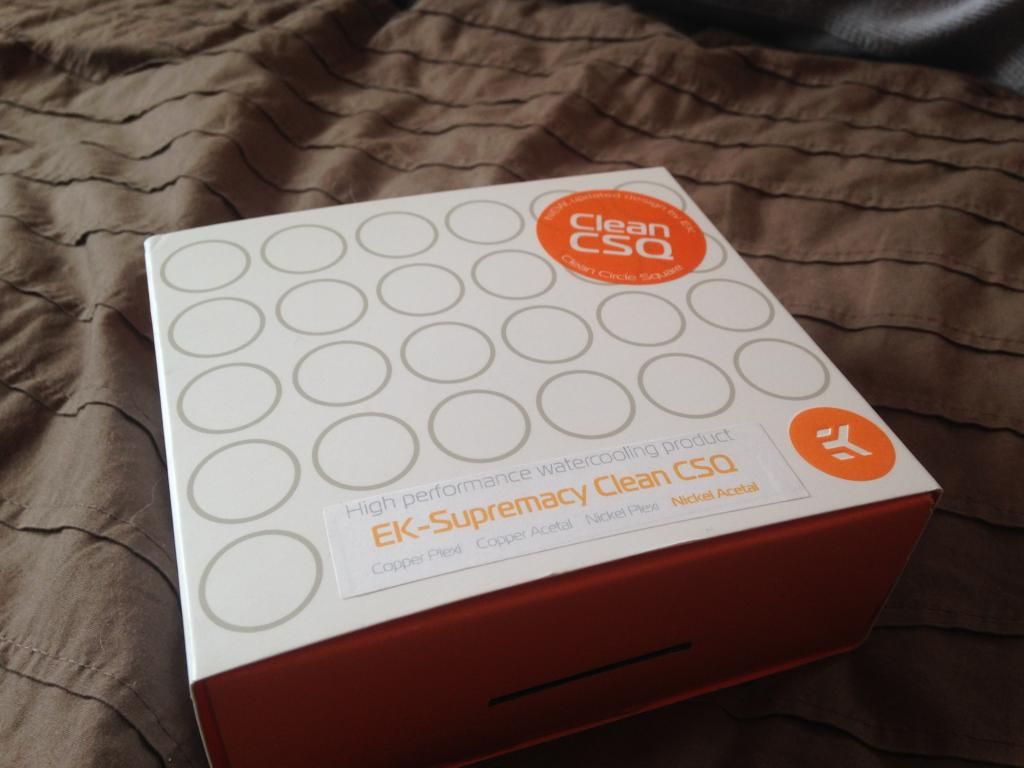
EK Waterblocks Provide different plates in for each CPU to ensure you get maximum cooling from the block, a quick look on google to see which one is the best...

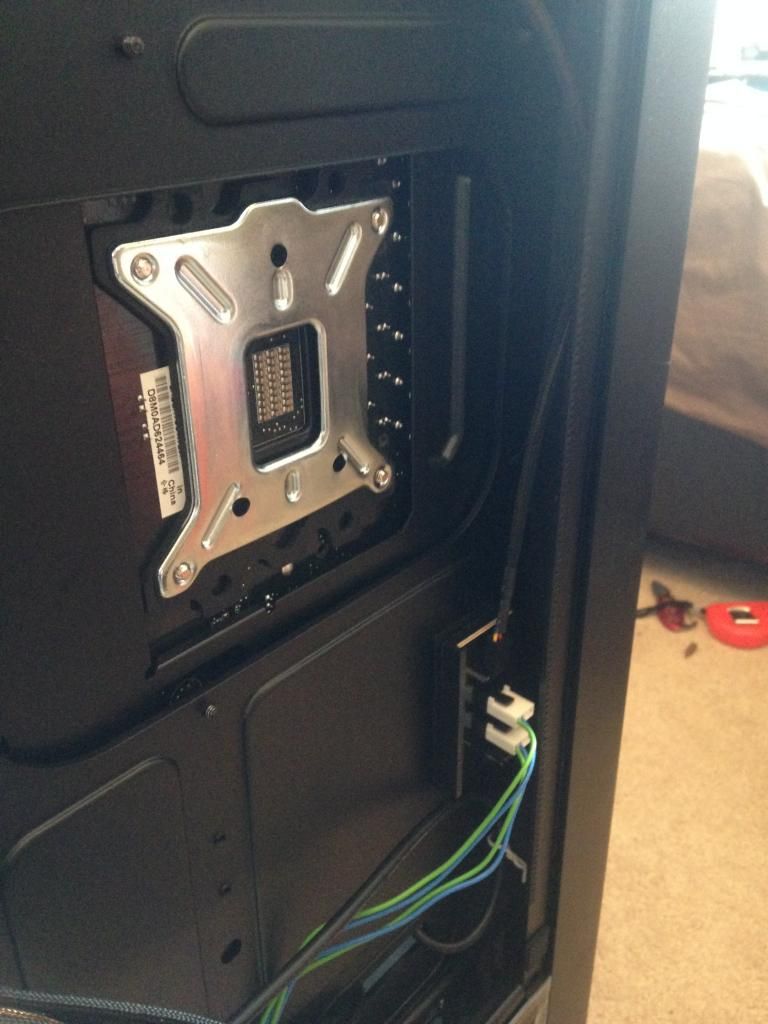
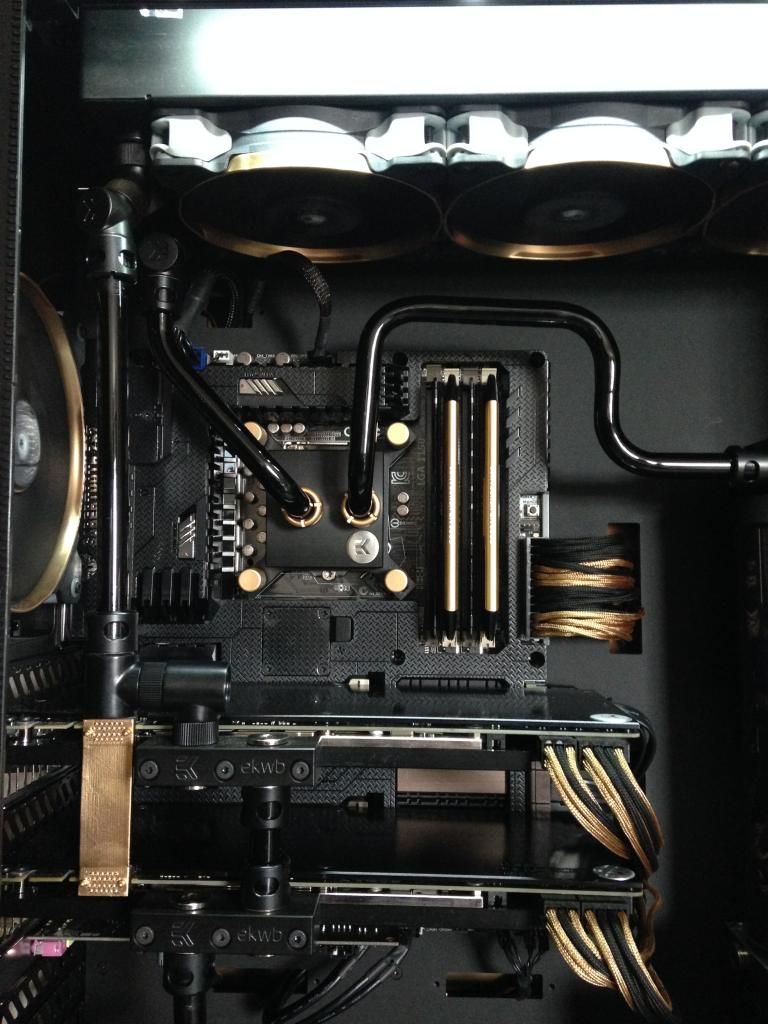
Next Up and the first bit of GOLD for the build, was to go about spraying the mounting Nuts for the CPU block and also The Monsoon Freelock Fittings For The CPU in 24K Gold Paint
This Stuff Is Amazing
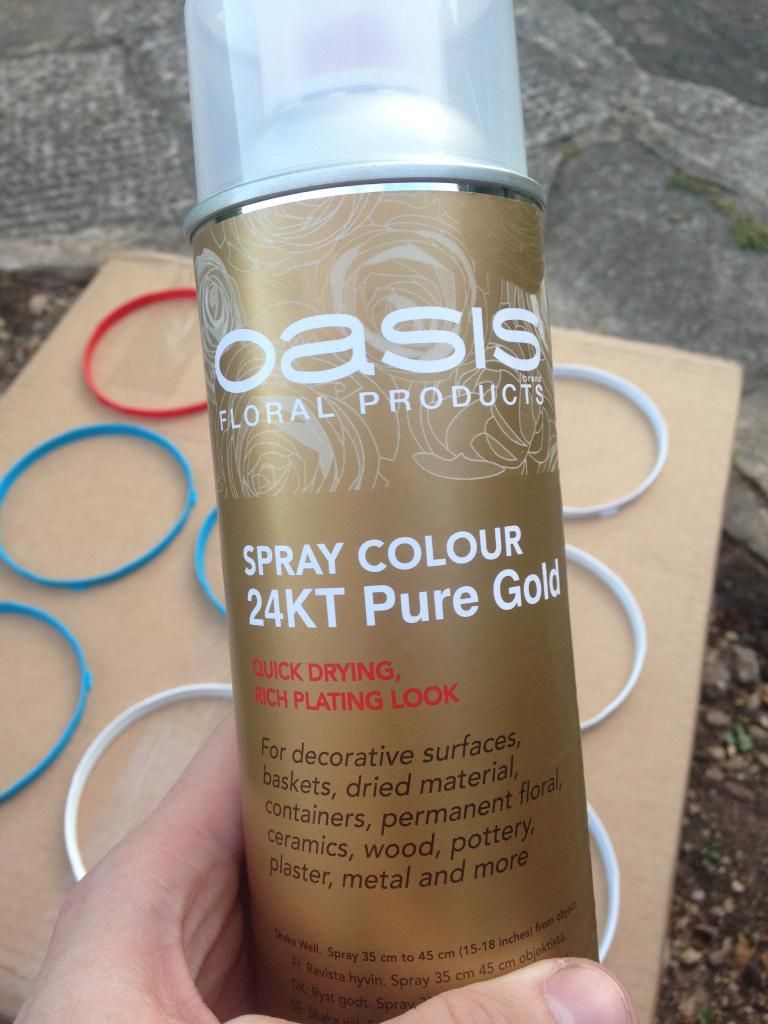
Little Primer
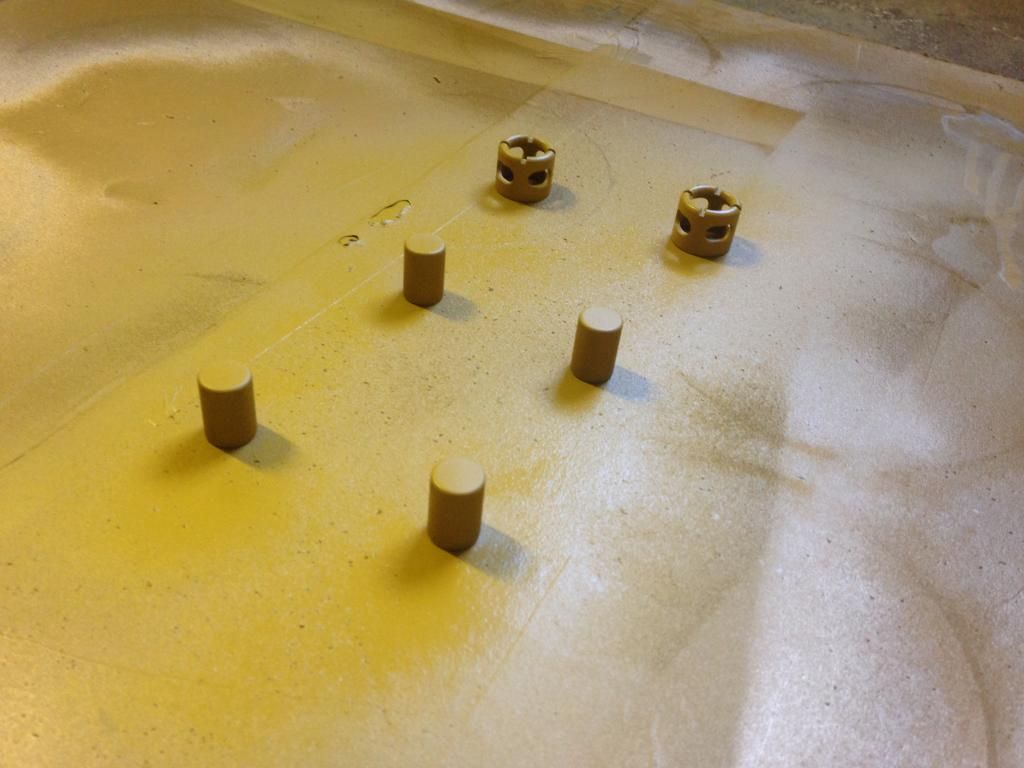
Couple Top Coats And Were Done

Black And Gold Theme In Full Swing Now!
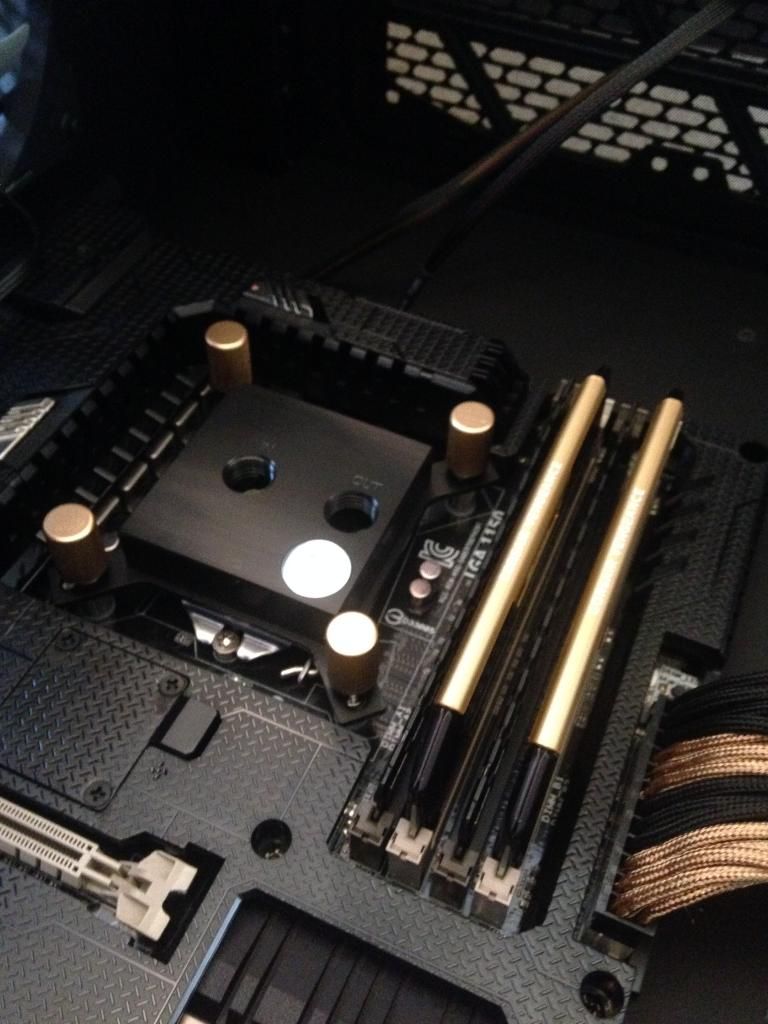
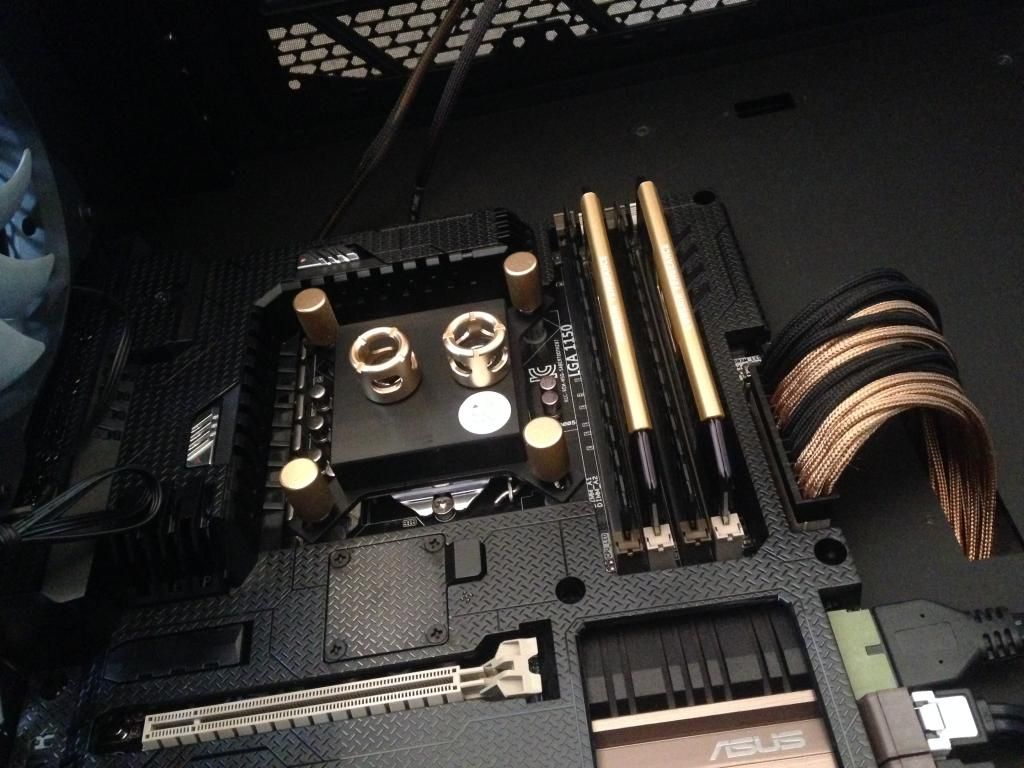
Next Was To Test Fit The Res And Fit A Couple Of Gold Braided Cables

Finally To Finish The Day Off, Painting The Fan Rings & SLI Bridge GOLD


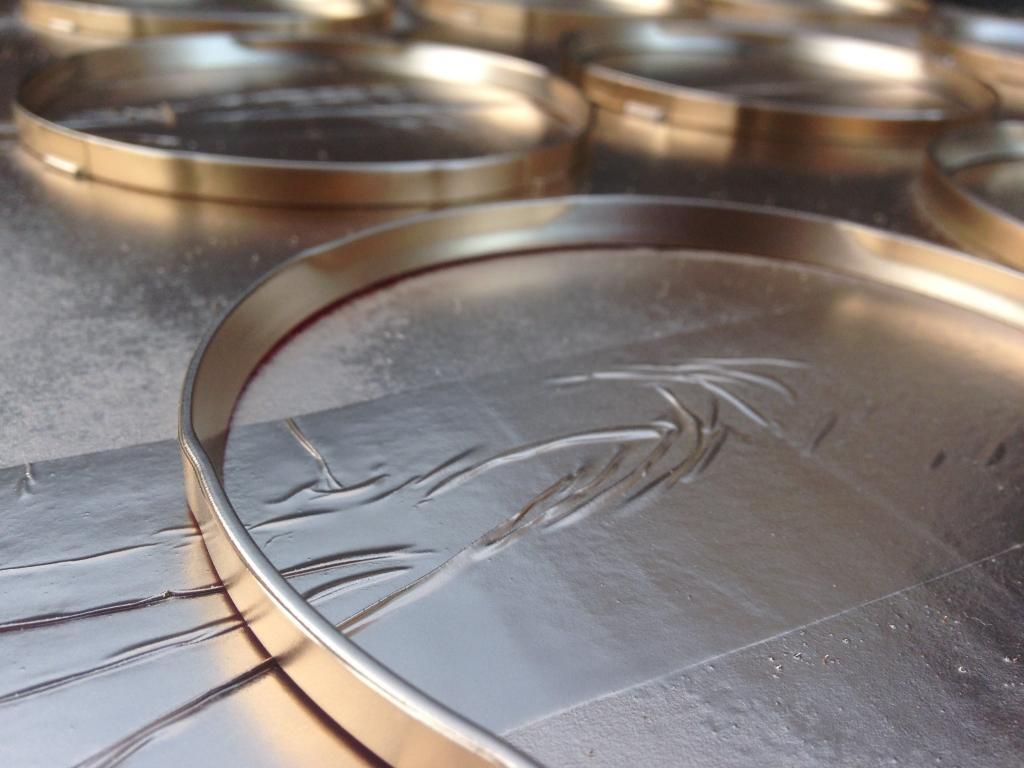
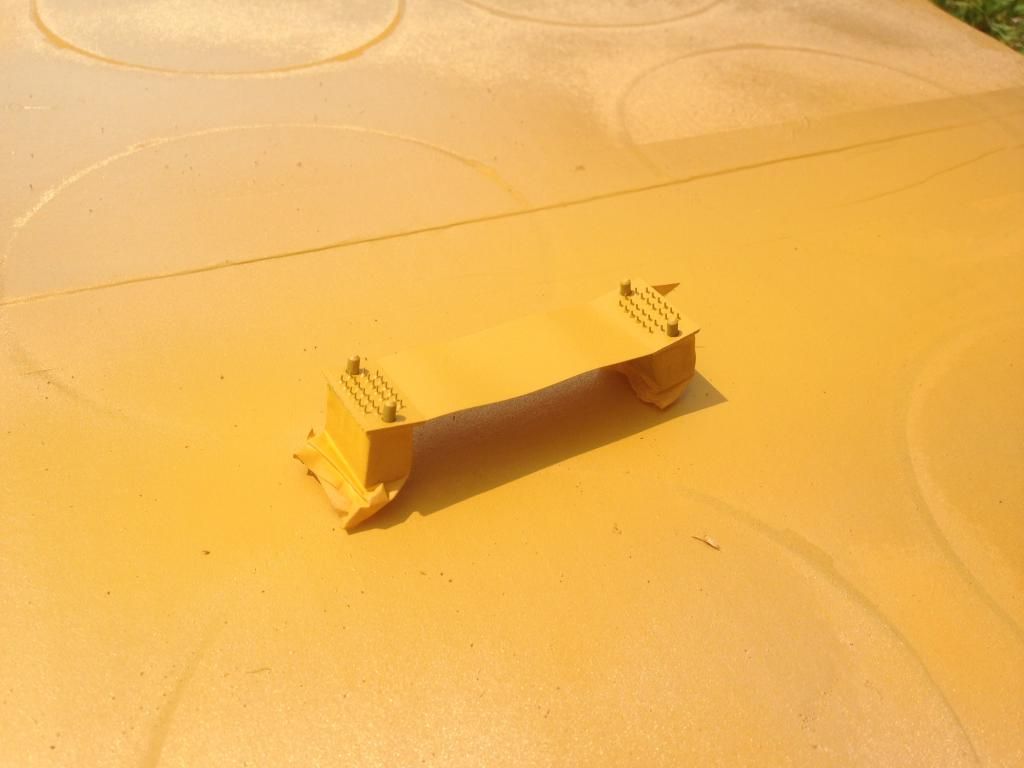

That Was Day One Done And Dusted With Good Progress So Far! Next Day Would Be Pipe Bending!
How My Room Looked After Day 1

First Off Went About Getting The Waterblocks Installed On The 780TIs
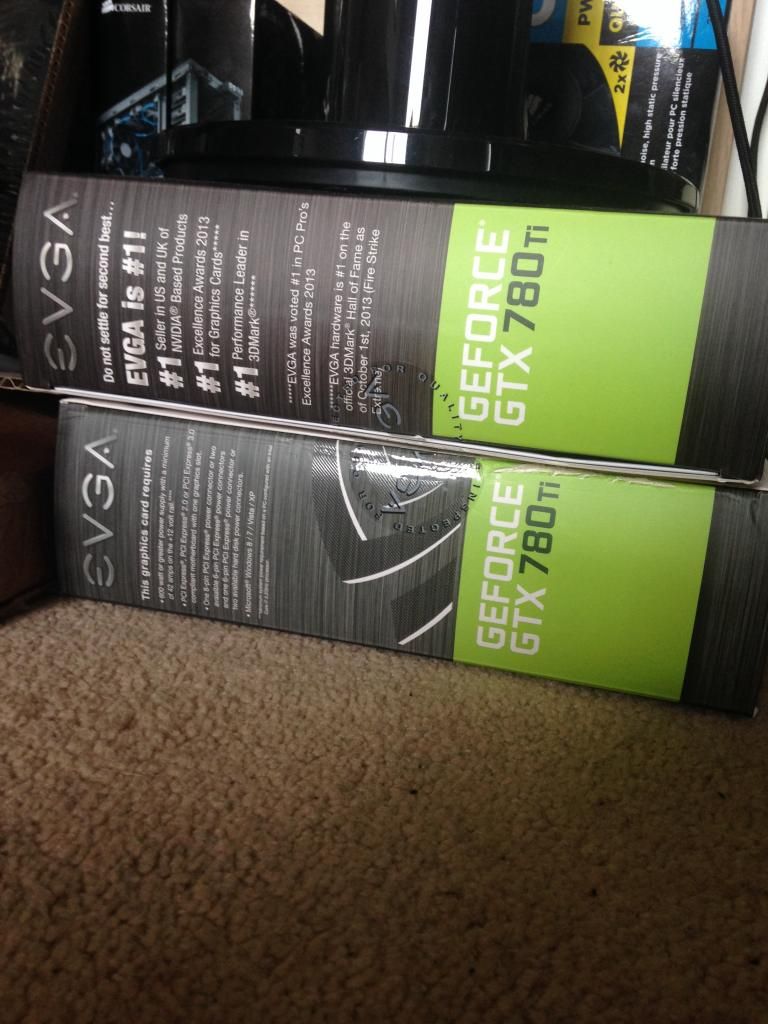

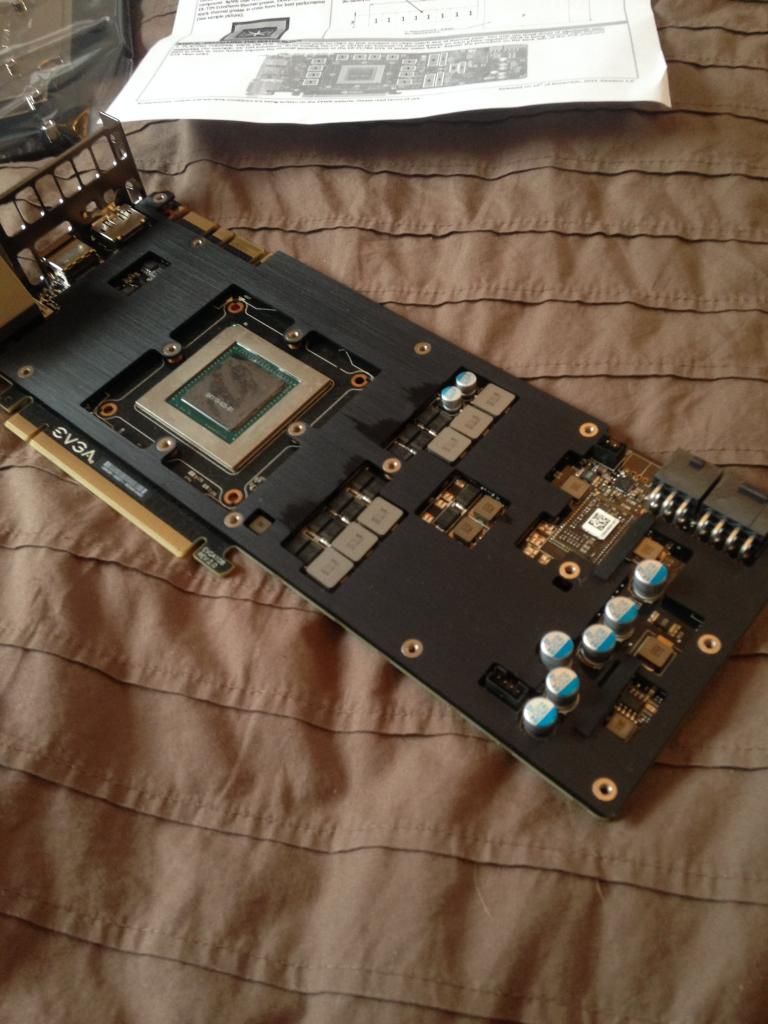
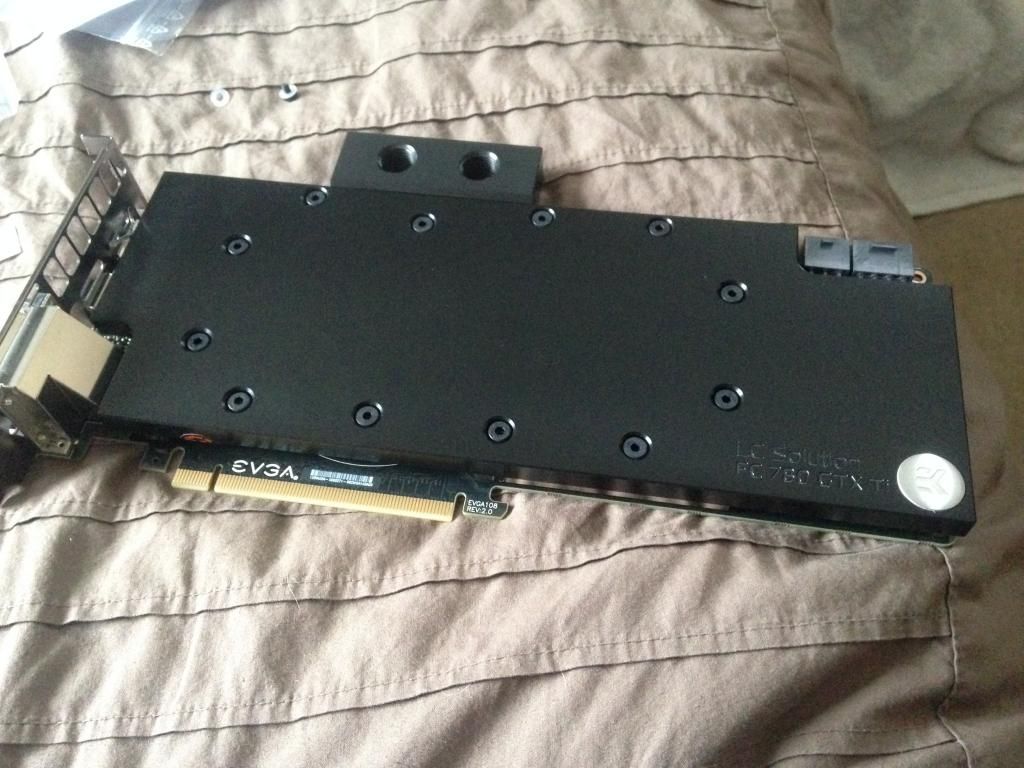


Next Up was Mounting The Ek 480 Radiator In The Top Of The Case
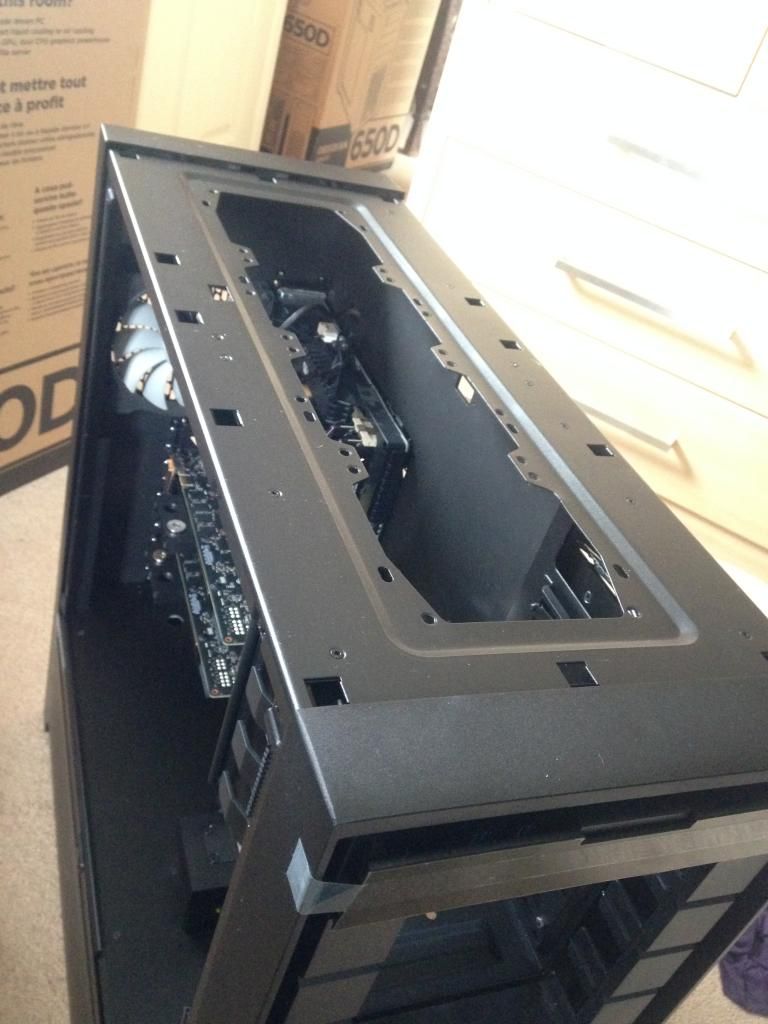
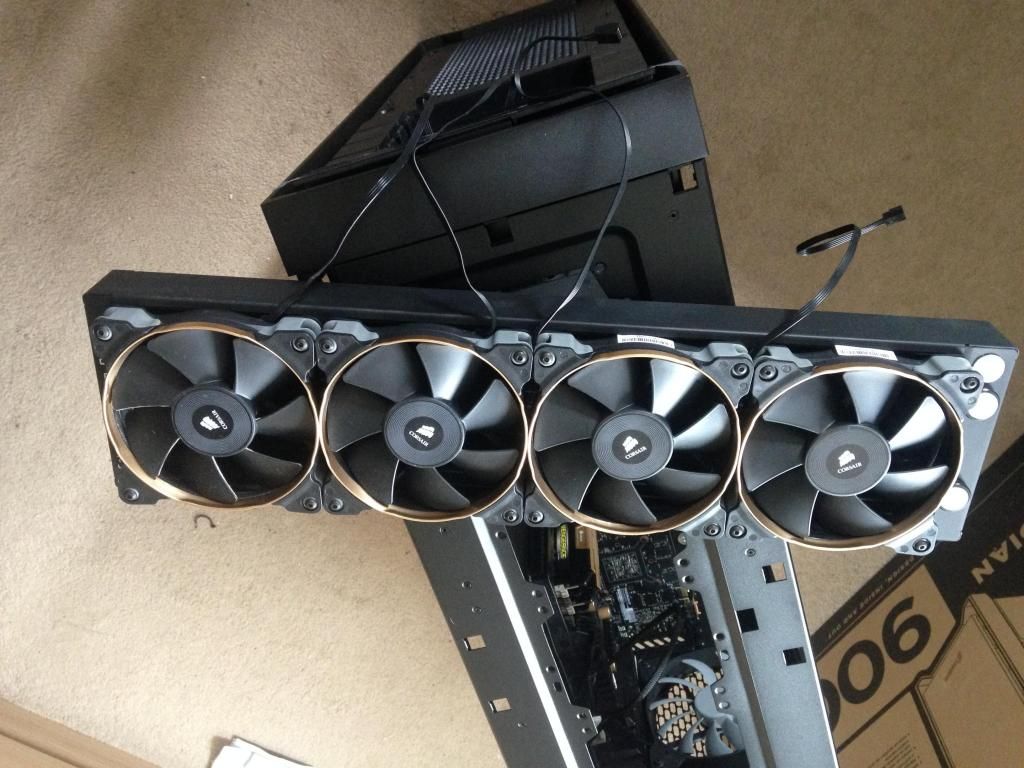
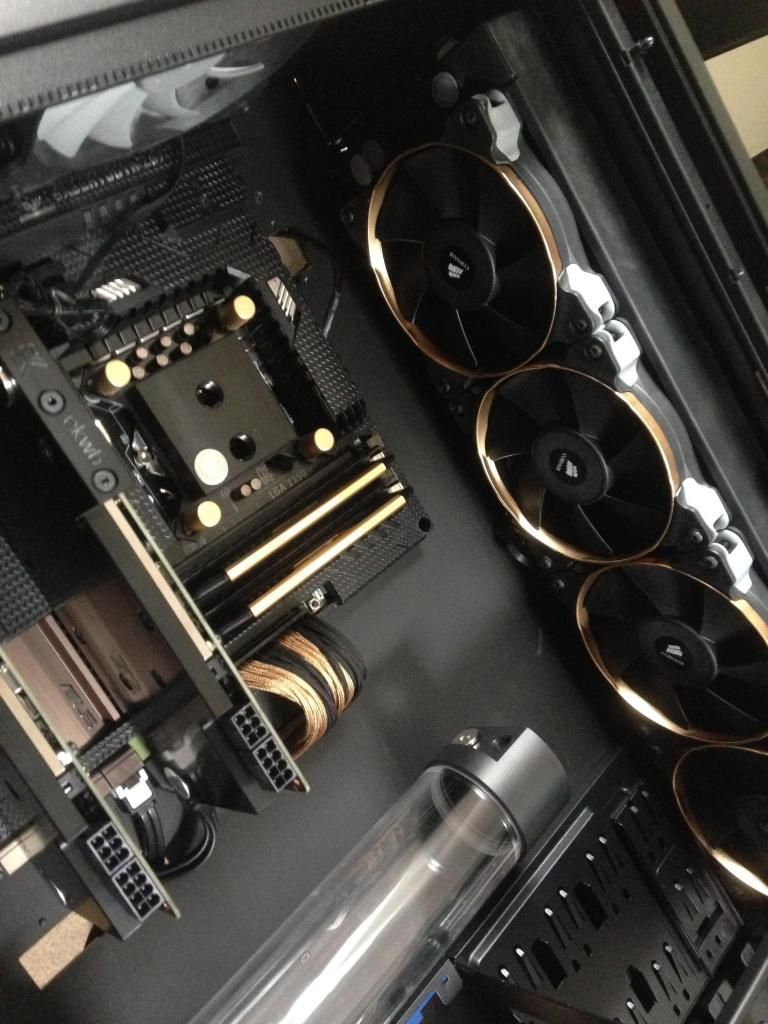
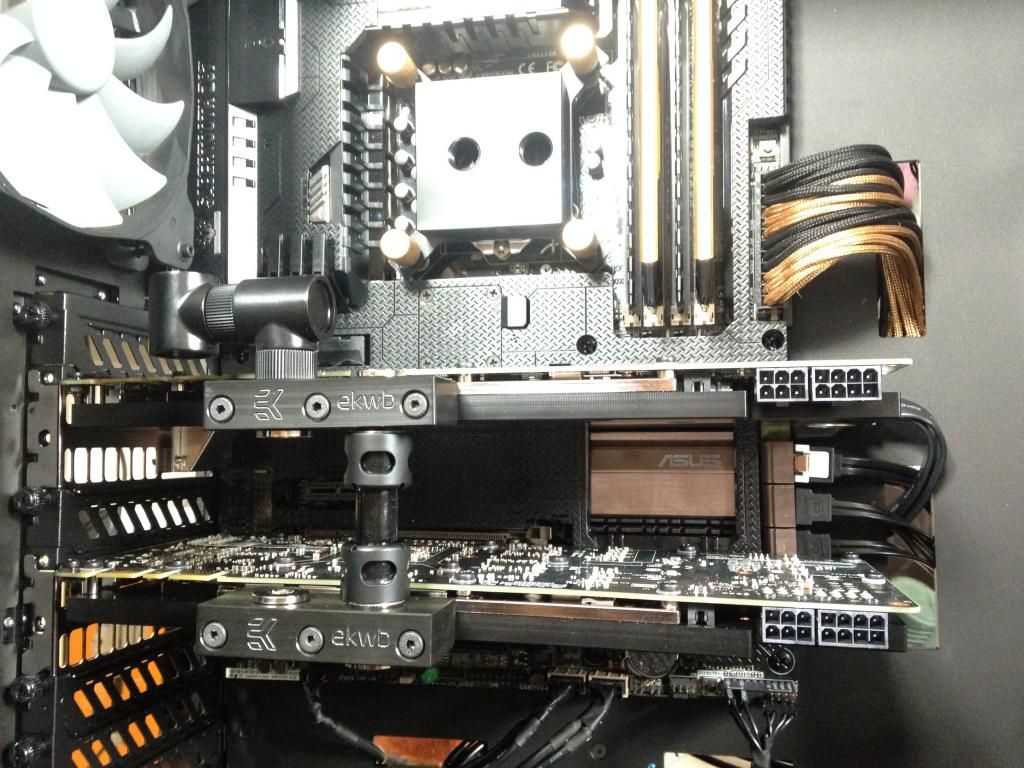
Installed The x2 Ek 45 Decrease Fittings On Both In And Out To Step The Fittings Out So They Lined Up With The GPU And CPU

Like Wise On The GPU To Bring It In Line With The Top Rad

Next It Was Time For Pipe Work
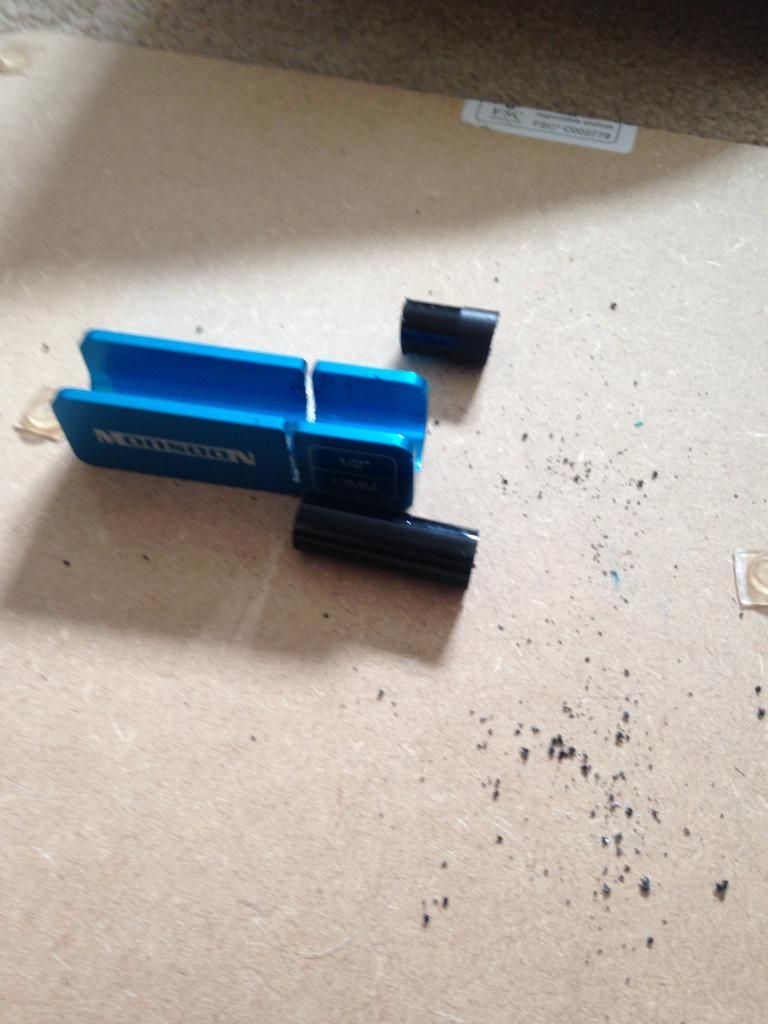
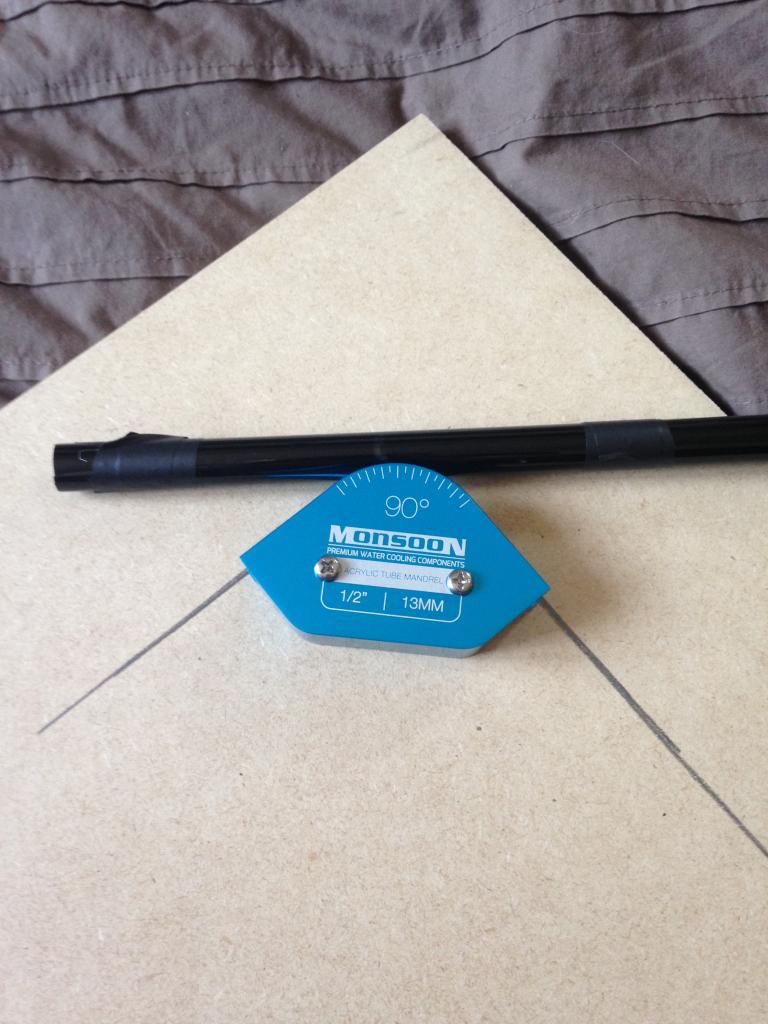
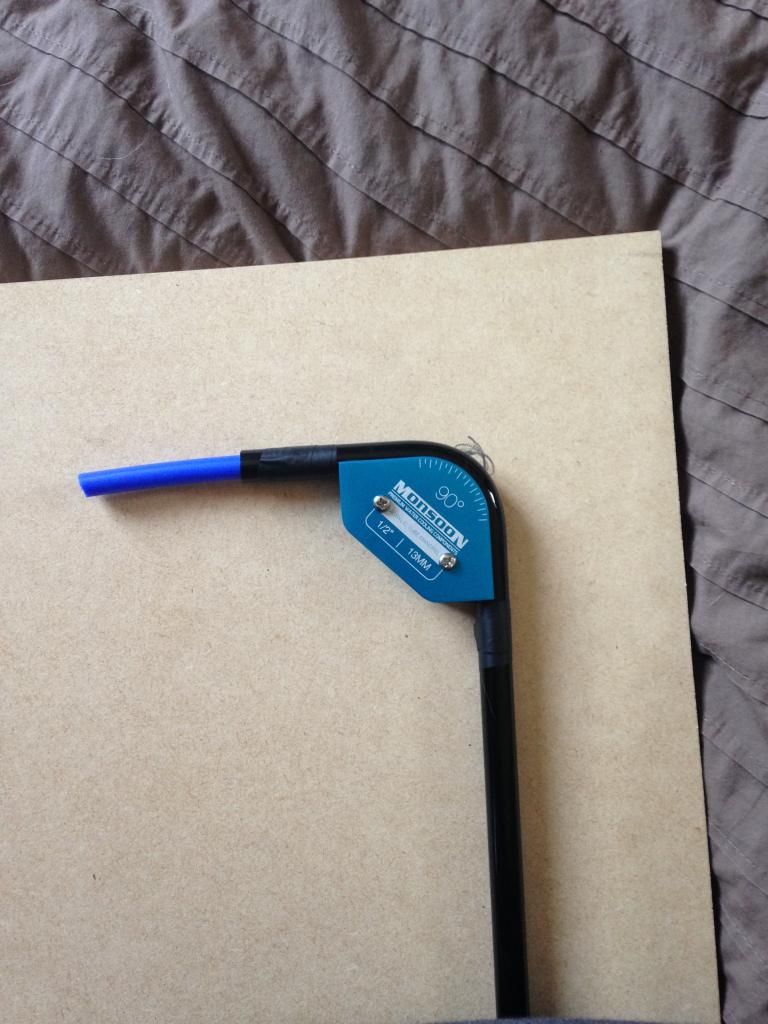
I Purchased A Full Monsoon Kit For This That Included The Jigs For Bending, Hacksaw For Cutting Ect.. All Of Which Made It Super Easy!
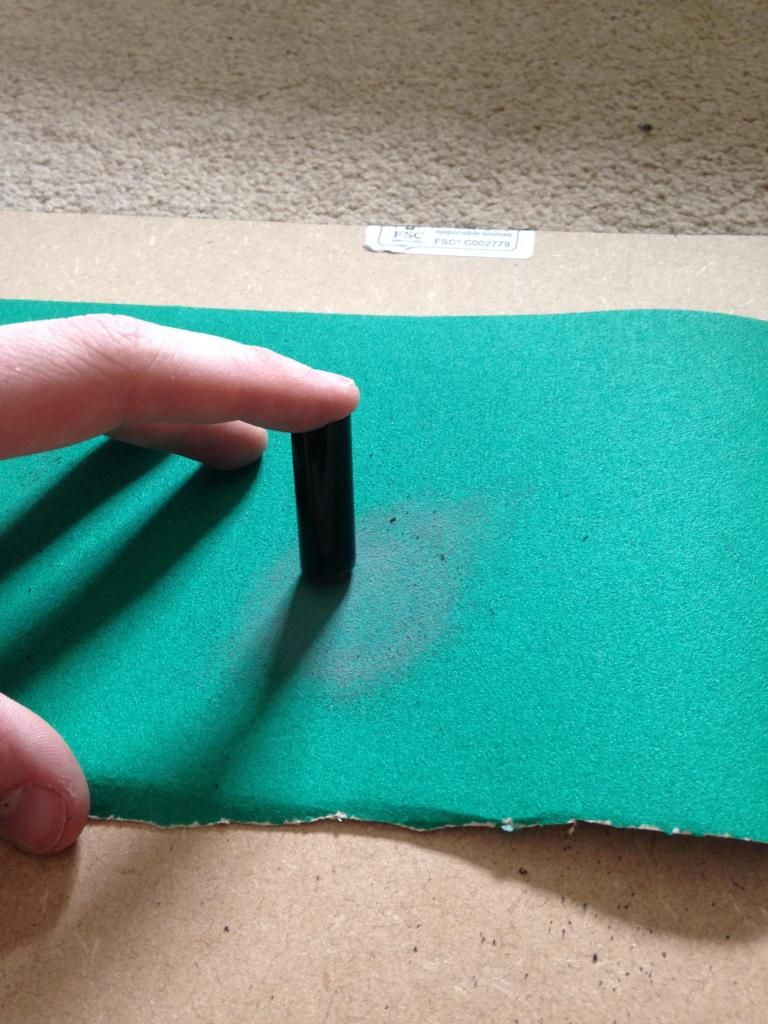
i used the monsoon acrylic glue for attaching the monsoon freecentre lock rings, this is one of the easiest glues i have used, simply apply the glue, get a good seal around the lock ring, then when your happy put it in sunlight and within a couple mins it will be set solid. job done. the harder part was preparing each tube for this stage so completing the bends etc, then sanding down the ends making sure they are flat.




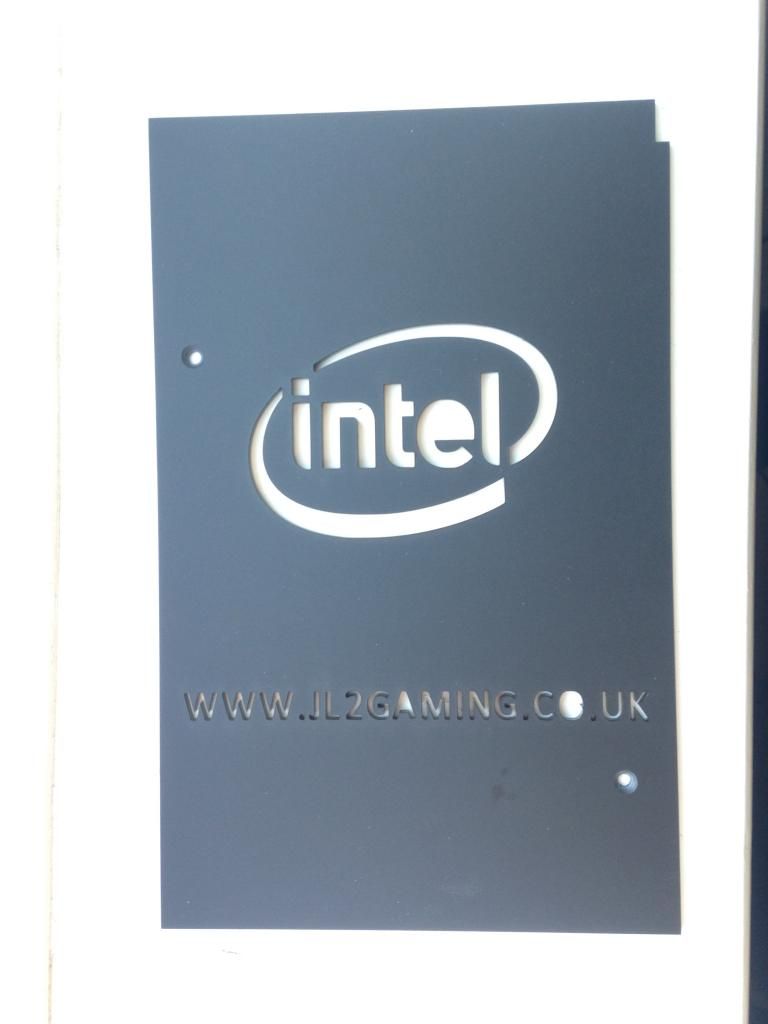
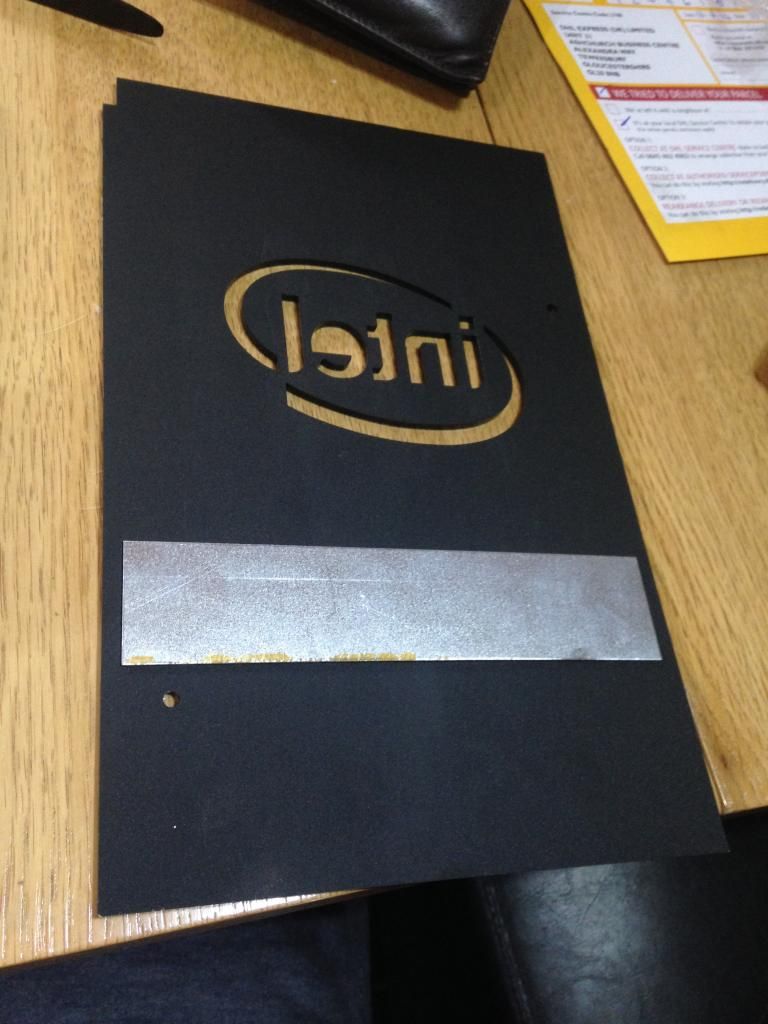
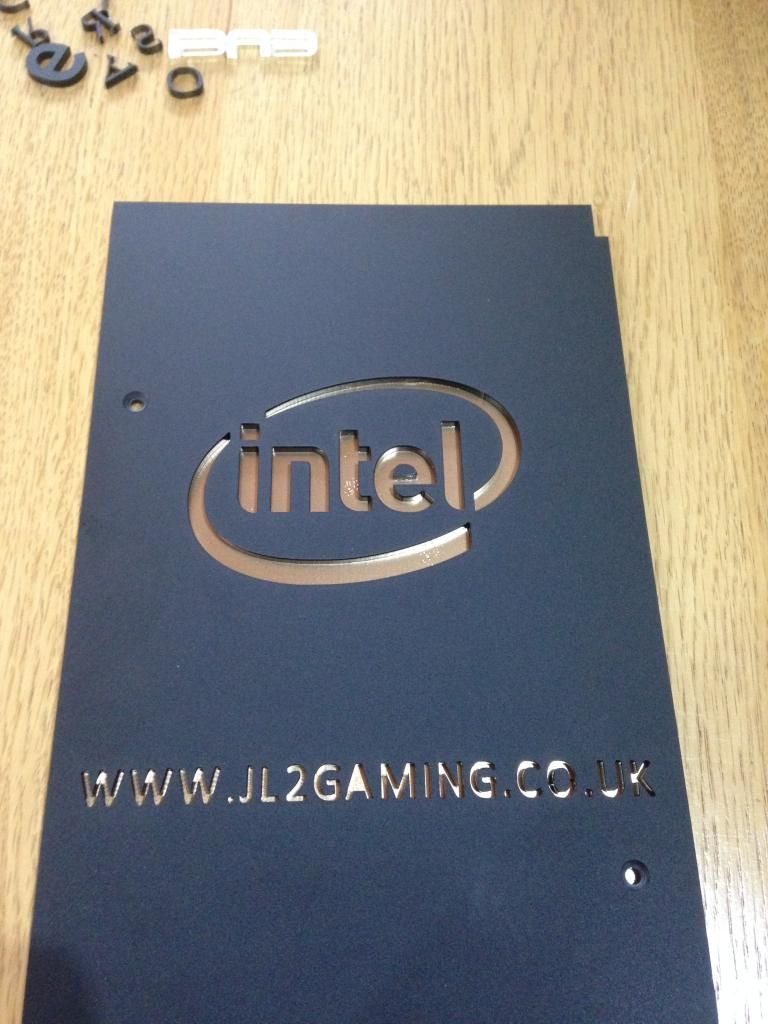
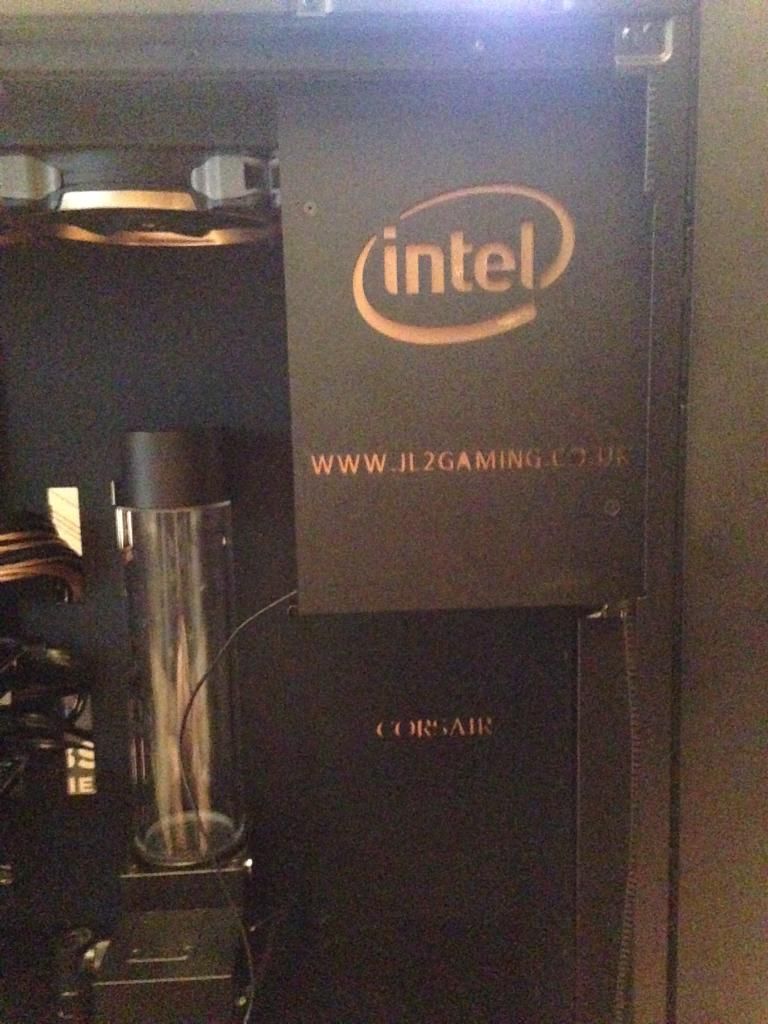
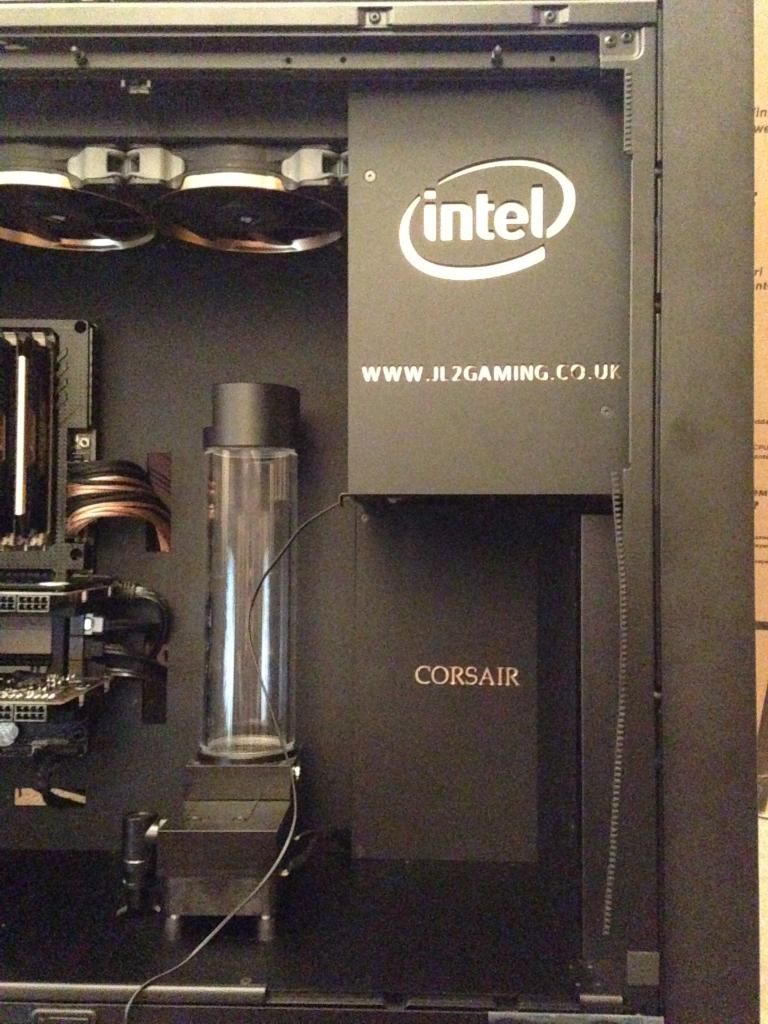
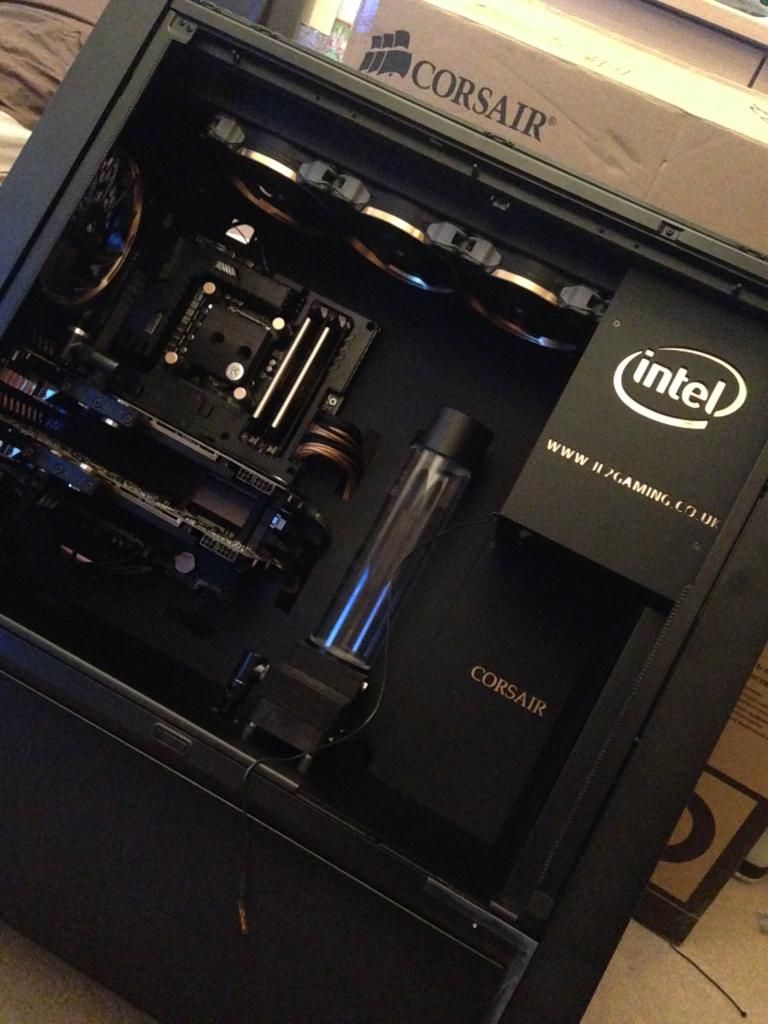
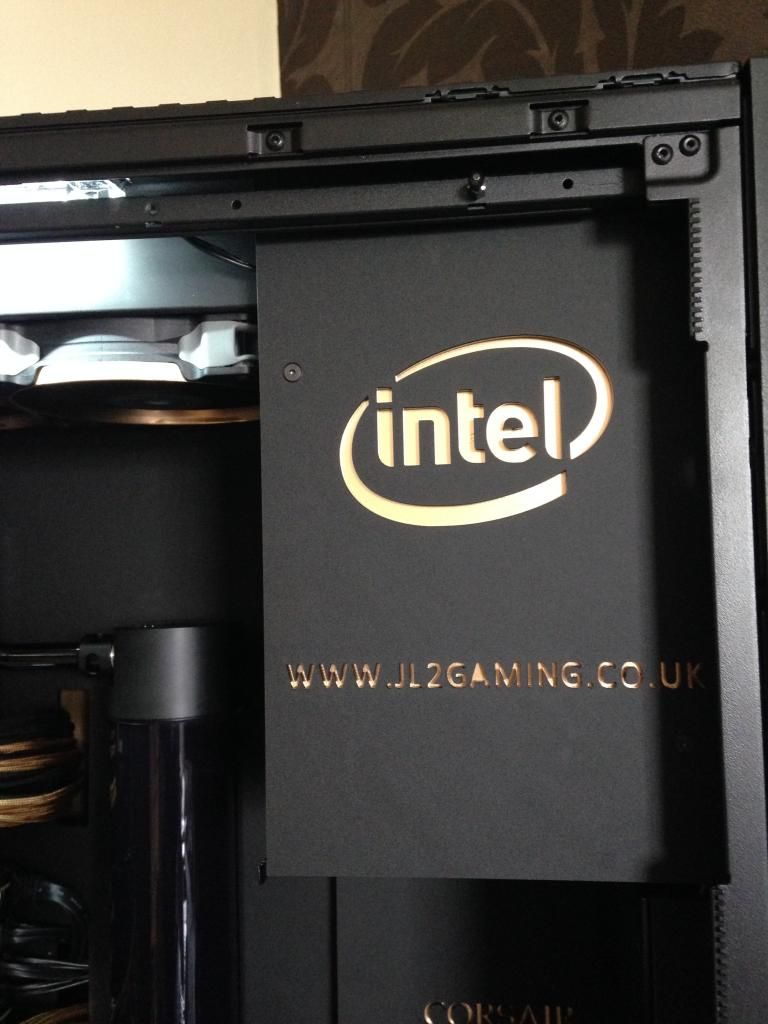
Finally Got The Acrylic Back From The Laser Cutters Today, To Make This Build That Little Bit More Custom, I Got Various Logos From The Companys Of Hardware I Have In My Computer Then Also Got Mine And My Cousins Youtube Gaming Website Cut Out Of It Aswell. Next Wanted To Go About Making These Fit In With the Whole Black & Gold Theme,
So Got Some Thin Metal Cut Down To Go Behind The Laser Cutting Which Turned Out Really Good.

Next To Do Was
Mount The Bottom Radiator And Fit The Temperature Fitting On The Pipe For The Lamptron Watercooling Controller so could have a reading for the water temp.
Then Also Start Running the Cable From PSU
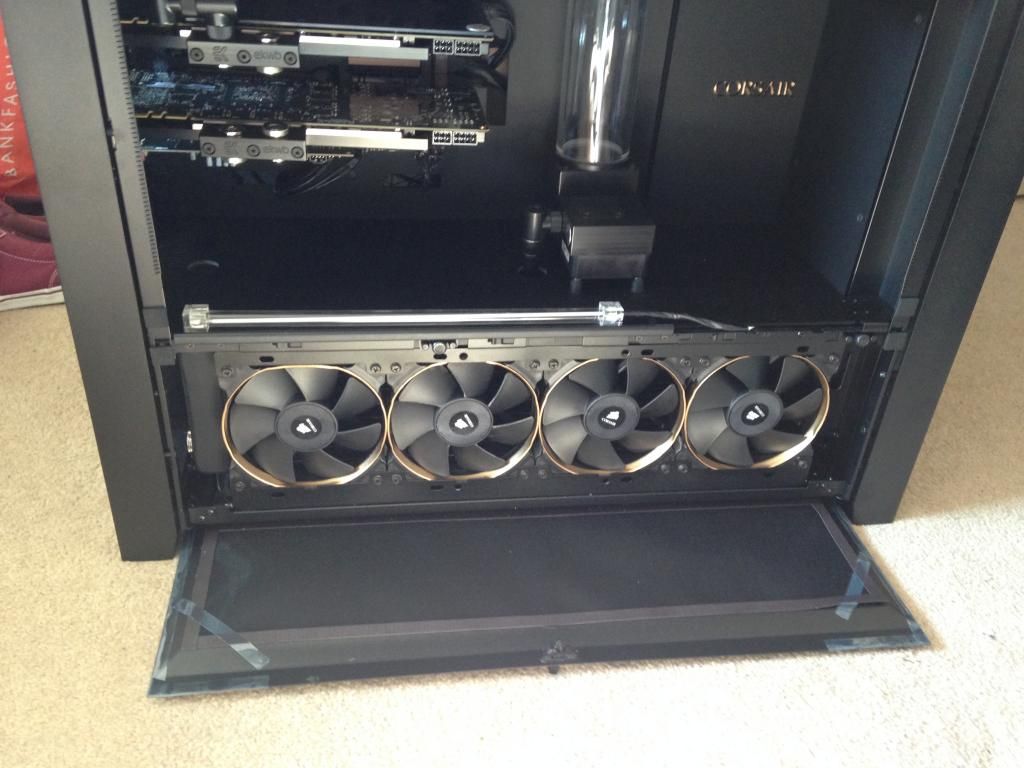
Have Never Used Superflower, But After reading all the positive reviews online and with a very good recommendation from OCUK. Im Sold. Brilliant Product


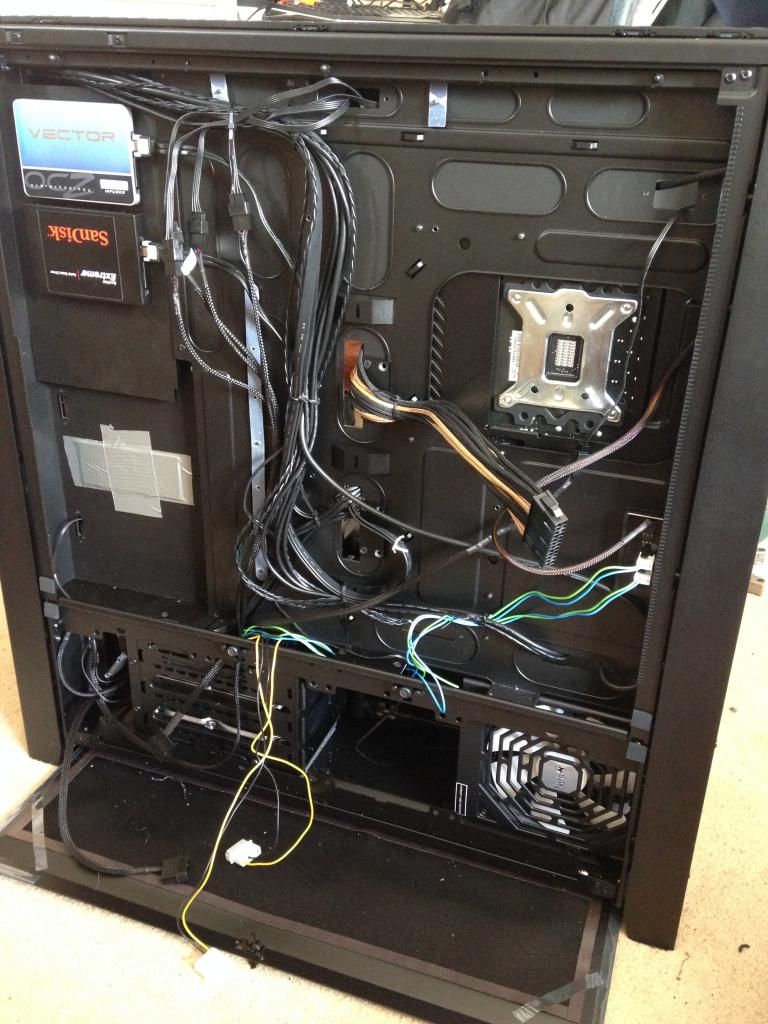
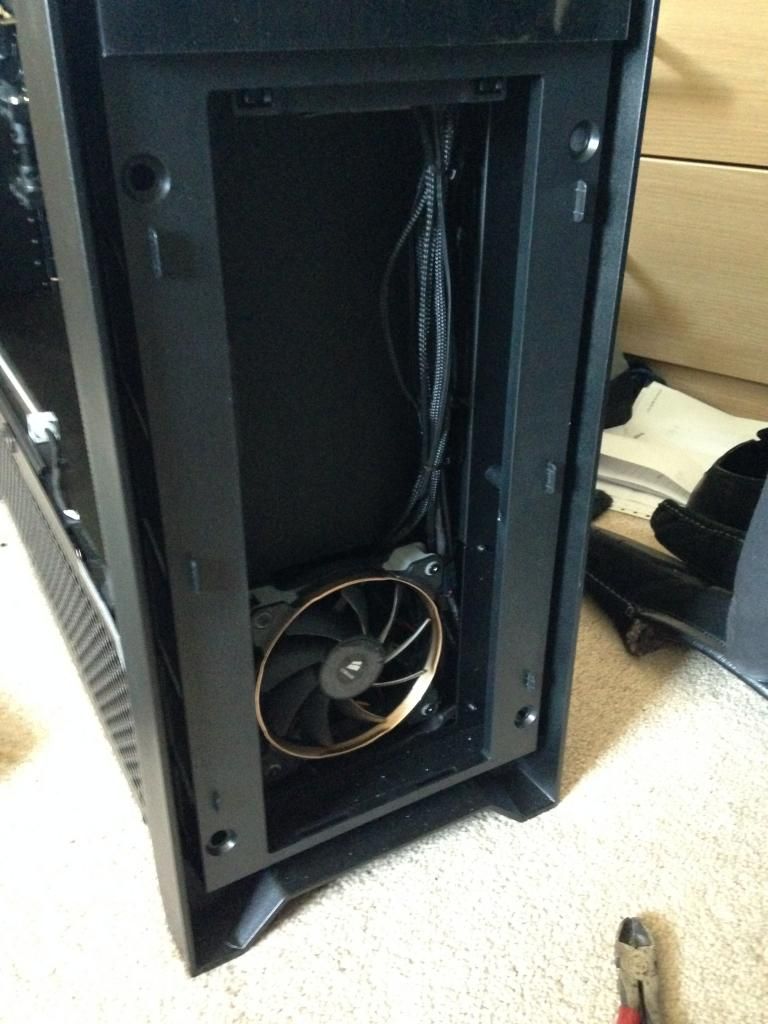
Front Flip Down Panel Removed To Reveal fan grill

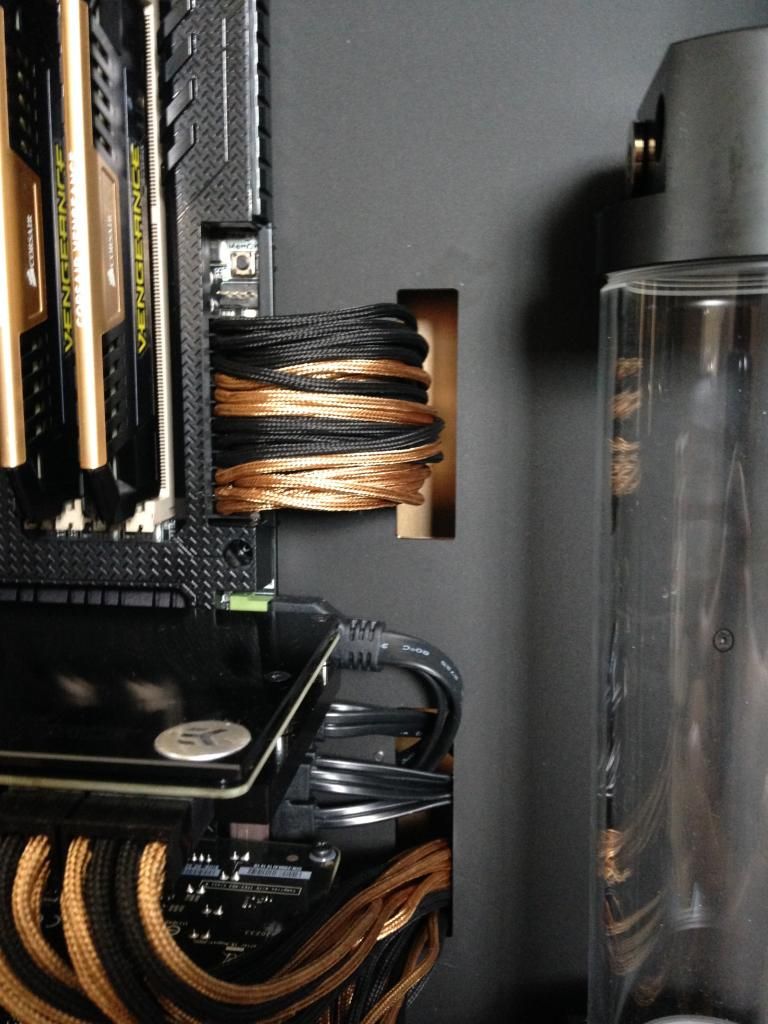
Next was some more addition to the black and gold theme, on the cut outs on the acrylic motherboard where the cables pass through , i wanted to have a gold backing for them. so like with the laser cut parts, i cut down some thin metal and painted it with the same 24k paint for then to be attached to the case back panel.
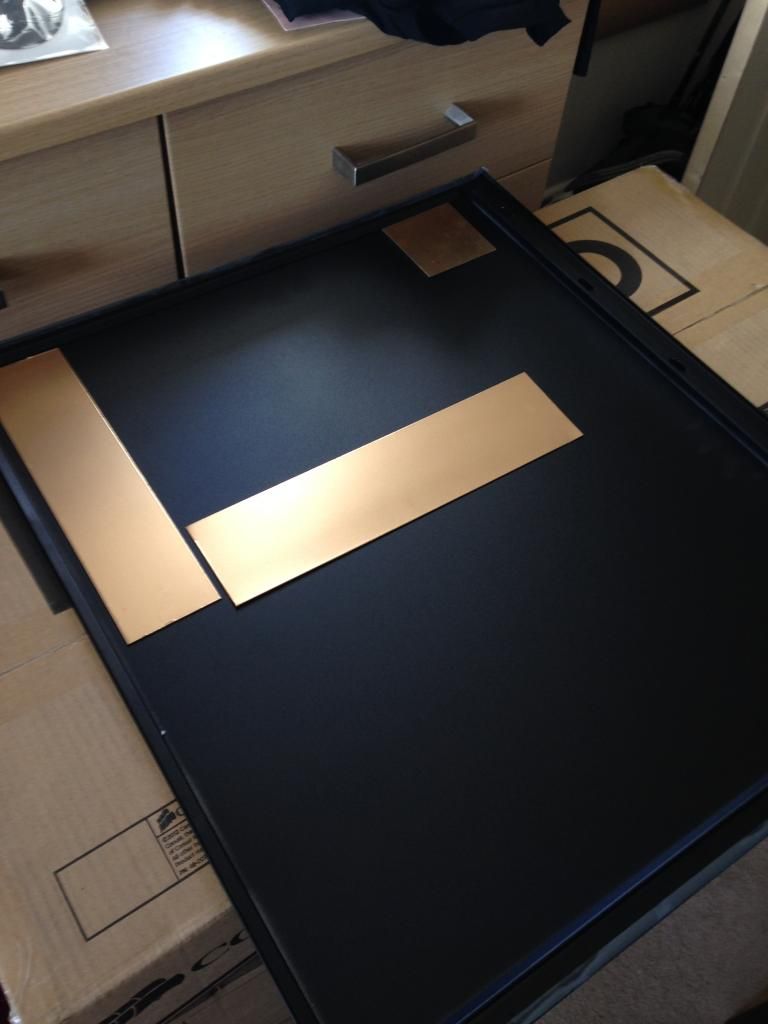
the result was really good

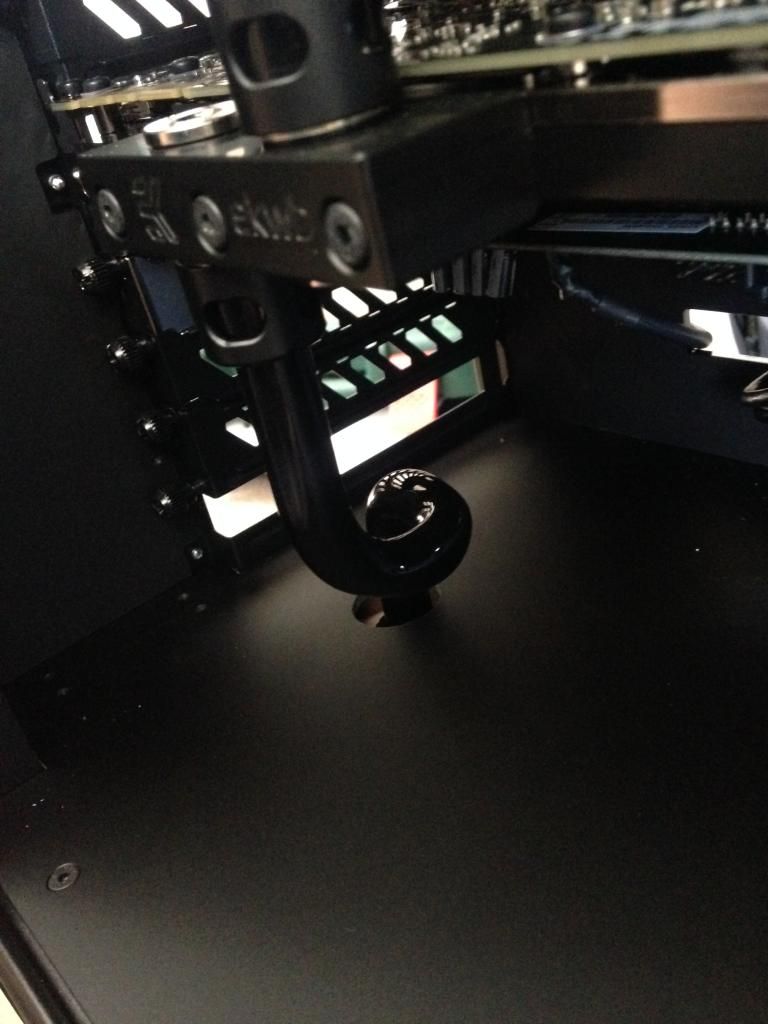
bit more pipe bending for the cpu intake pipe

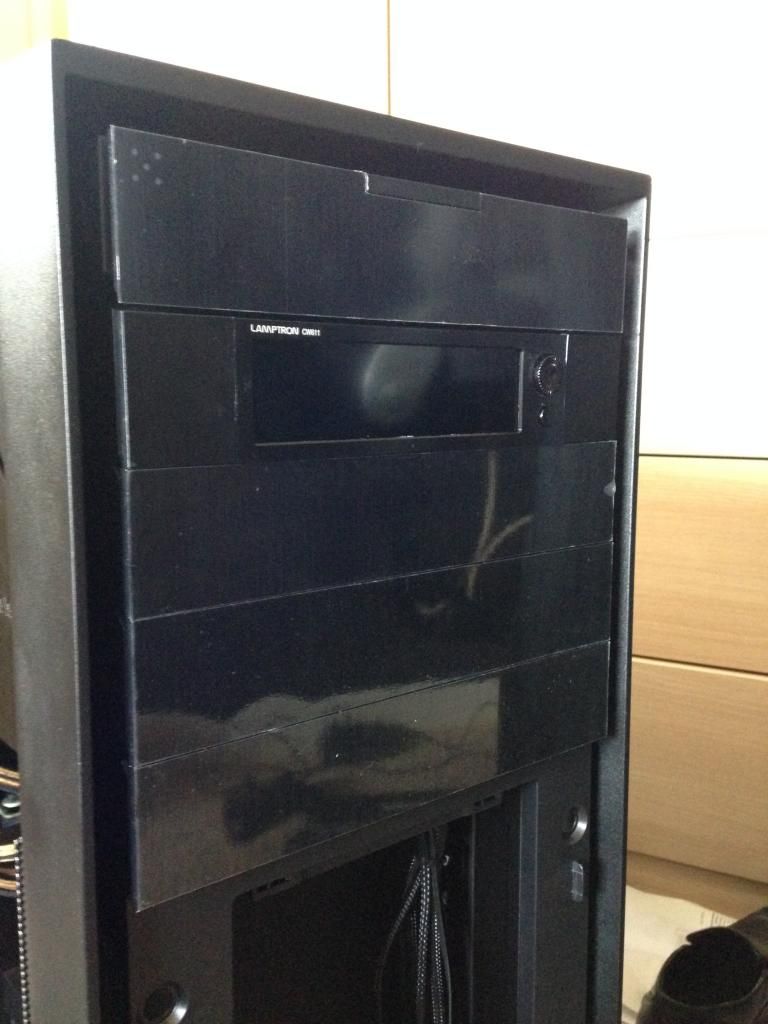
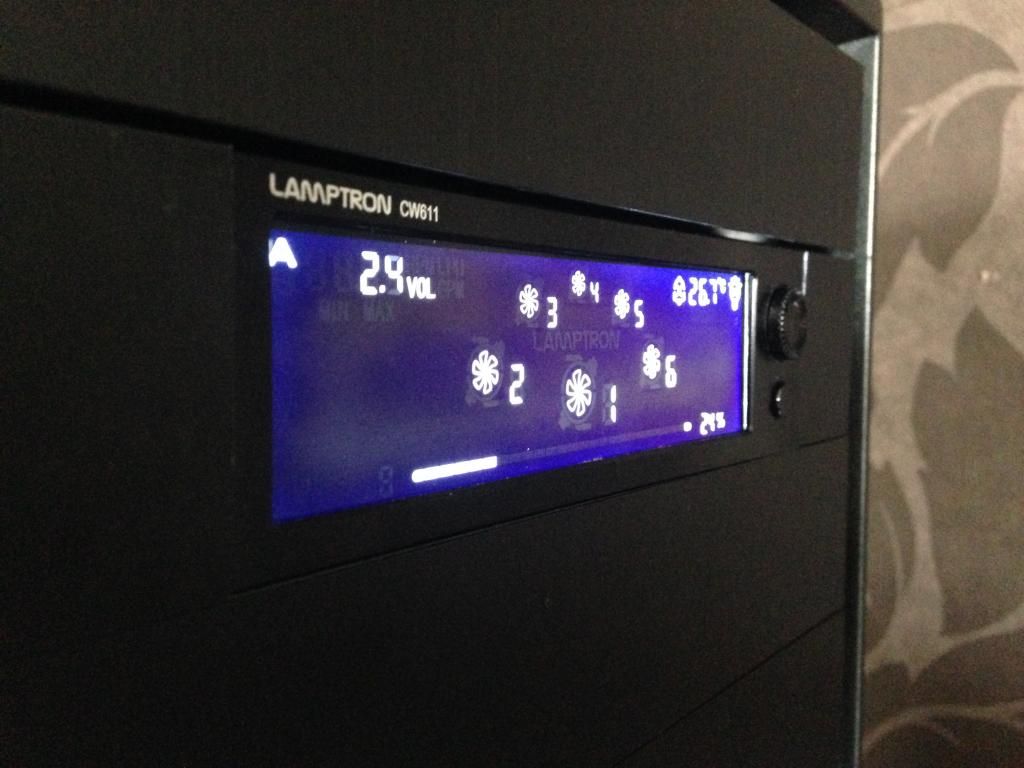
Next was fitting the Lamptron Cw611 watercooling controller
Cut down one of the 5.25" covers to go either side of the controller to get that clean front panel look

Final Bits Of Pipe Bending From Cpu To Res
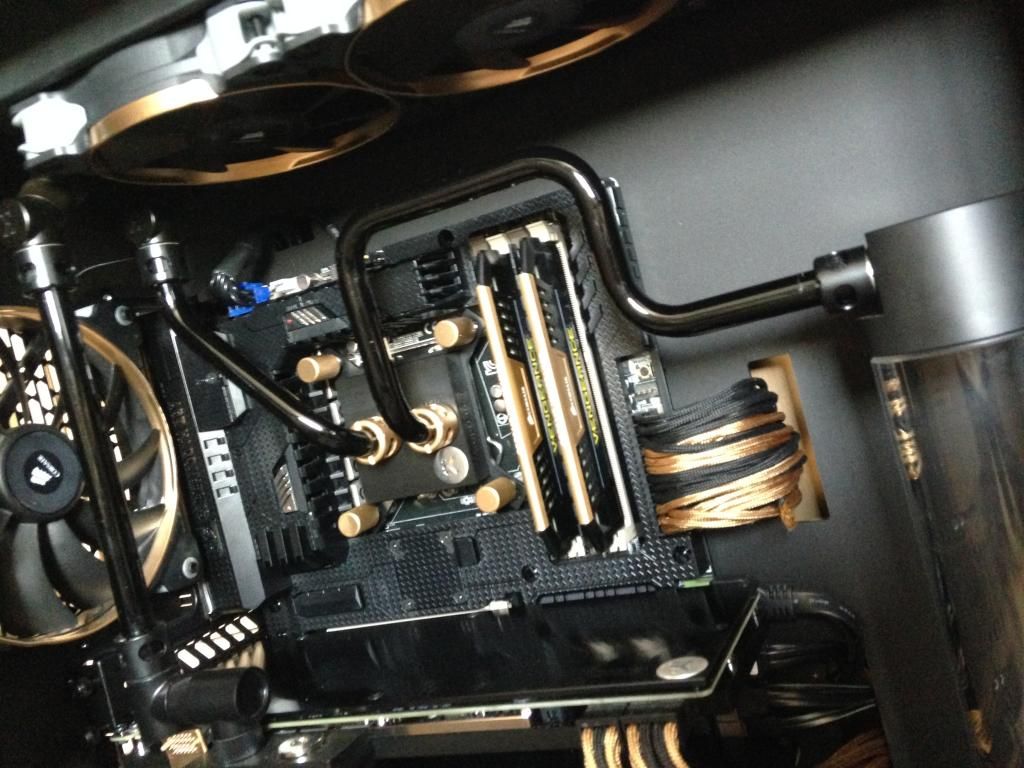
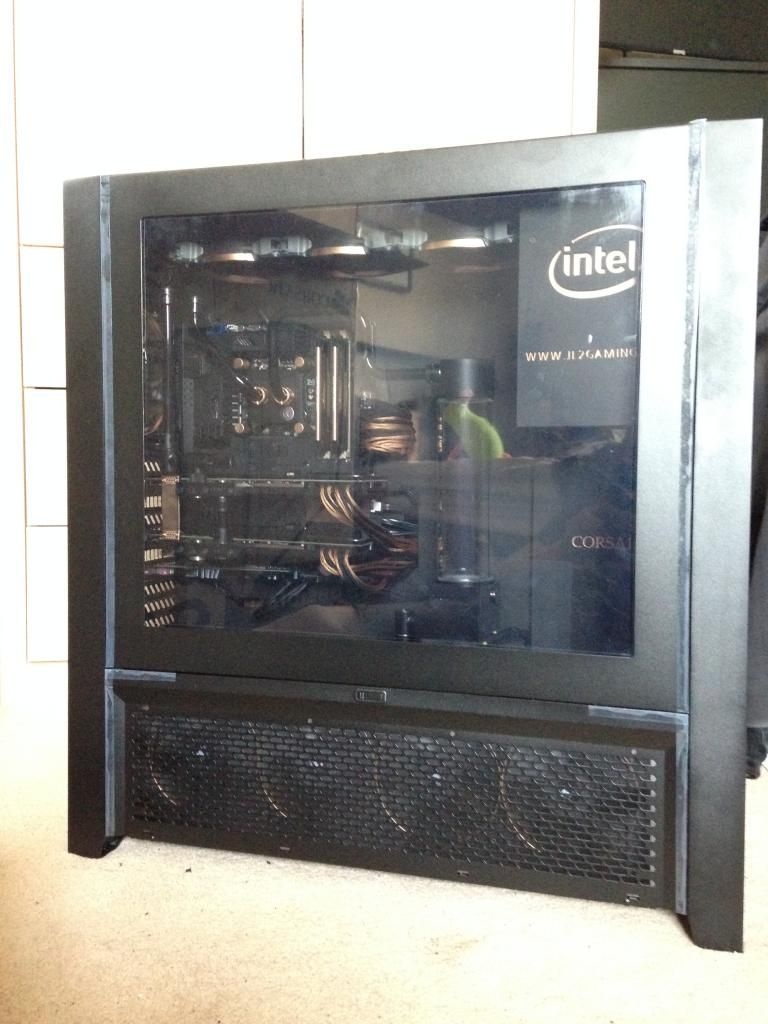
Finally The Moment Of Truth Priming The System With Water For The Leak Test

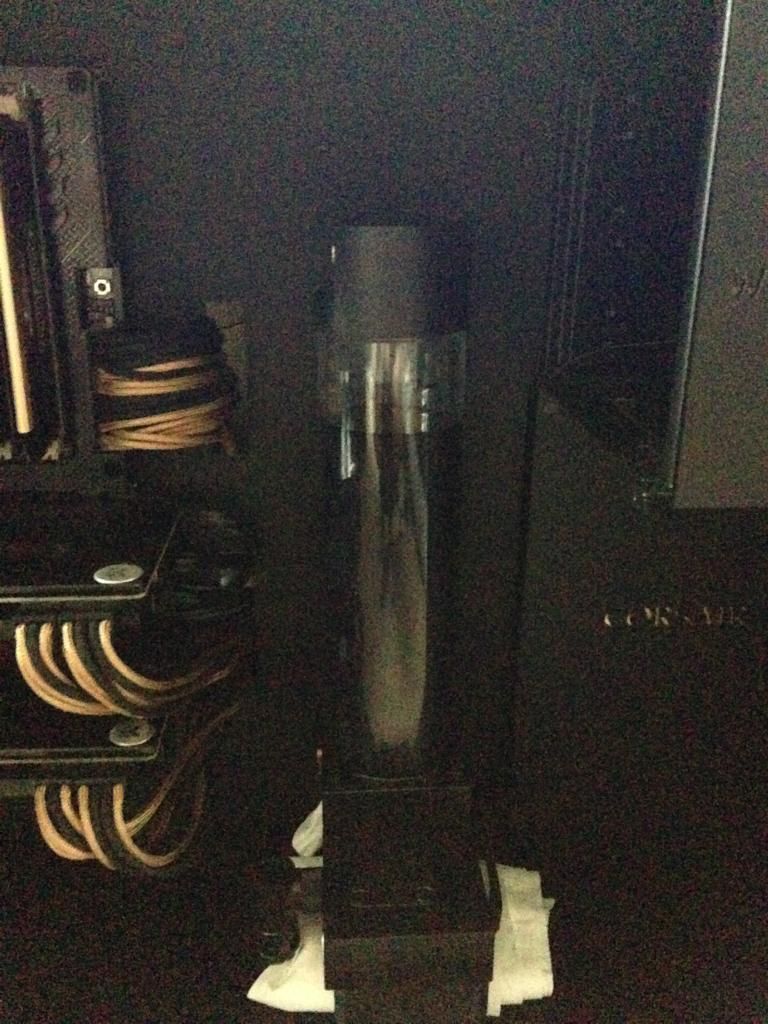
After a Nice 48 Hour Soak I Returned to thankfully no leaks!
welcome to my build thread of my recent computer build, which actually started off as a pretty damn good computer anyway, then i got inspired by a black and gold build from Yoyotech, and then decided to completely rebuild my computer from the ground up. so sit back and enjoy.
Specs:
Corsair 900D Case
Intel I7 Haswell 4770K
16GB Corsair Vengence Pro Ram
Asus Sabretooth Z87 MOBO
EVGA 780TI SC X2 in SLI
Sandisk Extreme 1 256Gb SSD
OCZ Vector 128Gb SSD
Toshiba 3TB HDD
Seagate 2TB HDD
Seagate 1TB HDD
EK DUAL DDC 3.2 PWM Dual LANG Water Pumps
Superflower Leadex 1000W Platinum
RX480 XSPC Quad Radiator
EK480 Quad Radiator
EK X3 Tube Res 250MM
Monsoon Black Hardline Tube 3/8 x 1/2
Monsoon Free Center Hardline Fittings (Matte Black)
Lamptron CW611 Watercooling Controller
Ek Waterblocks 780ti Nickle
EK Water Blocks EK-Supremacy Clean CSQ - Acetal + Nickel
Mayhems Pastel - Pure Black Coolant
9 Corsair SP120 Fans
1 Corsair AF140 Fan
Full Case Kit From Coldzero ,HDD Cage Cover,MOBO Cover,MidPlate,SSD Mount
Nearly All Parts Were Purchased Through OCUK

i hope i haven't missed anything..
Final Outcome

Below is My Full Build Log
Delivery From OCUK! - Best Part Was The Haribo Of course


Delivery From Coldzero, Lots Of Matte Black Acrylic Parts! No instructions, this should be fun


Lots Of Cables and Bits

MoBo


First Major Task Was stripping this monster of a 900D case of all its goodness, all hard drive cages needed to come out the lot, to make for an easy installation of the coldzero acrylic parts


Now With The Case Fully Stripped Of Almost Everything , I Went About Test Fitting Some Of The Hardware That was going to be in the bottom of the Case under the Acrylic Mid Plate


Because of the thickness of the RX480 radiator the space between the back of the radiator and the PSU when installed was going to be just big enough to run the pipe work down behind from the pump.
next issue
hard drive placement, originally i wanted to have no harddrives in the main case area due to the minimalist look i wanted, which however meant i had to fit not only a 480mm Rad and PSU in the bottom of the case, but also the 3 Bay Hotswap Hdd Cage


After some fiddling and moving around and measuring, i managed to rotate the hard drive cage 90 decrease, and mount it onto the Cases Back side Radiator Mounts, only downside would mean once installed it would not be "hot swappable" as would not be able to remove the hard drives without taking the whole hot swap bay out. (not a massive issue)
Next Would be mounting The SSDs on to the back of the 5.25" inch bay


Nice clean and tidy, even if its never going to be seen!
Next Job Was Fitting The Various Acrylic Plates for the case to box it off and give the case that clean look.
First was the I/O Back plate to stop any unwanted dust entering the case

Mid Plate to Separate the PSU And Cables, Radiator, Hard drives From Rest of The Case

Couple Of Mounting Parts


The Mid Plate Was Also Going To Double Up As A Mount For The DUAL DDC Water Pump, Which Meant i had to first measure up where about the pump output pipe would come out and make sure it lined up with the input from the Radiator In The Lower Deck. "Measure Twice Cut Once"


Pipe Fits!

Next I had To Drill The Holes To Mount The DUAL DDC Pump

Test Fit


Next is The Fan Front Panel Plate

My Favorite Part next the Mobo Backplate Test Fit

Then Next With The Mobo Installed

Next Up Was Fitting the CPU Block

EK Waterblocks Provide different plates in for each CPU to ensure you get maximum cooling from the block, a quick look on google to see which one is the best...


Next Up and the first bit of GOLD for the build, was to go about spraying the mounting Nuts for the CPU block and also The Monsoon Freelock Fittings For The CPU in 24K Gold Paint
This Stuff Is Amazing

Little Primer

Couple Top Coats And Were Done

Black And Gold Theme In Full Swing Now!


Next Was To Test Fit The Res And Fit A Couple Of Gold Braided Cables

Finally To Finish The Day Off, Painting The Fan Rings & SLI Bridge GOLD


That Was Day One Done And Dusted With Good Progress So Far! Next Day Would Be Pipe Bending!
How My Room Looked After Day 1

First Off Went About Getting The Waterblocks Installed On The 780TIs


Next Up was Mounting The Ek 480 Radiator In The Top Of The Case


Installed The x2 Ek 45 Decrease Fittings On Both In And Out To Step The Fittings Out So They Lined Up With The GPU And CPU

Like Wise On The GPU To Bring It In Line With The Top Rad

Next It Was Time For Pipe Work
I Purchased A Full Monsoon Kit For This That Included The Jigs For Bending, Hacksaw For Cutting Ect.. All Of Which Made It Super Easy!
i used the monsoon acrylic glue for attaching the monsoon freecentre lock rings, this is one of the easiest glues i have used, simply apply the glue, get a good seal around the lock ring, then when your happy put it in sunlight and within a couple mins it will be set solid. job done. the harder part was preparing each tube for this stage so completing the bends etc, then sanding down the ends making sure they are flat.


Finally Got The Acrylic Back From The Laser Cutters Today, To Make This Build That Little Bit More Custom, I Got Various Logos From The Companys Of Hardware I Have In My Computer Then Also Got Mine And My Cousins Youtube Gaming Website Cut Out Of It Aswell. Next Wanted To Go About Making These Fit In With the Whole Black & Gold Theme,
So Got Some Thin Metal Cut Down To Go Behind The Laser Cutting Which Turned Out Really Good.


Next To Do Was
Mount The Bottom Radiator And Fit The Temperature Fitting On The Pipe For The Lamptron Watercooling Controller so could have a reading for the water temp.
Then Also Start Running the Cable From PSU

Have Never Used Superflower, But After reading all the positive reviews online and with a very good recommendation from OCUK. Im Sold. Brilliant Product


Front Flip Down Panel Removed To Reveal fan grill

Next was some more addition to the black and gold theme, on the cut outs on the acrylic motherboard where the cables pass through , i wanted to have a gold backing for them. so like with the laser cut parts, i cut down some thin metal and painted it with the same 24k paint for then to be attached to the case back panel.

the result was really good


bit more pipe bending for the cpu intake pipe


Next was fitting the Lamptron Cw611 watercooling controller

Cut down one of the 5.25" covers to go either side of the controller to get that clean front panel look


Final Bits Of Pipe Bending From Cpu To Res


Finally The Moment Of Truth Priming The System With Water For The Leak Test


After a Nice 48 Hour Soak I Returned to thankfully no leaks!


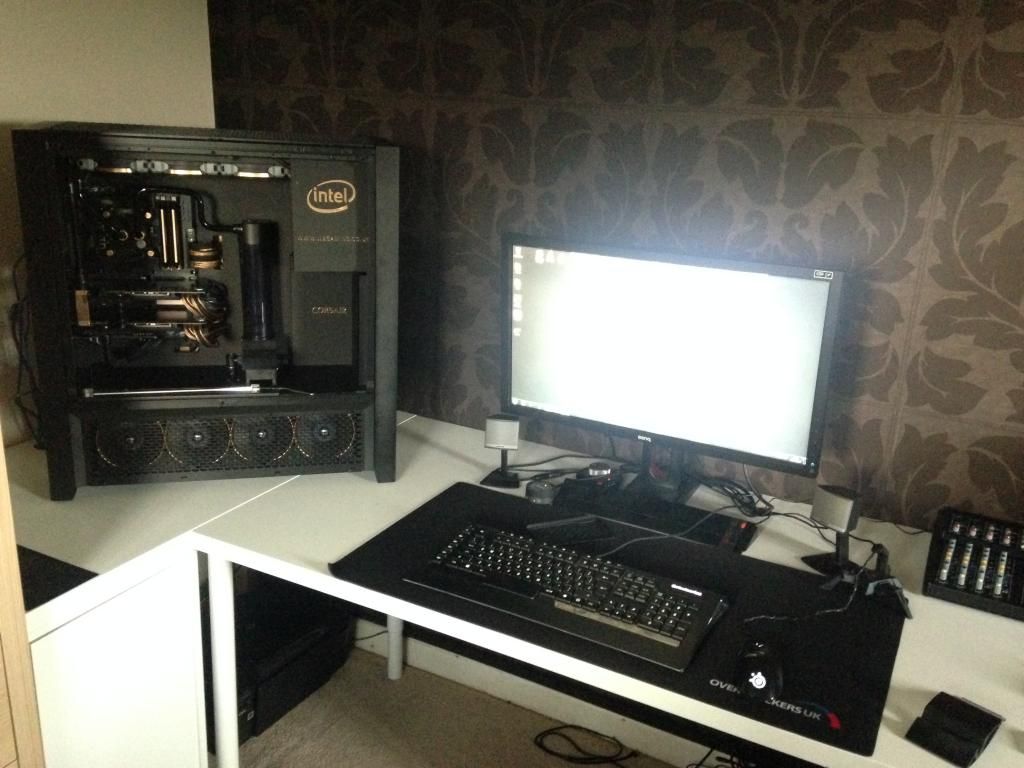


 that thing is a absolute beauty!! Well done pal, it looks superb. Only one thing I'd change is that pipe from the cpu, don't really like the way it bends, but apart from that spot on quality build!
 Awesome job !!