Hey guys,
With a little help from DFi street I managed to isntalled my big typhoon on my DFi board. Just thought I'd post a guide with pics to help anyone out that may be trying to do the same.
Now I did it slightly different, using the bolt things to stabilise the screws before mounting the HS, I also had no friends at the time so managed it by myself
heres some pics..


With a little help from DFi street I managed to isntalled my big typhoon on my DFi board. Just thought I'd post a guide with pics to help anyone out that may be trying to do the same.
some dfi forum bloke said:Here is what you do:
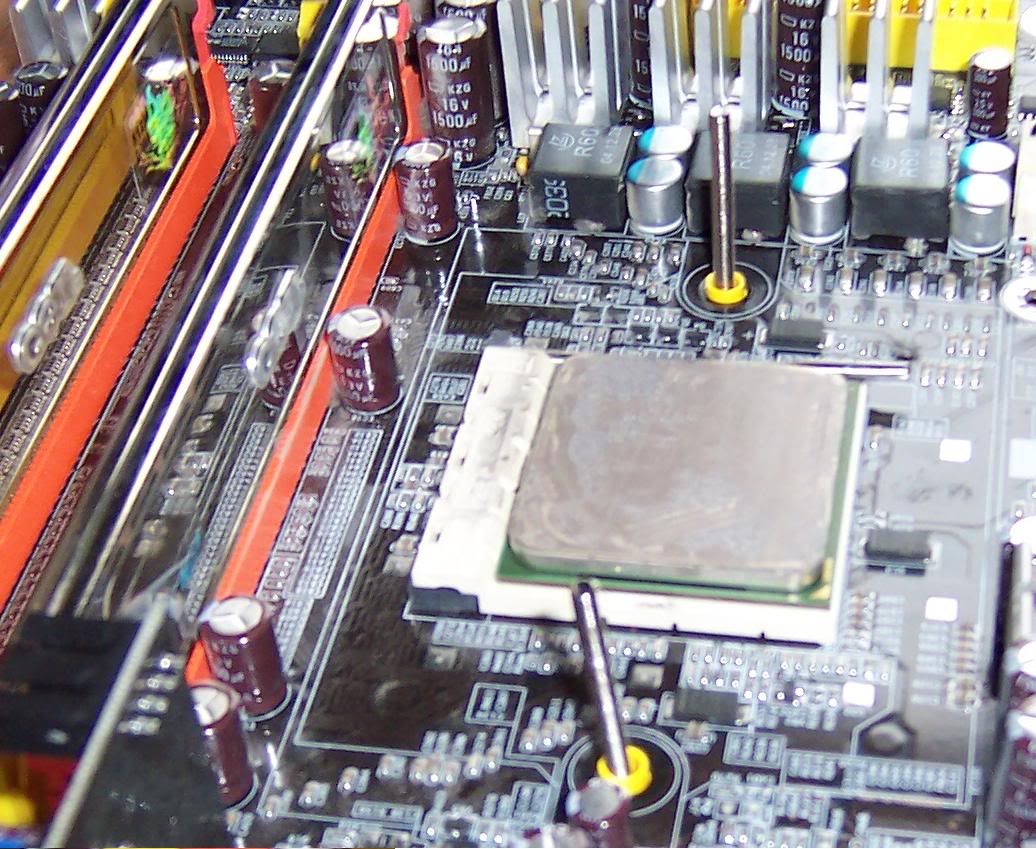
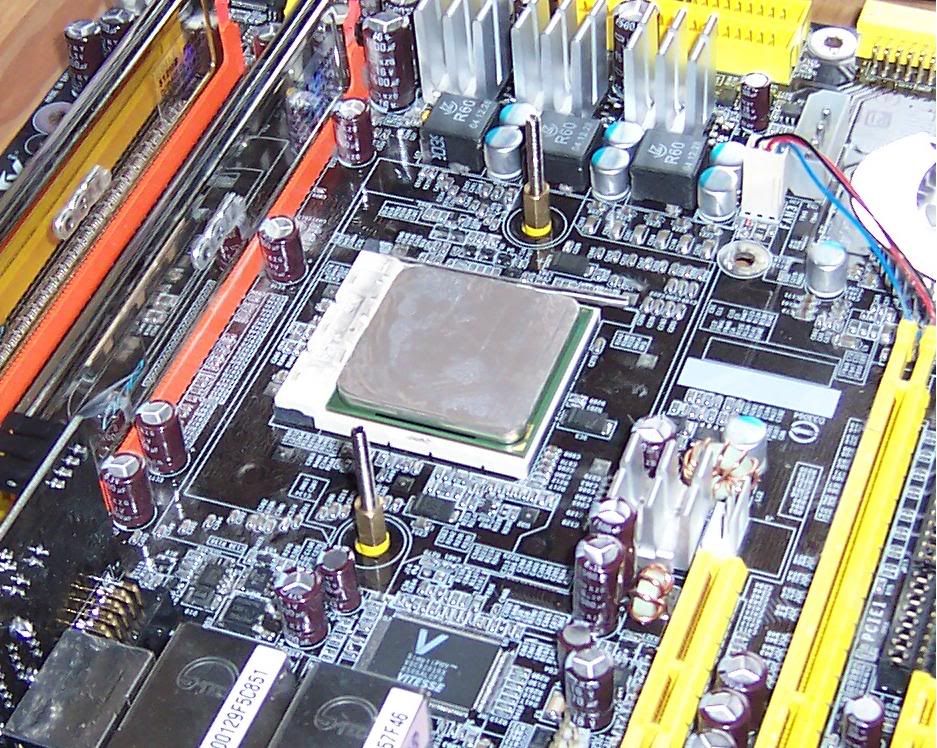
LEAVE THE BACKPLATE IN PLACE. This is Yellow.
Remove the top plastic part.
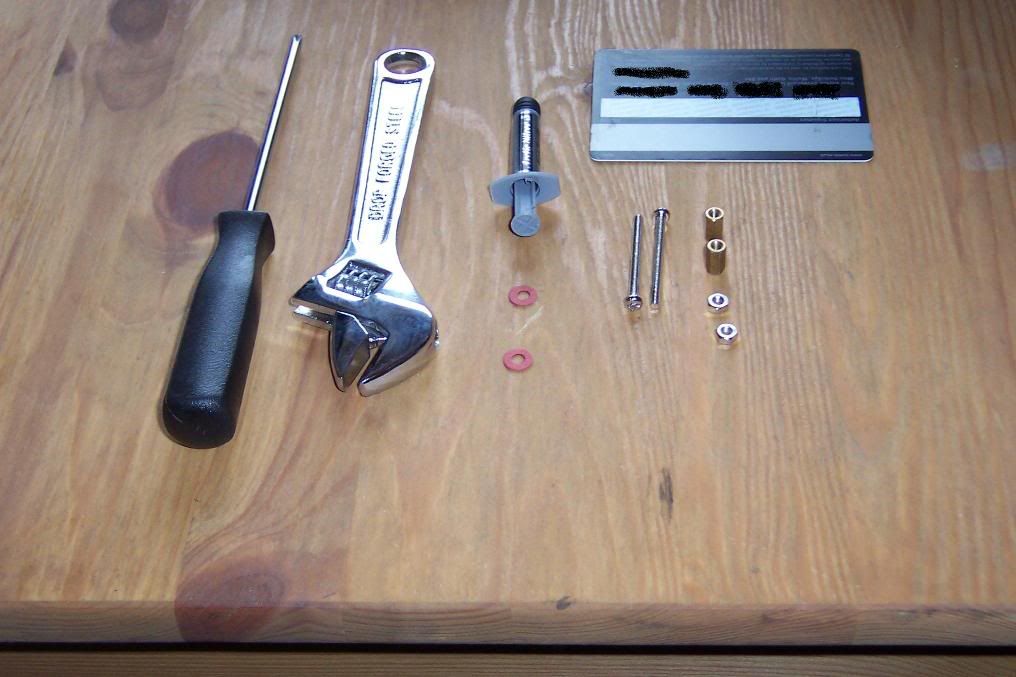
Take two of the provide screws and run them UP from the bottom of the backplate.
Once you do that, and after you have the CPU in place with a small dab of your AS5, take one of the H-Bars and place within the Heatsink nestled ontop of the copper base between the two little metal guides.
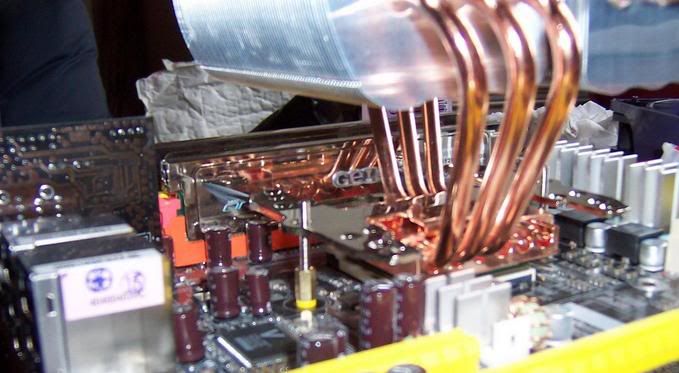
Next, gently lower the hearsink with the H-Bar onto the top of the CPU and screws.
At this point, you should have 2 screws comming up from the bottom of the board, thru the backplate and up and thru the H-Plate.
At this point, you are nearly done. Take two ( 2 ) of the provided small nuts and finger tighten these down on the exposed screws.
It is VERY VERY important to have someone help you with this. Trust me. One to hold the board and to help balance this massive heatsink.
Also, make sure you have a screw driver and small adjustable opened ended wrench.
Once you have your tools and your helper and you have finger tightend the nuts down on the exposed screw, it's time to tighten down the bolts to fasten the Heatsink to the CPU and Board.
Use extreme caution because you CAN over tighten the nuts.
With your helper helping to hold the board ( we used an upright motherboard box and balanced the board on top of it ) take your screw driver and from the bottom of the board, use it to hold the screw. Then, take your wrench, and tighten the nuts. Use an even amount of turns for both the left and right side. Remember, equal pressure is very important. Another hint is to make sure the H-Plate and Heatsink stay CENTERED on the CPU. Until this is nice and snug, this will slip around somewhat.
After you've tighted the nuts down on these screws to where the Heatsink is nice and tight. YOU ARE NOW DONE.
Again, it is VERY IMPORTANT to use the same amount of turns on each nut. My friend even counted the exposed treads of the screw to make sure it was even on both sides!!!
Now I did it slightly different, using the bolt things to stabilise the screws before mounting the HS, I also had no friends at the time so managed it by myself

heres some pics..


Last edited:


