Evolvtion - Project Log

Associate
Joined
7 Aug 2014
Posts
106
Location
Kent


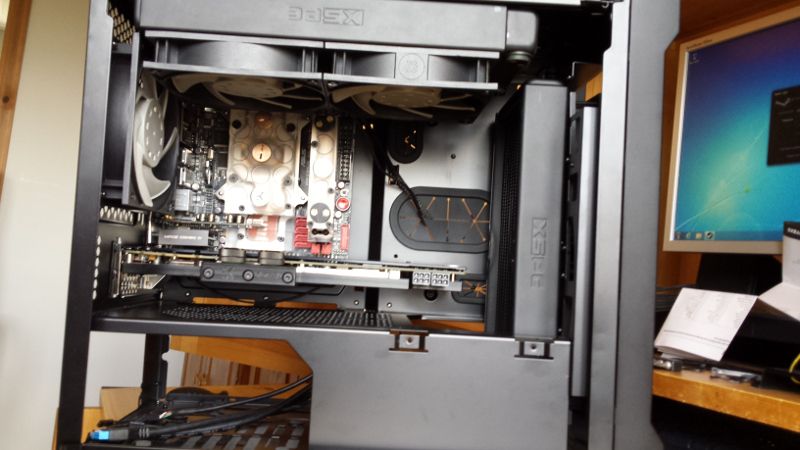
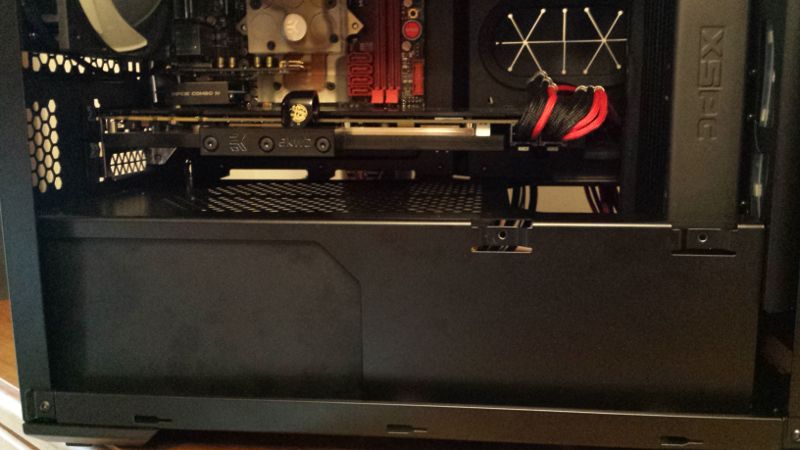
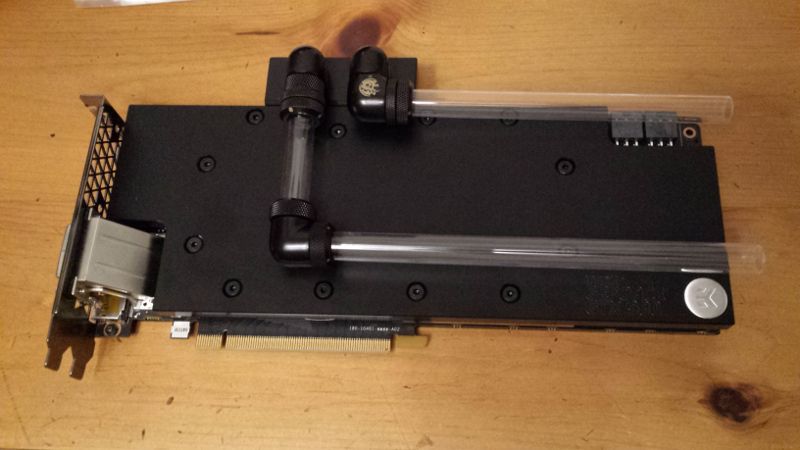
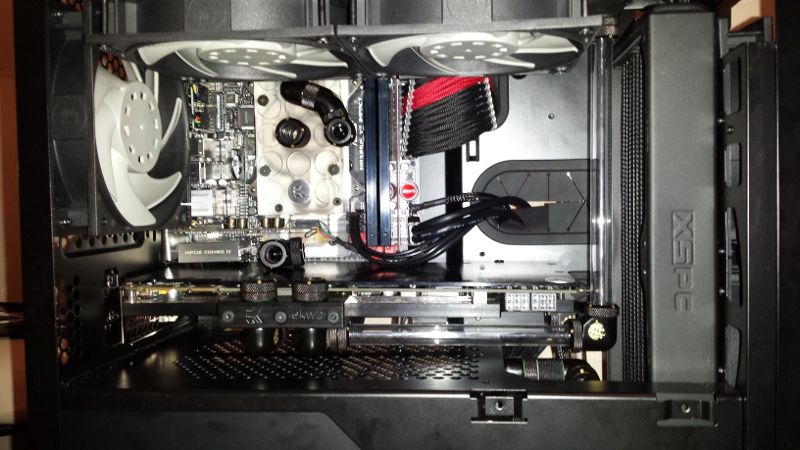
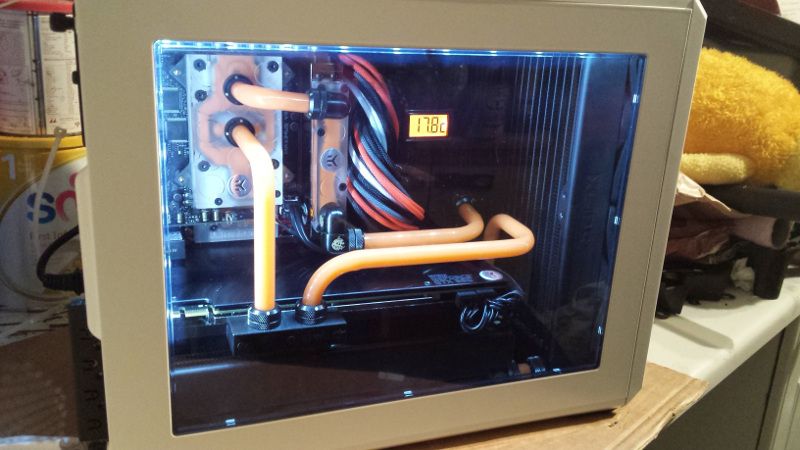
Welcome to my Project Log, this isn't a fully new build but rather moving to a new case, fans, colour scheme, and design all mixed in with some lovely water cooling! the other reason for this project is I have always wanted a Phanteks, and the Air240 isn't wide enough for my water cooled 980 so the side panel doesn't fit correctly and as you can see from the picture below I have it going to GPU -> CPU, this mixed in with the max 900rpm fans that still noisy mean I cant overclock anything at the minute so something is needed to be done! Bringing me this project!

Current PC:

Components in my Build:

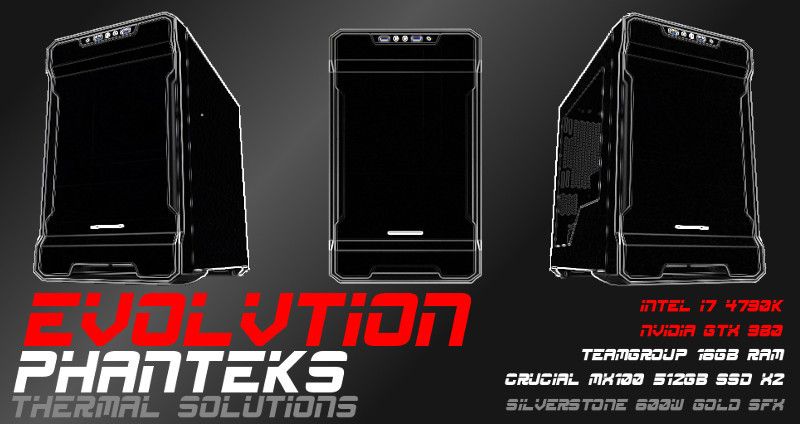
Intel I7 4790k @ 4GHZ
OcUK Gtx 980 @ stock
16GB (8x2) teamgroup @ 2666mhz
Crucial MX100 512GB x2 (1 O/S, 1 Steam)
Asus Impact VII ITX
Silverstone 600W

Current Cooling:

Corsair Air240
6 x Parvum Systems F1.0
XSPC EX240 x2 (1 multiport)
Mayhems Orange Pastel
Alphacool Cape Fuzion Core 10
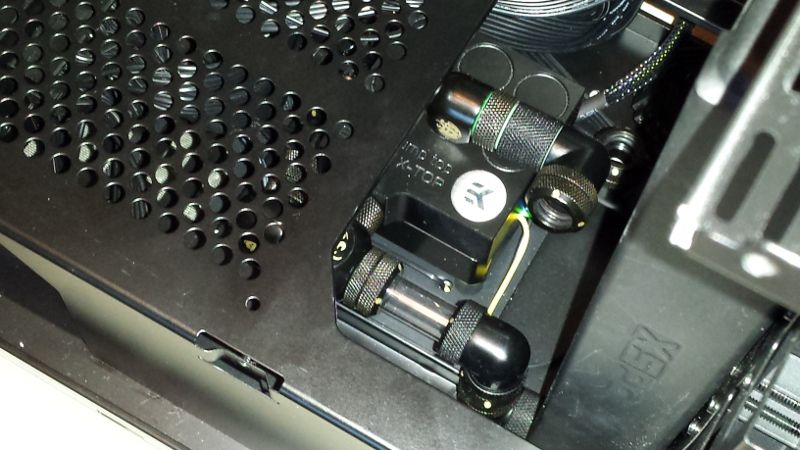
EK-DDC 3.2 PWM with Acetal DDC top and heatsink
bitspower matte black fittings
hardline tubing

New Cooling:

EK Furious Vardar x2 3000rpm
EK Vardar F4 x2 2200rpm
EK Vardar F2 x1 1450rpm
Primochill CTR compression Tube Reservoir
From the current setup
EK-DDC 3.2 PWM with Acetal DDC top and heatsink
bitspower matte black fittings
XSPC EX240 x2 (1 being multiport)
Hardline Tubing

And the Star of the show the Phanteks Evolv ITX
 
Last edited:
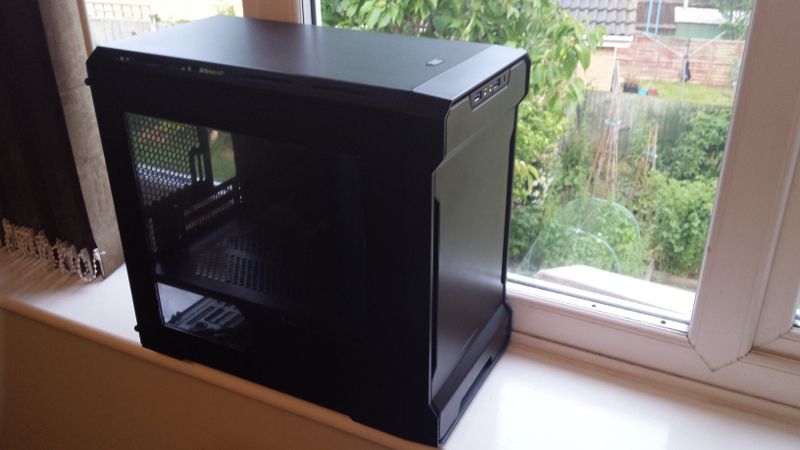
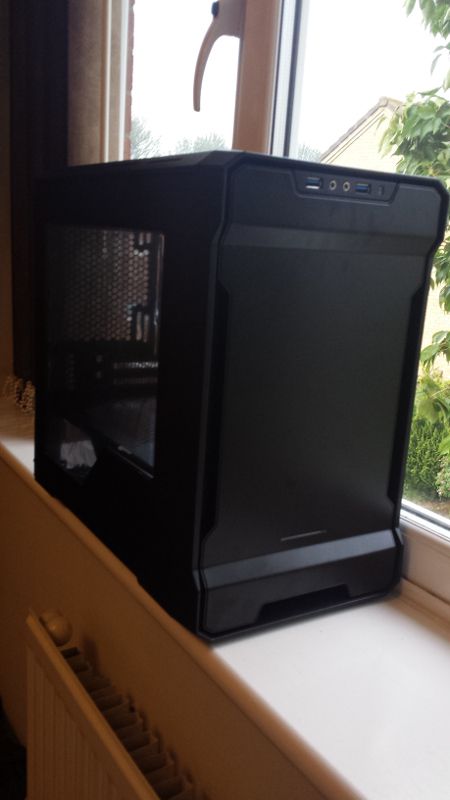
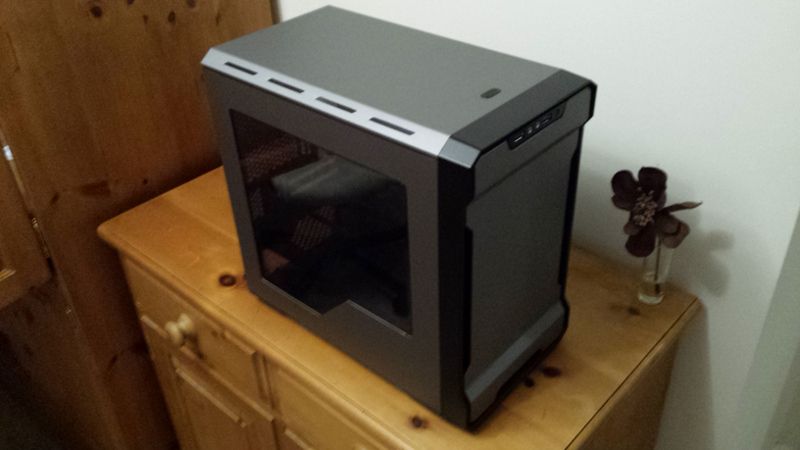
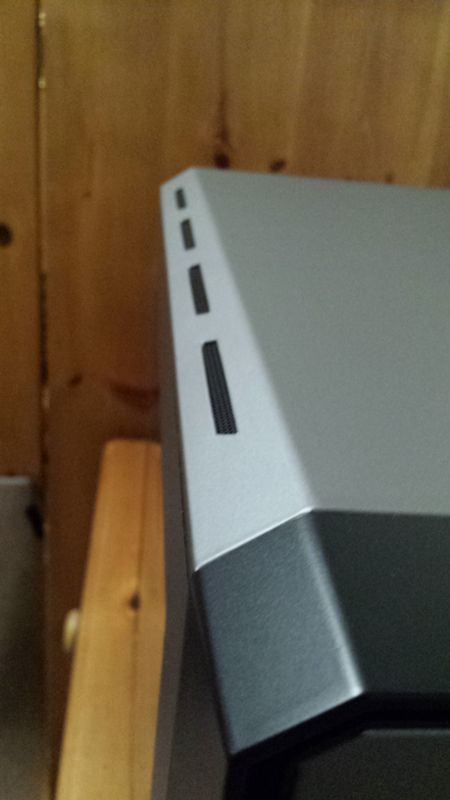
Update 1: all the parts have arrived and I couldn't wait to get into them open so I don't have any pictures of all the boxes, but here is new case: (once the build is complete I will take final phones with a DSLR camera, until then you will have to put up with my crappy phone photos)


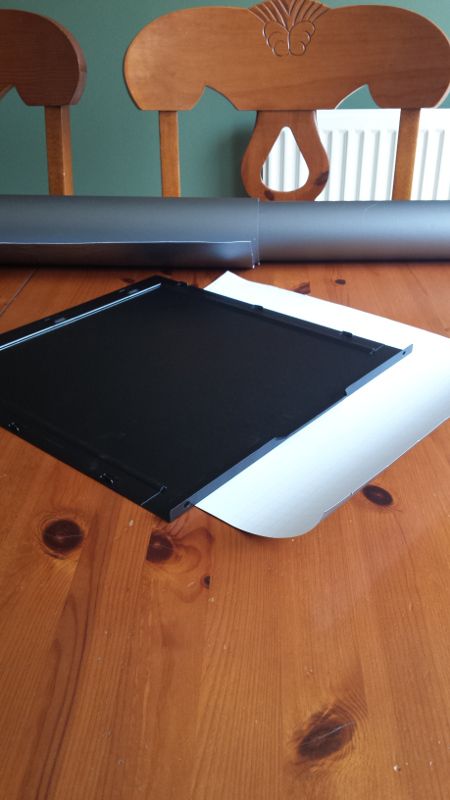
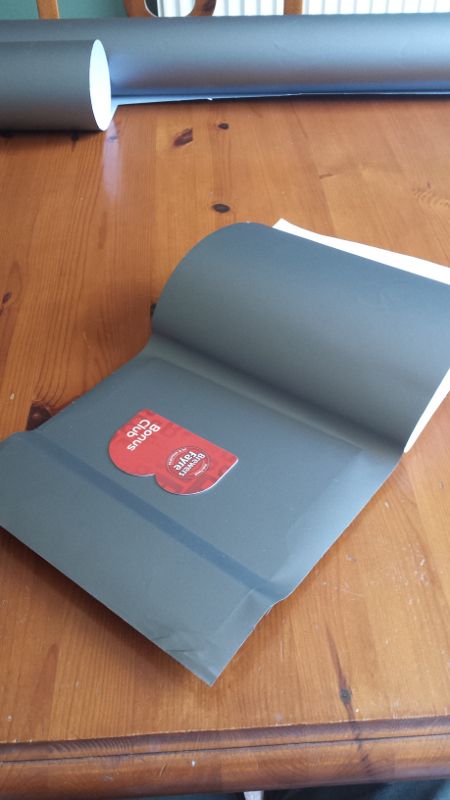
First thing to do was to change the colour from all black and to vinyl wrap the case:


this is me in the process of doing the side panel


and this is the process of applying it to the front panel

and the Result is this:


Update 2: Cables

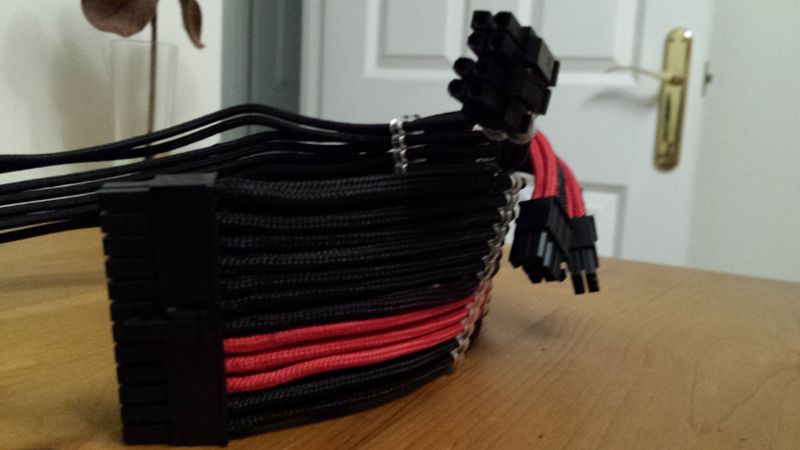
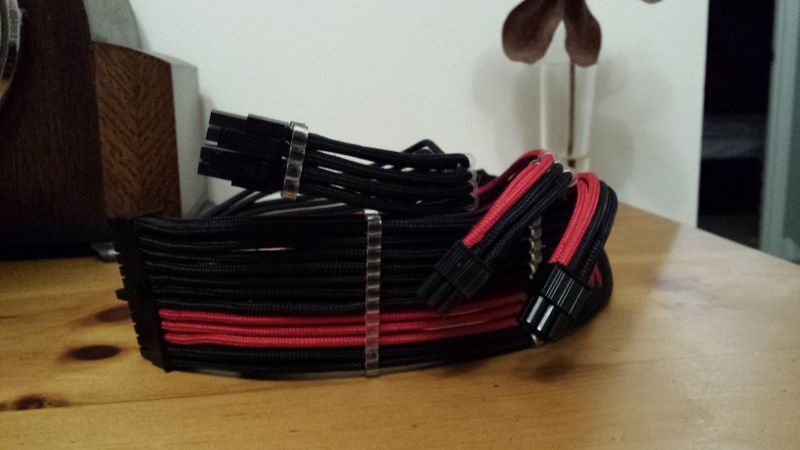
I wanted my cables to be stealth enough that they wouldn't take over the case but have a slight bit of colour to them so I used some Silverstone extensions added the cable combs to neaten them up, but depending on the room in the back of the case, I may create some proper custom cables like on my previous build.


the 8pin EPS is fully black as this we be behind the radiator and fans so you wont see it.

Update 3 will be coming this weekend when I drain and tear down my pc and get my spare back up and running so I can give some updates. and feedback or questions are welcome! :)
 
love the side panel

Thank you

Update 3:

So the old pc as been tore down, and placed in the new case for some test fitting, which has shown some issues which I didn't count for but worked out how to fix them. one being the RAM water cooling Block is too close to the fans to keep on and get a fitting in the gap, there is 2 ways to go though, mod the EK fans by taking the corners off giving me the room put the fittings in, or just use fan cooling, see below:


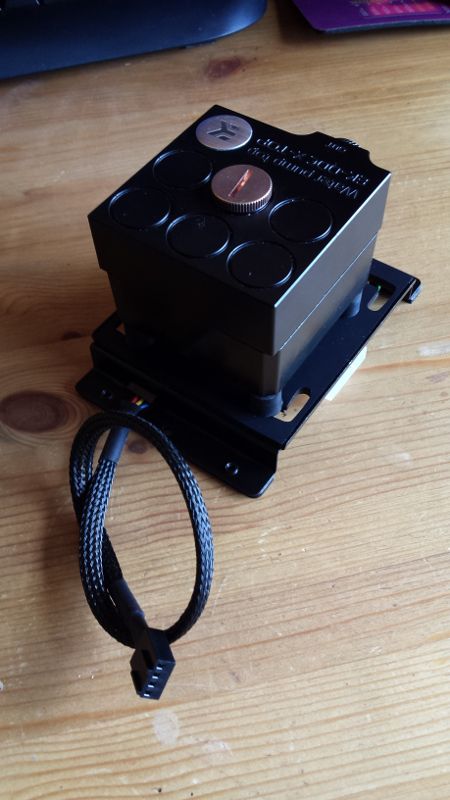
while we decide that I started on the planning the look and getting the pump set up by tiding up the wiring for the case.


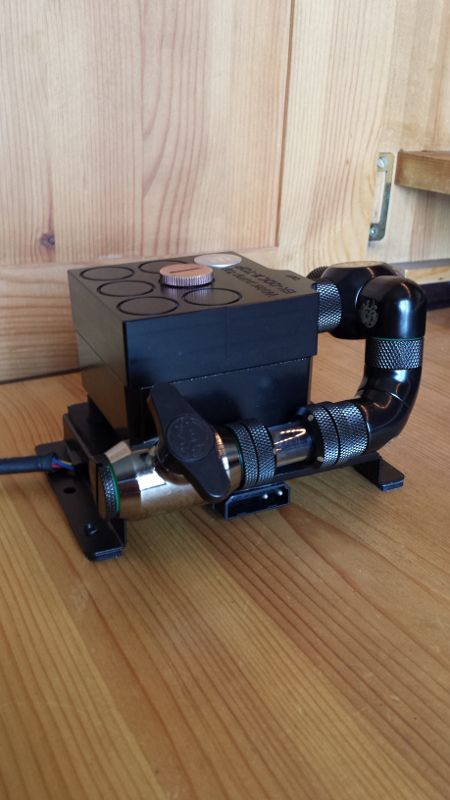
now that was complete I have gone ahead and attached the drain port before installing the pump to make it easier, I have also changed the white pump Molex connect to black to match the build more.


so that's it for now, what do you guys think about the RAM, mod the fans to fit it in the loop or just go back to air cooling on it ?
 
Leon Axel said:
I'll be very interested in how this one turns out! Subbed
Thanks me too to be honest, love doing this but its just too expensive and not sure on how people get sponsors :confused:

Luggs said:
Love the wrap on the case, pro job that! I so want the atx version of this case
Thanks Luggs, first time I have ever vinyl wrapped, maybe it could be something I am good at :D (My painting on my last build didn't go so well which is why I went for vinyl instead)​

Arinargo said:
this is coming along nicely
thanks, hopefully this will be completed this weekend or the next!​
 
So Mid-Week Update 4:

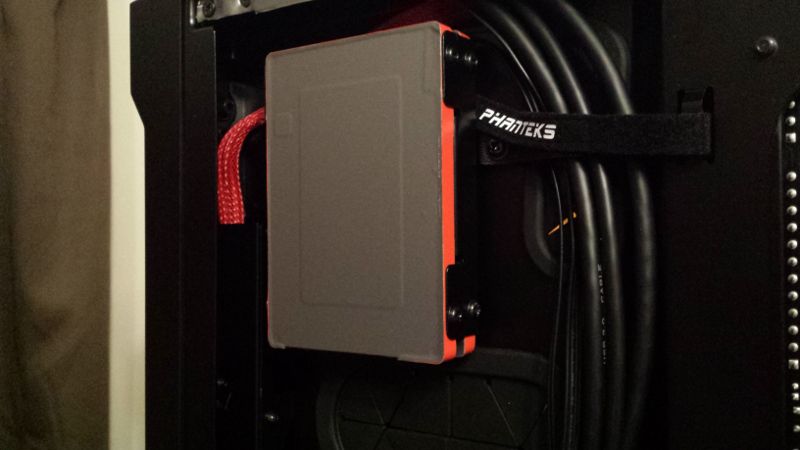
as I work longish hours didn't want to do anything to heavy, so I got some more vinyl wrap done!

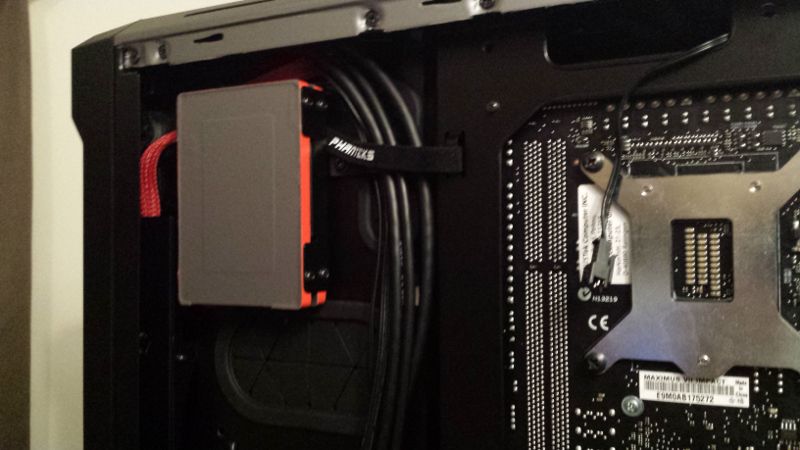
First up the MX100 512GB SSDs, which are now nicely put in place to give some difference to the back side of the case rather than all black!


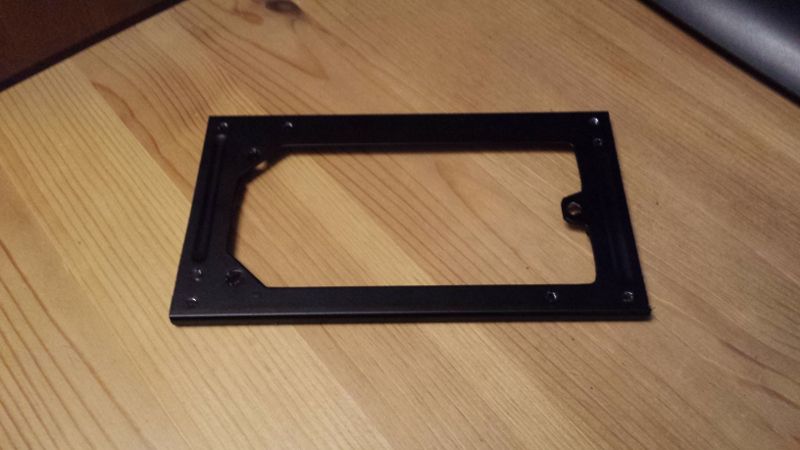
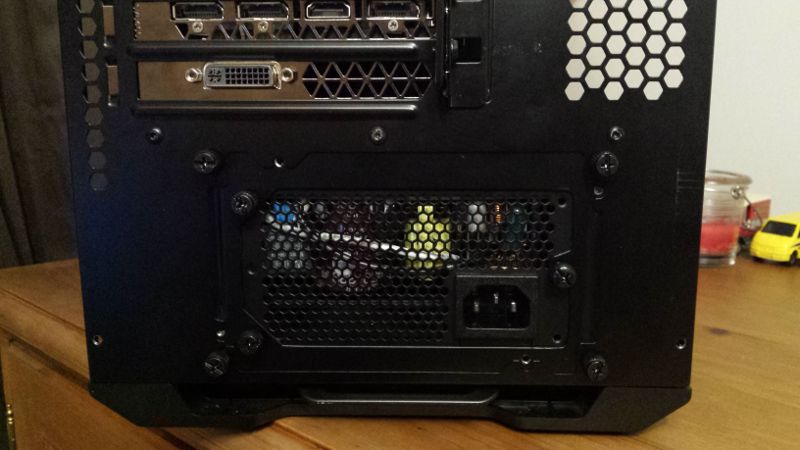
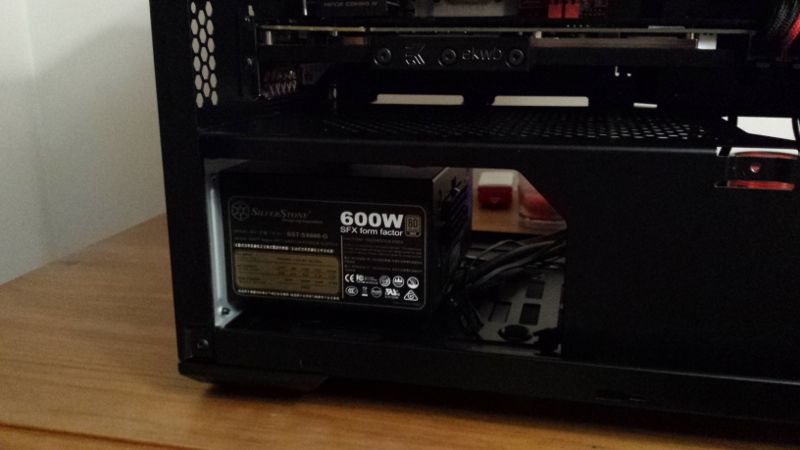
Also Vinyl wrapped the bracket for the SFX PSU as it was originally the horrible silver steel, its now a nice matte black to match the rest of the back


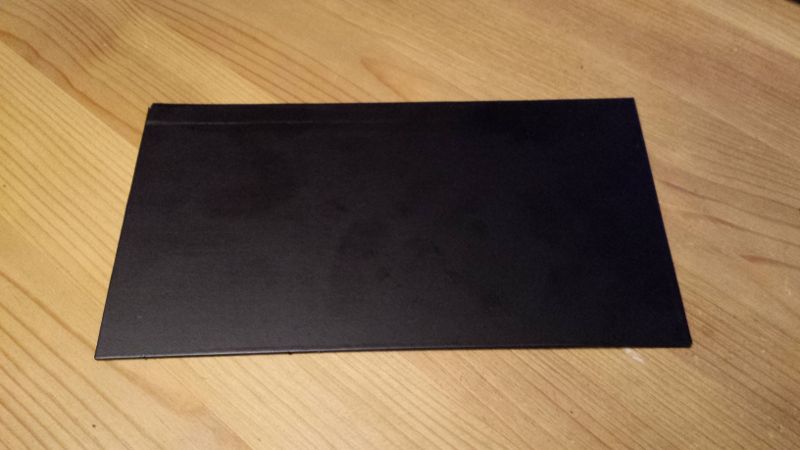
Now the last piece was this


What is this random rectangle for you ask ? well let me show you

From this:


To this:

 
Hi again, so I would like to start off with apologising for the very late update, I had some things go on with work were on 3rd July we went through redundancy at work, don't worry I was one of the lucky ones that got kept on. then the week after my mum and dad told me they are moving to France soon and I need to find somewhere to live or go with them to France, so that was a fun surprise! but anyway sorry for the delay!

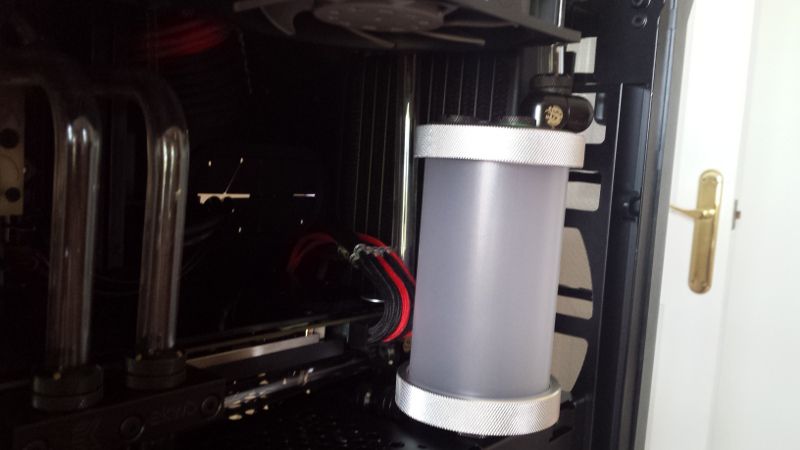
Update 5: after a lot of working out and moving about to get things to fit with the Hard line acrylic, it turned out my Res was to big for the gap I wanted it to fit in! Remember guys don't order items till you have the case and measured!!!! luckily the case was wide enough for me to fit the Res I brought into the side next to the graphics card!

So because of the way of the tubing goes I have had to do it in stages, so Stage 1 - Get the pump in and connected to the inlet on the front Res
20150627_205756_zps5lhl3hwb.jpg


Stage 2 - Run the tubes from the graphics card to the 2 Radiators as this going to be a parallel setup to the CPU
20150627_221137_zpspm44jxsa.jpg


as you can see the pipe goes up to the top radiator and the inlet at the back comes from the front radiator
20150627_214009_zpsoy6me3r5.jpg


Stage 3 - Get the res into place and attach free standing to the loop, this works as the rigid hard line acrylic holds it in place and the weight being directly placed into the case.
20150628_172047_zps6qni7plf.jpg


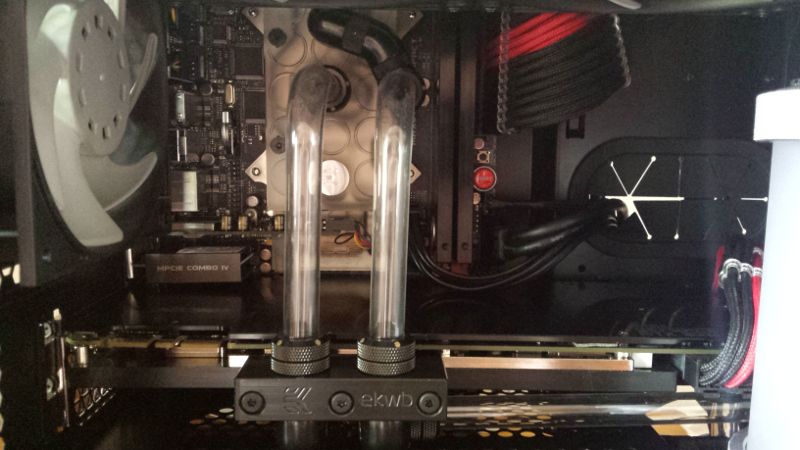
Stage 4 - Loop in the CPU with 2 hand bent / cut pipes to finish off the lines to the case
20150628_172040_zpswxsqla8e.jpg

just so you know the pipe at the front of the graphic card isn't completely parallel to the graphic card itself giving the illusion of a bent card.

that's it for now just need to fill it up at the weekend and get some final pictures when my dad is back from holiday to borrow his DSLR and wait for the sunshine to take it outside!
 
Back
Top Bottom