Associate
- Joined
- 29 Aug 2010
- Posts
- 290
- Location
- Bedfordshire
well i ordered and recieved all my components a couple of months ago, but i had decided to go for a 600T case, which was not out at the time, but has now arrived.
up untill now i was running the PC out of a case on my desk. glad its all safe in my case now.
spec-
I7 950
ASUS P6X58D-E
PALIT GTX460 1GB sonic platinum
Western Digital Caviar Black 1TB SATA 6Gb/s 64MB
Crucial 128GB SSD
Corsair Dominator 6GB CMP6GX3M3A1600C8
Corsair 850AX
Corsair 600T
Corsair H70
Samsung SATA Blue Ray SH-B083L/RSBP
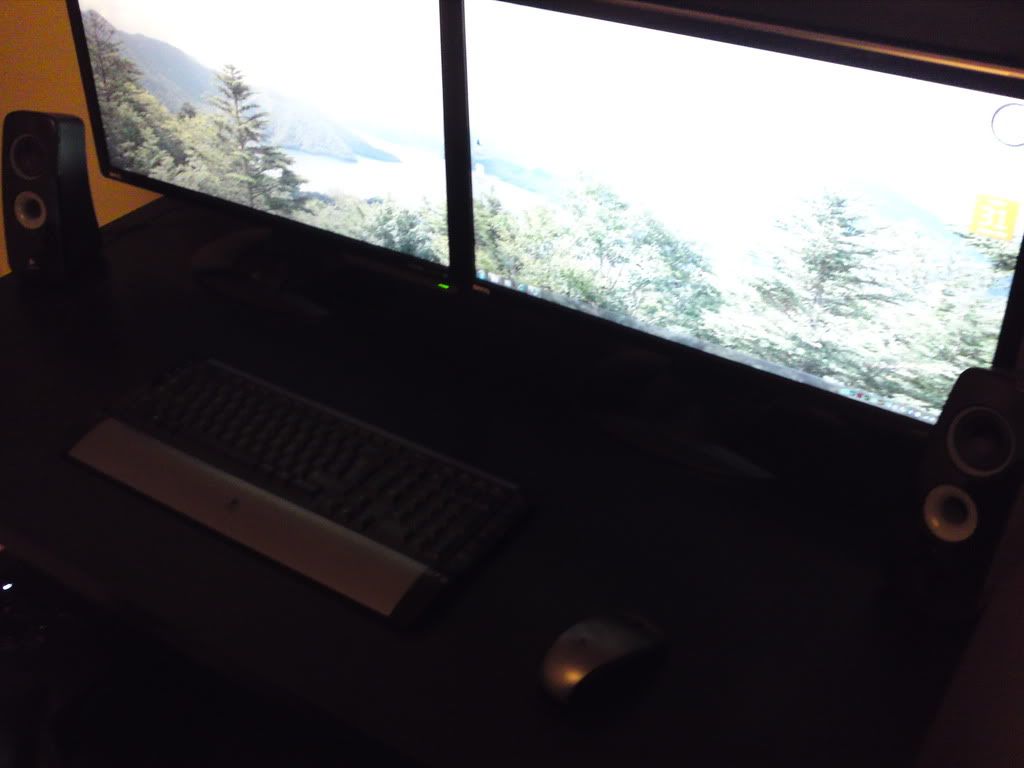
2 X BenQ G2420HD 24
(very sorry about the poor quality pics, did not realise how bad they were coming out)
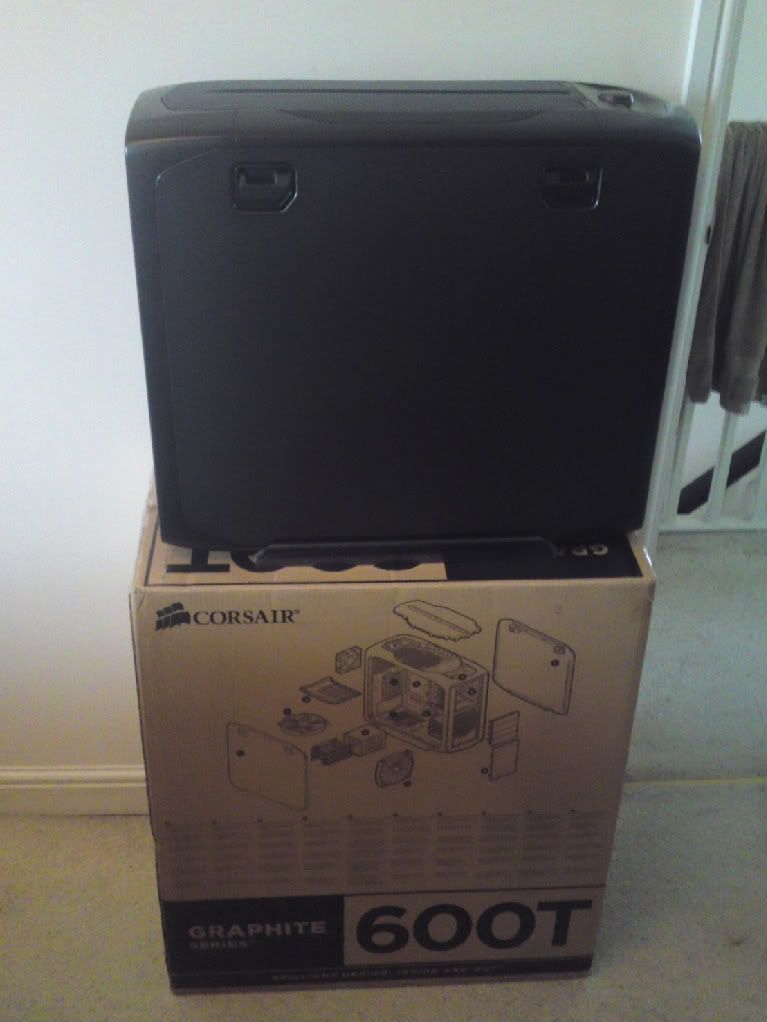
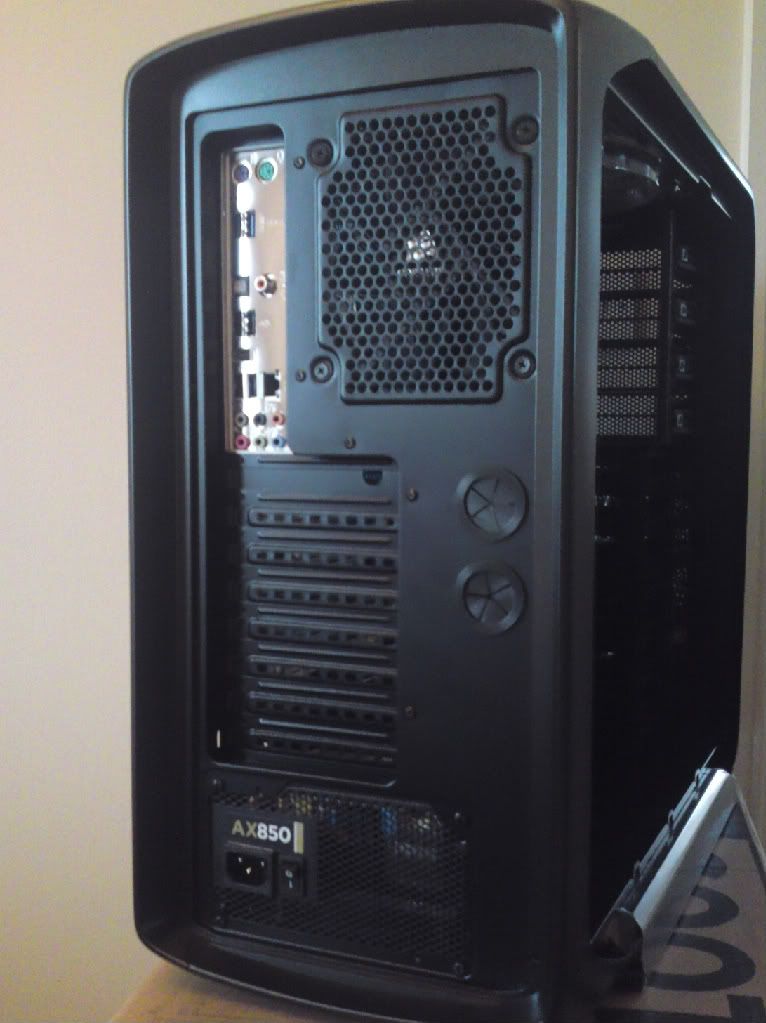
here is the case, they say small on the ouside but big on the inside, its more like big on the inside and outside!
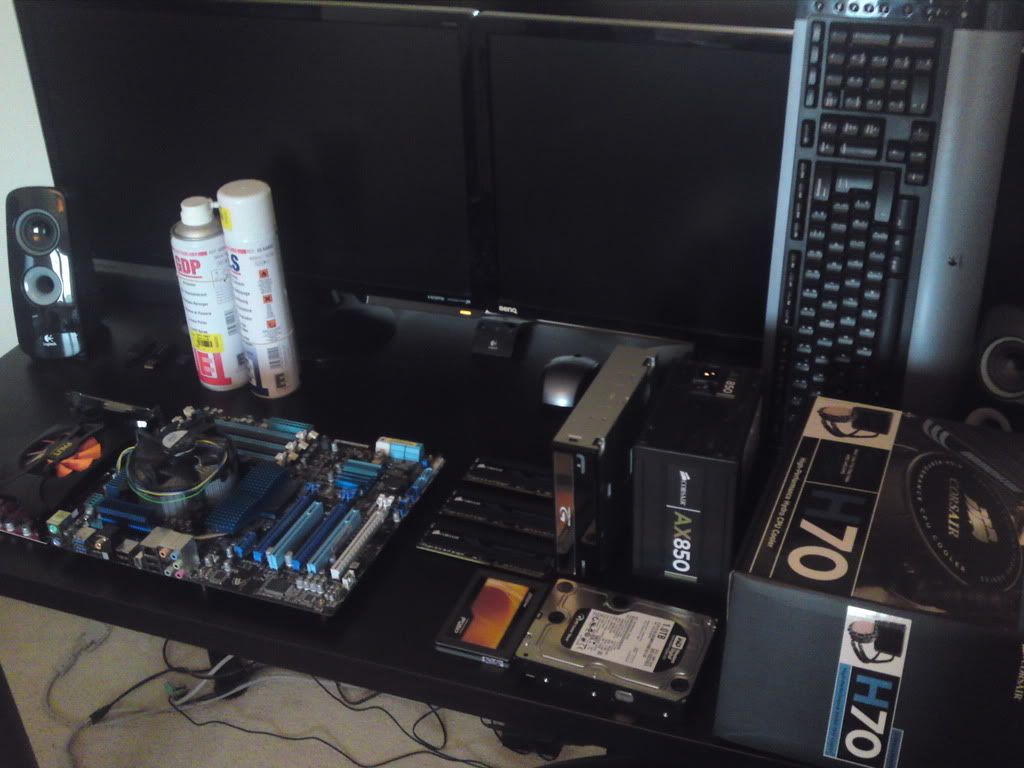
components cleaned up ready to be fitted
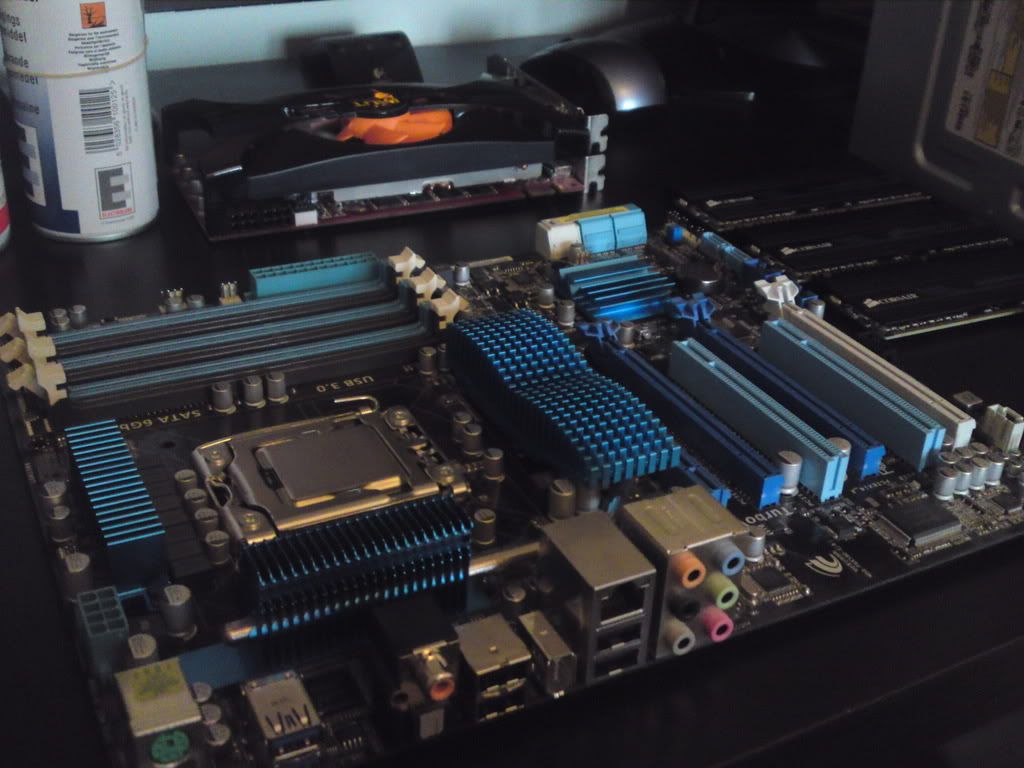
got my hands on a H70 for 69.99 delivered so needed to take the useless stock heatsink of the mobo, and give the processor a clean, the stock paste did not
spread very well, but has cleaned up well
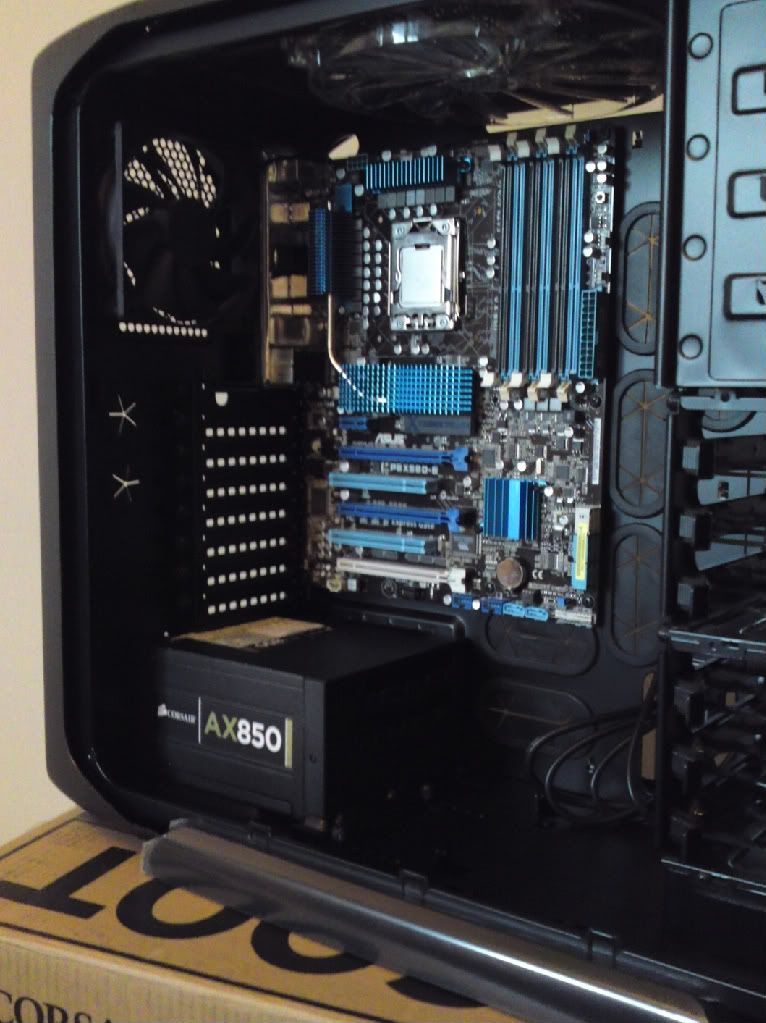
mobo and PSU fitted, mobo was a bit of a fiddle due to the shielding plate around the connectors that needs to be copressed with a fair amount of force to get the mobo
to line up with the mouting post, corsait have a stud for the mobo centre mounting hole to hold the board in position whilst the remaining fixings are screwed in (this helped a lot).
PSU slide straight in.
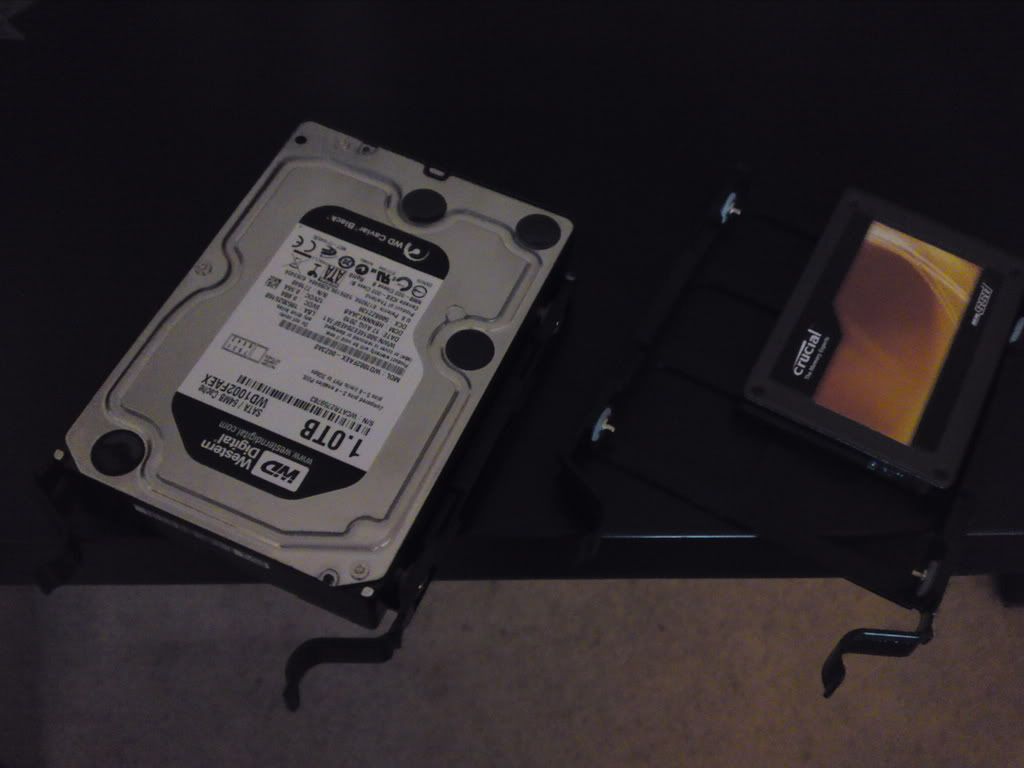
Drives mounted in their trays
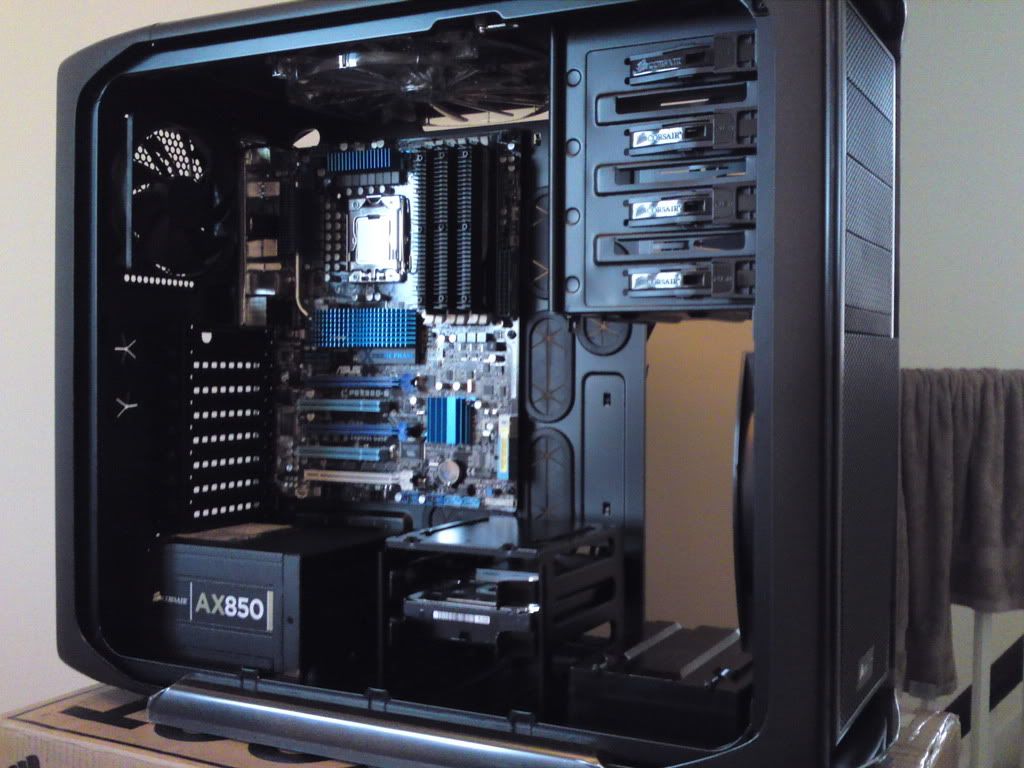
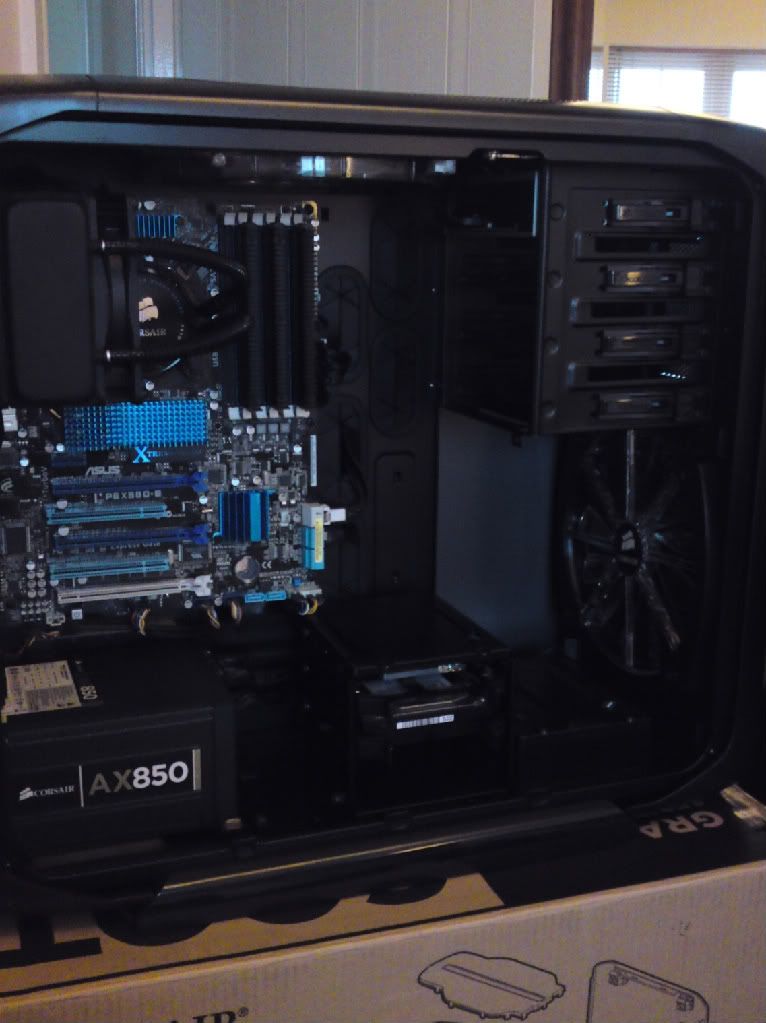
ram fitted, hard drive cage relocated, i feel it looks a little neater here and does not impead the air flow from the front fan
just a warning, when the cage is fitted here you can no longer slide in and out the bottom hdd tray (not a problem for me as i only have two drives)
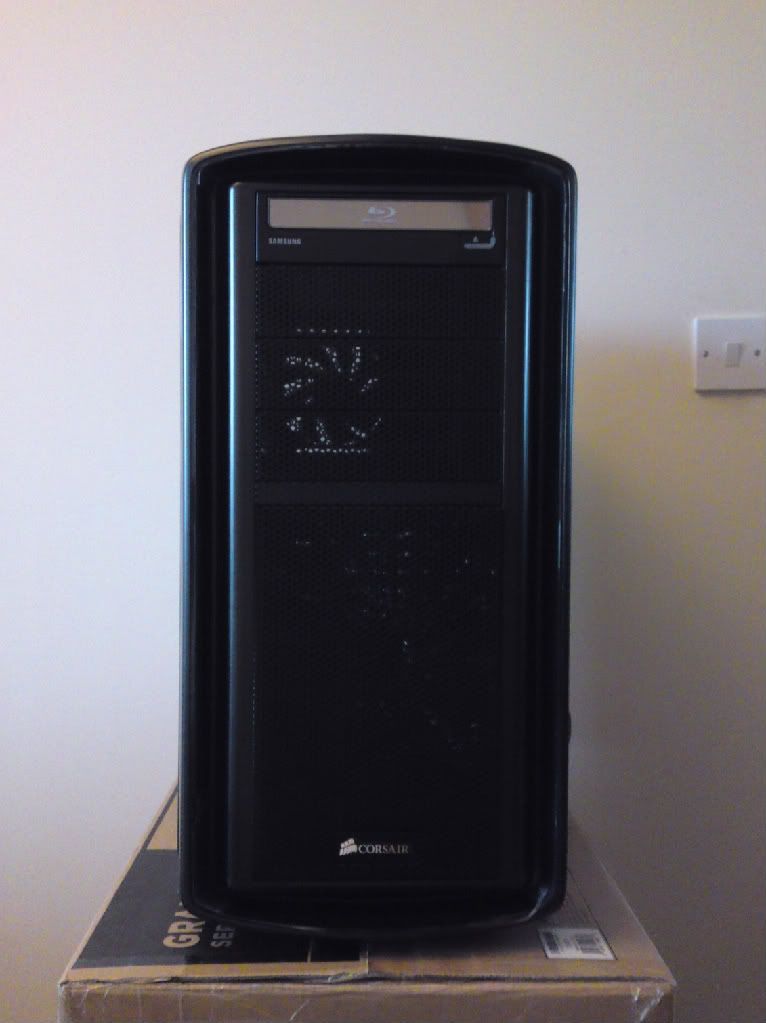
optical drive mouted, just slides in, job done
H70 back plate fitted
H70 fitted (minus one fan)
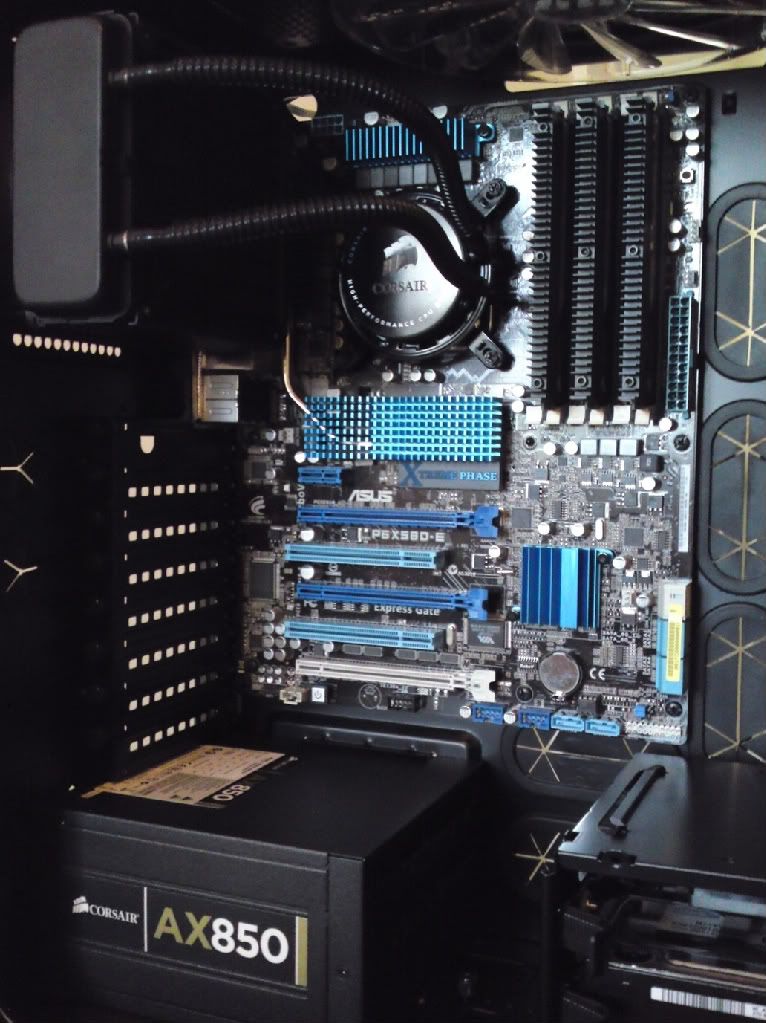
other fan fitted, both wired up, pump wired up, all front panel connections wired, all power connections wired, and sata wired, and fan controller wired up
easy job to hide all the wires in this case!
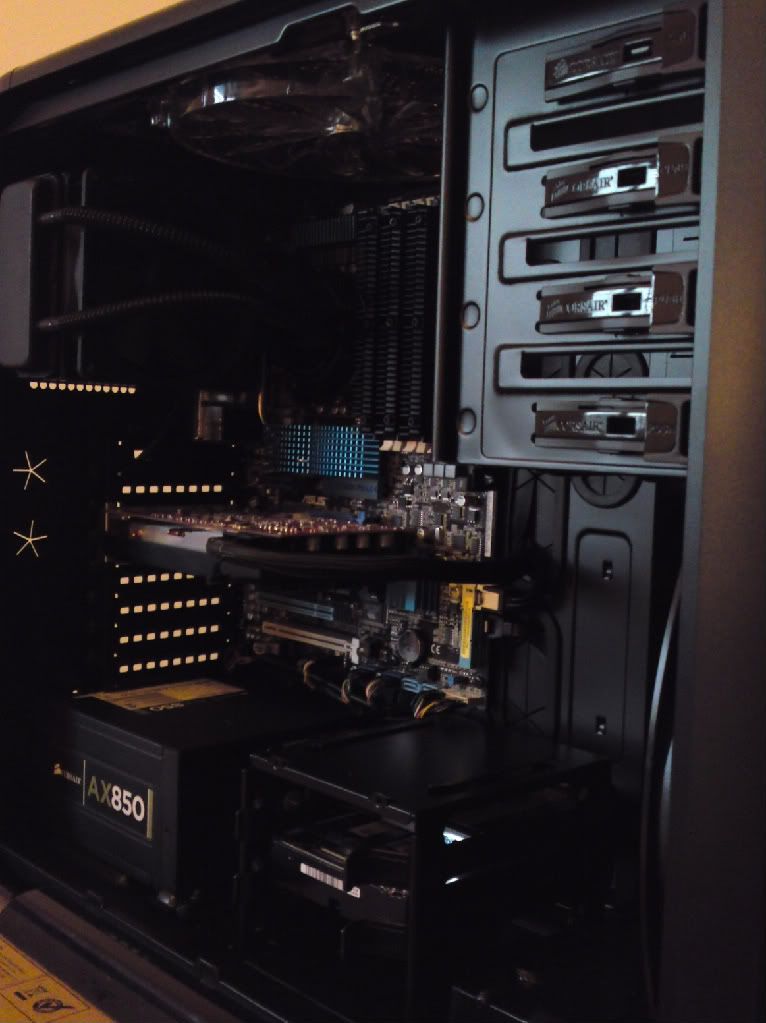
graphics card fitted, i dont like the USB3 connection method, shame my mobo does not have a USB3 header
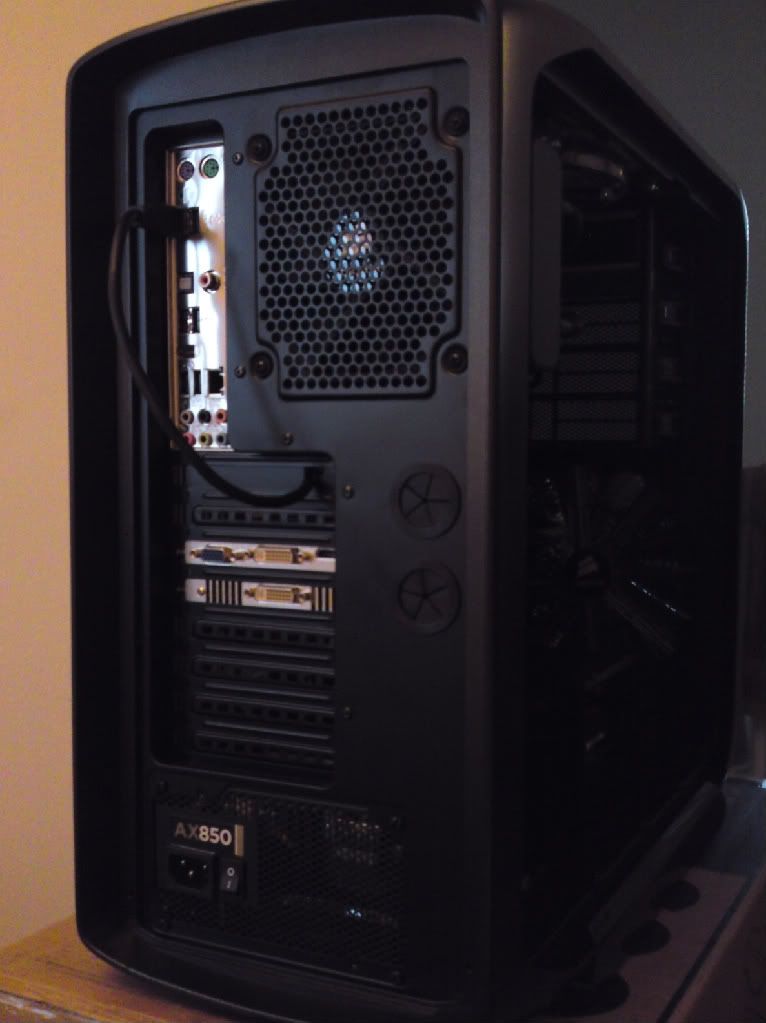
was a shame to put my ugly graphics card in, i cannot think of a neater way to run the power cable for it, so that will do for now
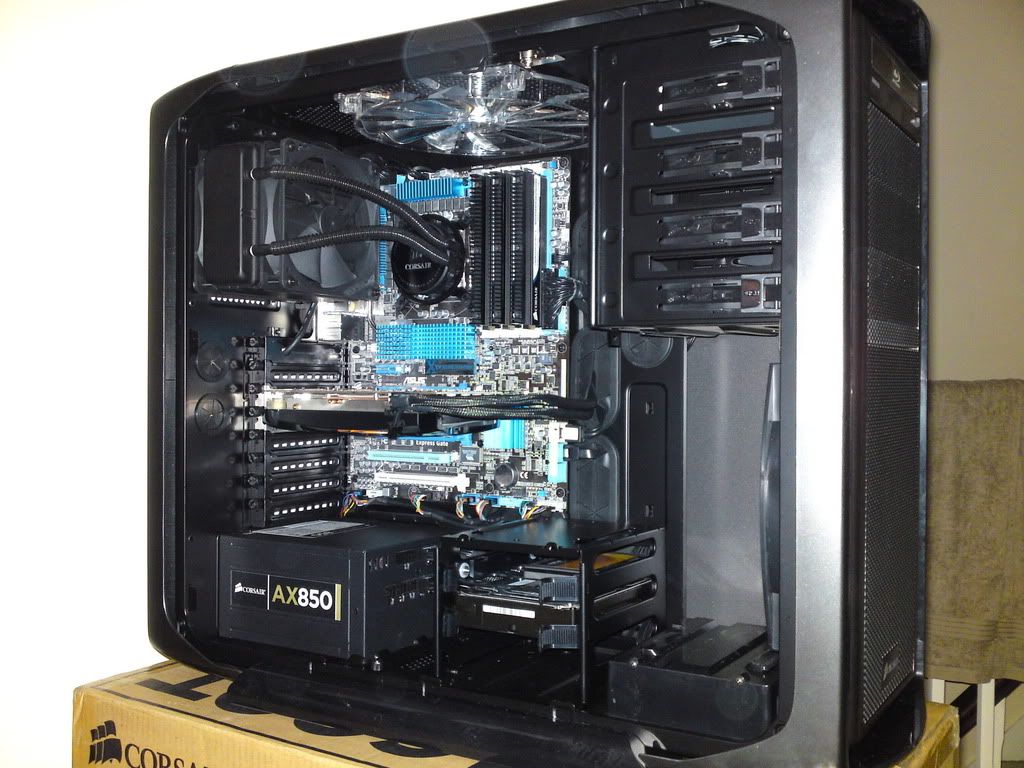
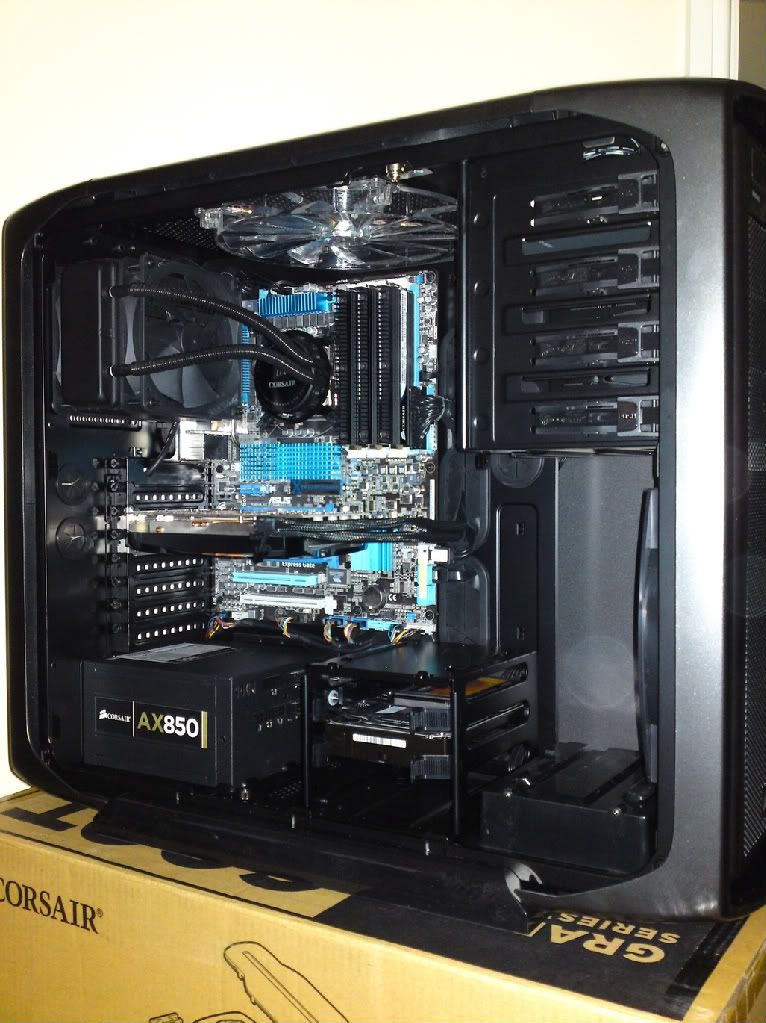
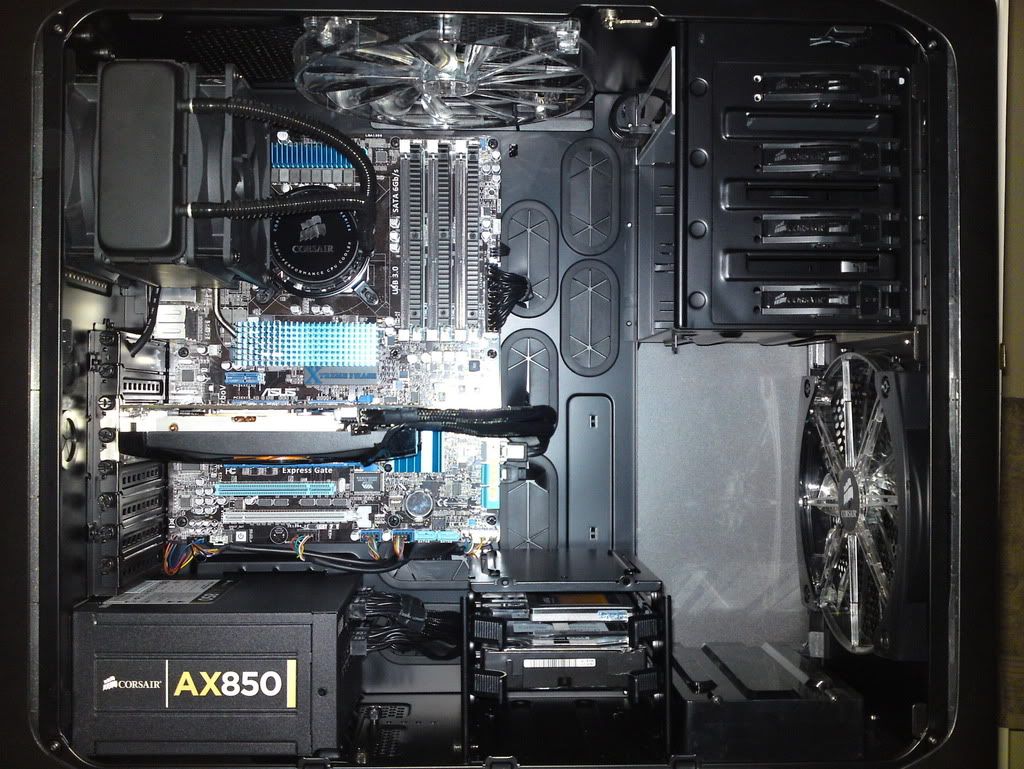
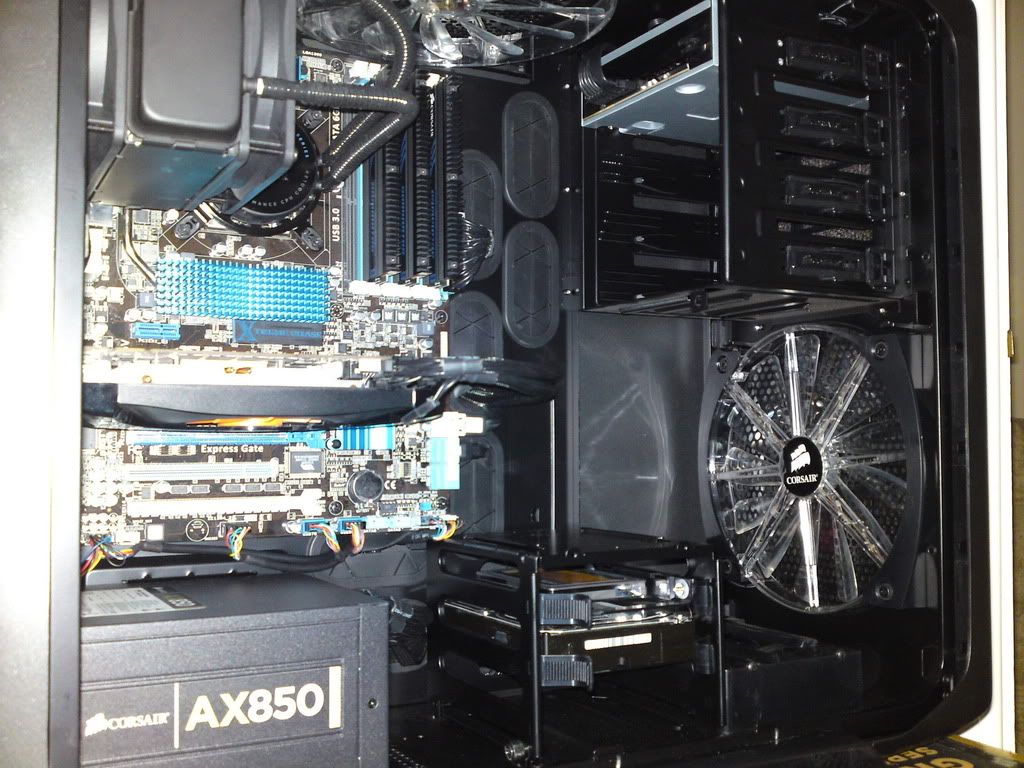
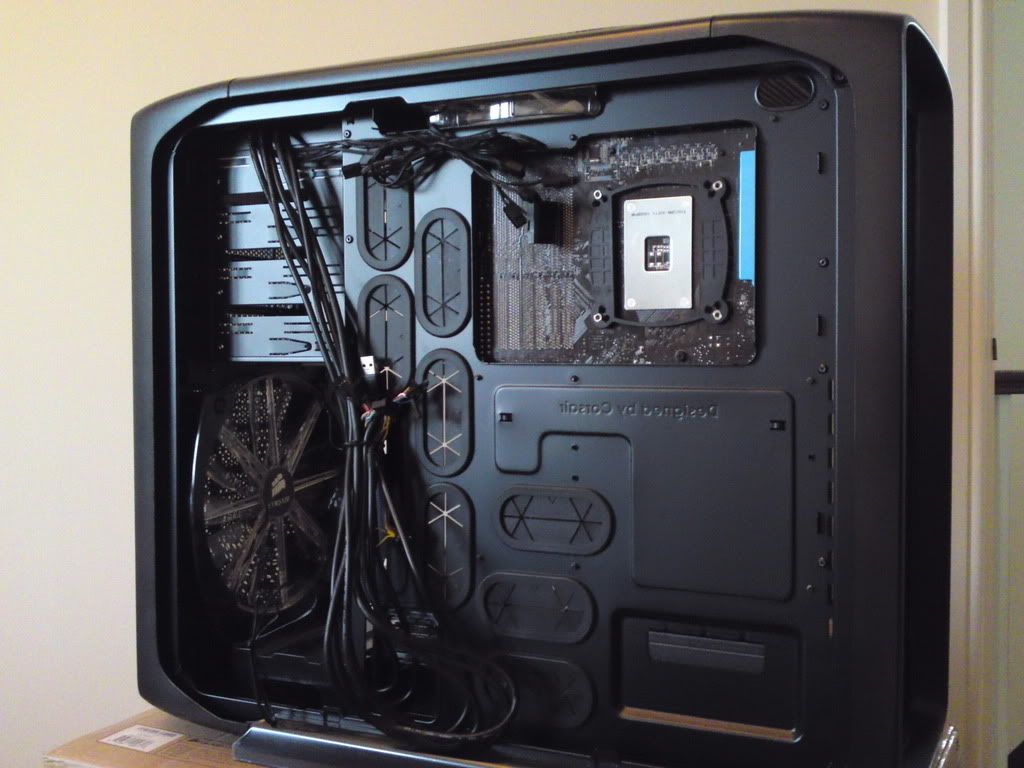
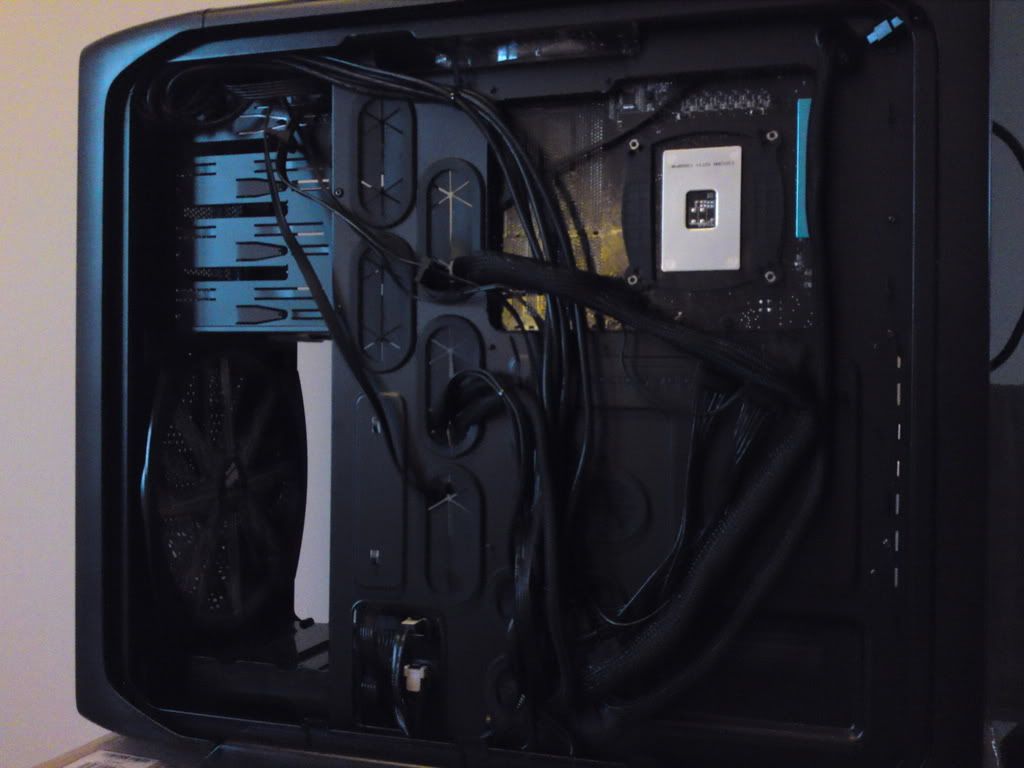
cables round the back side, i will spend a little more time tidying this lot up, only way to do a good job is to have custom length cables
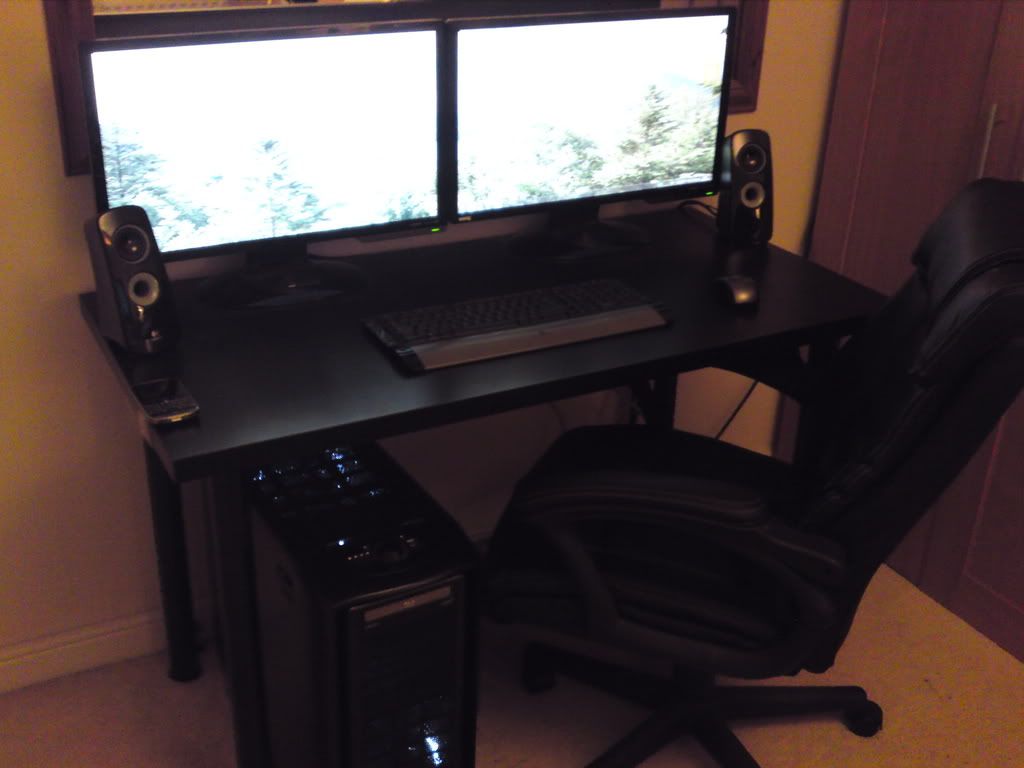
up untill now i was running the PC out of a case on my desk. glad its all safe in my case now.
spec-
I7 950
ASUS P6X58D-E
PALIT GTX460 1GB sonic platinum
Western Digital Caviar Black 1TB SATA 6Gb/s 64MB
Crucial 128GB SSD
Corsair Dominator 6GB CMP6GX3M3A1600C8
Corsair 850AX
Corsair 600T
Corsair H70
Samsung SATA Blue Ray SH-B083L/RSBP
2 X BenQ G2420HD 24
(very sorry about the poor quality pics, did not realise how bad they were coming out)
here is the case, they say small on the ouside but big on the inside, its more like big on the inside and outside!

components cleaned up ready to be fitted

got my hands on a H70 for 69.99 delivered so needed to take the useless stock heatsink of the mobo, and give the processor a clean, the stock paste did not
spread very well, but has cleaned up well

mobo and PSU fitted, mobo was a bit of a fiddle due to the shielding plate around the connectors that needs to be copressed with a fair amount of force to get the mobo
to line up with the mouting post, corsait have a stud for the mobo centre mounting hole to hold the board in position whilst the remaining fixings are screwed in (this helped a lot).
PSU slide straight in.


Drives mounted in their trays

ram fitted, hard drive cage relocated, i feel it looks a little neater here and does not impead the air flow from the front fan
just a warning, when the cage is fitted here you can no longer slide in and out the bottom hdd tray (not a problem for me as i only have two drives)

optical drive mouted, just slides in, job done

H70 back plate fitted

H70 fitted (minus one fan)

other fan fitted, both wired up, pump wired up, all front panel connections wired, all power connections wired, and sata wired, and fan controller wired up
easy job to hide all the wires in this case!

graphics card fitted, i dont like the USB3 connection method, shame my mobo does not have a USB3 header

was a shame to put my ugly graphics card in, i cannot think of a neater way to run the power cable for it, so that will do for now


cables round the back side, i will spend a little more time tidying this lot up, only way to do a good job is to have custom length cables


Last edited:



 lol
lol