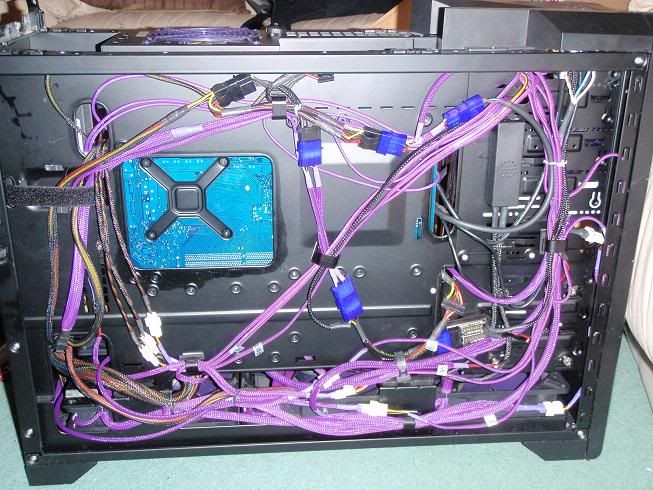
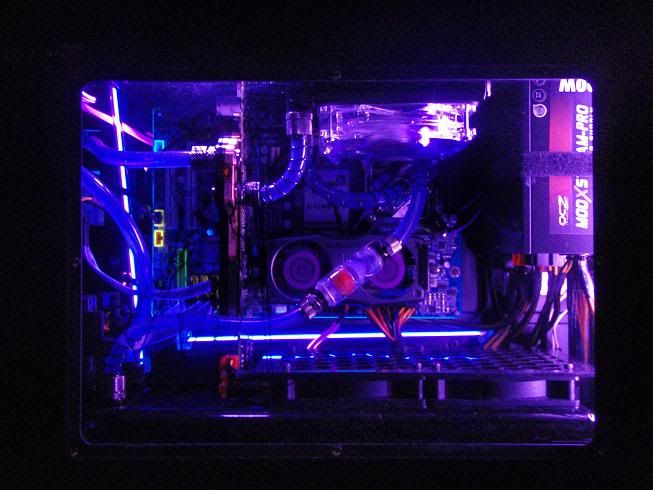
So Having received what I thought were all the tools, parts and components I would need to complete my water build I decided to make a start on it. I started at about 22:30 Friday night, and finished up after two trips out to stores finished at about 4 Saturday afternoon.
Hardware
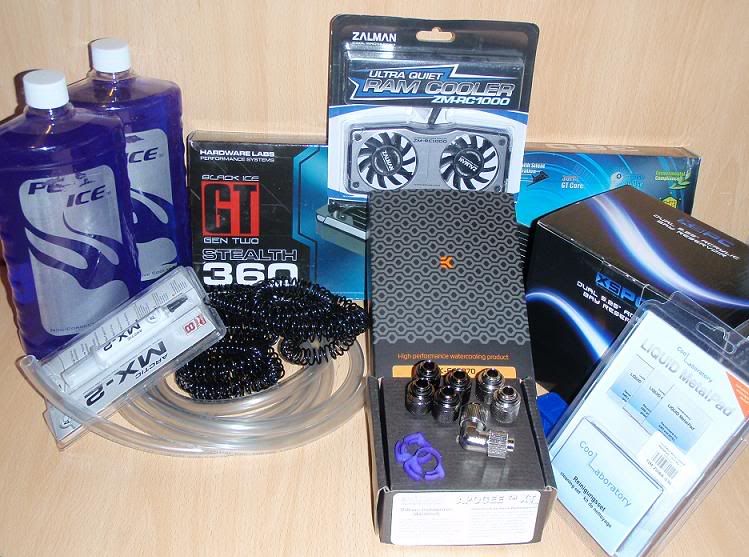
Water Cooling Components
Main Components
Radiator: Black ICE GT Stealth 360
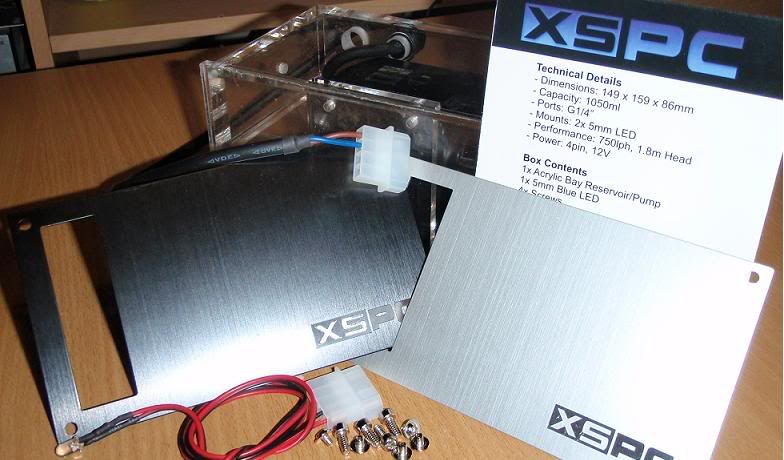
Reservoir/Pump: XSPC Dual 750
CPU Block: Swiftech Apogee XT Rev2
GPU Block: EK-FC5870-Acetal
Fittings
Compressions: 2 x Steel 1/4 - 3/8 1/2 / 2 x 2Pack Black 1/4 - 3/8 1/2
Tubing
Hose: 3meters 3/8 1/2 Clearflex 60
Clips: 2 x Purple PVC
Coils: 3meters Black Primochill AntiKink
Consumables
Heat Pad: Coollaboratory Liquid MetalPad
Thermal Paste: Arctic-Cooling MX 2
Coolant: 2 x PrimoChill ICE 32oz UV-Purple
Misc
Memory Cooler: Zalman ZM RC1000
PC Components
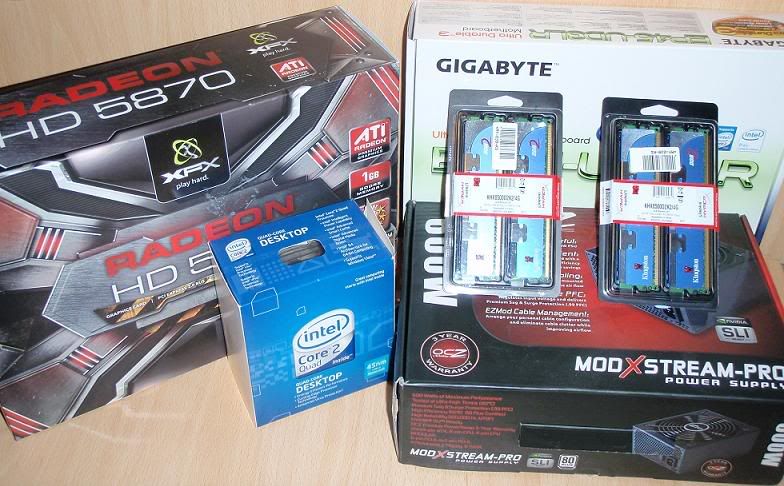
CPU: Intel Quad Core Q8400 OverClocked to 3.2
Mobo: Gigabyte GA-EP45-UD3LR Intel P45
Ram: Kingston 8g DRR2 1066
Graphics: XFX ATI 5870
PSU: OCZ ModXStream Pro 600w Silent
Case: Silverstone Raven RV02
Collectively
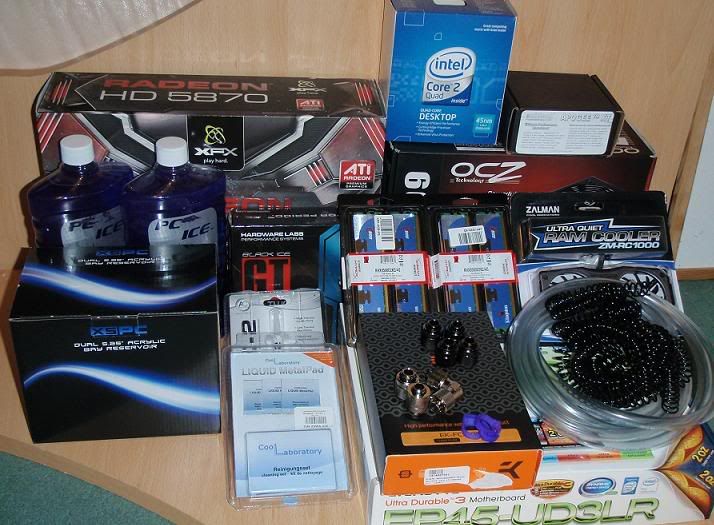
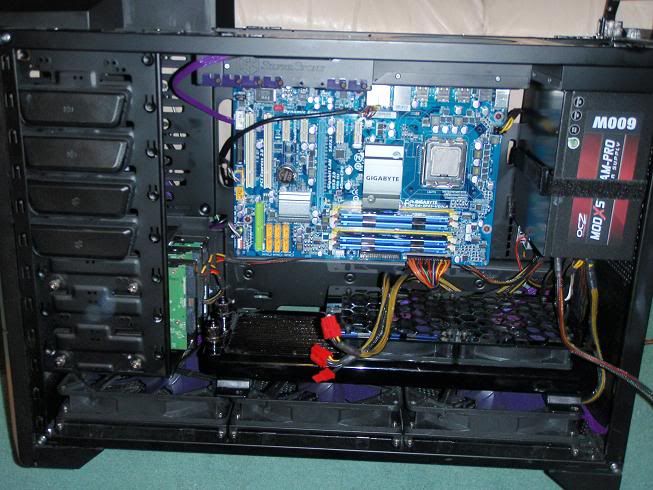
I thought to start off It would be a good idea to remove any components or obstacles from my case that would get in my way and eventually end up p1ssing me off hehe.
Case With GFX card
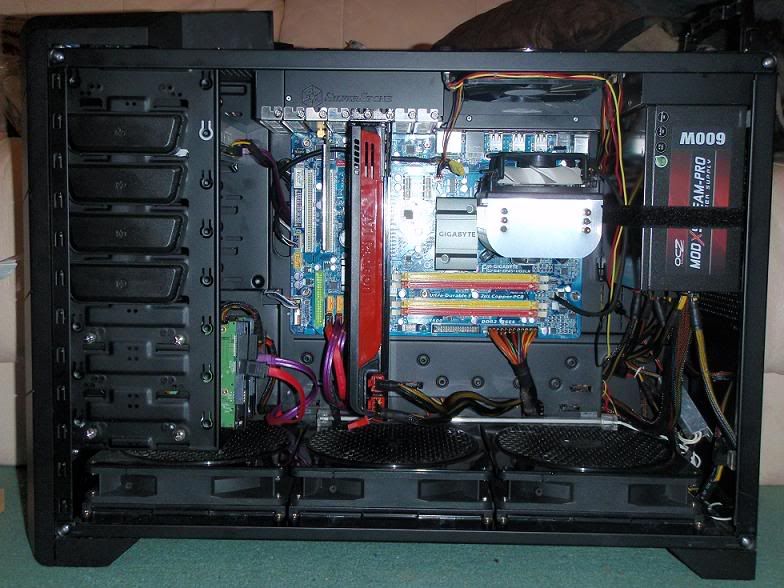
Case W/O GFX card
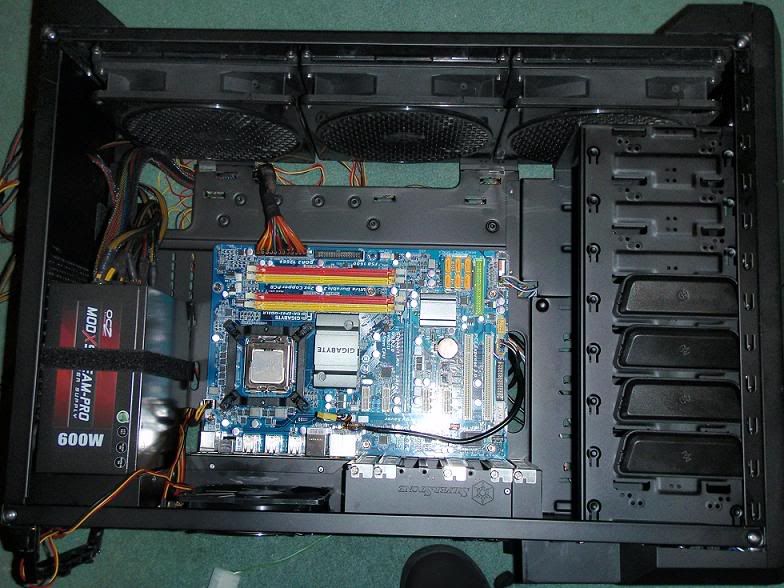
Case with messy Cables. I intend on my next stab at this to tidy these up with some sort of braiding. will have to wait and see
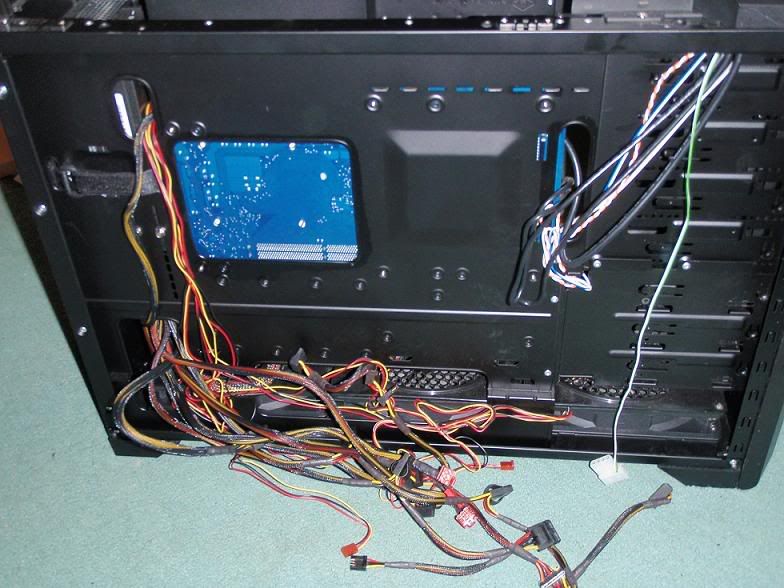
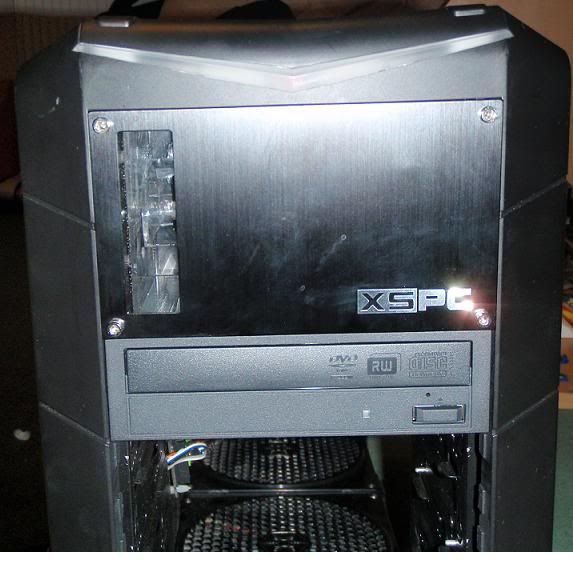
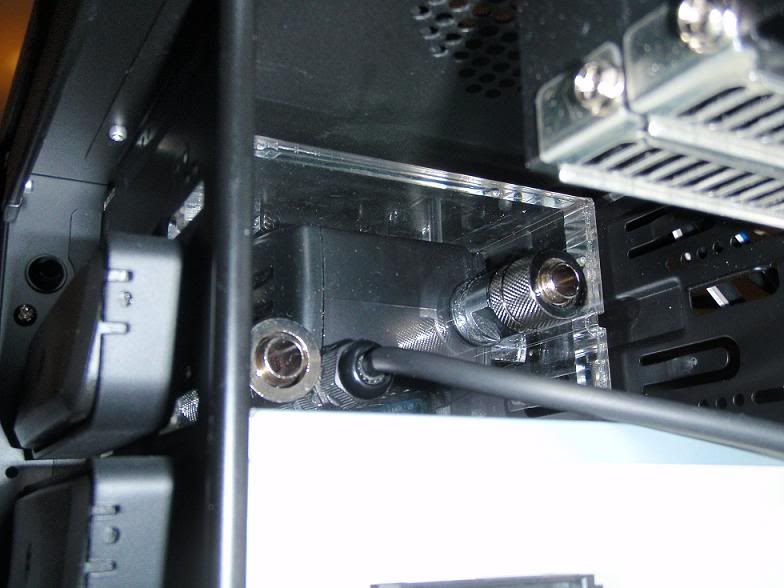
First thing I thought about doing, was adding the Pump/Reservoir to the mix. I knew/thought it would be an easy way to start off as it's just meant to slide into the 5 1/2 drive bays.... hmmm well.. TBH it did fit, but not without some excessive persuasion =P It does look quite good when it's in though.
Reservoir
Front of Reservoir (Fitted)
Rear of Reservoir (Fitted)
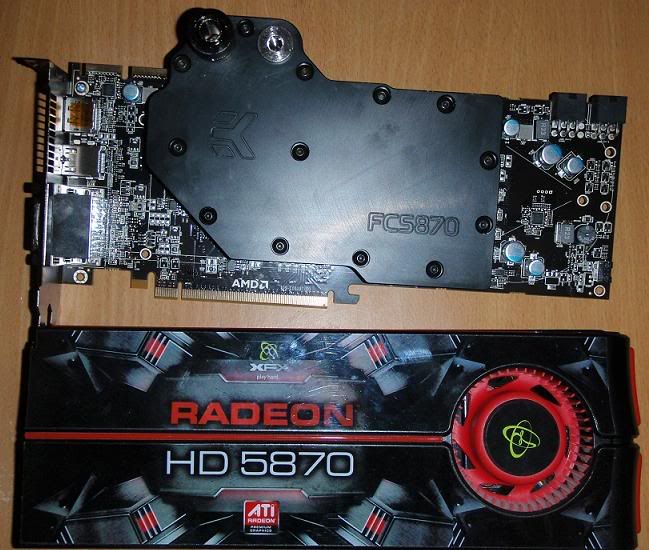
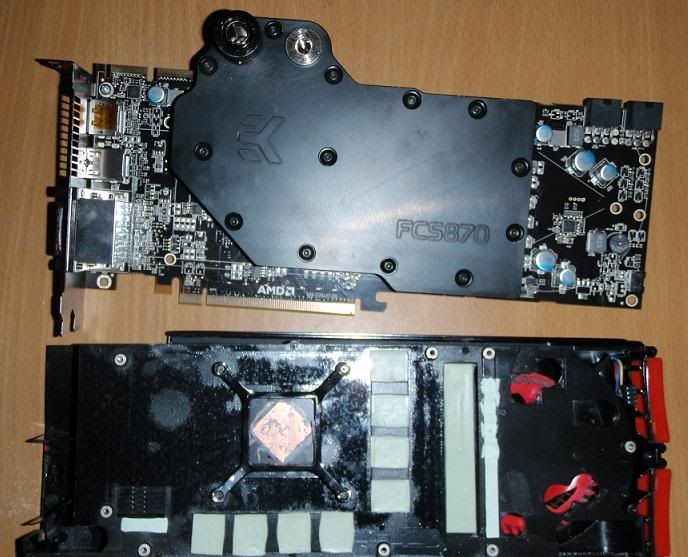
Next was the GPU block. This was a relatively easy and the only difficulty I seemed to have was struggling with cutting the different dimension thermal pads for the various size chips on the cards PCB. However after using some thermal paste to hold those fkers in place I managed to mount the block quite easily.
Block fitted
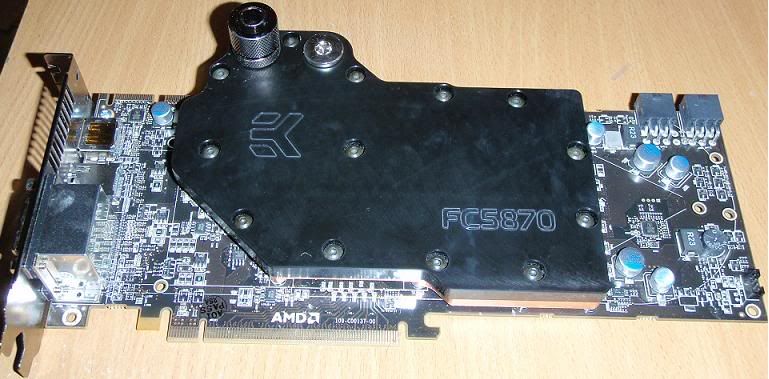
Blocked fitted and front of old heatsink
Block fitted and rear of old heatsink
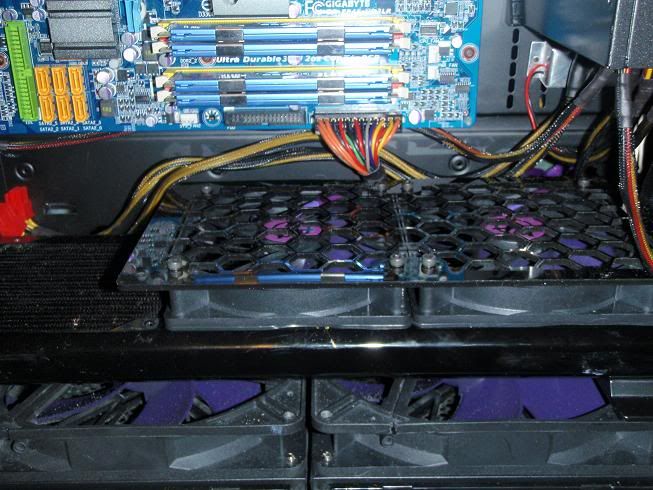
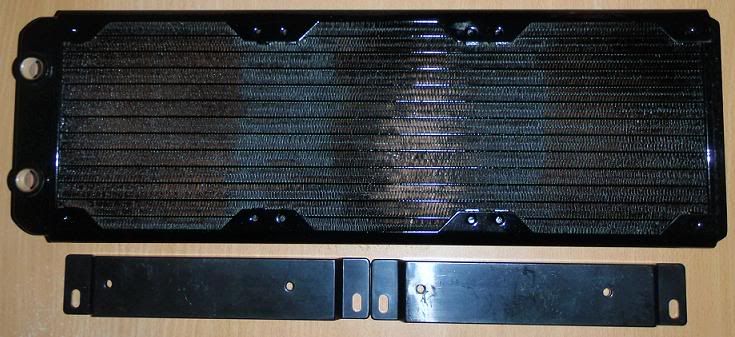
Next was the radiator that I wanted to mount to the bottom of my case above the 180mm fans. I was very happy to discover that the SilverStone Raven RV02 came with mounts for this exact purpose making my life a hell of allot easier.
Radiator and mounts
Radiator fitted
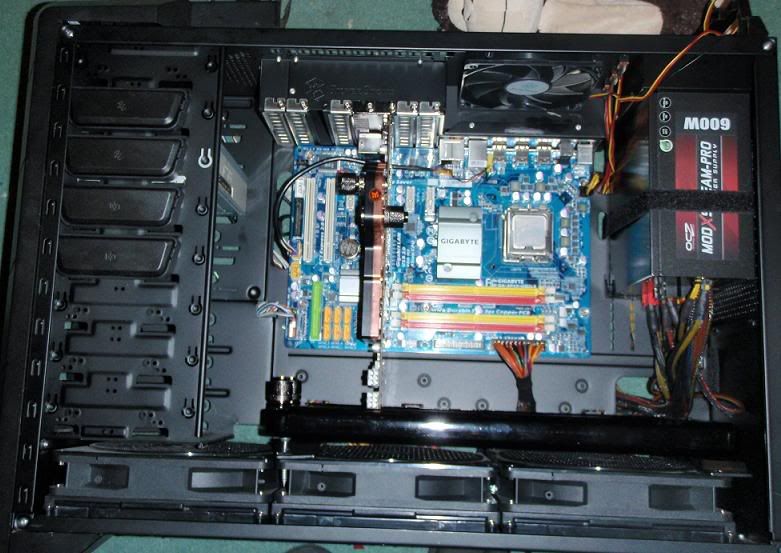
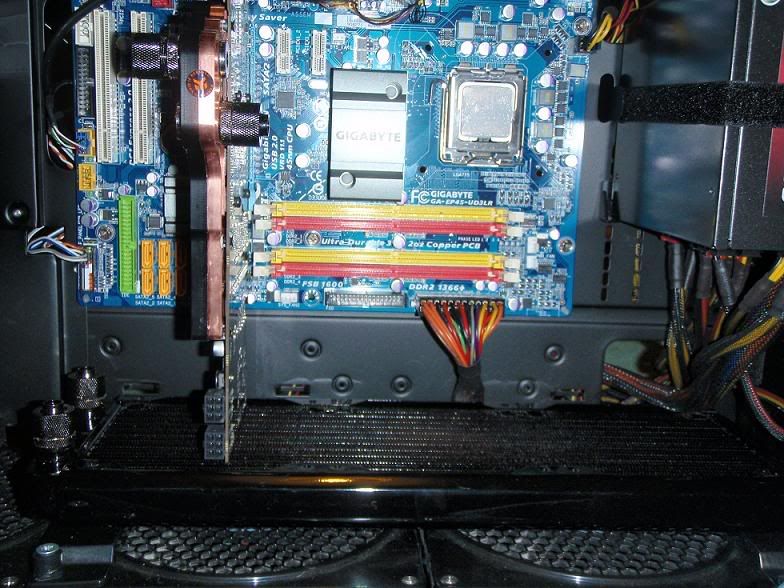
Now one of my biggest concerns when building this set-up was that once my radiator was mounted then the GFX card would no longer fit in the case. As I'm sure you are all aware the 5870 is a monster sized card!! but I managed to squeeze in WooT
Close Fit
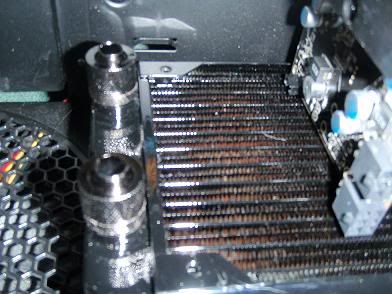
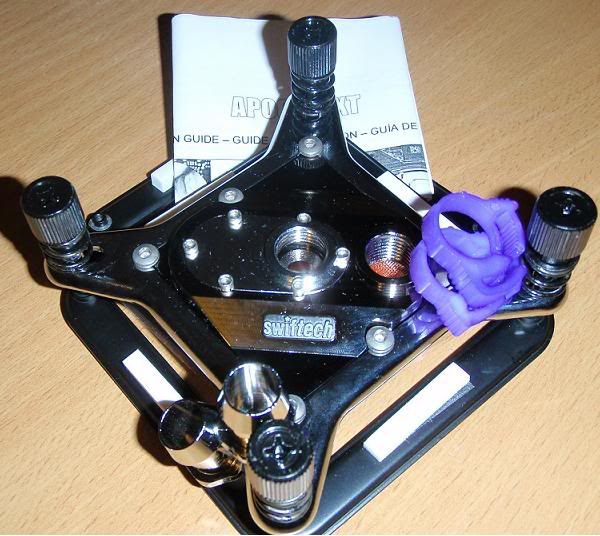
All I had left to do at this point was mount the CPU Block and then do the piping.... However after opening up the CPU block and attempted to mount the fker, I noticed that the backplates I had been given are for the i7 and the i5.... no 775 plate =(
CPU Block
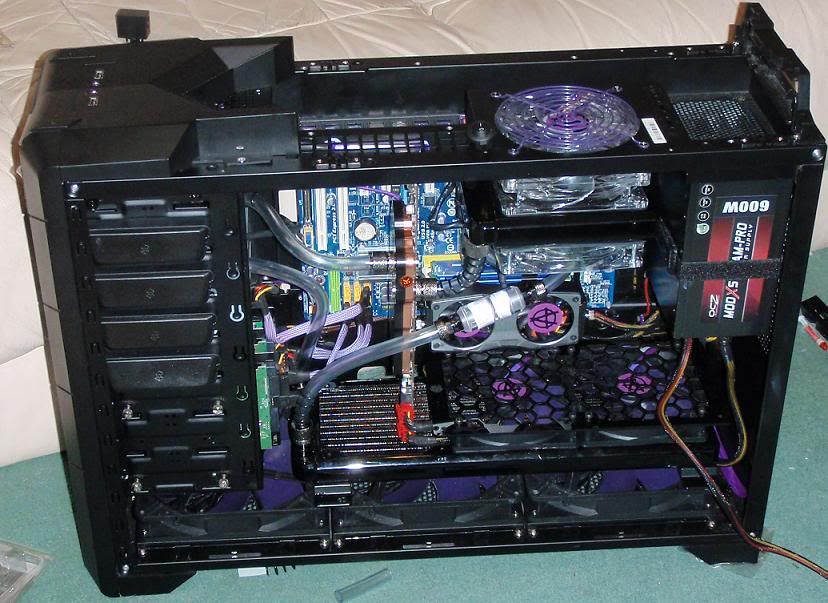
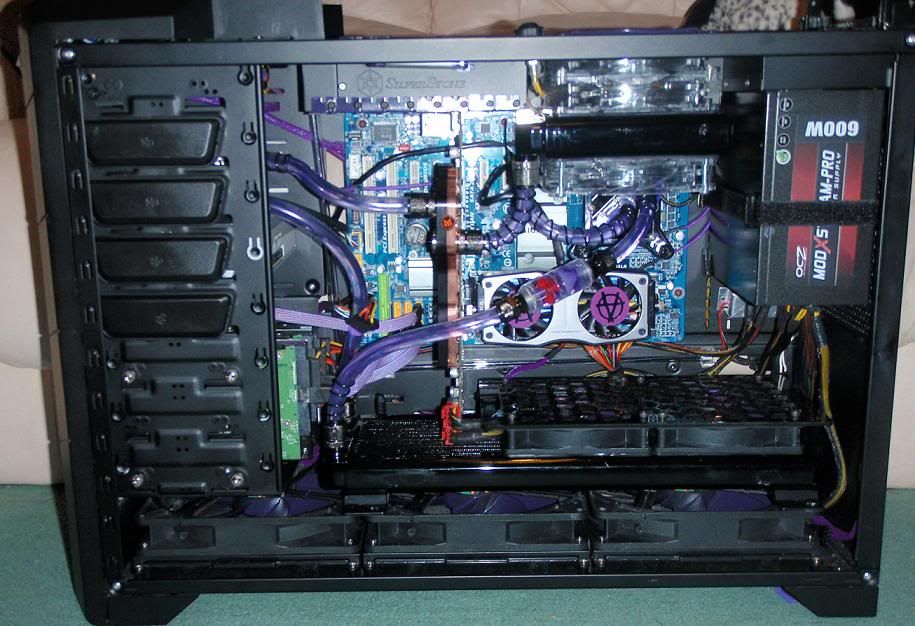
It was at this point that I made a trip to ******** to get a 775 backplate and then from there needed to go to Homebase to buy some nuts and bolts to mount it all. Currently I have no pictures of the temp build I have done, but here are some before mounting the CPU block.
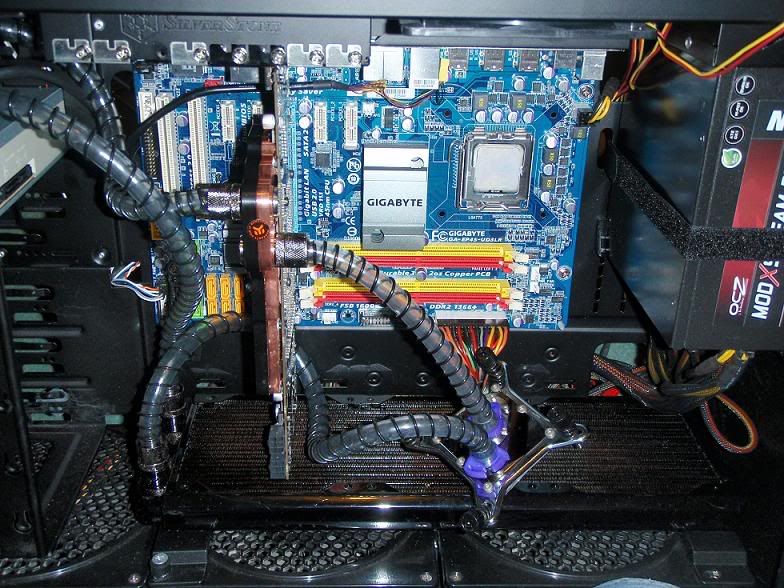
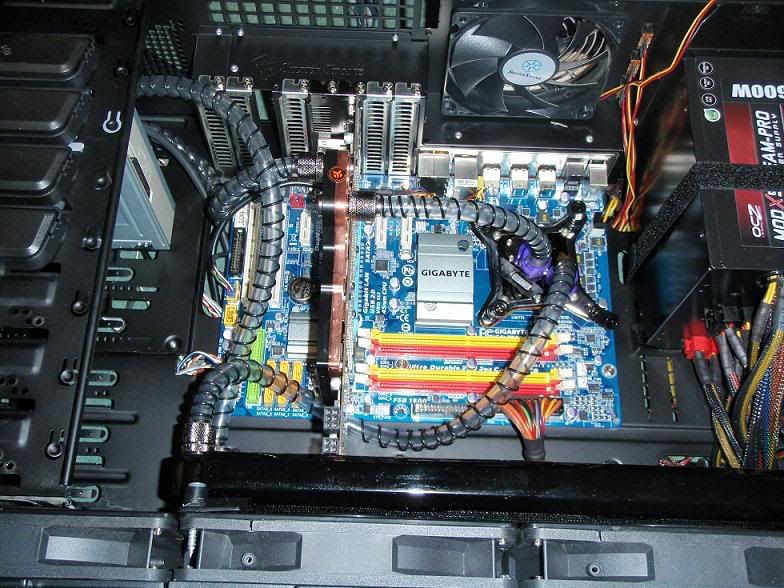
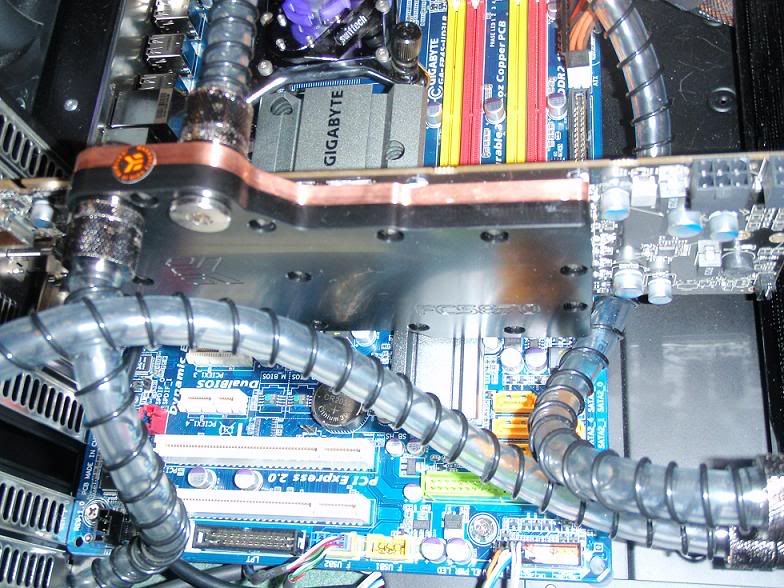
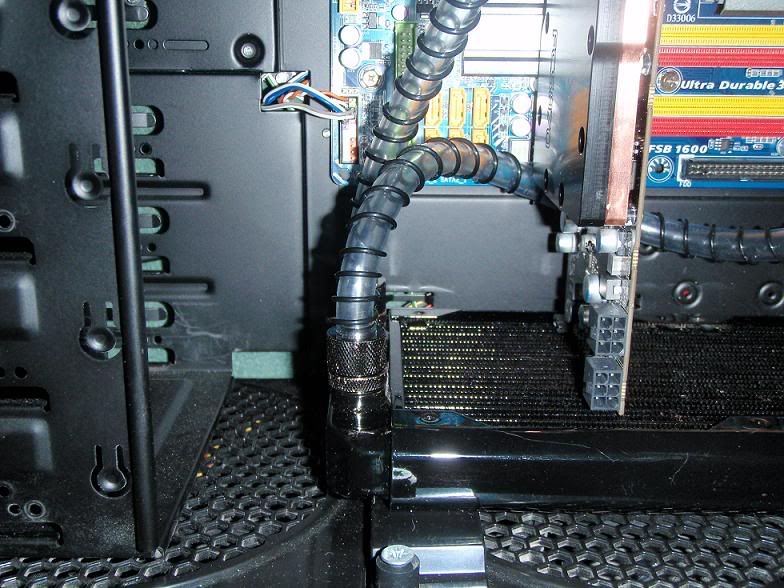
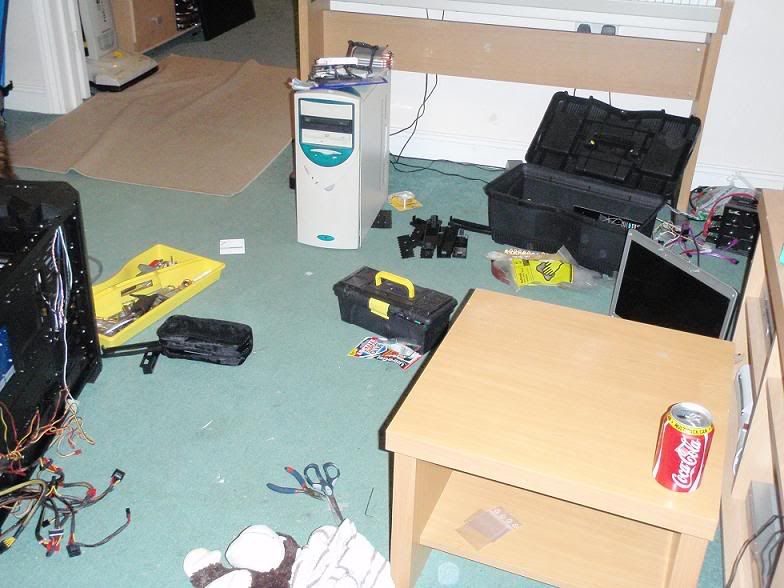
Also some pictures of me half way through, and the nice little mess I was making hehe =)
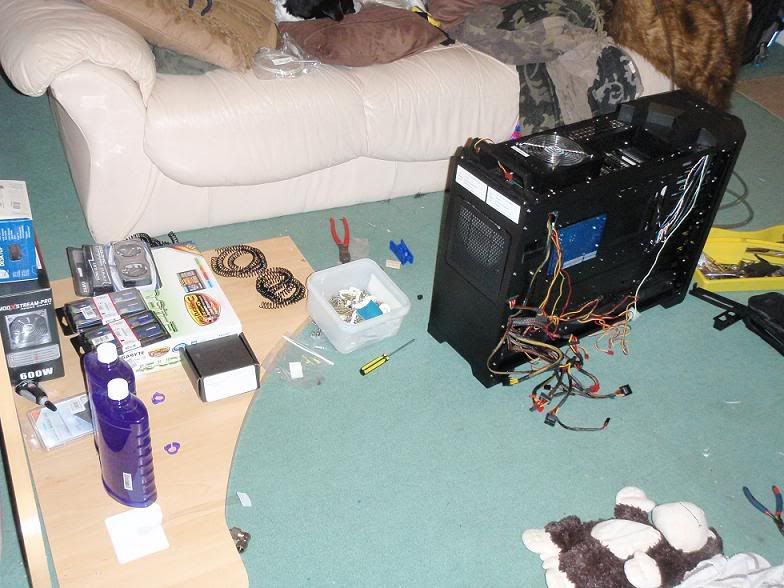
More to follow next week =)
Hardware
Water Cooling Components
Main Components
Radiator: Black ICE GT Stealth 360
Reservoir/Pump: XSPC Dual 750
CPU Block: Swiftech Apogee XT Rev2
GPU Block: EK-FC5870-Acetal
Fittings
Compressions: 2 x Steel 1/4 - 3/8 1/2 / 2 x 2Pack Black 1/4 - 3/8 1/2
Tubing
Hose: 3meters 3/8 1/2 Clearflex 60
Clips: 2 x Purple PVC
Coils: 3meters Black Primochill AntiKink
Consumables
Heat Pad: Coollaboratory Liquid MetalPad
Thermal Paste: Arctic-Cooling MX 2
Coolant: 2 x PrimoChill ICE 32oz UV-Purple
Misc
Memory Cooler: Zalman ZM RC1000

PC Components
CPU: Intel Quad Core Q8400 OverClocked to 3.2
Mobo: Gigabyte GA-EP45-UD3LR Intel P45
Ram: Kingston 8g DRR2 1066
Graphics: XFX ATI 5870
PSU: OCZ ModXStream Pro 600w Silent
Case: Silverstone Raven RV02

Collectively

I thought to start off It would be a good idea to remove any components or obstacles from my case that would get in my way and eventually end up p1ssing me off hehe.
Case With GFX card

Case W/O GFX card

Case with messy Cables. I intend on my next stab at this to tidy these up with some sort of braiding. will have to wait and see


First thing I thought about doing, was adding the Pump/Reservoir to the mix. I knew/thought it would be an easy way to start off as it's just meant to slide into the 5 1/2 drive bays.... hmmm well.. TBH it did fit, but not without some excessive persuasion =P It does look quite good when it's in though.
Reservoir

Front of Reservoir (Fitted)

Rear of Reservoir (Fitted)

Next was the GPU block. This was a relatively easy and the only difficulty I seemed to have was struggling with cutting the different dimension thermal pads for the various size chips on the cards PCB. However after using some thermal paste to hold those fkers in place I managed to mount the block quite easily.
Block fitted

Blocked fitted and front of old heatsink

Block fitted and rear of old heatsink

Next was the radiator that I wanted to mount to the bottom of my case above the 180mm fans. I was very happy to discover that the SilverStone Raven RV02 came with mounts for this exact purpose making my life a hell of allot easier.
Radiator and mounts

Radiator fitted


Now one of my biggest concerns when building this set-up was that once my radiator was mounted then the GFX card would no longer fit in the case. As I'm sure you are all aware the 5870 is a monster sized card!! but I managed to squeeze in WooT
Close Fit

All I had left to do at this point was mount the CPU Block and then do the piping.... However after opening up the CPU block and attempted to mount the fker, I noticed that the backplates I had been given are for the i7 and the i5.... no 775 plate =(
CPU Block

It was at this point that I made a trip to ******** to get a 775 backplate and then from there needed to go to Homebase to buy some nuts and bolts to mount it all. Currently I have no pictures of the temp build I have done, but here are some before mounting the CPU block.


Also some pictures of me half way through, and the nice little mess I was making hehe =)


More to follow next week =)
Last edited:


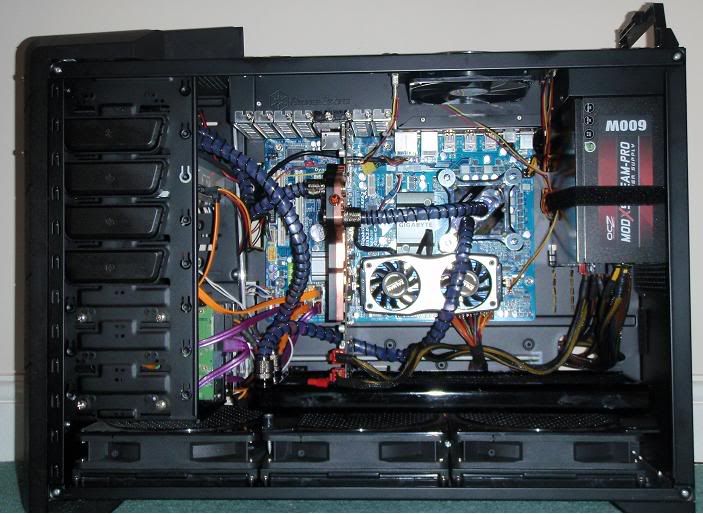
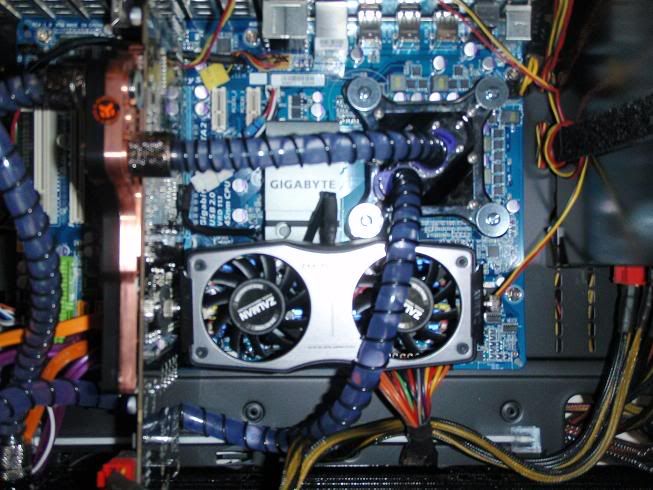
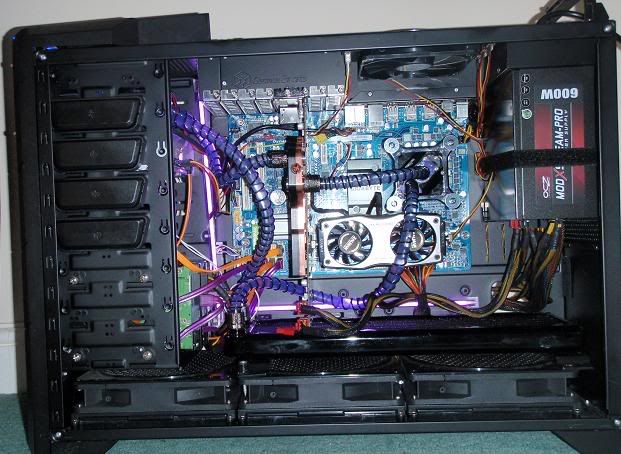
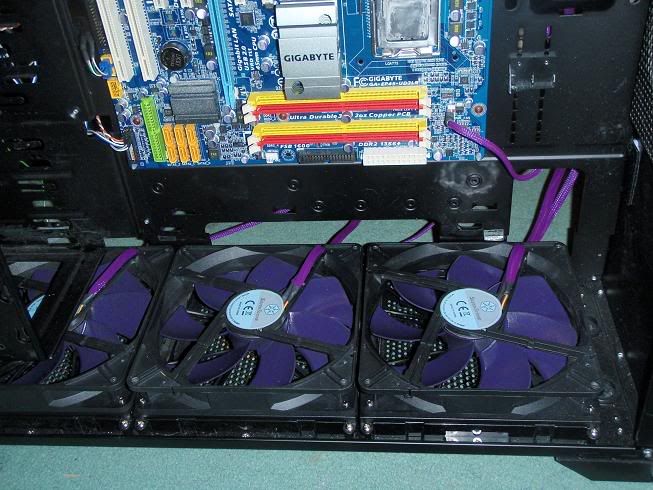

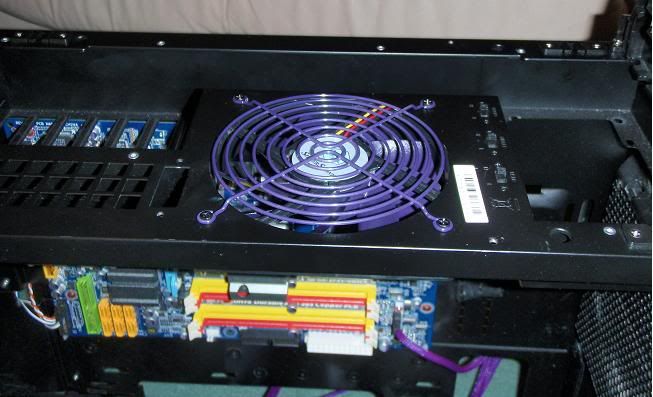
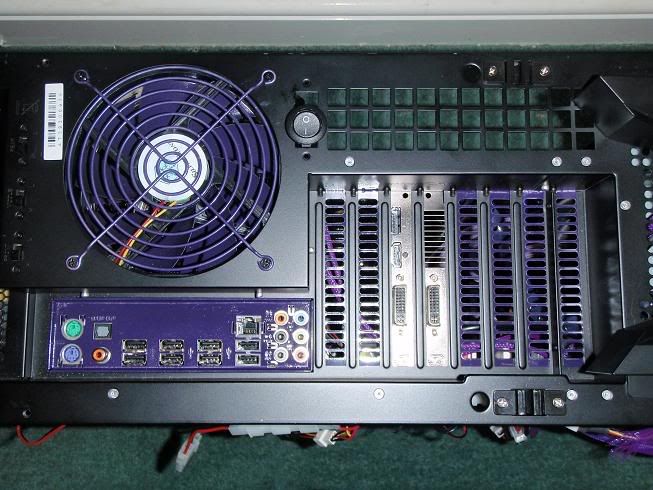
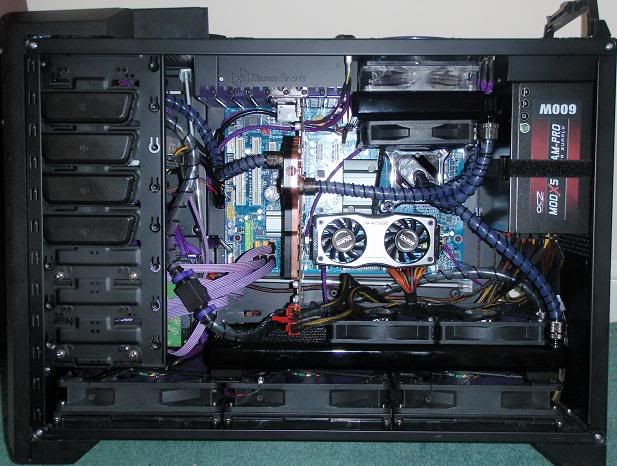
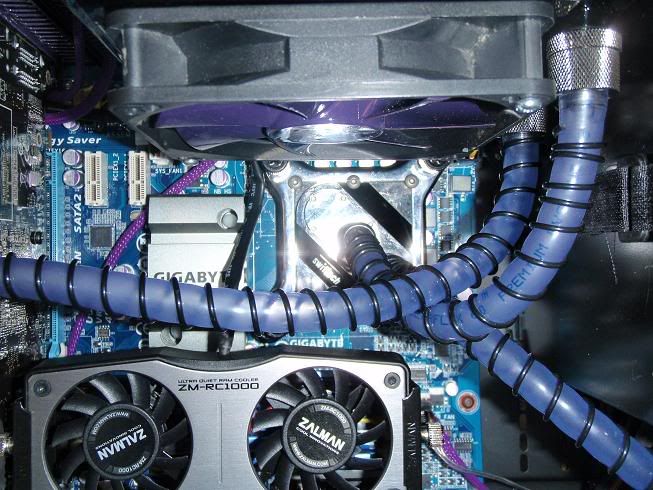
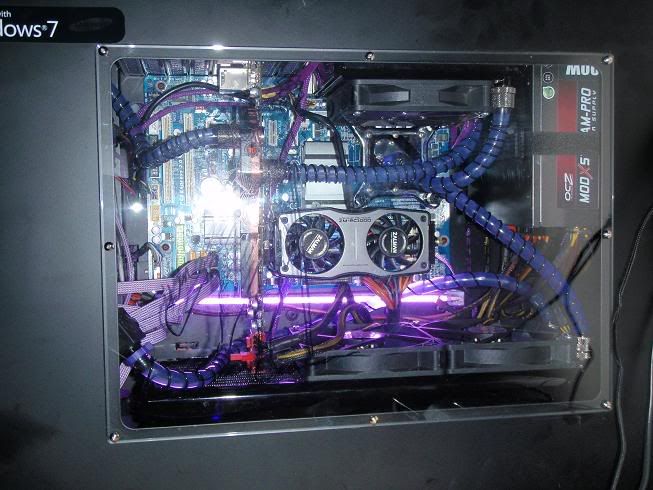
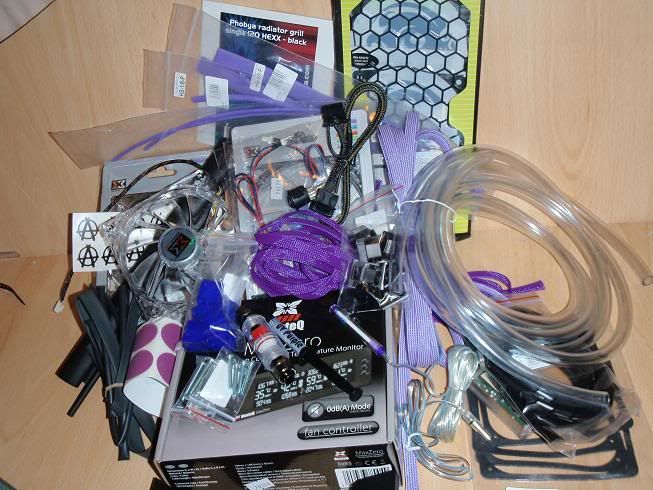
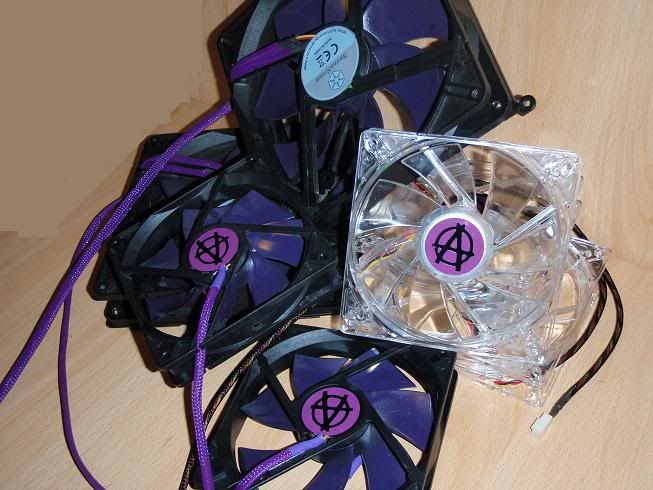
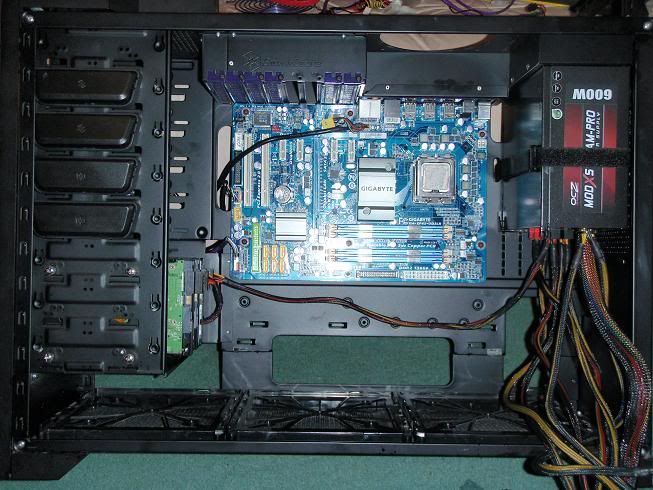
 I was unable to fit te single 120mm onto the radiator (only part of radiator thats showing because the cover covered up the inlet and outlet holes for the pipping.