first watercooled build: caselabs SM8

Associate
Joined
19 Dec 2013
Posts
1,285
Location
Penrith, Cumbria
I never thought that I would be patient enough to make a build log but here we are!

first of all, this project started well over a year ago. I bought my first watercooling part in April 2014. since then, the spec list has changed drastically. I started in a NZXT phantom on an AMD am3+ platform, moved over to a corsair 750D and Z87 and 4770k system, then an enthoo primo, and finally this.
here is the final spec sheet:
-case: Caselabs SM8
-motherboard: Asus X99 Deluxe
-ram: Corsair Dominator Platinum 2666Mhz
-cpu: intel 5930k
-gpu: Galax 980 HOF
-psu: EVGA supernova 750 G2
-SSD1: samsung EVO 840 120gb
-SSD2: samsung EVO 850 500gb
-HDD: Seagate Barracuda 1TB

Watercooling gear:
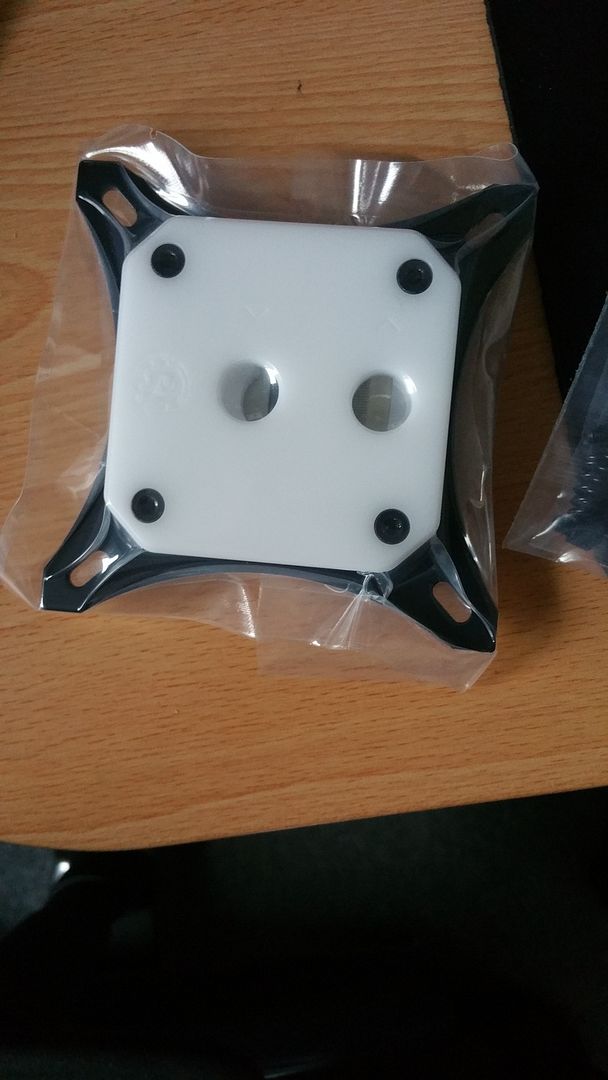
-cpu block: Bitspower Summit white acetal
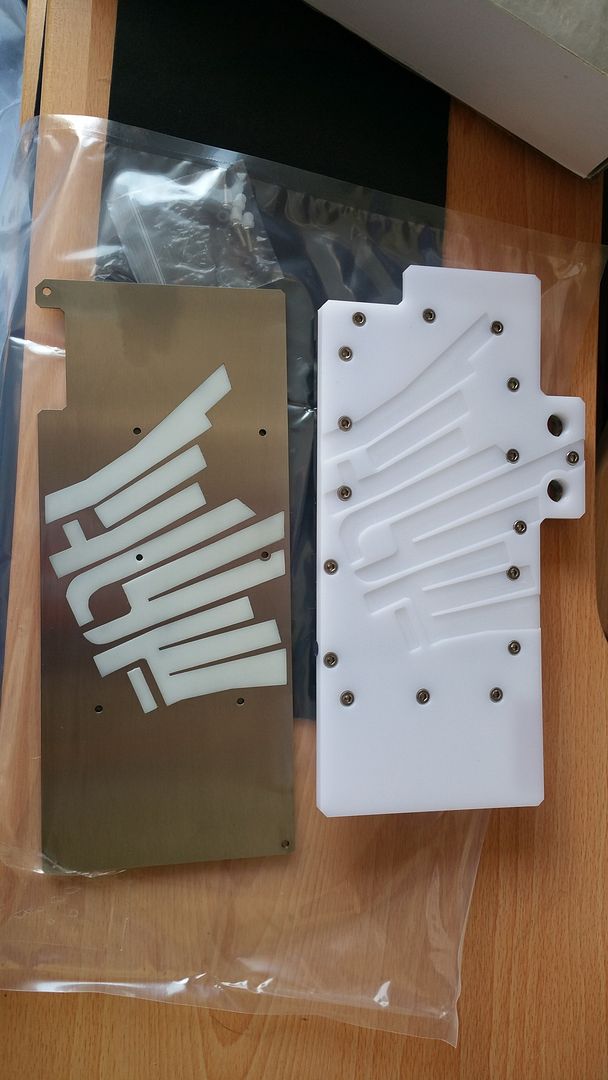
-gpu block: Diamond Cooling custom block and backplate
-fittings: Bitspower enhanced multi link adapters, rotary 90 degree and valve
-tubing: E22
-pump: EK PWM D5
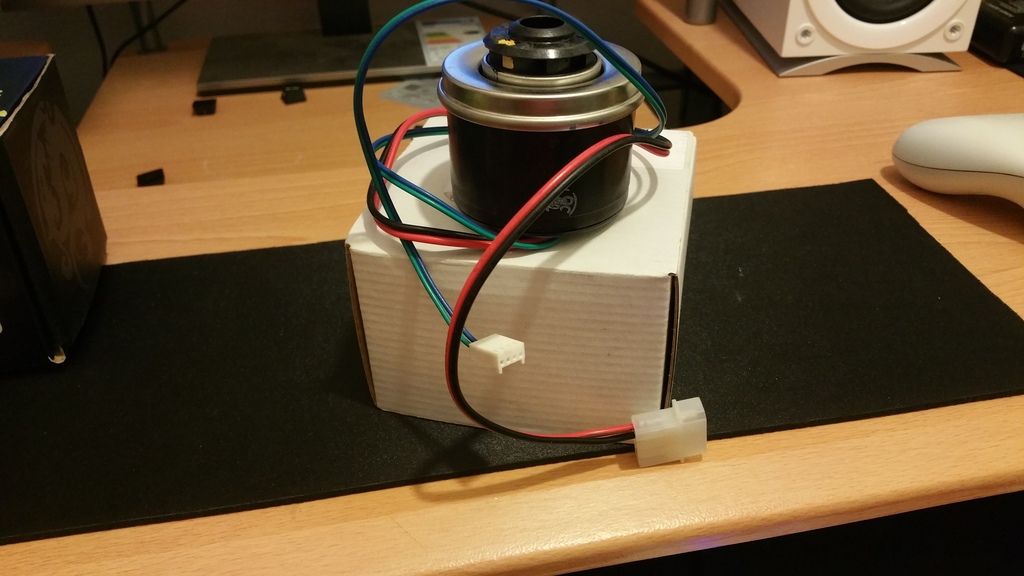
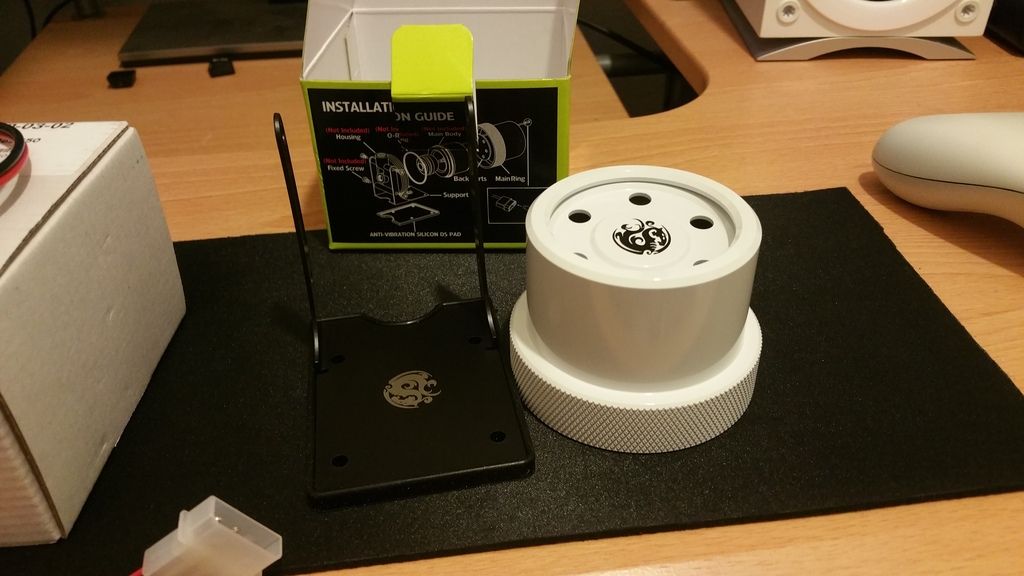
-pump cover: Bitspower modkit
-pump top: Bitspower D5 top
-res combo: Bitspower D5 upgrade Kit
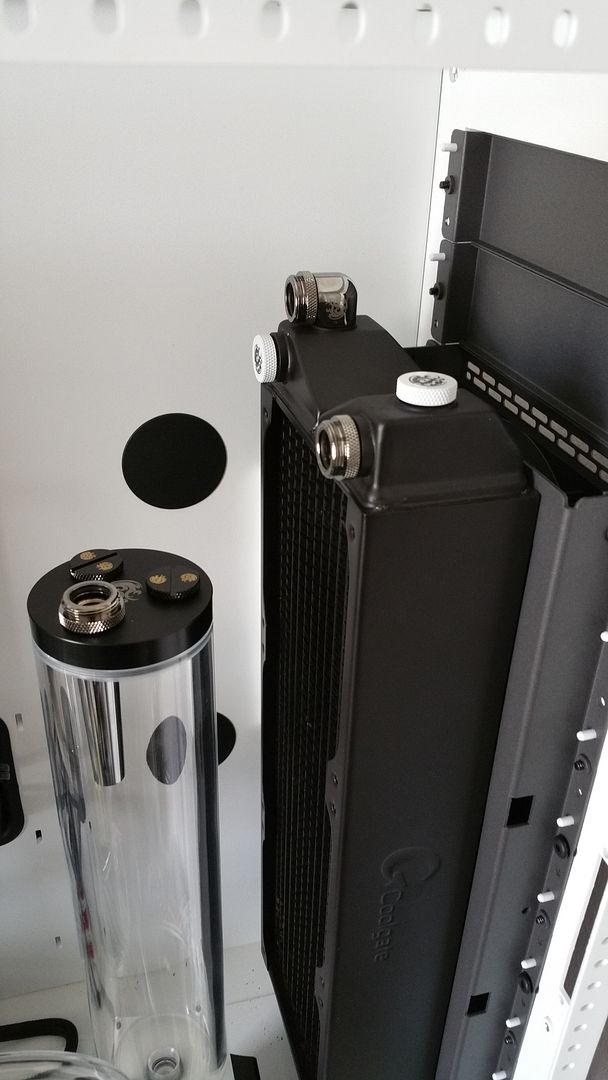
-360 radiator: Coolgate CG360
-480 radiator: Coolgate CG480

other:
-corsair ram lightbar kit
-modmytoys 4pin x 4 PCB


bear in mind that I do not have a camera so all the pictures are taken on a samsung Galaxy Note 4

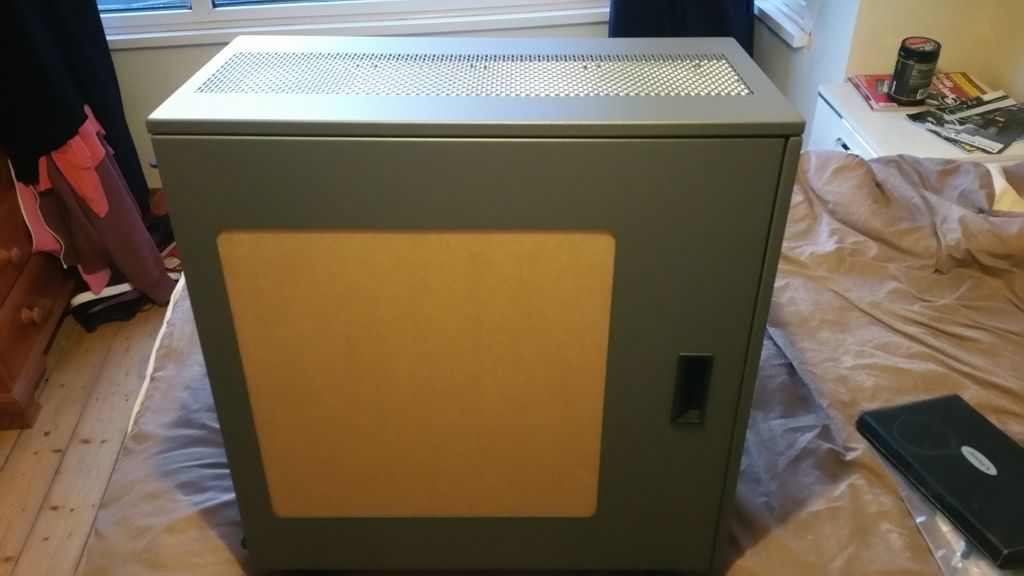
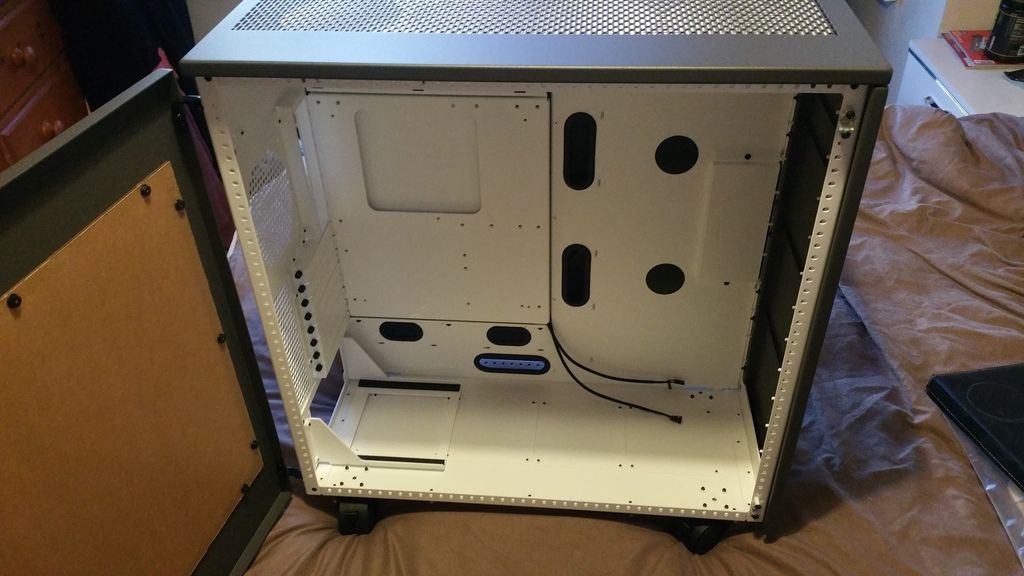
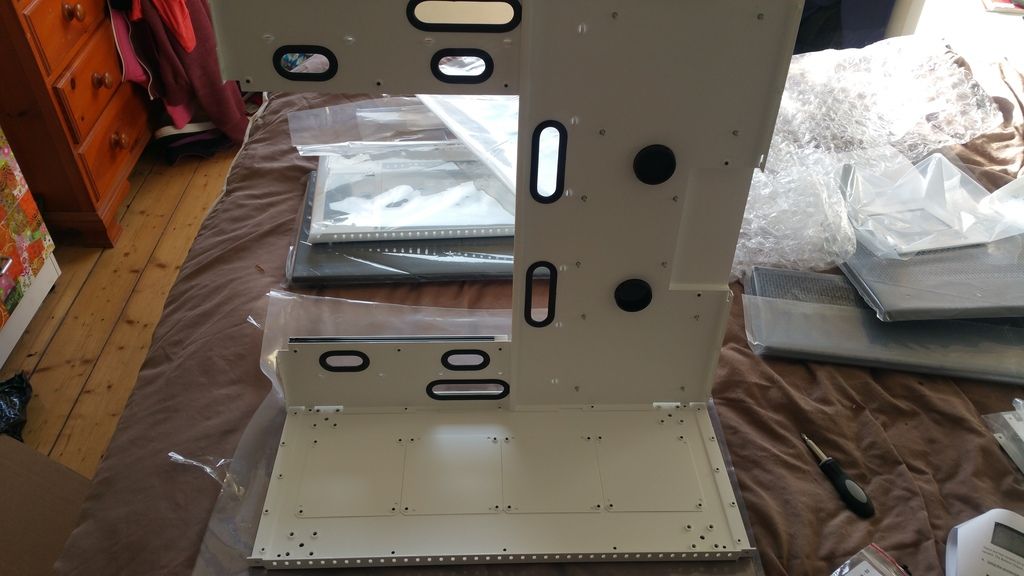
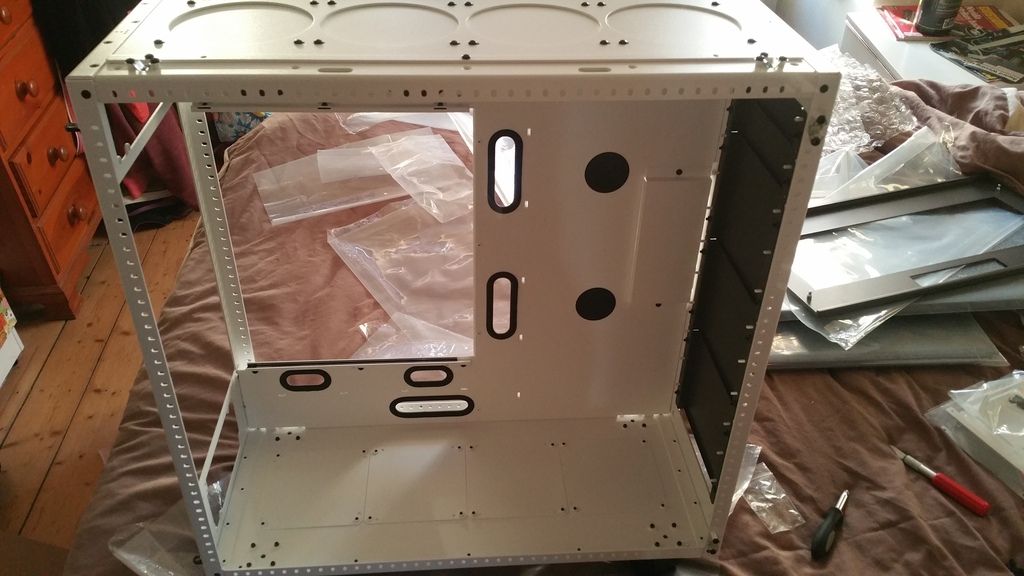
first of all, the case. I've been through so many cases in such a period of time but the whole time, I wanted a caselabs. I was telling myself that they were too expensive but I wasted so much money on cases that weren't right for me that in the end I decided to cut my losses and go for it.
35 days after placing my order, I received this:
20150430_175143_zpstgm4han3.jpg

20150430_195805_zpscafugzbc.jpg

20150430_204937_zpsa9s3qu5e.jpg

20150430_205003_zpsacgmuaql.jpg
 
I had most of the parts in my office for months and months. Even over a year for the fittings!
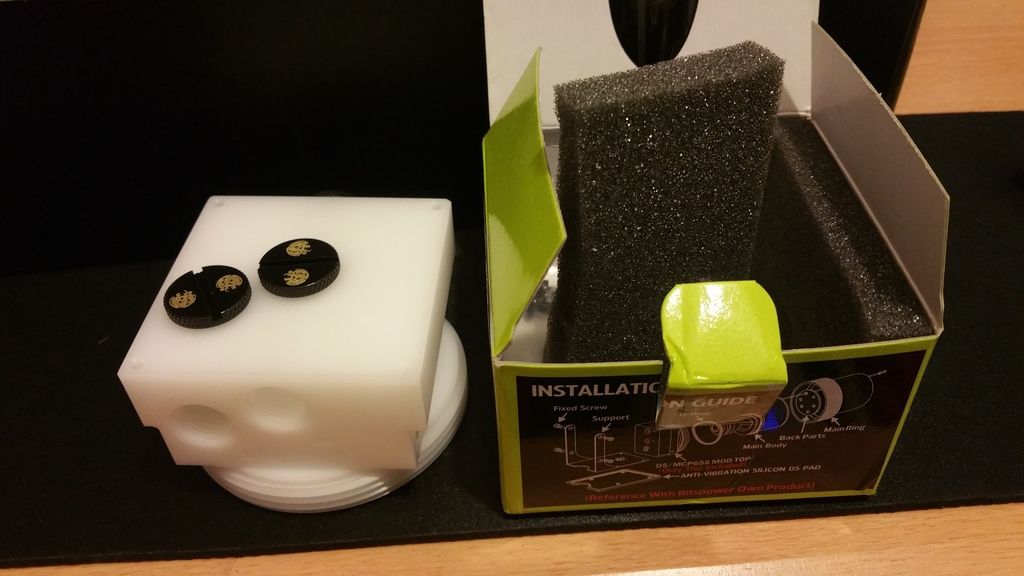
here are some of the watercooling parts used:
pump top:
20150515_203302_zpsiptniqc1.jpg


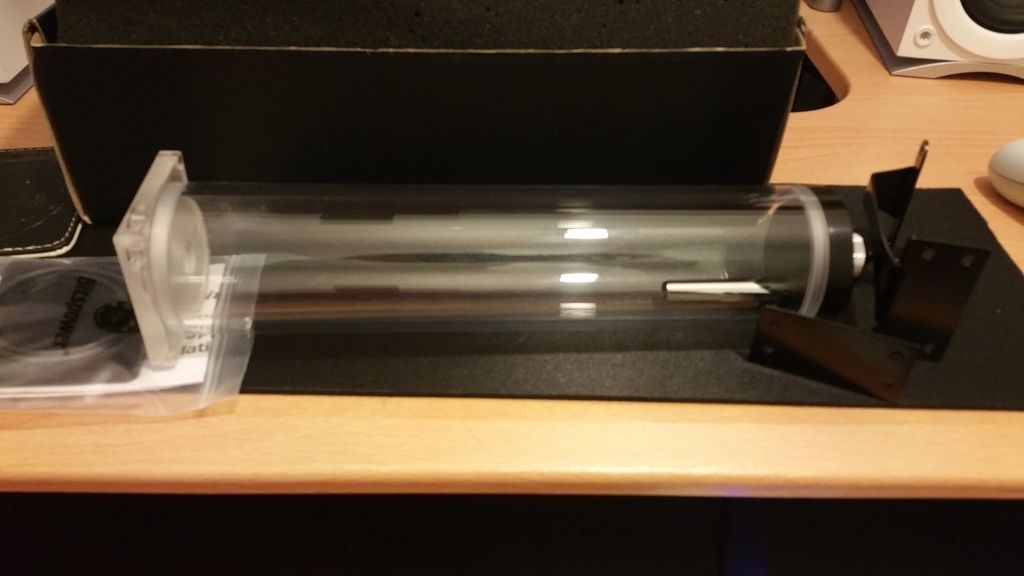
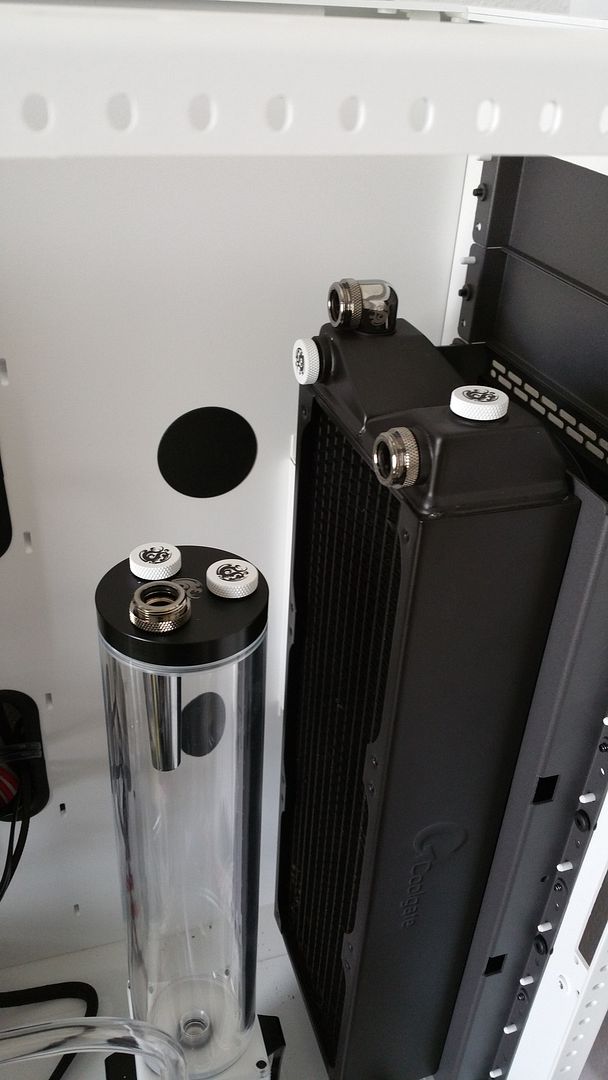
reservoir (that was later used with the upgrade kit):
20150515_203350_zpsaabdjbau.jpg


D5 pump:
20150515_204158_zpsdimj2tqs.jpg


D5 modkit in white (shame they don't stock it in the UK):
20150515_204359_zpscveqhhim.jpg


CPU block:
20150517_200953_zpsyxr41xyz.jpg


and finally, my GPU block. the guys at Diamond Cooling were absolutely amazing and managed to materialise what I wanted. the backplate is brushed aluminium with white inserts:
20150514_085915_zpsdvxibsi0.jpg
 
and now the build.

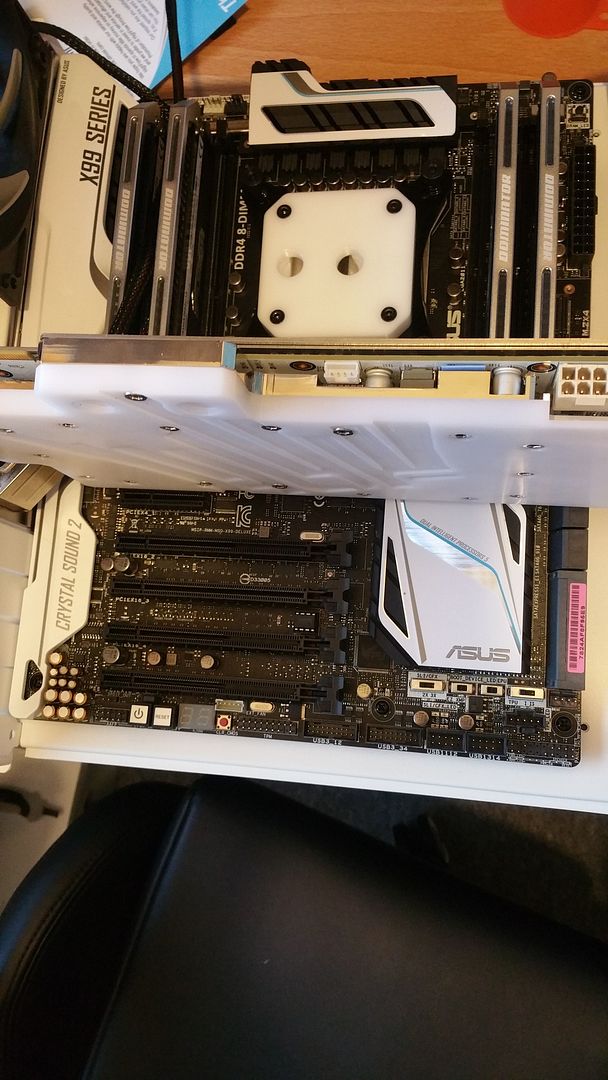
fitting the blocks was way harder than I anticipated. the gpu block took me a couple of hours and a few scary episodes when it came to tightening everything. but I got there eventually!
20150517_204122_zps5kxbzsh2.jpg


the gpu is so heavy that it drops quite a lot unfortunately
20150518_104330_zpsurjswhr1.jpg


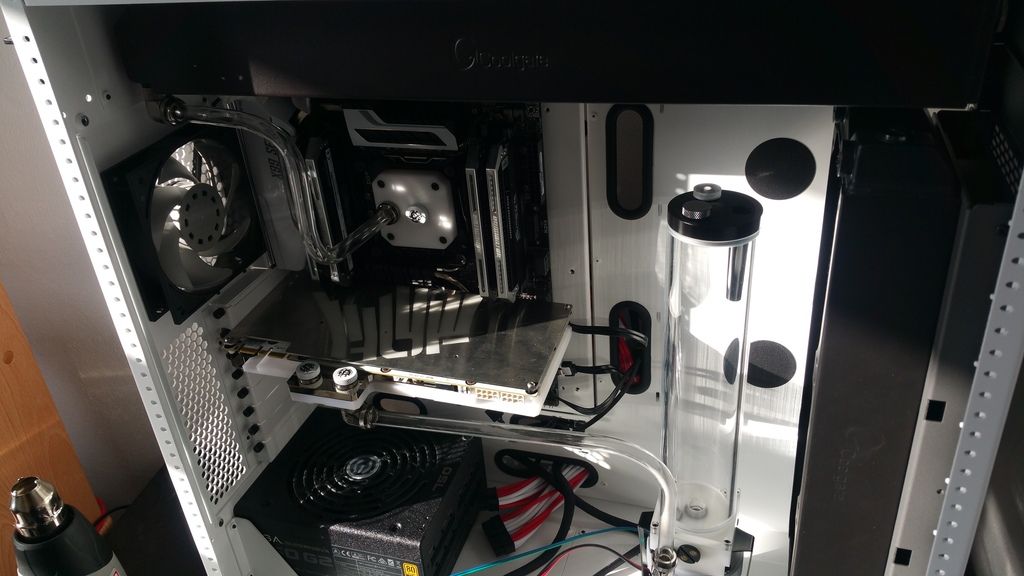
I spent ages wondering which order I should put my loop in.
20150525_184652_zpssbbxmgpy.jpg


I couldn't decide neither which combination of stop fittings to go for
20150530_110018_zpsd3nqicyo.jpg

20150530_110159_zpseq2frrul.jpg


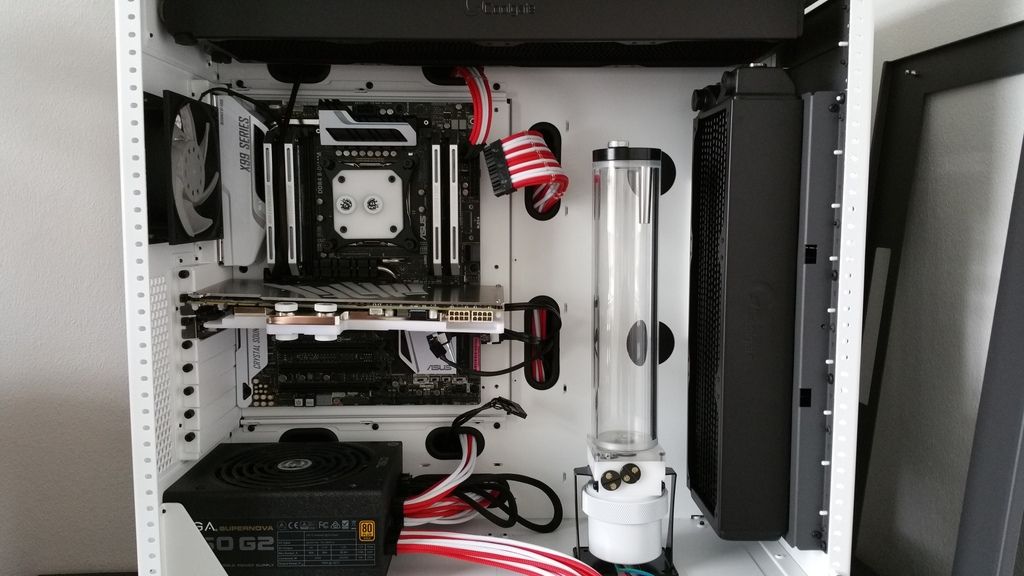
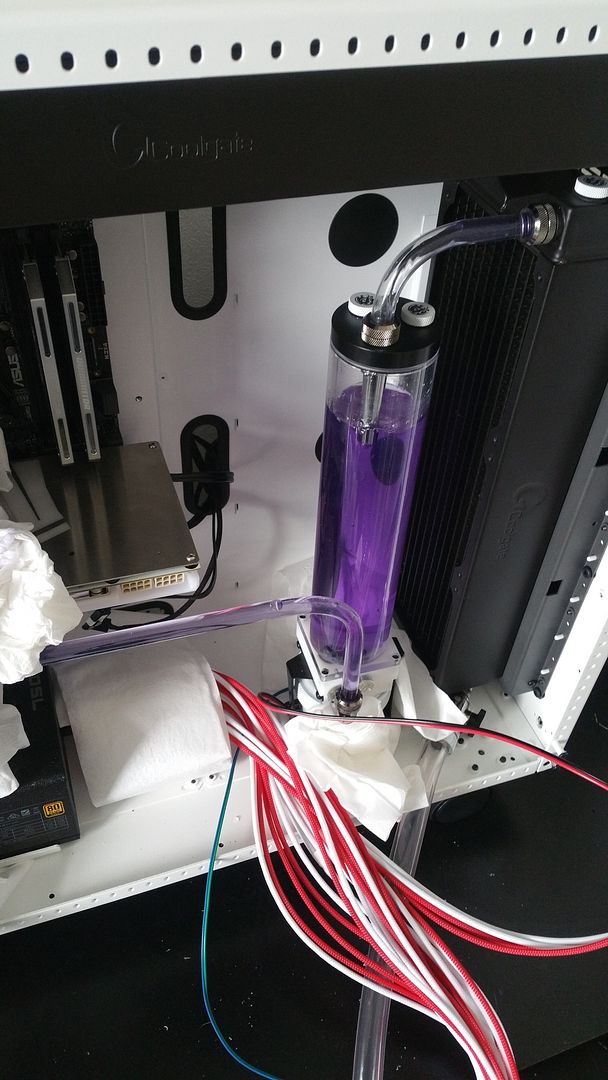
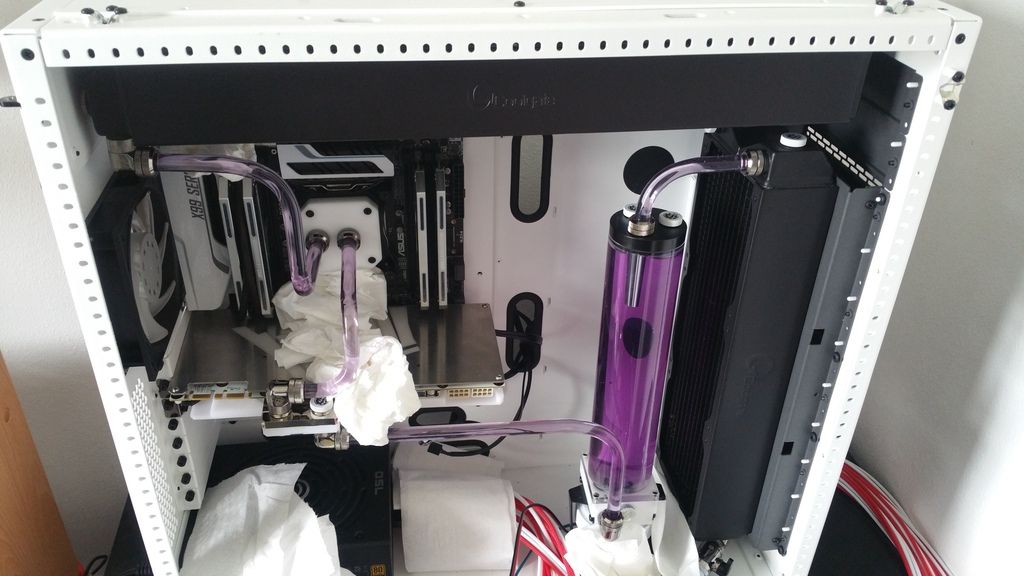
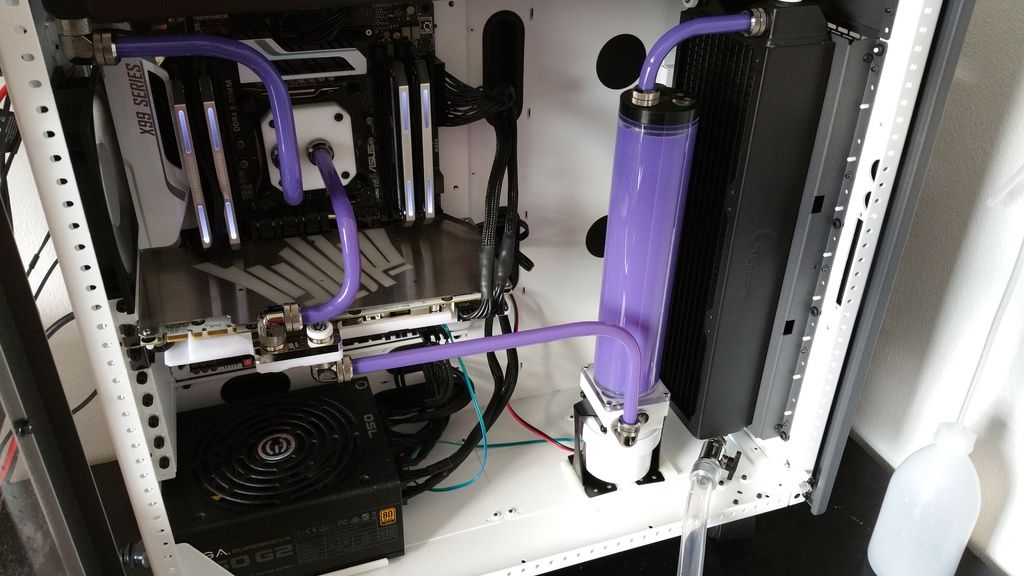
I eventually competed the loop (took me a couple of weeks to get some extra fittings I needed) and started my leak test earlier today:
20150530_122703_zpsw846b4g4.jpg

(the red and white cables are going. just used them to power the pump)
20150530_125702_zpsuyhabbqu.jpg


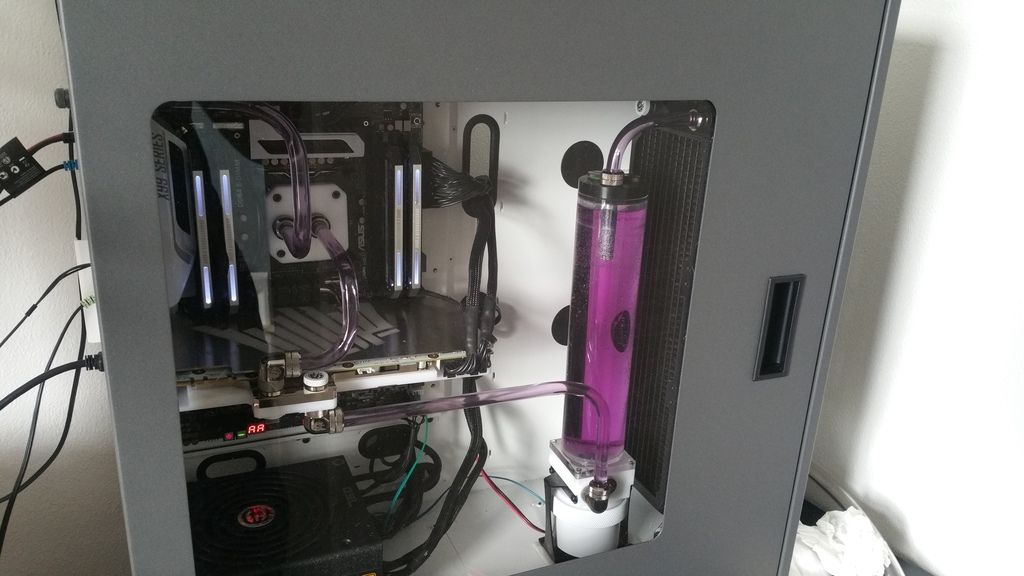
and finally, this:
20150530_155829_zpscyrmfpju.jpg


I know it's not perfect, but it'll do for now. I really need my PC up and running for work.
I will eventually redo the bends and sleeve the pump. I also need new psu cables but don't have the time to make any.
For a first watercooled build, I'm happy with the end result.


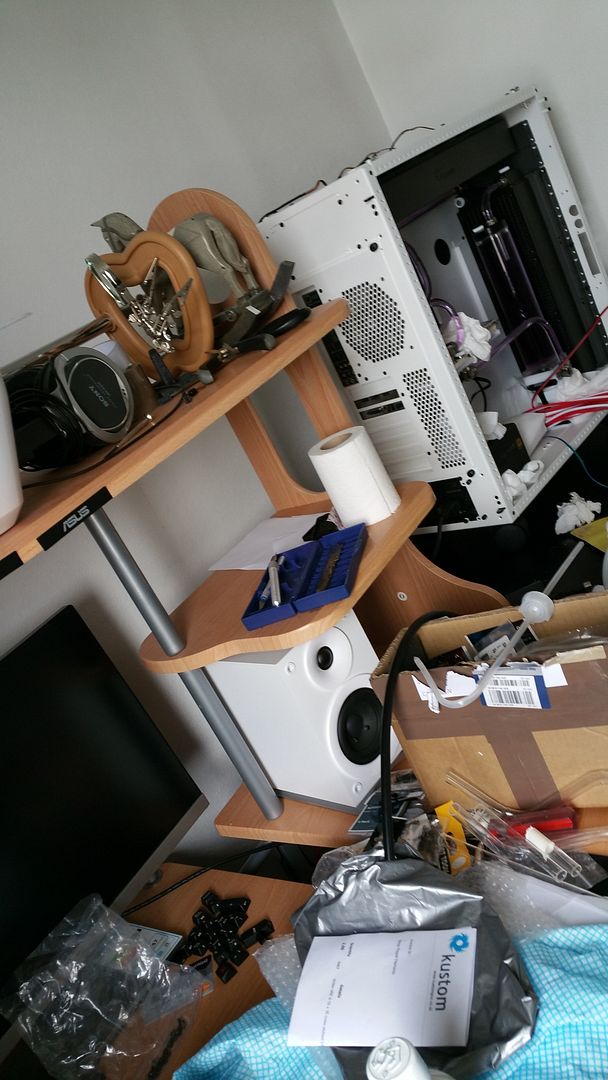
bonus pics: the aftermath (I've tidied up since)
20150530_130455_zpsvycwozgt.jpg

20150530_124316_zpsfcs3oh8u.jpg
 
Haha, check back 15min later and you have finished the build :p

As you say the cables need a little work, purple ones to match the fluid would be great and I think the fluid could be a little darker to make it stand out more? Could just be the light on it though in the picture making it look a little weak.

You can always fix the GPU sag with a 2nd GPU, the SLI bridge and linking of cards together with fittings or a bridge block works well ;)

So impressive for a first time watercooling, bet you are very happy with it!

the cables will be sorted during the week no matter what. I just needed the PC up and running. I'm a bit OCD when it comes to cable management so this is driving me insane haha.

yeah I was thinking about getting a 2nd gpu but a bit overkill for my needs (as opposed to the really sensible cooling for 1 gpu and cpu...)
it will happen eventually haha. waiting for the 980ti to come out so I can grab a second 980 cheaper (considering I paid 499 for mine and it is now 100 pounds dearer)

the colour is way darker now. I want it to match the purple teleios sleeve. I'll post some updated pictures once I've sorted all the cables etc.


thanks for your encouraging words anyway :)
 
I remember you saying previously about getting a Caselabs case after having the Primo. I think I'm in the same boat as you. After almost convincing myself to buy a MBX MKII reality struck me that a caselabs would be so much more sensible.

I think what you've done looks fantastic, there seems to be a simple elegance to it. Its such a shame about the card sag, but I'm sure you'll think of something to recify that.

What is the exterior colour of the case? Is that gunmetal?

I also think the blocks are awesome, looking forward to putting some work Diamond Coolings way myself.

Once again great job mate, its better late than never ;)

I'm looking forward to some more updates....

Thanks a lot. I really appreciate
and I'd say go for it! especially with the long wait.

The card sag is my main concern. Not too sure what to do about it without looking out of place.

The exterior is indeed gunmetal. Such a nice colour and I think it complements the white.

Thanks again for the kind words and I'll hopefully sort the wiring out soon
 
Don't you find that with having the res so close to the rad the coolant in the res gets hotter than normal over longer sessions?
 
I am really liking how much space there is!

Have you got your top fan exhausting? If so, you thought about turning that rear fan into an intake to help get some cooler air in rather than passing the partially warmed up air front the front intake rad..
 
I am really liking how much space there is!

Have you got your top fan exhausting? If so, you thought about turning that rear fan into an intake to help get some cooler air in rather than passing the partially warmed up air front the front intake rad..

Those cases are so easy to work with!

And yes i did.
I will be spray painting it this weekend. I was being lazy and couldn't be bothered to turn it around until then haha
 
Ha nice. Looking forward to seeing how it looks at the end.

How hard to you find the acrylic tubing to work with as it's your first build? I'm thinking of acrylic tubes on my next build as it looks so much cleaner.
 
Ha nice. Looking forward to seeing how it looks at the end.

How hard to you find the acrylic tubing to work with as it's your first build? I'm thinking of acrylic tubes on my next build as it looks so much cleaner.
I found it surprisingly easy to be honest. I just took my time and managed in the end
 
Back
Top Bottom