Associate
- Joined
- 16 Feb 2015
- Posts
- 6
Fitting a different laptop screen - Acer M5-581TG
hello guys!
I am a new member, it's nice to be part of OC community, especially since this seems to be the most appropriate place to post my 'story'.
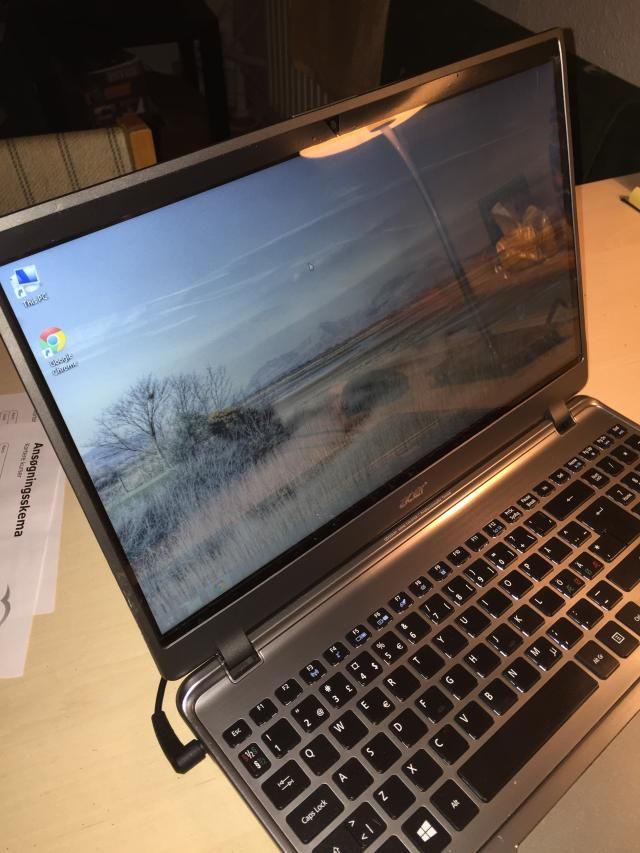
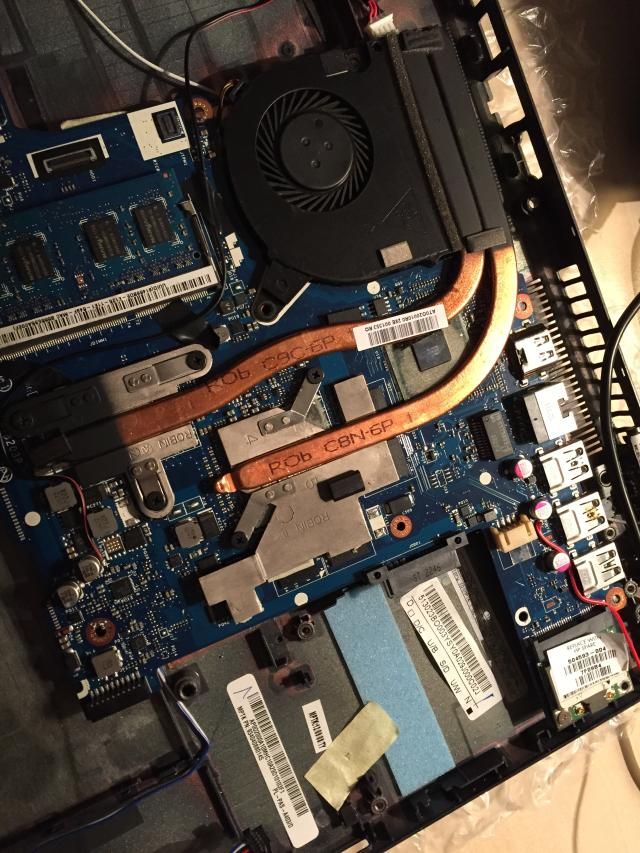
It starts like this. I basically bought a laptop for spare parts, an Acer M5-581T(G) for which i paid almost nothing, 25 gbp. the guy said the screen is cracked and the battery is dead. After I checked the laptop, I noticed that only the screen needs replacement since the battery and everything else works fine. The laptop has an i5 cpu @ 1.7, 4gb ddr3, 128 gb SSD and an nvidia graphic card of 1gb... so I decided the laptop is worth saving.
I knew that 15.6 led screens are sometimes a problem, but i did not expect anything like this. after i opened the laptop, i found out that the display is a LUCOM - F2156WH6-A20AG1-A (or an LG LP156WH6-TJA2), which is impossible to find and very expensive. I searched all the internet back and forth, contacted manufactures and suppliers in china, but nothing. 90% of them don't have the screen anymore, and the few which do ask around 280$(no lid) - 350$ (lid included). No matter how you put it, we all know that is way too much for a 1366 x 768 led screen.
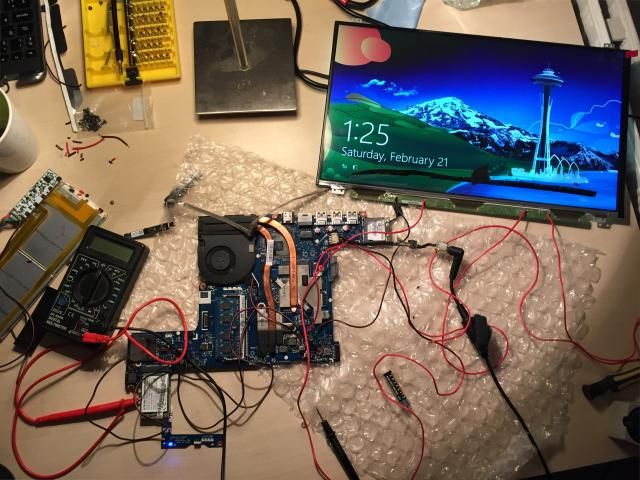
In the beginning i wanted to use the laptop as stationary over HDMI, but apparently I can't access bios or any other startup features, since they don't show up on the external monitor, even after unplugging the laptop screen.
I have changed laptop screens in the past, but I always found the exact part number.
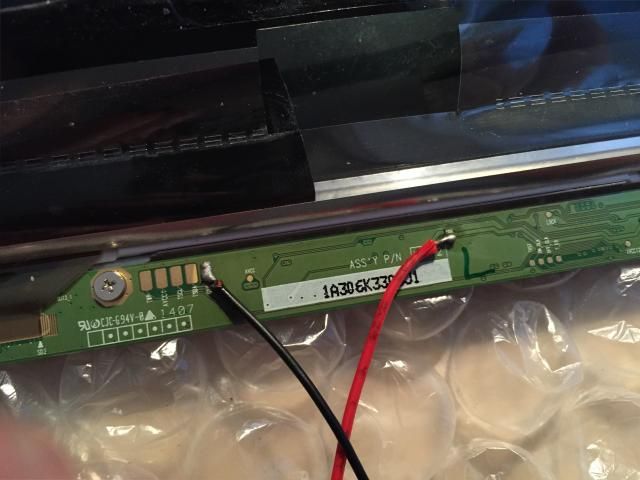
The screen uses an eDP 30 pin connector plug. I could not find too much information online, but I read somewhere that another screen should work as long as the connector, resolution and backlight are the same.
I wanted to ask somebody if that would work, but instead i took a risk and ordered this screen from ebay. it did not arrive yet, since i live in denmark, so i don't know if the screen works or not.
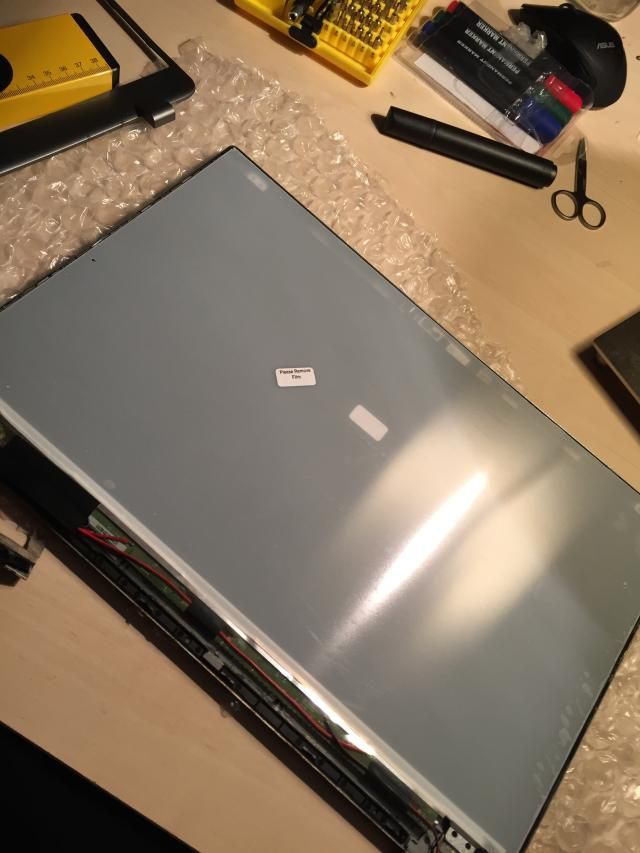
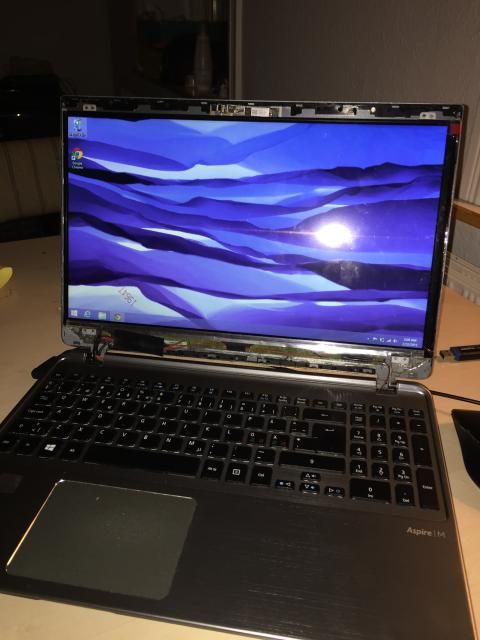
The problem is that ofc, the screen does not really fit in the case. you can see a full comparison of the original and the new screen here.
They are both slim screens, so the new one will fit there, the problem is that the LP156WH6 screen has a totally different sliding fitting, which you can see here and an integrated webcam, which makes the screen height bigger with about 10mm.
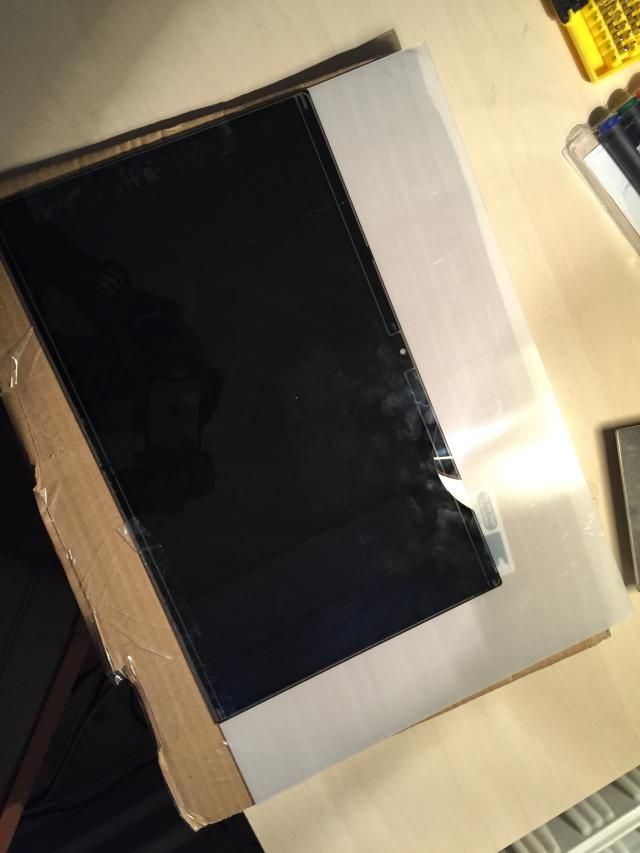
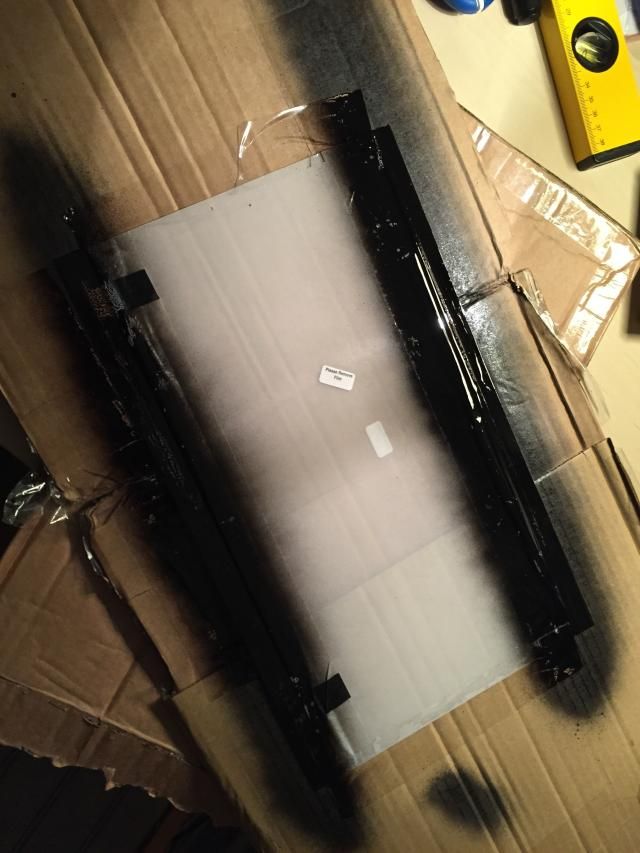
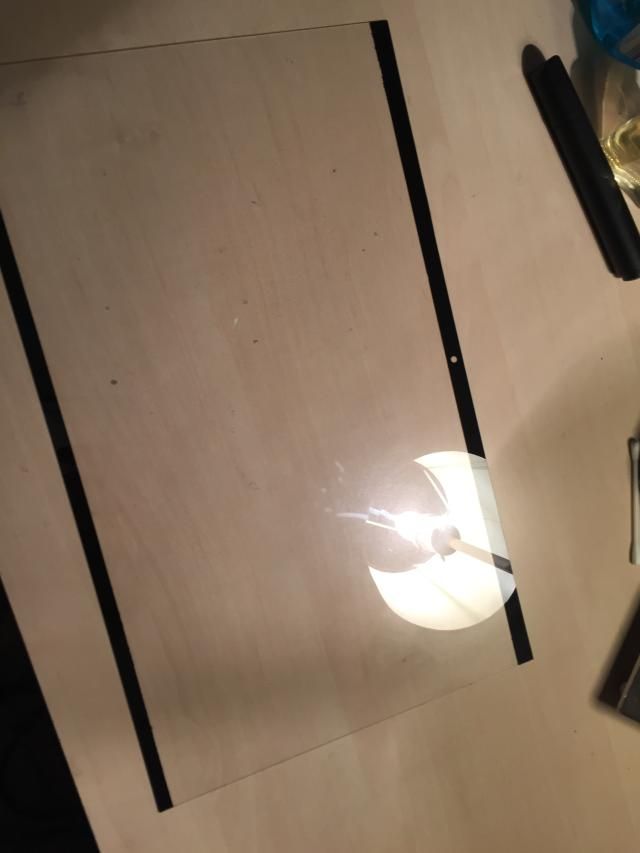
Considering all this, I was thinking to modify the case a little and glue the new screen there. This will still leave a 5mm gap on top and bottom of the screen. That is not a problem, but it will look bad from outside, so I also ordered a 0.5mm plexiglass panel which i plan to put between the screen and the frame, while painting the gaps with black, alowing me to atach the webcam as well.
I am not sure if this thing will work, but i know it's a little crazy. Thats why i wrote here, to ask for your advice, and if it works to let other people know, since I am not the only one desperately searching for this screen.
My biggest concern until fitting the screen, is if the new one will work with this laptop. I have not tried fitting other screens then the original ones before, so i have no idea. Can somebody please confirm this?
Thanks!! and i will keep you guys informed and also post pictures when the screen comes in
Last edited:








 I'm fair competent with Laptops and Computers, but not to that level!