I was asked to help build and overclock a new rig for forum member Furyus.
The rig is to be used for gaming, VM and general daily use.
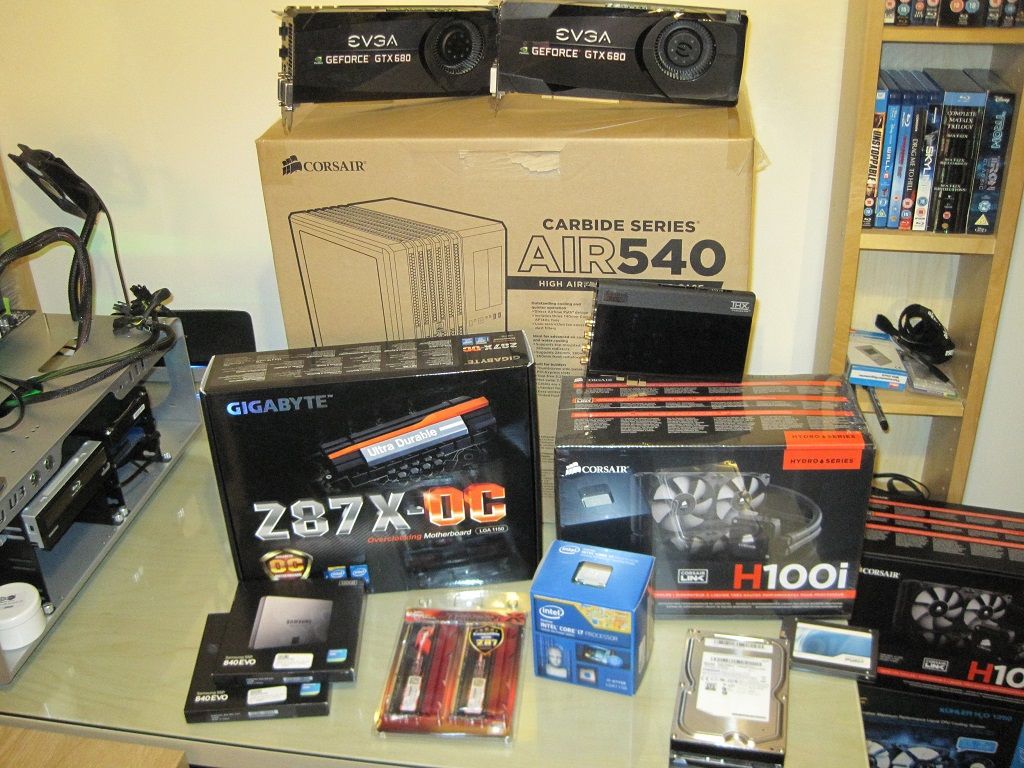
• Gigabyte Z87X-OC
• i7 4770K
• GSkill TridentX 2400MHz CAS10 16GB
• Corsair carbide air 540
• Samsung 840evo 120GB x2 in RAID0
• Corsair H100i
Bits re-used from existing setup,
• EVGA GTX680 in sli
• Crucial M4 120GB
• Creative X-Fi Titanium HD
• Seagate 2TB and WD 1TB HDD's
First job was to place the CPU and RAM on the motherboard and the H100i rear bracket.
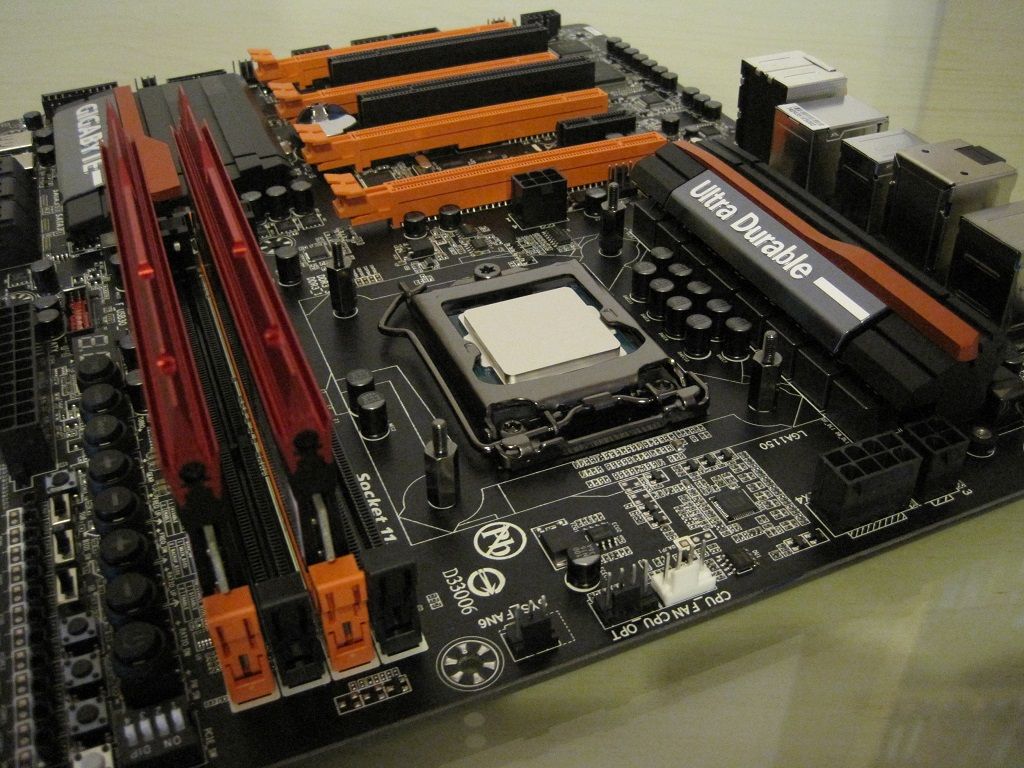
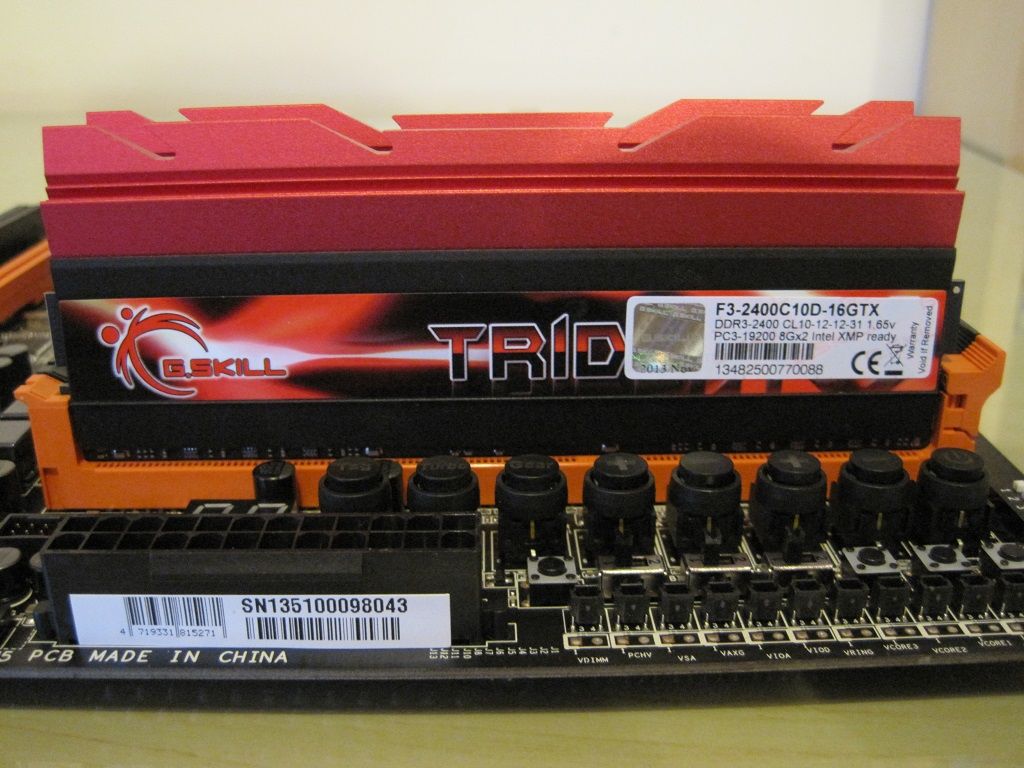
Then take the Corsair 540 out of its box and open it up to place drives inside.
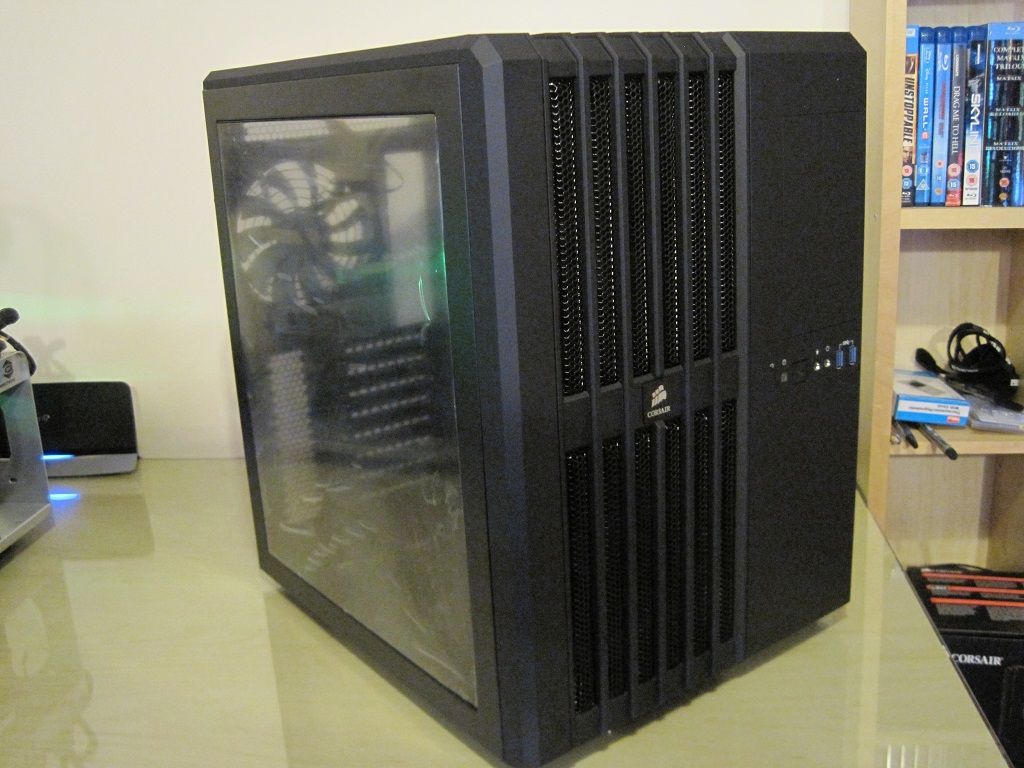
Now I had intended to make a "feature" out of the two Samsung 840's in the hot swap bays which are visible through the window.
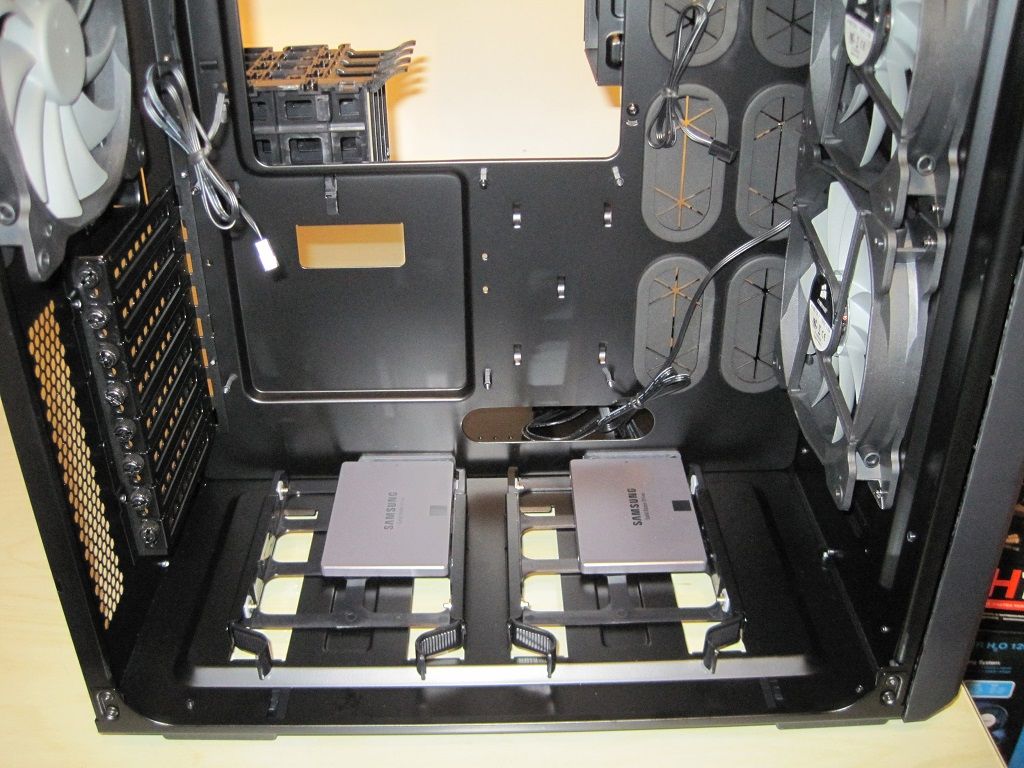
But with no where to put the HDD's in the rear I had to swap them around,
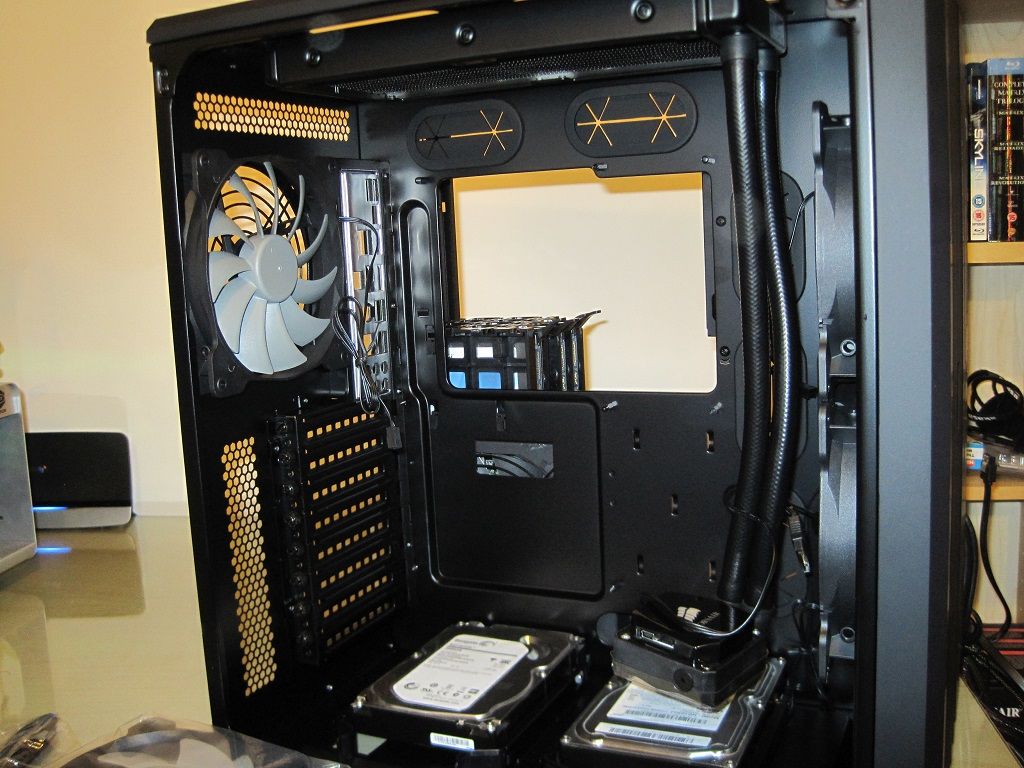
The H100i went in also.

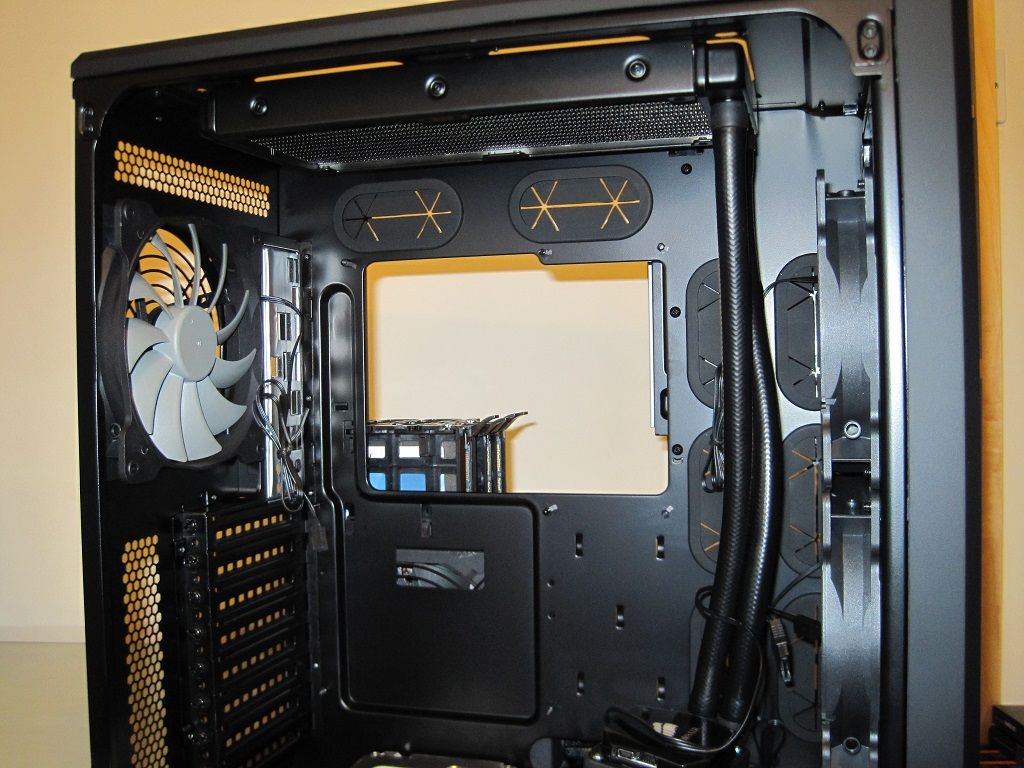
The PSU and SSD's went in the rear.
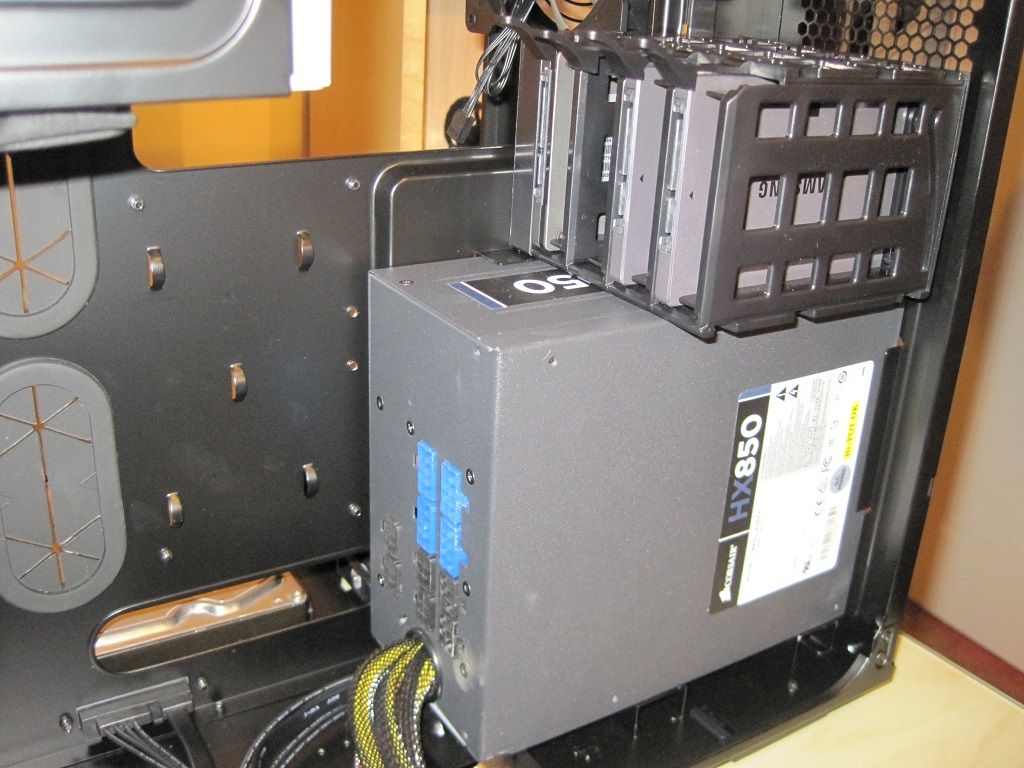
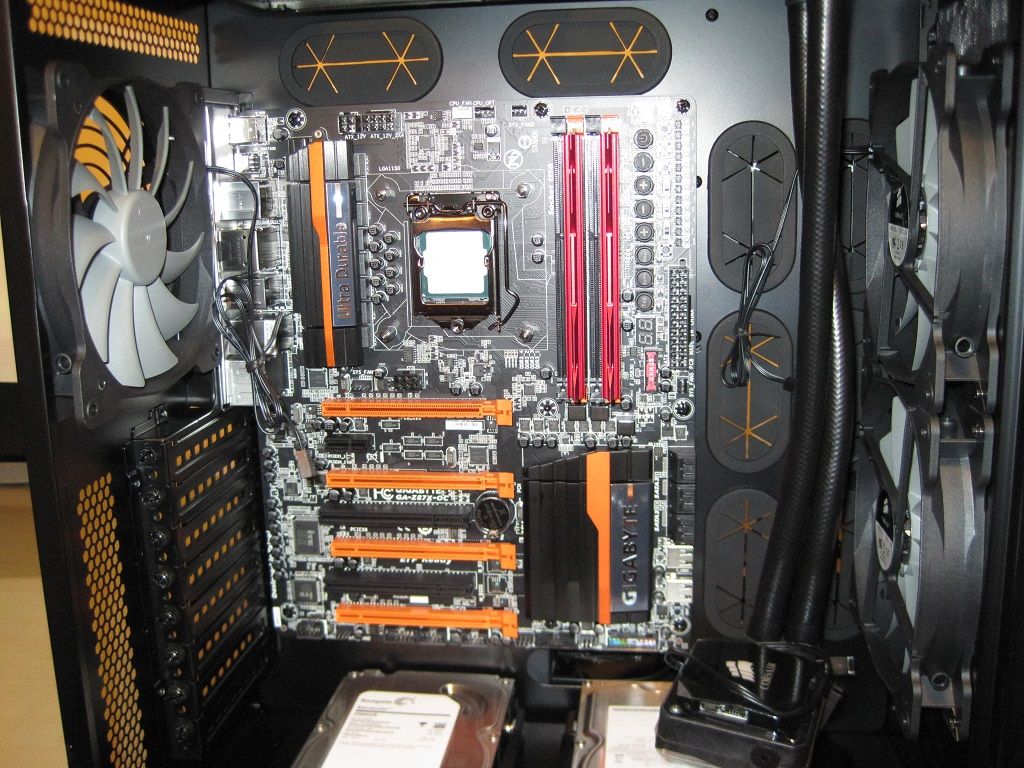
The motherboard assembly went in.
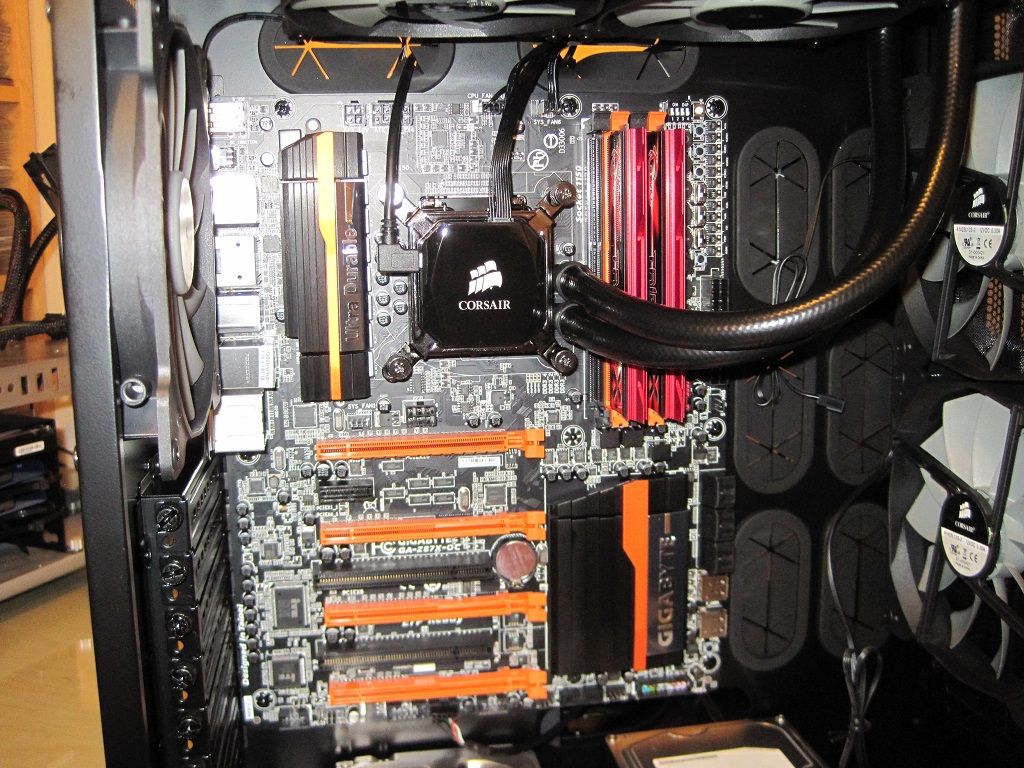
And the H100i was attached fully.
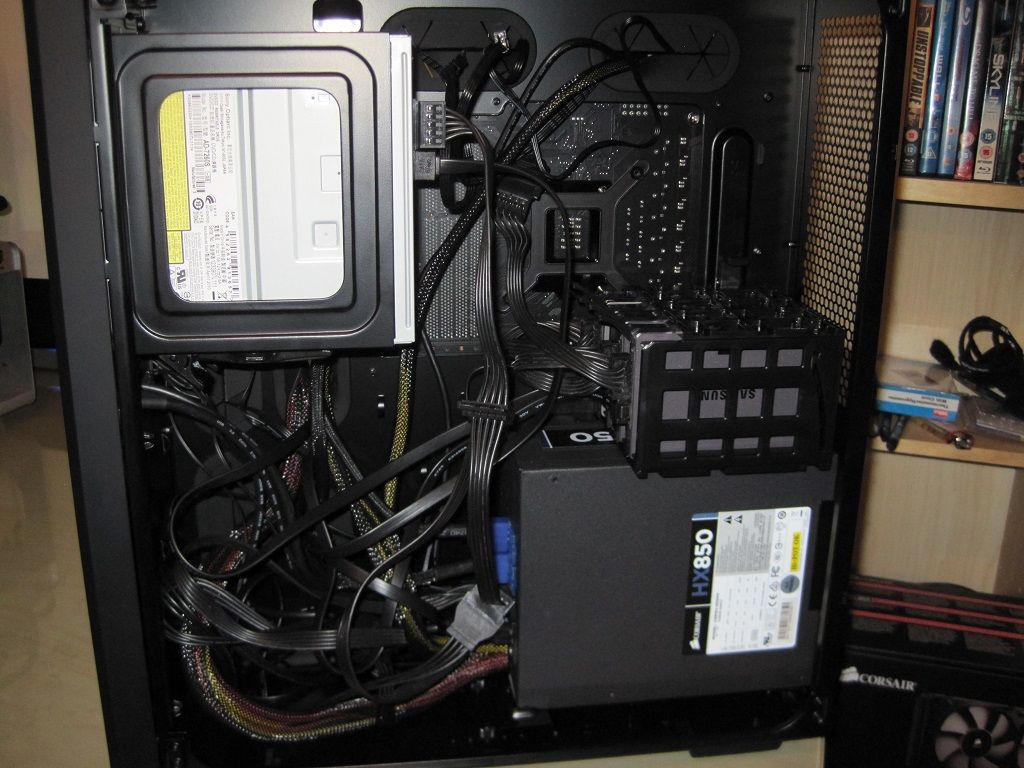
Then it was onto adding enough cables to the PSU to power everything, the case is good for cable management as you have loads of room to bundle the excess in the rear.
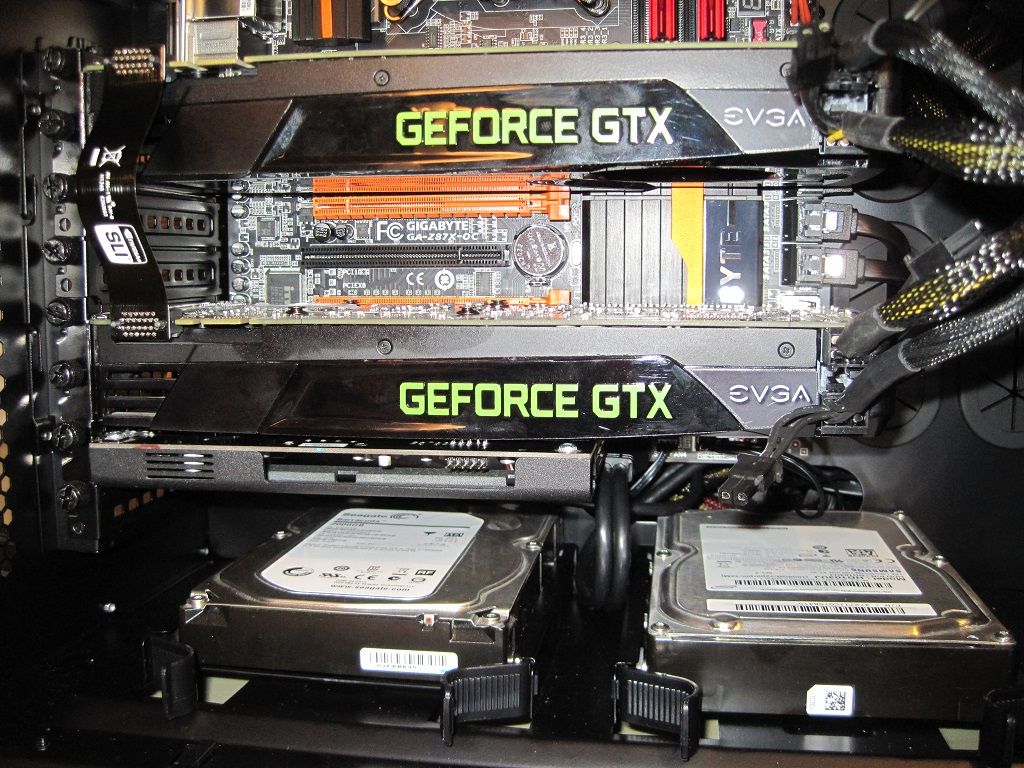
The two GTX680's were fitted along with the sound card. We had to take the shroud of the sound card to make it clear the USB3.0 header. The slot the sound card is in does not affect the bandwidth of the GPU's as it is run from the chipset.
Attached the rest of the power cables and a few cable ties to hold them together neatly.
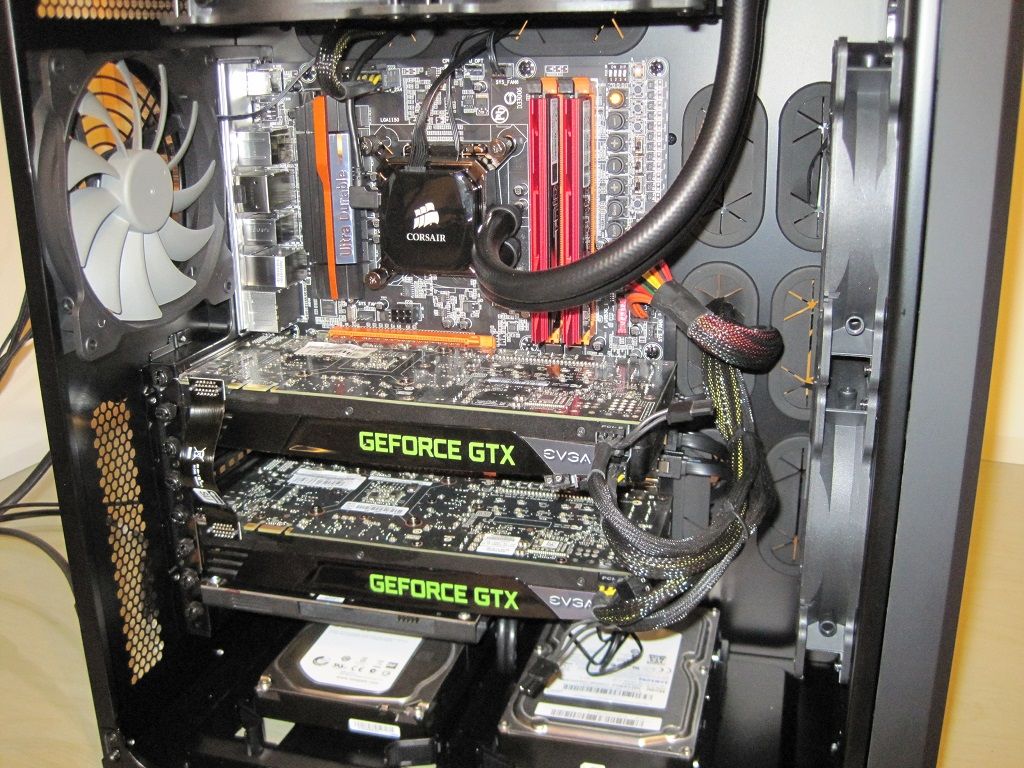
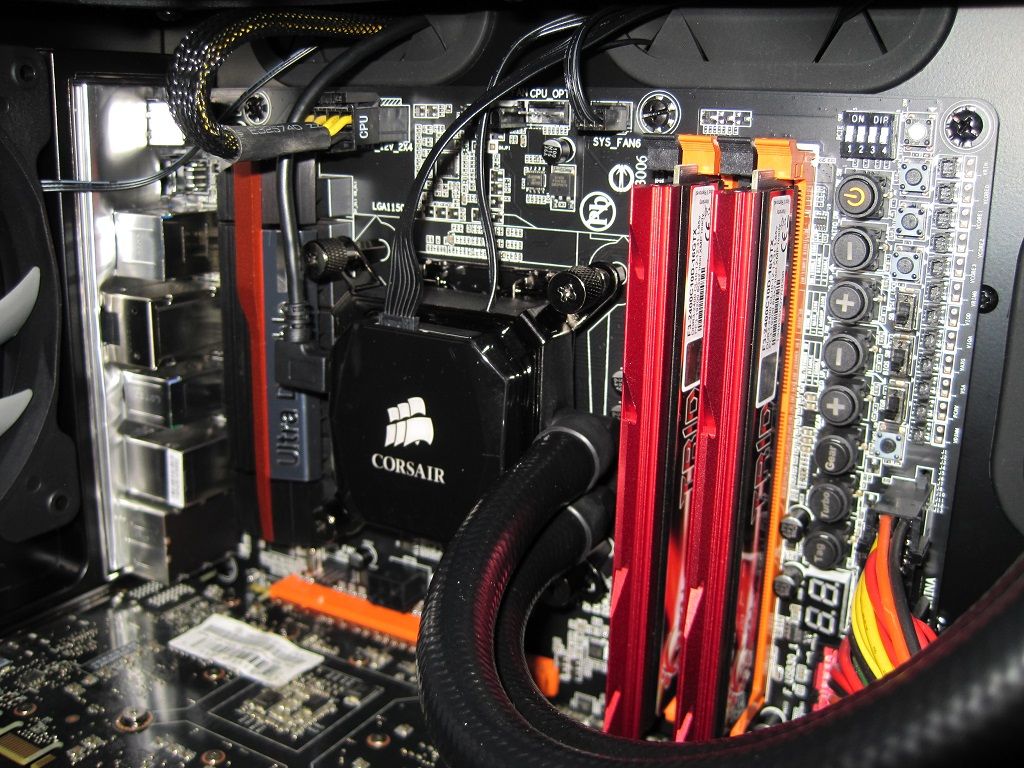
The moment of truth to see if it works and the PC powered up first time. Great success!!
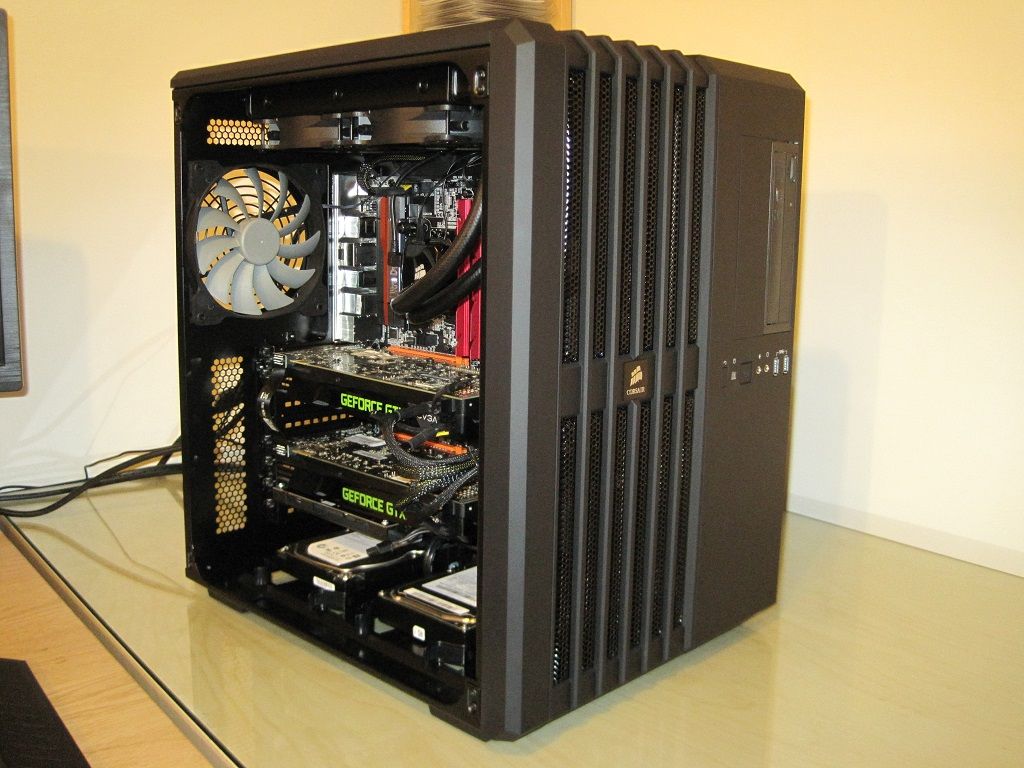
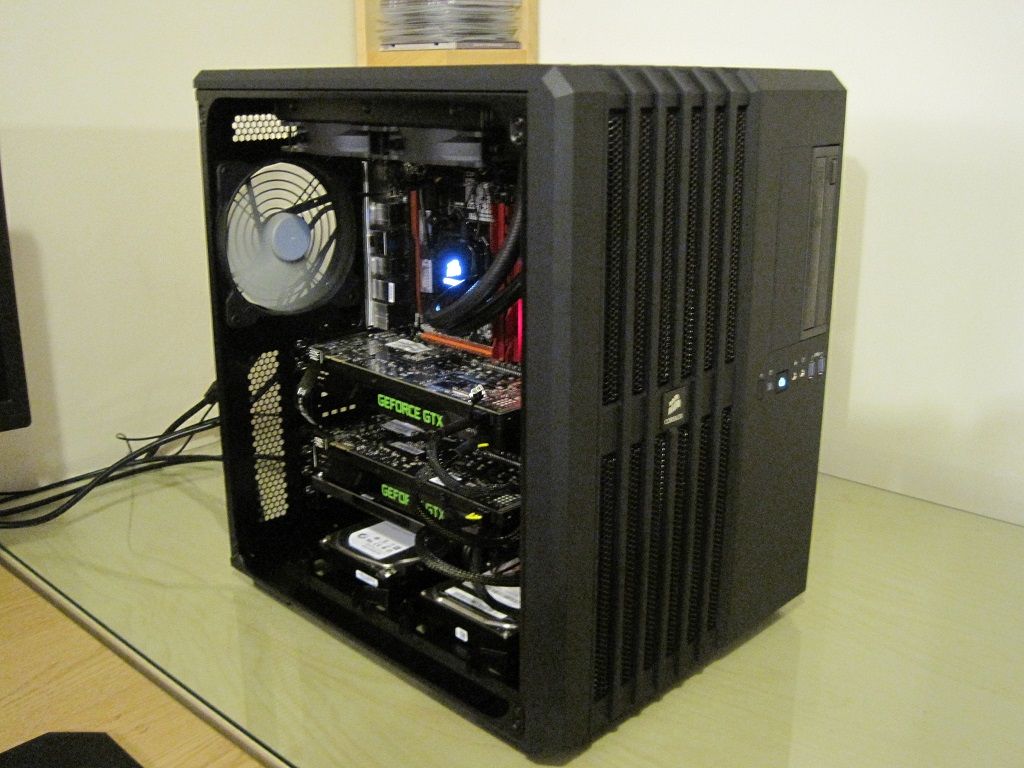
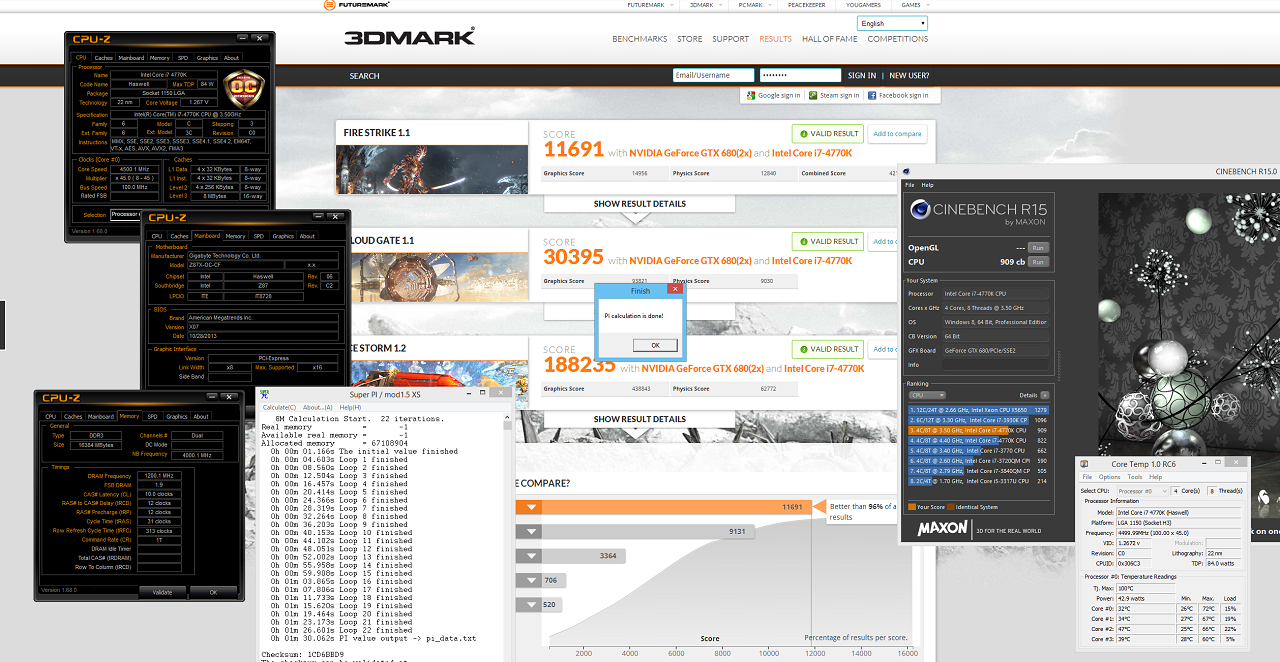
After installing windows it was time to do some quick overclocking and testing.
4.5GHz.
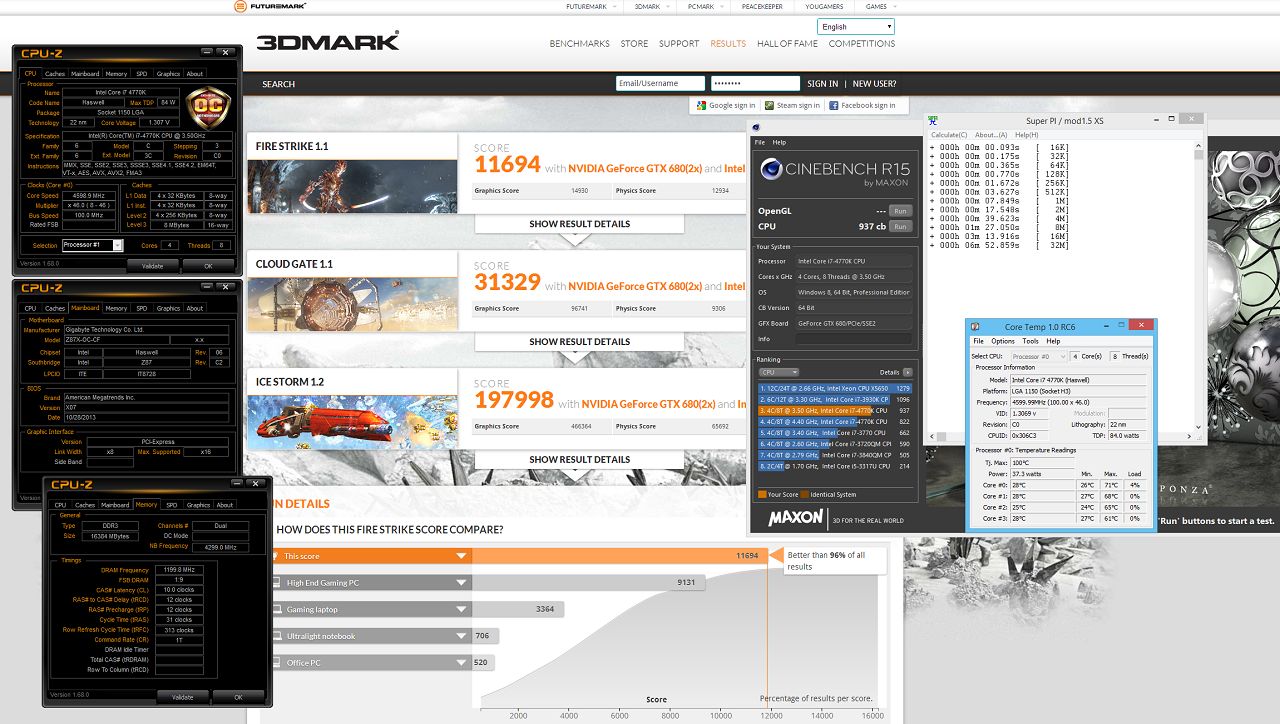
4.6GHz.
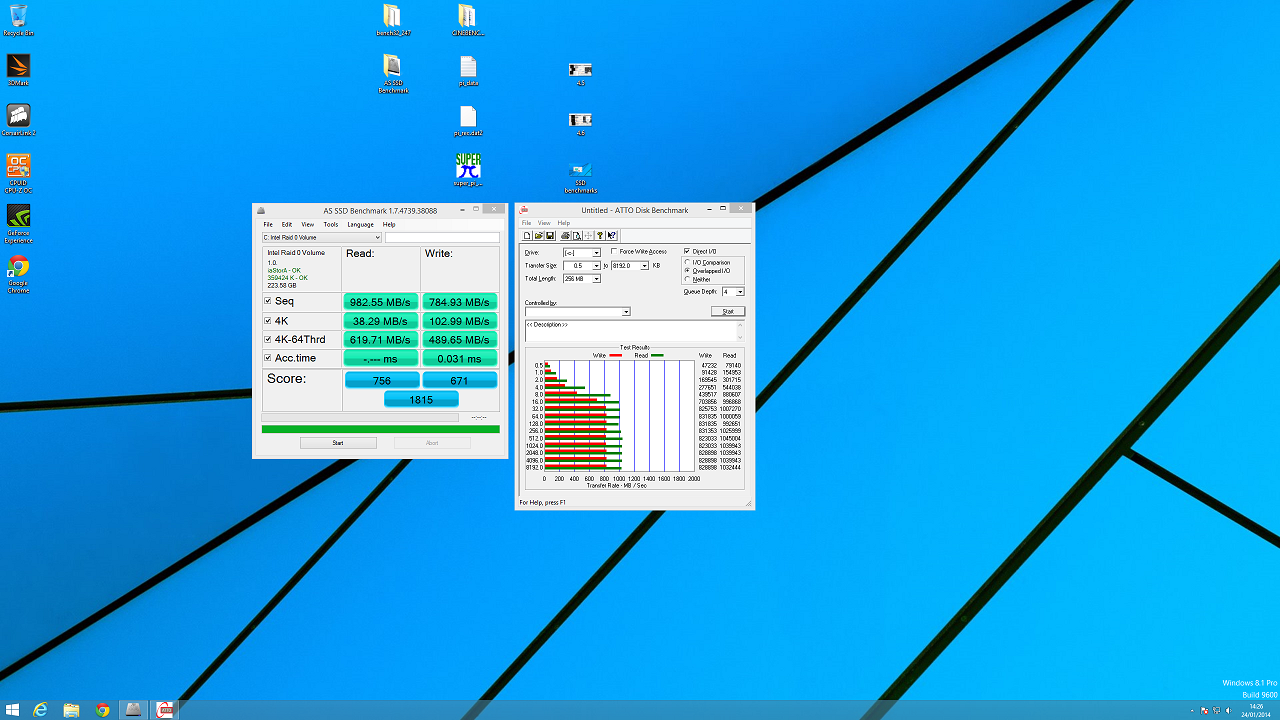
SSD's giving 1GB/sec read and 800MB/sec writes.
So over all a good overclock with 1.31V for 4.6GHz needed. The case was nice to work with and the OC board makes clocking so easy.
The rig is to be used for gaming, VM and general daily use.

• Gigabyte Z87X-OC
• i7 4770K
• GSkill TridentX 2400MHz CAS10 16GB
• Corsair carbide air 540
• Samsung 840evo 120GB x2 in RAID0
• Corsair H100i
Bits re-used from existing setup,
• EVGA GTX680 in sli
• Crucial M4 120GB
• Creative X-Fi Titanium HD
• Seagate 2TB and WD 1TB HDD's
First job was to place the CPU and RAM on the motherboard and the H100i rear bracket.


Then take the Corsair 540 out of its box and open it up to place drives inside.

Now I had intended to make a "feature" out of the two Samsung 840's in the hot swap bays which are visible through the window.

But with no where to put the HDD's in the rear I had to swap them around,

The H100i went in also.


The PSU and SSD's went in the rear.

The motherboard assembly went in.

And the H100i was attached fully.

Then it was onto adding enough cables to the PSU to power everything, the case is good for cable management as you have loads of room to bundle the excess in the rear.

The two GTX680's were fitted along with the sound card. We had to take the shroud of the sound card to make it clear the USB3.0 header. The slot the sound card is in does not affect the bandwidth of the GPU's as it is run from the chipset.

Attached the rest of the power cables and a few cable ties to hold them together neatly.


The moment of truth to see if it works and the PC powered up first time. Great success!!


After installing windows it was time to do some quick overclocking and testing.
4.5GHz.

4.6GHz.

SSD's giving 1GB/sec read and 800MB/sec writes.

So over all a good overclock with 1.31V for 4.6GHz needed. The case was nice to work with and the OC board makes clocking so easy.


