Hi all,
I recently had a thread saying that I was going to update my Silverstone FT01, however, after deciding that it was going to be a major challenge to watercool efficiently in that case, I decided to cash in my Premium Bonds and buy a new case to last me for the next decade. The colour scheme will be UV green/ black.
Photos are a mixture of a Nikon D7000 on an 18-55mm in terrible light conditions, and a Samsung Galaxy Note 2. Better pictures will be available when I have replaced the light fitting back to just a single fitting (its currently on 3 spot lights) with a very bright bulb.
Spec:
Case: Phanteks Enthoo Primo
Mobo: Sabertooth Z79
CPU: Intel 2550k
RAM: yes, 16gb of the stuff.
GPU: MSI R7970
PSU: EVGA 850w Supernova G2
Sound: Asus Xonar D2X
HDD: 2 x 128 GB SSD, 1x 1TB HDD
Watercooling:
XSPC Bay/Res combo
D5 pump
EK Nickel Plexi 7970
1x 480mm Rad
1x 420mm Rad
Alphacool fittings
EK Supremacy Evo Nickel Plexi (still to buy)
I managed to pick the above watercooling gear up for about £200, but being patient and only buying good deals, both on the member’s market as well as eBay. However, time is running out for my CPU block and I might have to buy new for that!
Anyway, on with the build log!
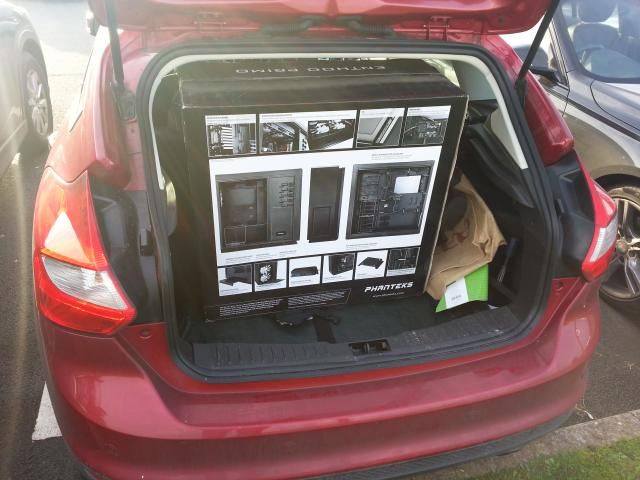
First up, was when the case arrived and I had issues in getting the case in the car. I had heard that this case was big, but I didn’t realise HOW big. As you can see, it takes up all the space in the back of my Ford Focus:
After lugging the case box in to my man cave (garage), time came for the ceremonial unboxing of the behemoth!
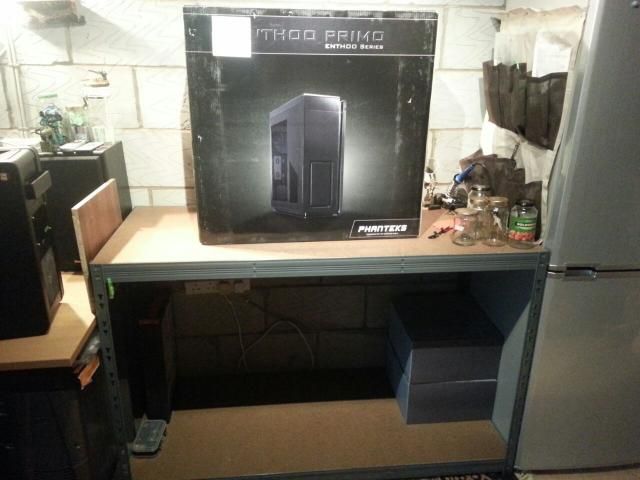
First, the obligatory relaxed shot before all hell breaks loose!
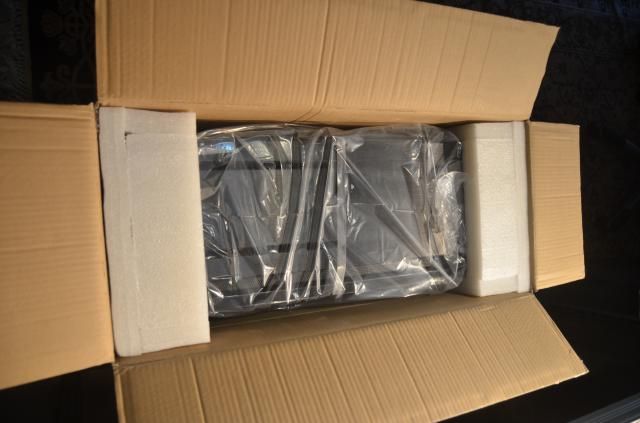
As you can see, the box I received was full of foam with no case in:

Oh wait, no, there it is protected in not only a plastic bag, but also some heavy duty foam packaging around it:
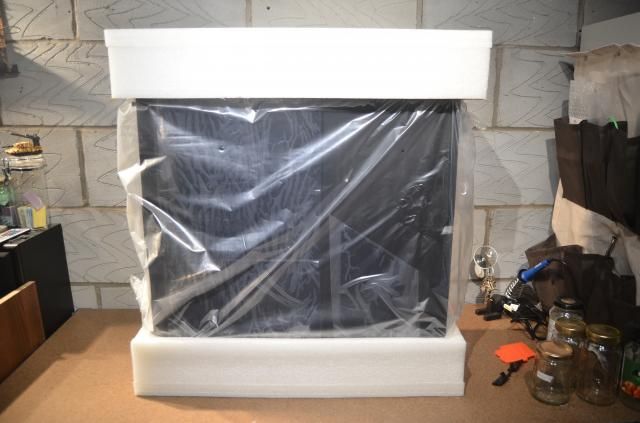
Up onto the newly made workbench, courtesy of Makro:

Finally managed to get the case out of the box and up onto the workbench. It’s a massive PITA getting it out!
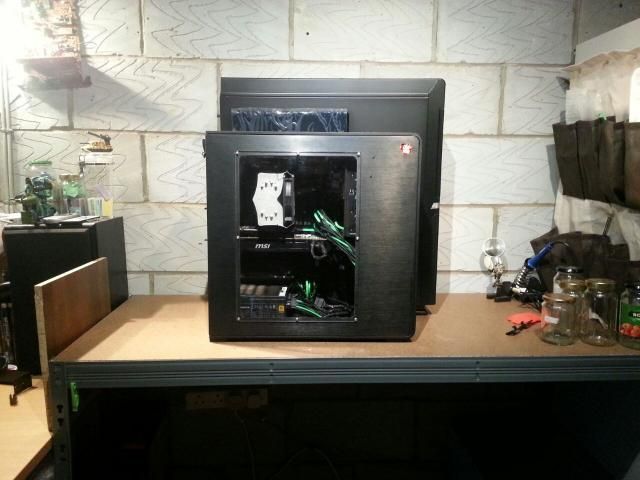
Here’s a side by side view of old vs. new (they are lined up at the back, the angle makes it look like they are not):
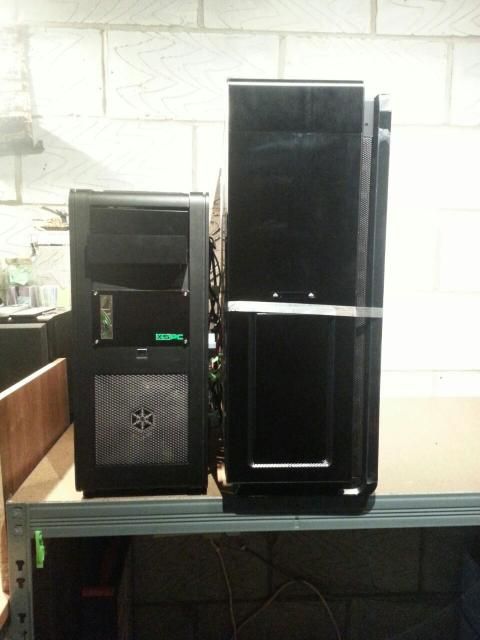
And as you can see from the front on comparison, the Primo is much large than my old FT01:
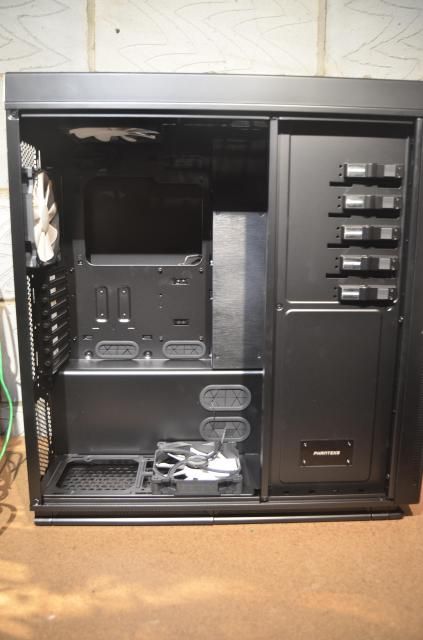
Side panel off and a first good look at the inside. It’s a beauty, packed full of excellent ideas!
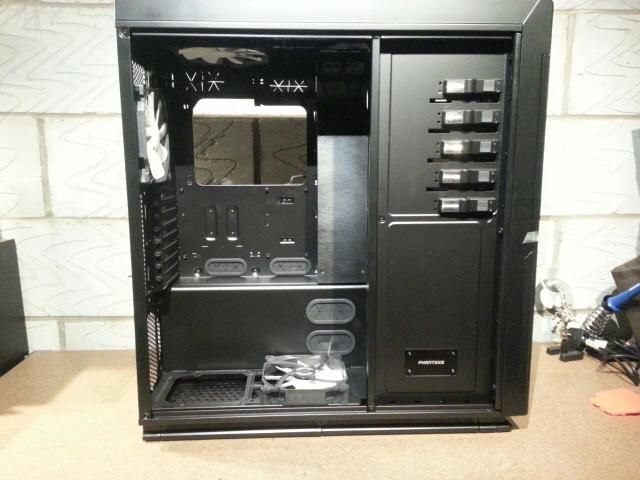
And a wider shot:
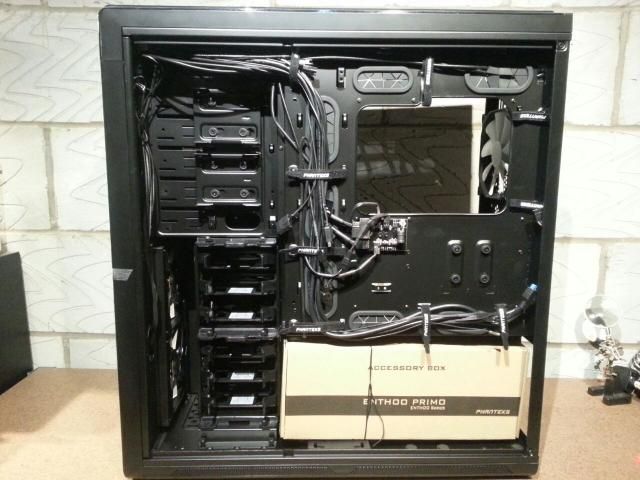
Here’s the back, including the bits box they give you with the case:
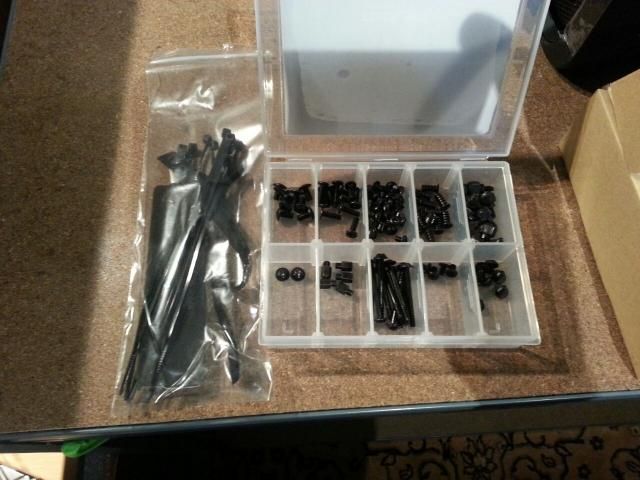
Here’s the bits box, with different PC screws and fixtures, cable ties and foam pads:
Right, let’s start gutting this mofo:
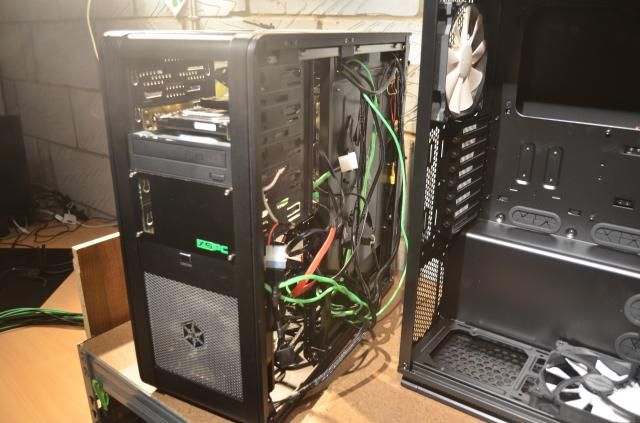
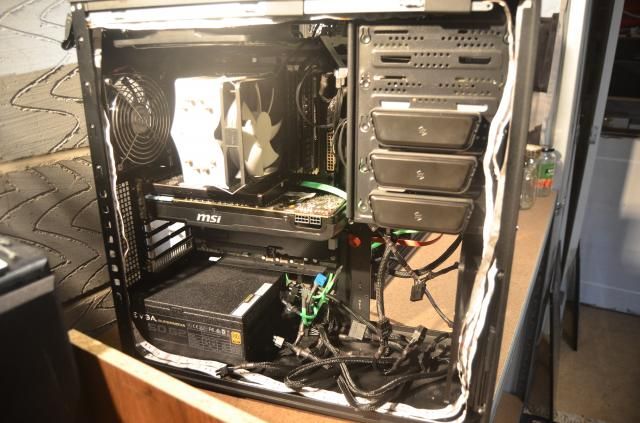
Well, that was quick!
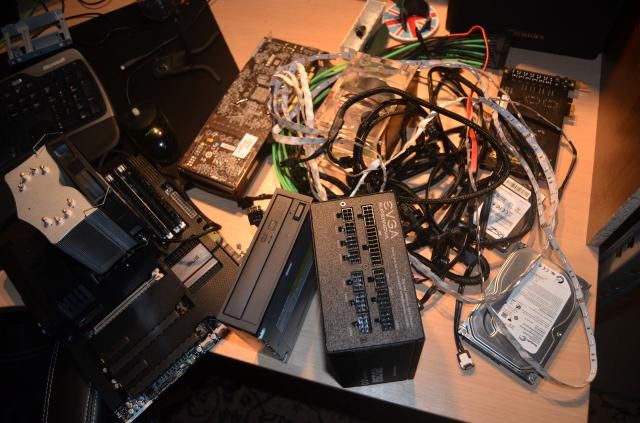
It’s dead, Dave..
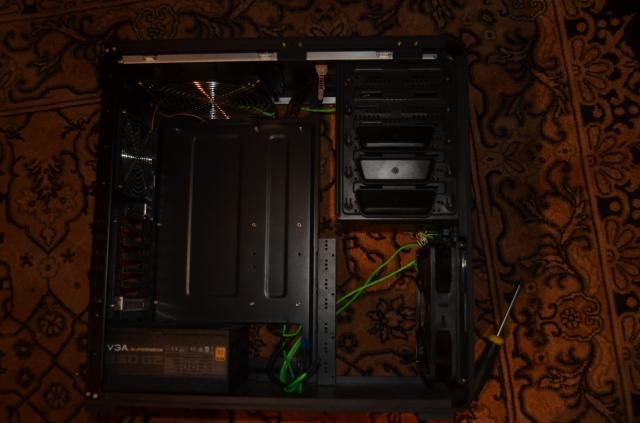
MoBo in!
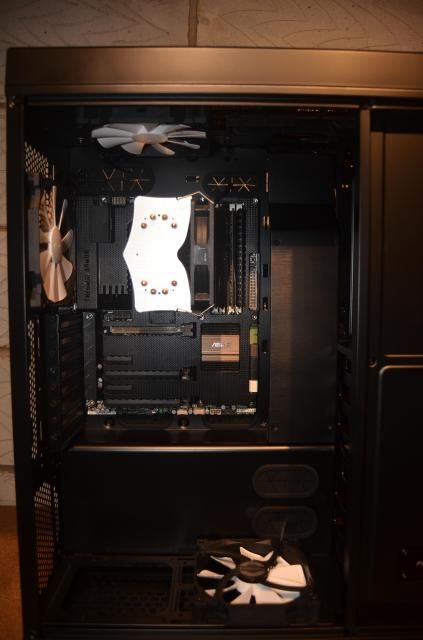
MoBo, I’m getting too much of your chin, I’m going to take a shot from slightly below:
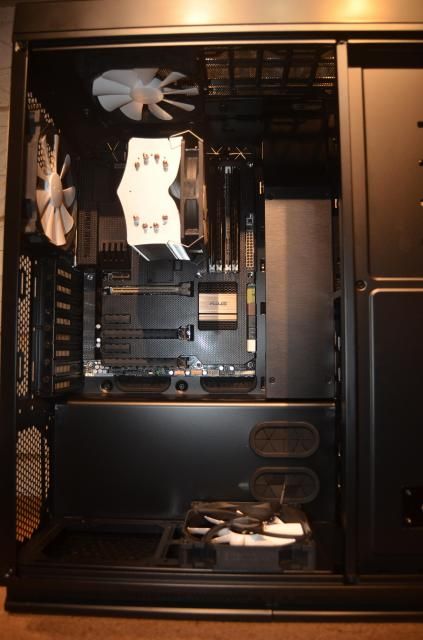
DVD and Res/Pump in:
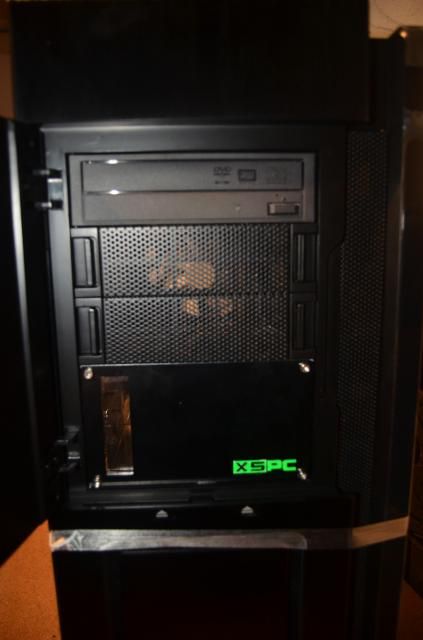
With the flat blanking plate, the card wouldn’t go in properly as the card is too long:
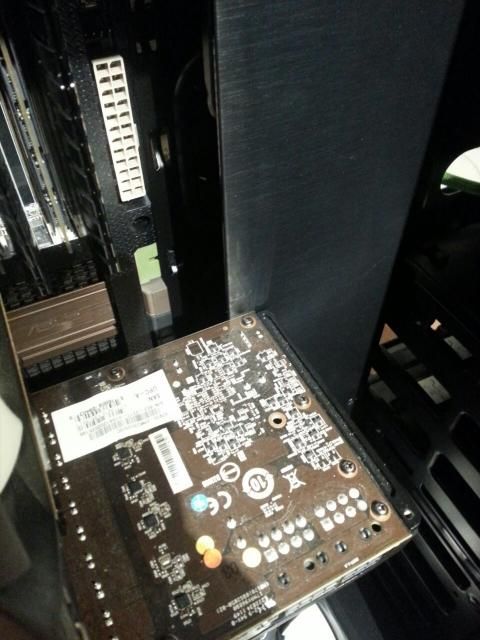
The PCI-e clip wouldnt fully engage:
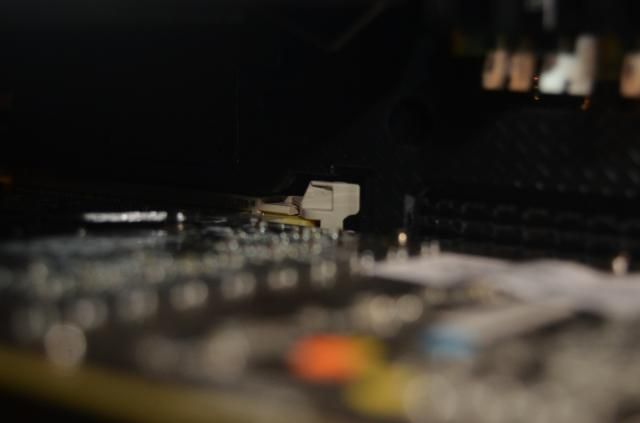
Thankfully, the clever chaps at Phanteks have already thought of that and the big square cover is uncoverable, to reveal… a lovely cut out section for long GFX cards!
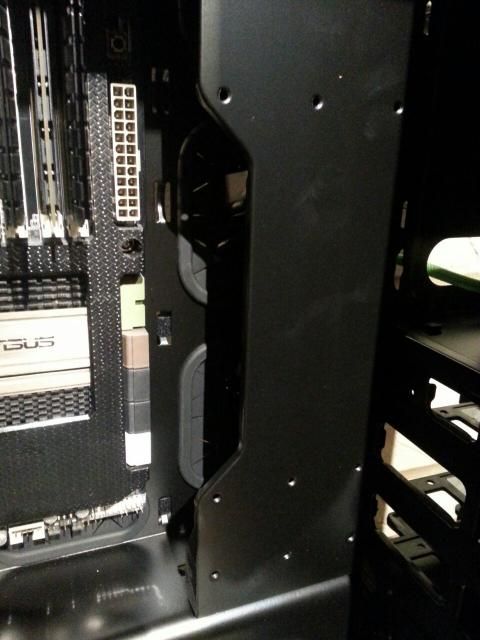
IN WITH THE CARD!
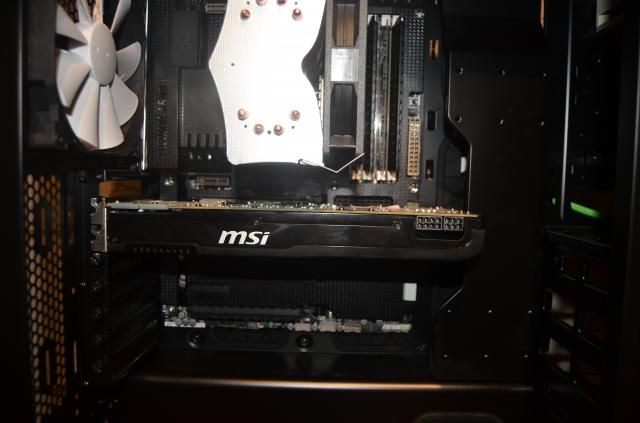
Well, almost!
The fan shroud on my card is literally 3mm too long to fit in the cut out section!
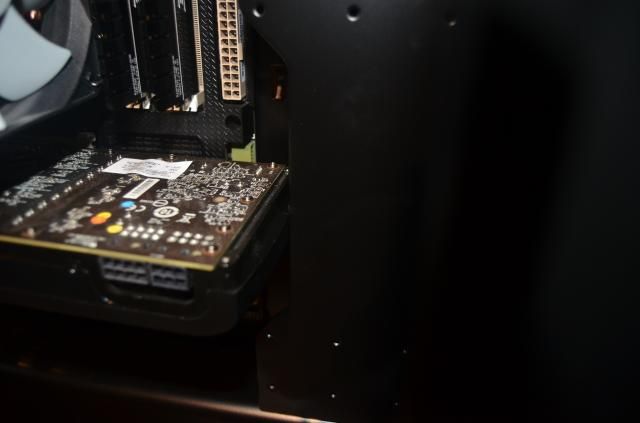
Thankfully, Phanteks also thought of that and have made the entire bracket removable!
Is it in yet? *snigger*
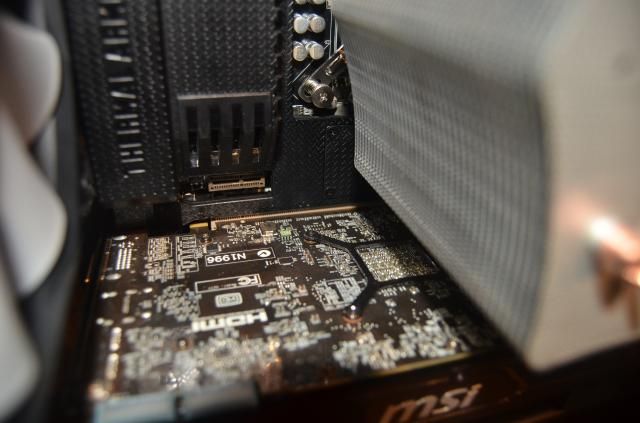
Here you can see how it looks with the full bracket removed:
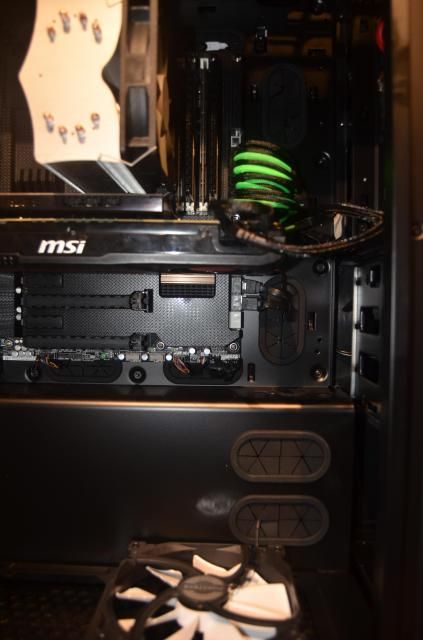
Removing the bottom drive bay:
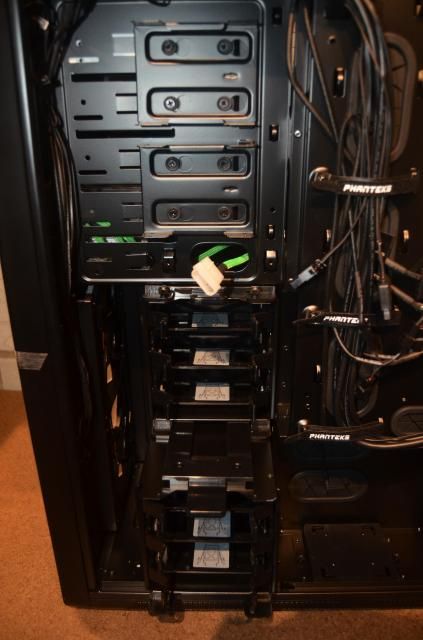
SSDs in:
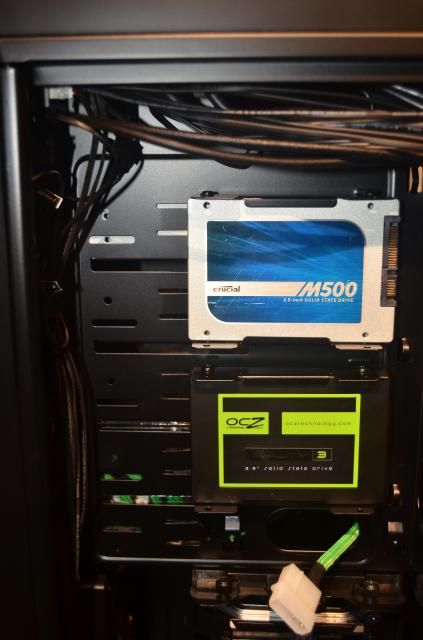
Back of the case without any cable management:
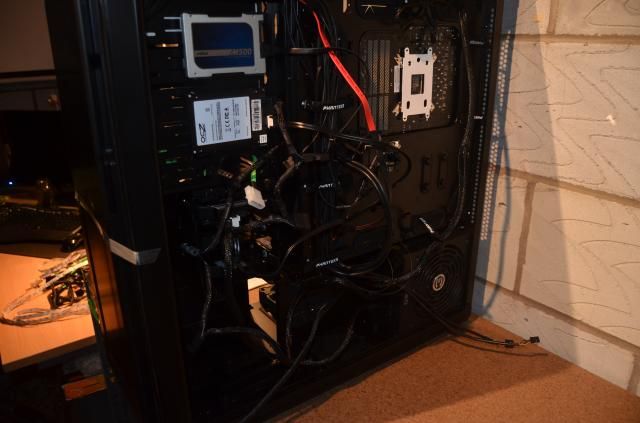
To quote Tubbs from The League of Gentlemen: “LINES AND LINES AND LINES AND LINES!”
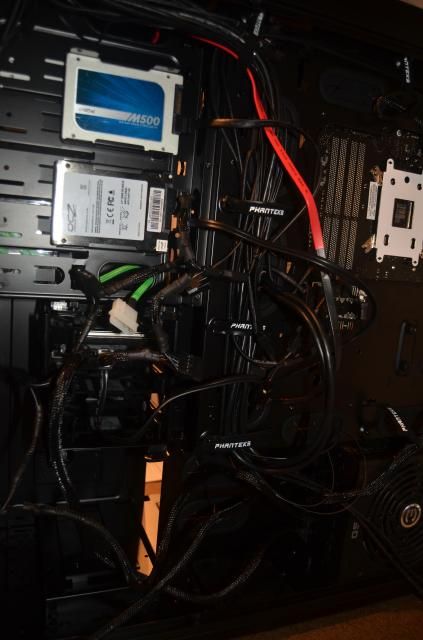
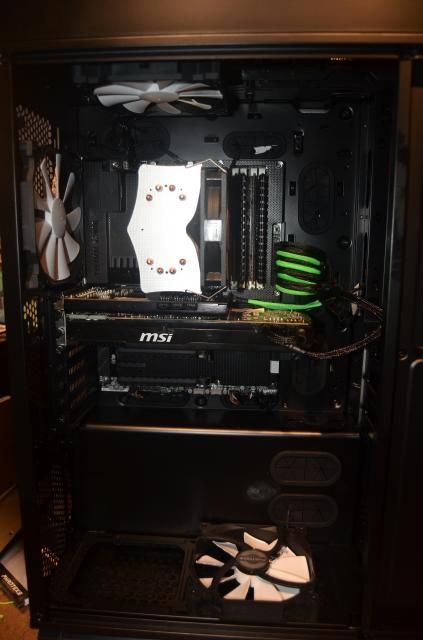
So far, so good:
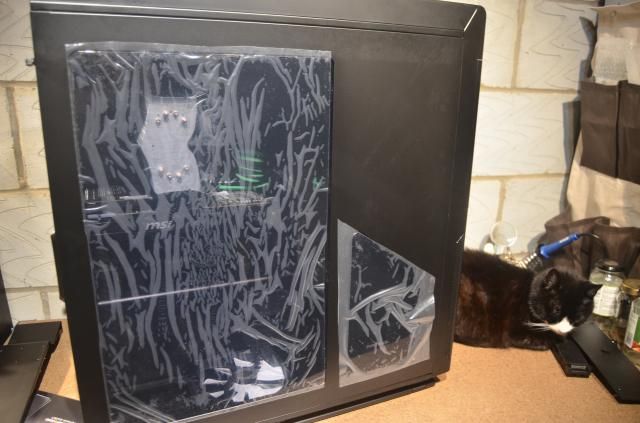
Side on, and here’s the protective wrap on the side window (and my cat):
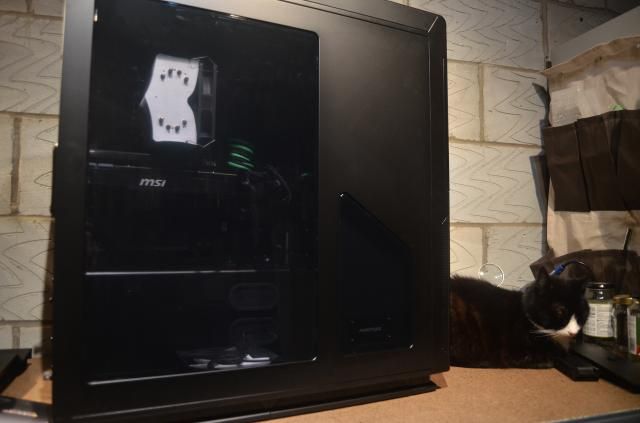
OFF WITH THE SHRINK WRAP!!
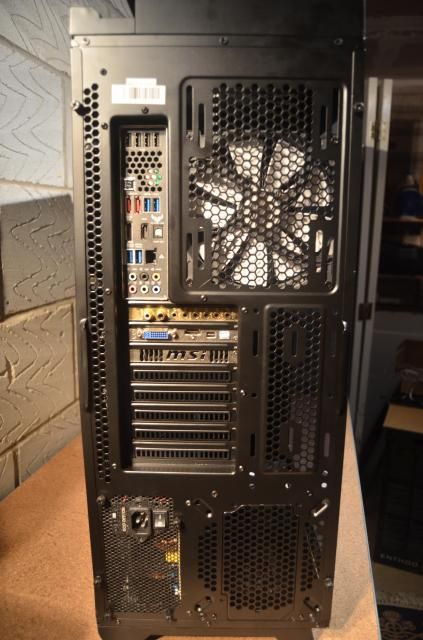
This is the back. Obviously.
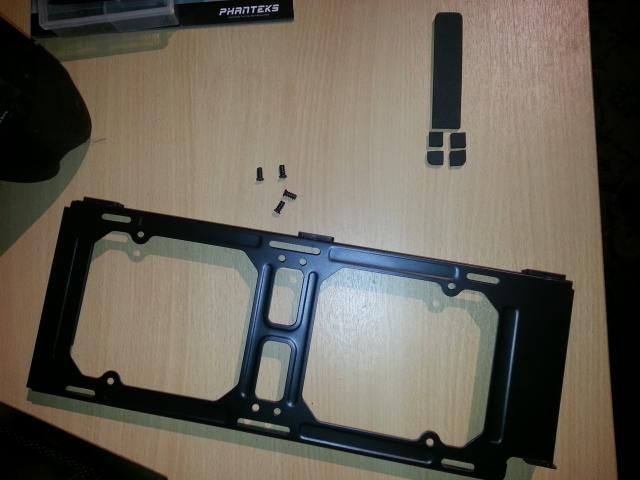
The only issue that I had with the case was that the bottom fan was fouling on the radiator bracket causing a BANGBANGBANGBANGBANG noise which I couldn’t stand. Something had to be done.
Remember the foam that comes in the toolkit? I cut 4x 1x1cm squares from it (apparently it’s for skinny PSUs?)
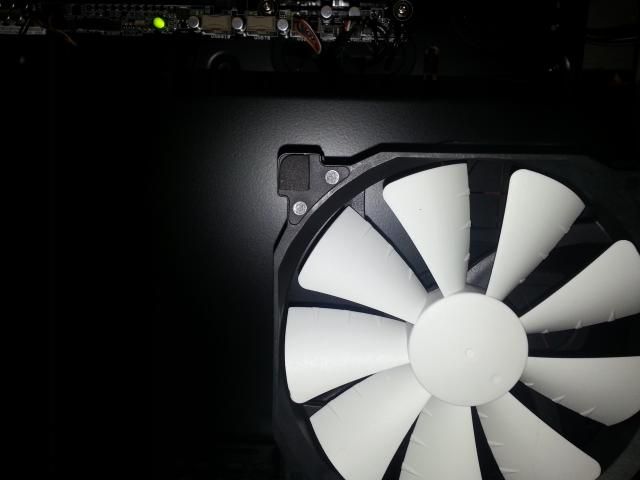
Attached it to the fan shrouds:
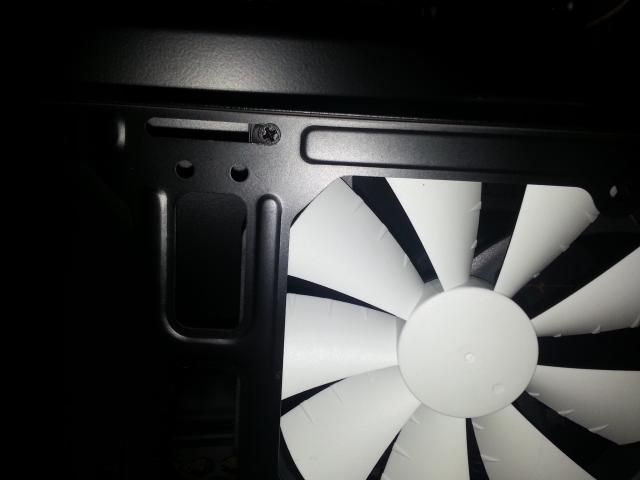
Screwed *snigger* it from the other side:
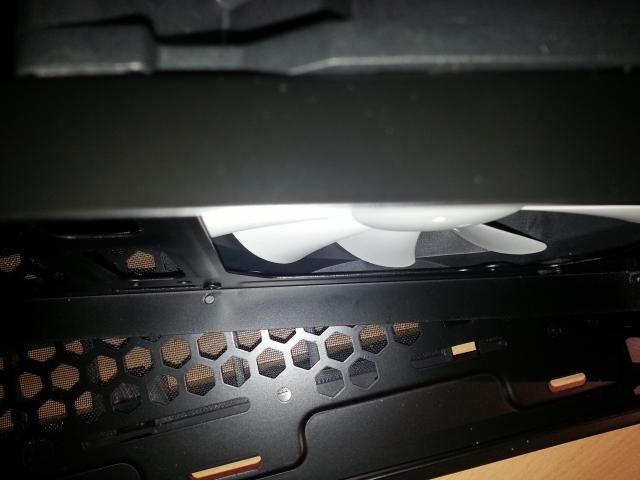
Problem solved!
Mad props go to Phanteks for offering to send me a new fan after I emailed them about this issue. I had to provide the original invoice and a shipping address in case you were wondering. Then again, for a £200 case, I’d expect this.
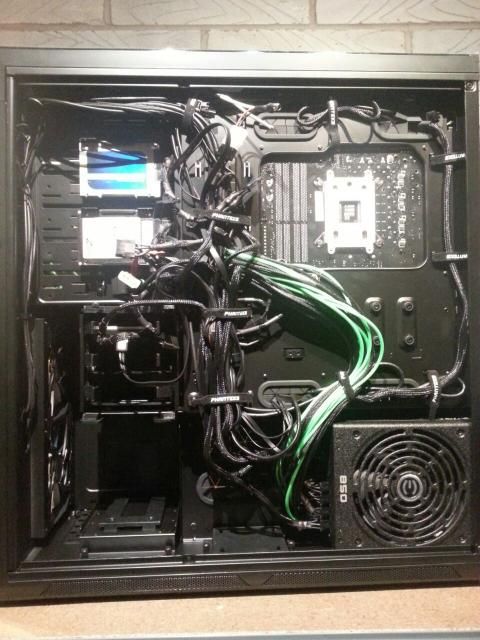
After some degree of cable tidying and Velcro-ing:
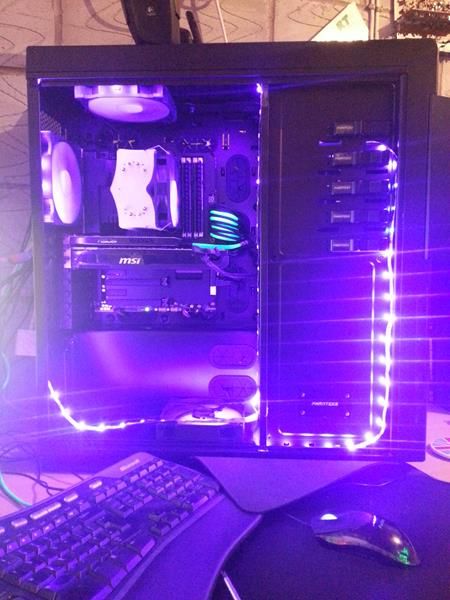
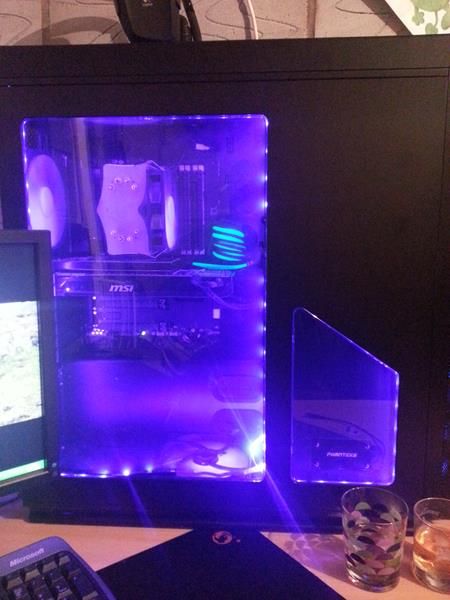
GORDON’S ALIIIIIVE!:
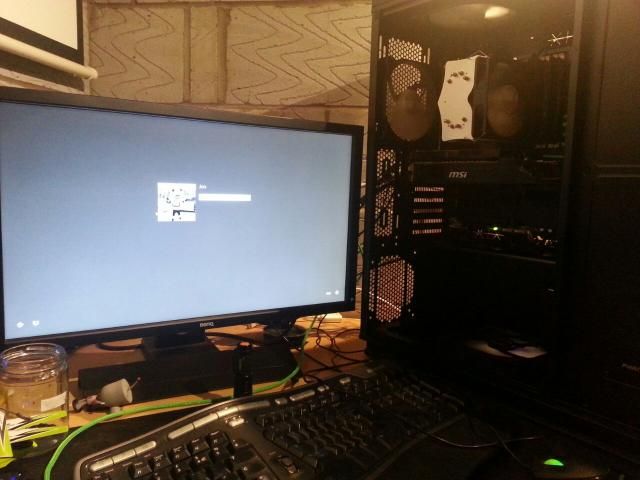
…and that’s the end of my build so far.
Planned stuff:
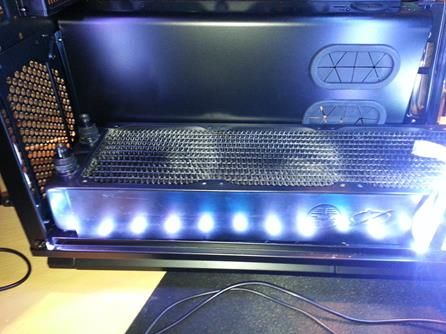
Watercooling with UV green fluid
5050 LED strip to go back in
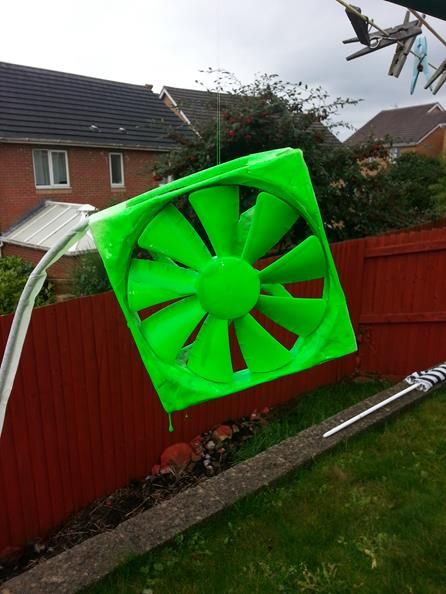
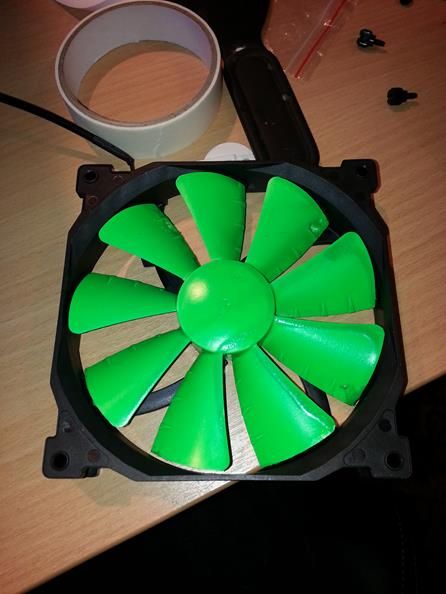
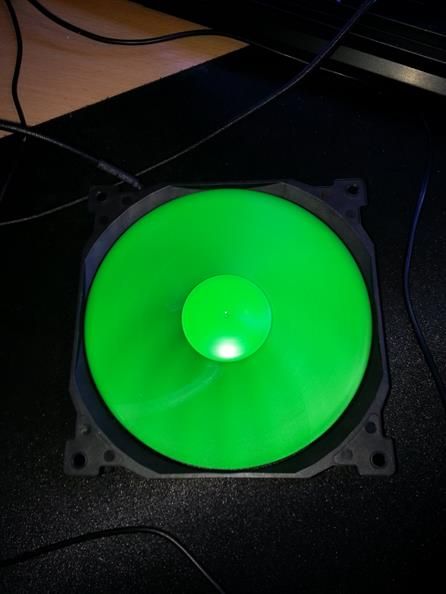
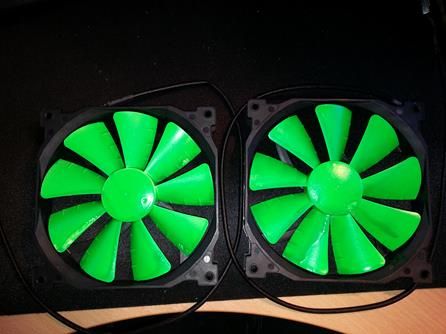
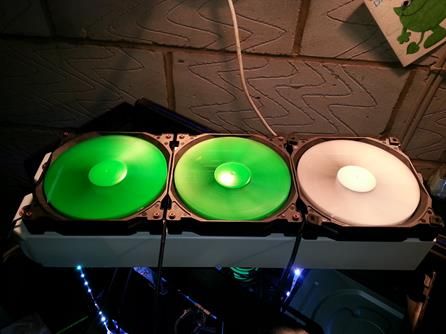
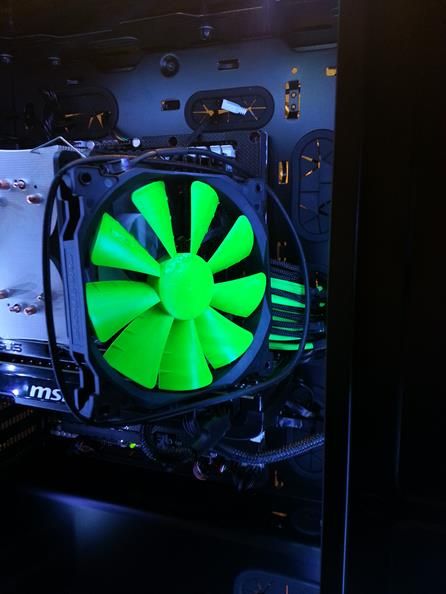
Painting of fans to UV green
LED changeover to green
For some reason, only one of my USB3 ports on the top work – I’m suspecting a bent header pin as it was a complete arse trying to push the connector in!
Anyway, leave a comment.
If you want to.
I’d appreciate it anyway
I recently had a thread saying that I was going to update my Silverstone FT01, however, after deciding that it was going to be a major challenge to watercool efficiently in that case, I decided to cash in my Premium Bonds and buy a new case to last me for the next decade. The colour scheme will be UV green/ black.
Photos are a mixture of a Nikon D7000 on an 18-55mm in terrible light conditions, and a Samsung Galaxy Note 2. Better pictures will be available when I have replaced the light fitting back to just a single fitting (its currently on 3 spot lights) with a very bright bulb.
Spec:
Case: Phanteks Enthoo Primo
Mobo: Sabertooth Z79
CPU: Intel 2550k
RAM: yes, 16gb of the stuff.
GPU: MSI R7970
PSU: EVGA 850w Supernova G2
Sound: Asus Xonar D2X
HDD: 2 x 128 GB SSD, 1x 1TB HDD
Watercooling:
XSPC Bay/Res combo
D5 pump
EK Nickel Plexi 7970
1x 480mm Rad
1x 420mm Rad
Alphacool fittings
EK Supremacy Evo Nickel Plexi (still to buy)
I managed to pick the above watercooling gear up for about £200, but being patient and only buying good deals, both on the member’s market as well as eBay. However, time is running out for my CPU block and I might have to buy new for that!
Anyway, on with the build log!
First up, was when the case arrived and I had issues in getting the case in the car. I had heard that this case was big, but I didn’t realise HOW big. As you can see, it takes up all the space in the back of my Ford Focus:

After lugging the case box in to my man cave (garage), time came for the ceremonial unboxing of the behemoth!
First, the obligatory relaxed shot before all hell breaks loose!

As you can see, the box I received was full of foam with no case in:

Oh wait, no, there it is protected in not only a plastic bag, but also some heavy duty foam packaging around it:

Up onto the newly made workbench, courtesy of Makro:

Finally managed to get the case out of the box and up onto the workbench. It’s a massive PITA getting it out!

Here’s a side by side view of old vs. new (they are lined up at the back, the angle makes it look like they are not):

And as you can see from the front on comparison, the Primo is much large than my old FT01:

Side panel off and a first good look at the inside. It’s a beauty, packed full of excellent ideas!

And a wider shot:

Here’s the back, including the bits box they give you with the case:

Here’s the bits box, with different PC screws and fixtures, cable ties and foam pads:

Right, let’s start gutting this mofo:


Well, that was quick!

It’s dead, Dave..

MoBo in!

MoBo, I’m getting too much of your chin, I’m going to take a shot from slightly below:

DVD and Res/Pump in:

With the flat blanking plate, the card wouldn’t go in properly as the card is too long:

The PCI-e clip wouldnt fully engage:

Thankfully, the clever chaps at Phanteks have already thought of that and the big square cover is uncoverable, to reveal… a lovely cut out section for long GFX cards!

IN WITH THE CARD!

Well, almost!
The fan shroud on my card is literally 3mm too long to fit in the cut out section!

Thankfully, Phanteks also thought of that and have made the entire bracket removable!
Is it in yet? *snigger*

Here you can see how it looks with the full bracket removed:

Removing the bottom drive bay:

SSDs in:

Back of the case without any cable management:

To quote Tubbs from The League of Gentlemen: “LINES AND LINES AND LINES AND LINES!”

So far, so good:

Side on, and here’s the protective wrap on the side window (and my cat):

OFF WITH THE SHRINK WRAP!!

This is the back. Obviously.

The only issue that I had with the case was that the bottom fan was fouling on the radiator bracket causing a BANGBANGBANGBANGBANG noise which I couldn’t stand. Something had to be done.
Remember the foam that comes in the toolkit? I cut 4x 1x1cm squares from it (apparently it’s for skinny PSUs?)

Attached it to the fan shrouds:

Screwed *snigger* it from the other side:

Problem solved!

Mad props go to Phanteks for offering to send me a new fan after I emailed them about this issue. I had to provide the original invoice and a shipping address in case you were wondering. Then again, for a £200 case, I’d expect this.
After some degree of cable tidying and Velcro-ing:

GORDON’S ALIIIIIVE!:

…and that’s the end of my build so far.
Planned stuff:
Watercooling with UV green fluid
5050 LED strip to go back in
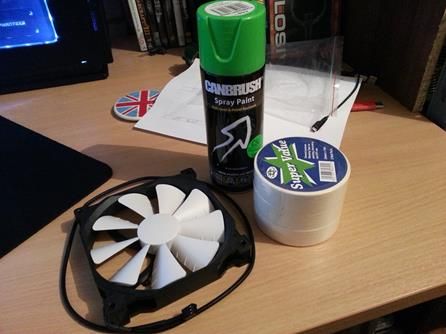
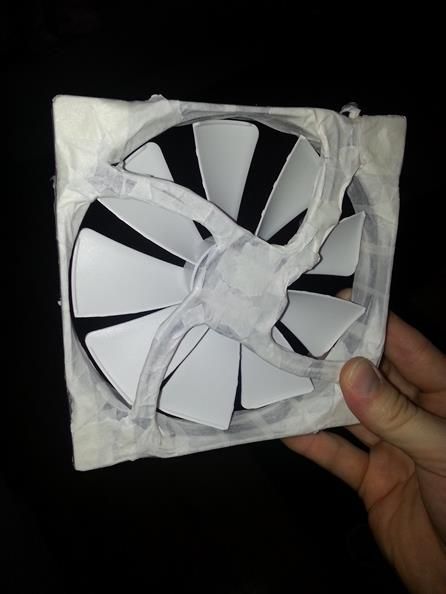
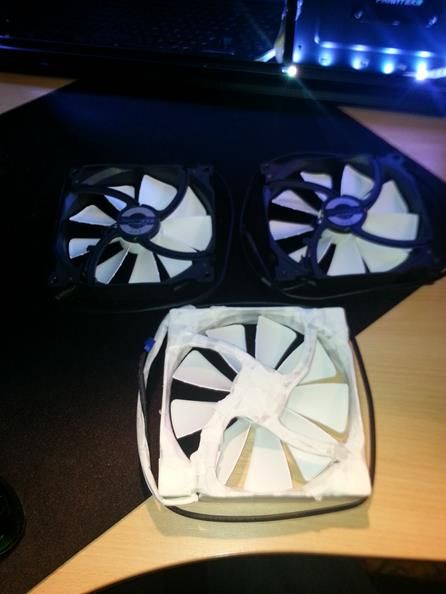
Painting of fans to UV green
LED changeover to green
For some reason, only one of my USB3 ports on the top work – I’m suspecting a bent header pin as it was a complete arse trying to push the connector in!
Anyway, leave a comment.
If you want to.
I’d appreciate it anyway


