ITX-MATX Parvum build

Soldato
Joined
3 Jun 2012
Posts
11,091
hey

I managed to source a Parvum S1.0 White/Black case for cheap.
So i decided to Move my gear from the Prodigy into it.

The System specs:
i7 3770k
16GB DDR3 Crucial
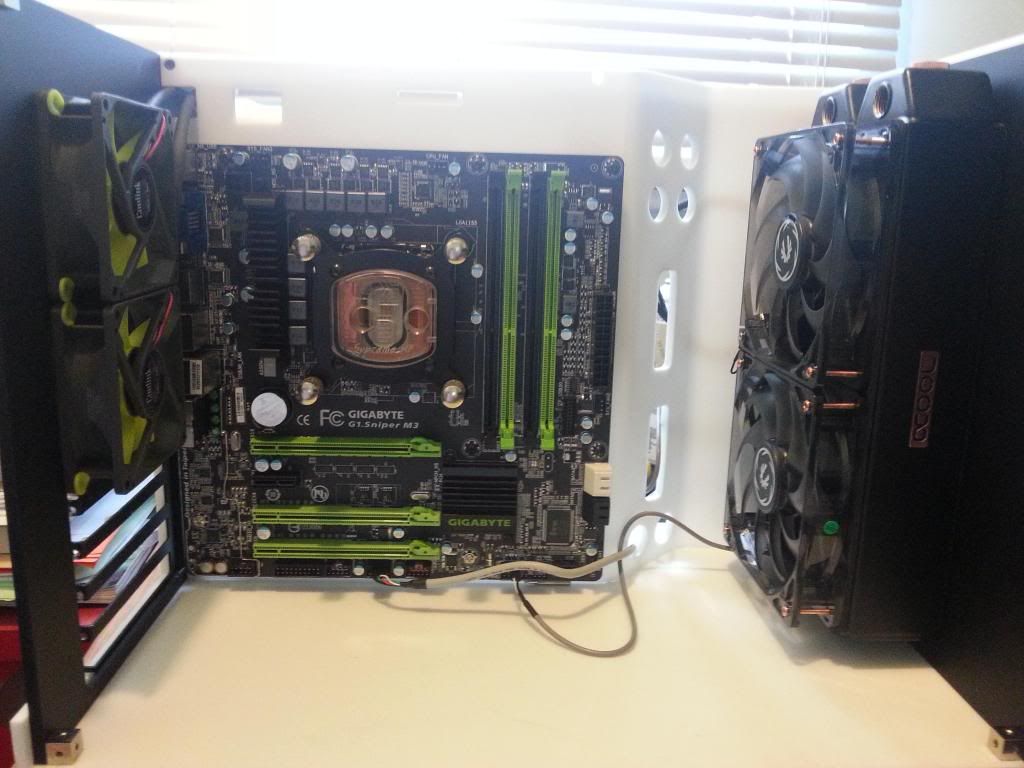
GigaByte G1.Sniper M3 MATX Motherboard - (got this and the case for £150!)
Adata S511 128GB SSD
2 x 1TB 2.5" HDD
XFX PRO 1KW Platinum
Asus HD7970 DirectCUII

The Cooling:
EK Supreme HF
EK DCII 7970 Block
D5 with Res attachment
Alphacool ST30 240mm rad
Alphacool XT240 240mm rad
4x Bitfenix 120mm fans
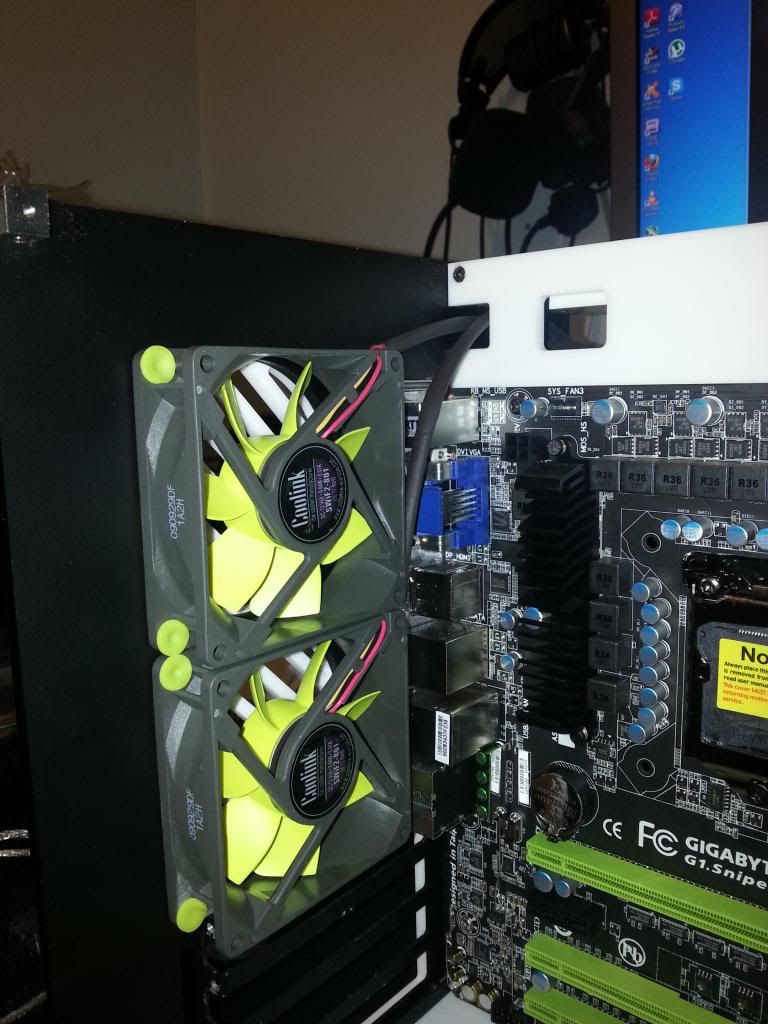
3x Coolink 80mm silent fans
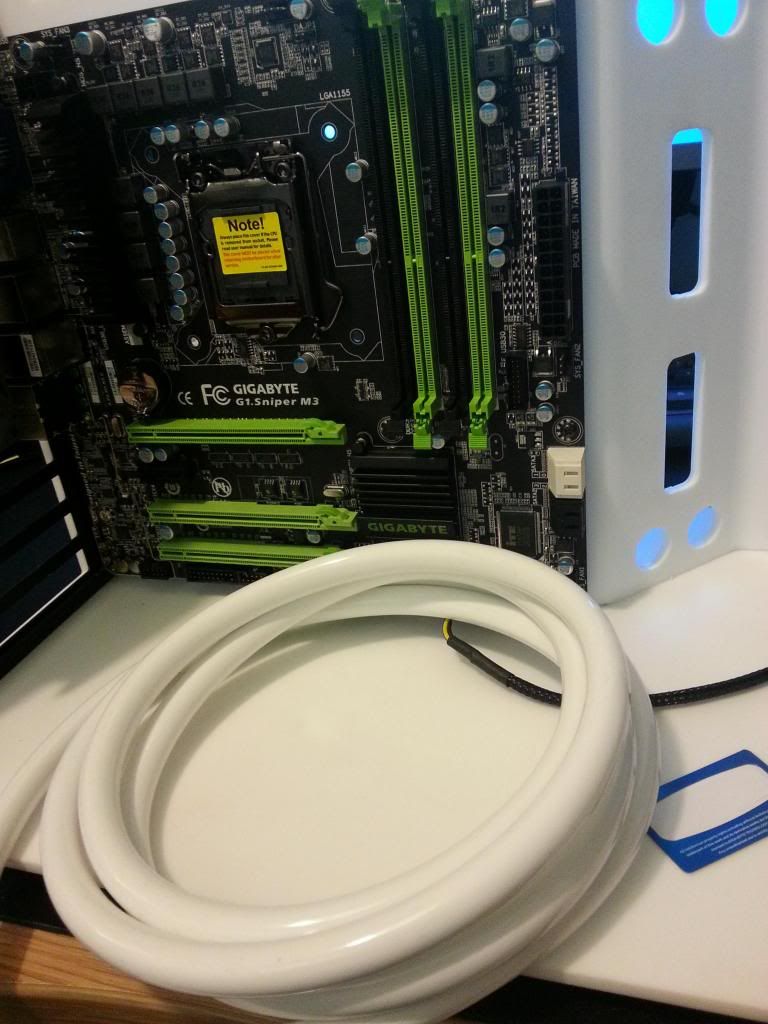
3/8" Primochill White tubeing
Alphacool Black fittings

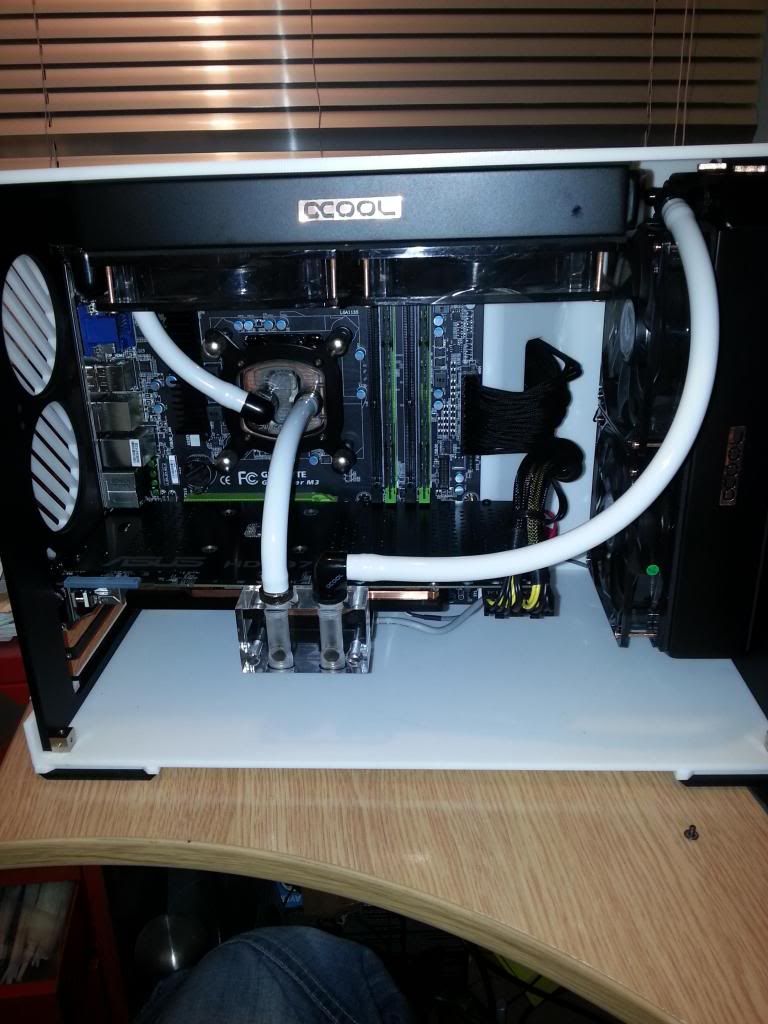
The colors in this build are slightly odd, You got the green on the motherboard which will tie in with the green from the coolink fans nicely.
Then the white tube is to tie into the case
the black barbs match the rad colour and the black on the case
and then the Bitfenix fans are Blue LED ones, They are just to give a nice glow inside the case.

I started this today and i have some pics of the progress.

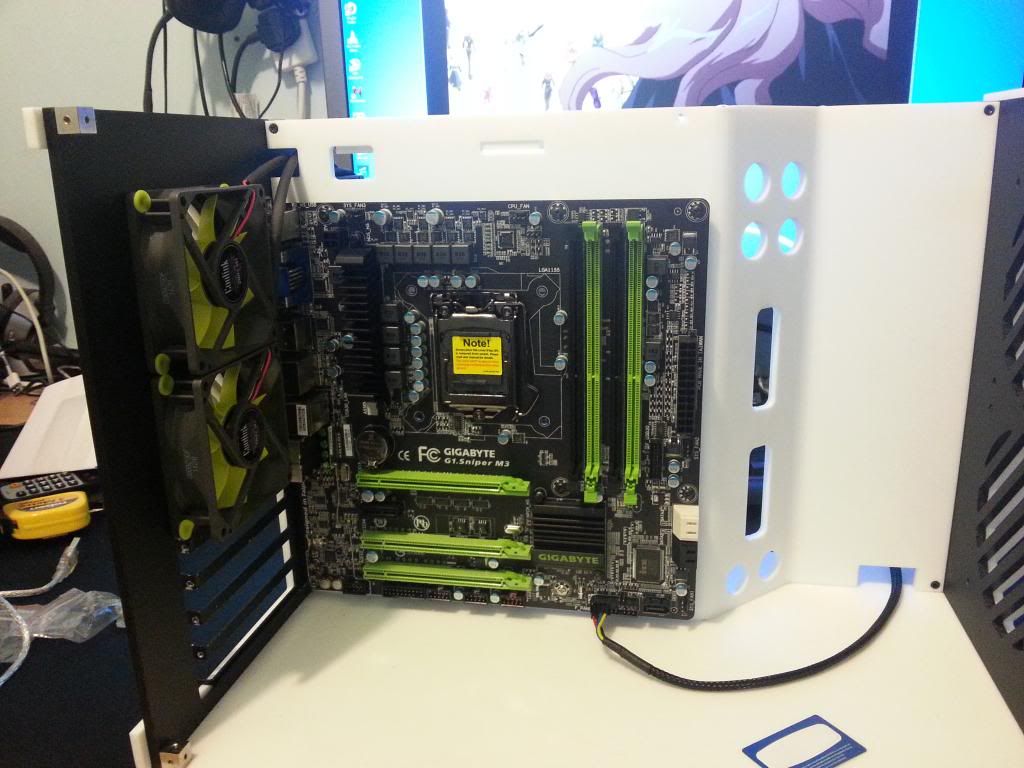
The Motherboard

The nice silent fans

White Tube

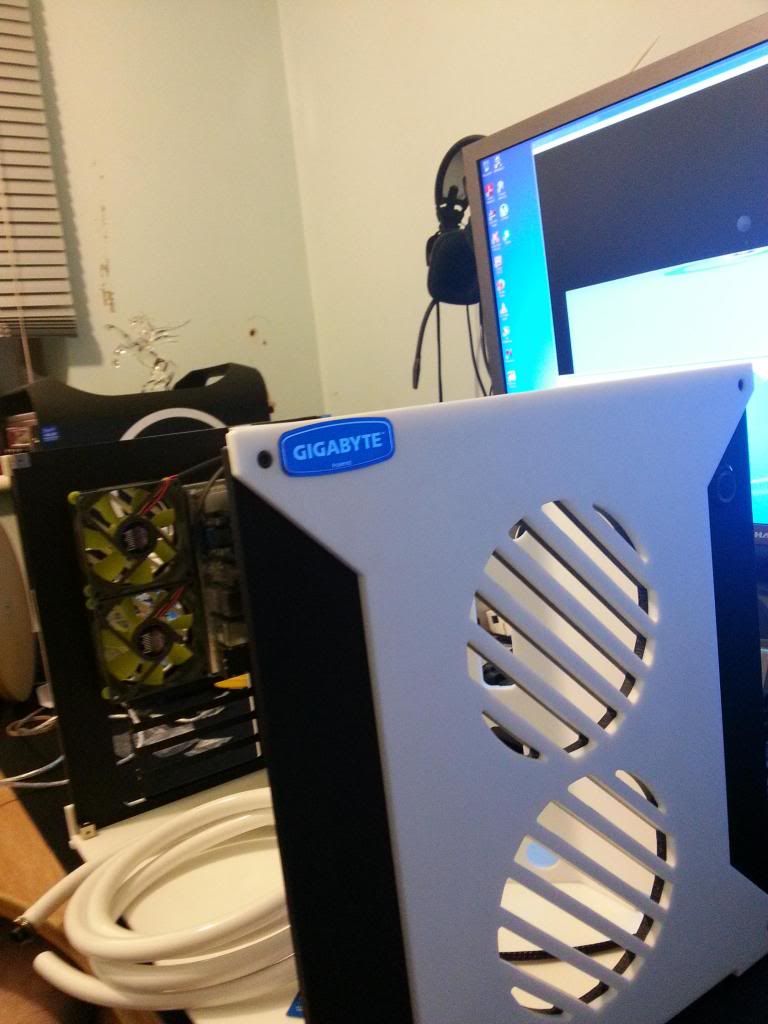
Gigabyte label!

Got some of these, you will see why ;)
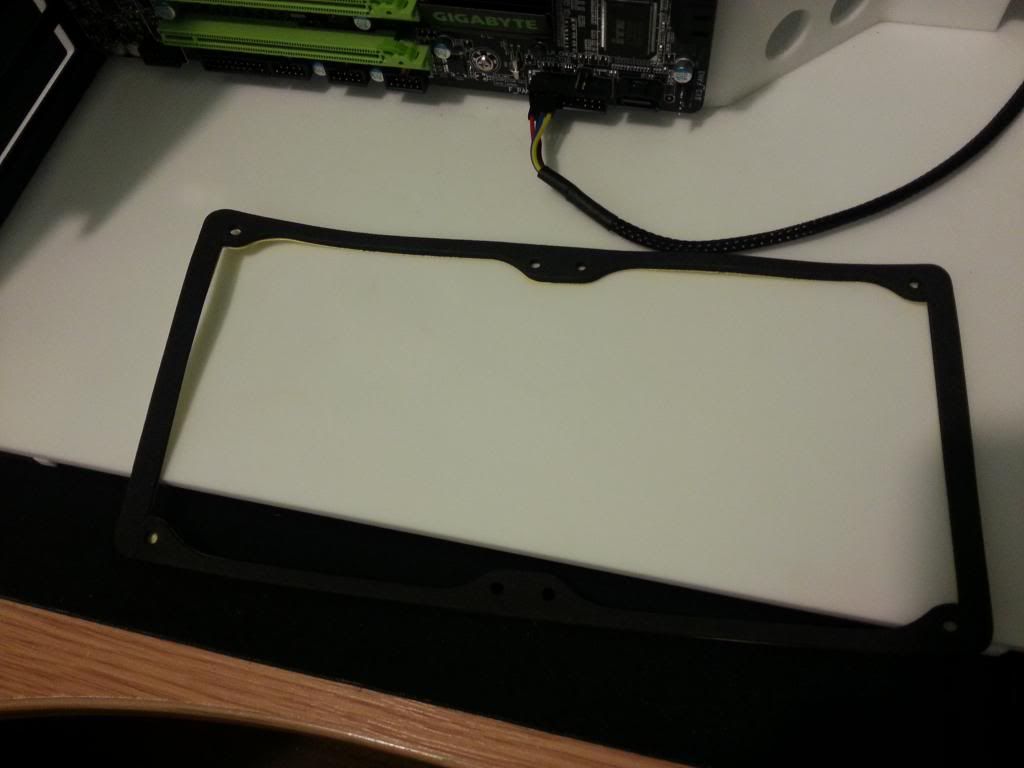

How it looks like on my desk vs my 30" hazro and the prodigy
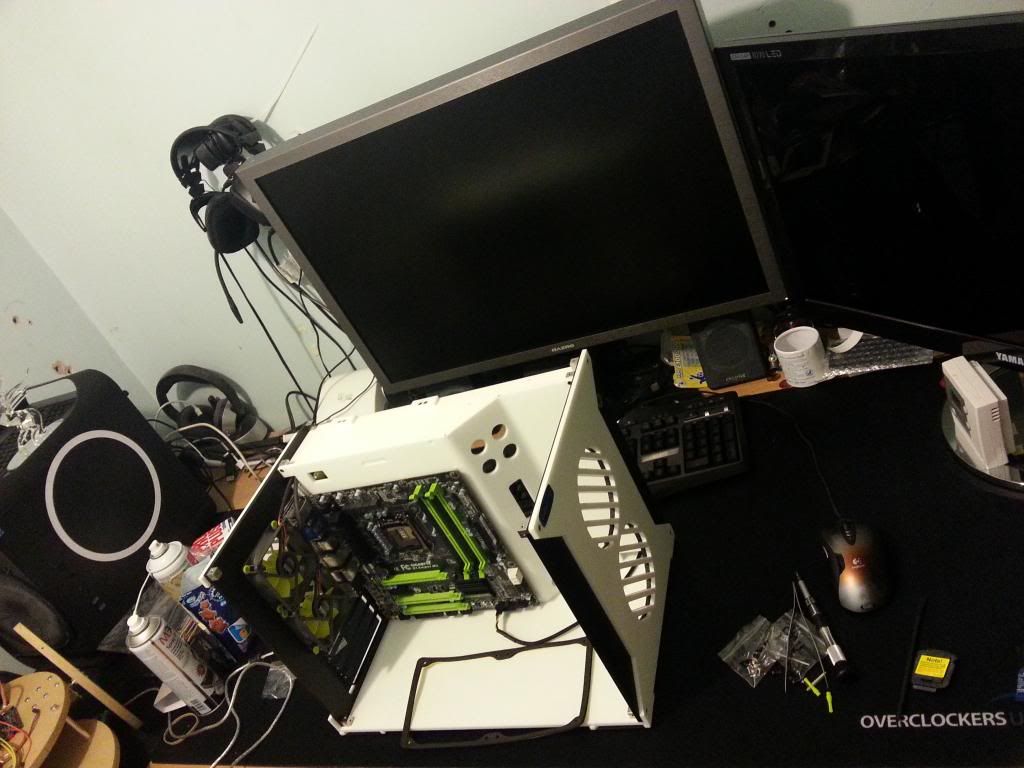

here is why i got those gaskets! I love it when i think ahead, makes a change :P
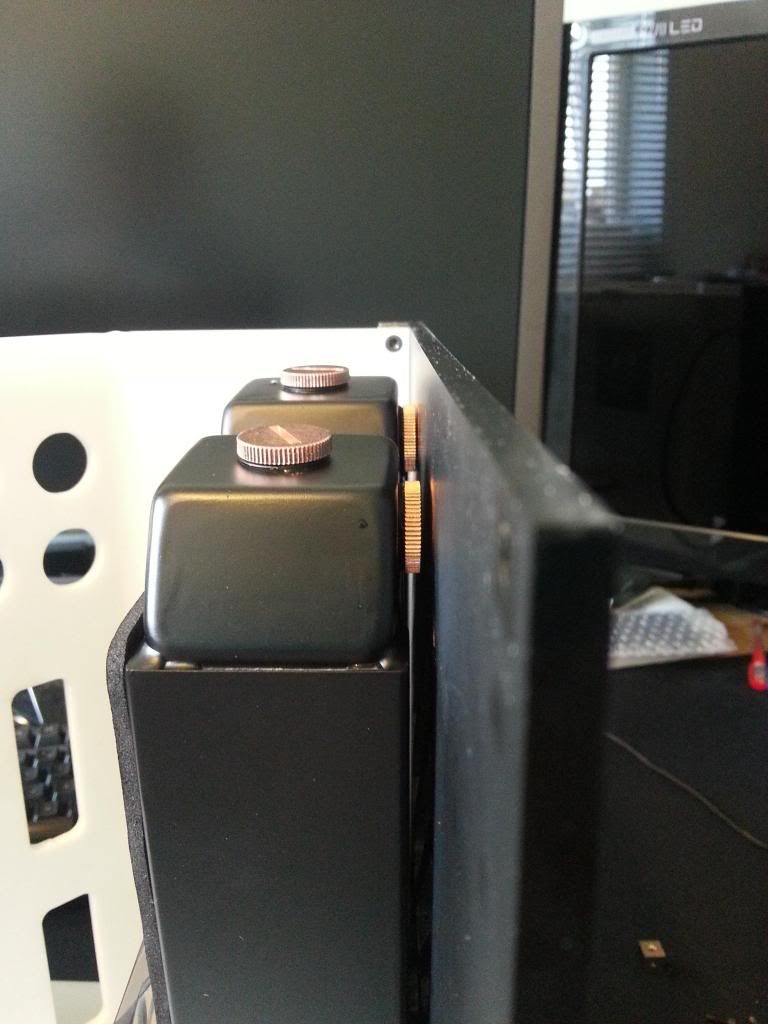

Here is what i did, i wanted a seal around the fans and the rad so no vibrations would travel into the case
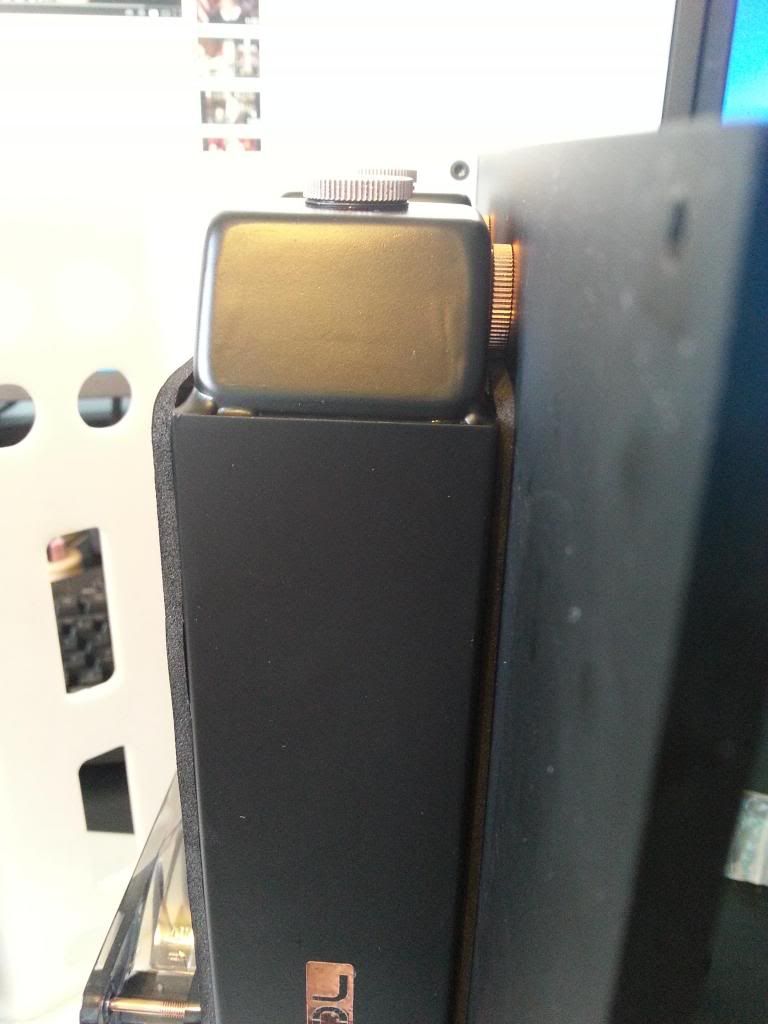
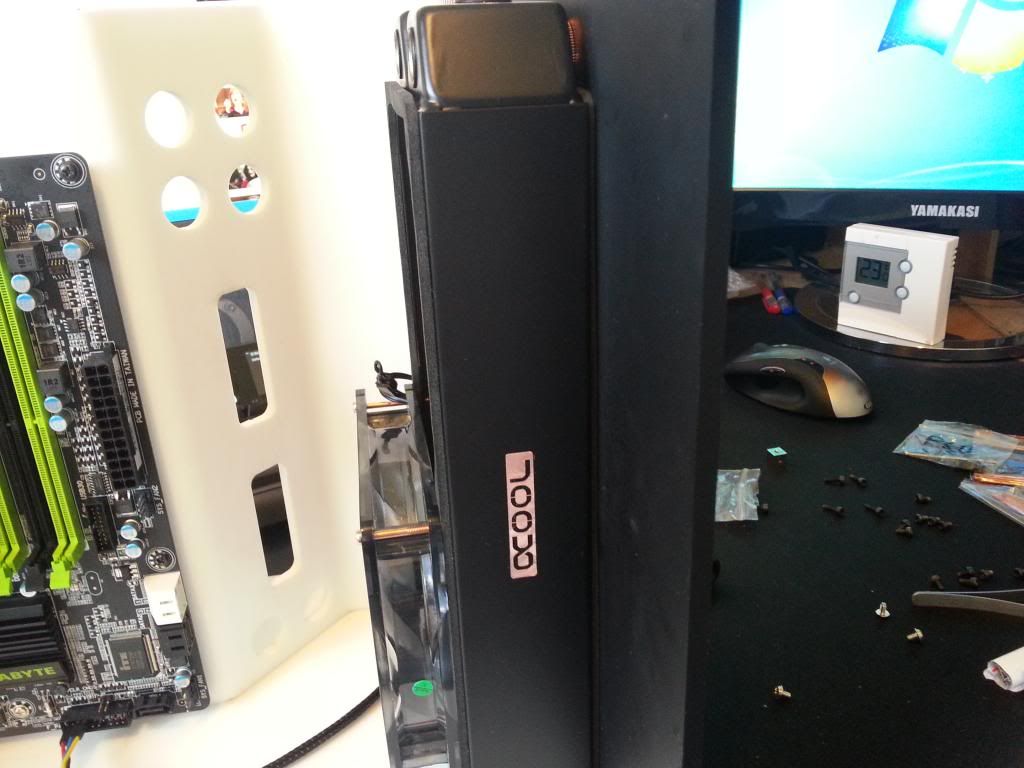


Now that's as far as i have gotten today, I did plan to pull the Prodigy apart today and start transferring it over but i had a problem with the cooling.
At the moment i have a Scythe Server fan controller, i like having the ability that my pc has to ramp up fans depending on temp, unfortunately i cant fit the scythe into this case as there is no drive bay.
Also its LCD has died so i need to replace it.

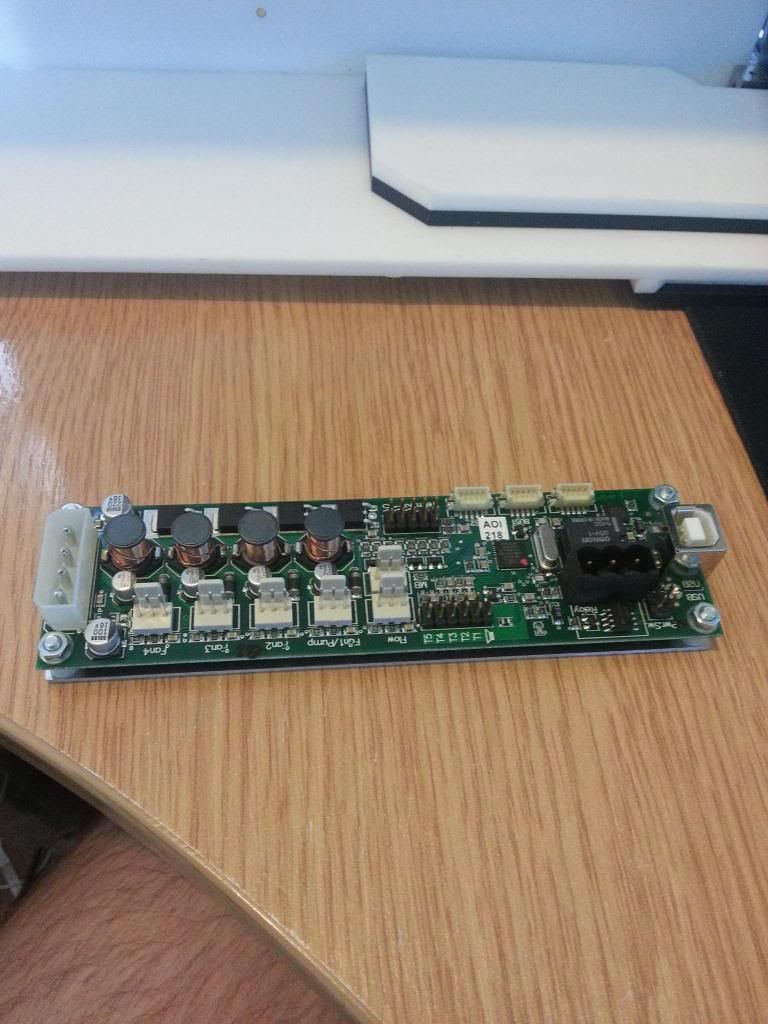
I managed to source an Alphacool heatmaster which i have been told will do this job and i can just stick it to the inside of my case, So i have that on order along with the second radiators gaskets.
They should be here tomorrow thus this is on hold until then.

In the mean time i will carry on with some uni work :)
 
Update

Look what turned up


Decided on its placement


The Prodigy before it was dismantled


Whats this?


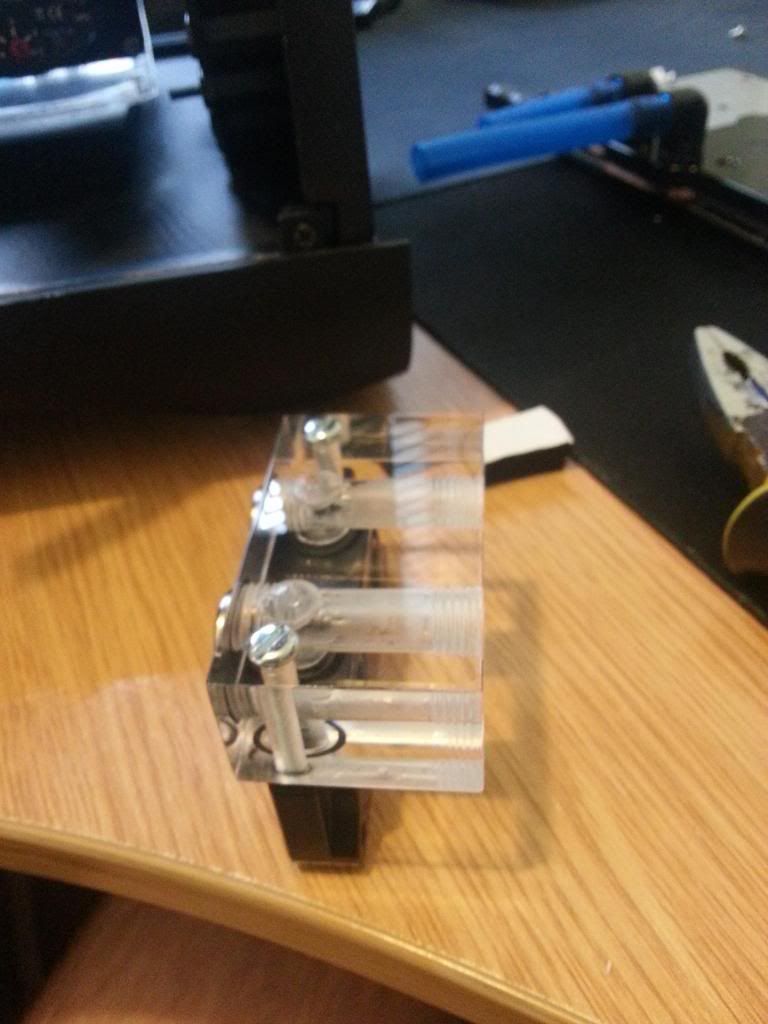
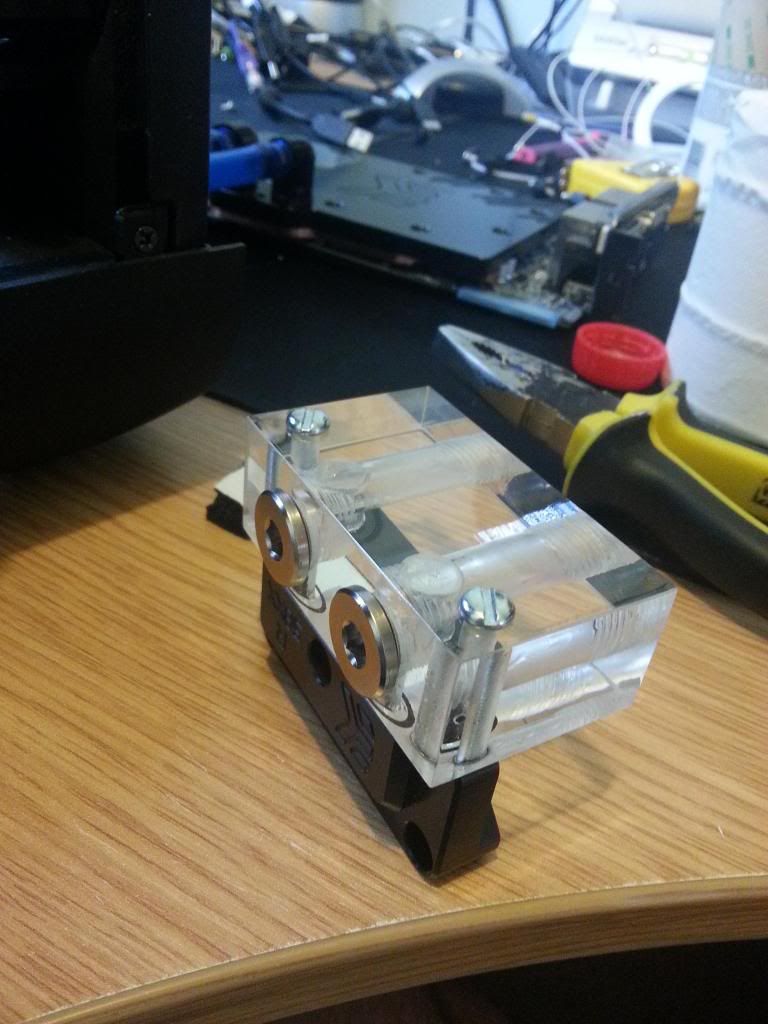
better View of this odd item i made


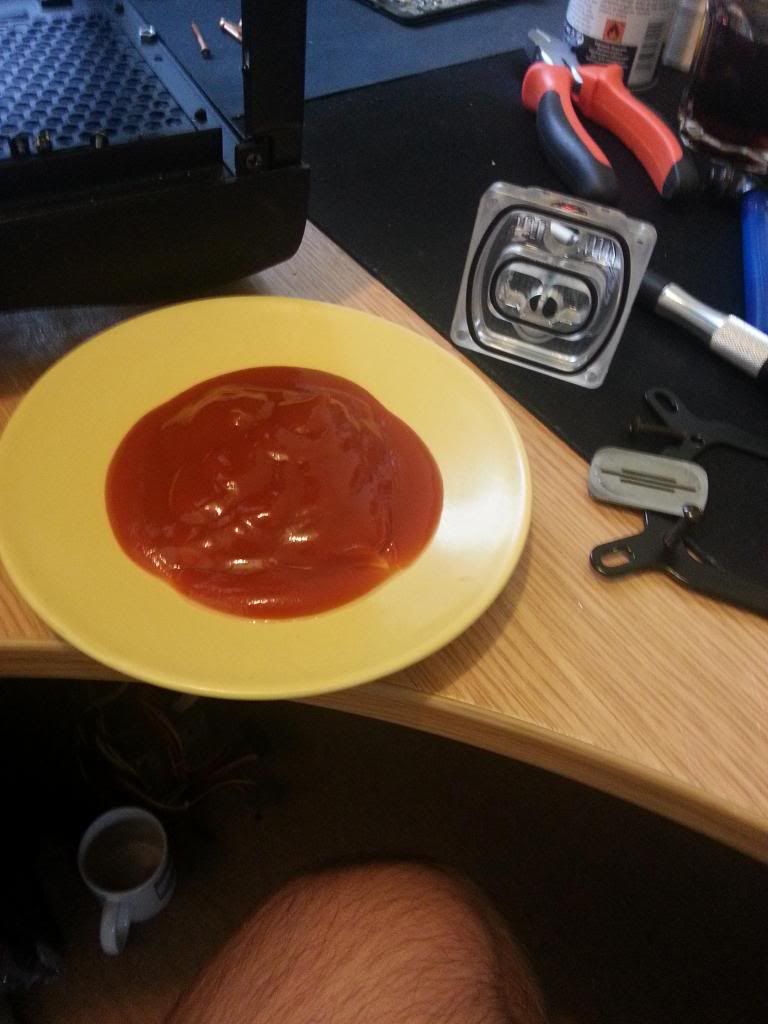
Can anyone guess what is going on here?


Well I Cleaned the Block and stuck it on the Motherboard


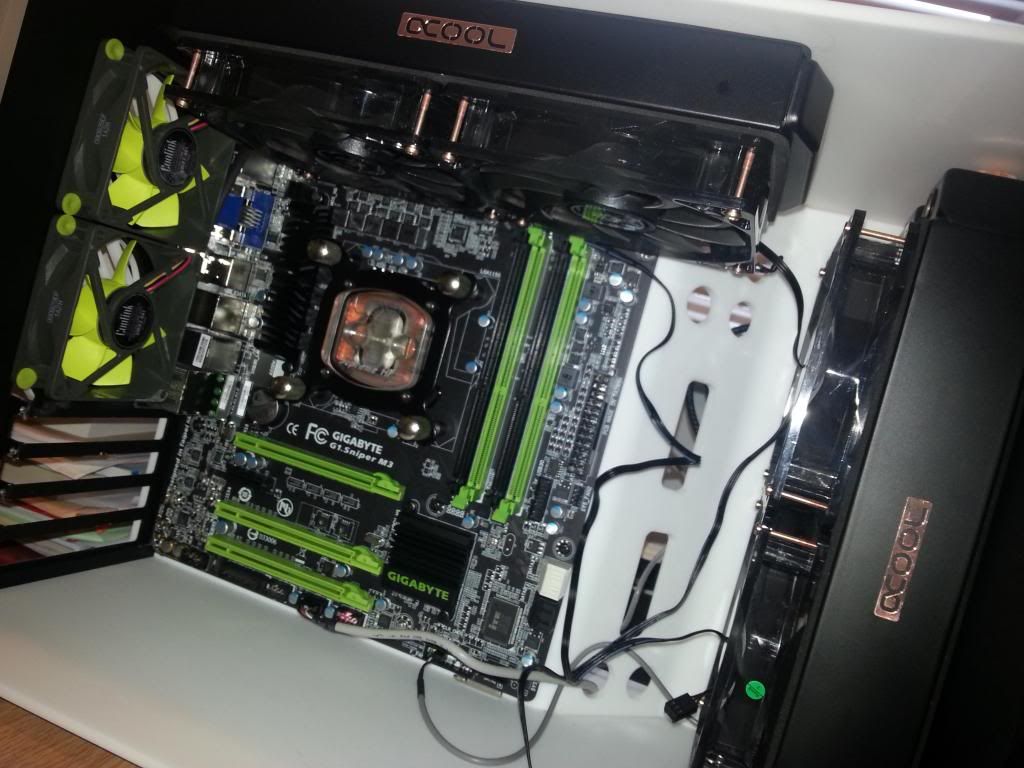
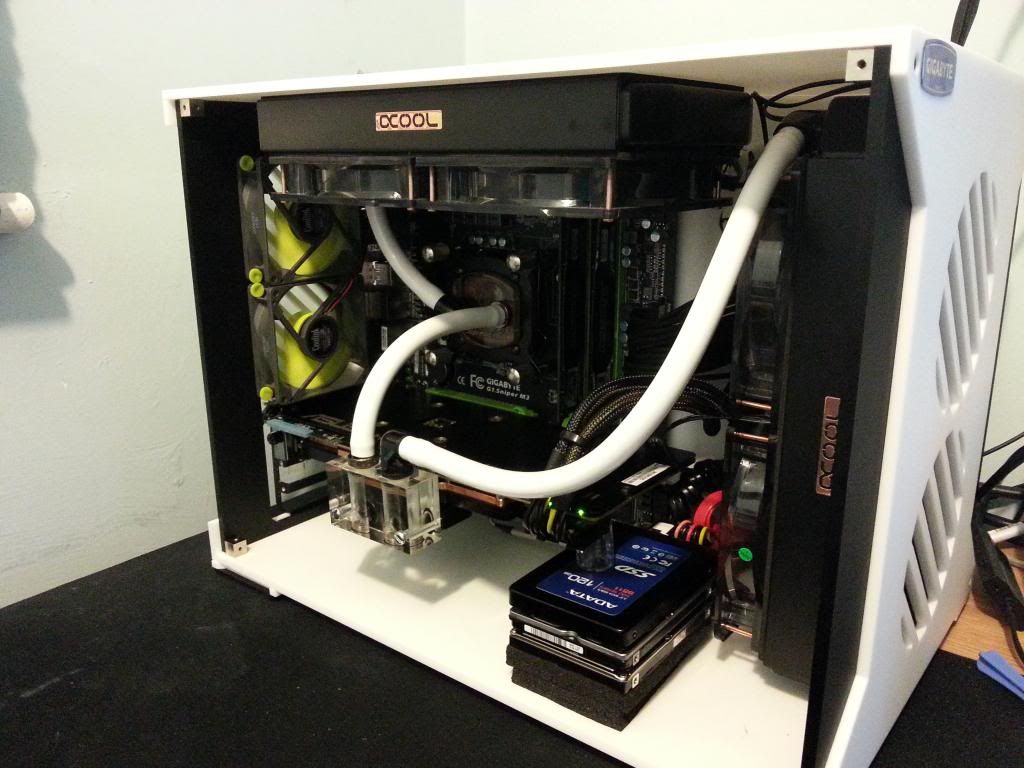
test fit the top radiator. I am happy i used the 30mm one here


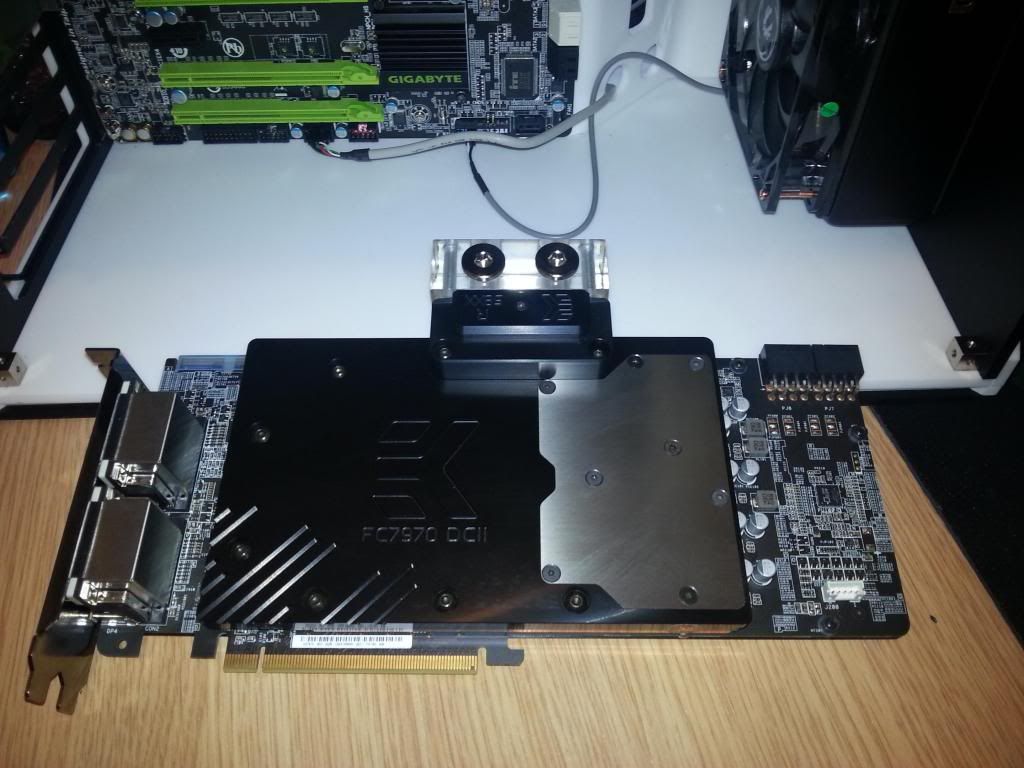
The Happy 7970 with that odd attachment i showed before!


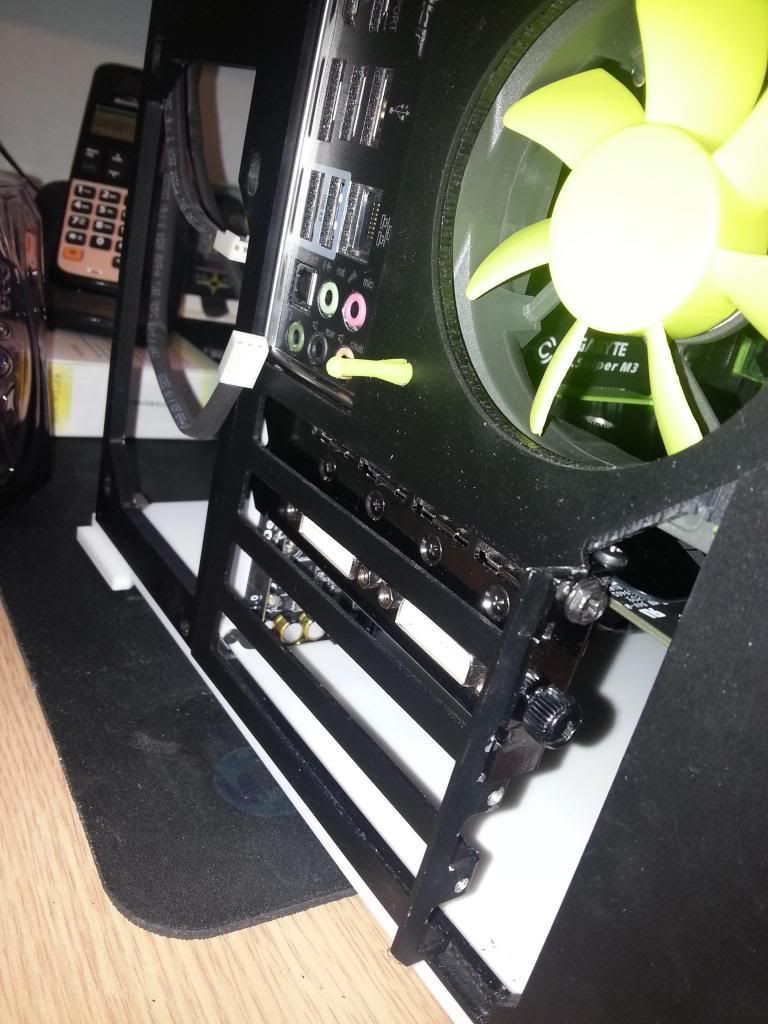
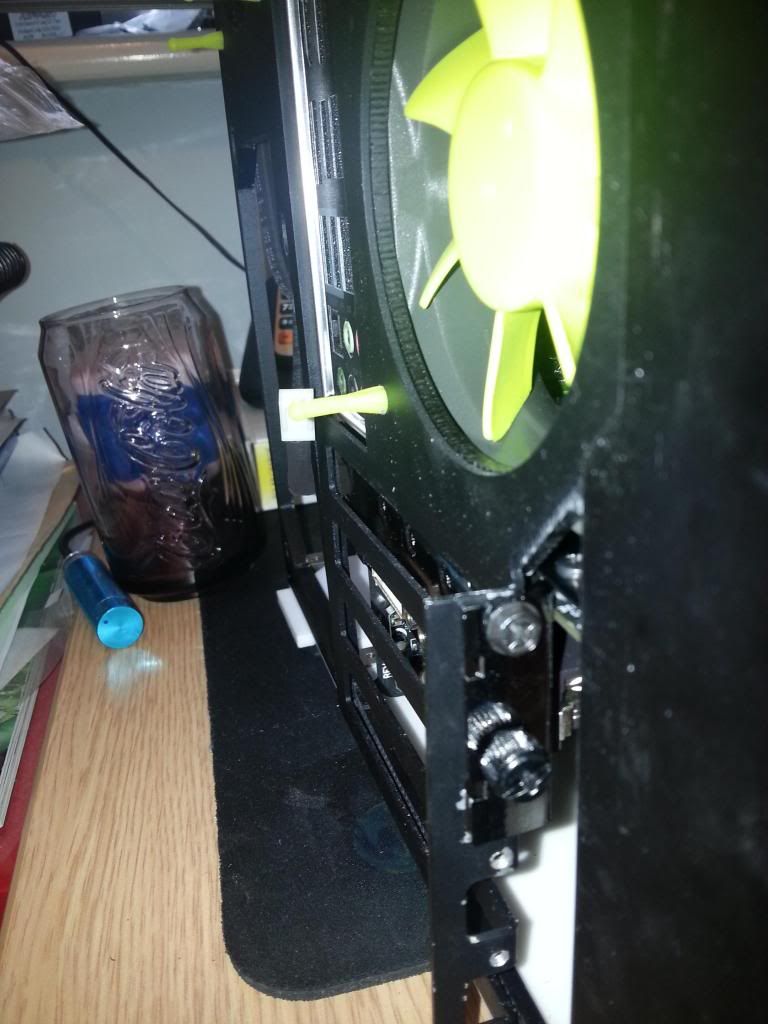
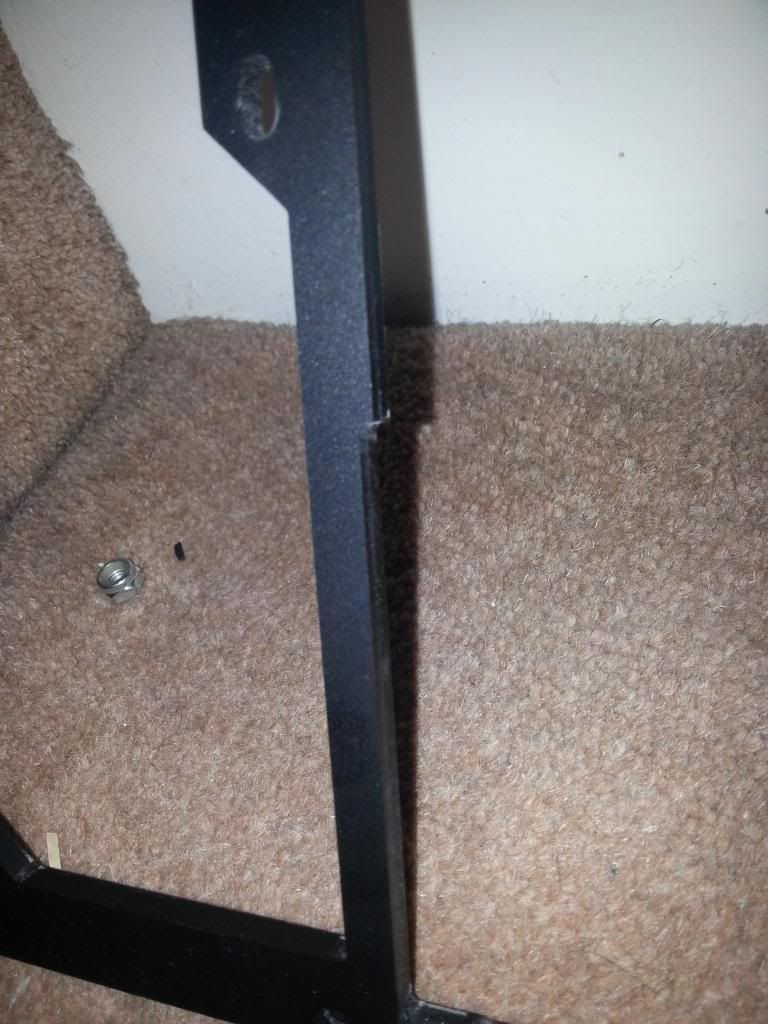
Errrr... WTF? Seems this case is badly made and the i/o plate is too far from the motherboard


Look at that GAP! No way i can use it like this...


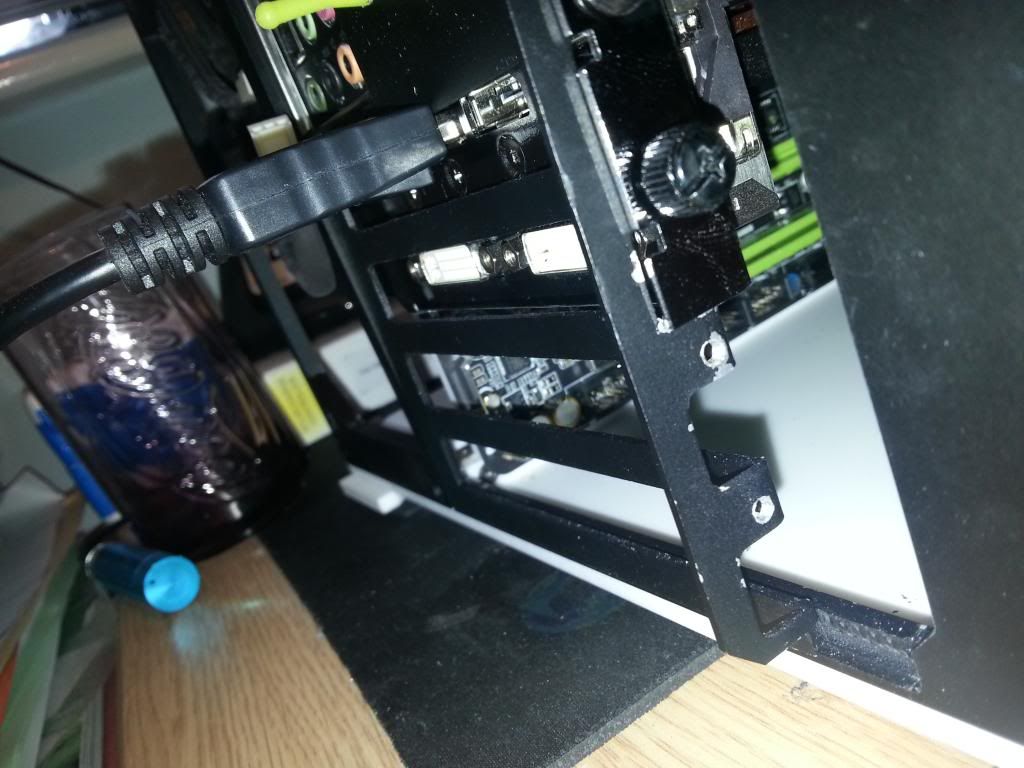
Nope, that proves it. cant put a DP connector in


So i decided instead of complaining to Parvum i would mod it to work


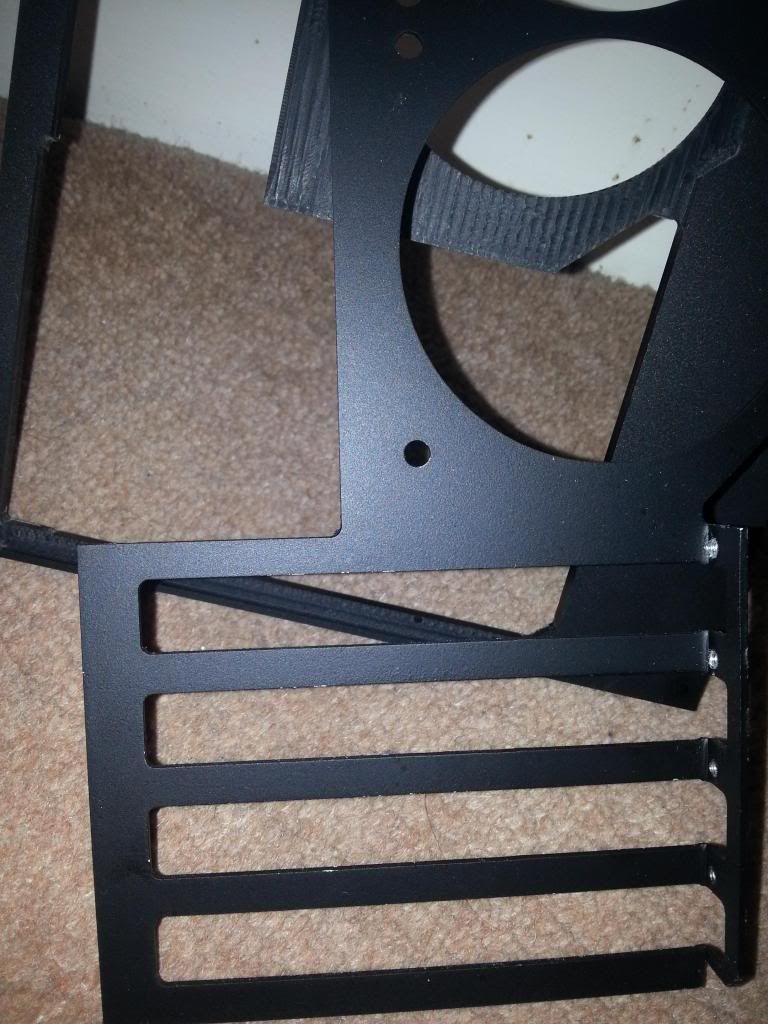
Did some cutting


I also did a lot more cutting but was in a bad mood that i had to do this so forgot to take photo's I had to remove metal and a lot of plastic to raise the i/o plate and get it to line up.
Also the Motherboard screw holes are IN THE WRONG PLACE! They are 2mm to far to the right and also a few are 1-3mm off vs the rest so i was forced to only use 4 screws for the motherboard?!

Test with the hose


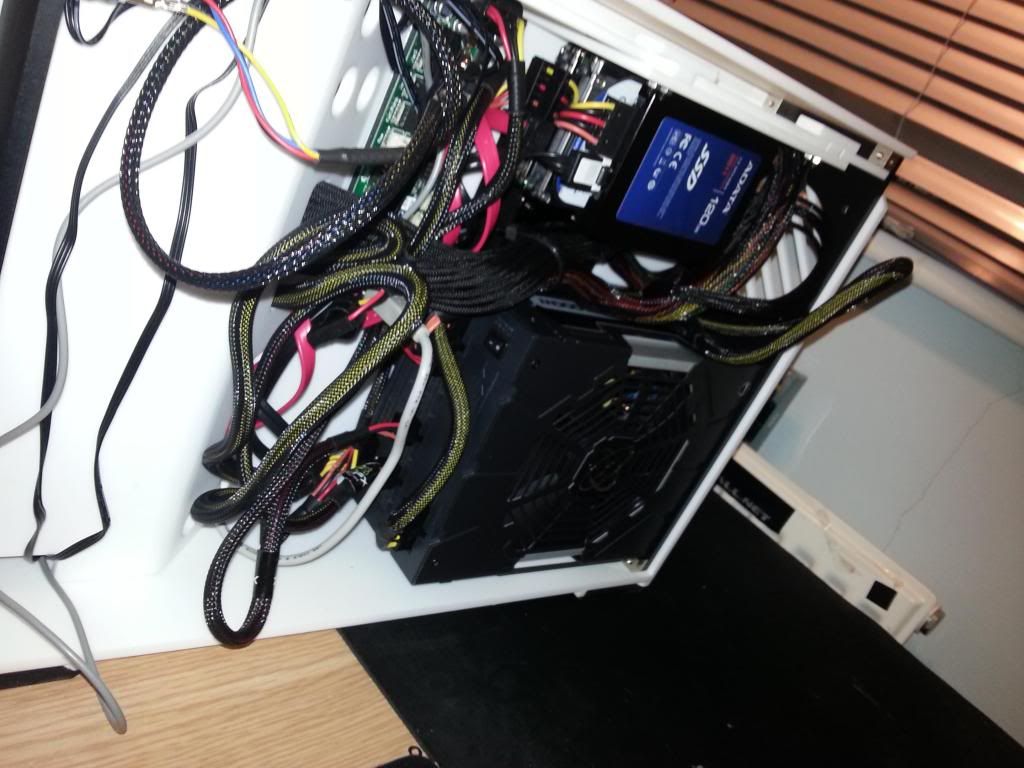
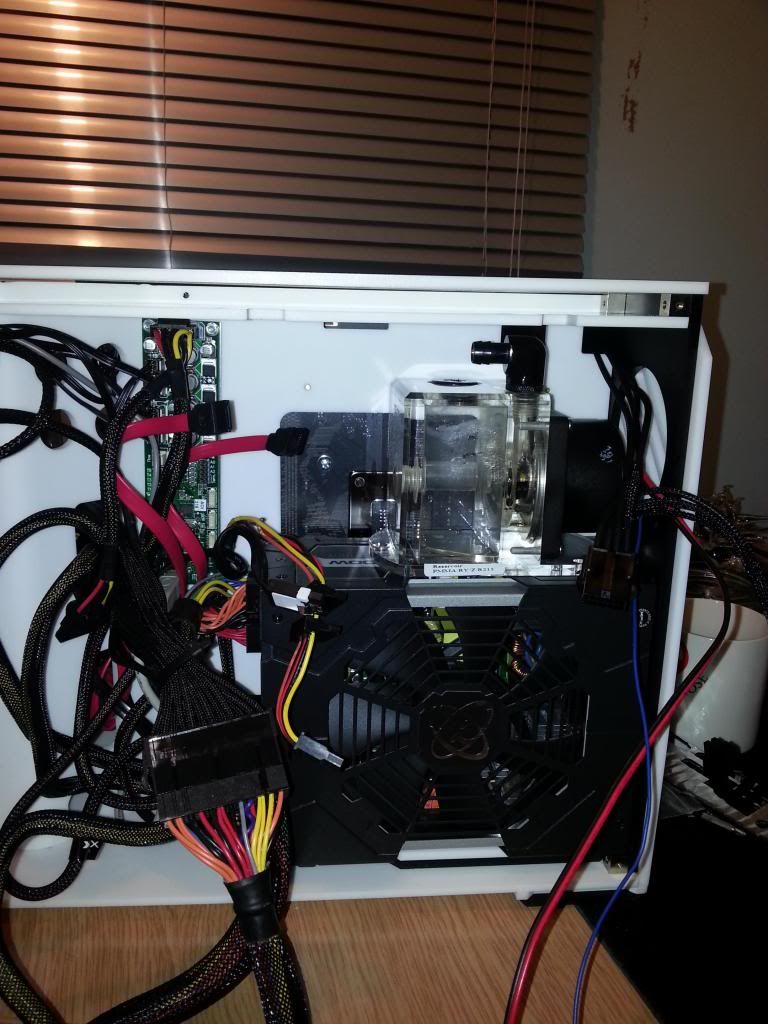
PSU in with the HDD mounts


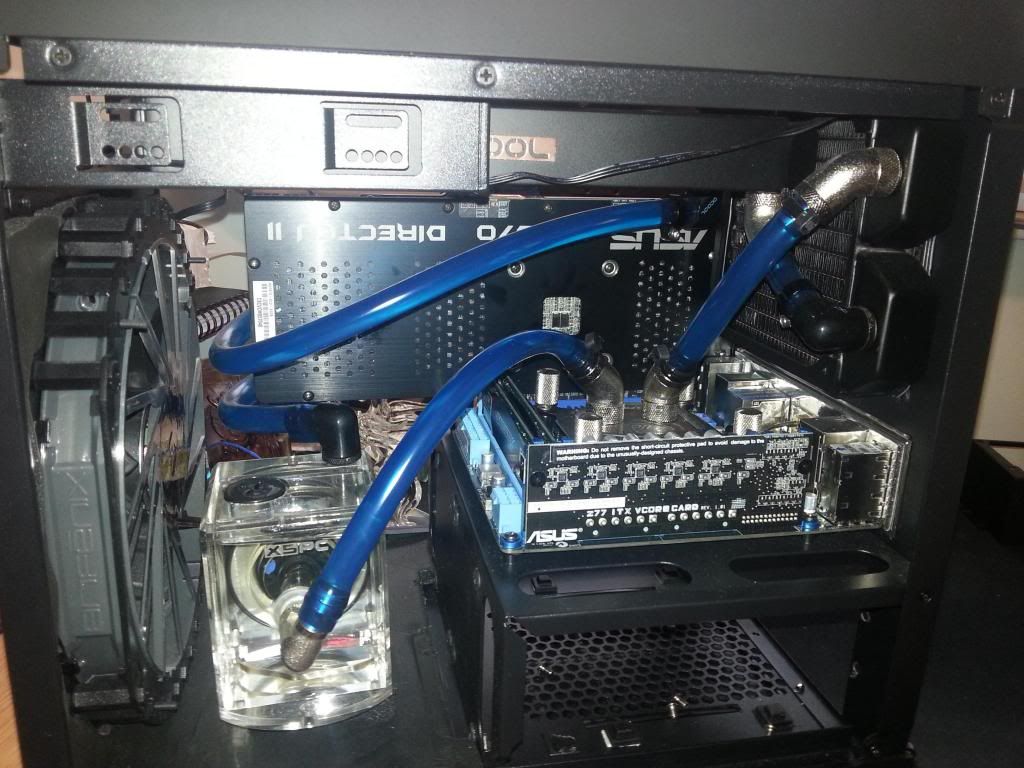
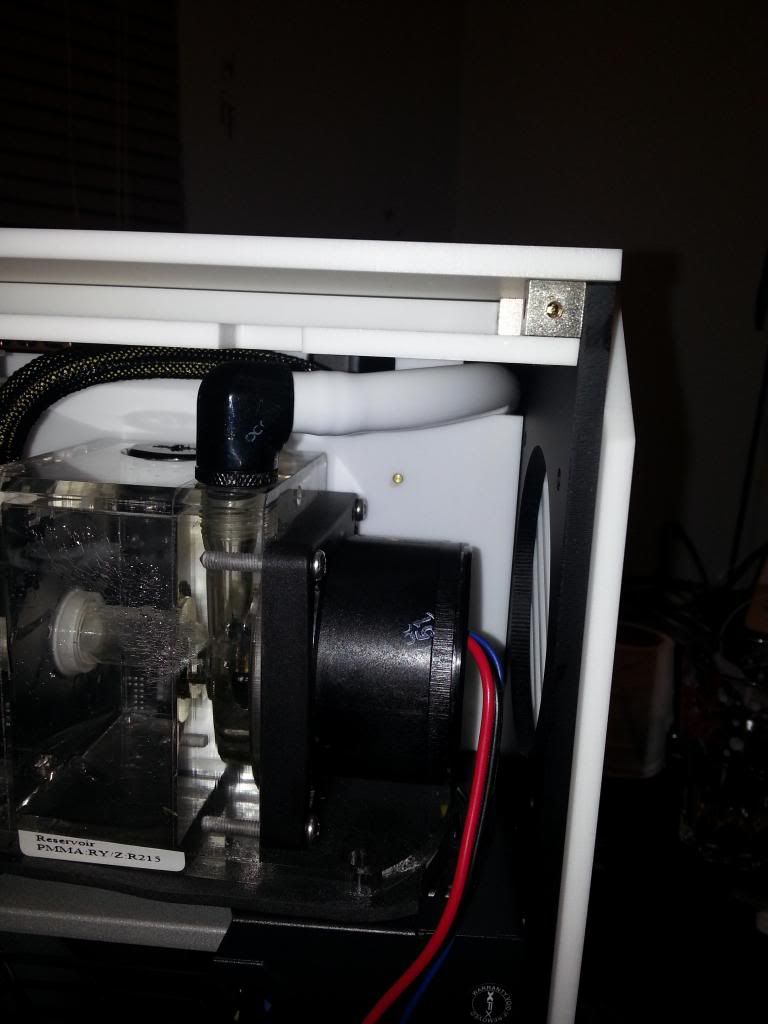
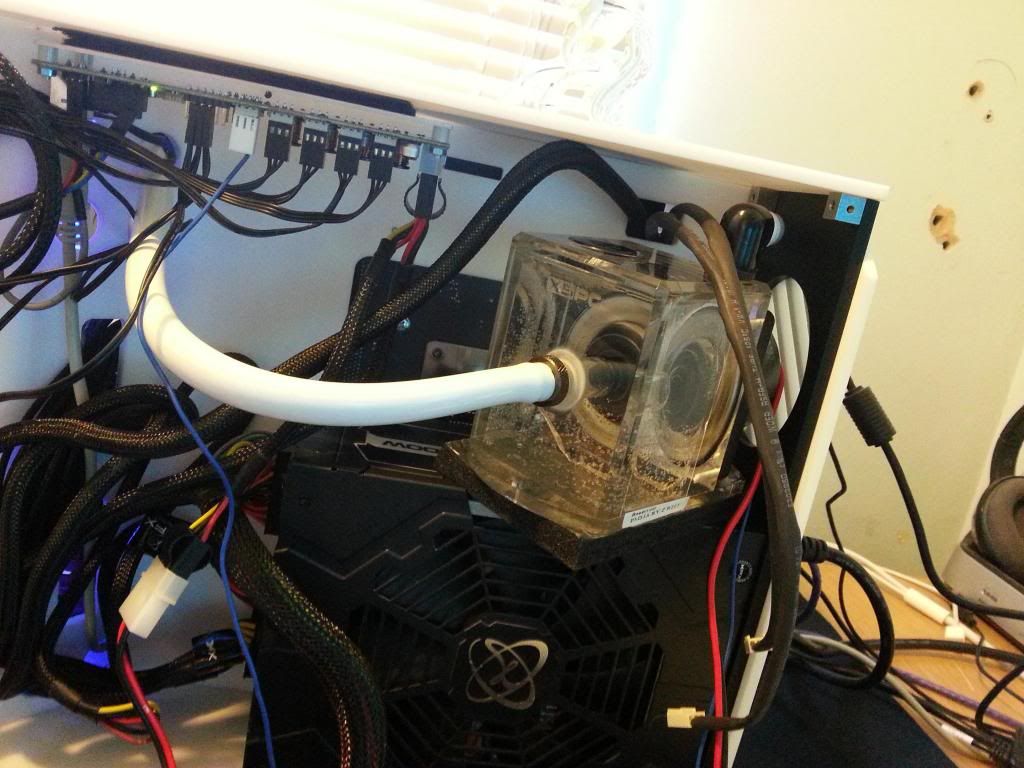
Unfortunately there was NO WHERE for the pump in this case, so i was forced to sacrifice the HDD mounts and place the pump here


Epic Tube place


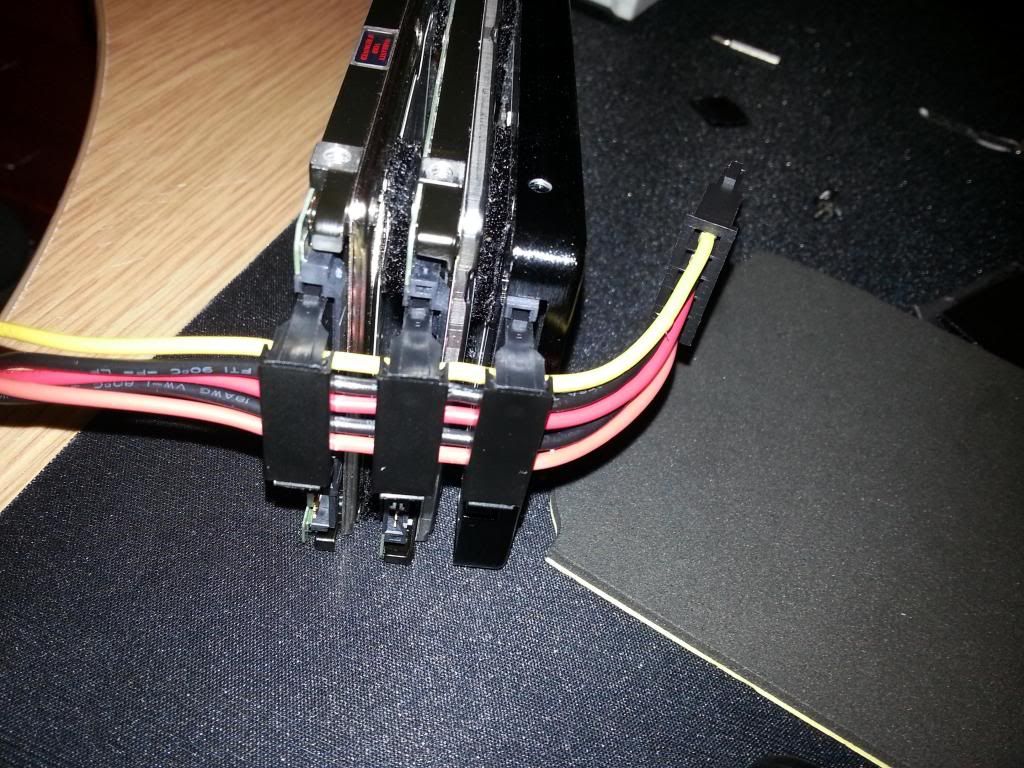
Stuck the hdd's together and wired them up


Placed them in there new home on some foam to stop vibrations. (you wont see foam with side window on)


I had to move the heatmaster, and here is the pump bleeding


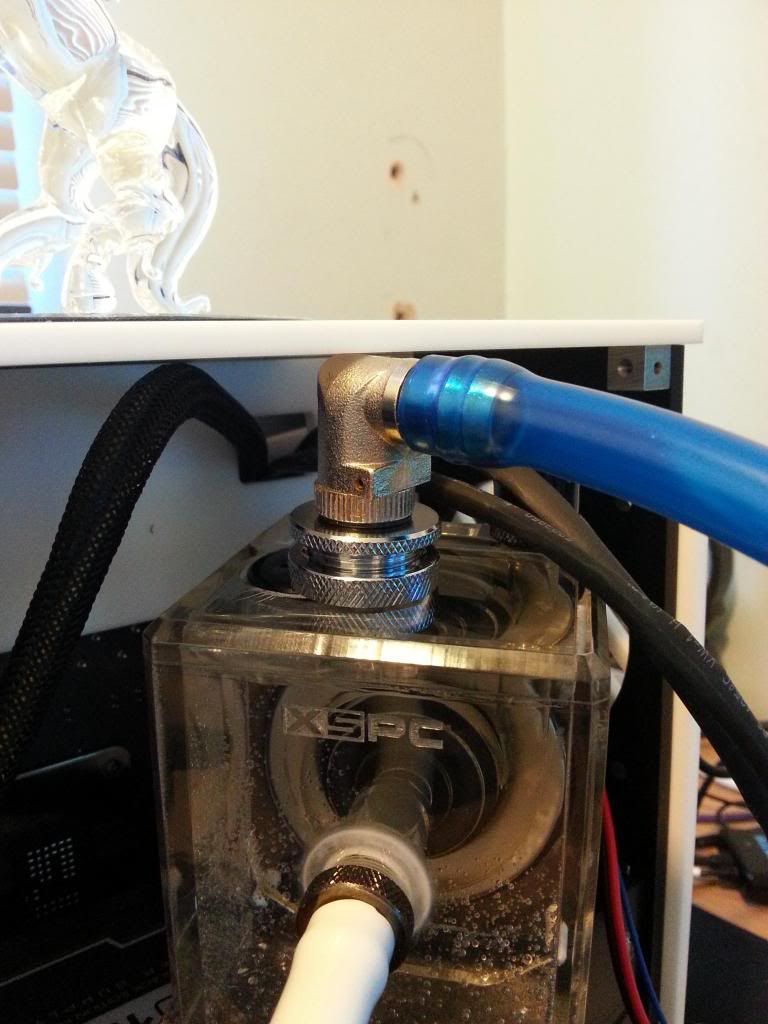
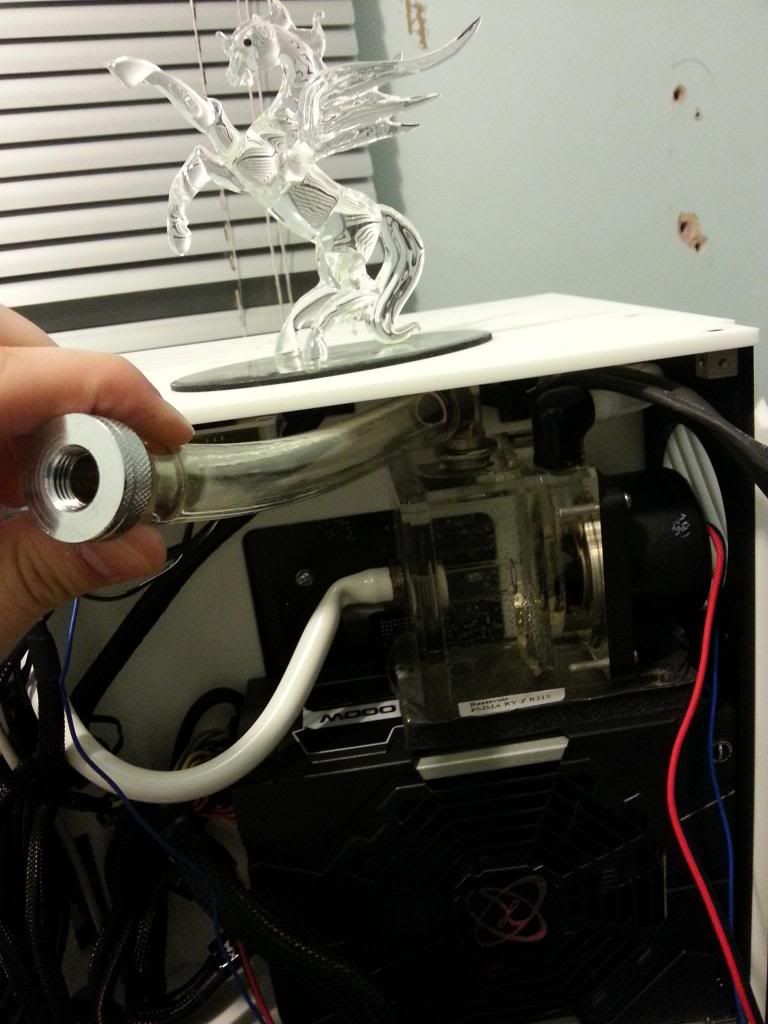
You may notice that the Pumps inlet tube is TOOOOO long! I will have to shorten this when the loop is bled without looseing water. And i have an idea how to still top it up later after looking through my fittings draw.


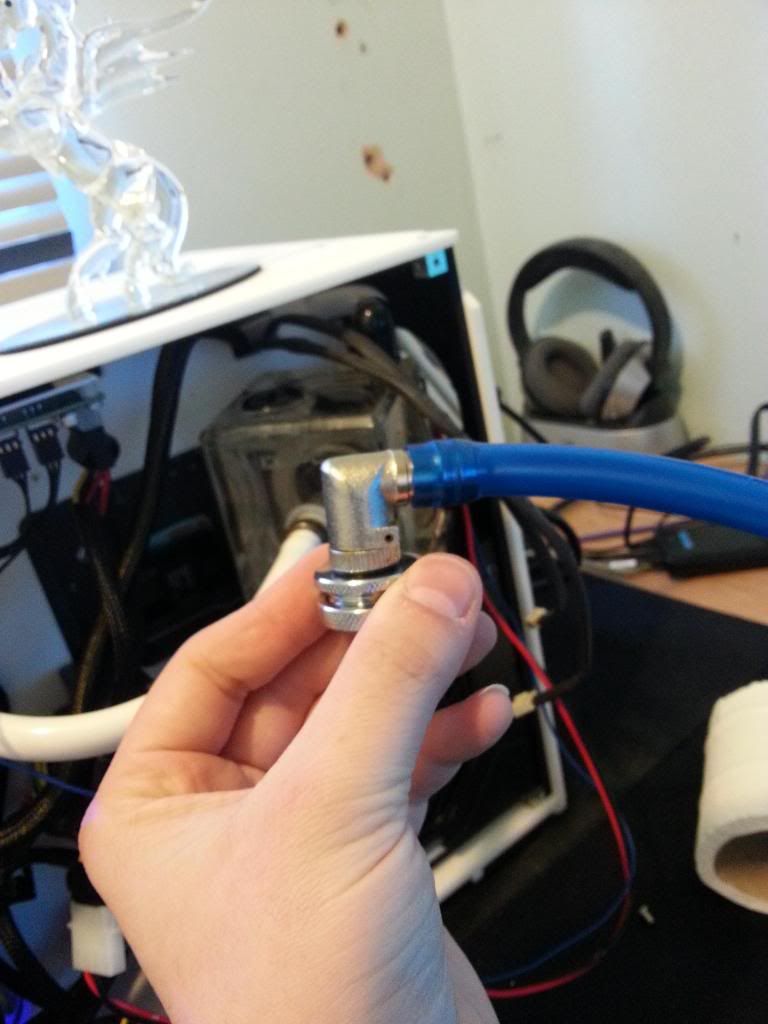
This is the exact same thread size as the fill port on this res... and it will screw in with an oring to create a seal. I can then use the Blue hose as the filling hose. I plan to add a fill port to this at some stage


And that's how far i have got today
 
Its the Alphacool Heatmaster, Can do 24w per channel so can actually power a D5 pump :O
But i have it settings fan speed to various temp sensors.

The i/o plate thing Got me VERY annoyed because it simply shouldnt be like that, and then i found the MOBO screw holes were wrong... But thats ok now.

Some more pics


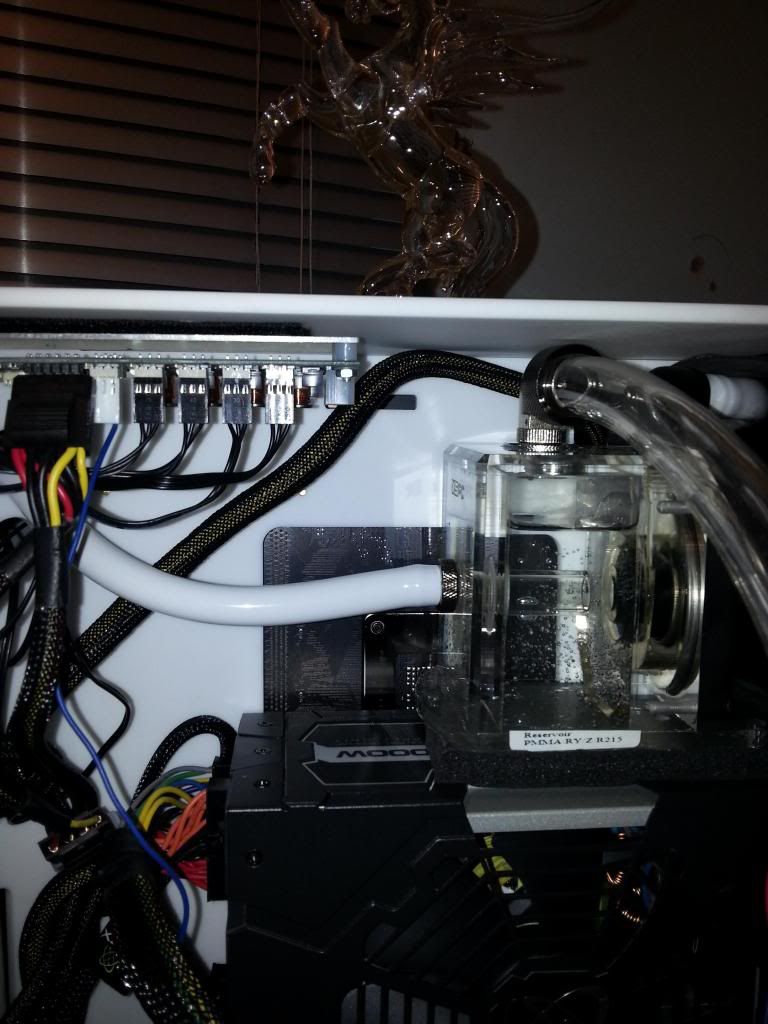
Fill port installed, and made the white hose shorter, Only lost a bit of water when i disconnected it.


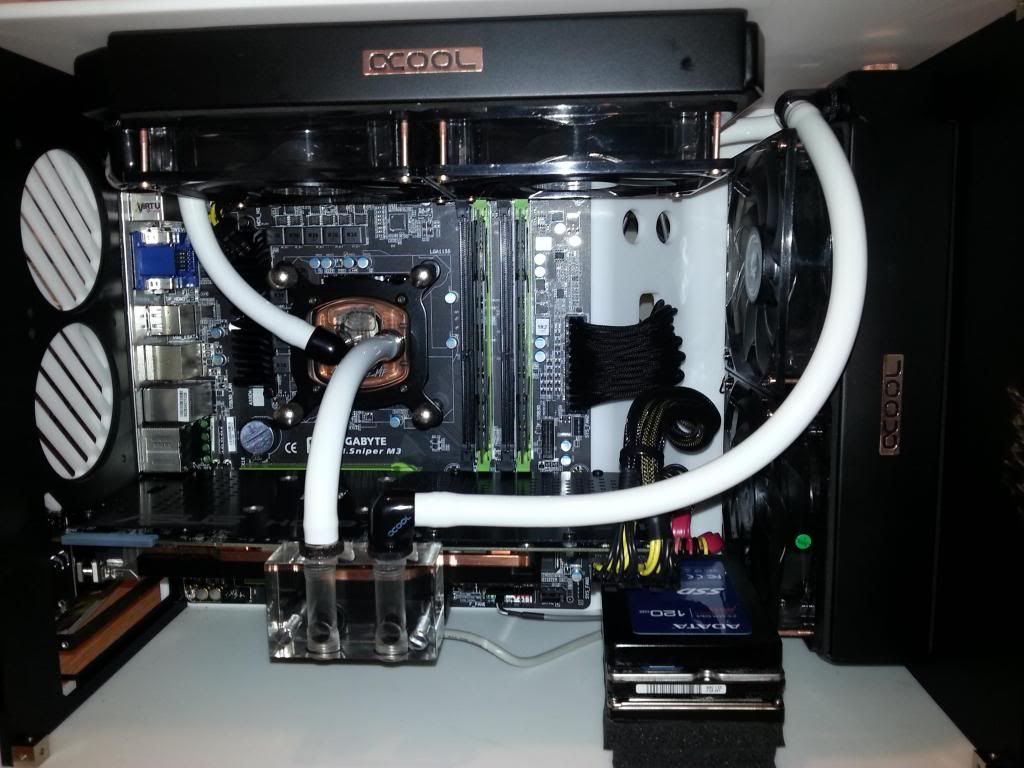
Finished side view


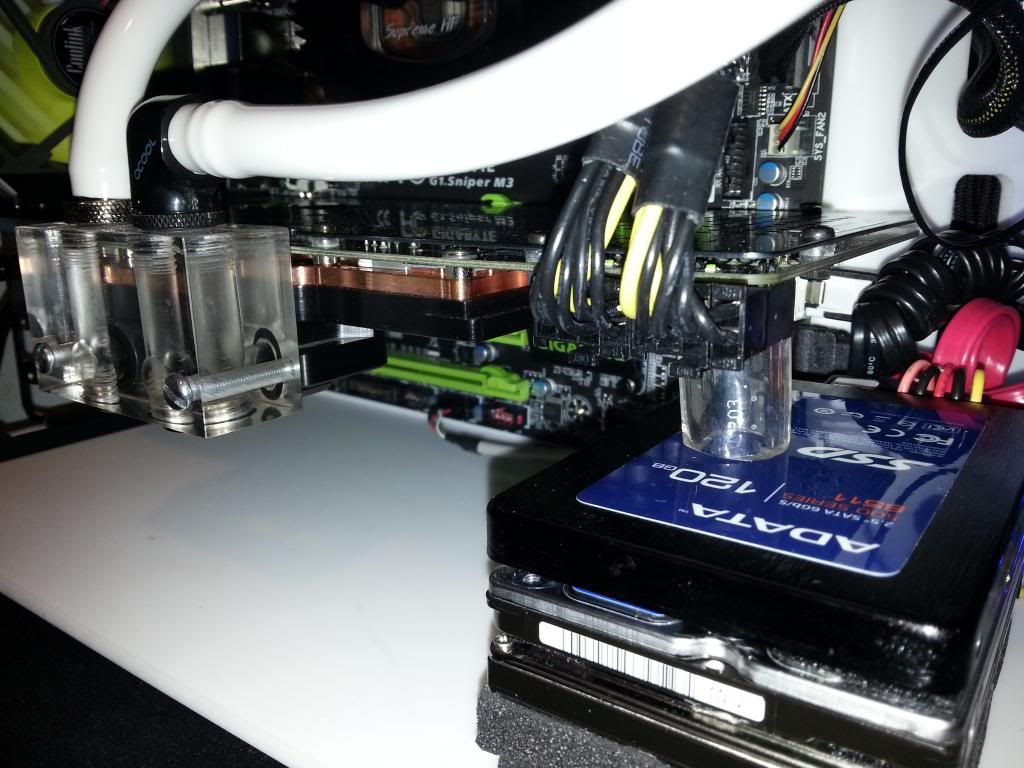
I did not like the fact the GPU was sagging slightly, Im used to the FT02 and the Prodigy so not had this issue for along time.. So to fix that i did this


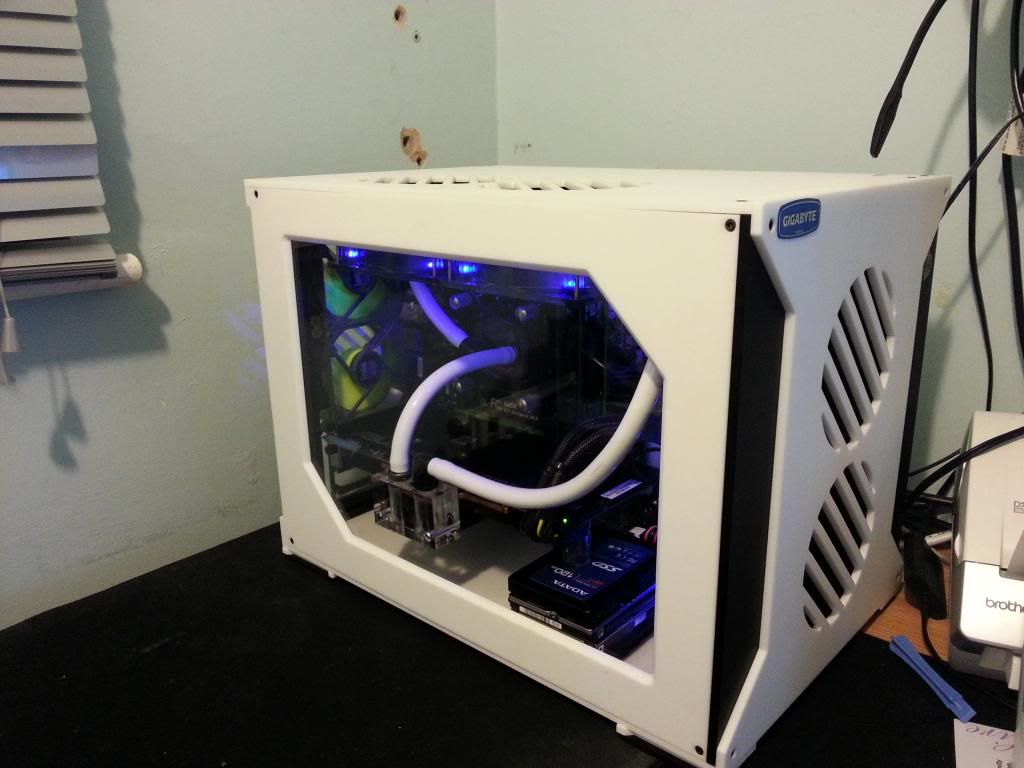
Side window on.


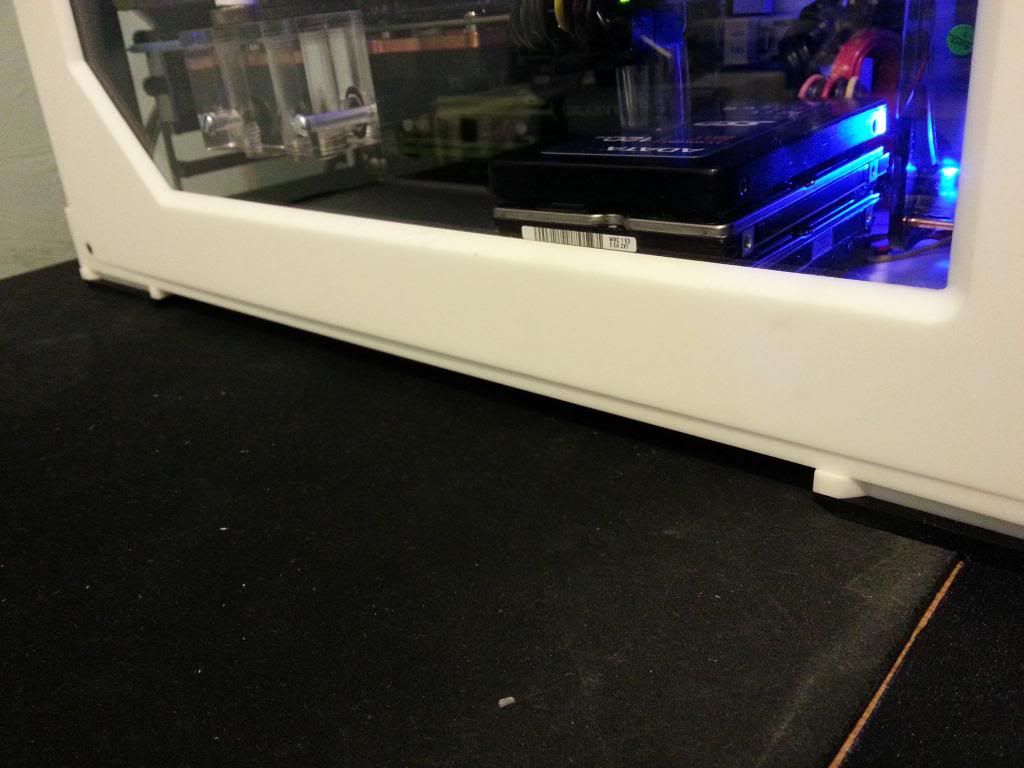
The window is slightly bulging due to the attachment on the GPU block, But i will forgive that as i aim to replace the window with a thinner clear sheet
 
Really great work. Sorry about the problems you ran into with the GPU, it was hard to see what was actually happening from the photos. This was actually a super early version of the case and the whole backend has been changed quite a lot since then.
End result is looking really nice, super clean. Will you consider some cable extensions to go even cleaner?
 
What is that acrylic thing you attached to your gpu? I thought it was a sli or xfire connector at first but then saw you're only running one gpu.

Thats one thing im struggling with at the moment is mounting my 2 full size hard drives. I would love to have ssd's all round but just cant afford it.

Got my hard drives on a external caddy at the moment until i can figure a way to mount them in the case.

Im surprised your pci bracket was that far off. Mine did not have this problem. I would contact parvum though as they will replace any faulty panels for you. They were really good when it came to my midwall being broken. Best customer service i've experienced with a case manufacturer!
 
Last edited:
Really great work. Sorry about the problems you ran into with the GPU, it was hard to see what was actually happening from the photos. This was actually a super early version of the case and the whole backend has been changed quite a lot since then.
End result is looking really nice, super clean. Will you consider some cable extensions to go even cleaner?

Dont worry about it, What have you changed in the new one then? Any chance i can buy the newest back and Mobo tray? Would it fit in this case as it is?

I do have some cable extensions for the GPU but i couldn't find them last night, i plan to add them soon

more likely he is cleaning the block with it

Yup!!

What is that acrylic thing you attached to your gpu? I thought it was a sli or xfire connector at first but then saw you're only running one gpu.

Thats one thing im struggling with at the moment is mounting my 2 full size hard drives. I would love to have ssd's all round but just cant afford it.

Got my hard drives on a external caddy at the moment until i can figure a way to mount them in the case.

Im surprised your pci bracket was that far off. Mine did not have this problem. I would contact parvum though as they will replace any faulty panels for you. They were really good when it came to my midwall being broken. Best customer service i've experienced with a case manufacturer!

The Plastic thing on the GPU is a way to enable up faceing I/O for watercooling. The DCII block only has downward faceing ones as stock. So i made that Block to change that :D

I use 1 SSD and 2 1TB 2.5" lappy drives, Laptop drives may perform slightly worse than the 3.5" but take up next to no room!
 
Ah i figured as much when i saw direct cuII. My old 570 had the same problem with the waterblocks which is one of the reasons i changed to my current card.

Yeah i was thinking the same, a smaller drive will fit no problems. I was surprised that i couldn't fit my drives in cos on the specs list on ocuk the case says it can support 2 drives of that size. Maybe i just need to create my own mounting points.

Or go for the expensive route and buy 2 x 500gb ssd's
 
Great Work Diagro, I Be Putting all my hardware in my new Parvum Systems S1.0 black & blue later on, I also got the sniper m3 motherboard to go into the case,
good idea to have 120mm fan dust filters on front like from akasa
 
Last edited:
Back
Top Bottom