Hi, I'm Jason and I would like to share my computer build with you.
Recently binned my Antec 902 case, good case but all the plastic molding on top was very hard to clean so dust just stayed in the edges.
I have downsized to a Micro ATX case.
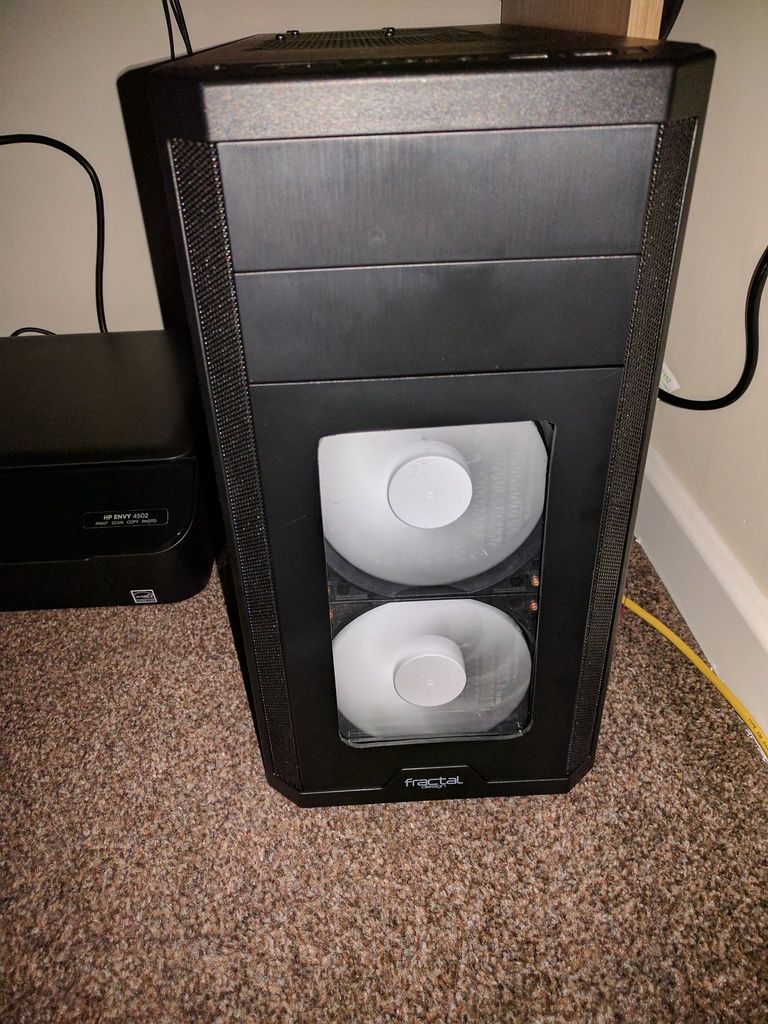
A Fractal Design Core 1300 and to go in it : an ASRock 970M Pro3 mobo.
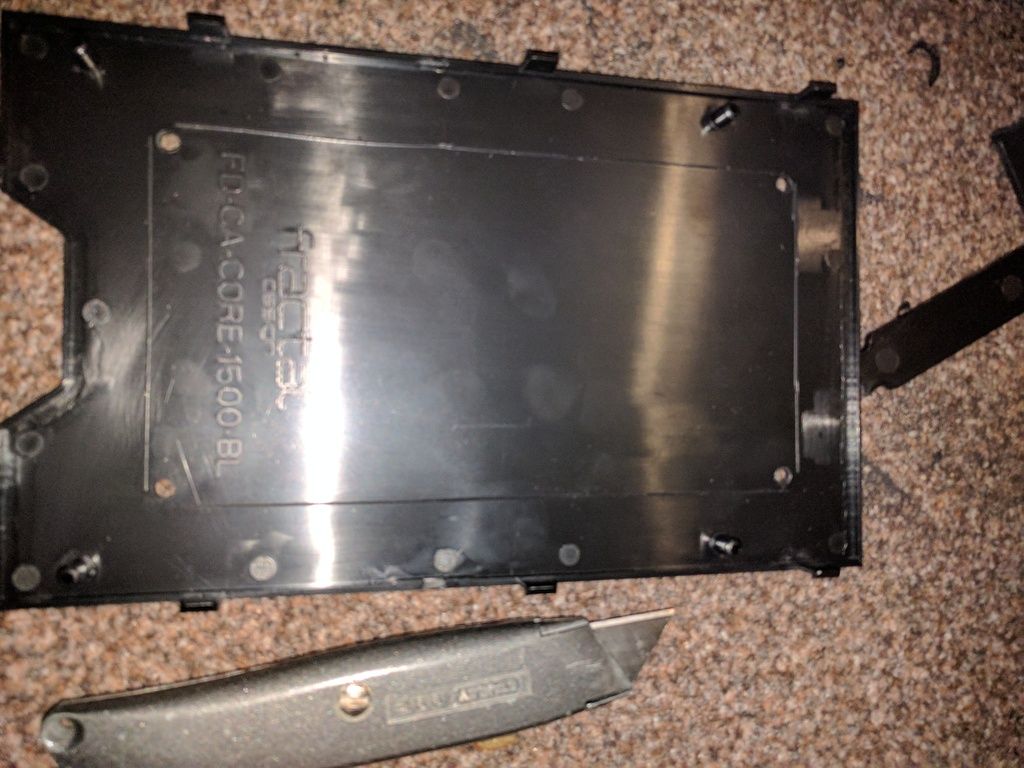
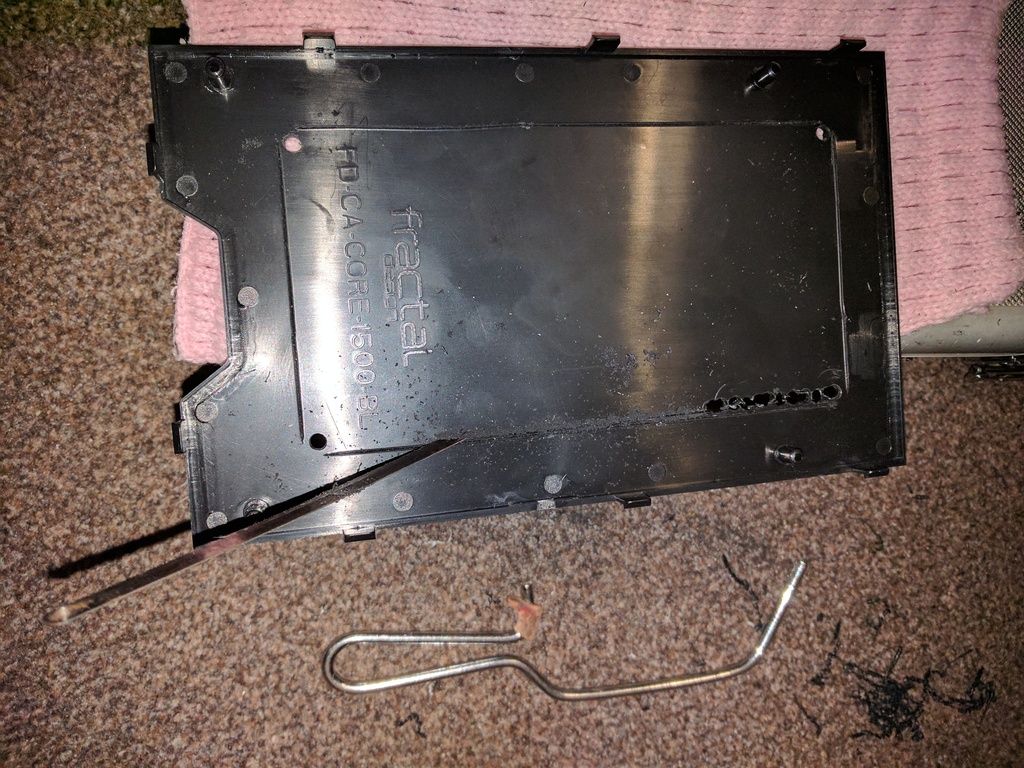
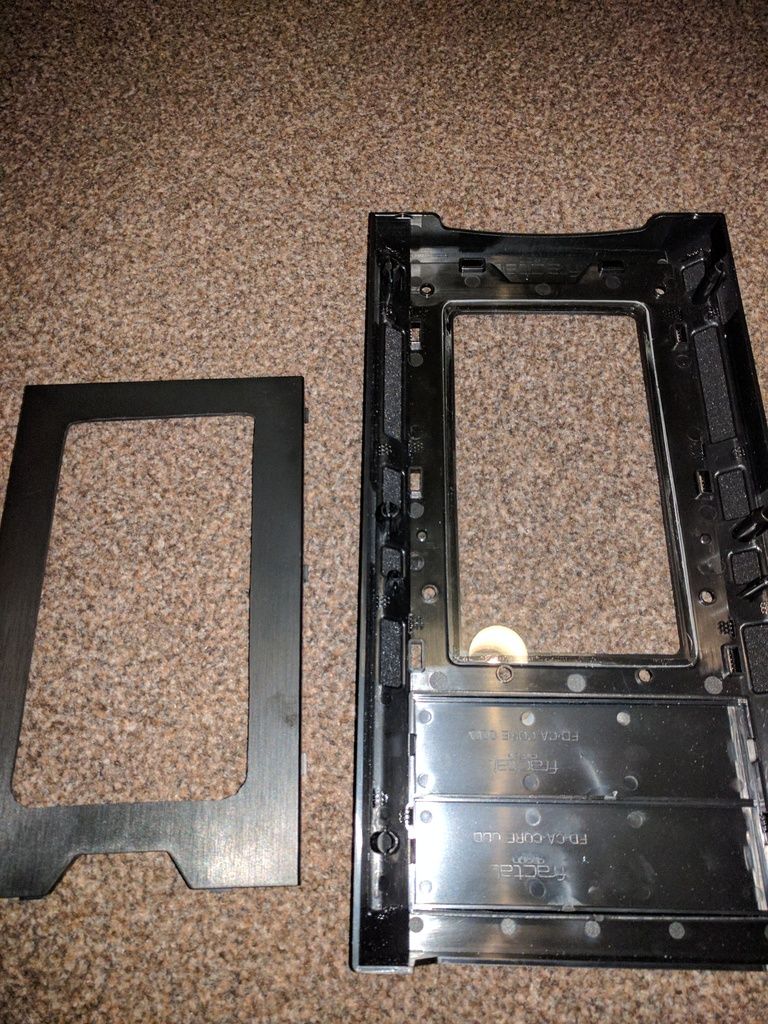
Brief case review : I didn't realise the 2x drive bay cage was fixed, so had to drill it out to fit my large 60mm deep rad, same with HDD mounting plate. Also not much room for cables behind mobo tray so side panel bows out. However large cutout for CPU back plate is great.
Brief mobo review : USB3 socket halfway down at the rear, cases cable loops right outwards, looks silly. 24pin socket is a struggle to get plug in properly.
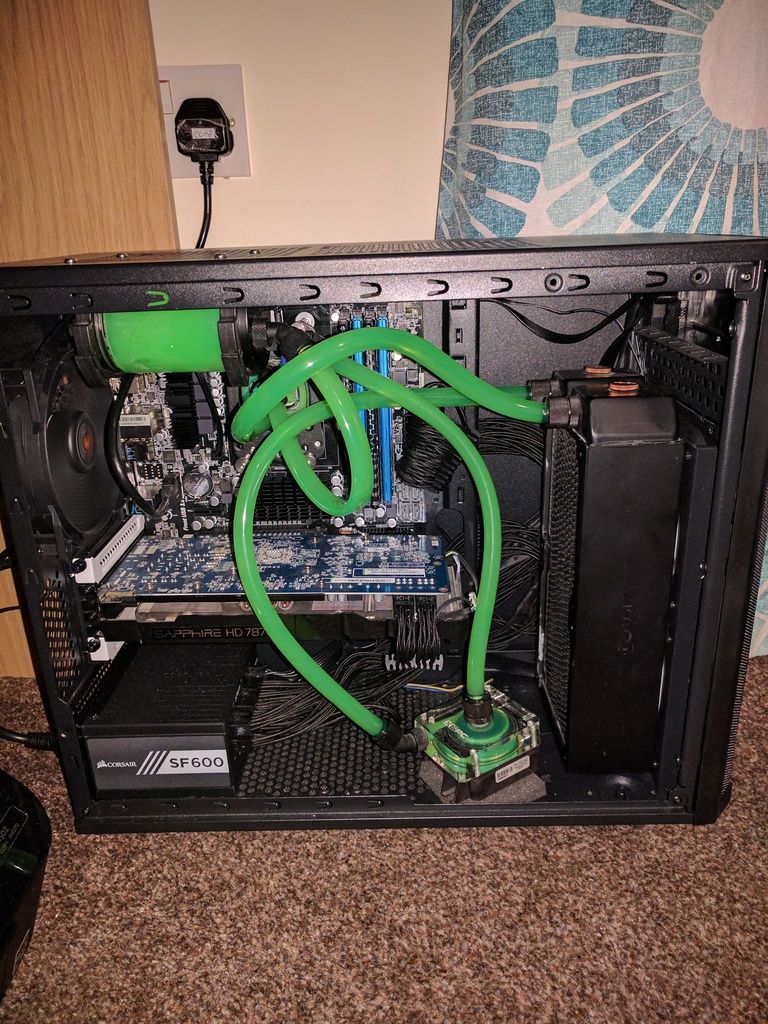
Current innards. Plan to change the loop when funds allow, maybe add gpu to loop if i can source a full cover water block for it. Also a side panel window.
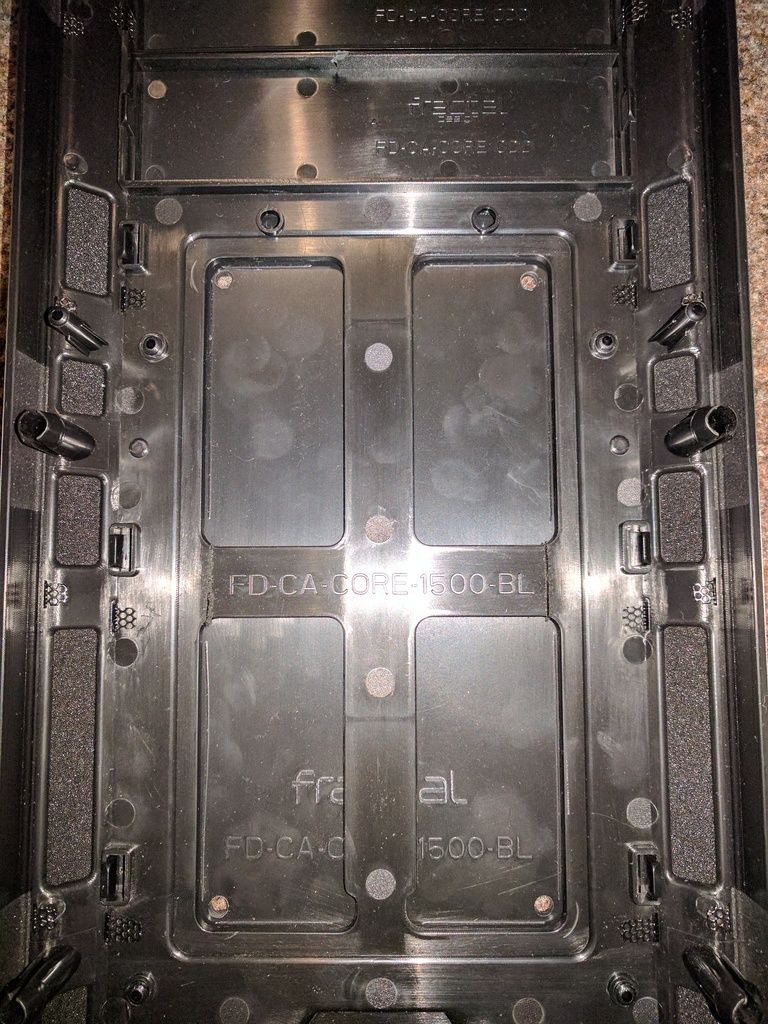
SO...my rad is multiport which means there is a drain port plug on the bottom which meant it didn't line up with the front mount fan holes, so I had to make a hole in bottom of case for the drain port plug to sit in.
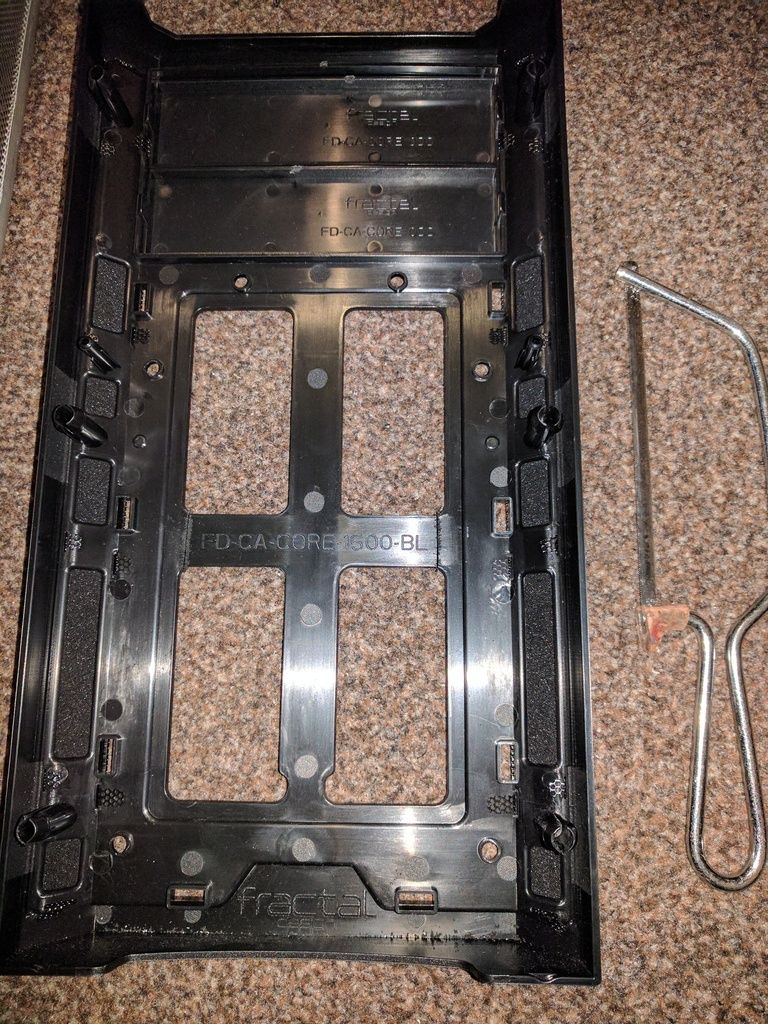
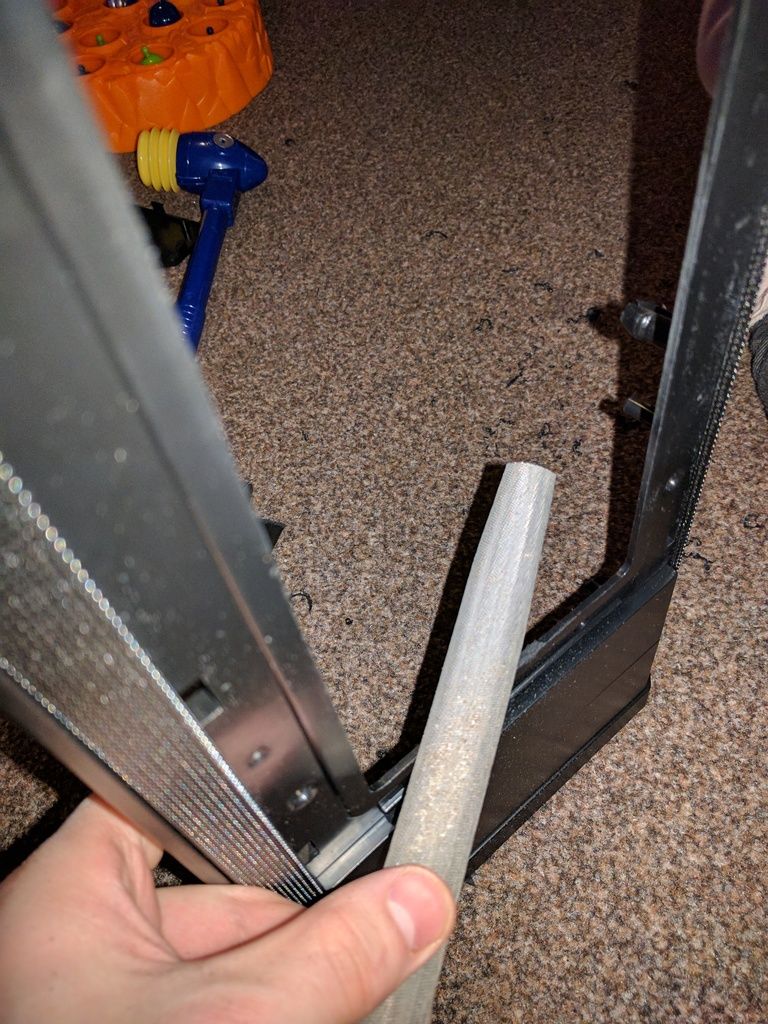
Marked position by scratching with a screwdriver, drilled several holes then slid an allen key through each hole and rotated it to snap the holes apart from one another.
Didn't mark it accurately enough as it was hard to measure drain port on rad, so drilled more holes etc.
Cut excess sticky outy bits off with cable cutters then filed the edges.
[URL=http://s1347.photobucket.com/user/UkayJa/media/IMG_20170113_131246_zpsqqckg8u2.jpg.html]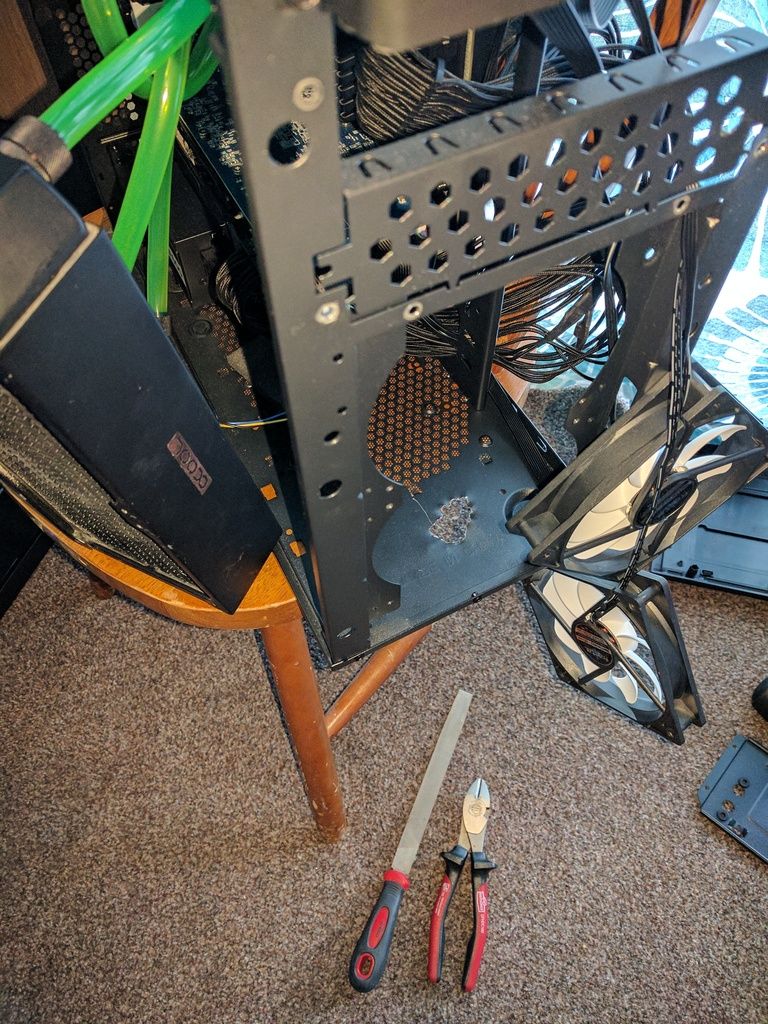 [/URL]
[URL=http://s1347.photobucket.com/user/UkayJa/media/IMG_20170113_131259_zps51wnblgw.jpg.html]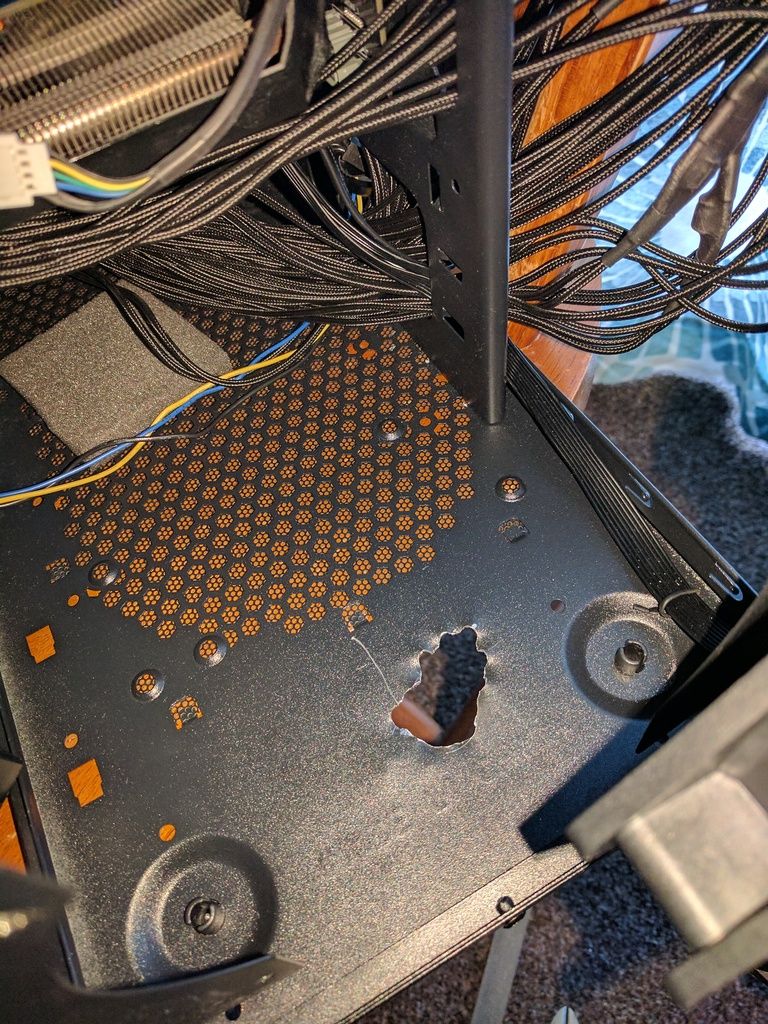 [/URL]
[URL=http://s1347.photobucket.com/user/UkayJa/media/IMG_20170113_200436_zps2jwmynn5.jpg.html]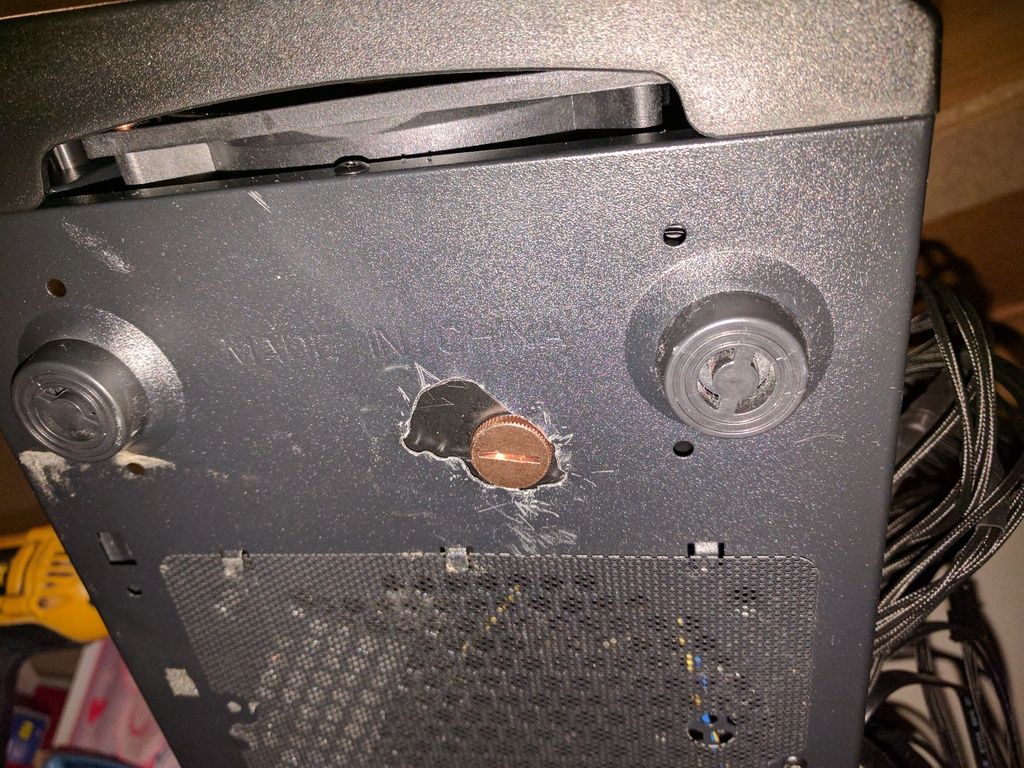 [/URL]
Recently binned my Antec 902 case, good case but all the plastic molding on top was very hard to clean so dust just stayed in the edges.
I have downsized to a Micro ATX case.
A Fractal Design Core 1300 and to go in it : an ASRock 970M Pro3 mobo.
Brief case review : I didn't realise the 2x drive bay cage was fixed, so had to drill it out to fit my large 60mm deep rad, same with HDD mounting plate. Also not much room for cables behind mobo tray so side panel bows out. However large cutout for CPU back plate is great.
Brief mobo review : USB3 socket halfway down at the rear, cases cable loops right outwards, looks silly. 24pin socket is a struggle to get plug in properly.
Current innards. Plan to change the loop when funds allow, maybe add gpu to loop if i can source a full cover water block for it. Also a side panel window.
SO...my rad is multiport which means there is a drain port plug on the bottom which meant it didn't line up with the front mount fan holes, so I had to make a hole in bottom of case for the drain port plug to sit in.
Marked position by scratching with a screwdriver, drilled several holes then slid an allen key through each hole and rotated it to snap the holes apart from one another.
Didn't mark it accurately enough as it was hard to measure drain port on rad, so drilled more holes etc.
Cut excess sticky outy bits off with cable cutters then filed the edges.
[URL=http://s1347.photobucket.com/user/UkayJa/media/IMG_20170113_131246_zpsqqckg8u2.jpg.html]
 [/URL]
[URL=http://s1347.photobucket.com/user/UkayJa/media/IMG_20170113_131259_zps51wnblgw.jpg.html]
 [/URL]
[URL=http://s1347.photobucket.com/user/UkayJa/media/IMG_20170113_200436_zps2jwmynn5.jpg.html]
 [/URL]
Last edited:


