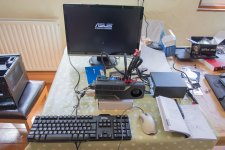
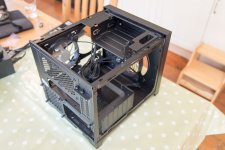
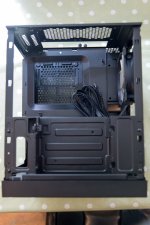
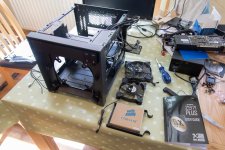
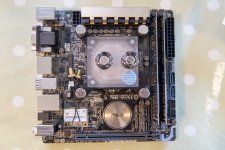
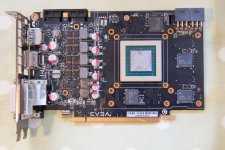
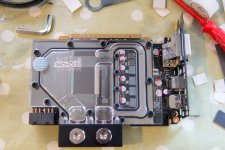
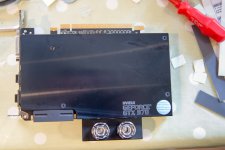
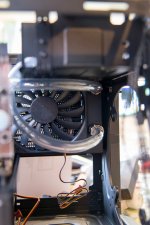
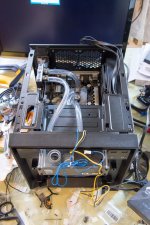
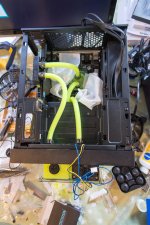
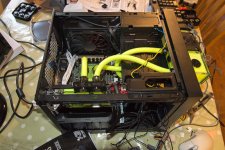
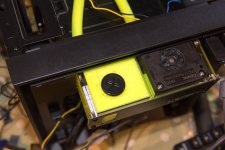
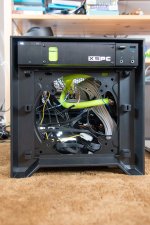
I decided that I needed a small format PC to go in what we resignedly call "the Messy Room". It's one of the few rooms in the house in which you can't hear the local drunk teenagers charging up and down the street outside on a Friday and Saturday night. It's also got a nice sofa and a large HD TV on the wall, and is ideal for relaxed gaming.
I'm a very impatient PC builder, so this was designed, ordered and thrown together in about three days (hooray for OcUK, and Saturday delivery). There's a moral to this story too...
Don't rush a watercooled build, especially in a small case
The design phase
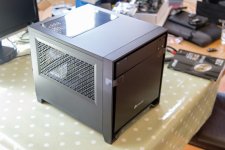
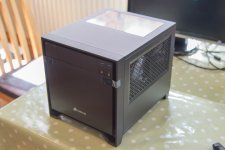
After much measuring of shelves and cubbyholes in the messy room, I had an idea of what sort of size of case I could work with. Of course, I also had to get one that would fit watercooling kit. The BitFenix Prodigy is always an option, but I looked at some builds and decided that I didn't like it. The Corsair Carbide Air 240 looks great (if a little large). Then I read some build logs where I discovered that because of the two compartment design there's not much space between the top of the GPU and the windowed side panel. If you've got a cooler with the ports on top fitted to your GPU it's touch and go whether you'll be able to get the panel on without the block touching the acrylic. So, it seemed like the 250D was the best bet.
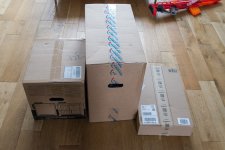
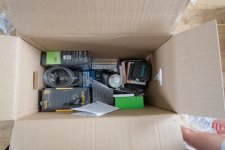
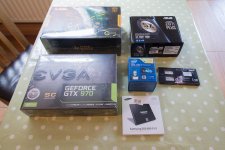
Here's what I ordered:
YOUR BASKET
1 x EVGA GeForce GTX 970 Superclock 4096MB GDDR5 PCI-Express Graphics Card (04G-P4-1972-KR) £299.99
1 x Intel Core i7-4790K 4.00GHz (Devil's Canyon) Socket LGA1150 Processor - Retail £289.99
1 x Samsung 500GB 850 EVO SSD 2.5" SATA 6Gbps 32 Layer 3D V-NAND Solid State Drive (MZ-75E500B/EU) £149.99
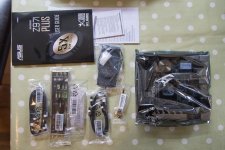
1 x Asus Z97I-Plus Intel Z97 (Socket 1150) DDR3 Mini ITX Motherboard £109.99
1 x XSPC DDC Single Bay Reservoir/Pump Combo £89.99
1 x GeIL Black Dragon 16GB (2x8GB) DDR3 PC3-12800C11 1600MHz Dual Channel Kit (GD316GB1600C11DC) **OcUK Exclusive** £86.99
1 x Microsoft Windows 8.1 64-Bit DVD - OEM (WN7-00614) £79.99
1 x EK Water Blocks EK-FC970 GTX - Nickel £79.99
1 x Corsair Obsidian Series 250D Mini ITX Compact Gaming Case - Black (CC-9011047-WW) £75.95
2 x EK Water Blocks EK-Supremacy EVO - Nickel (Original CSQ) £52.99 (£105.98)
1 x Samsung 120GB 850 EVO SSD 2.5" SATA 6Gbps 32 Layer 3D V-NAND Solid State Drive (MZ-75E120B/EU £49.99
1 x EK Water Blocks EK-CoolStream PE 240 (Dual) £39.95
1 x Monsoon 13/10mm (ID 3/8 OD 1/2) Free Center Compression Fitting Six Pack - Black Chrome £24.95
1 x EK Water Blocks EK-FC970 GTX Backplate - Black £18.98
1 x Mayhems Pastel - UV Lime Yellow Coolant 1L £14.99
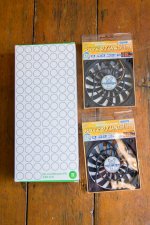
2 x Scythe Slip Stream SLIM 1600RPM Fan - 120mm £8.99 (£17.98)
1 x Primochill Primoflex Advanced Tubing 13/10 - Clear £5.99
Total : £1,556.68 (includes shipping : £12.50 Ex.VAT).


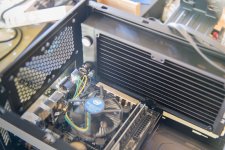
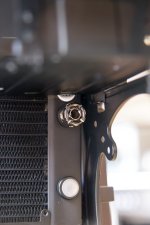
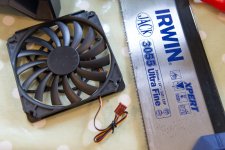
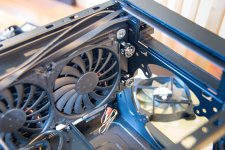
From reading around, I discovered that the main thing to take account of when putting cooling in the 250D is that you only have 55mm to fit the side radiator and fans in. This either means a slim radiator and 25mm fans, or a normal (not fat) radiator and slim fans. After much faffing about I decided it would be easier to go with slim fans rather than a slim rad. My choice was helped by not being able to find slim rads in stock anywhere on the web.
I was also planning to put a single 120mm XSPC rad and 25mm fan in the front of the case, but as you will see, this was not to be.
I'm a very impatient PC builder, so this was designed, ordered and thrown together in about three days (hooray for OcUK, and Saturday delivery). There's a moral to this story too...
Don't rush a watercooled build, especially in a small case

The design phase
After much measuring of shelves and cubbyholes in the messy room, I had an idea of what sort of size of case I could work with. Of course, I also had to get one that would fit watercooling kit. The BitFenix Prodigy is always an option, but I looked at some builds and decided that I didn't like it. The Corsair Carbide Air 240 looks great (if a little large). Then I read some build logs where I discovered that because of the two compartment design there's not much space between the top of the GPU and the windowed side panel. If you've got a cooler with the ports on top fitted to your GPU it's touch and go whether you'll be able to get the panel on without the block touching the acrylic. So, it seemed like the 250D was the best bet.
Here's what I ordered:
YOUR BASKET
1 x EVGA GeForce GTX 970 Superclock 4096MB GDDR5 PCI-Express Graphics Card (04G-P4-1972-KR) £299.99
1 x Intel Core i7-4790K 4.00GHz (Devil's Canyon) Socket LGA1150 Processor - Retail £289.99
1 x Samsung 500GB 850 EVO SSD 2.5" SATA 6Gbps 32 Layer 3D V-NAND Solid State Drive (MZ-75E500B/EU) £149.99
1 x Asus Z97I-Plus Intel Z97 (Socket 1150) DDR3 Mini ITX Motherboard £109.99
1 x XSPC DDC Single Bay Reservoir/Pump Combo £89.99
1 x GeIL Black Dragon 16GB (2x8GB) DDR3 PC3-12800C11 1600MHz Dual Channel Kit (GD316GB1600C11DC) **OcUK Exclusive** £86.99
1 x Microsoft Windows 8.1 64-Bit DVD - OEM (WN7-00614) £79.99
1 x EK Water Blocks EK-FC970 GTX - Nickel £79.99
1 x Corsair Obsidian Series 250D Mini ITX Compact Gaming Case - Black (CC-9011047-WW) £75.95
2 x EK Water Blocks EK-Supremacy EVO - Nickel (Original CSQ) £52.99 (£105.98)
1 x Samsung 120GB 850 EVO SSD 2.5" SATA 6Gbps 32 Layer 3D V-NAND Solid State Drive (MZ-75E120B/EU £49.99
1 x EK Water Blocks EK-CoolStream PE 240 (Dual) £39.95
1 x Monsoon 13/10mm (ID 3/8 OD 1/2) Free Center Compression Fitting Six Pack - Black Chrome £24.95
1 x EK Water Blocks EK-FC970 GTX Backplate - Black £18.98
1 x Mayhems Pastel - UV Lime Yellow Coolant 1L £14.99
2 x Scythe Slip Stream SLIM 1600RPM Fan - 120mm £8.99 (£17.98)
1 x Primochill Primoflex Advanced Tubing 13/10 - Clear £5.99
Total : £1,556.68 (includes shipping : £12.50 Ex.VAT).


From reading around, I discovered that the main thing to take account of when putting cooling in the 250D is that you only have 55mm to fit the side radiator and fans in. This either means a slim radiator and 25mm fans, or a normal (not fat) radiator and slim fans. After much faffing about I decided it would be easier to go with slim fans rather than a slim rad. My choice was helped by not being able to find slim rads in stock anywhere on the web.
I was also planning to put a single 120mm XSPC rad and 25mm fan in the front of the case, but as you will see, this was not to be.


