I'm in awe with what you guys can achieve around these parts, both in terms of modding and the quality of the photos to show it all off. Sadly I'm not worthy in either department. However several peeps seemed keen to see how I got on with my Lian Li DK02 Desk Case so here goes Part 1 (I could never do this as a living as, apart from being a mess, it's taken me half the afternoon and all evening to get this far  )
)
Yesterday my best mate Darren from DPD delivered 2 boxes, the bigger one being the main desk components with the smaller, more rectangular box, are the 2 legs.

The 2 donor systems in the photo are a Prodigy Mini ITX with a Gigabyte H77N motherboard, Intel 3770 CPU and 16GB of Geil Black Dragon RAM.
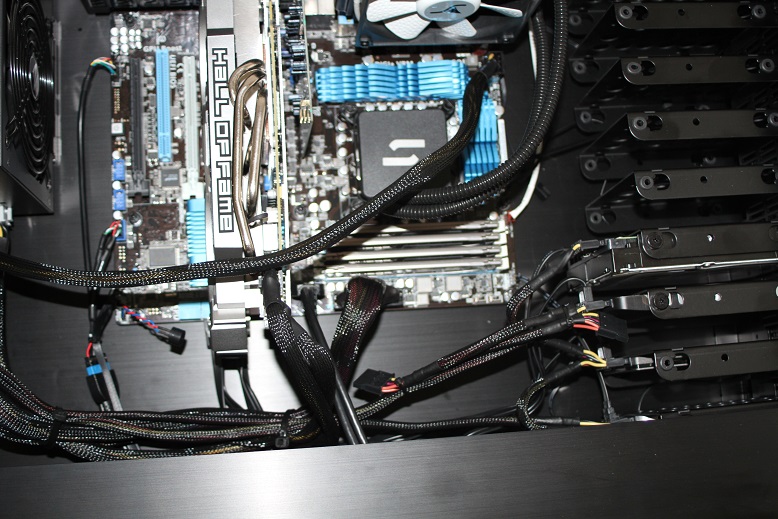
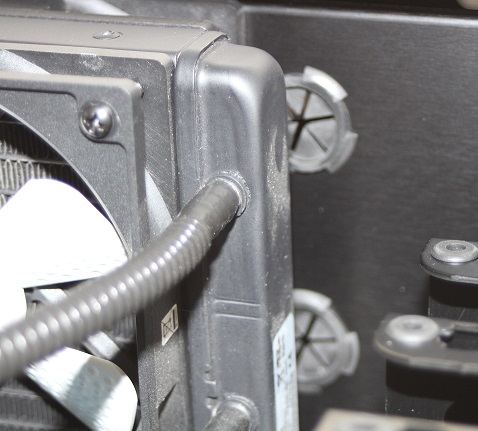
The other a Corsair Obsidian 650D containing a 2700K @ 4.6Ghz on an ASUS P8Z68 MB with 16GB (4*4GB Kingston HyperX Genesis). The CPU has an integrated liquid cooler with a pair of fans in a push/pull arrangement.
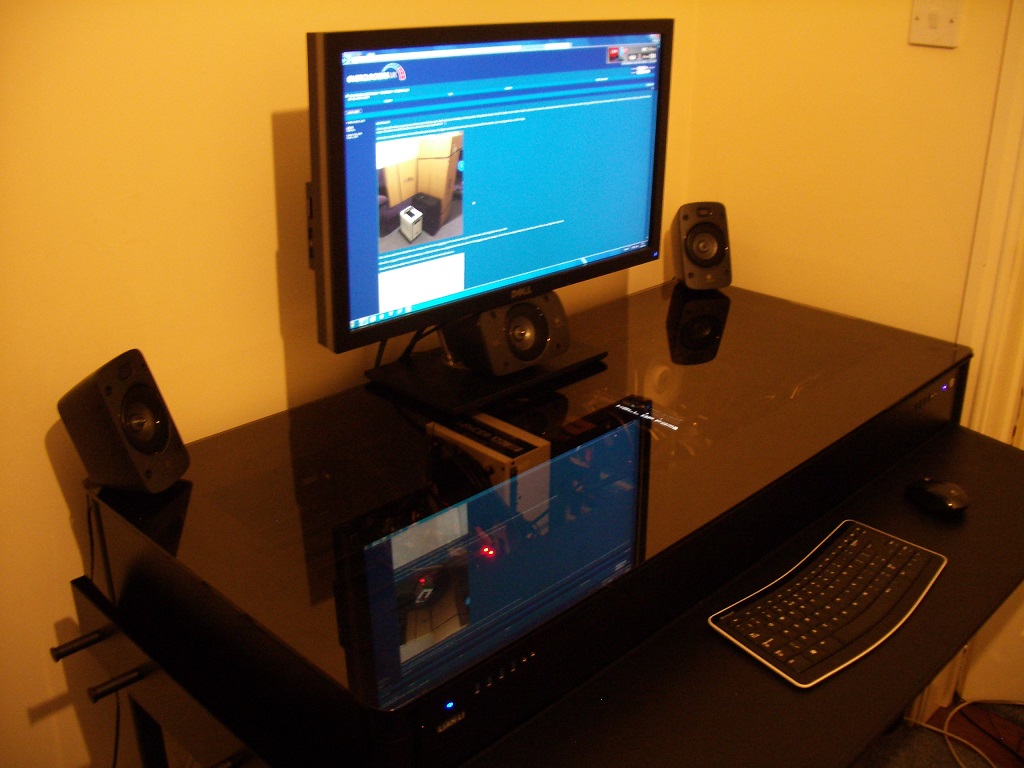
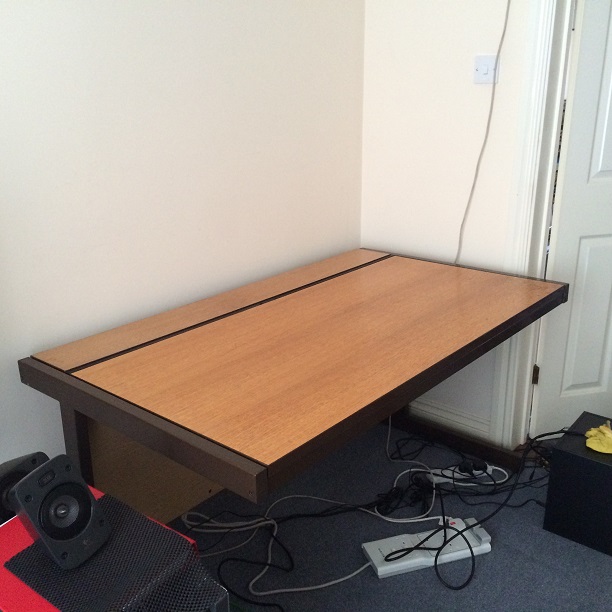
The build is going to replace my old desk, sturdy it may be but well battered now.
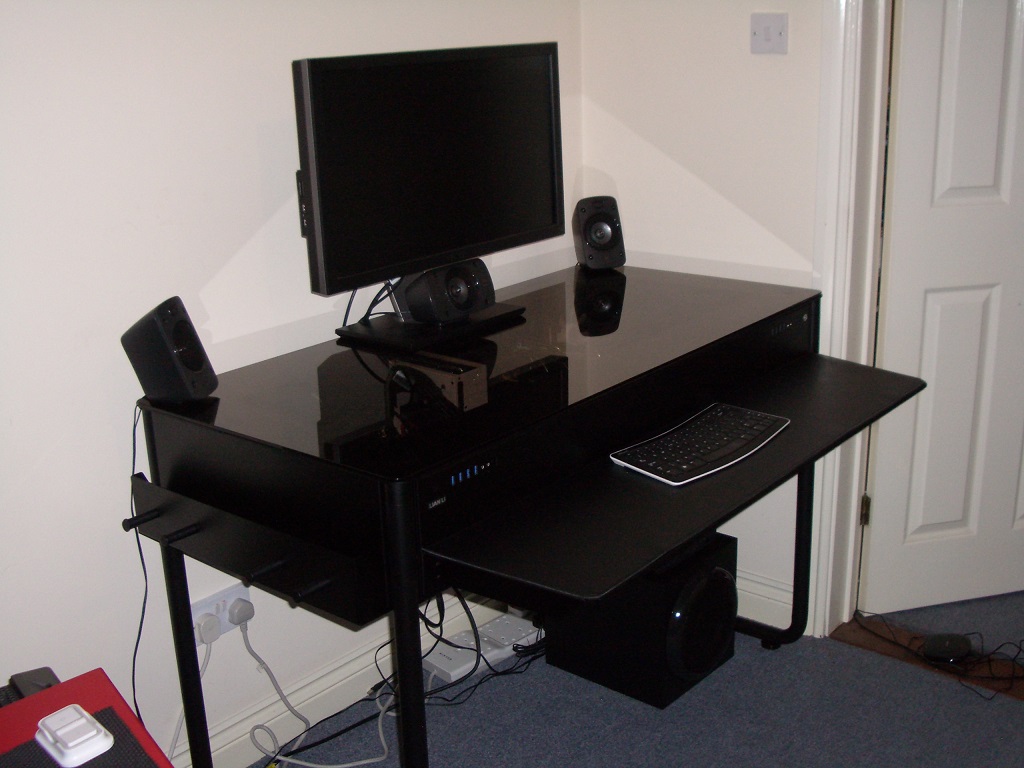
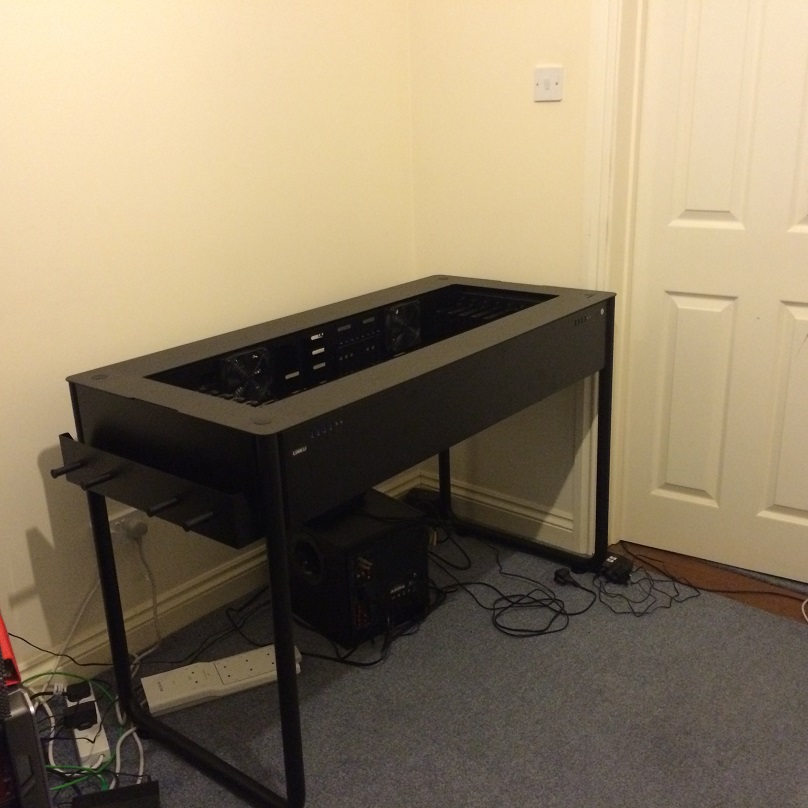
So the first thing was to get the basic shell of the case all together. I decided to use the 35mm leg extensions to get a little more height so I could get my legs under ok. However even with that it would be a little tight if one sat right up close. As I'm going to use the keyboard / mouse shelf I can place that in its middle position and my knees are comfortably below the desk level.
Everything went together reasonably well, small problem with a screw missing that was meant to be preinstalled on one of the pair of legs, and I sometimes struggled to work out which screw was required where. But I sussed it all out ok in the end. This is the selection of screws/washers and other ancillary bits that comes with the case.
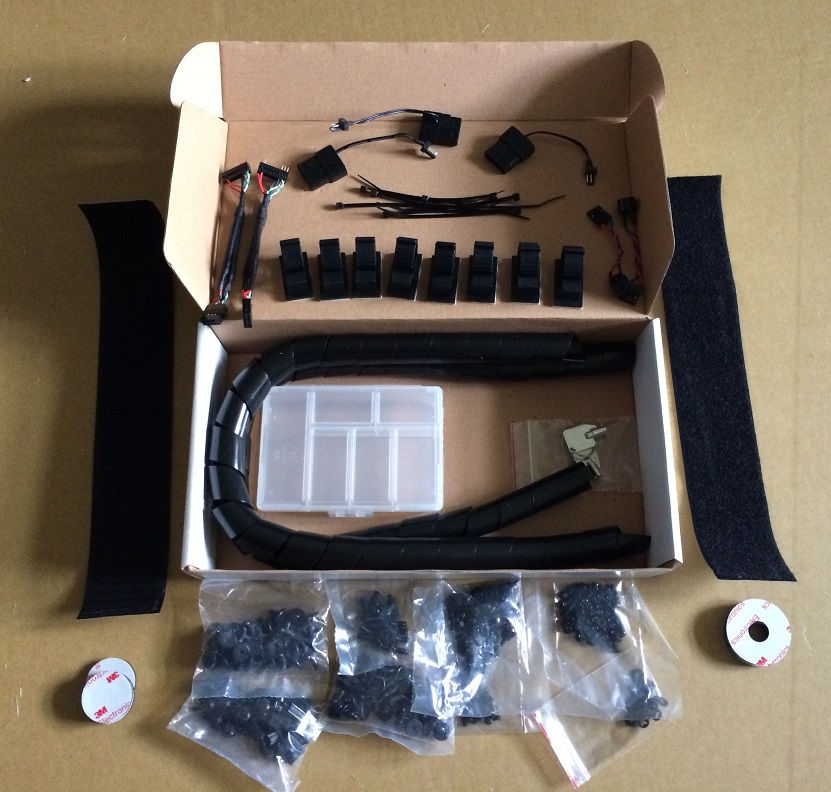
The plastic holder for holding the screws seems a bit of a gimmick but I think there will be quite a few left over after the build so having somewhere to store them seems handy.
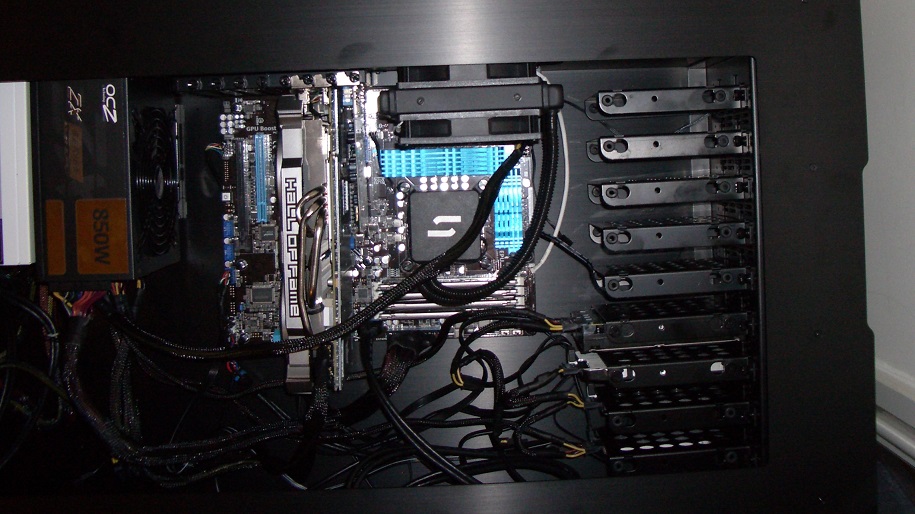
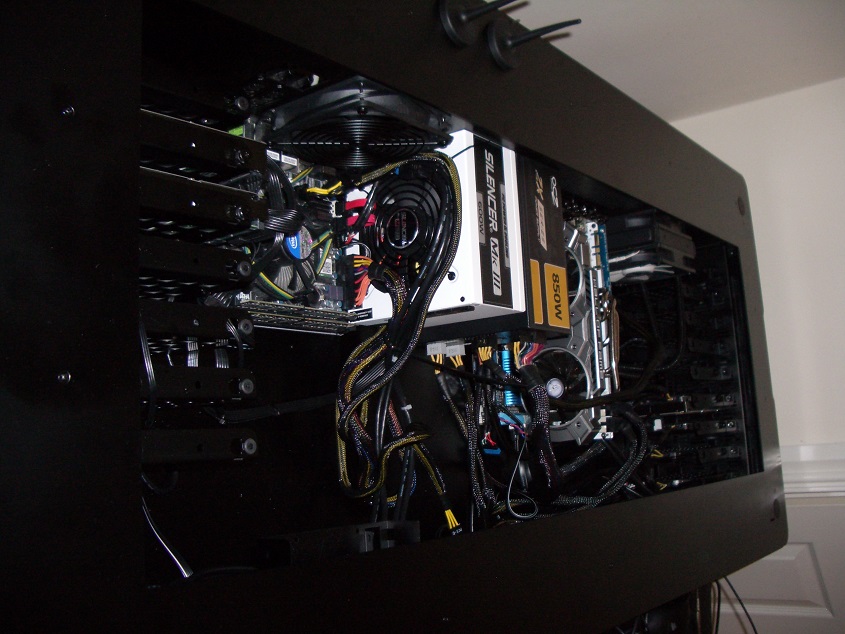
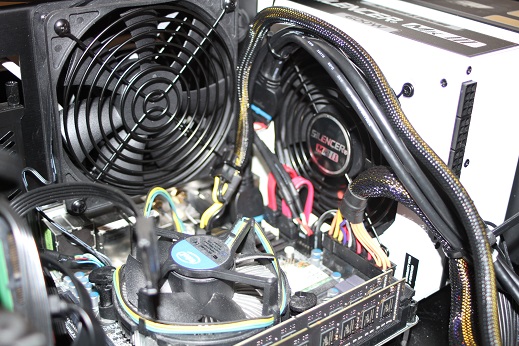
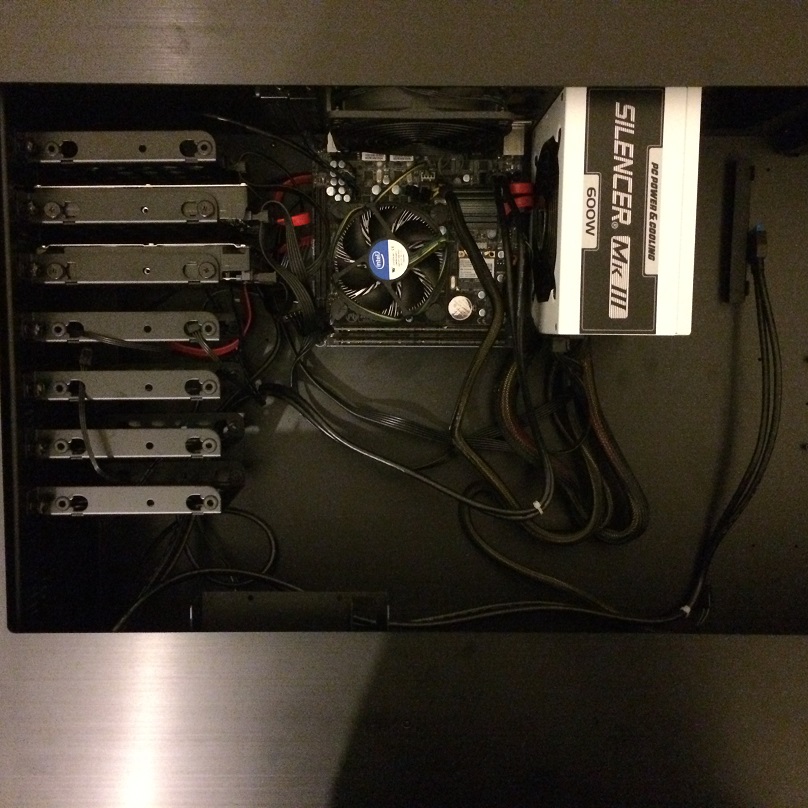
So far I've only got the basic install of the M-ITX system. For such a roomy case it's a tight fit between the MB and power supply. The instructions show the PSU fan on the other side but this means it would be tight up against the other PSU and I'd hazard won't shift air too well.
Full size image http://avonrise.co.uk/dk02/mitx_initial1_full.jpg
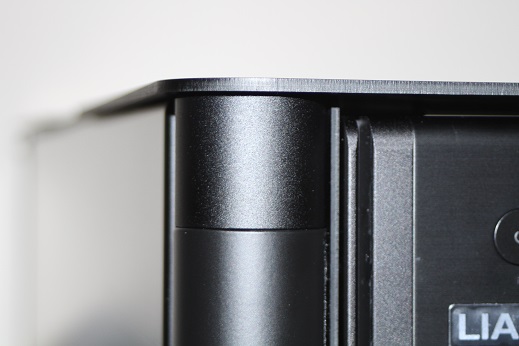
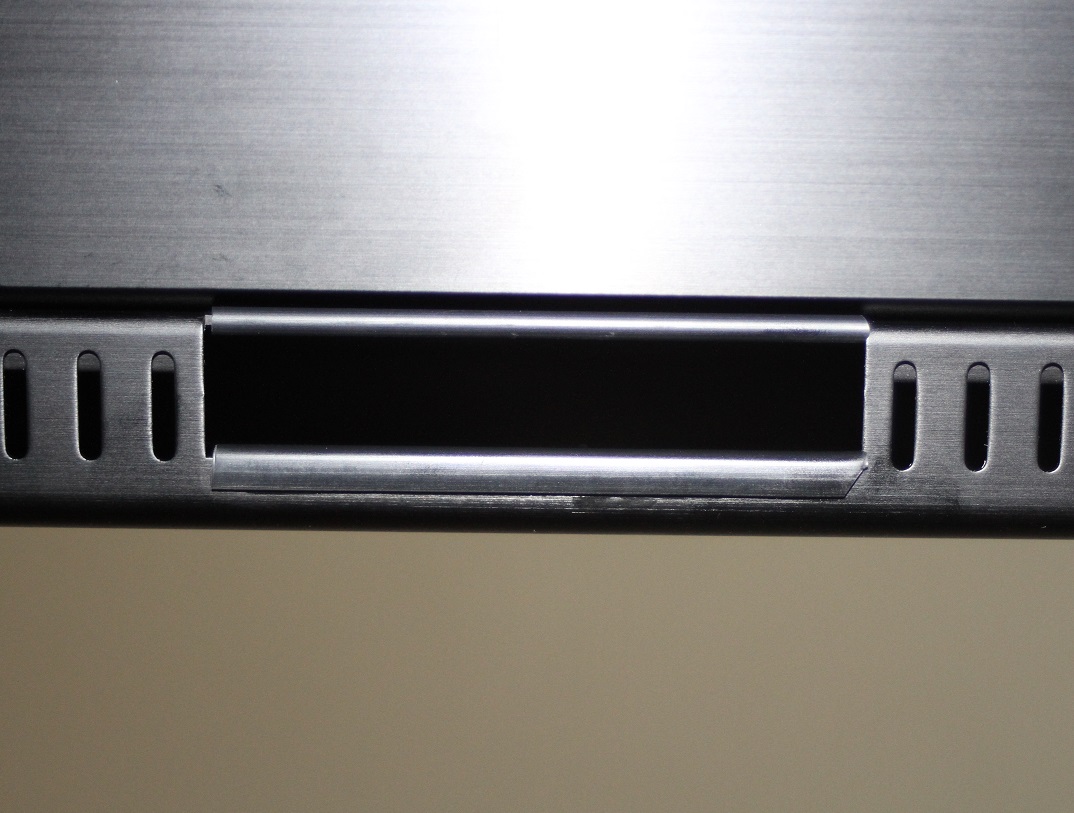
The couple of close up shots are naff so I'll try and take some more.
There is no real cable management with the case. If you look back to the bits that are supplied there are some sticky backed clips but no way to route cables out of sight. I've not made an effort to tie up the PSU cables yet but I did manage to route the SATA and front panel cables under the MB.
More to follow over the next few days but if you've got any questions or want a photo of a particular bit please shout.
 )
)Yesterday my best mate Darren from DPD delivered 2 boxes, the bigger one being the main desk components with the smaller, more rectangular box, are the 2 legs.

The 2 donor systems in the photo are a Prodigy Mini ITX with a Gigabyte H77N motherboard, Intel 3770 CPU and 16GB of Geil Black Dragon RAM.
The other a Corsair Obsidian 650D containing a 2700K @ 4.6Ghz on an ASUS P8Z68 MB with 16GB (4*4GB Kingston HyperX Genesis). The CPU has an integrated liquid cooler with a pair of fans in a push/pull arrangement.
The build is going to replace my old desk, sturdy it may be but well battered now.

So the first thing was to get the basic shell of the case all together. I decided to use the 35mm leg extensions to get a little more height so I could get my legs under ok. However even with that it would be a little tight if one sat right up close. As I'm going to use the keyboard / mouse shelf I can place that in its middle position and my knees are comfortably below the desk level.

Everything went together reasonably well, small problem with a screw missing that was meant to be preinstalled on one of the pair of legs, and I sometimes struggled to work out which screw was required where. But I sussed it all out ok in the end. This is the selection of screws/washers and other ancillary bits that comes with the case.

The plastic holder for holding the screws seems a bit of a gimmick but I think there will be quite a few left over after the build so having somewhere to store them seems handy.
So far I've only got the basic install of the M-ITX system. For such a roomy case it's a tight fit between the MB and power supply. The instructions show the PSU fan on the other side but this means it would be tight up against the other PSU and I'd hazard won't shift air too well.

Full size image http://avonrise.co.uk/dk02/mitx_initial1_full.jpg
The couple of close up shots are naff so I'll try and take some more.
There is no real cable management with the case. If you look back to the bits that are supplied there are some sticky backed clips but no way to route cables out of sight. I've not made an effort to tie up the PSU cables yet but I did manage to route the SATA and front panel cables under the MB.
More to follow over the next few days but if you've got any questions or want a photo of a particular bit please shout.


