After watching loads of how to build a pc on youtube, I decided to try and build myself a nice little gaming pc.
I do however have an OCD issue, which means that I have to use as many parts of one brand as possible. I wouldn't be able to sleep if I had an evga mobo, msi gpu, corsair ram, kingston storage and so on. So it was quite hard to find all the parts i wanted here in small, expensive Norway.
The parts I used for this little build is as follows;
Intel Core i5-6600K Skylake
ASUS Z170I PRO GAMING
ASUS GeForce GTX 970 ITX
SilverStone Raven Mini ITX black
SilverStone SFX Series SX600-G
SilverStone SST-SOD02 Slot-In DVD
SilverStone Tundra TD03-SLIM
Kingston HyperX Fury DDR4-2666 DC - 16GB
Kingston HyperX Savage SSD - 240GB
Kingston HyperX Savage SSD - 480GB
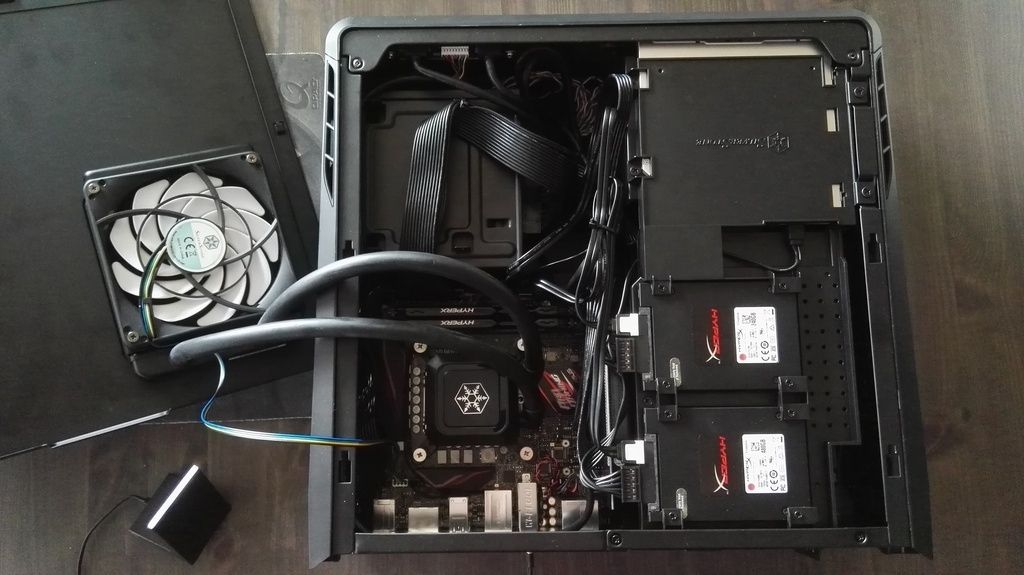
I also got an SilverStone Nitrogon NT07 air cooler, just in case the Tundra aio watercooler wouldn't fit in this small case. I read on several forums that some were not able to fit the Tundra, but luckily that wasn't the case for me. It was a very tight fit though.
Here is the finished build before I did put the top cover back on.
A few things that did not go after plan: I was not able to use the angled sata cables that came with the mobo, so my dvd reader is not in use yet. I ordered some identical asus cables from amazon, so that will be sorted soon. Also, the way the sdd's had to be installed was a bit ******, had to turn them upside down. So the beautiful side can not be seen
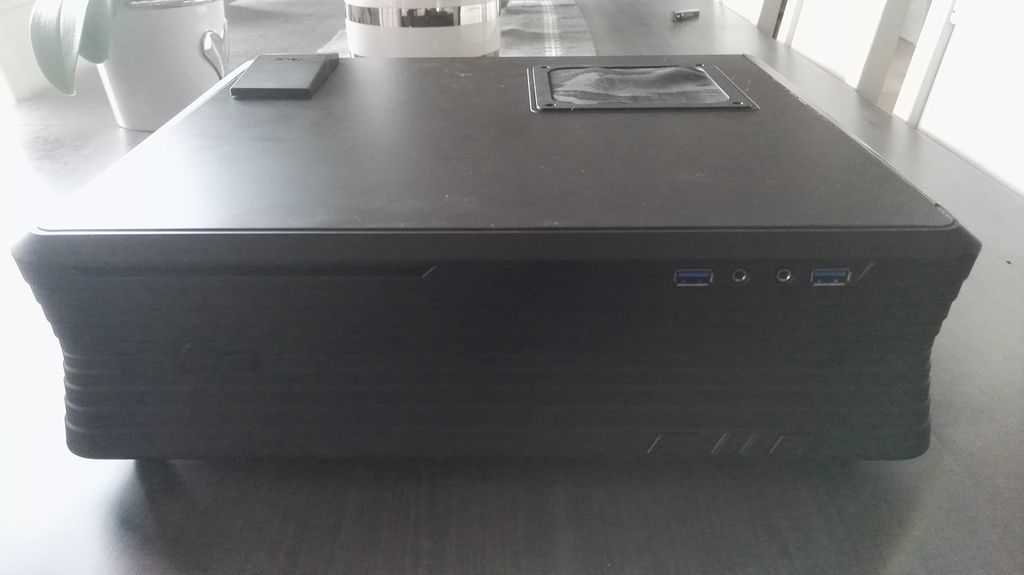
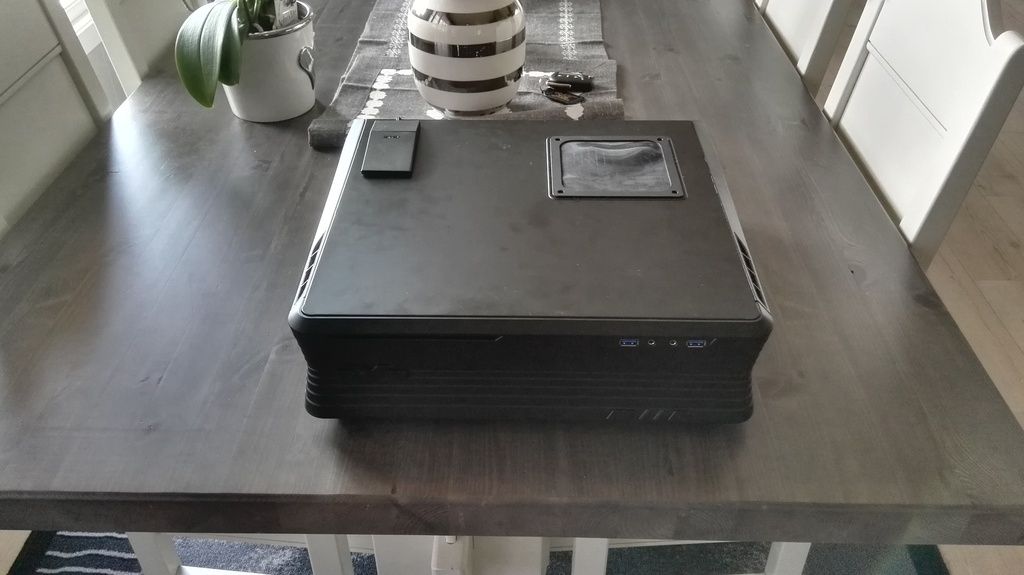
Here is a couple of pics from after I got the cover back on. Was no easy task, because of the aio watercooler. I did swear a lot, and that seemed to help.
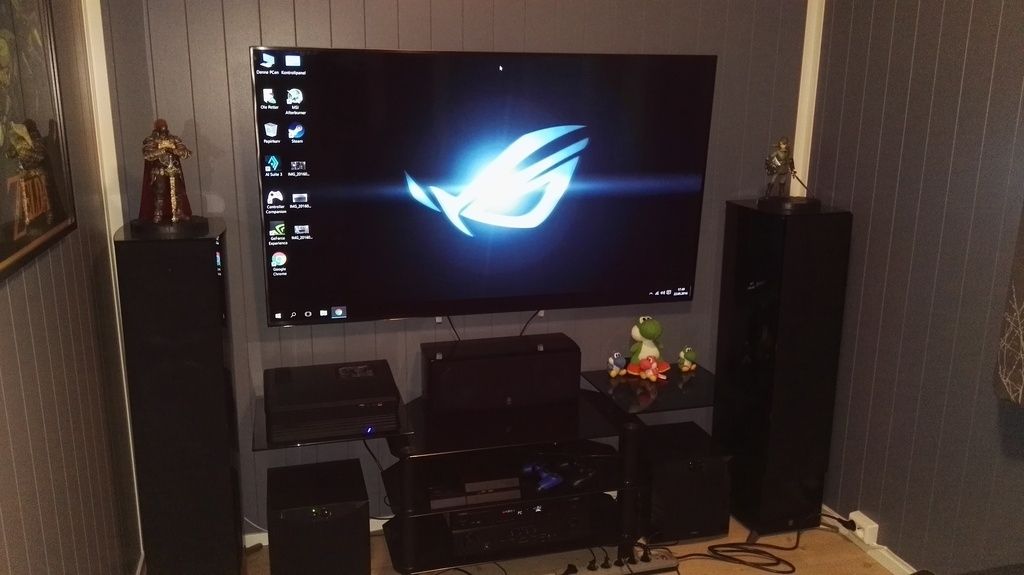
And finally, here is the Raven in use, in my little mancave.
Also, I did not like the way the magnetic dust filters look, they do a great job, but I bought 3 of these to replace them.
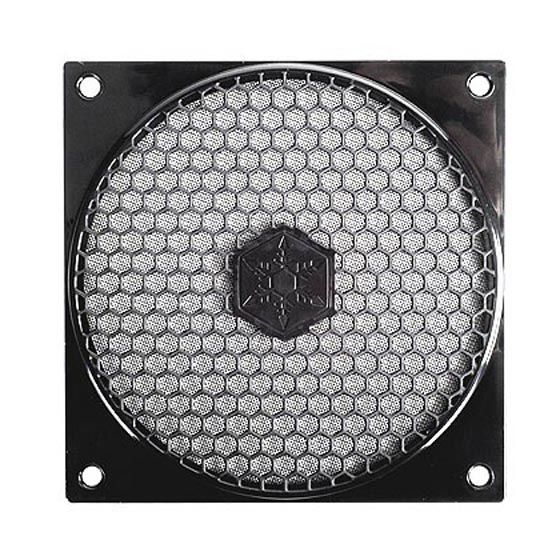
Unfortunately the screws that came with them, did not fit the radiator. So they have to wait until I get some new screws.
I am very pleased with this build so far, good performance, very quiet, and the temps are brilliant.
I will get a new gpu soon, so I can benefit from my 4k tv, but I'm not in a rush.
Not very happy with the new Nvidia pricing, so I will wait and see what Amd can come up with.
I do however have an OCD issue, which means that I have to use as many parts of one brand as possible. I wouldn't be able to sleep if I had an evga mobo, msi gpu, corsair ram, kingston storage and so on. So it was quite hard to find all the parts i wanted here in small, expensive Norway.
The parts I used for this little build is as follows;
Intel Core i5-6600K Skylake
ASUS Z170I PRO GAMING
ASUS GeForce GTX 970 ITX
SilverStone Raven Mini ITX black
SilverStone SFX Series SX600-G
SilverStone SST-SOD02 Slot-In DVD
SilverStone Tundra TD03-SLIM
Kingston HyperX Fury DDR4-2666 DC - 16GB
Kingston HyperX Savage SSD - 240GB
Kingston HyperX Savage SSD - 480GB
I also got an SilverStone Nitrogon NT07 air cooler, just in case the Tundra aio watercooler wouldn't fit in this small case. I read on several forums that some were not able to fit the Tundra, but luckily that wasn't the case for me. It was a very tight fit though.
Here is the finished build before I did put the top cover back on.
A few things that did not go after plan: I was not able to use the angled sata cables that came with the mobo, so my dvd reader is not in use yet. I ordered some identical asus cables from amazon, so that will be sorted soon. Also, the way the sdd's had to be installed was a bit ******, had to turn them upside down. So the beautiful side can not be seen


Here is a couple of pics from after I got the cover back on. Was no easy task, because of the aio watercooler. I did swear a lot, and that seemed to help.


And finally, here is the Raven in use, in my little mancave.

Also, I did not like the way the magnetic dust filters look, they do a great job, but I bought 3 of these to replace them.

Unfortunately the screws that came with them, did not fit the radiator. So they have to wait until I get some new screws.
I am very pleased with this build so far, good performance, very quiet, and the temps are brilliant.
I will get a new gpu soon, so I can benefit from my 4k tv, but I'm not in a rush.
Not very happy with the new Nvidia pricing, so I will wait and see what Amd can come up with.
Last edited:


