Deleted member 66701
Deleted member 66701
For those of you who might be interested.
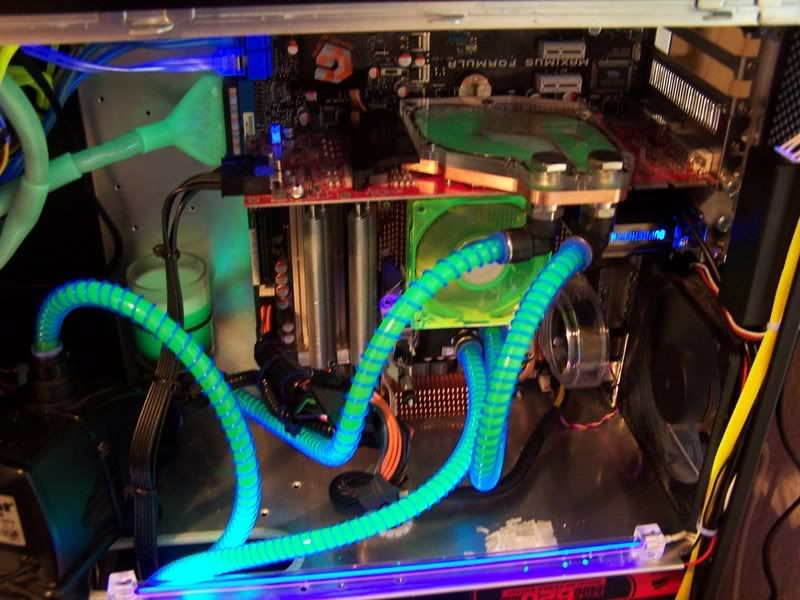
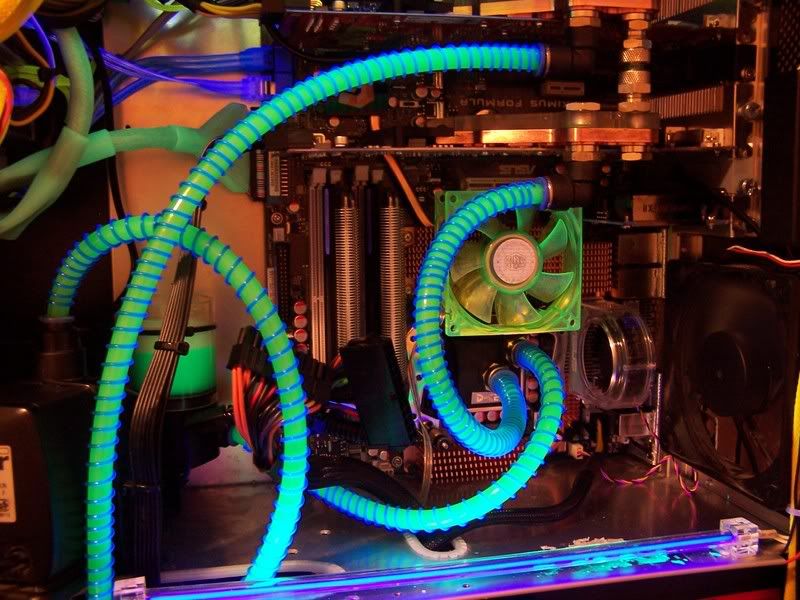
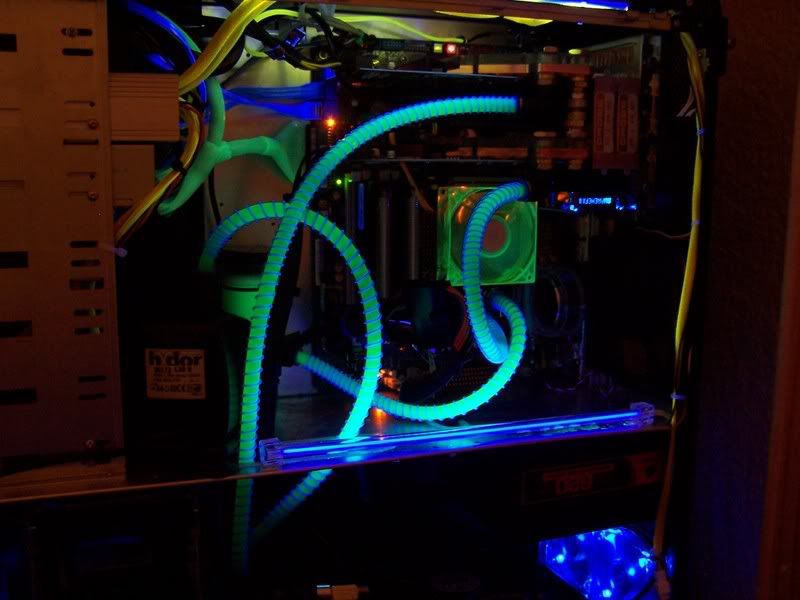
Finally started to get everything together so here's the first part of the new WC setup.

D-Tek fusion v2 cpu block with quad core mid chamber insert. This replaces my rather old Asetek Antartica waterblock. One of the best blocks in it's day but it's amazing how far things have moved on in 5 years - moving to a quad core system seriously hghlighted the fact the Antartica juast wasn't going to cope with a processor that dissipates 250 watts of heat when seriously overclocked. Things have moved from thick base, large copper blocks to thinner base, small copper blocks with "pins" to increase cooling surface area and the D-Tek Fuzion v2 is rated to be the best out there.
Here I have used the unversal mounting block. using this lets you mount the posts seperate from the actual block, meaning you don't have to remove the motherboard everytime you want to lift the block off. On the rear of the motherboard is a "brace" fitted that stops the motherboard from flexing - this lets you use a lot of preassure when screwing down the block - greater preasure = greater performance. Without this brace, the socket area can actually flex enough to touch the motherboard mounting tray - not good!
I've replaced the 1/2" barbs with 10/8mm push fit quick connectors - the rest of the system is 10/8mm and that size hose is a lot easier to bend and route than 1/2" hose - quite an important factor to consider when you have a complicated route esp with Crossfire.

Inside the block, you can fit different "nozzles". As I'm running a Quad core, I've obviously gone for the quod core insert - it splits the flow to direct the water across the two rows of cores. You can see in the following pic the way they are laid out:-

Next up, gfx waterblocks")
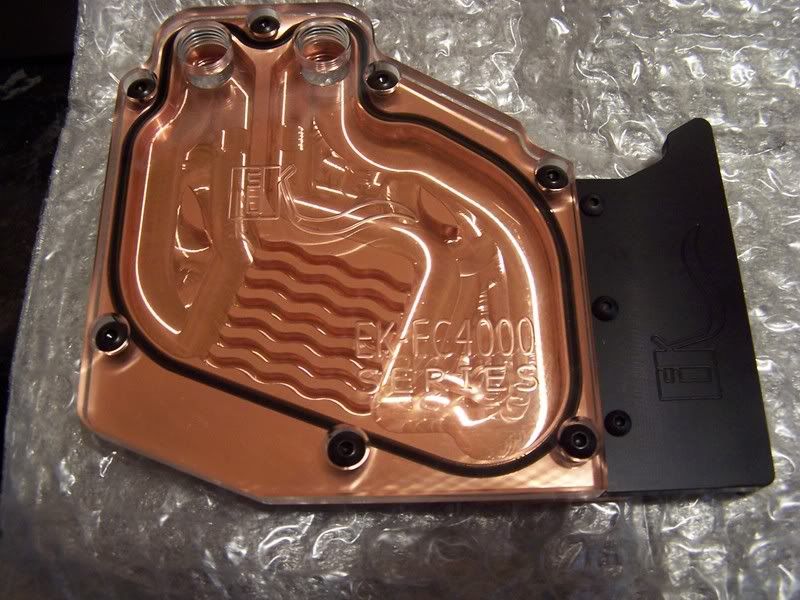
Couple of boxes waiting for me when I got home - 5 days postage from Solvenia - not too shabby

Nice retail packaging - better that Aquacomputers annonymous brown box.

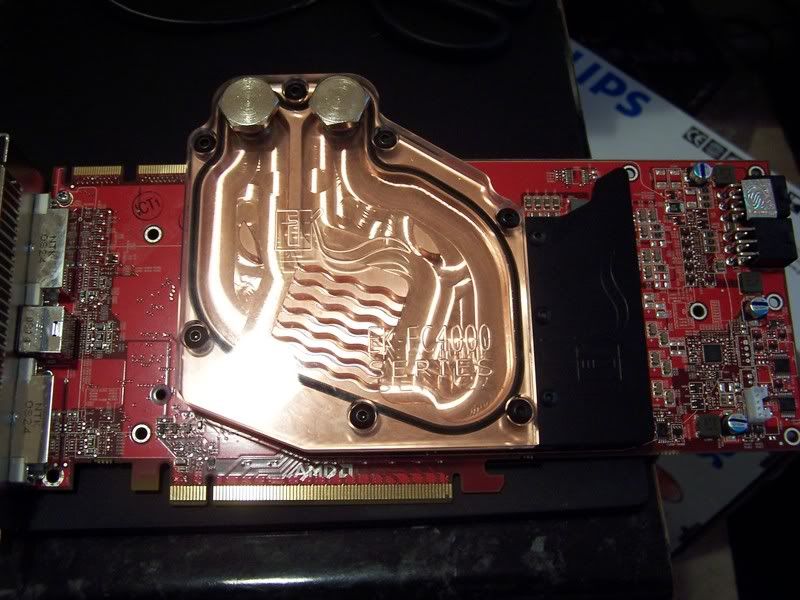
Contents of the box. Outlets both sides of the box allow simple tube routing for Crossfire. Compression fittings are very nice Instructions are also very good and have great pics to support the install. The black blocks are extensions to cover the mosfet cooling. Alls bolts and screws are included in the package along with the outlet blanking plugs.
Next up - install pics.
Ok, so here's the fitting of one of the EK blocks to one of the 4870's - must say, these blocks are superb and fit wondefully if you follow the instructions.
First up, strip the HSF from the card.
Remove all the larger screws from the back of the card first - these aren't that big and any cross head screw driver that can fit/remove motherboard tray screws will do the job. The hard bit is removing the four screws that secure the core hsf and the silver back plate in the photo. Now, I think ATI have used some kind of anti tamper screw on this bit as a cross head screw driver, even a very small one, will NOT fit. The trouble is that the depth of the screw head is very shallow so the point of a cross head screw driver bottoms out before it can engage. I used a small flat head screw driver from a watch/glasses repair kit, leant down on the screw driver quite hard and used a pair of pliers on shaft of the screw driver and the screws undid fairly easily. You really don't want to be stripping heads of these screws because then, for want of a better turn of phrase, you'll be screwed.
HSF off Quite impressed with the TIM spread but still a bit too much imo.

Now, inline with the instructions, I've added a thin layer of Artic Ceramique to the core and the eight ram chips. I applied the supplied thick thermal pad to the long "vtec" chip and the thin thermal pad to the vregs (to the right of the vtec chip). Now, this is slightly different to the AquaGratix block I had trouble with - they advised thermal pads for the vtec chip and the two above it but only TIM for the vregs. I noticed that when I removed the AquaGratix block none of the vregs has made contact with the block so I'm much happier with EK's approach.
Next, I fitted the vreg cooler place to the main block. I used a little TIM between the two blocks to aid in heat transfer.
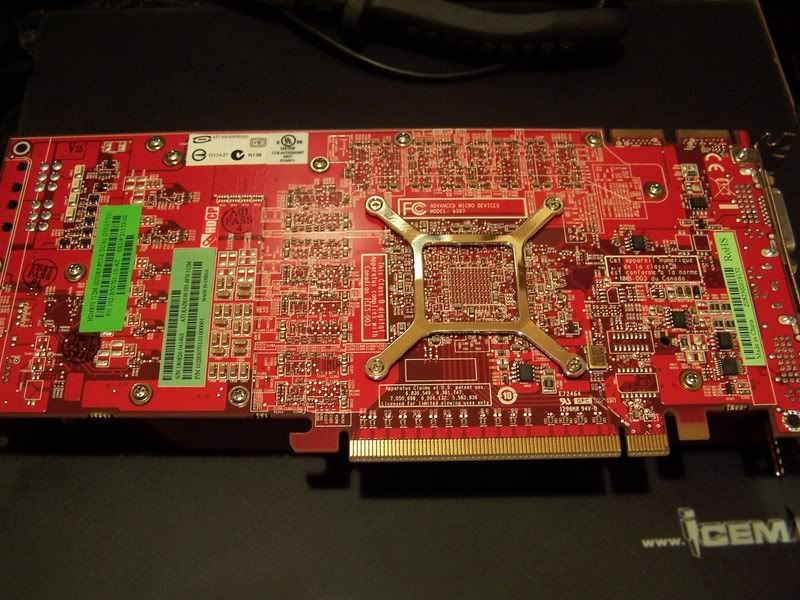
And a rear shot for those into that sort of thing

Agian, I like EK's approach - the vtec chip and those above it don't sit in a "channel" like the AqauGratix block therefore you can't really accidently cli the edge of a chip when tightening the board down. If you look at the stock hsf - then components sit in a large hole and don't contact the hsf at all.
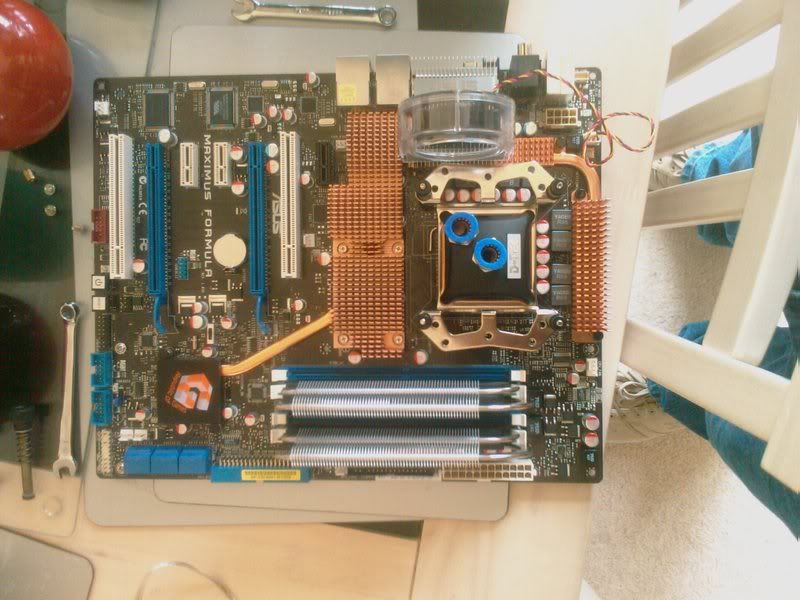
Finally started to get everything together so here's the first part of the new WC setup.
D-Tek fusion v2 cpu block with quad core mid chamber insert. This replaces my rather old Asetek Antartica waterblock. One of the best blocks in it's day but it's amazing how far things have moved on in 5 years - moving to a quad core system seriously hghlighted the fact the Antartica juast wasn't going to cope with a processor that dissipates 250 watts of heat when seriously overclocked. Things have moved from thick base, large copper blocks to thinner base, small copper blocks with "pins" to increase cooling surface area and the D-Tek Fuzion v2 is rated to be the best out there.
Here I have used the unversal mounting block. using this lets you mount the posts seperate from the actual block, meaning you don't have to remove the motherboard everytime you want to lift the block off. On the rear of the motherboard is a "brace" fitted that stops the motherboard from flexing - this lets you use a lot of preassure when screwing down the block - greater preasure = greater performance. Without this brace, the socket area can actually flex enough to touch the motherboard mounting tray - not good!
I've replaced the 1/2" barbs with 10/8mm push fit quick connectors - the rest of the system is 10/8mm and that size hose is a lot easier to bend and route than 1/2" hose - quite an important factor to consider when you have a complicated route esp with Crossfire.
Inside the block, you can fit different "nozzles". As I'm running a Quad core, I've obviously gone for the quod core insert - it splits the flow to direct the water across the two rows of cores. You can see in the following pic the way they are laid out:-
Next up, gfx waterblocks
Couple of boxes waiting for me when I got home - 5 days postage from Solvenia - not too shabby
Nice retail packaging - better that Aquacomputers annonymous brown box.
Contents of the box. Outlets both sides of the box allow simple tube routing for Crossfire. Compression fittings are very nice
Instructions are also very good and have great pics to support the install. The black blocks are extensions to cover the mosfet cooling. Alls bolts and screws are included in the package along with the outlet blanking plugs.Next up - install pics.
Ok, so here's the fitting of one of the EK blocks to one of the 4870's - must say, these blocks are superb and fit wondefully if you follow the instructions.
First up, strip the HSF from the card.
Remove all the larger screws from the back of the card first - these aren't that big and any cross head screw driver that can fit/remove motherboard tray screws will do the job. The hard bit is removing the four screws that secure the core hsf and the silver back plate in the photo. Now, I think ATI have used some kind of anti tamper screw on this bit as a cross head screw driver, even a very small one, will NOT fit. The trouble is that the depth of the screw head is very shallow so the point of a cross head screw driver bottoms out before it can engage. I used a small flat head screw driver from a watch/glasses repair kit, leant down on the screw driver quite hard and used a pair of pliers on shaft of the screw driver and the screws undid fairly easily. You really don't want to be stripping heads of these screws because then, for want of a better turn of phrase, you'll be screwed.
HSF off
Quite impressed with the TIM spread but still a bit too much imo.
Now, inline with the instructions, I've added a thin layer of Artic Ceramique to the core and the eight ram chips. I applied the supplied thick thermal pad to the long "vtec" chip and the thin thermal pad to the vregs (to the right of the vtec chip). Now, this is slightly different to the AquaGratix block I had trouble with - they advised thermal pads for the vtec chip and the two above it but only TIM for the vregs. I noticed that when I removed the AquaGratix block none of the vregs has made contact with the block so I'm much happier with EK's approach.
Next, I fitted the vreg cooler place to the main block. I used a little TIM between the two blocks to aid in heat transfer.
And a rear shot for those into that sort of thing
Agian, I like EK's approach - the vtec chip and those above it don't sit in a "channel" like the AqauGratix block therefore you can't really accidently cli the edge of a chip when tightening the board down. If you look at the stock hsf - then components sit in a large hole and don't contact the hsf at all.