NZXT home page - http://www.nzxt.com/new/products/crafted_series/phantom_820
OcUK Product page - http://www.overclockers.co.uk/showproduct.php?prodid=CA-113-NX&groupid=2362&catid=35&subcat=
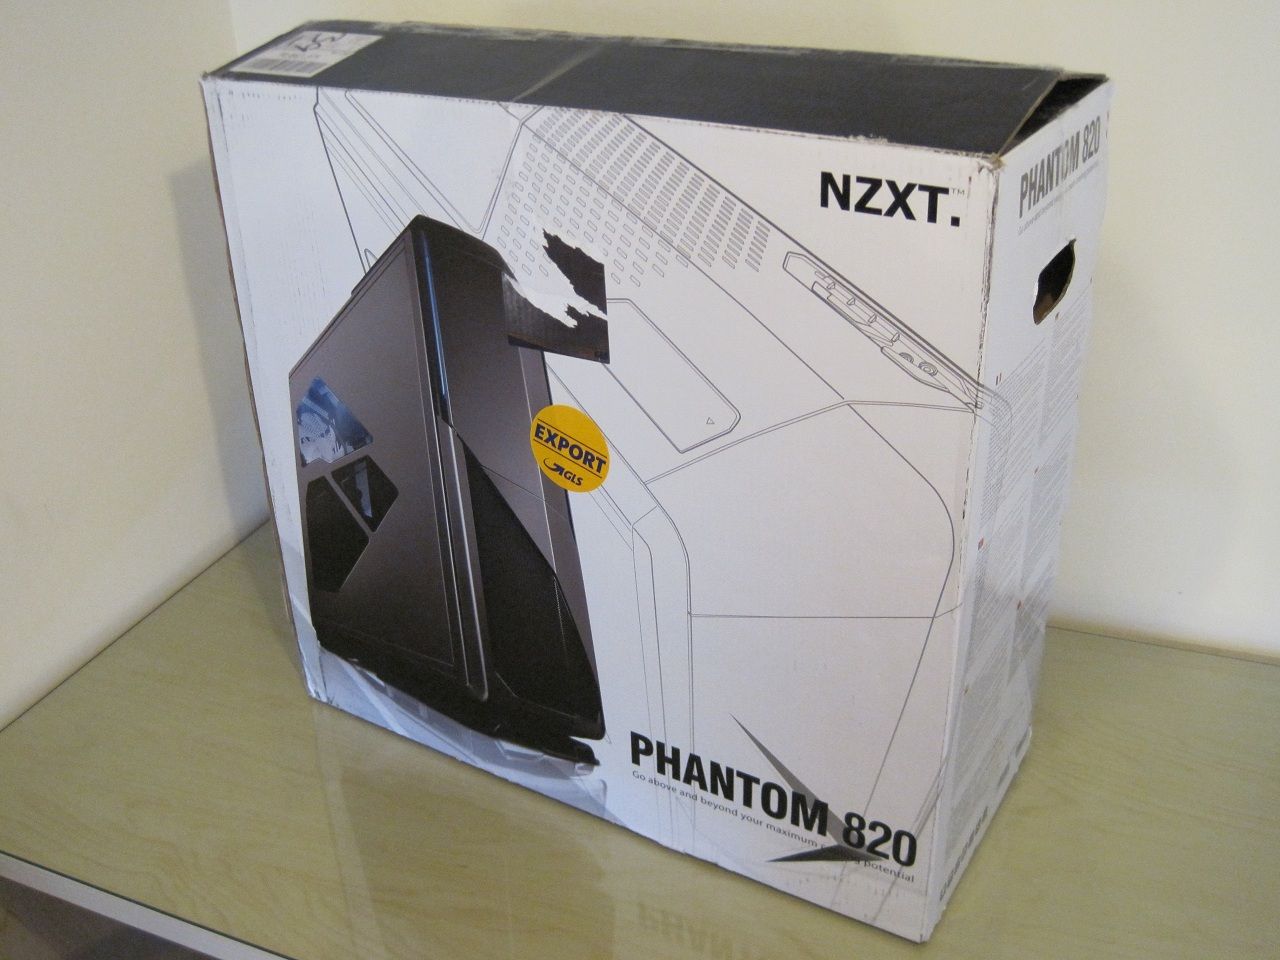
Today I bring you a review of the £209.99 full tower NZXT Phantom 820 case, this case is designed to meet excellent airflow requirements and has the size to accept the biggest of consumer boards up to XL-ATX, the case features a unique lighting system, four fan controller and is able to take a very comprehensive water cooling setup.
The case is available in White, Black and Gun Metal colours and it is the later that I have here.
Packaging and unboxing.
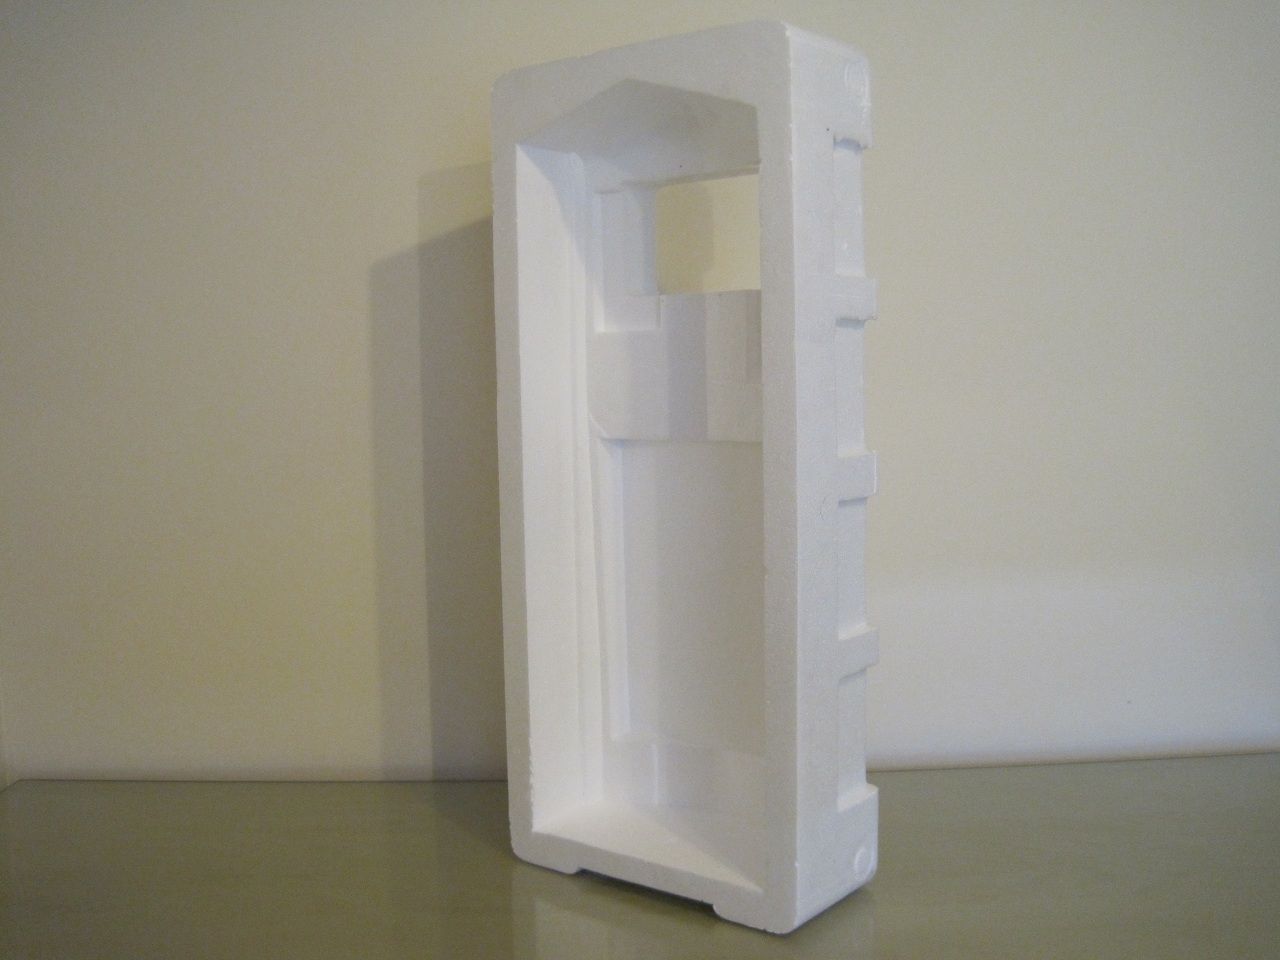
The case arrived in a large cardboard box, it was within a plastic bag and two polystyrene foam inserts.
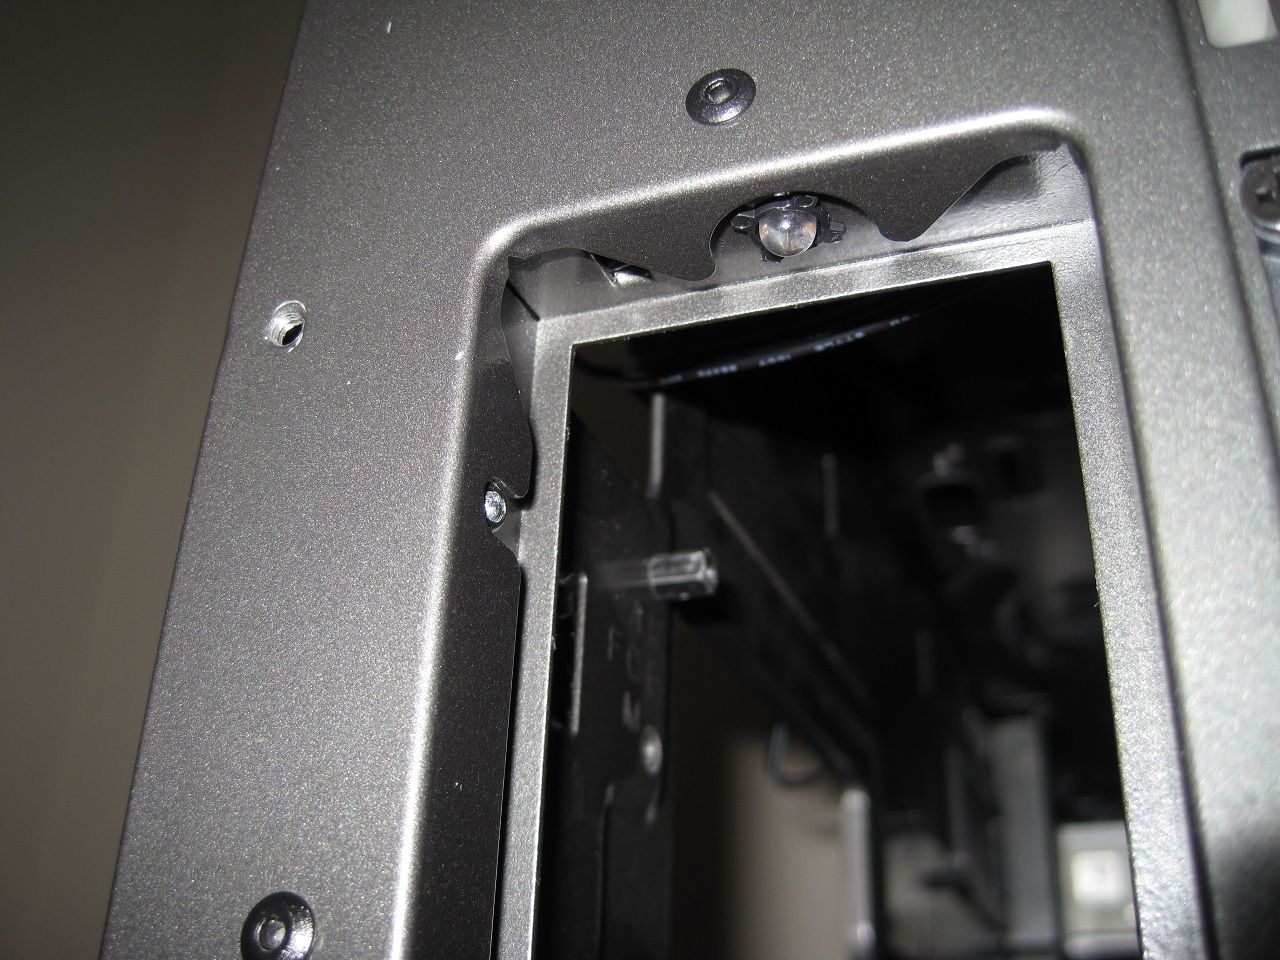
Despite this foam packing, the case did arrived damaged. The 200mm side panel fan had a broken fan blade,
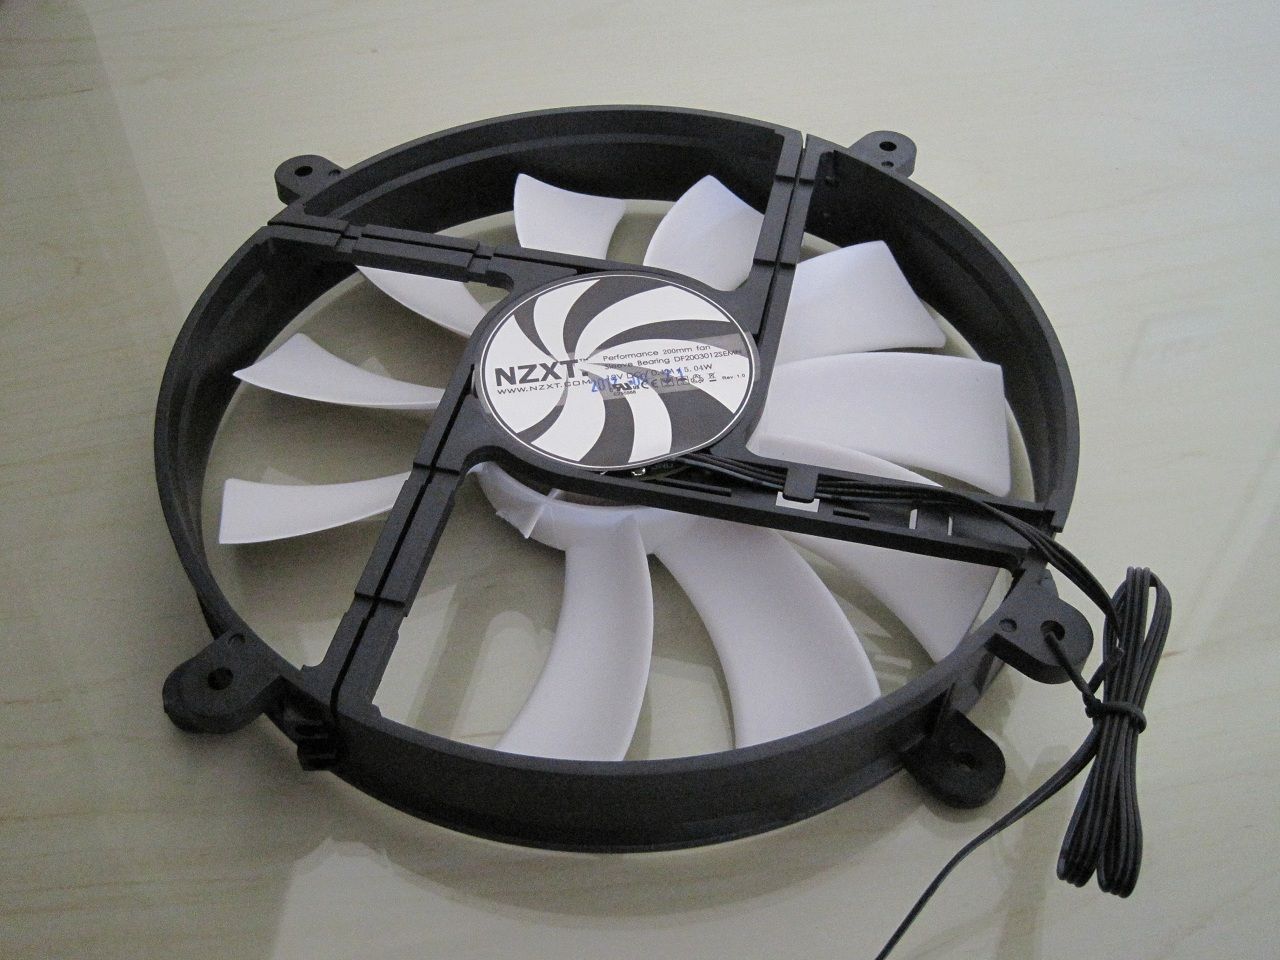
Luckily a quick email and a replacement fan was sent on its way to me.
Accessories.
Inside the box comes the instructions and a nice plastic compartmented box to store the all the screws.
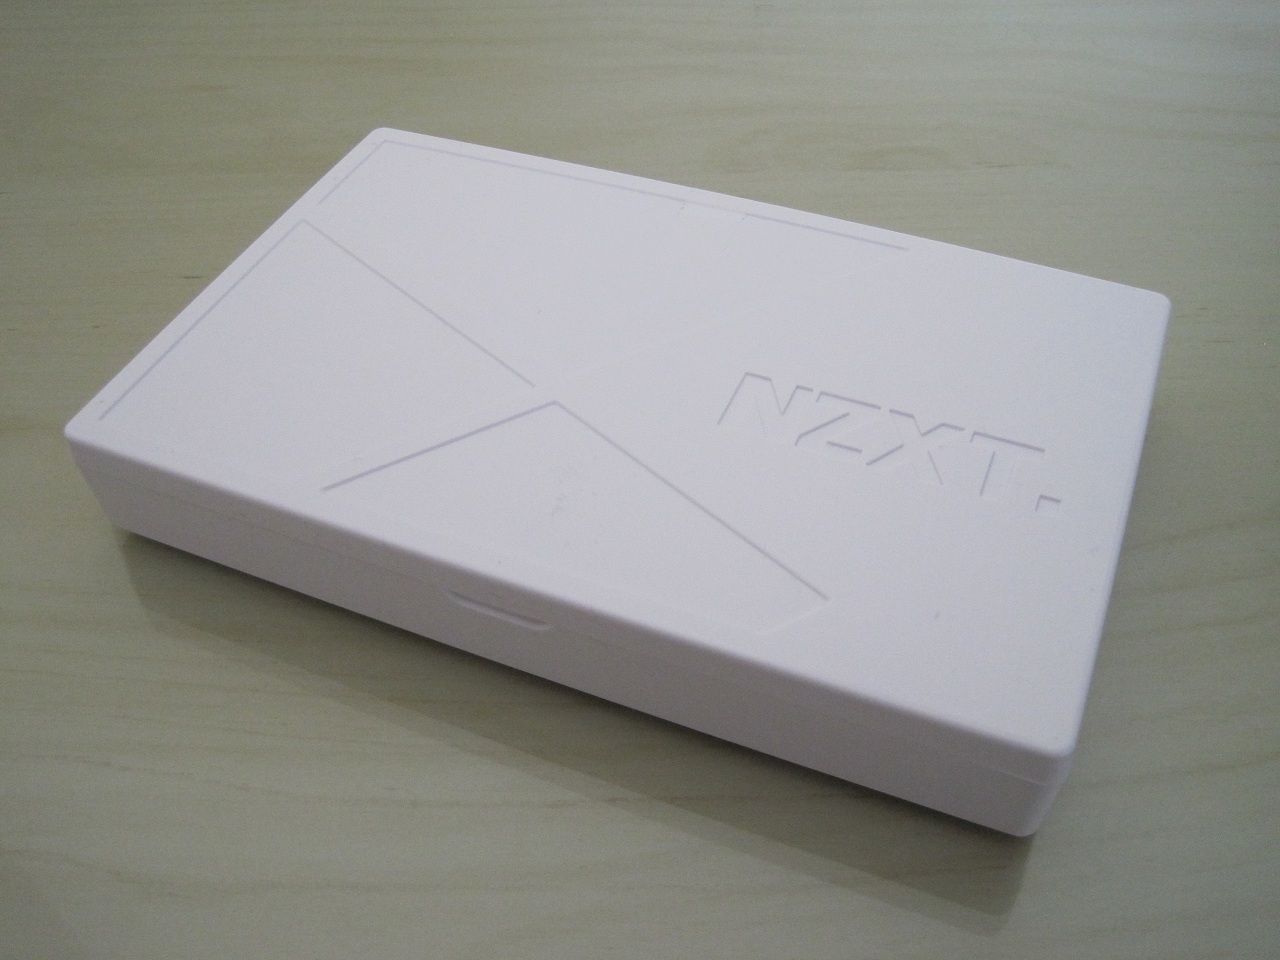
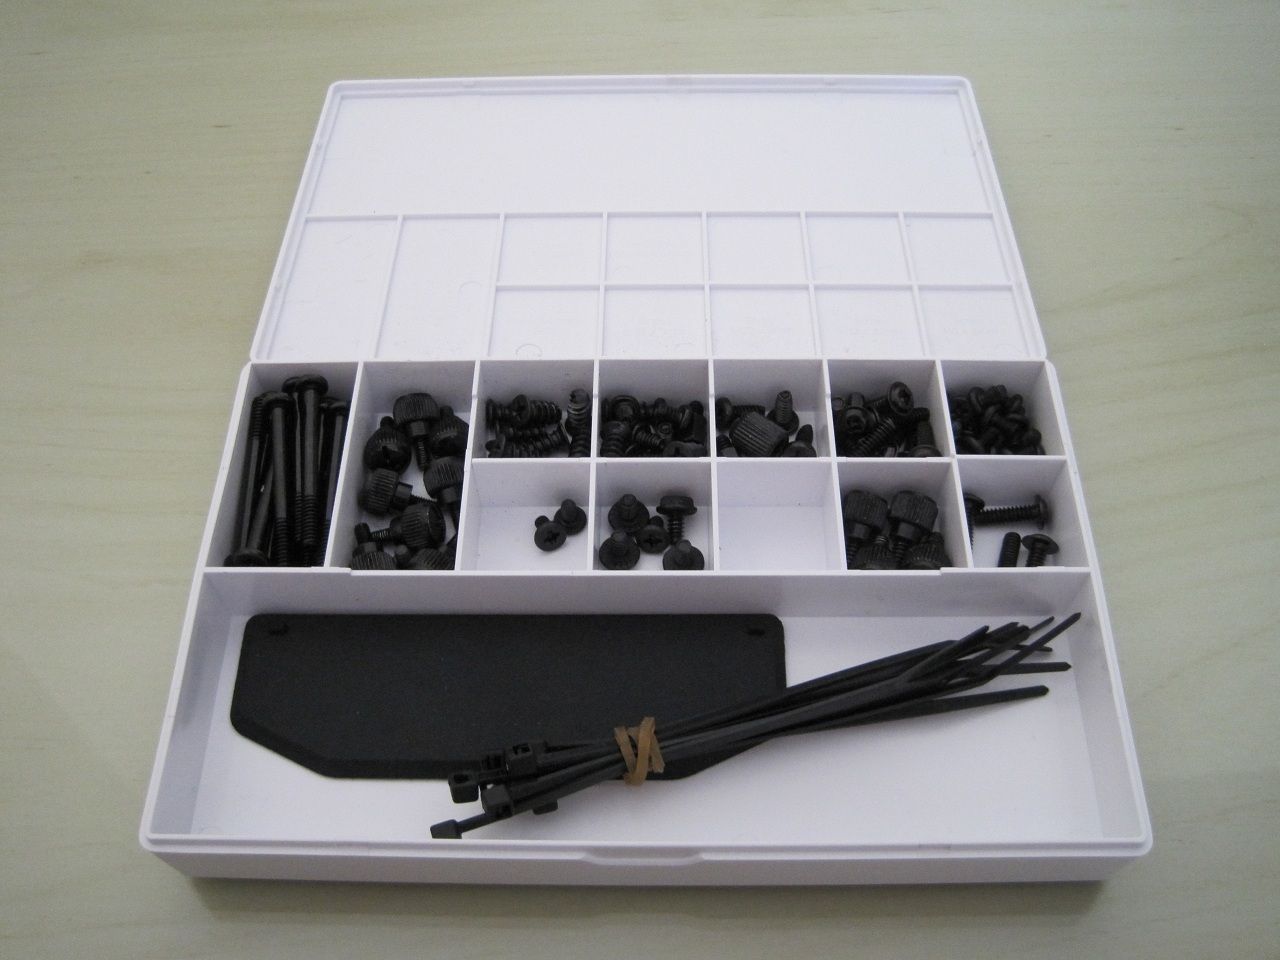
Having a proper box for the screws is a nice touch.
The case itself.
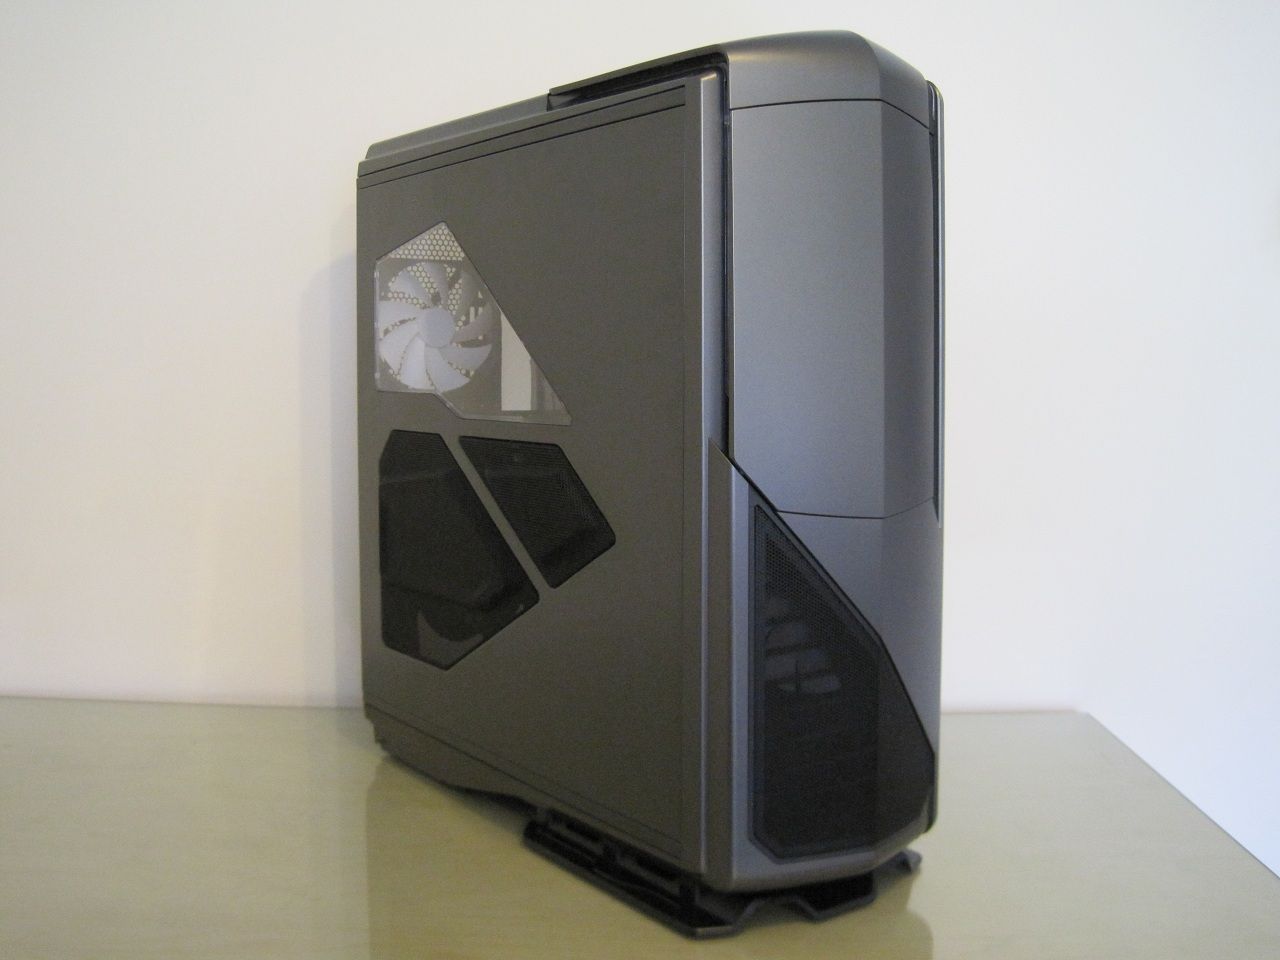
I am not to sure I like the different shapes going on here.
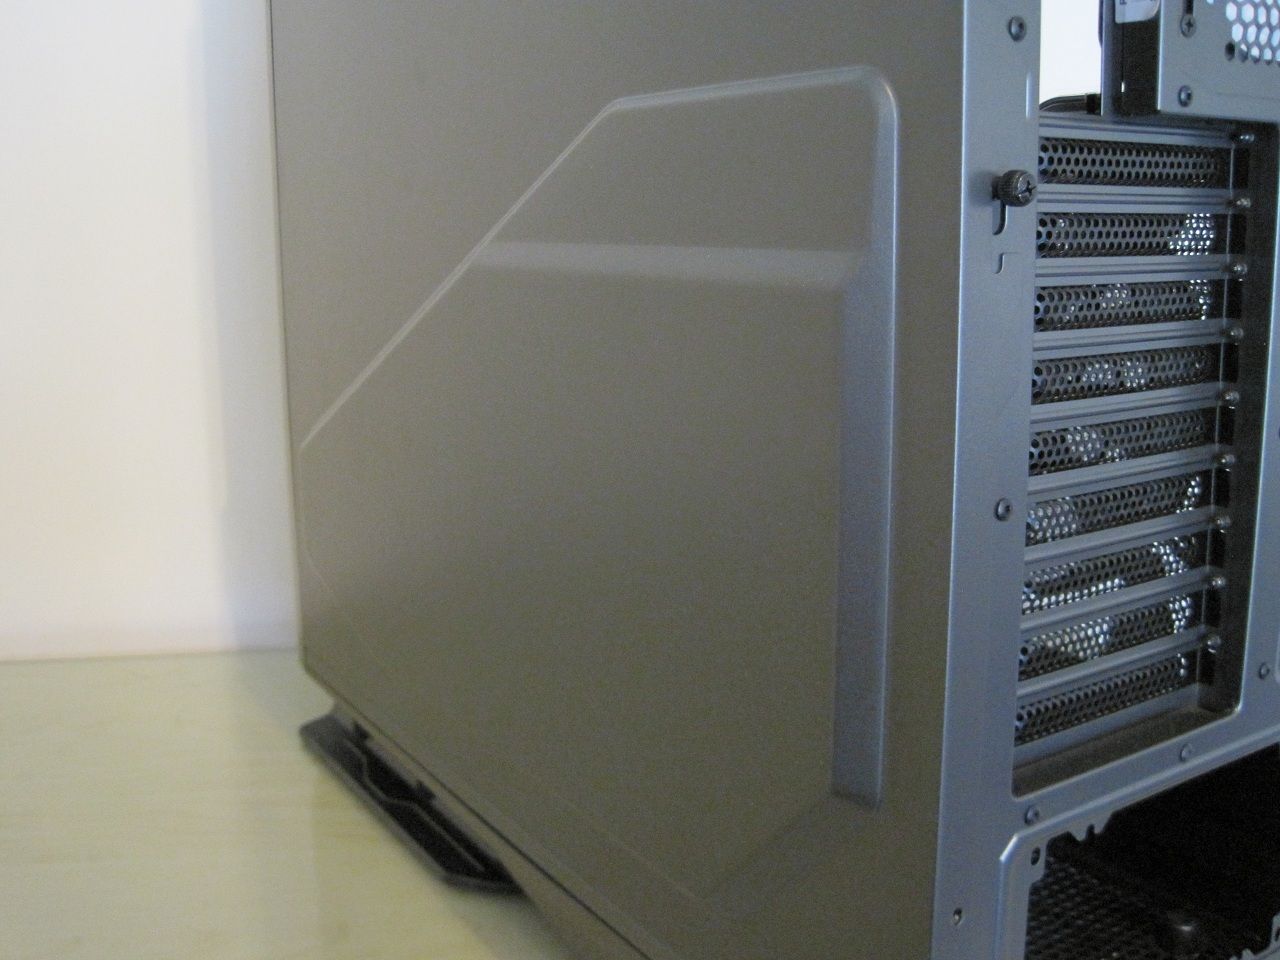
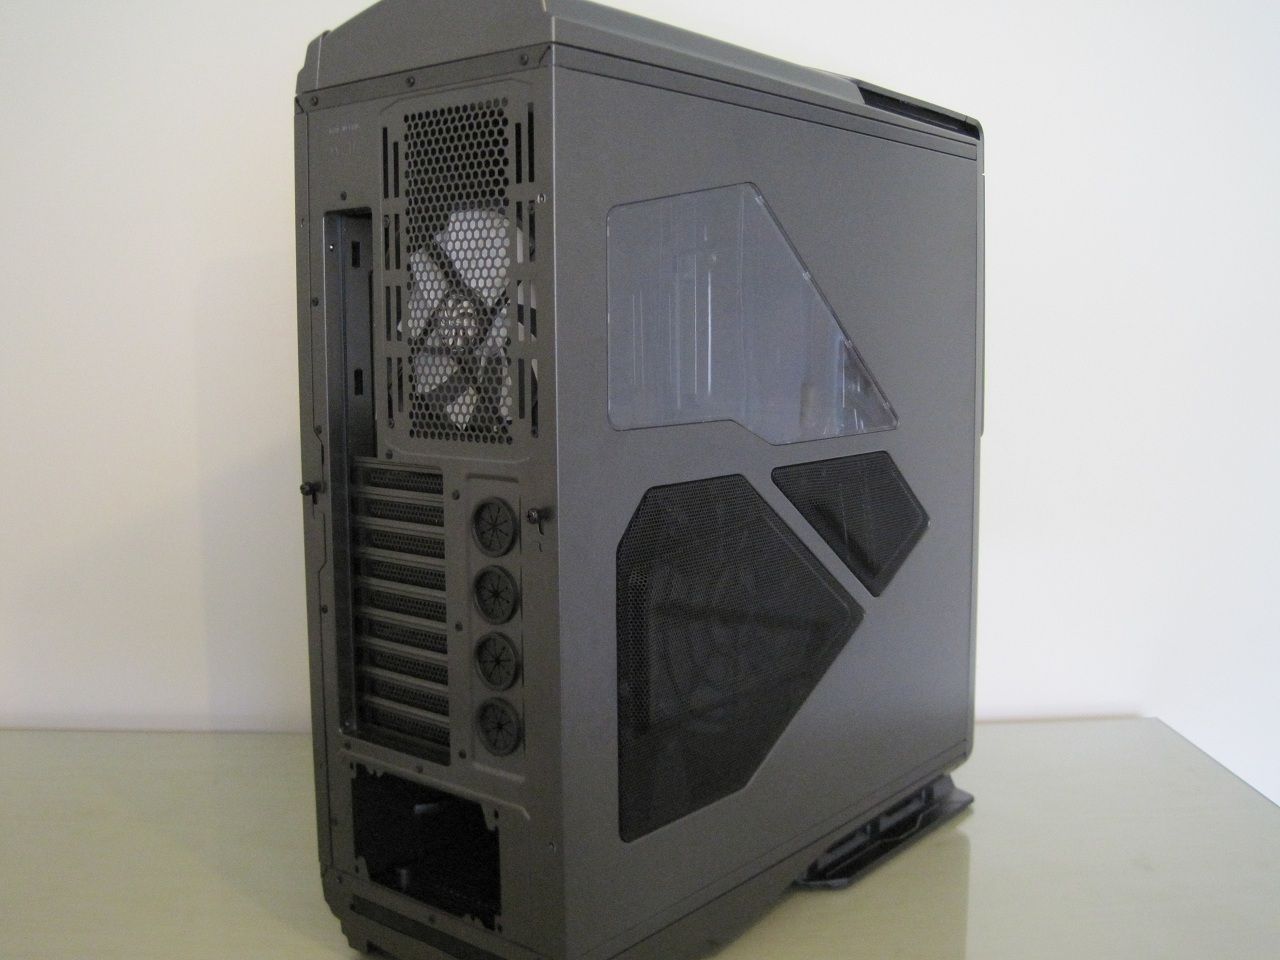
The bulge on this side also helps increase the available room for cables.
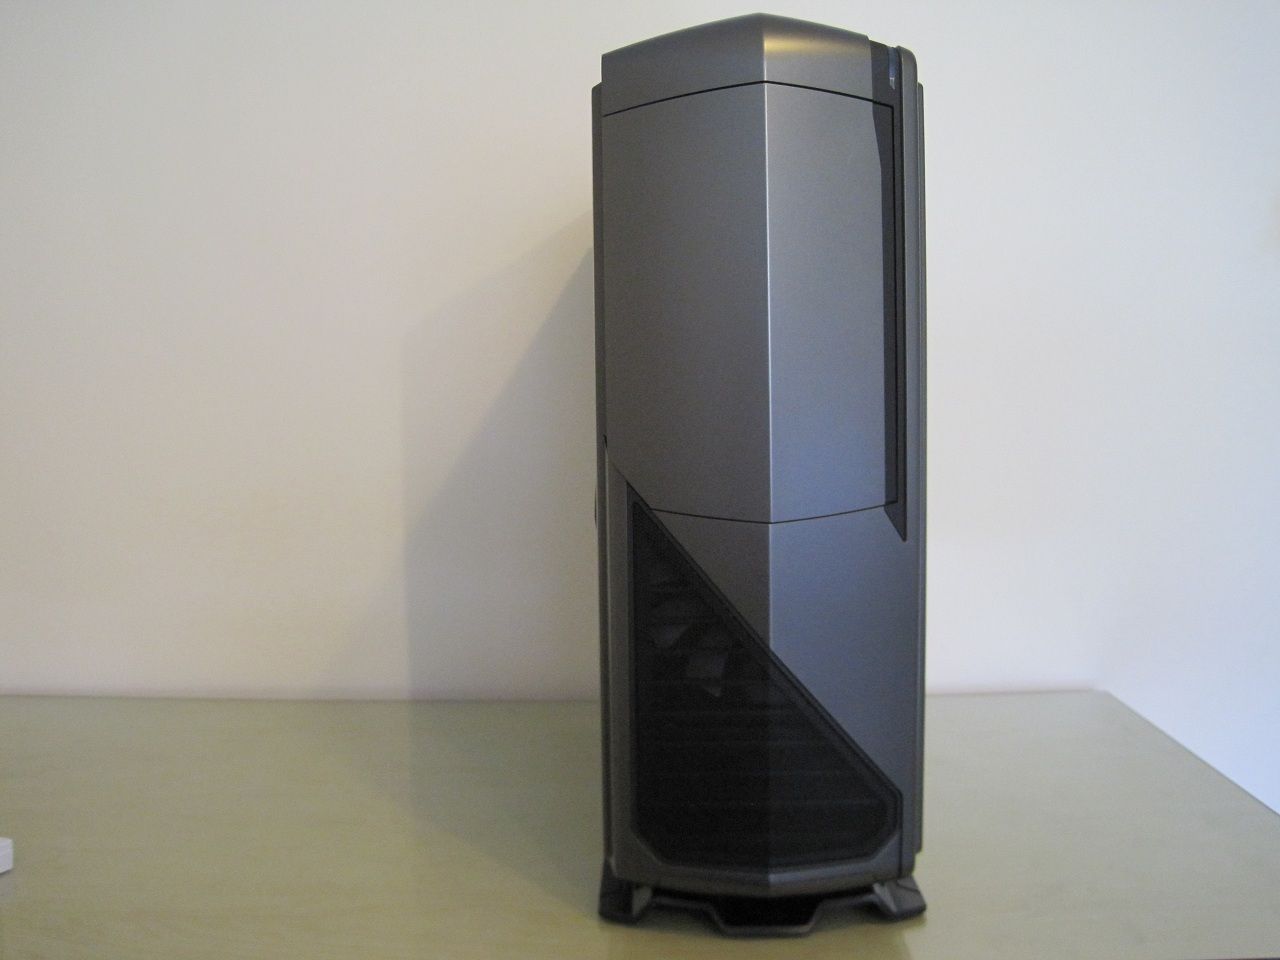
The front drive bay door is strongly magnetized and shuts with good force.
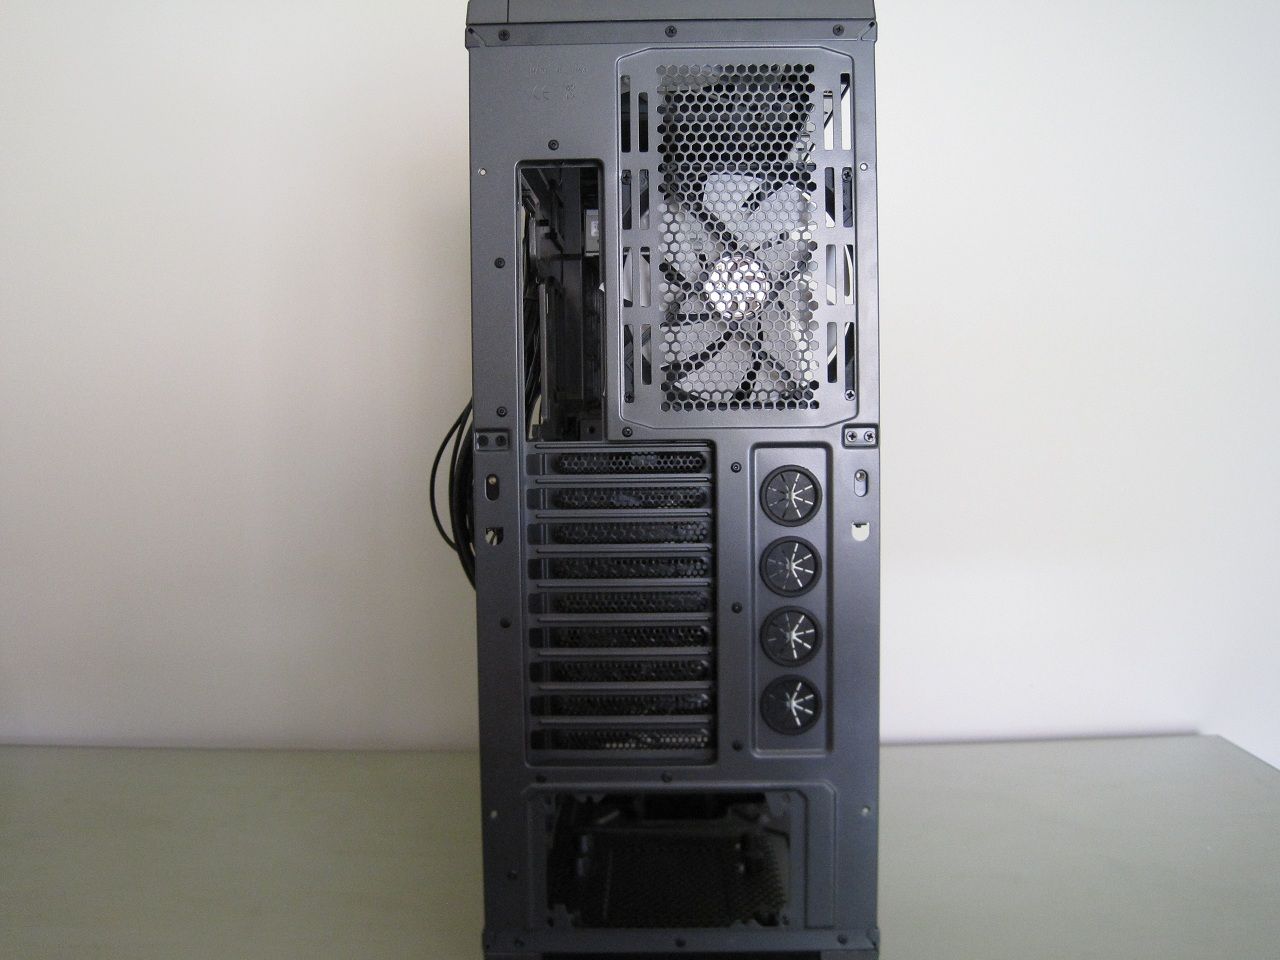
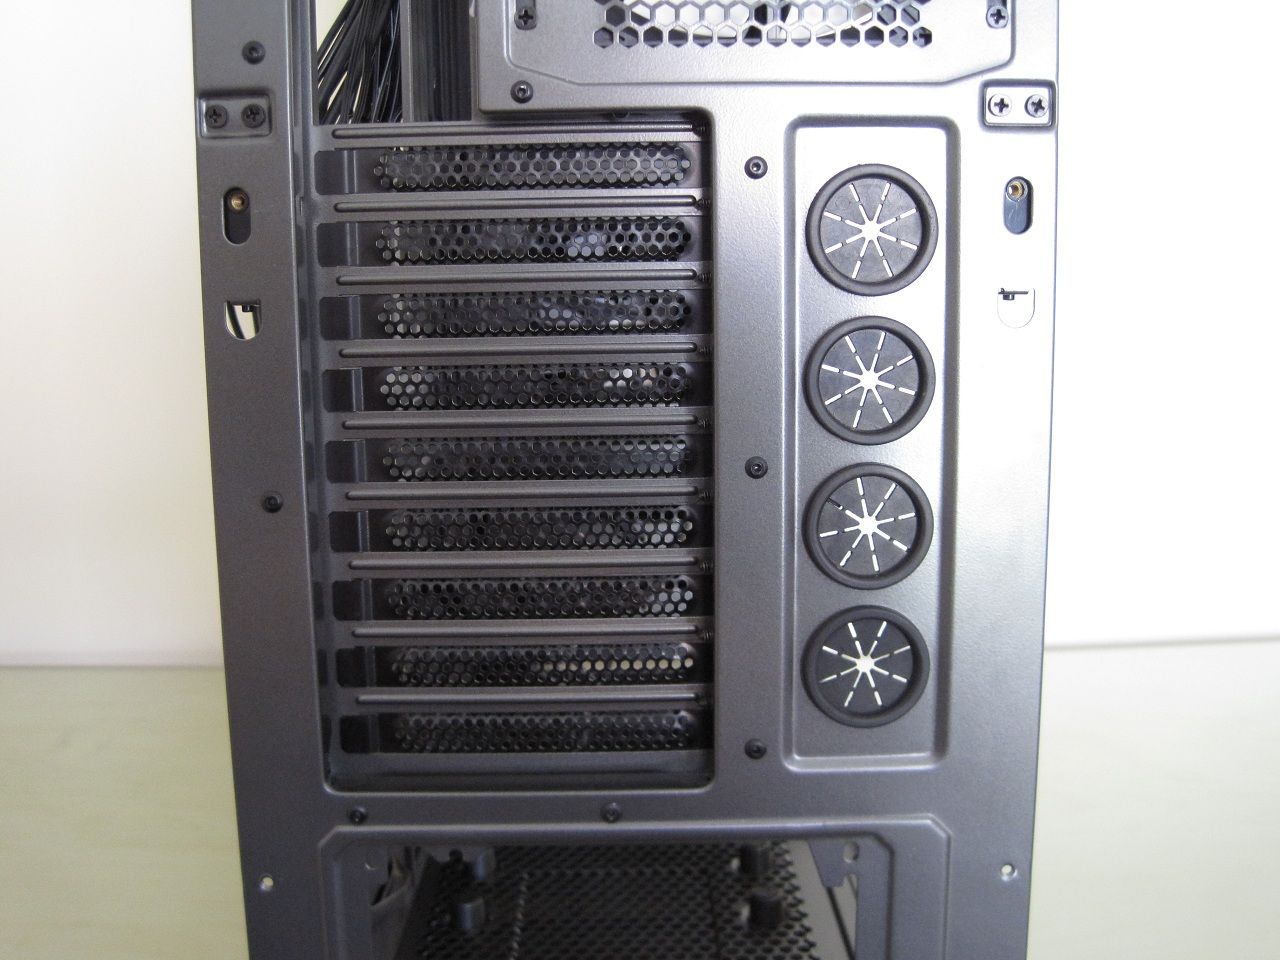
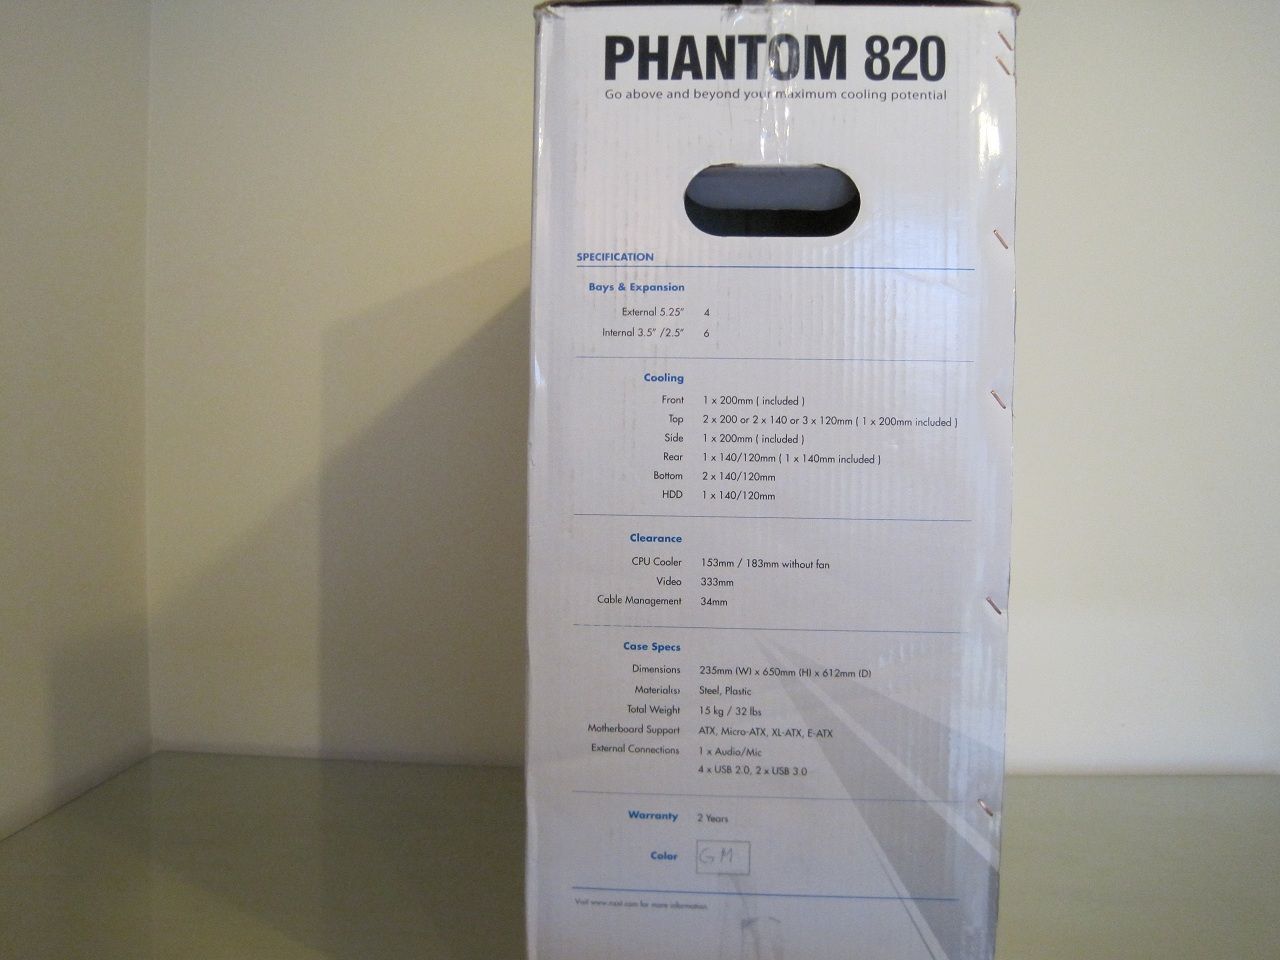
There are nine expansion slots and four grommeted holes for water cooling tubes.
These are the small LED's that provide the switchable ON/OFF rear I/O lighting, this means you can easily see where to plug devices in a very dark environment or a midnight gaming session.
A 140mm rear fan is provided or a 120mm can be fitted, you can slide the exact position you want it up or down to match the position of a CPU heatsink.
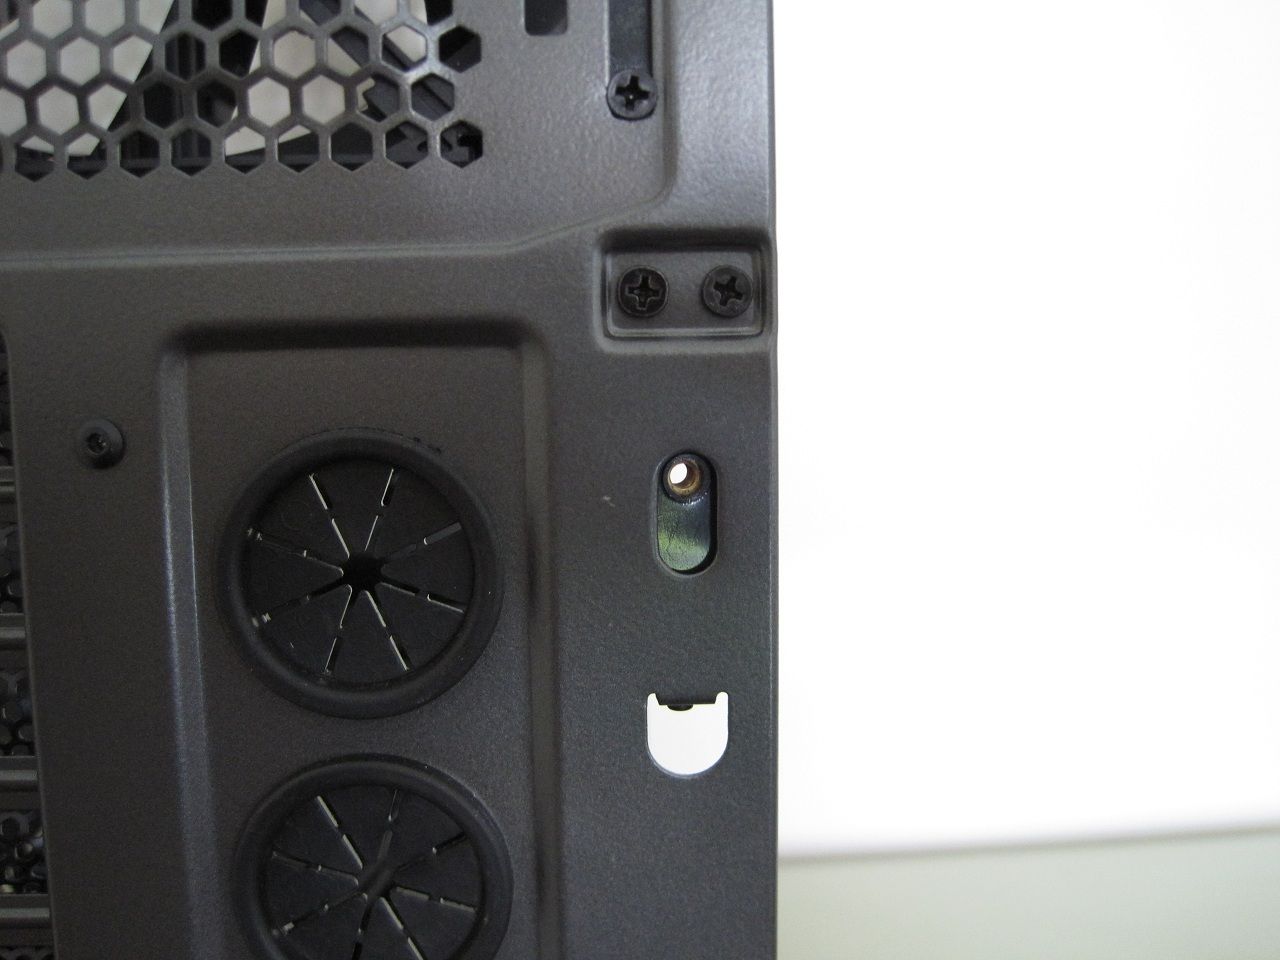
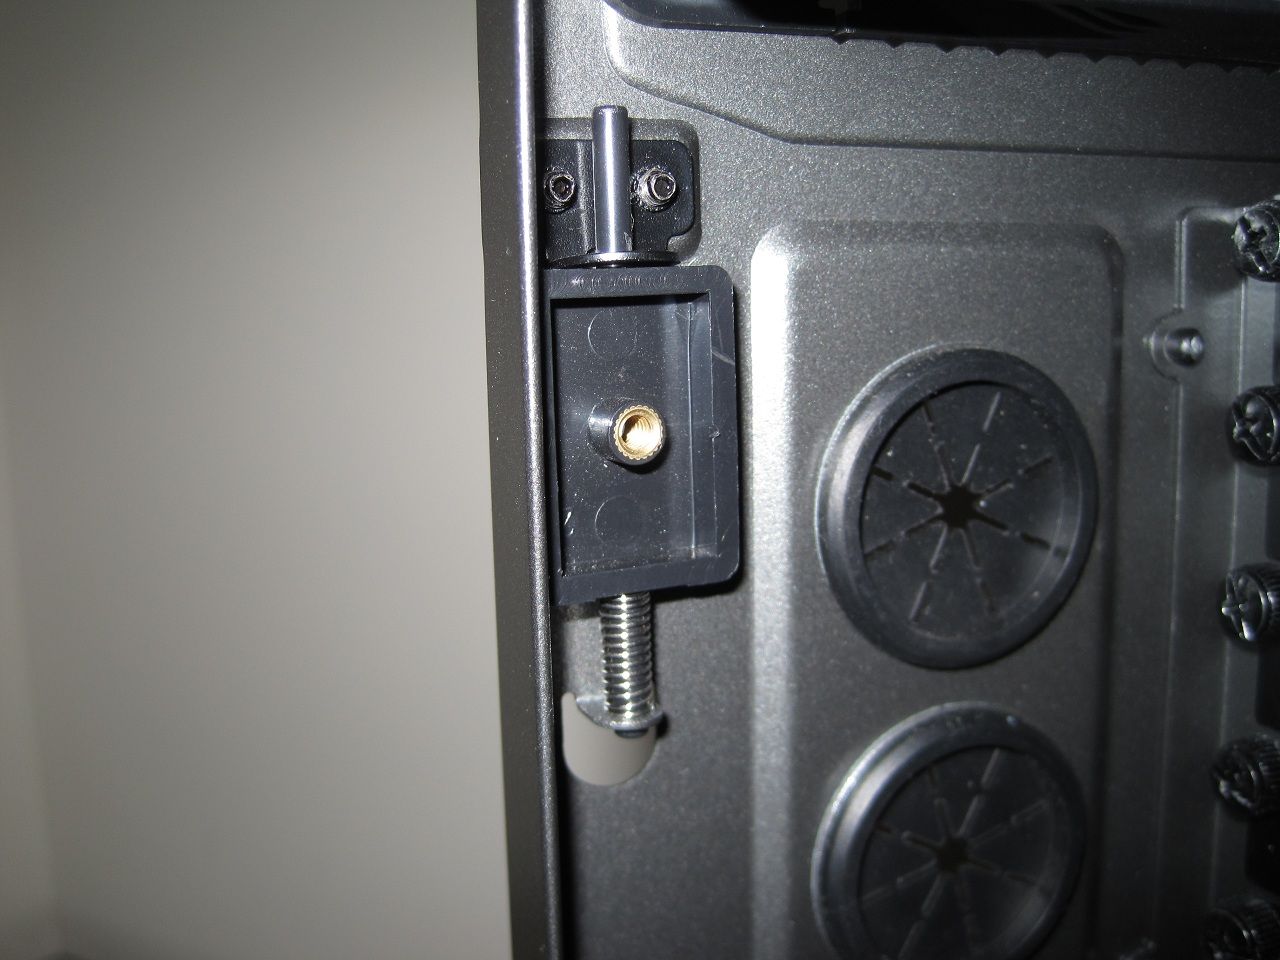
You can secure the side panels fully with two thumb screws or using this quick release latch use a single thumb screw that with a quick push down will release the side panel.
Removing a side panel isn't the easiest either, you have to pull it out a tiny little bit from where the thumb screws secure it and then try and slide it backwards which is hard as they are a tight fit at the front edge and the weight of the side panels means dropping and vus scratching them or the case is easily done.
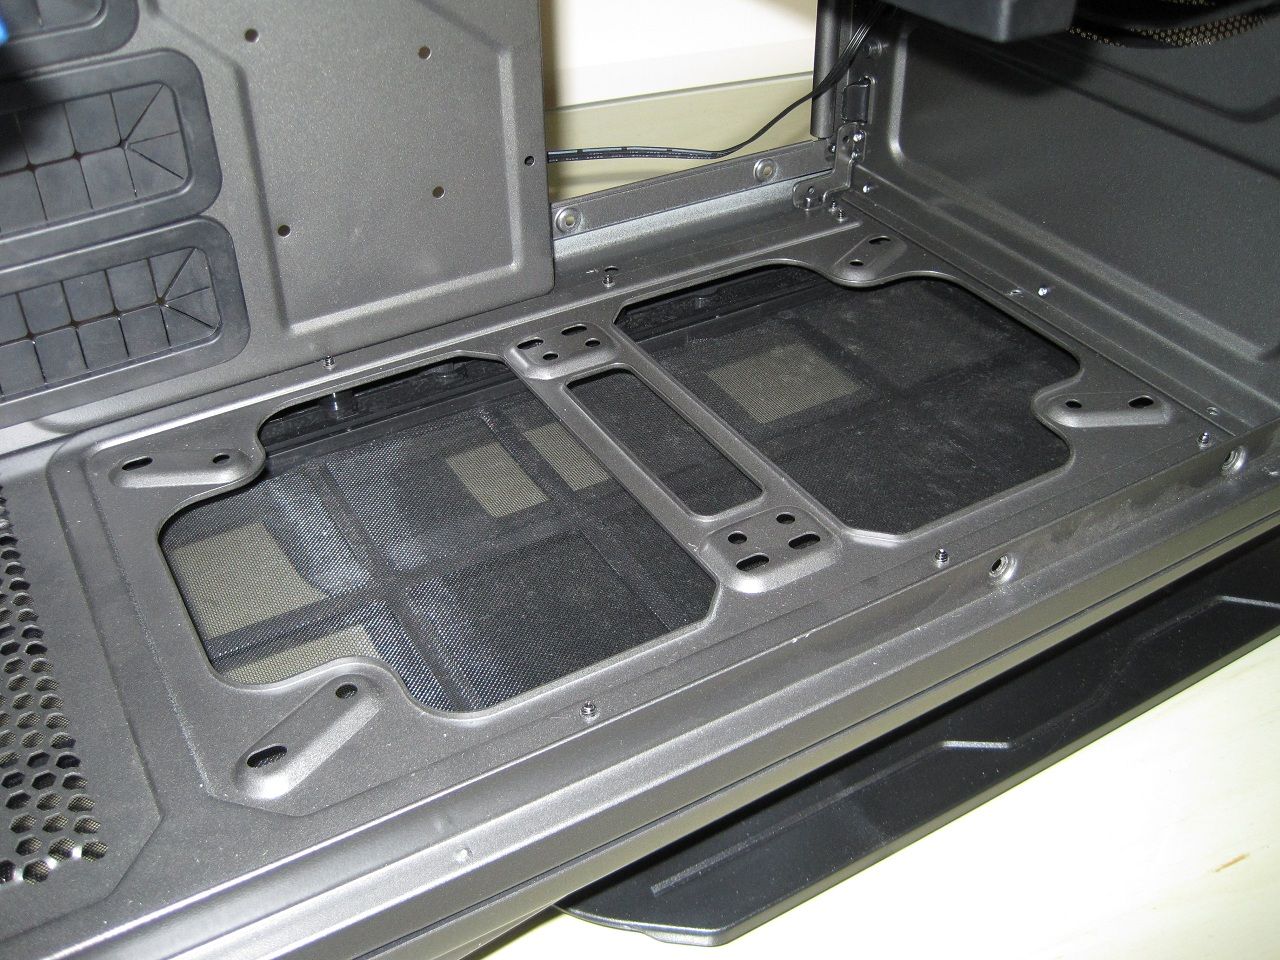
The PSU filter is easily removed as it is spring loaded, it just needs a simple push inwards to release it.
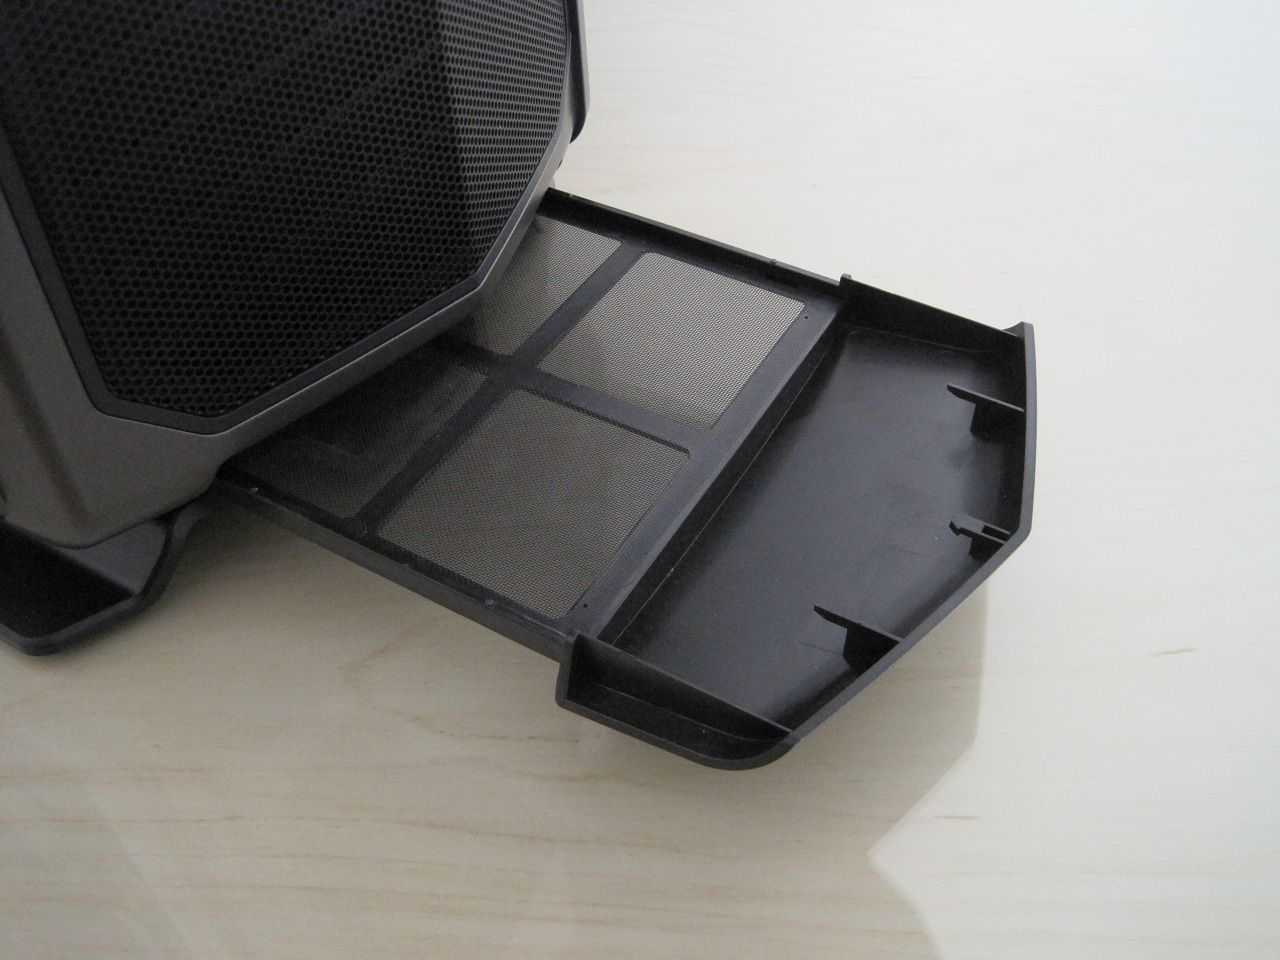

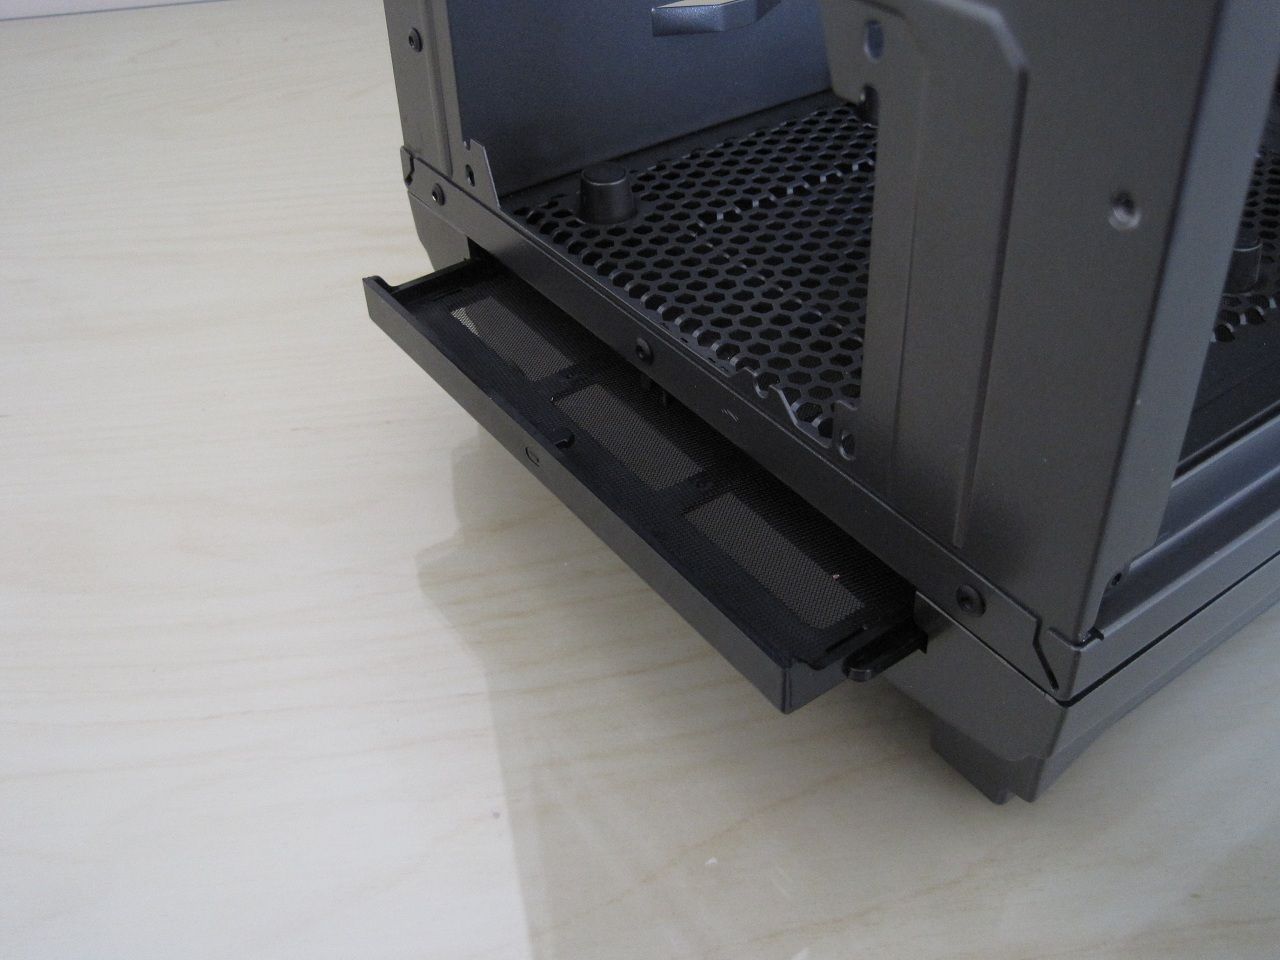
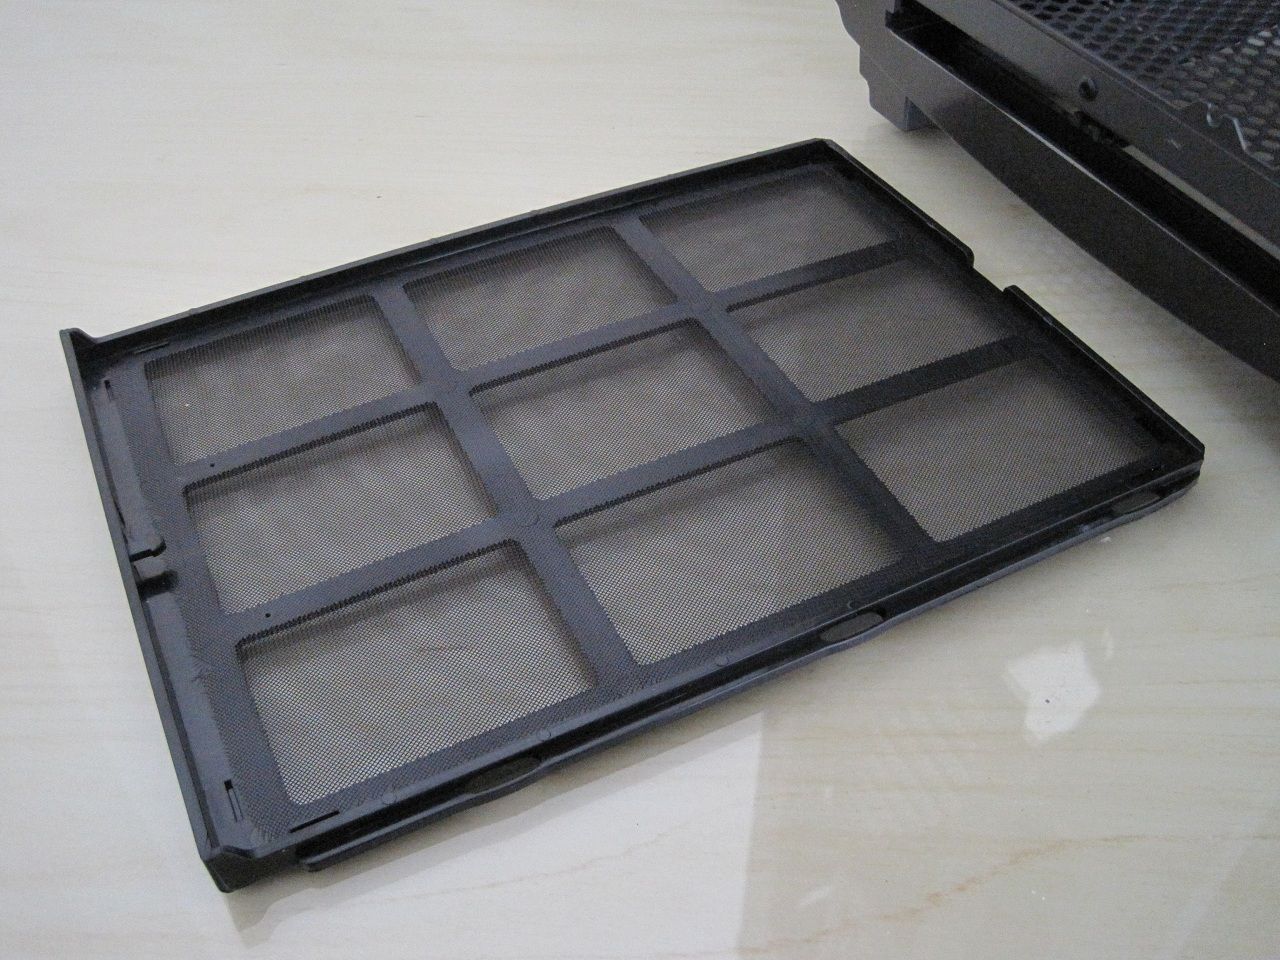
A front floor filter is again easily removed and secures into position by a spring loaded latch.
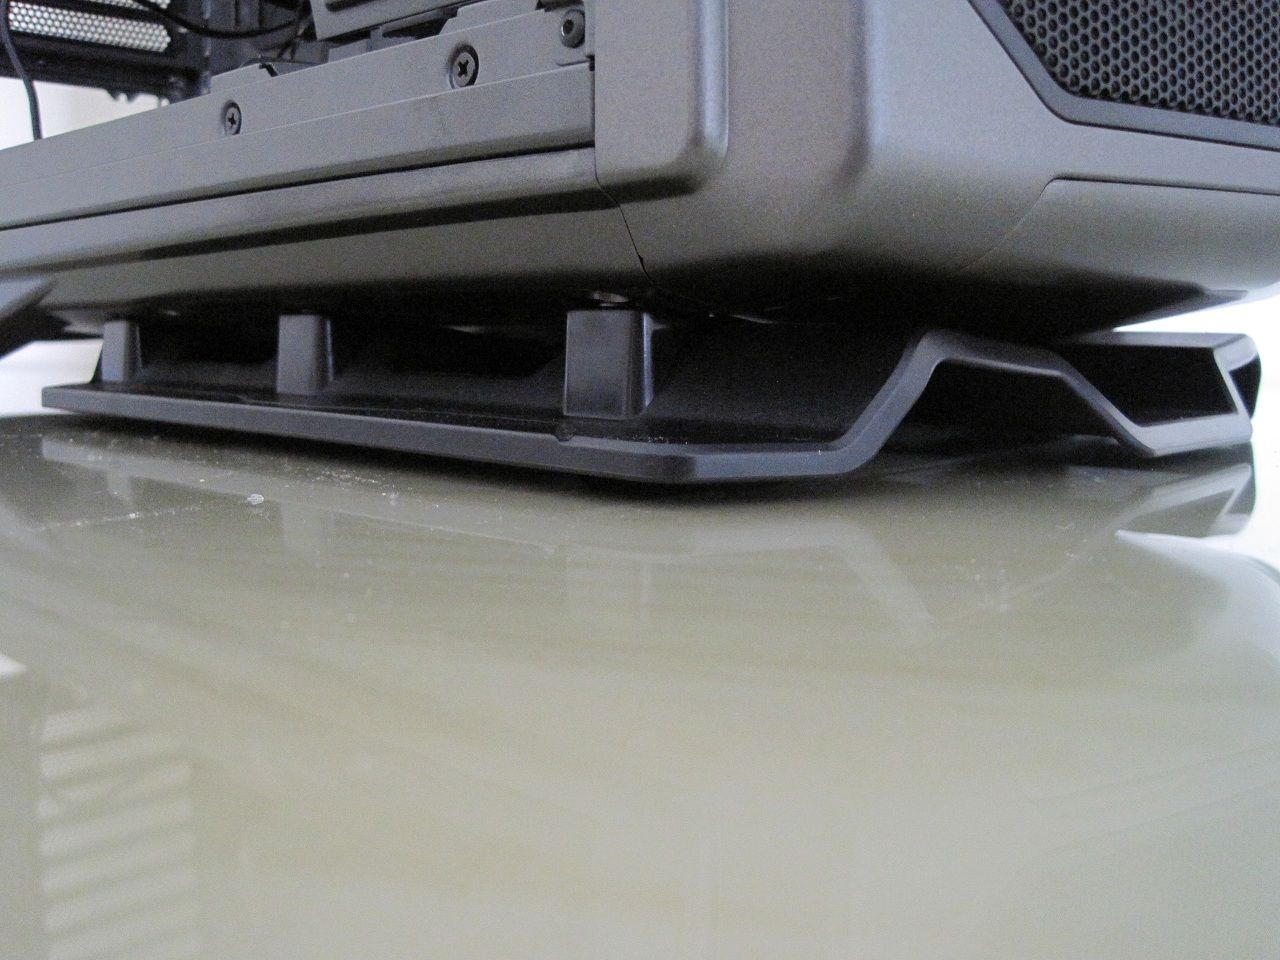
The case sits on a pedestal which allows plenty of air underneath.
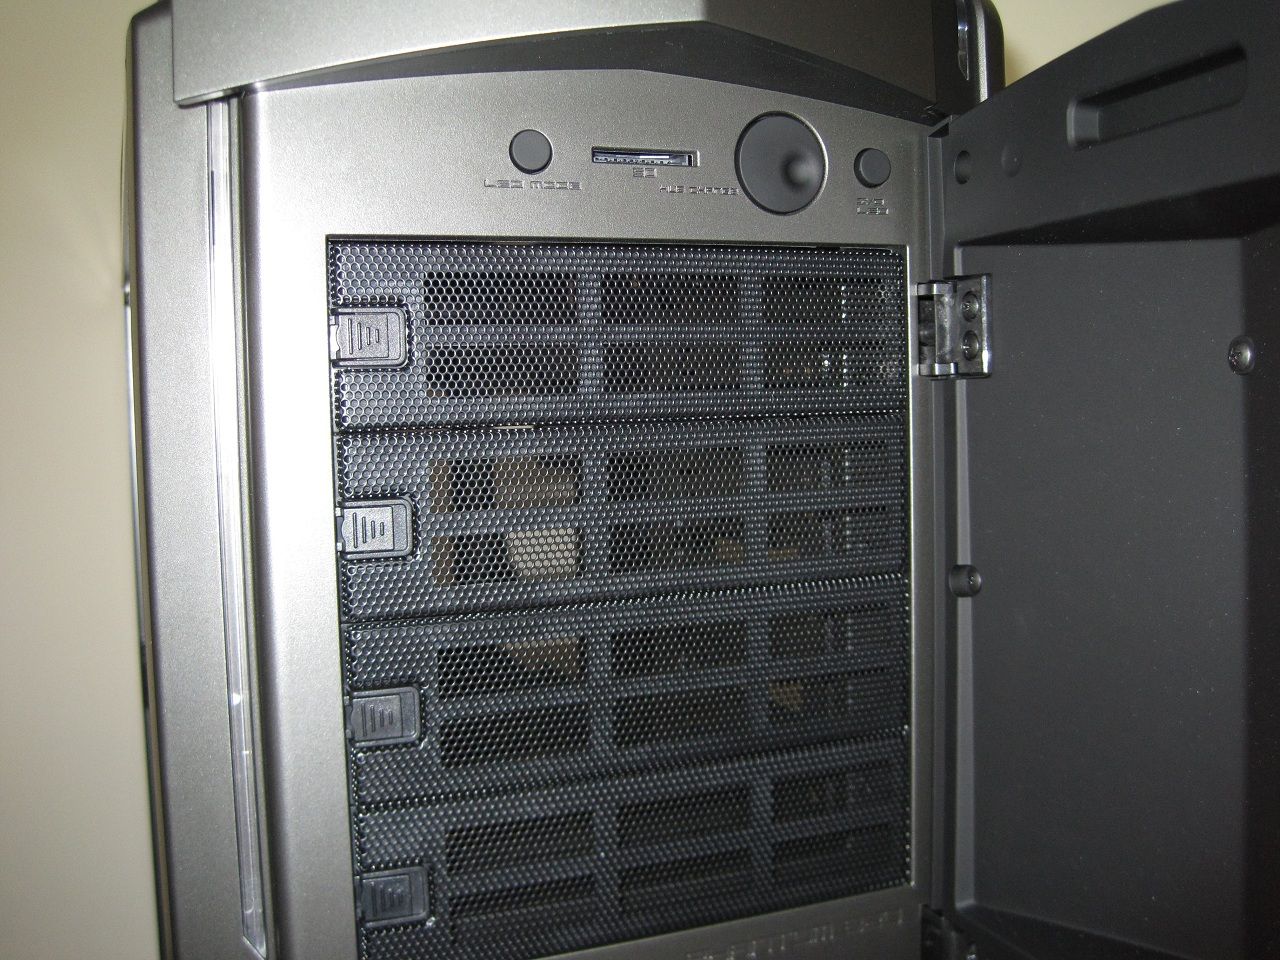
Four 5.25" drive bays are available.
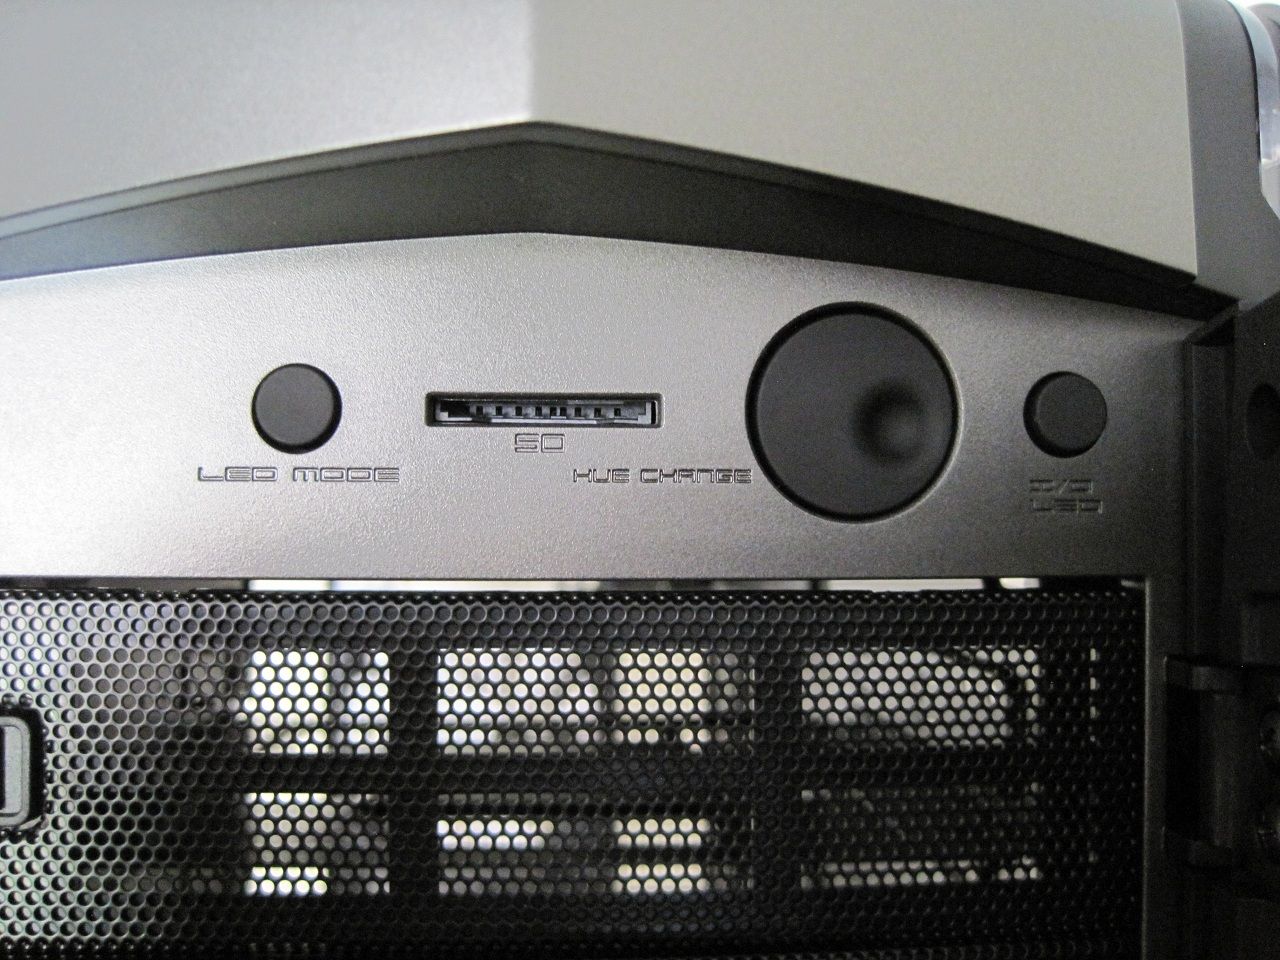
• LED mode - switch on the interior lighting or just the outside LED strips or both together.
• SD card reader
• The hue change dial which cycles through the colours
• Rear IO lighting switch.
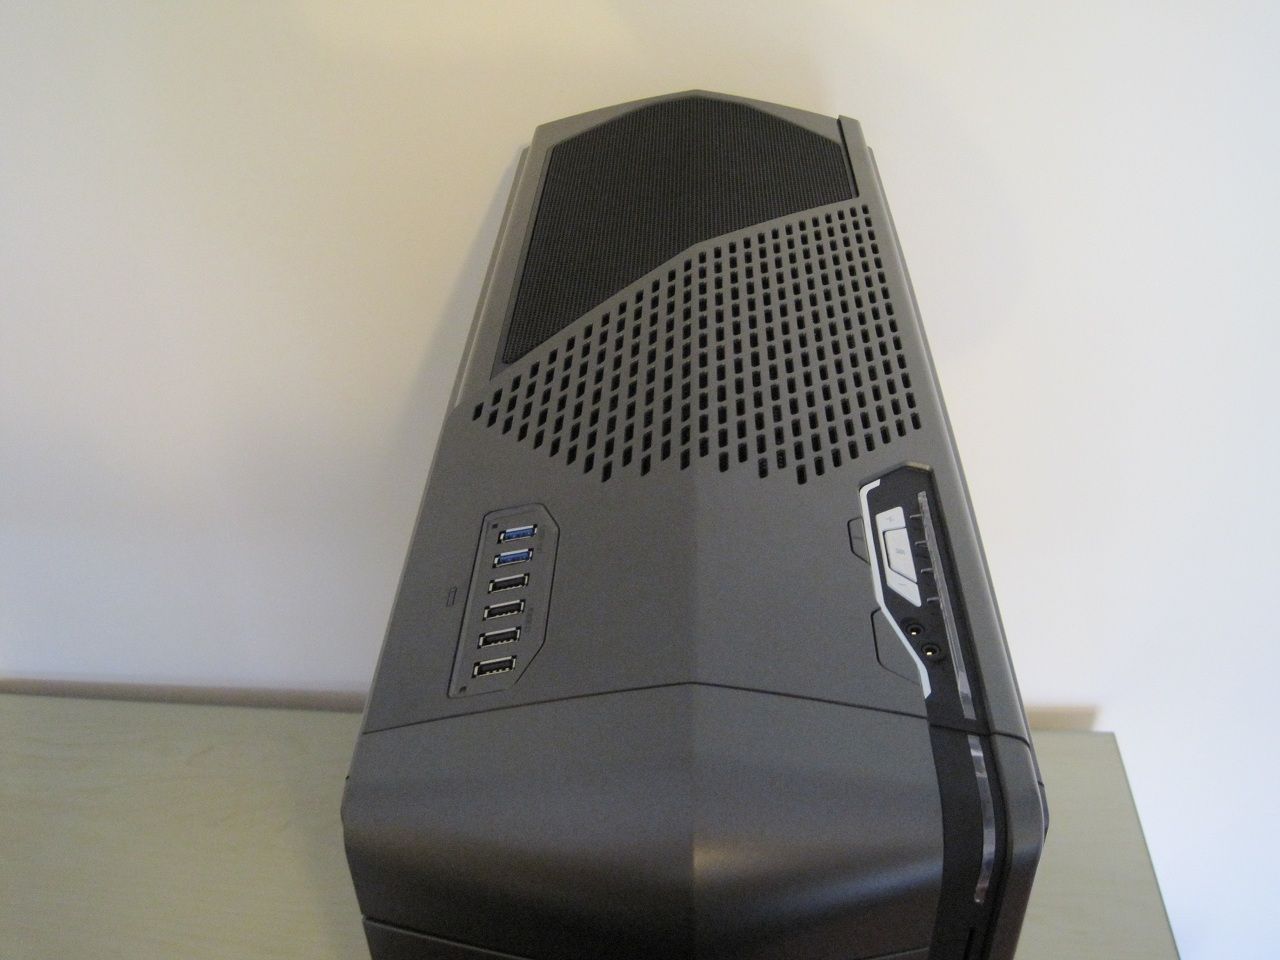
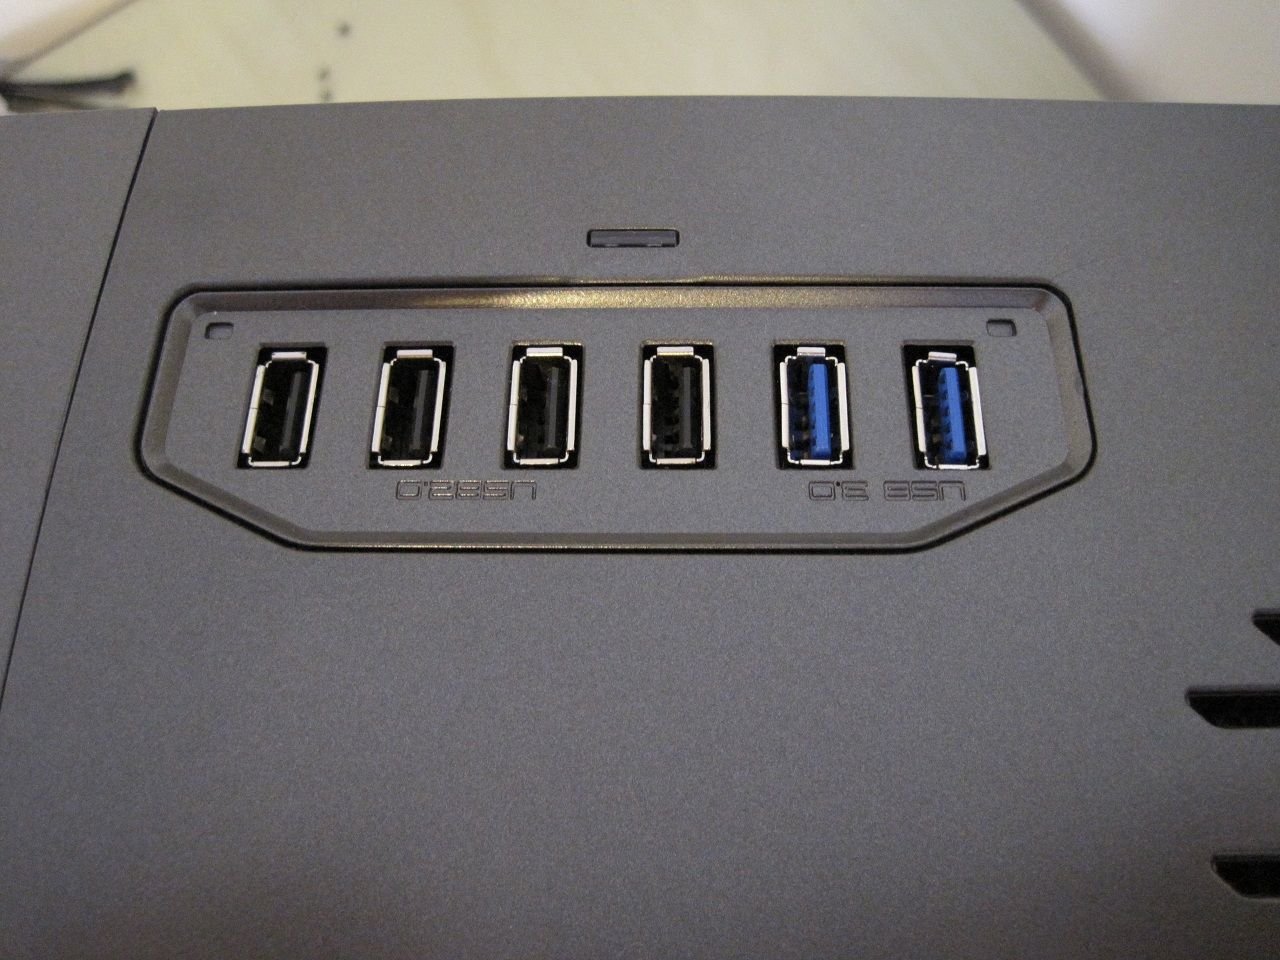
• Four USB2.0 ports.
• Two USB3.0 ports.
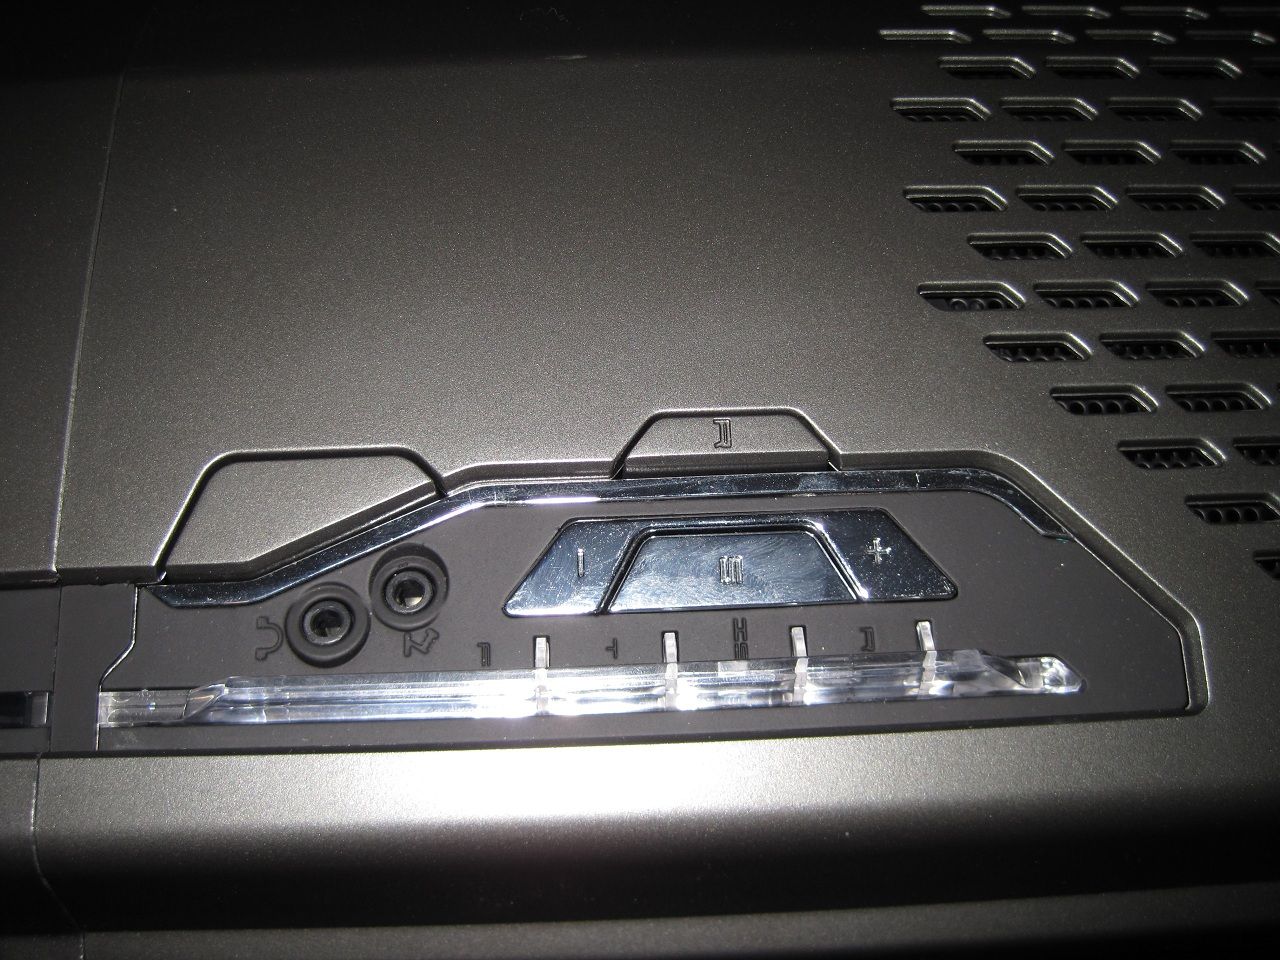
• Power and reset buttons.
• Integrated fan controller, it provides four channels and three fans per channel (12 maximum fans).
• Headphone and microphone port are also found here.
The fan controller is simple enough, the middle button switches between the four channels and the ± buttons increase/decrease the fan speeds and the LED next to each channel will increase and decrease, at the lowest setting the stock case fans will come to a complete stop.
Inside the case.
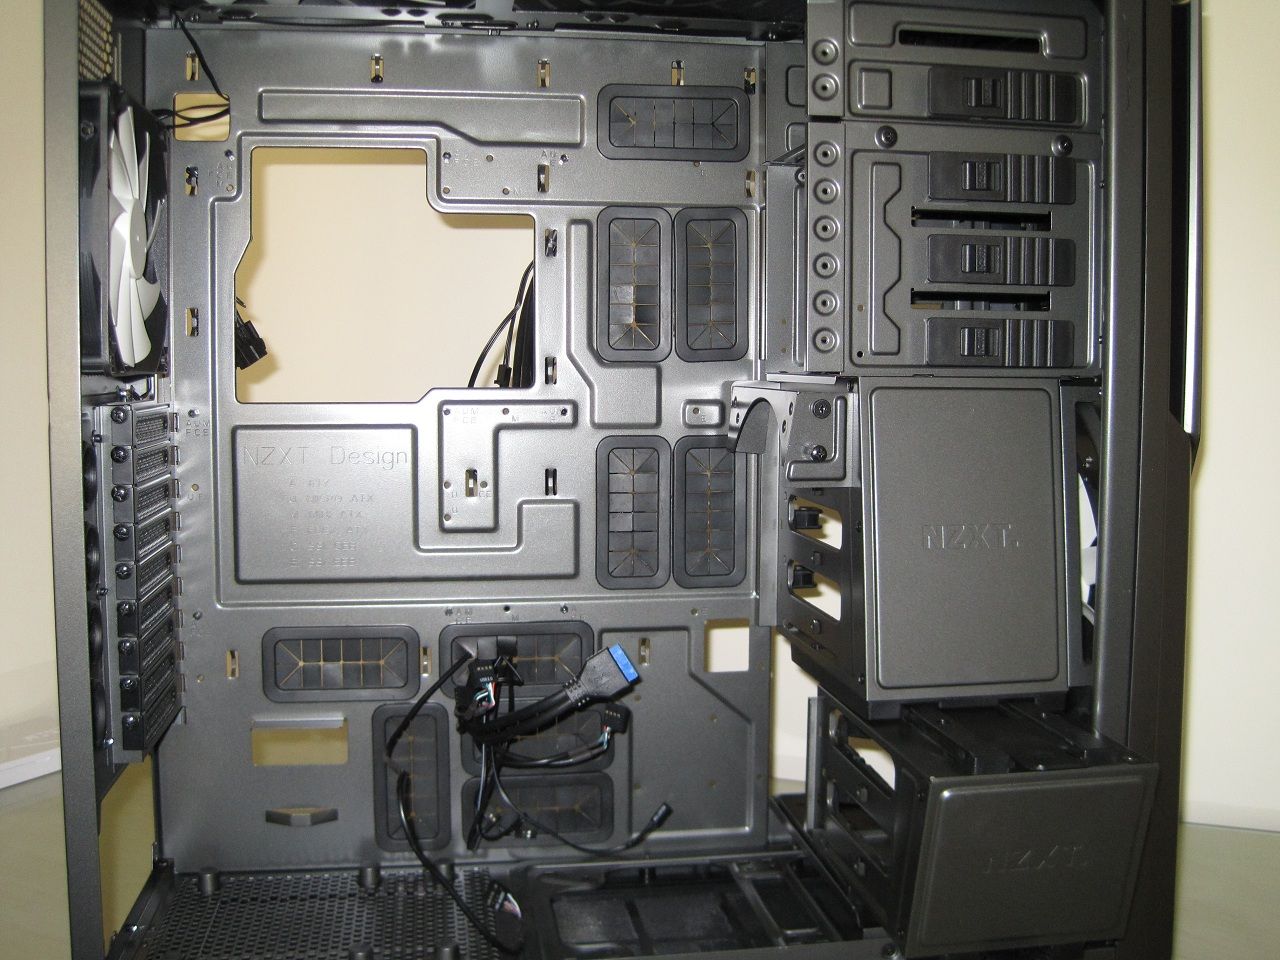
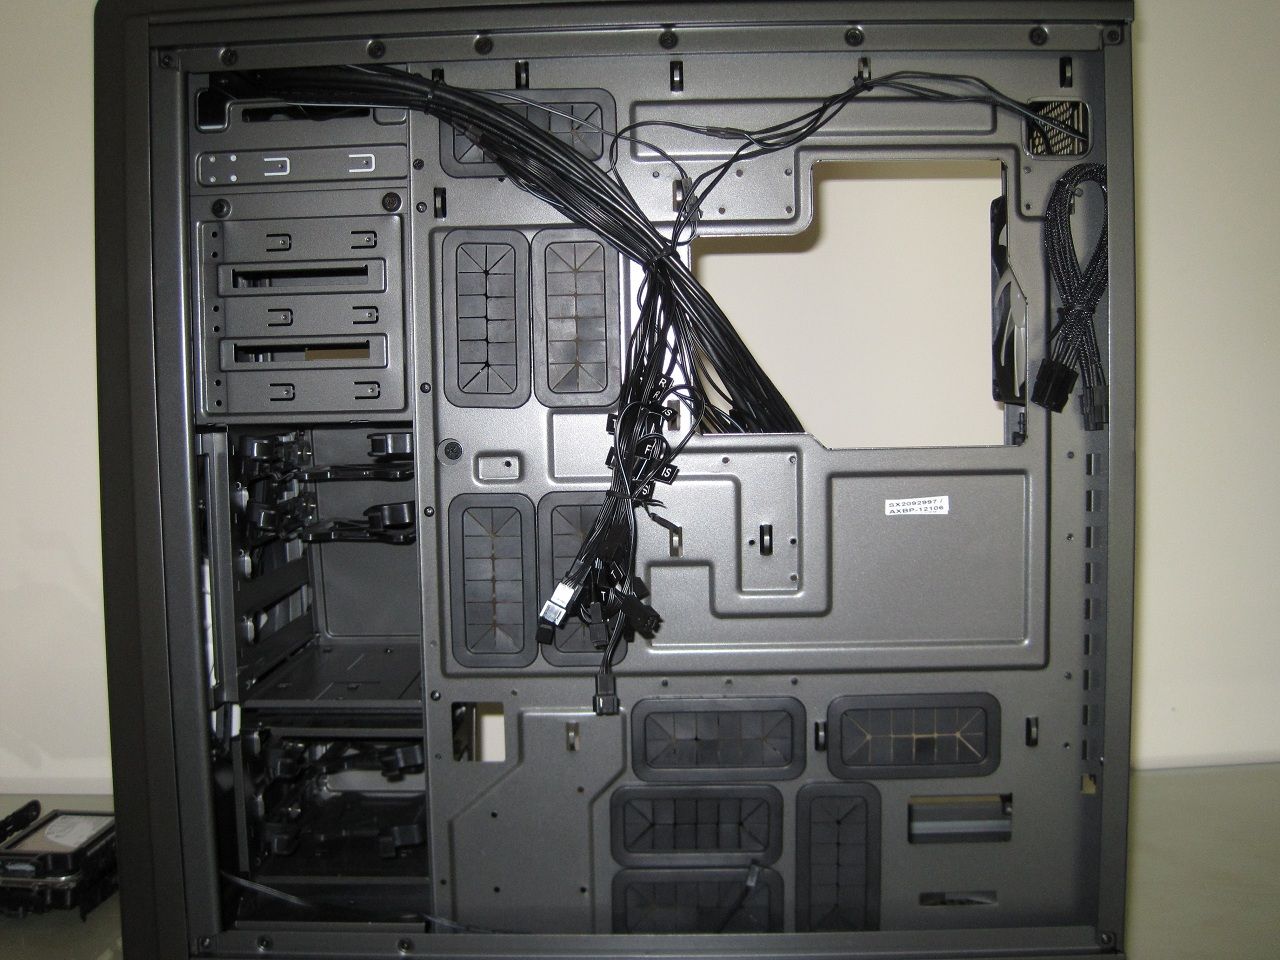
There are plenty of grommeted holes around the motherboard and for the PSU, unfortunately there is not a grommeted hole for where you would normally place a 8pin ATX, instead a smaller square hole without a grommet is provided.
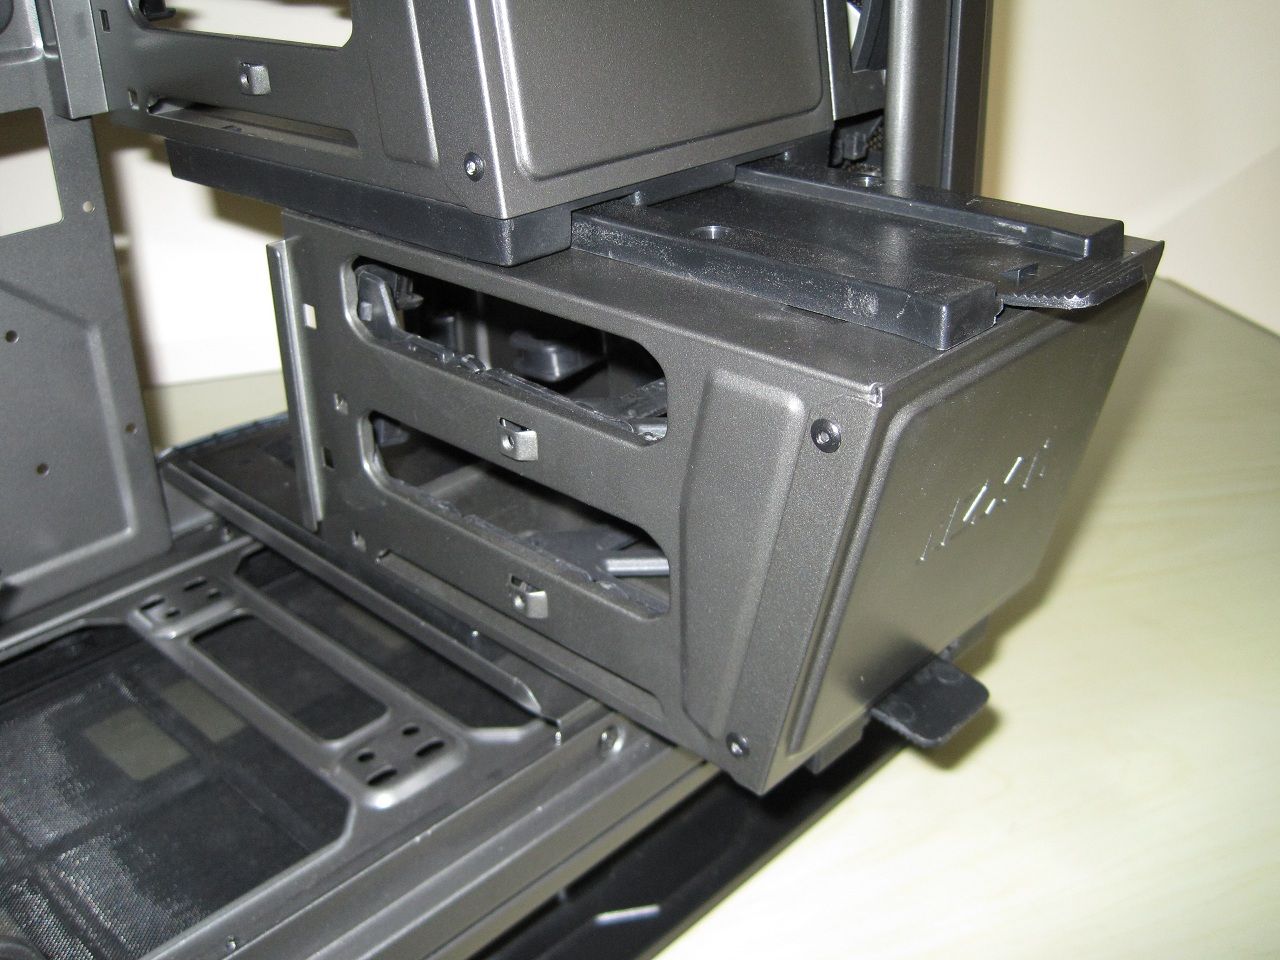
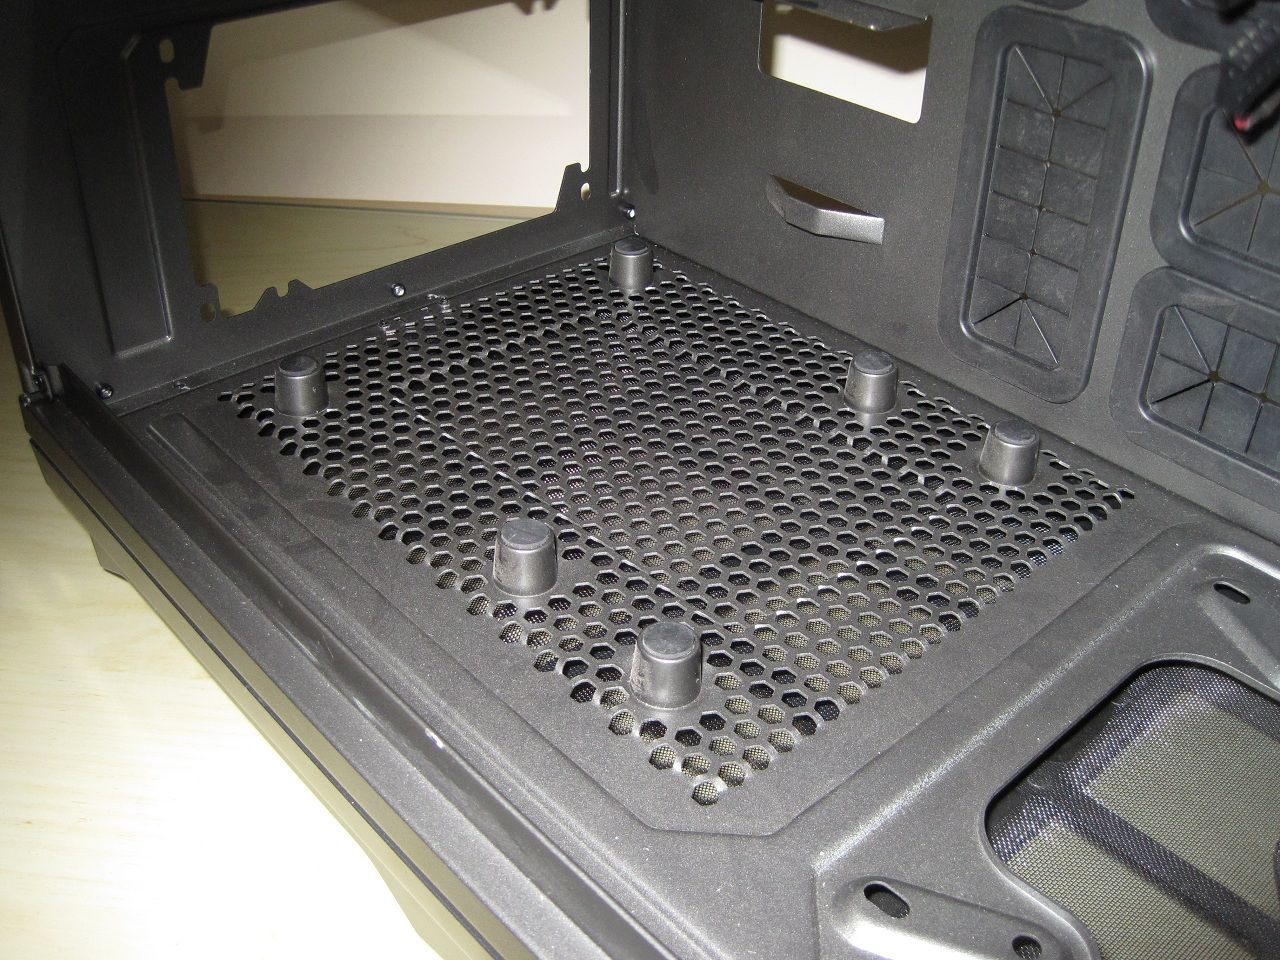
Sliding this bottom drive cage out and undoing four screws to remove a piece of metal that hold this drive cage in place allows you to fit a 240mm or 280mm radiator and fans in the base.
Support for the biggest of ATX PSU's.
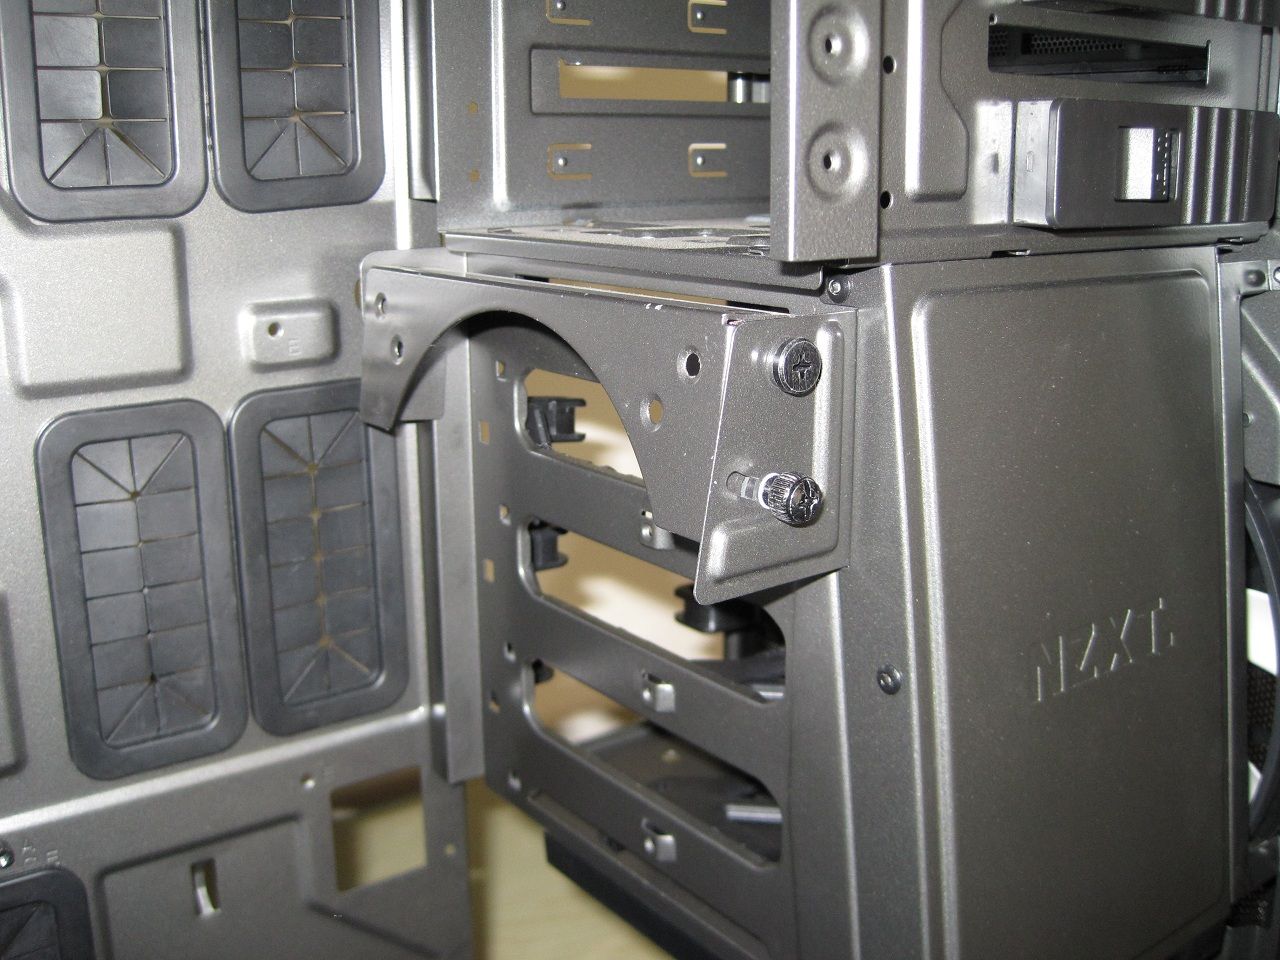
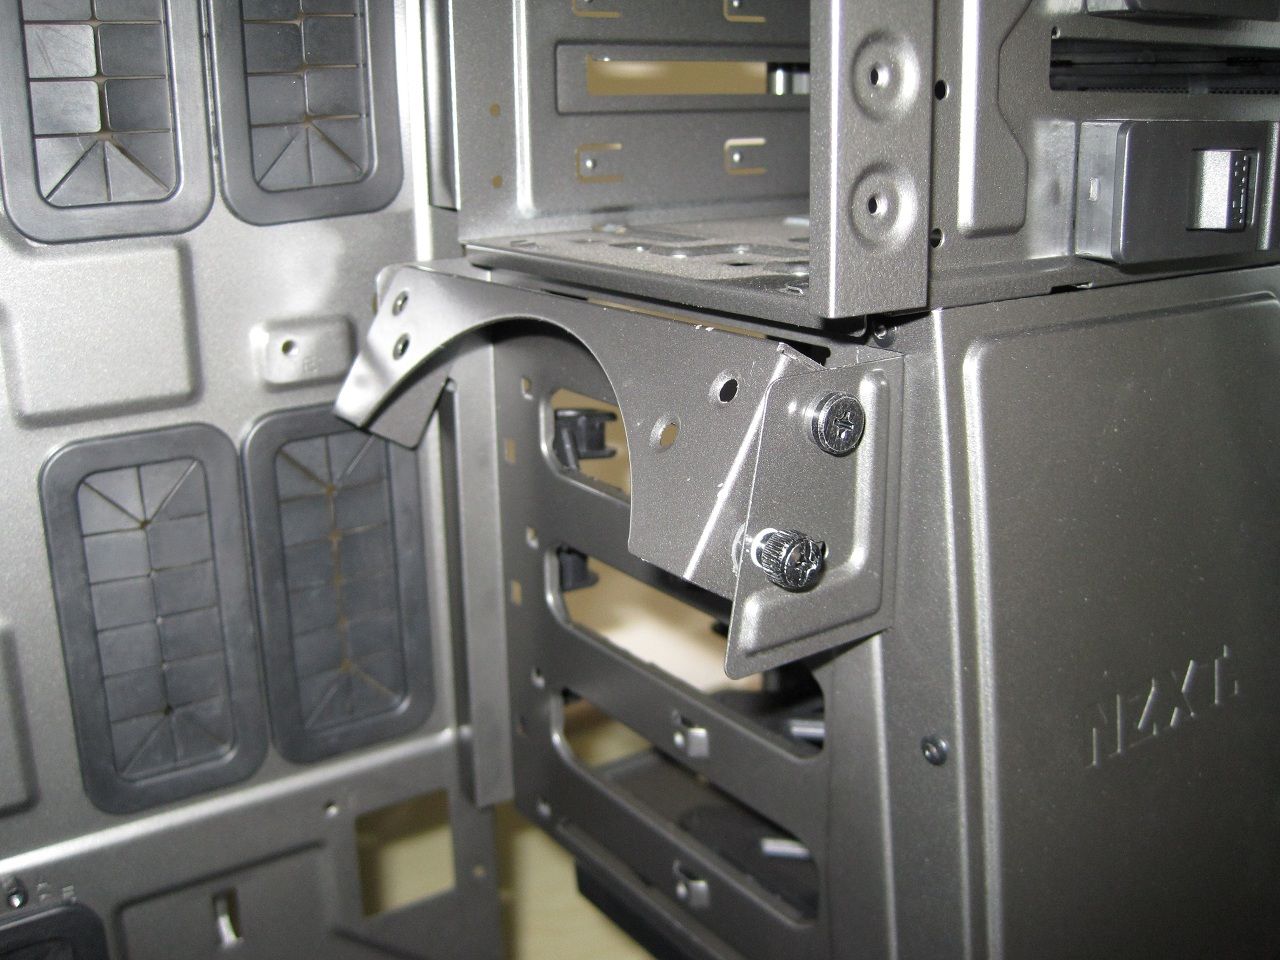
This can hold a 120mm or 140mm fan, it has adjustable angle to direct airflow towards expansion cards.
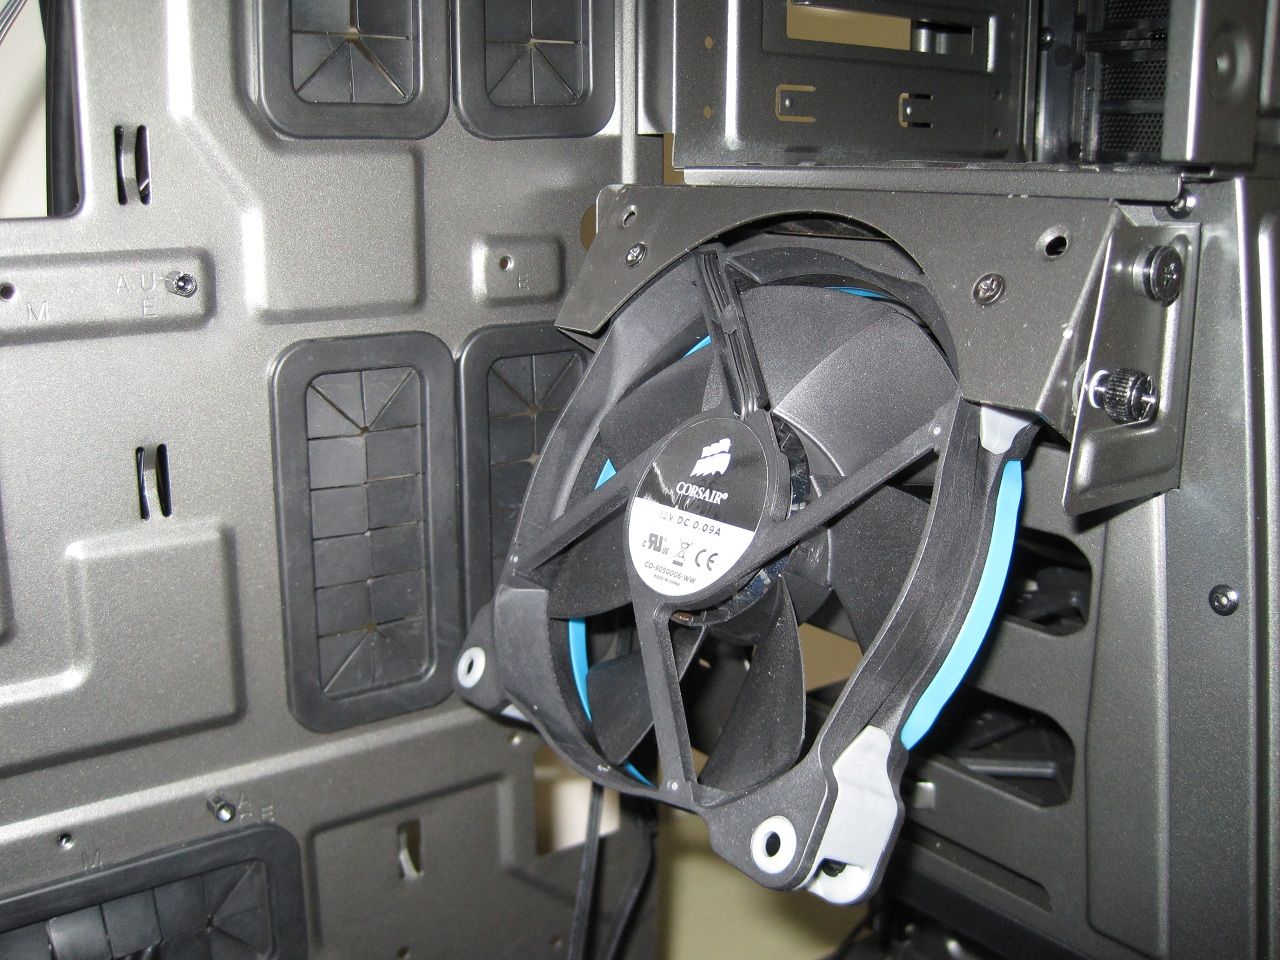
Unfortunately if you use a quality fan with rubber corners such as a Noctua or Corsair AF/SP series then the two holes used to secure the fan are not sufficient and do not securely hold the fan into position and leave far too much wobble/play.
A bigger plate with four screw holes would have been better here.
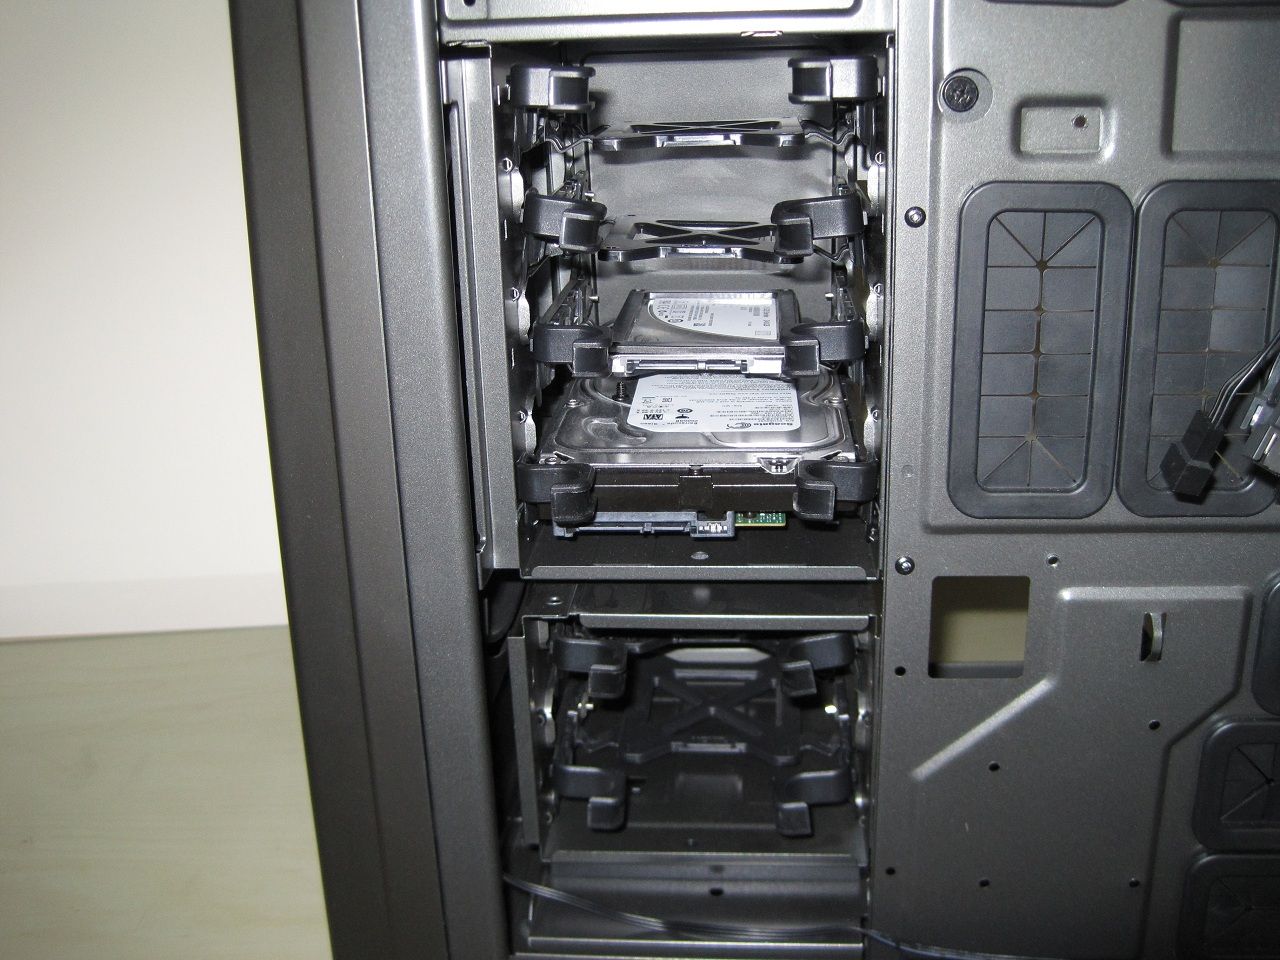
There are a total of six 3.5" drive bays all with removable caddies.
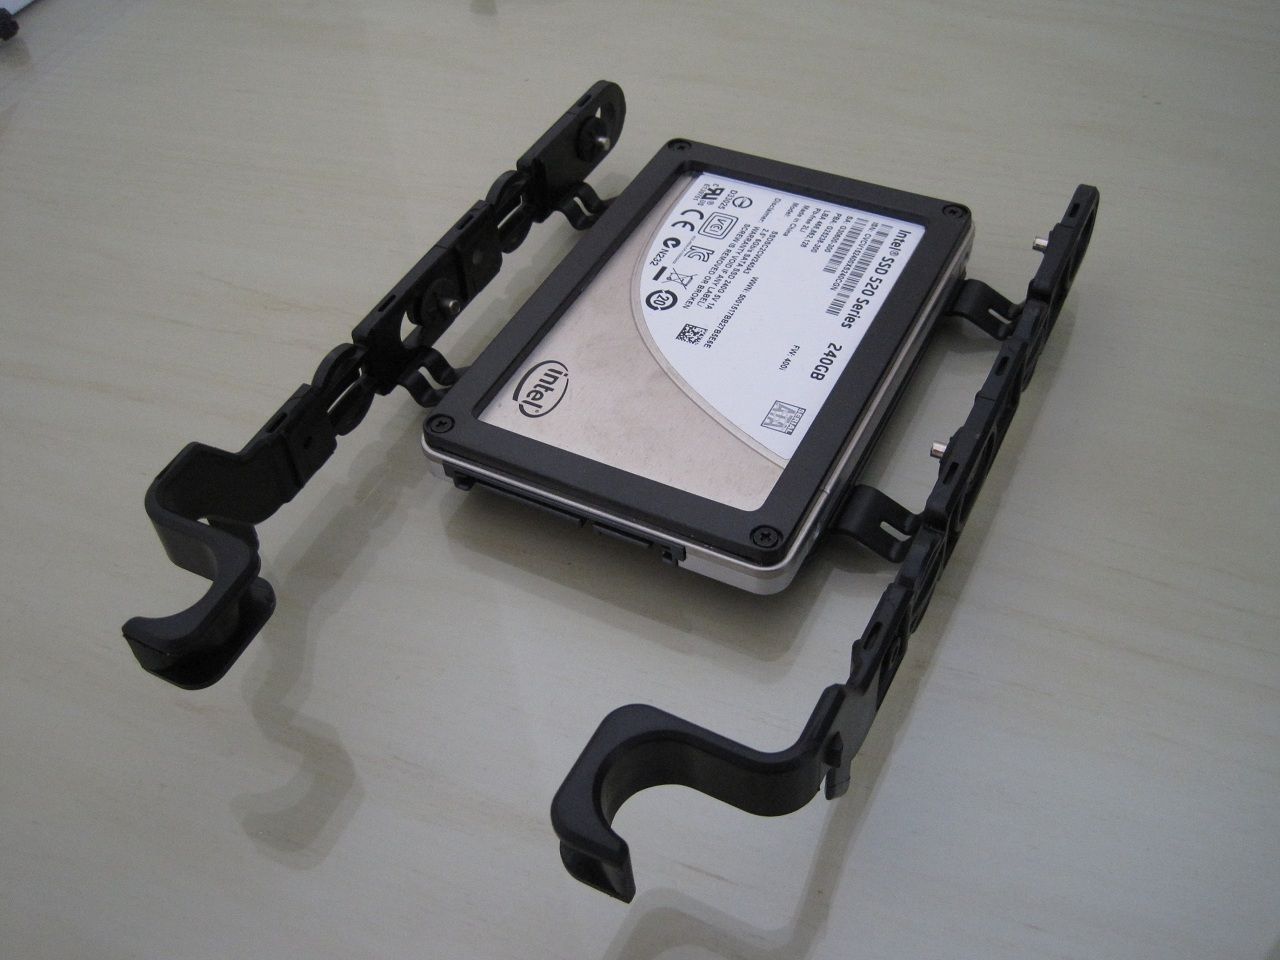
They are not the greatest caddies I have ever used and I actually found that 2.5" drives such as a SSD is mounted too deep into the case meaning fitting the power and data cables is a little harder than most, they also don't seem to sit very well in the slots.
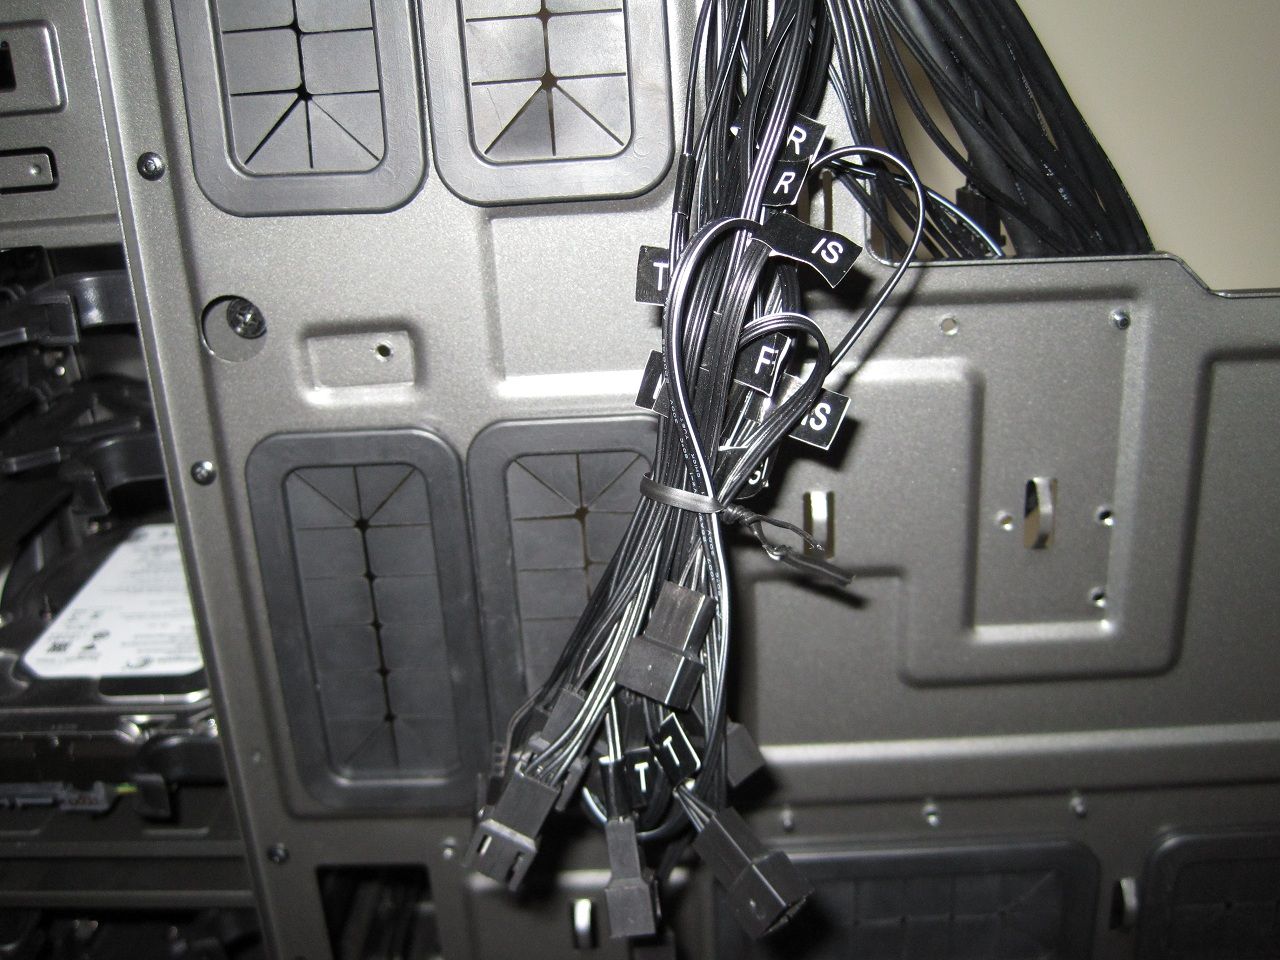
This bunch of twelve cables is from the fan controller they are labeled,
• F = front
• T = top
• R = rear
• IS = interior/side
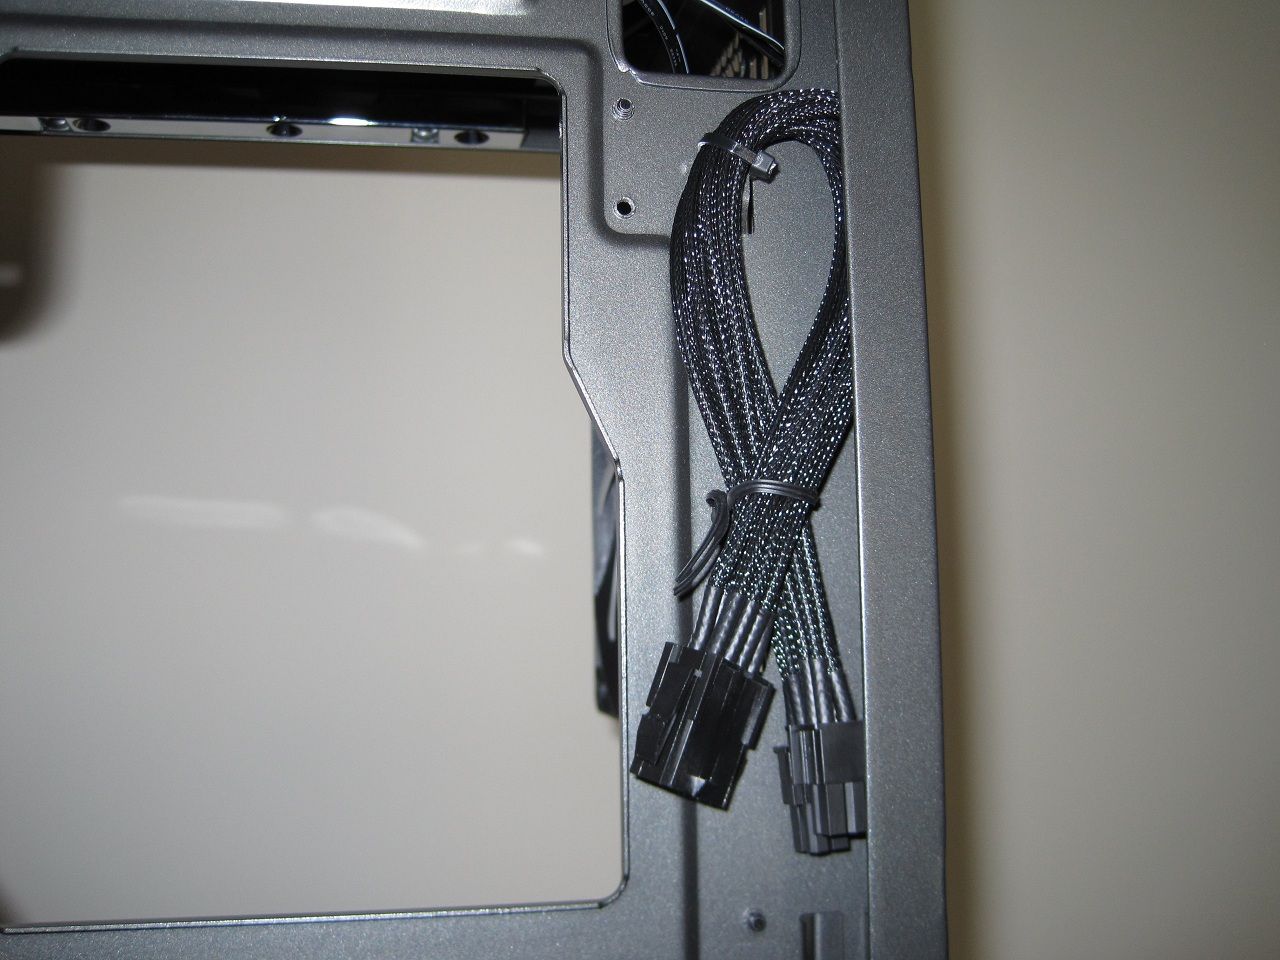
A black braided 8pin ATX extension is provided, another nice touch for people with PSU's with a short cable.
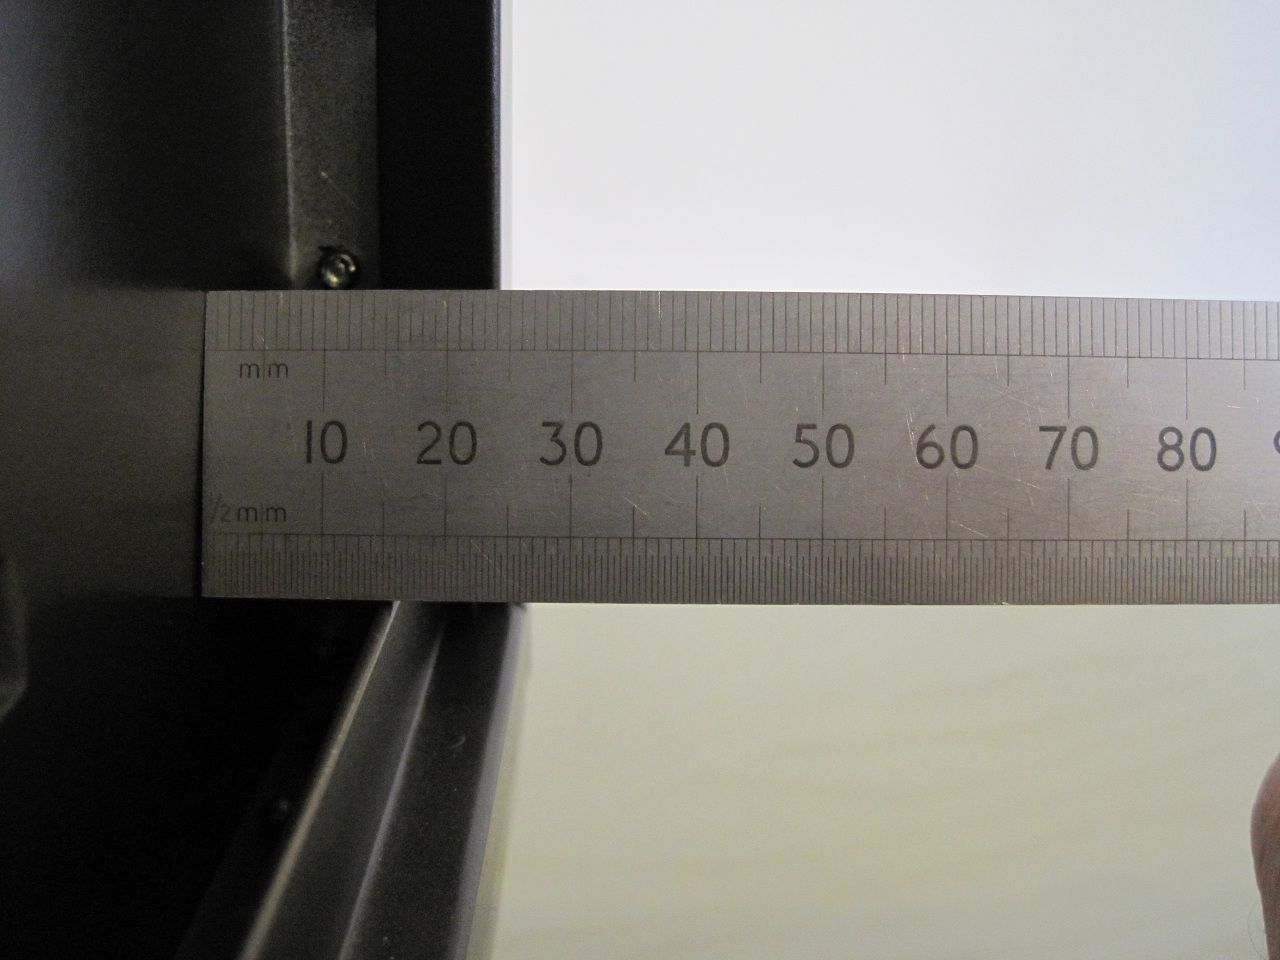
Nearly 25mm of space is available for cables, there is more where the side panels bulge is (nearly 35mm)
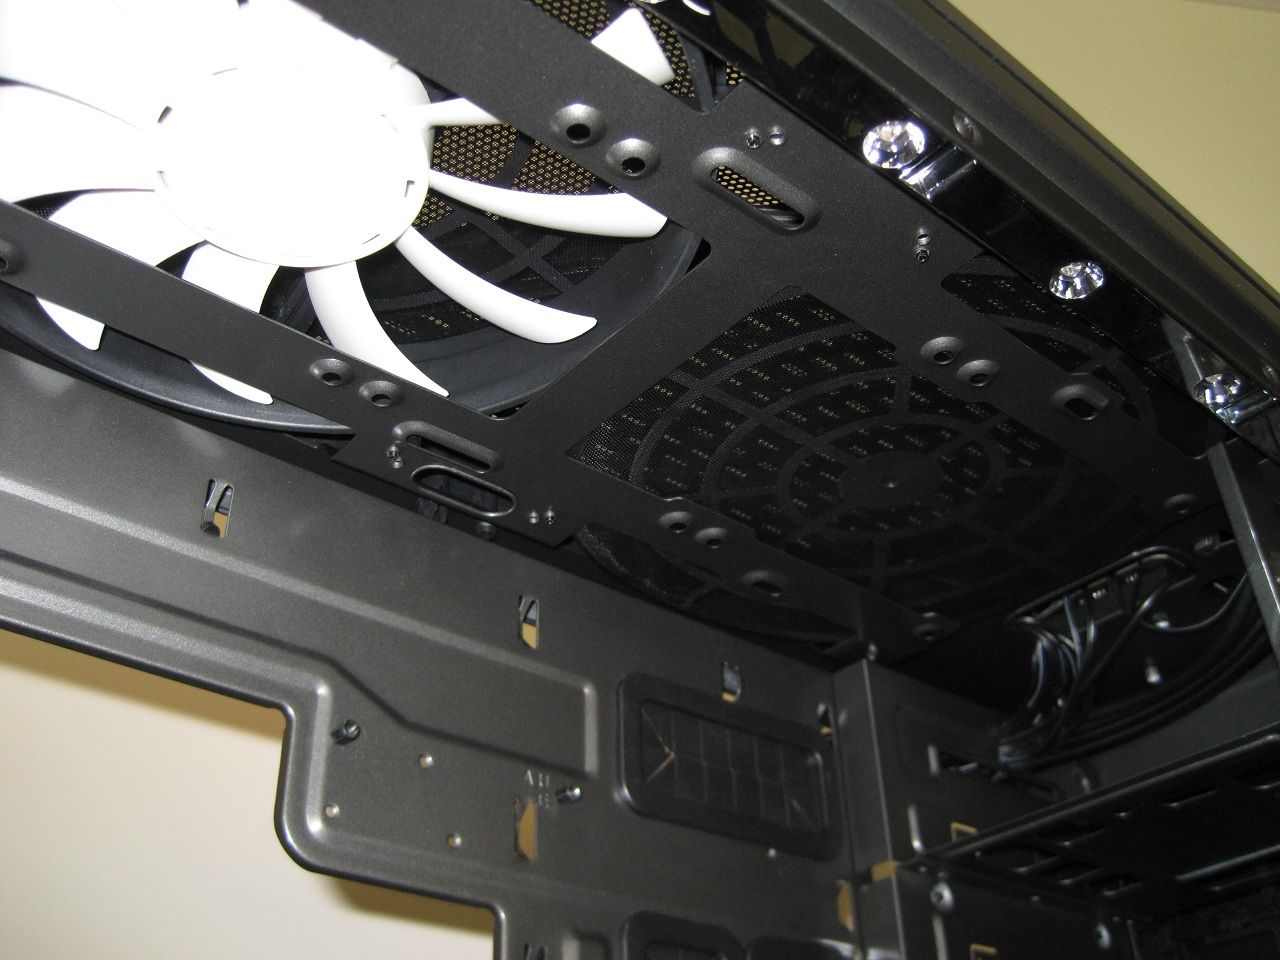
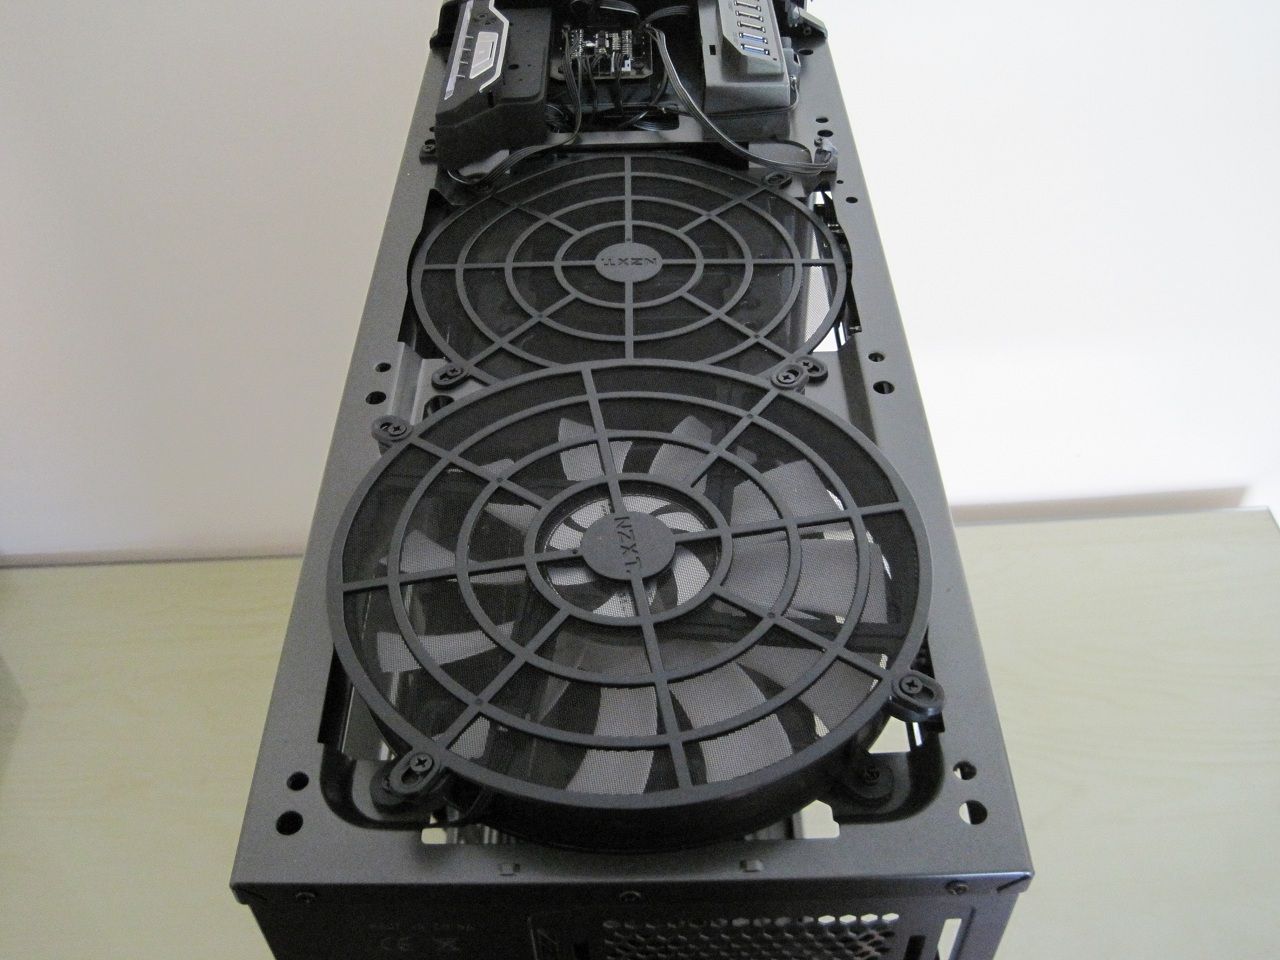
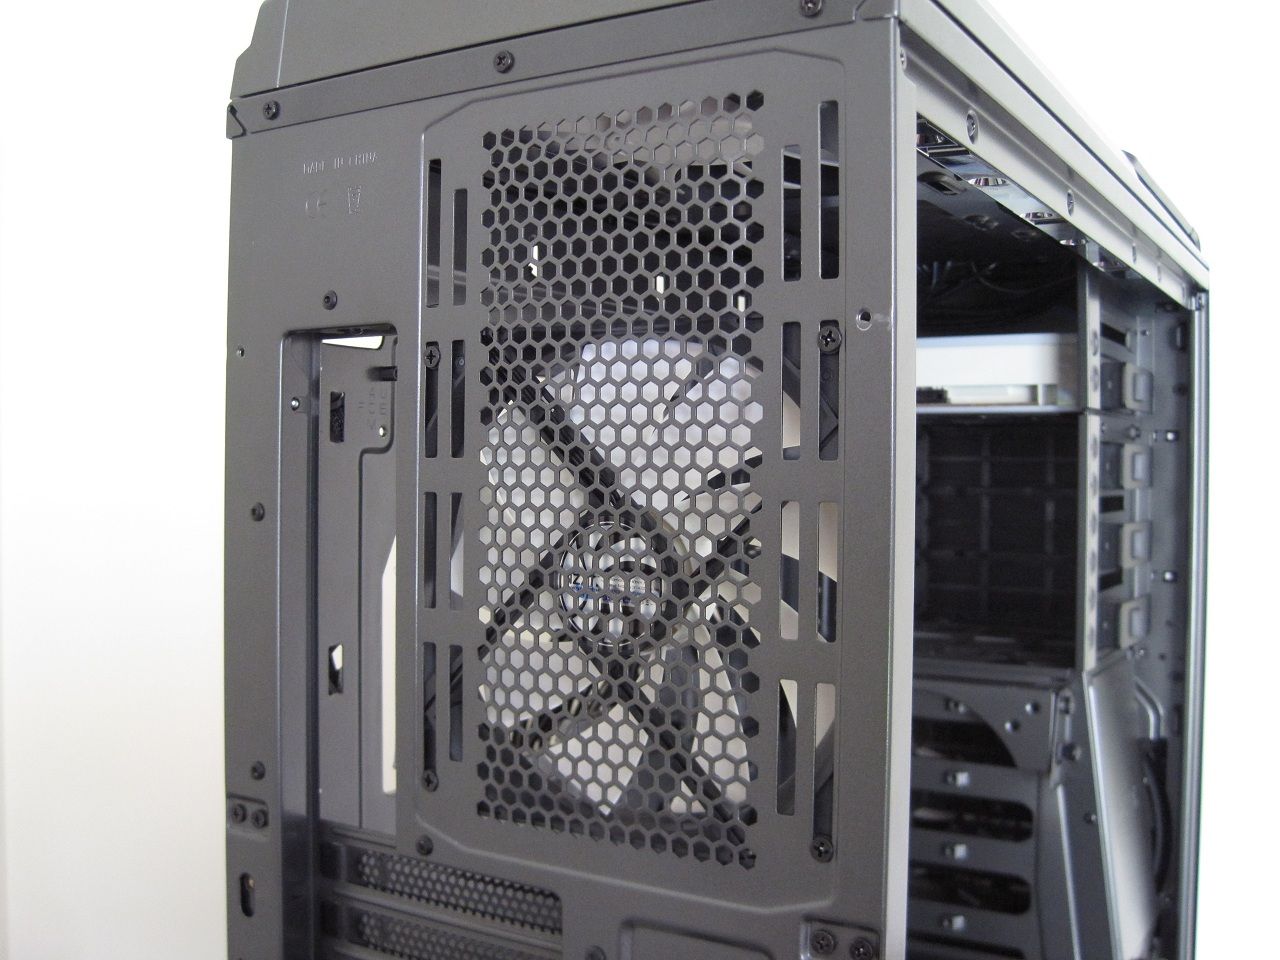
In the roof a 200mm fan is fitted with a dust filter, there is space for for one more 200mm or 2x 140mm or 3x 120mm fans.
There is also plenty of room to mount a medium thickness radiator in this roof area with the fans underneath in the main compartment.
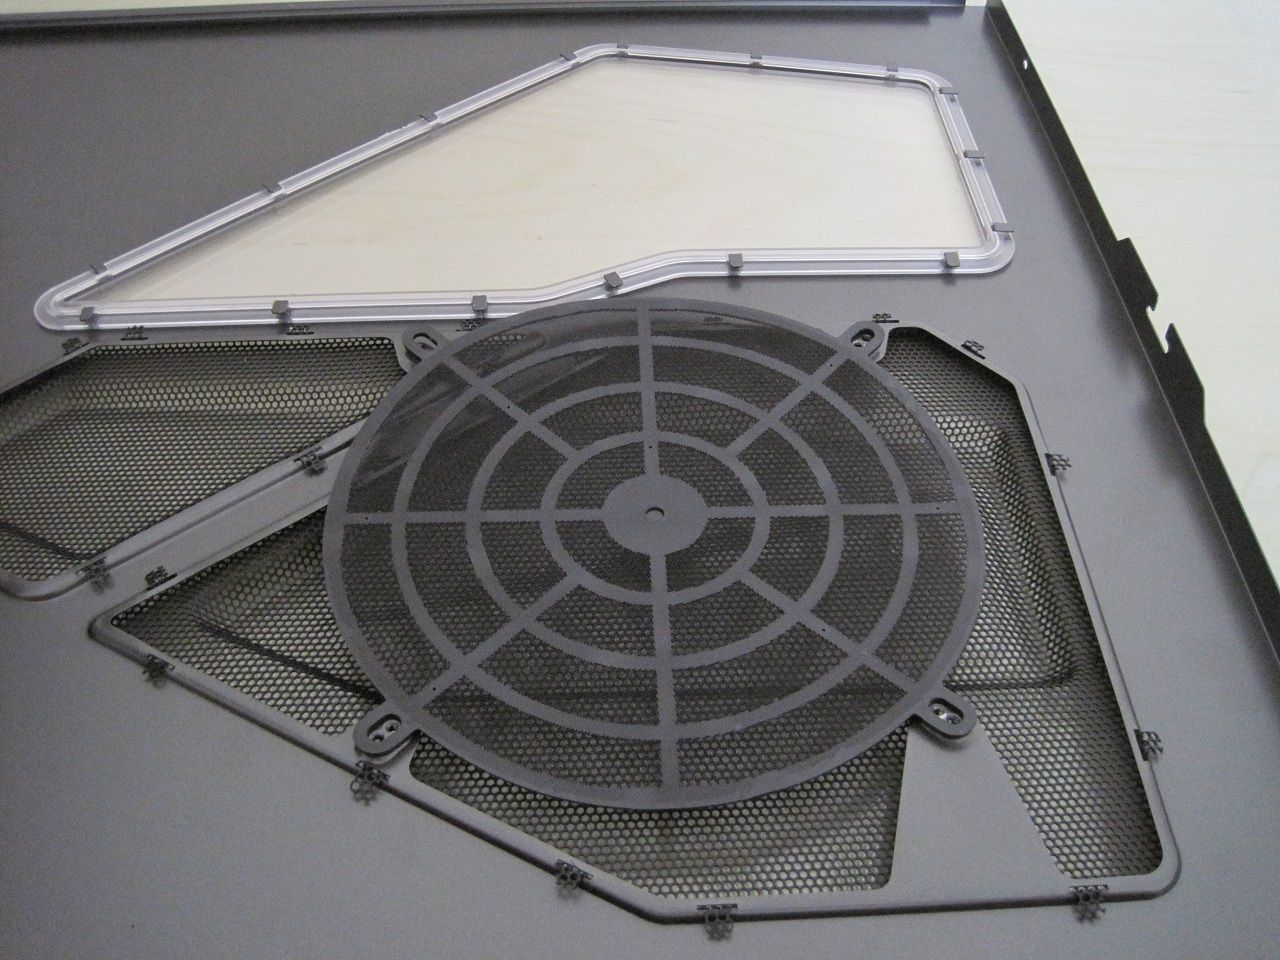
The windowed side panel is filtered where the 200mm fan sits, unfortunately you have to unscrew the fan to be able to clean the filter.
I feel the whole mesh section should have been filtered as dust will find its way inside.

The front of the case is fitted with another 200mm fan and again there is a filter fitted to the front panel, you can see a few of the LED's that illuminate the lighting strips around the edges.
The completed build.
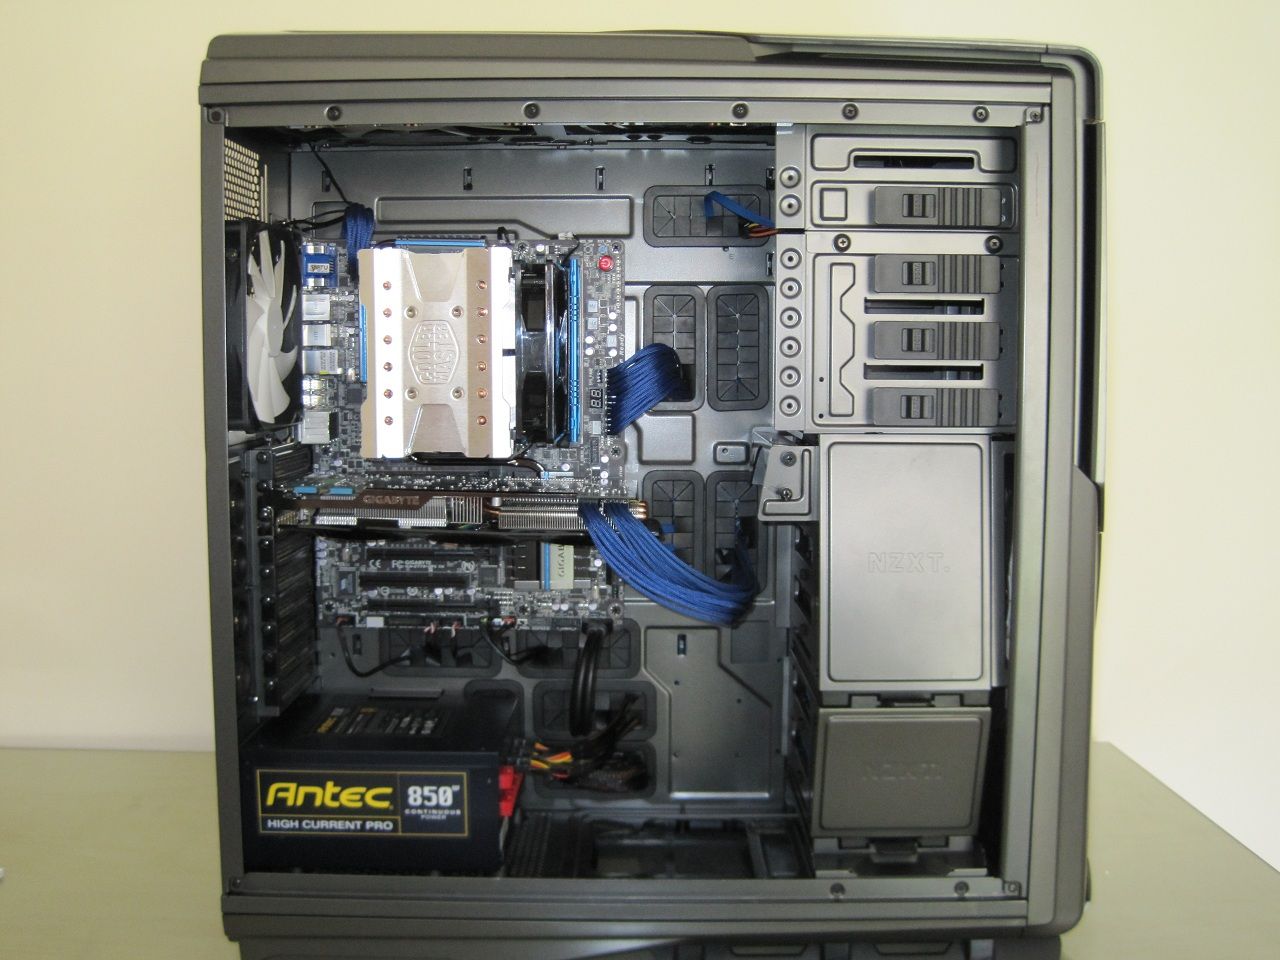
Making a neat build within the Phantom 820 is very easy to do, the large number of cable management holes really does help and I didn't even have to cable tie any cables into position in the rear as the ample space provided to hide cables is pretty good.
The case specs claim that a heatsink with a maximum height of 153mm can be fitted with the side panel fan in place or up to 183mm without it, the coolermaster 612S (163mm tall) I used clears the top of the fan frame with room to spare so taller heatsinks should fit fine while keeping the side panel fan in place if they are 140mm wide.
The heatsink retention bracket hole is also very large and I had no issues with it while attaching the heatsink.
One odd issue I did find was getting the motherboard screws to actually tighten into the the standoffs, I actually ended up using some screws from another case altogether.
LED lighting.
Here is a video I have taken of the LED lighting system,
Testing.
Test setup,
• i5 [email protected] with 1.4v
• Coolermaster 612S
• Gigabyte Z77X-UP5TH
• Gigabyte GTX670 Windforce 3
• Gskill ARES 2133MHz RAM
• Intel 520 SSD and Seagate 2TB Barracuda Green
• Antec HCP 850W
• Bitfenix Shinobi XL and Coolermaster ATCS 840 cases
I ran three programs to test this case against two others,
• Prime95 blend test
• Furmark stability test
• 3Dmark all tests.
Realtemp was used to record the CPU temperatures and GPU-Z for the GFX card.
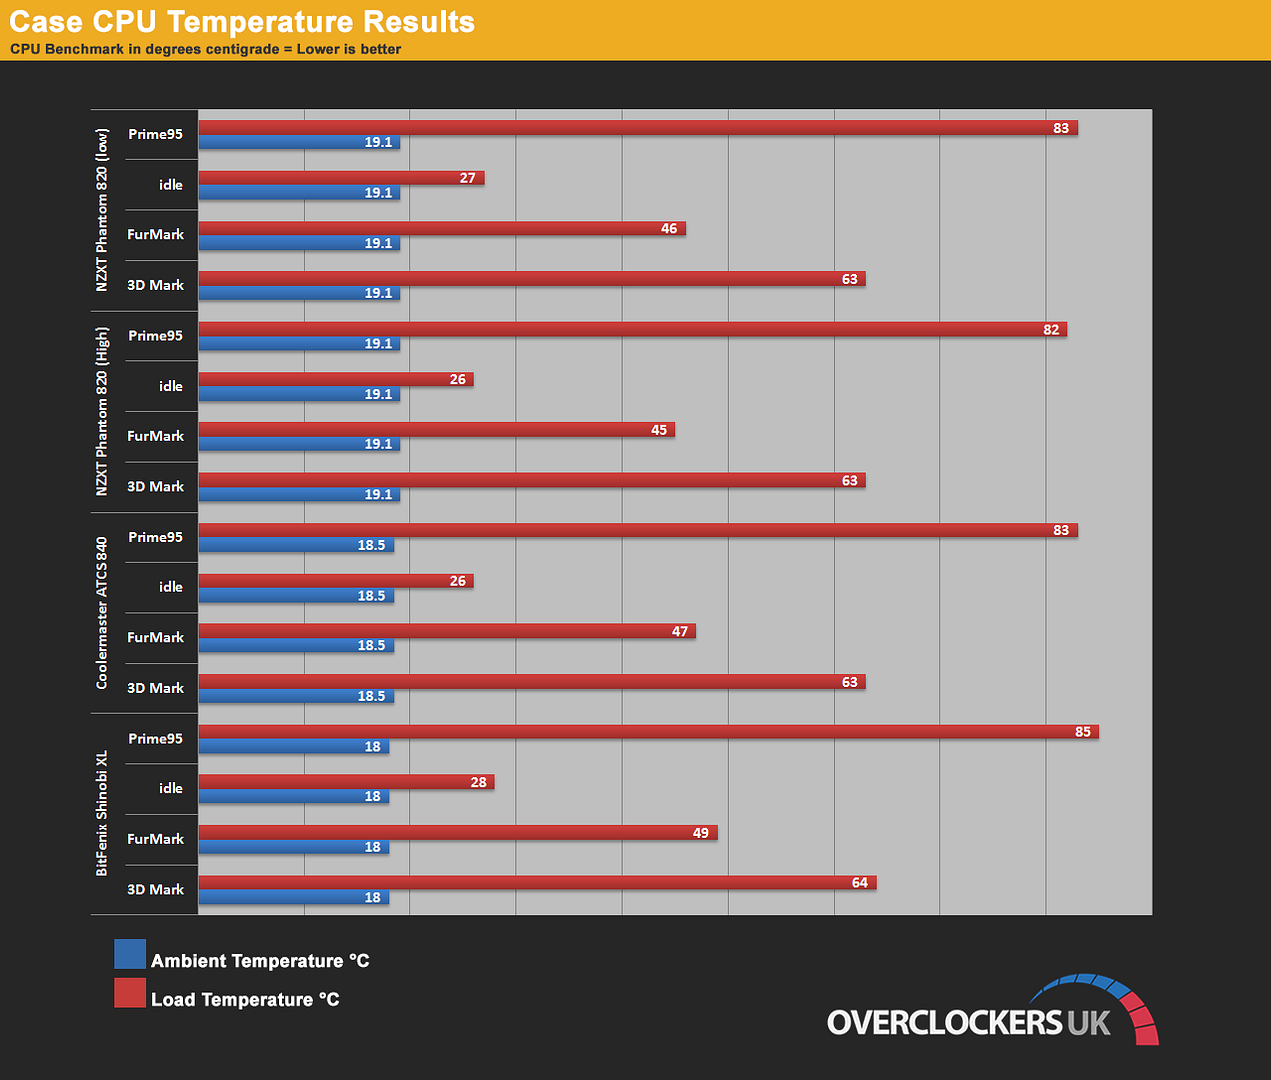
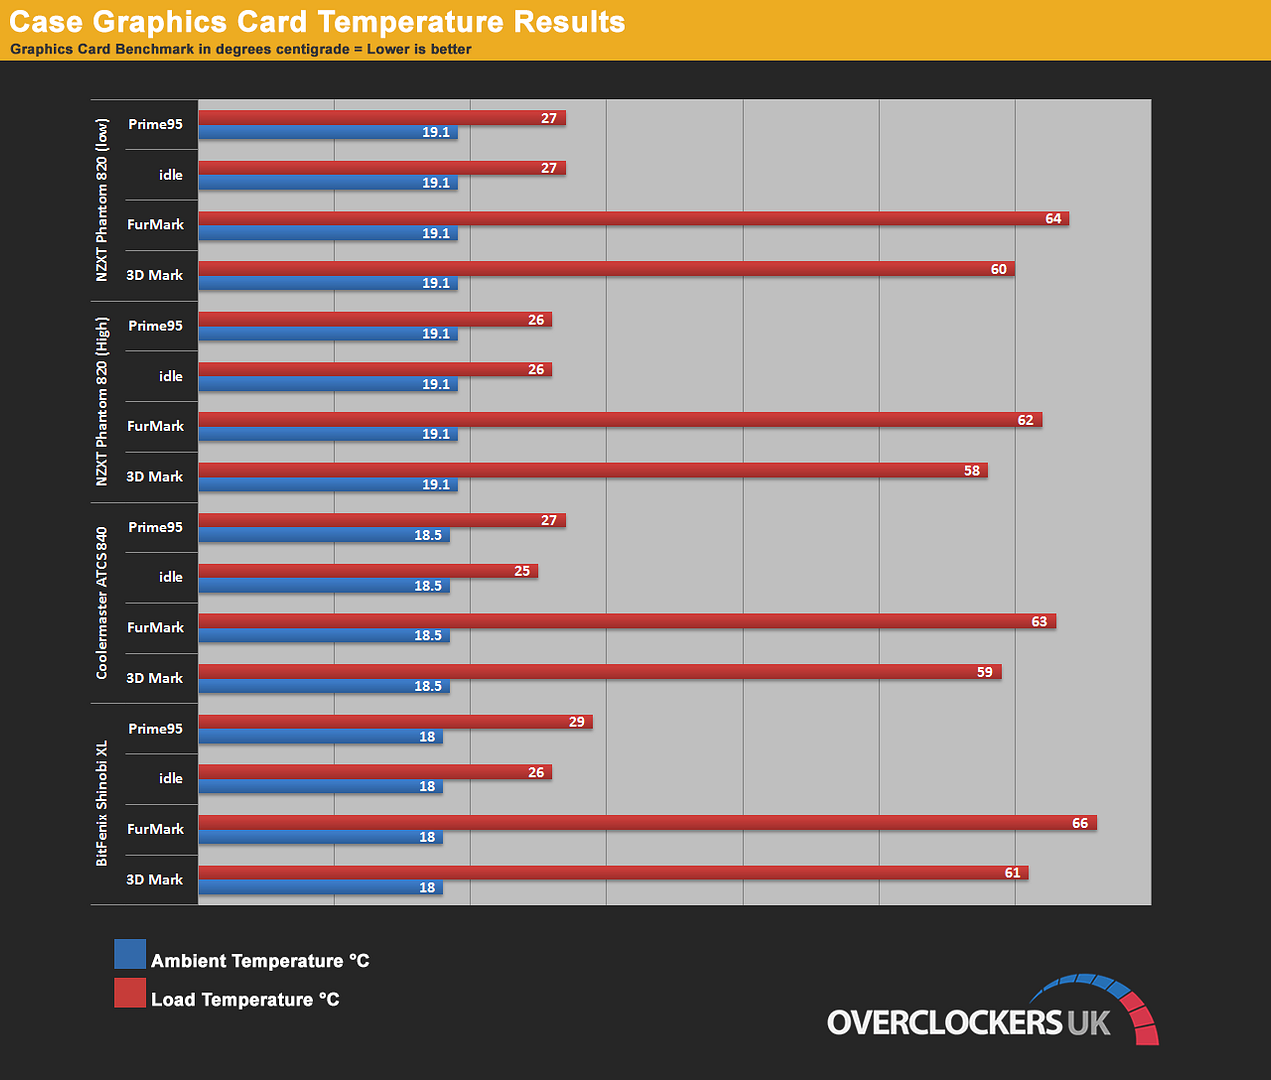
The NZXT Phantom 820 held up very well indeed and was a match for the Coolermaster ATCS840 which is a dam good case for air flow and cooling.
Conclusion.
I had high hopes for this case when it arrived, but unfortunately I was left disappointed.
The main issue is the price and at £210 it really should be better, once you have ignored the LED lighting and the fan controller all you are left with is a large steel and plastic case, sure it has great opportunity for a really good water cooling setup but ultimately I feel the overall issues are too much at this price point.
At £210 I would have expected aluminum to have been used almost exclusively throughout the construction of the body and it this retail price that is this cases problem I feel, If I was not told what price the case was and had to guess I would have imagined it to be £150 at the most.
As for the actual cooling performance this was one area where it did do well, it easily matched and sometimes beat my ATCS840 which is a monster of a case for air cooling when set to high fan speeds, even on low fan speeds it did rather well it also remained extremely quiet at full fan speed.
Pros.
• Decent cooling out of the box.
• Very quiet even with the stock fans set to full speed.
• Funky LED lighting system.
• Lots of space inside.
• Good cable management apart from the hole for the 8pin ATX.
Cons.
• £210 RRP
• Steel + plastic construction.
• Interior pivoted fan mount is poor with certain fan types.
• Paint is easily scratched.
• Drive caddies are flimsy.
The bottom line is that the price is too great for whats on offer.