

Soldato
- Joined
- 11 Dec 2005
- Posts
- 11,363
- Location
- Cheshire
Hi Guys,
Today we are building up our brand new watercooled system, the "Ultima Plesiosaur". After recieving a lot of interest we are building one up to use as a demo system and to show what amazing systems we can build. The Plesiosaur we are building features GTX 580 SLI
Keep checking this thread as we will be updating it all day and throughout the week!
Step 1:
All the components collected and ready to built!
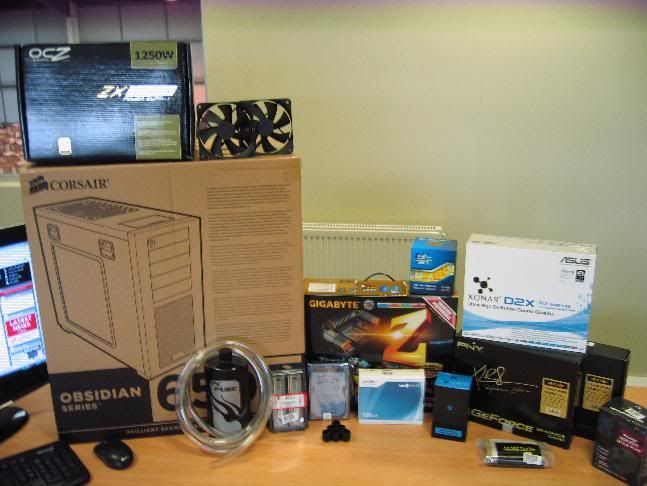
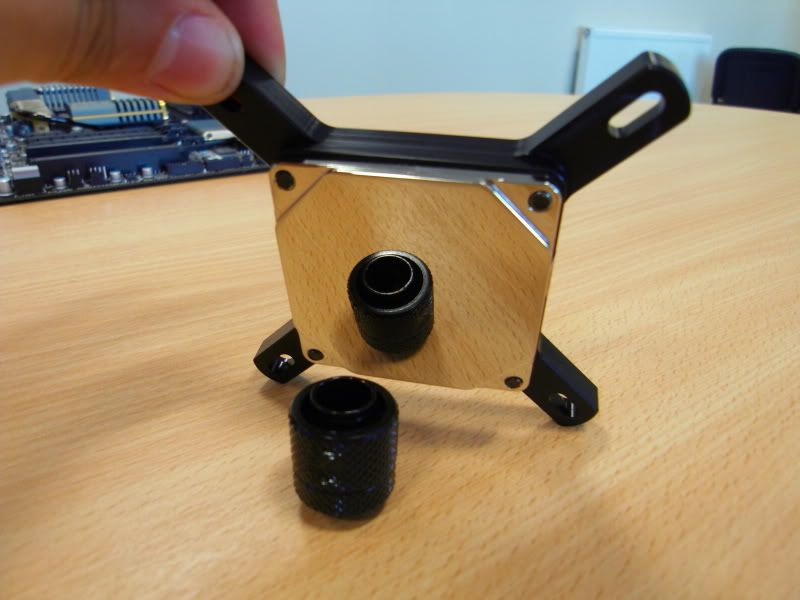
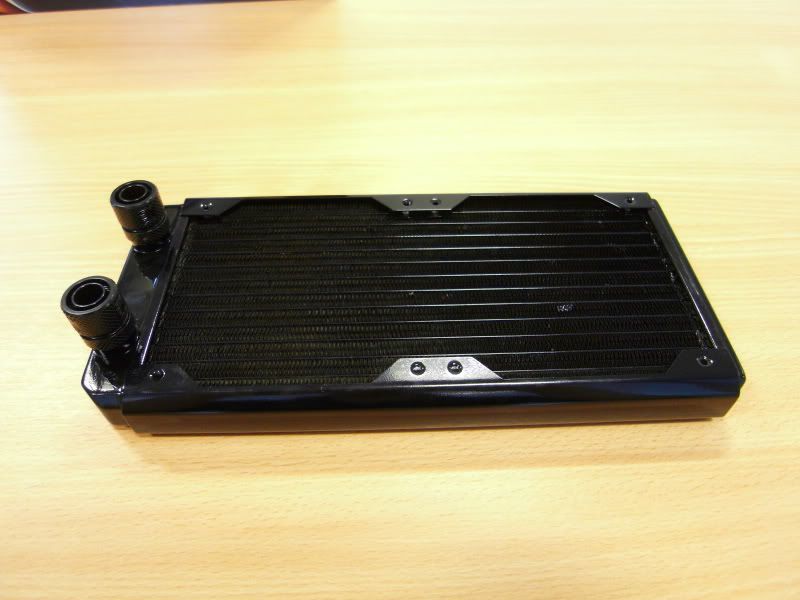
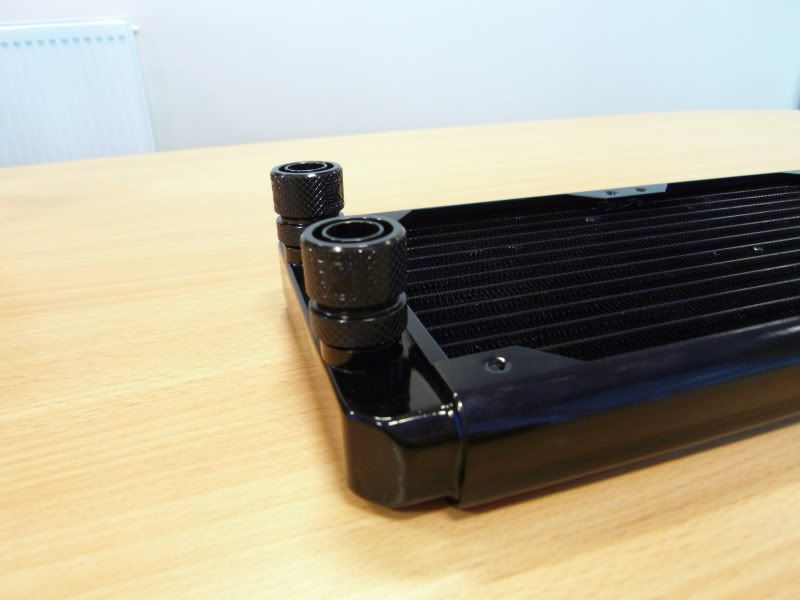
Step 2:
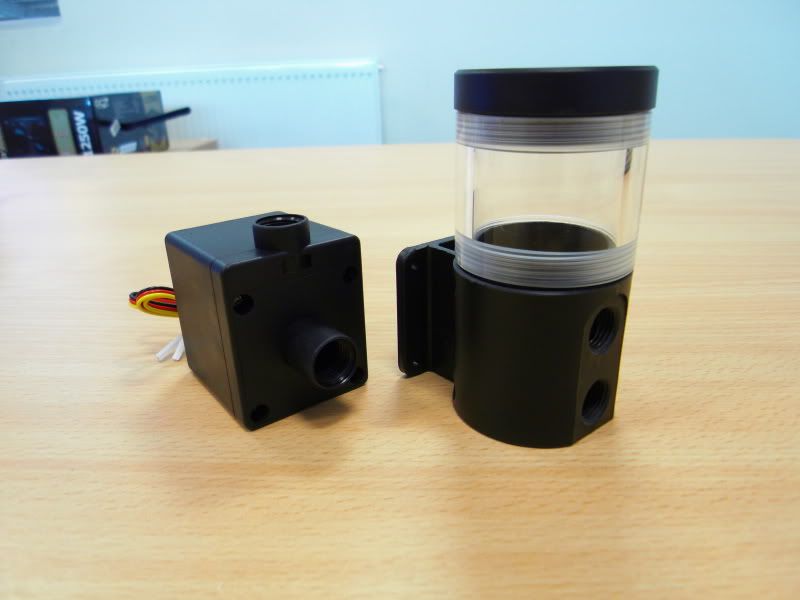
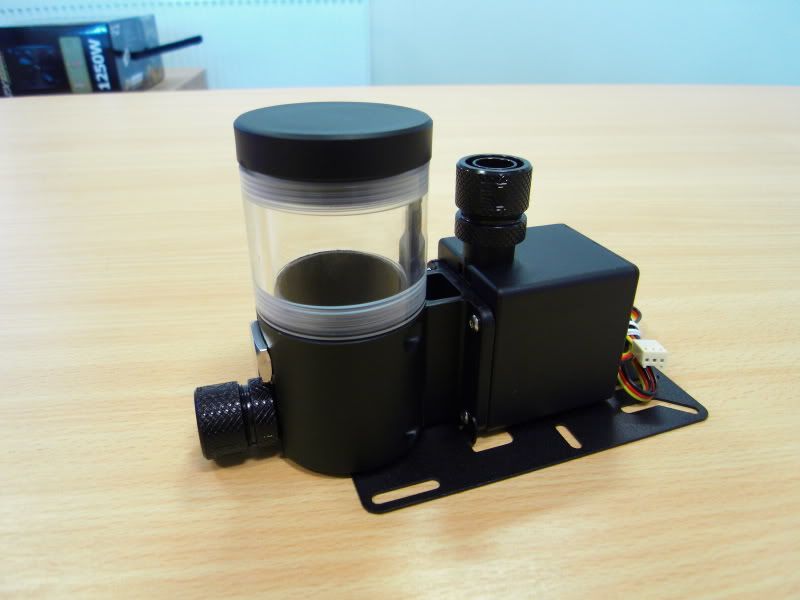
Some tasty watercooling components!
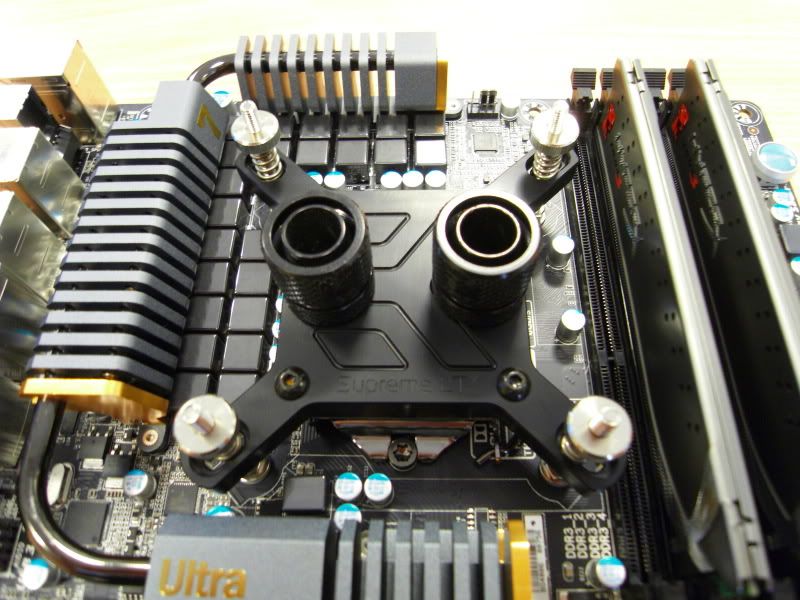
Step 3:
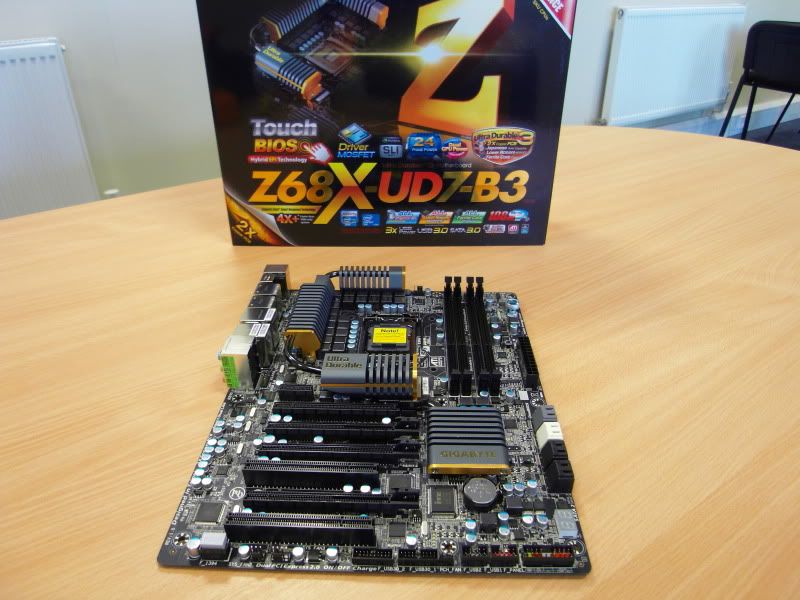
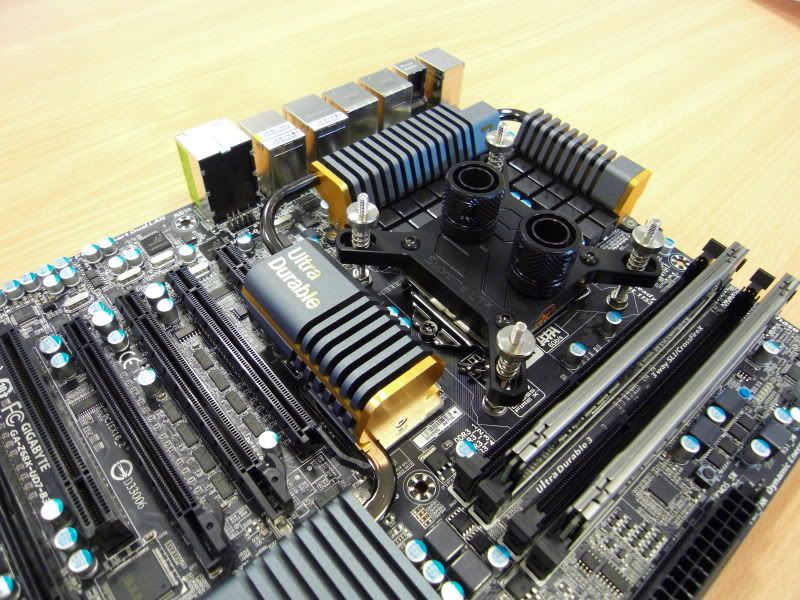
Motherboard prep.
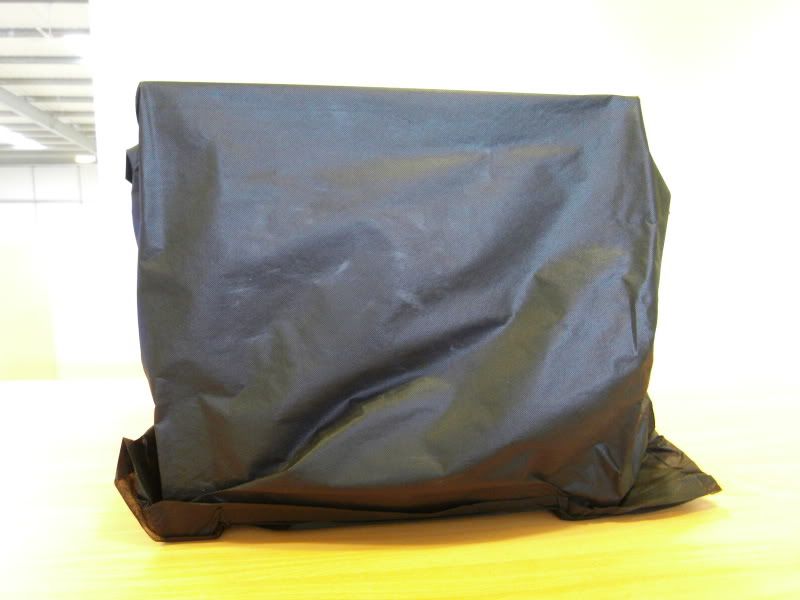
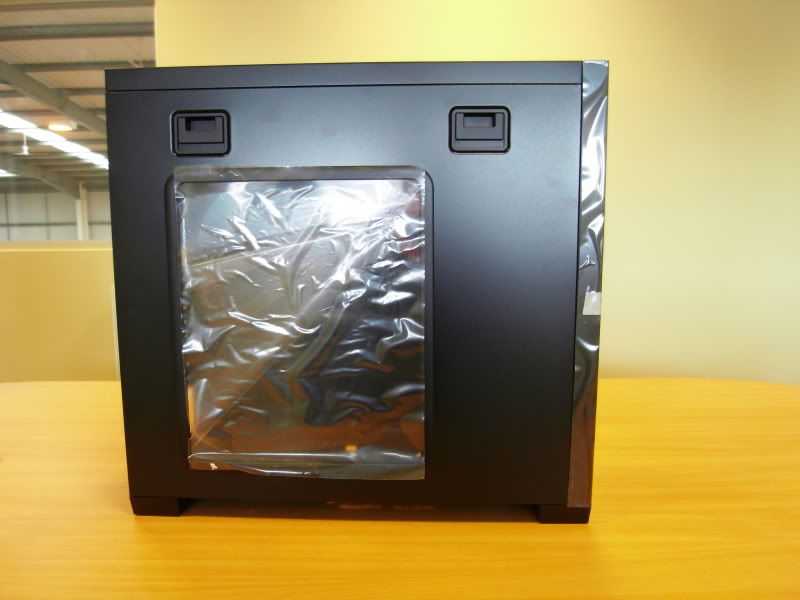
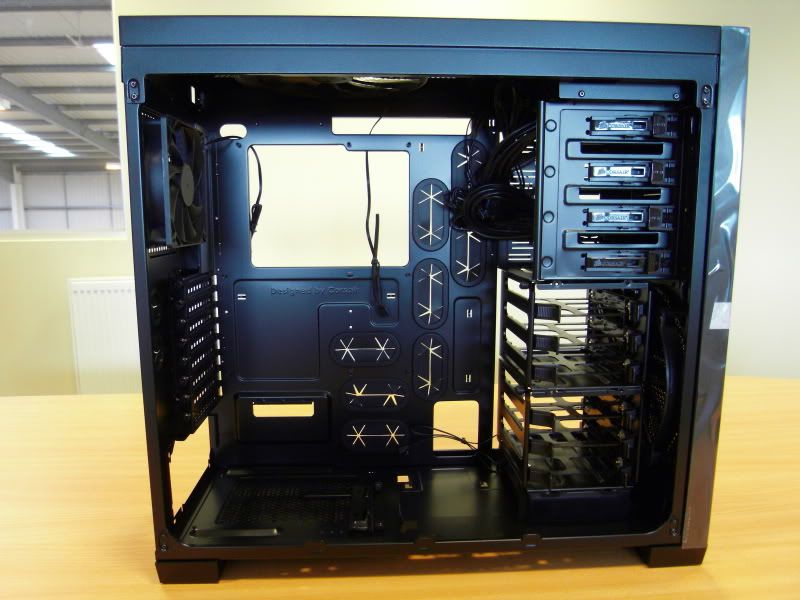
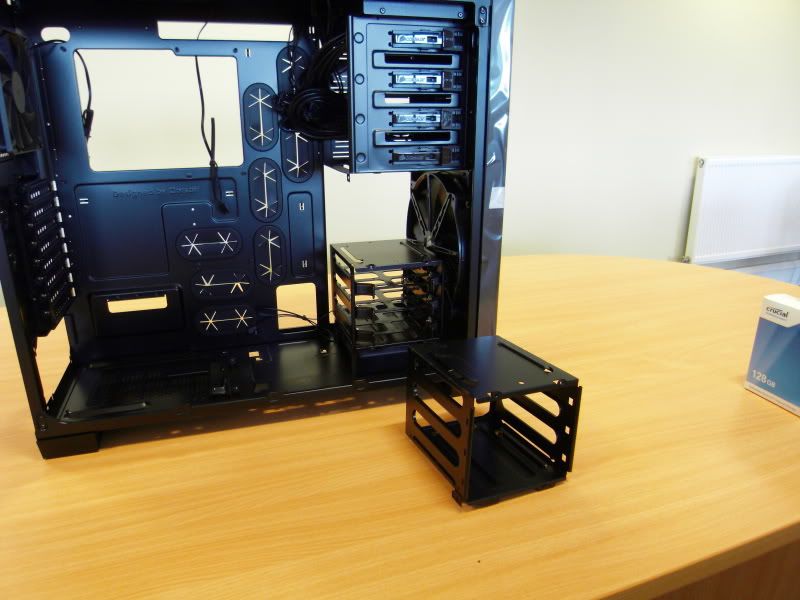
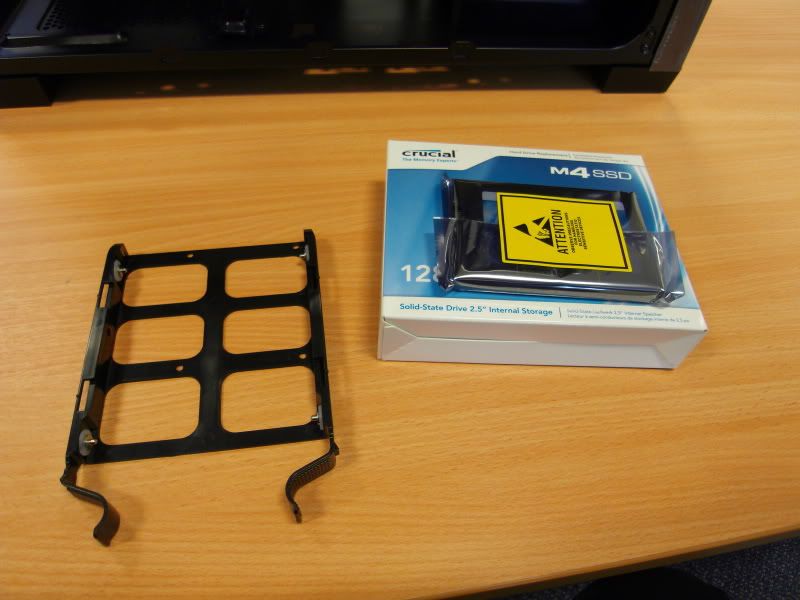
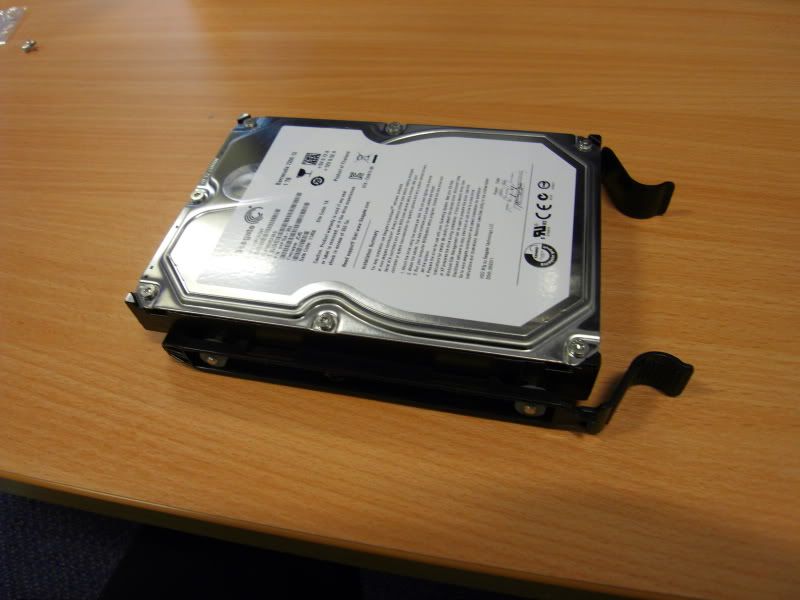
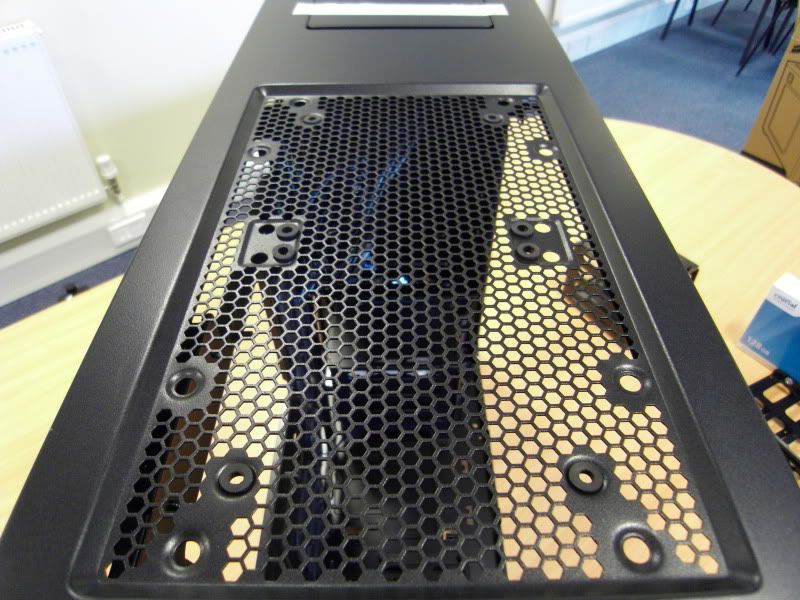
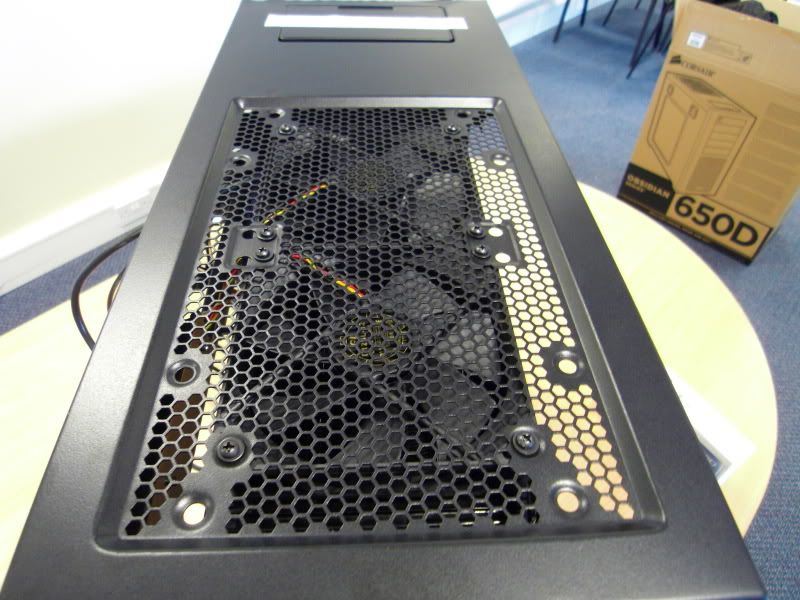
Step 4:
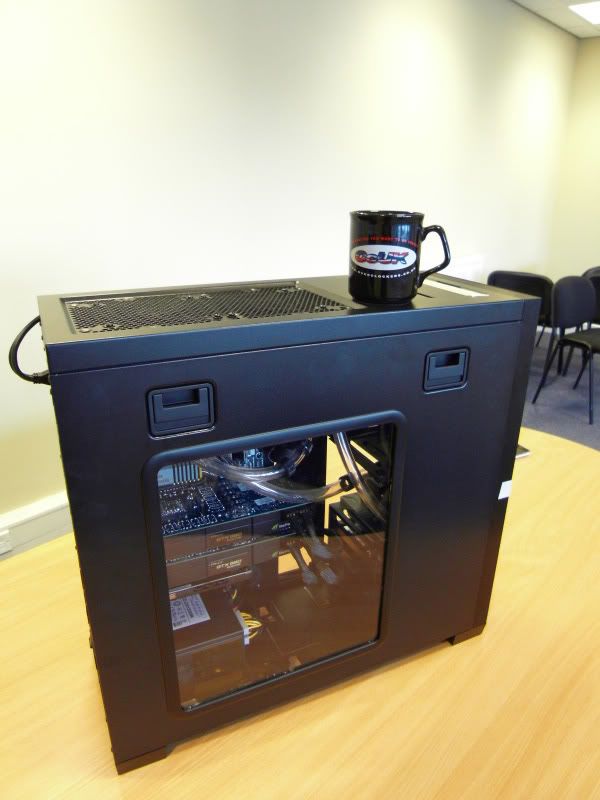
Case and storage prep.
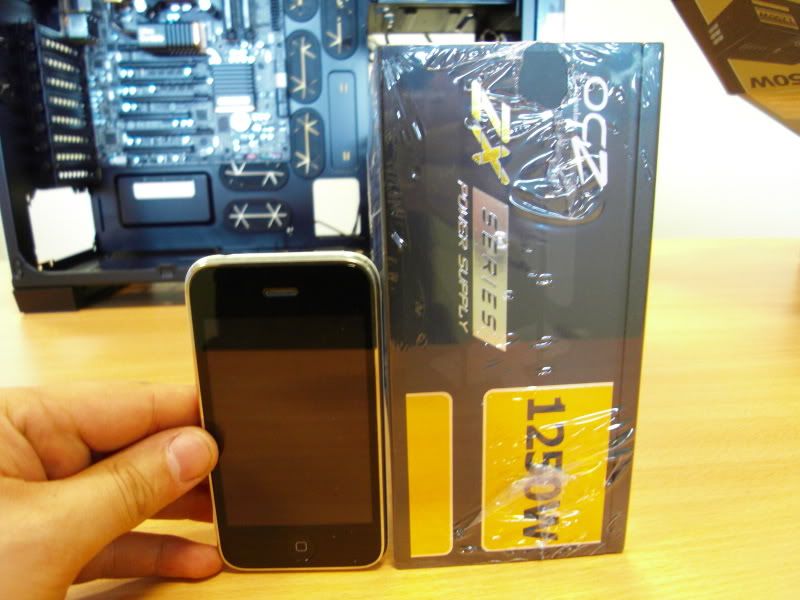
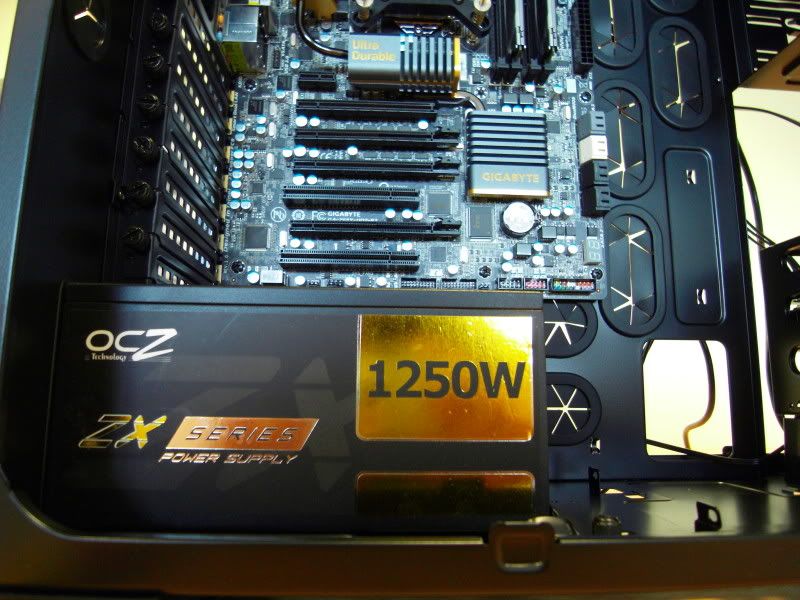
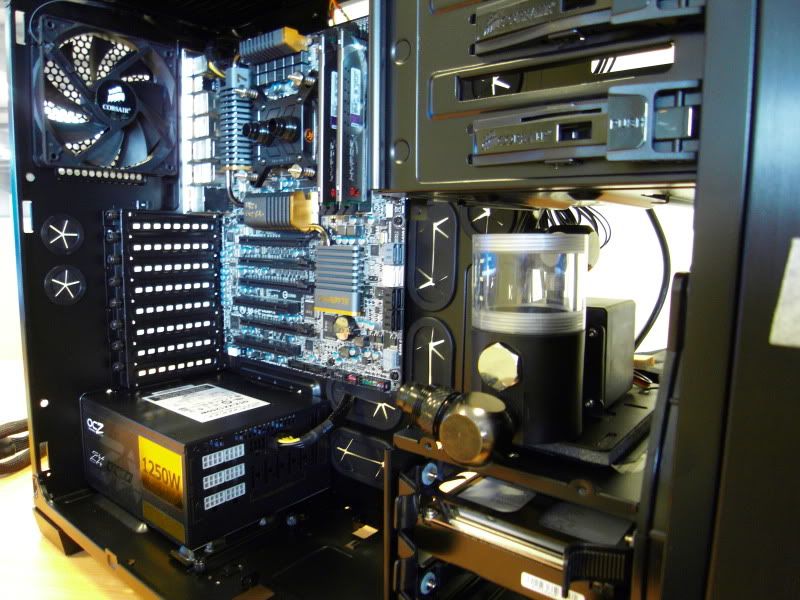
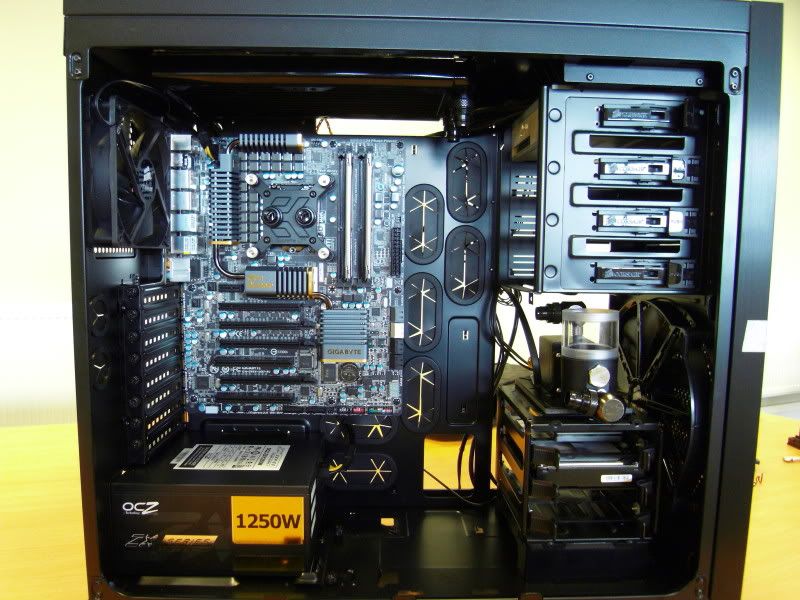
Step 5:
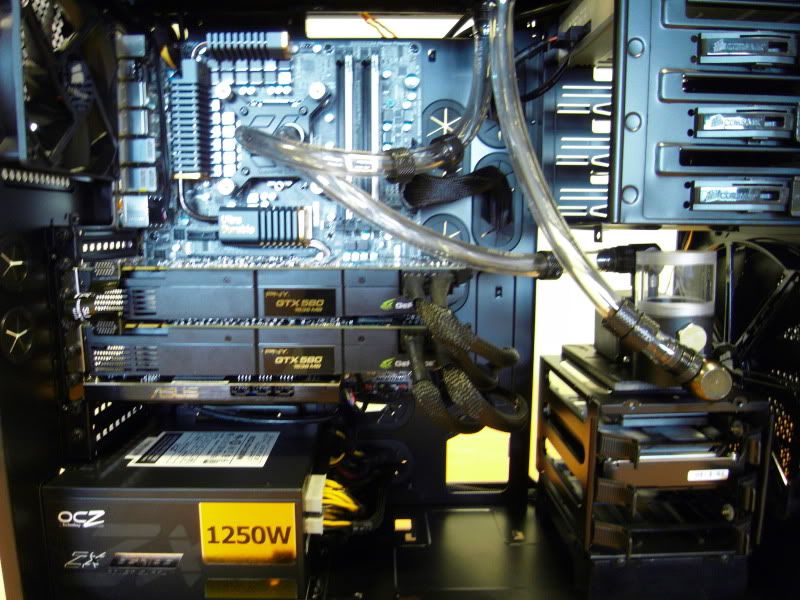
PSU, motherboard and WC installation.
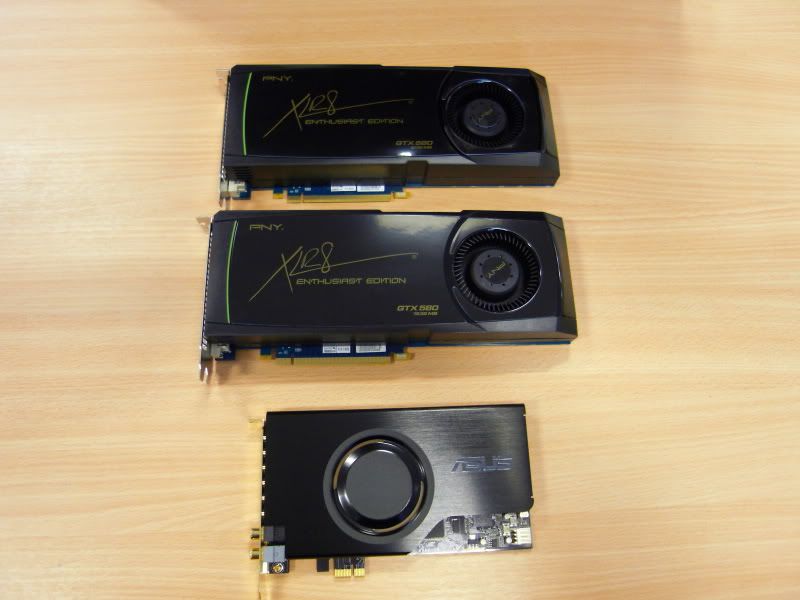
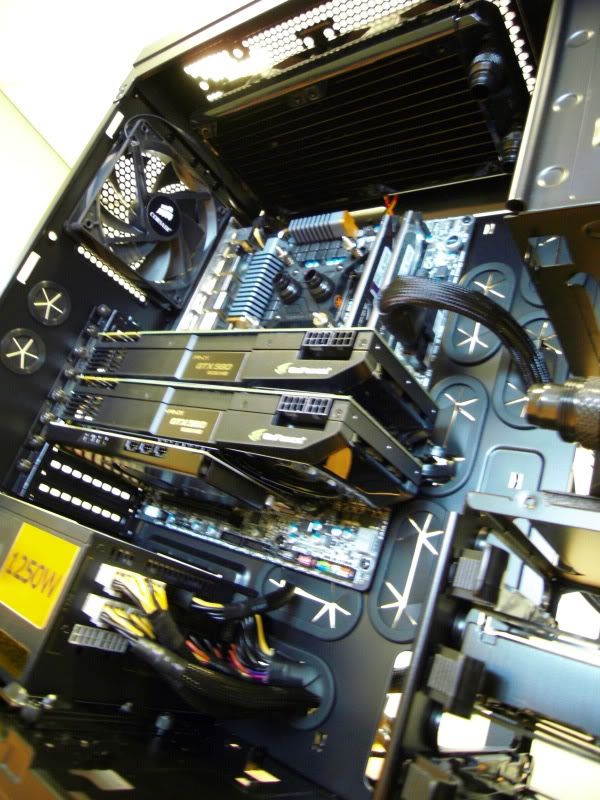
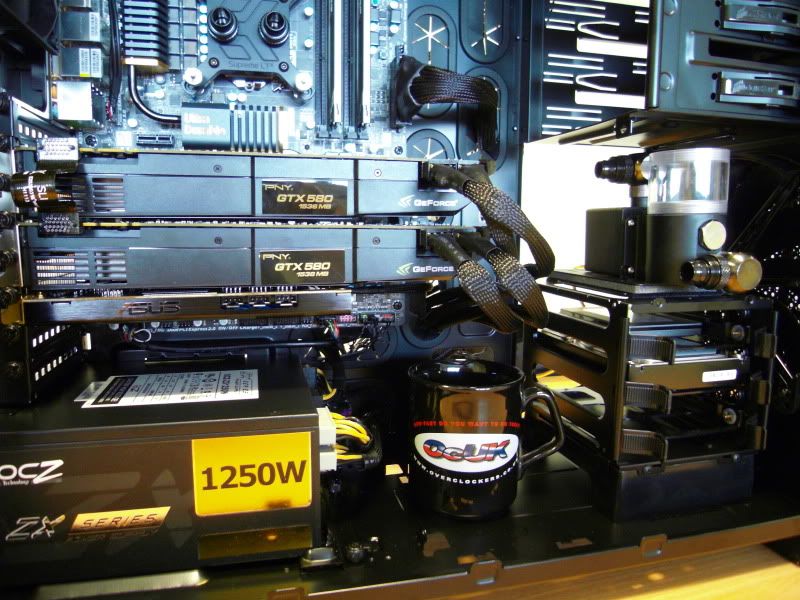
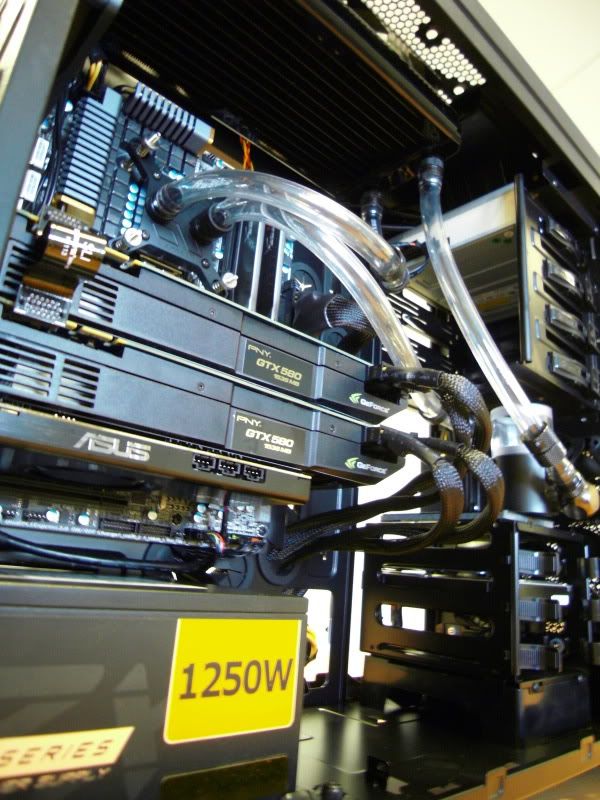
Step 6:
GFX and sound card installation
Step 7:
Plumbing in the tubing.

Step 8:
Ultra hig res photos and overclocking to come!
Today we are building up our brand new watercooled system, the "Ultima Plesiosaur". After recieving a lot of interest we are building one up to use as a demo system and to show what amazing systems we can build. The Plesiosaur we are building features GTX 580 SLI
Keep checking this thread as we will be updating it all day and throughout the week!
Step 1:
All the components collected and ready to built!
Step 2:
Some tasty watercooling components!
Step 3:
Motherboard prep.
Step 4:
Case and storage prep.
Step 5:
PSU, motherboard and WC installation.
Step 6:
GFX and sound card installation
Step 7:
Plumbing in the tubing.
Step 8:
Ultra hig res photos and overclocking to come!
") . Are you going for coloured water with clear tube?
. Are you going for coloured water with clear tube?

")

