Why should I lap my heatsink?
When should I not lap my heatsink?
If the above applies, don't bother. It's just not worth it.
How does lapping work?
The above actions mean that there is a better match between the shape of the heatsink's base and the CPU's heatspreader. This increases the surface are of contact between CPU and heatsink, means you can use much less thermal compound (a good thing), and therefore improves the heat flux from the CPU.
This means lower temperatures.
What do I need?
How do I lap?
Can I also lap my CPU?
Yes. Here's one I did earlier:

The Results
My E5200 @ 3.6 GHz (only its every day speed) went from 53/55 degrees under Orthos, down to 48/50 degrees under Orthos. Not a massive decrease, but it might just mean I can squeeze an extra 200Mhz out of it and hit my all-time stable high of 4.3Ghz.
- If you want to decrease temperatures to achieve a higher clockspeed.
- If you want to decrease temperatures to reduce noise.
When should I not lap my heatsink?
- If you're happy with your overclock.
- If you're happy with the noise level.
- If your PC is stable but you just want lower temperatures.
- If you want to retain your heatsink's warranty.
If the above applies, don't bother. It's just not worth it.
How does lapping work?
- It makes the surface of the heatsink flatter (less convex/concave)
- It improves the surface smoothness/finish
The above actions mean that there is a better match between the shape of the heatsink's base and the CPU's heatspreader. This increases the surface are of contact between CPU and heatsink, means you can use much less thermal compound (a good thing), and therefore improves the heat flux from the CPU.
This means lower temperatures.
What do I need?
- Wet and dry paper, in a variety of grades. I used 160 up to 1600 grit, purchased from Farnell online.
- A heatsink (I'm using the ubiquitous TR Ultra 120 Extreme: famed for its convex base and slightly poor finish).
- A flat edge, eg: razor blade, metal ruler
- A Flat surface (eg a glass desk)
- Thermal compound
- Cleaning fluid, eg white spirit
- About an hour of your time
How do I lap?
- Start by removing your heatsink if it's attached, and cleaning off any thermal compound using some white spirit.
- Get some idea of how concave/convex the base is by holding the heatsink up to a light with your flat edge against it. If you can see lots of light coming through between the chip and the edge it's obvious that the surface isn't flat.

- Lay out your wet and dry paper with the coarsest grain. This is the lowest grit number, mine is 160. Lay it on a flat surface. Many people recommend glass as it's completely flat, but I'm using my flat desk.
- Slide the heatsink in one direction firmly, but not too hard. Repeat this motion, then turn the heatsink 180 degrees and repeat again.

This should leave you with scratch marks on the base all aligned in one direction. By this point it should be obvious how convex/concave your base is by which areas of the base are having their surface removed.

Carry on rubbing in one direction until the surface has been removed from the entire base, and it's entirely copper colour. This could take quite a while, it took me a good 20 minutes.

- Rotate the heatsink 90 degress and rub firmly several times in a straight line. After this, keep rotating the heatsink 90 degrees after each stroke, and repeat for about a minute. By this point the base should be flat but not necessarily smooth

The base should now have scratch marks in both directions.

- Move onto your next finest grit paper (higher number). Repeat the previous step, rotating 90 degrees after each stroke, until the entire base has the same slightly smoother finish.
- Repeat with all the grades of paper until your finsest grit. Be sure to brush off the base before moving to a finer grit to prevent large pieces of grit "contaminating" the finer grit paper and causing deep gouges.
- The finish should now be very smooth, as well as flat. If you want a mirror finish, you might need to use polish. Personally I'd rather not put any other products on the base that might interfere with the thermal conductivity.

- Make sure all the metal powder from the sanding has been removed from the heatsink. You might even want to wash it under some running water and dry it thoroughly. You definitely don't want bits of metal ending up on your motherboard and shorting things out.
- Apply your thermal compound using a very small blob and spreading it out evenly using a finger in some cling film. Re-attach your heatsink and see how much your temperatures have dropped.
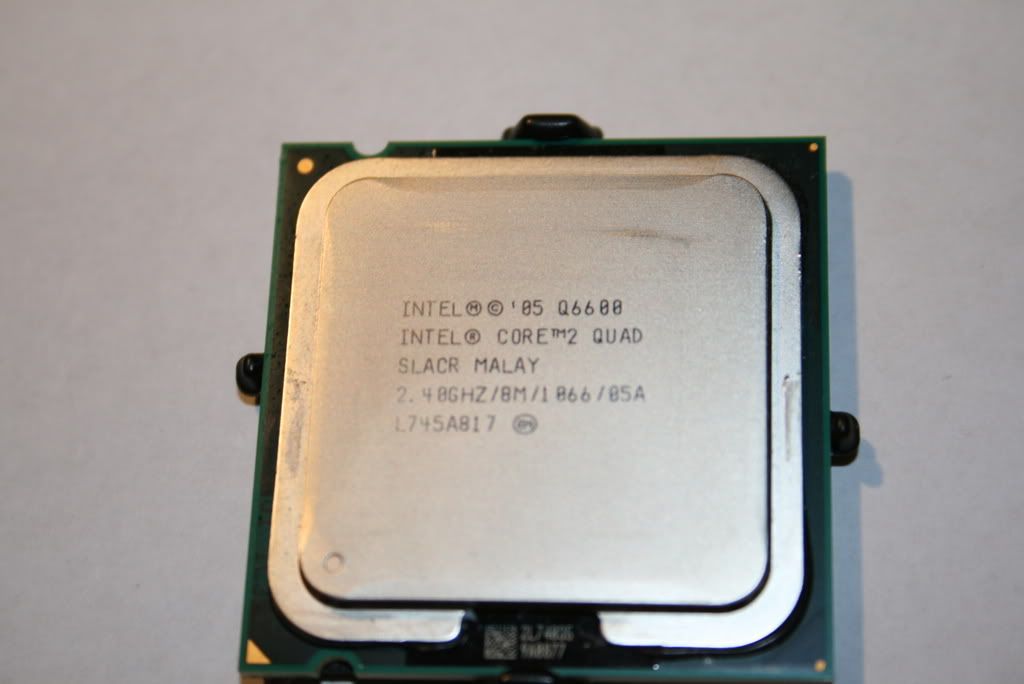
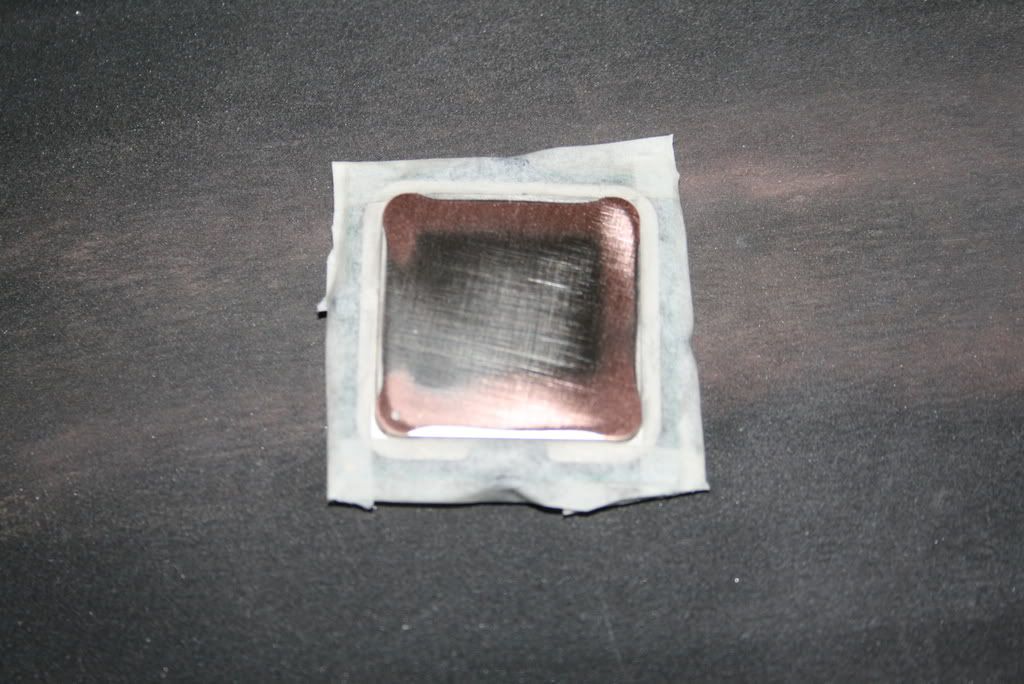
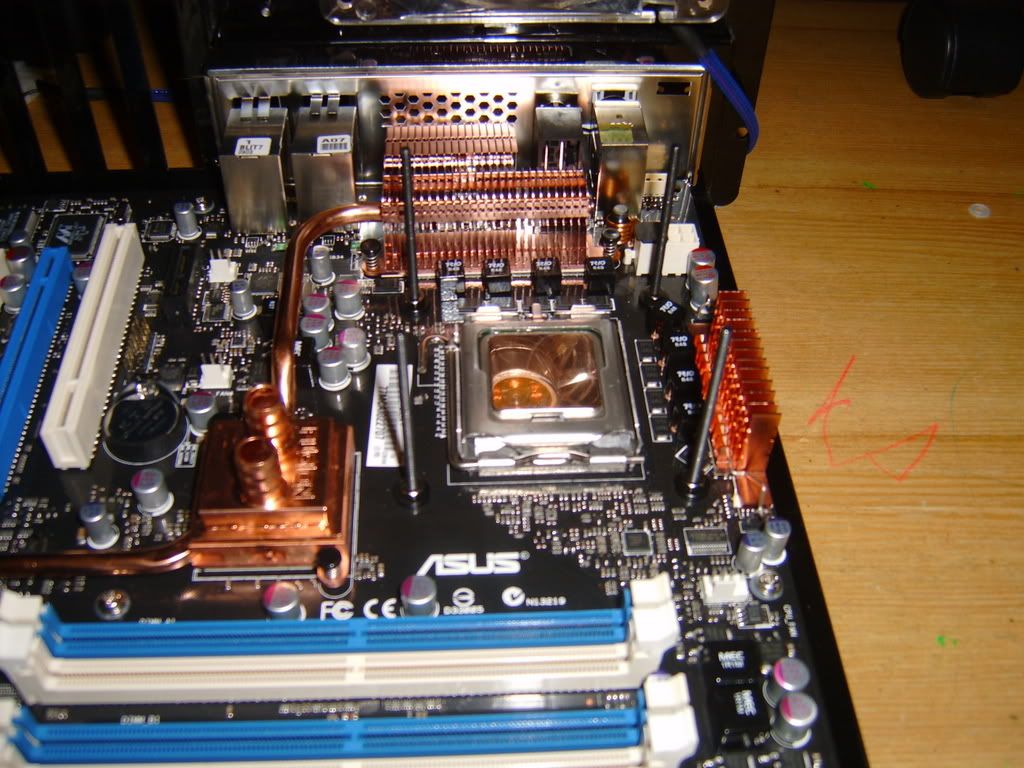
Can I also lap my CPU?
Yes. Here's one I did earlier:
The Results
My E5200 @ 3.6 GHz (only its every day speed) went from 53/55 degrees under Orthos, down to 48/50 degrees under Orthos. Not a massive decrease, but it might just mean I can squeeze an extra 200Mhz out of it and hit my all-time stable high of 4.3Ghz.
Last edited:
 you should start a lapping business

")
")