Parallax Project

Associate
Joined
13 Jan 2015
Posts
37
Location
Glasgow, Scotland


Parallax:

"A displacement or difference in the apparent position of an object viewed along two different lines of sight, and is measured by the angle or semi-angle of inclination between those two lines"


This of course has absolutely nothing to do with this build, but it's a cool name for a computer!


So, welcome.

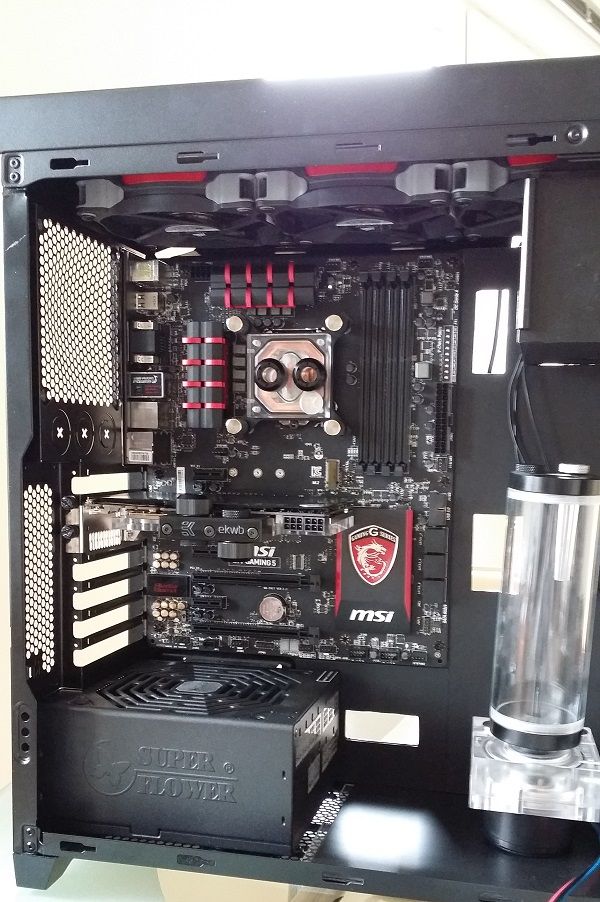
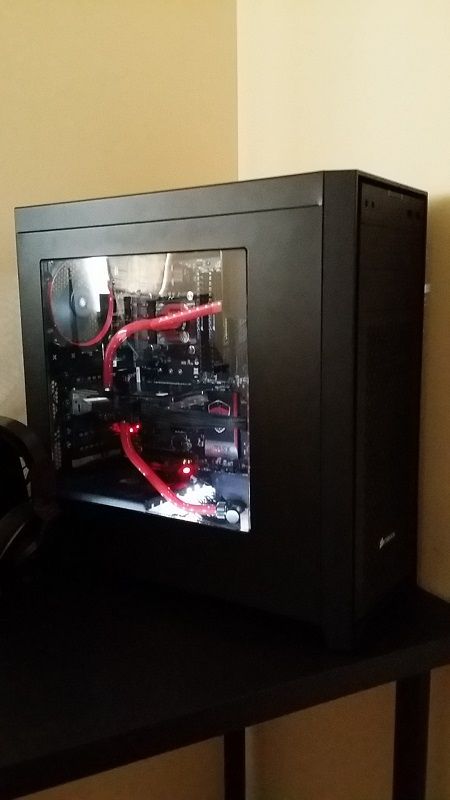
This my 4th personal gaming rig and my 2nd water cooled one. It is not a complete new system as I will be re-using some parts but the main components will be new. I'm changing from the AMD 970 platform to Intel Z97. It's the first Intel gaming system I have built for myself and it will be used 100% for gaming. Please bear this in mind when reading over my component choices as I haven't taken these lightly.


Existing parts:

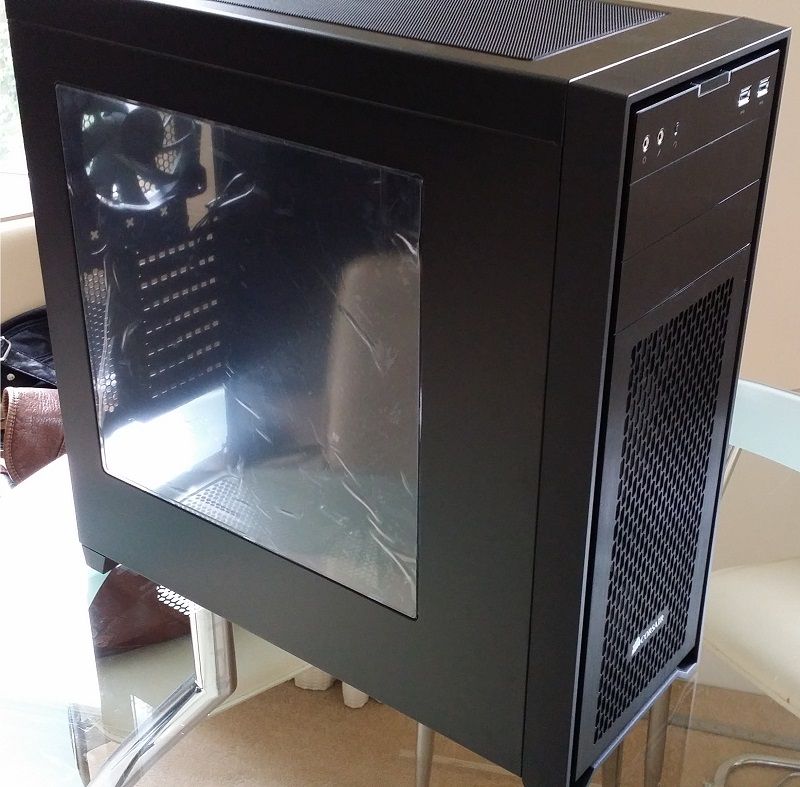
Corsair 450D:
I bought this around a year ago, replacing my Thermaltake Chaser A41. This is the best looking mid tower in my opinion and can fit a ton of kit inside while having good air flow. I haven't seen many 450D builds online so hope this is new for some of you.
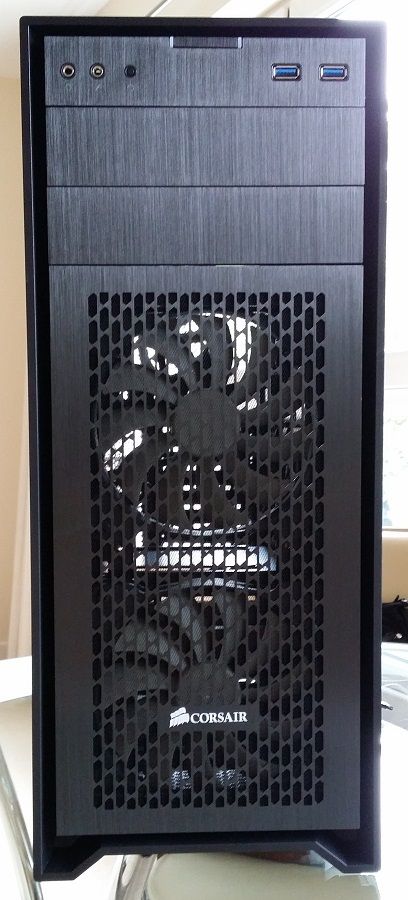


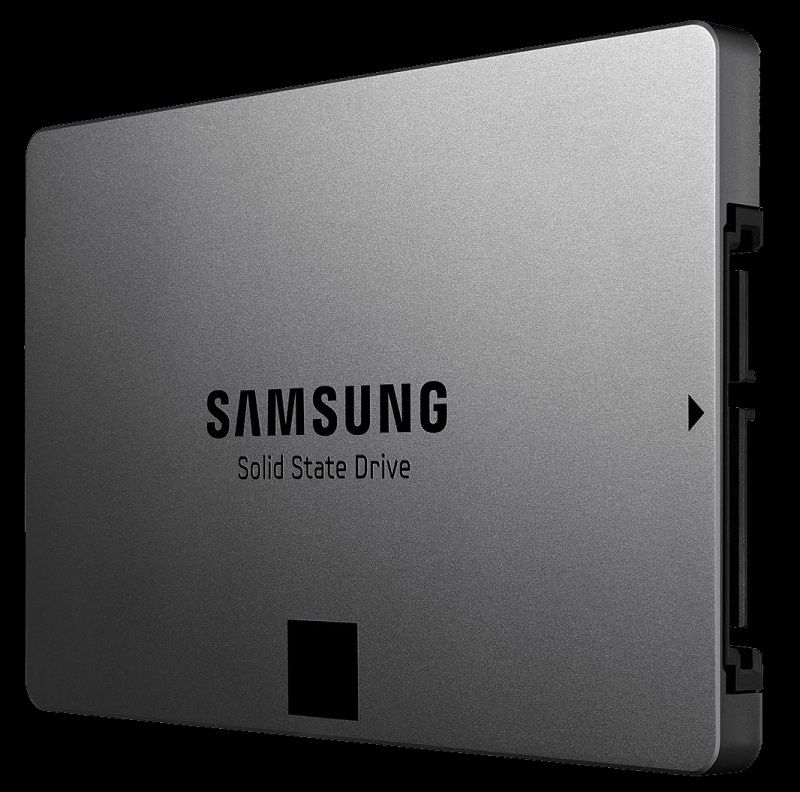
Samsung 840 evo: I have a 120GB for the OS and all programs and a 500GB for my most played games. I do have a 3TB HDD where I have all my game downloads backed up but I only connect this when Transferring files.


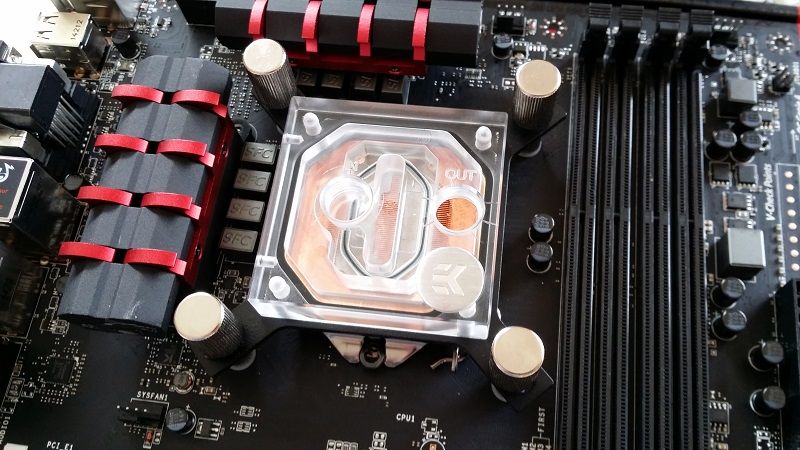
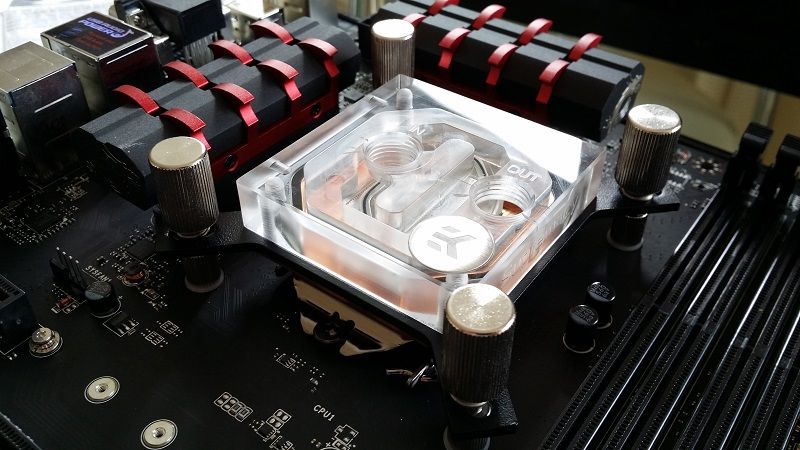
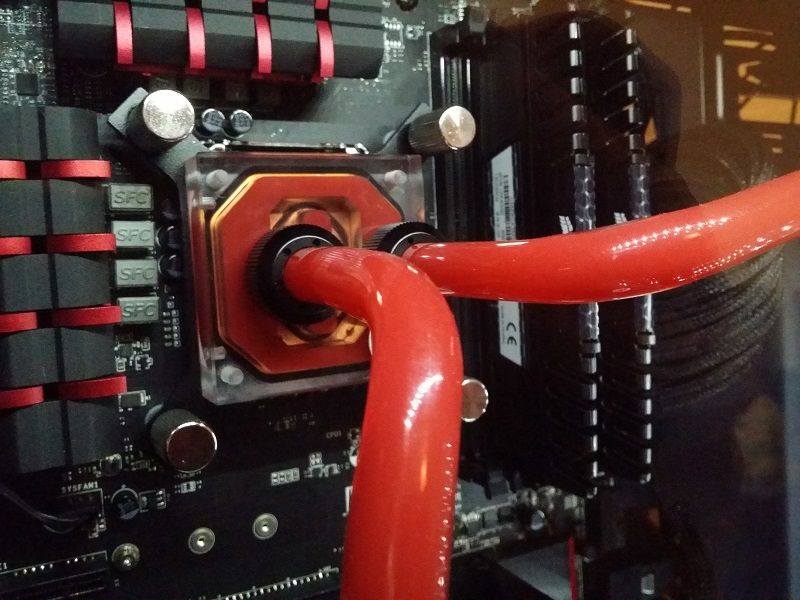
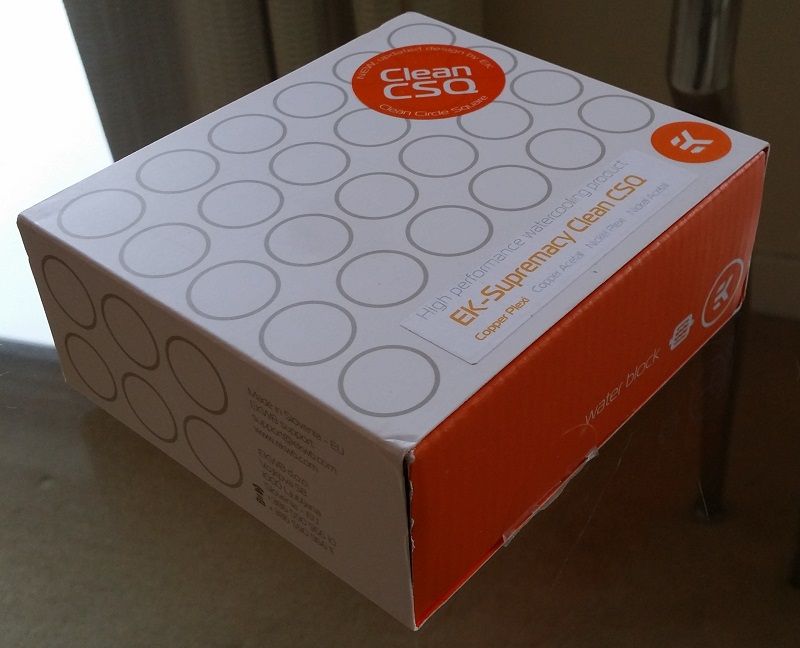
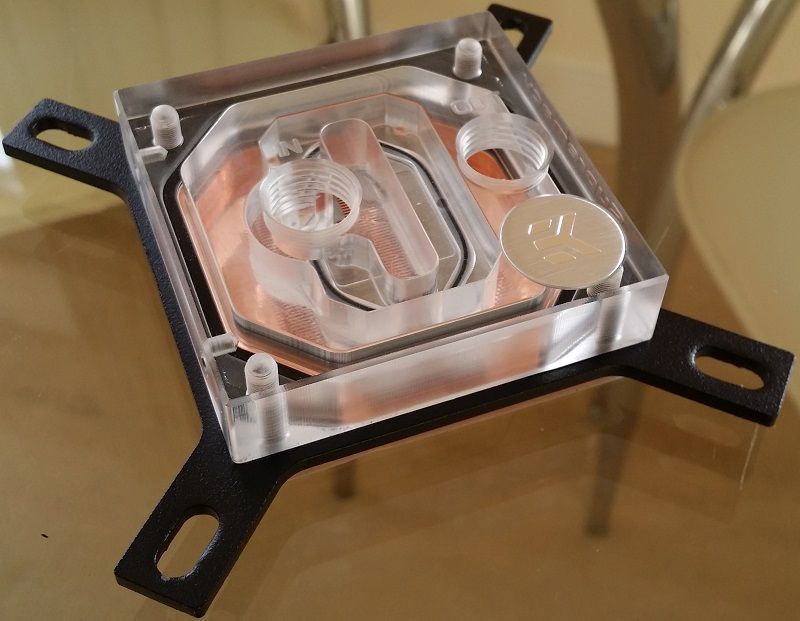
EK supremacy: I am using this in my current build. While I don't have another block to compare this with, It keeps my CPU cool and looks awesome. I did plan to buy the Evo but I doubt I would gain that much performance that would justify buying the Evo kit.


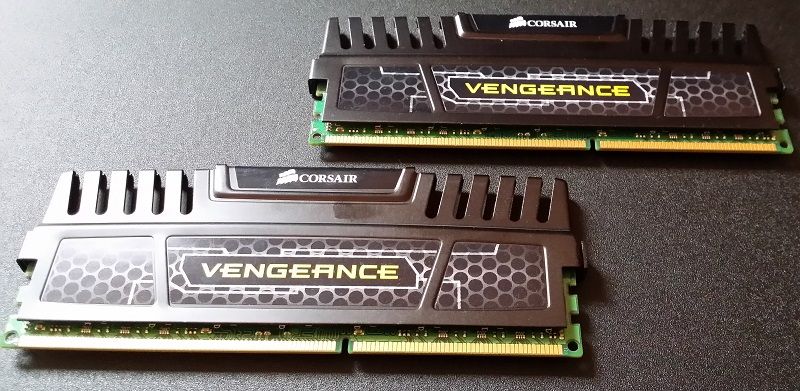
Corsair Vengeance 8GB 1600MHz: I have never needed more than 8GB of memory, and since this rig is for gaming only, there is no need to upgrade. Spending £200 on a better, larger memory kit wouldn't make as much sense as spending £200 towards a better GPU or CPU.


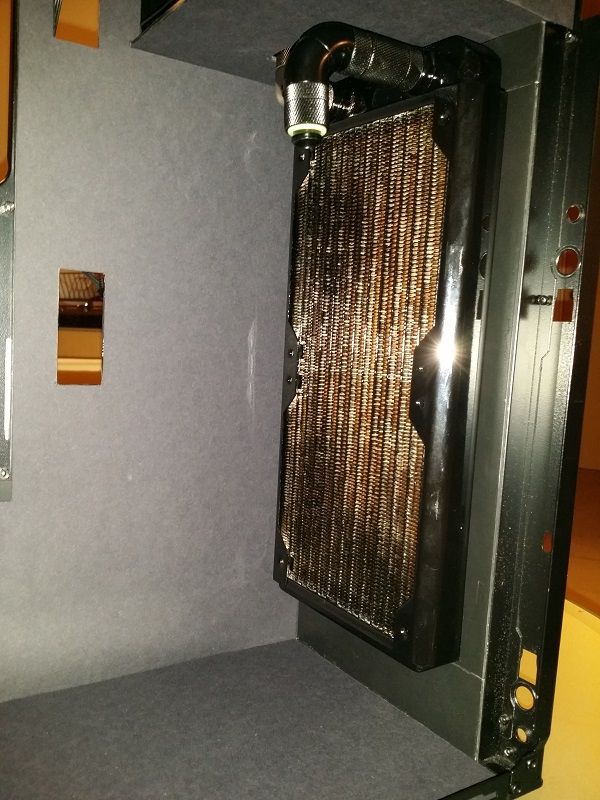
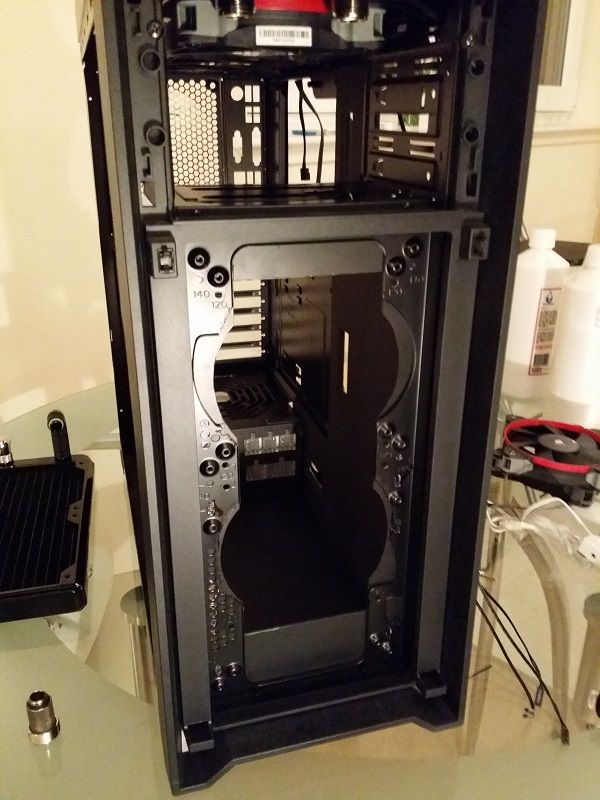
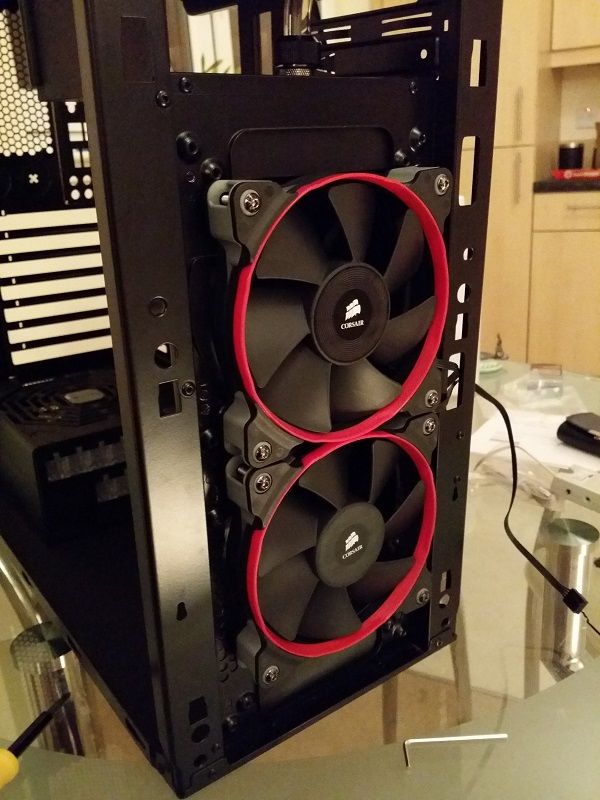
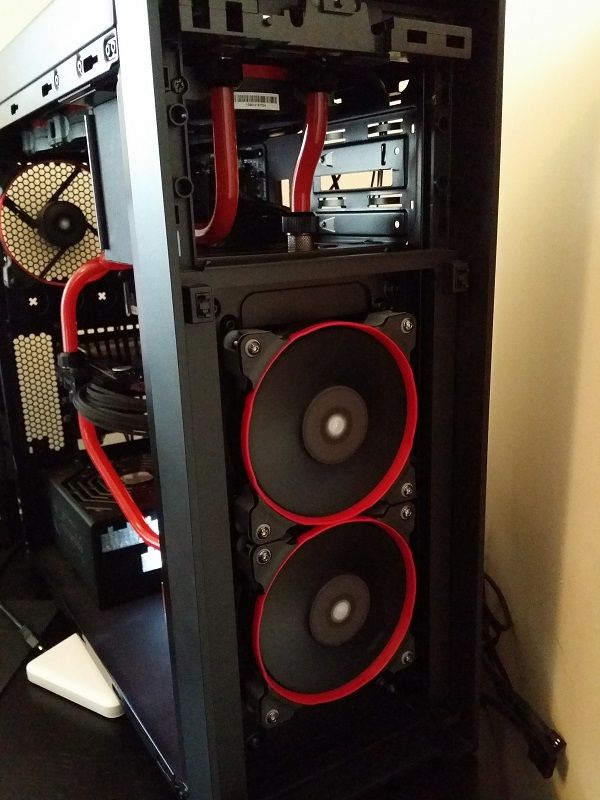
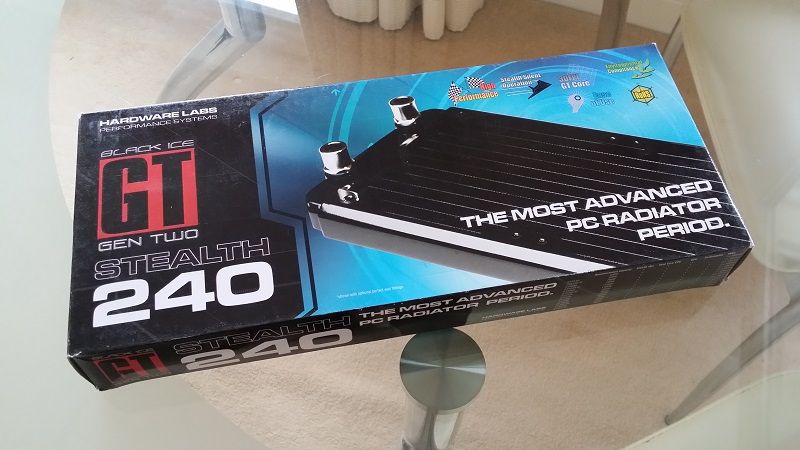
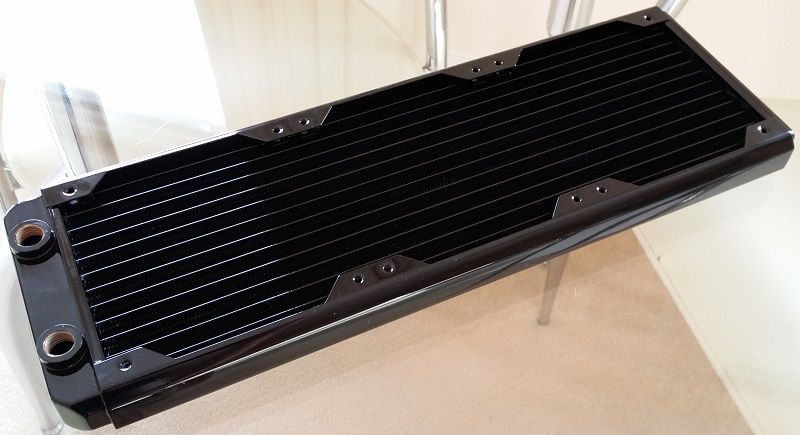
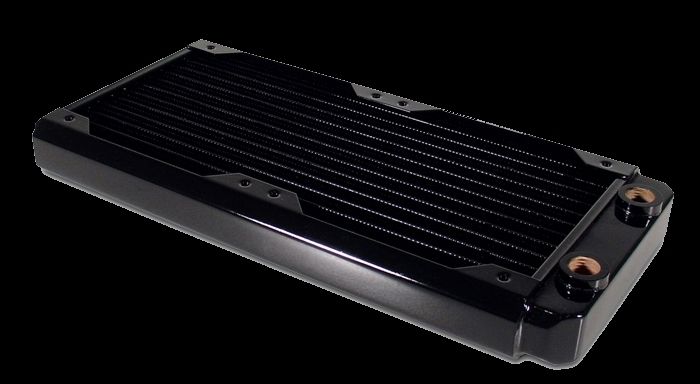
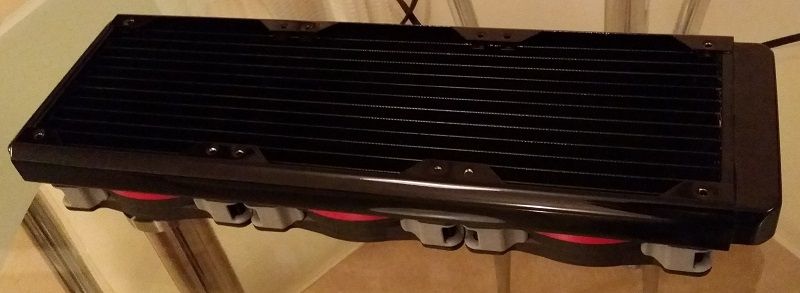
Hardware Labs Black Ice GT Stealth: I currently use a 360mm version and will be adding a 240mm which will be going in the front of the chassis. These radiators are great in my opinion. Quite inexpensive but have a high fin density at 30 fins per inch.


New Parts:

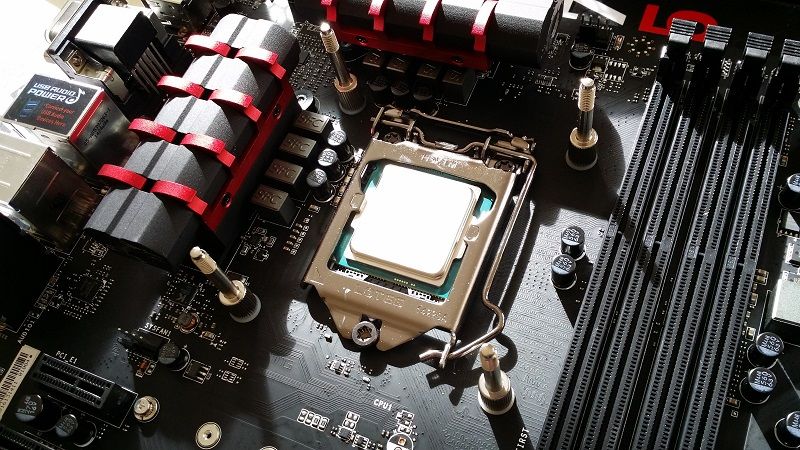
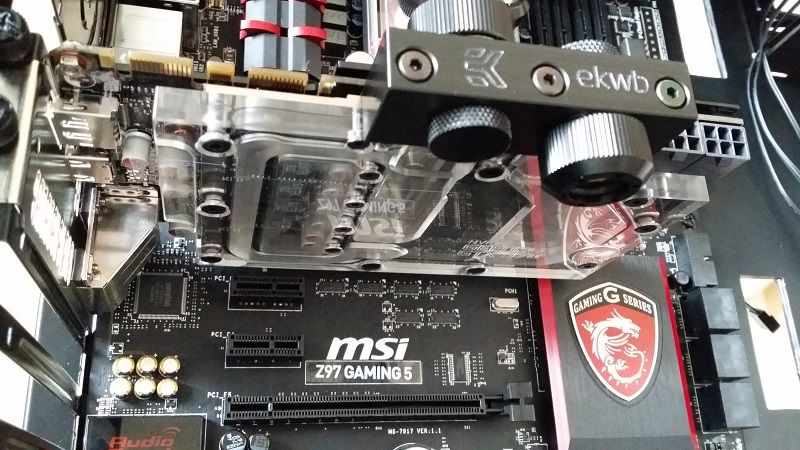
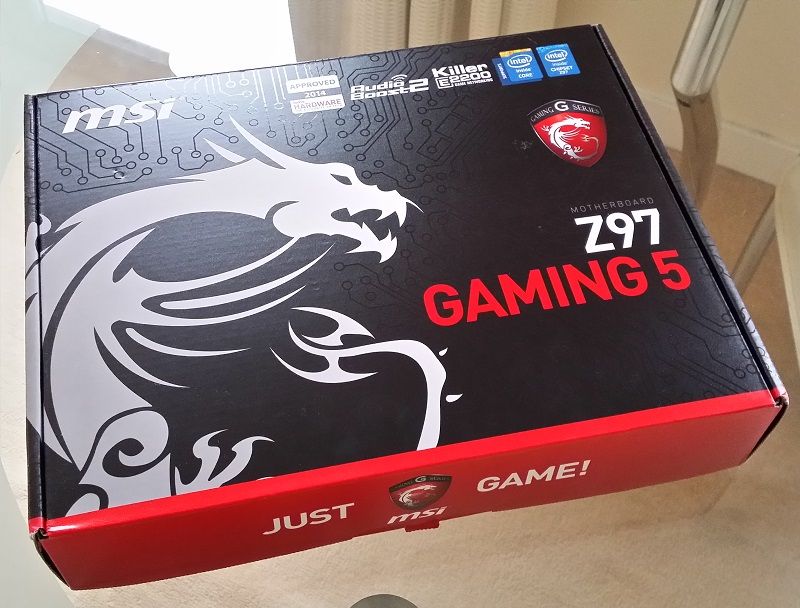
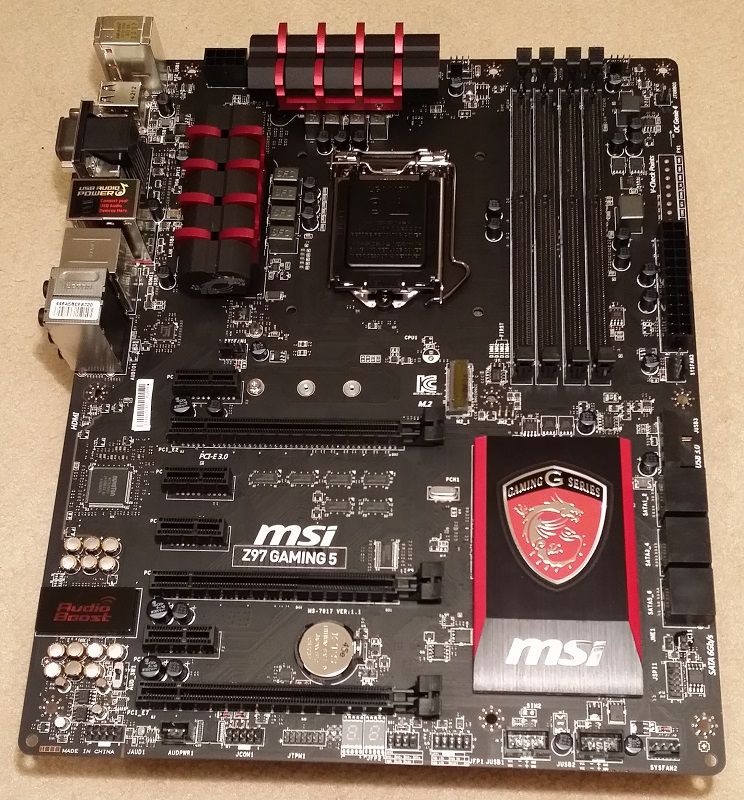
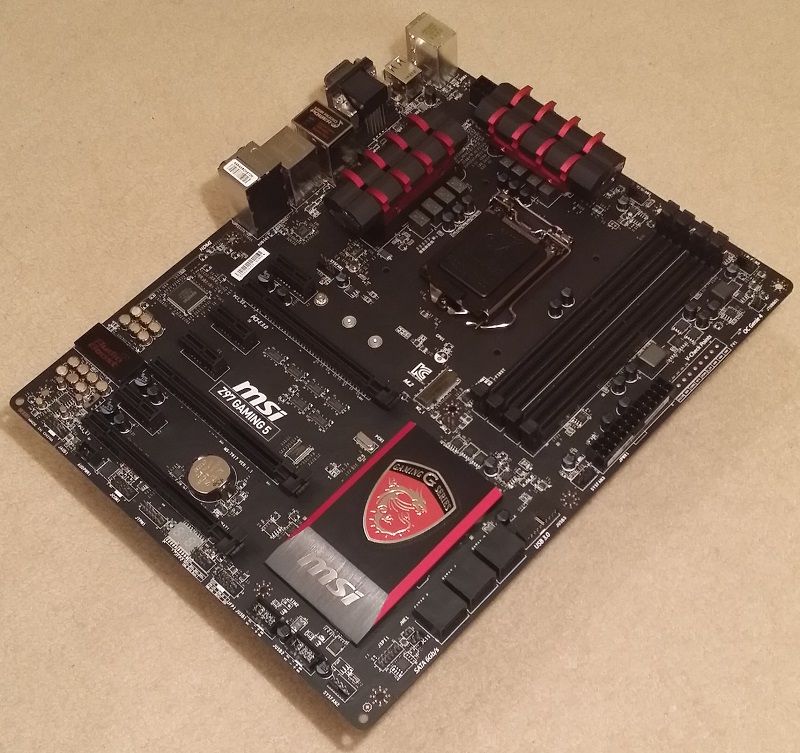
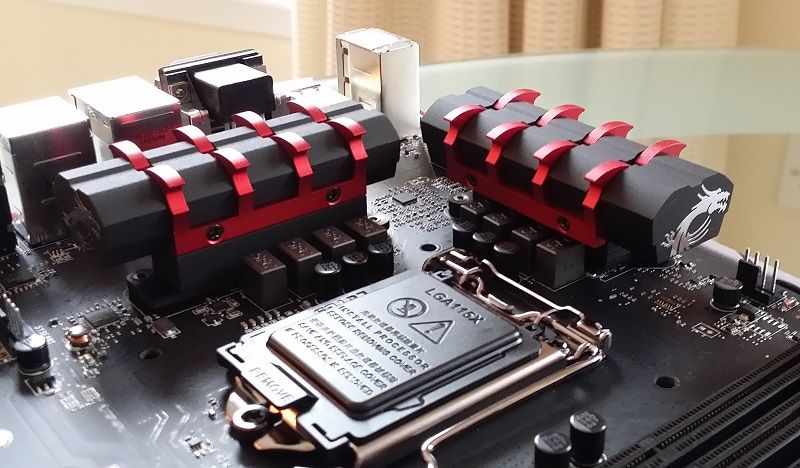
MSI Z97 Gaming 5:
This board offers all the features I need. Decent overclocking ability, good onboard sound and a great aesthetics. It fits my black and red theme well. Going for a higher spec like a Gaming 7 wouldn't be worth it for me.


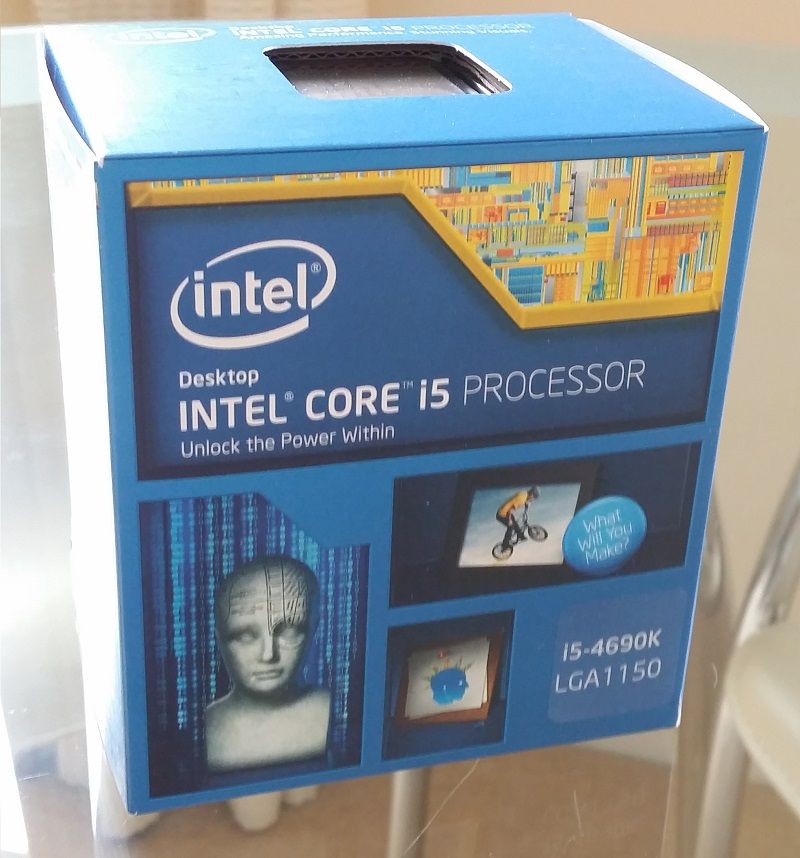
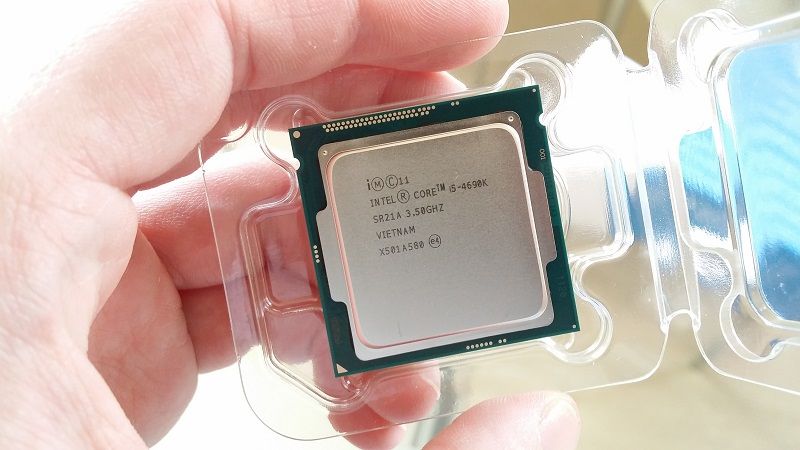
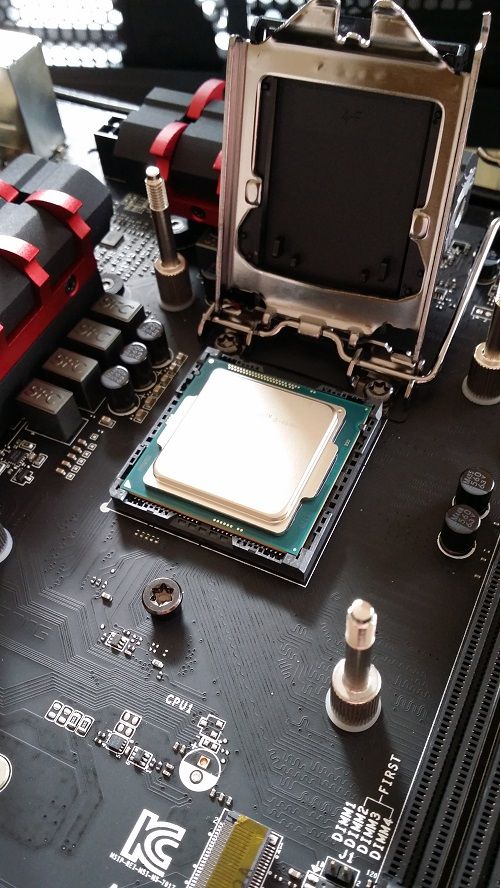
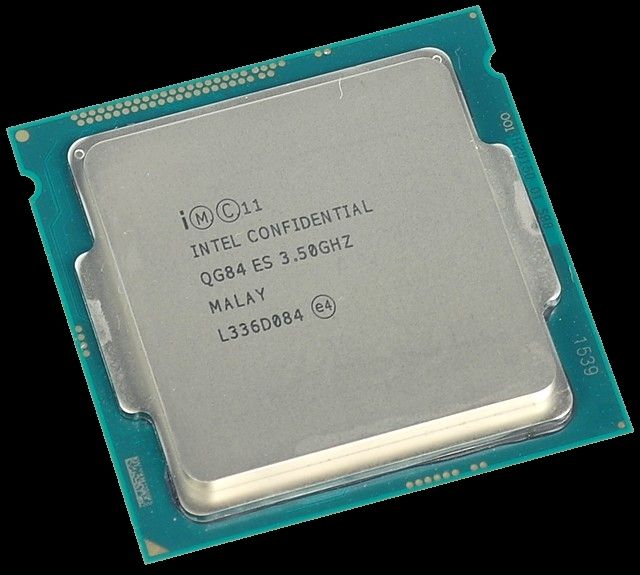
Intel i5 4690K Devils Canyon: Yep, it's only a quad core and I will be dropping 2 threads moving to this from my AMD FX-6100, but for gaming it's a perfect chip which will well outperform my AMD one. I did consider the 4790K but for £100 more, the higher thread count may not be worth the few extra fps I may get. It would be better spent elsewhere. I won't be using this PC for anything other than gaming so it suits me.


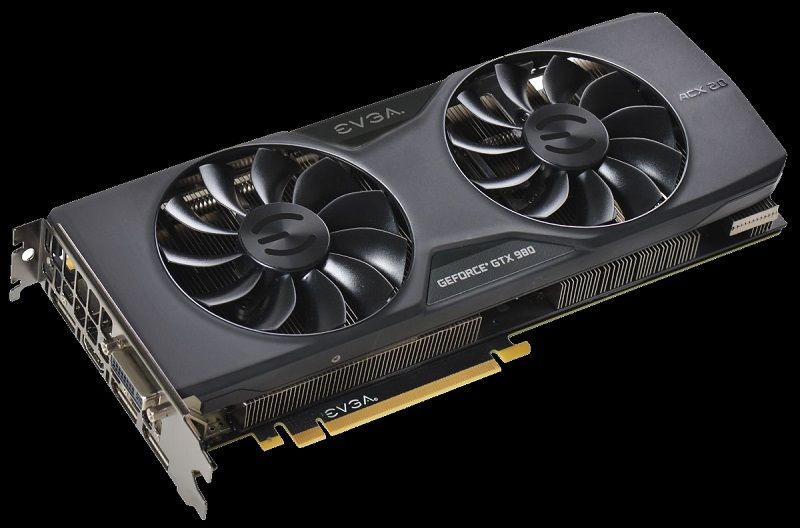
EVGA GTX 980 SC: I considered a 290X but Tahiti is getting on a bit now. Maxwell offers way more in terms of technology, efficiency and overall performance. Being way more power efficient, it runs much cooler meaning I can push my overclock as far as the chip allows. I will be able to max this card out without any temperature issues. I also considered 2 970's in SLI, but I would like 4 usable GB's of memory and not having to worry about scaling and compatibility issues. I will be gaming on a single 1080p 144Hz monitor. No surround gaming here.


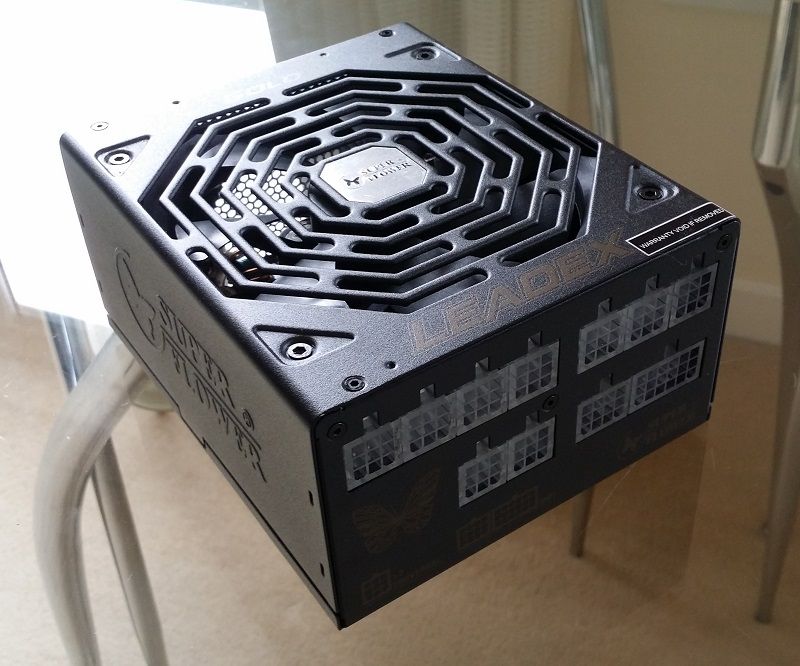
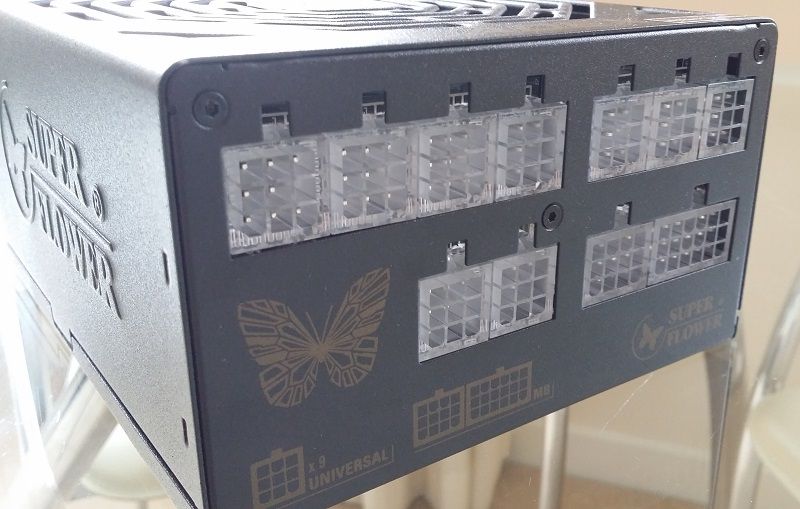
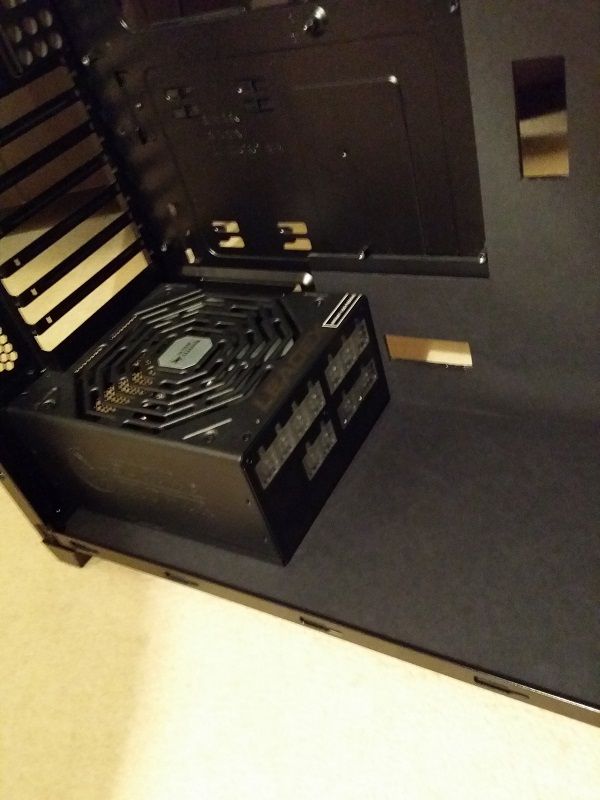
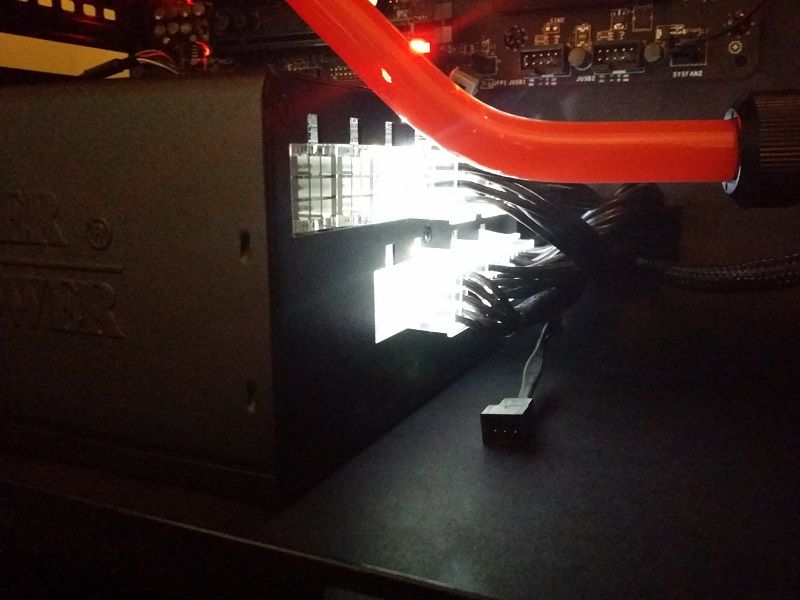
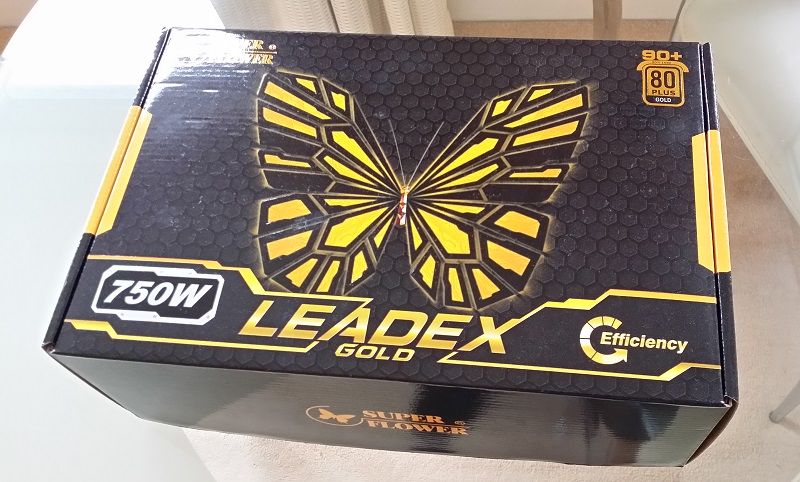
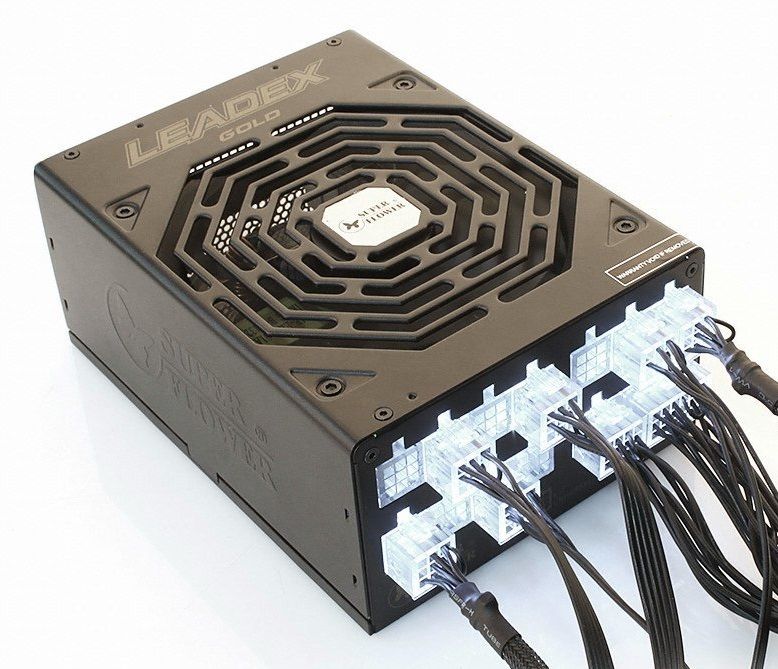
SuperFlower Leadex GOLD 750W Fully Modular: I wanted a reliable power supply and this one has concrete build quality, it is semi-passive and the cable connections provide extra soft light. Not a huge fan of the cables themselves though.


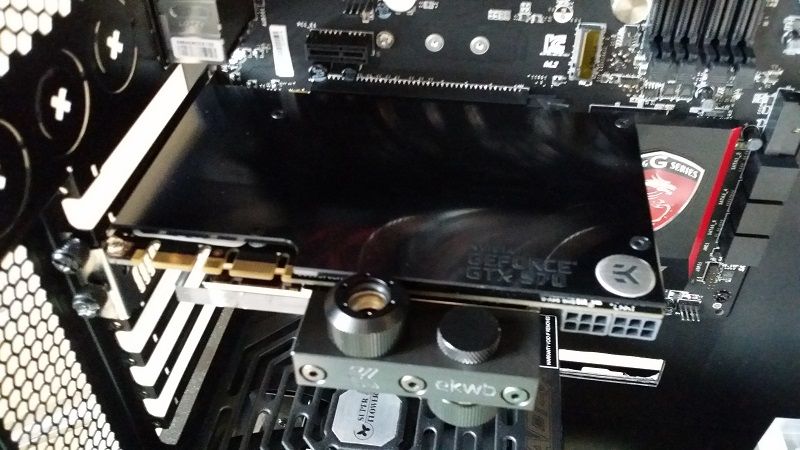
EK-FC980 GTX Acetal: I was thinking of going with the plexi one to match the rest of the build, but it isn't a full cover block. The Acetal version is. Getting the backplate to match of course.


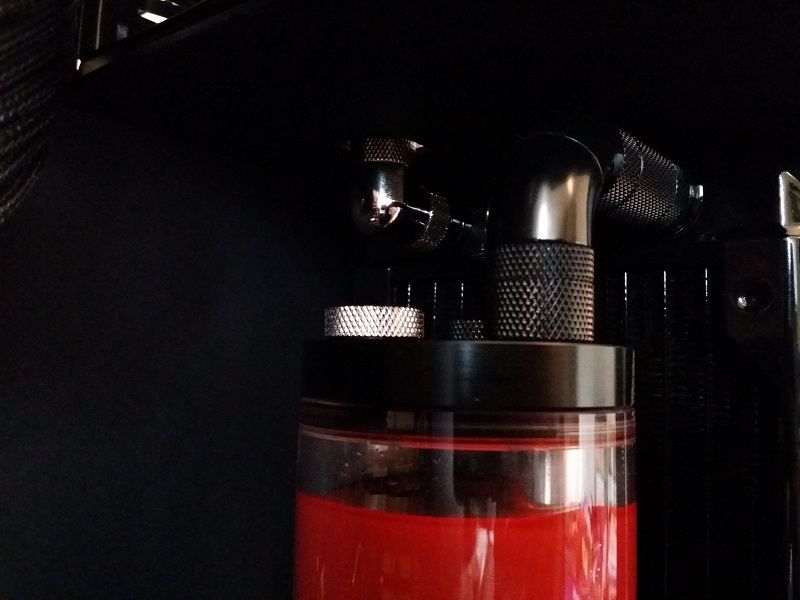
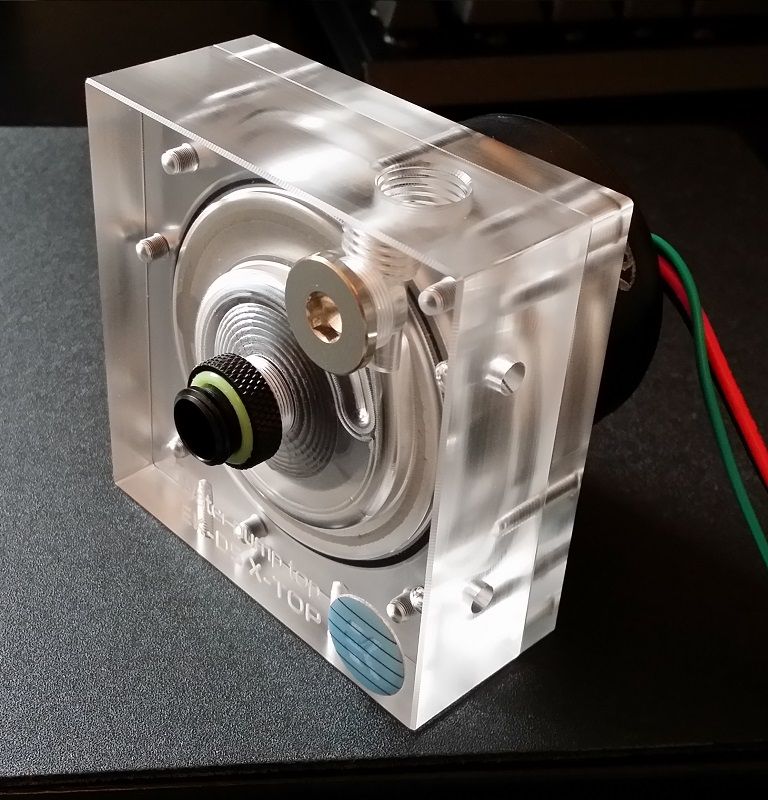
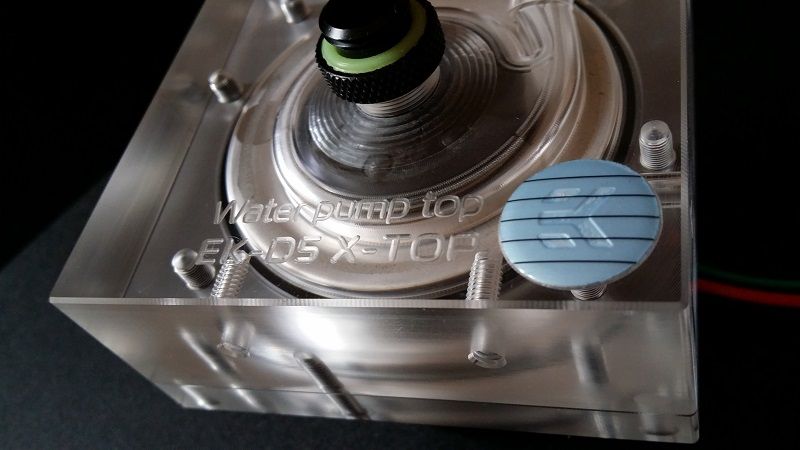
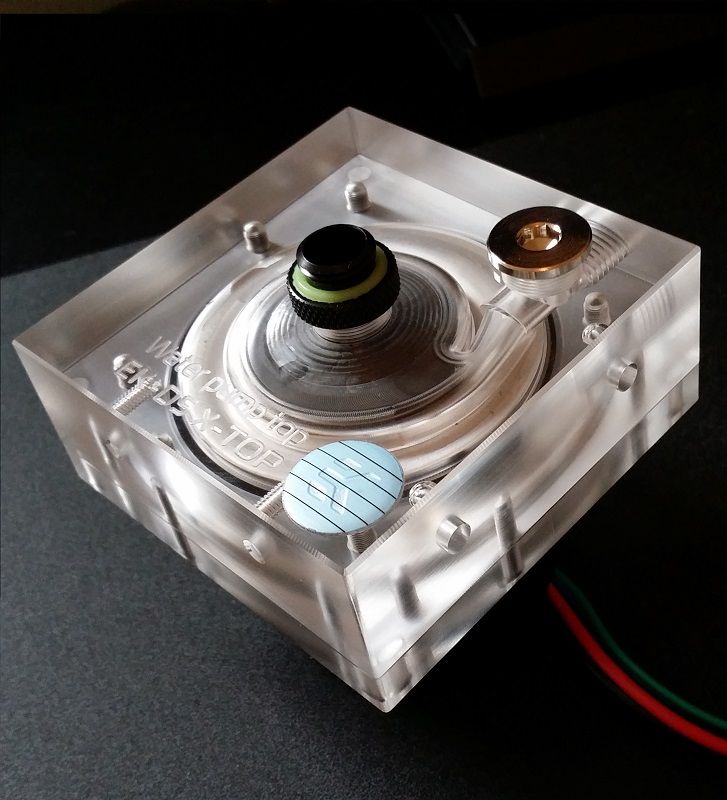
EK X-TOP D5 Plexi including PWM pump: The D5 was an obvious choice and the clear top matches the CPU block perfect.


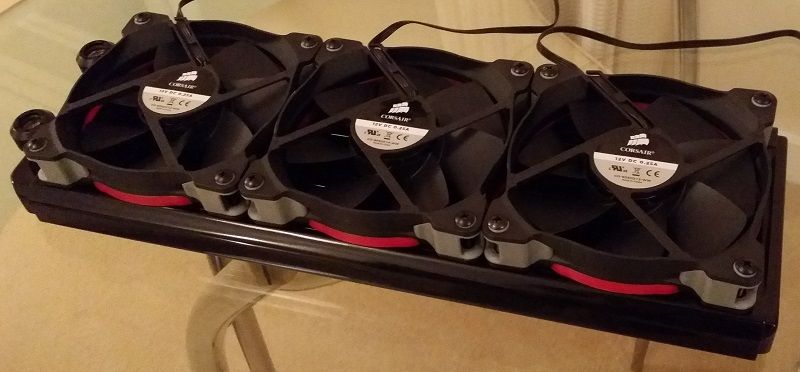
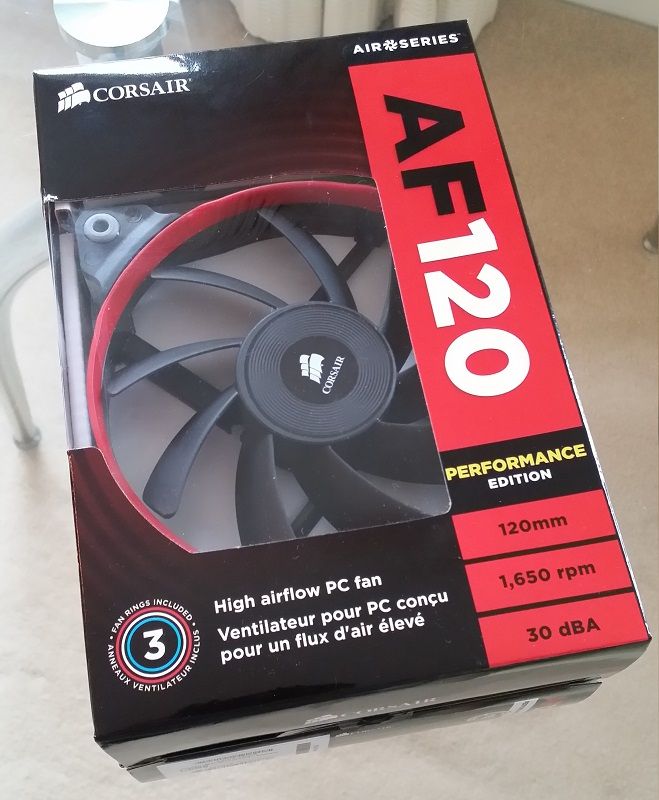
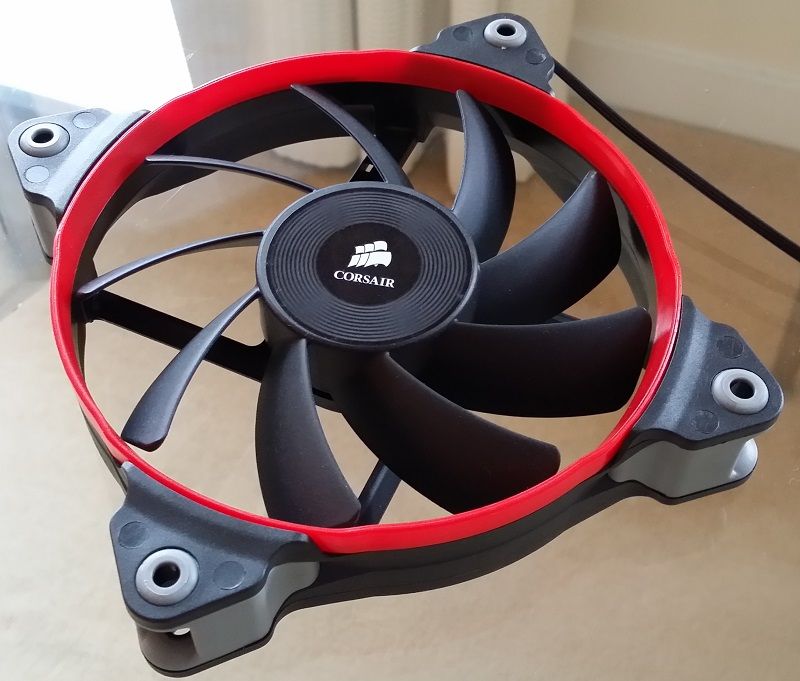
Corsair SP120 + AF120: Have opted for the performance edition fans all round, for the radiators and the rear exhaust. Don't really need to explain this choice but I will say they look great and are highly optimized. I will explain the orientation of these fans later.


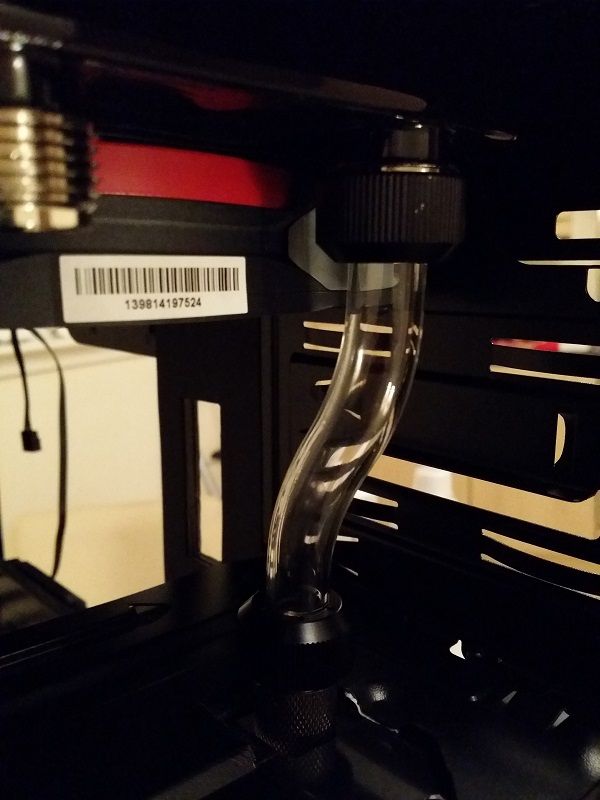
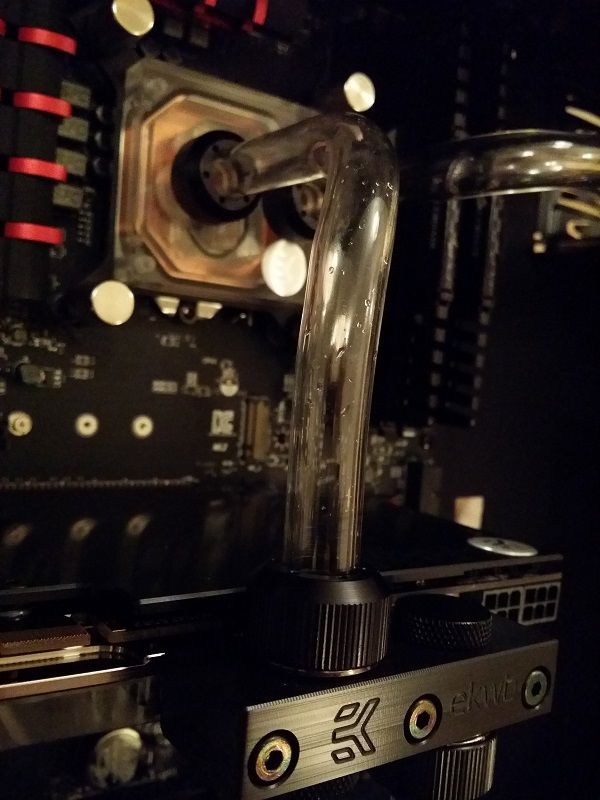
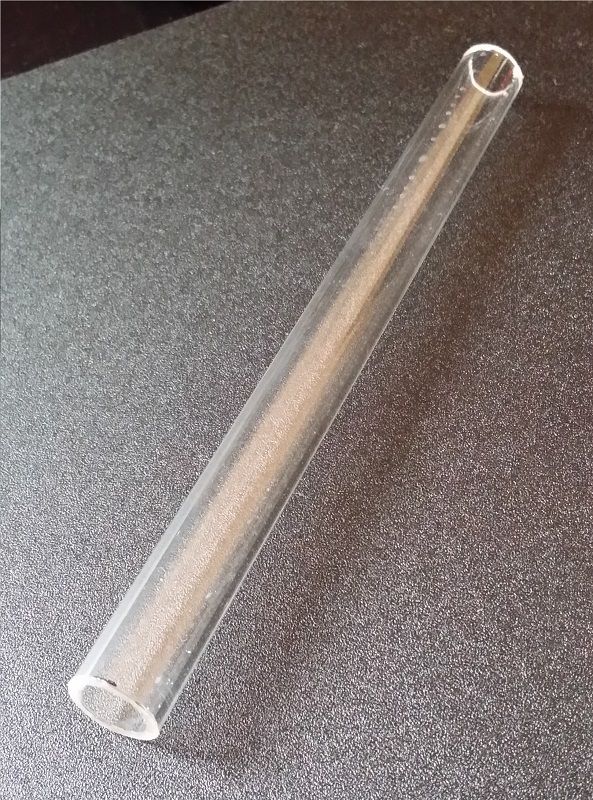
Primochill Clear acrylic tube 13mm OD: Speaking from experience this stuff is a nightmare to bend and get right, but it's so rewarding. I use it in my current build and it looks great.


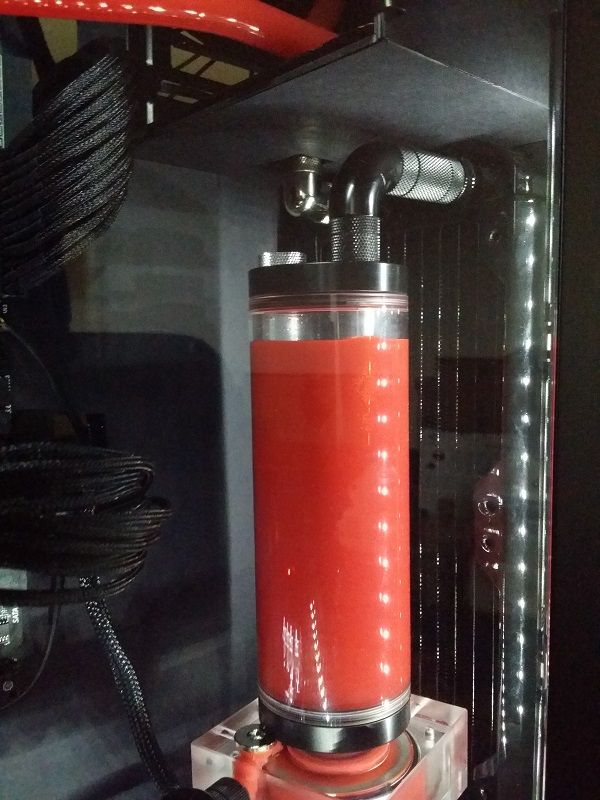
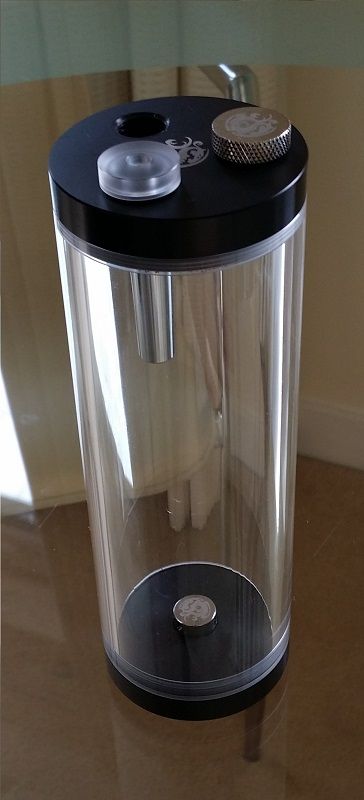
Bitspower z-multi 170mm: Its a reservoir, looks cool and is made well. Don't need to say much more about that.


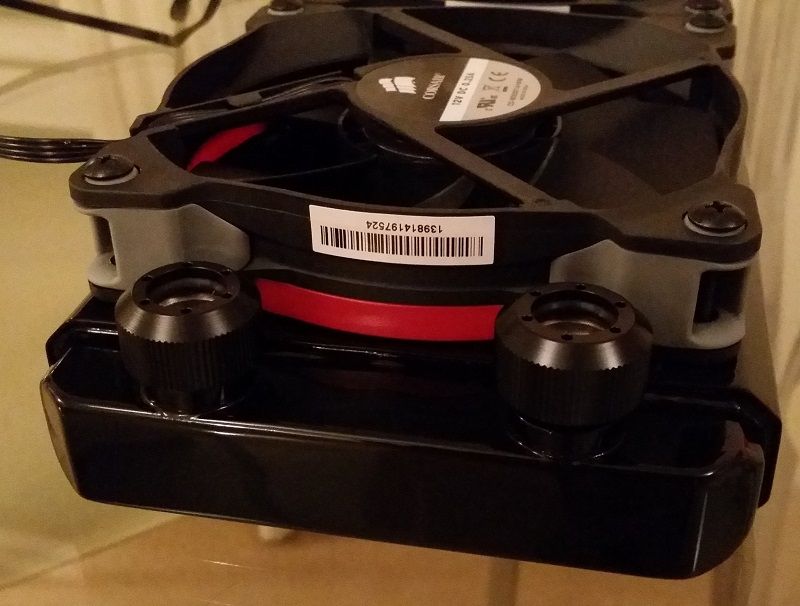
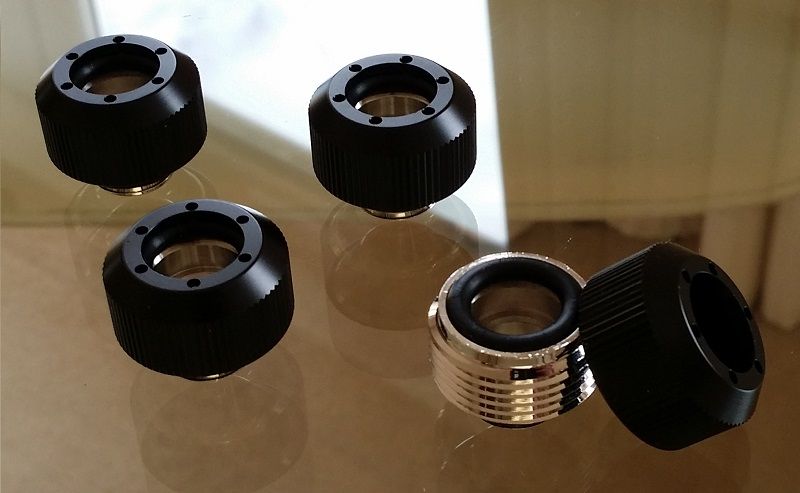
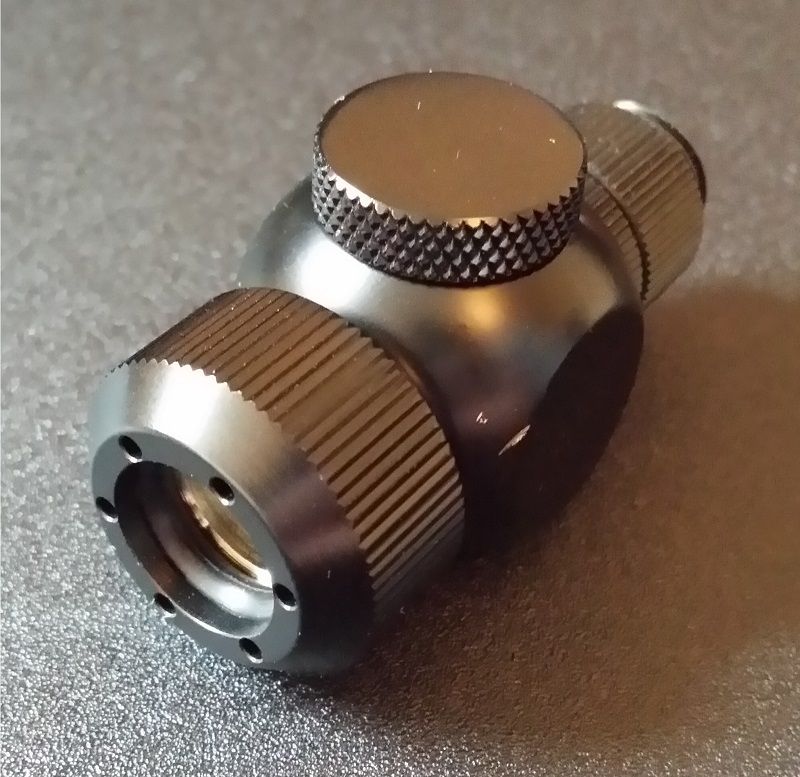
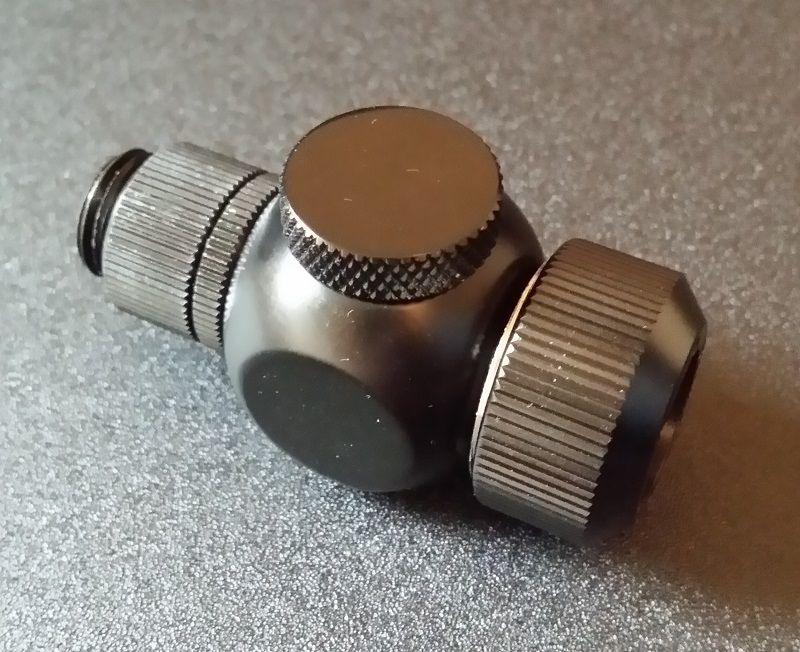
Fittings: These are a bit of a mish-mash. Primochill matte black Revolver fittings for the rigid tubing. A Barrow 'Q' fitting as a bleed at the bottom most part of the loop. Barrow blanking plugs, rotarys and extensions. If you have never heard of Barrow, their parts are identical to Bitspower's and are in fact made in the same factory by the same company albeit they cost half the price.


Coolant: I have decided on Mayhems Pastel Red. I use Pastel Blue in my current build, it has very even colour and I haven't noticed any settling or gunk build up in the loop.

Cables: I am not a huge fan of the EVGA PSU cables. They aren't completely sleeved and the parts that are look rotten with horrible black sleeving and thick heatshrink. The plugs are colour coded too! As the PSU connections are proprietary, they can't be modded easily. What I plan to do is tidy the cables at the PSU end as best I can and use my existing Akaska black sleeved cable extensions.

There wont be much in the way of visible cables inside. The CPU power cable is well tucked up in the corner, the GPU uses only 2x 6 pin cables and finally theres the motherboard power cable. The other miscellaneous cables will be kept mostly out of view.

By using my cable extensions, I can't route the cables in the back in the most tidy of ways, can't get the side panel on either so the decision to use these have forced me to make other decisions. I have made a few compromises but through the planning of this, these seem to work in my favour.


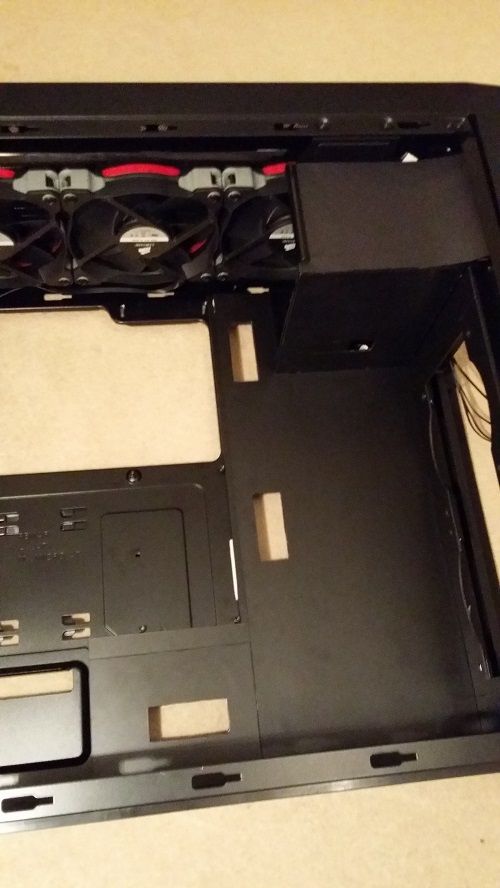
Mods: I have decided to mod the rear side panel. I will cut a square hole out maybe 250mm x 250mm. I could leave the panel off completely but there is a bit of flex in the case so this would not be a good idea. This mod ties in with the fan orientation I have planned.

I want this system to be as cool and quiet as possible, and to do that I need all radiator fans drawing cool air in. 3 fans puling air in through the top and 2 in the front pushing air in that way. Keeps the temperatures lower in turn keeping the fan speeds lower. If things do get a bit toasty though, I have plenty of scope left to tune the fan speeds.

The image below is an early design but it gives you a idea of the fan orientation.
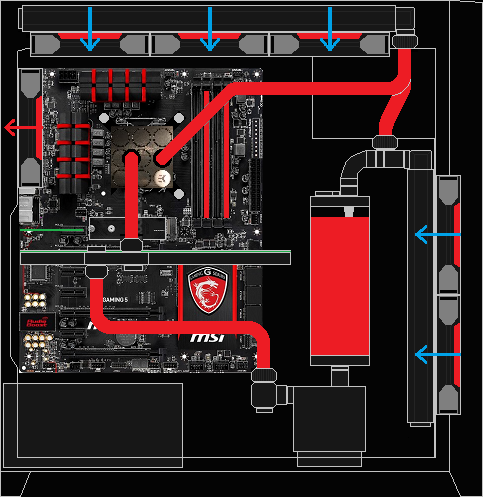


It may seem odd that there are 5 intake fans and 1 exhaust, 2 if you count the PSU as this will be mounted fan facing upwards. Many people bring up the argument of positive vs negative pressure. I am more than happy to debate this but I will just outline my reason for this config. Of course this config will maintain positive pressure but there are plenty of places for air to escape this case. The rear of the case has ample venting and by leaving the PCI express covers off this will be even better.

By cutting the hole in the rear side panel, it doesn't only give me space to let excess cables spill out of, It will let a lot of air escape too. With this in mind I think that the case would run at neutral to slightly positive pressure while getting rid of as much heat as possible, while keeping quiet. It should also keep the case relatively free of dust.

Best things is, this will only improve the aesthetic as I wont see that back side of the case, and the inside will look super tidy

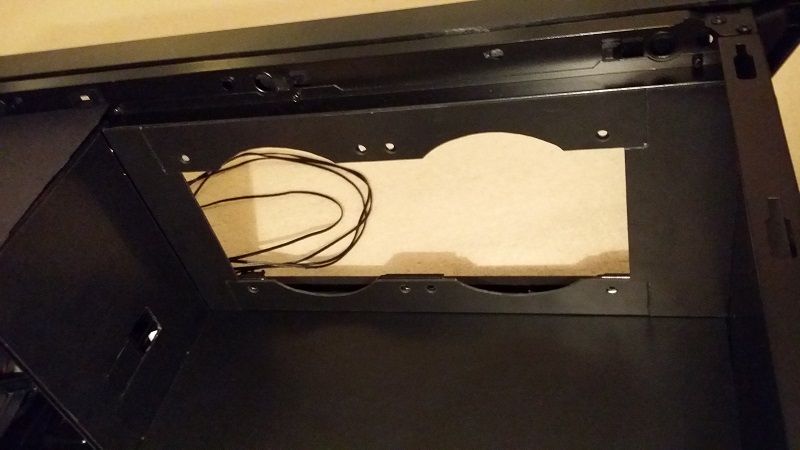
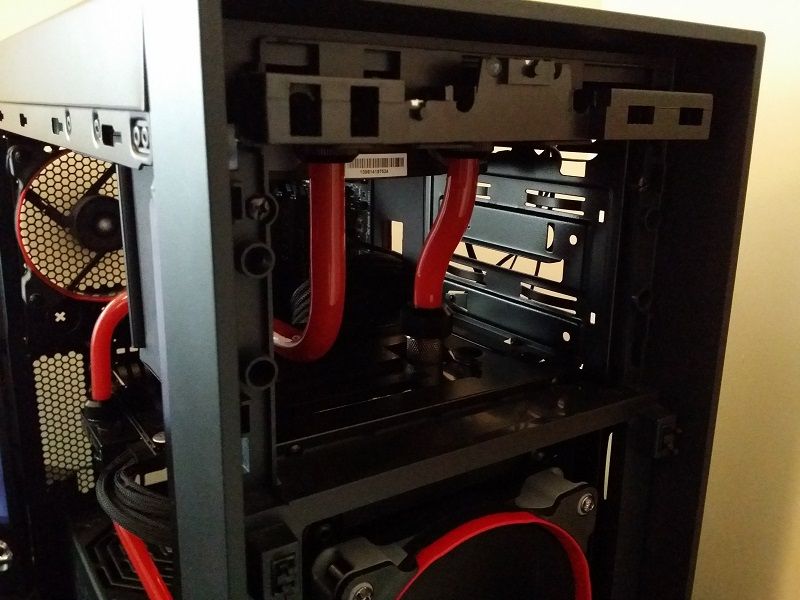
I am not removing the 5.25” drive bays like a lot of people do as it seems to support the top of the motherboard tray, but I need to make a hole in the base of the drive bay due to the design of the loop, plus I will be removing some metal brackets and mounts which aren't needed.

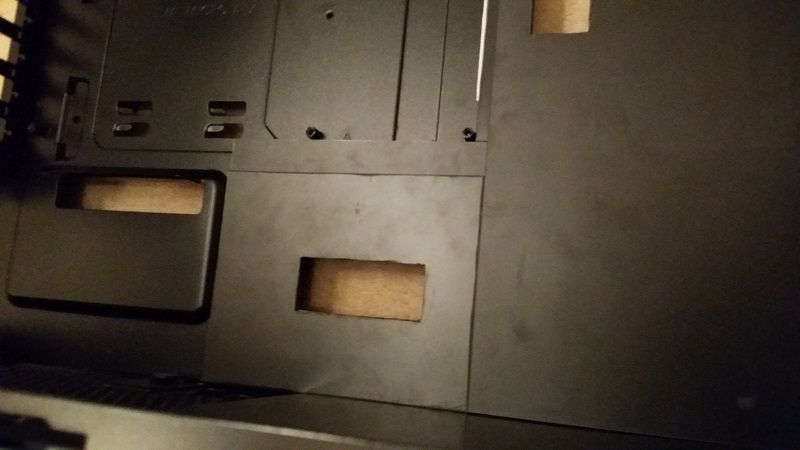
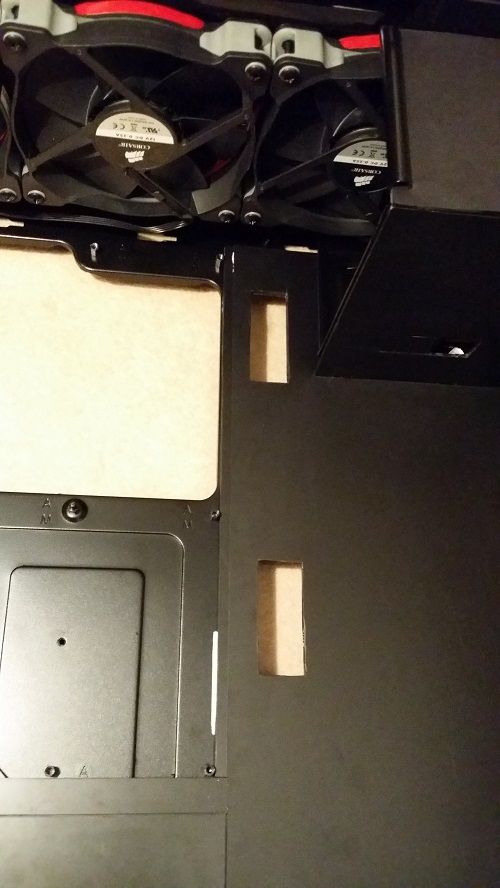
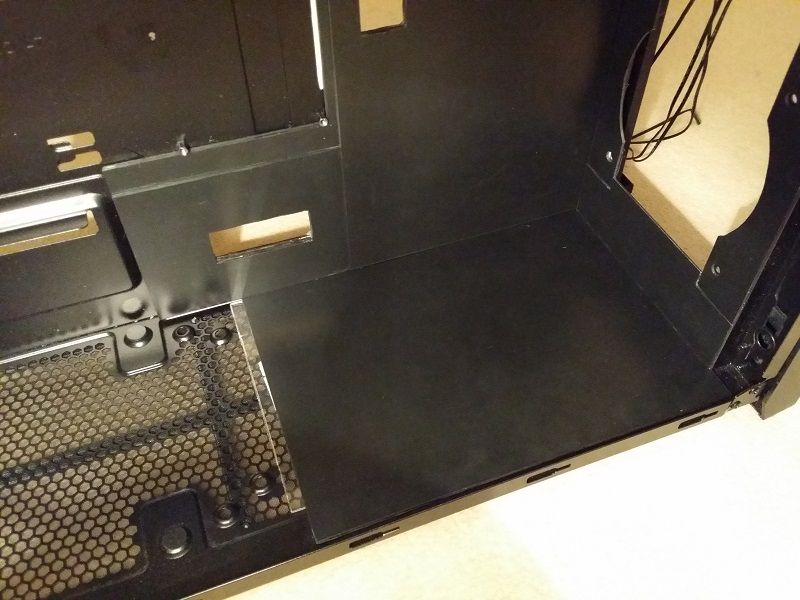
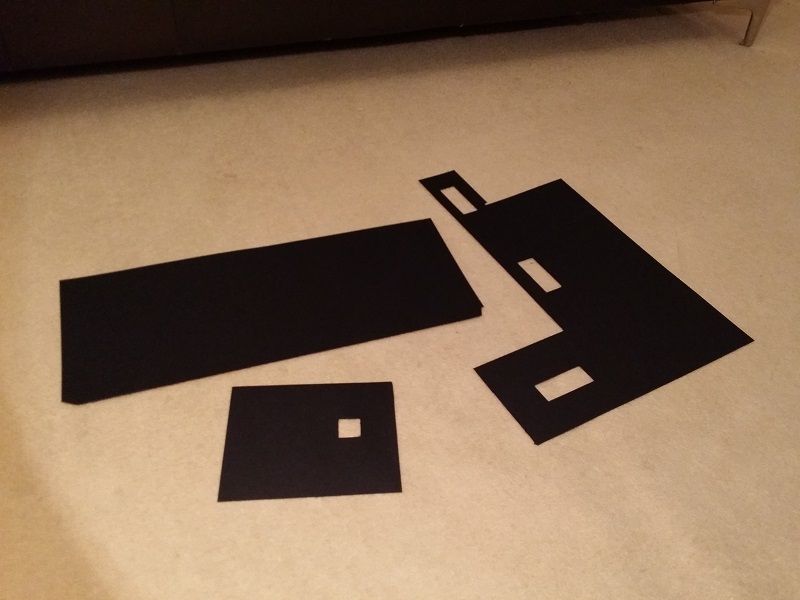
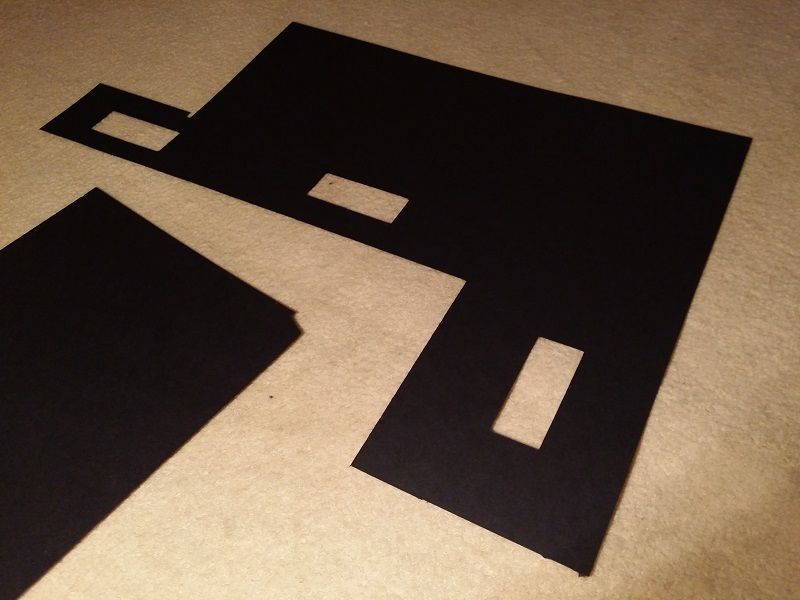
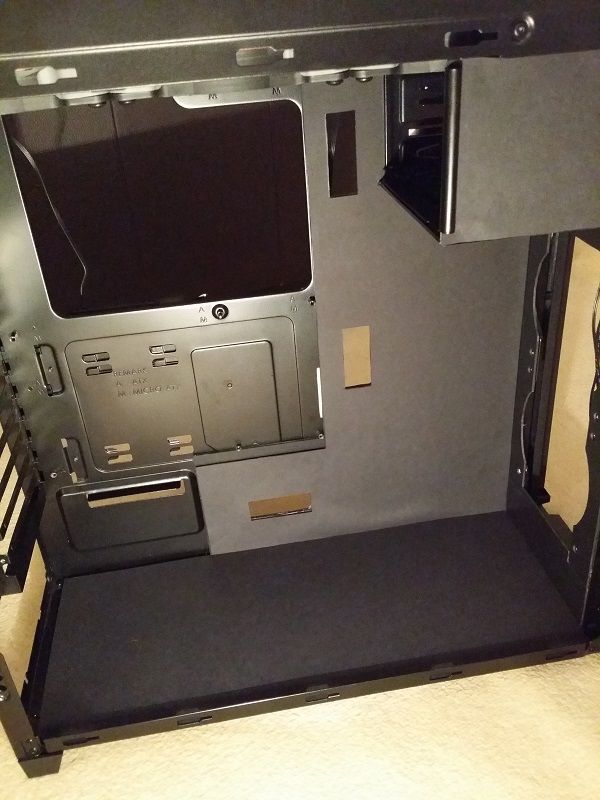
I am doing some internal panelling which I've never done before. I want the build looking clean and tidy with minimal detail. I am using 1.5mm plasticard (styrene plastic) which will cover around 95% of the visible interior. For ease I have cut smaller panels which fit together and will stick to the case interior with the stickiest double sided tape I can find. There are seams in the plastic but this will be hidden with a layer of paper card on the top. I have found card with an almost identical colour and texture to the paint job on the case. I have test fitted the panels I have cut and finished so far and they fit perfect thankfully. I will try and get some good pictures of this feature.

For ambient light, I am using flexi white LED strips on the inside of the side panel that will be cut and solder connected and will run off a 12v feed from the PSU through a 5v reducer. The source of the light can't be seen. I hate seeing light sources in PC's, it's nice to see just the reflection.

This all covers the design and concept of the build. It isn't anything special, just a neat and tidy looking gaming PC that will get the job done well.

In the next part I will go through the build process talking about the good and bad parts. I'll post more pictures as I go along and hopefully it won't take too long to complete. I am doing this in my spare time and will update this log when I can.

Feel free to ask any questions below and I will get back to you all.

Also, if anyone would like to see my current rig, feel free to ask.

Thanks for taking an interest.



Last edited:
Would it not make sense to have roof fans as exhaust rather than intake?

Youll push more hot air in than you can dispose of, surely?

I understand the point you are trying to make. The roof fans in my last system were exhausting.

When I was thinking about this a few weeks ago, before I dimsmantled my rig I flipped the fans over. Only had one 360mm rad and it was in the roof. When I flipped them my GPU temperature dropped by 4 degrees, CPU by 3 degrees in the tests that I did. Must be of course because I'm drawing cooler air through the rad rather than the heated air inside the case.

With this build there is a rad in the front too, so if I used the top rad to exhaust air, it would be exhausting the warm air from the front rad. The top rad wouldn't work very efficiently.

In terms of disposing of air, air pressure has a way of equalizing itself, through any gap it can. There is plent of venting at the back and behind the motherboard tray.

With this in mind, I do see your point. Hot air rises. This is something I will test again with this rig.
 
With this in mind, I do see your point. Hot air rises. This is something I will test again with this rig.

I've found that using the roof as intake is also far more effective than an exhaust. It was so effective it would pull loose paper off the shelf above and block them up!

People also forget that while heat does rise, the fan blowing the air out is more powerful than the natural flow of heat and I've also found that the air will be pushed more out to the side rather than upwards


People also forget that while heat does rise, the fan blowing the air out is more powerful than the natural flow of heat

I totally agree on that one. The air temperature difference may only be 10 degrees or so, I dont see that air rising so fast that it will overcome forced air flow. Plus I would rather be pushing the air that's 10 degrees cooler through the radiator.

I'll be following this for the sheer fact that you have actually put some thought into your parts choice like a lot of people here (including myself). really refreshing!

Thanks man, I appreciate it. There's no point in buying parts that I won't benefit from. The results should be interesting.

And hopefully the positive air pressure created by having more intake fans will help keep the dust out :) always a plus point.

Looks good

Yeah that's a good point of this idea. If this theory works, there should be a few benefits. Thank you sir.


Time for an update.

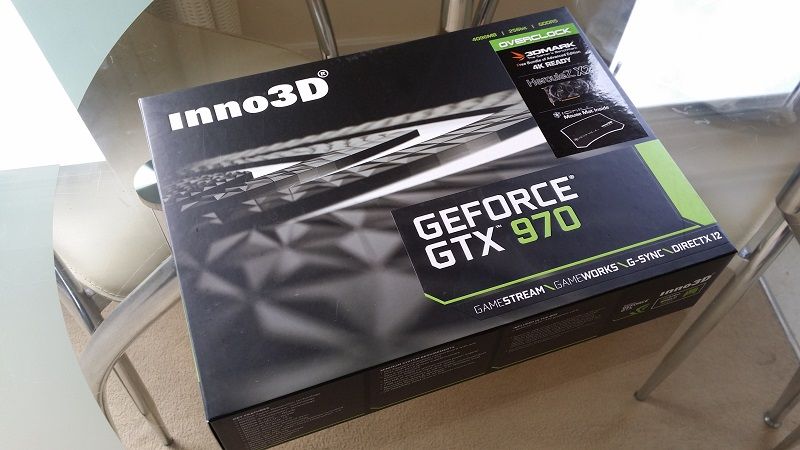
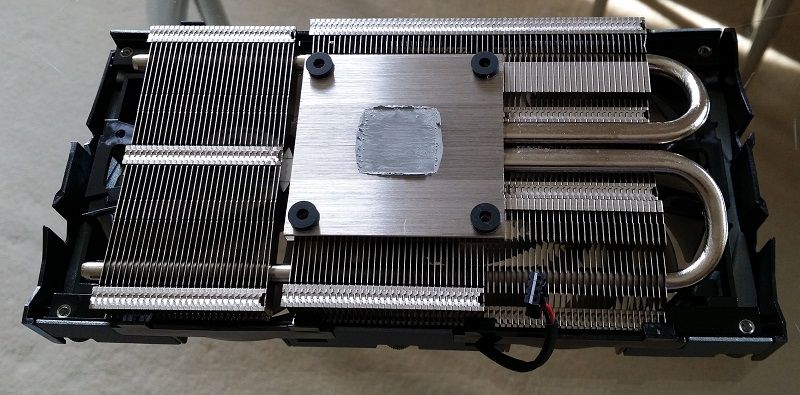
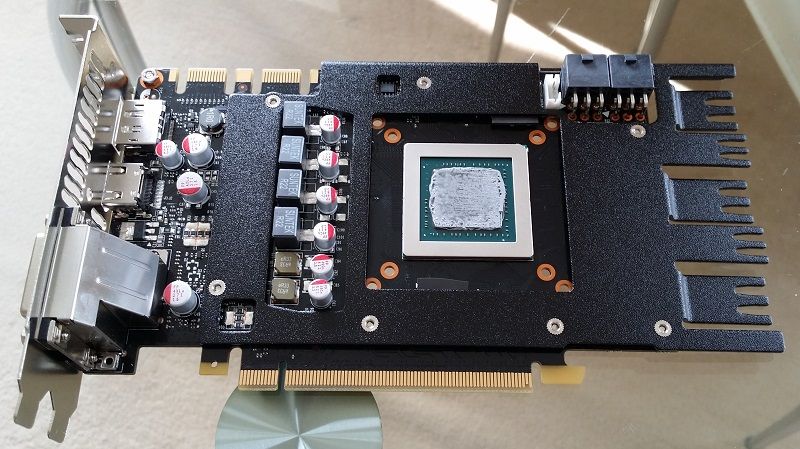
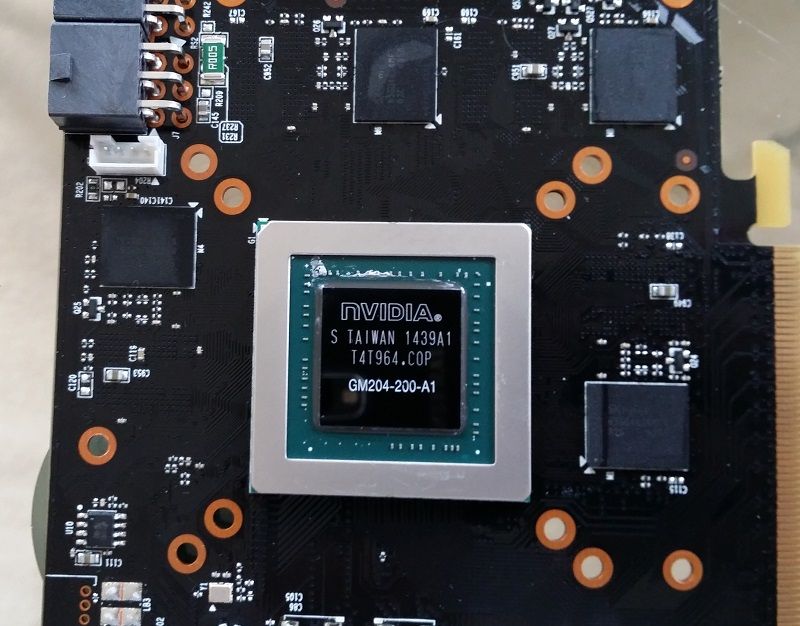
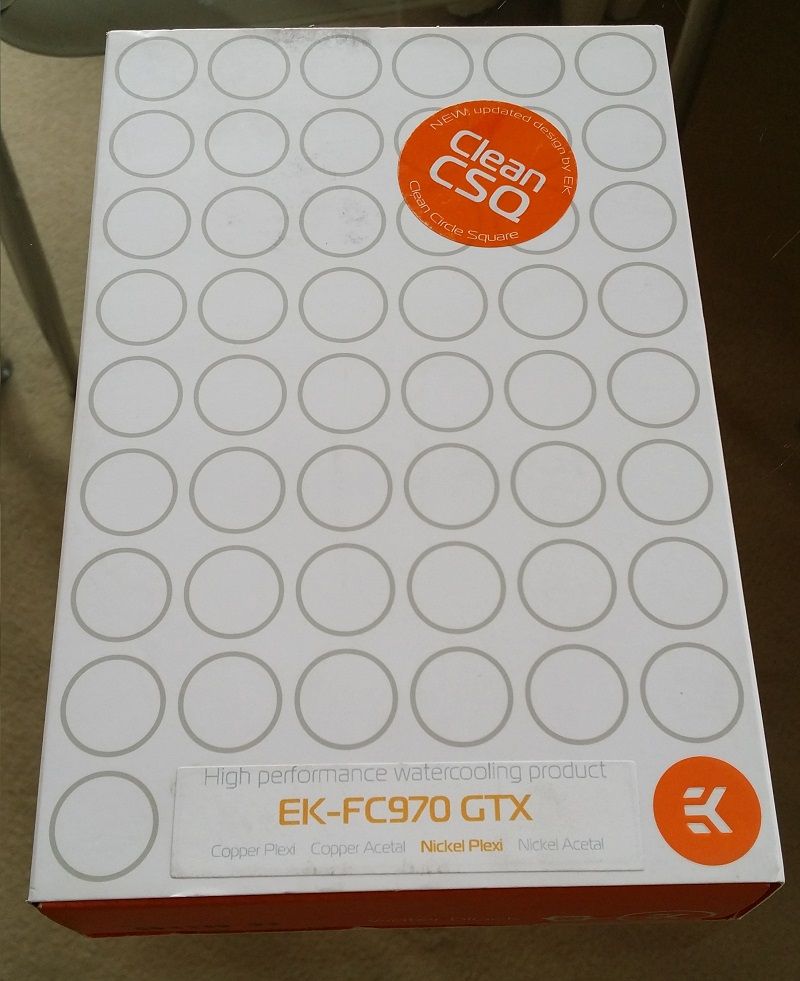
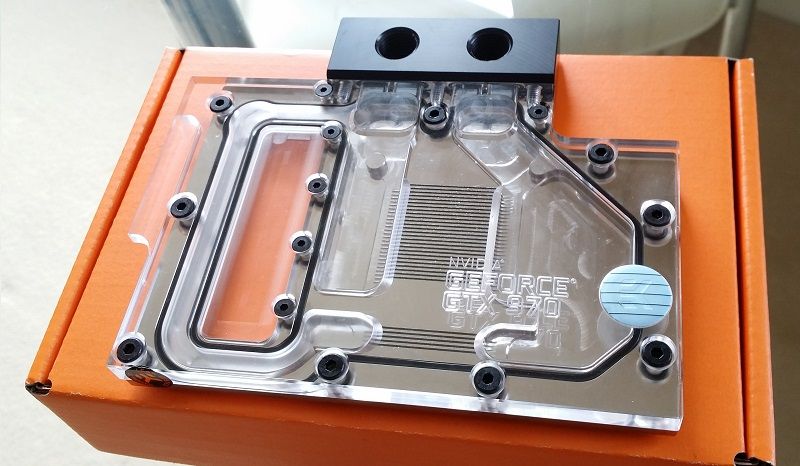
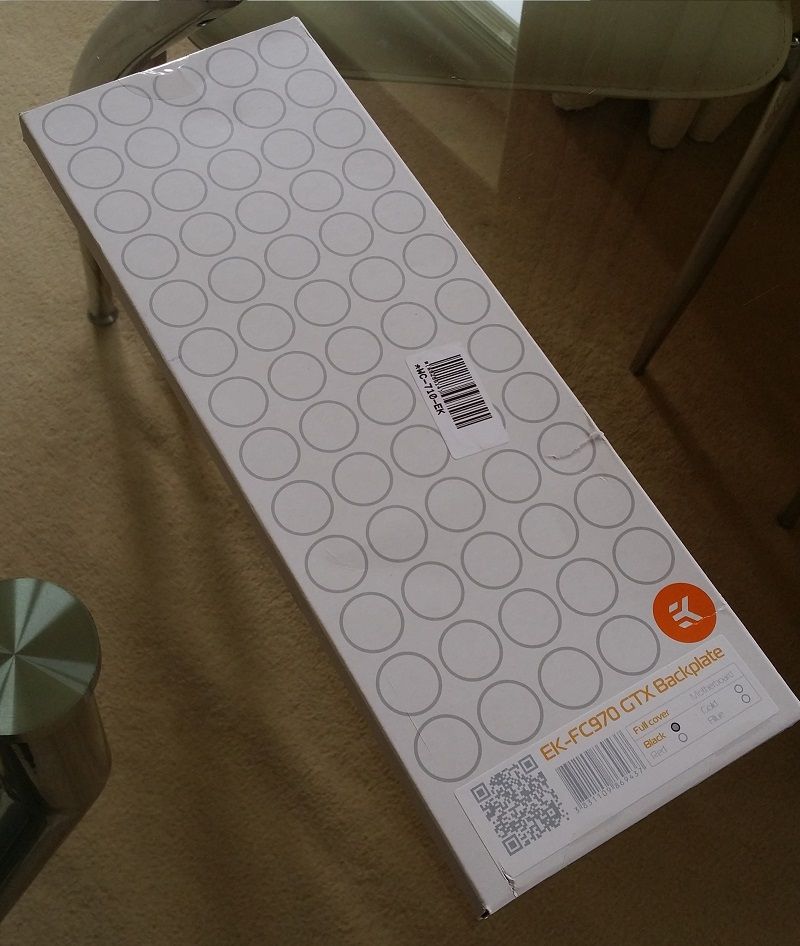
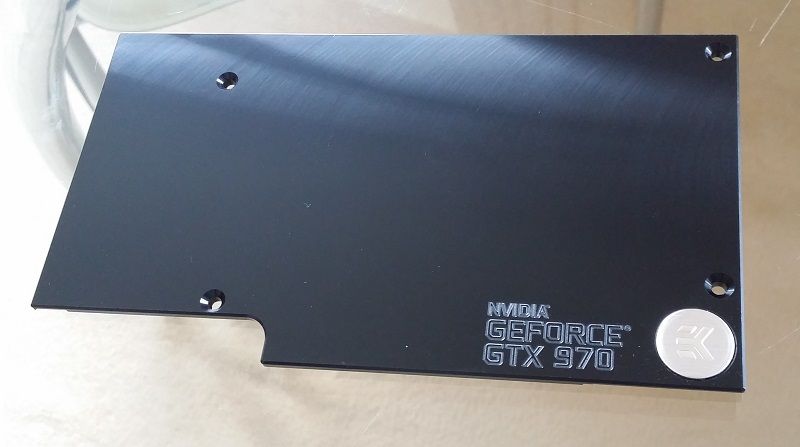
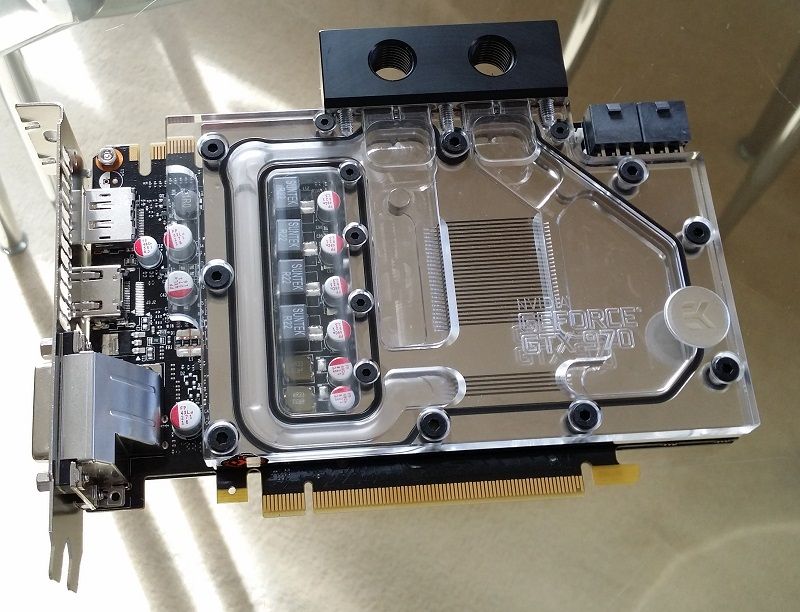
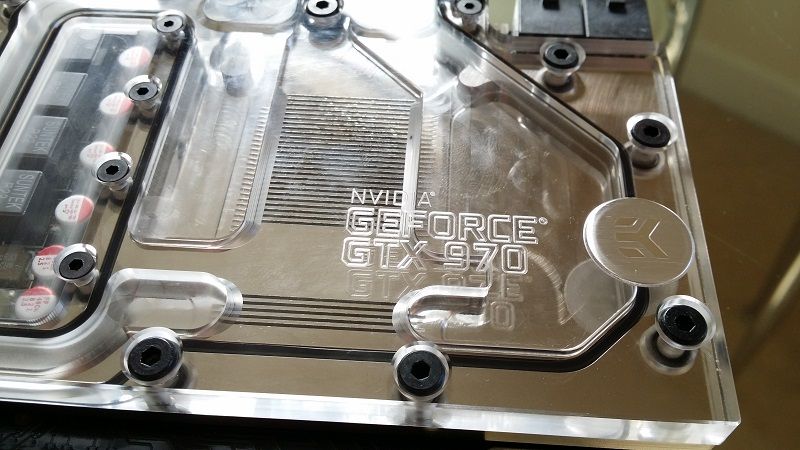
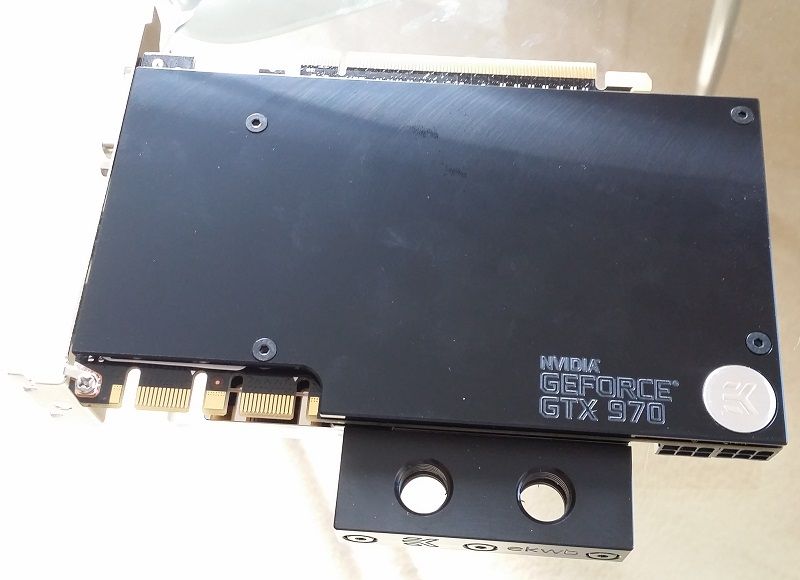
I have made some changes to my parts list. Rather than go with the 980, I have bought a 970. I bought the Inno3d 970 OC. I didn't buy this one because it has a custom cooler or because it is slightly overclocked, but because it has a reference PCB. I am not concerned about the quality of this product at all. With it I have bought the EK-FC970 GTX water block in clear Nickel and the black backplate. It is common knowledge that an overclocked 970 is not far off the performance of a 980, and it cost me almost £200 less. This can go towards a 2nd one I plan to purchase in the near future.

I have also picked out a new desk which I will be picking up next week.

Photos of the new parts will be up tomorrow.


So, this arrived.


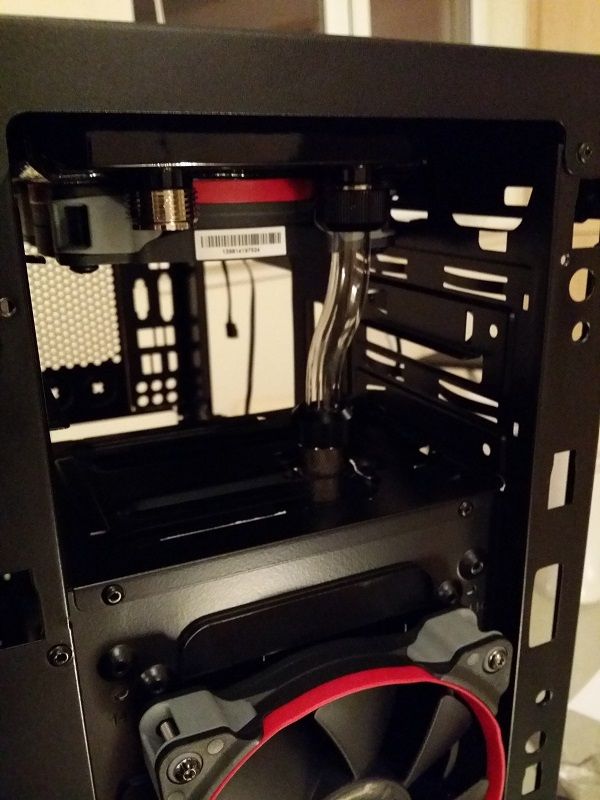
As I've said previously, I wanted to try a case mod which would tidy up the inside. I'm no professional but I think it worked out ok.


Those plastic pieces provide a good base for the following finish. Should also make it easier to keep the case clean.


Here are some more pics of the build process. I didn't take photos of every single step here and what I have missed, I will include in my final photos.


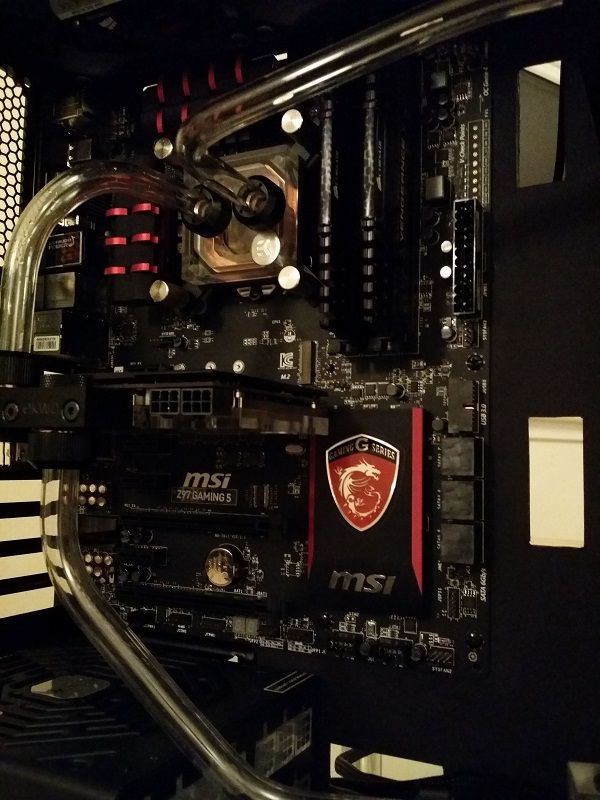
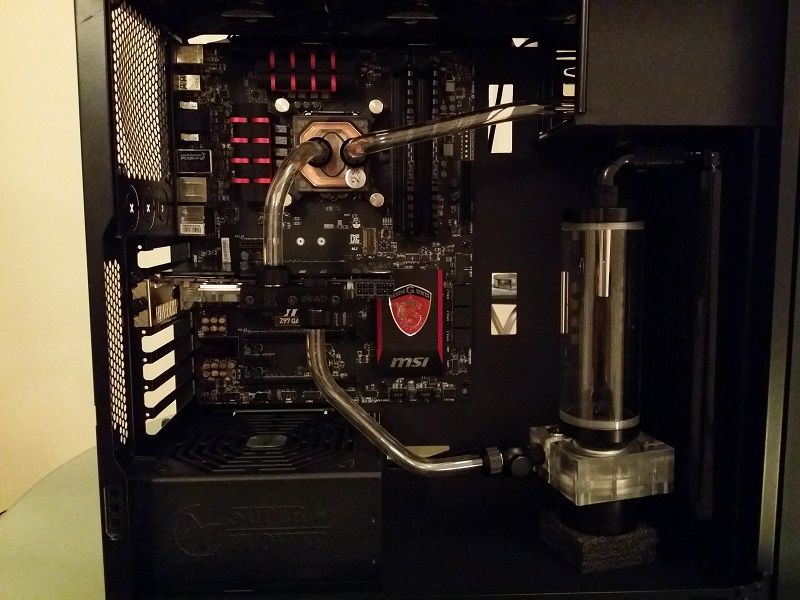
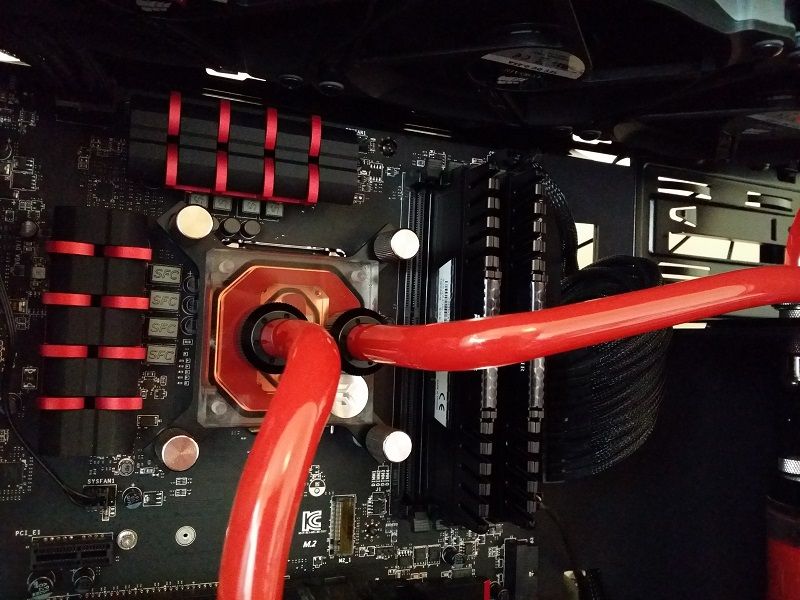
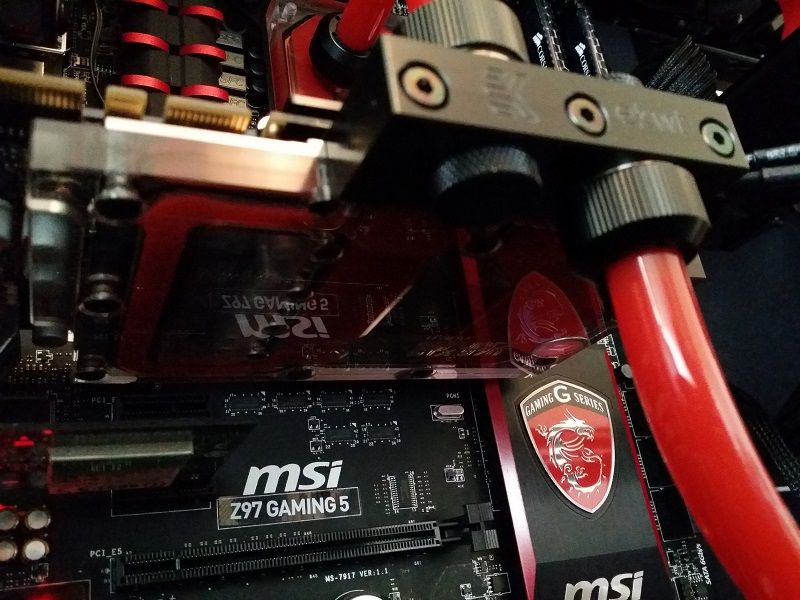
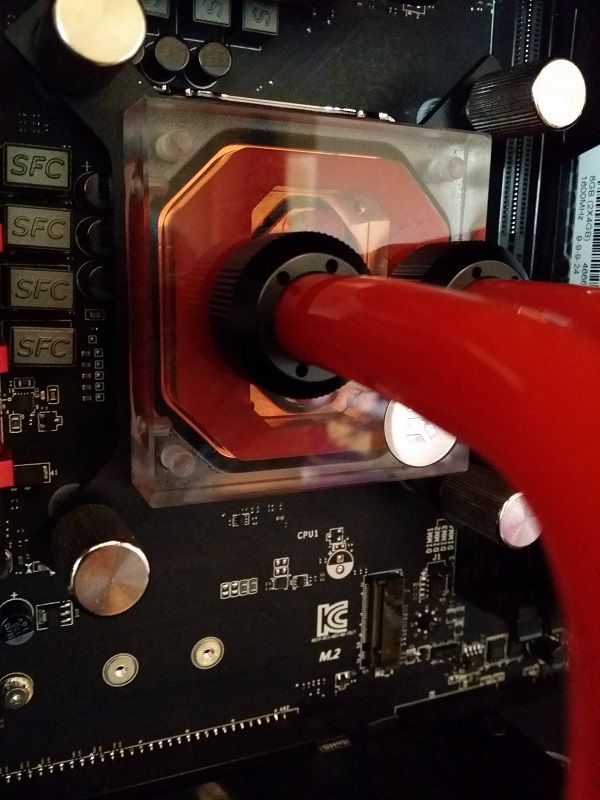
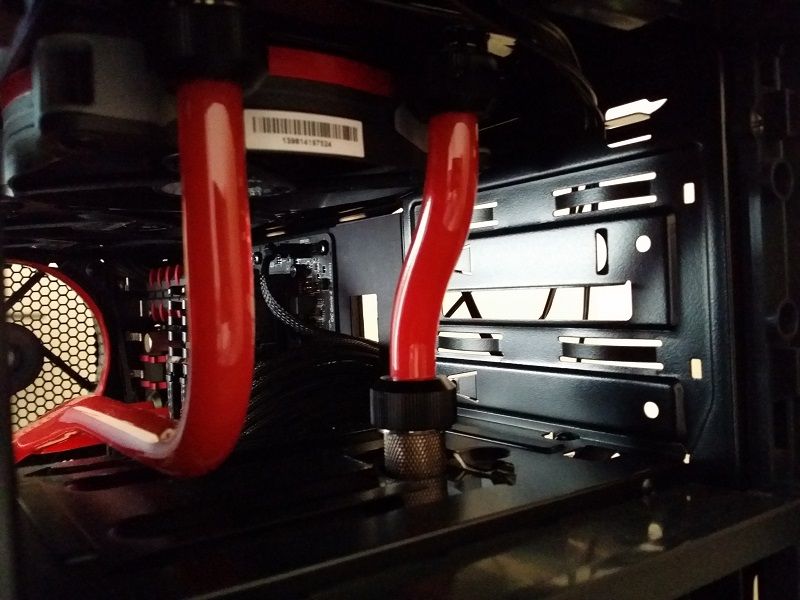
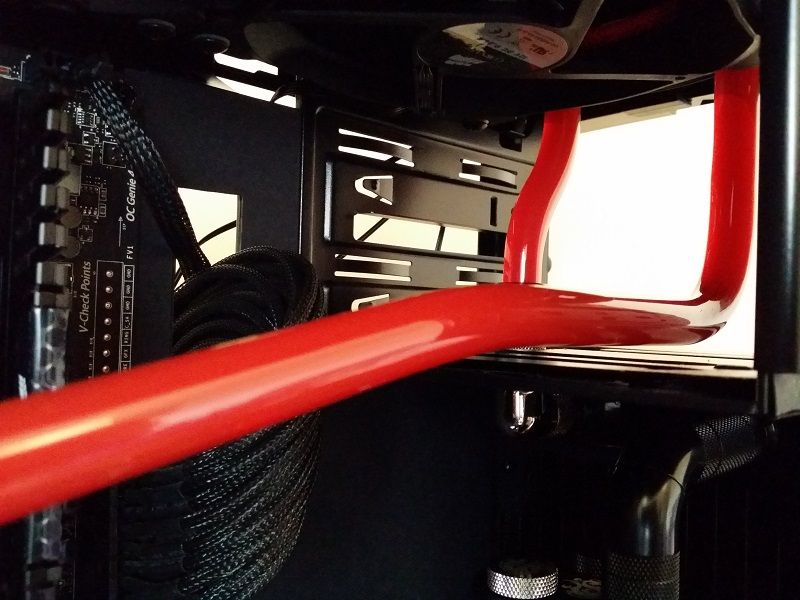
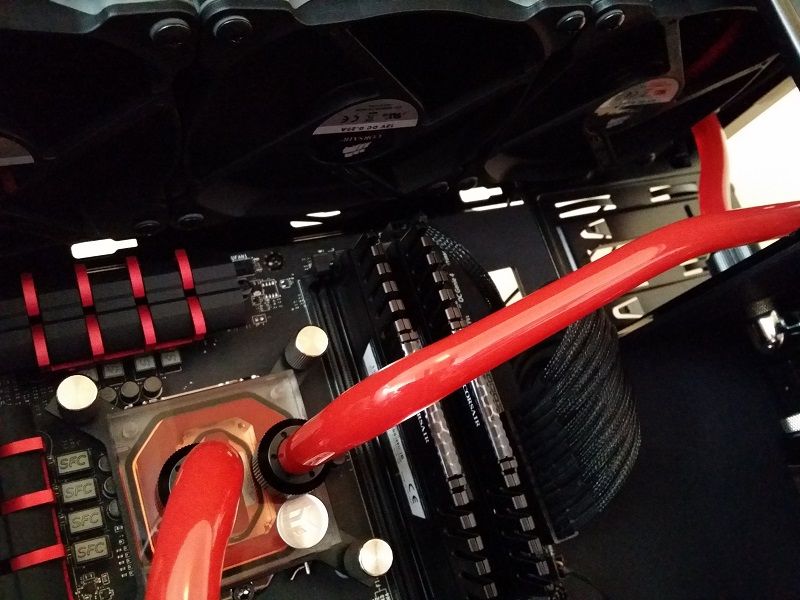
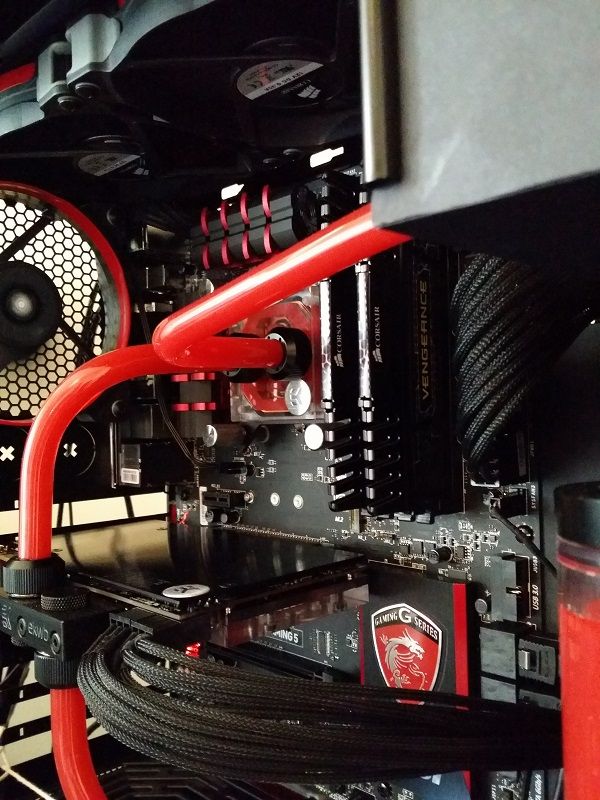
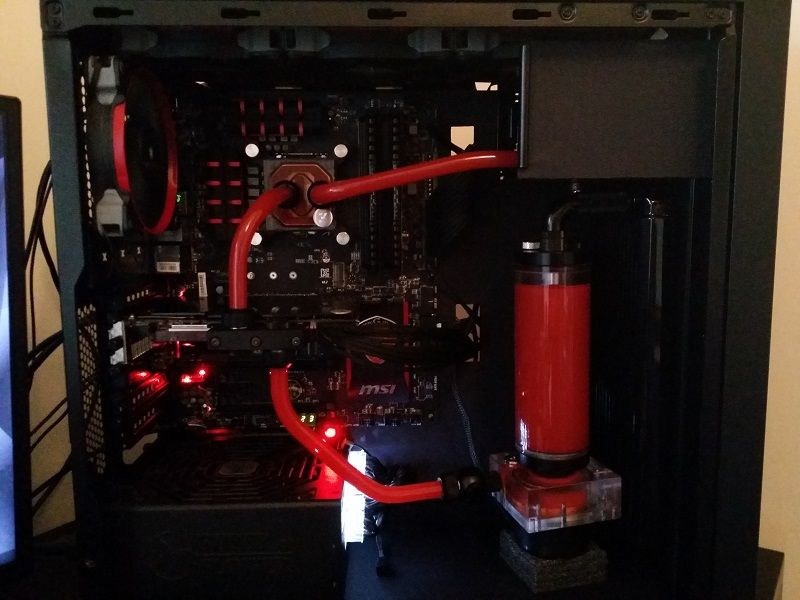
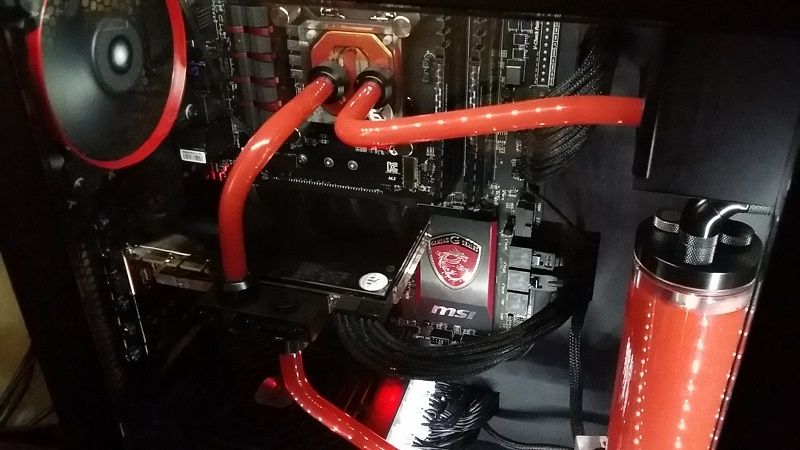
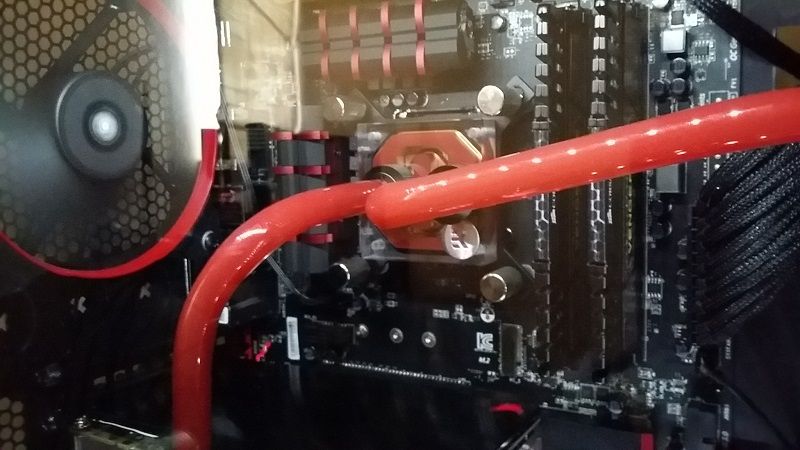
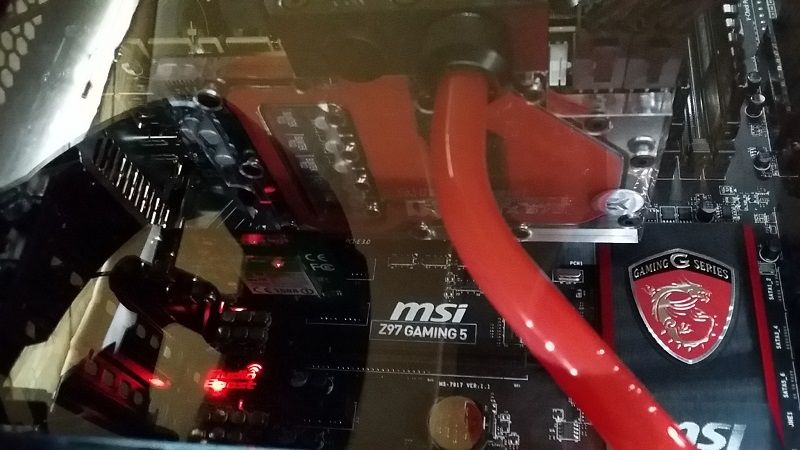
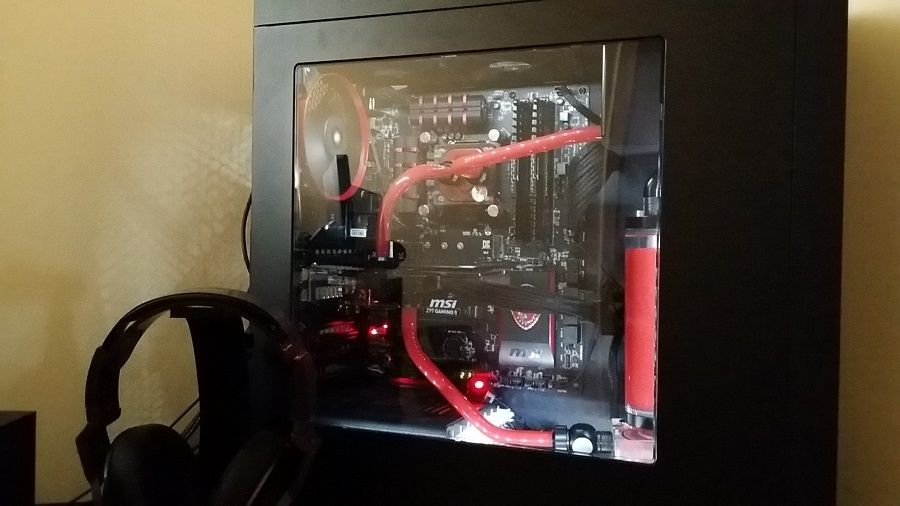
I have filled the loop and am leak testing and bleeding the system. Due to the orientation of the radiators, it is proving a nightmare to get rid of the large air pockets. This could take a while. I have chosen this tubing route as it is as short as I can get it. Believe it or not, the loop only took 750ml of coolant to fill it. Once the remaining air is out though it could be closer to 800ml.

I am really happy with how this looks and would like to know what you guys think.

Next I will cable up and Install the OS and do some testing. My next update should be in the next few days.


So that's the system finished, just waiting on one last piece arriving.

I use Mayhems Pastel Red coolant. I used Mayhems Pastel coolant on my previous build and it lasts for ages. I managed to get all of the air out of the loop but it took around a day to get even the bug our pockets out. Everything is fine now and the temperatures show that.


Results and findings:
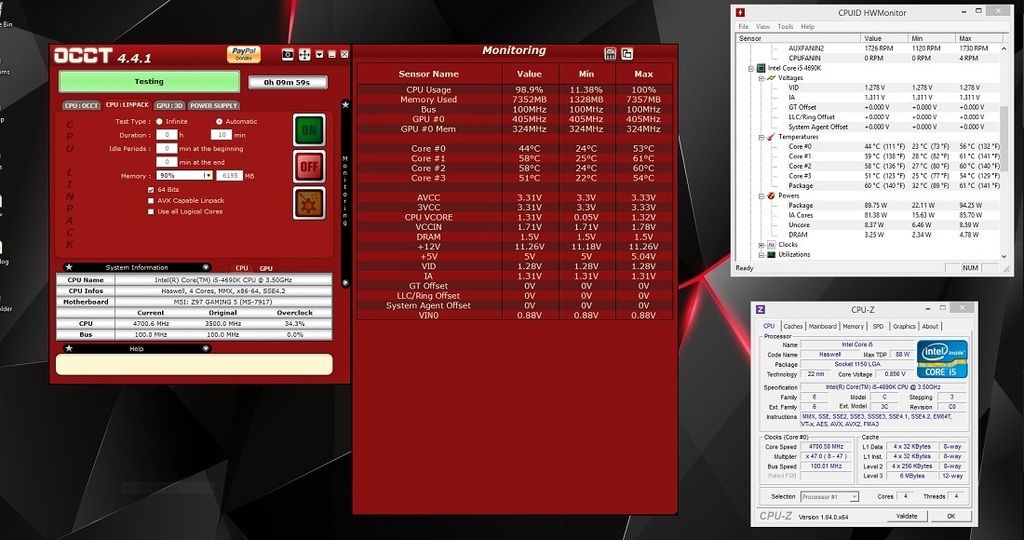
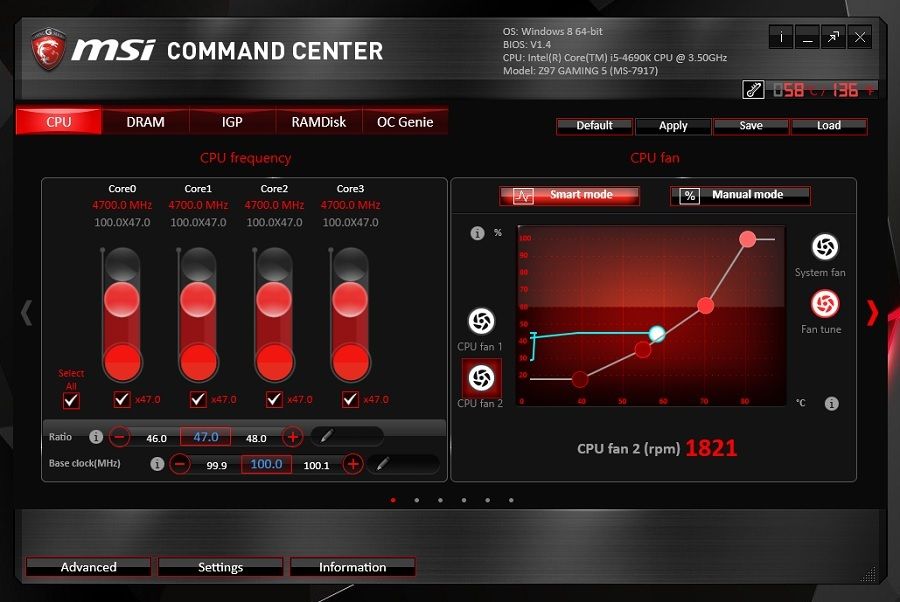
Ok, after a great deal of messing about, I have managed 4.7GHz @ 1.27v from the 4690k. I can achieve 4.8GHz stable at 1.3v but it's quite a voltage jump and not really worth it. I tested this overclock with Prime95 and OCCT CPU Linpack. The fan profiles were set to smart mode within MSI Command Centre which at minimum is 50% for the fans and 20% pump speed. I tried using Speedfan to control the fan headers but speed control is not available for this motherboard. I'm unsure if a Z97 thing or not. I'm not too fussed at this though as Speedfan's S.M.A.R.T. Function constantly polls stats from the SSD. All CPU overclcoking was done within MSI Command Centre. Even with cooling at the minimum, I cannot get this CPU past 61° and after 10 mins it only hit 61° on one core. See below.


I have cropped these images but the text is still readable.

Earlier in the project log, I theorized that drawing cool air in through both radiators (5 x 120mm fans) and having one single 120mm fan exhausting would be just fine, that the air pressure would sort itself out, and it would improve temperatures. This for me is proof that air pressure inside a case is irrelevant and in the case of liquid cooling, all radiators should be drawing in ambient air. I haven't spoken about my GPU overclock yet but I'll just put it out there that those temperatures were less than the idle temperature of my old MSI 280x with the stock cooler on.

I will now talk about the performance of the system. I have benchmarked my last 2 systems, both of which ran on the AMD FX-6100. The second of the 2 ran a MSI R9 280X Gaming. I won't include my old results here as It will take too long to get all the results together but I will note the improvement.

I have benchmarked the following programs/games with both the CPU and GPU at stock clocks and overclocks.


Unigine Heaven 4.0
Unigine Valley 1.0
Luxmark Room
Tomb Raider
Hitman Absolution
Crysis 3
Watch_dogs
Alien Isolation
and 3D Mark Advanced


I will just post the overclock results, don't want this getting too heavy. These tests where applicable were performed at 1080p, and max settings were used where applicable except from any cinematic effects like motion blur etc...


Results:

Heaven 4.0:
CPU and GPU overclocked = Score 1443 @ 57.3fps
Improvement over stock = 149 points (11.5%)
Improvement over my previous system = 502 pts + 19.9fps (53%)


Valley 1.0:
CPU and GPU overclocked = Score 2441 @ 58.3
Improvement over stock = 239 points + 5.7fps(10.9%)
Improvement over my previous system = 411 points + 9.8fps (20.2%)


Luxmark:
CPU and GPU overclocked = Score 1657
Improvement over stock = 111 points (7.2%)
Improvement over my previous system = 116 points (7.5%)


Tomb Raider:
CPU and GPU overclocked = 51.8 average fps using built in benchmark
Improvement over stock = 5.6 fps (12.1%)
Improvement over my previous system = 11.1 fps (28%)


Hitman Absolution:
CPU and GPU overclocked = 48 average fps using built in benchmark
Improvement over stock = 2.1 fps (4.6%)
Improvement over my previous system = 5.2 fps (12%)

The Hitman Absolution results look really bad but by using stock clocks on both systems the 970 was around 28% higher scoring. This game does not perform well regardless of which hardware is being used.


Crysis 3:
CPU and GPU overclocked = 38.2 average fps using Fraps and my own consistent method
Improvement over stock = 3.7 fps (10.7%)
Improvement over my previous system = 9.2 fps (32%)


Watch_Dogs:
CPU and GPU overclocked = 51.4 average fps using Fraps and my own consistent method
Improvement over stock = 5.8 fps (12.7%)
Improvement over my previous system = 25.8 fps (100%)

Could not believe this so I tested it quite a few times. This result could be down to drivers but it's still pretty epic. I can actually play this game now!


Alien Isolation:
CPU and GPU overclocked = 214.9 average fps using Fraps and my own consistent method
Improvement over stock = 26.3 fps (5.4%)

I added this in for a laugh. Is this a bad console port or something? The fps is crazy for a game which looks so good!


Firestrike 1.1:
CPU and GPU overclocked = Score 10292
Improvement over stock = 1569 points (18%)


Sky Diver 1.0:
CPU and GPU overclocked = Score 24439
Improvement over stock = 3900 points (20%)


Cloud Gate 1.1:
CPU and GPU overclocked = Score 22283
Improvement over stock = 4805 points (27%)

I am quite happy with these results, I wasn't expecting much more to be honest. I may just run the CPU at stock as it did not make much difference in game and only contributed around 20% towards the overall gain of CPU and GPU overclocking. Had I known the CPU results would have panned out like this, I would have just bought a 4690 and saved myself some money, but hey. I did do some rendering tests using Cinebench R15, and the 4690k destroys the FX-6100 in that department. For example, the overclocked 6100 scored 506 in Cinebench R15 whereas the 4690k overclocked scored 677! And the 4690k rendered a 10 minute long 1080p video at 30fps in H.264 in around 60% of the time the 6100 took. In this regard the 4690k is streets ahead and for the price, it performs very well. It's a shame that these results didn't show in games.

GPU wise, I cannot get this thing over 42° , even after running around playing Crysis 3 for 30 mins. I managed a 225MHz overclock bringing the clock up to 1515MHz at stock voltage and stock power limit. The highest I saw % against TDP was 90%. Maxwell is very efficient. I tried some memory overclocking but lost interest at 7050MHz as I saw no gains.

I think I would need to fit another 970 to have the best gaming experience I can, it should get me up to around the 60fps in even the most demanding games at max settings.


Monitors:
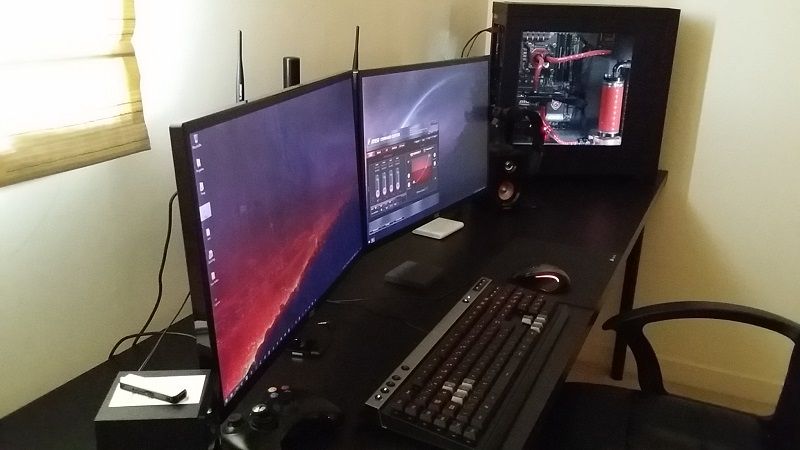
Last week I said I would getting a hold of a 144Hz 1ms gaming monitor but after a bit of research I have changed my mind. For me, 60 fps is the sweet spot. The higher the refresh rate goes, the less you notice it. I doubt I would be able to tell 60 fps from 70 fps, and even if I could, it's not a huge deal. If we are talking about response times too and why I am happy with a 5ms response time, blinking takes the average person 20ms. I am happy with a response time 4x faster than the blink of the human eye. One thing I do find important though is overall image quality, and you really need to go IPS for that. I also quite liked the idea of ultrawide, so I have decided to get a 21:9 ultrawide 29" IPS 5ms LG panel, which is very kindly being given to me as a gift from my amazing mrs for putting up with her haha. I have ordered the LG 29UB55-P from Overclockers which should arrive tomorrow.

I won't achieve quite the same framerates seen in my scores above as the resolution is 2560 x 1080 but I am Happy with that.

This will replace one of my AOC E2461FWH 2ms TN panels which are great monitors but are lagging behind now.

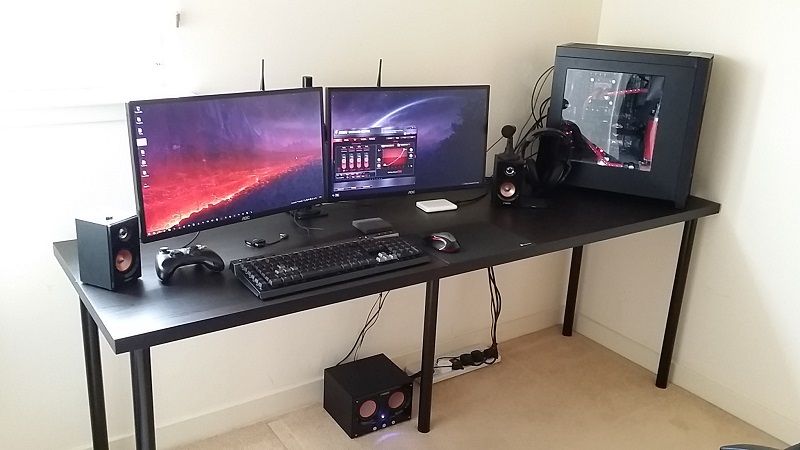
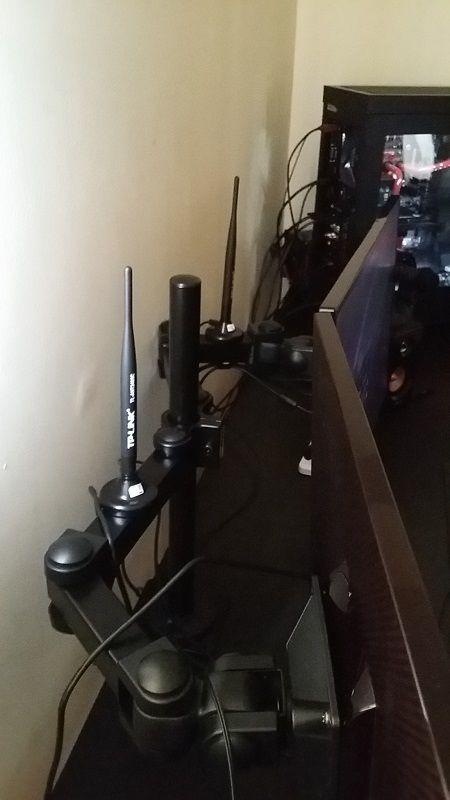
Here are some pics of my set up at the moment.


Back
Top Bottom