Spec list:
Original build thread: http://forums.overclockers.co.uk/showthread.php?t=18017143
Hi all!
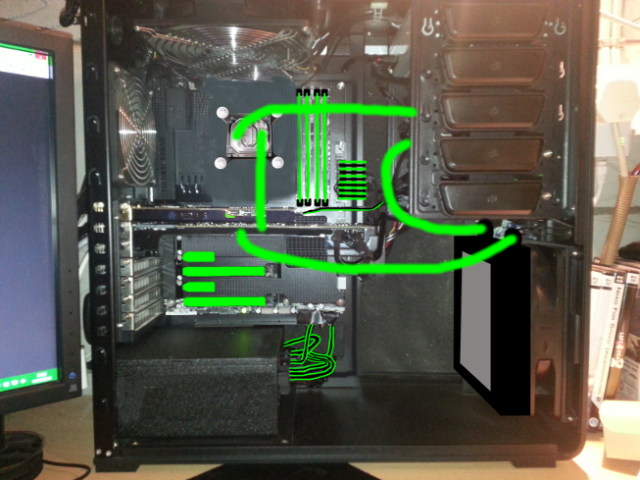
They time has come for me to jazz up my PC a bit, so I’m going to try and add watercooling to the existing setup, attempt my hand at cable braiding, add some lighting and even a bit of spray painting.
My CPU temps are fine, idling at around 33 degree, but it is my graphics card that I’m concerned about – when playing BF4 on Ultra, the card regularly hits almost 90 degrees. Apparently according to MSI, this is fine, but I’m still not keen on it. As such, the primary objective for this build, is to cool the video card.
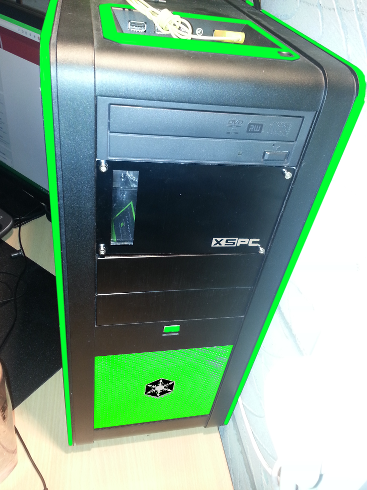
I’ve made a few mockups in GIMP so you can see how it could look, but to tell you the truth, I’m not entirely sure. I definitely want a neon Green and black colour scheme – if someone could offer a few opinions on what looks good/ bad and offer a few suggestions, it would be greatly appreciated! Original Gimp XCFs are available via trust.
Side:
Front:
So why not just run a pump/res -> GPU -> rad loop? Well, therein lies the problem – due to having a heatsink and fan on the CPU, there’s very little room to get the GPU pipework in. Which, then makes me think that it would make sense to watercool the CPU while I’m at it, and get some extra space in the case.
Parts bought:
Parts wanted:
All watercooling parts, except for the above pump/res
Mods in mind: Case painting, cable sleeving and braiding, paint RAM heatspreaders, de-sticker PSU, RGB lighting
So... over to you guys! Any ideas or suggestions on what you would do or would like to see?
- Case: Silverstone Fortress FT01
- CPU: Intel Core i5-2550K 3.40GHz (Sandybridge) Socket LGA1155
- MoBo: Asus Sabertooth Z77
- GPU: MSI HD 7970 OC 3072MB GDDR5
- PSU: EVGA 850W Supernova G2
- RAM: Crucial 8GB (2x4GB) DDR3 1600Mhz Ballistix Sport Memory Kit CL9 (9-9-9-24) 1.5V
- HDD: OCZ 120GB Agility 3 SSD, 120GB Crucial M500, 500gb Seagate
- Heatsink/ Fan: Gelid Solutions Tranquillo Rev.2
- Sound: ASUS Xonar D2X
Original build thread: http://forums.overclockers.co.uk/showthread.php?t=18017143
Hi all!
They time has come for me to jazz up my PC a bit, so I’m going to try and add watercooling to the existing setup, attempt my hand at cable braiding, add some lighting and even a bit of spray painting.
My CPU temps are fine, idling at around 33 degree, but it is my graphics card that I’m concerned about – when playing BF4 on Ultra, the card regularly hits almost 90 degrees. Apparently according to MSI, this is fine, but I’m still not keen on it. As such, the primary objective for this build, is to cool the video card.
I’ve made a few mockups in GIMP so you can see how it could look, but to tell you the truth, I’m not entirely sure. I definitely want a neon Green and black colour scheme – if someone could offer a few opinions on what looks good/ bad and offer a few suggestions, it would be greatly appreciated! Original Gimp XCFs are available via trust.
Side:

Front:

So why not just run a pump/res -> GPU -> rad loop? Well, therein lies the problem – due to having a heatsink and fan on the CPU, there’s very little room to get the GPU pipework in. Which, then makes me think that it would make sense to watercool the CPU while I’m at it, and get some extra space in the case.
Parts bought:
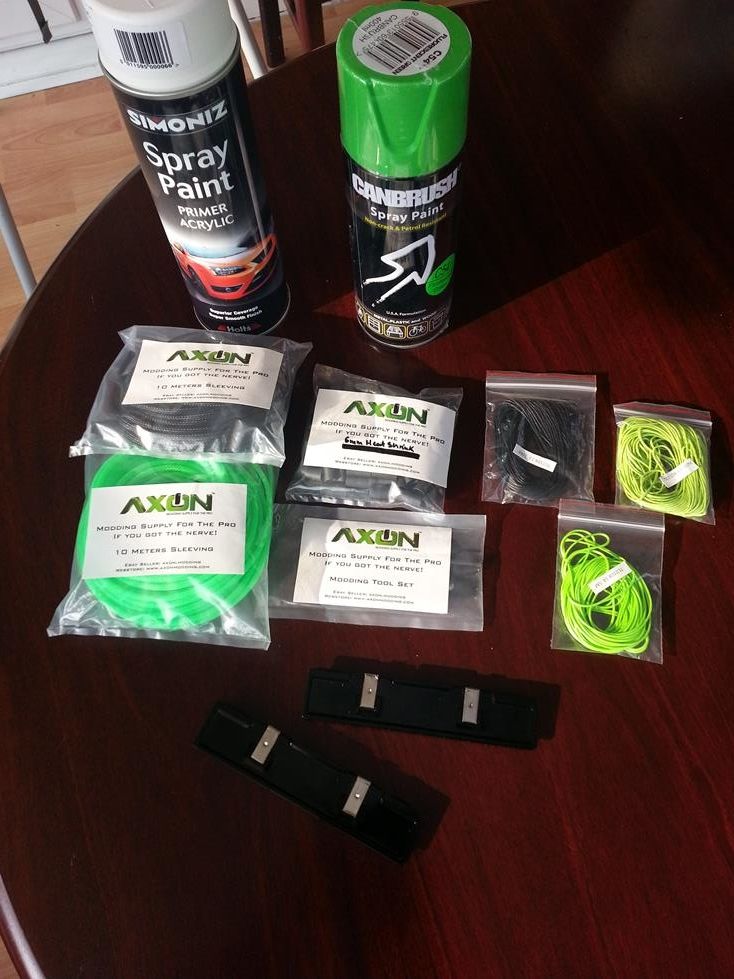
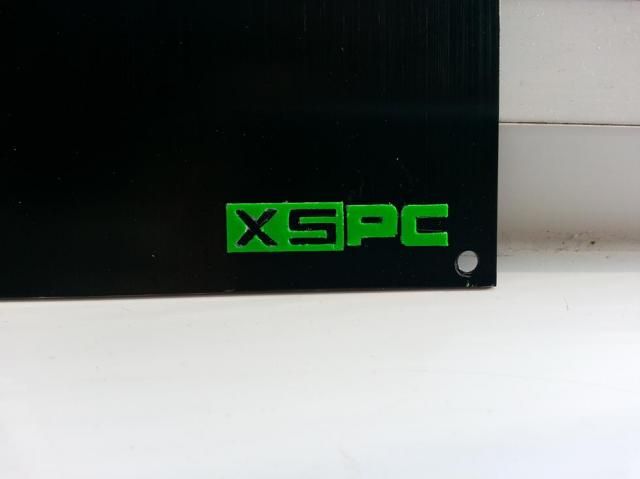
- Pump/res: XSPC single loop dual bay res + D5
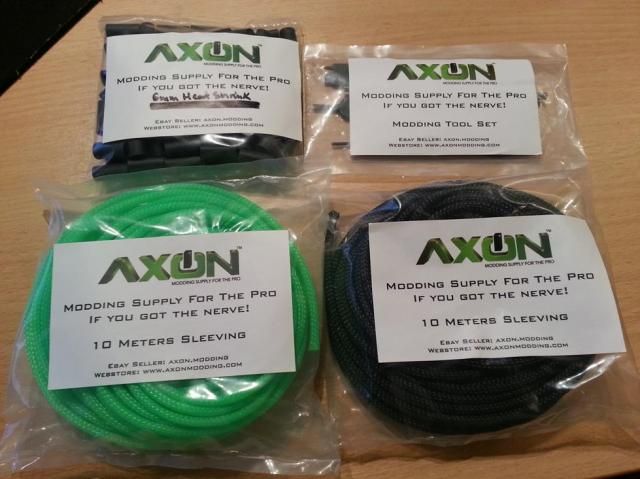
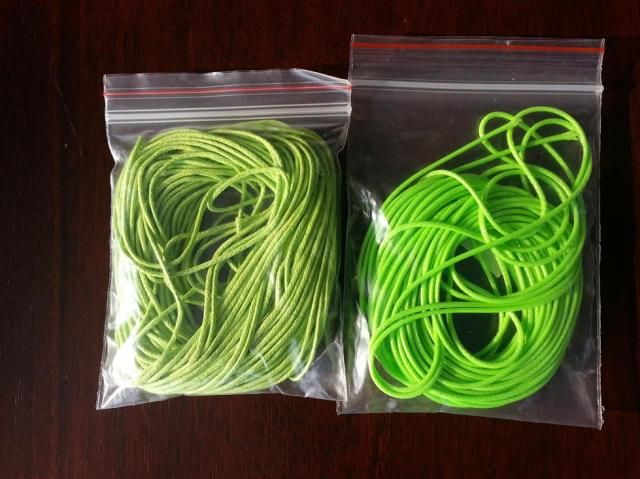
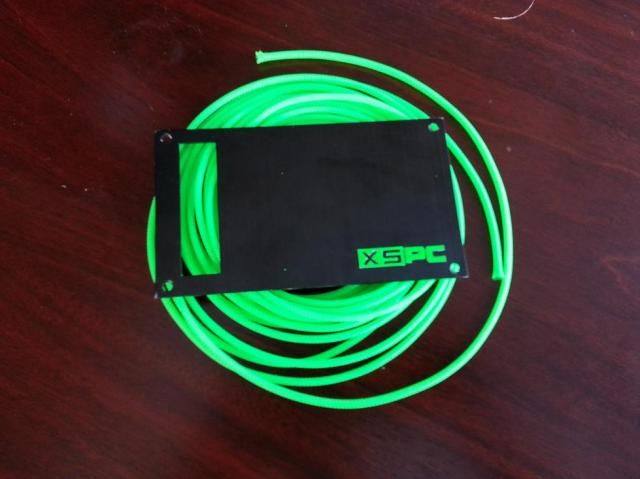
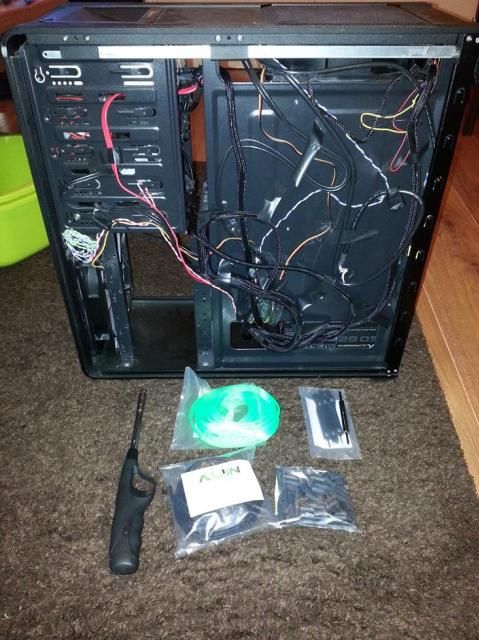
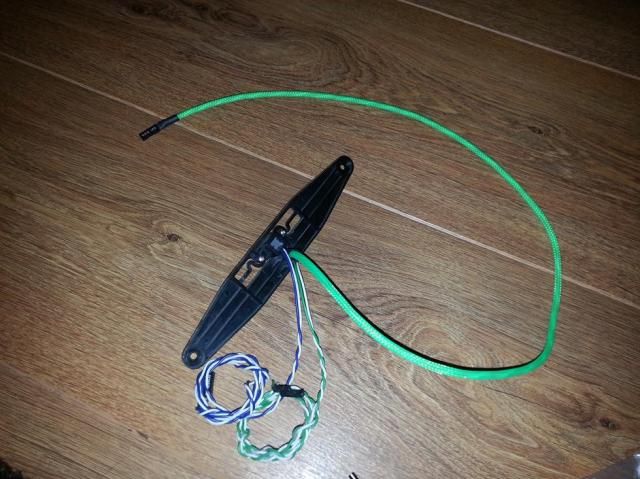
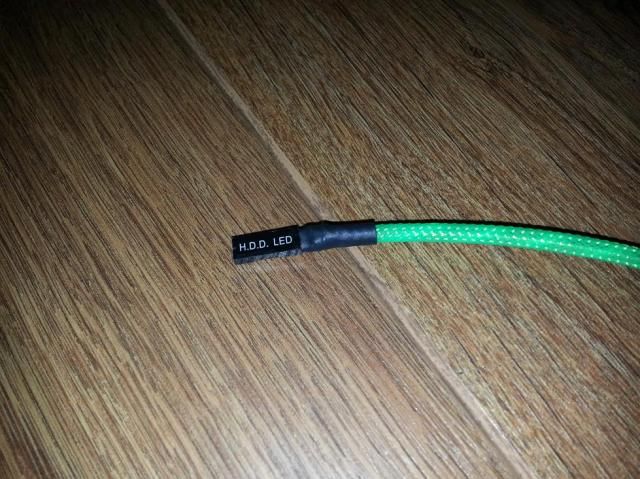
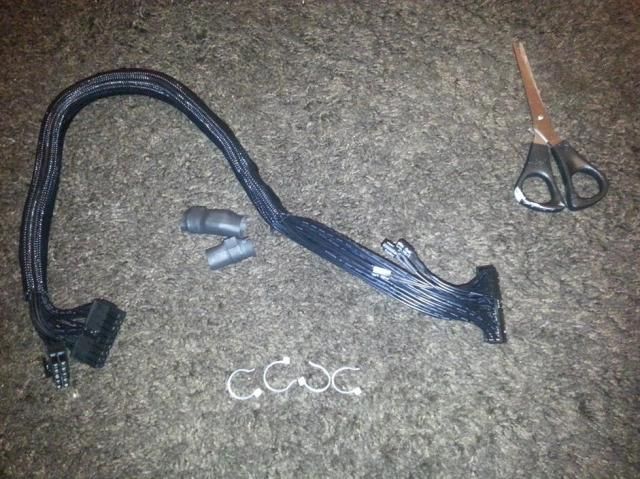
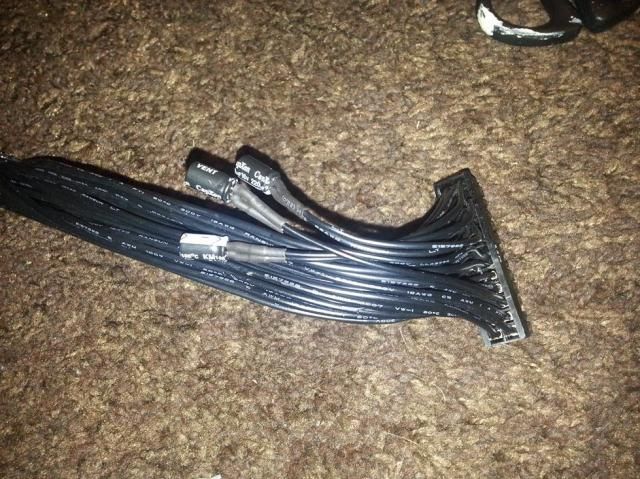
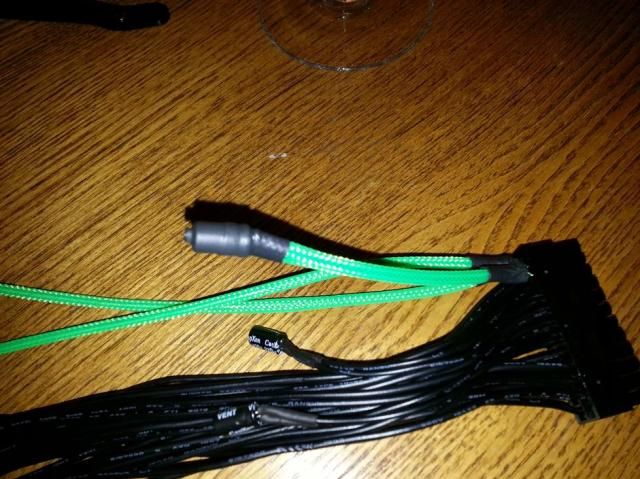
- Cable modding: 10m of 3mm black/ green cable sleeving, 6mm (3:1 shrink) pre-cut heat shrink, PSU modding tool, 10m green/ black 1mm waxed cotton
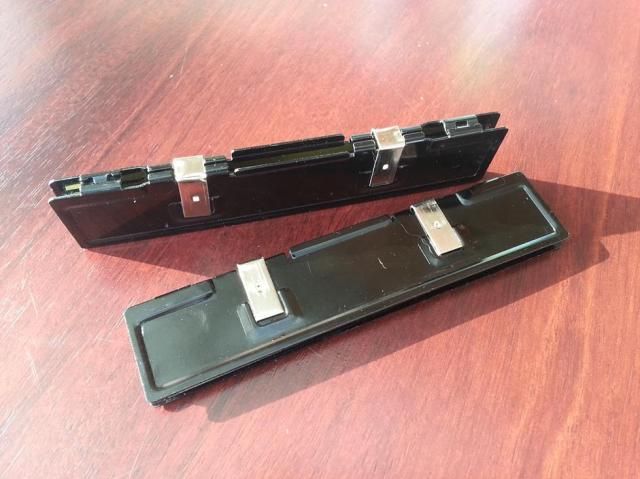
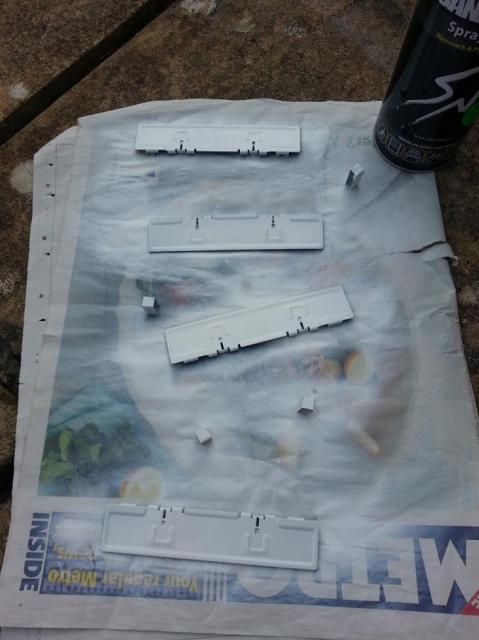
- Misc: Green LED power switch, green led for res colouring, white under coat spray, neon green spray paint, 5m of 5050 RGB Led strip, 2 aluminium RAM heatsink spreaders
Parts wanted:
All watercooling parts, except for the above pump/res
Mods in mind: Case painting, cable sleeving and braiding, paint RAM heatspreaders, de-sticker PSU, RGB lighting
So... over to you guys! Any ideas or suggestions on what you would do or would like to see?


