Project: 800Dizzle

Associate
Joined
16 Dec 2009
Posts
723
Location
Bolton
Project 800Dizzle

Complete scroll for pictures and updates.


This is my third project and probably the most major. My old 800D build log is located here I then added a few additions which you can see here.

This new project will be taking place hopefully next week as I'm relocating my computer before I start anything.

What's it all about?
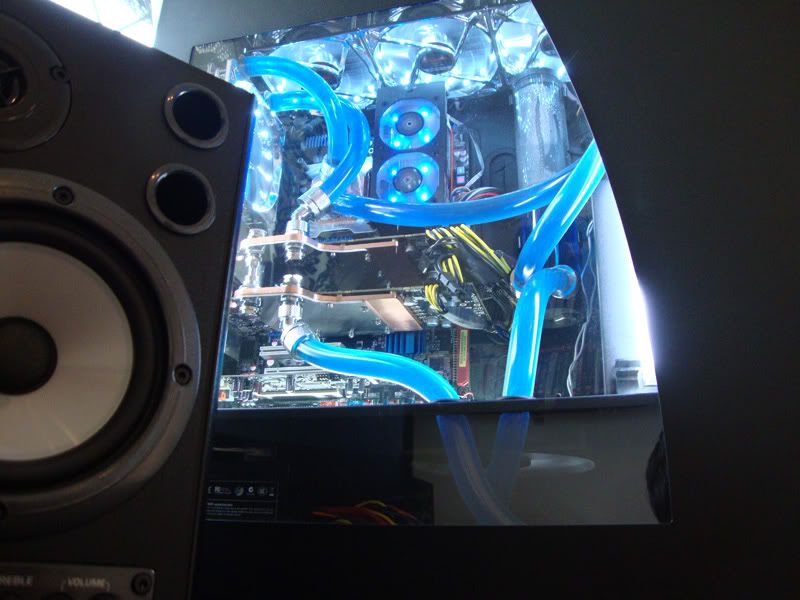
Well I'm going to add dual loops to my 800D. My triple rad which I'm currently using on my whole system will just be used for cooling my CPU and possibly a north bridge block (later addition). And a new dual rad will be used to cool my graphics cards.

What's going to happen?
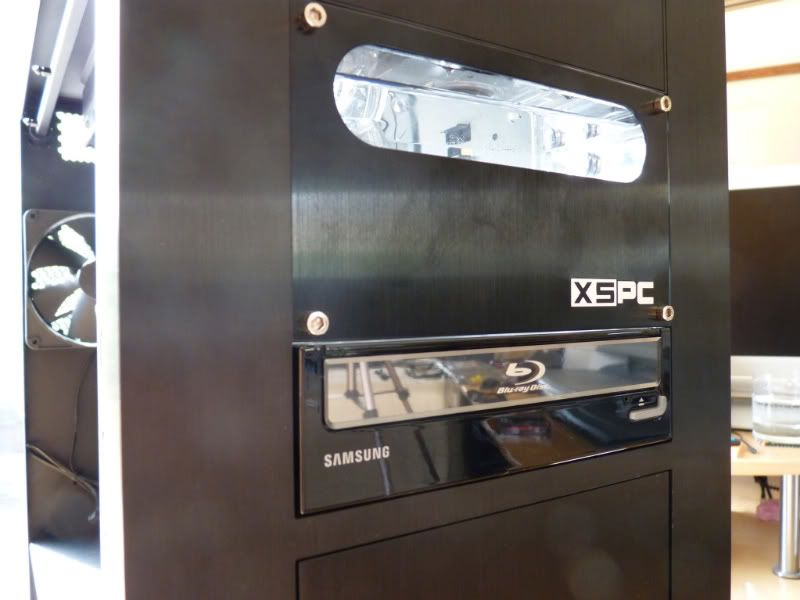
Pretty much removing my EK multi-option res and pump and replacing them with 2x XSPC Drive bay reservoirs and 2x swiftech MCP pumps. I will then remove the small bay which is located across from my power supply and be cutting part of my case out to add a grill.

(Diagram will be made later)

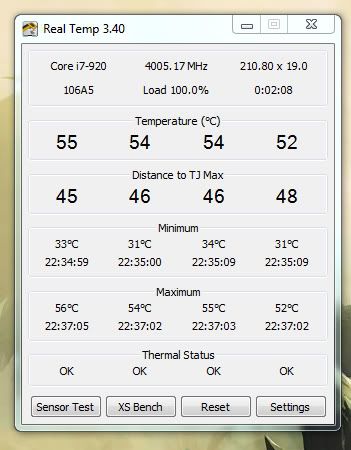
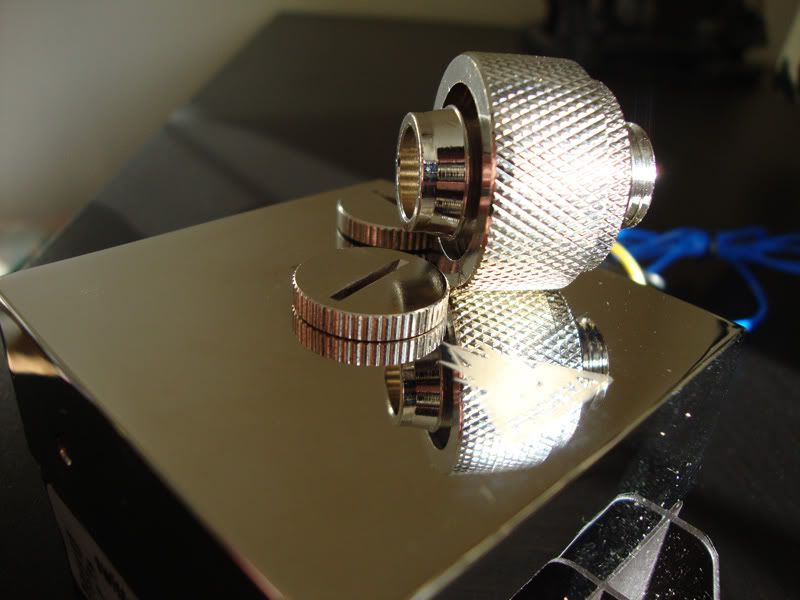
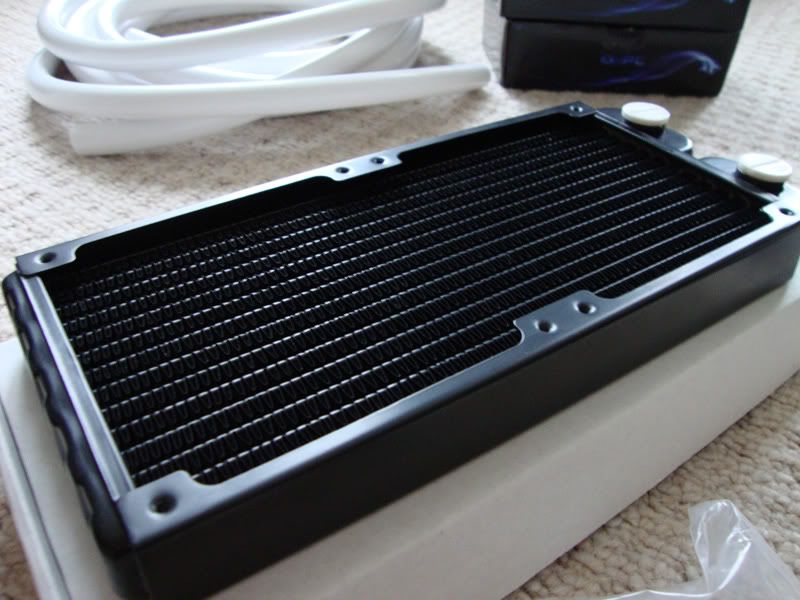
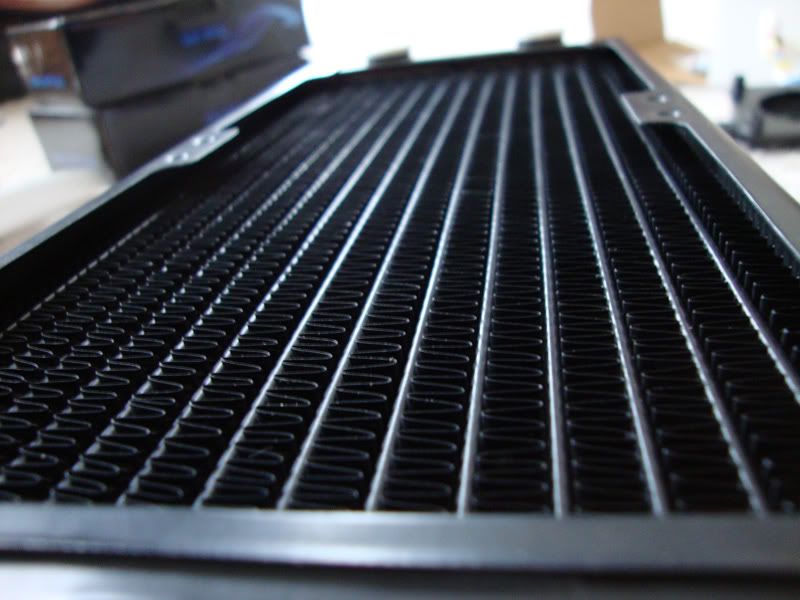
And well that's about it, now here's a few pictures I have taken of my hardware that has arrived this past week.

Picture Time

Along with my order from aquatuning I received some Phobya Jelly babies (WTF)

1-3.jpg


2-3.jpg


Before:
DSC00847.jpg


After:
3-3.jpg


4-1.jpg


8-1.jpg


13.jpg


12.jpg


14.jpg


16.jpg


15.jpg


9-1.jpg


I decided to get a slim line radiator as I'm hoping to keep the 140mm located at the bottom of the case.
10.jpg


11.jpg


Stay tuned for more ;)
 
Last edited:
Last edited:
Is that Fesser Aqua "Ultra Pure Water" you are using?

Just in case it is i wouldn't use it as it has has a ph value of 2 - 3 which is quite acidic as far as i know.

its Feser Aqua - Ultra Pure Distilled Water. :O Think I'm going still use it I cant afford to get any more.
 
I looked at yor build a lot before I ordered my 800.
It got me worried that a 360 in the roof wasnt enough, or is it that you like tweaking ?

I decided to get my 5970 running on air first then add it to the loop.
Then maybe put my exisitng 360 ras in the bottom of the case by removing the hdd zone, as shown on the corsair website, and add a thicker rad in the roof
If I do, I will end up wishing I had got the dual pump instead of this one..
P1010883-1.jpg

Your 360 should be enough for your set-up in my opinion. The only problem with mine was it was running through 2 GPU's before hitting the CPU this meant in some cases my temps would go to 70. when I just had 1 GPU it was perfect a nice 54 degrees under load. I then added a second 120MM rad before it hit the CPU now this combined with a better waterblock and more fans made my loop drop by 10 degrees. It's at a pretty good and stable temp now but I'm just one of those people that does anything for a performance boost.

Never the less nice build and if you do decided to dual loop I wish you good luck i'm sure you wont regret it. Although I'd rethink a triple rad for just a 5970 I'd use a dual mainly to save space unless your thinking of going Quad-fire. then a triple rad would BEAST. :)
 
Last edited:
Update [19/07/2010]

After about a month my room is finally complete and I absolutely love it. Here's a few pictures.

Before:
DSC00694.jpg


Video Link:

After:
DSC00879.jpg


DSC00881.jpg


DSC00882.jpg


DSC00884.jpg


DSC00885.jpg
 
A few new updates.

Well basically I'm completely scrapping the idea of sticking a grill under the hole I cut. Might add a nice mesh later but for now I'm just leaving a space since it's under my tower. Also the project will most likely be done by Sunday afternoon as I'm borrowing the tools and will be receiving them Saturday.

Also my new MEGA mouse mat arrived. xD

I kept slipping off my old one and well, I guess that will never happen this this pad as its MASSIVE. Also I've started my long awaited cable braiding. Unfortunately my Heatshirnk is too small and I'm not too impressed with this dense weave. Seems pretty poor to be honest So I'm probably just going to order some new stuff.

Anyway here's a few pictures nothing special just showing off my new mat it's decent quality and has a nice feel. It's a pure gripper. :P

DSC00889.jpg


DSC00888.jpg


DSC00890.jpg


DSC00891.jpg


DSC00892.jpg


DSC00894.jpg
 
It's cheaper to braid your own but sometimes you just wish you'd bought pre-braided. Mainly times where you run out of braid/heat shrink or its too small/big.

Also major message now in 1 hours time I'm starting the mod. Going to beast through it in a day most likely be finished around 9 (hopefully) so check back for the pictures. :)
 
Well it's finally complete, and it's taken me about 2 days to put it all together. Mainly due to a late start both days on the mod.

I'm loving the temps I'm seeing so far. I was idling at 36-40 36 being on a cool day and just under 40 on a standard day. Now my room is quite hot and it's idling at 34. Loving it.

What I must point out before I spam you with pictures is this...The XPS res Drive bays are a horrible fit. These things are terrible to fit in the case and trust me once their in they are damn hard to pull out. Now since they are so stiff to remove I couldn't easily fill my res so I had to separate them.

The second problem I ran into was my Pump tops. I originally found some information on a forum stating it would fit two standard (flat) Compression fittings. This was obviously a lie and now I need to invest in some (L) shaped fittings. Because of this I had to move one of the pumps and have my Optical Drive sticking out a little. Although given a week this will all be corrected.

Anyway I'm still pretty happy with this and how the cut turned out since no dremel was used, Just snips which are used for car body work. xD

Never the less I panel beat it flat filed it down and its very nice and smooth. Also It looks like I didnt get the last dye out 100% as its stained my water slight teal colour. Which I quite enjoy I can now read the levels on the front of my case. :)

Enjoy the picture. :)

DSC00896.jpg


DSC00897.jpg


DSC00899.jpg


DSC00898.jpg


DSC00900.jpg


DSC00904.jpg


DSC00906.jpg


DSC00907.jpg


DSC00910.jpg


DSC00911.jpg


DSC00915.jpg


DSC00920.jpg


DSC00922.jpg


DSC00917.jpg


DSC00923.jpg


DSC00925.jpg


DSC00926.jpg


DSC00929.jpg


DSC00933.jpg


DSC00927.jpg


DSC00928.jpg


DSC00930.jpg


DSC00936.jpg


DSC00937.jpg


DSC00939.jpg
 
Last edited:
Very neat work indeed, loving the white tubing. Why is the optical drive not put in properly?

Like I said above its because my pump tops wont fit 2 flat fittings on the front so I'm having to use the top part of the pump rather than the fronts this means the tubes get in the way of where I wanted the optical drive. It also means I had to move one of the pumps to the bottom of the case.

I'll have all this fixed next week when I get some more fittings. :)
 
looks great, shame to have a few niggles but its worth it
I found my dual bay is a great fit, no need to fix it, just stays in place which is just as well as the quick mounts dont work very well.

just drilled out my bottom for a triple rad ;

*Picture*

waiting on the fittings for the second pump

i had a dog to help me , but the cat looks happy!

*Picture*
Looks great my dual rad dropped both my GPU's by 10 degrees so I'm sure your triple rad will Beast. Just a quick tip I'd measure up for some wood and spray it black just a small piece to prop up the bottom "shelf" that separate's the zones (mobo and psu). After about a day mine seems to have drooped a little. :)
 
my last 2 fittings didnt turn up yesterday, so still waiting
I left one side of the hdd in place and put the other side back once the rad was in place to avoid the droop ;)

P1020019-1-1.jpg

Nice can you post a picture of the Gap between the PSU and Radiator. (Interested if its worth me getting another triple for the future.
 
Well here's a few readings now this is my room at standard cool temp during the day.

This is my idle temp pretty much just me using Itunes and browsing the internet.
Idle.jpg


And this is me at standard load. I am listening to music using photoshop and playing Counter Strike Source.
Load.jpg


My CPU never really tends to go over 30% so this is a pretty accurate reading. What I can say is this when my room is really hot it idles at 34 Degrees and at load (30%) it's 48 degrees. So I'm pretty happy with these temps.
 
Last edited:
based on them temps perhaps you can justify getting a better motherboard to overclock a bit more like you said, will your current one not go above 4GHz though?

Not even the slightest I've tried a ton of stuff but Just cant break past 4Ghz.


@ Skeng could you post a pic of temps on 100% load say from Prime use please would be interesting to see what temps you get seems like you got a good clocker there..

Sure Andrew here's the screen I took, Take in mind its night now and this room is pretty hot. Although I gotta say I'm still impressed 100% load is basically around what I was idling at before, was idle around 50-54 before. xD

Idle
Idlehot.jpg


Load 100% (Left it about 20 seconds and temps didn't move)
Load100.jpg
 
Just a quick update

I got some new Bits-power fittings. just a few flats for the main part of the computer, they look a bit nicer than the Phobia one's.
DSC00964.jpg

DSC00963.jpg


And here's what it's like now.

DSC00969.jpg


As you can see I've rotated the top radiator. Thought it looked a bit nicer having tubing near the read of the case. Gives it a nice flow effect.

DSC00970.jpg
 
Back
Top Bottom