Project: Blender One

Associate
Joined
30 Jul 2017
Posts
10
Location
Slovenia
Hi,
I just want to kick-off a modding/build project worklog here, which will kind of be more than just a worklog.
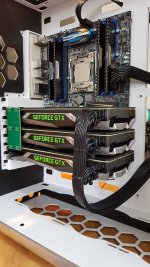
My colleague is a 3D artist, he spends a lot of time working with Blender. The time came when he could invest money in a serious work station with 3x 1080 Ti`s and I will be the person helping him carry out this project.
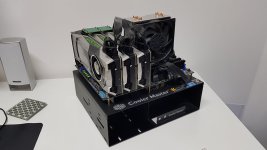
The main point of the project is to compare performance results of 3x 1080 Ti Founders Edition cards sandwiched to each other in a hot summer day, versus a fully liquid cooled solution.
It's no secret that he boost frequency of the 1080 depends on the effectiveness of the stock blower, and liquid cooling them would even grant some overclocking headroom.
Besides having some fun and building a liquid cooled PC, I hope that this thread will reach people who are new to building render stations, among which I belong as well.

This project is supported by:
Hex Gear
Cablemod
G.Skill
EKWB
and the owner's personal wallet ofc.

List of parts that are being used is:
Processor: Intel® Core™ i7-6850K
Motherboard: SUPERMICRO C7X99-OCE
Graphics Card: 3x Gainward GTX 1080 Ti FE
RAM: G.SKILL® TridentZ F4-3200C16Q-32GTZSW
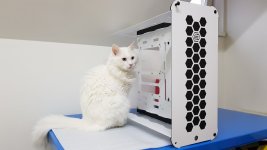
PC Case: Hex Gear R80
Power Supply: Silverstone® ST1500-GS

giphy.gif


I personally feel like the choice of hardware was not the best, referring mostly
to the motherboard choice and the PSU as well... but guess that's how it goes
when you are doing something new, mistakes occur.

I would like if we could debate on the subject of motherboard and CPU choice before i start posting some actual modding work being done.
 
Those two motherboards listed kind of blow out the budget... But for the same price range 270-300 euros, I would have gone for the ASRock X99 Extreme 6 or the X99 WS.... Or even something like the ASUS Z270-WS would have been
an interesting solution.
The downside of the C7X99 mobo is that you have to have a 40 lane CPU for three way SLI, while a simple motherboard like the Extreme 6, does the job with a 28 lane 5820K. So yes the C7X99 has some crappy lane
distribution. The owner got a special deal of 6 years warranty on it... but still I would choose a more functional motherboard.... but, whats done is done.
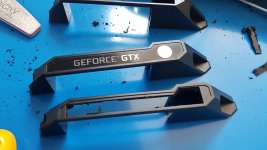
As for the PSU.... for 1500W power station, it has ONLY four 8pin PCIe plugs. So making nice sleeved cables for three 8+6 pin GPUs is a pain in the ass... you have to do some Y splitters, or do the nasty extensions like the stock cables have.
Power supplies with less power have more PCIe power plugs that allow nice cabling. Also, the plugs are very hard to plug in, anywhere. I thought I will break the motherboard while plugging in the 24pin and I hurt my sensitive
little fingers while trying to push the cables into the PSU itself. Oh and, cables PCIe are too short. Like really too short. So not impressed by that Silverstone PSU.
Hopefully, the Cablemod cables will slip in more easily...
 
Let's move on to the case.

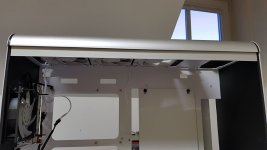
So, the package arrived from Hex Gear directly. Initially wanted to build the system in an In Win 303... and mod it... a bit. But then someone came along and said
"Baaaaaaaaah! That case is too small!!!!11". So we got a Hex Gear R80.

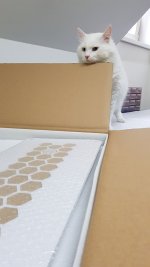
And we have unboxed it.
q2cCfV1.jpg

So, you have to assemble the whole case.
The installation manual is a bit vague for the case, but anyone with brains can figure it out. Once you start building the case you actually really
how brilliant and simple the case is. The, I guess true, modular form of the case makes it very handy for modifications and paint jobs, so the
whole Hex Gear case lineup is something that more advanced users would prefer over the boring stuff.
1mHeLm6.jpg

My supervisor was satisfied with the work I have done.
qpVSJk2.jpg

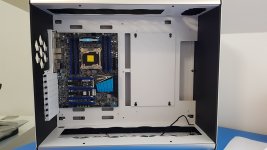
And now I have the problem of "how to fill up the case".
biggrin.png

QOIOFOM.jpg

But I guess that will be easy with some water cooling stuff. :)
 
Sleeved the stock power button cables and while I was waiting for the cables from Cablemod, this was the best I could do with
the stock Silverstone cables.

TTaFhU5.jpg

One more thing I dislike about the PSU is that uses a little special 4pin Vsense cable that comes of the 24pin. It has its own little plug on the PSU.

st1500-gs-001.jpg


This makes using custom cables a bit hard... I have contacted Silverstone support asking them is it possible to use extensions cables that don't have this special
little Vsense wire. And I got an answer from the really fast, and it said:
"Hi Atila, you are correct on the 4pin connector being for Vsense, which helps improve voltage regulation. Your ST1500-GS will still function normally and in spec. without this connector. The performance for your PC will not be affected as well. The Vsense helps improve voltage regulation by 1% at most, which may be a big deal for some power supply reviewers but regular PC users will never notice a difference.
So in conclusion, yes, it is perfectly safe to use PP07-MBB without using 4pin Vsense connected to your ST1500-GS!"

So it means I was free to use any extender cables with the PSU.

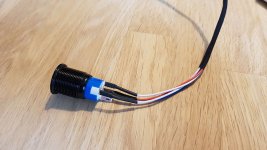
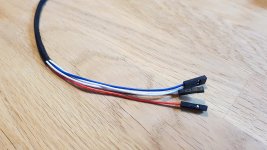
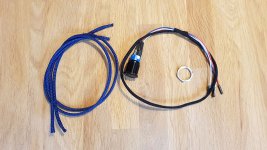
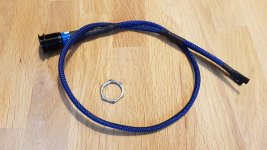
The case comes with a really nice power switch, but a bit poorly sleeved, but that's is not an issue. Just a
reason to use the sleeving kit!
biggrin.png


q7RFwBz.jpg
ayx4nEo.jpg
107EIkD.jpg
ShymP96.jpg
 
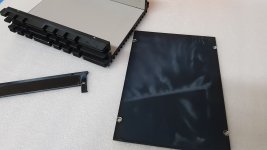
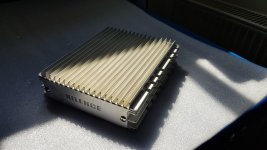
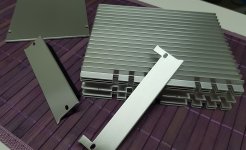
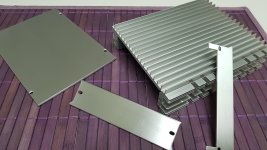
Since data security on a render station is very important and sometimes large files are handled, I wanted to use an HDD cooler enclosure right from the start.
The HDD enclosure was a bit dusty, so I wanted to play smart and to wash the heatsink in the dishwasher.
Sadly, I discovered that anodization does not like the salts and other chemicals that are going on inside the dishwasher. :D

0cNGsdo.jpg

So there was only one thing to do. Strip the entire anodization to make it look nice again!
The cure is dipping the heatsink in potassium hydroxide.... and I do suggest you do this
in a well-ventilated room, or outdoors... not like I did! :D


Depending on the aluminum, you are sometimes left with some stains. The chemical
the process of anodization remove might have to be perfected with some hand scrubbing.

rNGQj8K.jpg

I will post some photos of the finished product in my next post!

 
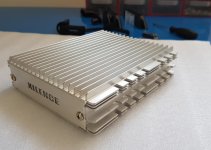
After literally two days of scrubbing and brushing the aluminum, here is the result.

Day 1
873J7g0.jpg

Day 2
EK2bTI9.jpg

vm2D8jI.jpg

The question now is... should I do a clear coat or not... it looks shinier
when its bare aluminum.... but with every touch, I am risking to have oxidized
fingerprints appearing after a while.

My friend who owns the render station actually hangs out in their own studio Primate
where they do audio and video production as well. I have seen two dead hard drives
there hanged on the wall saying "Died in the service of Primate".
Since I was always overdoing cooling, and I have always actively or passively cooled
my own hard drives ... this came to my mind.

3cllkJX.jpg

So why not? :D
 
After one week of vacation, two weeks of honeymoon, one week of a business trip...
Time to get cracking again.
I have managed to do some work on the case, but haven't got the time to post the stuff.
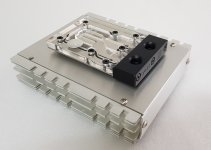
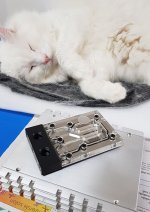
I will continue where I left off, and that is the liquid cooled HDD enclosure.

0amo3zo.jpg

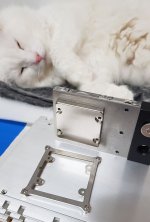
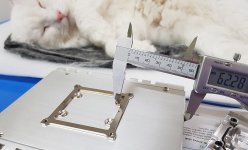
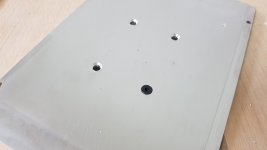
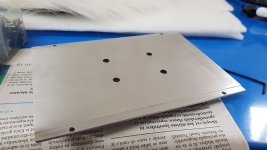
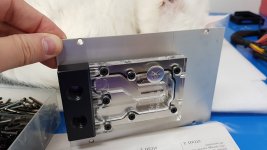
I have used the stock EK-Thermosphere mounting to draw the pattern of the screws.

heuL6H8.jpg

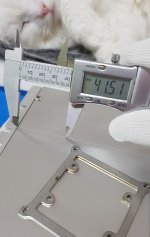
The rest was really easy with the use of a caliper.

vj6YqAS.jpg

PvnzwCr.jpg

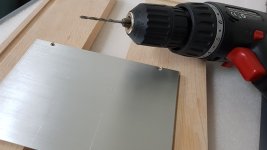
Then came the drill! (Courtesy of B-Negative)

2G2qs9P.jpg

I had to do countersunk holes so that the HDD inside the enclosure
could fit with no issues.

PHZmX2R.jpg

I had limited amount of tools at the moment, so the countersunk holes
and the way I would have liked them.

rxgQI8m.jpg

But it worked, so I am satisfied. The end result looks like this:

JU5pL2S.jpg

I am still in a jam whether I should apply a clear coat to the brushed aluminium
part or I should leave it naked.
The naked brushed aluminum looks better, but if I touch it once, it will develop
corrosion stains after a while.
 
The cooling of the HDD is an old addiction from the time when it was common for hard drives to go ka-pow.
As for the rest... it is always nice if you have access to some goodies to play around with.

daoGPOm.jpg

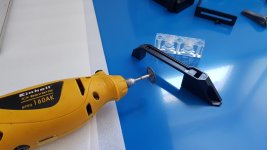
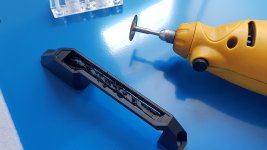
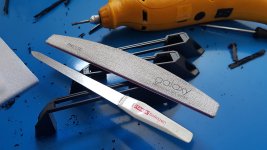
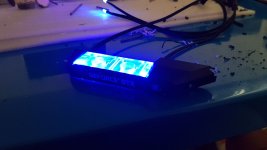
The EK terminal covers will get some nice illumination, but I cannot wait for that so I whooped out my little rotary tool.

ahYwRBr.jpg

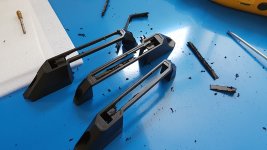
After "running" some of the terminal covers.....

Y4jRHo0.jpg

wzcfqeM.jpg

...it was time to ruin some of my wife's stuff as well...

xGxsqxy.jpg

After making a nice even opening that can still hold the original cover, it was time to test my theory.

o34S2a9.jpg

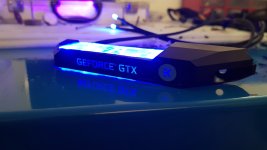
The glow came out pretty even. Of course, the camera is struggling a bit with the bright blue light.

pjUJ34B.jpg

For now, this is a general idea. To have three illuminated terminals form the side by two 3mm LEDs.

3hgIFHK.jpg

I will still try to make the glow a bit more even across the whole cover and see what will I come up with.

QuA2kvG.jpg

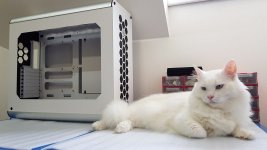
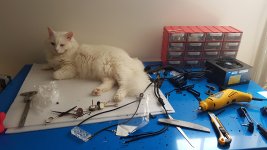
Of course, nothing would have been done without my supervisor being present during my work.
 
This isn't about the project itself, but some might find this useful...
Moving to another country recently means not many tools could come along... but one of
the main issues for me was painting.

Indoors painting is an issue, especially for your wife. :D You also don't want to kill your pets...
So... here is what I came up with.

SRs9Qqn.jpg

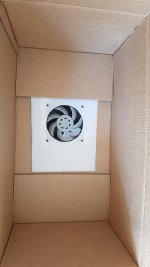
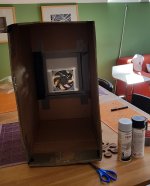
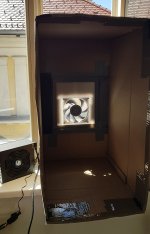
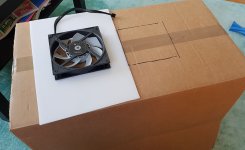
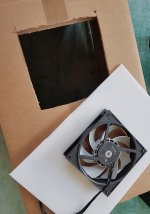
Figured I make my own DIY paint chamber with an exhaust.

lQ2nNKK.jpg

sXcwIh0.jpg

All it took was a 140mm fan, cardboard box and a piece of plastic to strap the fan on to.

LJewOvv.jpg

Ready for painting!

G13elJh.jpg

And I must admit it works very well!


Sorry for the vertical video! :D
 
So. Time for some real modding.
Since I am allergic to Plexiglas, I mean really, it scratches when you look at it...
one of the first a major modifications on the case will be the glass side panel.

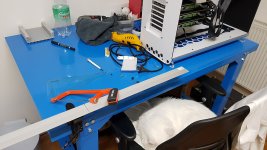
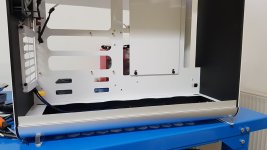
I have gotten some 20x20 aluminium L profile and chopped it to size.

b1BKiNe.jpg

Seems like a nice fit!

tSpng3i.jpg

Before I could do some more work, I had to empty the case and return all
the hardware to the owner so he has a functioning render station while I am
working on the case.

EdfB6pF.jpg

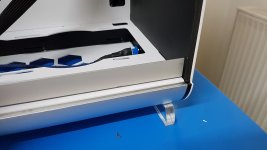
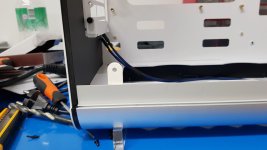
The function for the L profile is to act as a stopper for the glass, and at the same
time, to hide the LED strip I am planning to use. The L profile will block the
direct view of the LED strip, but I can still lite up the entire case.

vFvxWqY.jpg

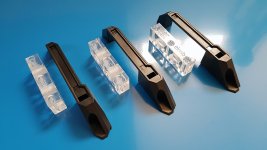
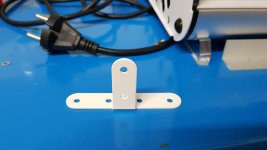
I saw these pre-made hinge-like thingies at a local hardware store so I figured
they will be perfect for the glass holder itself.

FpbVxJt.jpg

It should look something like this.

pViPlAZ.jpg

So far so good!

0upnlWL.jpg

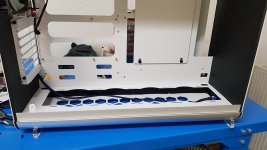
The next step was to do the same on the upper part of the case as well because I
want to plant LEDs on top and bottom of the case as well!

HII3btC.jpg

This is it for now. The next step will be figuring out the mounting of the L profile and the
glass holder hinges themselves.
 
Back
Top Bottom