Project: Boredom & Cash To Burn 2020

Soldato
Joined
18 Dec 2008
Posts
6,513
Location
Liverpool
20200914-234232-1.jpg


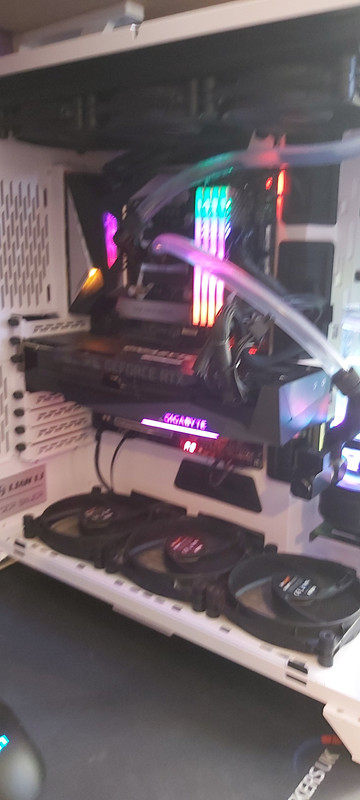
This was my system prior to my Gigabyte 3080 Gaming OC arriving. This was a quick and dirty loop to get up and running that needed to be reconfigured to accommodate the GPU.
20200921-151446-1.jpg


The main problem was the length of the card impacting the reservoir, however with a little creative thinking I was actually able to use the pump casing and bracket as a makeshift anti sag. This resulted in being unable to mount my 360 mm rad in the bottom due to how low the reservoir had to sit, Yet it couldn't be raised any higher as then the GPU wouldn't fit.

The case being so poorly utilized really started to get on my nerves after a while, also how drab it looked started to get on ones nerves. With the side panel on it was pretty dark inside and while that's not the most important thing, I knew I could do better.

I just want to stress I had absolutely no plan for this I was just bored and had some cash to burn :rolleyes:...

So what happened? These happened!

20201025-153527-1.jpg


Stay tuned for part 2! lol
 
So unfortunately I seem to be missing a lot of pictures.... but there are some!

@Curlyriff I was just lucky enough to nab some last batch that came through OCUK, all the singles had been sold out!

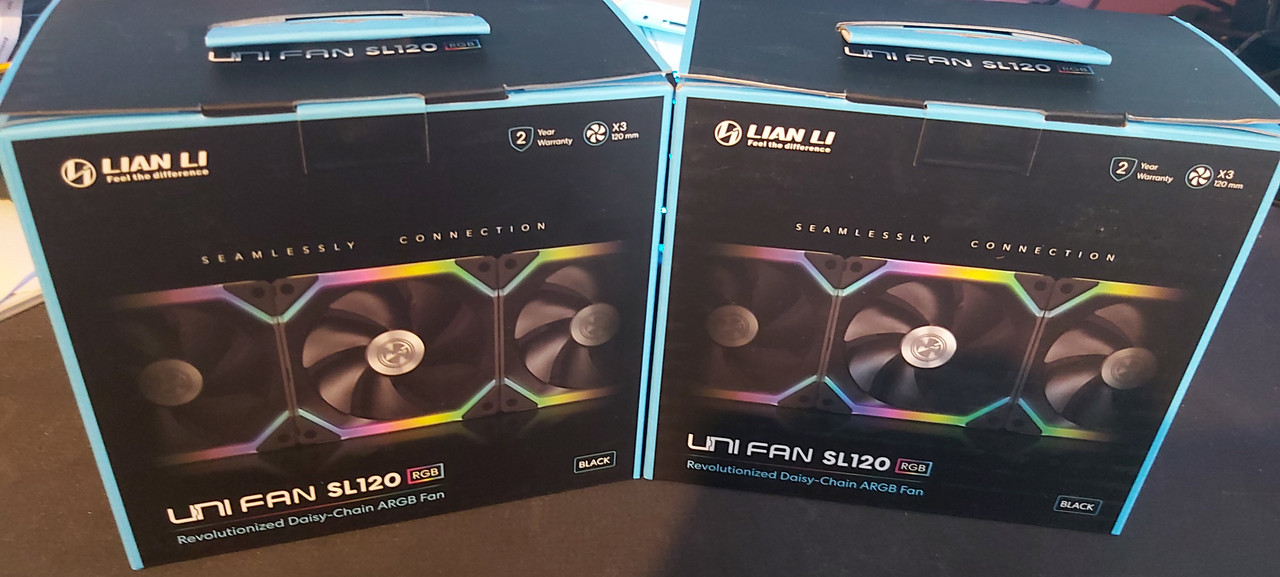
So I had hoped I could just remove my old Silent Wing 3's from my top mounted rad but had managed to chew up the screw head somehow ****!!! :mad:

20201029-153146-1.jpg


So time to pull the loop apart, alrighty then!

Once I got things out of the way the screw wasn't in that bad of a shape and came out easily.

So now faced with this I was getting really cheesed off... I have a pet hatred of stock PSU cables, I do not understand why manufacturers can't just make slightly more flexible/quality cables. I also really needed to find a better solution for my pump/res. My plan being to eventually water block the 3080 and requiring more than just that skinny 360 up top. I weighed up several options but ultimately I knew what I wanted. So Debit Card in hand I raced to the OCUK website.

(Sadly no pics of the Cablemod Cables being unboxed)

20201028-215708-1.jpg


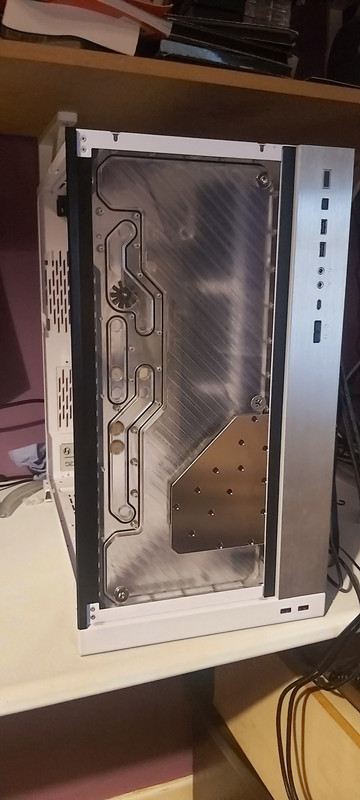
Introducing the eye waveringly expensive EK-Quantum Reflection PC-O11D XL D5 PWM D-RGB, my plan was to side mount additional fans in the case further down the line, however I didn't buy a 3rd pack and glad I hadn't as unlike some other distro plates this sits recessed behind the glass panel, making fan mounts in the chamber impossible. I'm planning on writing up a review of this so won't go into all the details but what I will say is this thing is an absolute nightmare to position in the case. The tolerances are so tight everything bar the motherboard had to be removed. Still it required some creative pivoting and spacial reasoning. I can see how these things could very easily be broken as you'd be tempted to give the thing a bit of a push at the top.

giphy.gif


Eventually I got it installed though, got my Black Ice GTR in the bottom, started routing some cables and test fitted the bottom fans. I had planned on doing push pull, recycling 3 of the Silent Wing 3's but it just didn't look right at all. Those white Cablemod Cables are seriously sexy though!

20201031-153428-1.jpg


(Stay tuned for part 3... If you want to that is, I might be lonely though if you don't :p)
 
Thanks guys, now sadly I've found more pictures :p

20201029-211133.jpg


Absolute cracking bit of kit if I do say so myself, but it's not without its flaws that's for sure.

The biggest problem here was the damn distro plate started putting ideas in my head, expensive and painful ideas I hadn't even considered. It all started when I actually had to think about how to utilize the thing.

At this point no GPU block had been announced for my card and also the Distro manual wasn't particularly inspiring. I still intended to use soft tubing.

20201101-002352.jpg


It almost looked like hardline, almost but here's the thing I believe soft tubing looks best with sexy curves otherwise what's the point, but I continued...

The idea of straight runs was like an earworm though things were not marrying up and it started looking silly. It also required a lot of fittings.

20201101-170740.jpg


Yeah... not what I was hoping for!

20201101-170748.jpg


It really just didn't look right to me at all, I wanted to fully use it since I paid so much for it and once my GPU was in on air still I'd have a really awful run having to bypass it to the CPU.

So I did what any insane person would do I started thinking about Hardline!

giphy.gif


The more I looked at it the more I had to do it, I mean who wouldn't right?

So I took to asking the advice of people who knew more than me and decided to go in my own direction. Simply put I'd heard about Barrowch Wolverine Push Fittings, the idea of them sounded great push your tube in and get 100 kg of clamping force, there's no way these could fail right? I mean come on the promo video shows them towing a car with them, what could go wrong...

giphy.gif


(Stay tuned for part 4, If you want to hear about an absolute train wreck)
 
So lets talk about the absolute train wreck roughly two weeks I had with this build.

To put it mildly there was a bit of fuster cluck with regard to orders, I was using multiple retailers and had issues with delays, items going missing, cancelled orders and incorrect items being sent. But eventually I got everything I ordered. As I mentioned above, Wolverine fittings sound fantastic on paper. Cut your tubes down to size, smooth and chamfer them and push them in. That 100 KG clamping force would keep them in place, so secure you can ship systems with liquid already filled etc. That's if you can get the bloody tube in both ends. The fittings themselves are both quite bulky and fairly deep. The release mechanism doesn't really work unless you can get all of it compressed simultaneously if it's gripped on the tubing.

Once clamped that tube really isn't going anywhere, cutting the pipe the correct length also means, on a straight run, that there's no way it's going in the other end there's just no way of bending things enough for it to fully to get past the rim. I was using so much force at one point I was genuinely concerned I was going to shear the fittings out of my bottom rad. I tried lubricant, heat and anything else I could think of but no. I had to resign myself to painstakingly cutting and sanding off 1 mm at a time and wasting several lengths. Eventually the tube went in with the help of lubricant barely making contact with the teeth and certainly not making proper seal with the single oring. Pulling on the pipe of course did nothing until randomly it caught on the other end, so I used my leak tester. It was not airtight, and so I noticed a fitting on one end had unscrewed ever so slightly. That's when I discovered another little design flaw. These things lack any rotary function meaning tightening on one end unscrews the other! I also discovered that unless you're Goro with 4 arms there's no way to release the tube on both ends to get it out without cutting it first.

Out of 4 packs of tubing I didn't manage a single airtight run.

giphy.gif


I was also at this point too preoccupied to even think about pictures, after admitting defeat I spoke to our resident @Jay85 who recommended I give XSPC triple Oring compression fittings a try. With the Wolverines returned, it was OCUK to the rescue!

Screenshot-20201112-075418-Duck-Duck-Go.jpg
 
Back
Top Bottom