Associate
- Joined
- 9 May 2007
- Posts
- 827

i entered WCUK 2009 modding competition but barely did anything because I was busy, anyway its been in my room ever since and i thought i gotta finish this project this summer. previous work can be found on my competition entry, but thier a competitor so i wont post link.
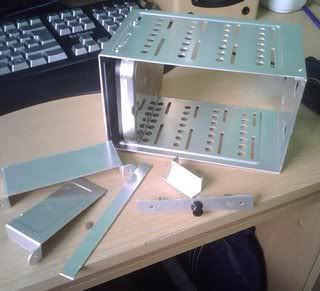
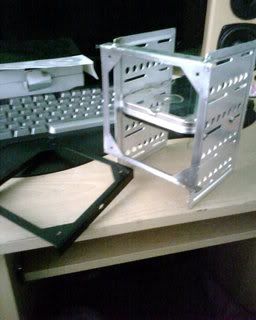
CURENT STATE OF CASE


as you can see i cut the lines between the holes on the roof making the grill, but i noticed this idea is stupid and going to fix it with a piece of aluminium. i also cut a hole next to where the PSU is mounted for cable management where all the power cabels will go through there and around the back hiding them. the window was cut and finished before i stoped working on it too.
as for the project i decided to go with project bumblebee (from transformers), i will be going for chrome/metallic black/metallic yellow color scheme.
http://z.about.com/d/onlineadvertising/1/0/A/-/-/-/bumblebee.jpg
plans:
1. cover up roof
2. mount hard drive bay horizontally
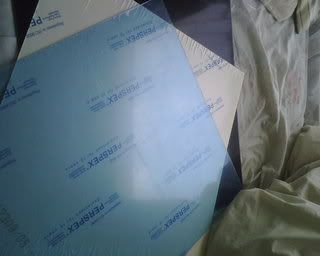
3. make front panel with acrylic
4. cut back plate hole on motherboard tray
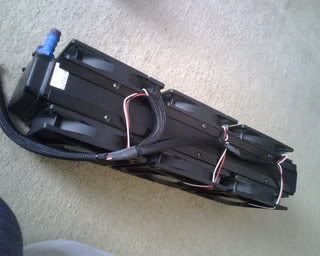
5. mount radiator and pump on bottom
6. paint case
7. braid PSU
8. use shower tubes for sata and power sleeving
for now i got exams but when your studying and looking at a unfinished project you start to get carried away lol, so after exams i will be finishing this project but while doing my exams i just have small minor updates now and then.
im still looking for fans, water cooling parts and pc hardware to go in it so any one would like to donate any parts they dont need please contact me.
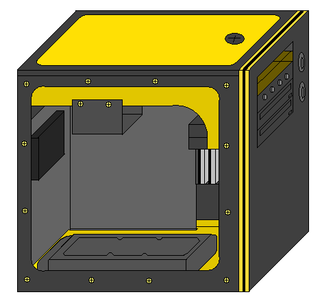
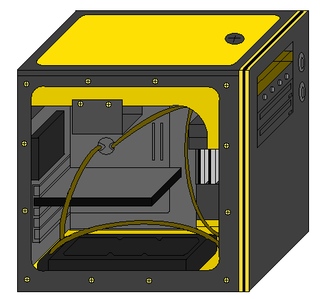
INITIAL IDEAS
ms paint
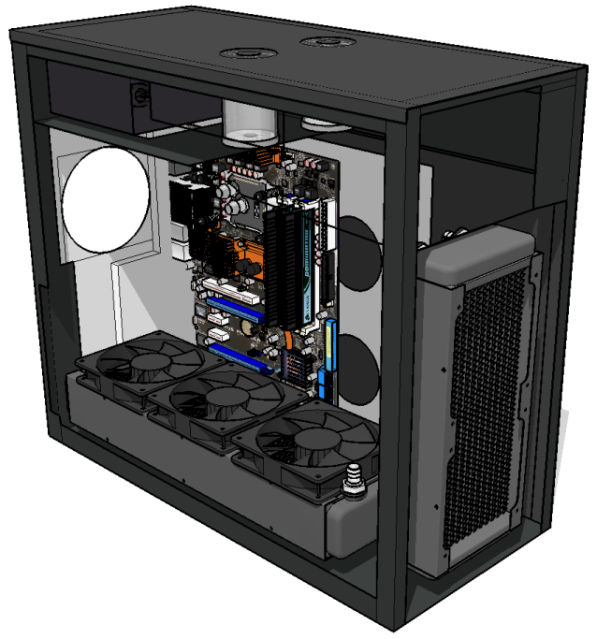
fix roof with a piece or alu which i will paint metallic yellow, front made from 4 layers of 3mm acrylic (yellow, black, yellow, black). hardrive bay will be mounted horizontally under 5.25" bays. initial mesurements show rad and pump can be mounted on the bottom.
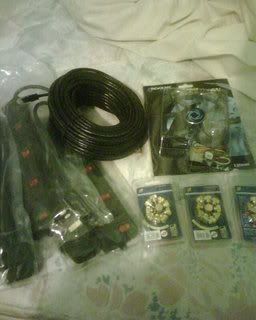
new picture with the hardware inside.
small update 30/4/09
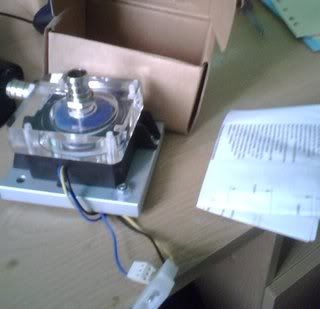
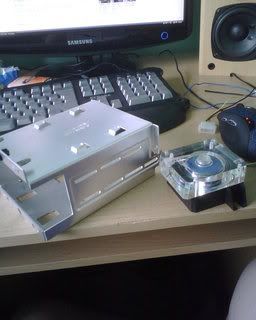
DCC pro 10w pump arrived today. i also cut off the useless parts off the HDD caddy ready to be rivited on.
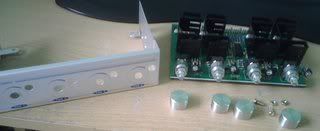
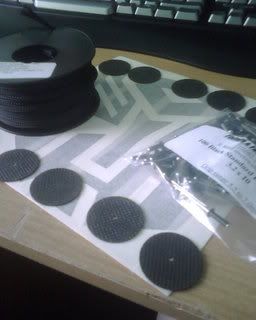
also taken apart my sunbeam fan controller to be steathed later on.
update 02/05/09
well i was gona chuck away the floppy drive bay, but i found a better use for it
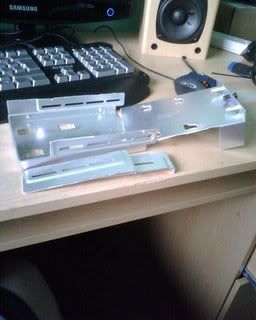
i cut them out with a coping saw, was so hard. then filed and holes where redrilled for a fan screw.
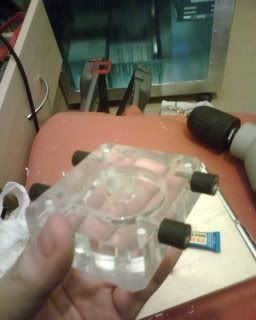
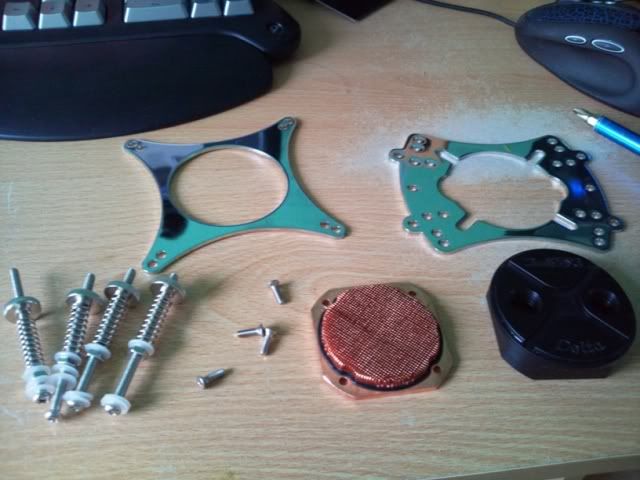
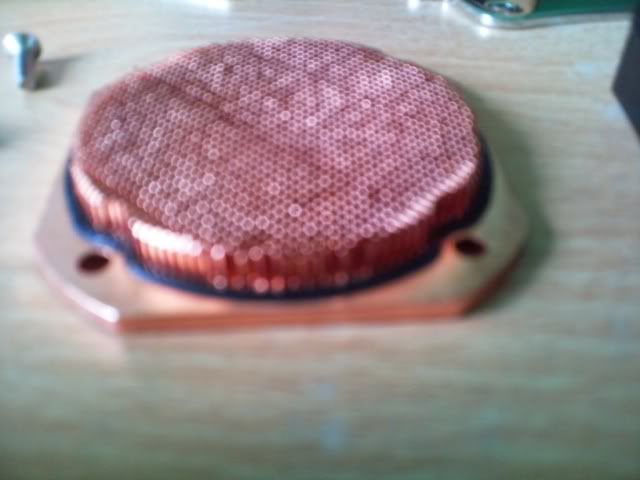
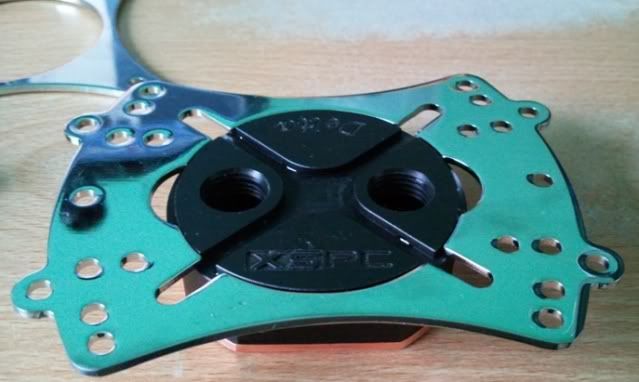
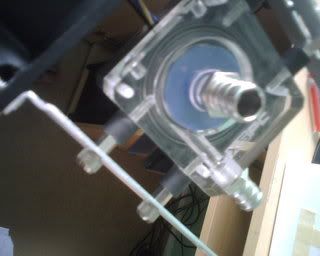
then i drilled some holes into the sides of the pump acrylic top and put a set of anti vibration kit on
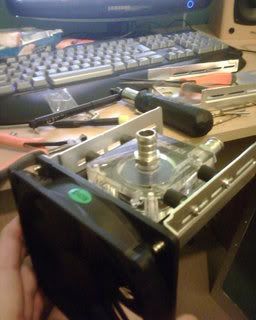
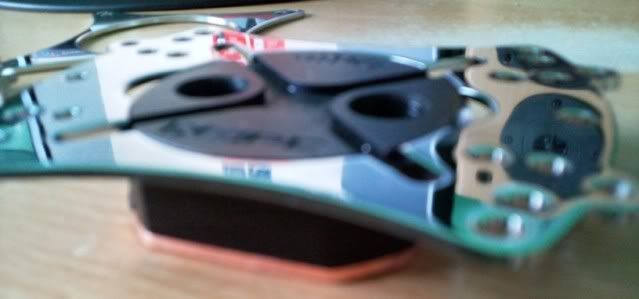
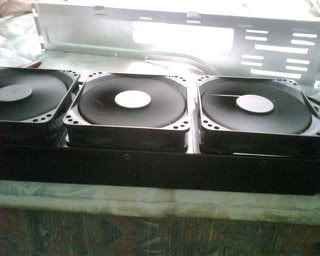
da da..... mounted pump on the fan (not actual fan im using)
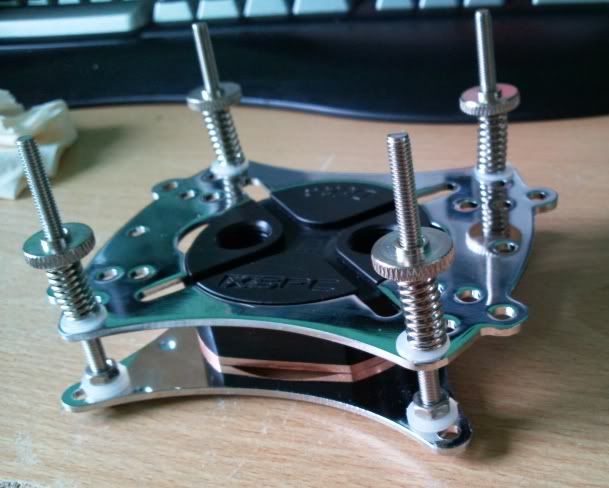
thumb screws are too short to reach the anti vibration kits when mounting the pump on. so i thought i use some old motherboard seperators to extend it.
Last edited:
")
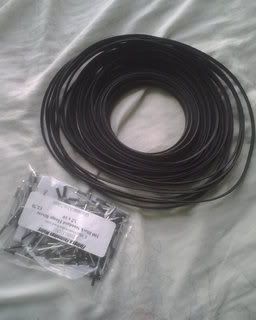
 not much done yet but i ordered a lot of stuff, including 20meters yes thats right 20 meters of 3mm braiding lol