Project Galileo - Lian Li PC-P50 Water cooled

Soldato
Joined
25 Sep 2009
Posts
9,987
Location
Billericay, UK
With the release of Ivy Bridge I think it's time that my main PC based on an old Q6700 @ 3Ghz got a replaced coupled with the fact that my old PC is now inside an HTPC case I bought last Christmas so I really do need to pull my finger out.

Aim: I'm working with my existing Lian Li PC-P50 case, it's light weight, stylish, relatively compact and functional however I want to address some of the issues I've had with it namely the cable management which is very poor. By the end of this build I want to end up with a PC that's overclocked, quiet and watercooled and I don't want cables all over the place.

-------

This is where I'm coming from.

Old Computer 1

Old Computer 2

(the first picture is a couple of years old)

As you can see it's not a pretty but it's not helped by the fact there are cables from the PSU are unsleeved not to mention being not being moulder.

For the record it's a Q6700 @ 3Ghz, 4Gb DDR3 1333Mhz, Foxconn :( X48 'Black Ops', Radeon HD5770 with a Seasonic S-12 600 Watt PSU. I've now moved all these parts into a HTPC case which will go into the living room one my new build is complete.

More to come latter
 
Last edited:
SANY0529.jpg


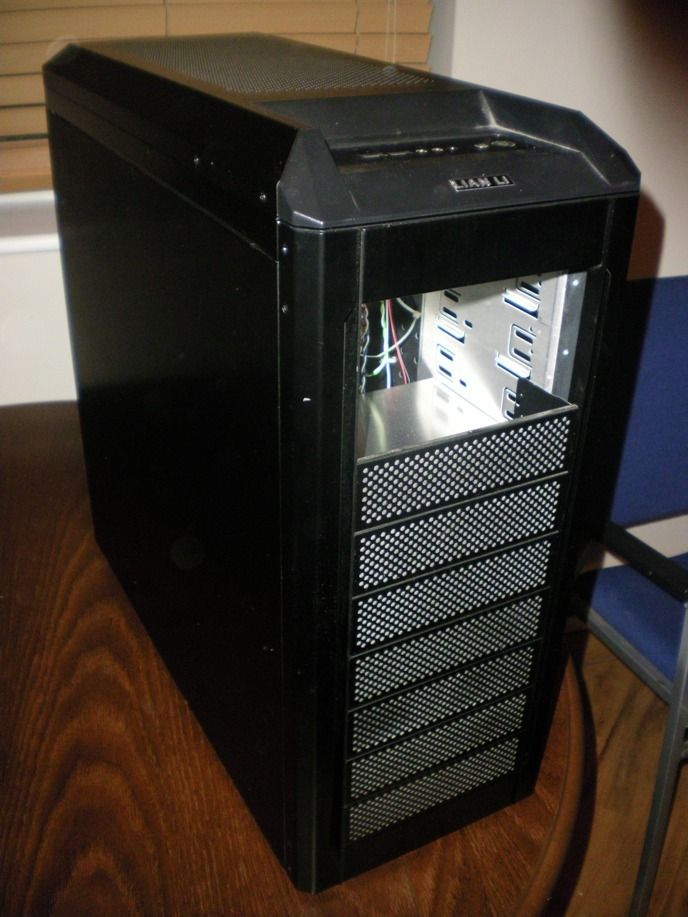
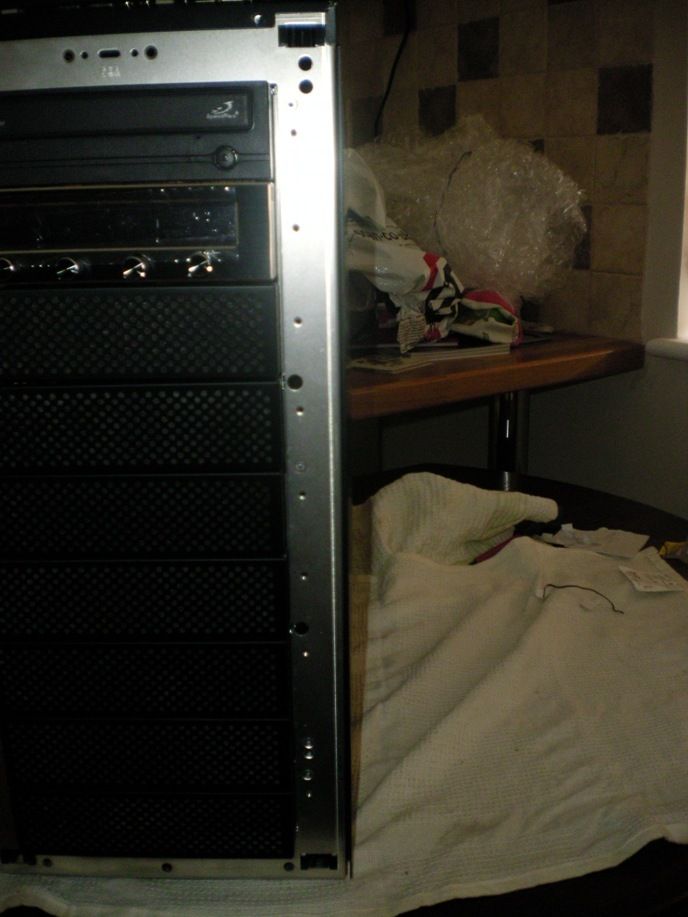
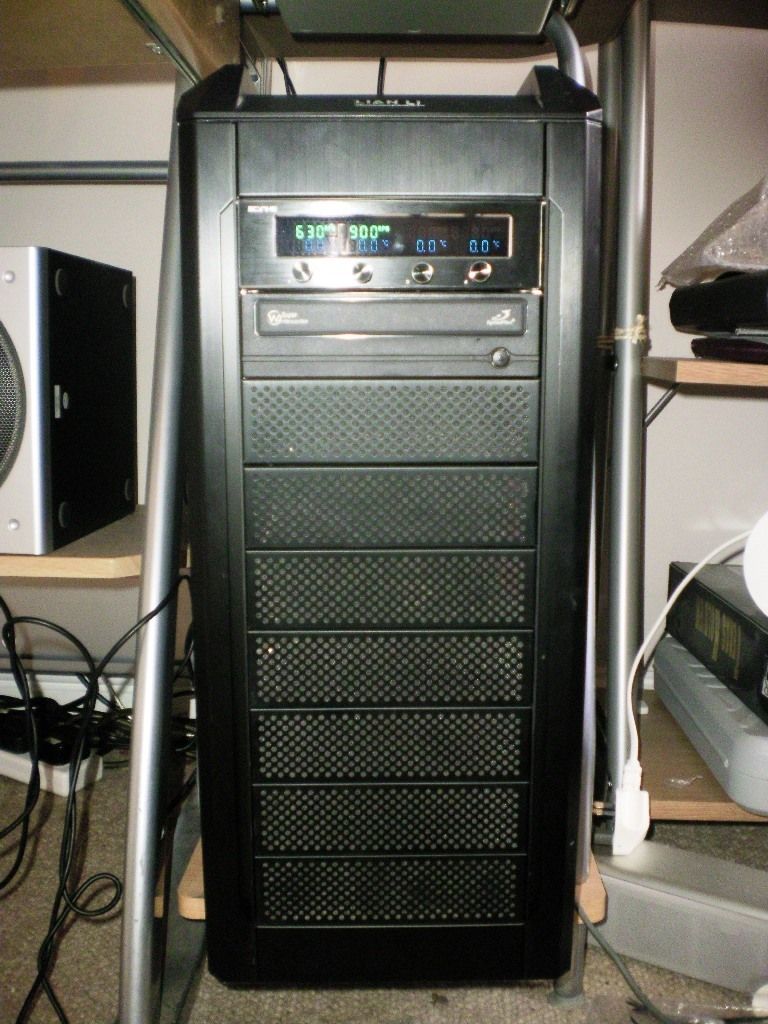
This is the front of the case all the front 5.25" bays are dust filtered. Notice the scratch on the front left pillar of the case. Ouch. I'm no painter I can't really fix that.

SANY0530.jpg


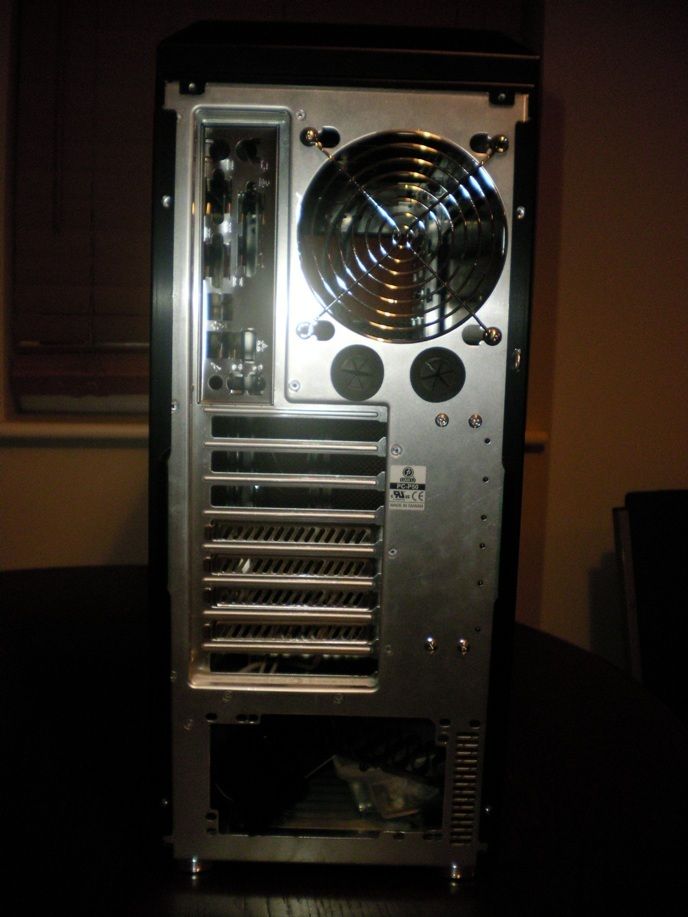
The back, standard layout, 120mm fan at the rear (Lian Li branded, not to bad in operation but I think I will replace it), gromts for water cooling tubes to pass through which I won't be needing. The only problem I have is I think I have lost the rear PCI cover brackets, I might have to use 3rd party ones which will spoil the look.

SANY0533.jpg


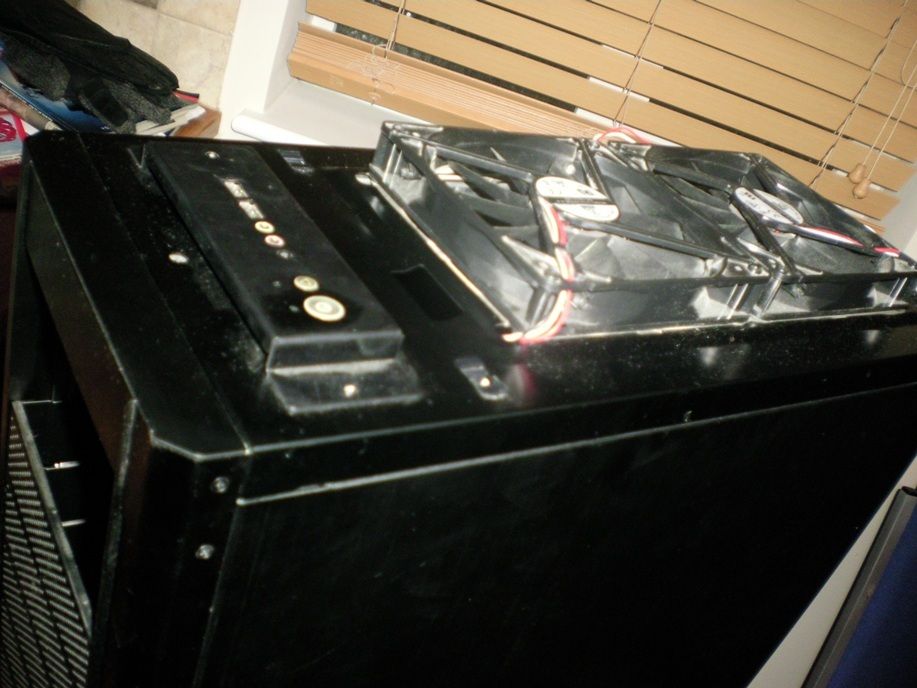
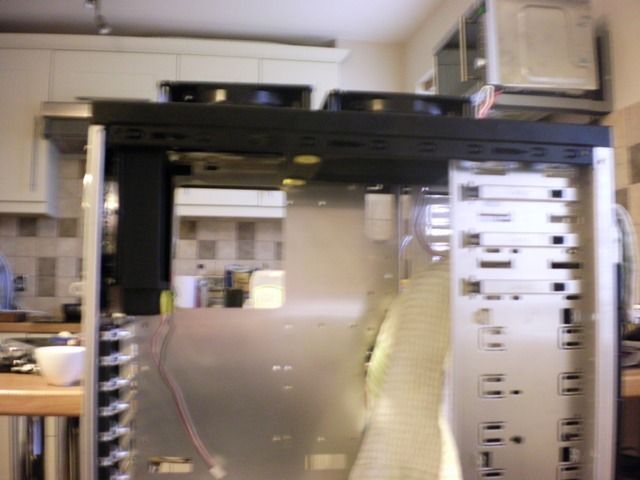
The top of the case has 2x 140mm fans. I've thought about putting a 280 rad up here but when I measured it up I doubt I will have the space it which is a shame but I might be able to get away with a single 140mm compatible rad.

SANY0532.jpg


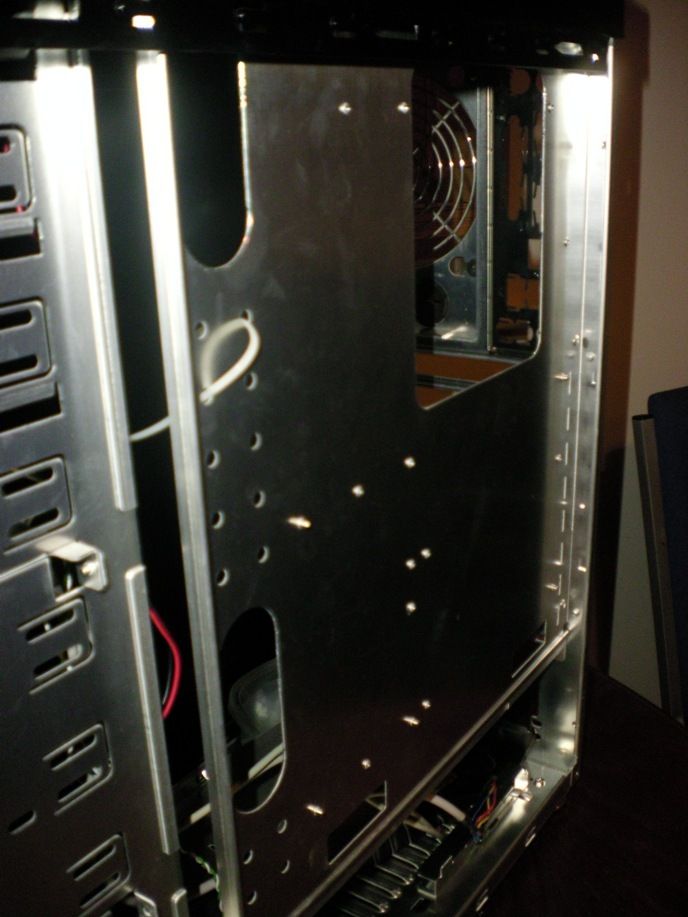
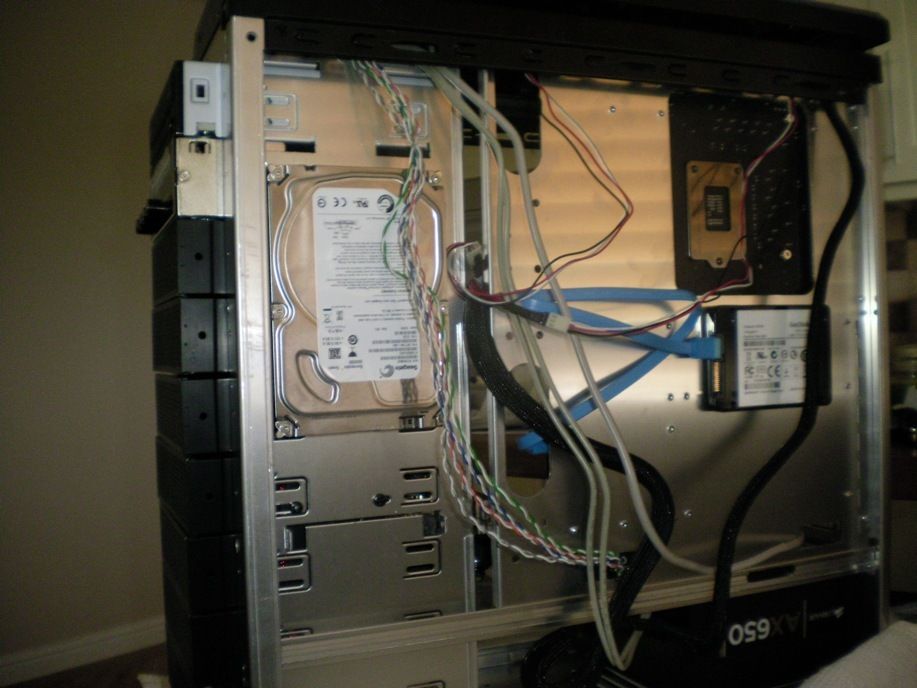
Behind the motherboard tray now. I think there is potential to mount an SSD here and maybe a 2.5 hard drive as well.

SANY0524.jpg


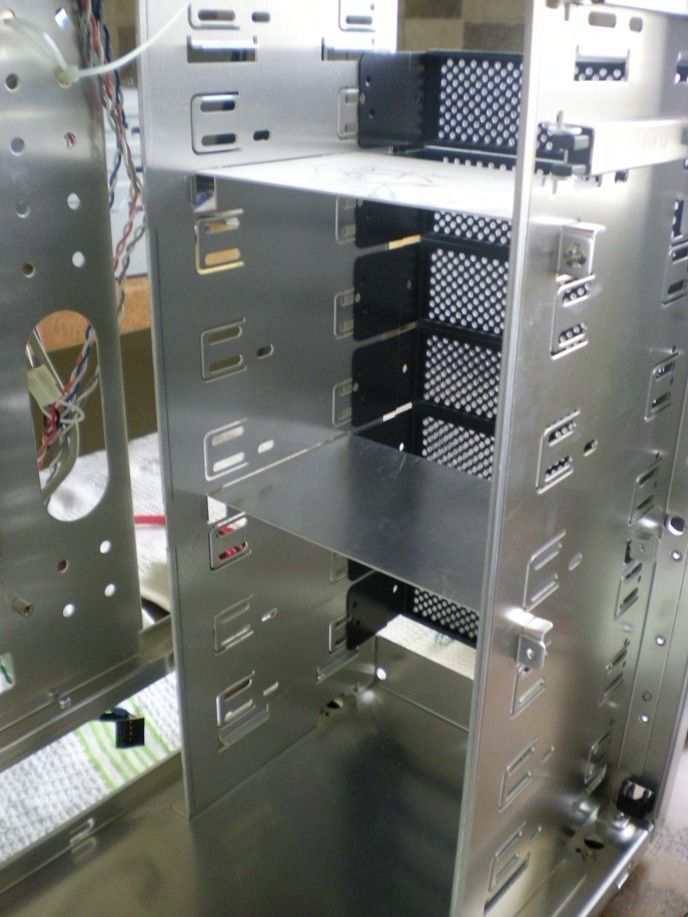
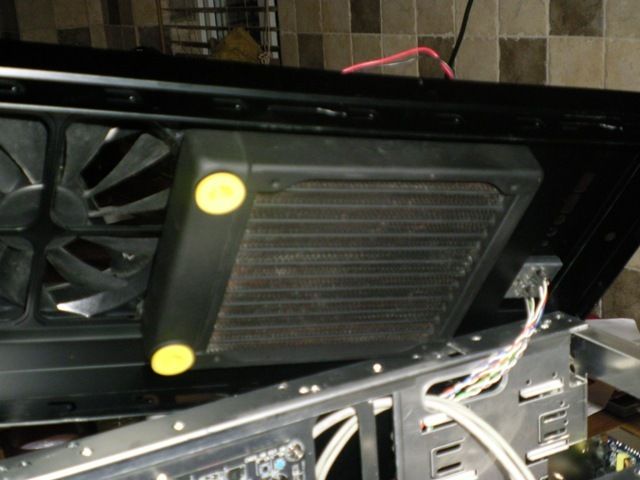
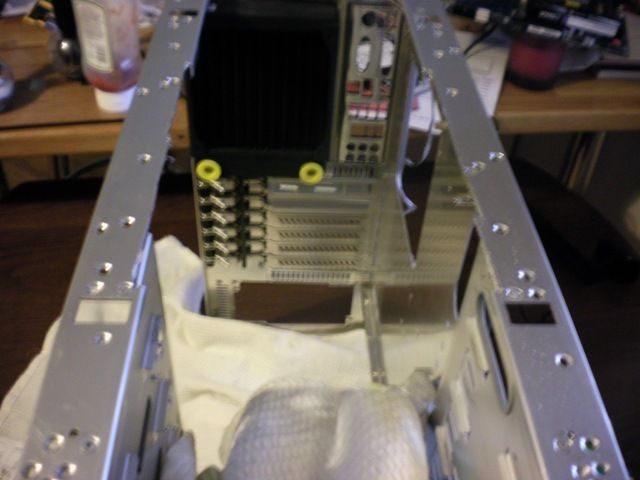
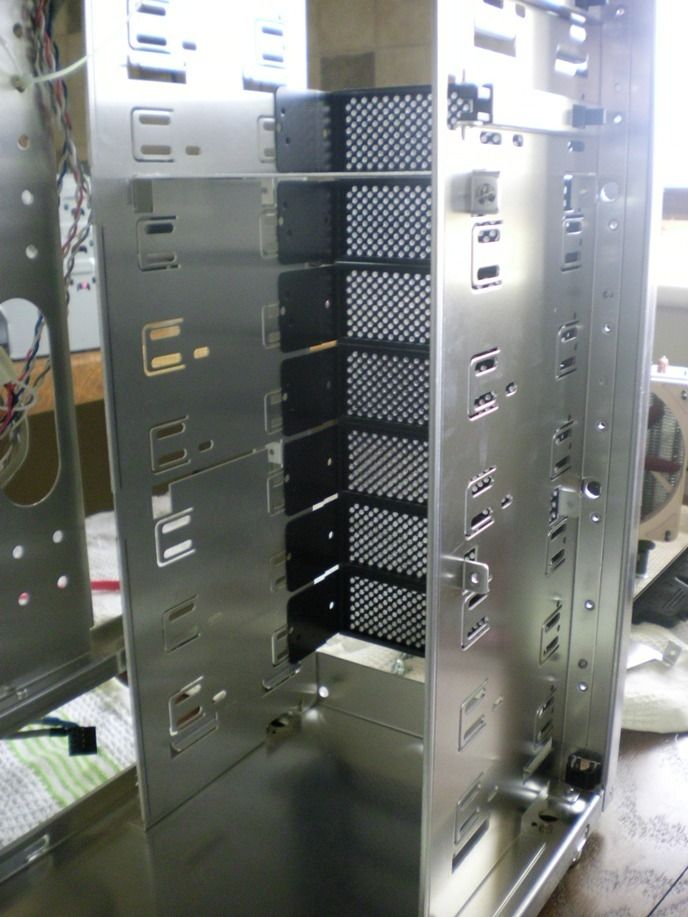
The plan is to fit a 240 rad in the 5.25" bay. Notice the second plate in the middle. That needs to be removed in order for me to fit the radiator.

SANY0525.jpg


How presto it's out and now I have a separate compartment for my DVD drive, hard drive and fan controller.

SANY0527.jpg


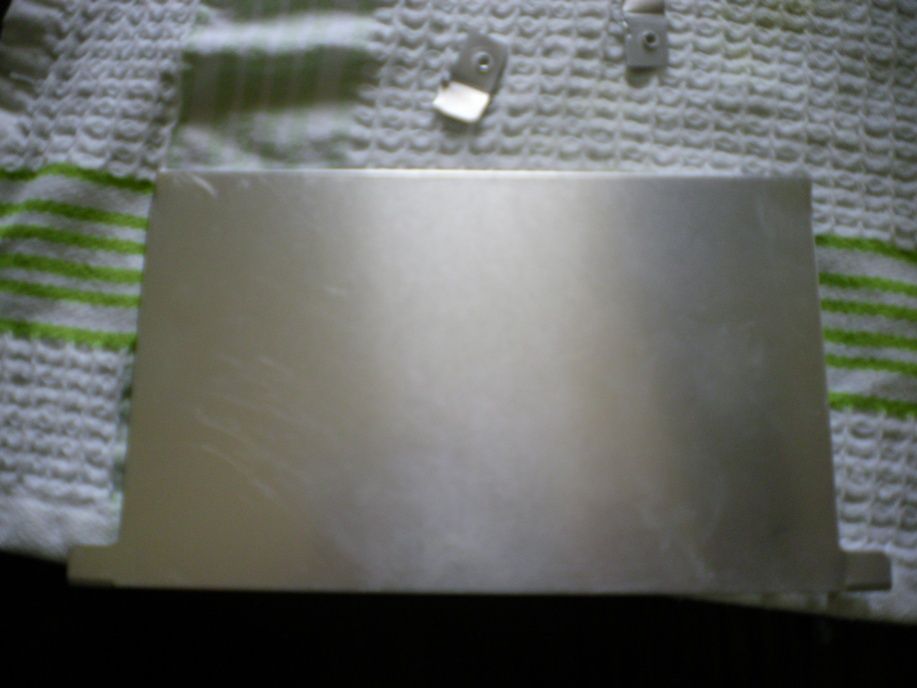
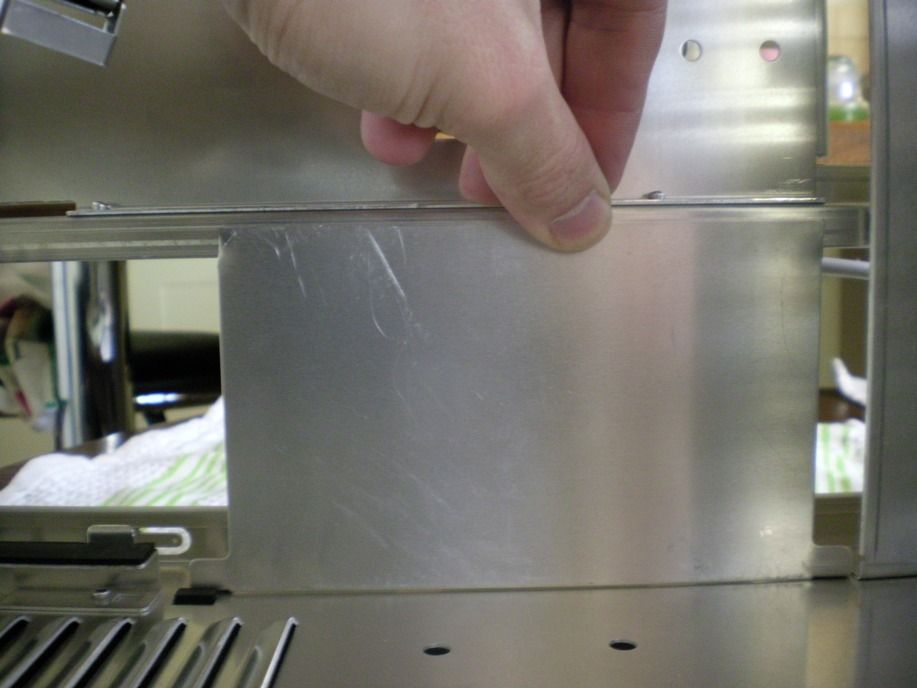
When I took out the little shelve it gave me an idea on how to improve cable management. It's just the right size to cover up the gap at the bottom of the case between the floor and where the motherboard tray starts! :D

SANY0528.jpg


Perfect! :) Tomorrow I'm getting my PSU which will give a better idea of where to place the cover. I will then cut out a large hole so that the cable from the PSU can go through tidily and not sprawl all over the place. I will get this done on Wednesday evening weather permitting. Some epoxy should be enough to hold it in place.
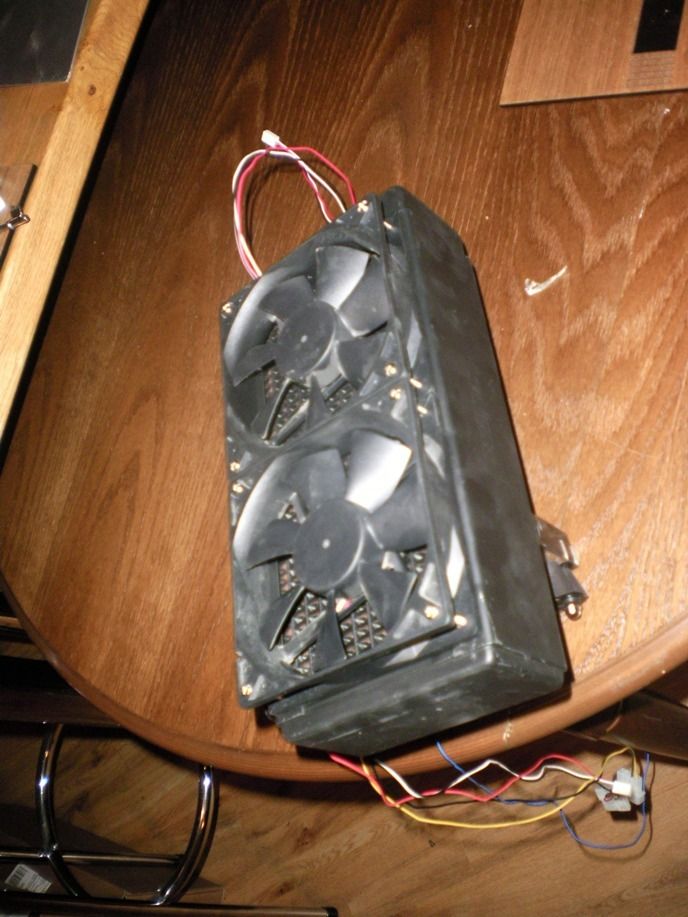
SANY0526.jpg


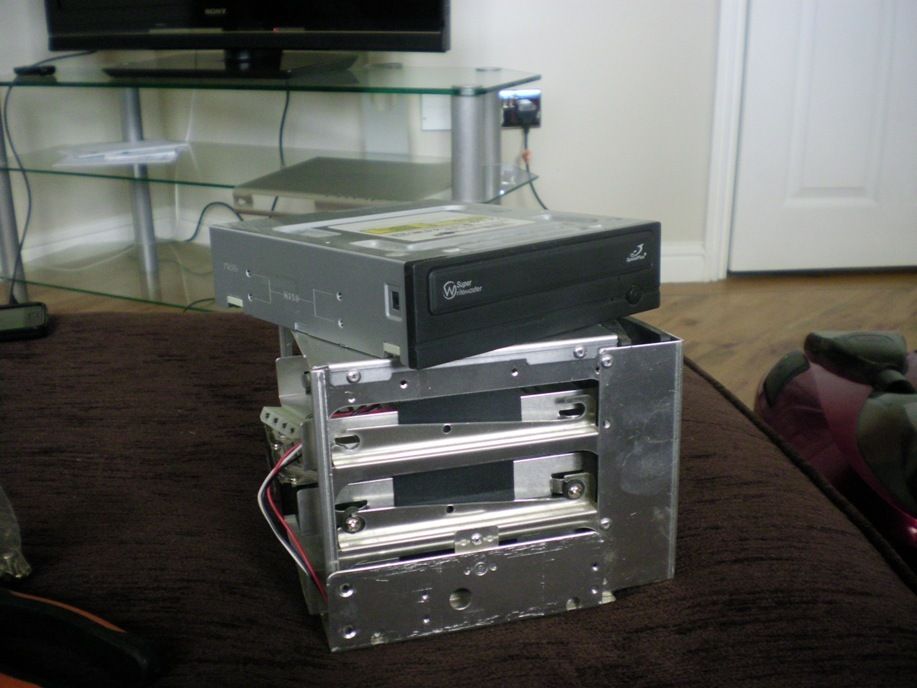
This is the hard drive cage I removed the other day. I won't be needing it any more but I will keep it for resale.

------------

Tomorrow I'll post some pictures of the some of parts I have so far including water cooling bits and bobs.
 
Ok Finally some action. Take a look at my new cooling setup.

- XSPC RX240 120mm Radiator - Black
- 2x Lian Li 120mm Black fans
- Laing DDC 10w with Xspc acrylic top
- Phobya Balanced 150 Black Nickel
- Koolance Reservoir mount
- UN Design Pump bracket (modified)


SANY0534.jpg


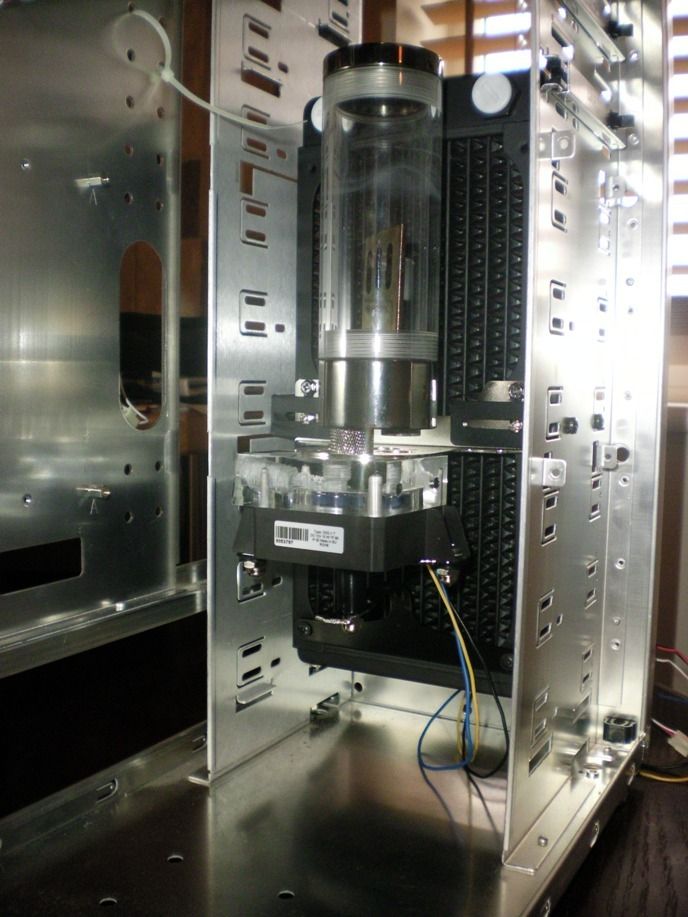
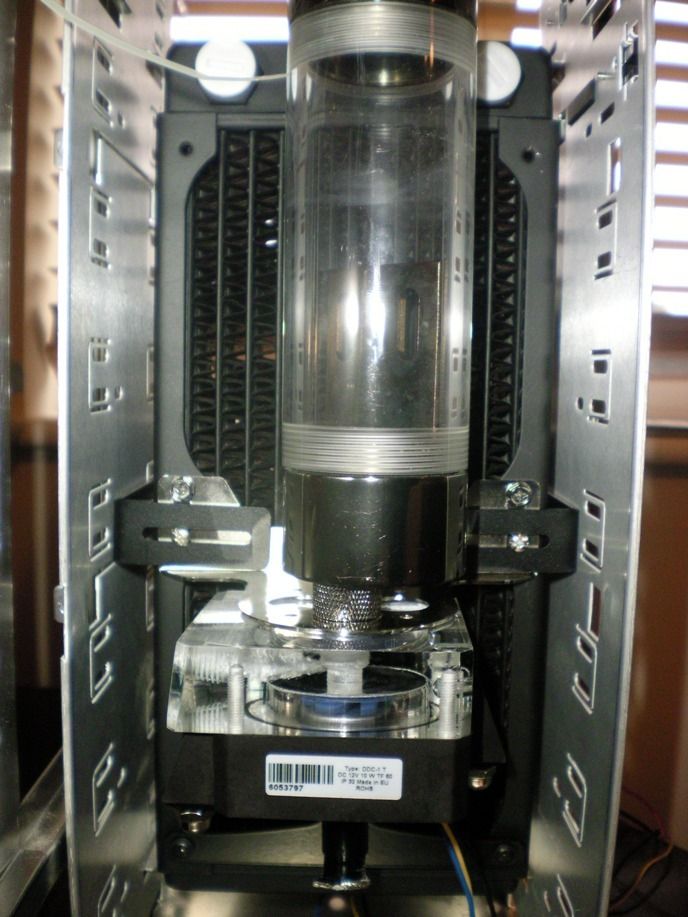
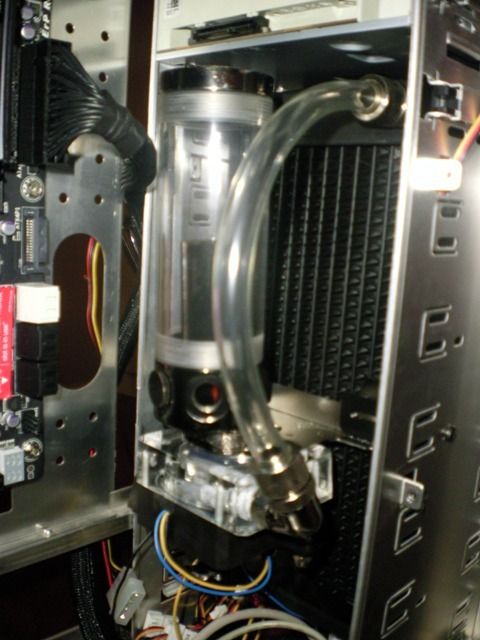
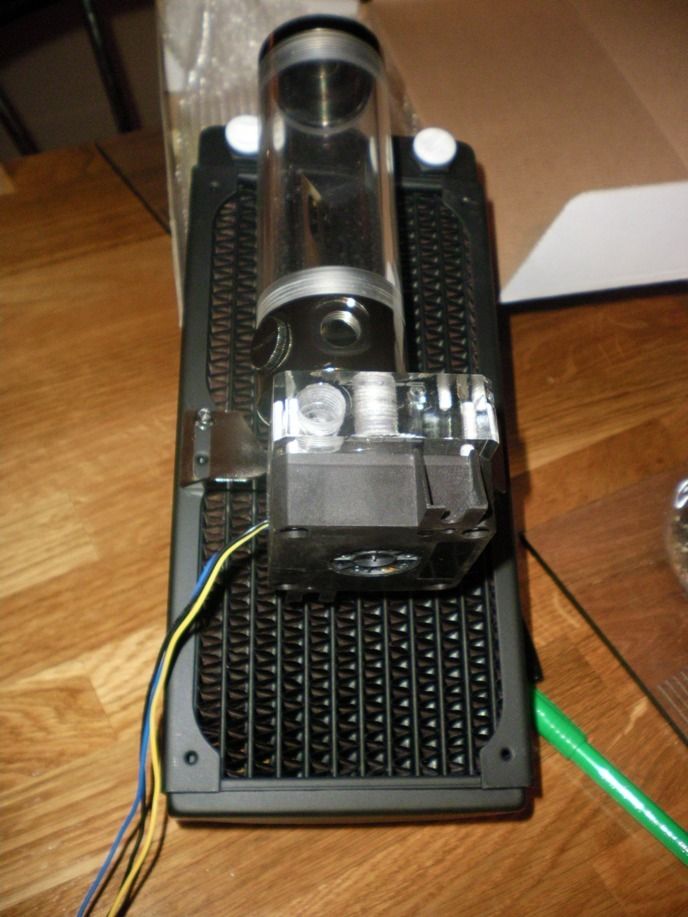
Here I've fitted the pump directly to the reservoir via a male to male washer and secured the it to the rad using the Koolane mounts but it's still not enough to hold it all in place and it looks of centre.

SANY0537.jpg


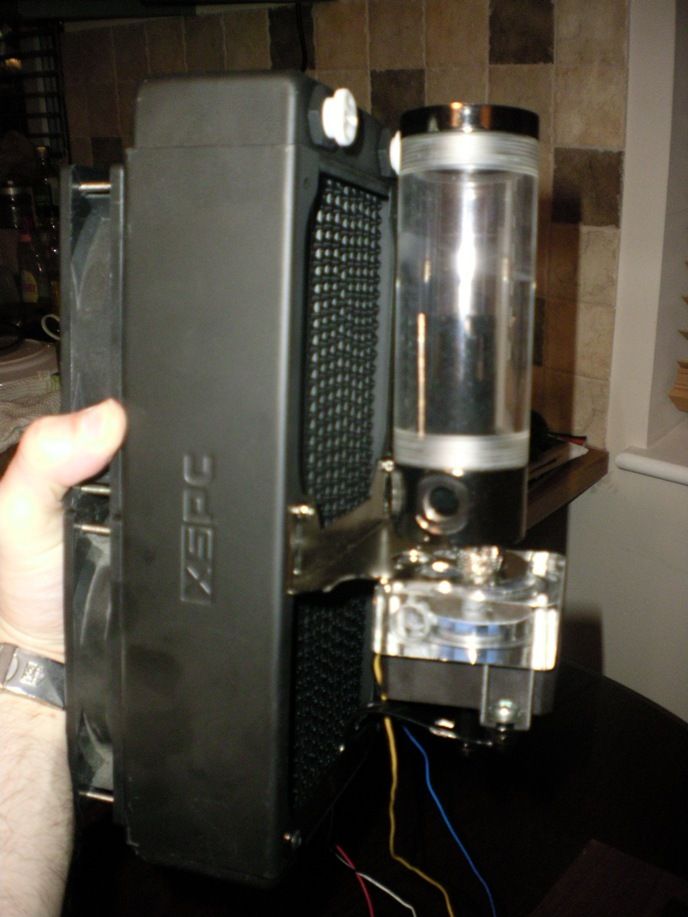
Man that thing is heavy. I had to modify some mounts that were sent to me a couple of months ago which meant a good half an hour with the electric sander but now the pump sits on top of the UN bracket which is fastened on the mount I had to bend by hand.

SANY0536.jpg


Not a lot here, two 120mms on the other side of rad.

Tomorrow I will have the some new mounting brackets to get this thing secured into my case. Stay tuned!
 
Just to warn you this isn't an afternoon build as i'm buying parts as and when i need them not to mention fitting them when I get time. I don't expect to get this done before mid June.
 
Last edited:
I finally got some brackets that allowed me to fit the radiator to by case.

SANY0538.jpg


SANY0539.jpg


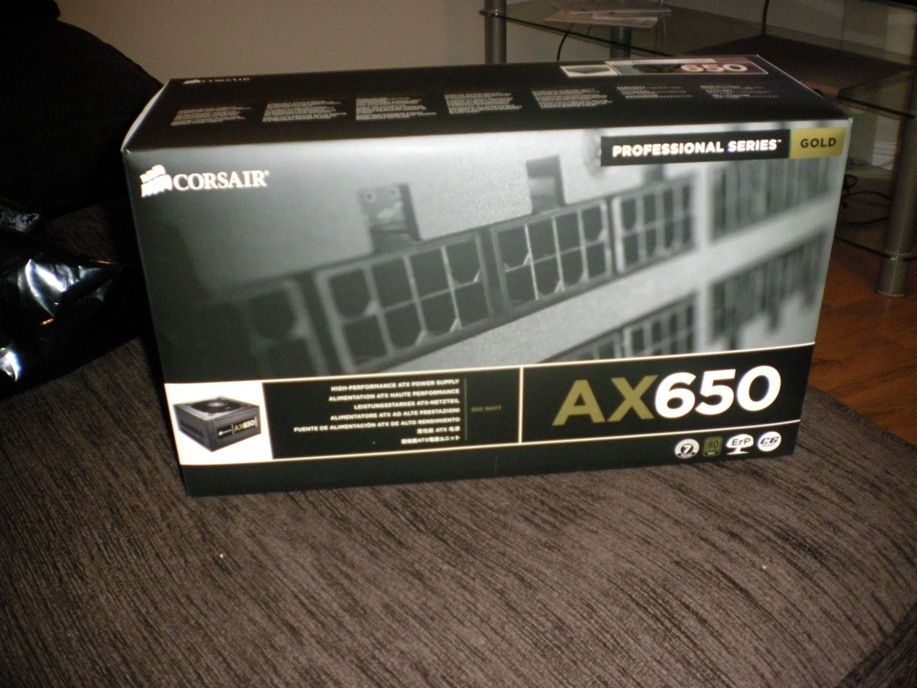
Next job the water front is to connect a tube from the pump outlet the radiator inlet at the top but that's for another day. Next job was to look at the power supply.

SANY0542.jpg


:)

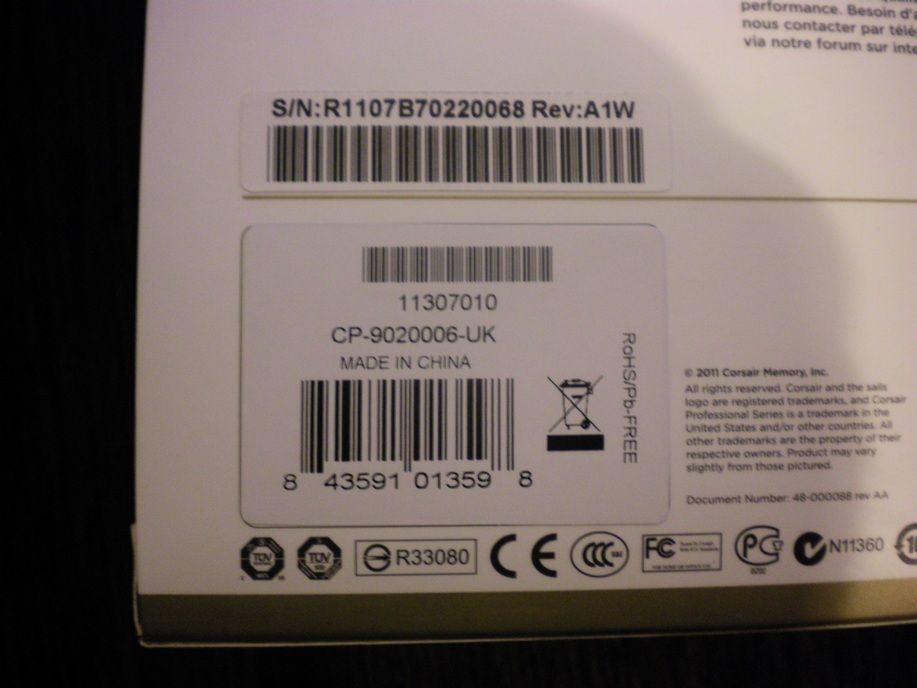
SANY0545.jpg


:( For £110 I thought it would have been made in Taiwan at the very least.

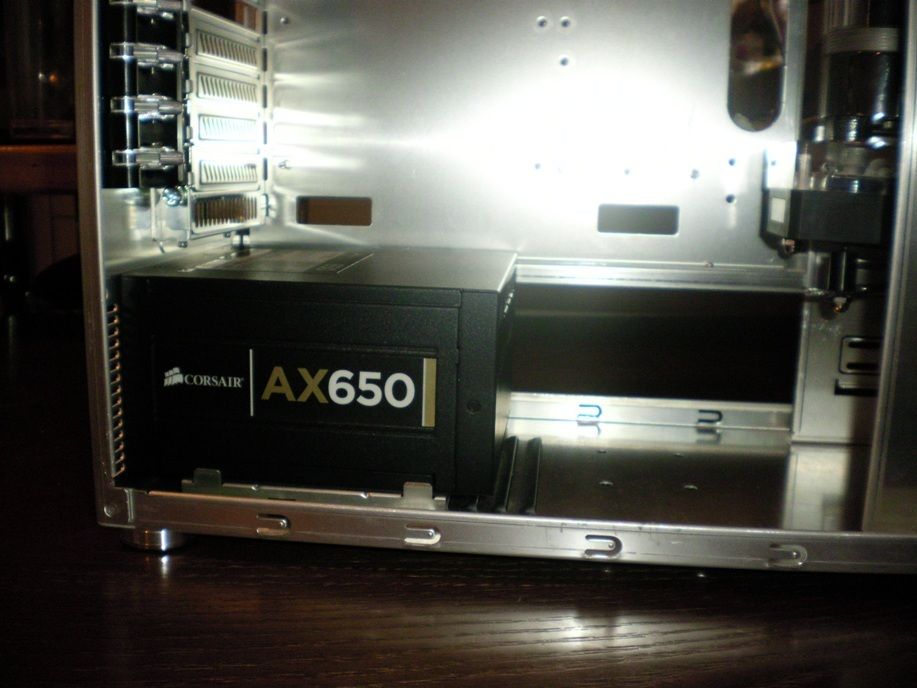
SANY0546.jpg


Still it's a good fit and being all modular should really help with the wiring. The only snag is the plate I wanted to fit to cover up the hole at the bottom isn't as easy to mod I was would have liked, the metal is to thick for the cutters I have I nobody I know has a dermal. Drat!

SANY0547.jpg


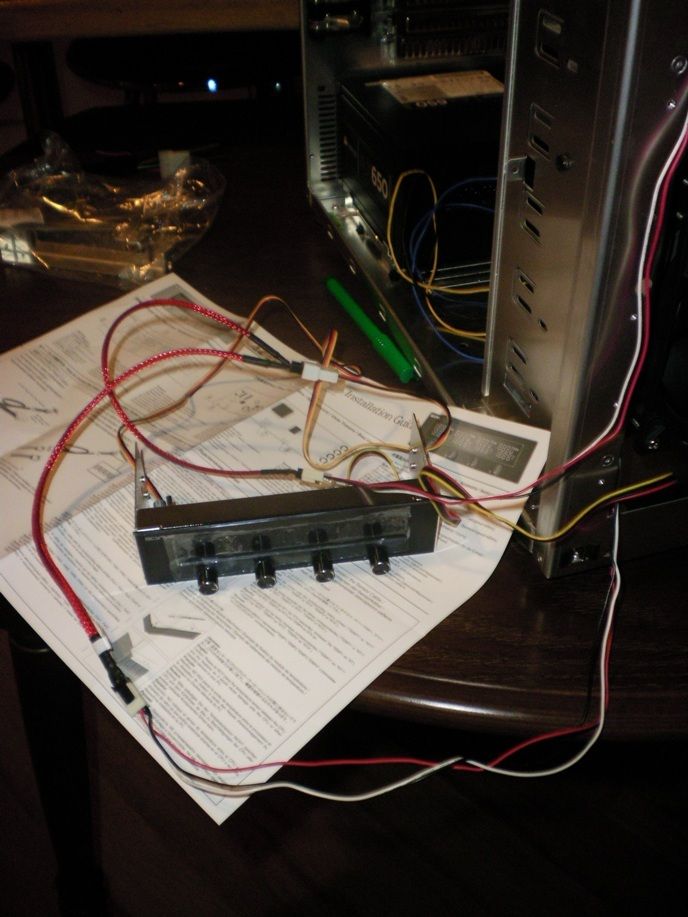
This fan controller looks great, it also some with temperature probes so I don't have to rely on whatever the motherboard senses are telling me.
 
UPDATE

These parts arrived last Wednesday and when I took them out and looked at where they were going I soon realised I had dropped a massive clanger because I haven't thought out my build properly I don't have any obvious place to mount my 3.5" hard drive! :o Anyway moving on...
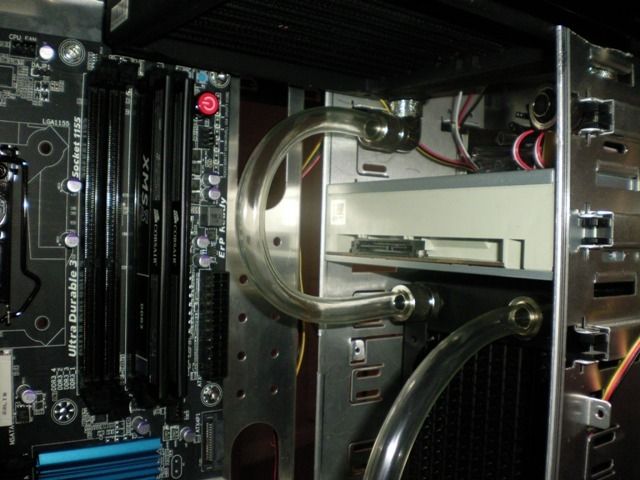
--------------------

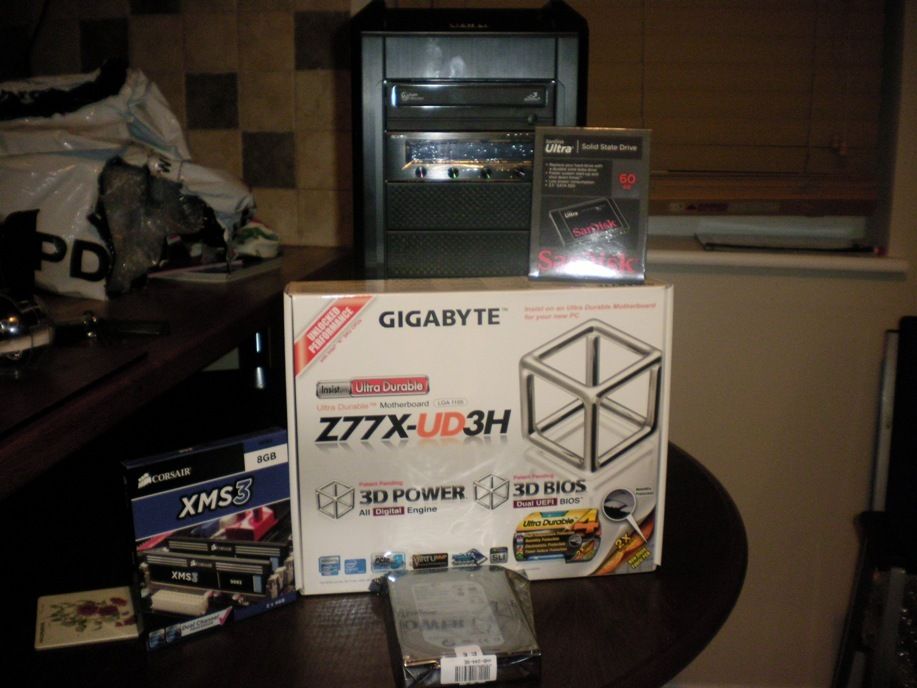
Some parts came for me during the week, I ended up placing two orders at OCUK one for the CPU, water block, rads, barbs, tubing, coolant and some PK-1 and the other for the ram, SSD and hard drive. Luckily I did place I split the two orders because my water block is holding everything up but I had enough to be getting on. My motherboard came from competitor.

SANY0548.jpg


The plan is to use the SSD with Intel's caching technology and accelerate my 5900 RPM 2Tb hard drive. One of the aims of this build is to make the computer as quiet as possible hence why I've gone with a slower RPM drive. I just need to find a place where I can mount it otherwise some rethinking will be required.

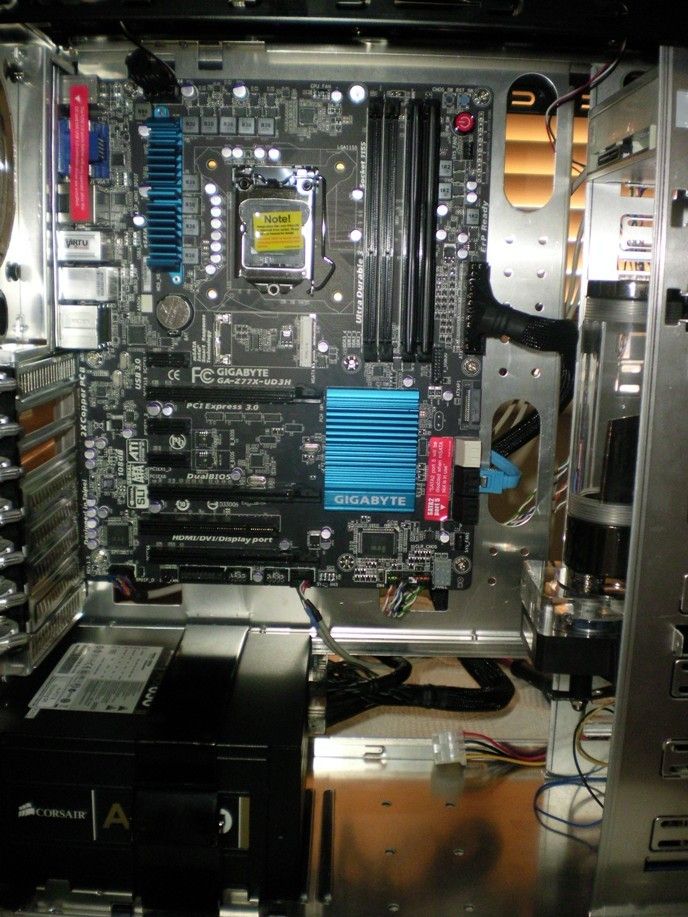
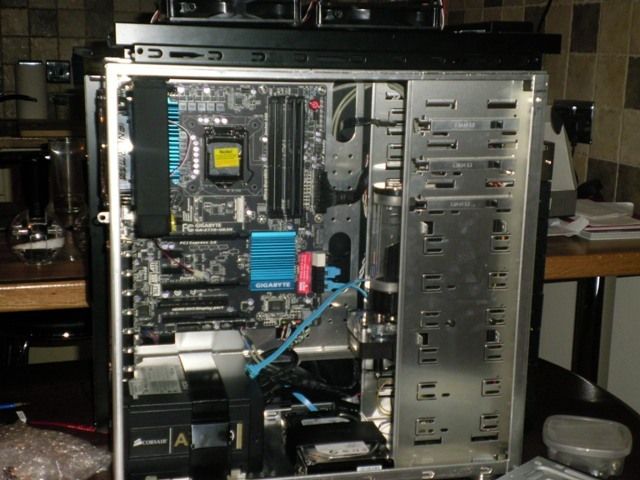
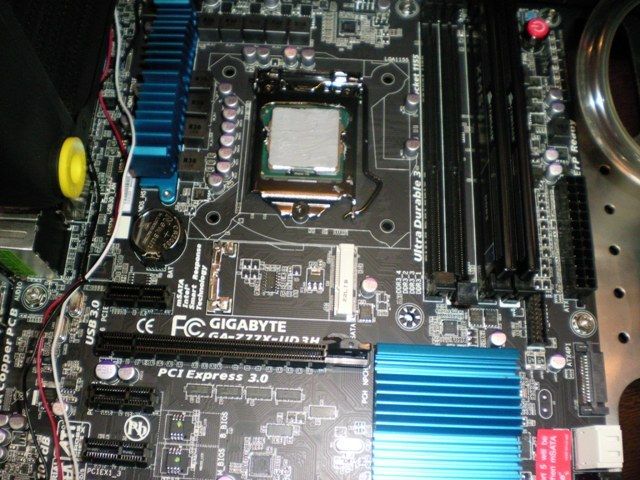
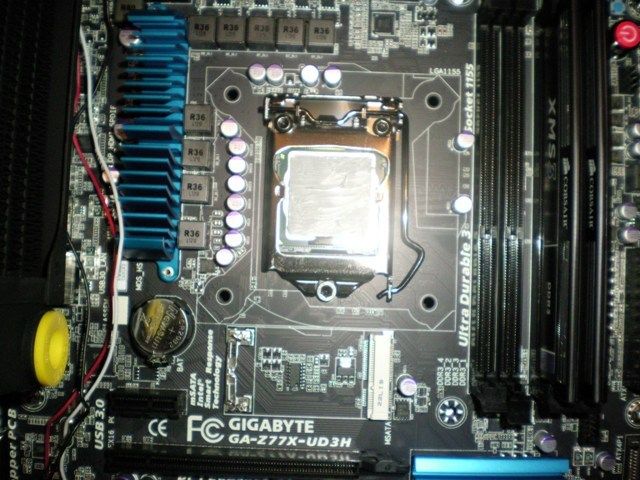
Here's the Gigabyte Z77 UDH3 fitted into place.

SANY0554.jpg


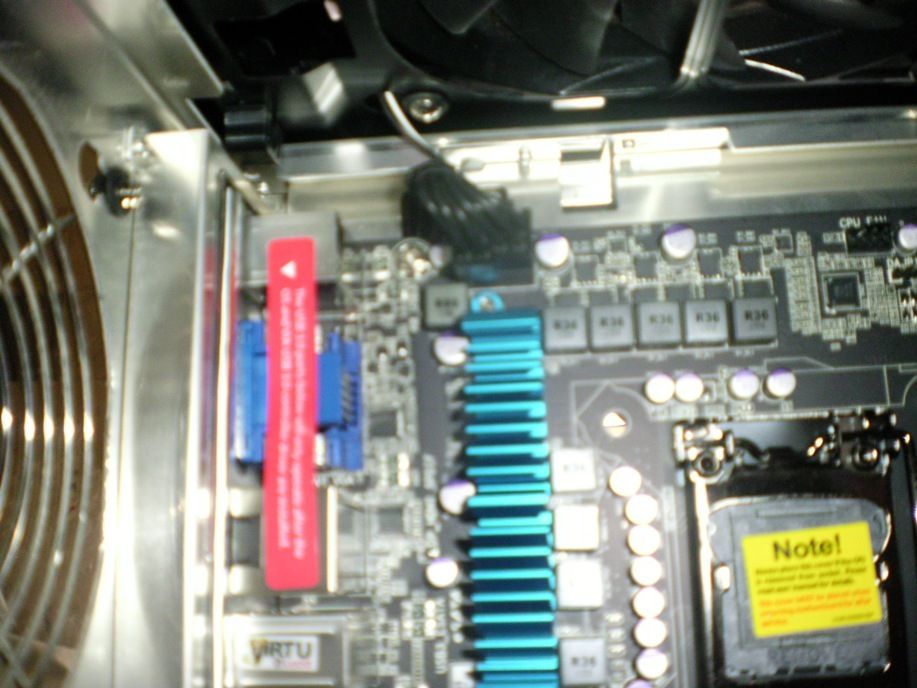
The motherboards 8 pin cable fits snugly through the cable management hold. Just to get this to fit I have to take the top of the case which meant unscrewing all the front panel connections.

SANY0552.jpg


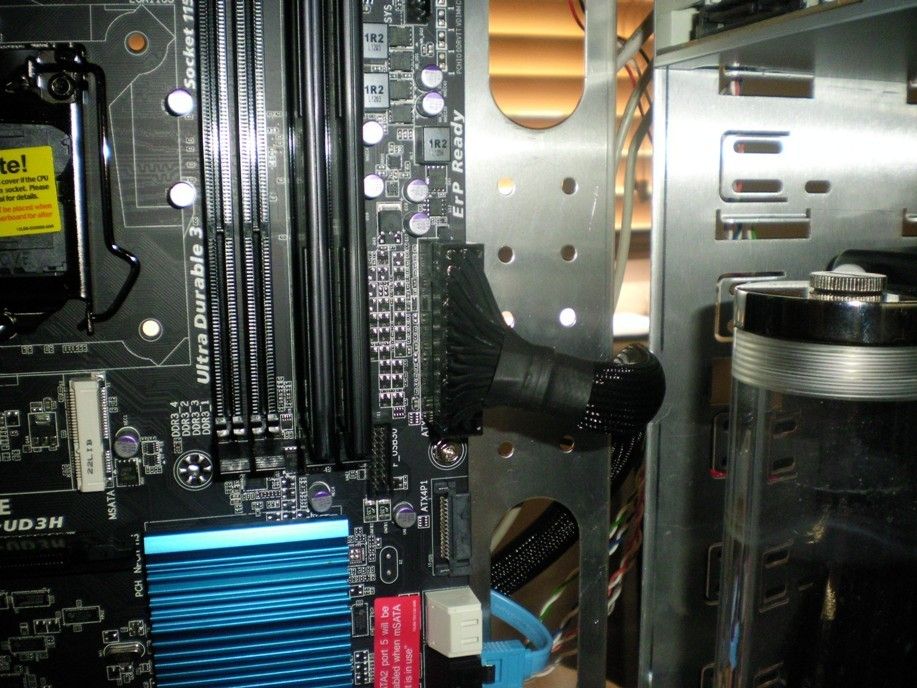
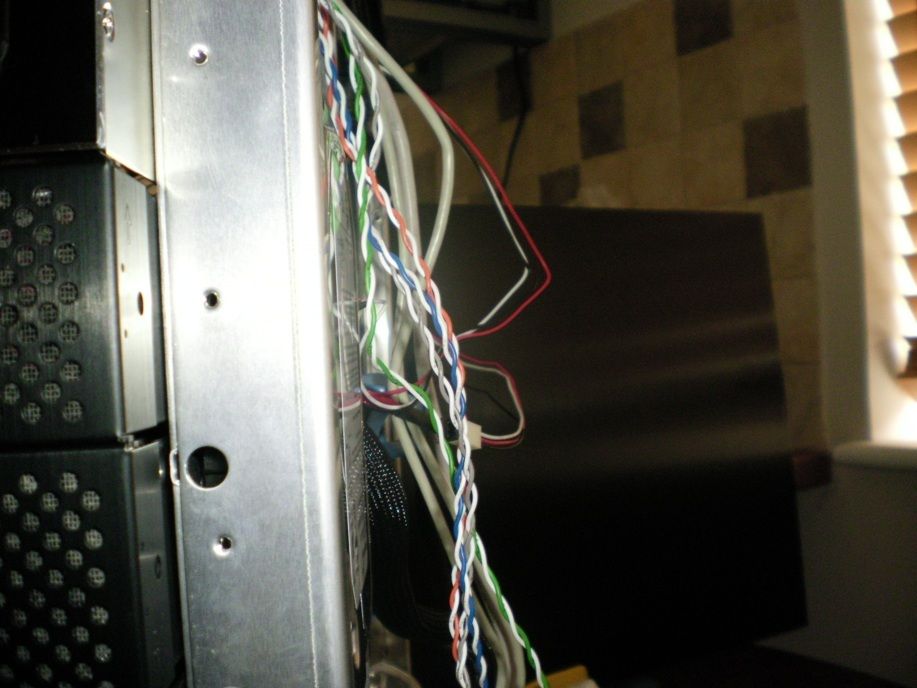
Once I had fitted the motherboard in place I looked at where the motherboards 24 pin power connection was and it was slap bang in the middle of the tray between the two cable management holes. Fortunately there was enough space to get the cable from the PSU to up the back and through the gap between the front rack and the tray although it was very tight. I might invest in a right angled connector to help out.

SANY0553.jpg


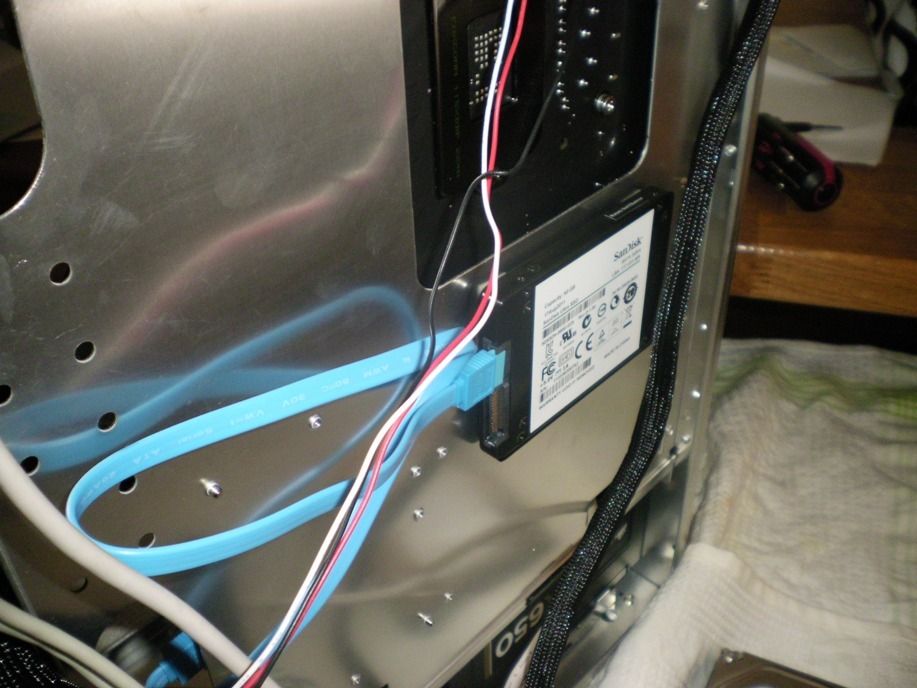
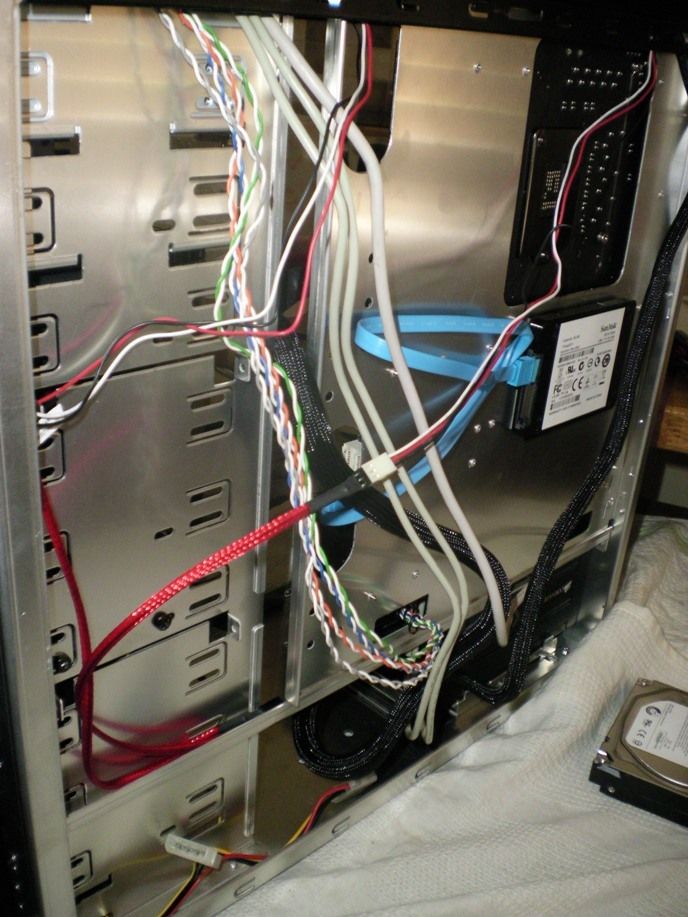
Around the back I've mounted the SSD onto the rear of the motherboard tray. Moutned it with some double sided adhesive

SANY0555.jpg


SANY0556.jpg


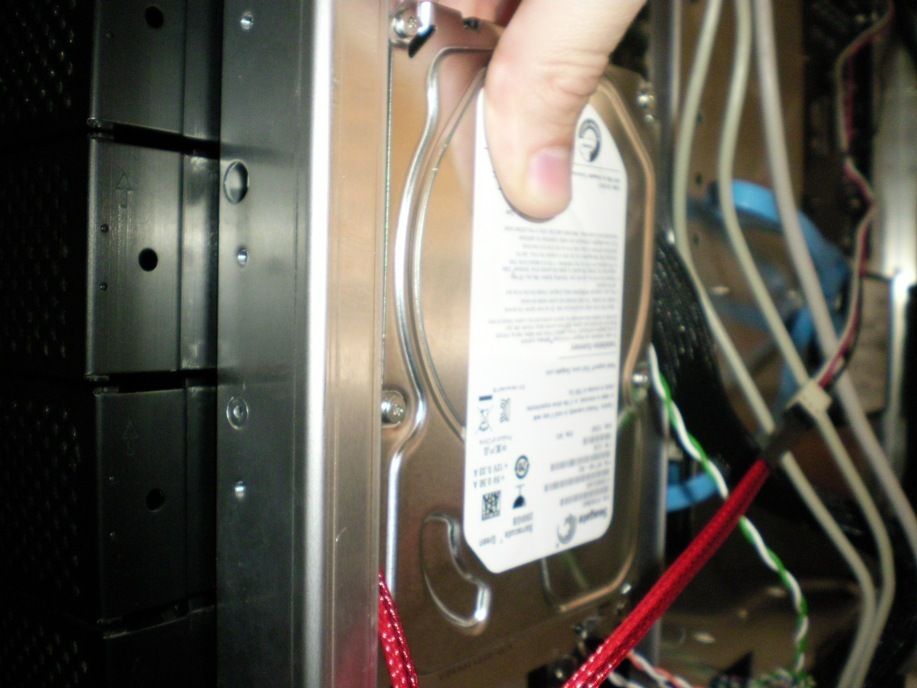
Now while I was round the back of my case this afternoon I had look at the side of drive cage and there I offered up the hard drive and with a couple of modifications I might be able to get away with mounting the hard on the side.

SANY0557.jpg


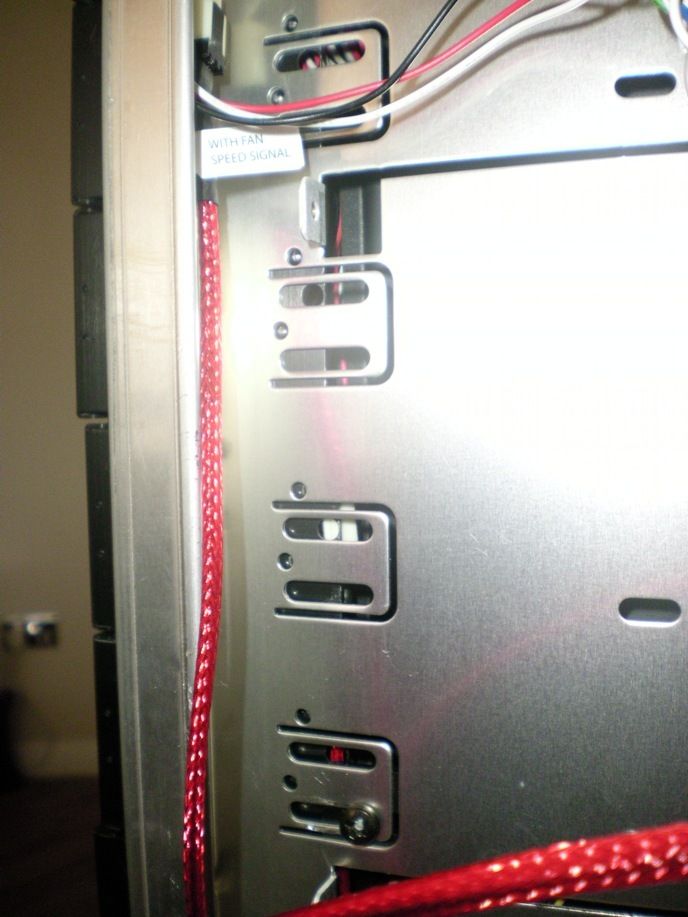
I had to get some pilers and flatten these hooks that where holding in those blanking plate you see in the 2nd post.

SANY0558.jpg


The trouble with the hard drive is the back doesn't have much of a flat surface for you to fix double sided adhesive on to just a thin strip along each side. In the end I tripled up the tape at the front so I had adhesive going along the sides and front and it appears to have done the job.

SANY0561.jpg


Hmmm, looks fairly flush to me I just hope there are no bumps if I have to force the panel on.

SANY0562.jpg


Now to fit the side panel.........if it fits....que drum roll......
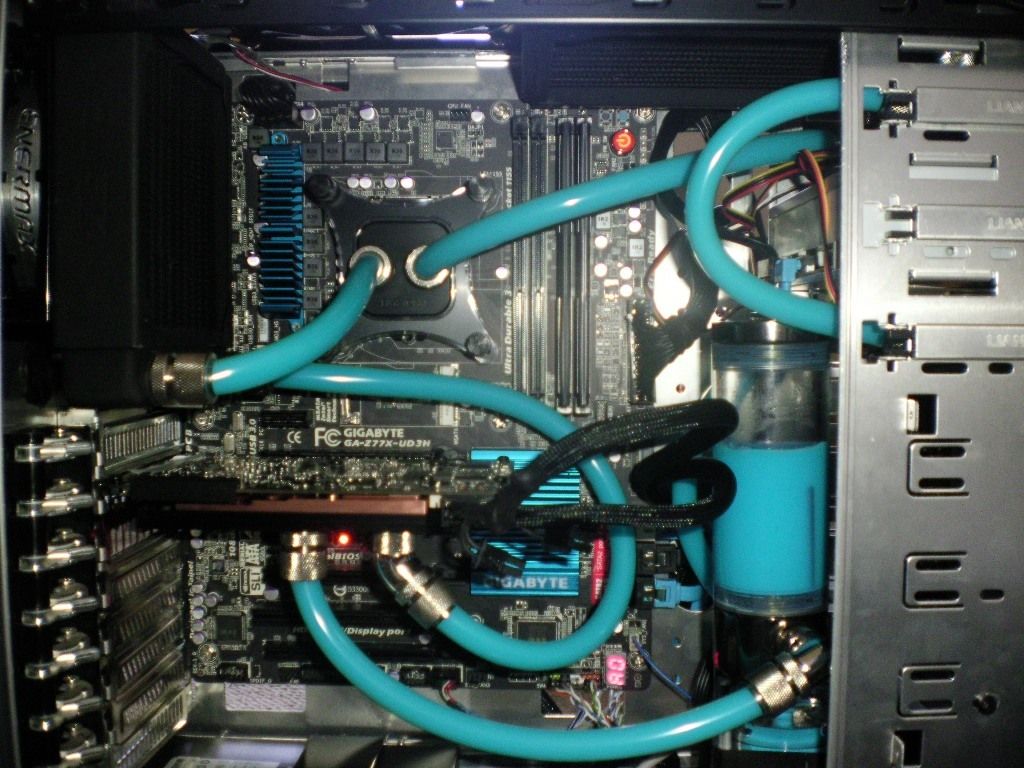
Success! The panel fitted flush, just. It was a bit of squeeze but it was more of case that the 24 pin cable was causing more aggravation then the hard drive.

SANY0563.jpg
 
Last edited:
To be honest i'm just glad i fpund a place to fit it. It's not in a great place for cooling but remember ita a 5900 rpm drive the same as most laptops so i'm hoping it won't be an issue my biggest worry is if it rattle with it being mounted on the side of the metal cage.
 
****UPDATE****

Arghh this water cooling project is just argaviation! Advice to anyone who is looking to watercool, just stick to what you know otherwise you will end up banging you head against a wall.

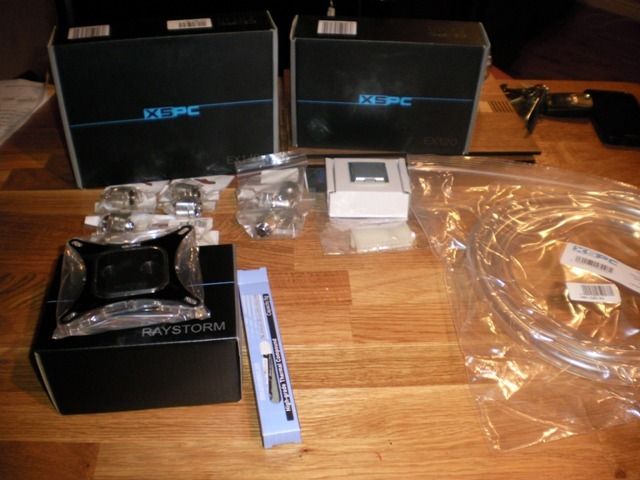
Well first the good news. My parts have finally arrived! Water block, PK-1, Core i5 3570K, rads, fittings and tubing etc, etc.

SANY0569.jpg


The second bit of news is I repositioned the hard drive. Going on what snaggster mentioend about the hard drive being noisy where it was I had another look and found I could put it in the bottom of the case inside the drive cage supplied by Lian Li! Great the hard drive issue has been solved!

This isn't a great picture buy you can just made out the drive at the bottom of the case.

SANY0565.jpg


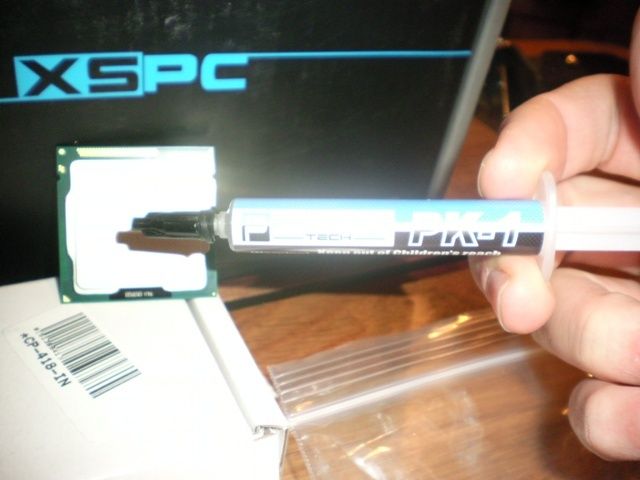
Hello mister Ivy Bridge my spies tell me your a bit of hot head because your owners wanted to save money! Well it's time to say hello to my latest weapon, Prolimatech PK-1, very soon your HSF will be removed and the bacon grease you call thermal compound will be removed in favour of PK-1!


Pk1.jpg


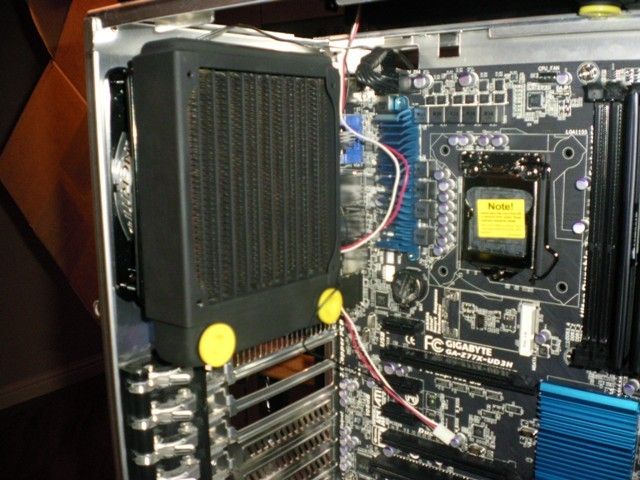
Rear 120 rad fitted. Christ you would think this would easy, just pop the screws through the back of the case in the fan then screw it into the rad. Well if only life worked that way, the 30mm screws XSPC supplies look really long but by the time you thread it through the fan guard and fan there's hardly any thread left to mount the rad onto which means trying line up the screw with the rad whilst simultaneously holding onto the fan guard, fan rad and screw requires to have a PHD in dexterity! 40mm would have made the world of difference.

SANY0564.jpg


Here's my 140 rad fitted to the roof. Again I have the same issues with the 120 were the thread was only just long enough and took some guessing to line up the rad. Now to pop the roof back on and job done!

SANY0566.jpg


ARSE! Noooooooo

Now you would think, 'hmmm 140mm fans in the roof so that mean I can get a 140 rad up there. Well not quite Sherlock! The damn roof no longer fits because the rad is literally 1mm either side to wide and it hits the frame! Now I have to get myself some cutting discs for the rotary tool and do some true modding to the case which I was really hoping to avoid. This is why you shouldn't do water cooling!!!!!

SANY0568.jpg


I'm so glad I'm doing this build over time and not in one day.

Oh BTW if your reading this and want to water cool buy yourself the OCUK tube cutters because if your thinking you can get away with a pair of scissors your only deluding yourself as the tubing for computer water cooling is really think and solid it's nothing like your common garden hose pipe tubing at all.
 
UPDATE

Well I have recovered from yesterdays shock of not being able to fit my roof because of the rad hitting the side of the case. So I slipped on down to Maplins and bought myself a rotary tool with some cutting discs and a junior metal saw from Wicks. Two hours after getting home and plenty of cutting and grinding, cutting and grinding, cutting and grinding............. and I ended up with this
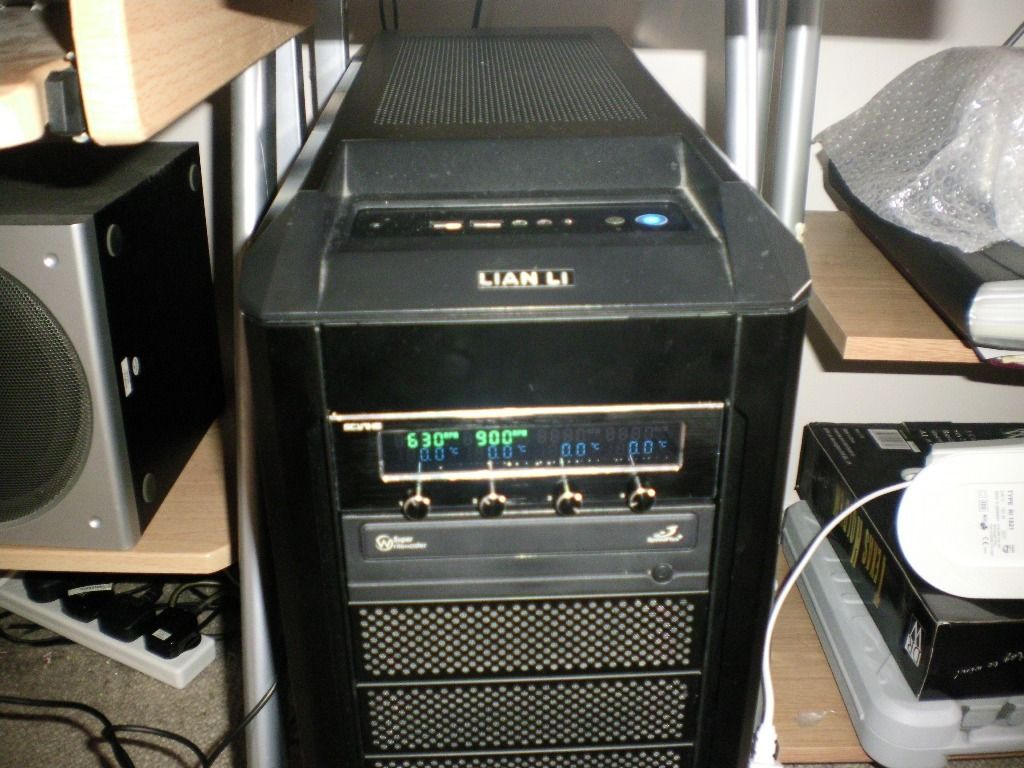
SANY0577.jpg


Drum roll....................
I've scratched the paint a but on the rad but after much swearing, yelling and fist waving I managed to get the roof back on with the rad attached.

My only worry now is if the motherboard will fit an will the ram modules interfere with barbs coming from the rad which I think it will which means I'll have to switch it around. Or go down to 4gb of ram lol.

SANY0578.jpg
 
****UPDATE****

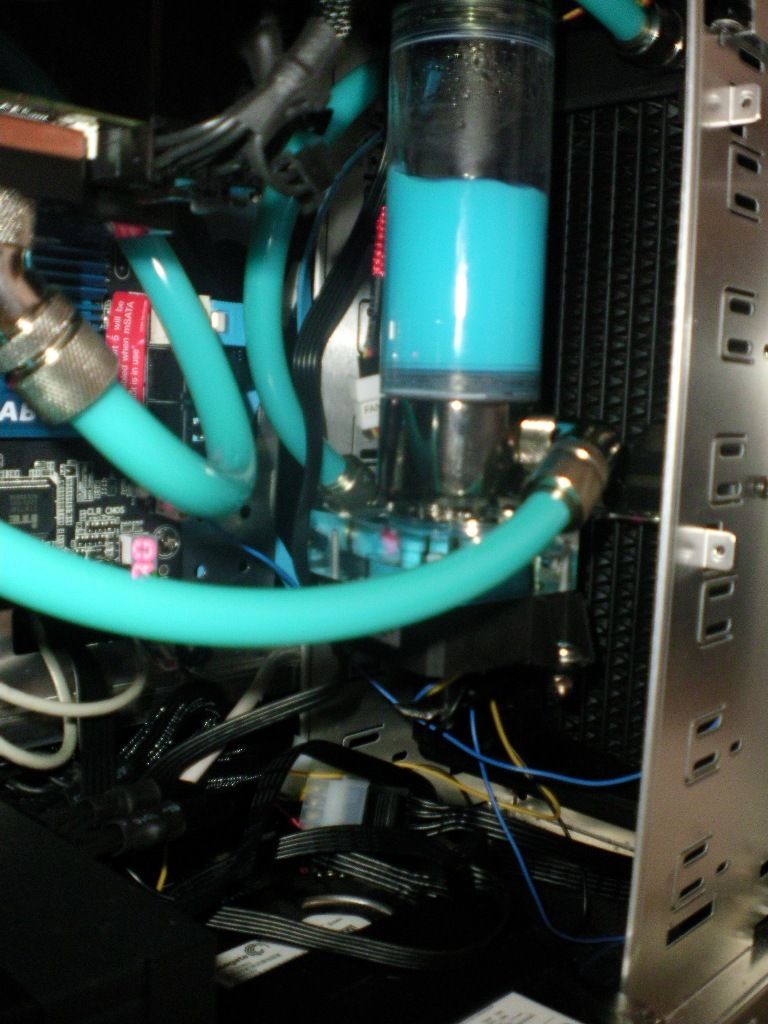
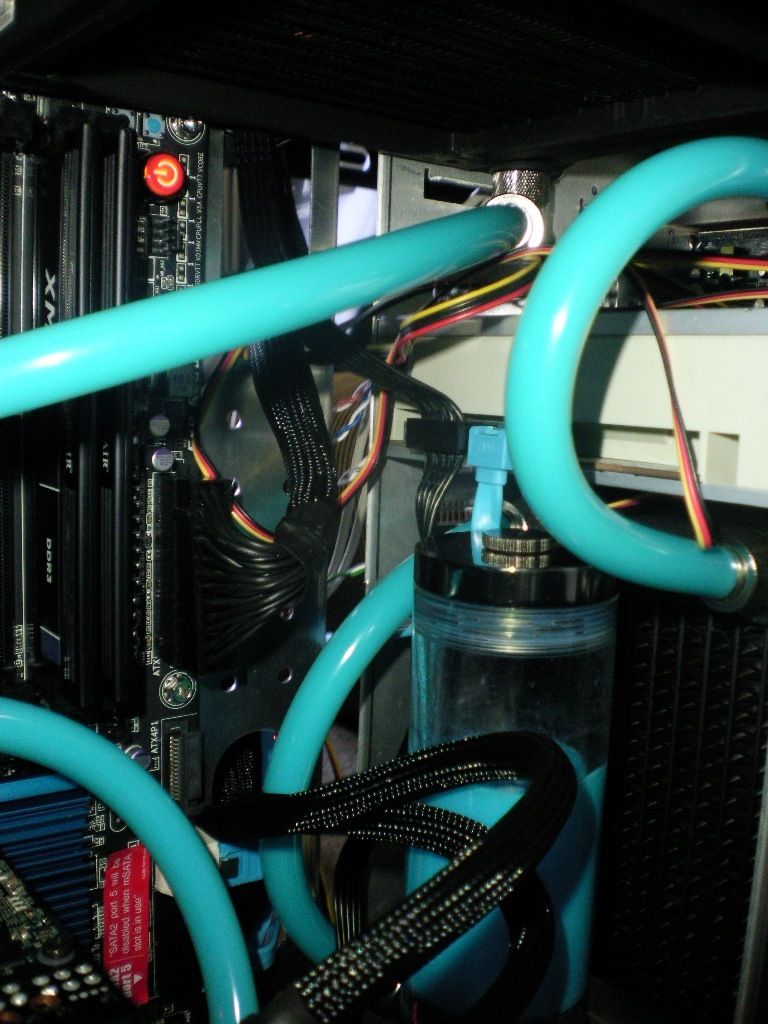
Well after a load messing around of sorting out the correct size tubing for my setup and waiting a week on a technical query I had concerning the back plate of my water block tonight I finally managed to get quite a bit done.

First up some tubing pics

SANY0584.jpg


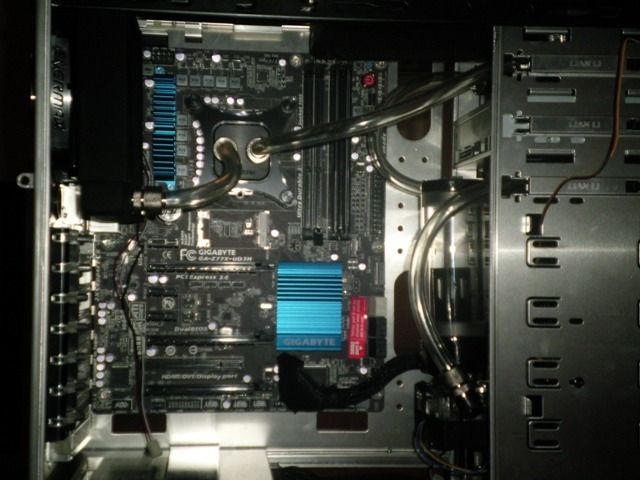
From pump to rad, one of the reasons for the delay was I need some 90 degree angle fittings. Two of which I used in my top 140 rad.

SANY0585.jpg
.

I'm not sure how the cables are going to be when it comes to wiring up the optical drive. I have lots of software on DVD/CD so I'm not keen on getting rid of it just yet.

SANY0587.jpg


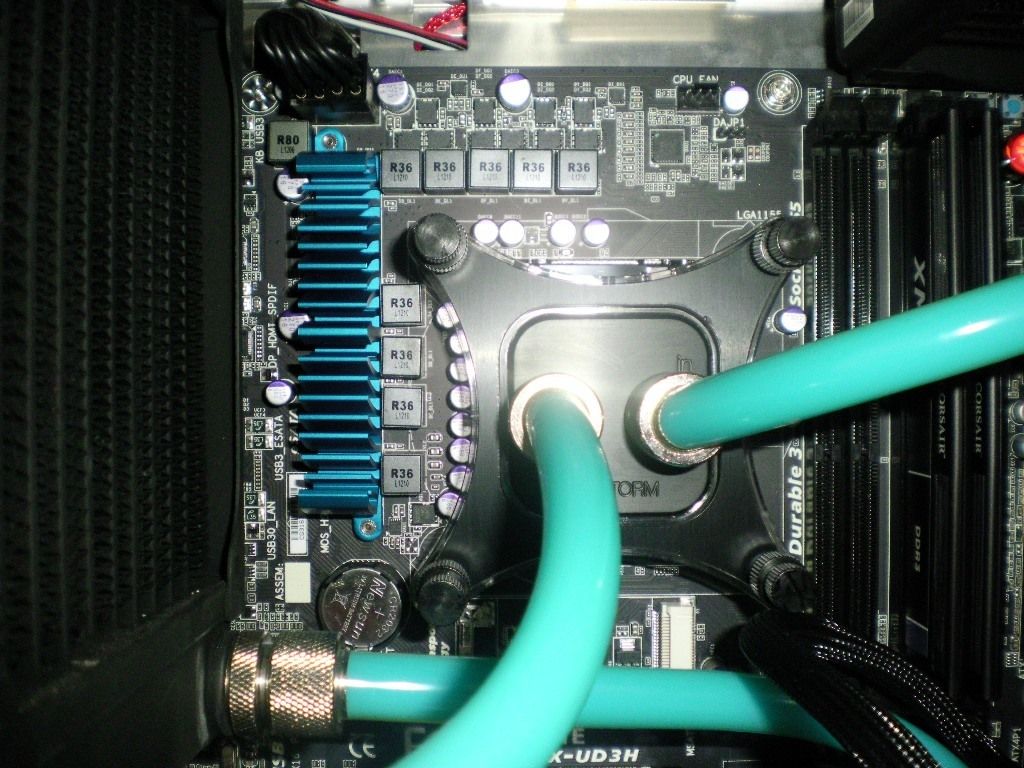
Ah the prolimatech PK-1 gets to seem some action. Once I have this setup and running I will be replacing the bacon grease on the core but first things first I need to get the rest of this rig done.

SANY0588.jpg


That's the CPU done all I need to do now is sort out a video card to water cool. Any suggestions? :cool:
 
SANY0586.jpg


SANY0588.jpg


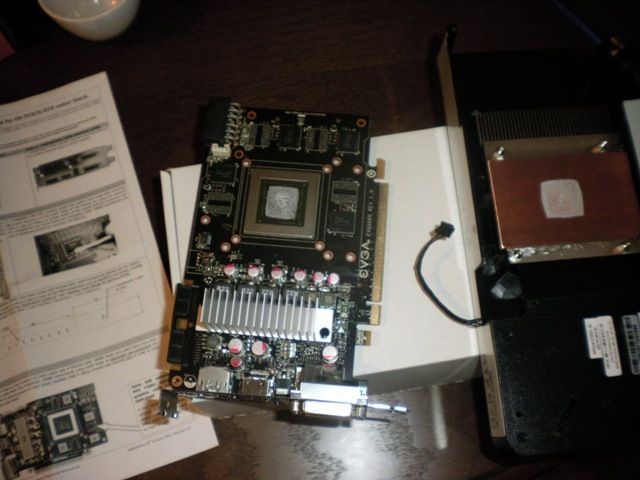
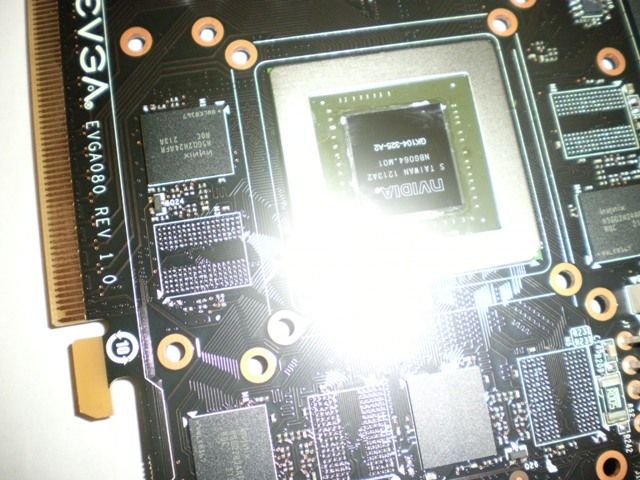
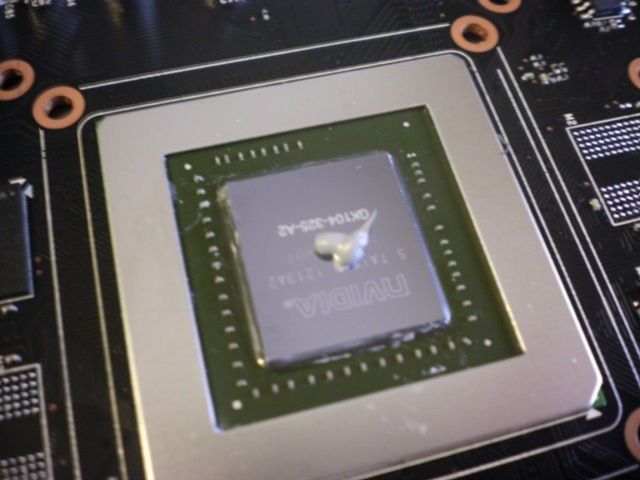
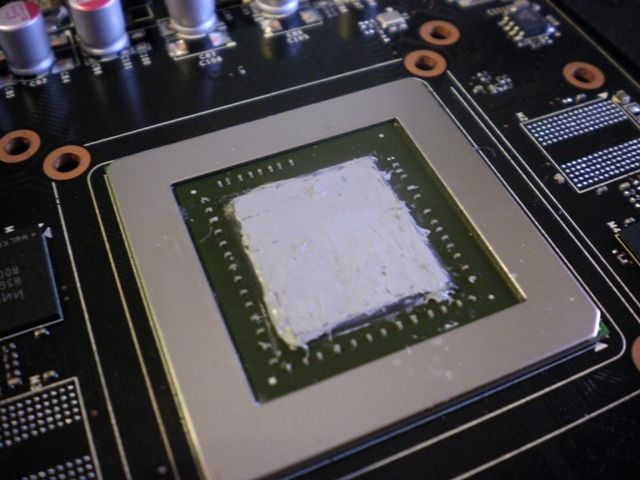
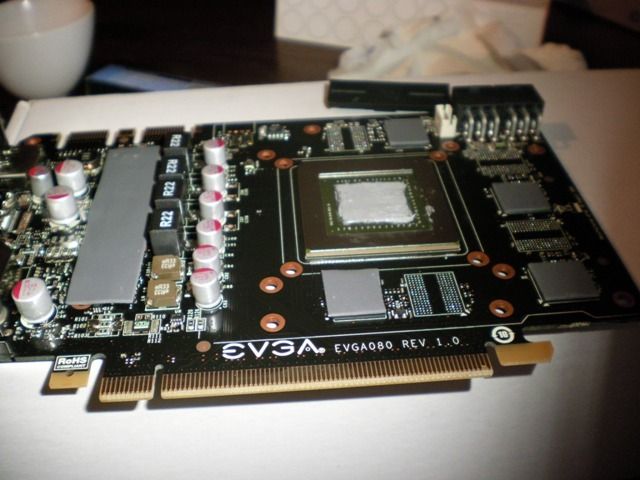
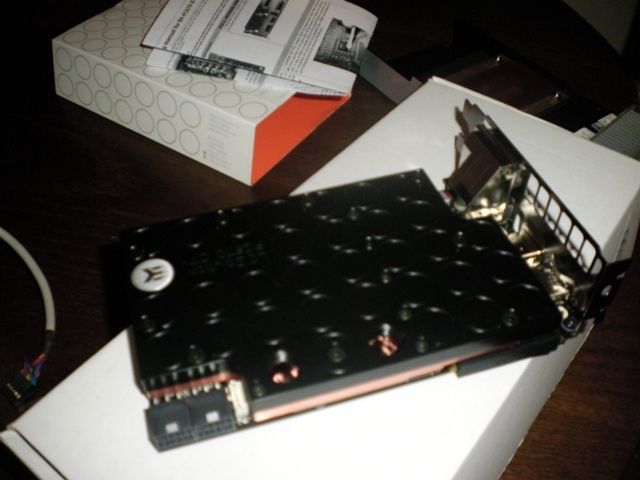
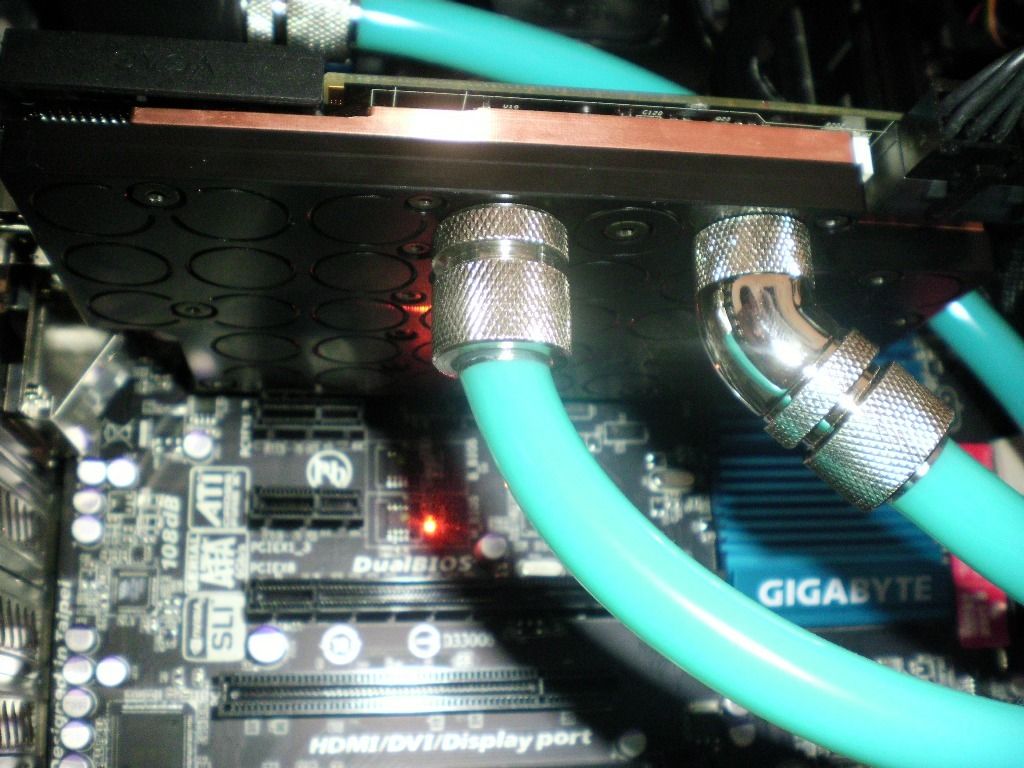
Ah what's this Freddie with an Nvidia card? An EVGA! The plan was to buy a Radeon 7950 3Gb but at the start of July 7950's were the same price a GTX670 which is stupid pricing from AMD as much as I like AMD's products their pricing for this generation of cards is mind boggling, yes I know they have to make their money back on all the R&D they plough into these things but I'm a bigger fan of value for money (something that AMD has been brilliant at for years until now).

It's naked!

SANY0595.jpg

SANY0597.jpg

SANY0599.jpg

SANY0601.jpg

SANY0605.jpg

SANY0608.jpg

SANY0609.jpg


Hat's of to Nvidia for creating a powerhouse on tiny piece of silicon and a small card.

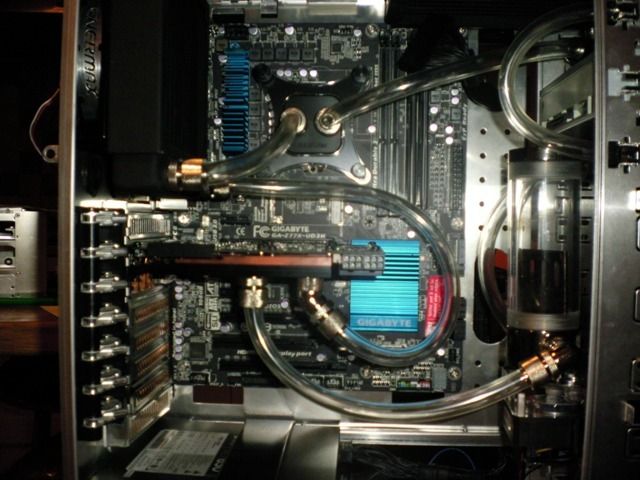
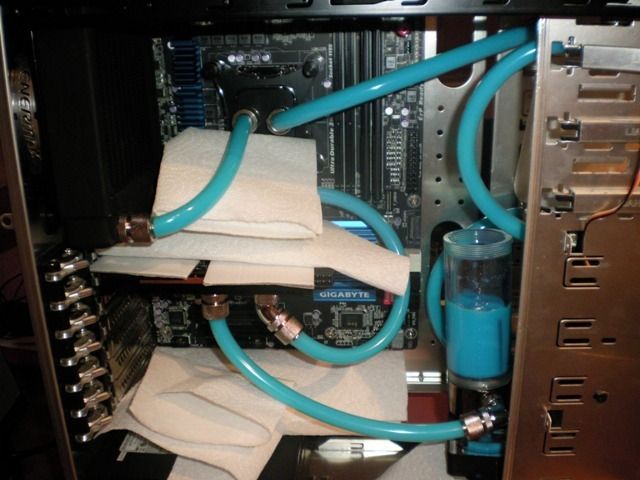
Next up is leak testing and priming.

SANY0610.jpg


Oddly enough when I turned it on for the first time it did spring a leak! It was the male to male fitting between the pump and res, I had removed the res several time and put it back on because I wasn't happy with the orientation but at some point I had overscrewed it and the rubber seal had cracked! Fortunately the EK water block for my GTX670 had some spare O rings I just slipped on the faulty fitting and it fixed it right away!

Priming and getting all the air out took several hours, the bigger the loop the longer it takes I guess.

SANY0622.jpg

SANY0624.jpg

SANY0626.jpg

SANY0612.jpg

SANY0611.jpg


I ended up mounting the 2Tb hard drive on inside one of the old drive cages and used double sided tape to secure to the floor of the case.

SANY0620.jpg

SANY0619.jpg


All the fans have been wired into the fan controller and the pump is running of it as well so I keep the noise down while it's idle.

I'll post some temps and overclocking results a bit latter in the main forum but so far I have already got this running at 4.7Ghz Intel Burn test extreme stable.

http://img.photobucket.com/albums/v637/JeanLuc2000/Project Gilbo/IBT47Ghz.jpg

4.8/4.9 might be achievable but I'm a bit nervous about the amount of volts I'm having to run it off to keep it stable. So far the GPU had been a disappointment, overclocking by 90Mhz has made it unstable still it's mega quick at stock so I'm not worried.

Project completed!
 
Back
Top Bottom