Project 'Hour Glass'

Associate
Joined
7 Feb 2009
Posts
27
Lo all. I'm new to the forum so I thought I would introduce myself with my personal mod that I have just finished.

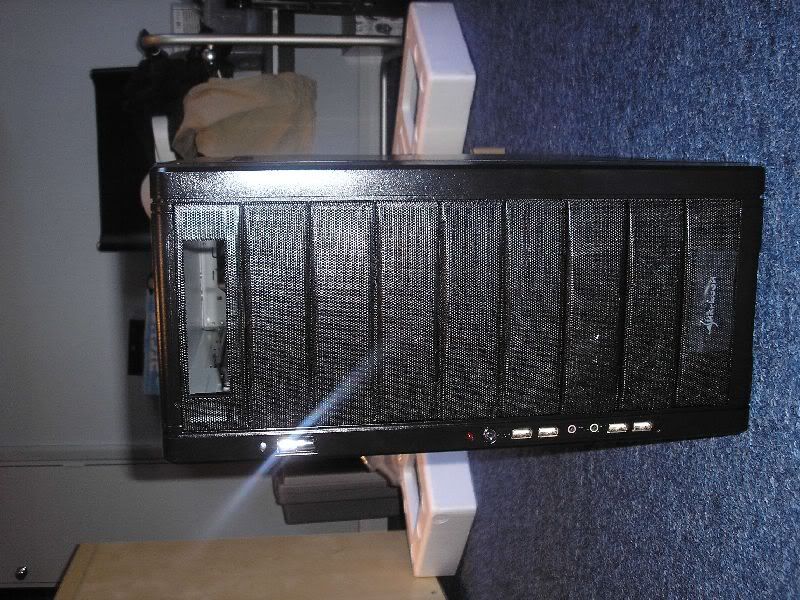
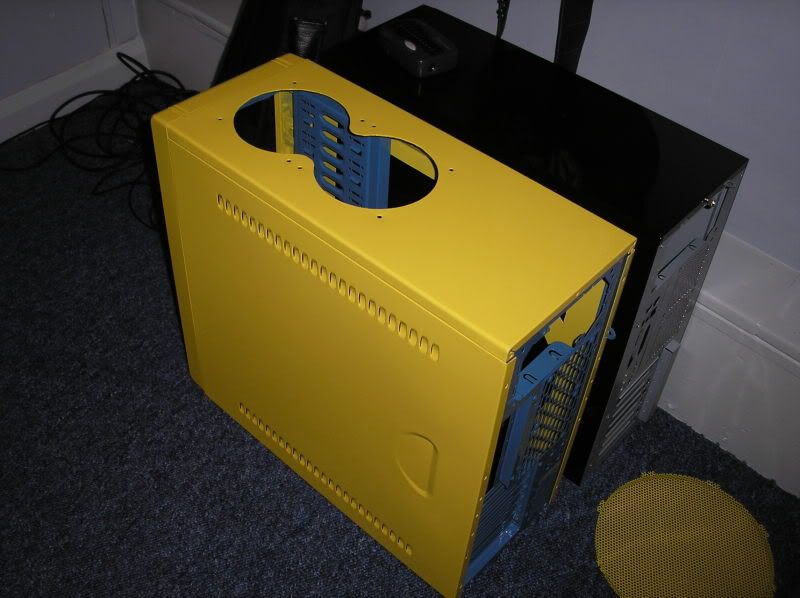
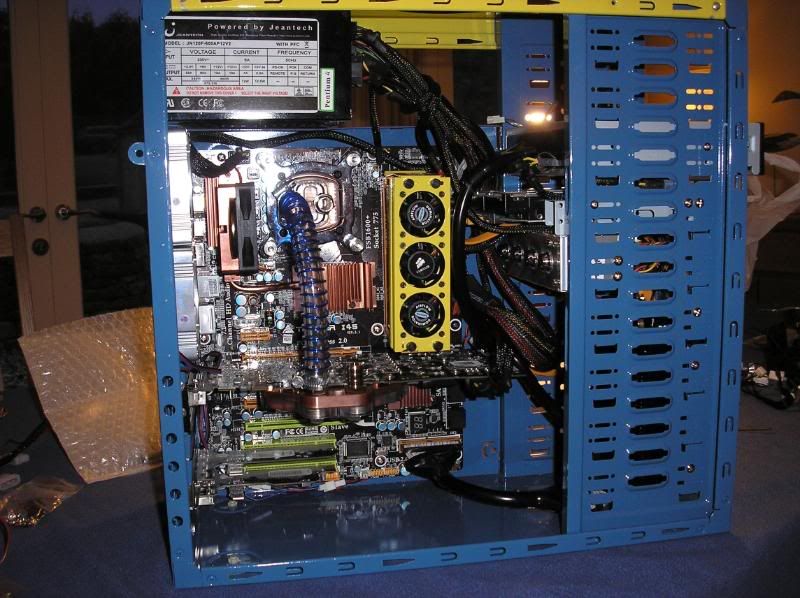
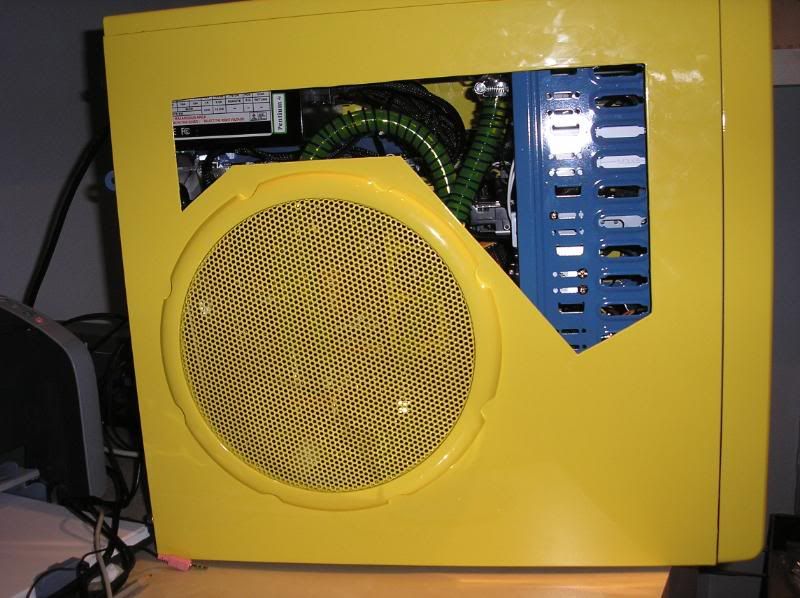
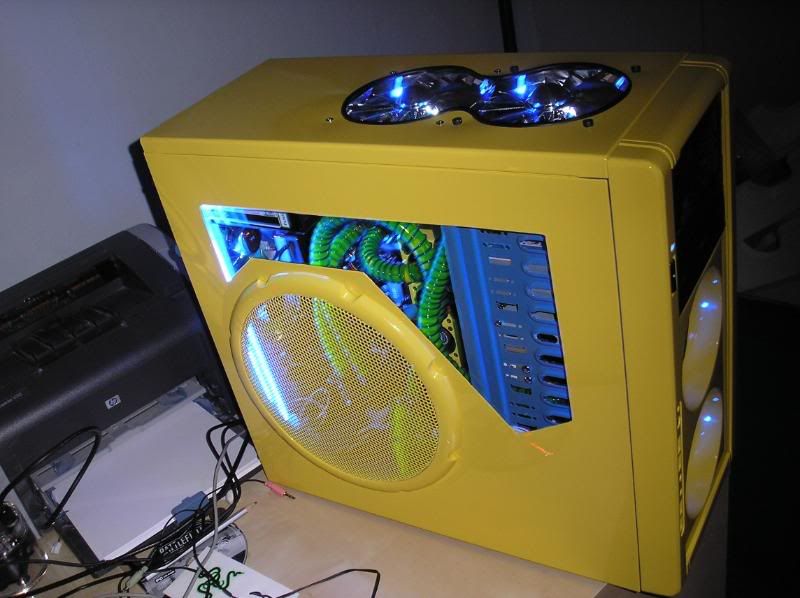
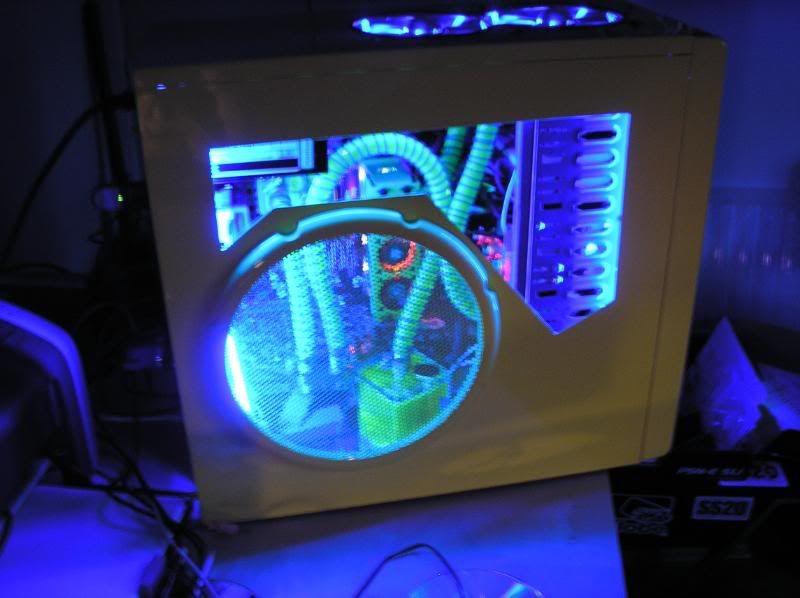
The skeleton for this mod is a Sharkoon rebel9 Value case.

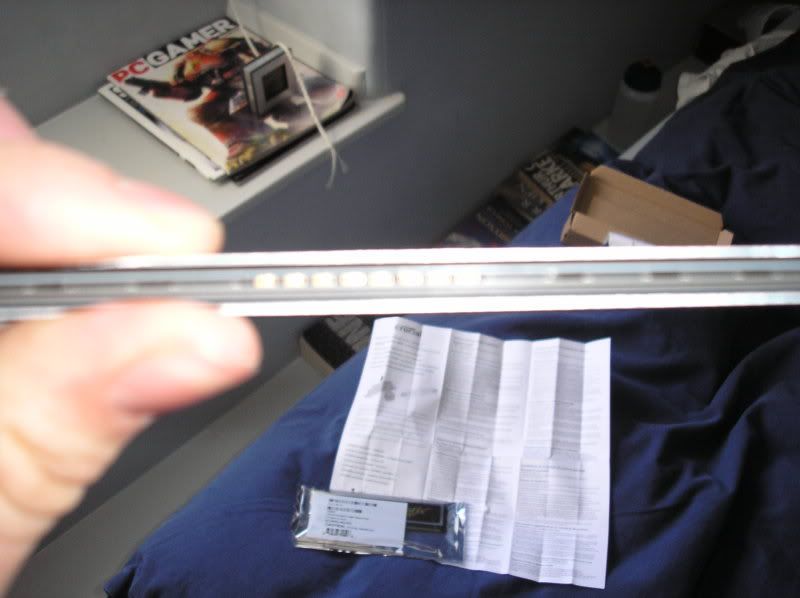
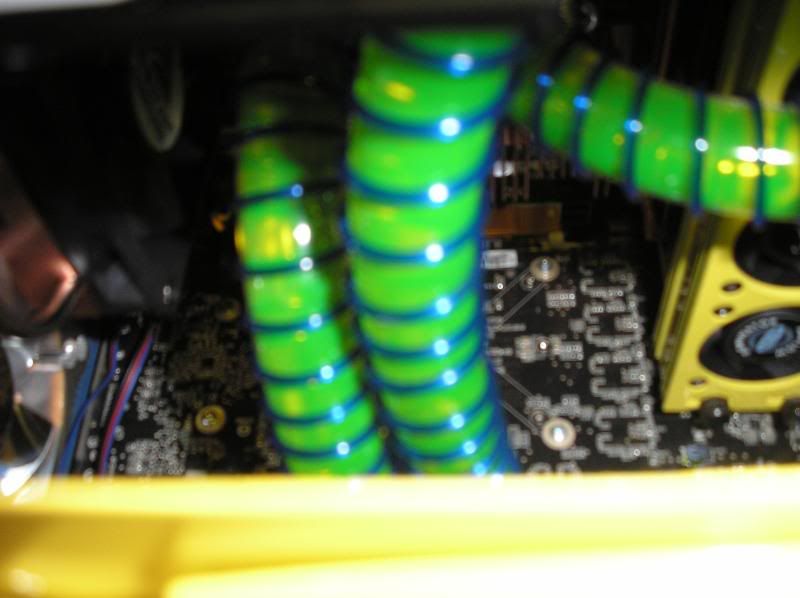
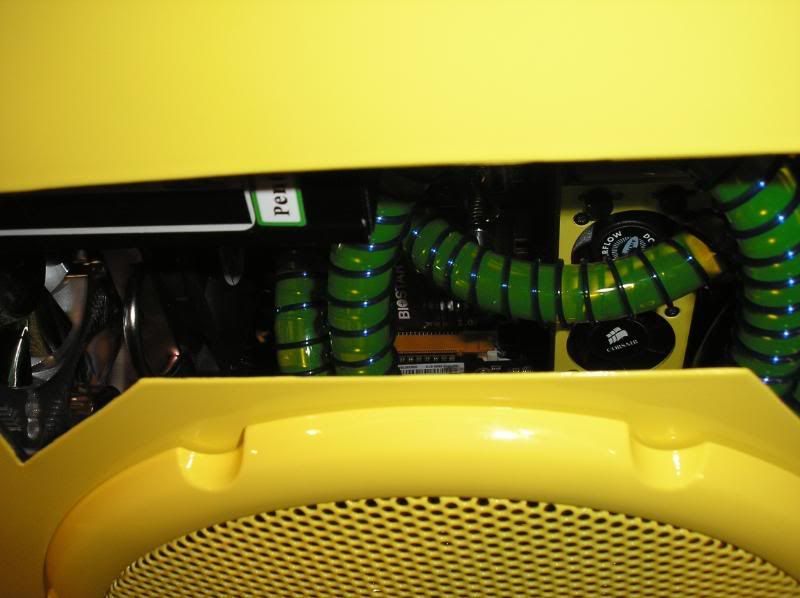
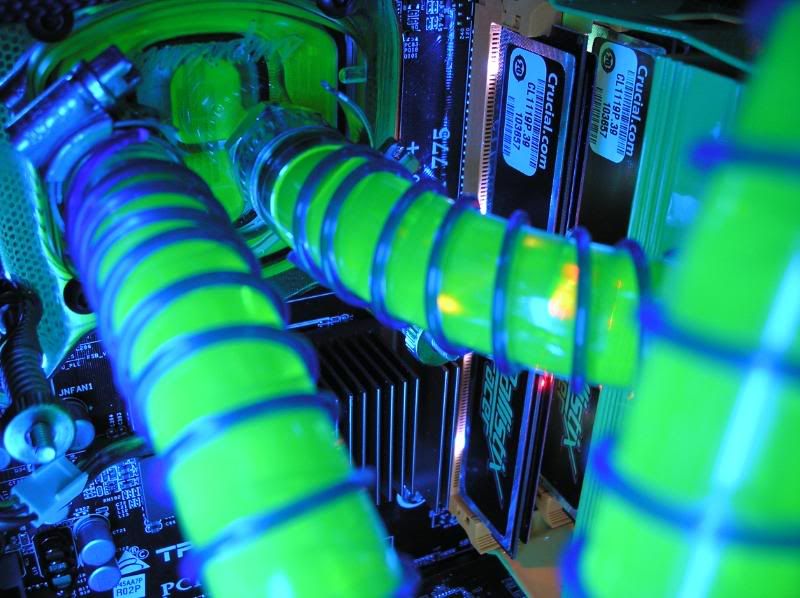
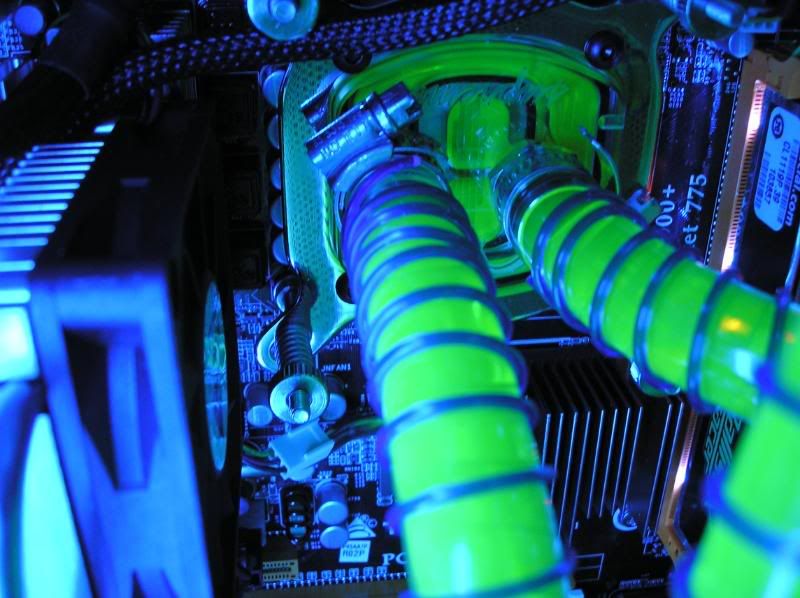
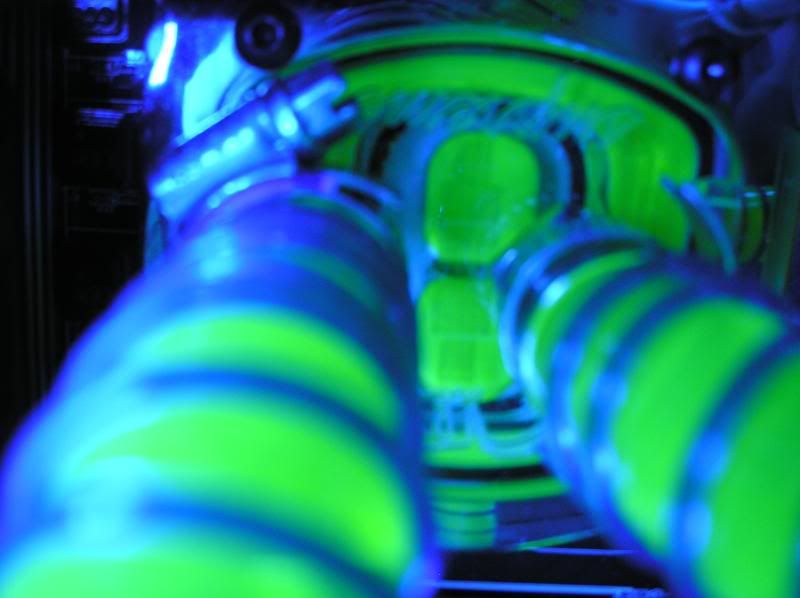
If anyone has any feedback please post it and also I apologise in advance for the bad picture quality as i have an old camera.

Enjoy.

Sponsors
aerocool_logo-1.jpg

Be cool! Be Aerocool! Click http://aerocool.com.tw to go to their website!!

EK_banner.gif


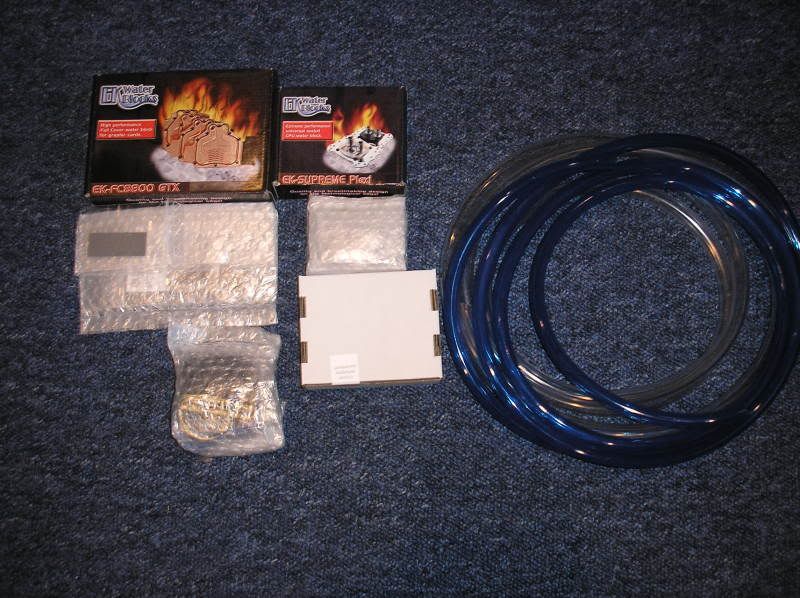
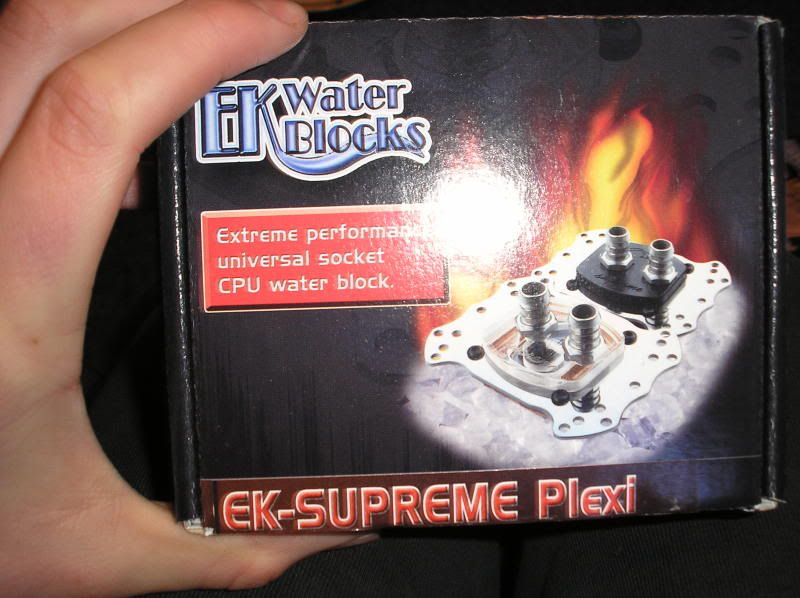
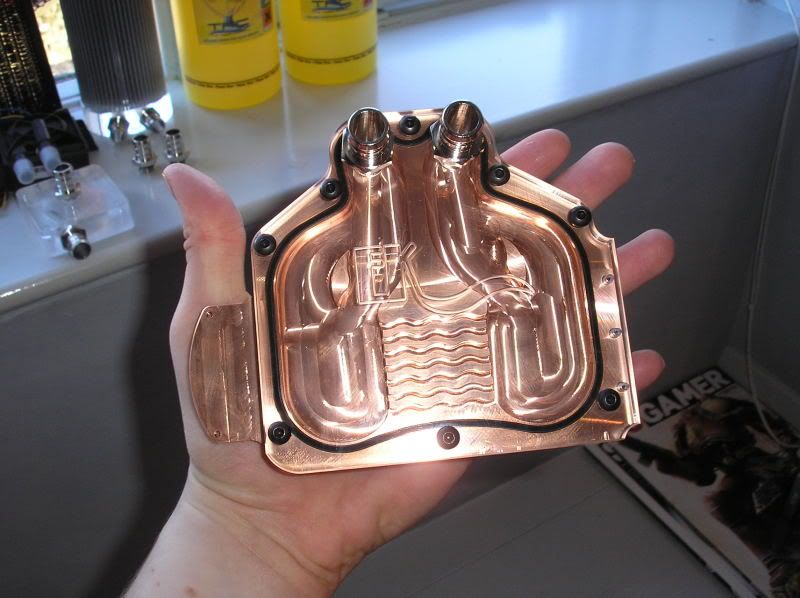
Click http://ekwaterblocks.com to go to EK Waterblocks' website!!

Cruciallogo.png


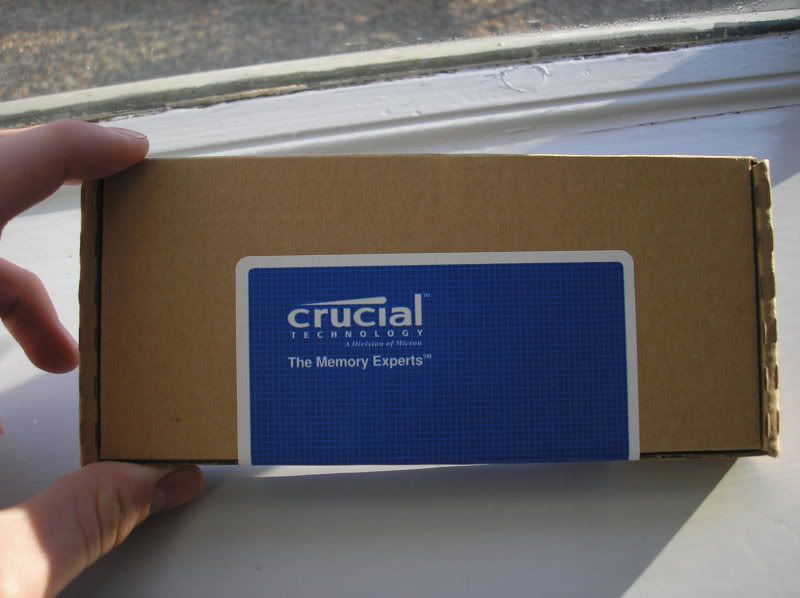
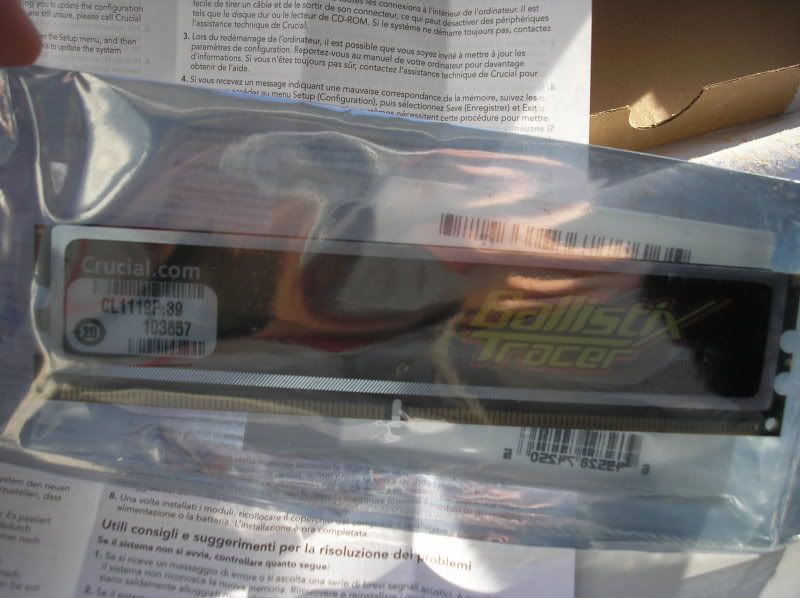
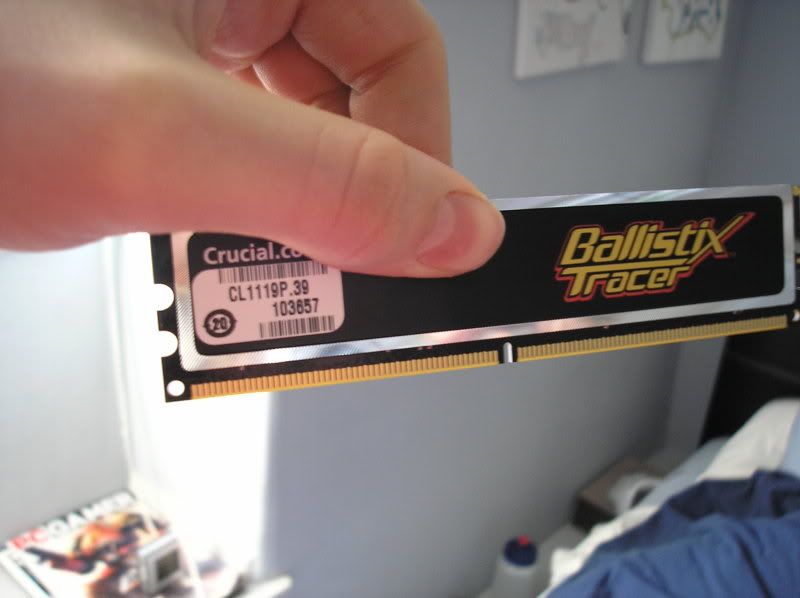
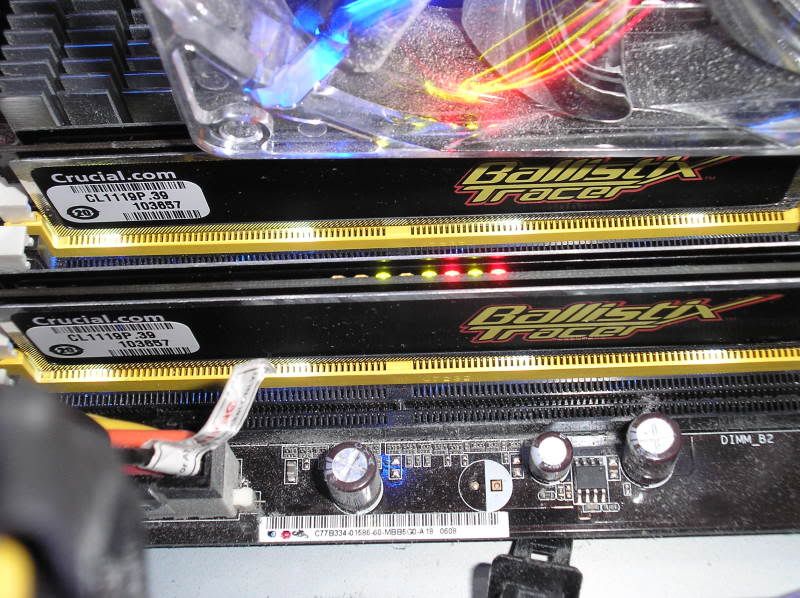
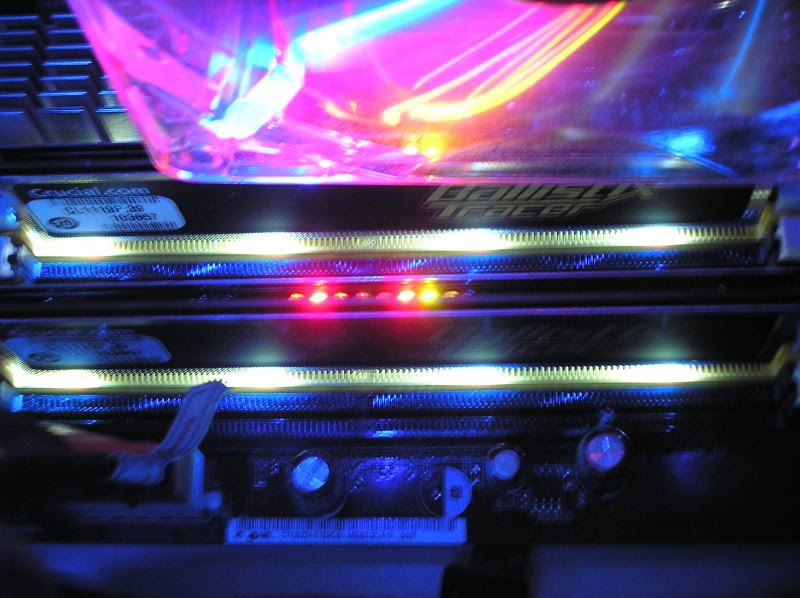
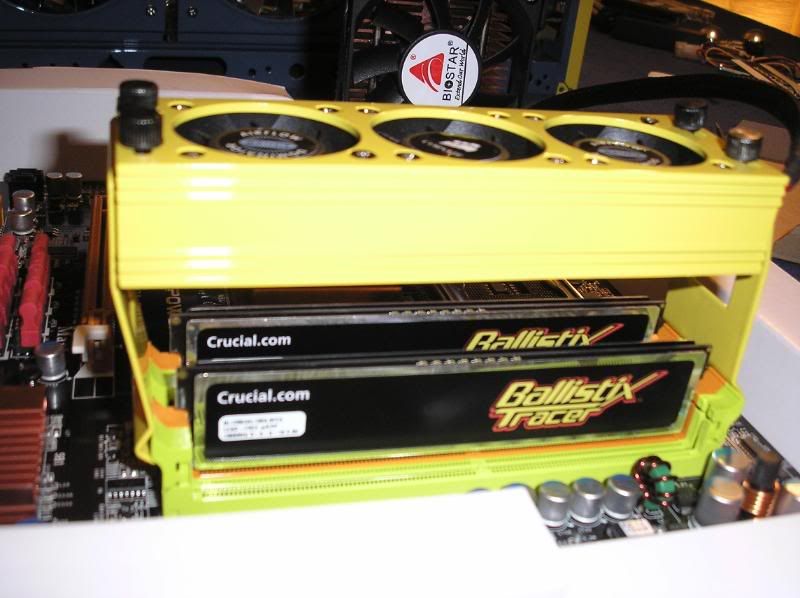
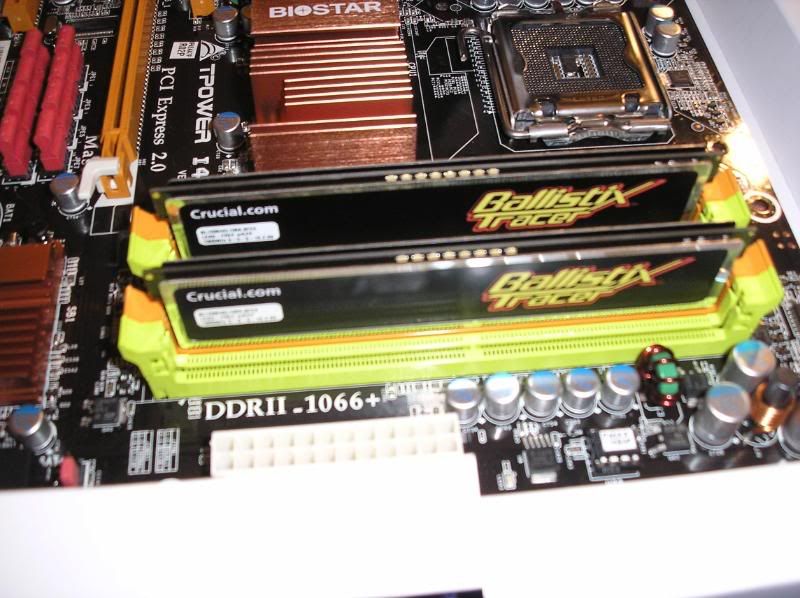
Crucial, The Memory Experts
Click http://www.crucial.com/uk/ to go to their website


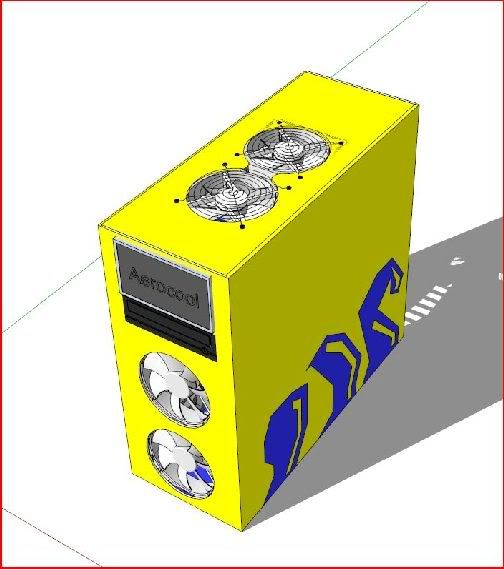
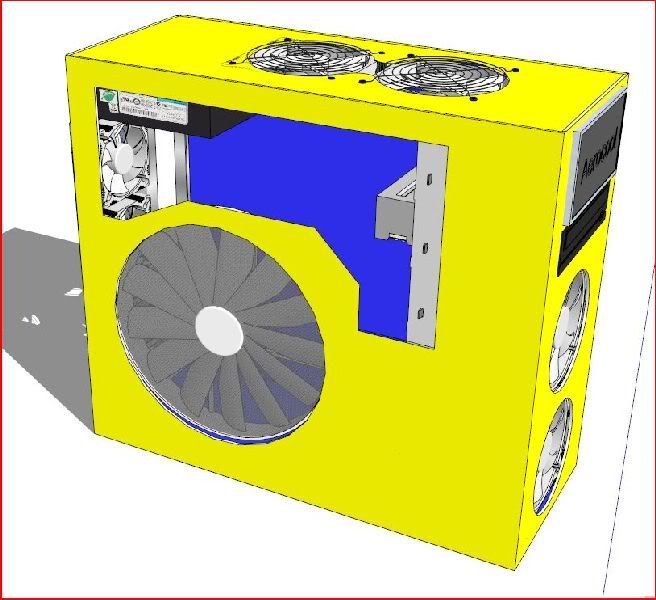
The rough idea for the mod:
casemodhourglassback.jpg

casemodhourglassfront.jpg

casemodhourglassside.jpg


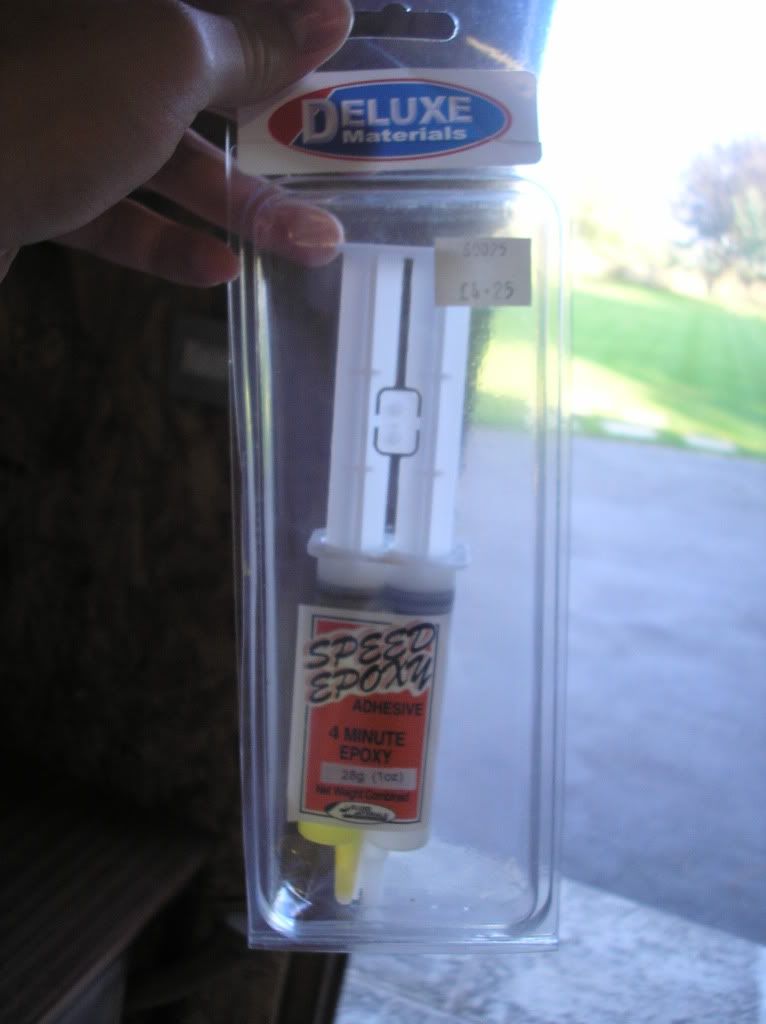
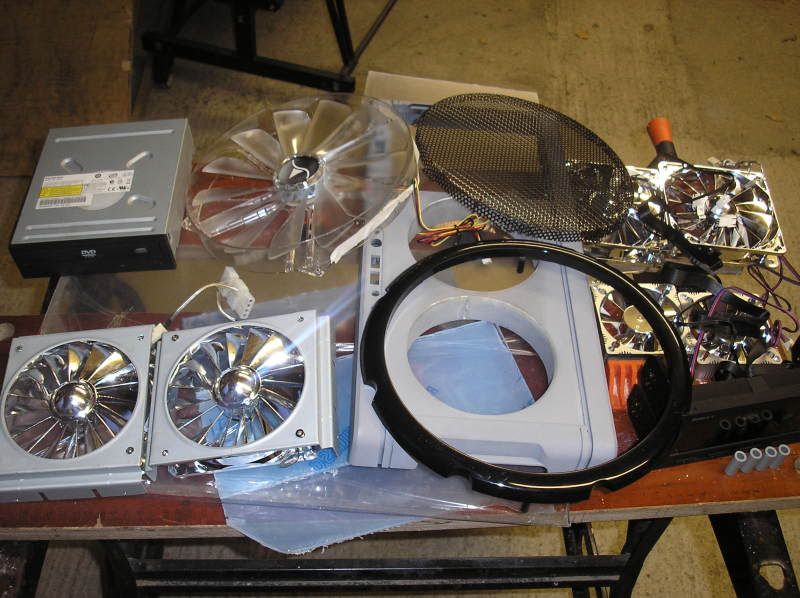
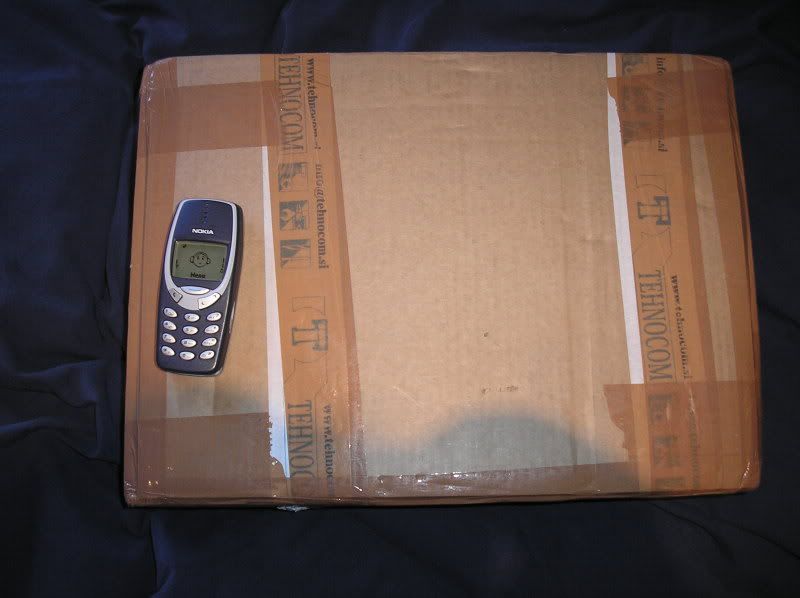
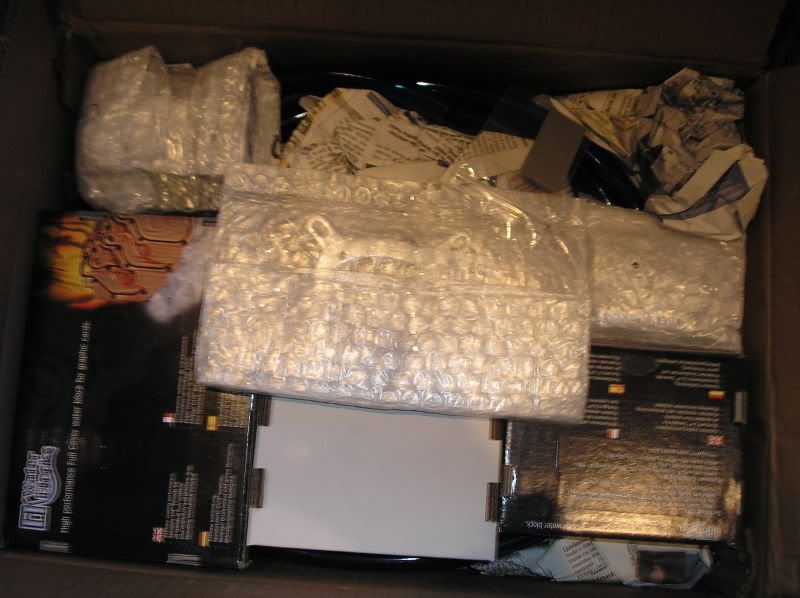
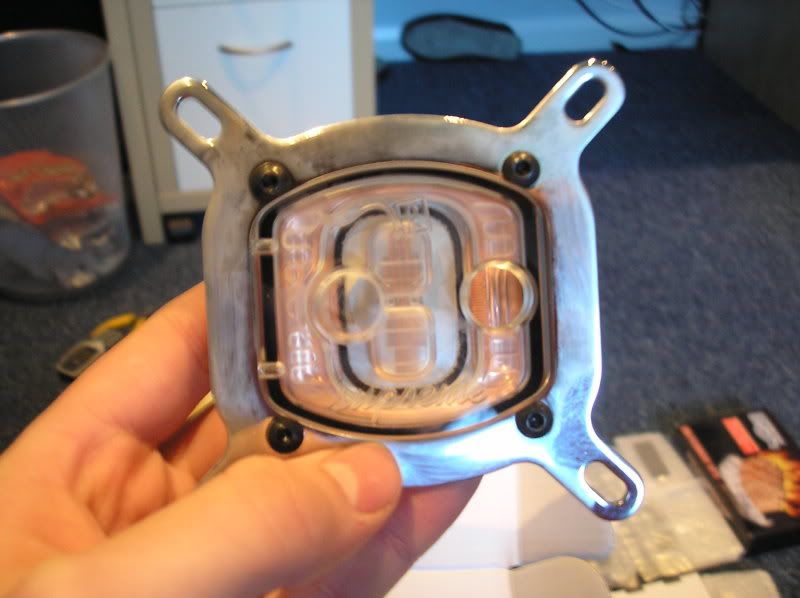
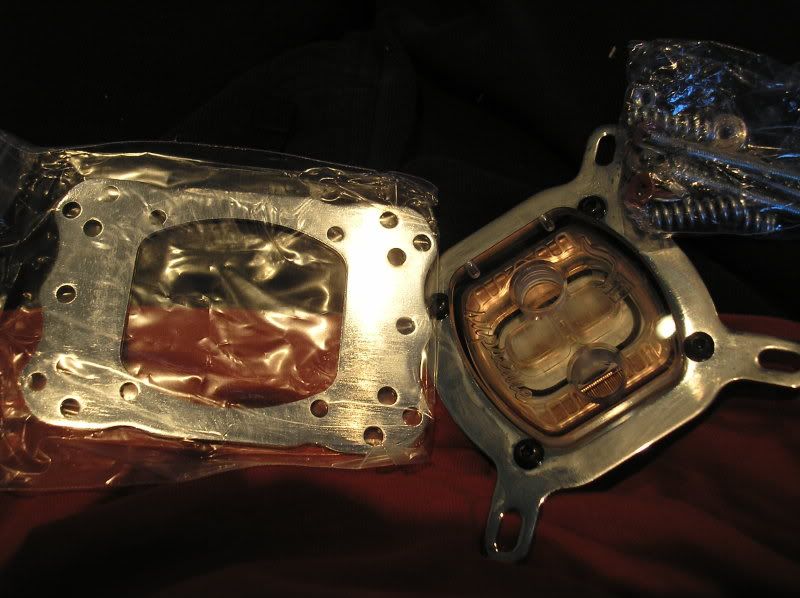
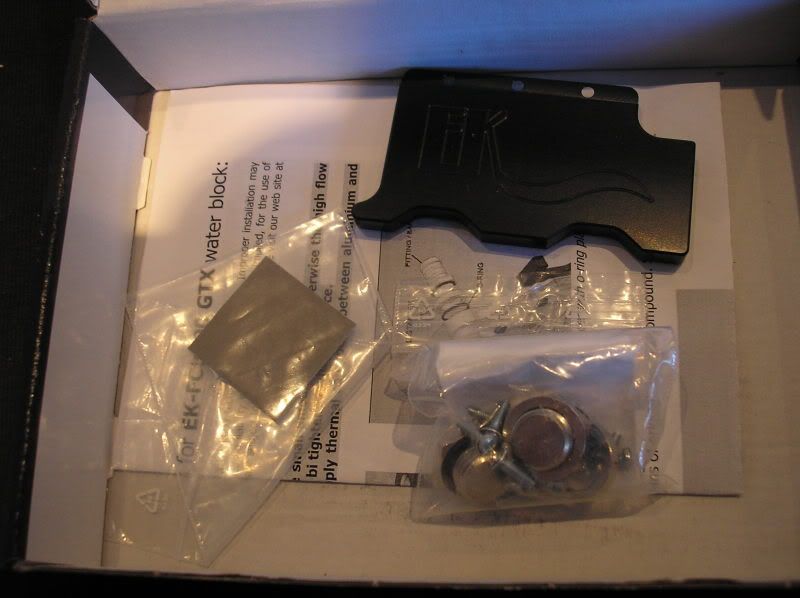
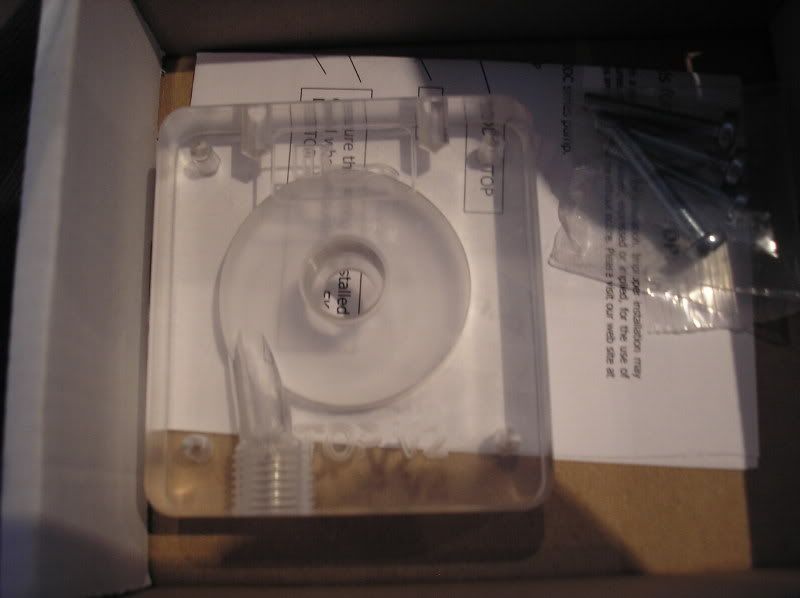
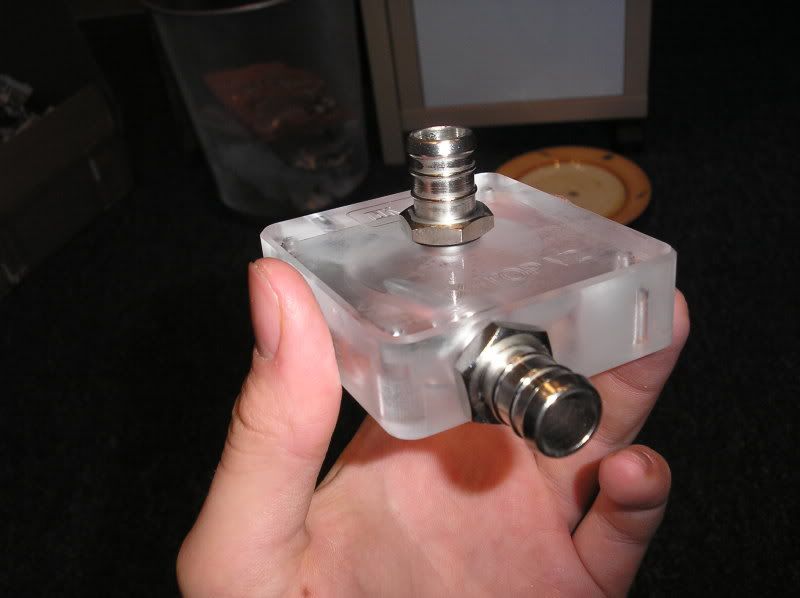
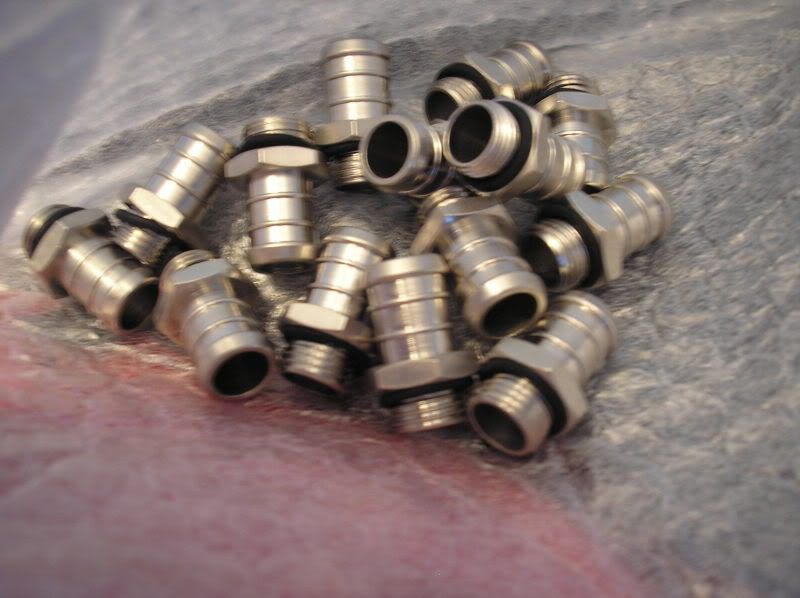
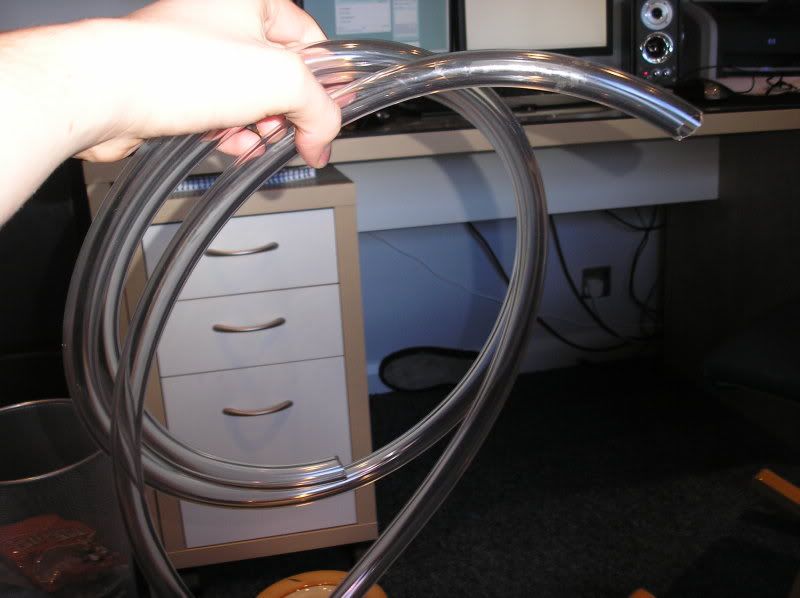
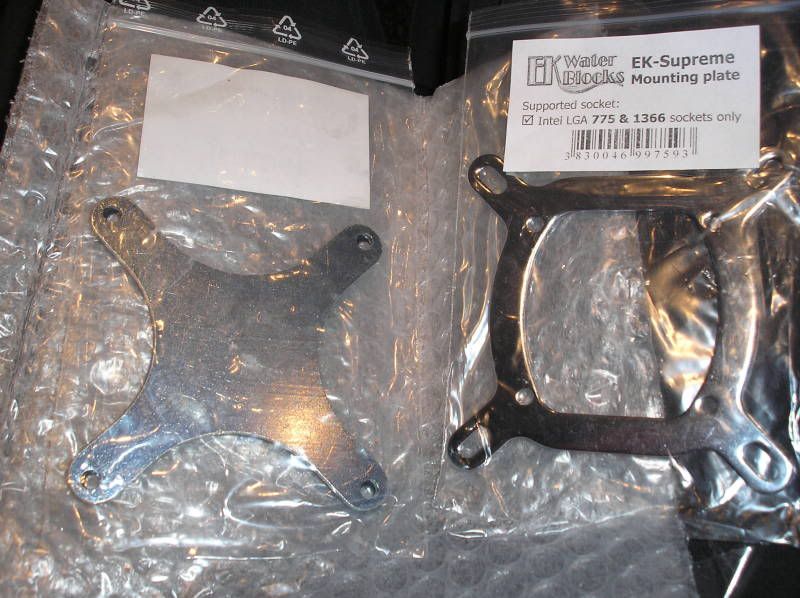
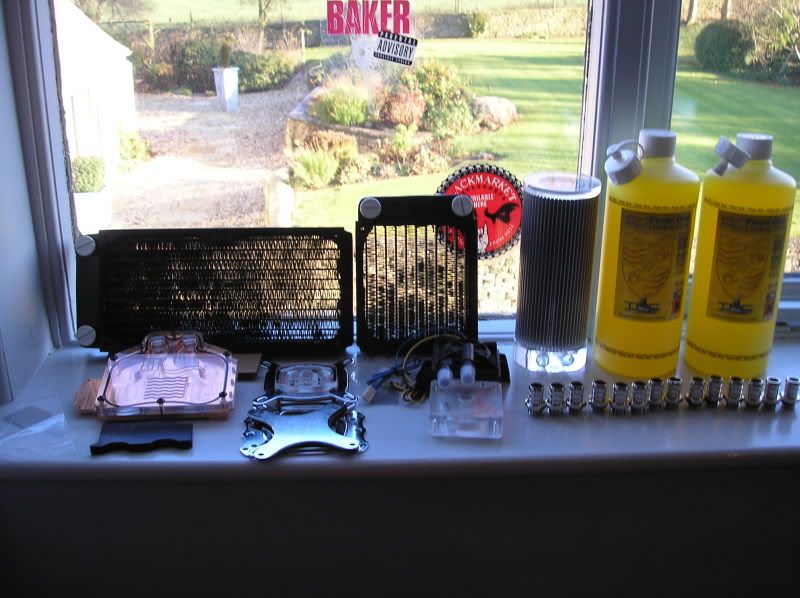
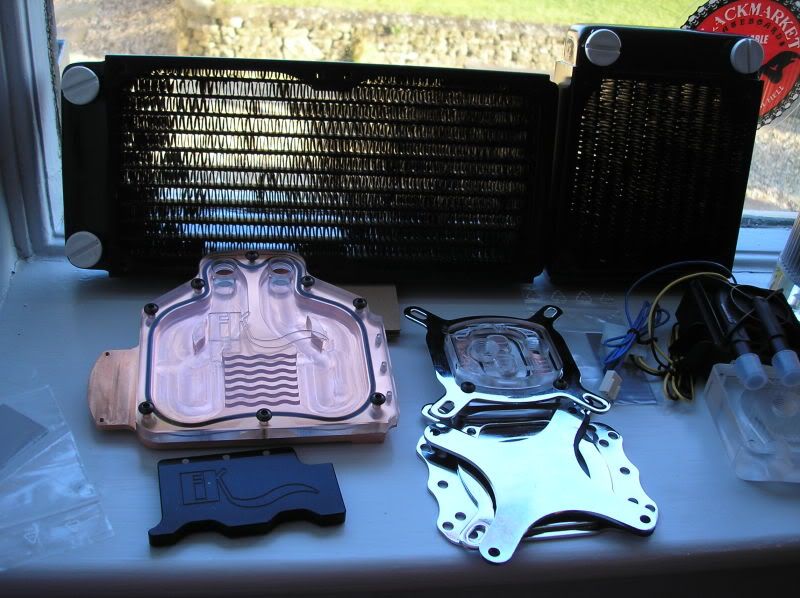
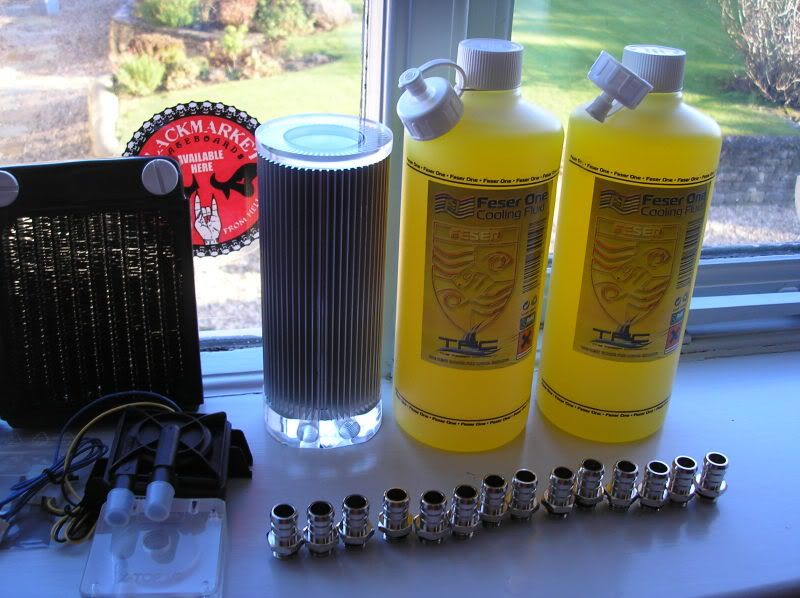
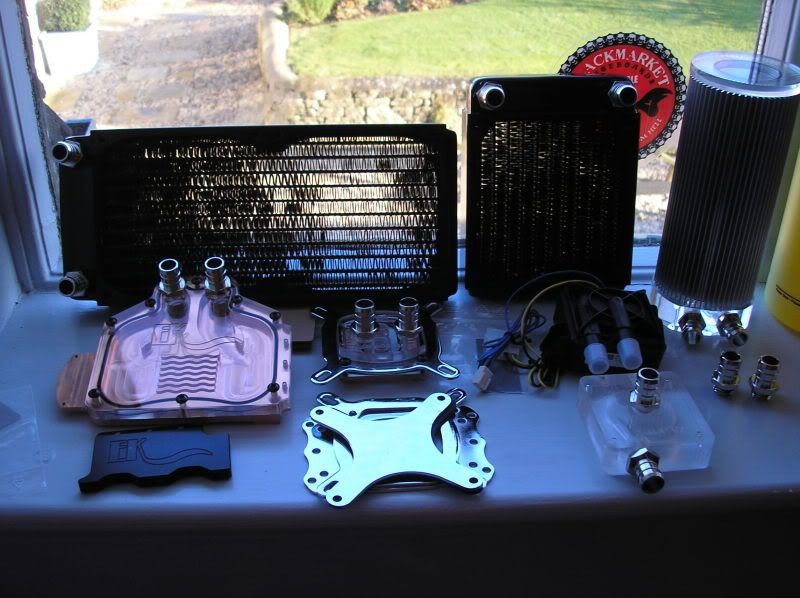
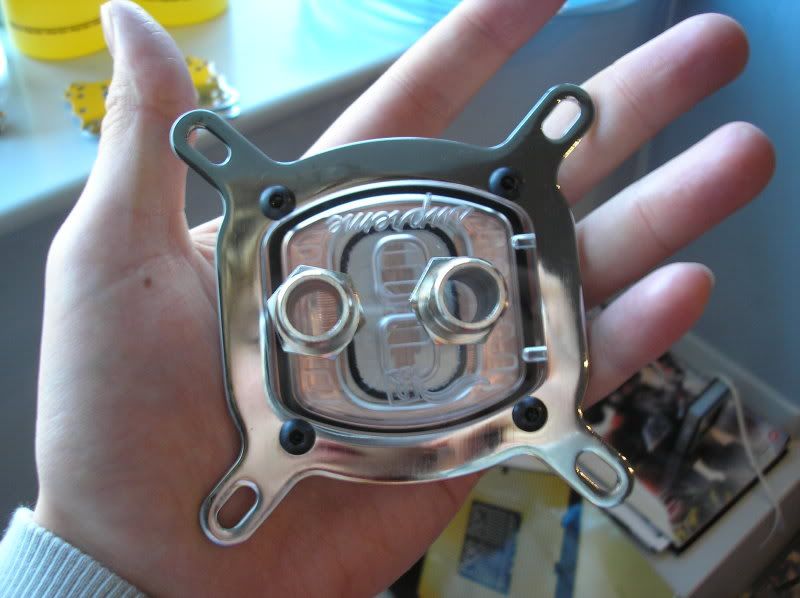
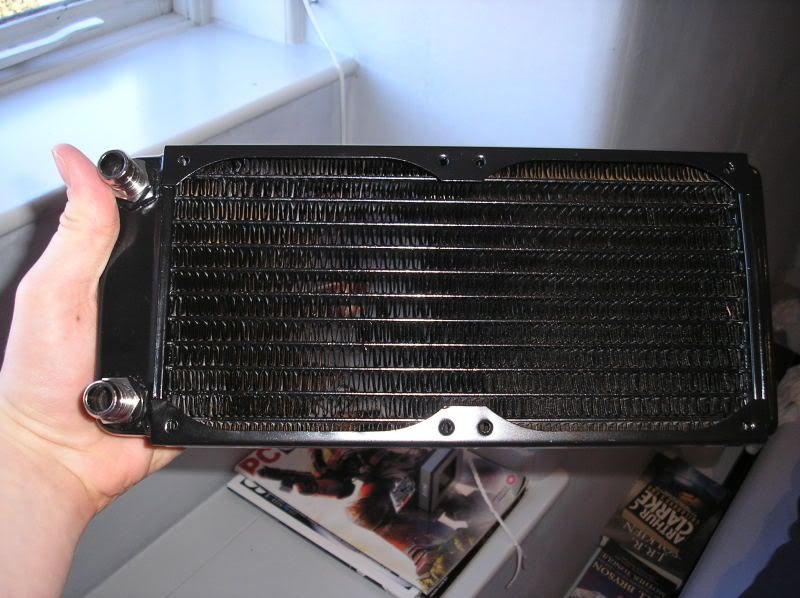
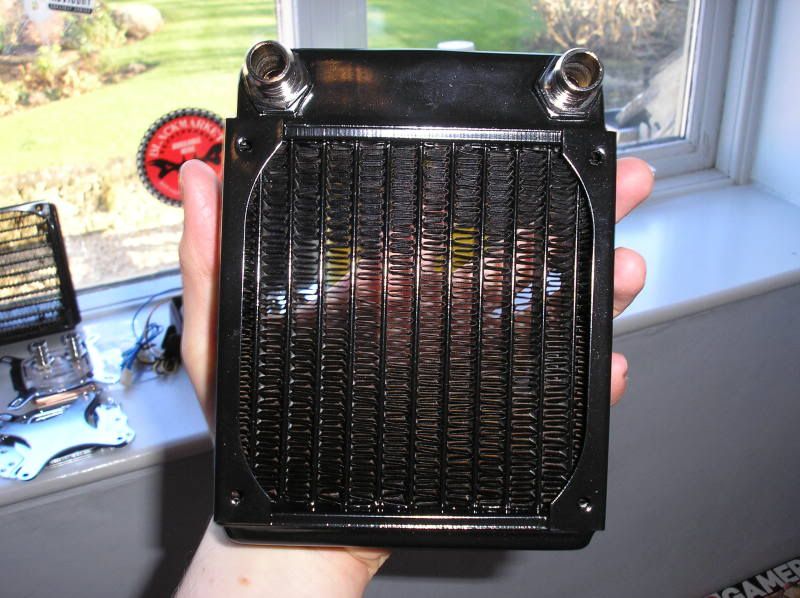
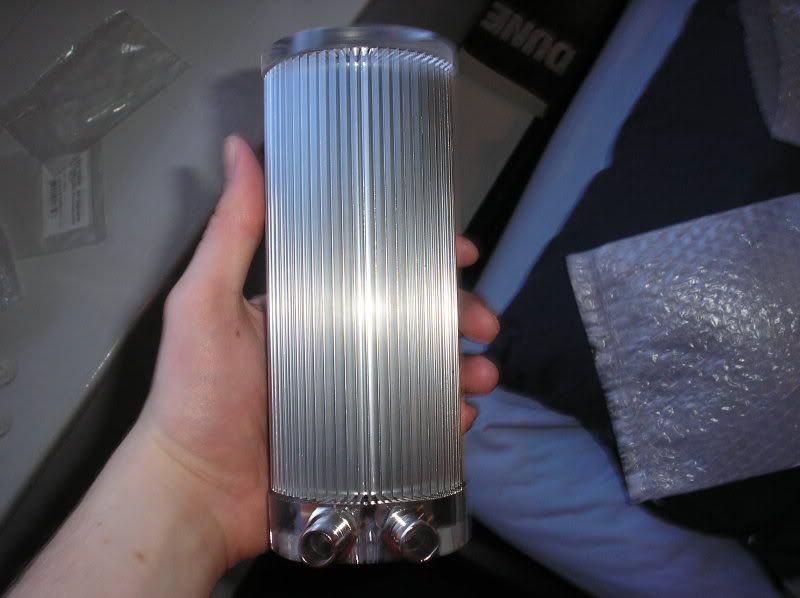
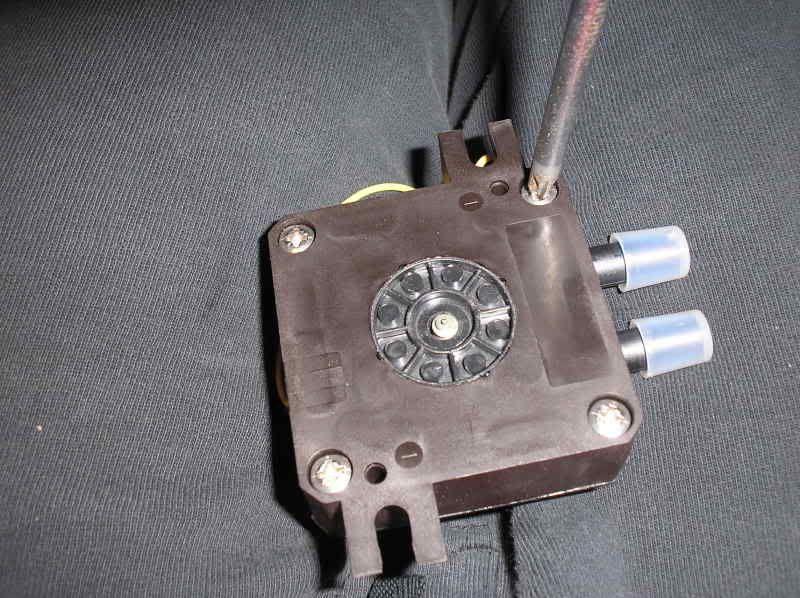
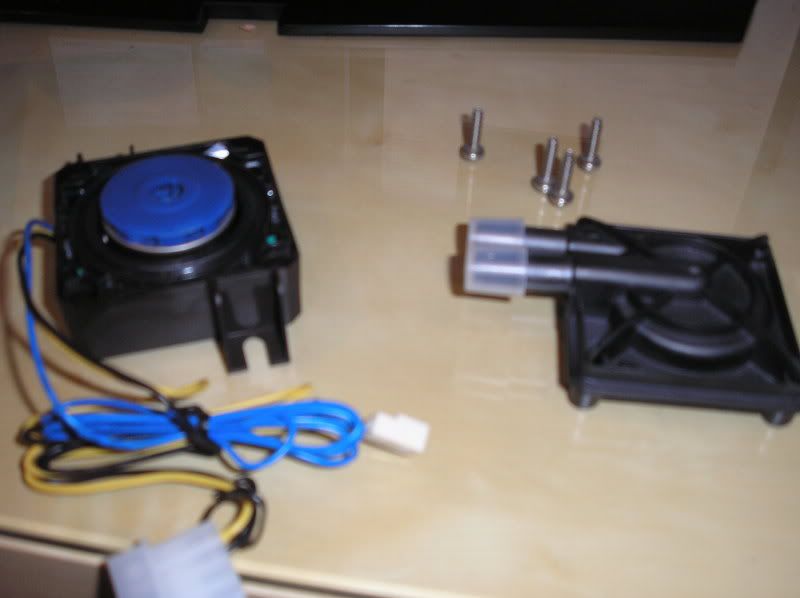
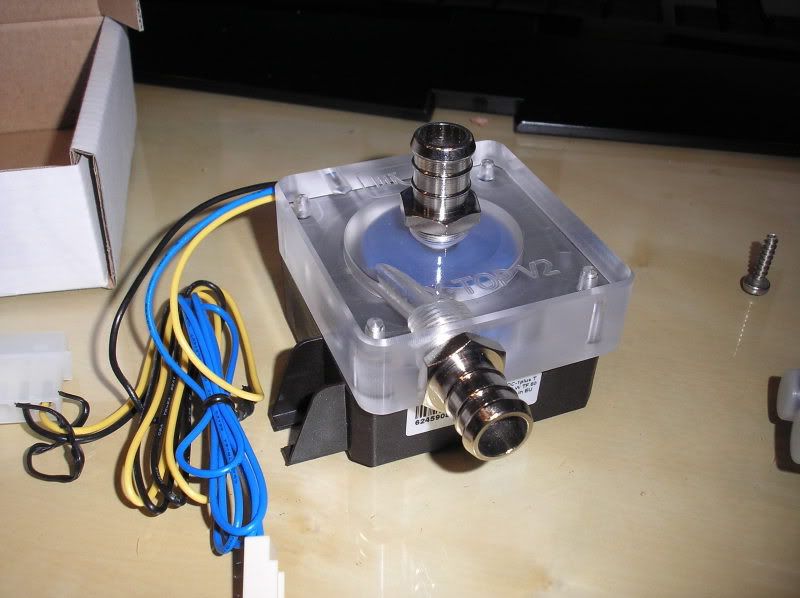
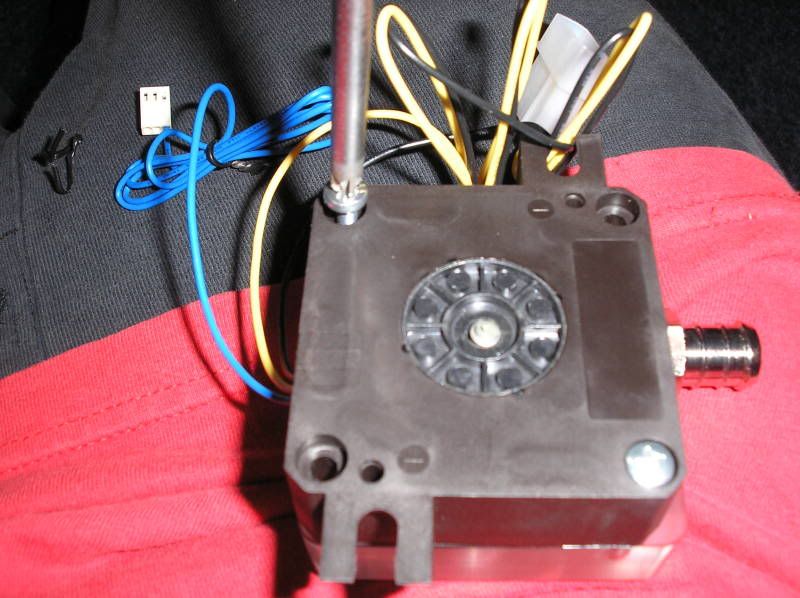
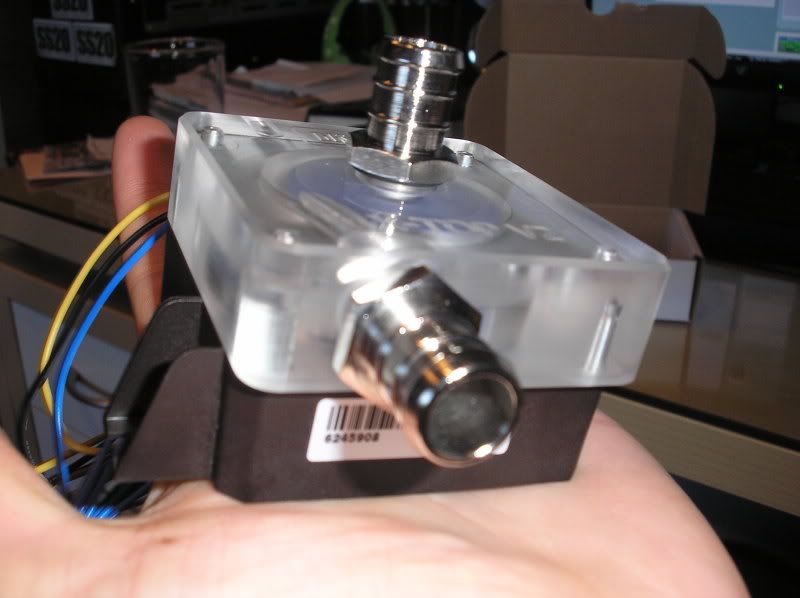
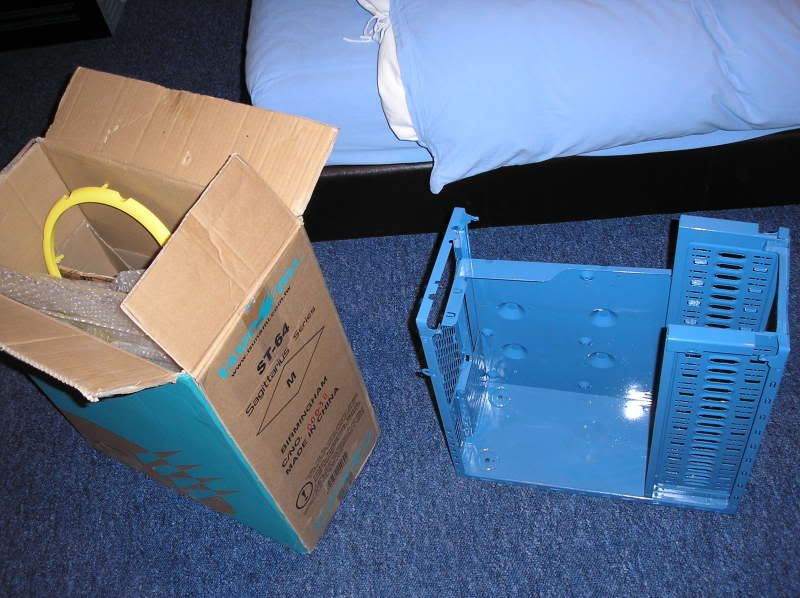
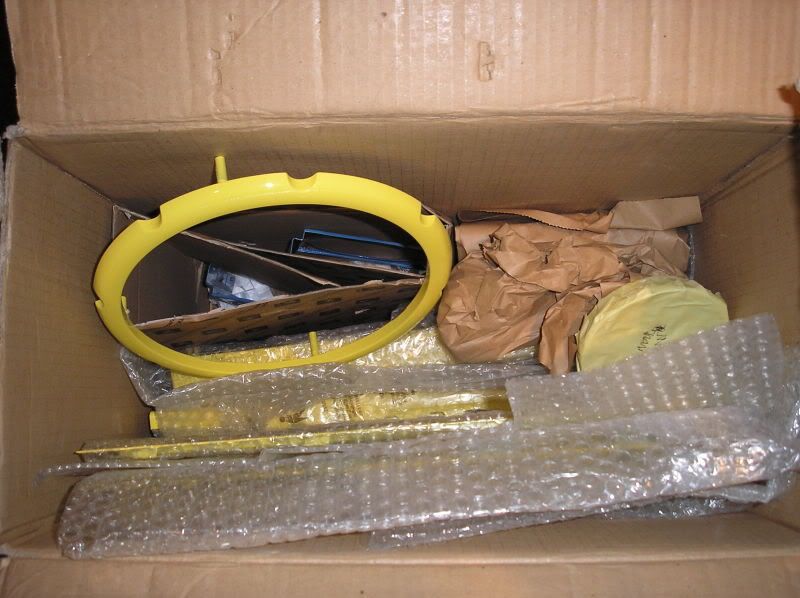
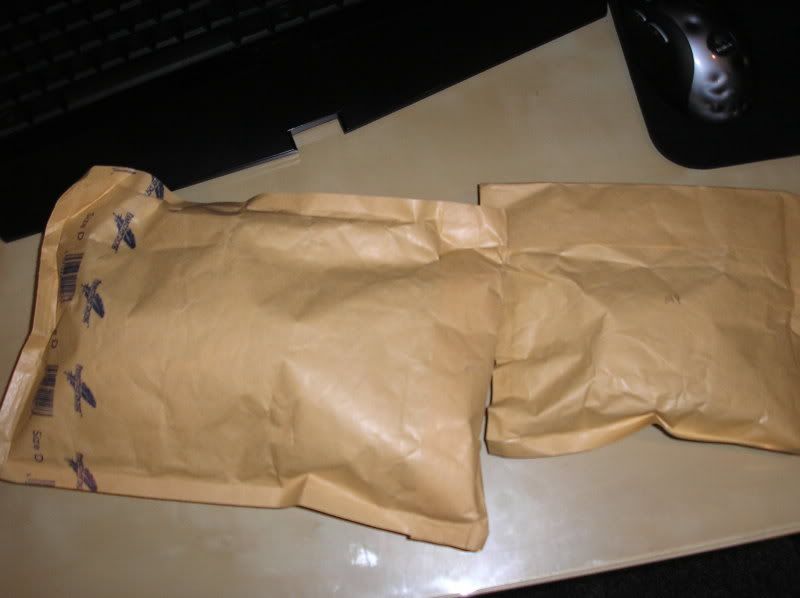
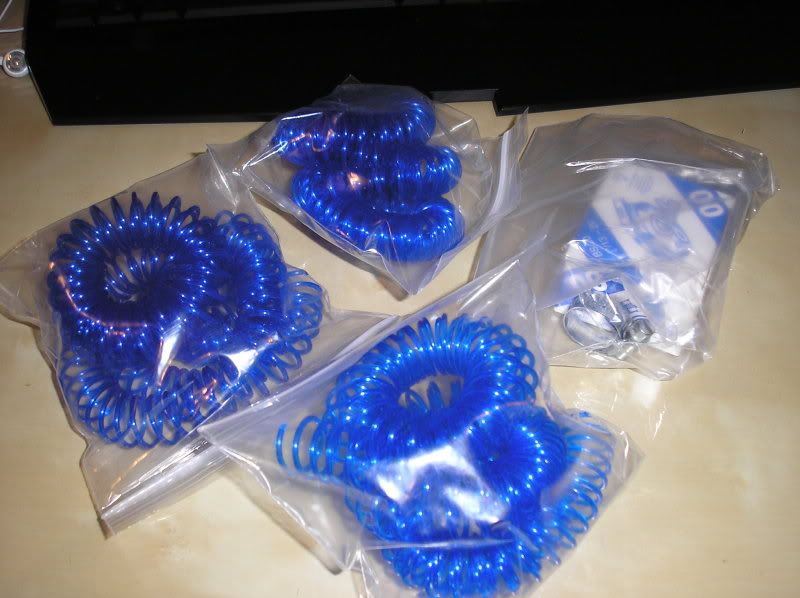
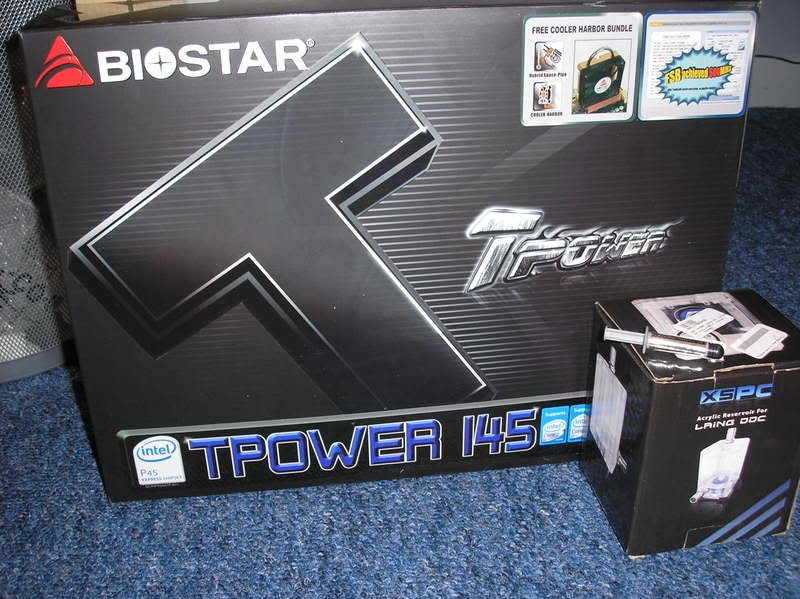
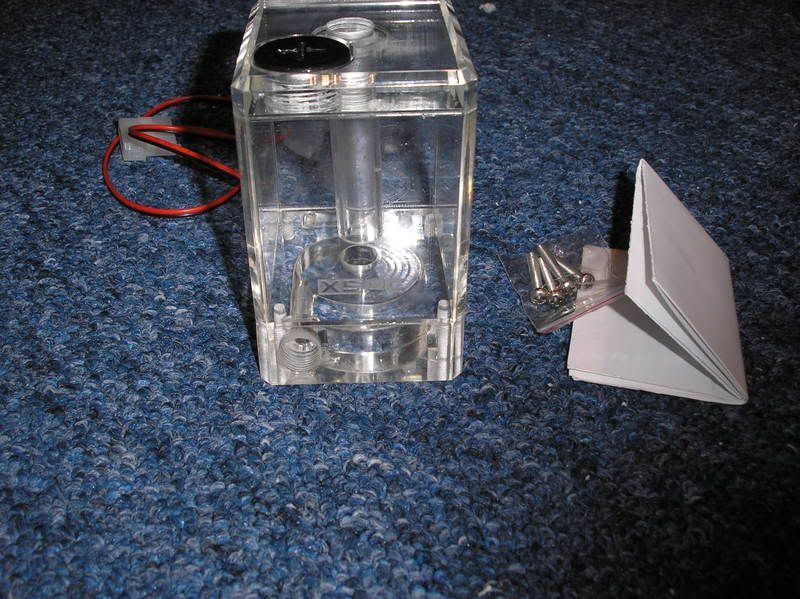
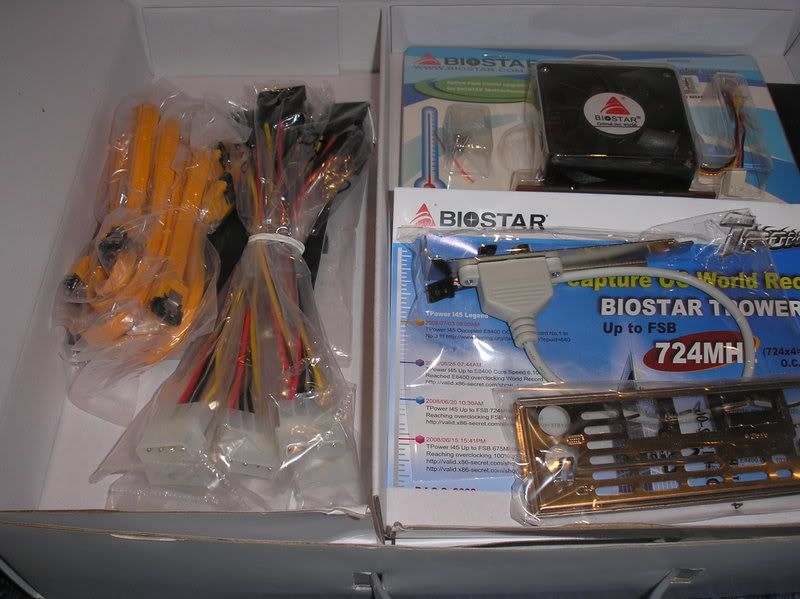
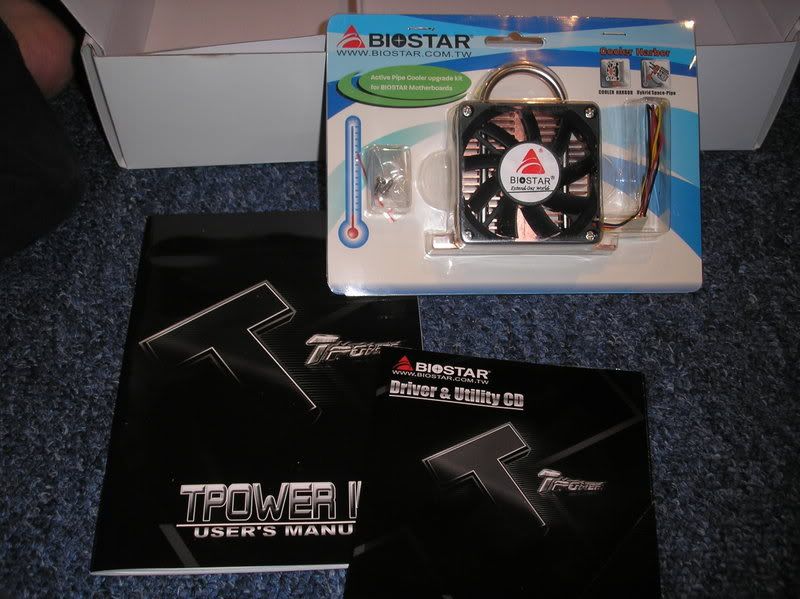
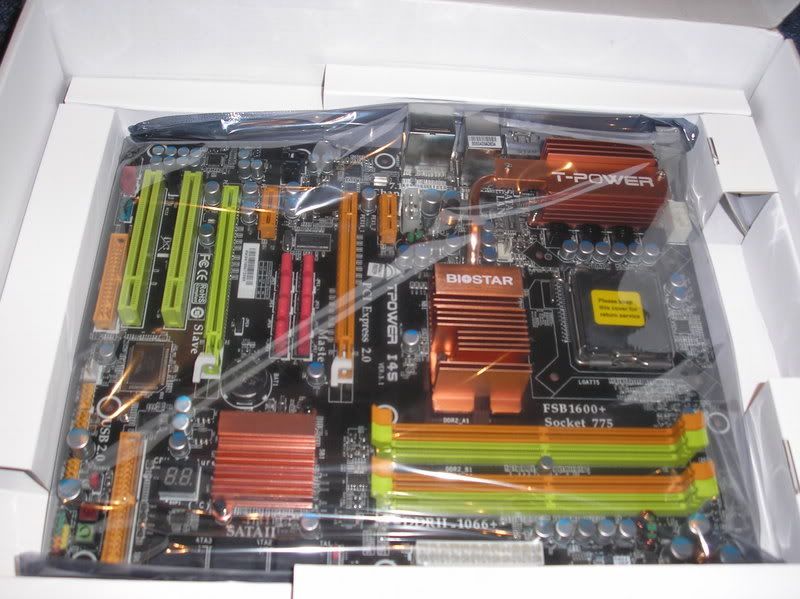
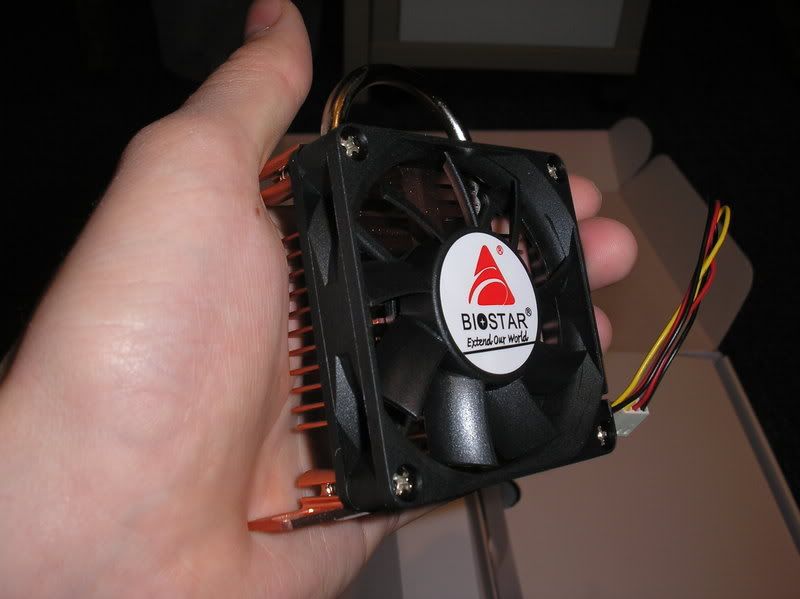
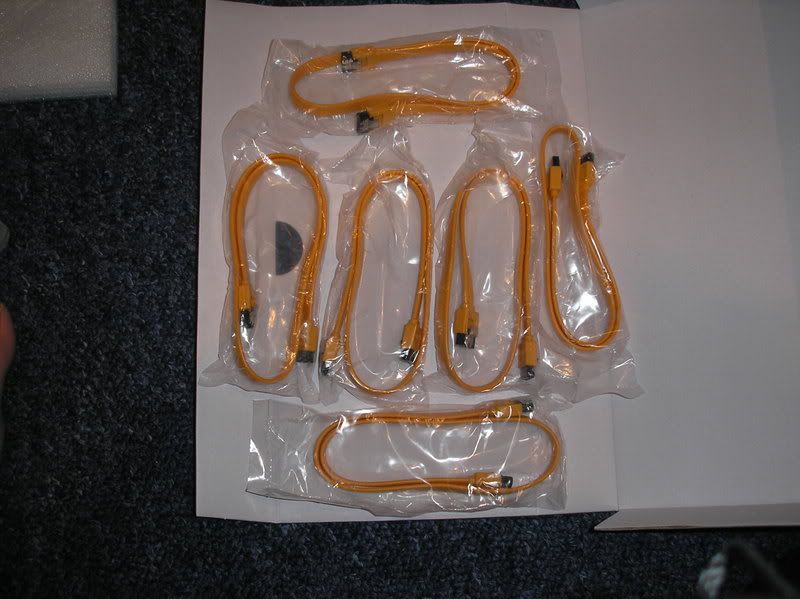
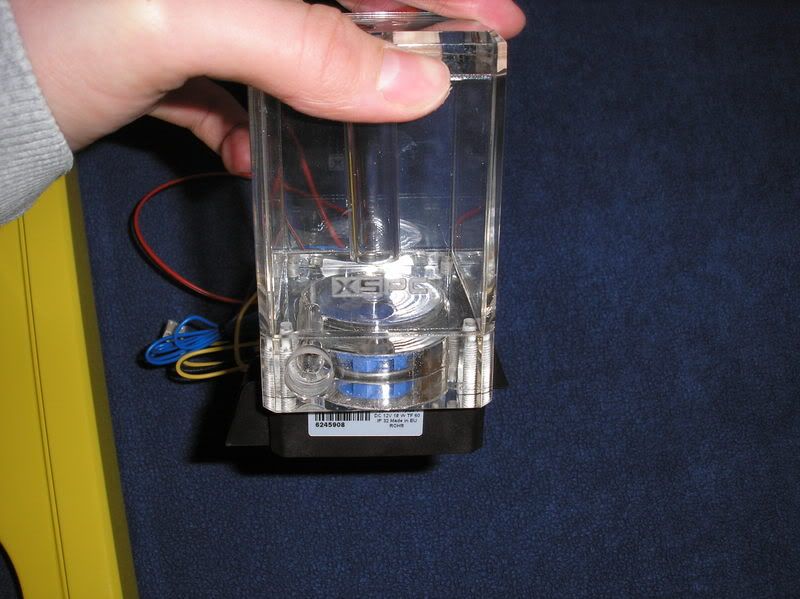
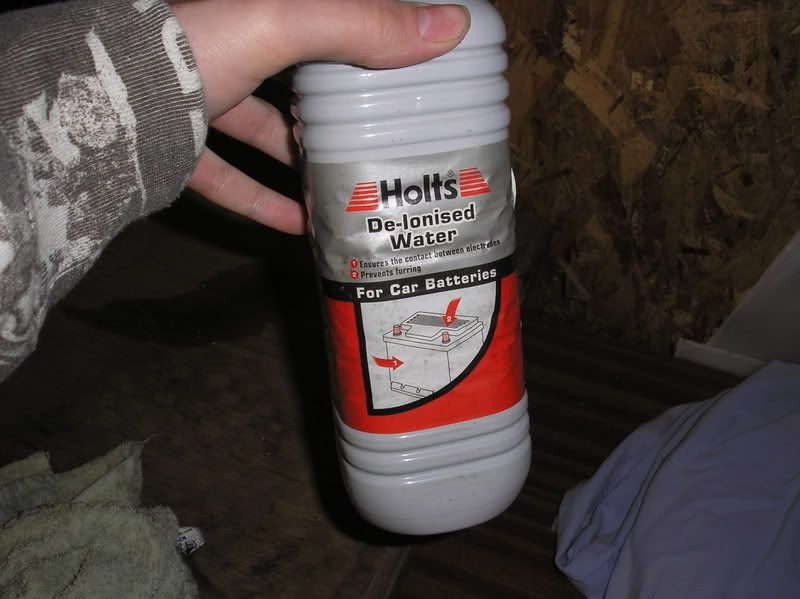
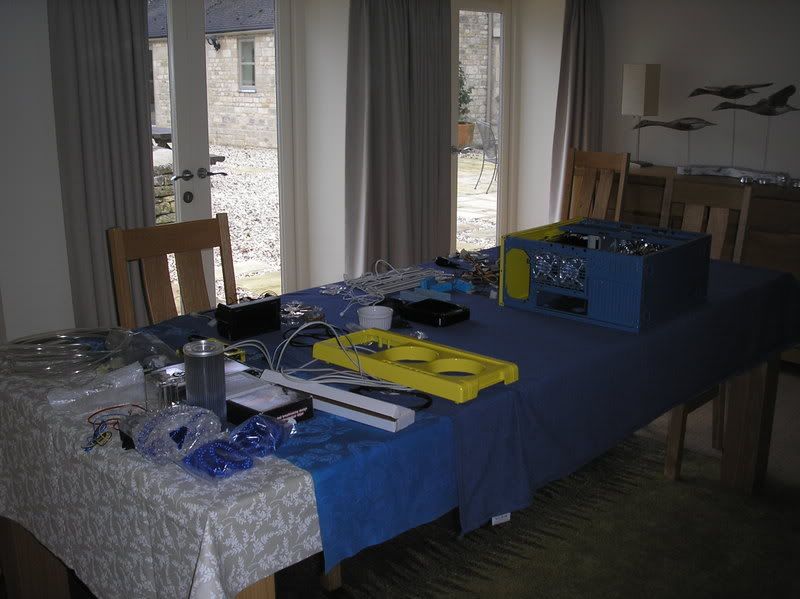
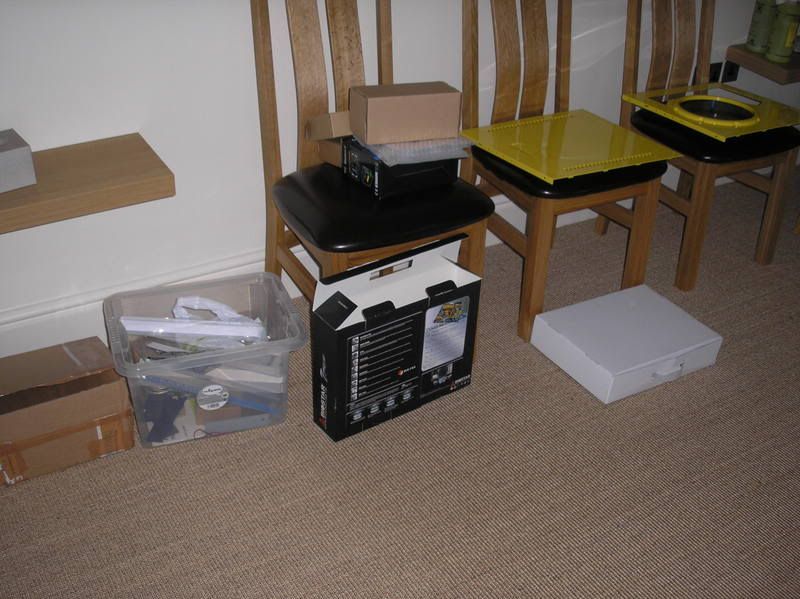
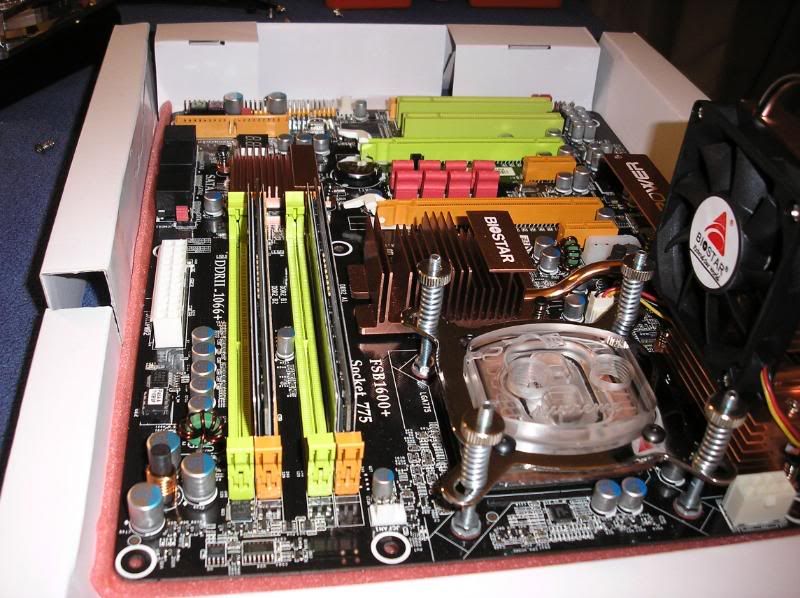
Here is a picture of the first set of supplies to arrive:
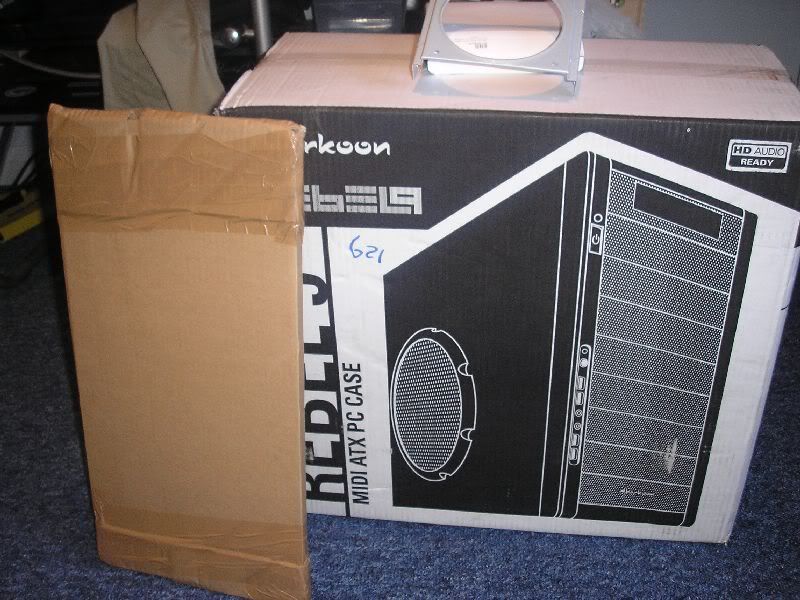
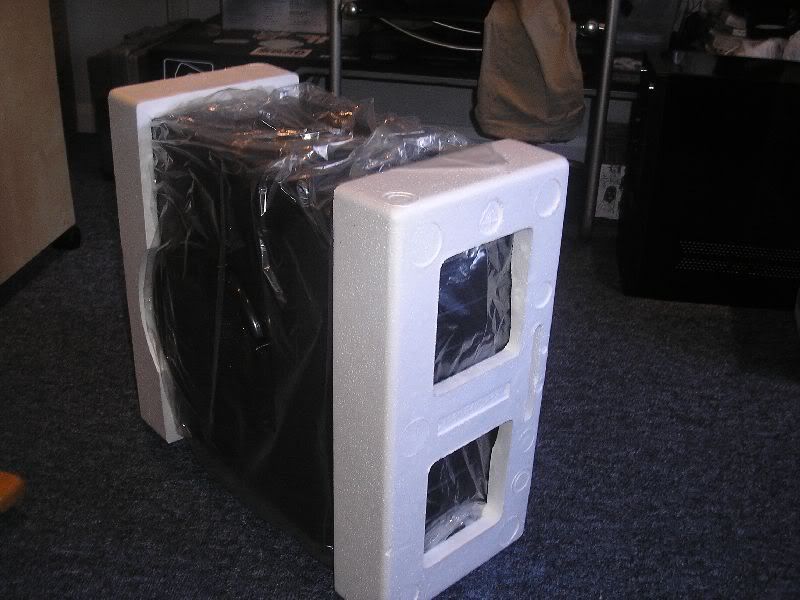
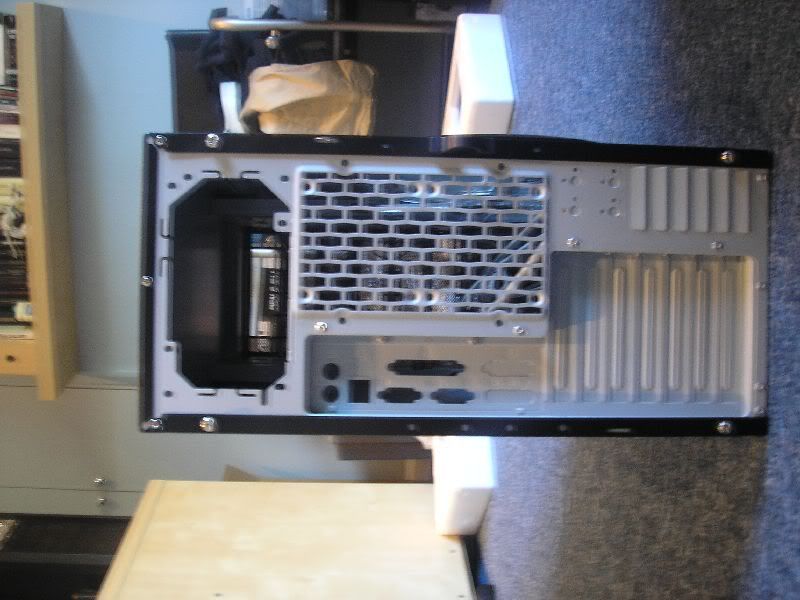
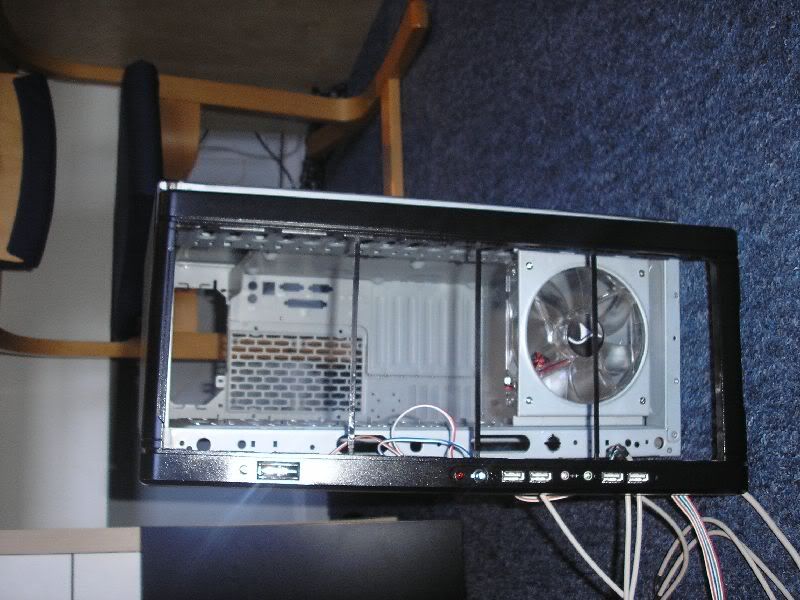
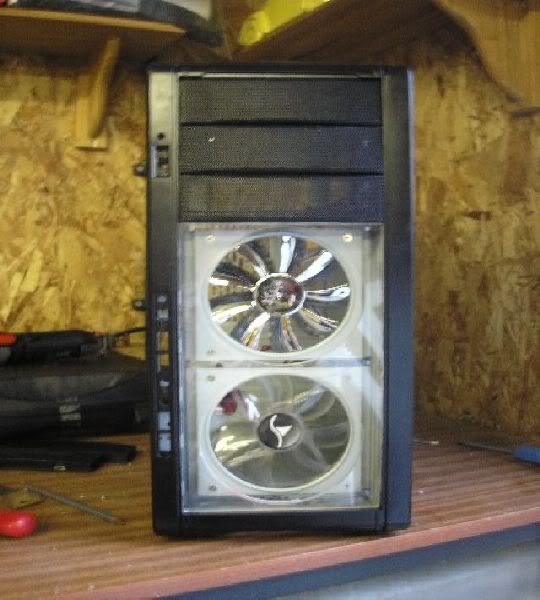
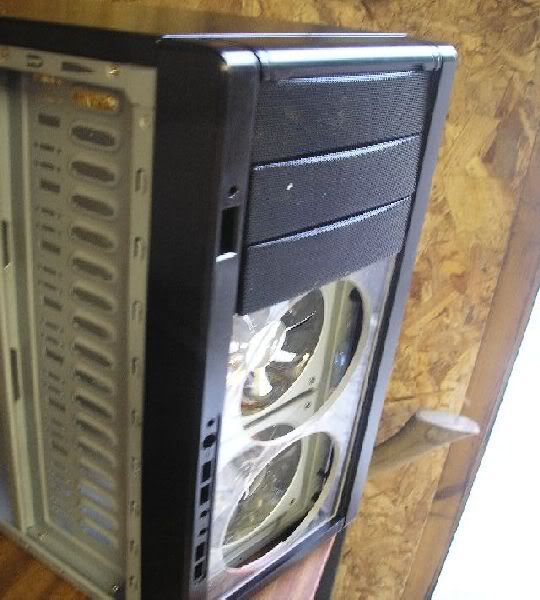
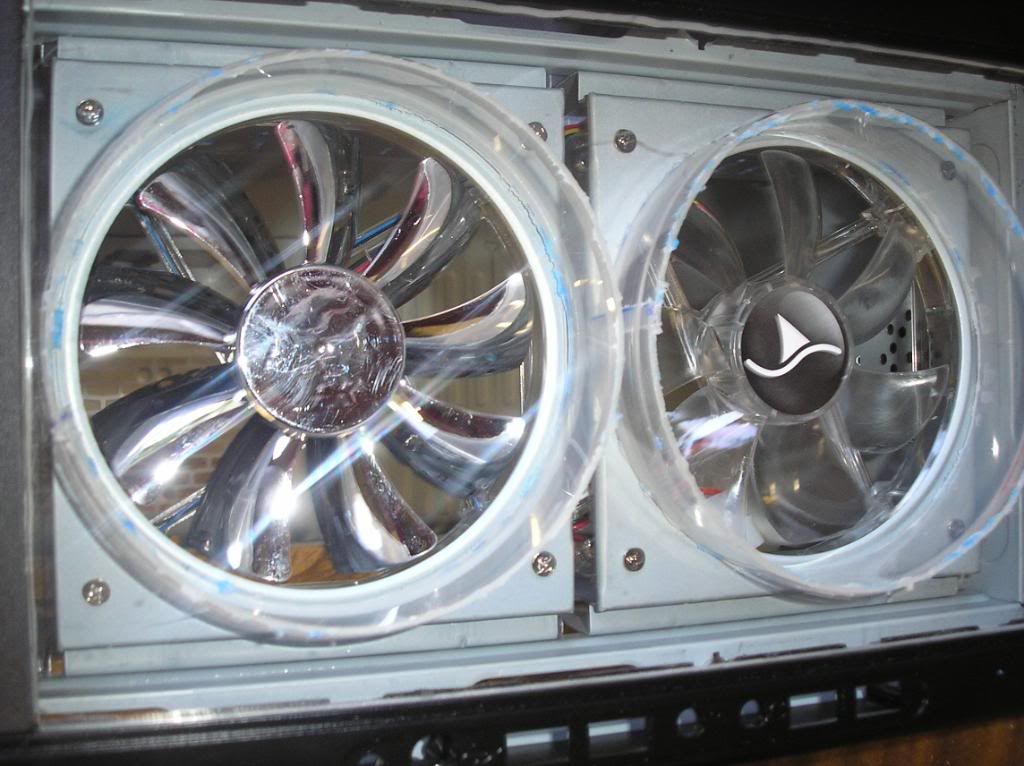
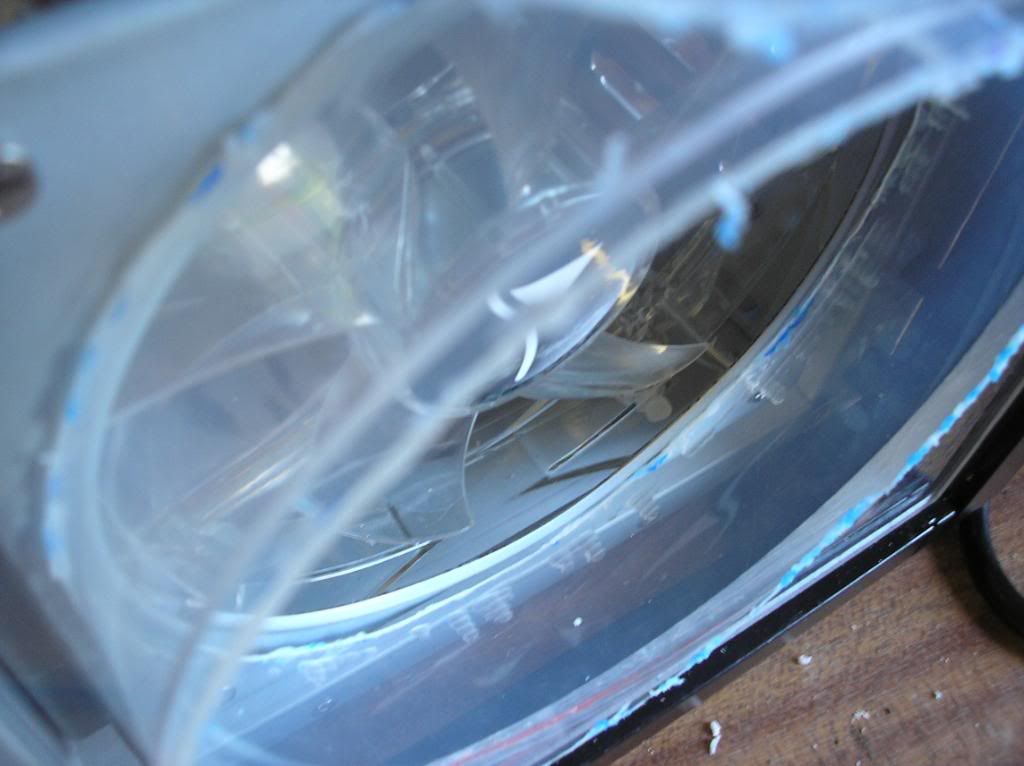
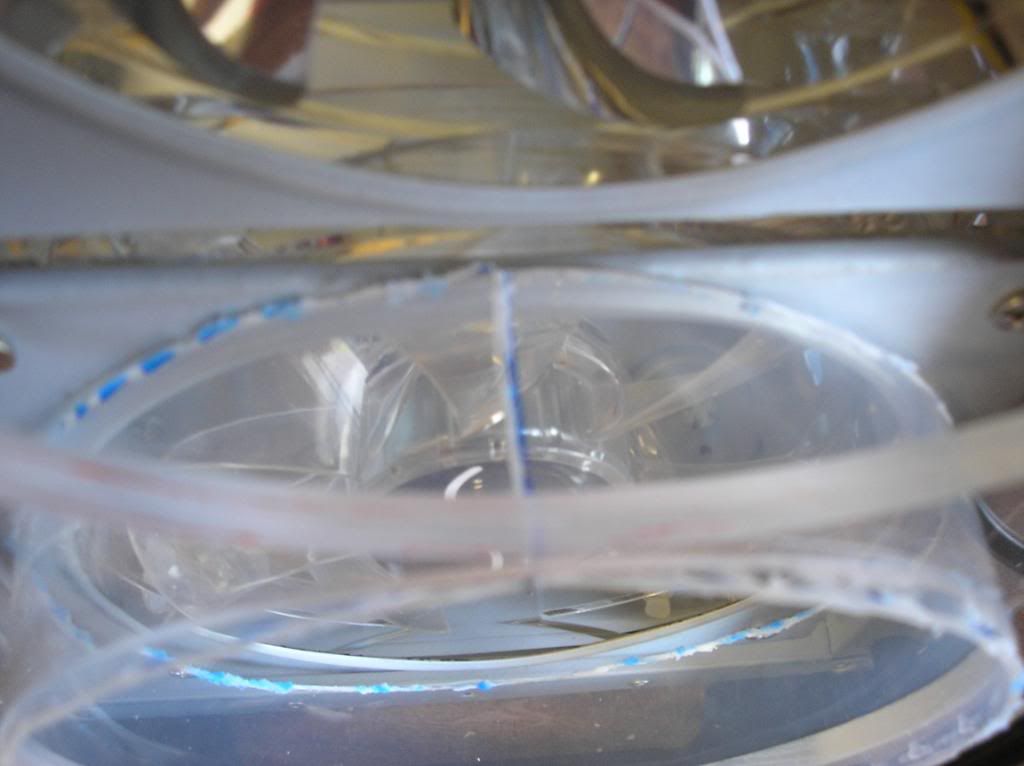
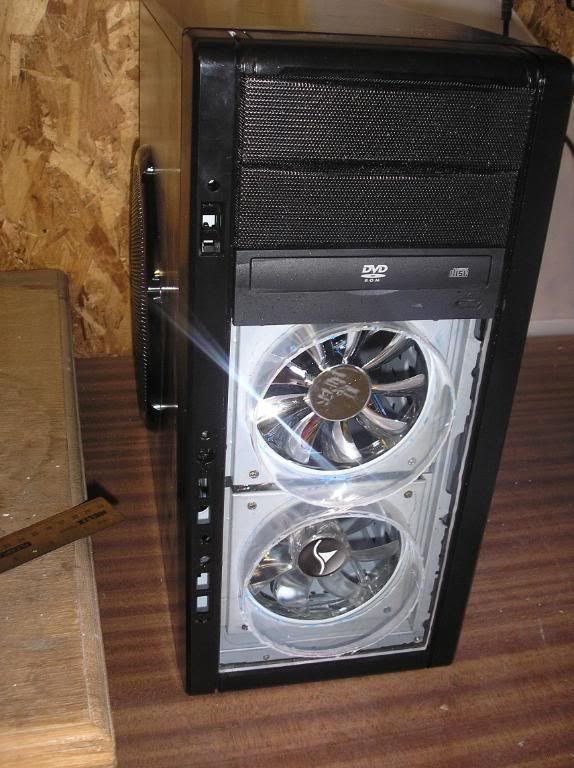
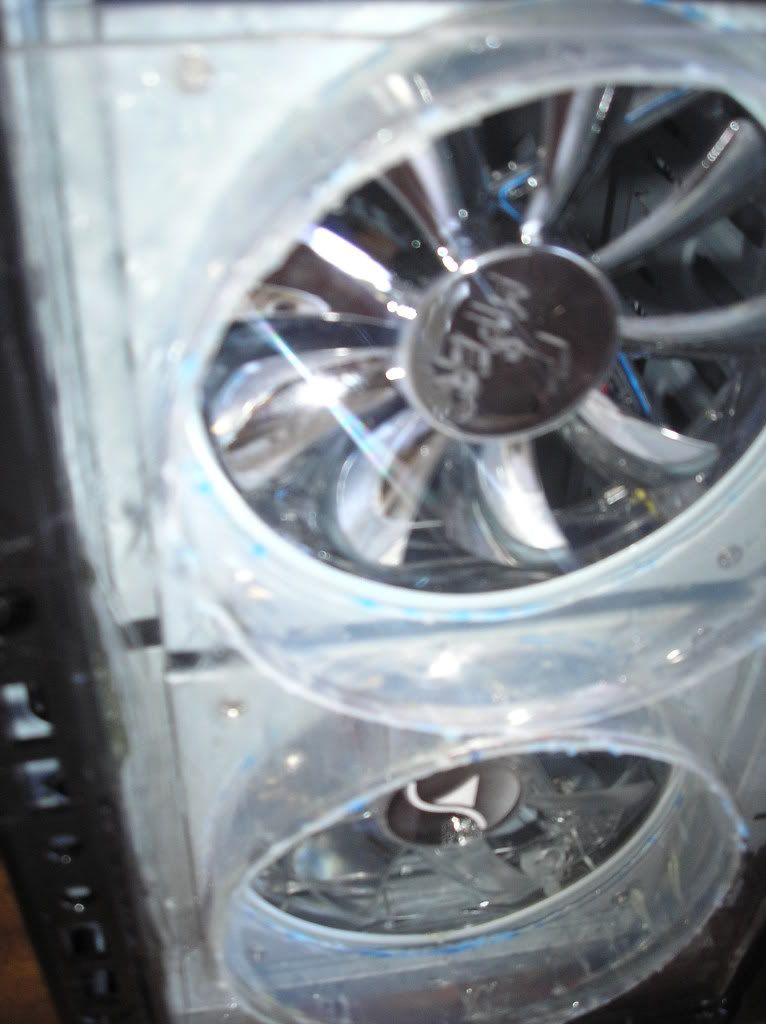
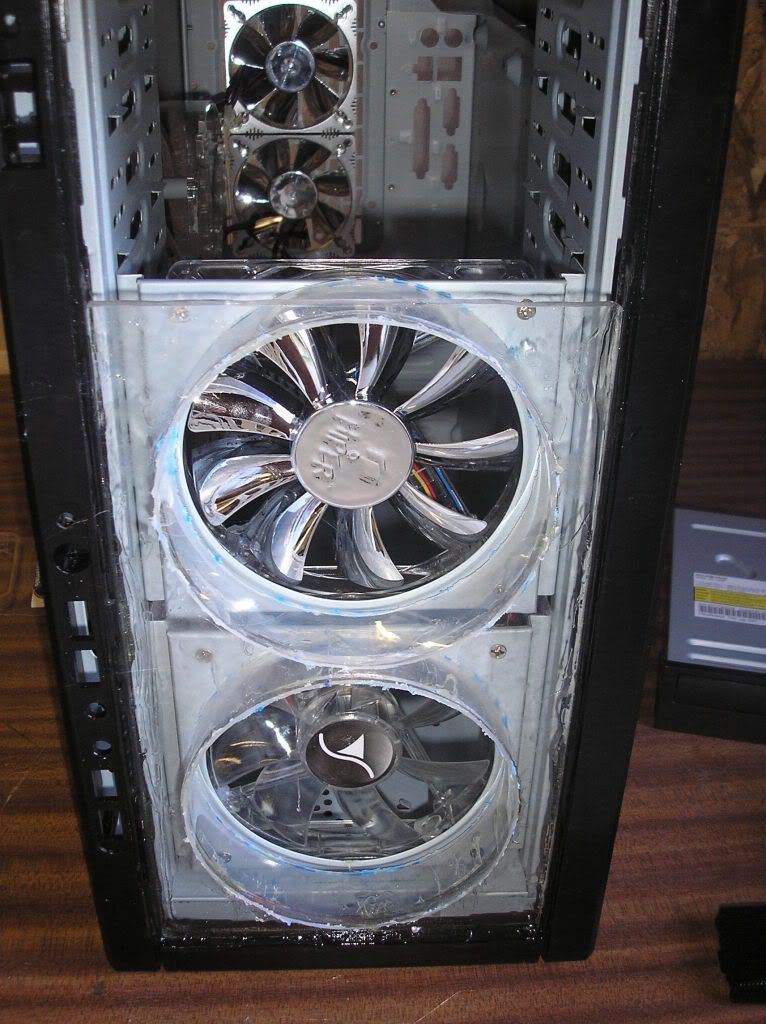
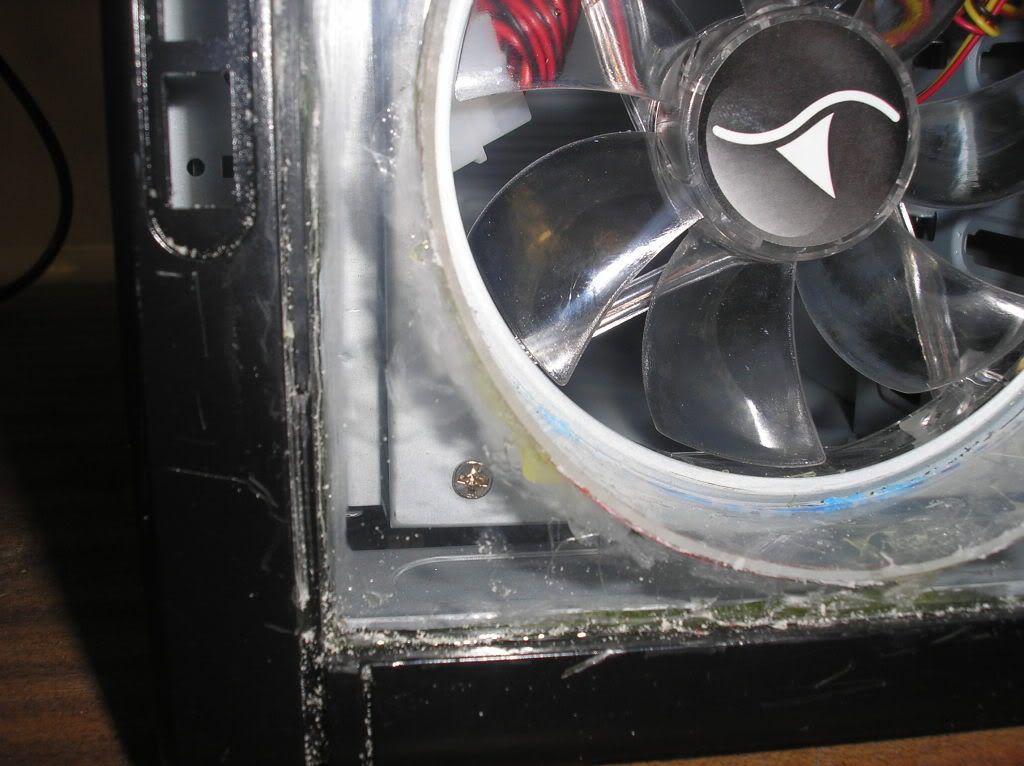
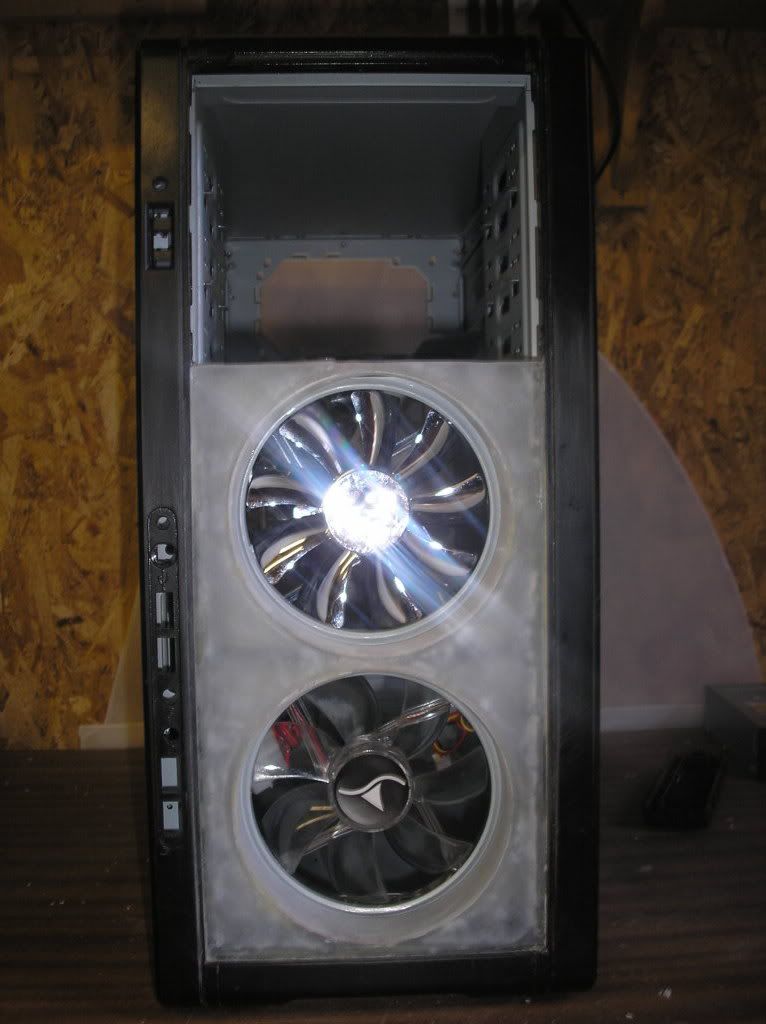
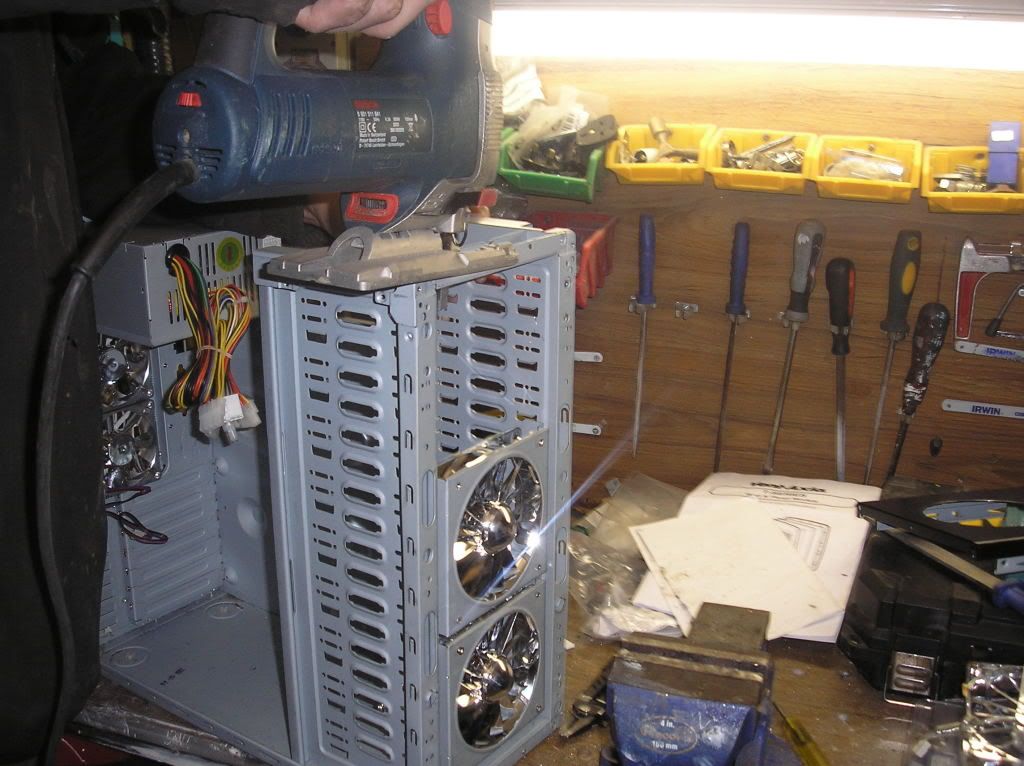
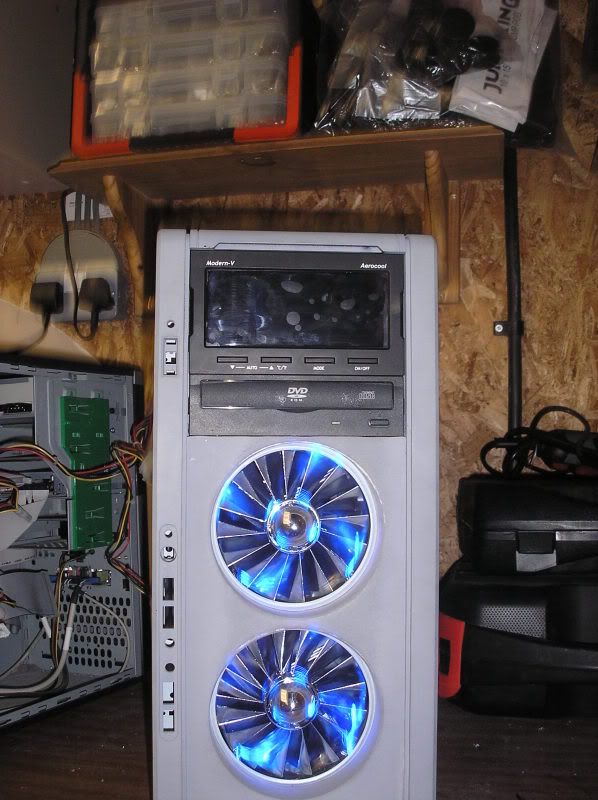
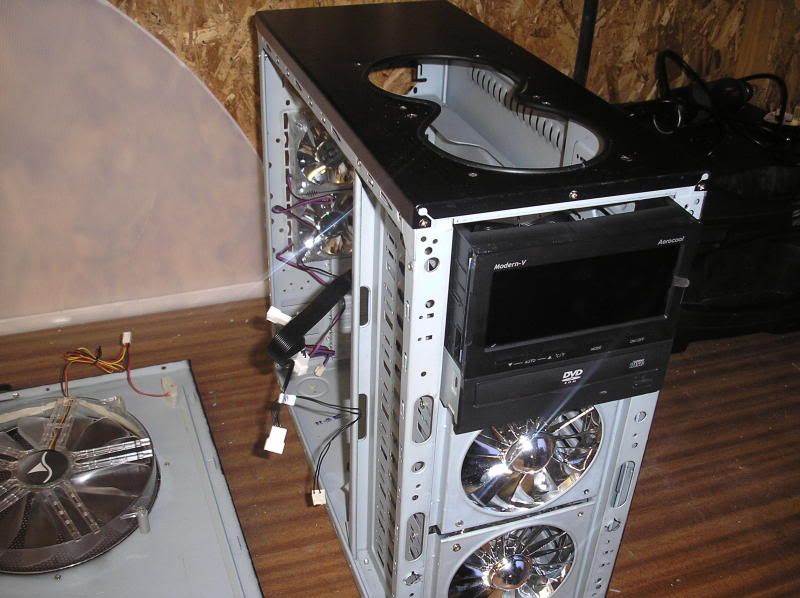
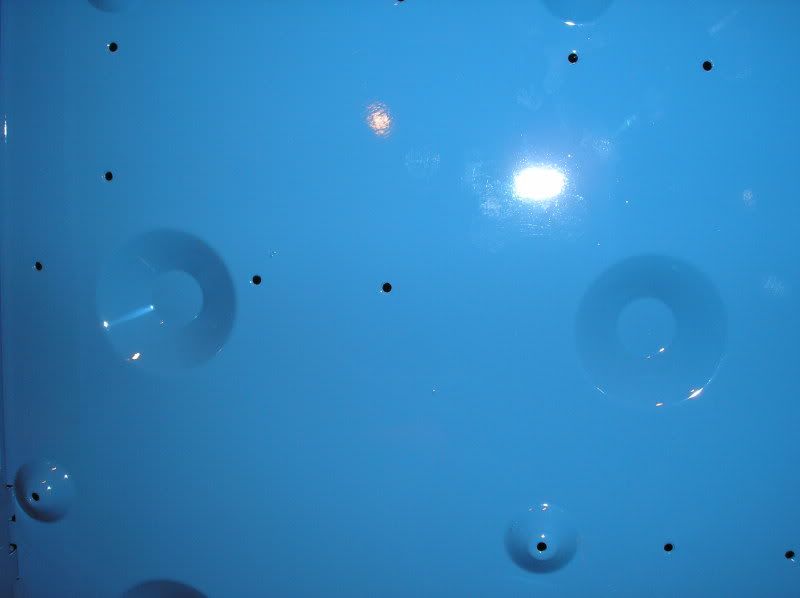
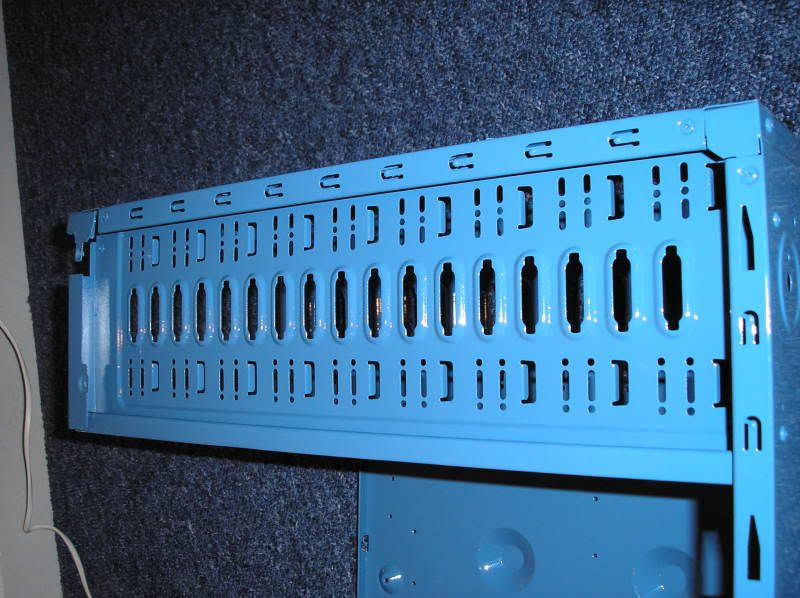
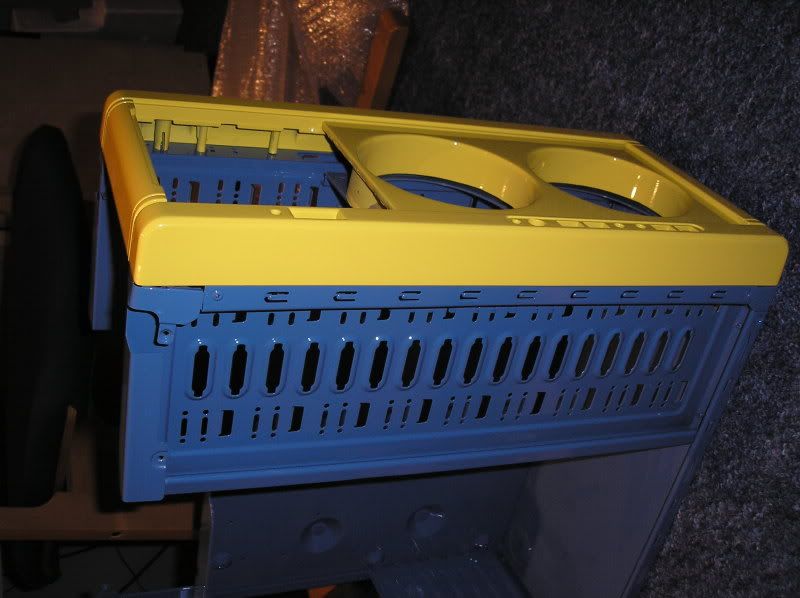
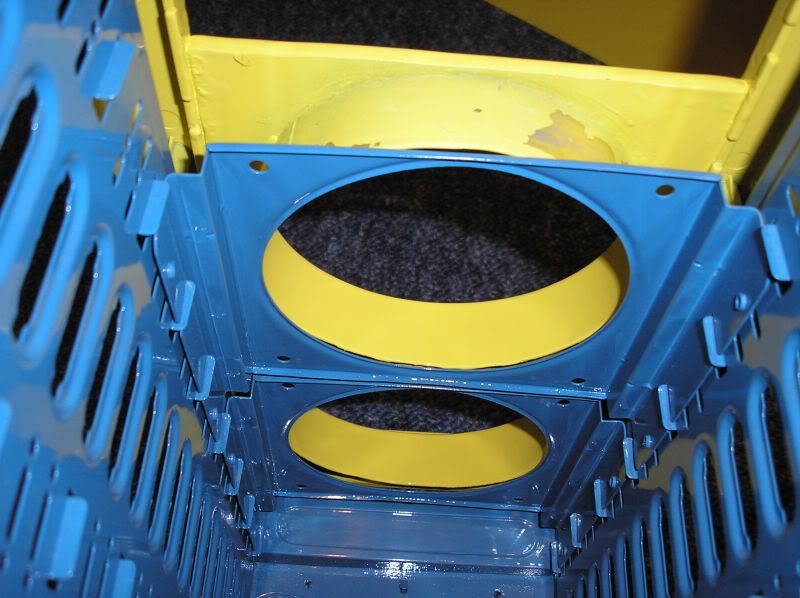
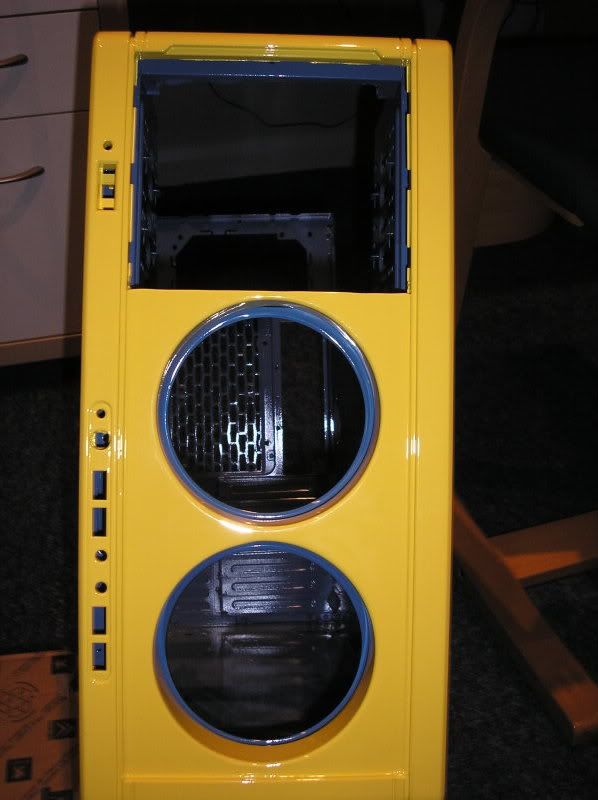
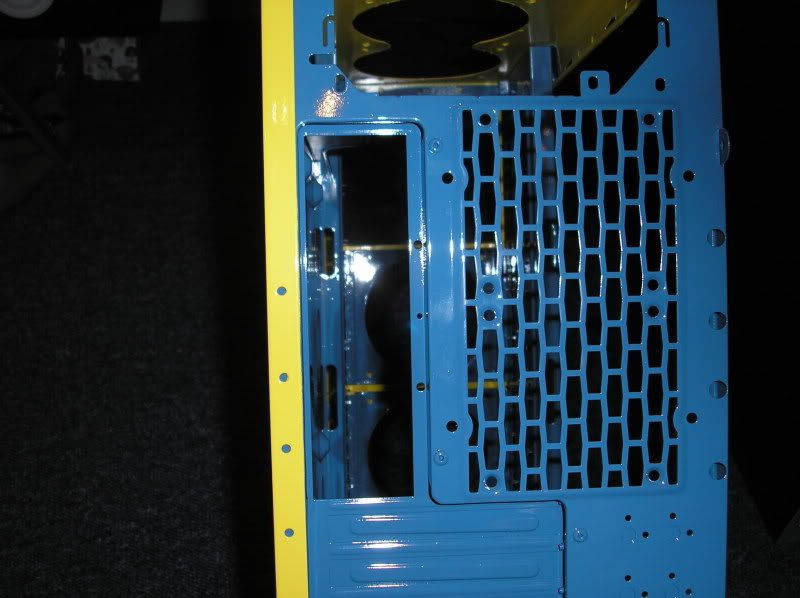
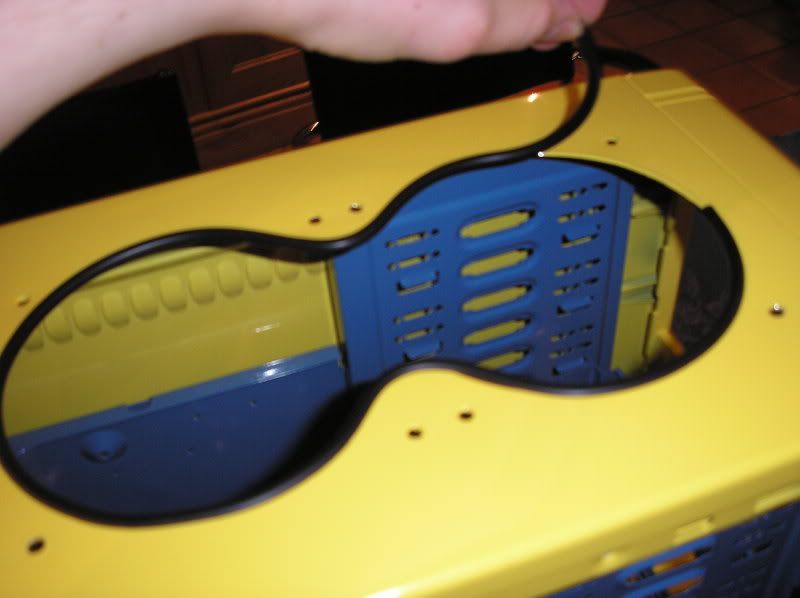
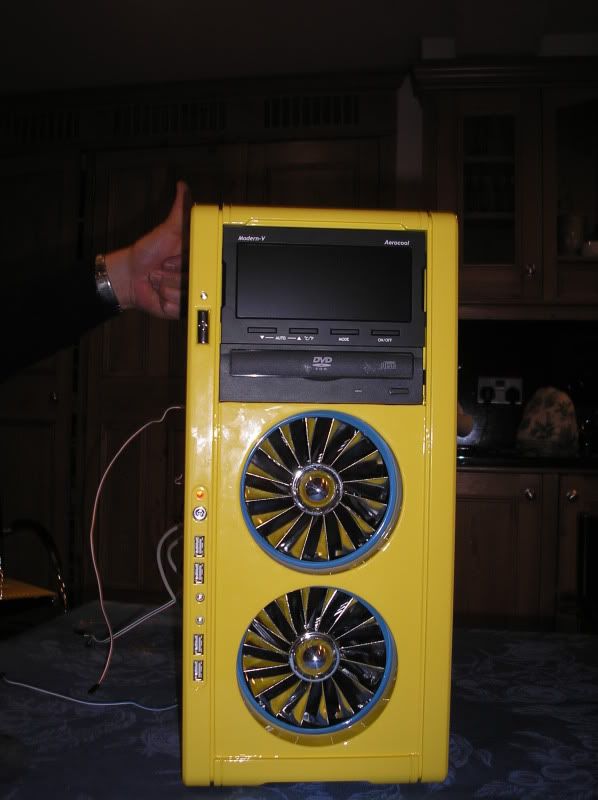
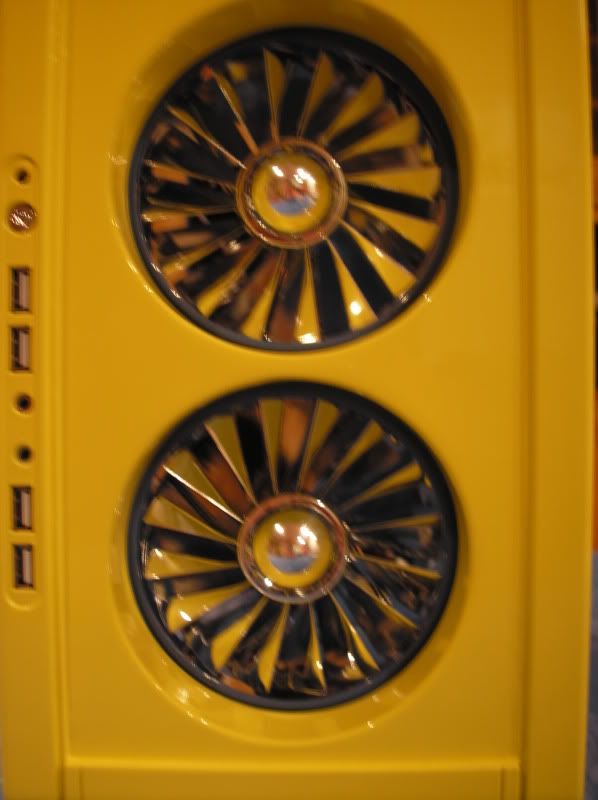
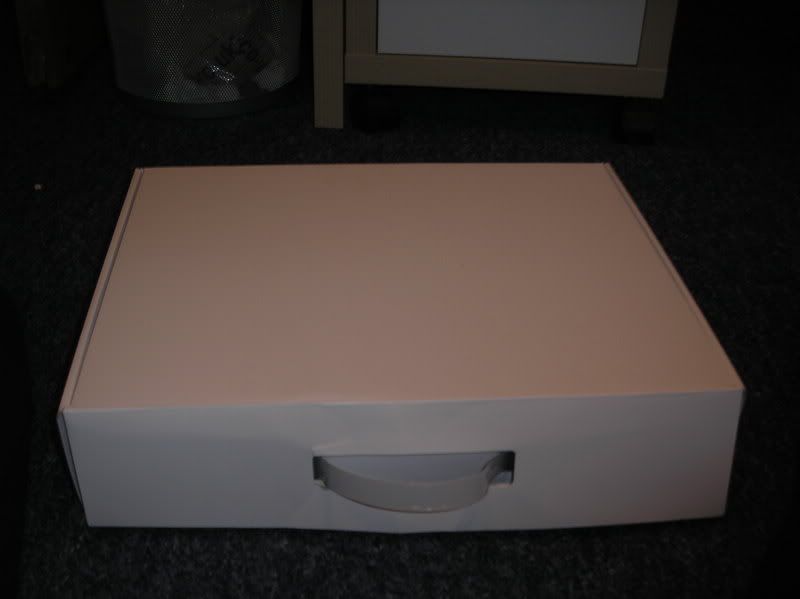
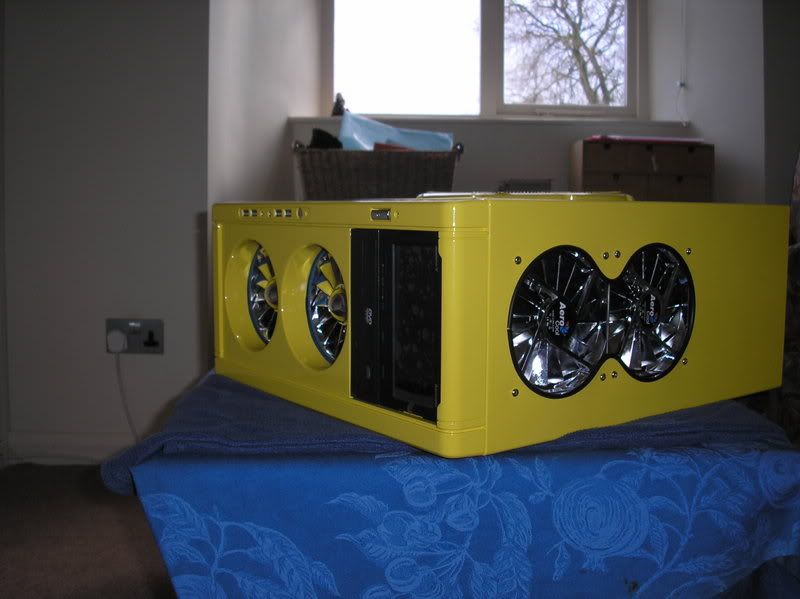
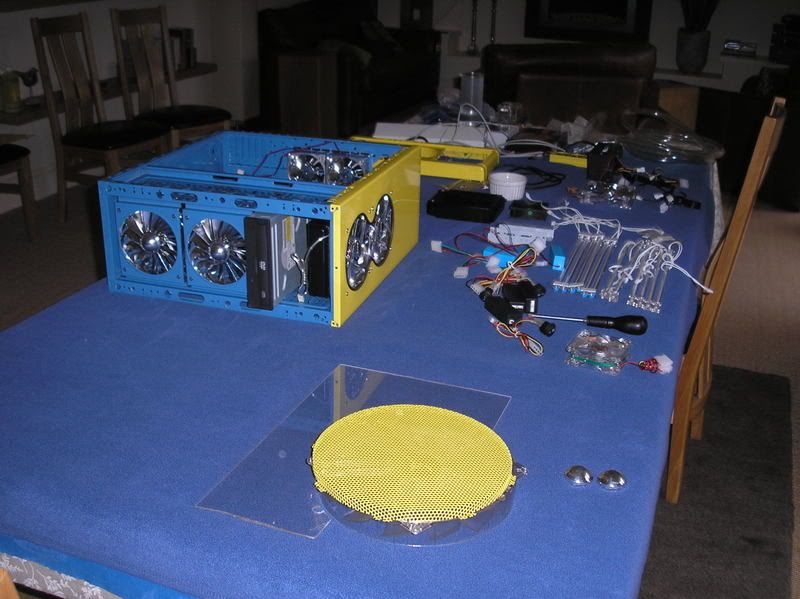
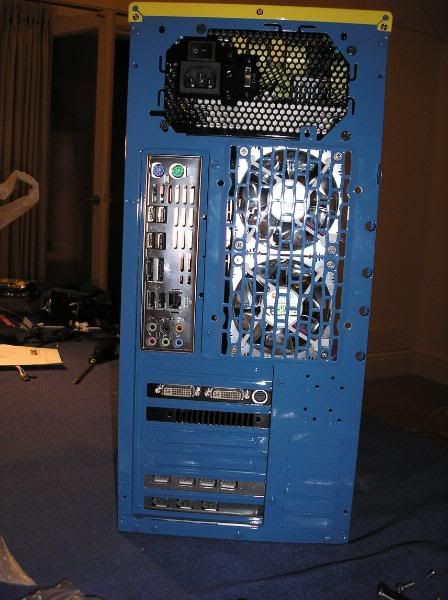
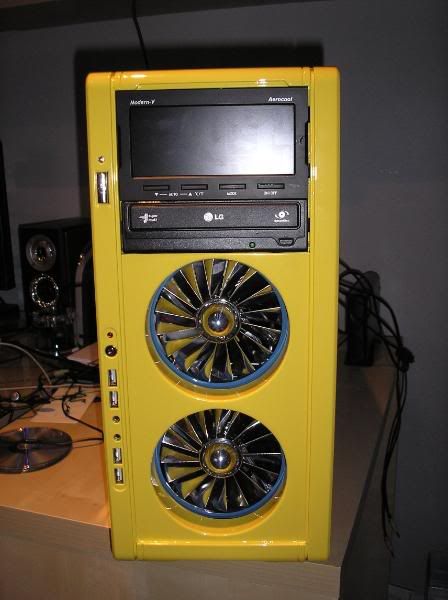
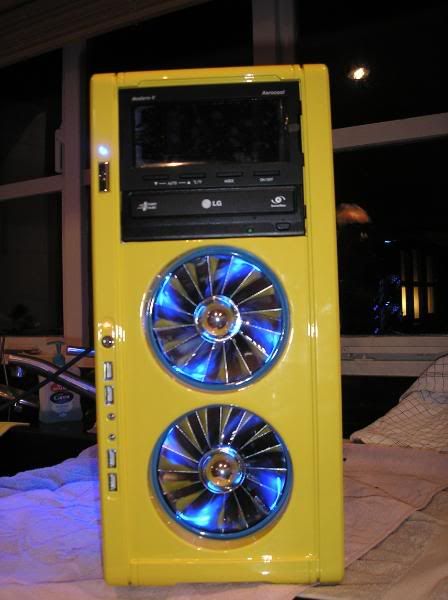
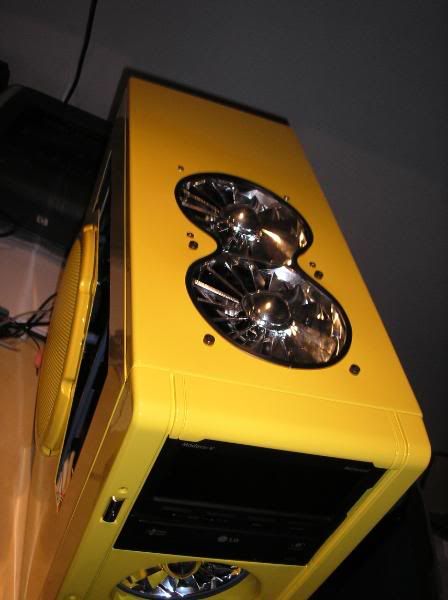
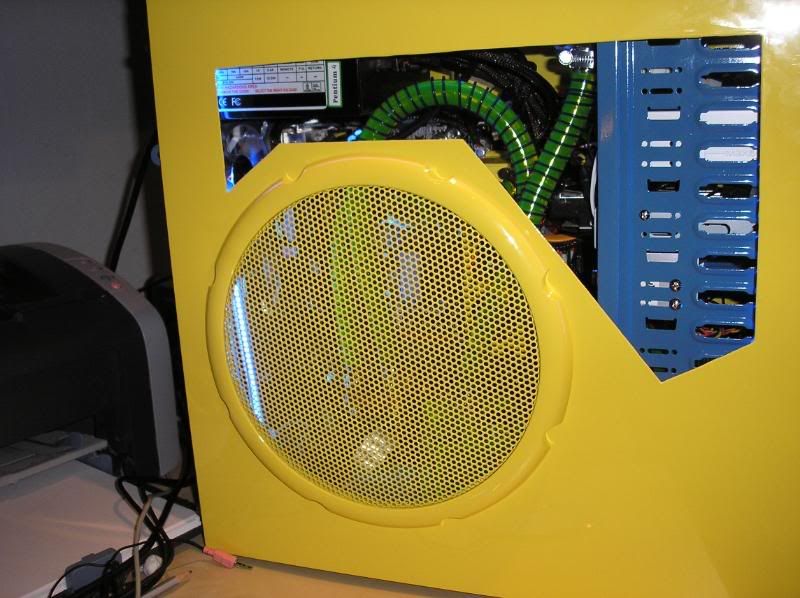
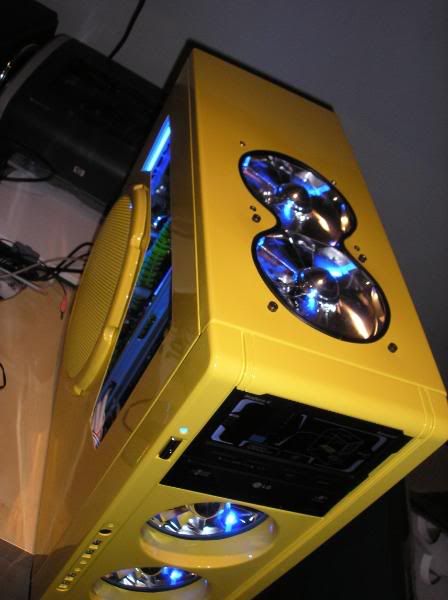
P9190135.jpg


The case:
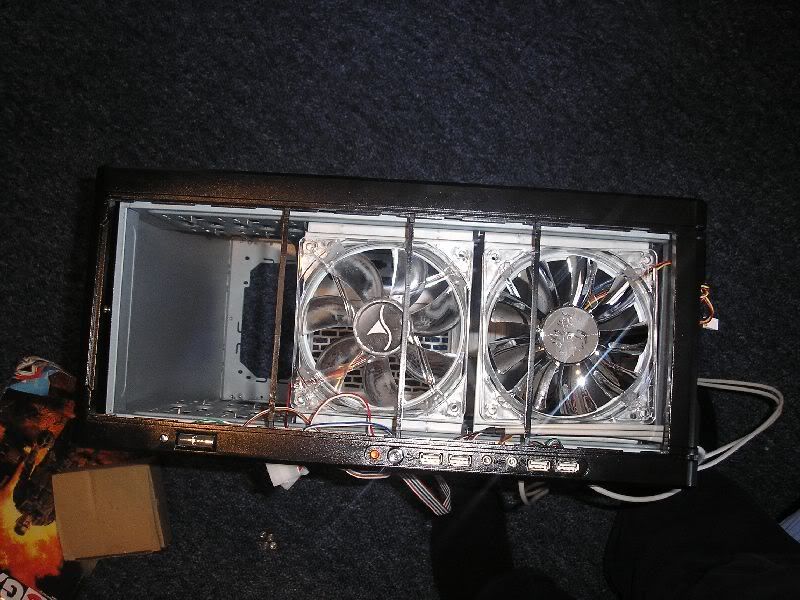
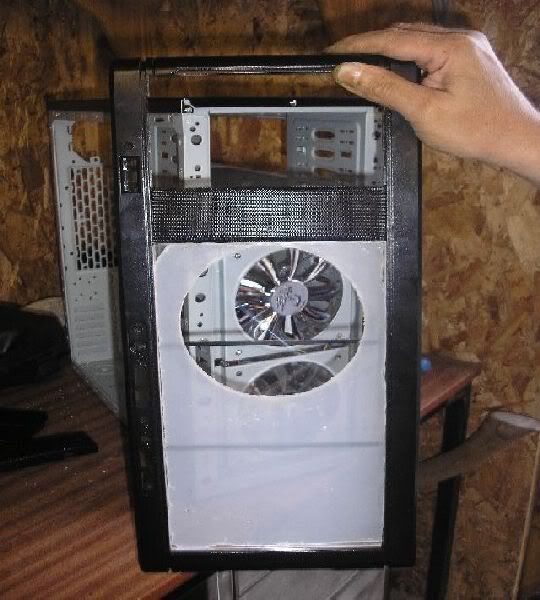
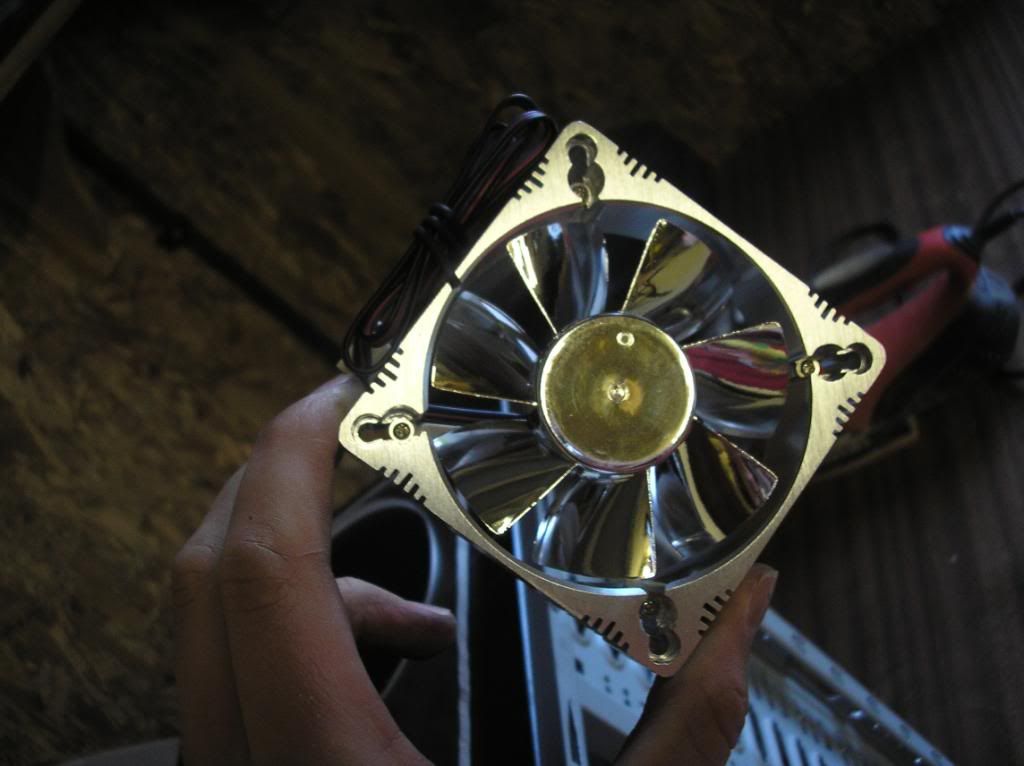
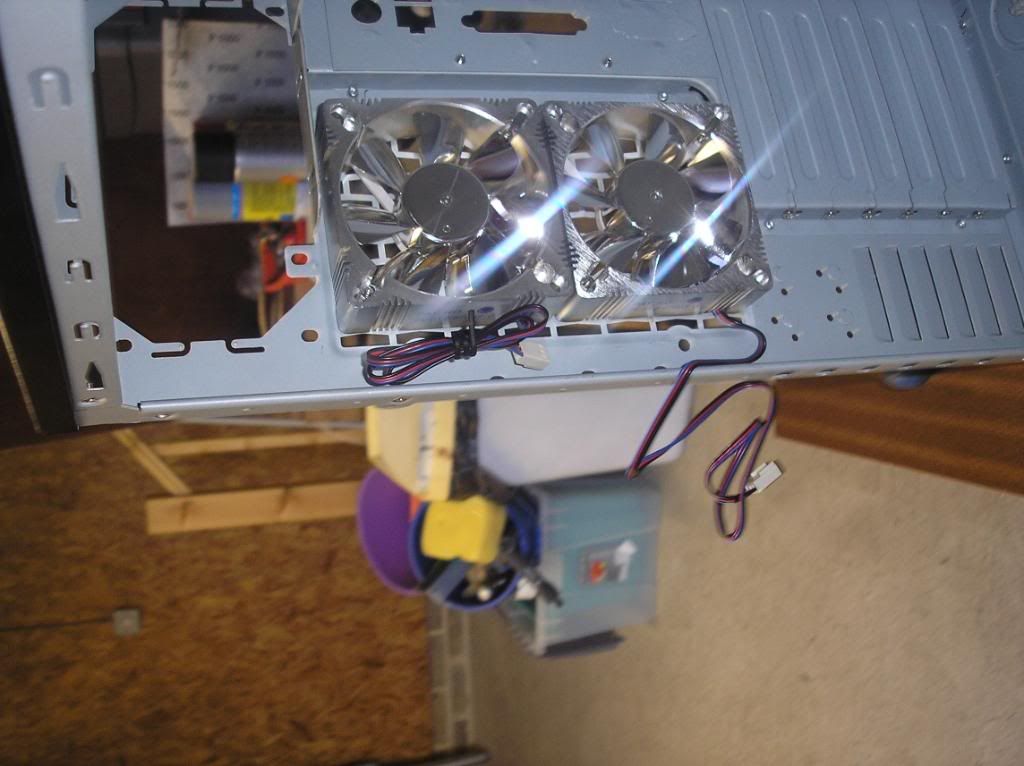
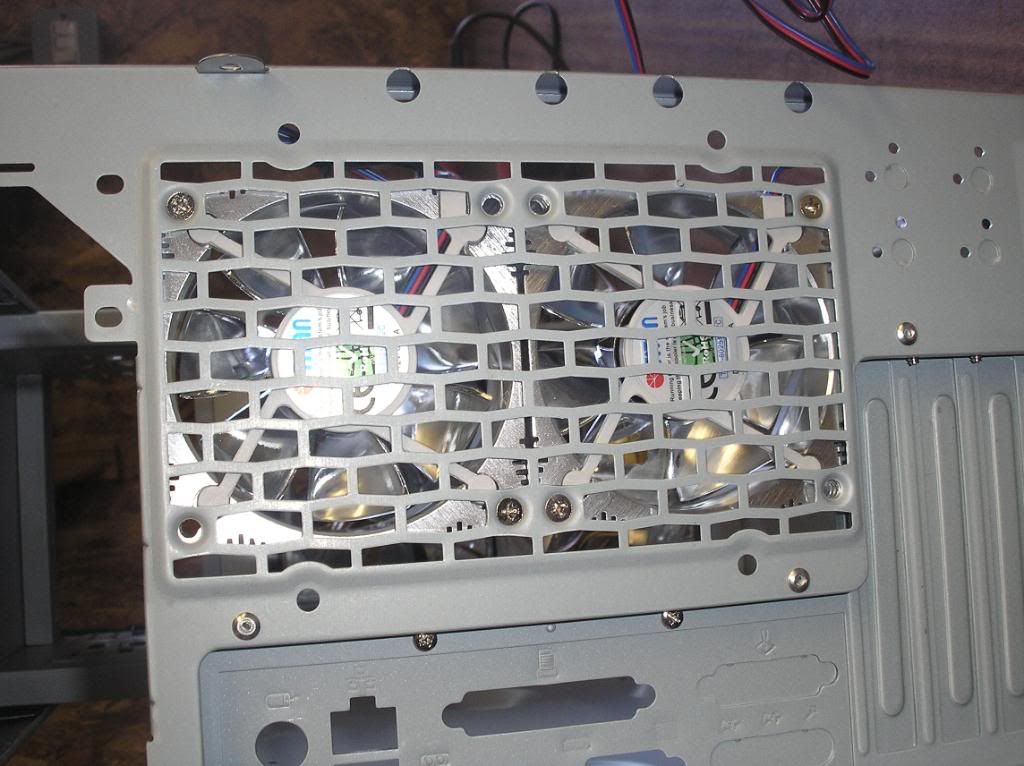
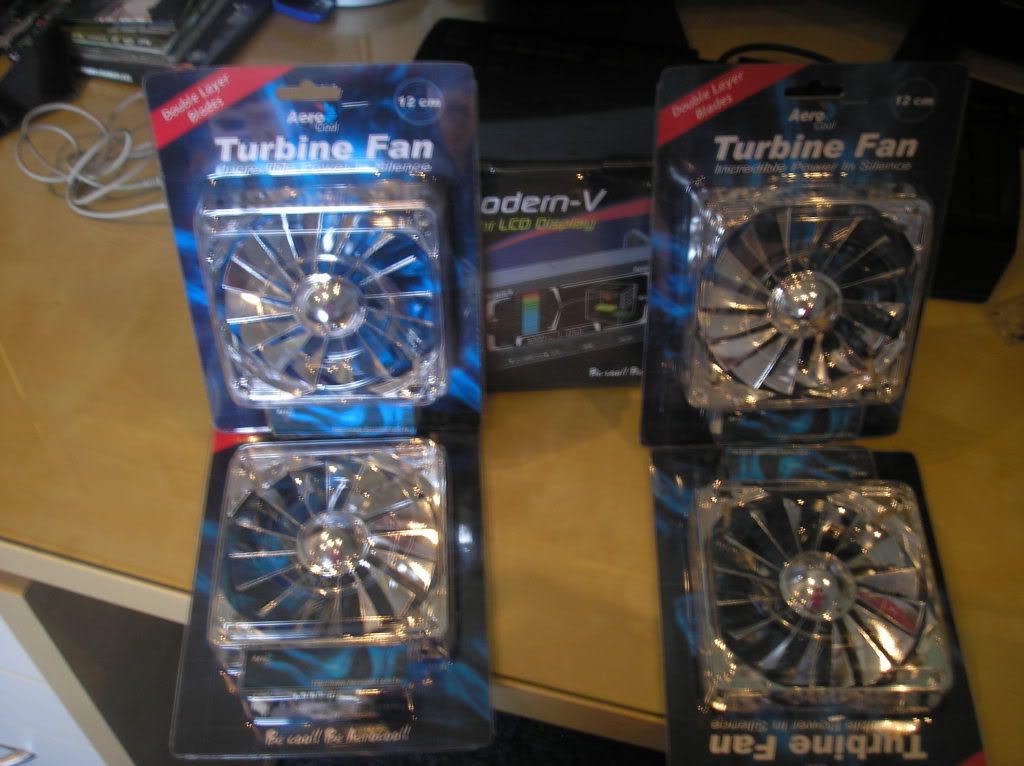
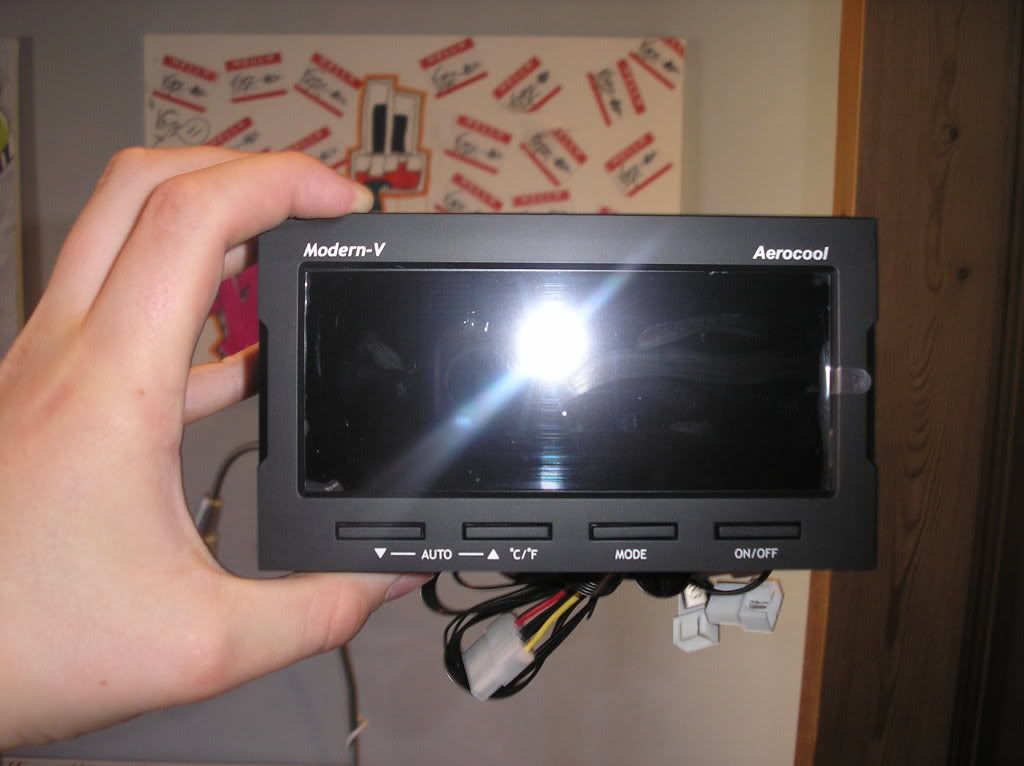
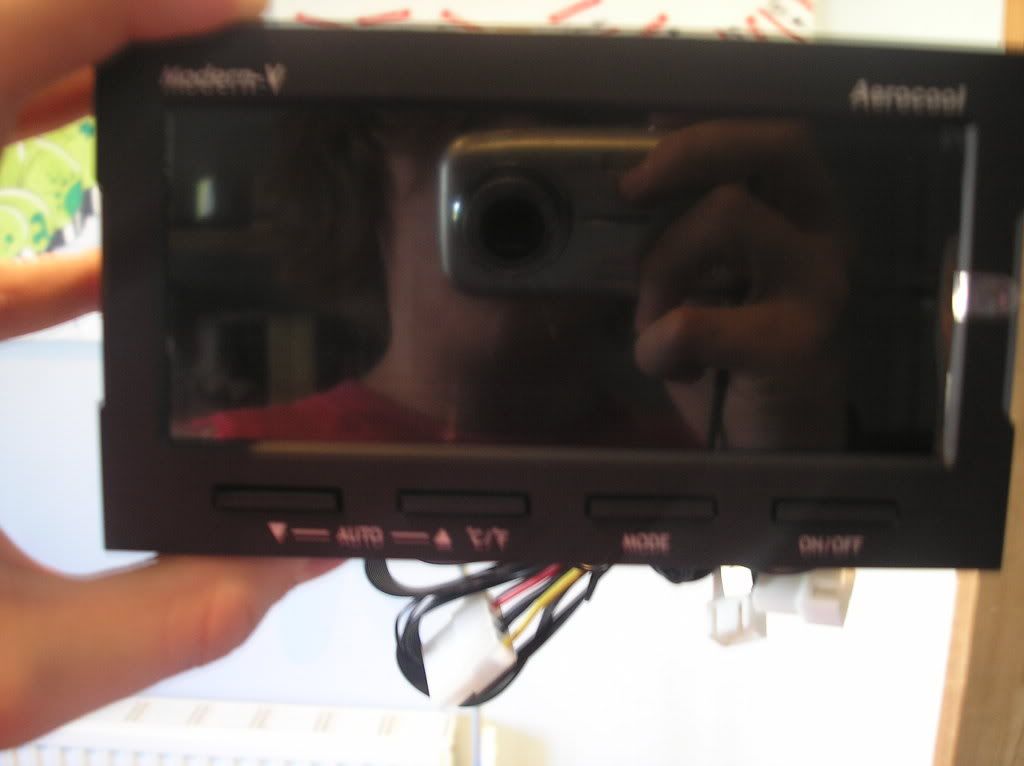
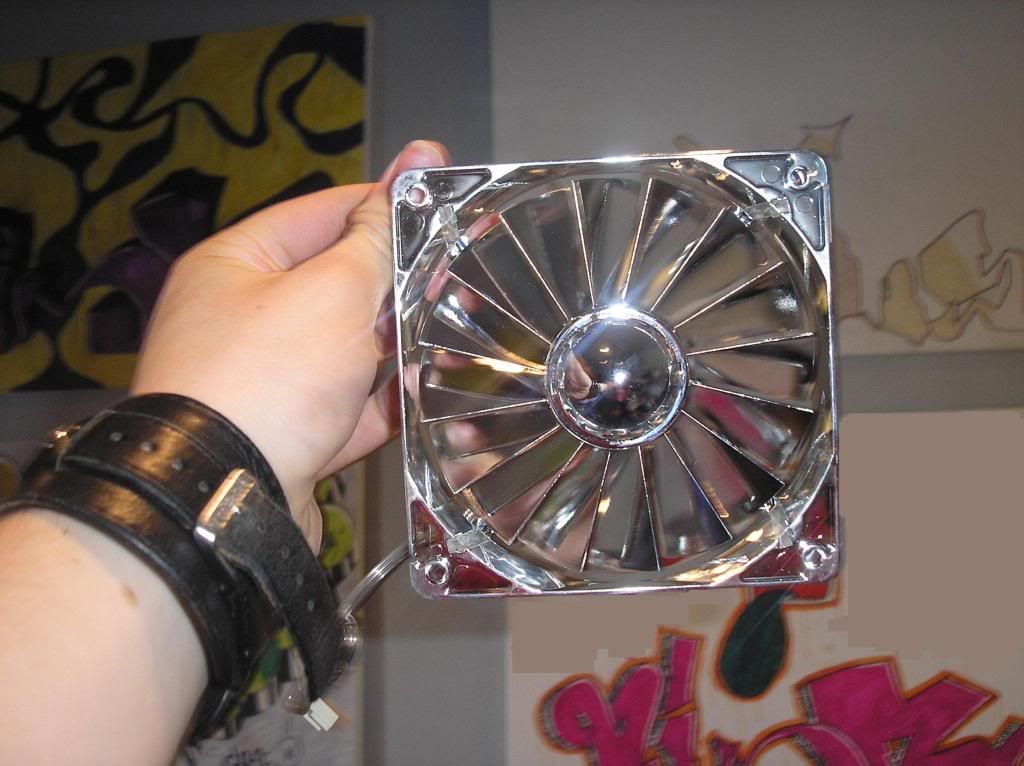
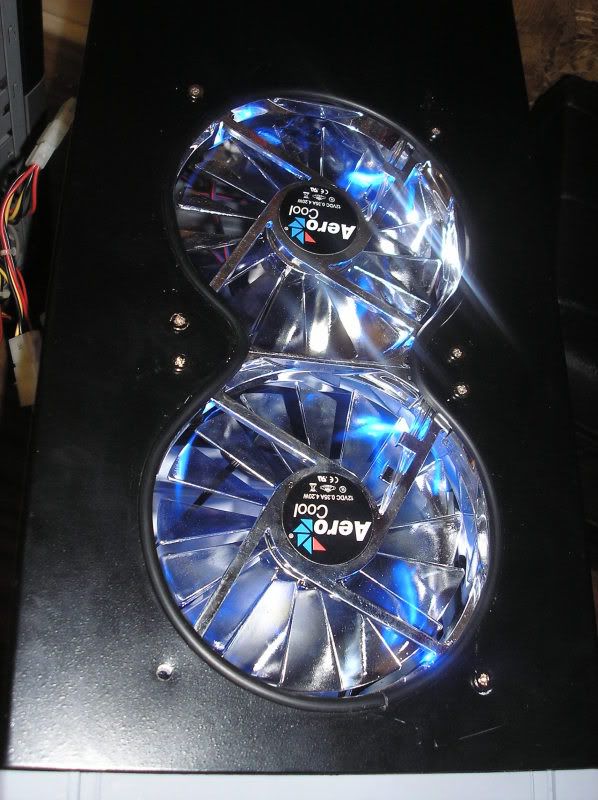
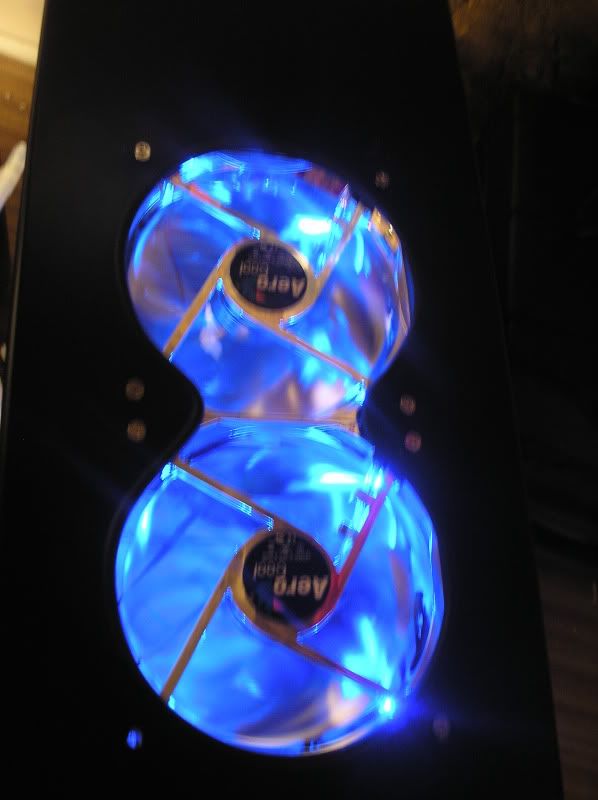
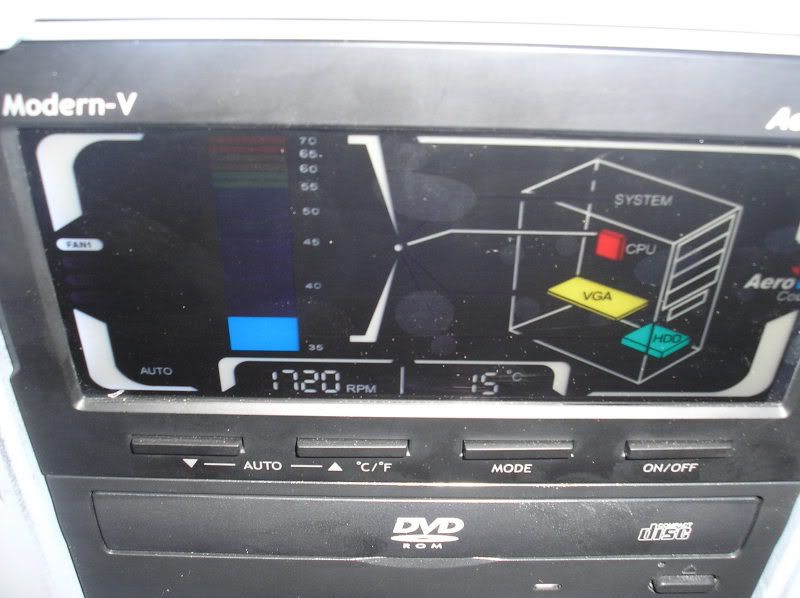
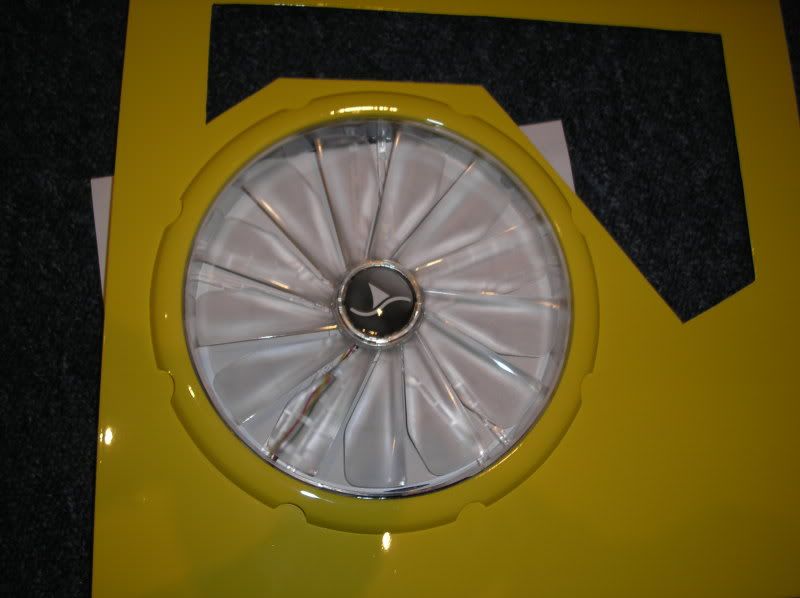
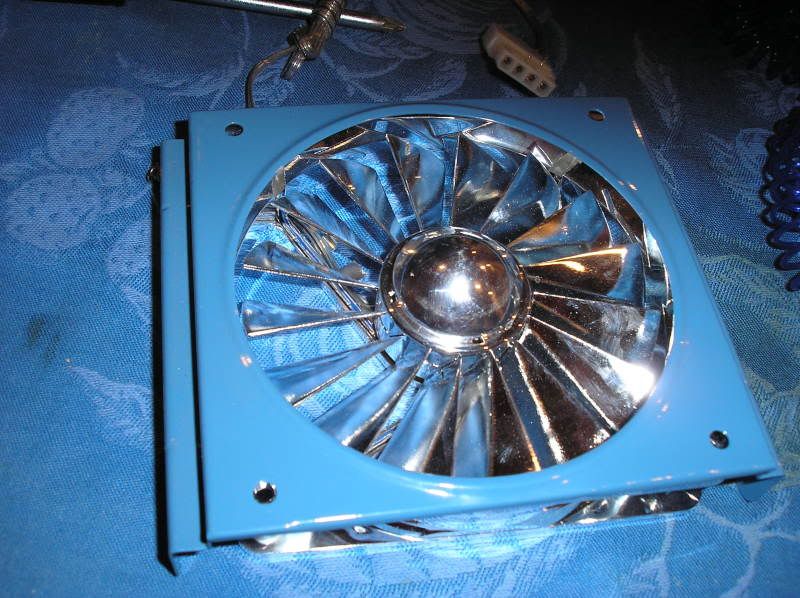
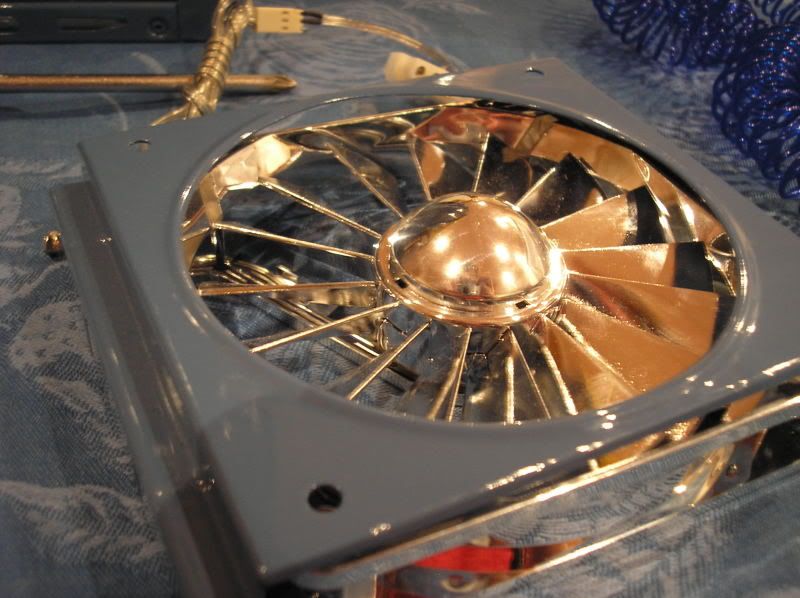
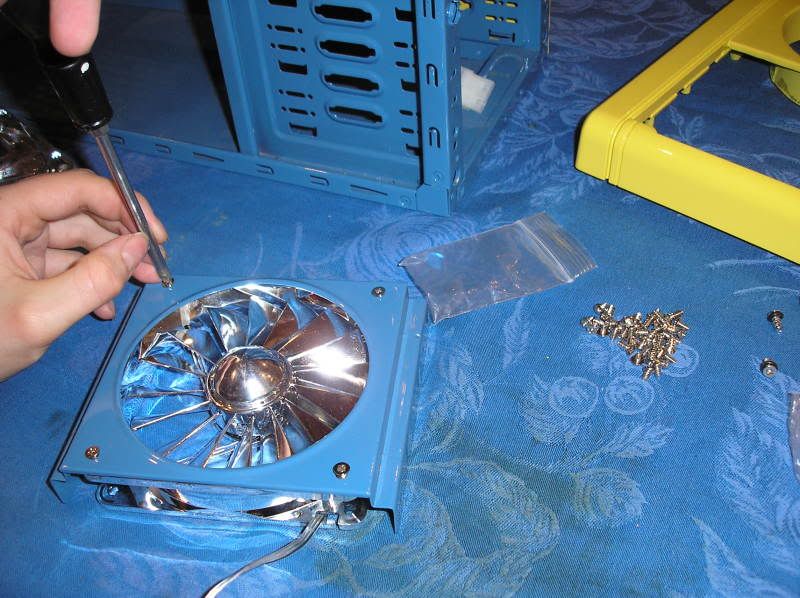
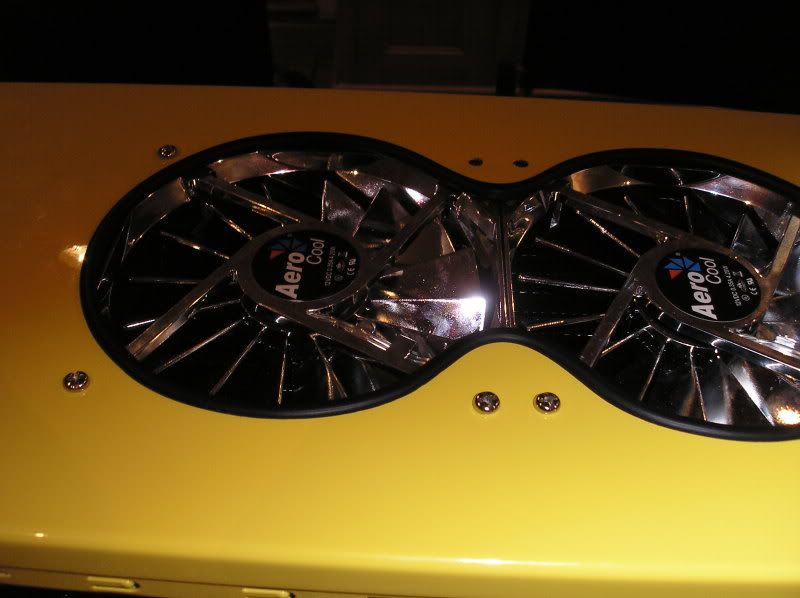
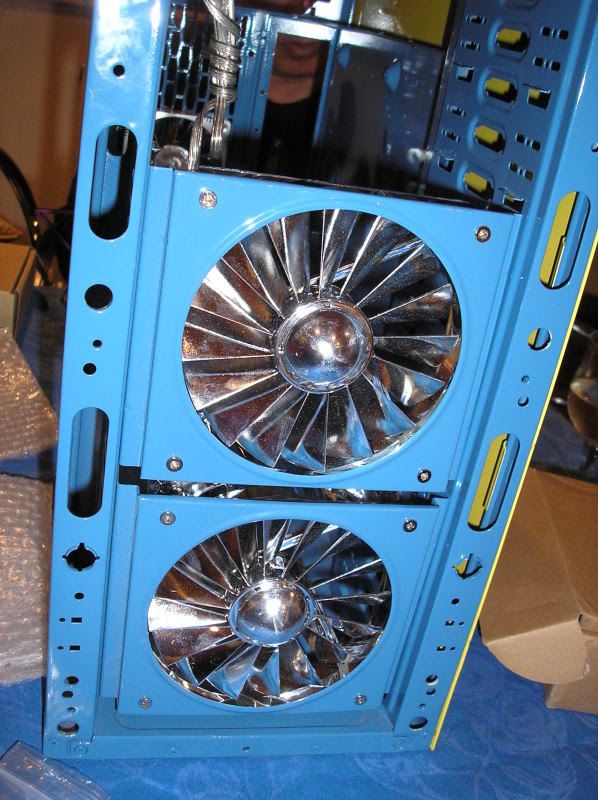
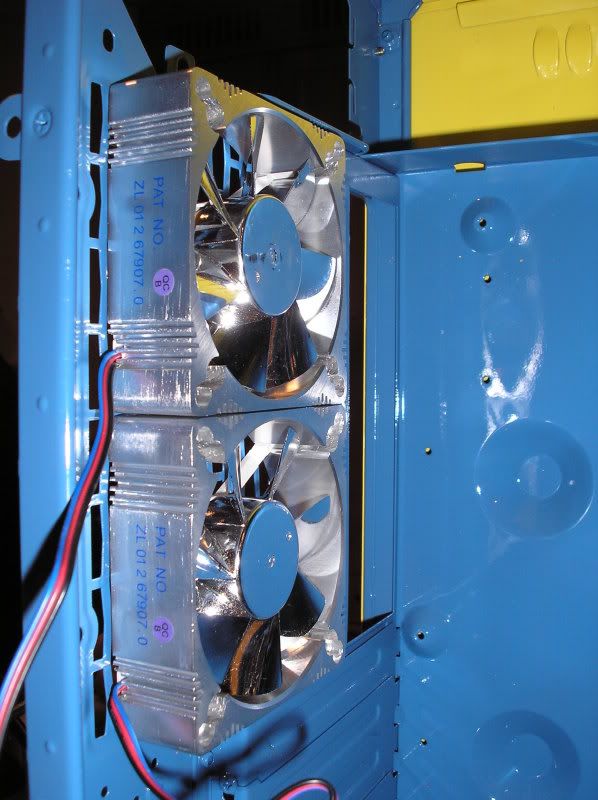
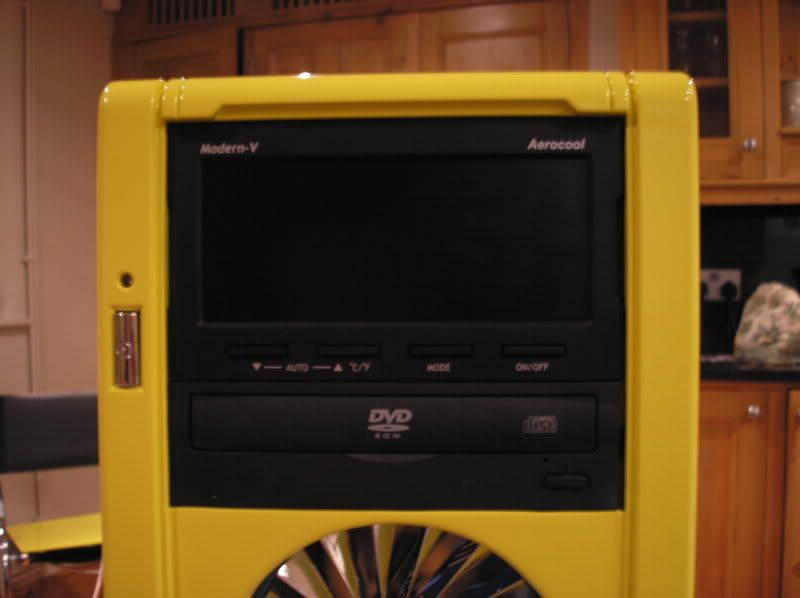
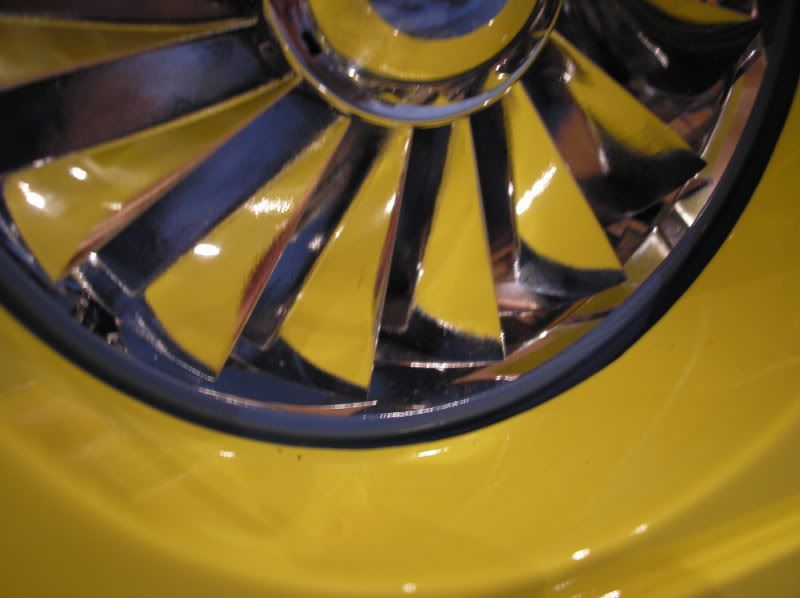
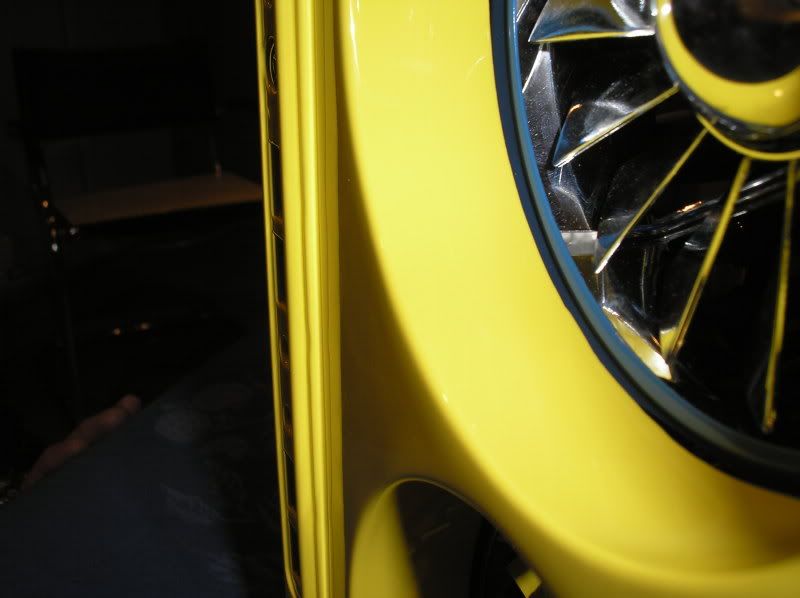
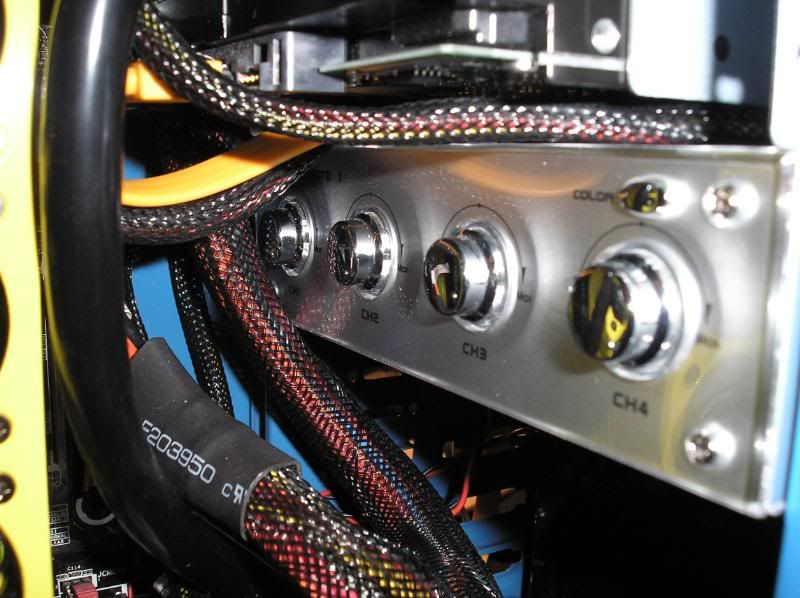
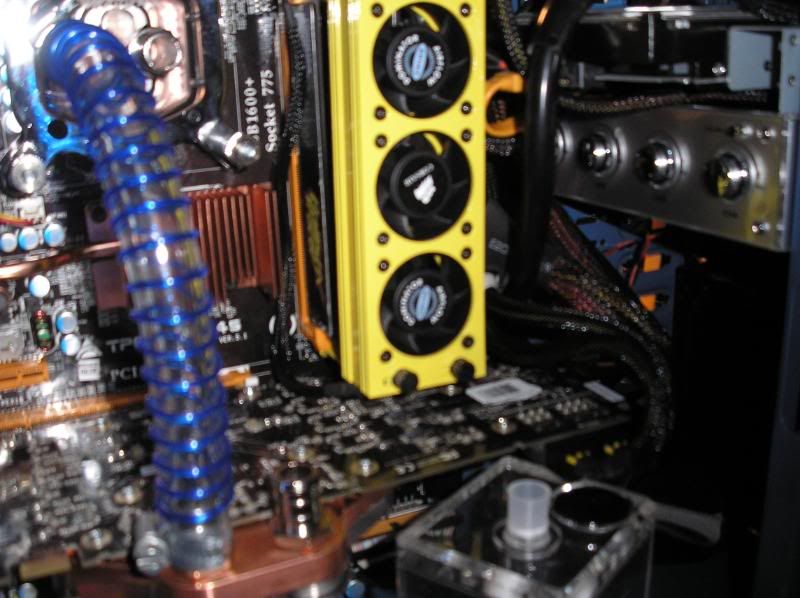
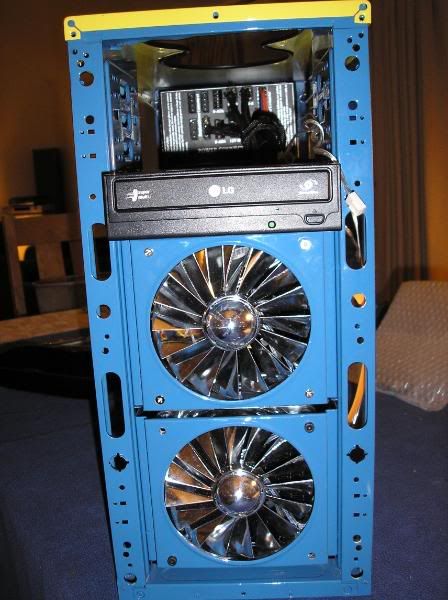
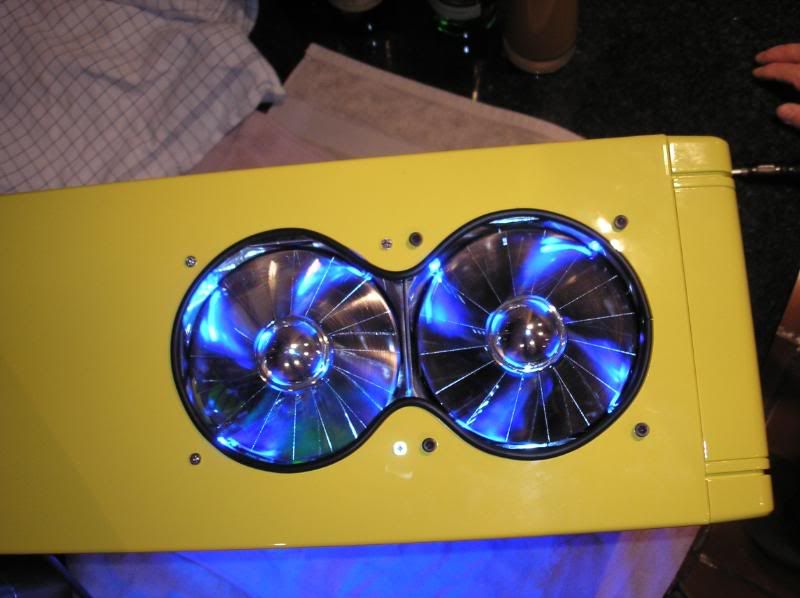
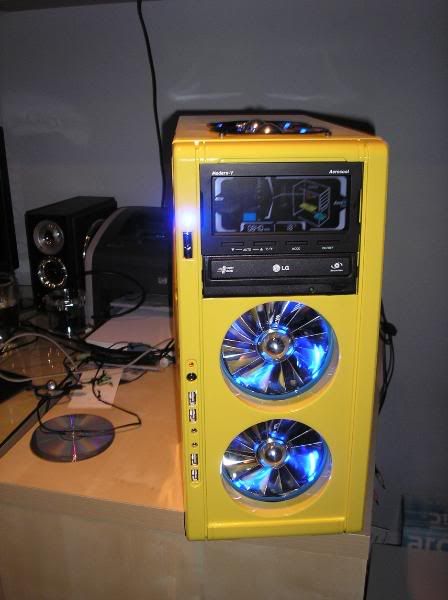
(The two front fans that are installed at the moment are only temporary as Aerocool are kindly sending me 4 silver turbine fans and a Modern-V fan controller :D)

P9190136.jpg


P9190137.jpg


P9190143.jpg


P9190144.jpg


P9190145.jpg


P9190146.jpg


P9190149.jpg


P9190147.jpg


P9200152.jpg


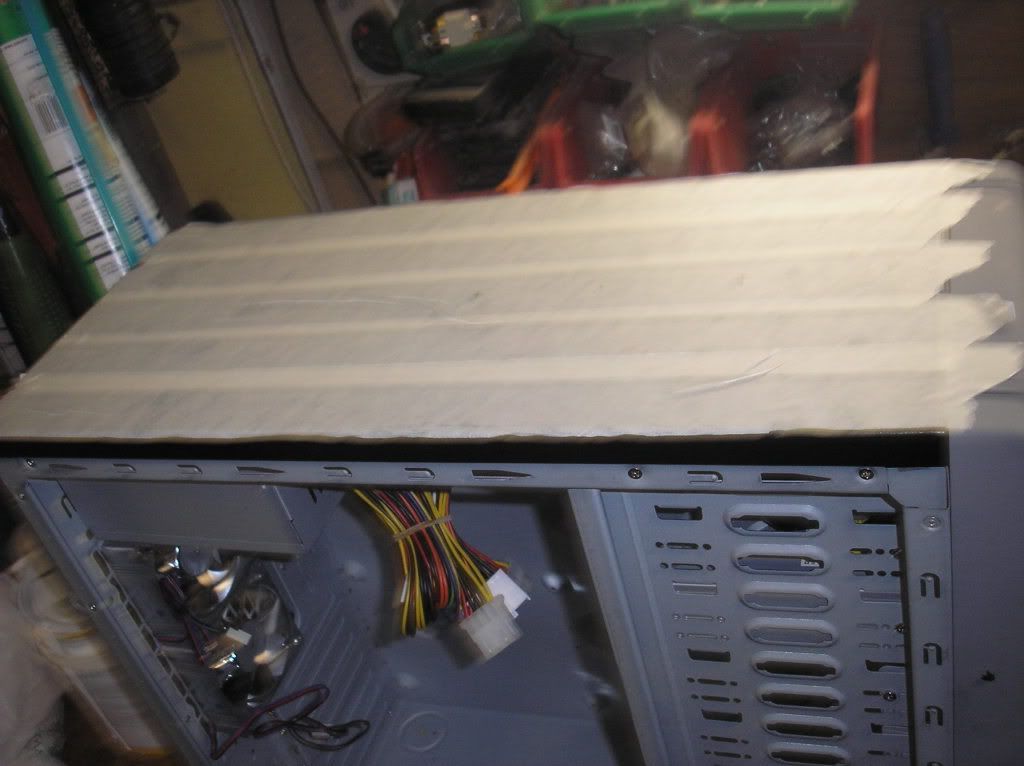
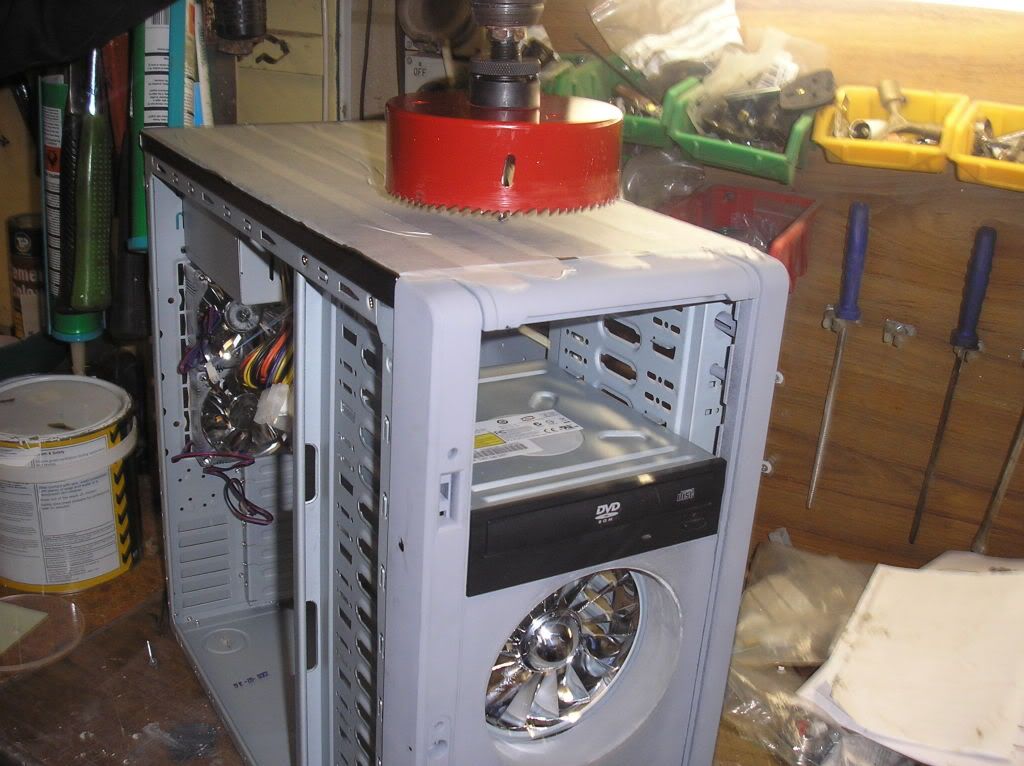
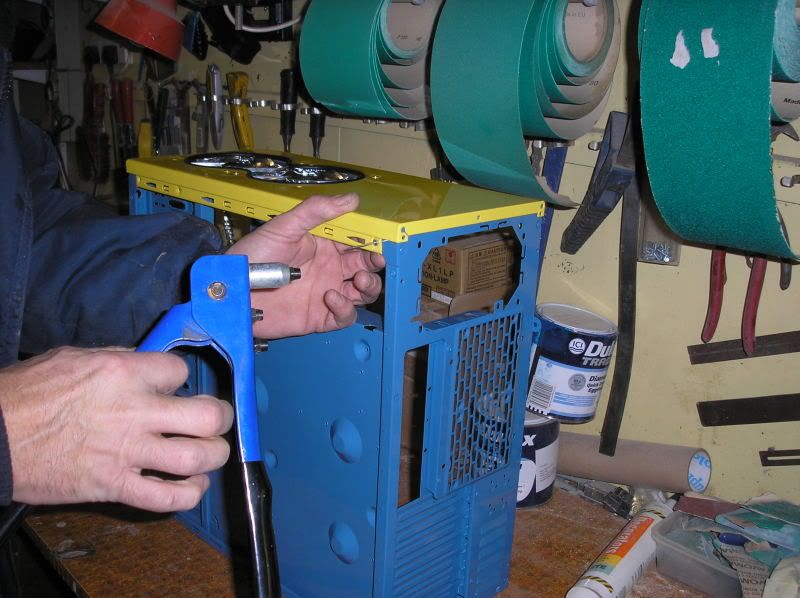
So lets get on with the modding....

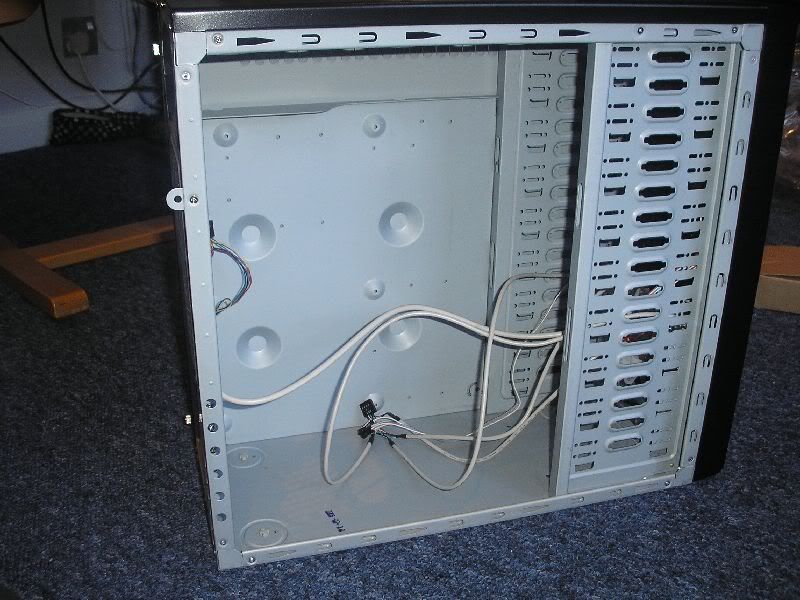
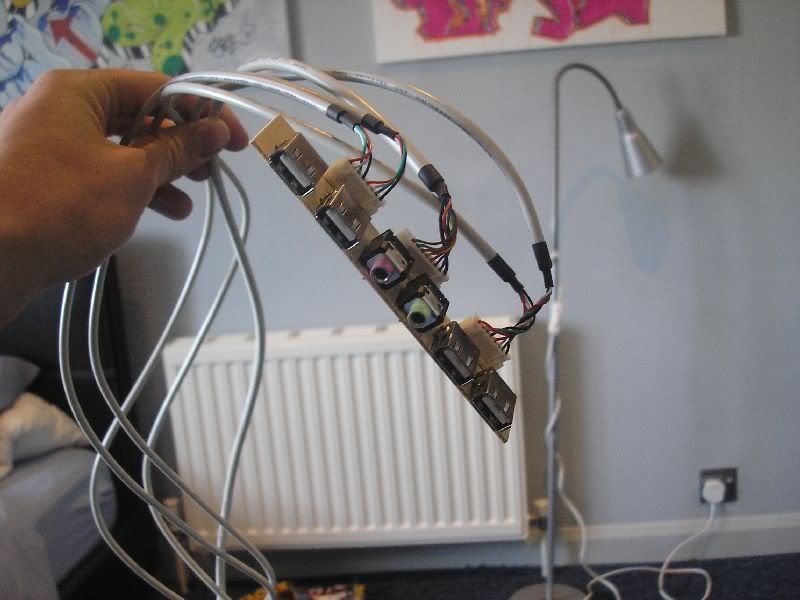
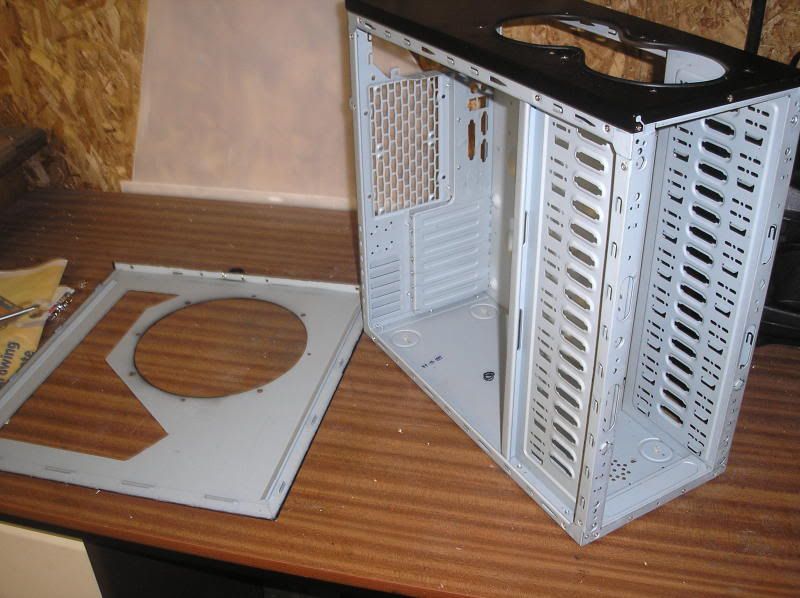
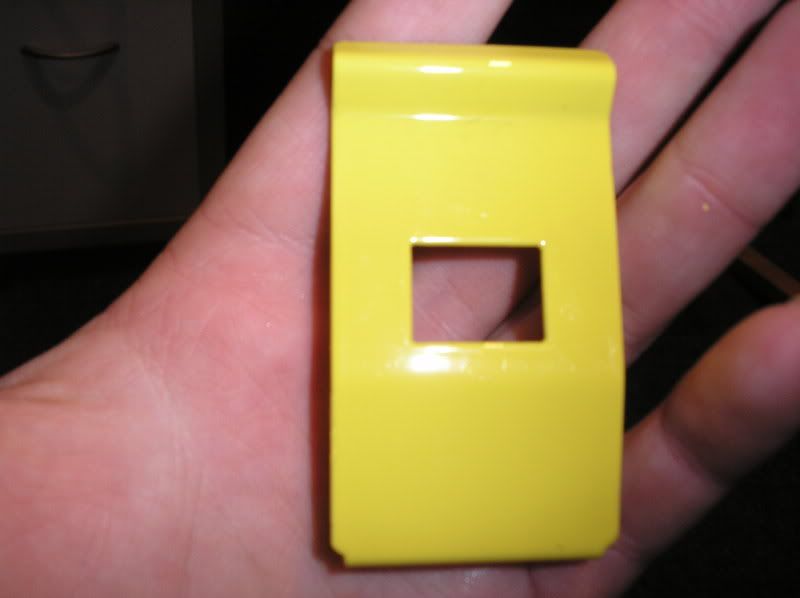
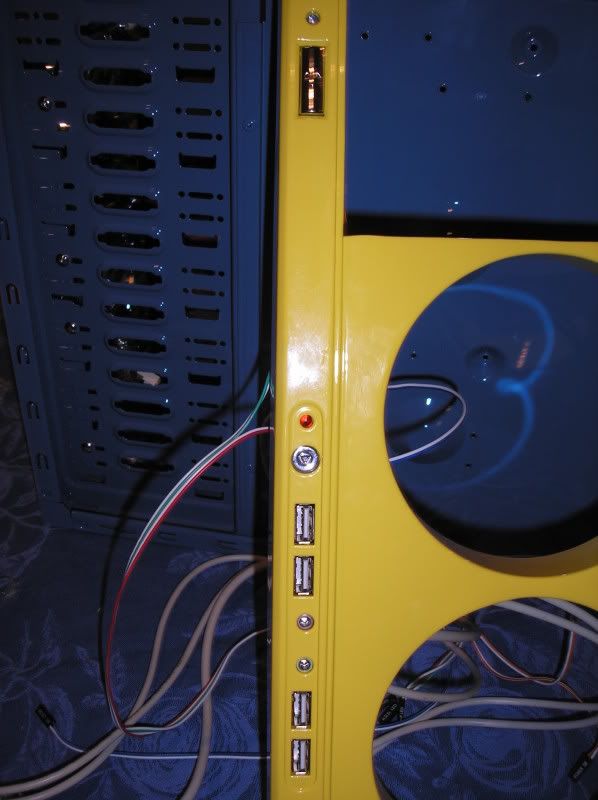
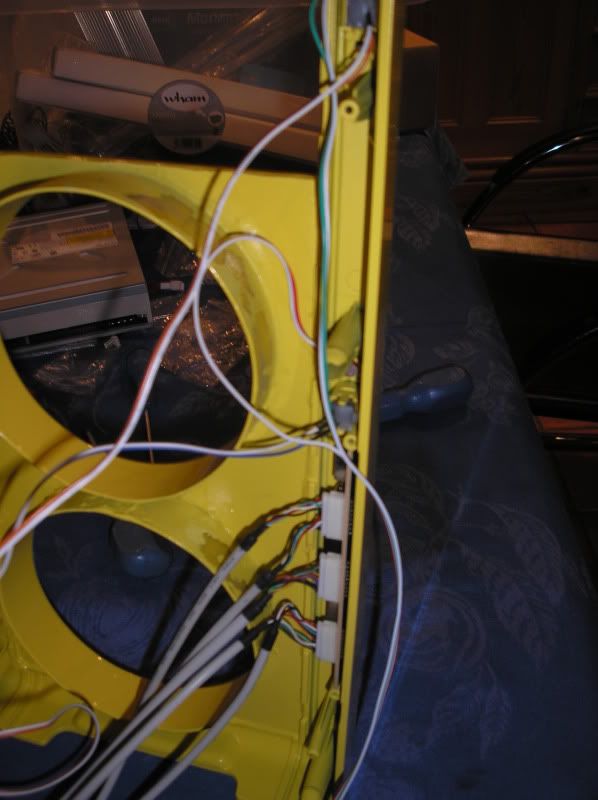
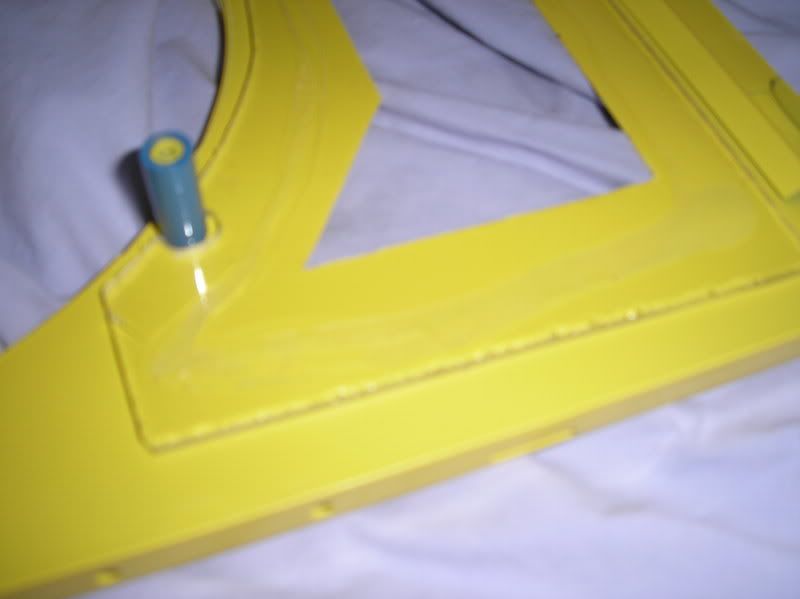
First all the wires and LEDs in the front bezel have to be removed:
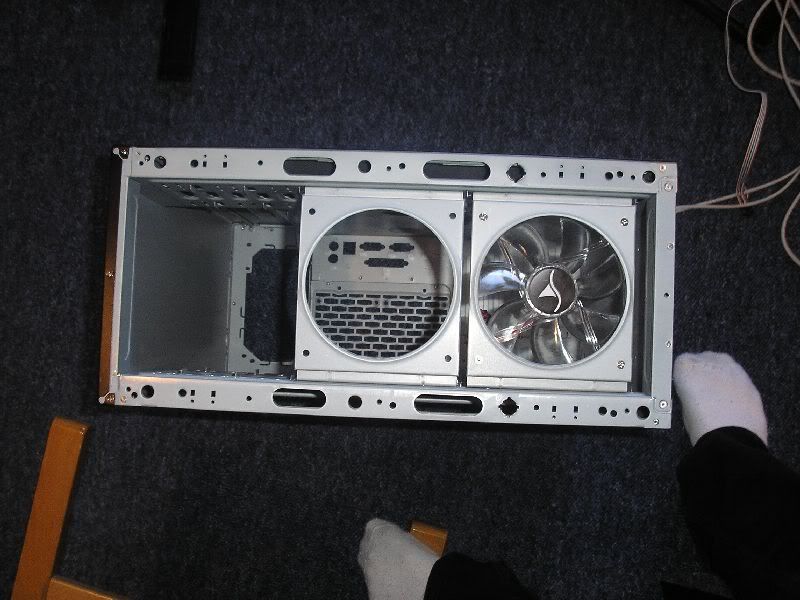
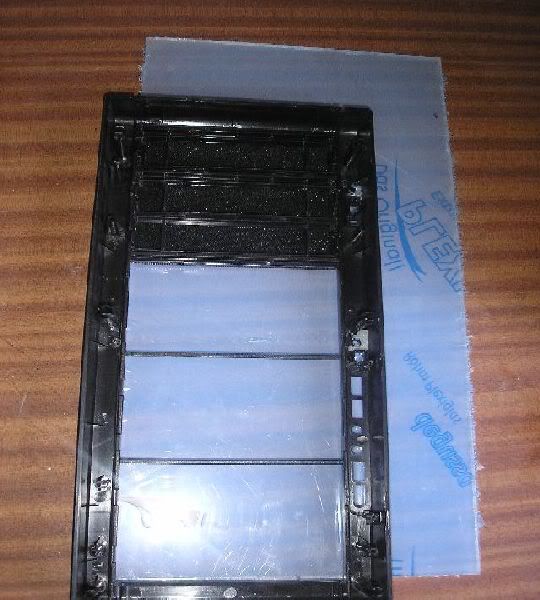
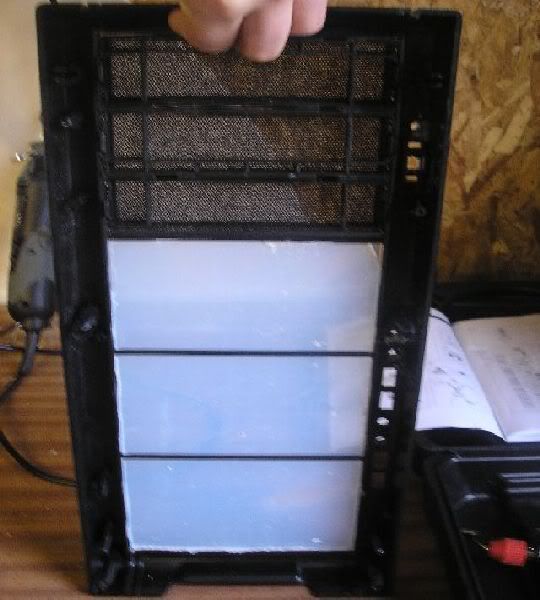
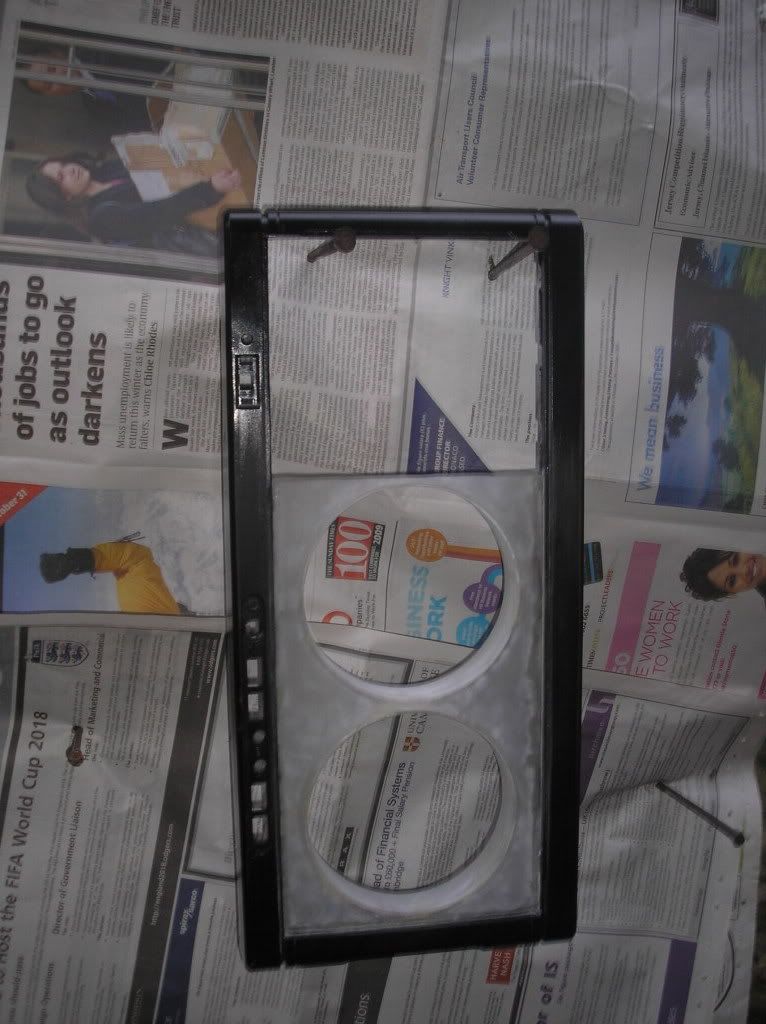
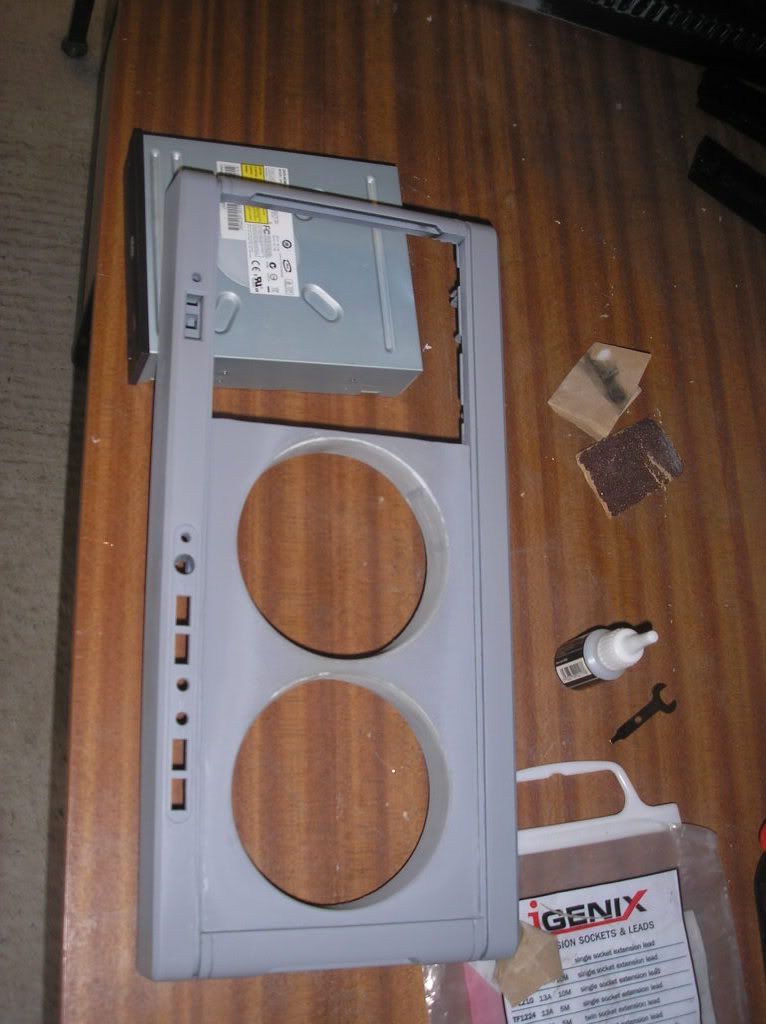
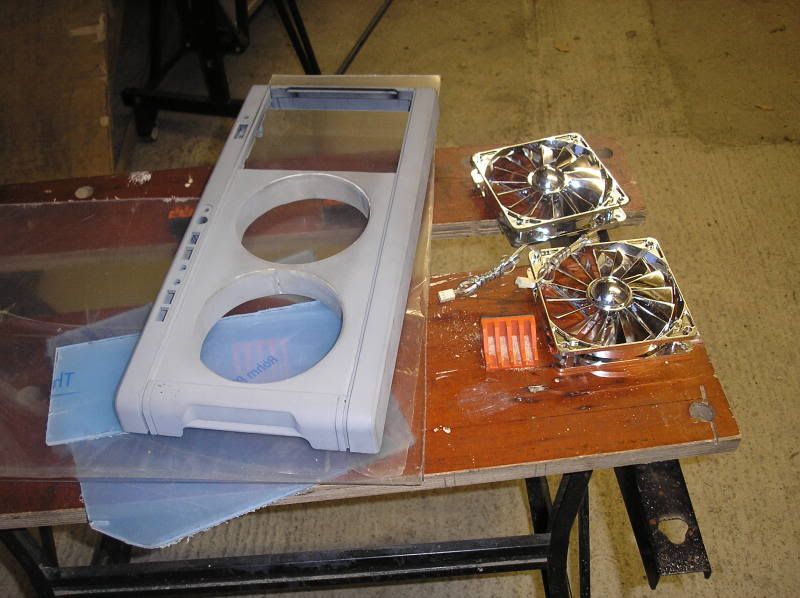
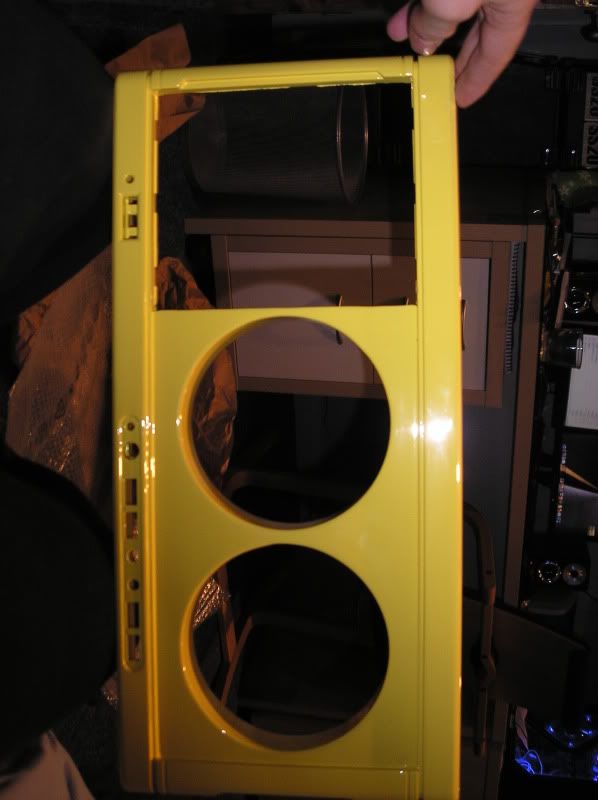
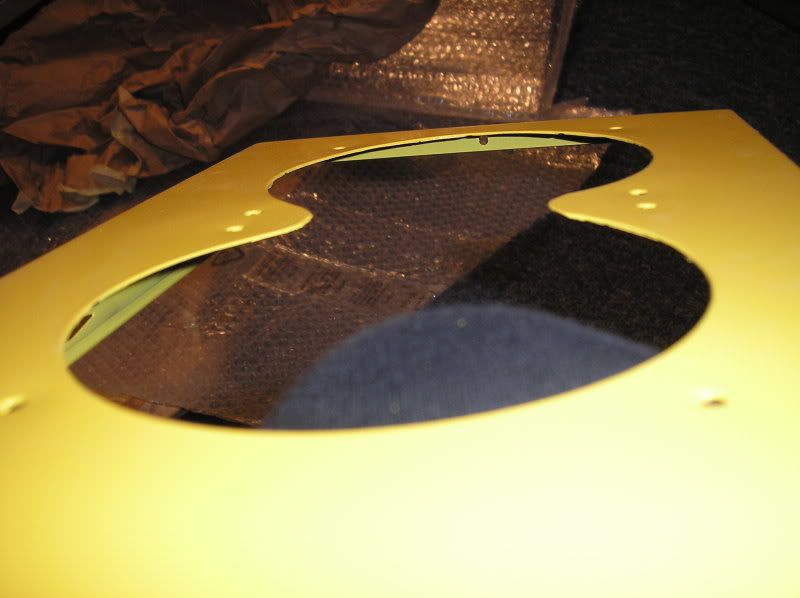
P9200154.jpg


Naked bezel:
P9200155.jpg


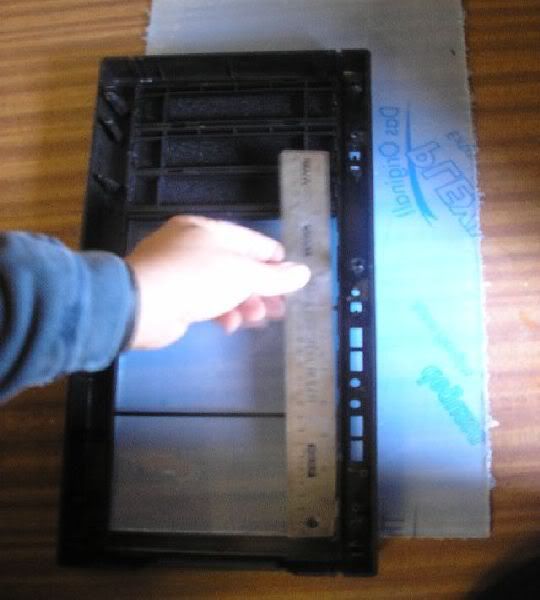
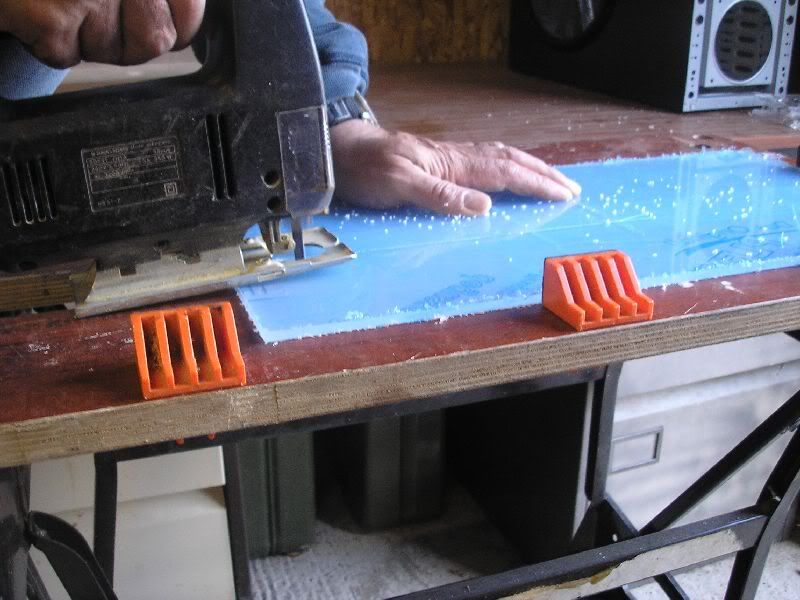
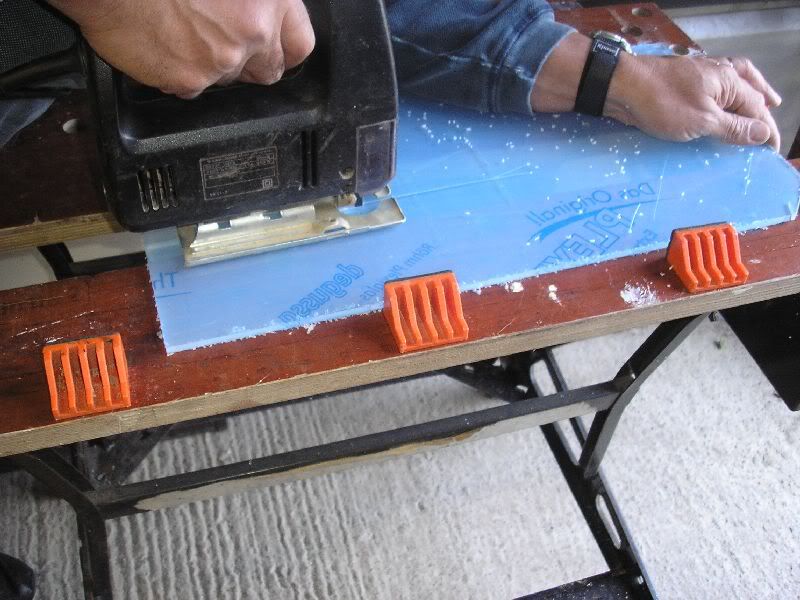
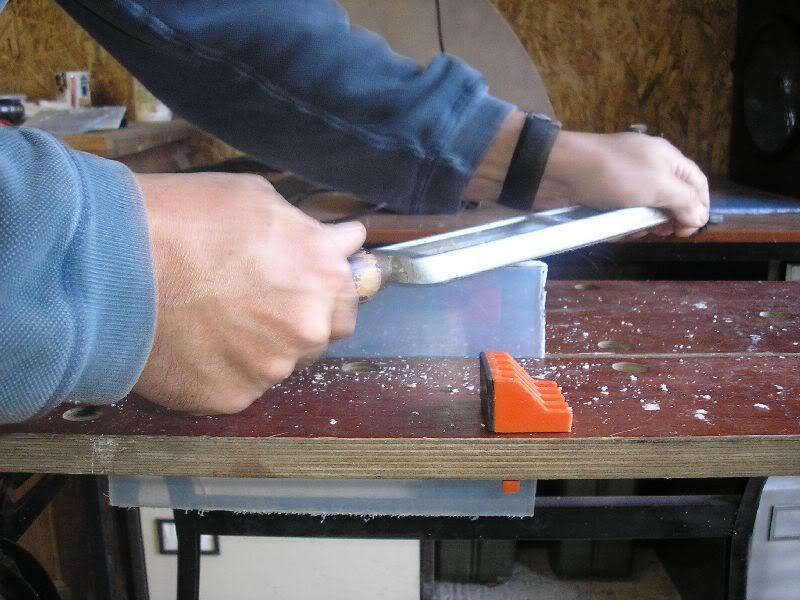
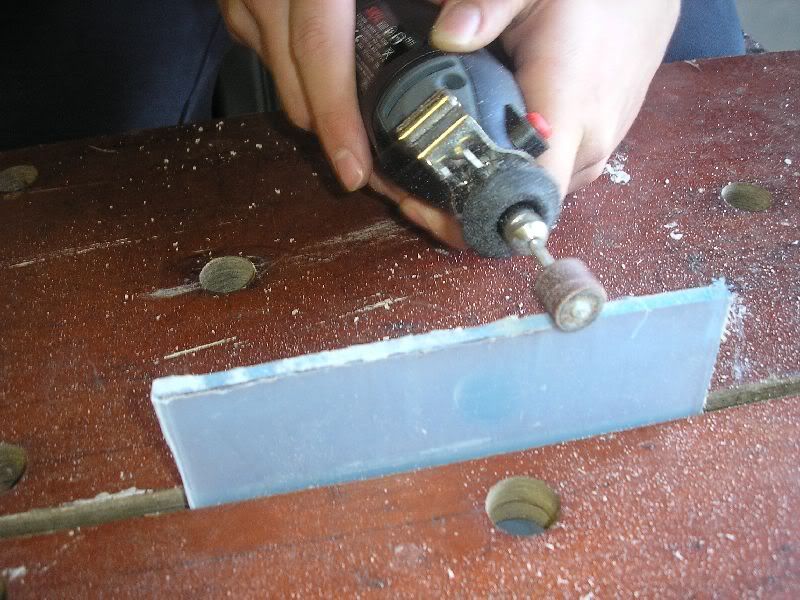
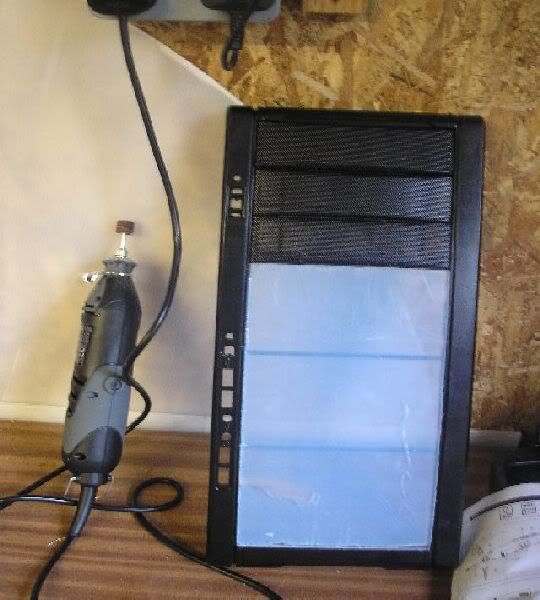
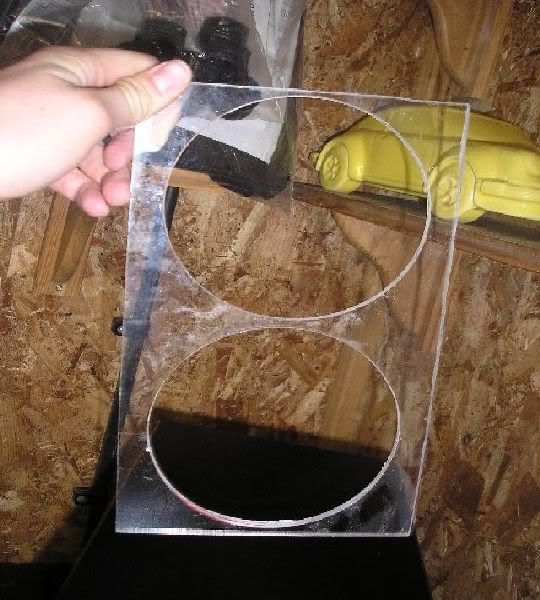
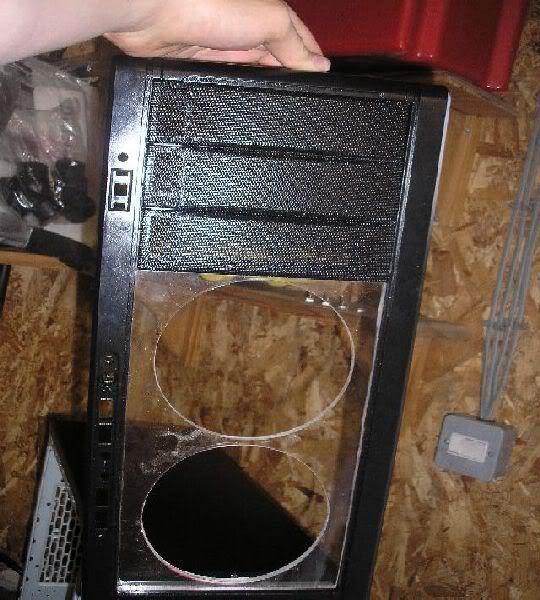
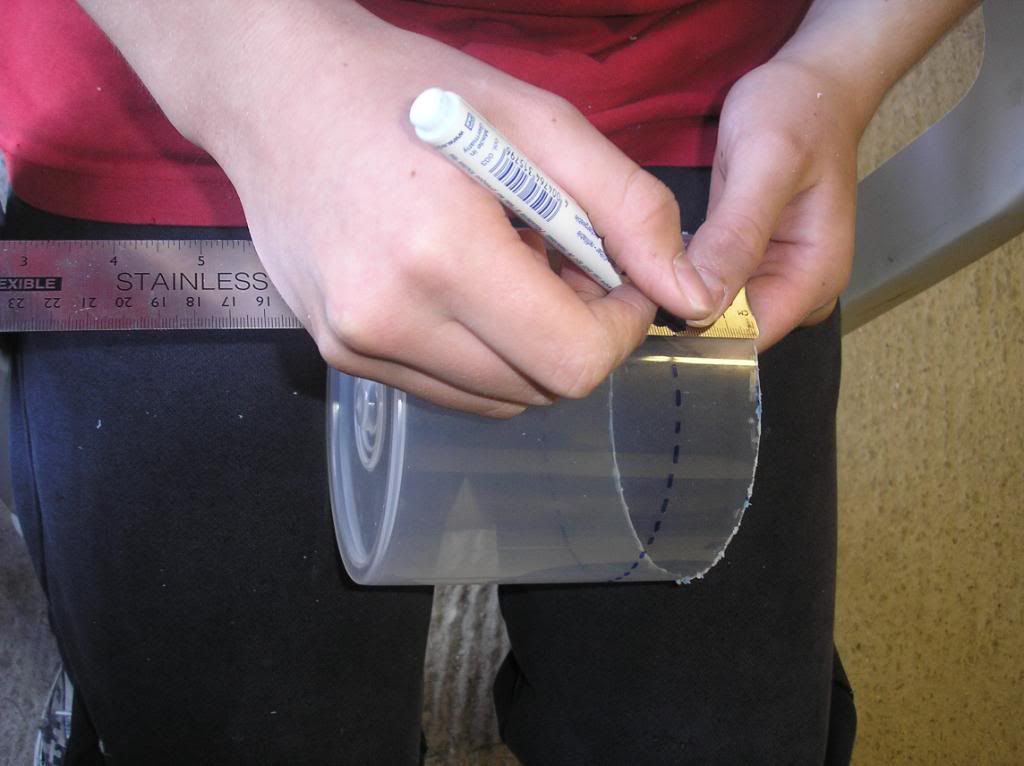
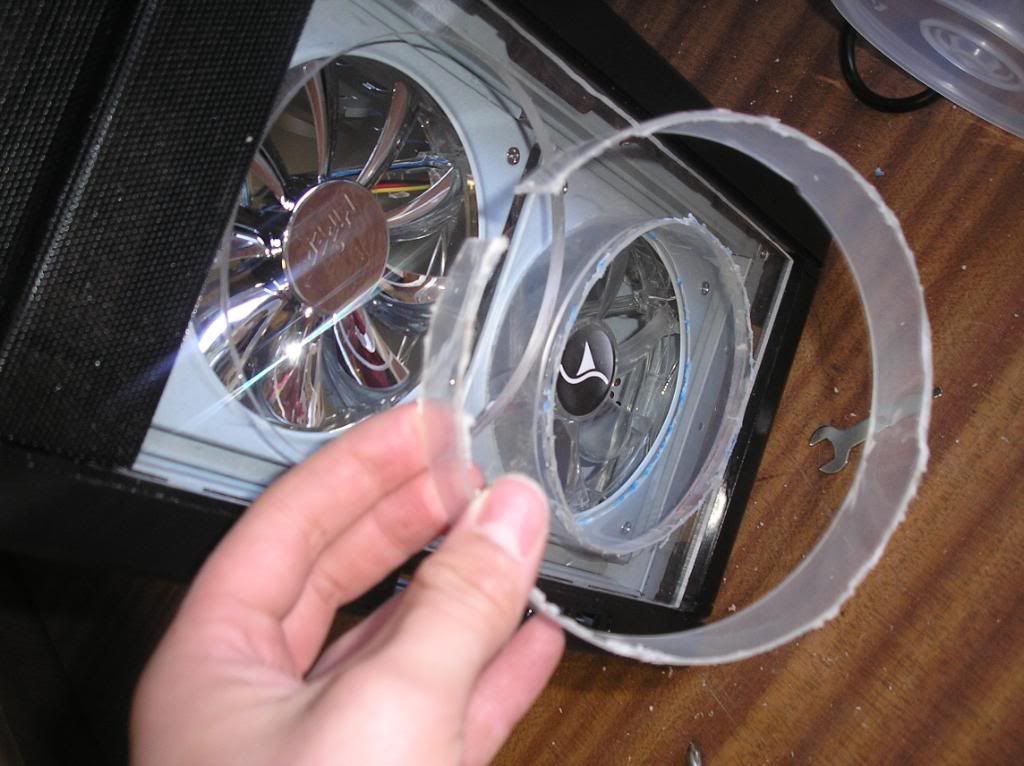
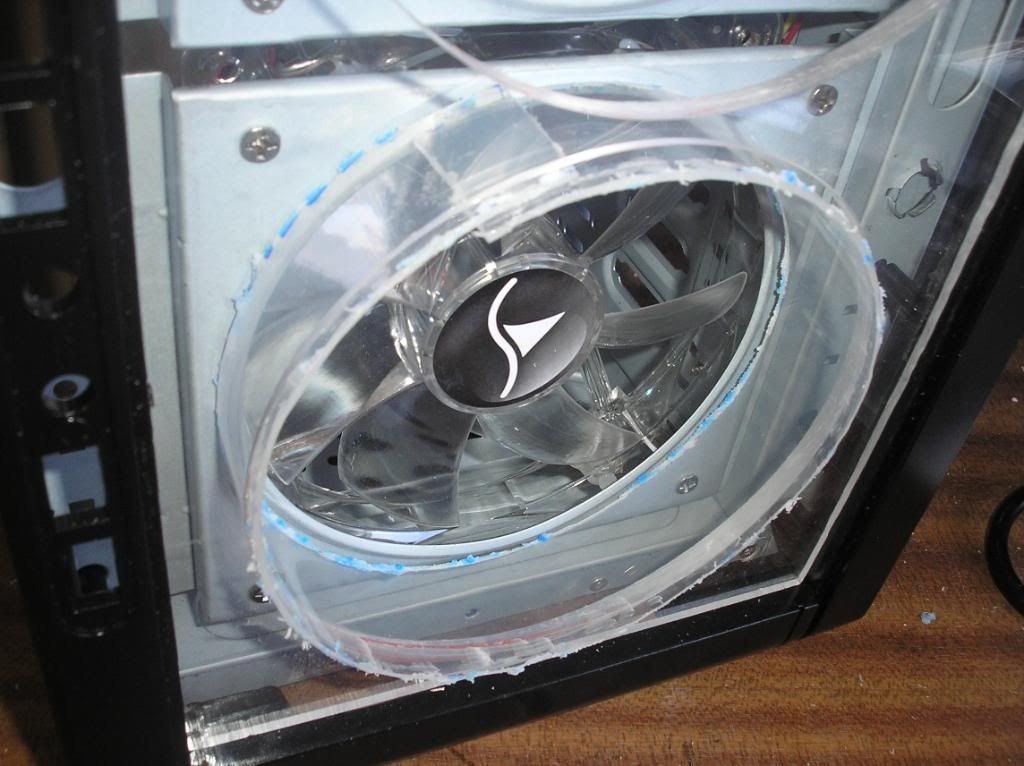
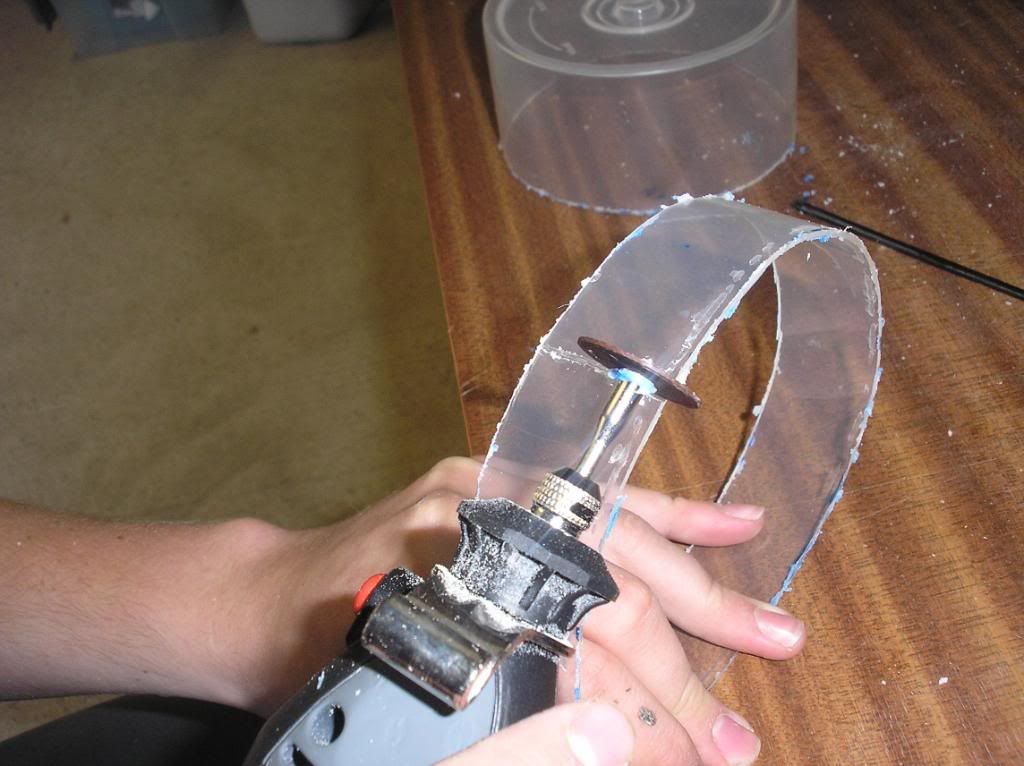
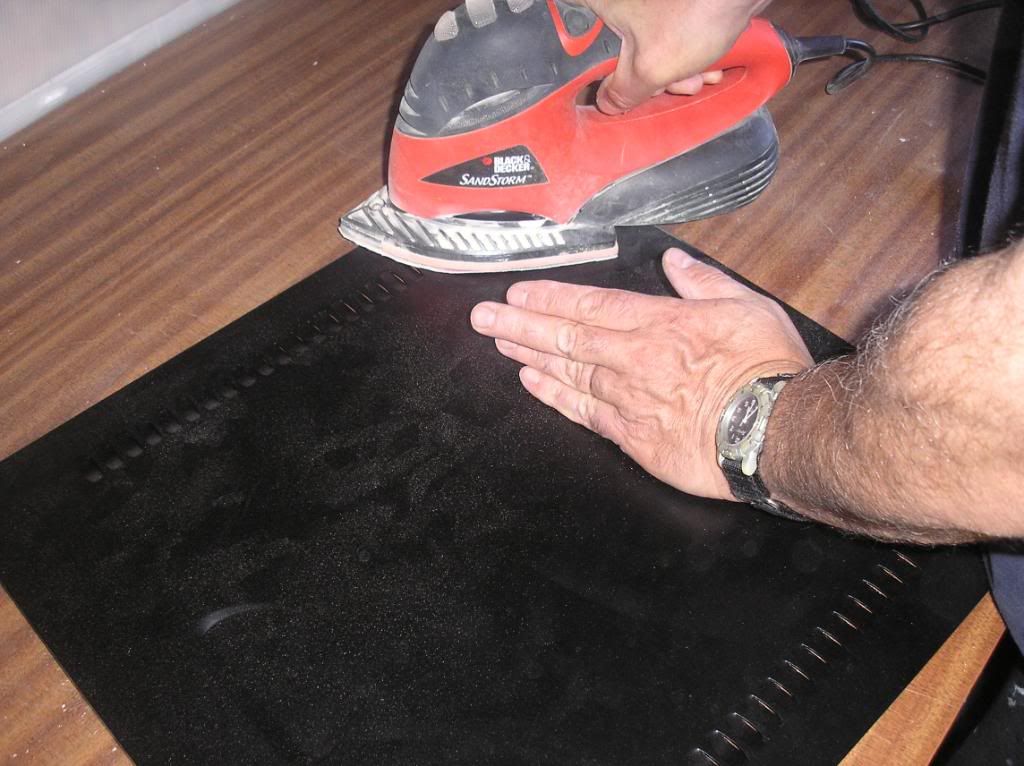
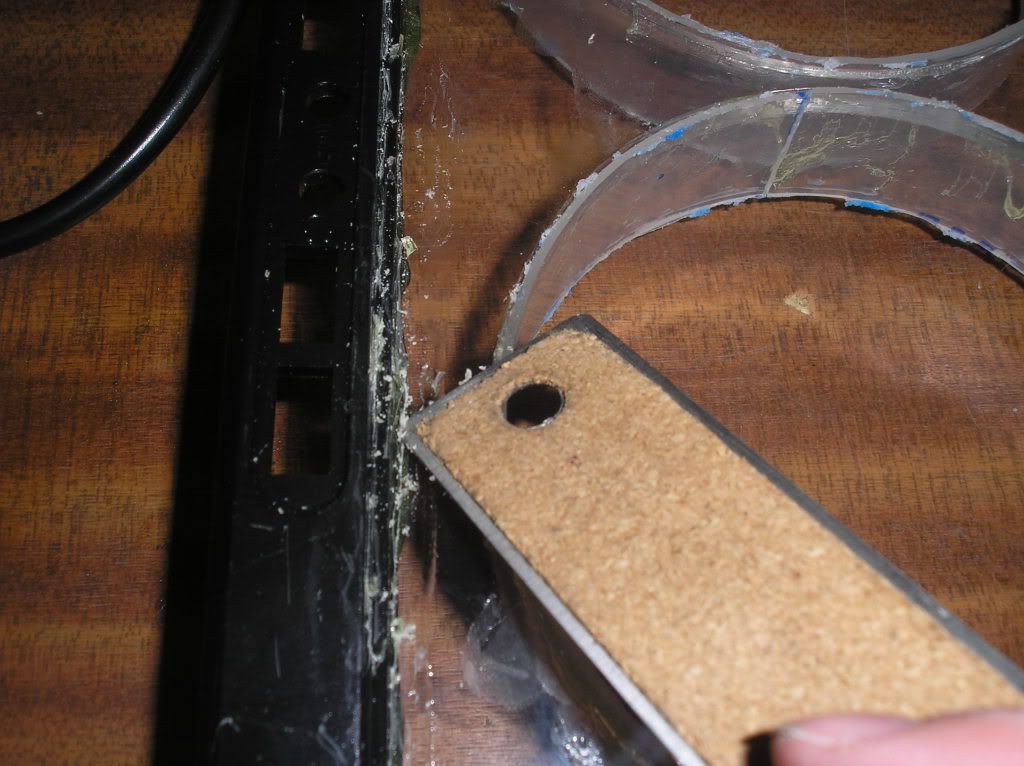
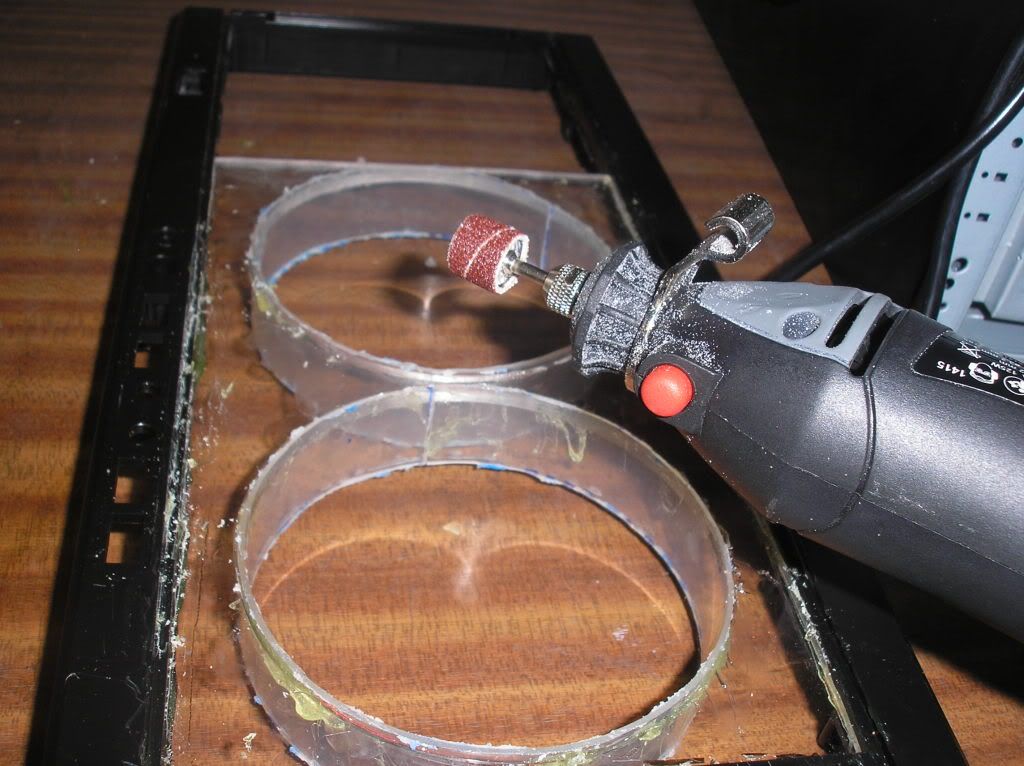
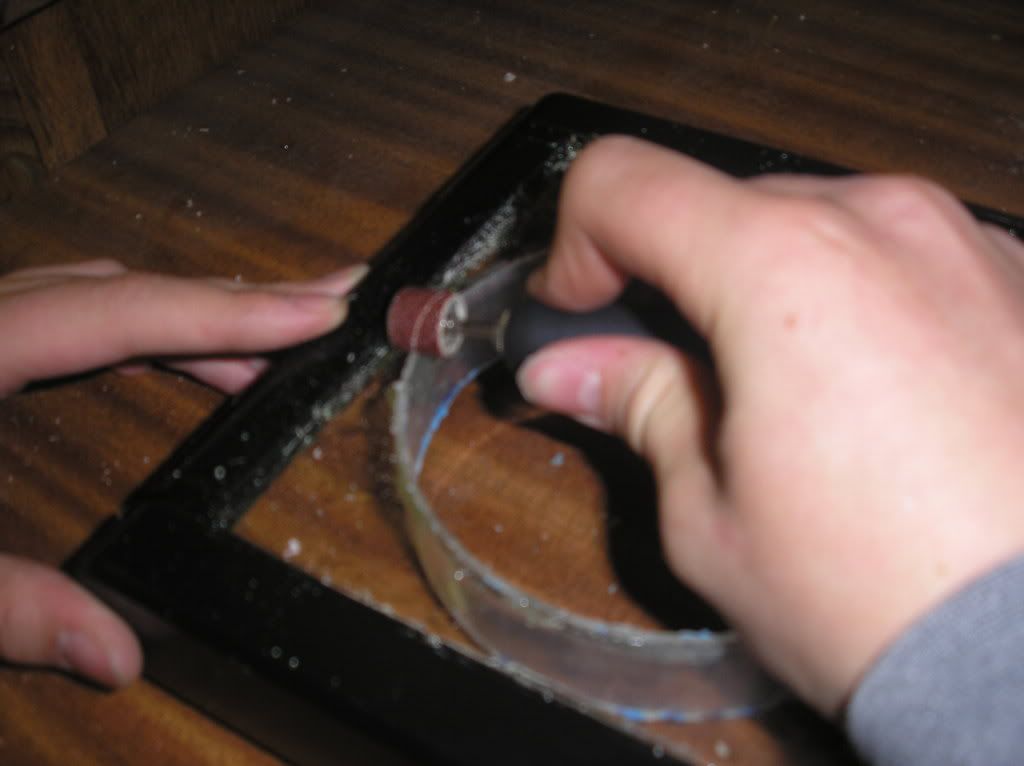
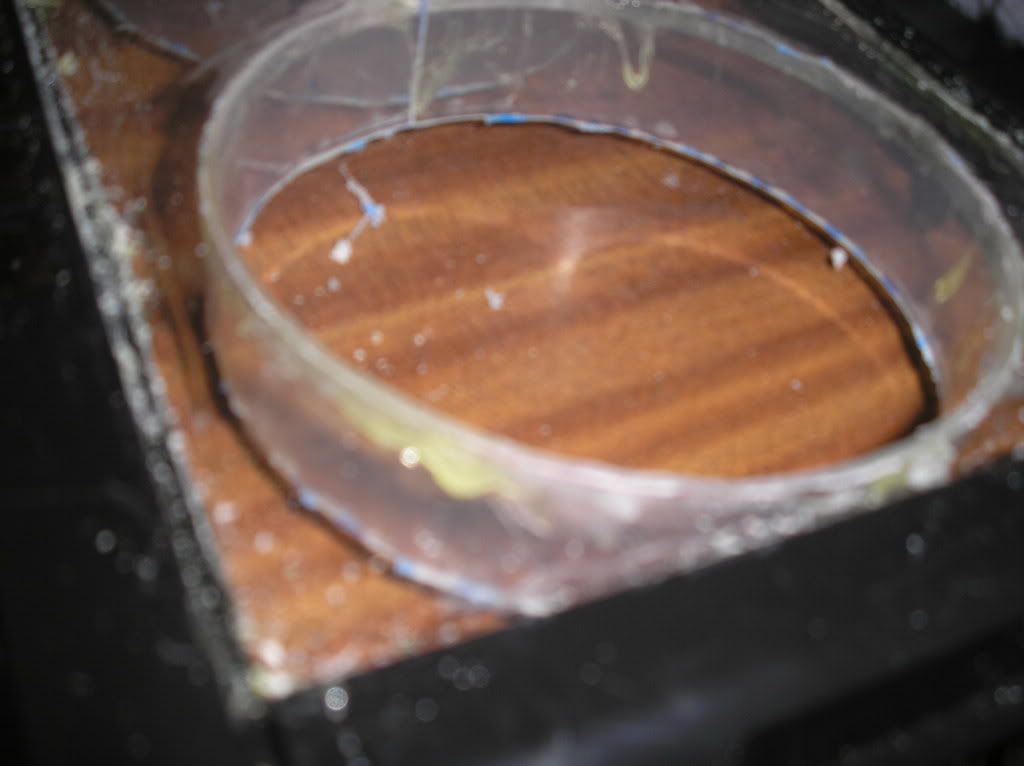
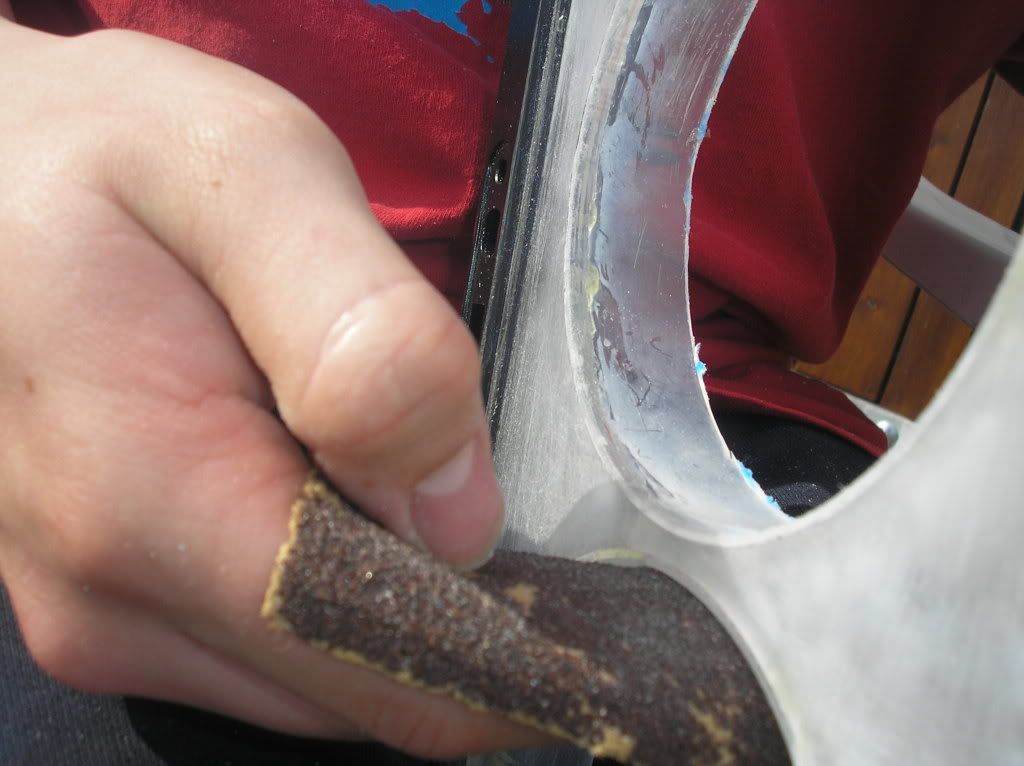
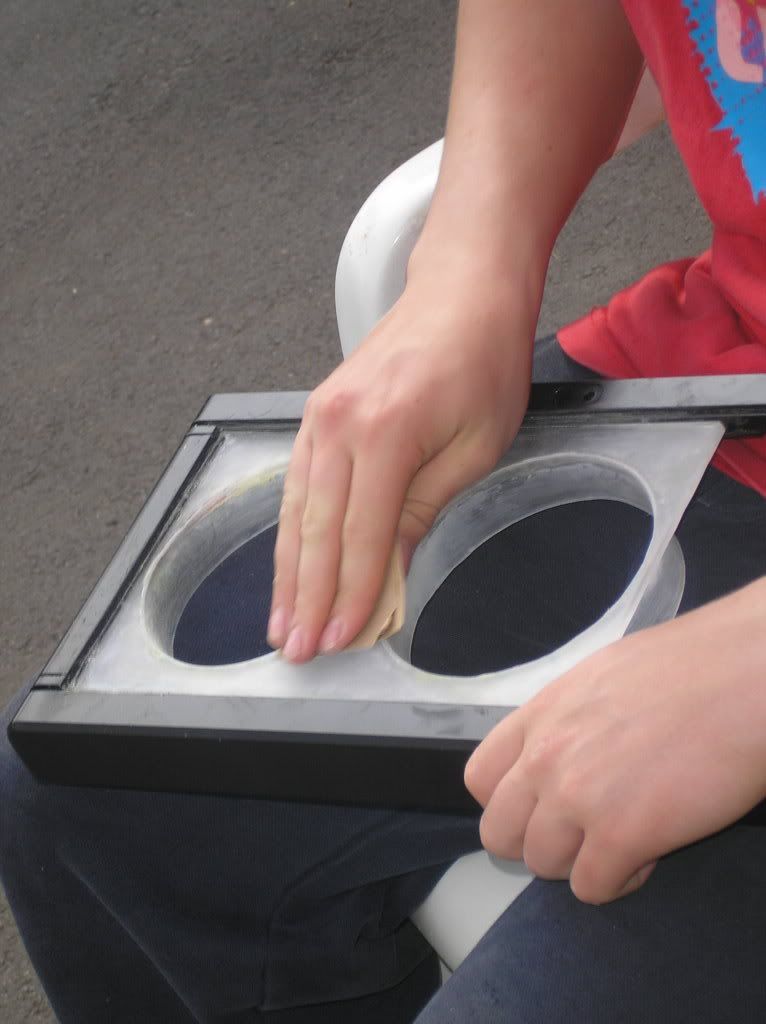
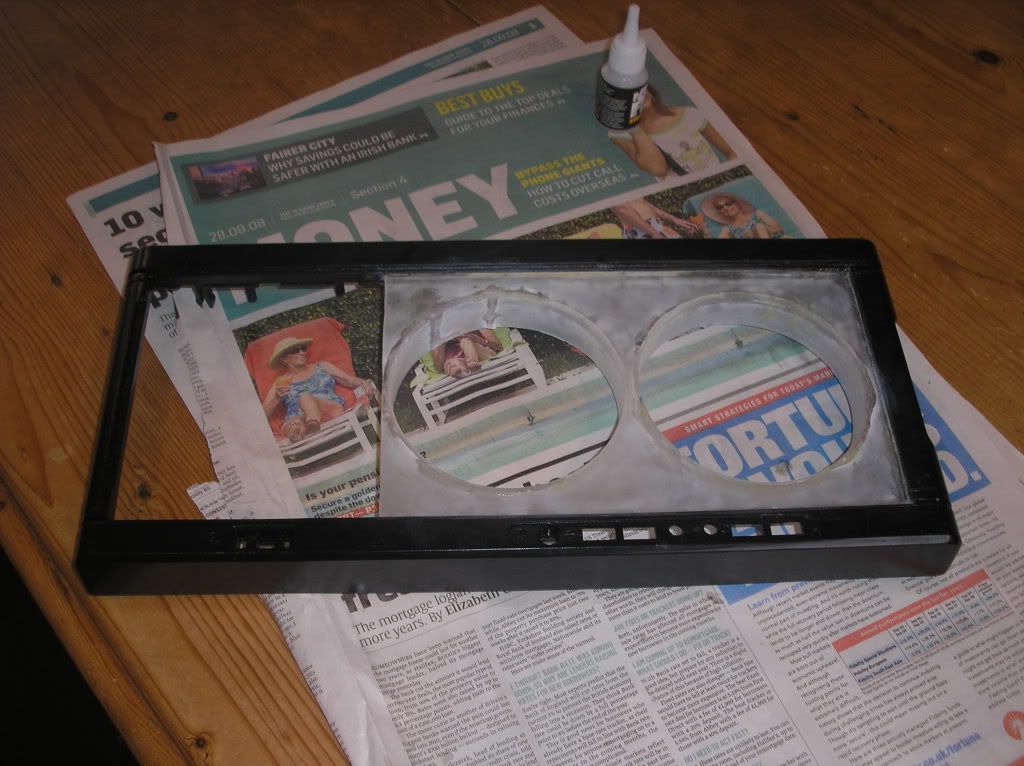
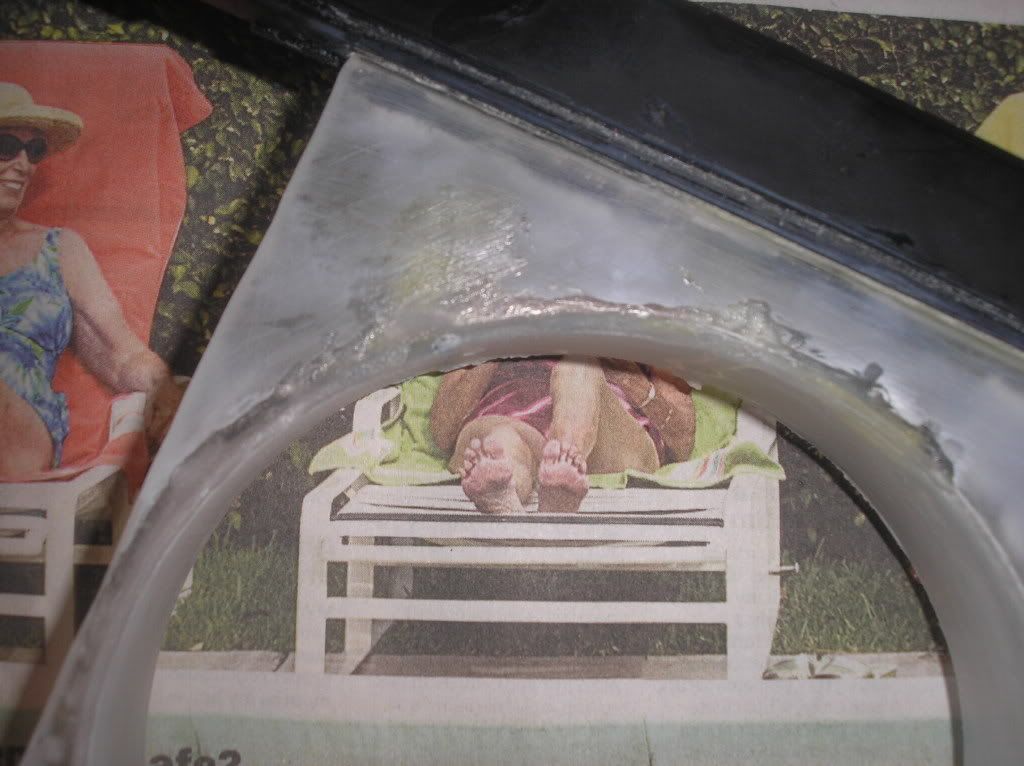
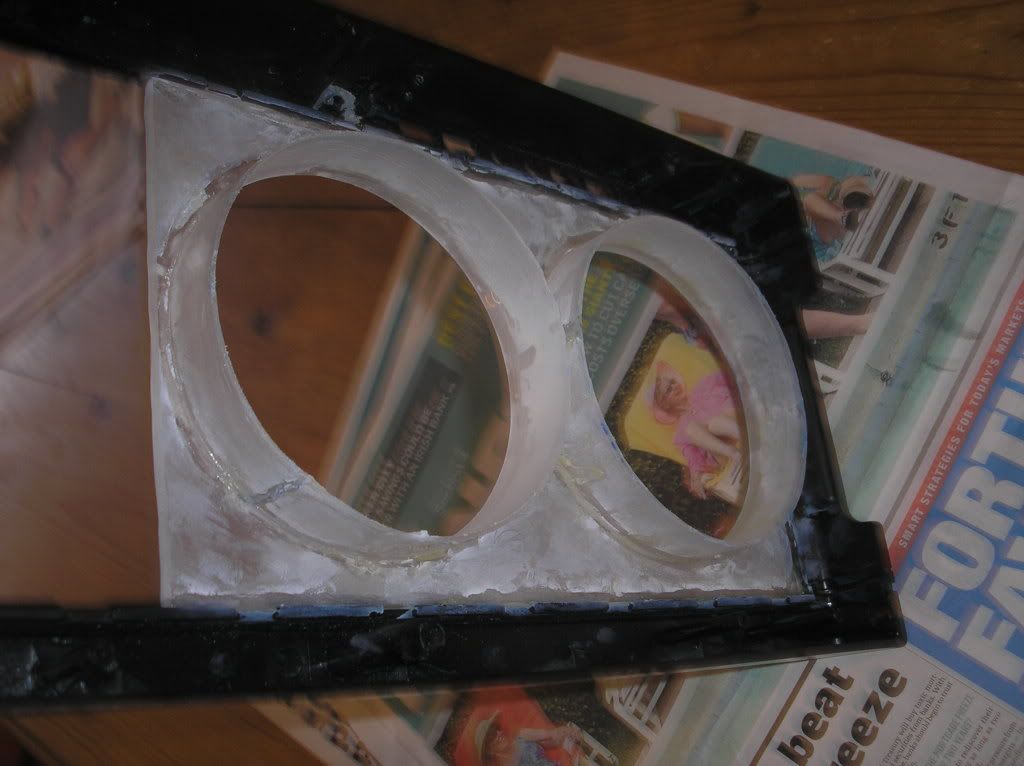
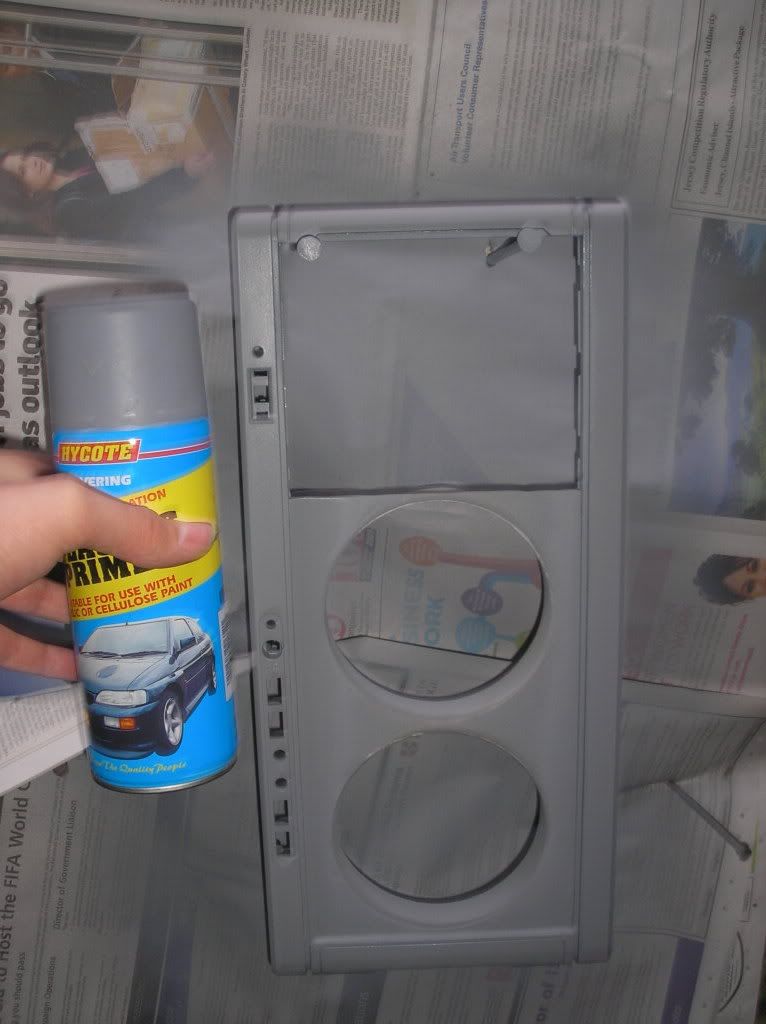
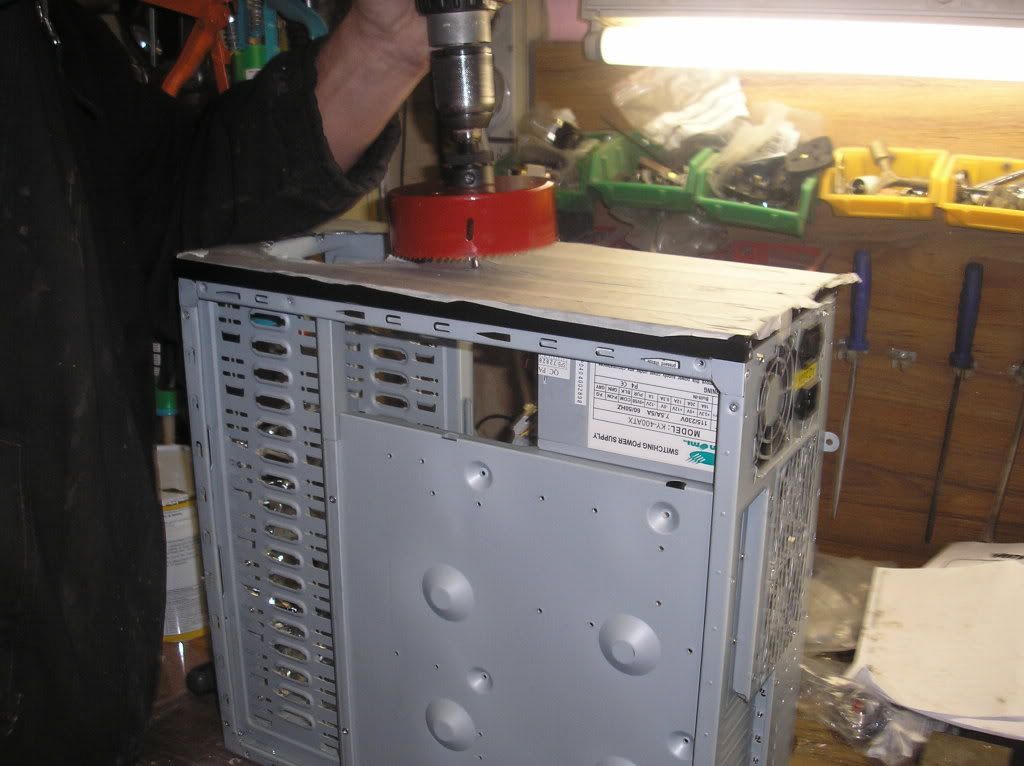
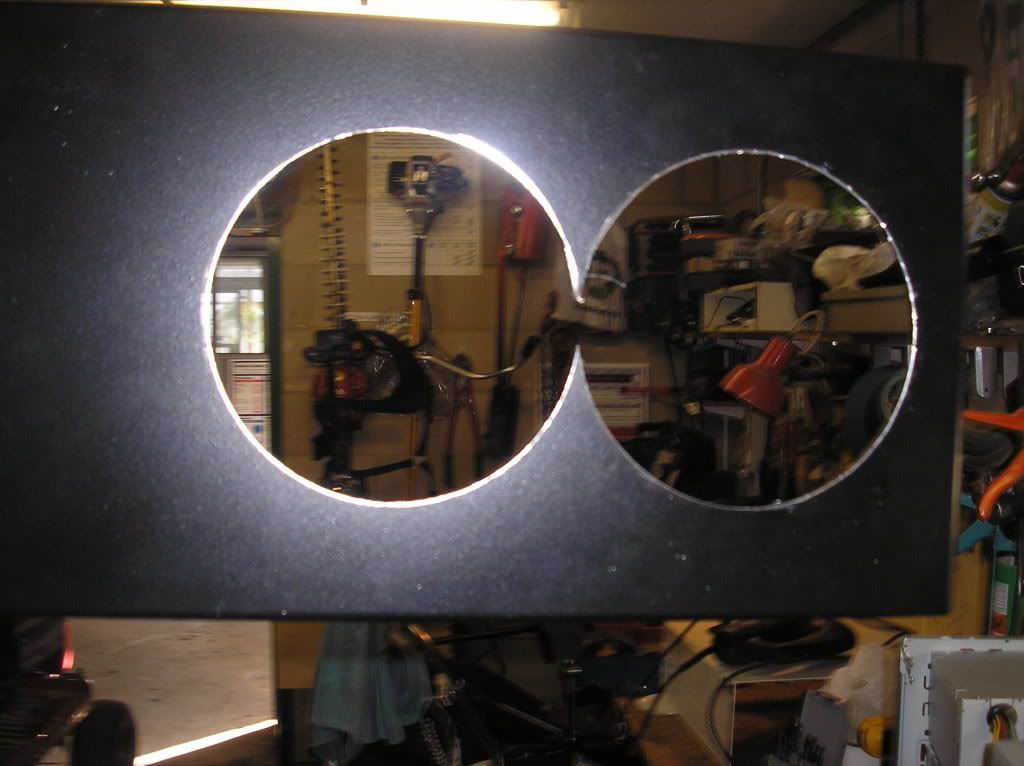
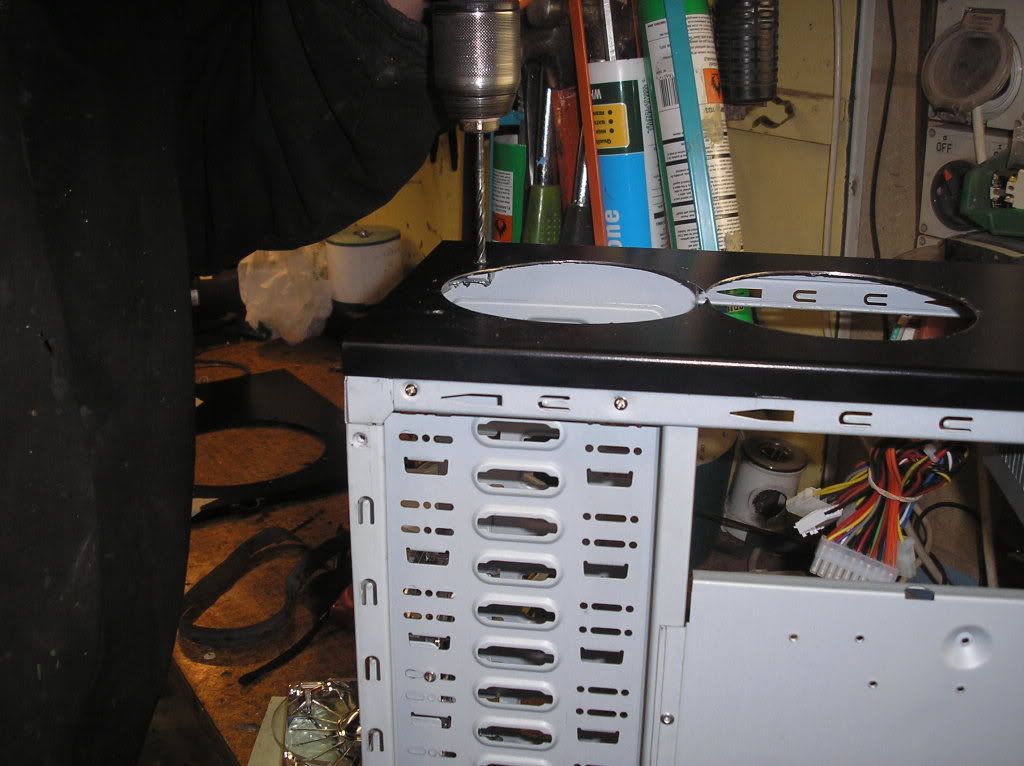
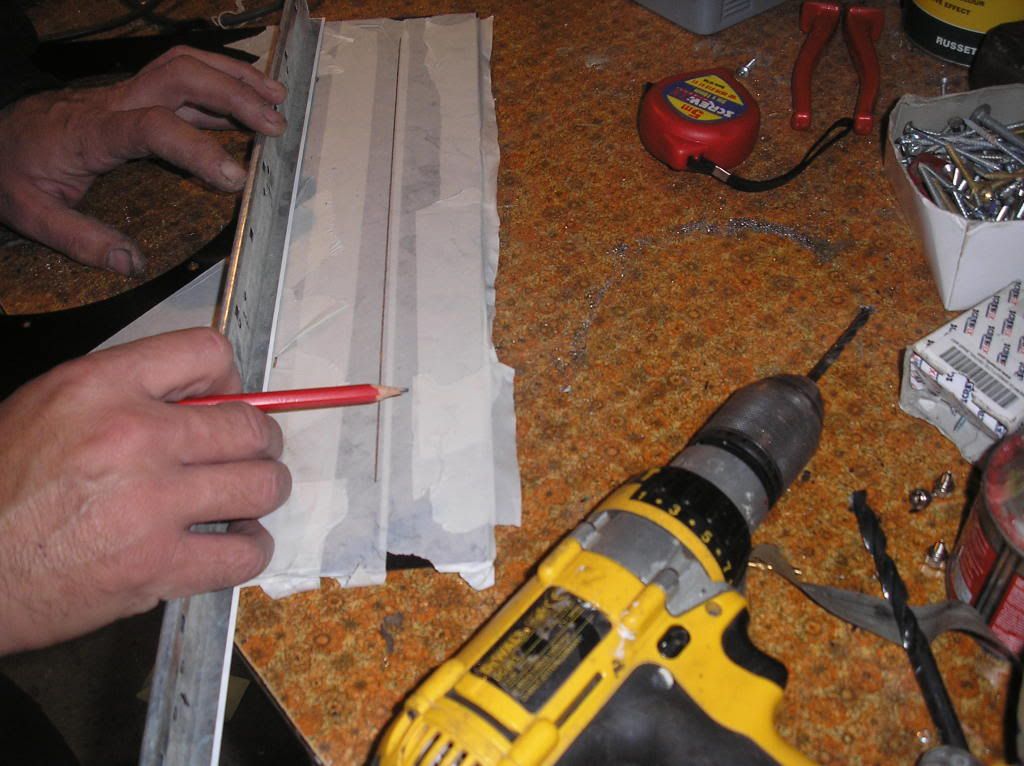
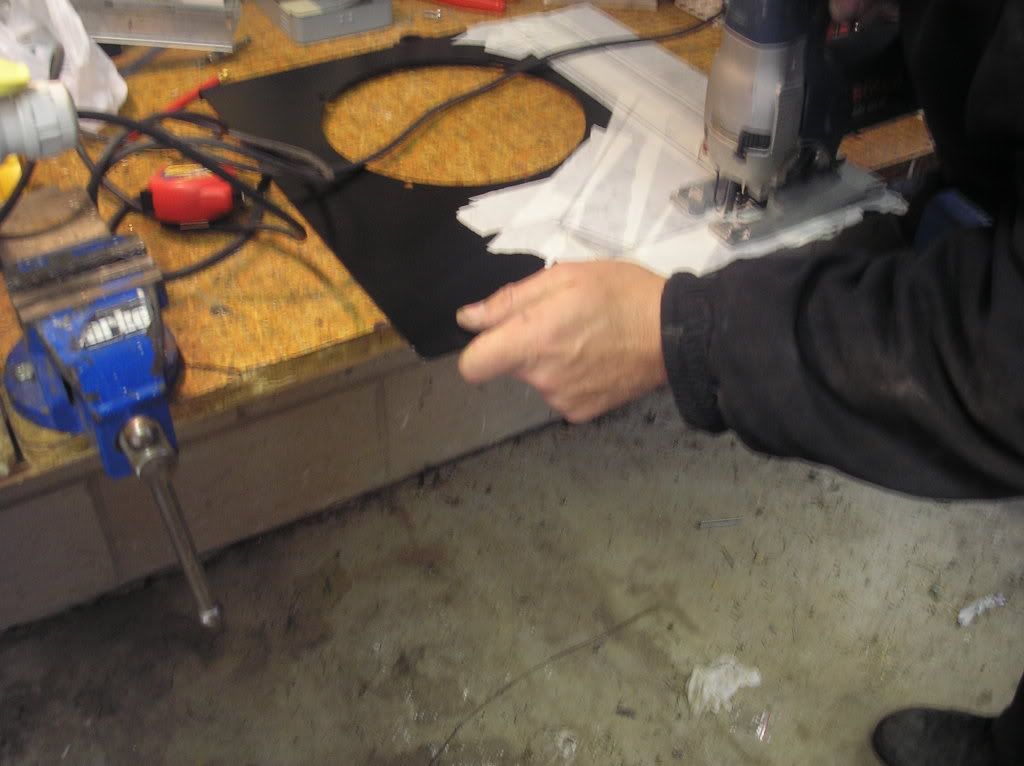
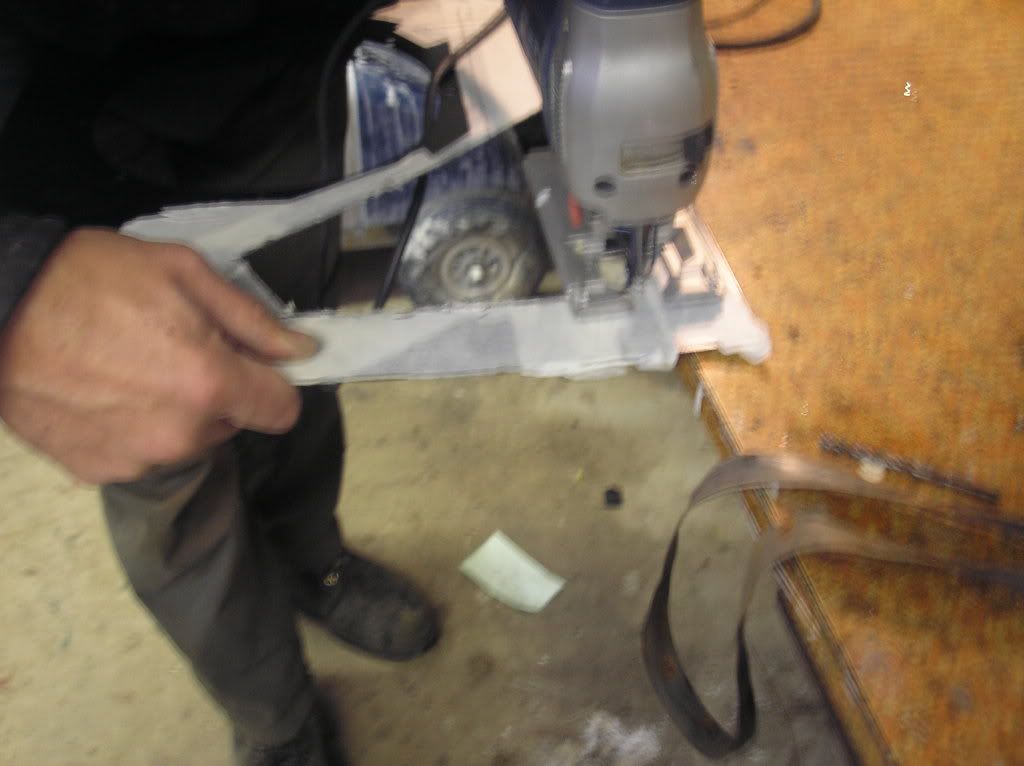
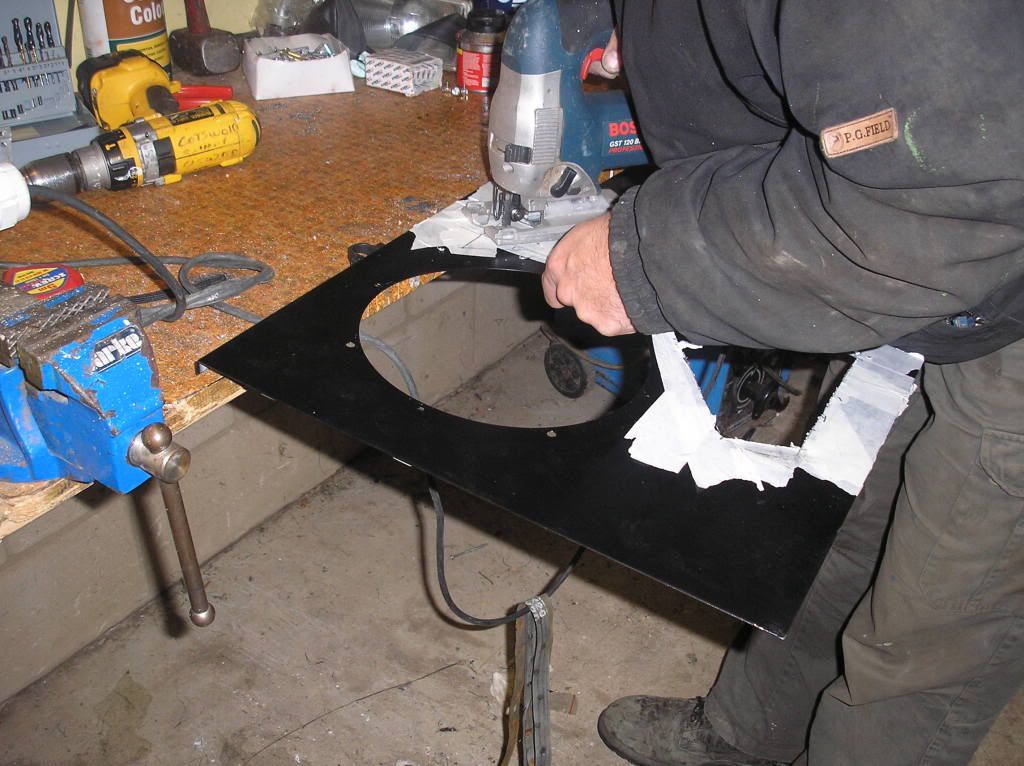
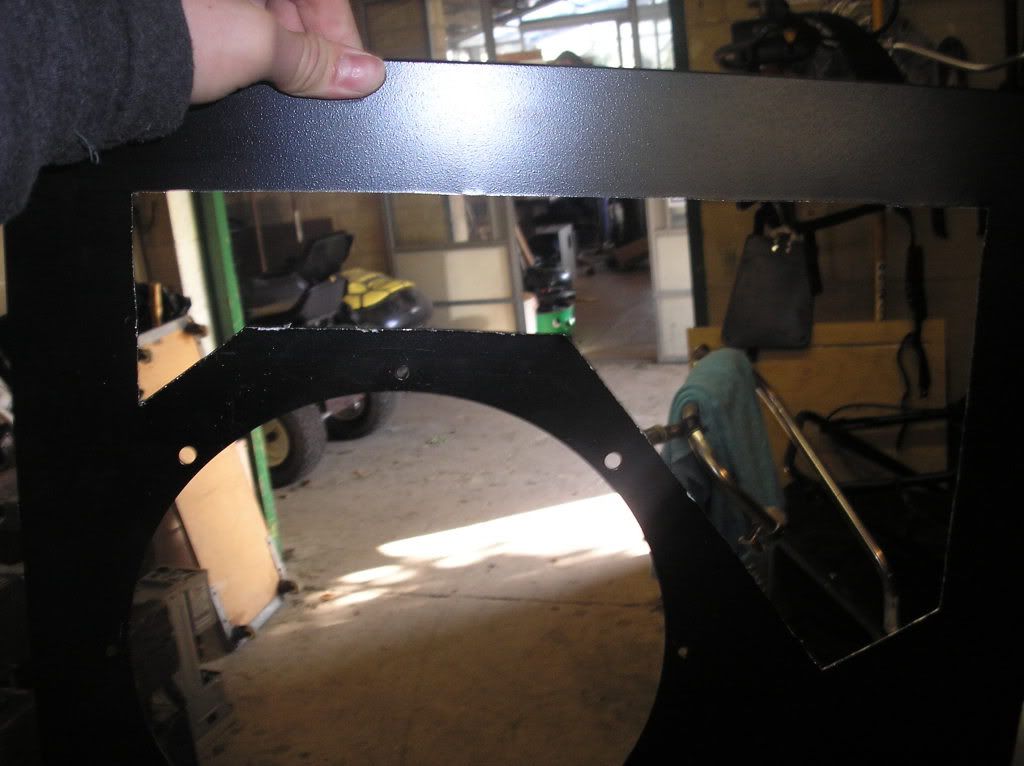
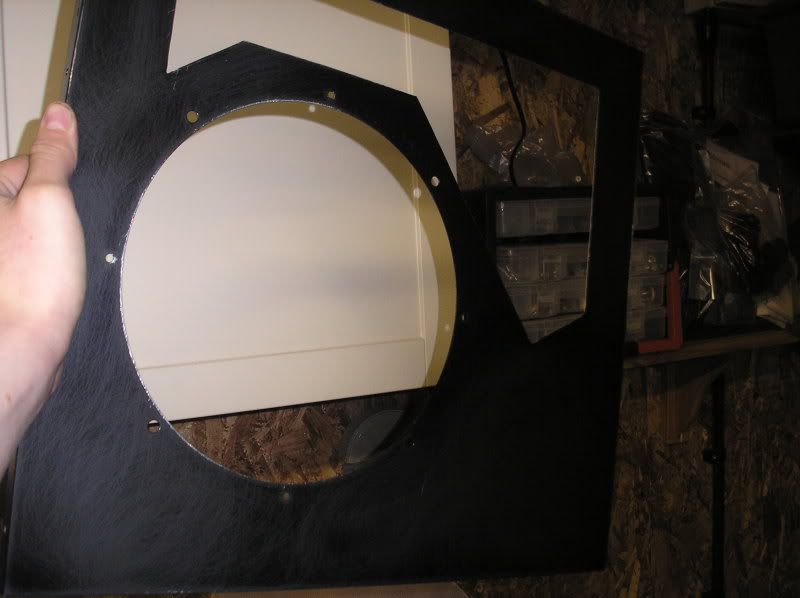
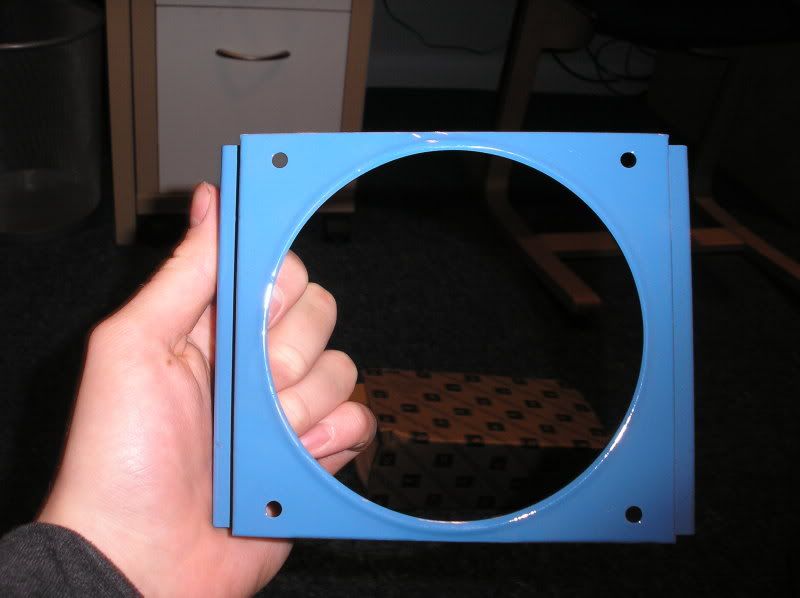
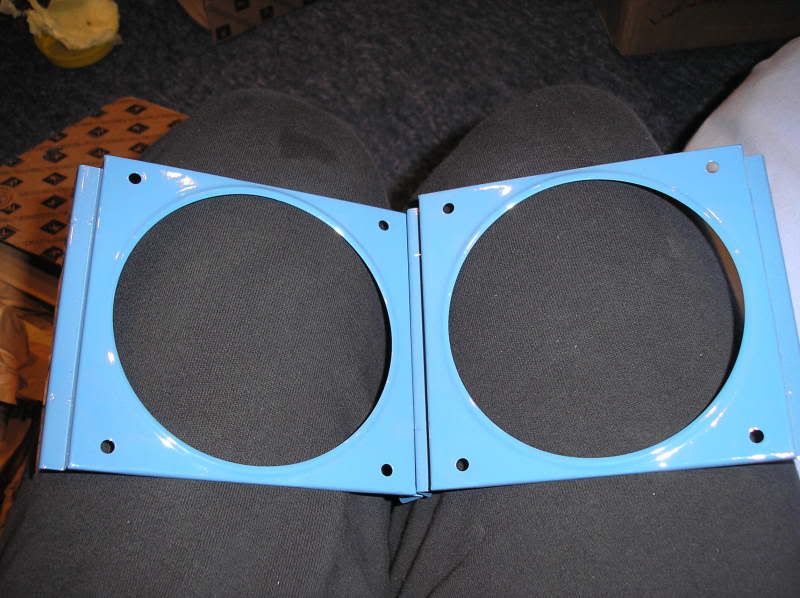
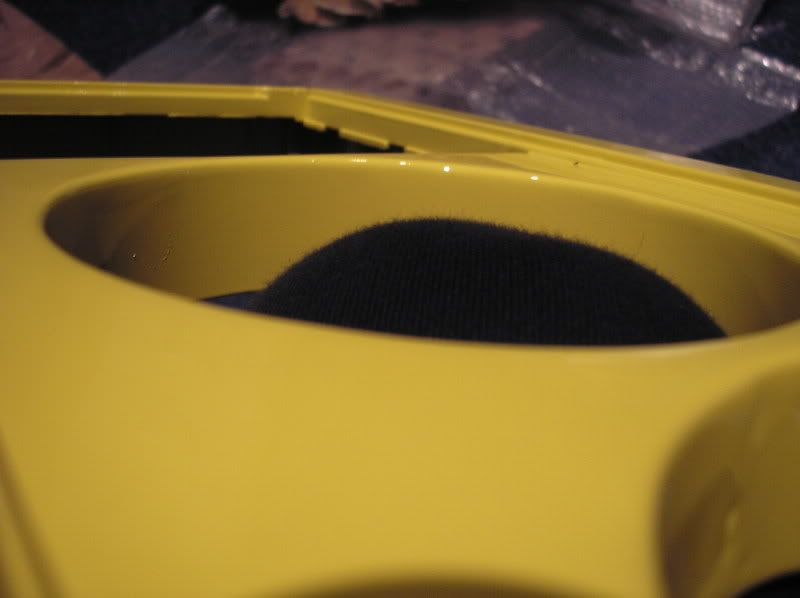
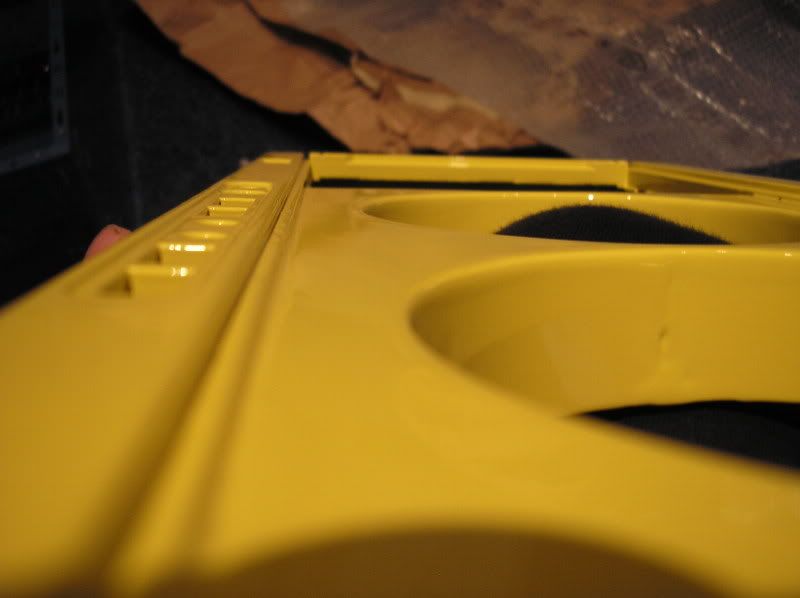
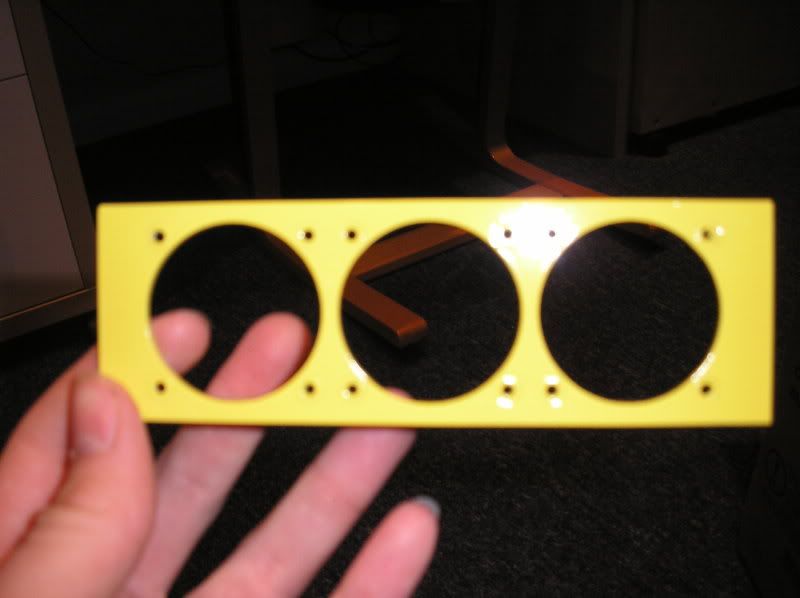
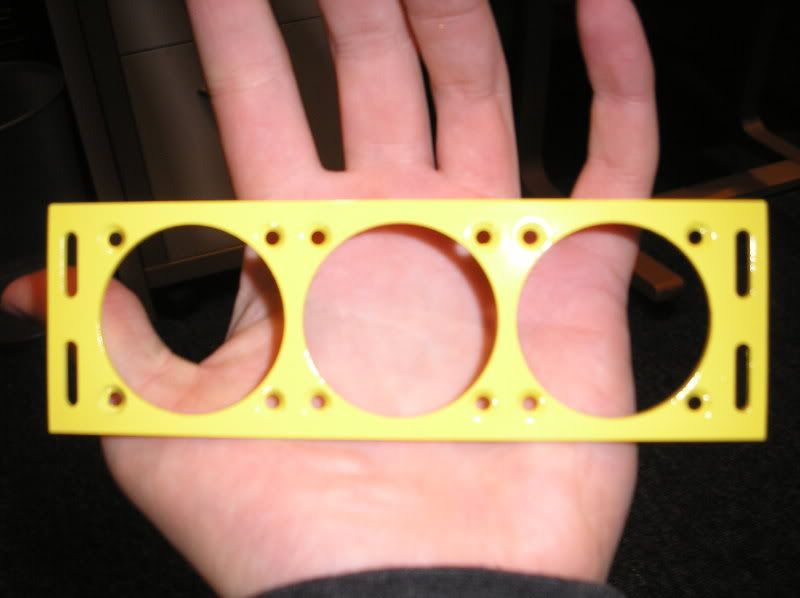
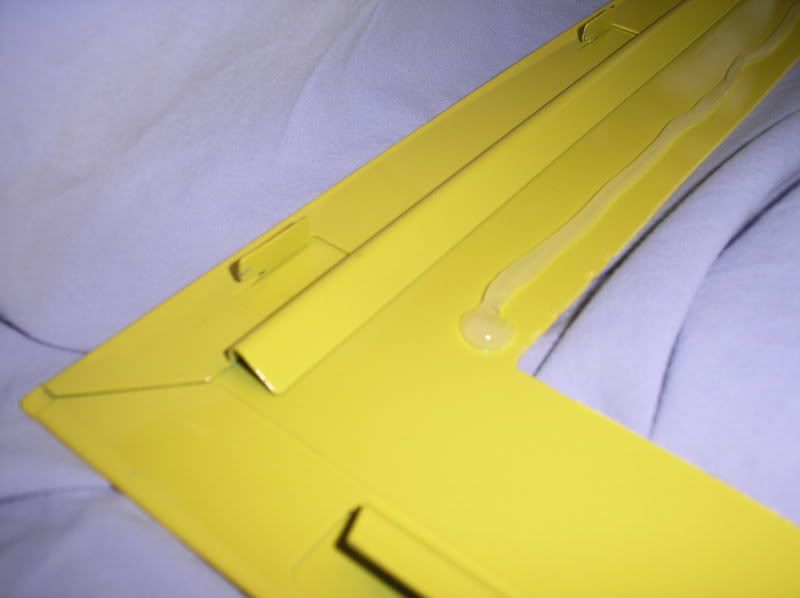
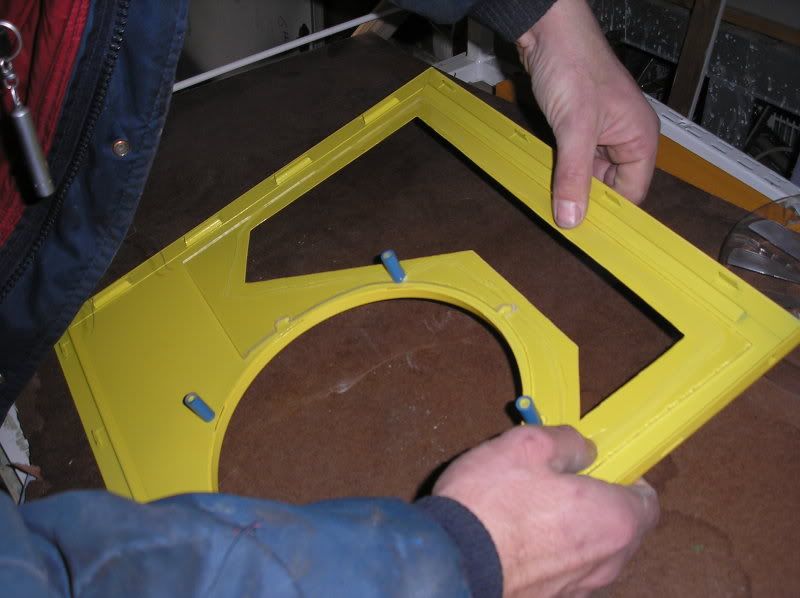
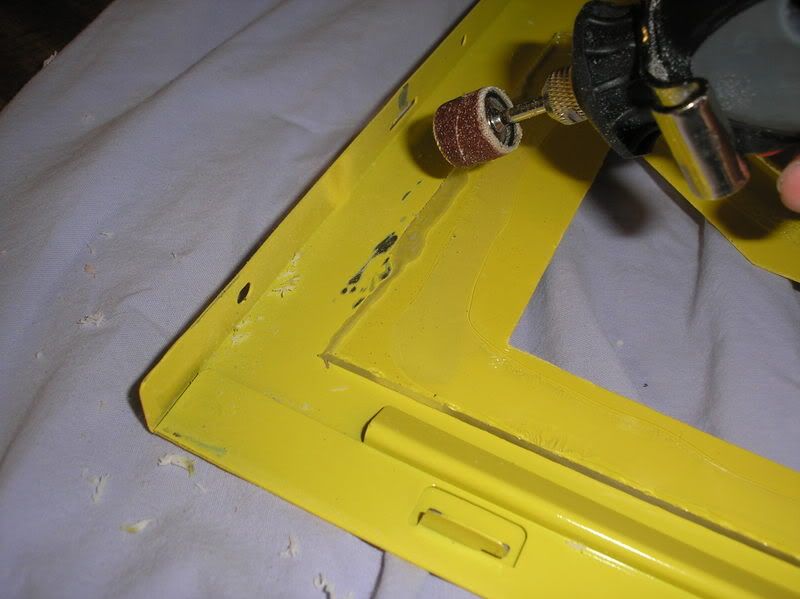
Making the new bezel with acrylic:
P9200135.jpg


P9200136.jpg


P9200137.jpg


P9200138.jpg
 
Last edited:
Sanding down the acrylic so it fit perfectly took so insanely long!!!!
P9200139.jpg


P9200140.jpg


Acrylic on the bezel:
P9200142.jpg


P9200146.jpg


P9200147.jpg


Finished Acrylic before being glued in and moulded with fibreglass filler:
P9200148.jpg


P9200149.jpg


P9200156.jpg


P92001562.jpg


Measuring out the cutting line for the fan ducts on an old CD holder. (Talk about recycling :D )

P9210157.jpg


Cut out fan duct with a cut down the middle so it can fit perfectly onto the edge of the fan hole:
P9210158.jpg


P9210160.jpg


Cutting it down to size now that I have a measurement:

P9210161.jpg


The two fitted fan ducts:

P9210162.jpg


The clean join:

P9210167.jpg


P9210170.jpg


I then set about sanding down one side panel so it was ready to be sprayed.

P9210171.jpg


P9210172.jpg


I need a bit of advice here as I have these 2 really nice aluminium fans:

P9210173.jpg


P9210174.jpg


The problem is as you can tell by this picture that the ugly fan guard on the back is obscuring most of the fan. So do I hole saw it and then fibre glass filler the edges so it is solid or cut it with a dremel. I’m looking to try and get the same effect Bill Owen got with the Harley Davidson mod.

P9210175.jpg


Here is the stage that the mod is at the end of the day:

P9210176.jpg


I bought myself some speed epoxy so i can glue the new bezel together.

P9260178.jpg
 
Here is the bezel now glued together along with my hand :D :

P9260179.jpg


P9260180.jpg


P9260181.jpg


I left this to dry for a day and then stated sanding both the fan ducts down and I also got as much excess glue as i could have the front of the acrylic:

P9270182.jpg


P9270183.jpg


P9270184.jpg


Finished fan ducts:

P9270185.jpg


P9270187.jpg


P9270188.jpg


The bezel as it is at the moment:

P9270191.jpg


I wasn't at all happy with the quality of the bezel so after a cup of tea I got down to some hand sanding:

P9280192.jpg


P9280193.jpg


I also touched every join up with some more superglue and filled in some gaps with it too which took about 4 hours to complete :mad: :

P9280194.jpg


P9280195.jpg


P9280196.jpg


I then sanded down all the excess glue and put the bezel back on the case to see the better quality:

P9280197.jpg


The problem with acrylic is you can't see where the surface isn't perfect so I got everything ready so I could do a quick coat of primer so i could then work out which areas weren’t up to scratch:

P9280199.jpg


P9280200.jpg


P9280201-1.jpg


I know you can't see this from the pictures but there are some deep scratches on the acrylic and there are some lumps of glue in certain places.
 
All my sponsorship items came today straight from tiawan from the awesome people at Aerocool.

Here it is :D:D


PA020016.jpg


PA020018.jpg


PA020020.jpg


PA020021.jpg


I love those fans :D


A few weeks back I asked the grounds keeper at my sixth form collage whether at some point I could use the drill press, and he said no for health and safety reasons but that he could do it for me if I told him what to do.

So here is the bezel with the LCD screen in:

PA030022.jpg


I then masked up the side and top panel and worked out where I wanted the grounds keeper to cut:

PA030023.jpg


Cutting the two holes;

PA030024.jpg


PA030025.jpg


PA030026.jpg


The finished holes:

PA030027.jpg


It never goes perfectly though does it :S. I realised that after cutting out the first fan that the bar across the drive bay holder was blocking the fan, so with no delay the jigsaw came out:

PA030028.jpg


We then got down to drilling the holes for the fan screws:

PA030029.jpg


After the top panel was done I measured and drew out the style for the side window:

PA030030.jpg


Then the grounds keeper got to cutting:

PA030031.jpg


PA030034.jpg


PA030035.jpg


The finished Window (before it was sanded down):
PA030036.jpg
 
I wanted to see how everything looked turned on so I plugged it all in and powered up :D. I was quite surprised to find that it was very, very quiet but still absolutely freezing in the middle of the case (granted there are no components in it yet.)

PA110062.jpg


PA110063.jpg


PA110064.jpg


PA110070.jpg


Then I got dismantling the case so I could hand sand it so it would be ready for priming. I have done this for all the panels even though I only have a picture of the side door partly done as the camera died. I was surprised how many bits there actually were so far:

PA150071.jpg


PA150072.jpg


PA150073.jpg


PA150074.jpg


PA150075.jpg


PA150079.jpg
 
First off wow, the delivary time of Crucial is amazing, and I’m not just saying that as they are my sponsor. So the ram came:

PC030046.jpg


PC030047.jpg


PC030049.jpg


PC030052.jpg


PC030053.jpg


Temporary instalment in my aging mobo:

PC030054.jpg


PC030055.jpg


I never knew they had LEDs at the bottom as well


I then got another parcel on the same day, I feel special :p. :D:D:D It’s from EK:
Such a good phone ;)

PC030056.jpg


PC030057.jpg


Daaamn that’s packed

PC030058.jpg


OK maybe not so packed:

PC030059.jpg


The parts then:

CPU block:

PC030060.jpg


PC030064.jpg


PC030065.jpg


PC030067.jpg


GPU block:

PC030080.jpg


PC030081.jpg


PC030084.jpg


PC030088.jpg


Acrylic top for the pump:

PC030071.jpg
 
PC030076.jpg


Barbs (was sent 2 to many, but I wont complain hehe) :

PC030075.jpg


Tubing:

PC030090.jpg


Some extra CPU plates:

PC030077.jpg


All the watercooling stuff so far:

PC030092.jpg


PC030093.jpg


[
PC030095.jpg


With barbs installed:

PC030096.jpg


PC030097.jpg


PC030099.jpg


PC030100.jpg


PC030101.jpg


PC030103.jpg


The GPU and CPU blocks look fantastic. Everything looks amazing, only one drawback, the pump manual is only in German :p.

A quick assemble of the Acrylic top and the update is complete:

PC030106.jpg


PC030107.jpg


PC030109.jpg


Screwing back up:

PC030110.jpg


PC030111.jpg
 
Wow, I just finished talking to Paul Lockey from XSPC about whether it was possible to get the X20 150mm pump/reservoir with just the res. He said it wasn't possible but that he would check the RMA's in the morning as he was replying to my email 10 minutes after me sending it at 9:30 in the evening!!

So the morning came and sure enough he checked and there was only one suitable one there. He said he would send it straight off to me on first class post for free!!

Thanks a lot Paul, and wow XSPC have great service

Here’s the pump: http://www.xs-pc.co.uk/150pump.php


Now on to the main bit. My case came back from the sprayers. I’m not 100% happy with it as there are blemishes and small lumps on some of the surfaces. So on to the pictures:


First of, the price of the paint job:

PC180002.jpg


The case then:

PC180003.jpg


PC180004.jpg


PC180005.jpg


PC180006.jpg


PC180013.jpg


PC180014.jpg


PC180015.jpg


PC180024.jpg


PC180009.jpg


PC180007.jpg


The custom front bezel:

PC180020.jpg


PC180021.jpg


PC180022.jpg


PC180034.jpg


PC180035.jpg


PC180031.jpg


PC180040.jpg


PC180038.jpg


PC180046.jpg


Two blemishes:

PC180037.jpg


PC180024.jpg


The dominator ram cooler:

PC180010.jpg


PC180011.jpg


PC180012.jpg
 
PC180032.jpg


PC180033.jpg


PC180042.jpg


But before I fully get underway, a way back I asked you all which side panel you preferred, well now that I’ve got it back from the sprayers you can really tell how it will look.

So A:

PC190049.jpg


PC190054.jpg


Or B:

PC190050.jpg


PC190052.jpg


Random shots:

PC180048.jpg


PC190056.jpg


The main bit :p.

So after I got the case back I took it straight back to the grounds keeper to pop rivet the roof back on and glue the side panel on with clear silicon:

PC190057.jpg


PC190058.jpg


PC190059.jpg


PC190060.jpg


:D the side panel is now finished. The grounds keeper doesn’t mind doing this kind of stuff for me as he likes making shiz for example his Daleks :p:

PC190061.jpg


PC190062.jpg


So when I got home I had two parcels awaiting me:

PC190063.jpg


PC190064.jpg


My UV blue 3/4 coils and some worm clamps.


I then got back down to some modding (or assembling :p ):

Putting the U trim back on properly:

PC210065.jpg


Putting the front fans in:

PC210066.jpg


PC210068.jpg
 
PC210069.jpg


PC210070.jpg


The roof fans with the temporary rad installed as I still need to flush it out:

PC210072.jpg


PC210073.jpg


PC210074.jpg


PC210071.jpg


The front minus the bezel:

PC210076.jpg


Putting the back fans and rad on (I haven’t decided if this is where I put the rad or if I install it on one of the front intake fans) :

PC210078.jpg


PC210079.jpg


Wiring up the front bezel again:

PC210080.jpg


PC210081.jpg


The front bezel:

PC210082.jpg


PC210084.jpg


PC210086.jpg


PC210087.jpg


PC210088.jpg


PC210094.jpg


PC210095.jpg
 
More pictures :p...

I’ll start with some parts:

PC300113.jpg


PC300114.jpg


PC300115.jpg


PC300116.jpg


PC300117.jpg


PC300118.jpg


PC300119.jpg


PC300120.jpg


PC300122.jpg


PC300123.jpg


PC300127.jpg


Sanding down the panel so the side door could close.

PC230105.jpg


PC230110.jpg


PC280111.jpg


I also picked myself up some deionised water to flush the rads out with.

PC230106.jpg
 
Last edited:
So… on with the build.

PC300124.jpg


PC300125.jpg


PC300126.jpg


Cleaning down my Q6600:

PC300139.jpg


PC300140.jpg


PC300144.jpg


The surface of the EK supreme, looks, well, perfect:

PC300147.jpg


PC300149.jpg


Back to the building and the changing of my GPU cooler:

PC300150.jpg


PC300151.jpg


PC300164.jpg


PC300136.jpg


PC300152.jpg


PC300153.jpg


PC300154.jpg


PC300155.jpg


PC300156.jpg


PC300157.jpg


PC300161.jpg


PC300160.jpg


PC300162.jpg


PC300163.jpg


PC300164.jpg


PC300165.jpg


PC300135.jpg
 
Holy bejesus, must have taken you ages just to take all those pics. Looking good. Forgive me if I missed this, but what's the system specs you gonna put in it?
 
Starting to hose and wire up (btw the case has absolutely no way of cable managing as the side panel has about 2mm clearance from the whole case):

PC310175.jpg


PC310174.jpg


PC310172.jpg


PC310169.jpg


PC300166.jpg


PC310181.jpg


PC310184.jpg


PC310185.jpg


PC310187.jpg


P1040188.jpg


P1040191.jpg


P1040192.jpg


P1040195.jpg


P1040194.jpg


P1040196.jpg


P1040197.jpg


P1040198.jpg


Filling the case up:

P1040199.jpg


The case 99% complete. I just have to re do the window a bit and change some screws on the top. I hope you like it:

P1060209.jpg


P1060210.jpg


P1040207.jpg


P1040206.jpg
 
Nice 'mahoosive' build log there flaremods! :eek: :)

However, just a friendly bit of advice, i'd remove the competitor link/details if i were you. OCUK no likey!

gt
 
I've got some more pictures of the finished mod if anyone is interested. BTW I'm sorry if there is a bit of 'ohh update time' every now and again in it as it was copied and pasted from another forum that I am on :p.

I just wanted to show my worklog on here before I start posting :).

Thans all and comments and questions are welcome :D
 
Back
Top Bottom