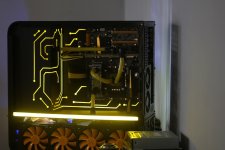
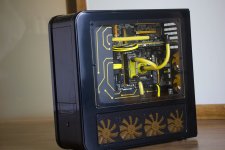
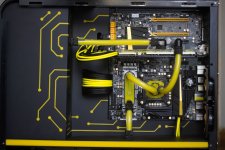
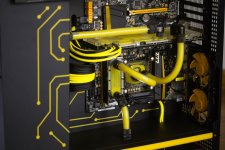
Hello Overclockers....this is my second build log post here....unfortunately though again...im posting the log when the build is almost complete so i apologize for the amount of pictures in the first post. Lets get started shall we.
I present to you....the build that FINALLY will get completed without any issues (i hope) or rather i should say....the build that better get completed without any issues.
Spec sheet as always:
Processor: Intel Core i5 3570K (arrived)
RAM: G.Skill Ripjaws 16GB 1600Mhz CL9 (carried over from the SR-2 Build)
Motherboard: ASRock z77 OC Formula (have yet to order)
Graphic Card: ASUS GTX 690 (Already own)
Power Supply: Thermaltake Tough Power 1500W (way overkill i know but im not in the mood to buy a new psu right now)
Casing: Silverstone TJ-07 (Already Own)
HDD: 128GB OCZ Octane as Boot Drive + 3 x 256GB OCZ Vertex II SSD's (carried over from SR-2) + 1TB WD Green for content. (Already Own)
Im not a fan of air cooling so water cooling specs are:
CPU Block: EK Supreme HF Water Block (carried over from the SR-2 Build)
RAM Block: Bitspower Universal Ram Block for 4 Dimms
Pump: Swiftech MCP-655 (carried over from the SR-2 Build)
GPU Block: EK FC-690 CSQ Full Cover Nickel+Acrylic Block, with GTX 690 Backplate
Radiator: XSPC RX480 (carried over from the SR-2 Build)
Reservoir: EK Multi Option RES 250 (carried over from the SR-2 Build)
Fittings: Bitspower Compression fittings as always (carried over from the SR-2 Build)
Coolant: Mayhems Pastel Sunset Yellow (the best bit)
Tubing: Danger Den Clear Tubing
The build is gonna be in black and yellow, the casing is with a friend of mine since a month and a half now (ive been planning this build for almost 2 months) and hes done some interesting work on it (different than what you've seen before hopefully). Ill share some ideas in coming days of what ive planned to get done on the casing. Motherboard is most probably arriving in September, water cooling has been ordered and its been shipped today so that will come by a week or two as well and i got the processor today so majority of the stuff has been sorted out.
But of course a build log is not interesting without any pictures in the first post, so here's a slight teaser. There are still some finishing touches that need to be done on this.
http://i.imgur.com/w4zGK.jpg
http://i.imgur.com/y5Zgp.jpg
These are the Gelid Fans that i used in my second last TJ-07 Build which looked like this
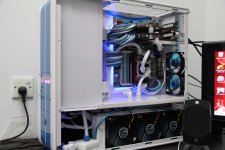
Since these come in blue and blades are UV reactive, and also the fact that yellow fans are a pain in the a$$ to find, i got them painted. As i said that the they still needs some finishing touches but overall i really like the look especially when they're spinning. I have black and yellow coloured MDPC sleeving from before, so i wont have to wait for that, but i wont be sleeving the psu wires. I have ordered the extension cables which will be sleeved and used instead and of course it will be heatshink less sleeving as im currently doing in my server build which is turning out to be like this:
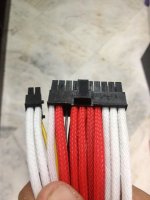
stuff from MDPC arrived.
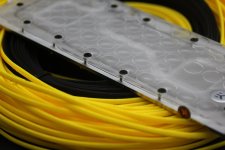
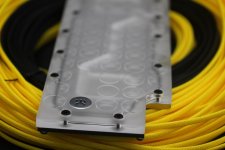
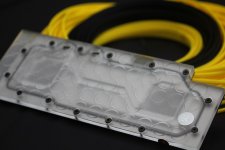
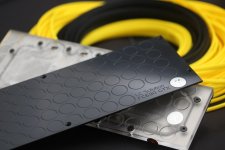
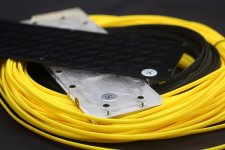
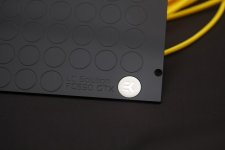
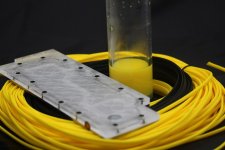
Im really glad on how the coolant colour matches exactly to the colour of MDPC Sleeving.
Something else also arrived but i couldnt work on it before...so here we go
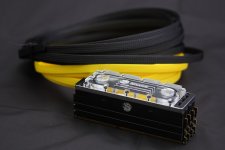
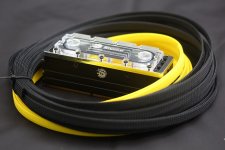
Small update for today....slowly but surely getting there
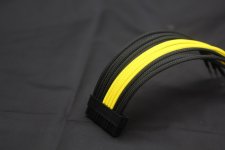
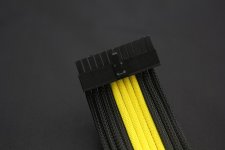
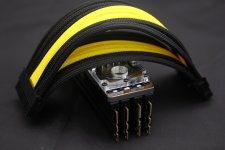
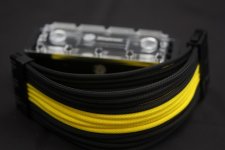
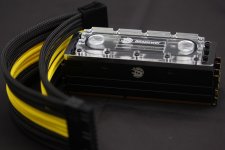
There was no electricity at the office today so i thought hey!!...why not sleeve!!!...so the cpu 8 pin power connector got the treatment
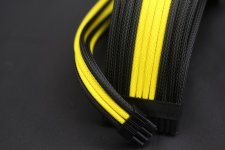
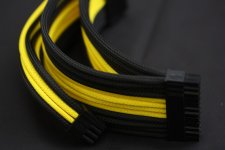
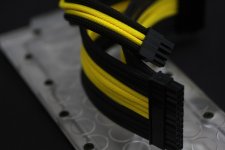
And so the sleeving got done.
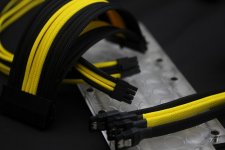
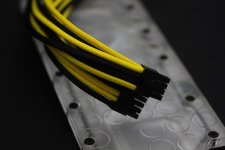
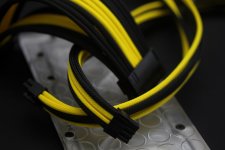
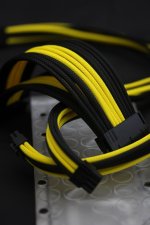
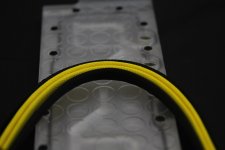
I was in a mood to take some pictures today so this is what came out
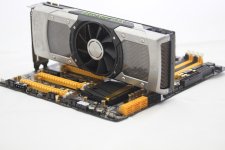
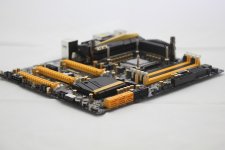
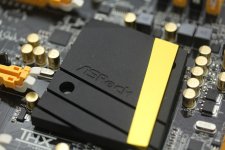
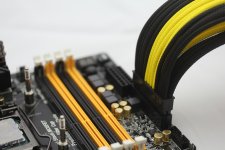
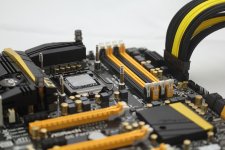
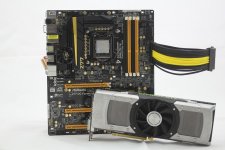
yes i know that last wire is a little bent....i just havent had the time to fix it. but it will be fixed when id be assembling the rig.
And then the t-rex from toy story got curious about what i was doing so he decided to step in
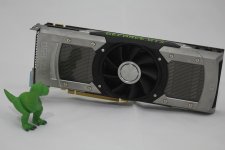
He got on the fan to check its build quality
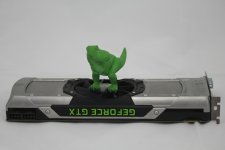
And then he climbed up on the card but he realised he's scared of heights
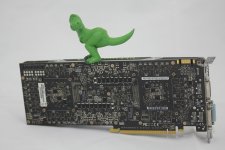
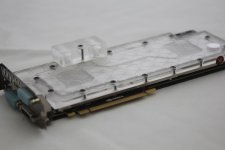
And finally a shot to see how the card looks with the backplate on
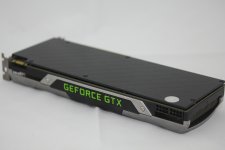
finally the 690 is under water now. Took me an hour to get what was a simple block installation done. EK didnt provide enough thermal pads or screws to mount the block on the pcb. In total they shouldve provided 19 screws but i got only 12-13. It was a good thing that i was gonna put the back plate on so i filled the remaining holes with back plate screws. But still....if i had not got the back plate, i wouldve had some empty screw holes and a lot of doubt if the block was having a good enough contact with the chips.
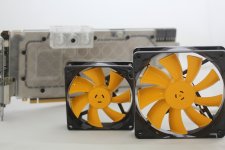
The fans with their final finish
and for the first time ever, casing shots. Its a work in progress (obviously)
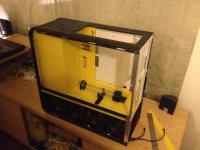
the yellow acrylic will be painted black, i chose yellow acrylic for a reason which is wayyyy too good to reveal right now:
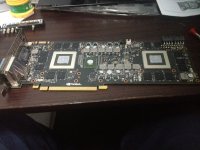
The 690 all naked before it got the block slapped on. Pics were taken via my iphone hence the quality
Casing almost done painting...just a few coats of polish left
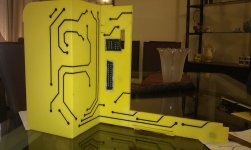
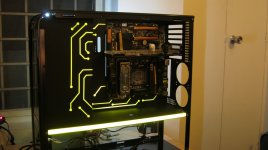
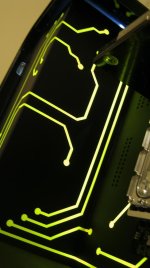
time for a small update. We had some holidays here so the friend of mine whos doing all the mod work really got a couple o things done. A slight teaser...proper pics will follow on later
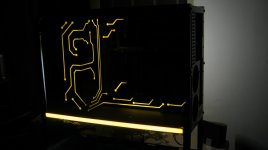
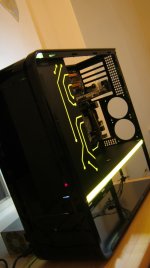
time for updates after a while now. build is finally complete i started leak testing today but before that i ran into a few issues. The first one was that i by mistake connected the pump wrong...as in connected the inlet tubing to outlet port and vice versa...this made the pump dump the coolant back into the reservoir instead of sucking it out from it. So had to re do the tubing for that bit and then started leak test again....only to find out after an hour...that the bottom cap on my reservoir isnt tightly screwed in and coolant will eventually leak from it. So again had to drain the whole damn thing and had to remove the reservoir again to tighten it up. But finally i think everything is done now....and we're on leak testing part 3
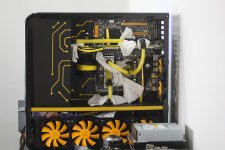
and this is the progress so far
I present to you....the build that FINALLY will get completed without any issues (i hope) or rather i should say....the build that better get completed without any issues.
Spec sheet as always:
Processor: Intel Core i5 3570K (arrived)
RAM: G.Skill Ripjaws 16GB 1600Mhz CL9 (carried over from the SR-2 Build)
Motherboard: ASRock z77 OC Formula (have yet to order)
Graphic Card: ASUS GTX 690 (Already own)
Power Supply: Thermaltake Tough Power 1500W (way overkill i know but im not in the mood to buy a new psu right now)
Casing: Silverstone TJ-07 (Already Own)
HDD: 128GB OCZ Octane as Boot Drive + 3 x 256GB OCZ Vertex II SSD's (carried over from SR-2) + 1TB WD Green for content. (Already Own)
Im not a fan of air cooling so water cooling specs are:
CPU Block: EK Supreme HF Water Block (carried over from the SR-2 Build)
RAM Block: Bitspower Universal Ram Block for 4 Dimms
Pump: Swiftech MCP-655 (carried over from the SR-2 Build)
GPU Block: EK FC-690 CSQ Full Cover Nickel+Acrylic Block, with GTX 690 Backplate
Radiator: XSPC RX480 (carried over from the SR-2 Build)
Reservoir: EK Multi Option RES 250 (carried over from the SR-2 Build)
Fittings: Bitspower Compression fittings as always (carried over from the SR-2 Build)
Coolant: Mayhems Pastel Sunset Yellow (the best bit)
Tubing: Danger Den Clear Tubing
The build is gonna be in black and yellow, the casing is with a friend of mine since a month and a half now (ive been planning this build for almost 2 months) and hes done some interesting work on it (different than what you've seen before hopefully). Ill share some ideas in coming days of what ive planned to get done on the casing. Motherboard is most probably arriving in September, water cooling has been ordered and its been shipped today so that will come by a week or two as well and i got the processor today so majority of the stuff has been sorted out.
But of course a build log is not interesting without any pictures in the first post, so here's a slight teaser. There are still some finishing touches that need to be done on this.
http://i.imgur.com/w4zGK.jpg
http://i.imgur.com/y5Zgp.jpg
These are the Gelid Fans that i used in my second last TJ-07 Build which looked like this

Since these come in blue and blades are UV reactive, and also the fact that yellow fans are a pain in the a$$ to find, i got them painted. As i said that the they still needs some finishing touches but overall i really like the look especially when they're spinning. I have black and yellow coloured MDPC sleeving from before, so i wont have to wait for that, but i wont be sleeving the psu wires. I have ordered the extension cables which will be sleeved and used instead and of course it will be heatshink less sleeving as im currently doing in my server build which is turning out to be like this:

stuff from MDPC arrived.


Im really glad on how the coolant colour matches exactly to the colour of MDPC Sleeving.
Something else also arrived but i couldnt work on it before...so here we go


Small update for today....slowly but surely getting there


There was no electricity at the office today so i thought hey!!...why not sleeve!!!...so the cpu 8 pin power connector got the treatment


And so the sleeving got done.


I was in a mood to take some pictures today so this is what came out


yes i know that last wire is a little bent....i just havent had the time to fix it. but it will be fixed when id be assembling the rig.
And then the t-rex from toy story got curious about what i was doing so he decided to step in

He got on the fan to check its build quality

And then he climbed up on the card but he realised he's scared of heights

And finally a shot to see how the card looks with the backplate on

finally the 690 is under water now. Took me an hour to get what was a simple block installation done. EK didnt provide enough thermal pads or screws to mount the block on the pcb. In total they shouldve provided 19 screws but i got only 12-13. It was a good thing that i was gonna put the back plate on so i filled the remaining holes with back plate screws. But still....if i had not got the back plate, i wouldve had some empty screw holes and a lot of doubt if the block was having a good enough contact with the chips.


The fans with their final finish


and for the first time ever, casing shots. Its a work in progress (obviously)

the yellow acrylic will be painted black, i chose yellow acrylic for a reason which is wayyyy too good to reveal right now:


The 690 all naked before it got the block slapped on. Pics were taken via my iphone hence the quality
Casing almost done painting...just a few coats of polish left


time for a small update. We had some holidays here so the friend of mine whos doing all the mod work really got a couple o things done. A slight teaser...proper pics will follow on later


time for updates after a while now. build is finally complete i started leak testing today but before that i ran into a few issues. The first one was that i by mistake connected the pump wrong...as in connected the inlet tubing to outlet port and vice versa...this made the pump dump the coolant back into the reservoir instead of sucking it out from it. So had to re do the tubing for that bit and then started leak test again....only to find out after an hour...that the bottom cap on my reservoir isnt tightly screwed in and coolant will eventually leak from it. So again had to drain the whole damn thing and had to remove the reservoir again to tighten it up. But finally i think everything is done now....and we're on leak testing part 3


and this is the progress so far


